
Fine line work is everywhere online, and the posts that get the most traction are not always the ones that hold up. Small, delicate stick and poke pieces look gorgeous the day you get them, but placement and spacing decide whether they read clean in two years or need a touch-up. Read these real-world ideas and the practical tweaks that keep your next stick and poke looking intentional long after the likes fade.
1. Fine Line Arrow on Inner Forearm
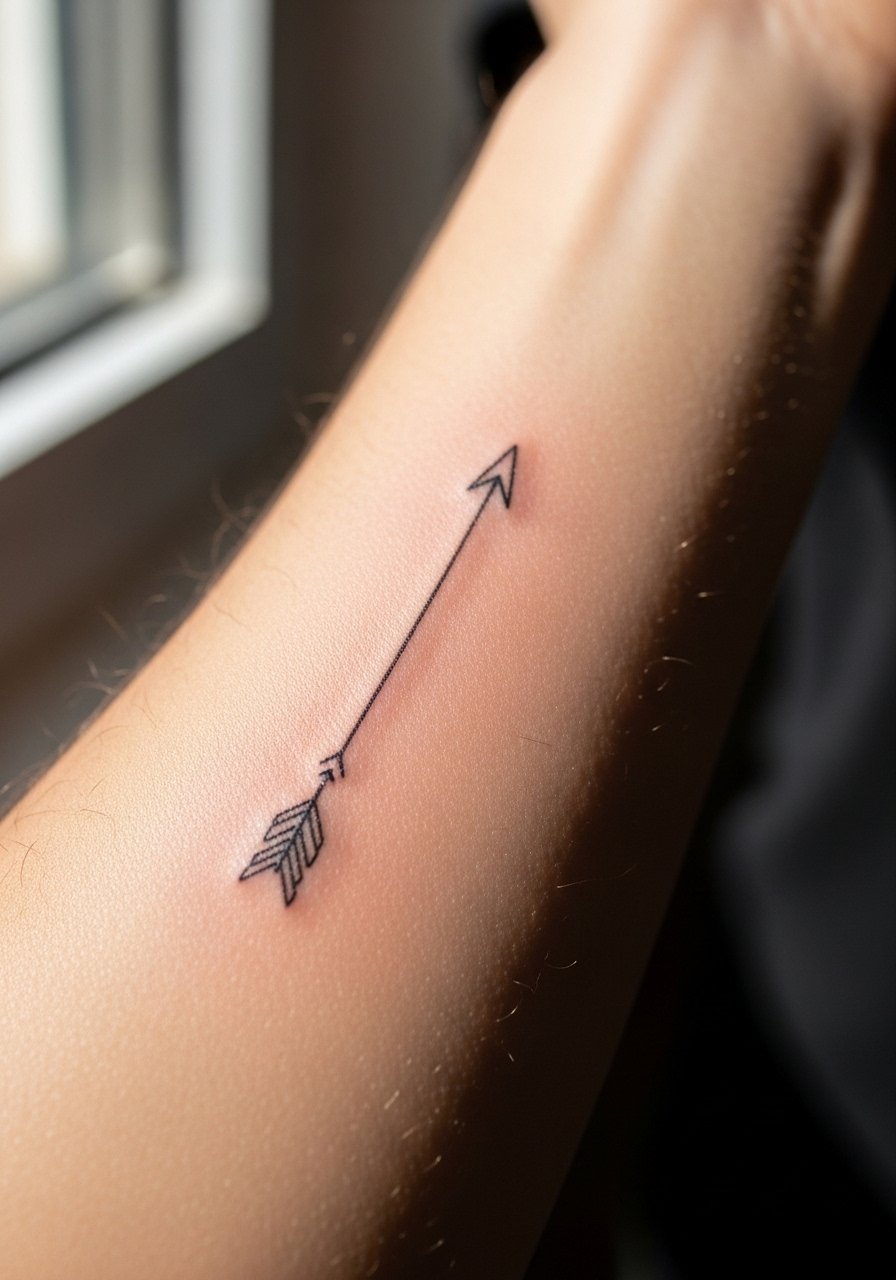
This is a classic first stick and poke because the forearm is forgiving and easy to photograph. The session feels straightforward and usually takes 20 to 40 minutes, and pain is moderate. Tell your artist to keep the shaft slightly bolder than the tip so the arrow reads at two years healed, not just the first week. The most common mistake is asking for ultra-tiny detail that the skin will blur into. For showing it off, roll up sleeves and wear a linen short-sleeve shirt that frames the inner arm without covering the piece.
2. Tiny Constellation on the Wrist
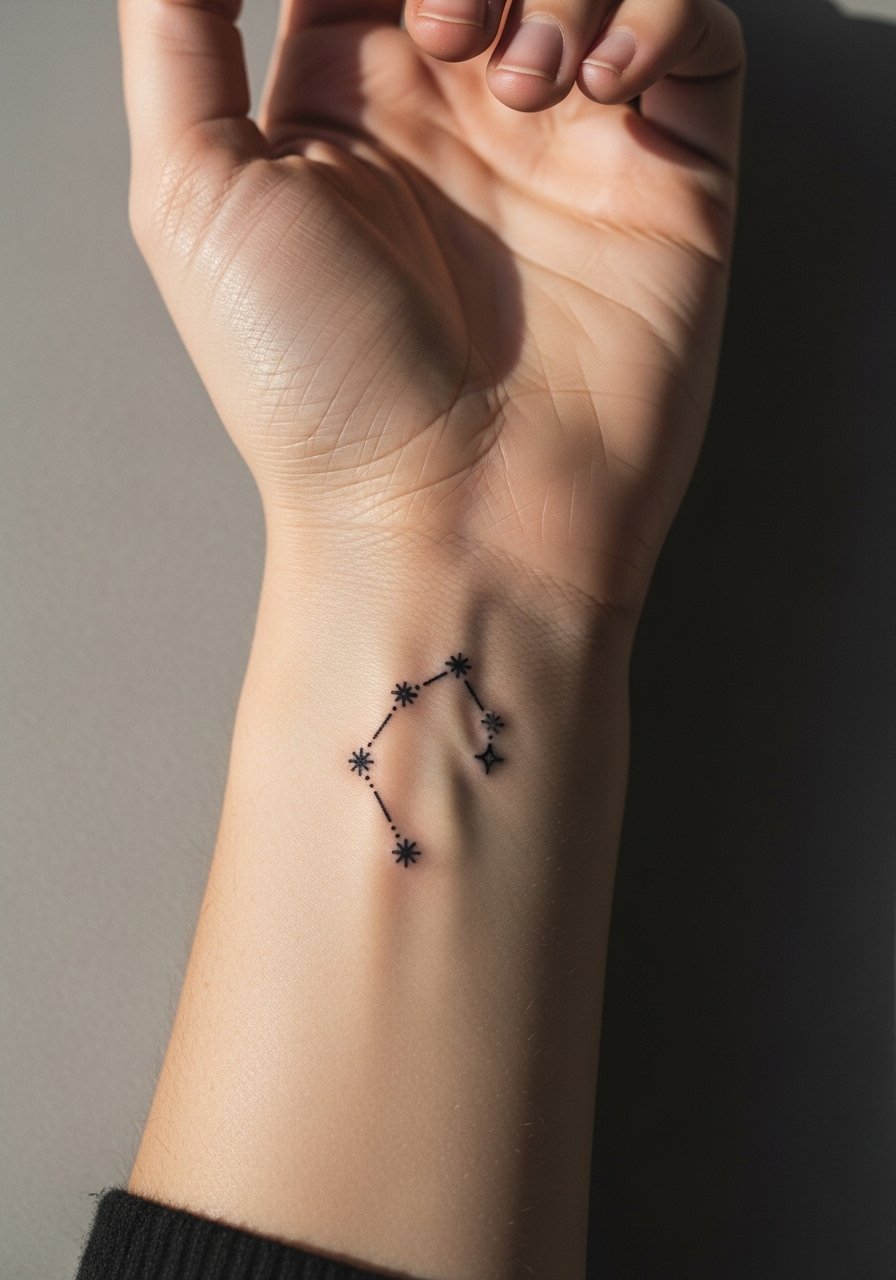
Wrist pieces are compact and visible, which makes them great for small dot work and tiny stars. Expect a quick session, higher sensitivity, and a likelihood you will need a touch-up in year two if dots are placed too close. Ask for slightly looser spacing between the stars and for dots done with a small single needle so blowout risk is lower. For the appointment wear a short-sleeve button-down you can push up without rubbing the fresh ink. After six months the dots keep their form better if they were spaced from the start.
3. Delicate Ankle Botanical
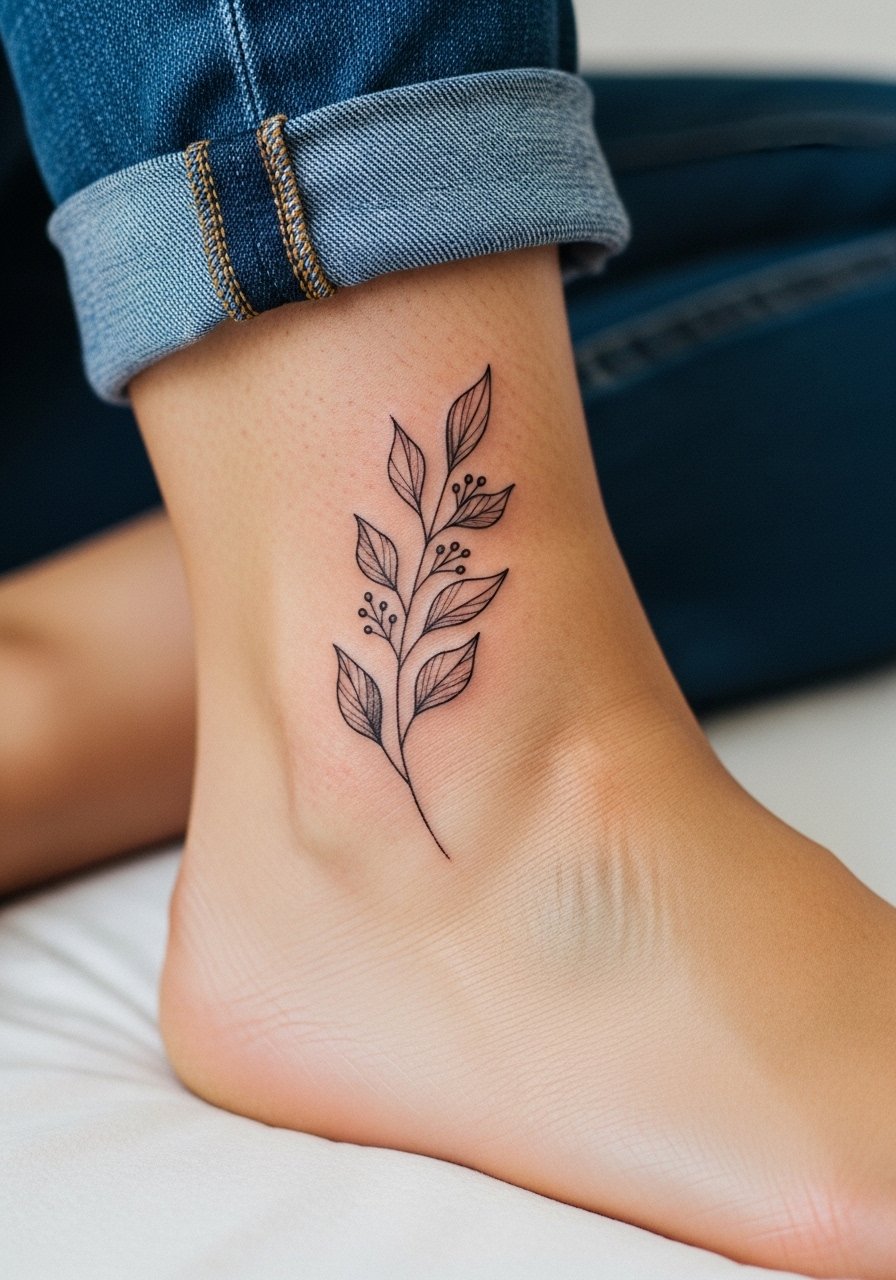
Ankle tattoos are adorable but the area sees a lot of friction from shoes and socks. Plan for light touch-ups at year two if you want crisp stems. In the consult, request slightly thicker primary stems with very fine stipple shading for texture. The session can be fussy because the ankle moves when you breathe, and pain is higher than the forearm. Pair this with low-cut sneakers or a slip-on sandal when you want the tattoo to show. Expect the piece to soften faster if it sits under tight shoe straps.
4. Geometric Mandala on Upper Arm
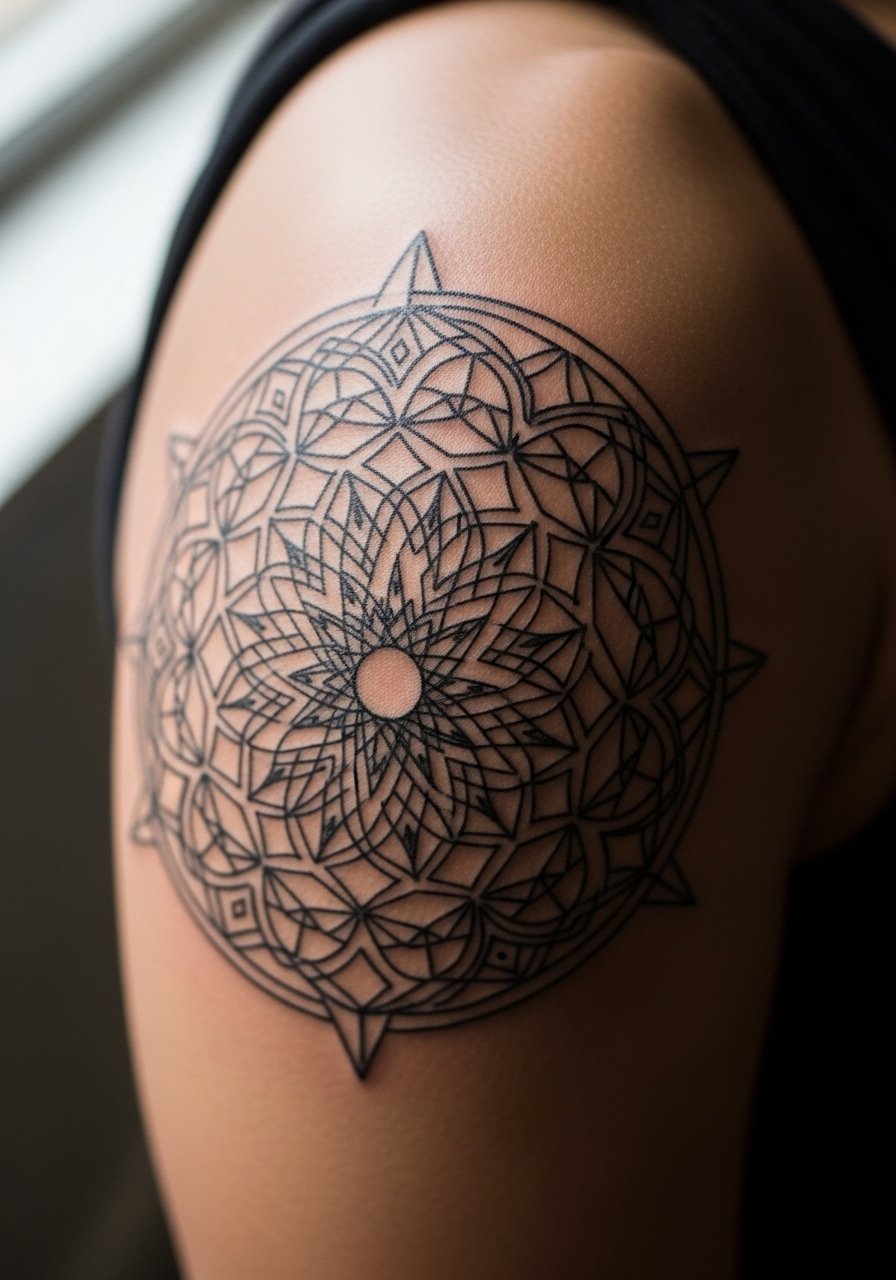
A mandala benefits from slightly larger negative space between elements so the layers do not merge over time. The upper arm is a friendly placement for denser geometry because blowout risk is lower than ribs. During the consultation, ask the artist to scale the central rings up by 10 to 20 percent compared with your reference. Session time depends on size, but a small mandala is often done in under an hour. For showing it off, short sleeves or a rolled-sleeve tee frame the circle without crowding the design.
5. Minimalist Script on the Ribcage
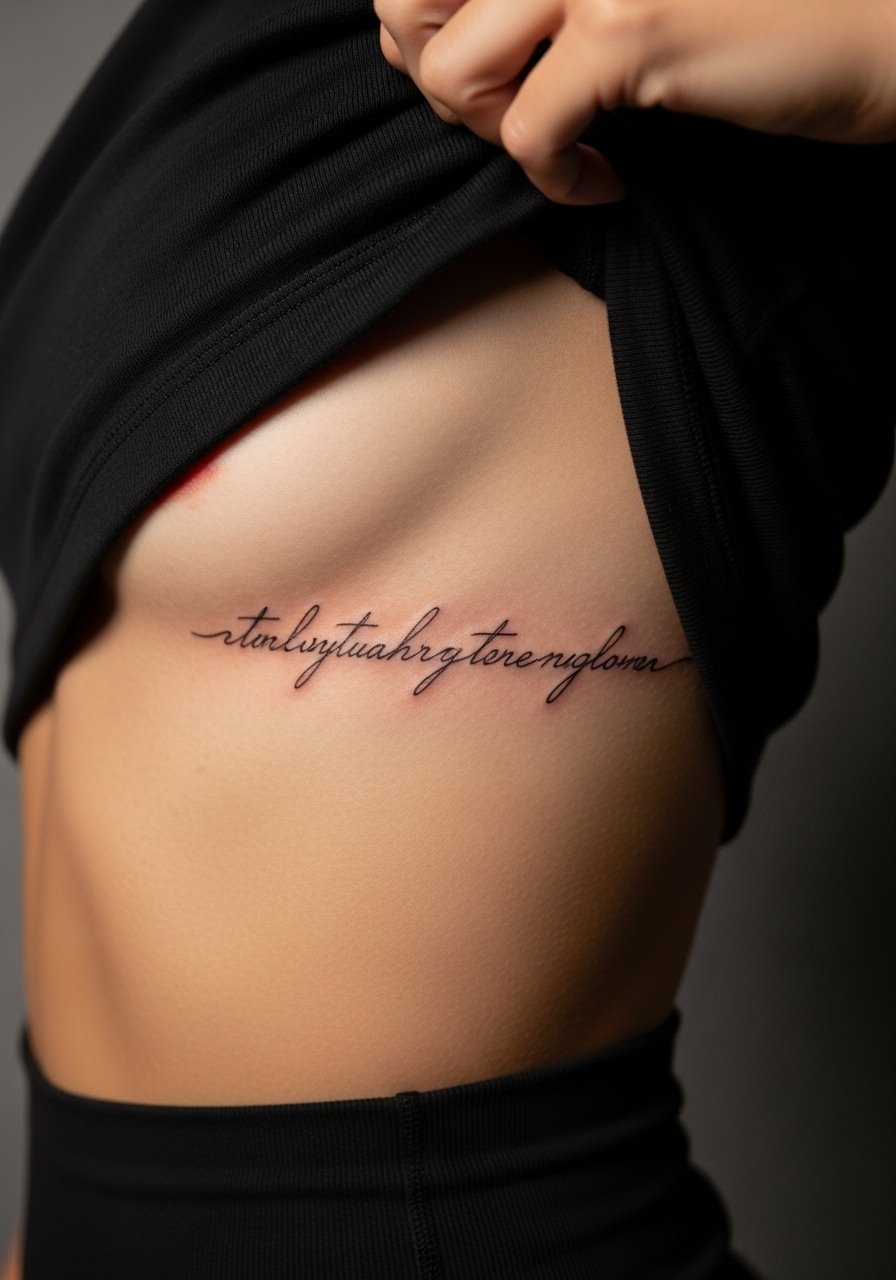
Fair warning, ribs are a higher pain zone and they test how well fine line holds up. Artists split into two camps on this one. One camp argues the skin stretch and thin tissue blur delicate script within two years. The other camp says proper depth and slightly larger letter spacing make rib script settle well. Ask where your artist stands and request letters with a little breathing room between strokes. The session feels sharp but short bursts are doable. Wear a sports bra or bandeau you can lift slightly for access and privacy. Expect touch-ups sooner here than on the arm.
6. Micro-Realism Moon on the Collarbone
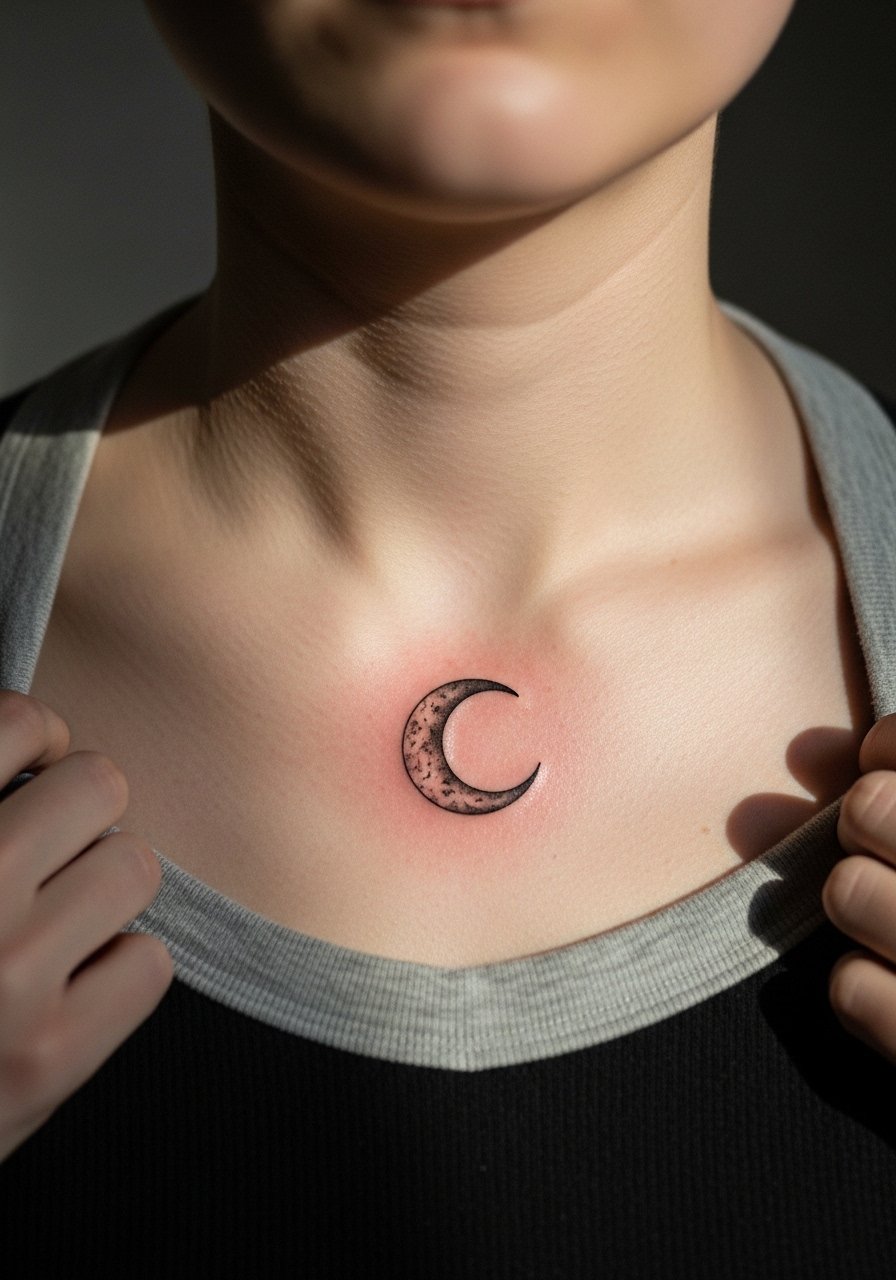
The collarbone reads beautifully with tiny micro-realism when the shading is stippled rather than packed. The area is thin and the session can feel bony at times, but the piece photographs well immediately. Tell the artist you want stipple shading for longevity because packed shading in that spot often fades into blotch. For showing it off, a delicate chain necklace sits above the moon and frames it without competing. Expect the piece to look slightly softer at two years if it sits over moving skin, but the overall shape should remain clear.
Studio Day Picks
These session and healing needs come up across the first six ideas above, from wrists to ribs, so a few thoughtful items make the chair day smoother.
-
Stencil transfer paper kit. Lets you preview placement on skin before the first poke, which matters for small scripts and wrist constellations.
-
Topical numbing cream. Applied per directions about 45 minutes before the session it softens sharp sensitivity on ribs and ankles without changing linework.
-
Thin protective film roll. Useful for covering finger and wrist pieces during the first few days of heavy handwashing and movement.
-
Fragrance-free gentle body wash. Cleans the area without stripping delicate needle channels on fine line forearm and collarbone pieces.
-
Aquaphor healing ointment. A thin layer in the initial days locks in moisture for tight linework without clogging pores excessively.
7. Tiny Heart on the Finger
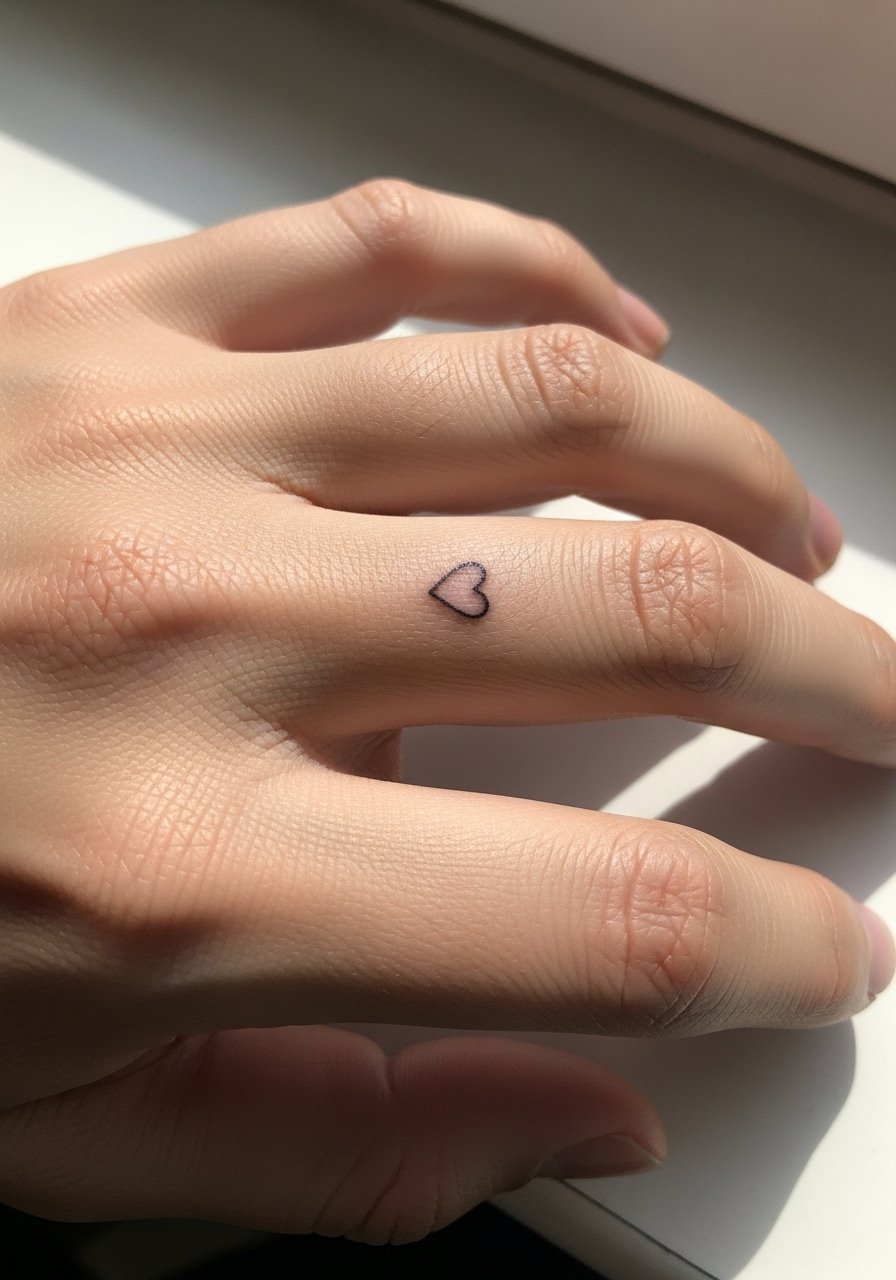
Finger tattoos are charming and visible, but they endure constant friction and frequent washing. Expect the highest touch-up rate of most small placements. For longevity, ask for slightly bolder linework that will soften rather than vanish. The session is short but sharp. A common mistake is asking for ultra-thin single-needle letters or symbols on the finger. For the appointment wear short sleeves and have clean hands. One way to style this is with a stack of thin rings that do not sit over the ink so the heart remains legible.
8. Stipple-Shaded Sun on Shoulder Blade
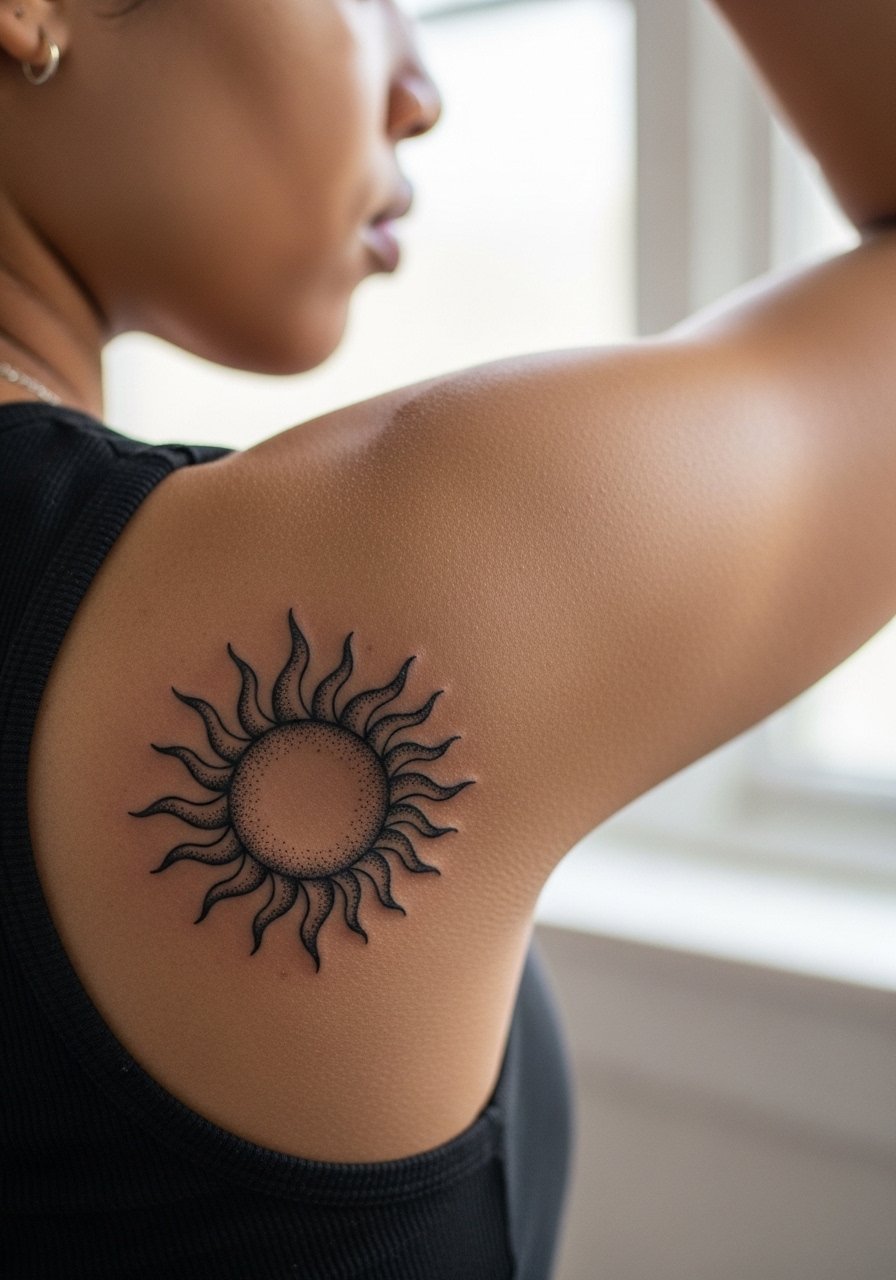
The shoulder blade is an excellent canvas for stipple shading since the skin is thicker and movement is moderate. Sessions are comfortable and the area tolerates denser dot work. Tell your artist you want the darkest values built from many tiny dots rather than packed black, so texture remains after healing. A frequent error is requesting too many fine concentric rings, which can blend with time. For showing it off, a backless tank top or scoop-back dress lets the sun sit in view without revealing more than intended.
9. Minimalist Mountain on the Calf
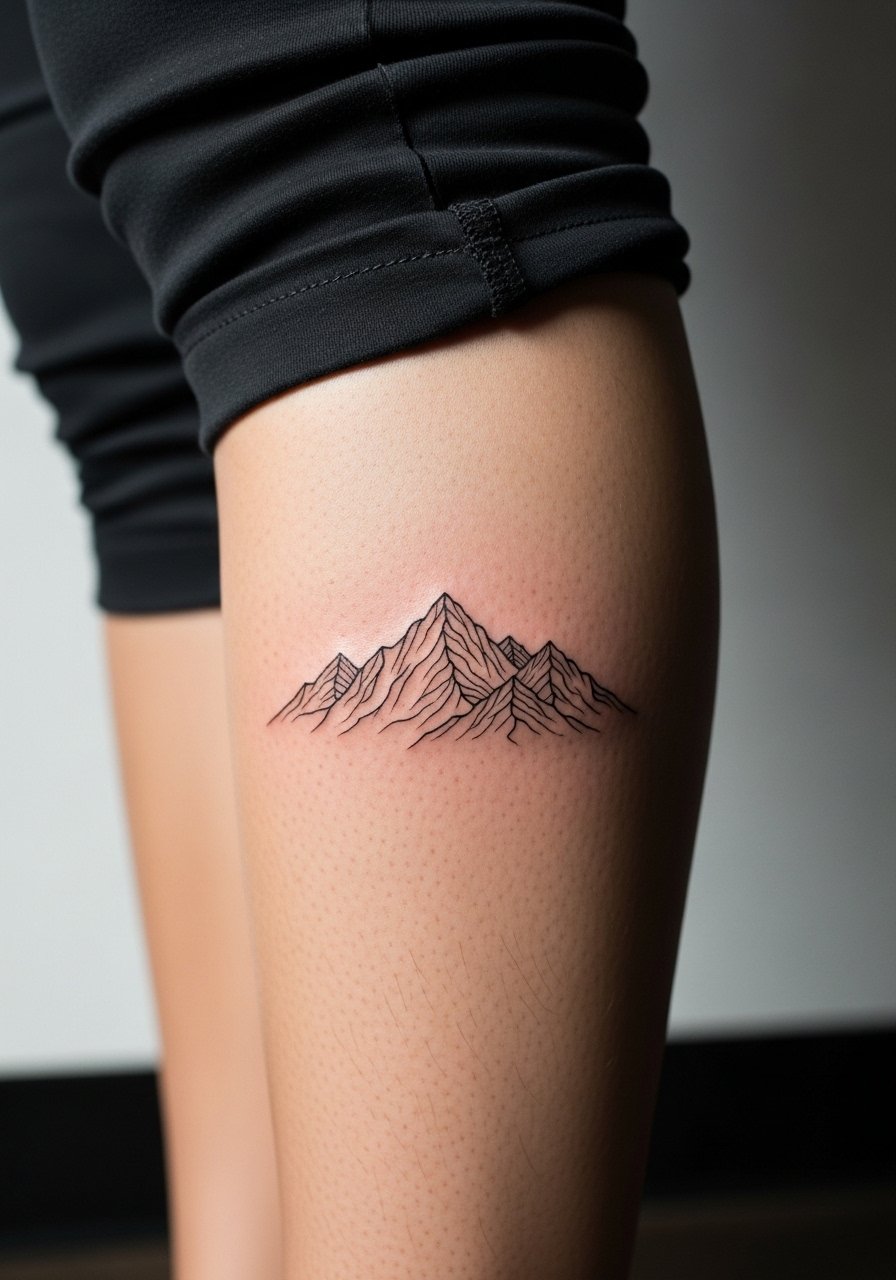
Calf tattoos age pleasantly because the skin does not stretch as much as the torso. A small mountain cluster holds up well if the lines are not too fine. The session is usually low to moderate pain and can be done standing or lying depending on comfort. Ask for slightly heavier outlines on the foreground peaks so the silhouette remains readable over time. For weekend styling, roll up a pant leg and pair with a cropped denim jacket so the piece looks deliberate rather than accidental.
10. Single-Line Face on Upper Thigh
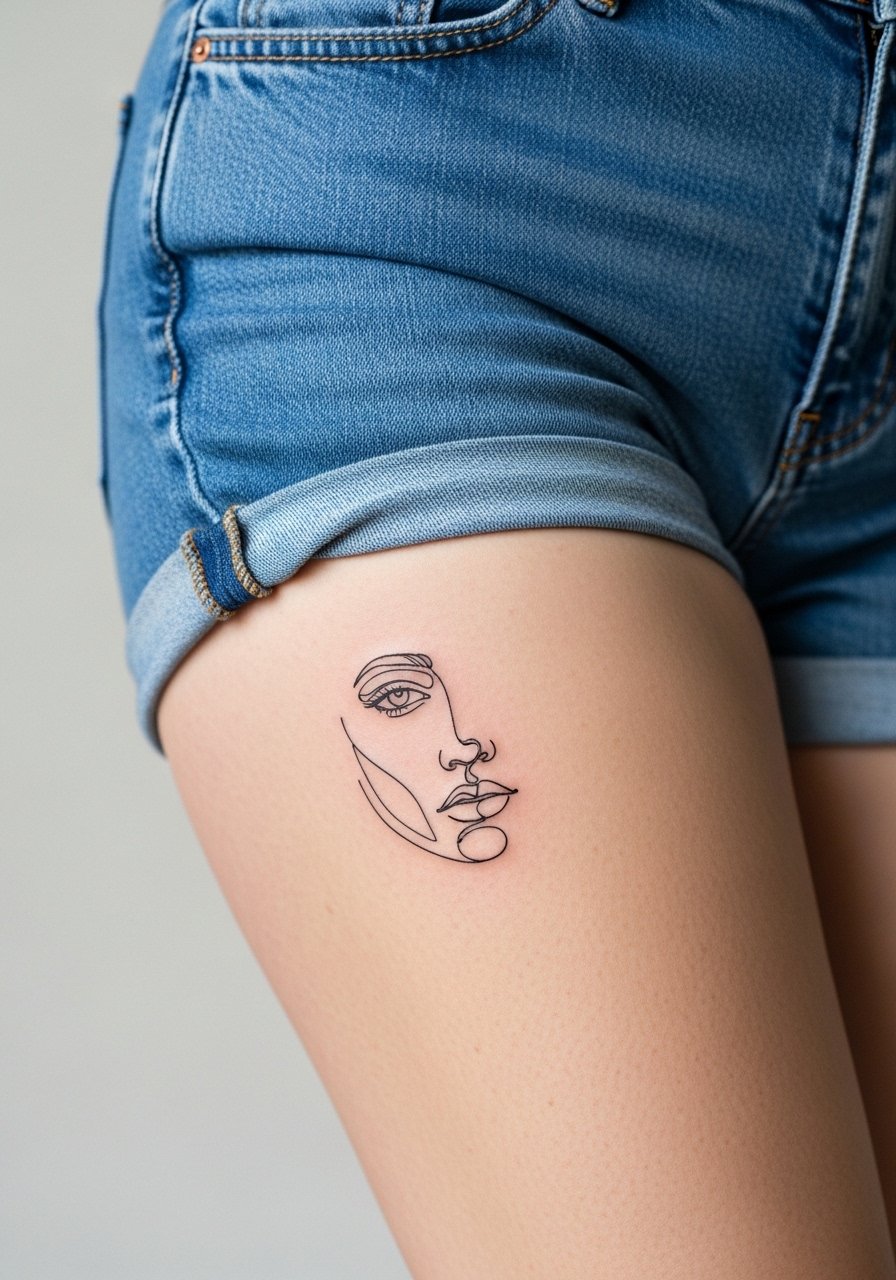
Upper-thigh work lets you go a bit larger without daily visibility, which is perfect for single-line portraits. The session can be relaxed and the skin there tolerates subtle shading. One common mistake is over-compressing facial features into a very small area, which turns the face into an indistinct blob over time. For the appointment wear loose shorts or a wrap skirt so the artist can access the area without pressure. After healing, this placement looks great peeking from swimwear or high-cut shorts.
11. Behind-the-Ear Mini Glyph
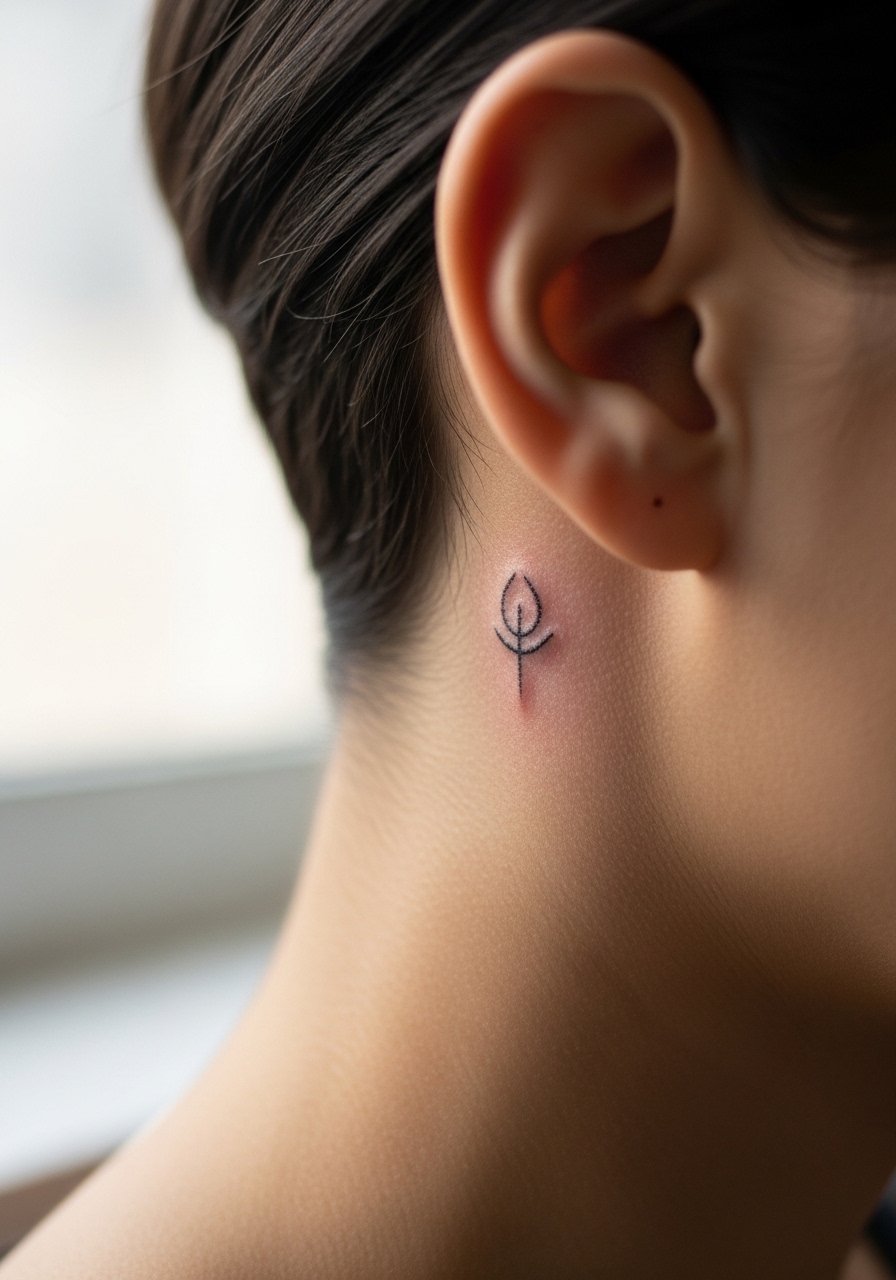
Behind-the-ear pieces are intimate and often hidden by hair, which protects them but slows drying. The area is sensitive in short bursts. Make sure you describe placement as on the skin behind the ear, below the hairline on the neck, so the stencil sits where you want it. A common error is making the symbol too dense, which ages poorly there. For showing it off, a snug low bun or tucked hair does the trick. Keep in mind some professions still view visible neck or head tattoos differently.
12. Botanical Sprig on Inner Bicep
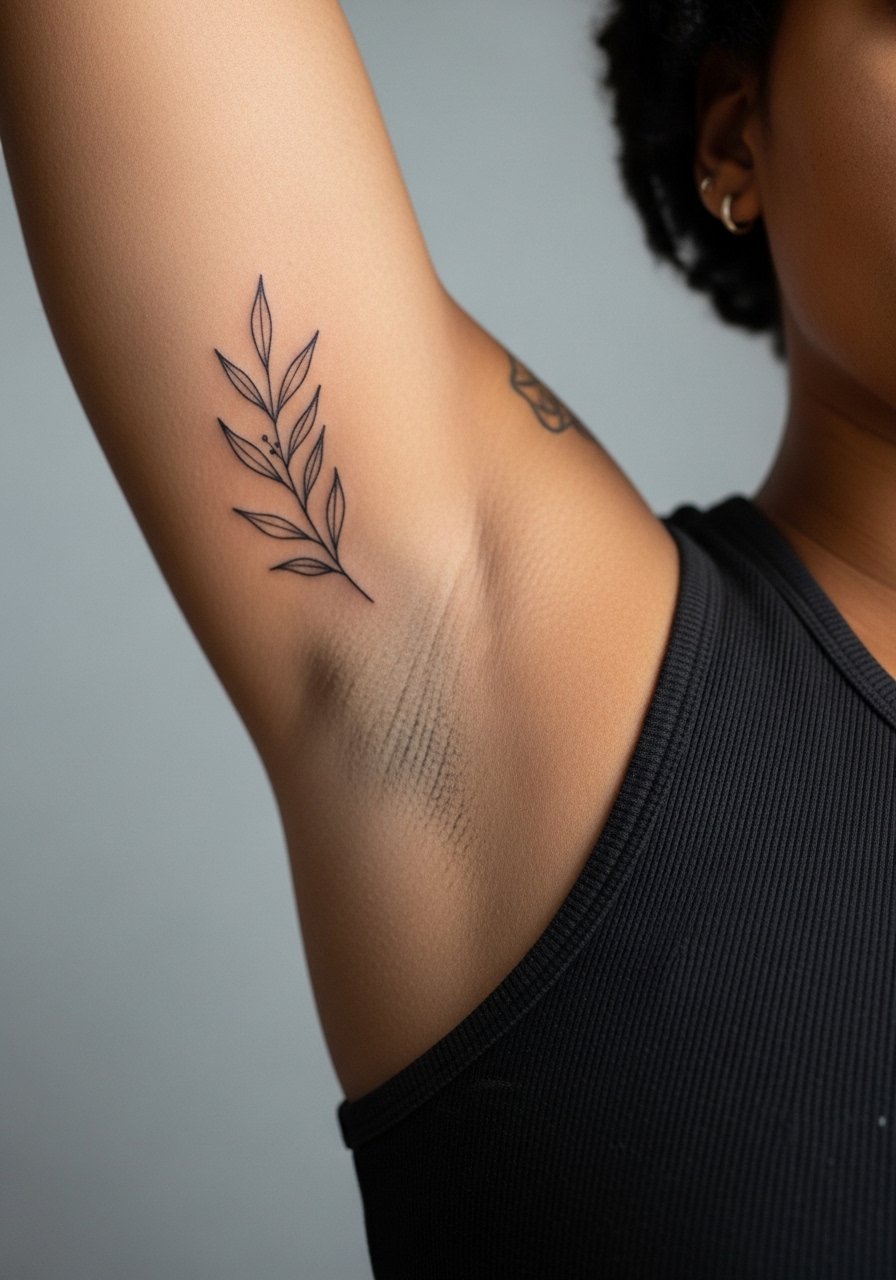
The inner bicep is sheltered from sun but stretches with movement, so spacing matters. Ask your artist to use a combination of thin stems and slightly heavier primary veins so the sprig reads clean after a few years. The session can be more painful when the arm is pressed against the table, so short breaks help. For the appointment wear a loose tank top you can lift without exposing more of your torso. Expect the piece to look delicate at six months and to keep its silhouette if the shading was stippled.
13. Crescent Under the Ankle Bone
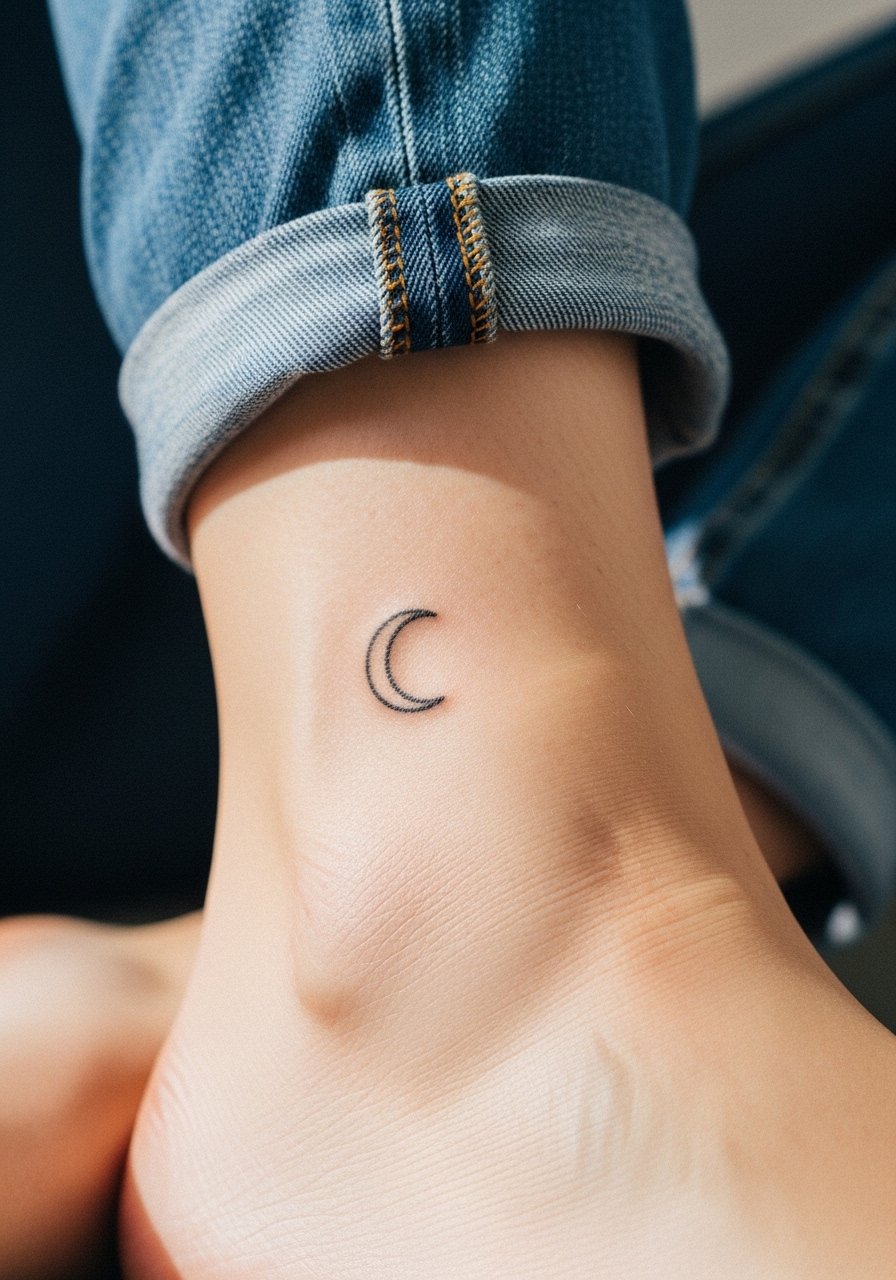
Ankle placements see a lot of wear, so tiny crescents benefit from slightly bolder outer lines. The session is quick and the area can bruise if your shoes press on it while healing. Tell the artist you want a thin inner line and a slightly thicker outer contour for longevity. For the session and the first week, wear slip-on shoes that avoid rubbing the area. After six months the shape should remain recognizable, but expect a light softening without touch-up.
14. Minimal Anchor on the Outer Wrist
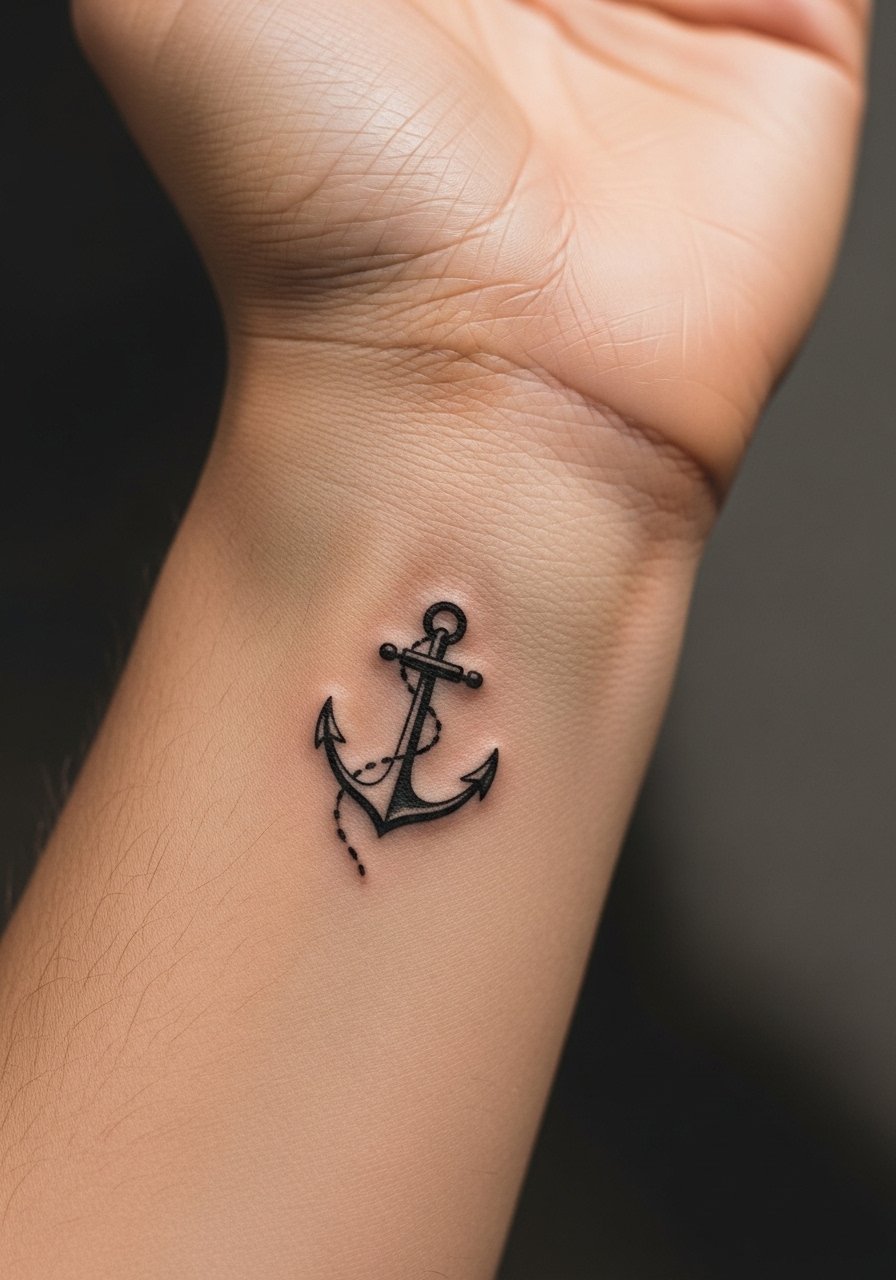
Outer wrist pieces are easy to show and photograph, but they are in the path of watches and bracelets. Ask the artist to place the anchor where your watch strap will not sit, and to slightly thicken the base so it does not vanish under friction. The session is short and the pain is moderate. For showing it off, choose a minimalist leather strap watch that complements the anchor without rubbing the fresh ink. If you work with your hands, expect touch-ups sooner.
15. Geometric Calf Band
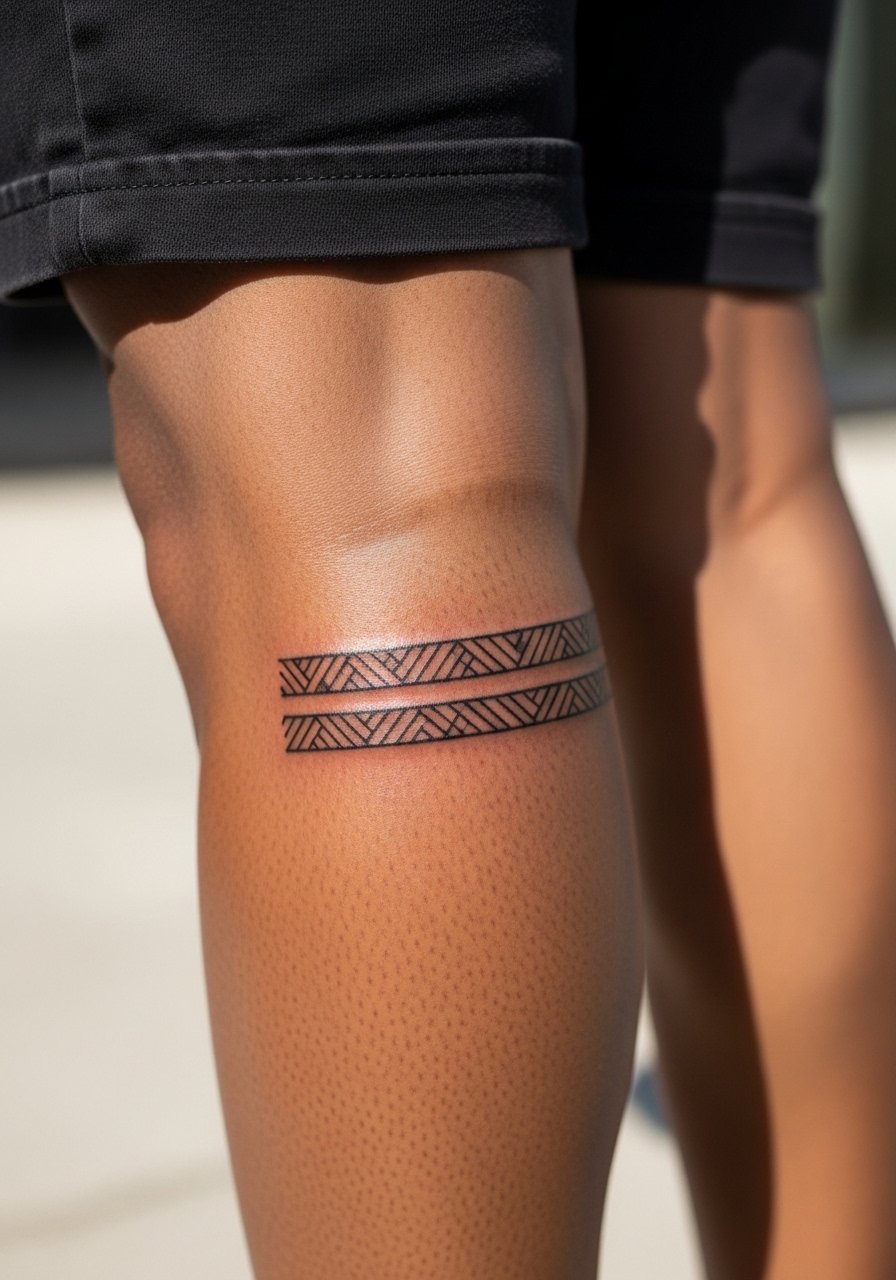
A calf band reads clean when spacing between repeating shapes is generous. The area tolerates symmetry well and the session is moderate in length. One error people make is requesting ultra-tight patterns that merge after healing. Ask the artist to map the repetition around your calf first, then reduce density slightly so each motif breathes. For casual wear, pair with a mid-length skirt or rolled shorts to keep the band visible and intentional.
16. Morse Code Bracelet on the Wrist
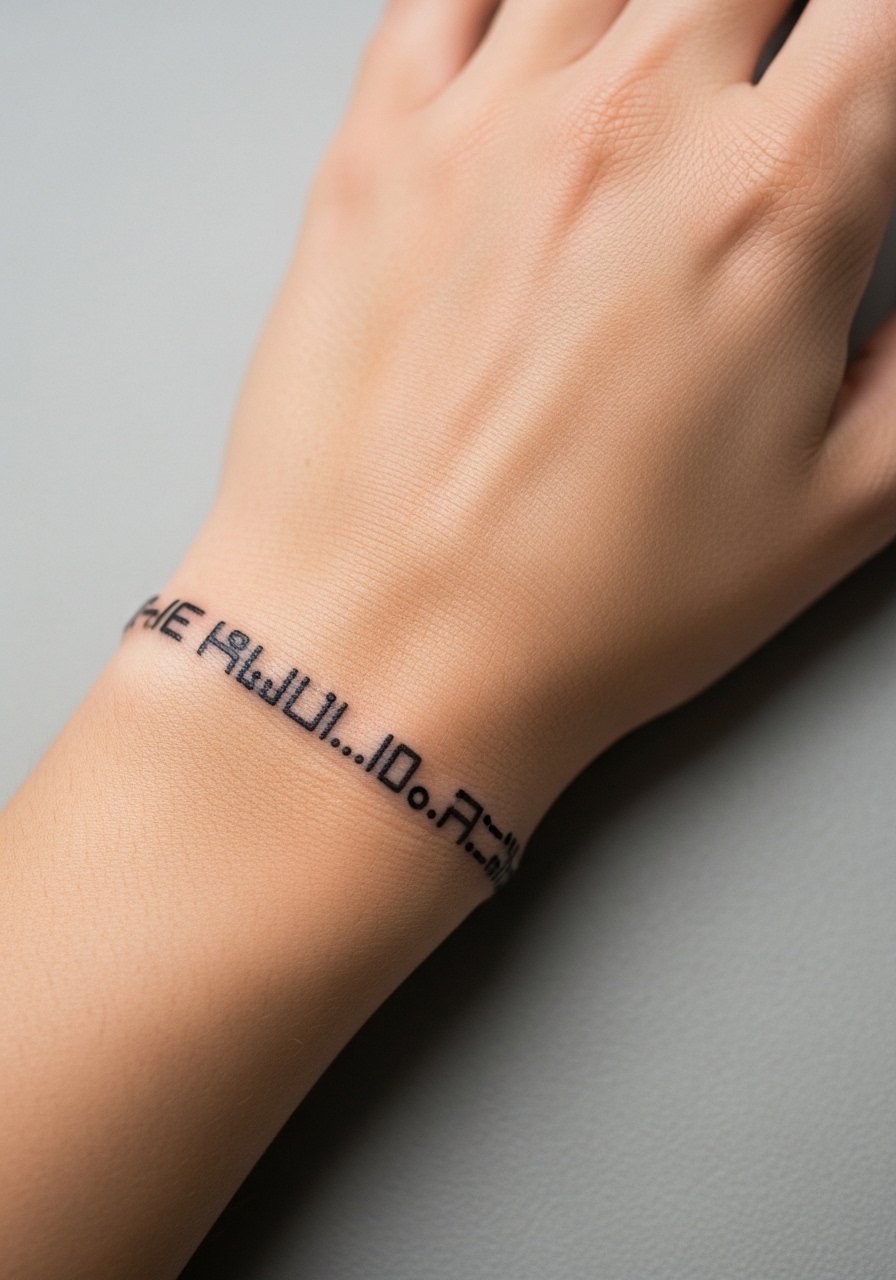
Morse code tattoos are personal and tidy, but the dots and dashes need consistent spacing to remain legible. Small changes in spacing or depth can make the sequence unreadable later. During consultation, bring a printed sequence and ask the artist to stencil it exactly where you want the breaks. For the session wear a short-sleeve tee so the wrist is fully exposed. Expect to need a touch-up if any dots are too light.
17. Small Paw Print on Lower Back
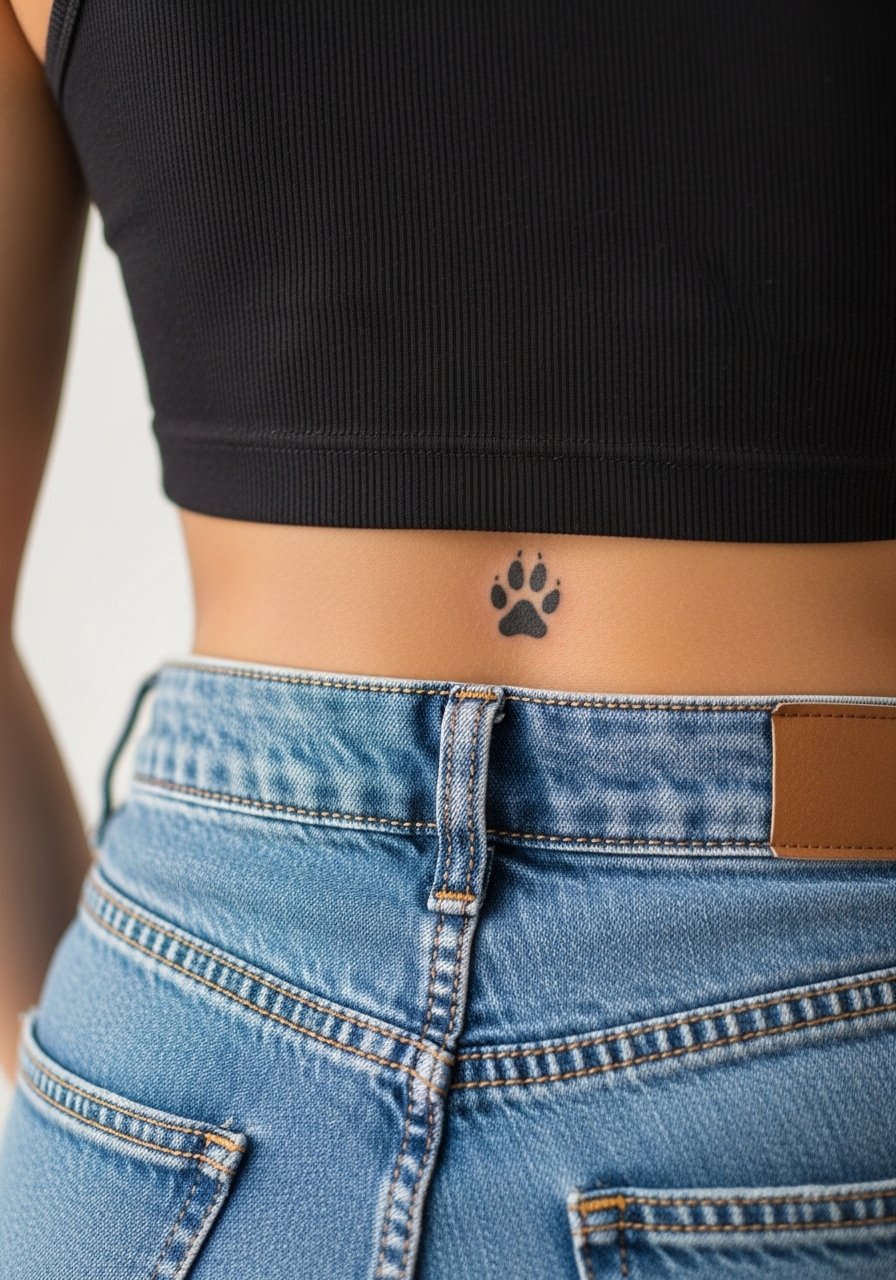
Lower back tattoos heal well when the art stays within a compact zone and the clothing avoids friction. A common mistake is placing a design where waistbands sit, which blurs edges during healing. Ask the artist to position the print below most waistband lines and to keep the pads slightly fuller so the shape reads at a glance. For the session, wear a tank top you can pull up slightly and high-waisted bottoms you can lower a touch without tugging. This placement is easy to hide for professional settings.
18. Scripted Date on the Side Neck
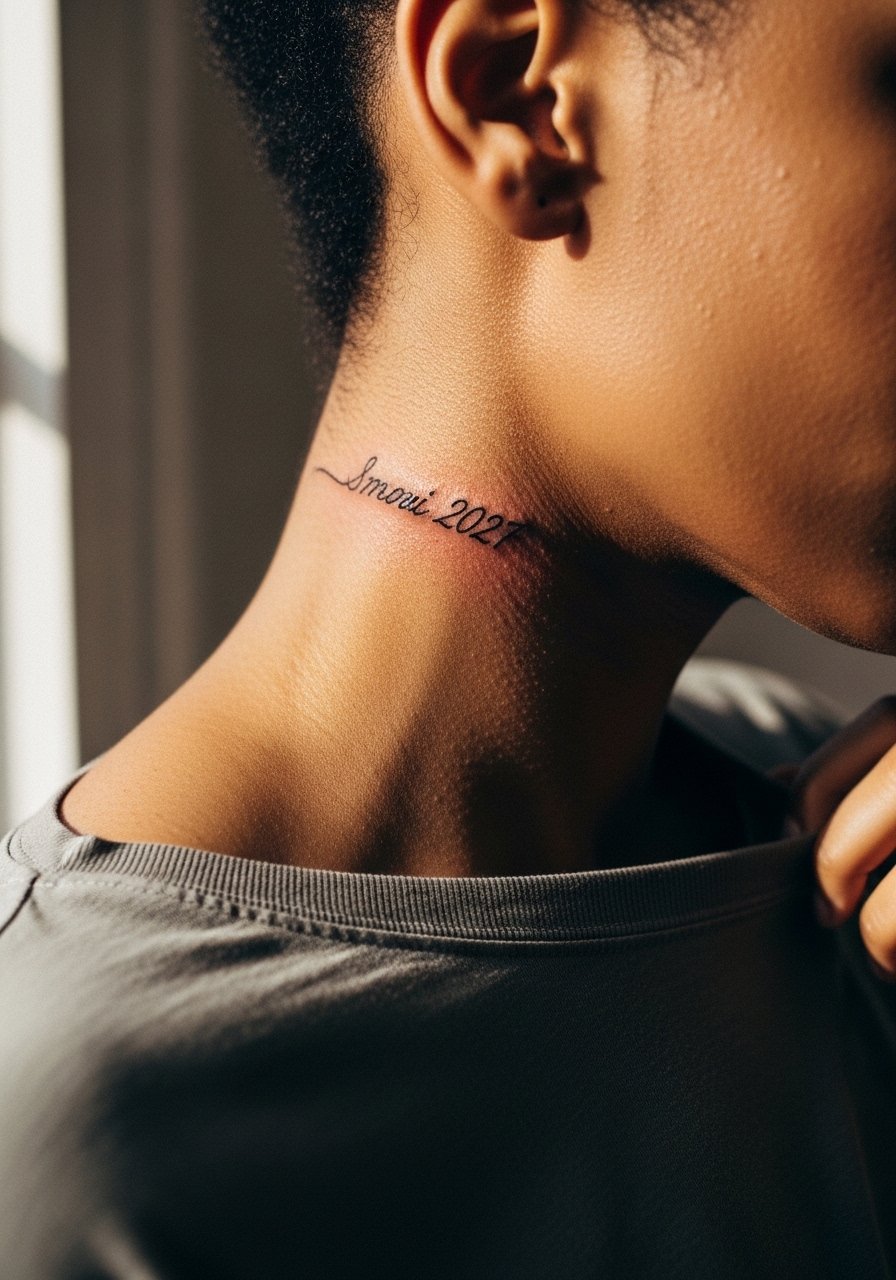
Neck pieces are visible and they split opinion in the community. One camp thinks neck linework ages poorly because of constant sun exposure and movement. The other camp argues that with careful placement and slightly heavier line weight, a small script can hold for years. Name which side you favor in your consult and ask for a mock-up in natural light. The session hurts more here and can be emotionally charged because of visibility. If you want to soften the piece visually, pair it with a thin pendant necklace that sits just above the script.
19. Spine Dot-Work Column
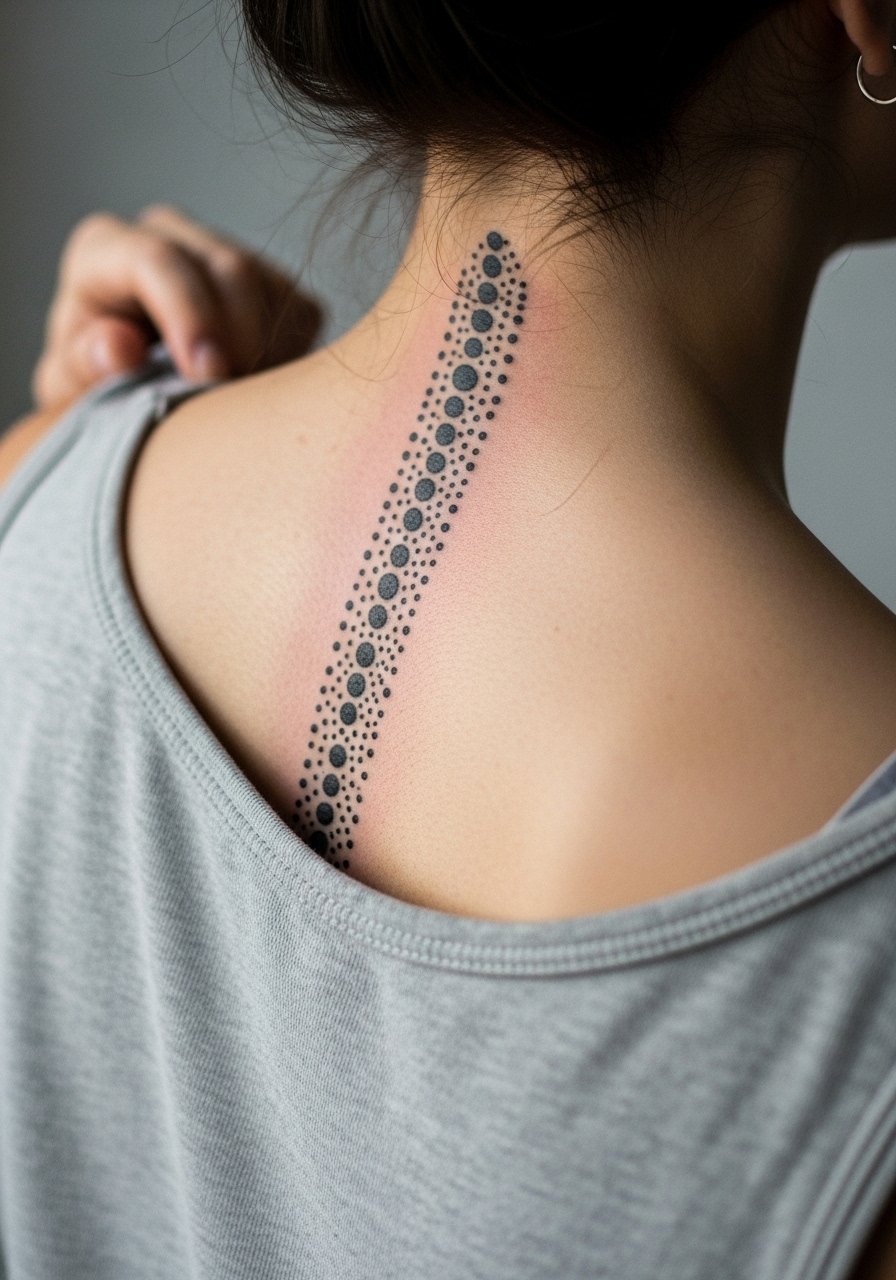
A spine column made of dots benefits from spacing that accounts for skin movement when you bend. The session is steady but can be sensitive over the bone. Ask the artist to map a grid and then remove every third dot so the pattern does not compress. A common mistake is packing too many dots into a narrow column, which creates a blurred stripe later. For the appointment wear a loose tank top you can pull aside, and for evenings out an open-back shirt frames the column subtly without overexposing the area.
20. Palm-Sized Sun on the Back of the Hand
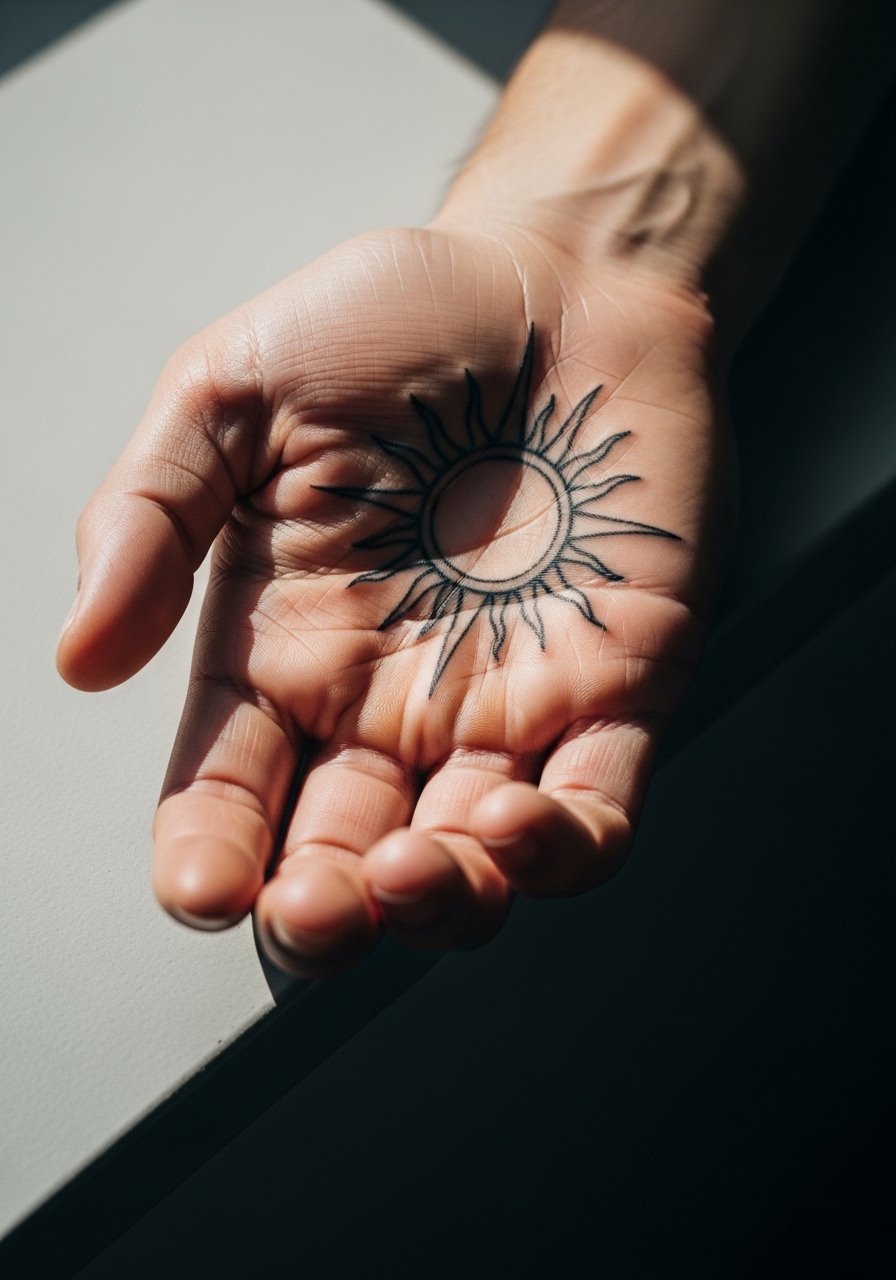
Hand tattoos are extremely visible and they are subject to constant use, so expect higher fade and more frequent touch-ups. The skin on the back of the hand is thin and mobile, and packed shading can break down quickly. For longevity, ask for clear negative space in the rays and slightly bolder linework in the center. The session hurts more than a forearm piece. For styling, choose rings or a bracelet that sit below the wrist so they do not rub the sun while it heals. Also consider how visible hand ink may affect client-facing roles.
21. Small Planetary Wrap on Outer Forearm
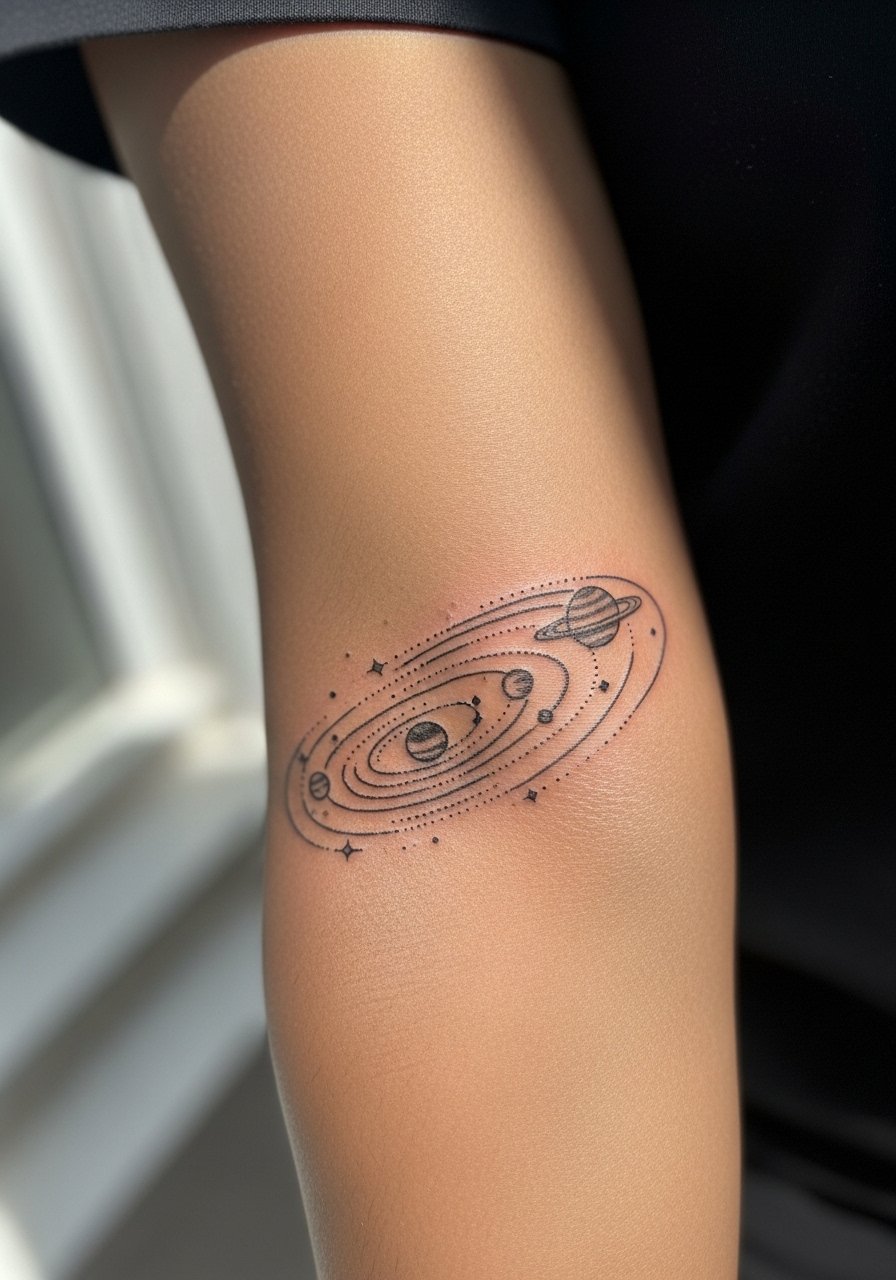
A forearm wrap with tiny planets reads clean when each planet has a small halo of negative space. The session is comfortable and the placement photographs well, which is why many people choose it. Tell your artist to give each planet a tiny margin so the composition does not blend as the piece ages. A common error is making the planets too close together because space looks smaller on a phone screen than on skin. For casual wear, roll up a cuffed sleeve or pair with a lightweight bracelet that complements the wrap without overlapping the ink.
Frequently Asked Questions
Q: Will fine line stick and poke on ribs always blur faster than on arms?
A: It depends. Ribs move and the skin is thinner, which increases the chance of lines merging, but a slightly larger scale and careful needle depth can make rib work last. Ask the artist which approach they use and plan for a touch-up window earlier than you would on the arm.
Q: How should I dress for a collarbone or chest session to keep things private and accessible?
A: Wear a wide-neck shirt or a sports bra you can shift slightly without exposing more than necessary. That makes access easy and keeps your comfort in place. A wide-neck top is an easy option to have on hand.
Q: Can finger and hand stick and poke tattoos look professional?
A: They can, but they require more maintenance and they are visible in most interactions. If your work has strict appearance policies, consider a placement that hides more easily and still gives you a meaningful piece.
Q: Do black stipple and dot-work pieces need different aftercare than solid blackwork?
A: Not really. The care is the same, but stipple pieces rely on many small dots. Avoid heavy rubbing or friction in the first two weeks so the dots knit properly instead of dispersing.
Q: If I want a script on my neck, what should I ask for in the consult?
A: Ask to see stencils in natural light and request slightly increased letter spacing and a touch more line weight than your initial reference. Also ask the artist where on the neck they think the natural creases will sit when you move.
Q: Are there stick and poke designs you should avoid if you want minimal maintenance?
A: Very tiny dense geometry, ultra-fine script on the ribs, and rings around fingers tend to need the most upkeep. If you want low maintenance, choose placements with less friction and ask for slightly bolder primary lines during the consult.
