
Fine line florals often look best fresh and then test the patience of the person who chose them. Tiny bells and slender stems can read crisp for months and then soften in ways that surprise owners who never talked placement or spacing with their artist. If you want a lily of the valley tattoo that still reads intentional after a few years, these 17 concepts focus on spacing, placement, and wardrobe choices that actually help the design age well.
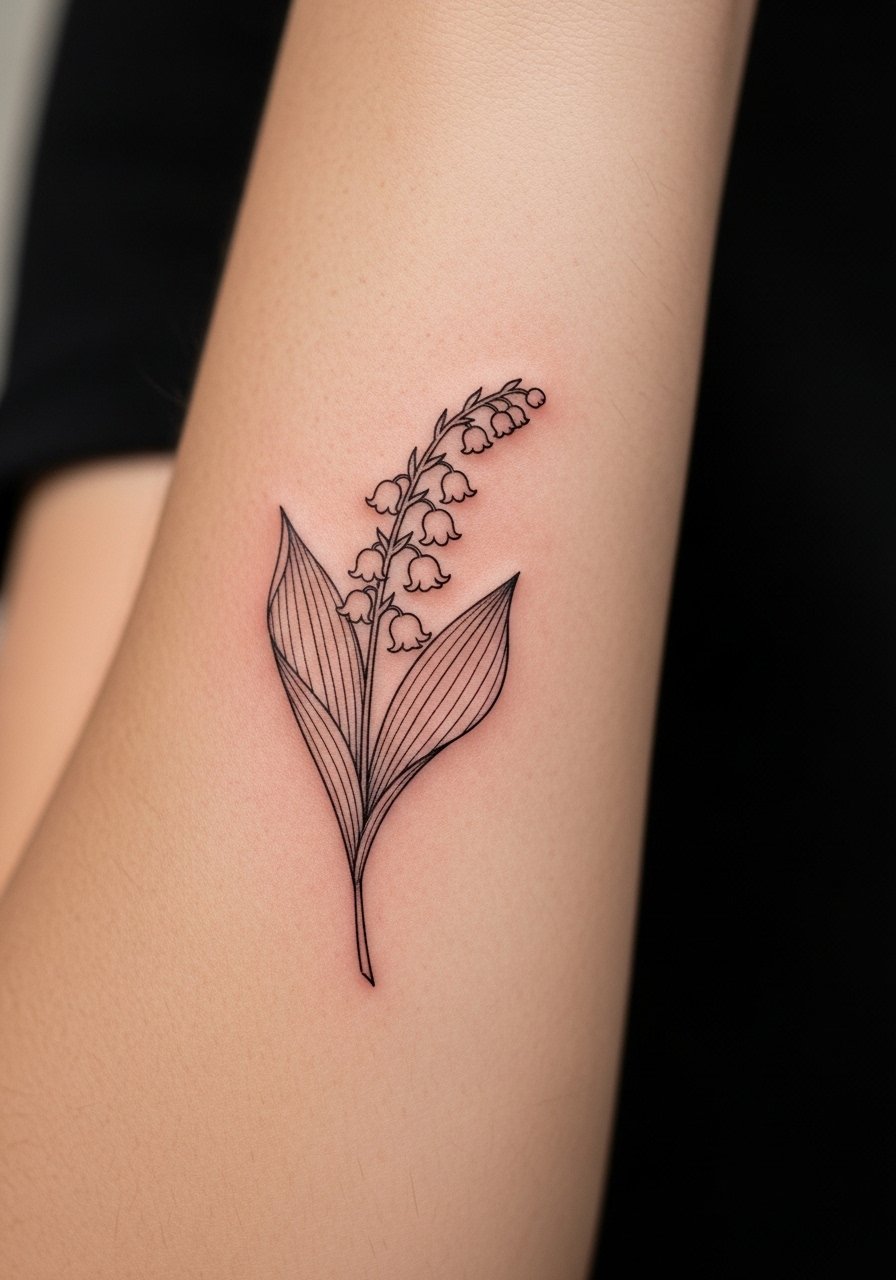
1. Fine Line Single Stem on Inner Forearm
I've seen this single-stem version last the cleanest over time when the artist leaves breathing room between bells and stem. Ask your artist for slightly heavier linework in the first pass so the fine lines can soften without losing shape. Pain is low on the inner forearm and sessions typically take under an hour. The common mistake is packing too many tiny bells into a narrow column, which merges after two to three years. For showing it off, roll sleeves and try a rolled-up linen shirt that keeps attention on the forearm without crowding the piece.
2. Micro-Realism Cluster on the Ribcage
Artists split on ribs in plain terms. One camp says the constant stretch from breathing blurs fine detail within two years. The other camp says careful depth and slightly larger bells keep micro-realism holding its shape. If you lean into micro-realism here, expect a more sensitive session and a longer healing window. Bring references showing exact shading you want and tell your artist to mark placement while you stand and breathe. For an appointment wear a cropped top you can lift, so the artist exposes only the rib zone. Sensitive-area rules apply, so ask about an experienced artist who works with ribs frequently.

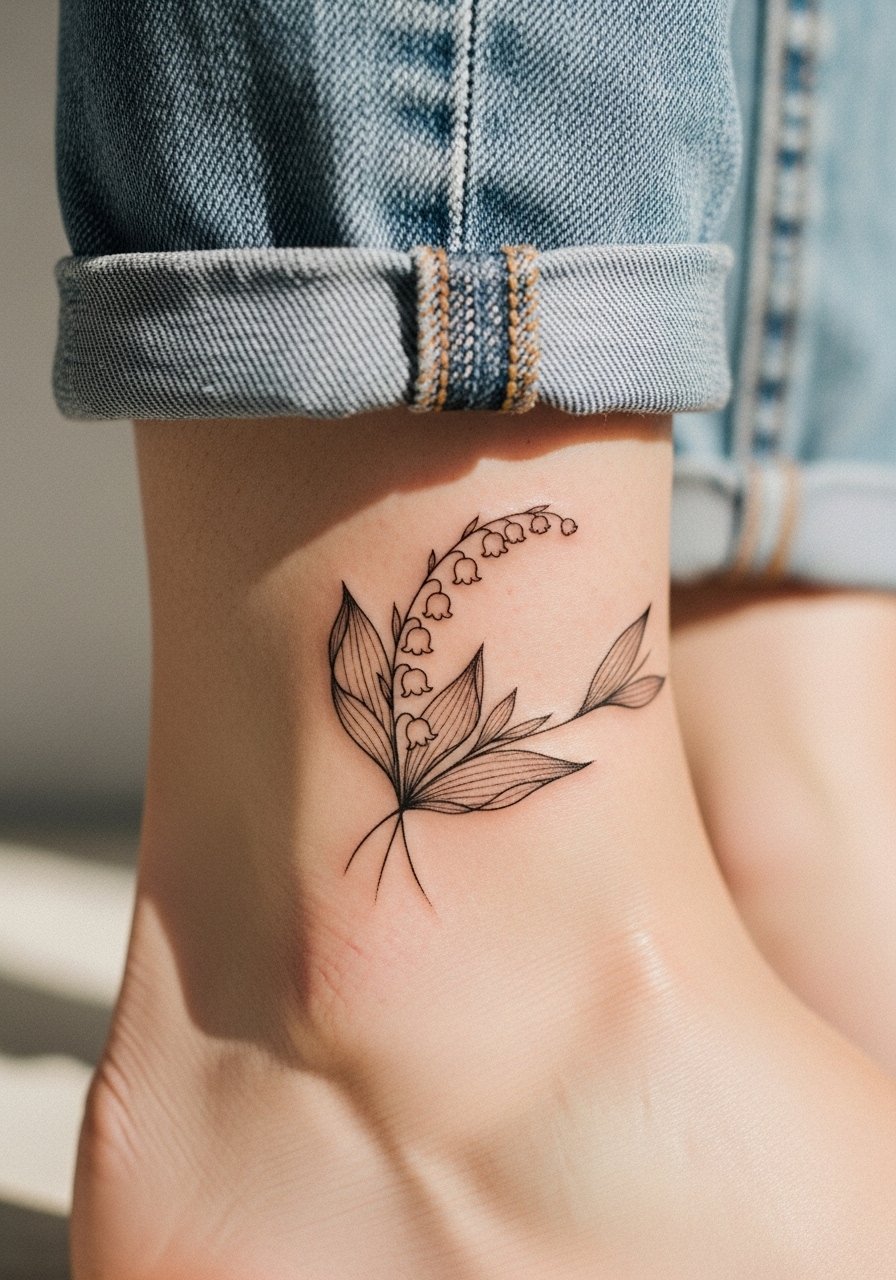
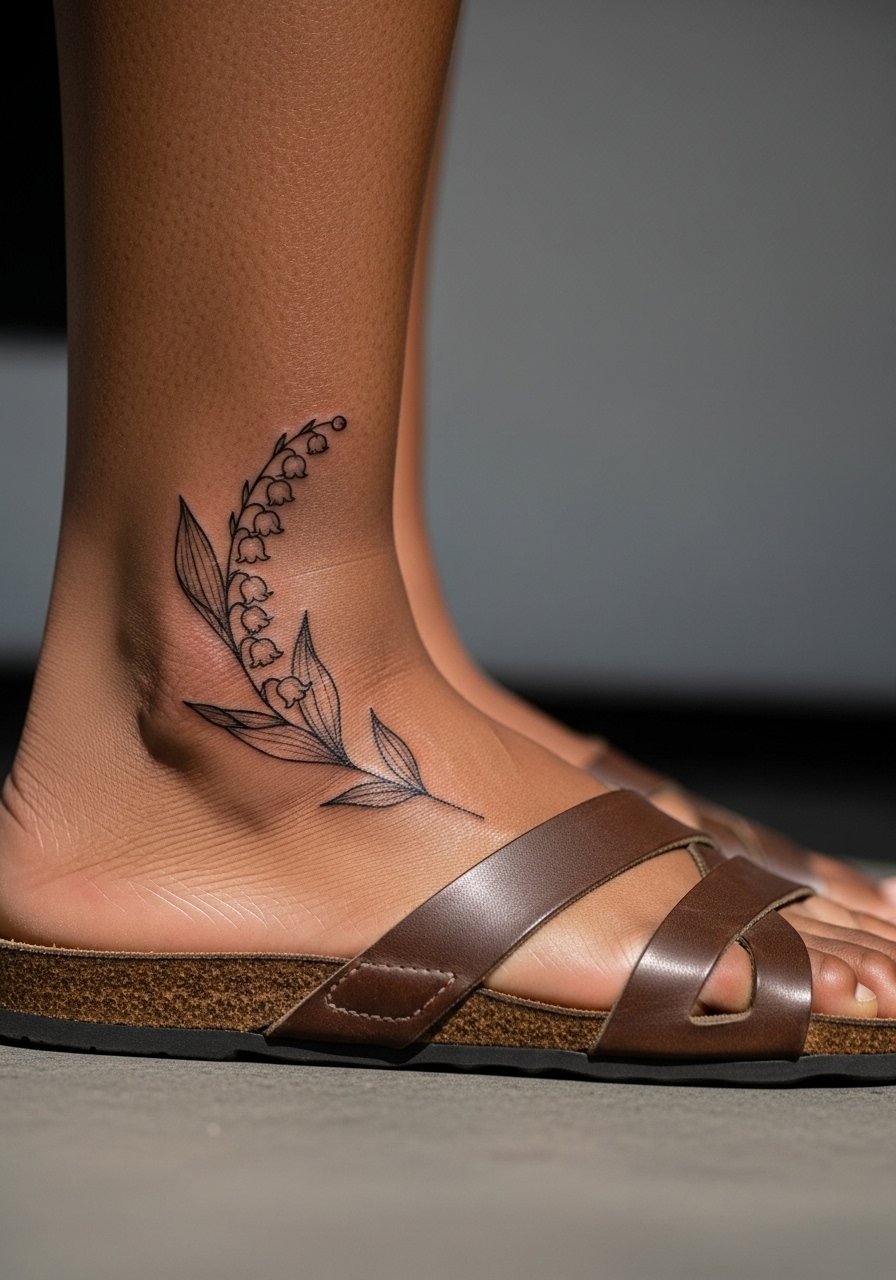
3. Delicate Ankle Wrap That Follows Bone Line
Fair warning: the ankle is a friction zone and a low-fat area, so fine lines can look blown out if placed too close to the bone. The wrap that follows the ankle bone looks elegant because it moves with footwear and sock lines. Session time is short, but expect slightly more tenderness and a careful touch-up at year two for many people. For the session, wear jeans you can roll up or a skirt so the artist can access the area without rubbing. The biggest mistake is making the bells too tiny; give them 3 to 4 millimeters of space to age.
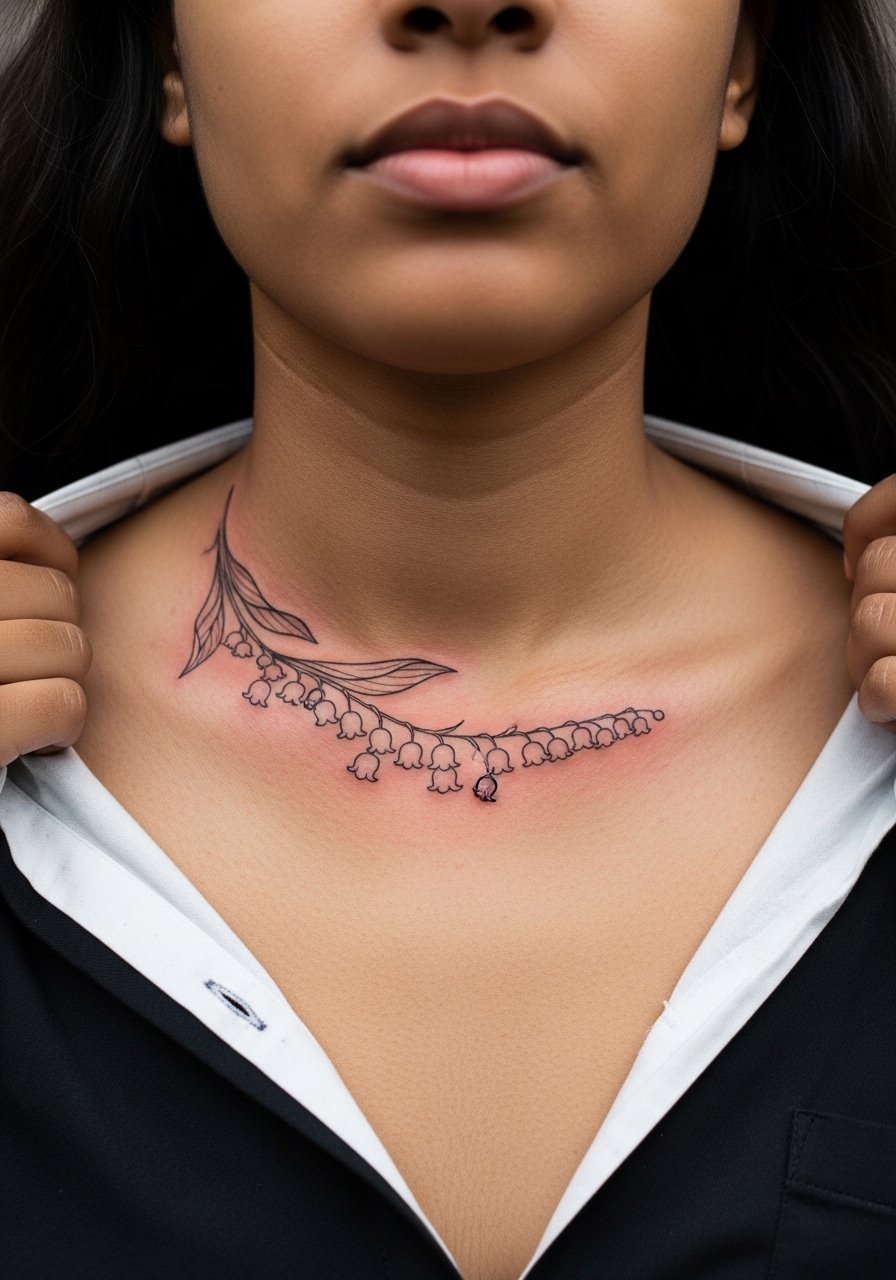
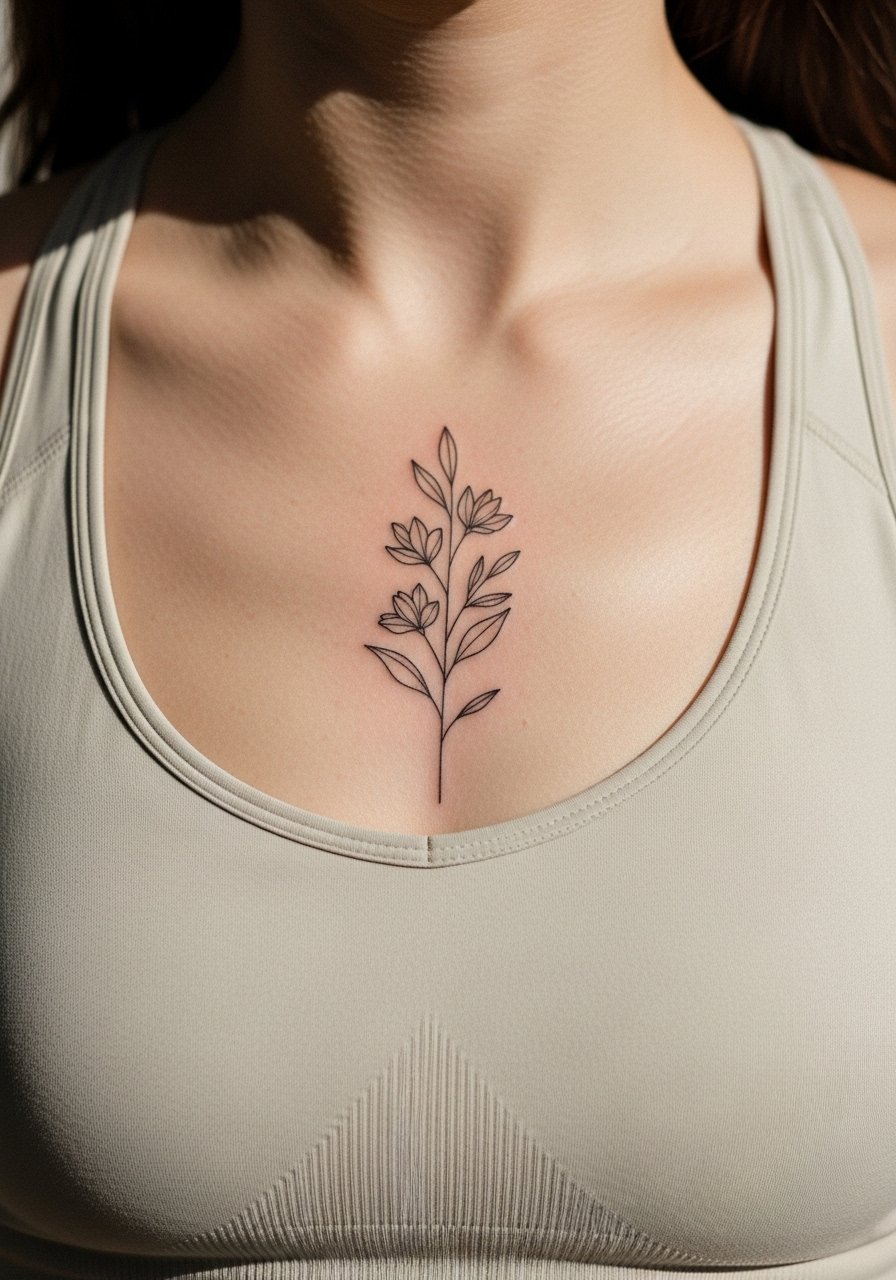
4. Collarbone Cascade, Vertical and Airy
This placement reads like jewelry when executed with vertical spacing and a gentle curve over the collarbone. Most people prefer a cascade that stops before the clavicle ends so the lines do not compress under clothing straps. I advise asking for slightly spaced bells and stipple shading for depth rather than heavy fill, which can age into a dark patch. The session is low to moderate pain and usually under 90 minutes. For evenings out, pair it with an open-back midi dress or a wide-neck top to keep the skin around the design visible.
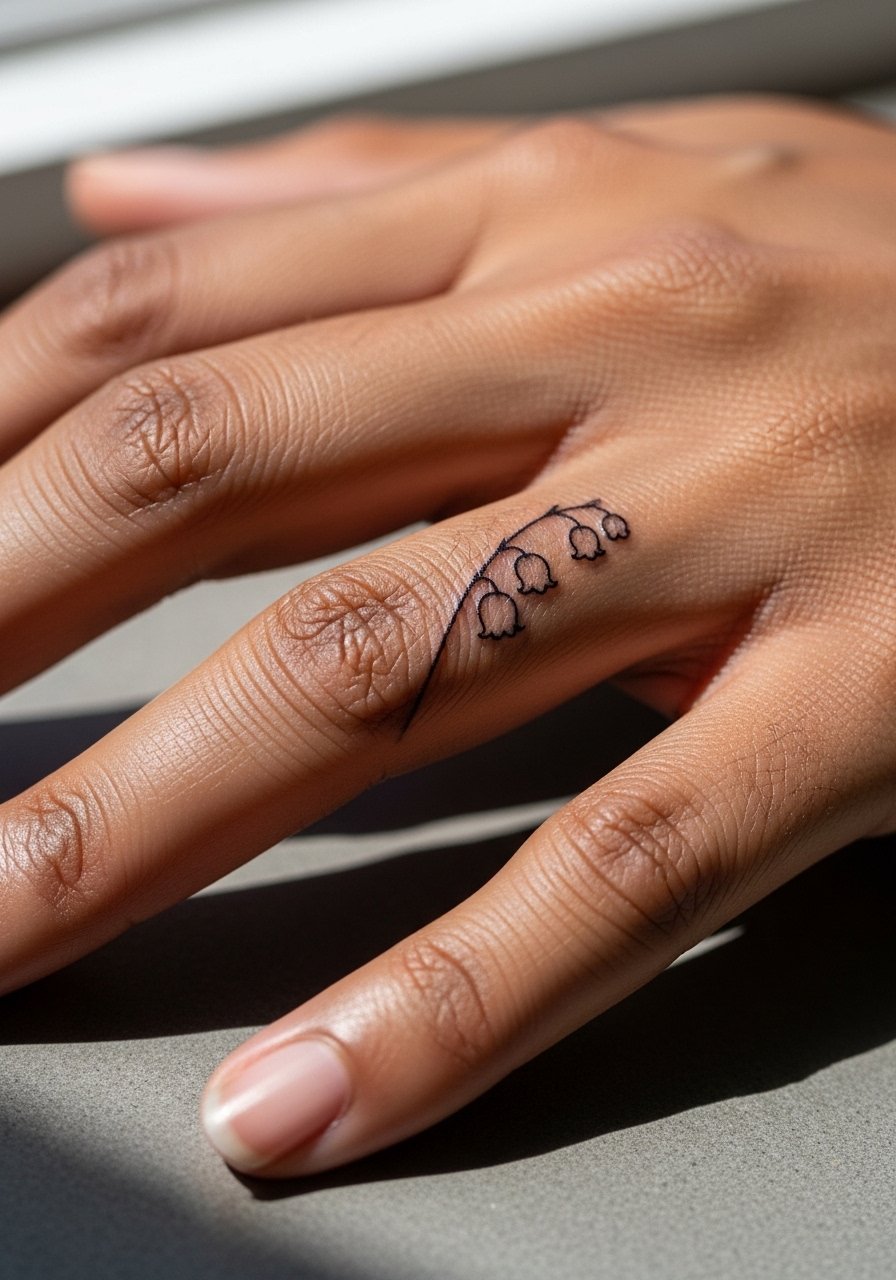
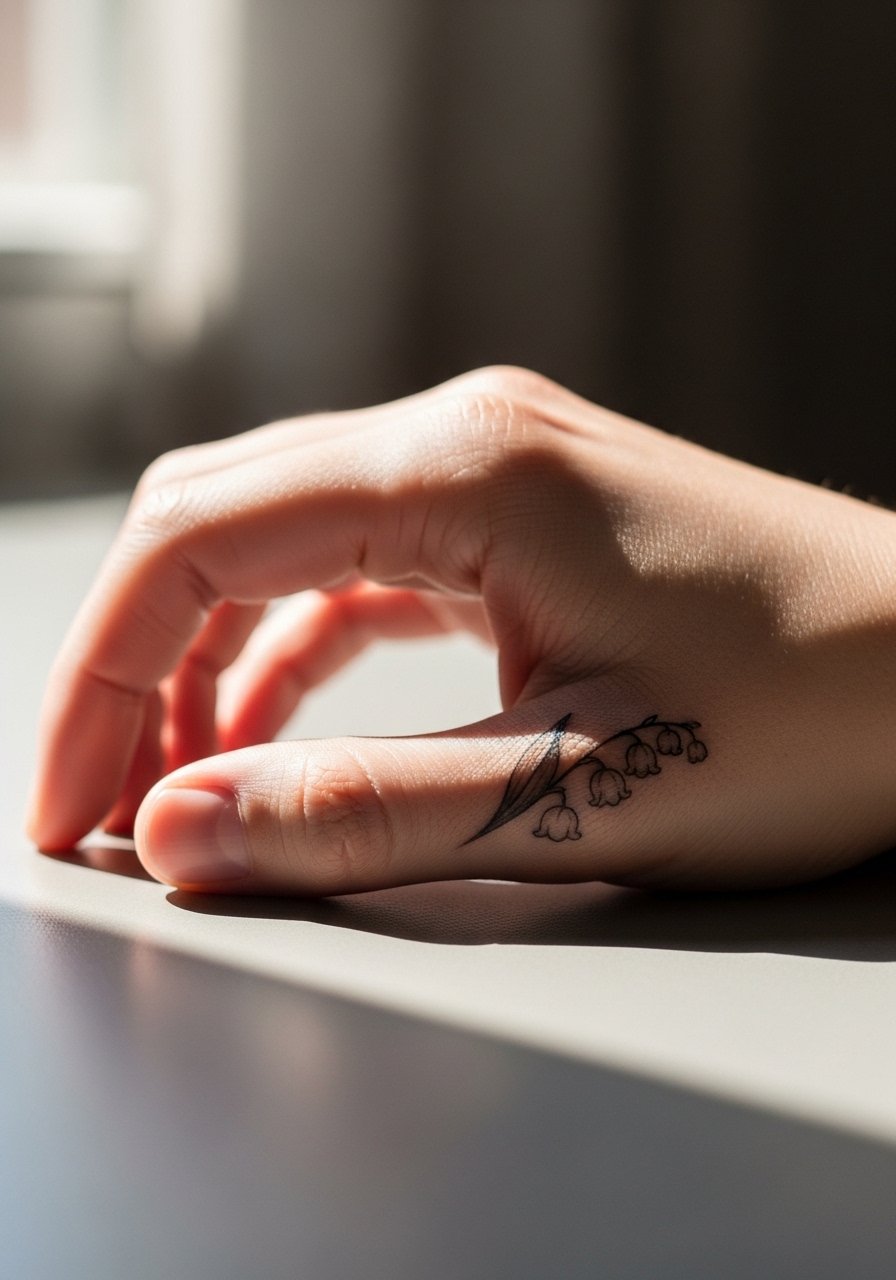
5. Micro Finger Bud, Single Bell Accent
The finger bell works best as a single accent rather than a full cluster. Finger tattoos face constant washing and friction, and the common mistake is asking for too much density. Expect touch-ups often; many people need a refresh at year one or two. Placement over the lateral finger edge helps the bell read longer because the skin is slightly thicker there. Hand tattoos still affect hiring in some industries, so think about career impact before choosing this spot. Pair it with a thin stacking ring set to frame the bell without crowding.
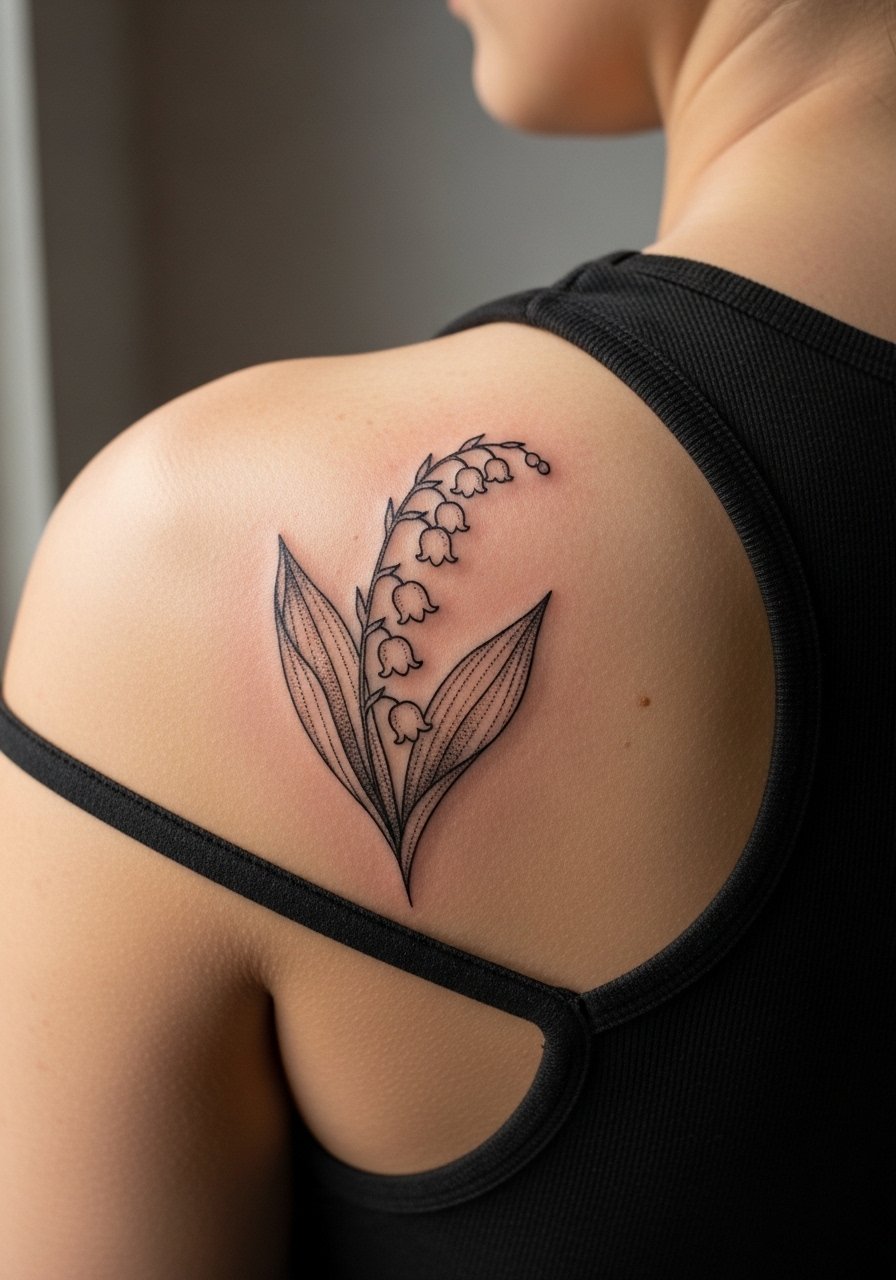
6. Shoulder Blade Sprig with Dot Work Shading
When you want more depth without heavy color, stipple shading behind the bells gives dimension while keeping the overall piece delicate. Sessions run from 45 to 90 minutes depending on size. The shoulder blade tolerates touch-ups well and is low on blowout risk compared with hands and ribs. Bring photos that show exact dot density so the artist knows the grain you prefer. For session comfort, a loose tank top is best so you can lower the strap and expose only the shoulder blade. Expect the piece to look most pronounced at six months and subtly softer by year three as the dots integrate into the skin.
Studio Day Picks
The wrist and shoulder pieces above and the ribcage sketch need different prep. These items smooth the session and the first week of healing for the placements in ideas 1 through 6.
-
Stencil transfer paper kit. Lets you preview exact line placement on the skin, which is crucial for the single-stem and finger accents.
-
Topical numbing cream. Applied 45 minutes before the session for rib and shoulder sensitivity without affecting how the needle lays ink.
-
Thin protective film roll. Useful for wrist and ankle pieces that face friction from watches, shoes, and socks.
-
Fragrance-free gentle body wash. A non-irritating wash helps the delicate linework areas stay clean during the initial healing days.
-
Aquaphor healing ointment. A thin layer locks in moisture for fine line work during the first few days without suffocating the area.
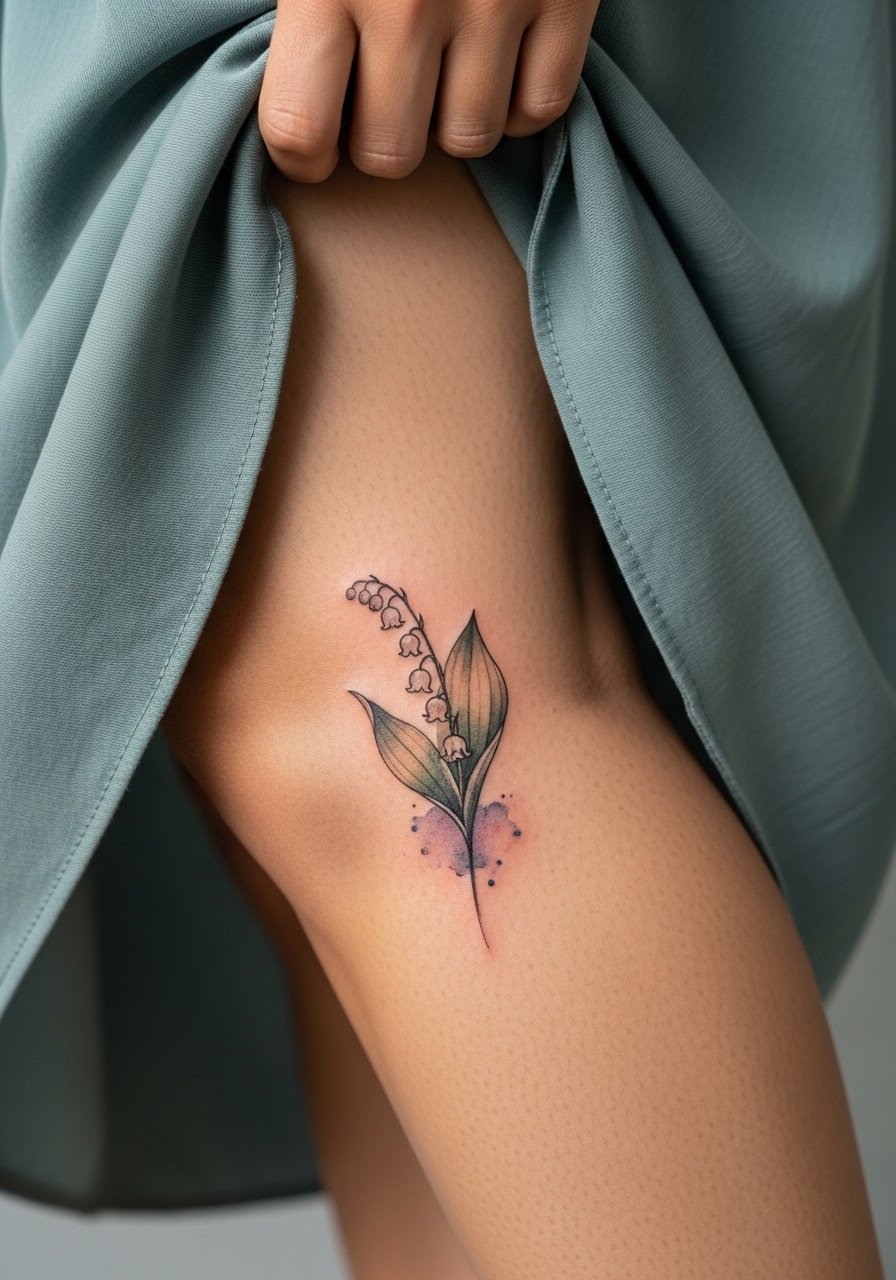
7. Watercolor Splash with Single Stem on Calf
Most watercolor-style lily motifs fade differently than linework. The pigment migrates less than heavy black when the session has a clear edge of linework anchoring the color. If you want color on the calf, ask for a crisp outline around each bell so the wash sits inside instead of bleeding into the skin. Calf sessions are moderate in pain and great for a longer piece that reads from across a room. For showing off, pair with a flowy midi skirt or shorts that reveal the lower leg. Expect the wash to need a light touch-up around year three if you spend time in the sun.
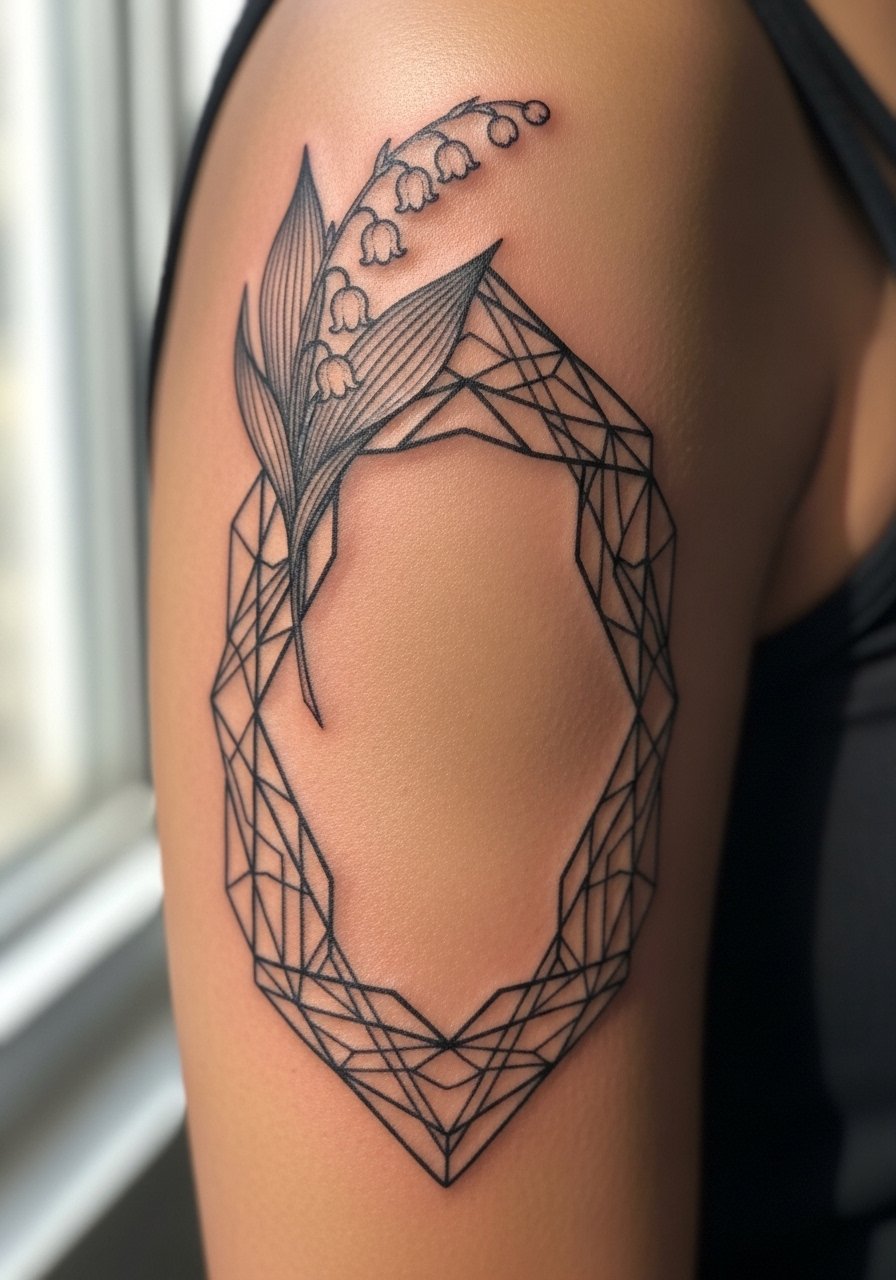
8. Geometric Frame with Lily Accent on Upper Arm
There is visual power in mixing a geometric border with a soft floral center. The frame gives structure and slows the optical blur that can happen with tiny bells. Upper arm flesh tends to hold pigment well so the piece keeps contrast longer. Mention to your artist you want the frame lines slightly thicker than the floral stems so the geometry ages into a readable silhouette. Session time varies from one to two hours. For casual wear, a loose button-down shirt with rolled sleeves frames the upper arm without hiding the design.
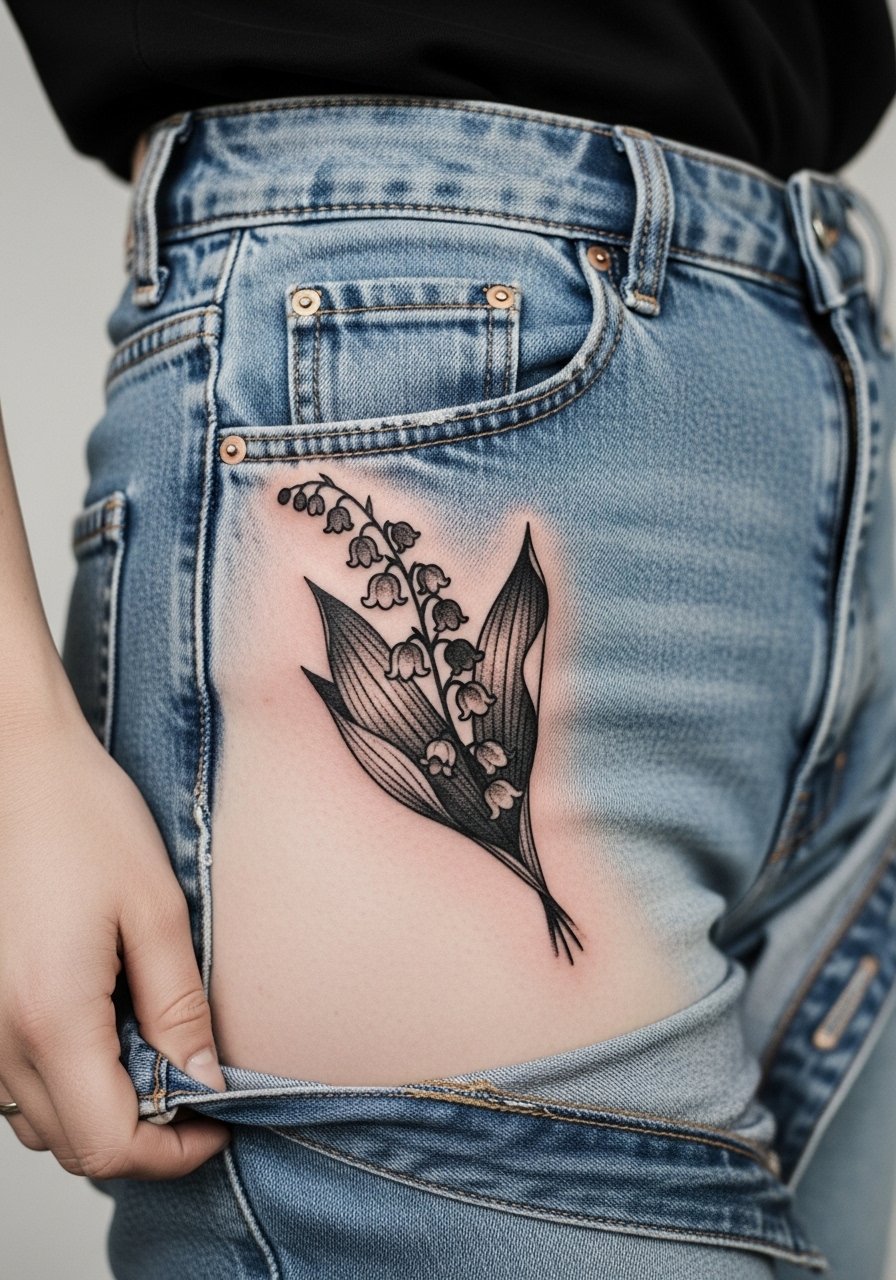
9. Blackwork Silhouette for Hip-to-Thigh Sweep
When you want bold longevity, a black silhouette reads clearly through years of daily movement. This takes more session time and can be pricier in needle hours, but the payoff is a piece that does not need frequent touch-ups. Ensure the silhouette follows the hip curve so it reads like a design element rather than a sticker. For sensitive-area safety, schedule a session where you can wear high-cut shorts to expose only the hip zone. If you plan on swimwear, this placement shows off well with high-waisted bottoms and low-slung jeans. Sessions are moderate to high on the pain scale depending on depth.
10. Tiny Behind-the-Ear Sprig, Subtle and Hidden
This tiny option reads like a private accent and heals quickly when kept small. The prompt for placement is specific: on the skin just behind the ear, below the hairline on the neck. Tell your artist you want minimal shading and a single bell so it does not over-saturate the thin skin there. Sessions are very short and pain is low to moderate. The biggest mistake is asking for complex shading in that area; the skin is thin and detail can disappear. For a discreet look, leave hair down in photos but show the area during consultation so the artist can plan exact placement.
11. Sternum Bouquet, Centered and Symmetrical
Fine line on the sternum splits opinions. One camp worries that movement and fabric pressure make small details collapse. The other camp says with the right spacing and slightly bolder outlines the design keeps clarity for years. A centered bouquet with symmetry reads cleaner than an off-center composition. Sternum sessions can be painful and the artist should have sternum work in their portfolio before you book. For the session, wear a fitted sports bra you can easily adjust so only the sternum area is exposed. Expect the piece to look brighter at six months and mellow by year three as lines integrate.
12. Minimal Foot Trail Along the Instep
Foot tattoos face heavy wear from shoes and constant movement. Placing a small trail of bells along the instep reads delicate and moves with the foot, but expect a higher touch-up rate. Pain can be high because of the thin skin and bone proximity. The fail I often see is zero spacing between elements. Leave gaps and keep each bell simple. For the session, wear sandals or shoes you can slip on without rubbing the fresh ink. For showing it off around town, sandals with thin straps frame the instep without covering the design.
13. Half-Sleeve Botanical That Integrates with Other Florals
A half-sleeve gives room to make lily of the valley part of a larger narrative. Use negative space around the bells to prevent overcrowding and ask for varied line weights so the lilies sit at a different visual depth from surrounding blooms. Sessions are multi-visit and healing patterns matter; large pieces need staged sessions so lines and shading have time to settle. Mention during consultation which of the surrounding elements should age bold and which should fade to background. The sleeve reads best with rolled-up sleeves and short-sleeve tees when showing it off.

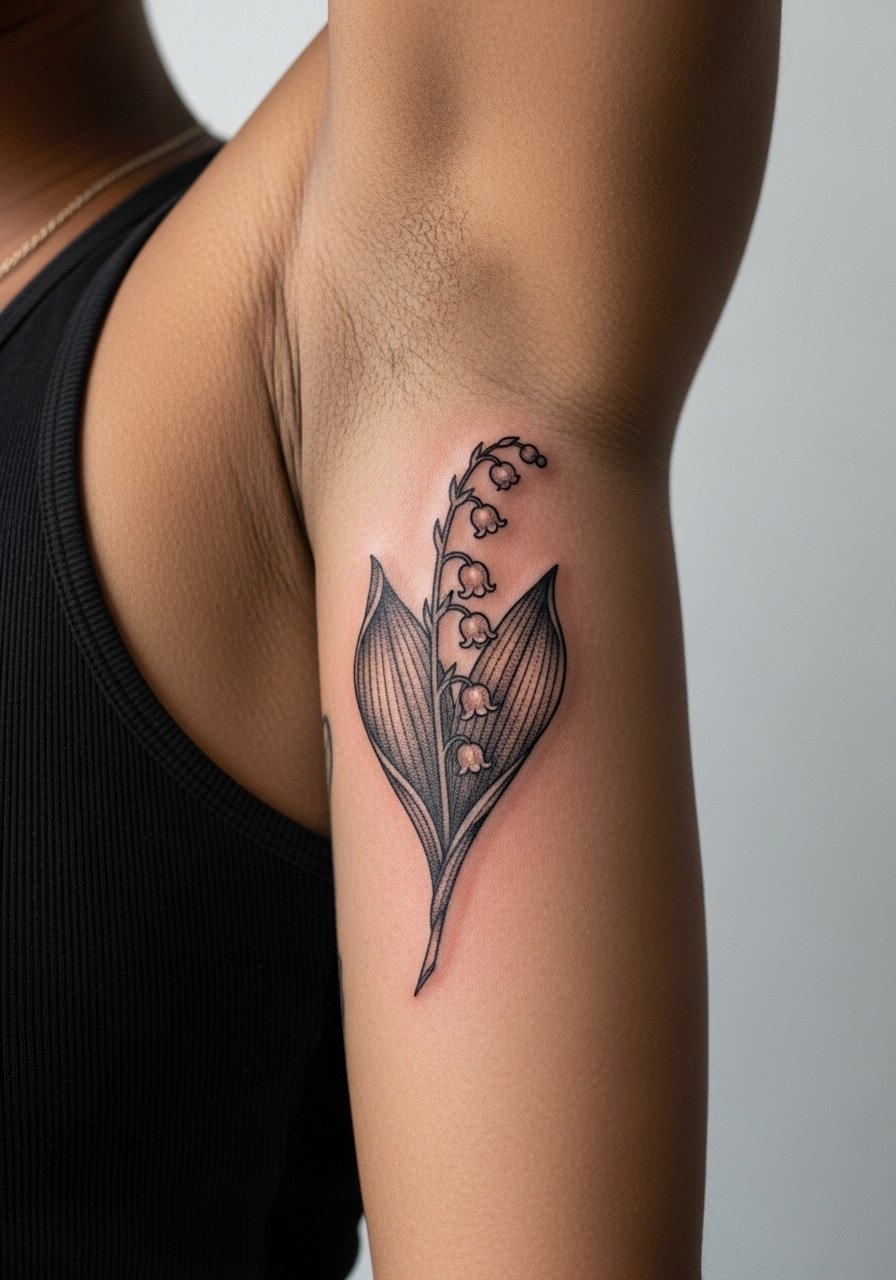
14. Inner Bicep Single Stem with Stipple Halo
The inner bicep hides a lot of small design errors but rewards precise work with longevity. Ask for a stipple halo behind the bells instead of solid shading so the contrast holds without heavy saturation. Sessions are moderate and the area is forgiving for touch-ups. A common mistake is scaling the bells too small for the curvature of the arm. For the appointment wear a loose drawstring linen pant or a tank so the artist can access the inner arm without constriction. Inner bicep work needs a steady hand and a portfolio showing similar placements.
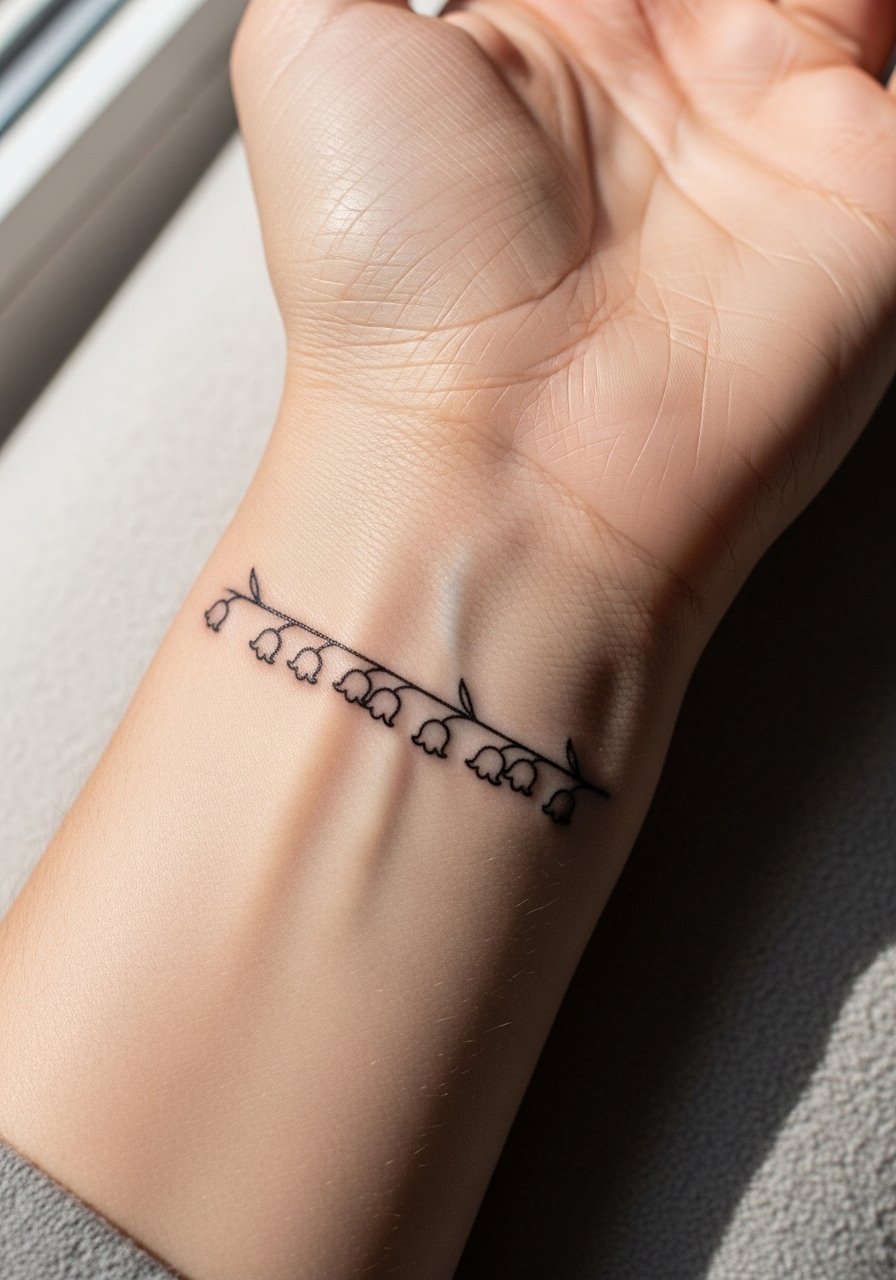
15. Minimal Wrist Band of Tiny Bells
A band that wraps the wrist with tiny bells works as a jewelry stand-in and ages better when the bells are slightly larger than they appear in reference photos. The wrist faces rubbing from watches and bracelets so leave breathing room and expect touch-ups at two to three years for many people. Pair the band with a thin chain bracelet rather than chunky pieces to avoid crowding the linework. Sessions are short and pain is low, but the real trick is spacing around the wrist bone so the band does not compress.
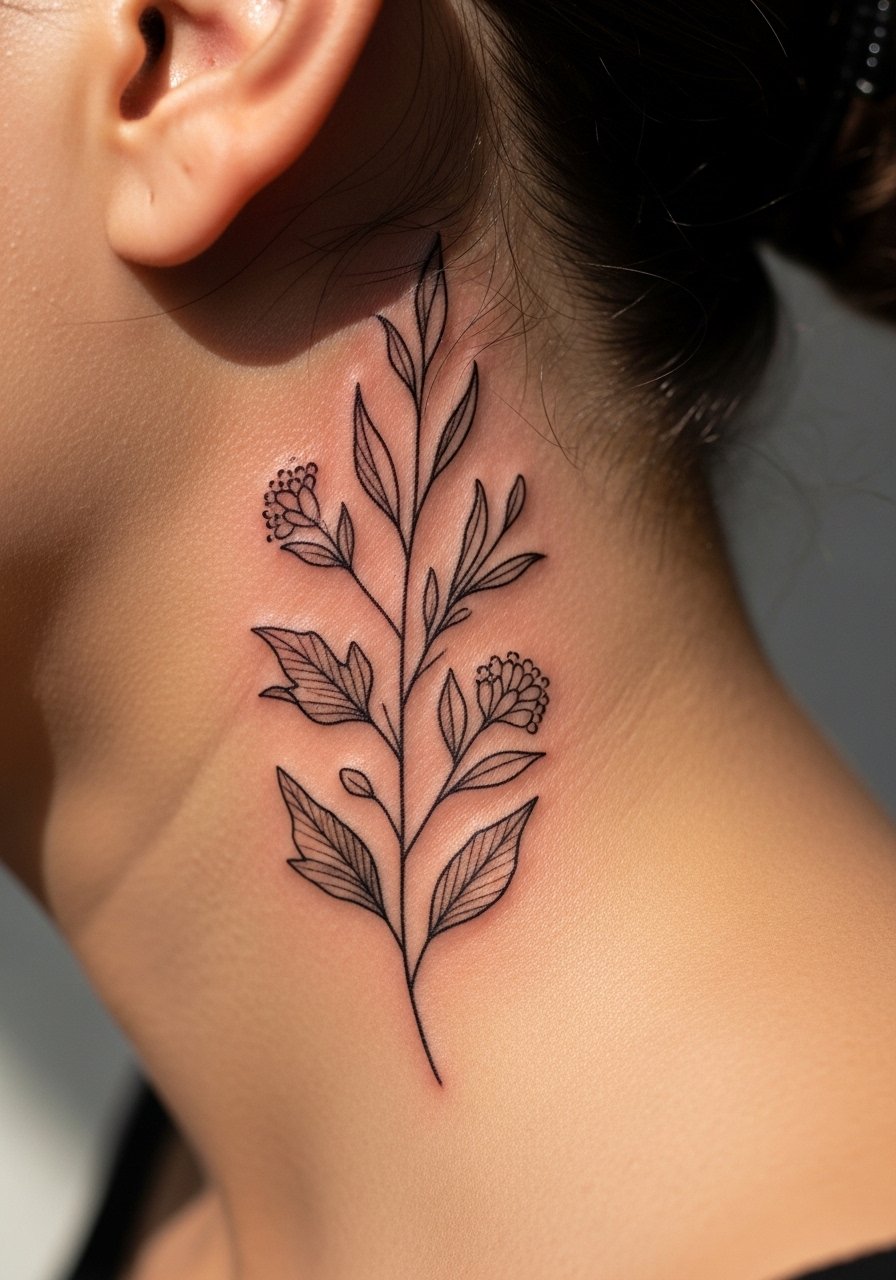
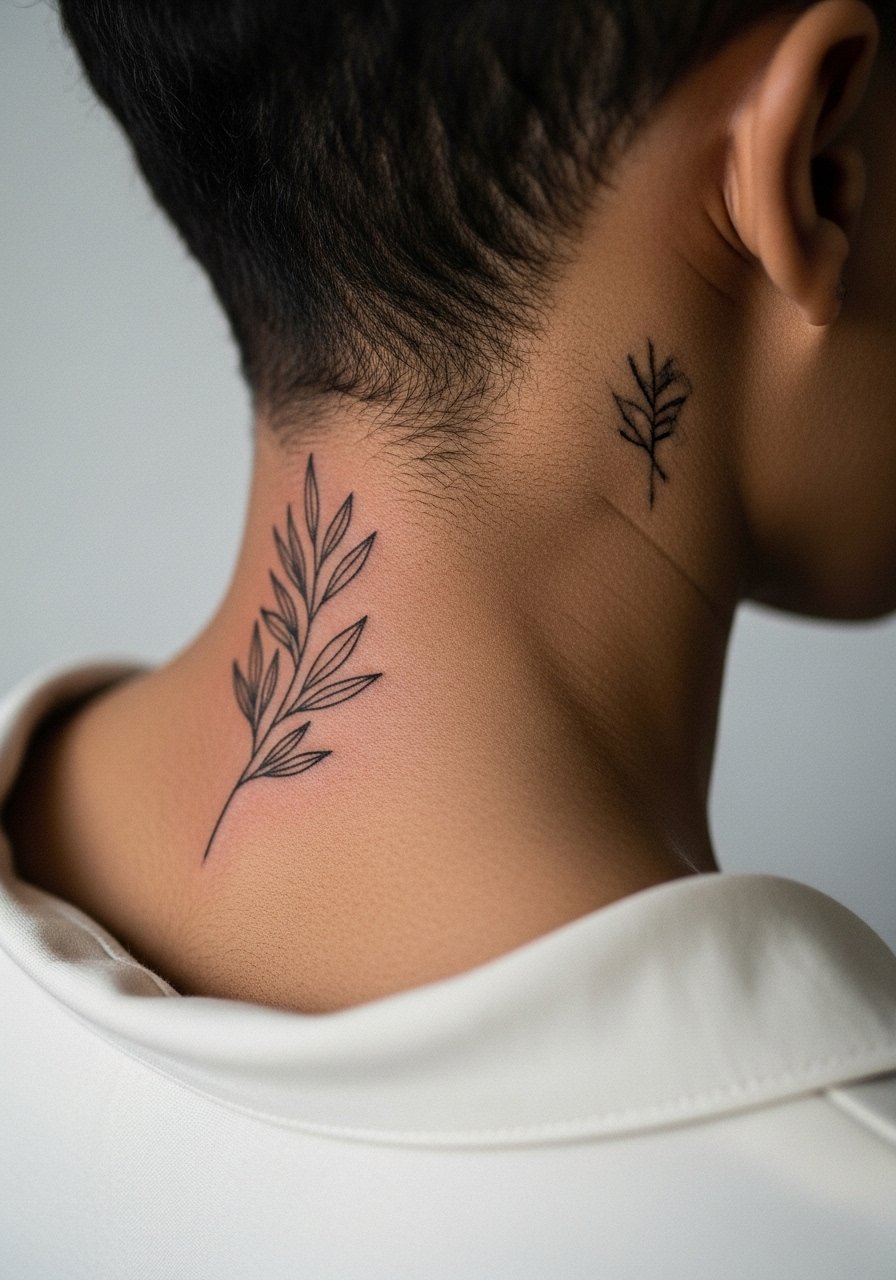
16. Nape of Neck Sprig, Quiet and Central
The nape reads private but visible with an updo. Placement here benefits from slightly bolder stems so the bells do not blur from hair oils and movement. I have seen this placement look fresh for years when spaced properly and kept small. For the session, wear a wide-neck shirt or collar you can pull aside so the artist only sees the nape. The area can be sensitive for some people and may need a short touch-up depending on exposure to sun and hair products. Keep the sprig simple if you want longevity.
17. Back of Hand Bell, Single Motif Near Thumb
A single bell placed near the base of the thumb reads bold because hand skin heals differently. Expect faster fading and more frequent touch-ups. Hand tattoos affect some employers so consider the social cost before choosing this spot. The common mistake is over-detailing; keep the bell graphic and avoid tiny filigree that will smudge. For showing it off, a simple ring or cuff sits opposite the design without crowding the back of the hand. If you go ahead, plan on a small refresher at around the one-year mark.
Frequently Asked Questions
Q: Will a fine line lily of the valley blur if I get a full sleeve of similar florals?
A: It depends on scale and spacing. Fine line elements can blur into each other if packed without negative space. For a sleeve, ask your artist to vary line weight and add negative bands so the lilies read as separate shapes. Consider framing pieces with bolder outlines or dot work to preserve clarity.
Q: Are ribs and sternum equally risky for tiny details?
A: They are different risks. Ribs move with breathing and can distort tiny dots quickly. The sternum faces pressure from clothing. Some artists avoid fine line on ribs, while others will upsize slightly and still do great work. Ask where they stand and look for examples of healed work on those specific zones.
Q: How often should I expect touch-ups for ankle, hand, and finger placements?
A: High-friction areas tend to need touch-ups sooner. Fingers and hands often need a refresh at one to two years. Ankles and feet vary more with footwear and sun exposure, so plan for a possible touch-up around year two. Good placement and initial spacing reduce how often you return.
Q: What should I wear to a sternum or ribcage session to make access easy?
A: Wear clothing that exposes only the tattoo zone. A fitted sports bra for sternum work or a cropped top you can lift for ribs keeps the rest of you covered and comfortable. For general access to shoulder and back pieces, a loose button-down shirt that can be pulled aside is practical.
Q: Can I mix watercolor wash with fine line lilies and still expect longevity?
A: Yes, if you anchor the wash with clear linework and accept touch-ups for the wash over time. The outline helps the wash age more gracefully. Plan for possible color boosting in year two or three if you spend time in the sun.
