
Fine line tattoos dominate Pinterest right now, and the same pieces that look best fresh often need touch-ups sooner than people expect. Placement, skin type, and stencil scale matter more than the photo on your phone. Below are stencil-friendly minimalist outlines chosen so you can visualize size, placement, and how each one holds up over time. Start with the first idea and compare how the same stencil behaves across different spots.
1. Fine Line Arrow on Inner Forearm
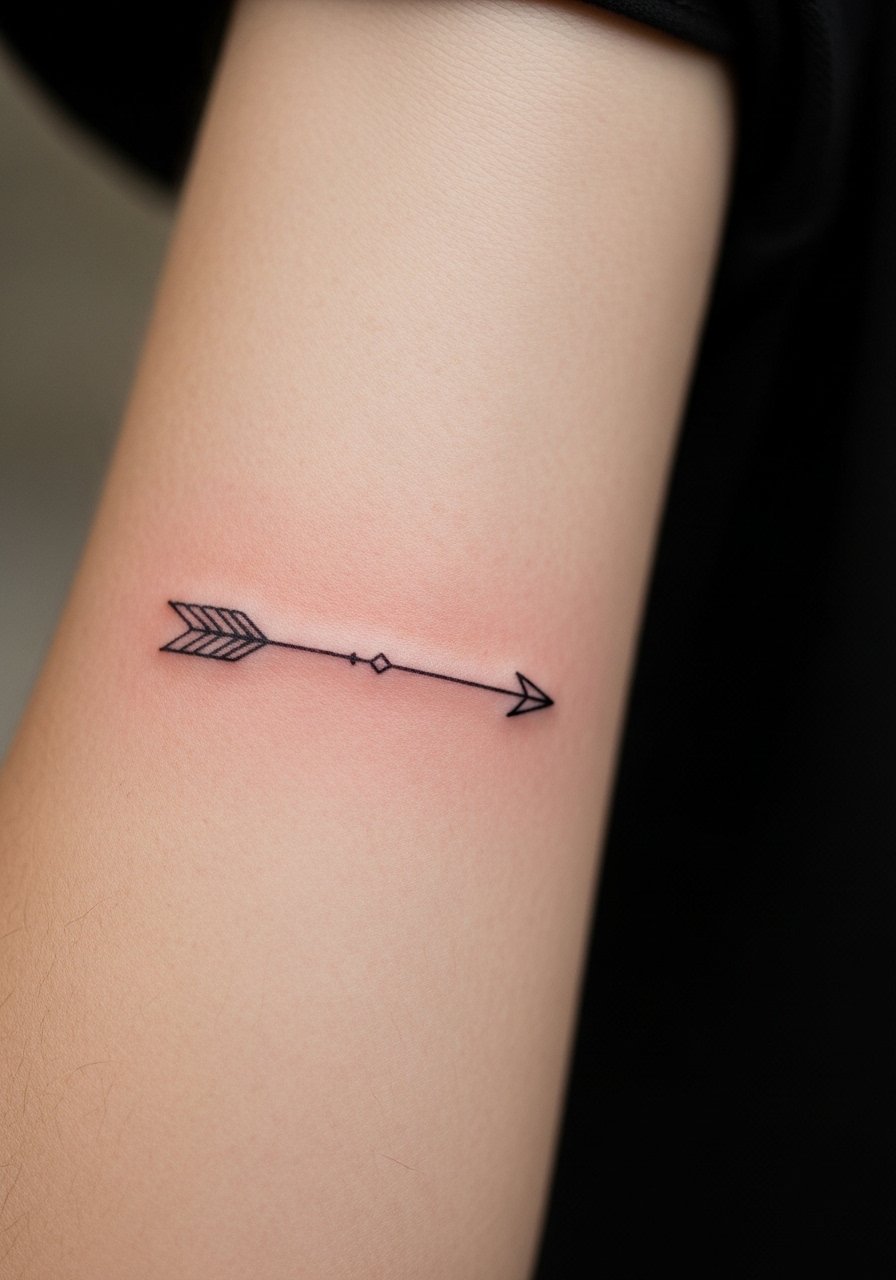
This classic arrow stencil reads clean because the linework is simple and scaleable. I recommend asking your artist to increase the shaft spacing slightly so the arrow keeps its shape at year three. The inner forearm is low on blowout risk and feels like a 3 out of 10 on pain scales, so most people finish this in a single short session. Wear a rolled-up linen shirt to show it off; the neutral fabric frames the forearm without competing with the ink. Common mistake is shrinking it too small, which causes the arrow to fade into a gray line over time.
2. Minimalist Mountain Range on Wrist
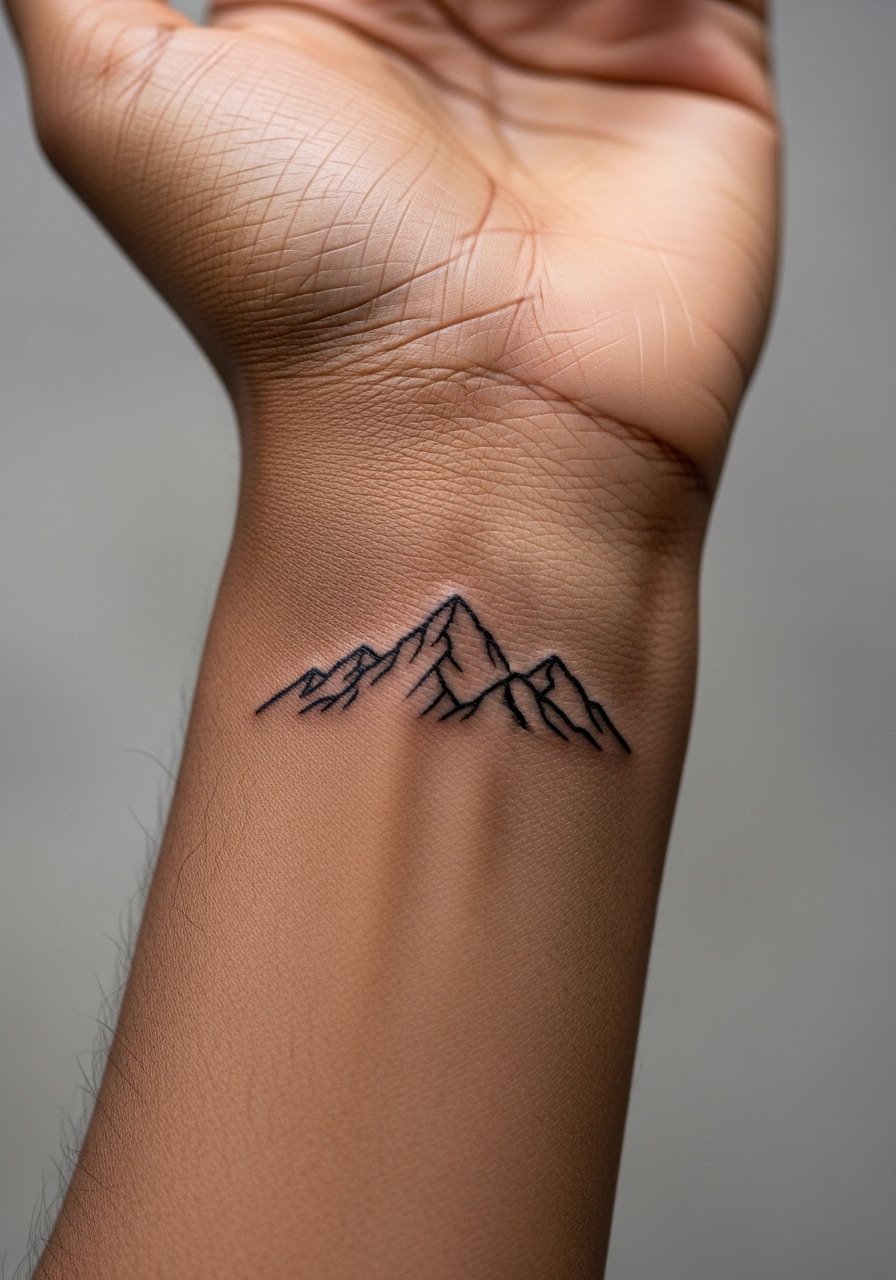
The tiny mountain stencil works well across the wrist because the negative space keeps peaks readable as the skin ages. Pain is mild but the wrist is exposed, so expect light tenderness during the first 48 hours. Tell your artist you want a little breathing room between peaks so the highest points do not merge in a few years. For showing it off, a thin chain bracelet complements the linework without obscuring it. A common error is asking for a dense mountain with lots of tiny peaks, which looks busy when scaled to wrist size.
3. Single Stem Botanical on Collarbone
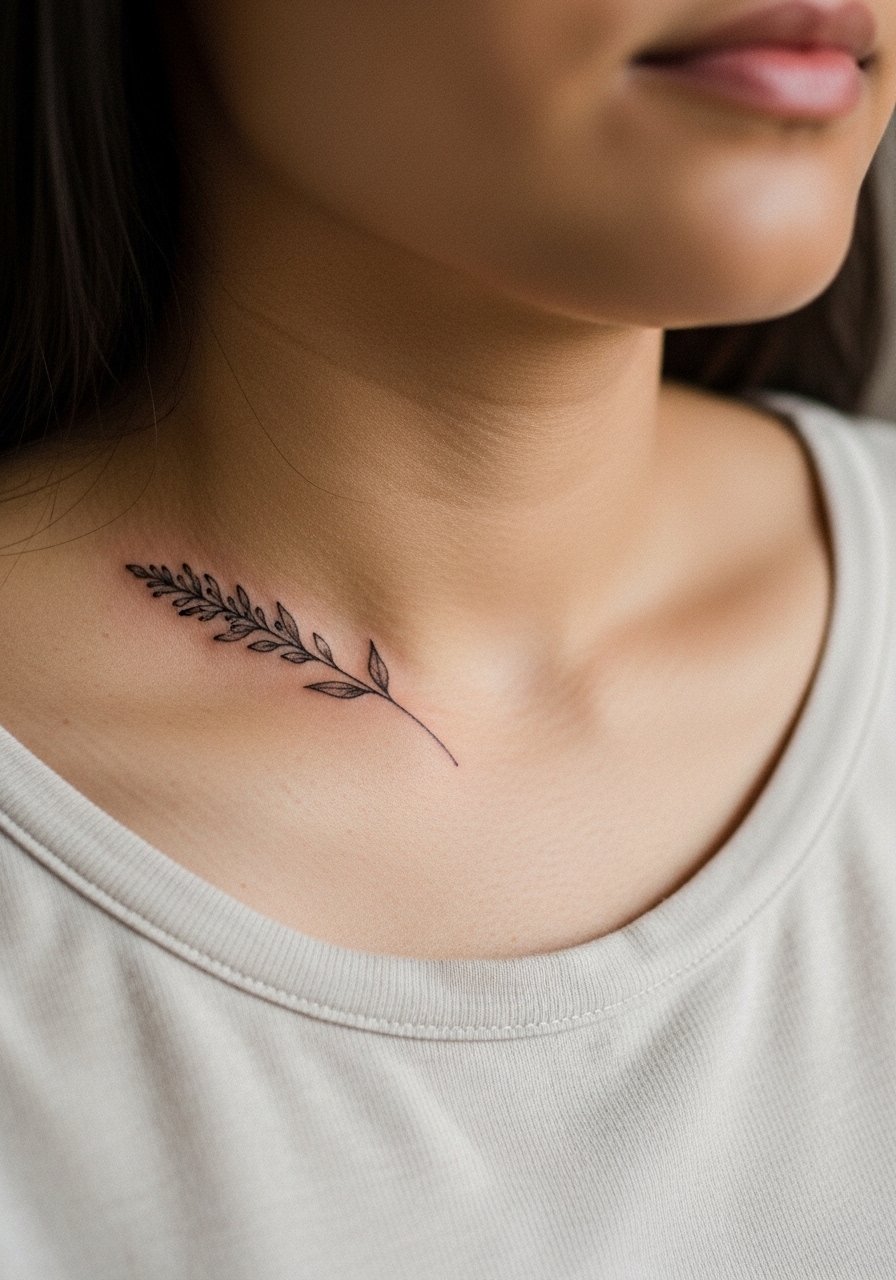
A collarbone stencil reads as an elegant, vertical line that follows bone structure. The area can sting more than an arm, but sessions are short. Ask for the stem to follow the natural curve of your clavicle so it lays flat against the bone and does not distort when you move. Many people pick too-dense leaf clusters and end up with muddied detail after a year. For evenings, an open-back blouse or wide-neck sweater frames the piece nicely. Remember to discuss visibility if you need to hide ink for work.
4. Tiny Constellation on Ankle
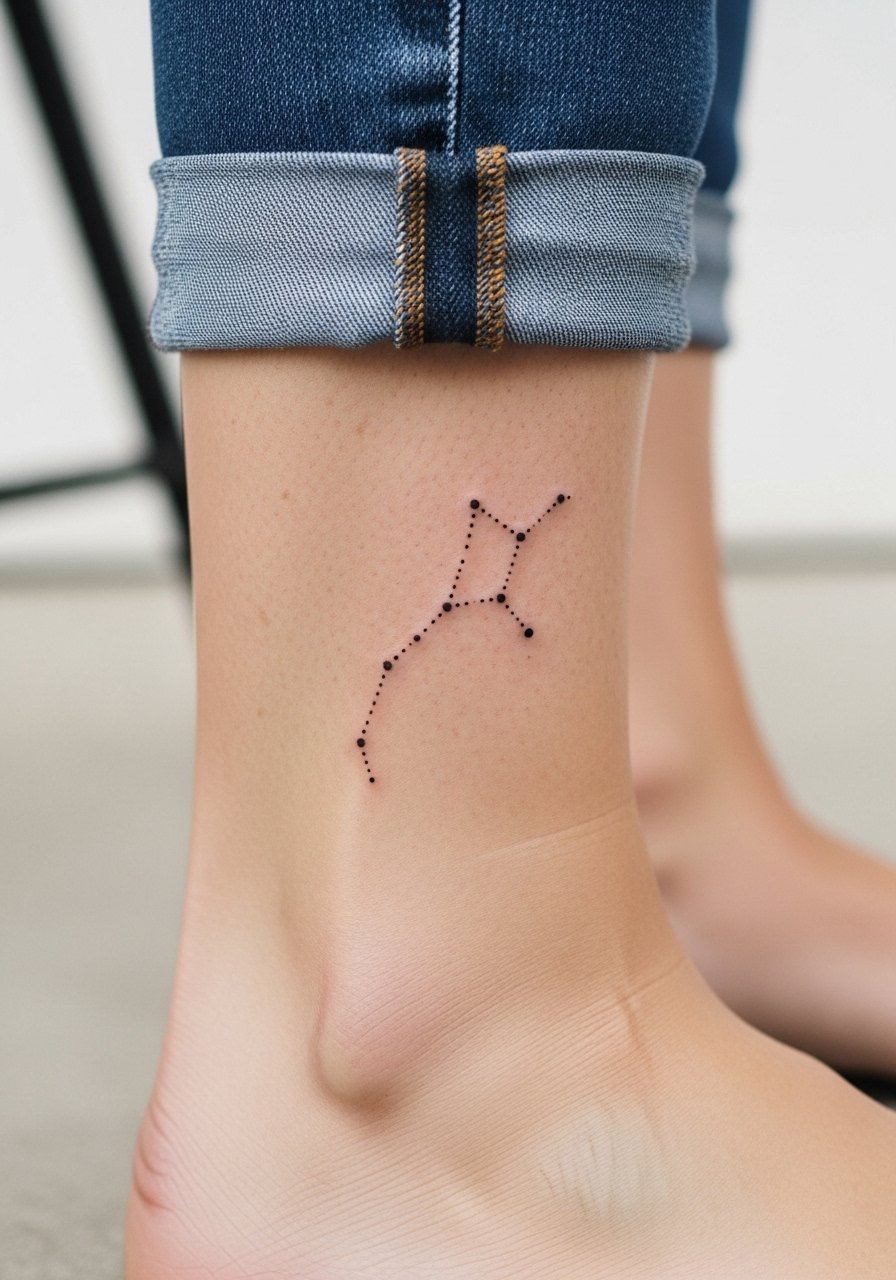
Ankle stencils need to account for movement and friction from shoes. The dot work in constellations can stay crisp if spacing is generous and dots are slightly larger than they look in photos. The ankle often feels like a 5 out of 10 on pain scales with the bony area more sensitive. For the session, roll up a pant leg and wear a pair of slip-on sandals so you do not disturb the fresh area when leaving. The main mistake is using tiny pinprick dots that vanish under everyday wear.
5. Micro Script on Side Neck
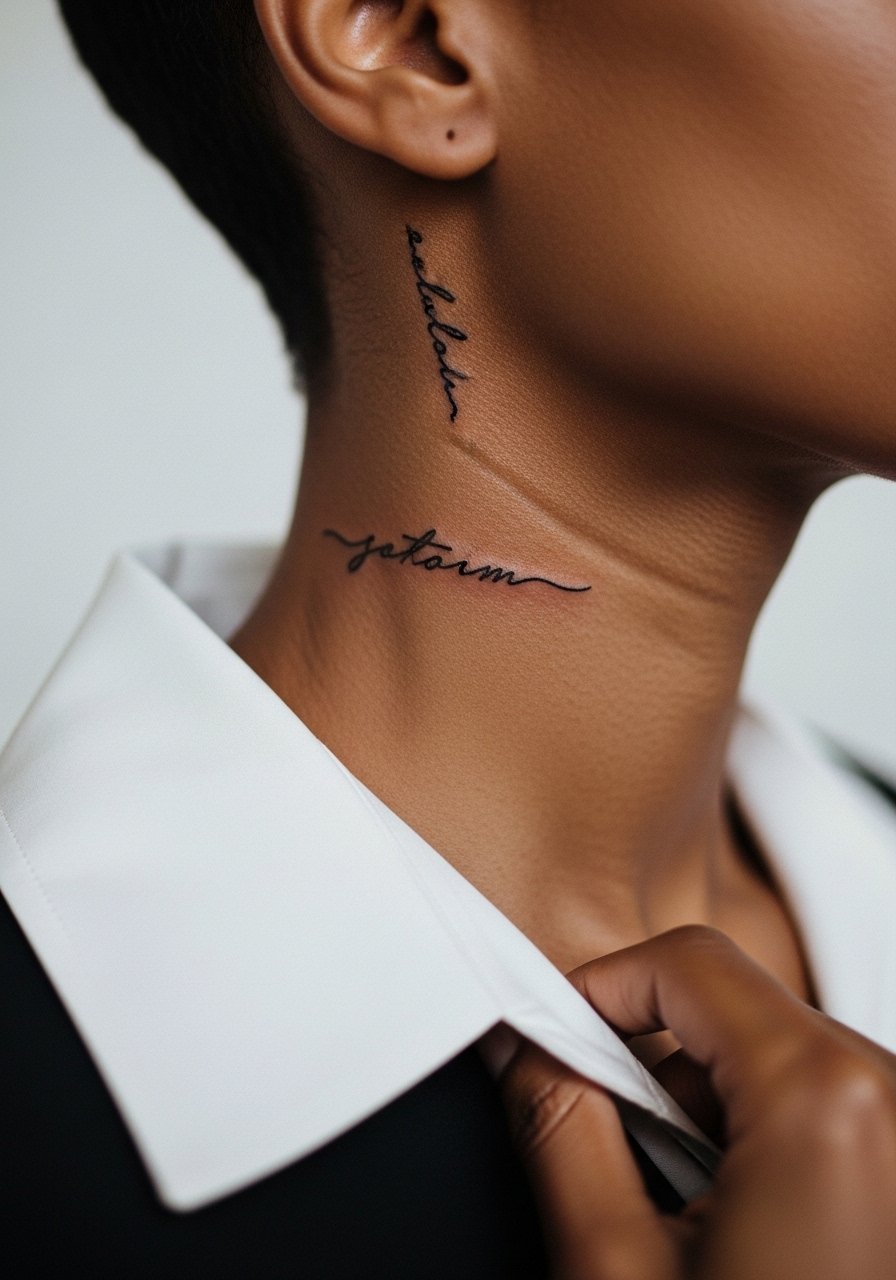
Side neck stencils are striking but visible, and some workplaces still react to neck ink. The skin is thin so artists must judge depth carefully to avoid feathering. Expect the session to feel sharper and to require a short touch-up window at year two. When consulting, bring the exact phrase and font you want, and ask to preview a stencil at full size so you can check scale. For discreet styling, a light scarf can frame the area when you want coverage. Discuss career implications before booking.
6. Geometric Crescent Moon on Outer Wrist
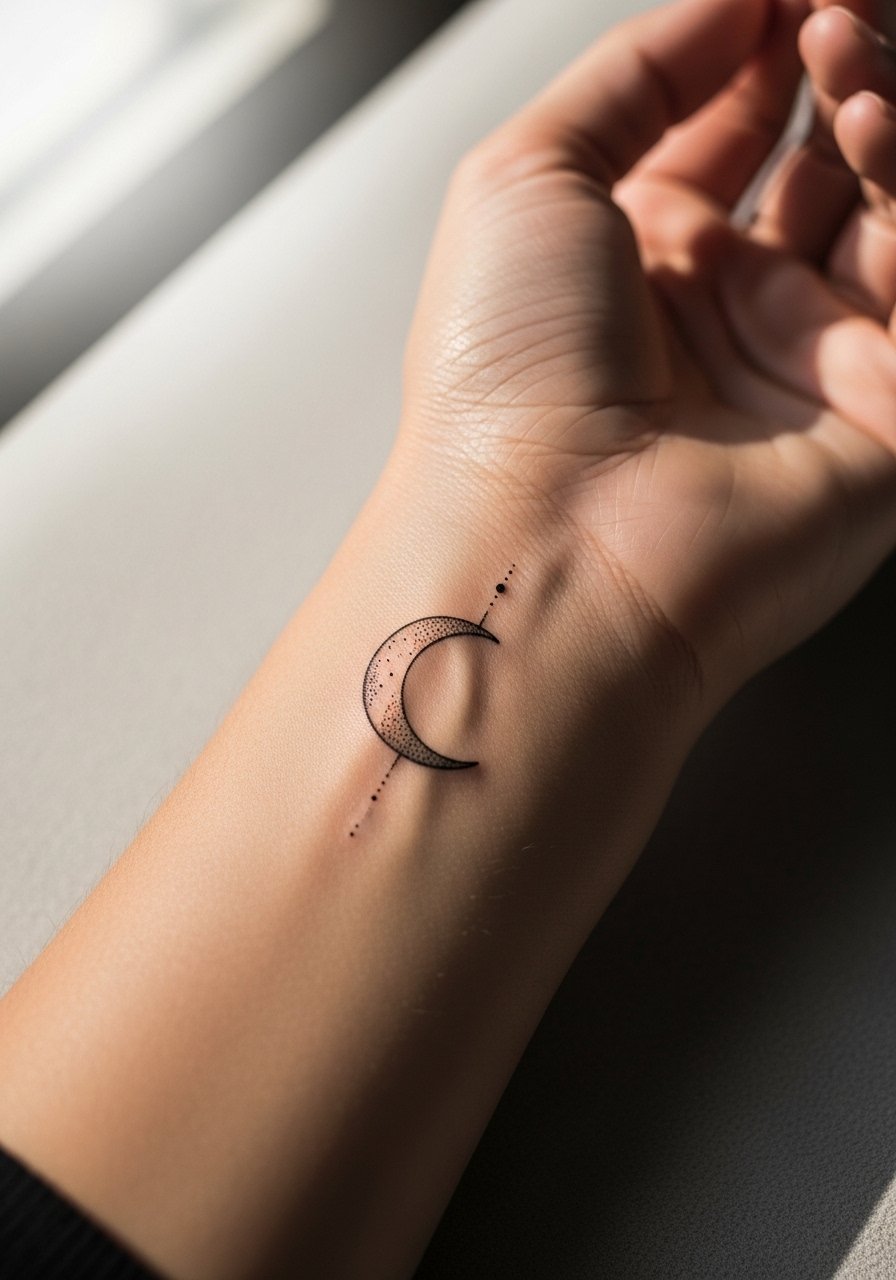
Geometric crescents are forgiving because the negative curve creates separation in the composition. Wrist location means lots of washing and friction, so spacing matters. Bring a reference that shows the exact line weight you prefer and say you want the curve to remain open rather than filled in. This session is quick and usually done under thirty minutes, but expect light scabbing the first week. Pair this with a minimalist watch when you want the moon to peek between the bracelet and watch band. Avoid cramming extra dots into the curve or they will blur together.
Studio Day Picks
These first wrist, neck, and forearm pieces interact with clothing and touch more than larger work, so a few small items smooth out the session and the first week.
-
Stencil transfer paper kit. Lets you preview the line placement on skin and check scale before the needle hits, which is especially useful for the micro script and arrow ideas above.
-
Topical numbing cream. Applied per the brand instructions about 45 minutes before the session it can reduce wrist and neck sensitivity without affecting line saturation.
-
Thin protective film roll. Useful for small wrist or ankle pieces that rub against clothing, it shields fresh ink during the worst of the first week.
-
Fragrance-free gentle body wash. Cleans the area without stripping moisture, which helps fine line work keep contrast early on.
-
Aquaphor healing ointment. A thin layer for day one and two keeps small lines from drying into flaky scabs that pull at ink.
7. Minimalist Wave on Foot
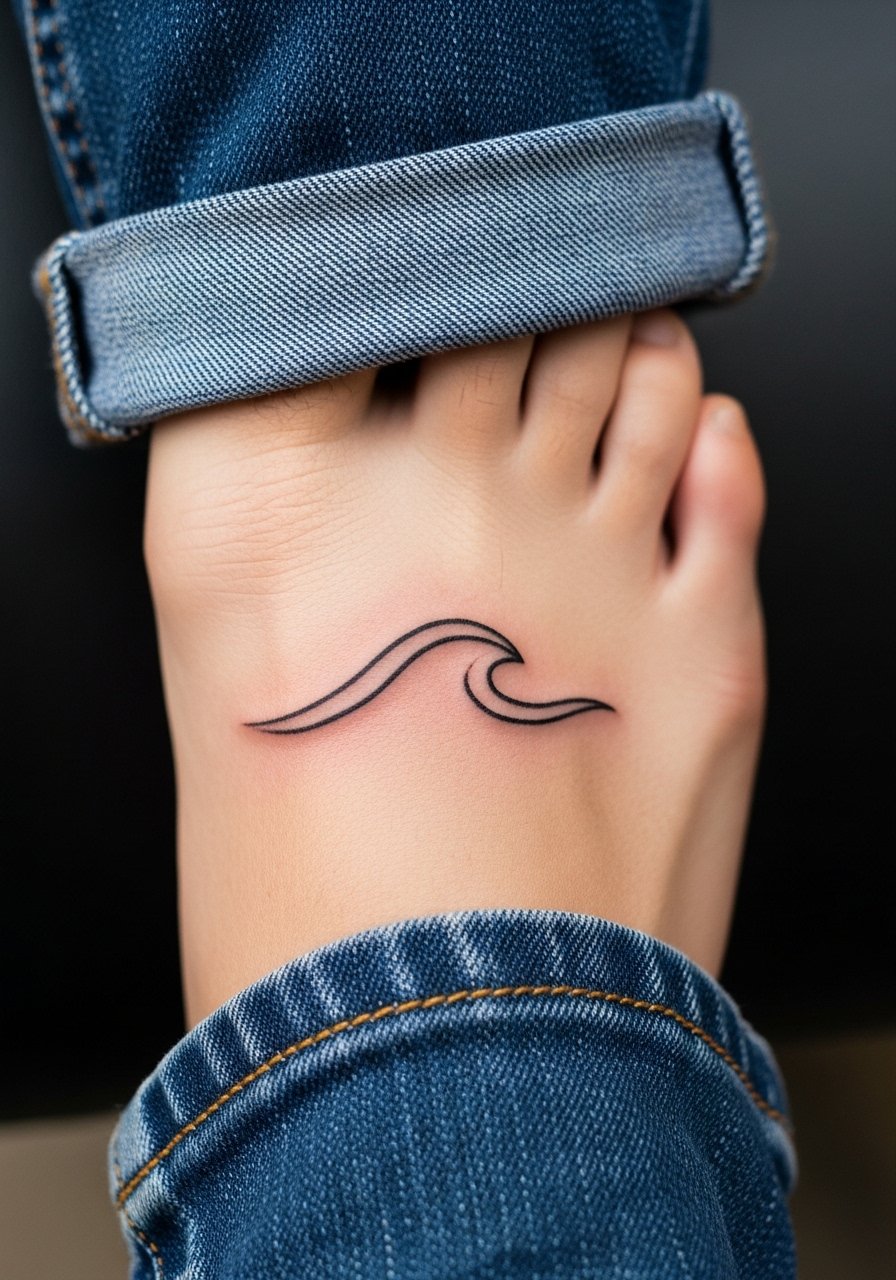
Foot stencils are charming but sit in a high-friction zone that ages ink faster. If you want longevity, make the crest of the wave slightly bolder so it remains readable after regular shoe wear. The foot tends to be a 6 to 7 on most pain scales and can need a touch-up at year two. For the session, wear easy-to-remove shoes and a pair of slide sandals so you do not rub the area leaving the studio. A common error is making delicate feet work too fine for the skin texture there.
8. Tiny Dotwork Sun Behind Ear
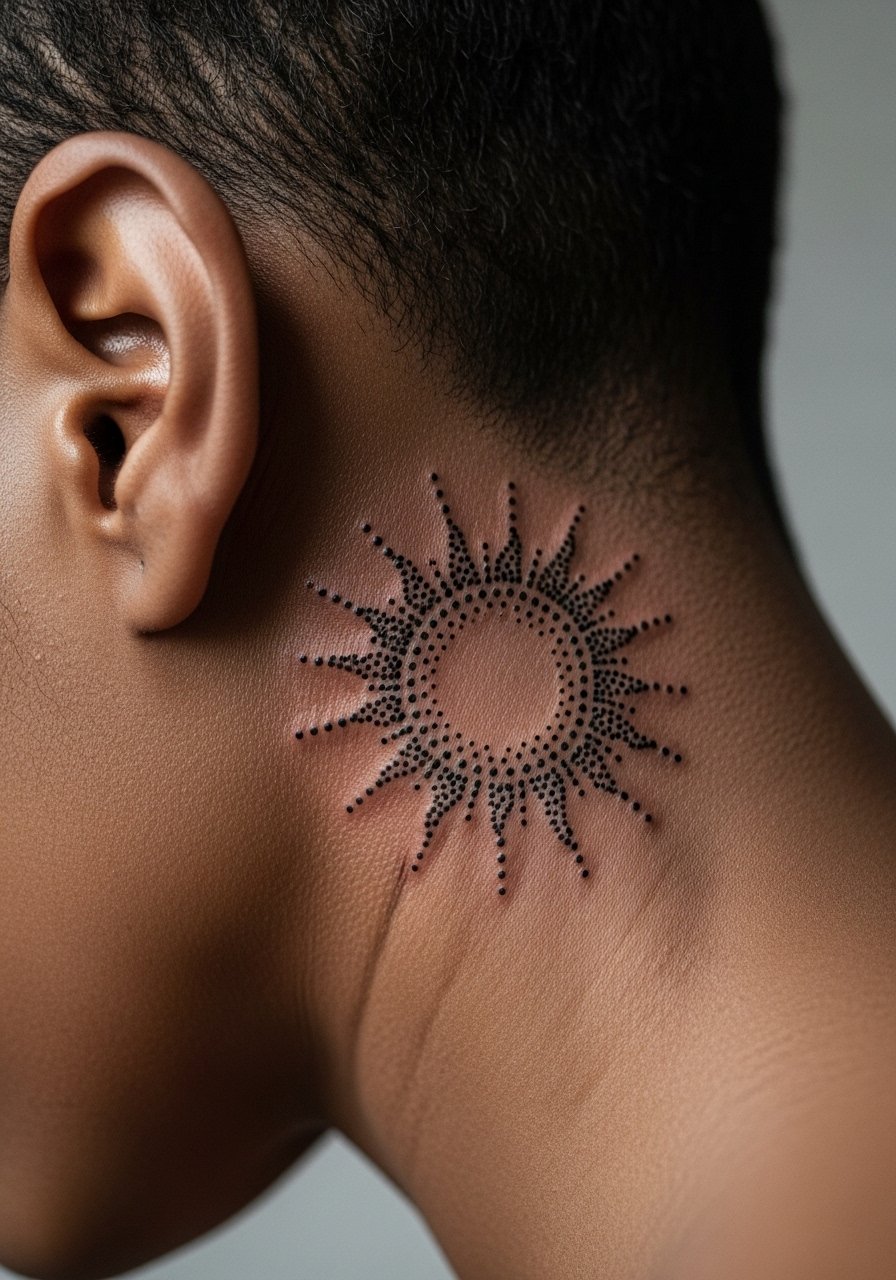
Behind-the-ear stencils read best when kept small and slightly raised with dot accents. The location has low daylight exposure but may require hairline consideration to avoid hiding the piece. Sessions are quick and the pain is mild. For the appointment, wear hair loose or tucked so the artist can access the area, and ask for a stencil placement check while your hair is down. This spot pairs well with short haircuts and small hoop earrings when you want it visible. The main mistake is crowding the design with too many dots which knit together over time.
9. Fine Line Floral on Ribcage
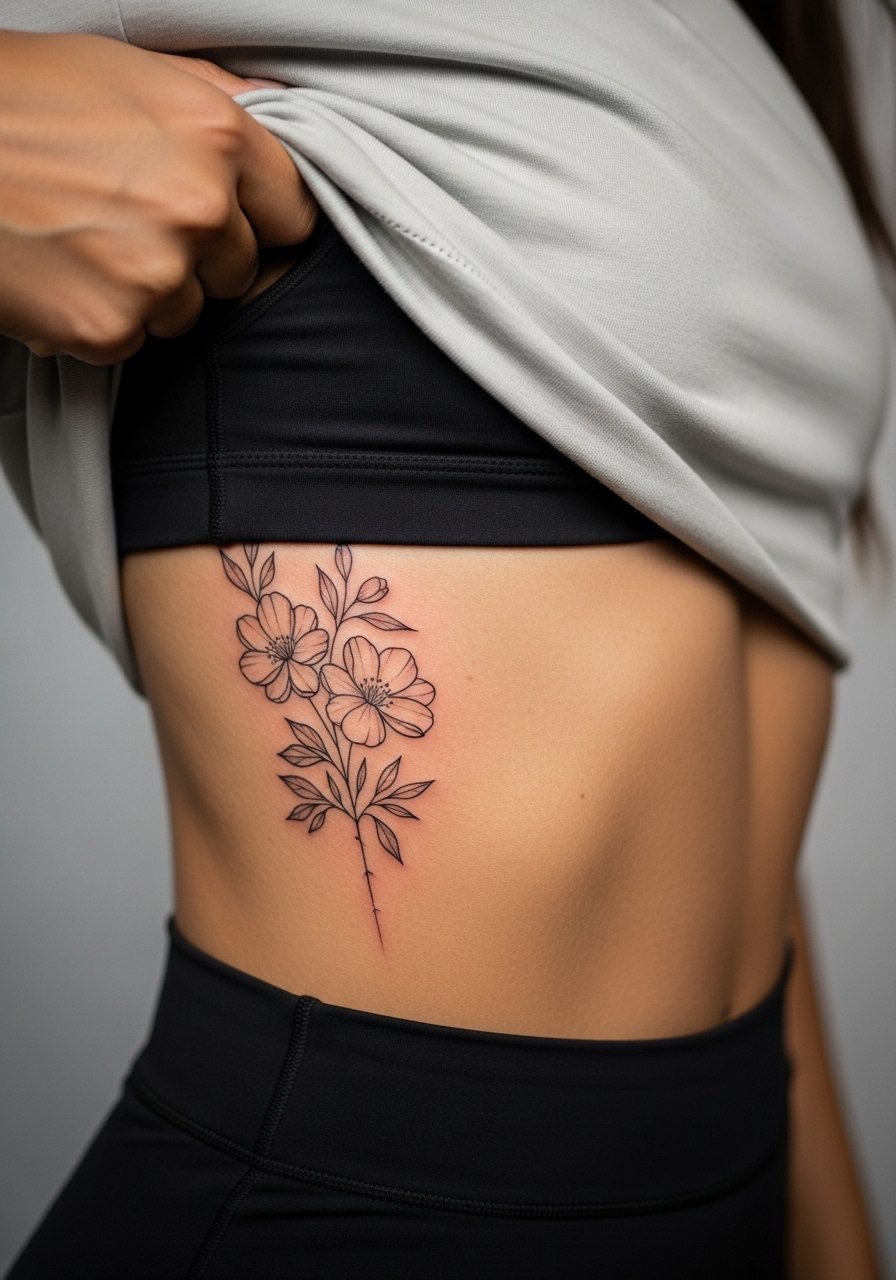
Fine line ribs are divisive among artists. One camp argues the skin stretch and constant movement blur delicate lines within two years. The other camp says experienced artists who space lines and set depth properly can make fine line ribs last. The honest answer is to ask the artist where they land, because technique and your skin elasticity matter. Expect a higher pain level around 7 out of 10 and a likely touch-up window in years two to three. For the session, wear a fitted sports bra so only the rib area is exposed and the artist can work without pulling fabric away repeatedly.
10. Small Compass on Upper Arm
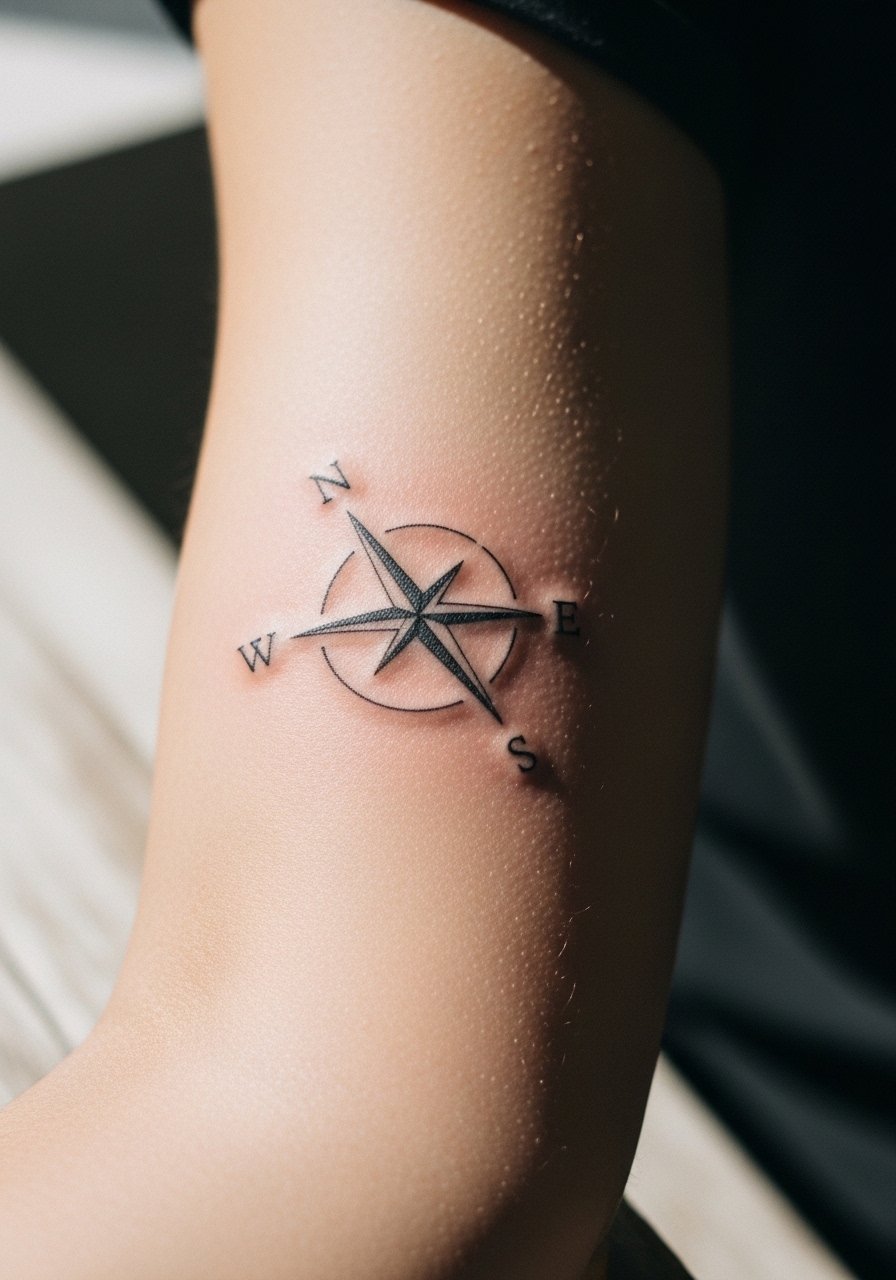
Upper arm stencils are forgiving because the skin is thick and moves less. A small compass reads well when the cardinal points are given modest spacing so the north marker does not merge with the main circle. Pain is low and most of these finish in one brief session. If you want to show it off in summer, a loose button-down shirt with sleeves rolled frames the placement nicely. A common mistake is packing in tiny directional details that become indistinct after a few years.
11. Chain-Link Minimal Bracelet Tattoo on Wrist
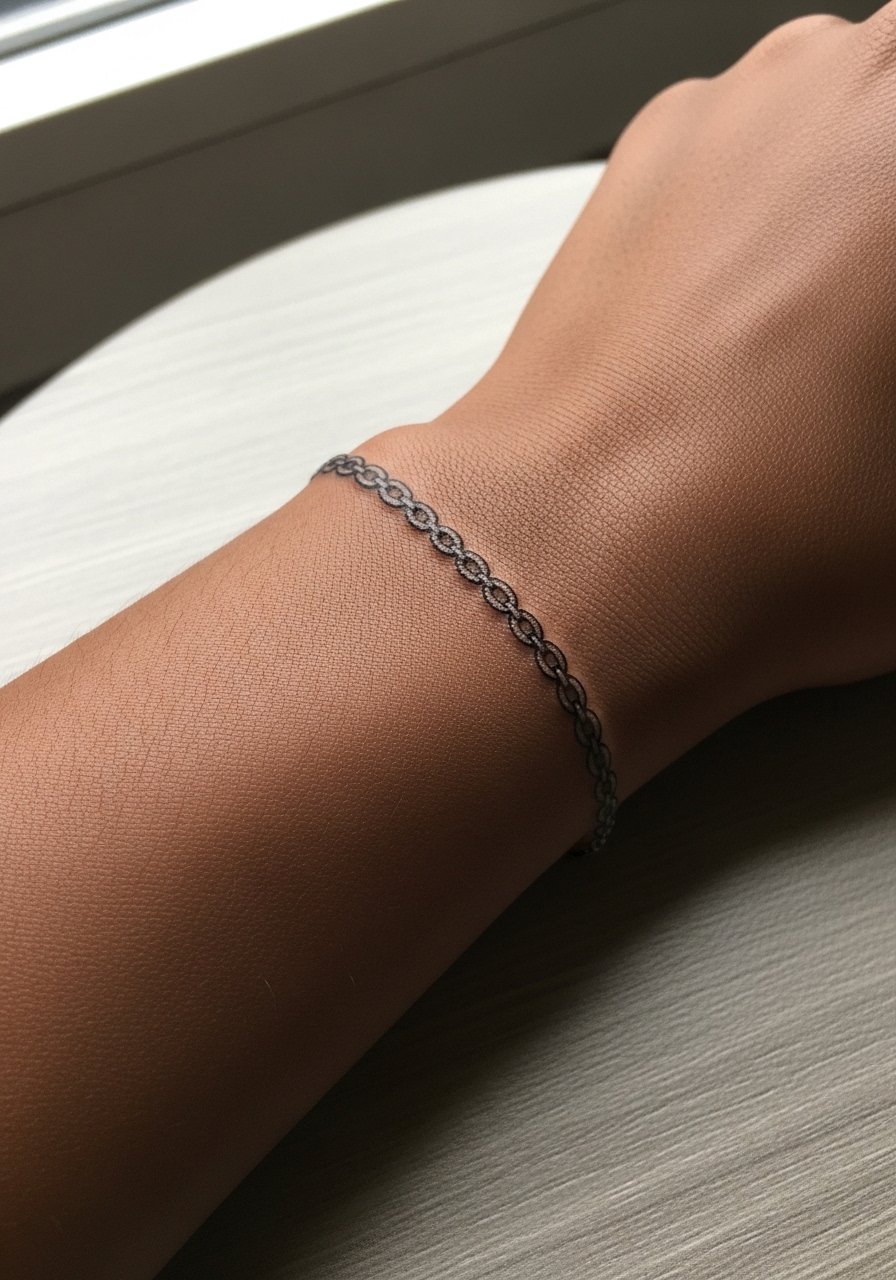
Wrist bracelet stencils work like jewelry and can flank watches and bracelets. Ask for a little gap between each link to prevent the chain from becoming a solid band as it ages. The area is exposed to daily movement and water, so expect touch-ups sooner than on thicker skin. Pair this with a minimalist watch strap that sits lower on the arm to let the chain breathe. People often request ultra-thin links which then blur into one continuous line.
12. Minimalist Mountain Spine on Upper Back

Spine stencils require care with spacing because vertical compression can shift the look when you bend. The upper back is moderate in pain and heals predictably. Tell the artist you want the peaks arranged with consistent negative space so each summit stays distinct when skin stretches. For showing the piece, open-back dresses or tops work well and highlight the vertical composition. A frequent mistake is stacking too many peaks too closely, which loses definition after movement and time.
13. Thin Arrow Finger Tattoo
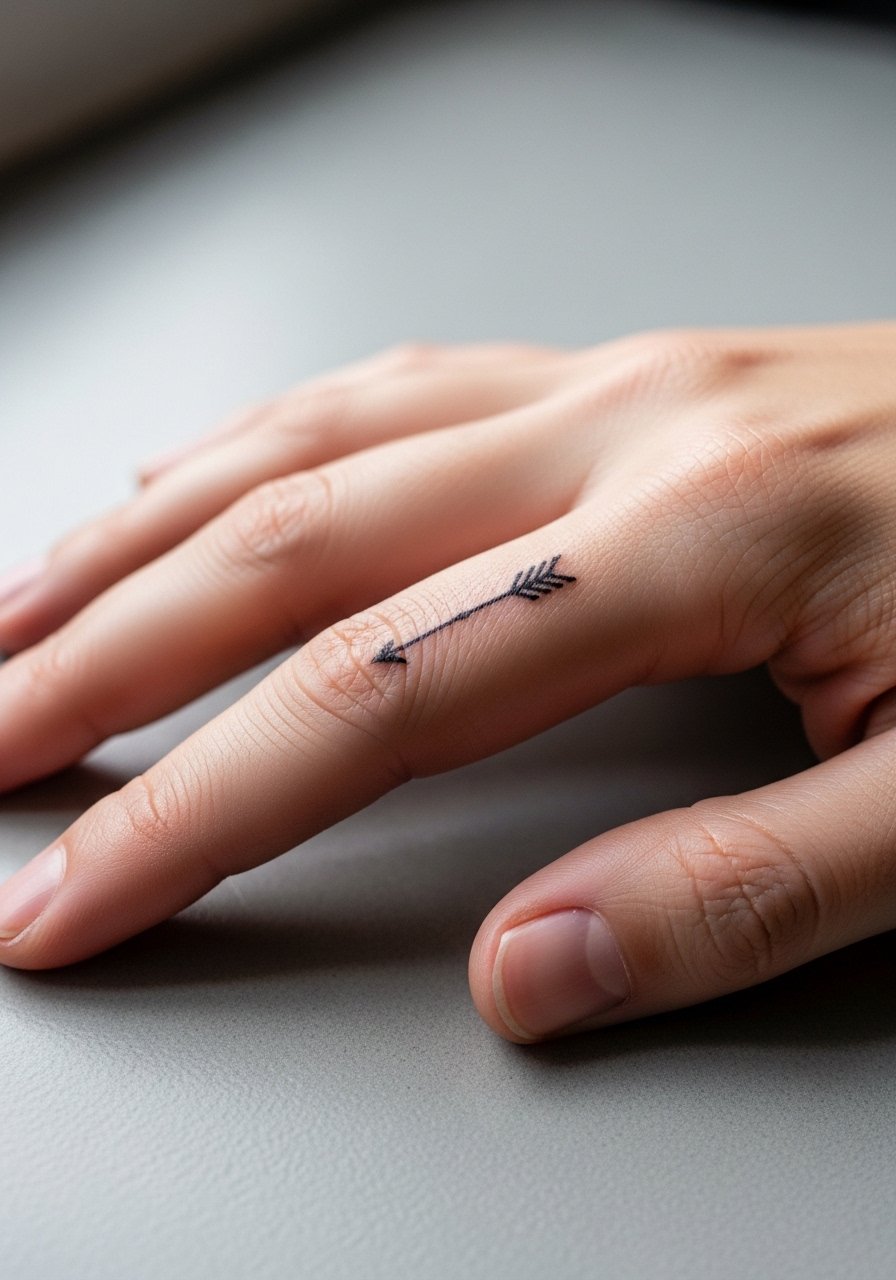
Finger stencil work is attractive but notoriously short-lived. One camp contends that the hands are high friction zones that force frequent touch-ups. The other camp believes carefully set depth and slightly bolder mini lines can extend life. My experience matches both views. If you want a finger arrow, make the line a touch thicker than your photo and plan for a touch-up at year one or two. Finger tattoos can affect some hiring situations so think about career context. For subtle display, stack simple rings that do not rub the tattoo too much.
14. Minimalist Anchor on Calf

Calf stencils age well because the skin there is stable and the area rarely rubs against clothing. An anchor with a clean hoop and a slightly thicker shank stays readable over time. Pain is generally low and sessions are short. If you exercise a lot, discuss placement so the tattoo does not sit directly where a tight sock band or boot cuff rubs. The common mistake is tiny detail in the rope that disappears after a couple of years.
15. Tiny Crescent Sternum Script
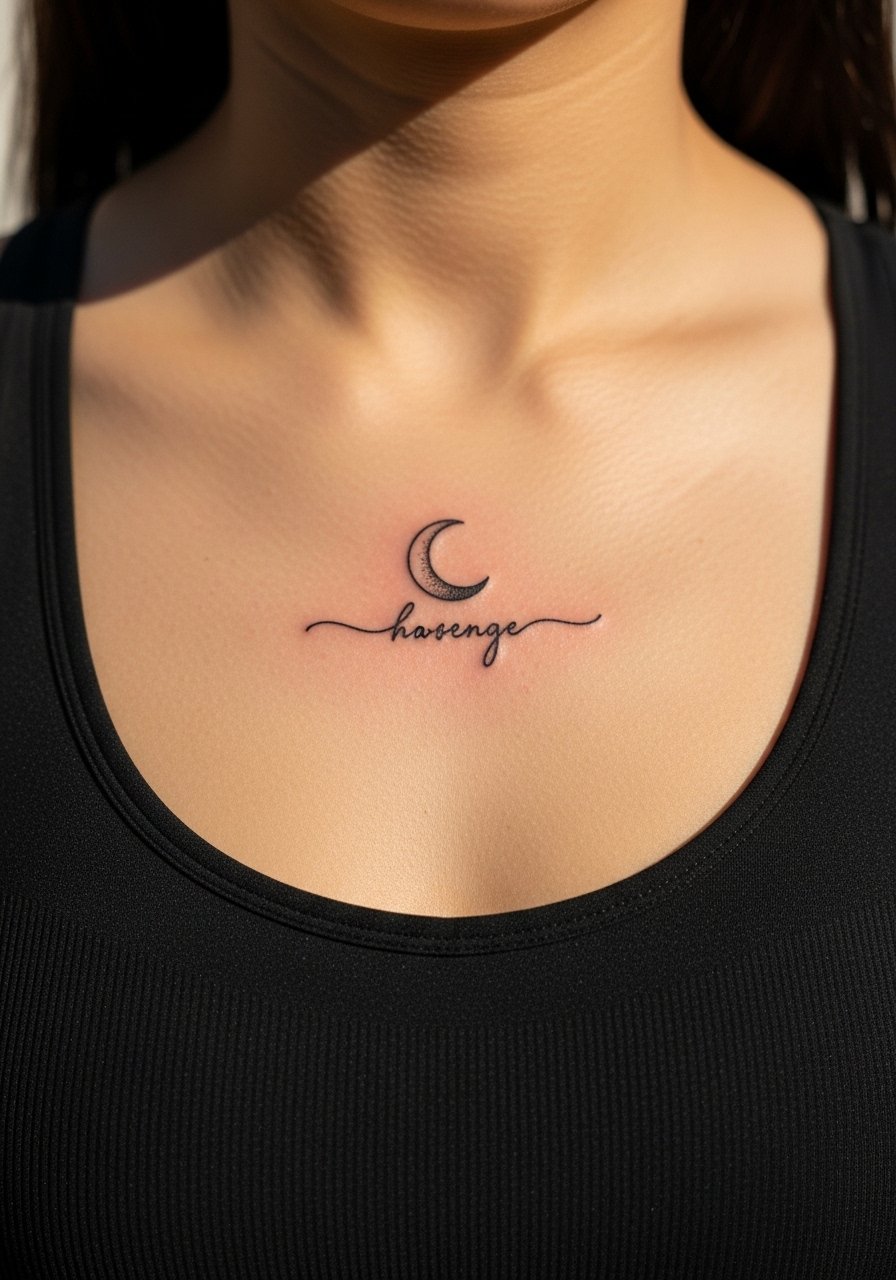
Sternum stencils can be gorgeous but require specialty handling because the area moves with breathing. Pain is higher and sessions may pause to let you catch your breath. When working with script near the sternum, ask for the letters to be slightly taller so they remain legible as the area settles. For showing it off, a strapless or bandeau dress highlights the piece without risking wardrobe slips. The main mistake is compressing text too tightly against the curve of the sternum.
16. Minimalist Eye on Inner Bicep
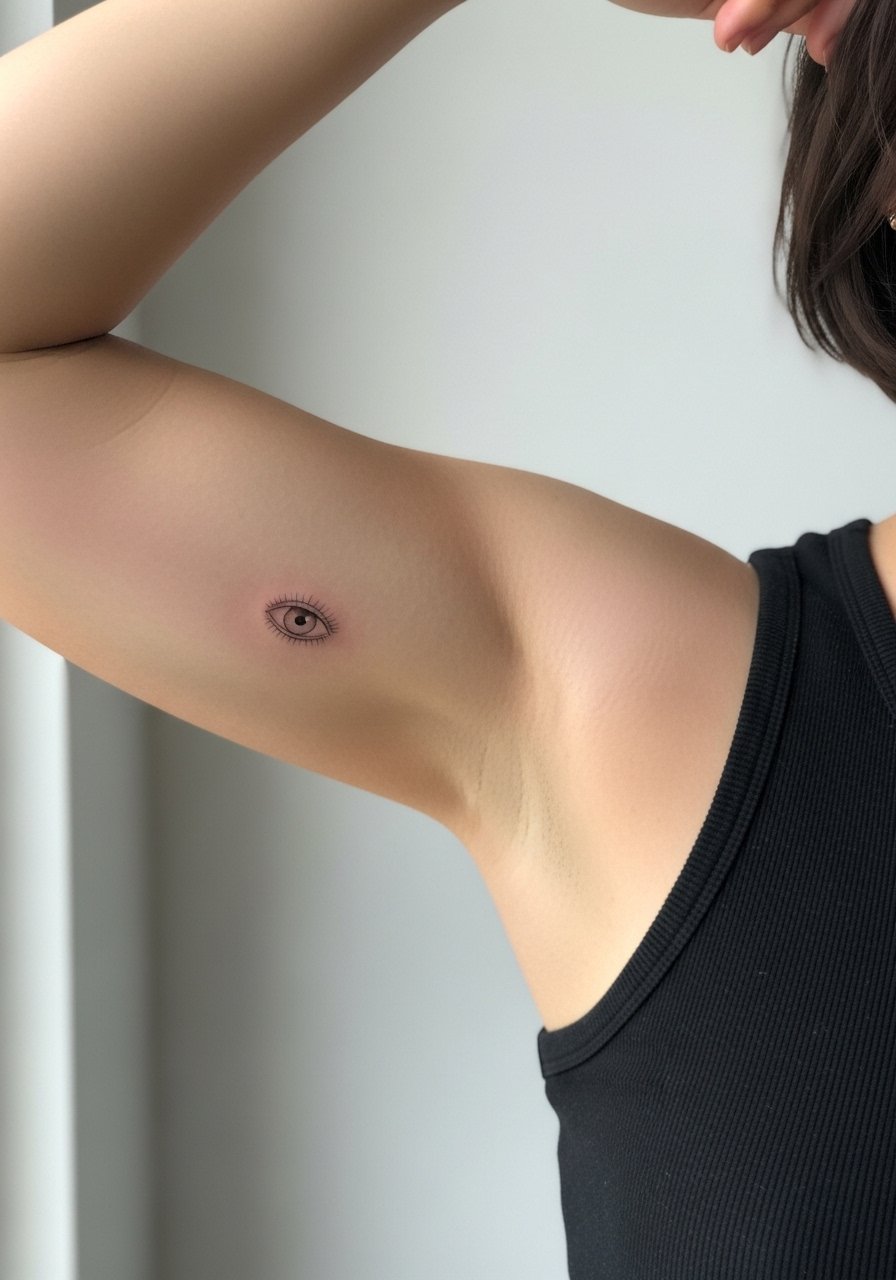
Inner bicep stencils read well when the artist follows muscle contours because the skin in that zone moves with flexing. Pain can spike as the area is sensitive. Ask for the eyelid line to be clean and the iris suggested with a dot so shading does not fill in and blur later. For the session, wear a loose tank so the artist has access without pulling fabric tight. A common error is heavy shading which loses crispness on the softer skin of the inner arm.
17. Minimalist Geometric Mandala on Thigh
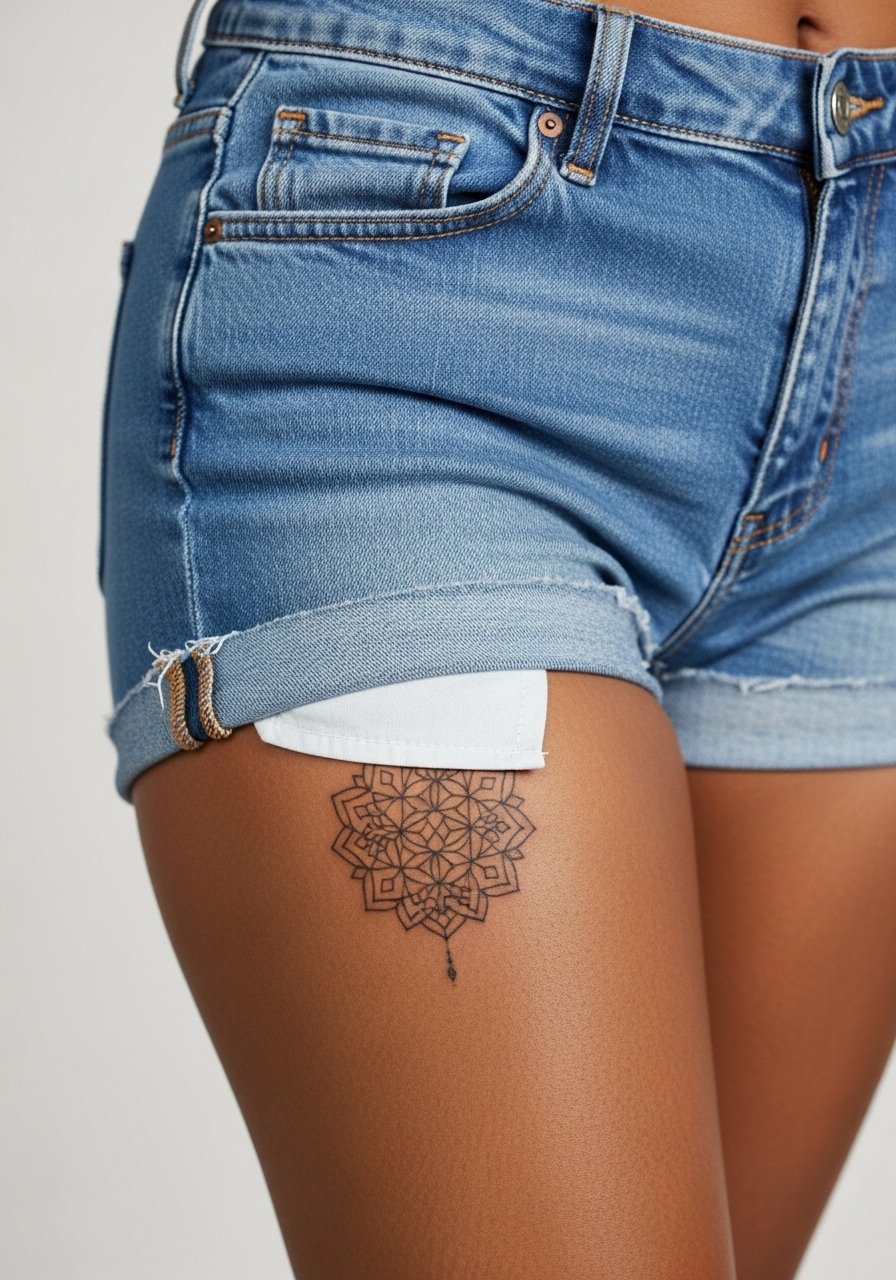
Upper thigh stencils allow for slightly more detail because the skin handles dense linework better than ribs or fingers. Choose a mandala with open negative spaces so the central pattern does not collapse into a dark spot. The thigh is low on blowout risk and pain is moderate. For the appointment, wear loose shorts or high-waisted bottoms you can shift easily. People sometimes try to cram full-sized mandalas into tiny thigh spots and end up with blurred centers after healing.
Frequently Asked Questions
Q: Will fine line tattoos like the arrow and crescent blur faster than geometric or bold work?
A: In my experience fine line fades and blurs sooner because the thin channels have less pigment to withstand UV and friction. Placement and spacing matter more than the style name. Forearms and upper arms hold detail longer than fingers and wrists, so plan for touch-ups when choosing very thin stencils.
Q: How should I decide between a ribcage floral and a thigh mandala if I want longevity?
A: The thigh generally preserves detail better because the skin is thicker and experiences less abrasion. Ribs show movement and stretch which can soften fine lines. If you love the rib piece, ask your artist for wider spacing and slightly stronger line weight to increase longevity.
Q: Are hand and finger tattoos worth it given the controversy about touch-ups?
A: Hands and fingers are high maintenance. Some artists say touch-ups are inevitable because of wash frequency and sun exposure. Others will set depth and recommend bolder miniatures that last longer. If you choose the finger arrow, accept that a one-year check might be part of the plan and pick a design that can handle a touch-up.
Q: What should I wear to a sternum or ribcage session to make it easier?
A: Wear a fitted sports bra or a crop top you can lift slightly so the artist has clear access without fully exposing you. For ribs, a cropped tank with a high waist pant is practical. A fitted sports bra makes it easy to position the stencil and keeps you comfortable during breaks.
Q: How can I preview scale so a stencil like the micro script does not end up too small?
A: Request a full-size stencil transfer and live placement check. Wear the clothing you plan to show the tattoo with so you can see the real-world scale. If the script looks too tiny on your skin, increase letter height and spacing before the first pass.
Q: Do minimalist mandalas and dot work require different aftercare than simple line stencils?
A: Aftercare steps are similar, but dot work and dense mandala centers can scab differently because of concentrated pigment. Keep the area clean and avoid picking scabs so small dots do not pull out. If you feel unsure, ask your artist for a brief follow-up within the first two weeks to check that the dots settled evenly.
