
Fine line and bold pieces both get attention on feeds, but they age differently and the choice you make now shapes what you still love in five years. I pay attention to how placement, spacing, and daily friction interact with ink. Below are 17 Star Wars tattoo ideas that consider session feel, how they heal, what to ask at consultation, and simple wardrobe choices to help you show them off.
1. Minimalist Lightsaber on Inner Forearm
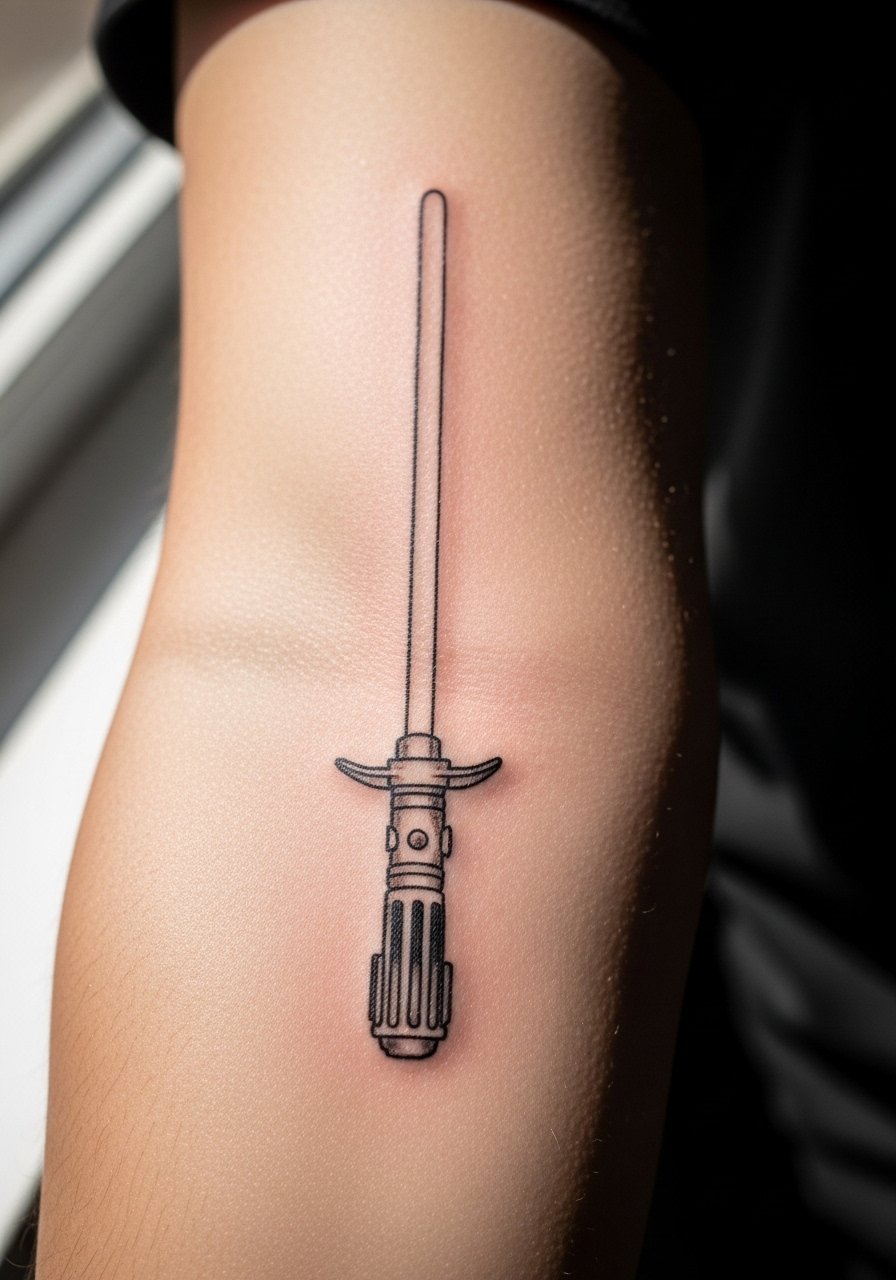
This tiny lightsaber reads clean because it uses careful lineweight and a narrow stroke, not micro-detail packed into a tiny space. Fair warning, inner forearm sessions are mildly sensitive, but most people describe it as brief sharp pinching then steady buzzing. Tell your artist you want slightly thicker lineweight than the Instagram reference so the blade holds at two years. Common mistake is making the hilt too small, which loses definition after motion and sun exposure. For the session, roll up a linen button-down so the artist has full access while you stay comfortable. Expect a touch-up window around year three for the fine edges.
2. Micro-Realism Yoda Portrait on Upper Arm
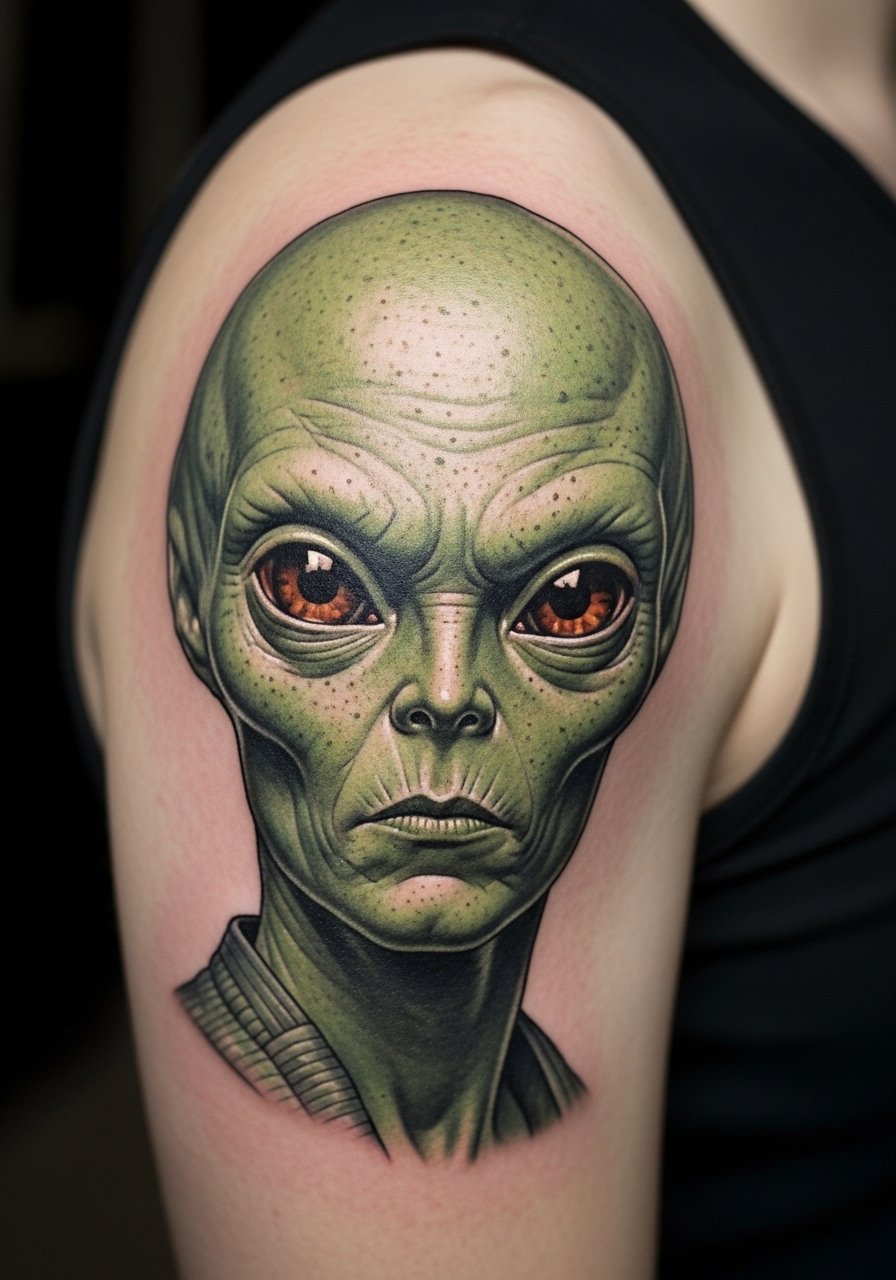
Micro-realism of a beloved character demands crisp contrast and careful placement so the face reads at arm's length. The upper arm is forgiving for saturation and touch-ups, but it is a place where tiny details can blend if the piece is too small. In consultation, say you want the forehead wrinkles to be suggested by stipple shading rather than dense small lines. The session can be longer than a small line piece because of layered shading. One debate among collectors is whether literal movie-accurate portraits are better than stylized nods. One camp wants exact likenesses, the other prefers symbolic or simplified portraits to avoid early blurring. For showing it off, pair with a sleeveless denim jacket that frames the upper arm without covering the portrait.
3. Tiny Rebel Alliance Symbol Behind the Ear
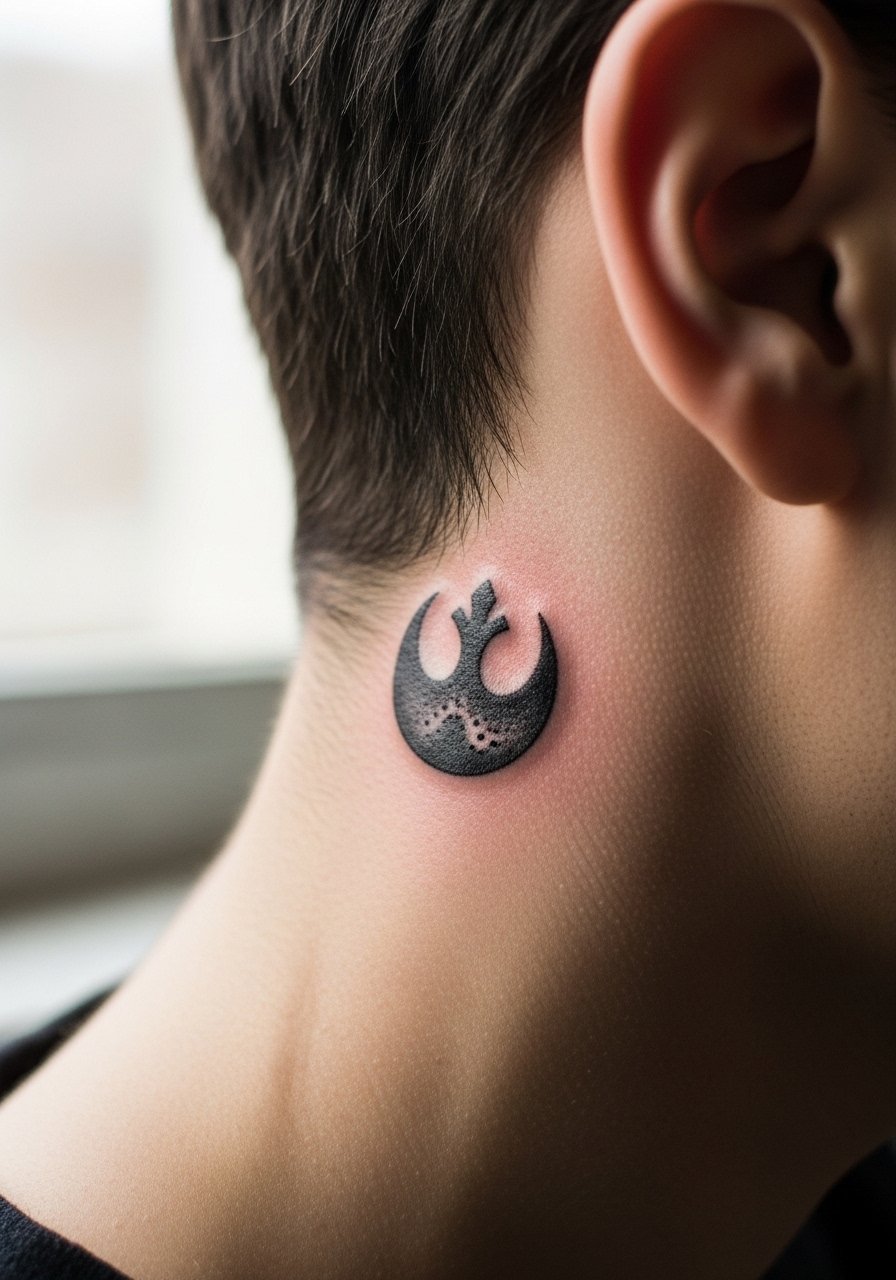
Behind-ear pieces are small statements and heal quickly when placed on the shallow skin there. Keep the symbol scaled for the space and avoid packing fine inner detail, which often looks sharp at first and then softens. For the session, plan 15 to 30 minutes and bring a hair tie so the artist can expose the area cleanly. Note that behind-ear tattoos sometimes carry workplace visibility concerns. If you want a discreet nod to fandom, this is ideal. When you look for artists, use local directory searches and convention portfolios rather than single social handles to find someone experienced with very small placement work.
4. Watercolor Nebula on Upper Back
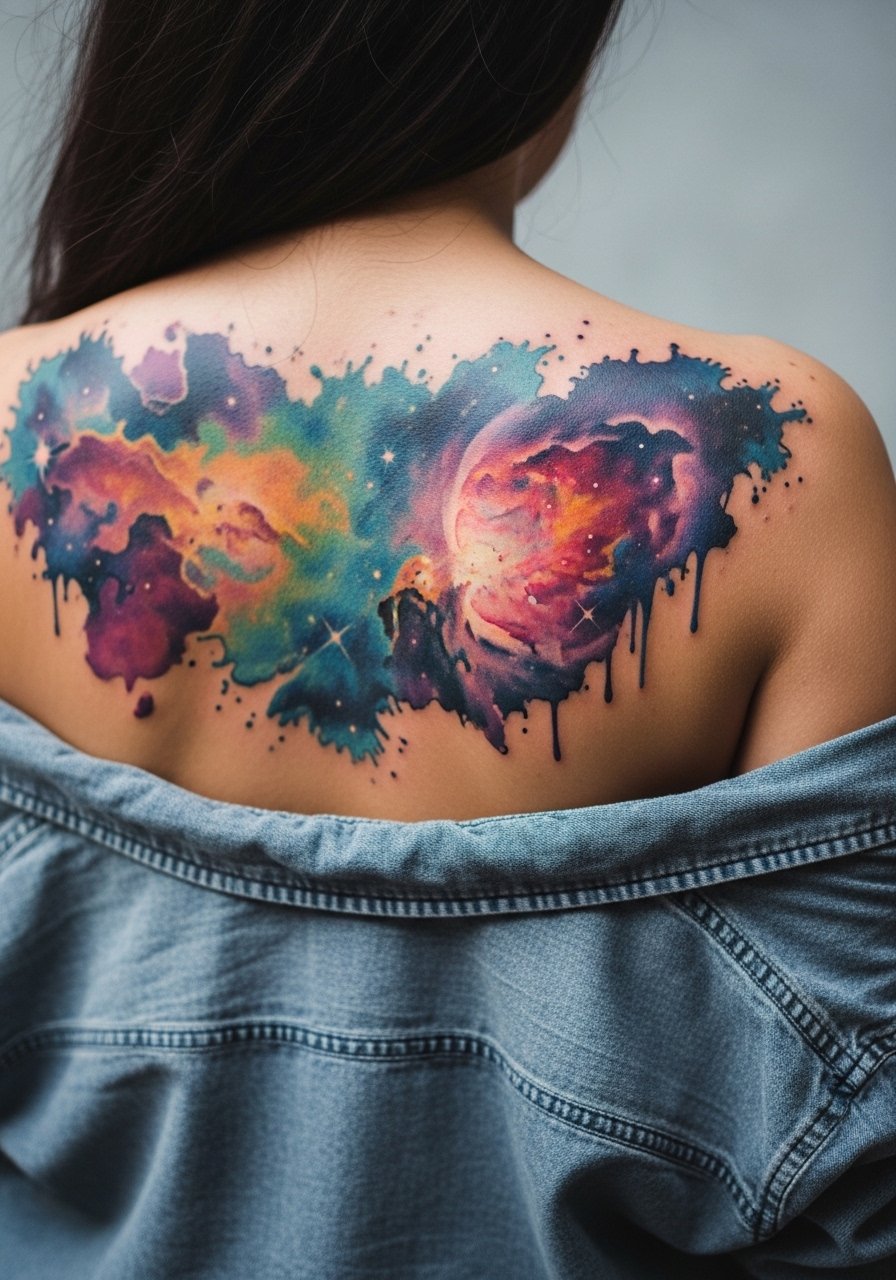
Watercolor techniques give that galactic wash without hard outlines, but they require more saturation and touch-ups over time. The upper back is a forgiving canvas for broad color because it moves less than the ribs. Ask for saturated base colors with subtle outlines where depth matters, and schedule a follow-up at six months to lock in lost pigments. A mistake is asking for faint washes with no saturation, which often fade into indistinct patches. For evenings when you want to reveal the piece, try an open-back midi dress that lets the watercolor read without competition. Expect the first year to show the biggest change in vibrancy.
5. Minimal Death Star Collarbone Script
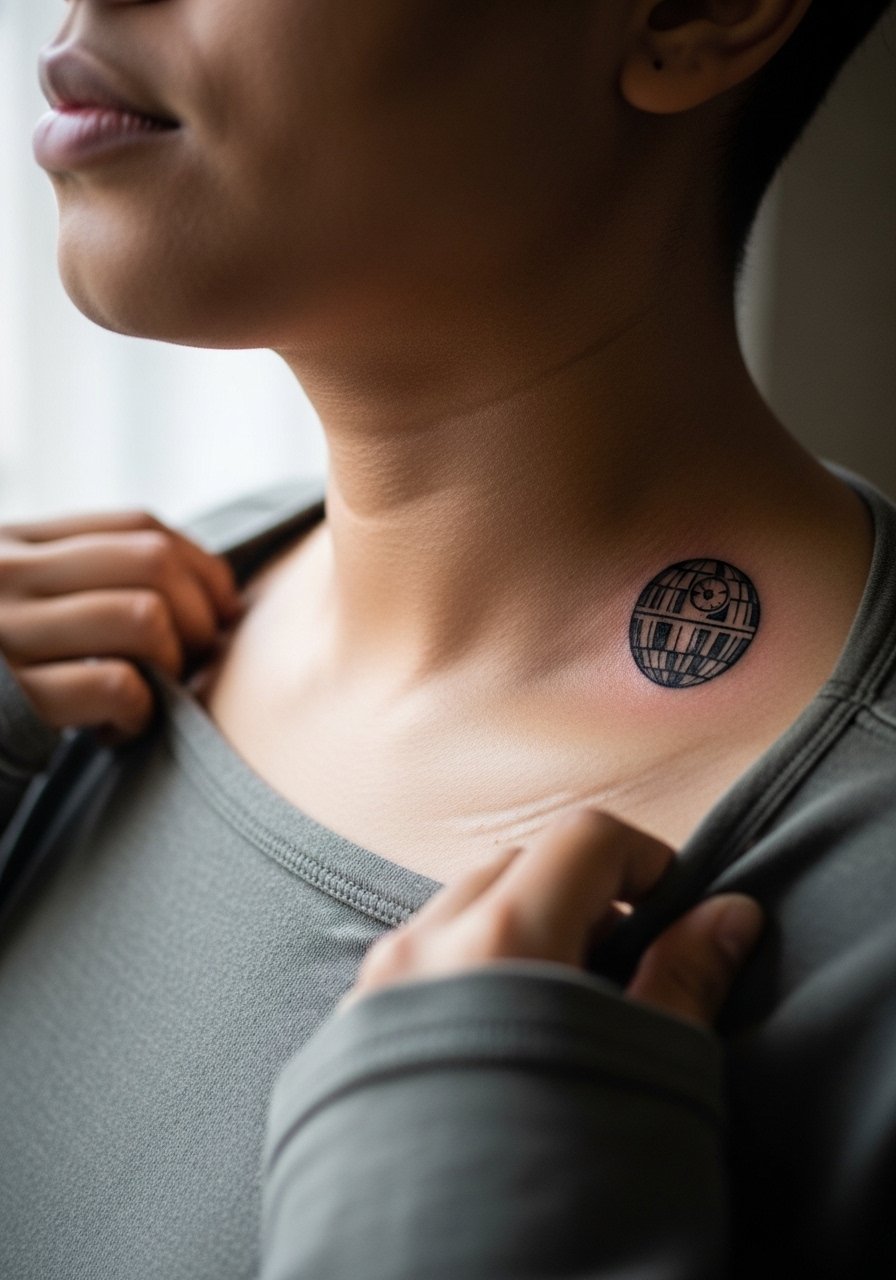
Collarbone placements look striking when the design respects the bone contour rather than sitting across it awkwardly. For this one, tell your artist you want the silhouette to curve with the clavicle and to avoid overly thin internal details. Pain is often moderate because the area sits over bone, and sessions are short. A common early mistake is placing the Death Star straight across both sides with no flow. This design ages well when kept simple. For showing it off, a thin chain pendant necklace sits above the silhouette without competing for attention.
6. Blackwork AT-AT on Calf
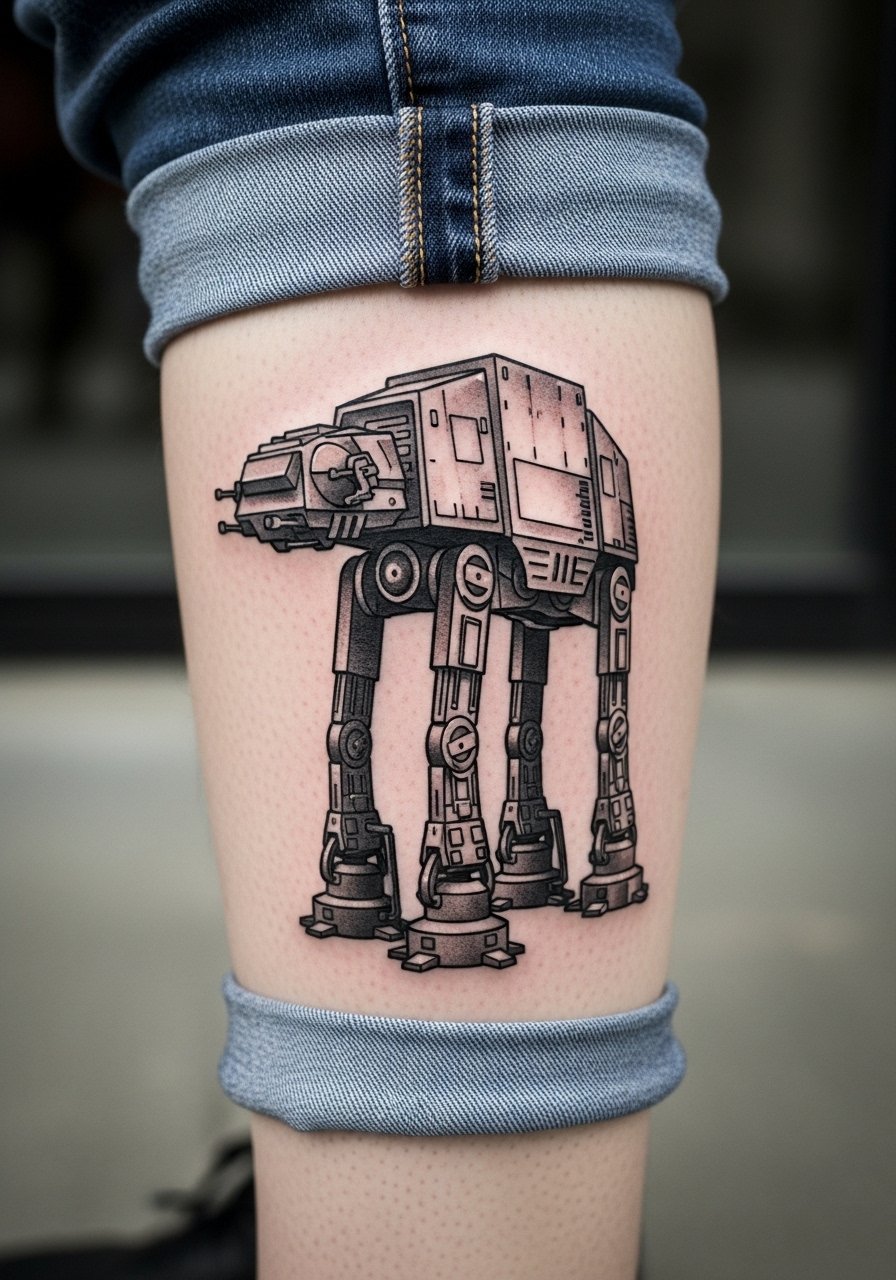
Bold blackwork reads from a distance and stands up to years of wear, especially on the calf where sun exposure is limited. The session feels like longer passes of shading rather than tiny precise lines, so expect more time and a higher initial soreness after. Tell your artist you want strong saturation and crisp edgework so the silhouette does not soften into gray in three to five years. A common mistake is trying to convert a fine-line sketch into blackwork without rethinking spacing. For casual wear, roll up a pair of cropped denim jeans to frame the AT-AT when you want people to see it.
Studio Day Picks
The forearm, upper arm, collarbone, calf, and upper back pieces above each ask for slightly different prep, so pack items that make the session smoother and the first week easier.
-
Stencil transfer paper kit. Lets you preview placement and lineweight on skin before the needle hits, which is especially useful for the inner forearm and collarbone designs above.
-
Thin protective film roll. A versatile wrap to protect small areas like wrist or behind-ear spots from friction during the first two days.
-
Fragrance-free gentle body wash. Cleanses healing tattoos without stripping color, helpful for larger watercolor or blackwork areas like the upper back and calf.
-
Natural healing salve. Lightweight balms keep fine line work from drying out and flaking, which is important for the minimalist lightsaber and collarbone pieces.
-
Aquaphor healing ointment. A thin initial layer can reduce early crusting on dense blackwork and sensitive spots during the first few days.
7. Linework Mandalorian Helmet on Upper Thigh
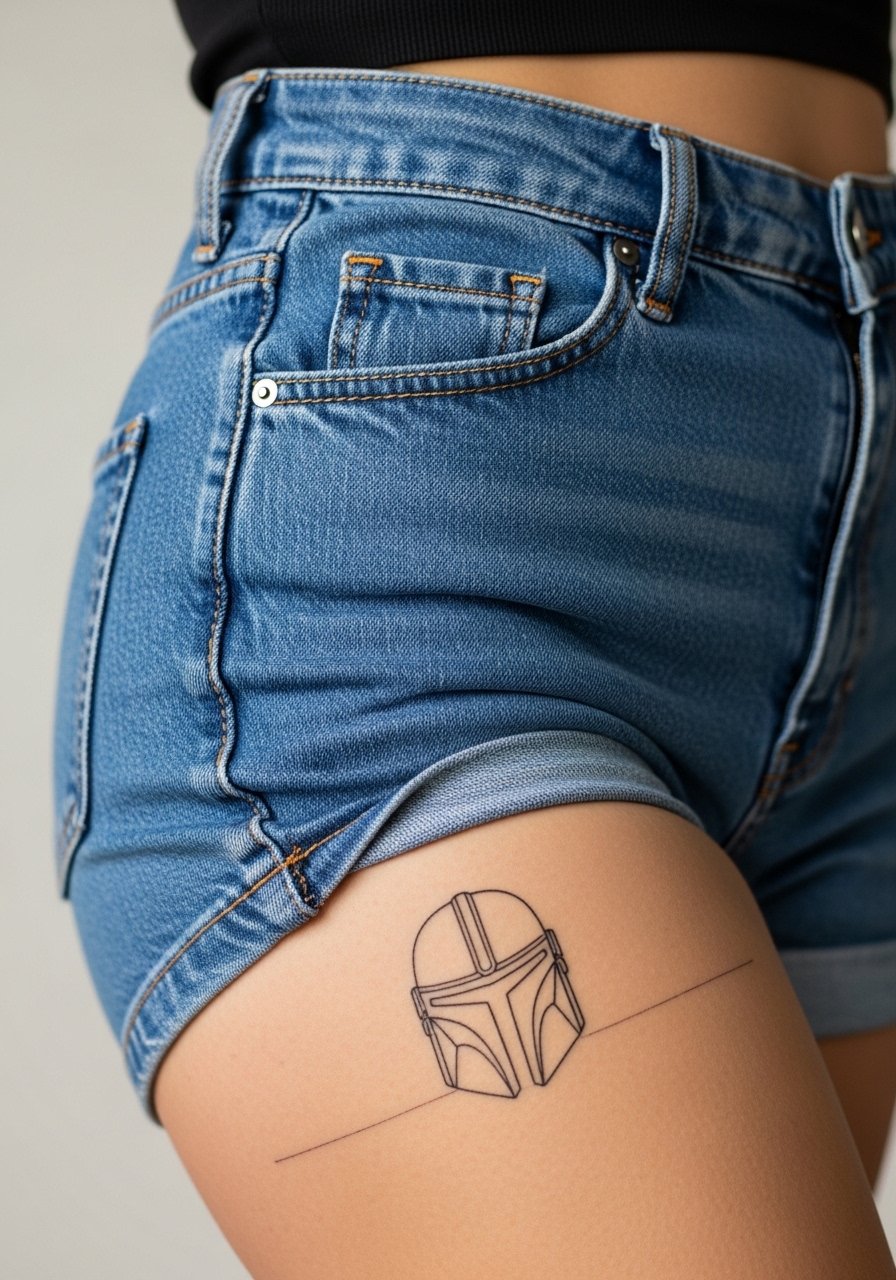
Upper thigh pieces are comfortable to sit through and heal behind clothing most of the time. For a linework helmet, aim for bold contours and open internal negative space so the helmet reads even when the skin settles. Session wear advice is shorts or a skirt so the artist can access the thigh without bunching. People often make the mistake of asking for tiny interior detail, which muddies with motion. If you plan to show it in summer, choose high-cut shorts that lift the fabric away from the area during healing.
8. Geometric Galactic Map on Ribcage
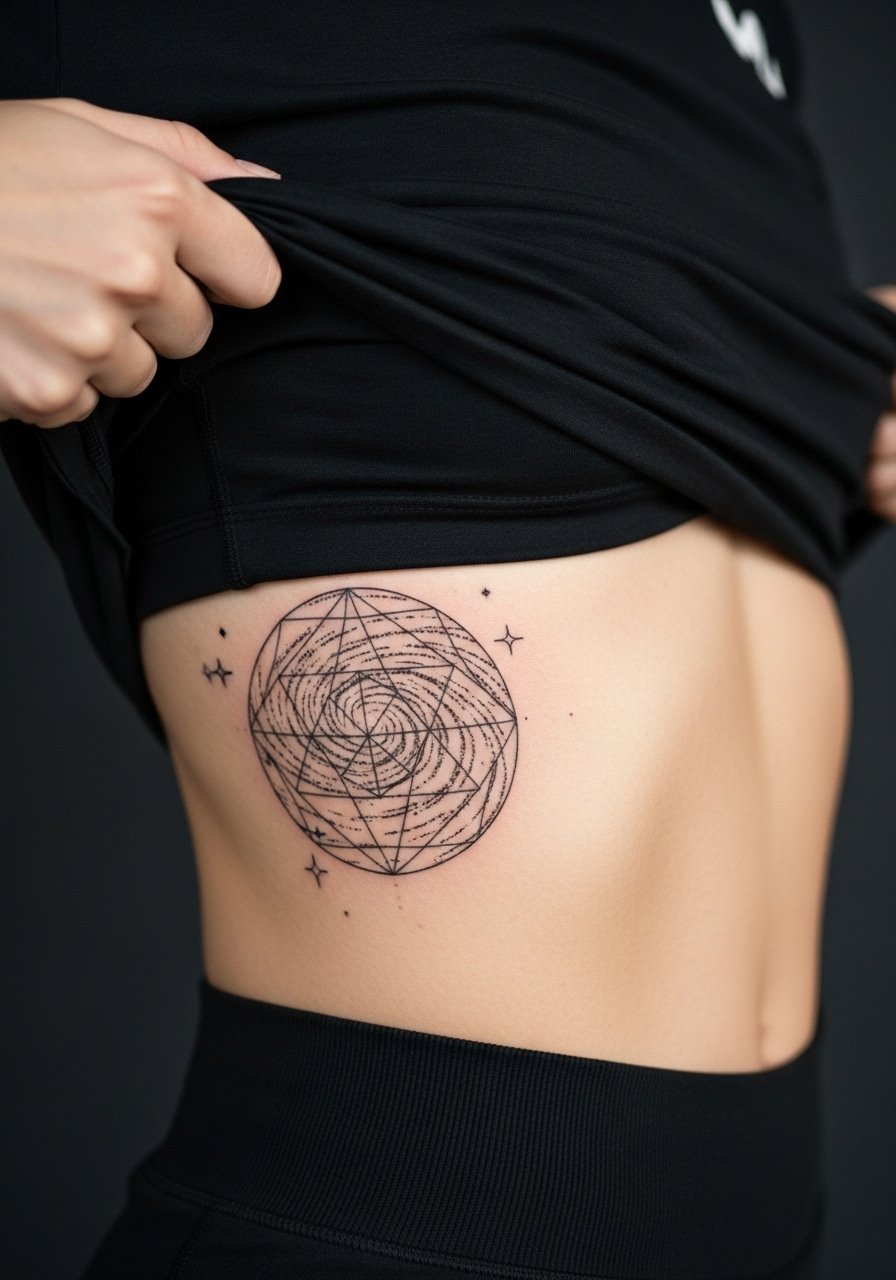
Fair warning, the ribcage is a sensitive place and rates higher on most pain scales. That sensitivity matters because the skin shifts during breathing and affects how dense linework settles. Artists are split on ribcage fine line. One group says small detailed geometry blurs quickly. The other group argues that with correct spacing and needle depth it can hold. Ask your artist which camp they favor and how they plan to space elements. For session wear, bring a zip-up hoodie or a loose top you can lift without shifting the chest. Expect a touch-up conversation after a year for tightly packed lines.
9. Small X-Wing on Ankle
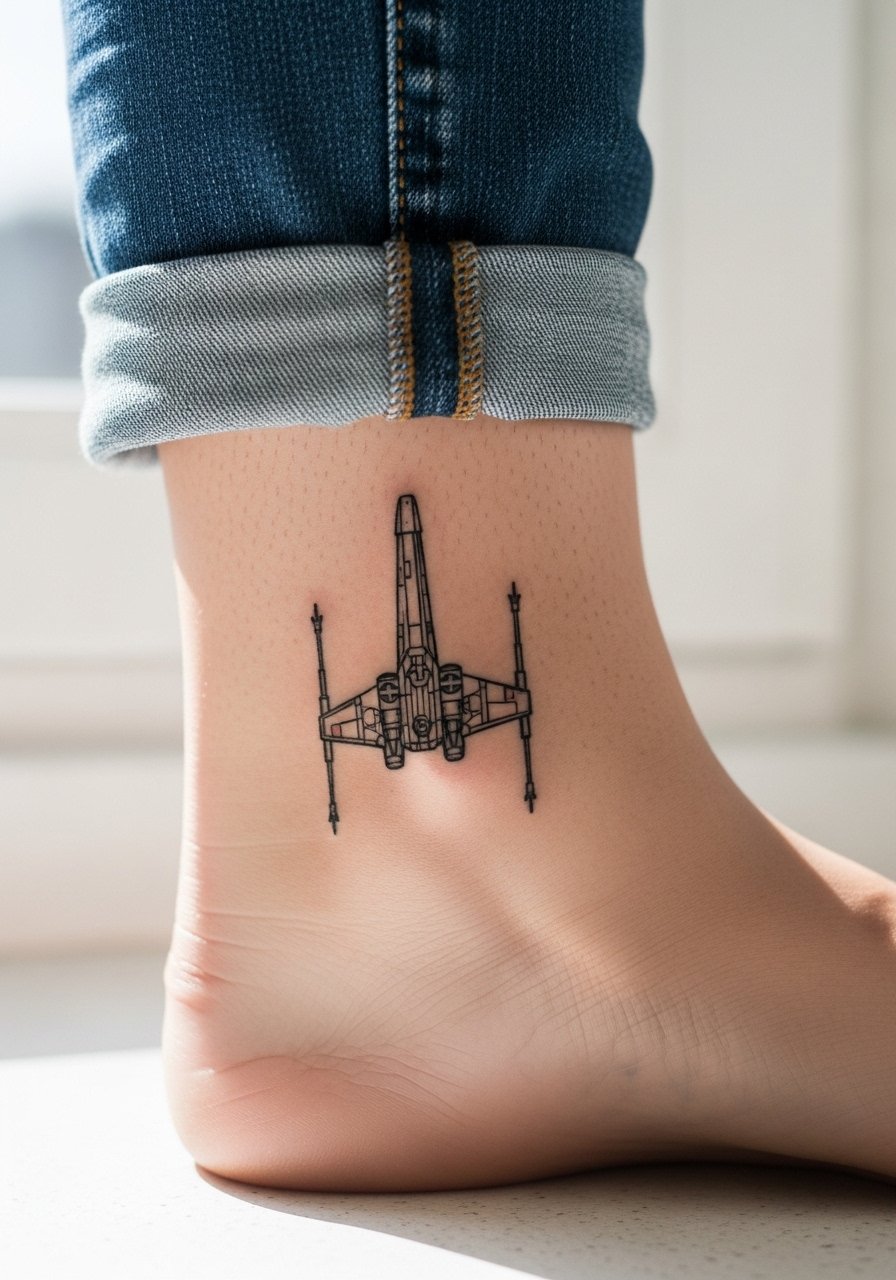
Ankle pieces live in a high-friction zone, which changes healing and longevity. Keep the X-Wing simple with bold contours and avoid tiny interior crosshatching. The session is short but the aftercare window is delicate because of socks and shoes. A common mistake is placing a detailed design too low on the foot where rubbing is constant. For showing it off, choose low-profile sandals when you want visibility. Expect that the ankle might need a touch-up sooner than the upper arm because of wear.
10. Scripted "May the Force" Along the Rib Bone
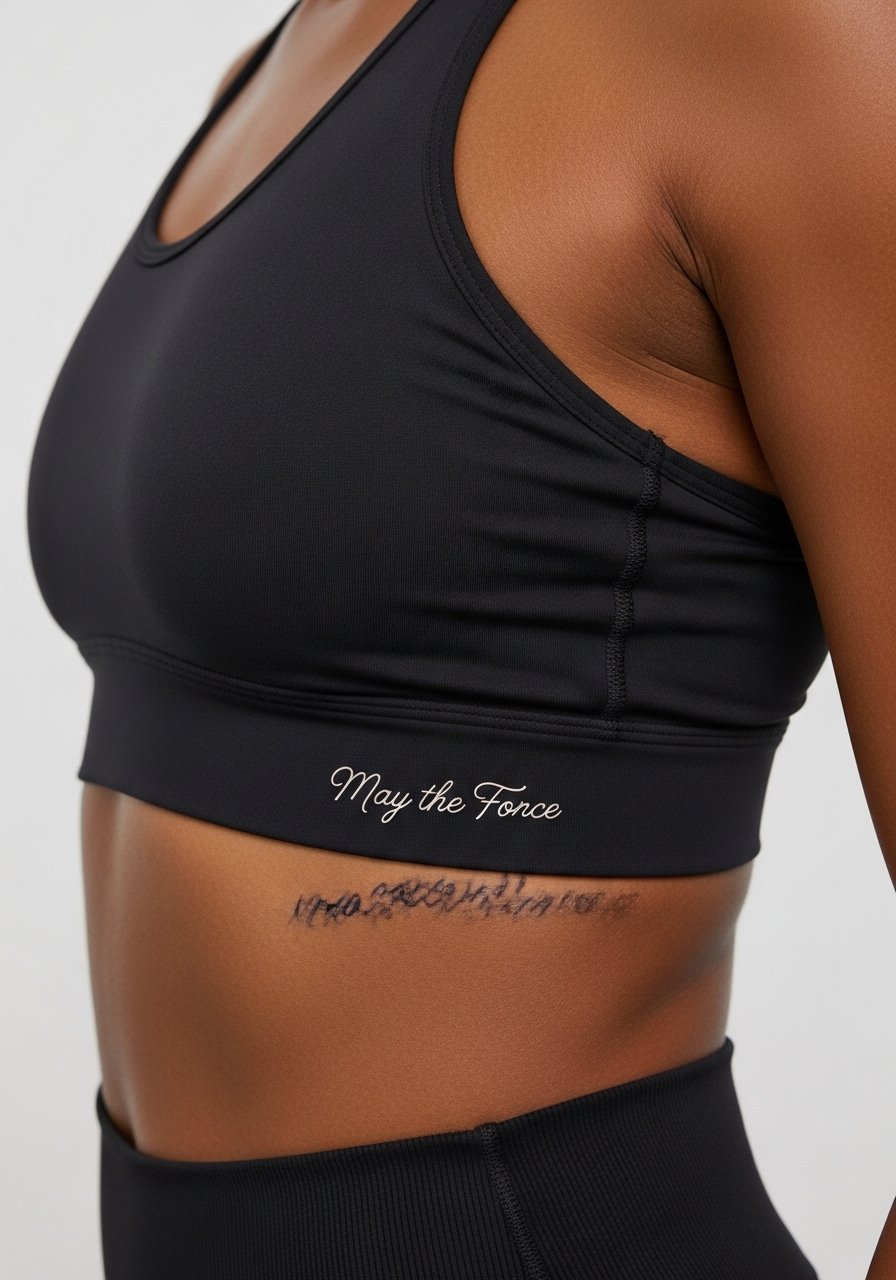
Script along the ribs can read elegant if the lettering is spaced and not too slender. Most people underestimate the skin movement in that zone. Tell your artist you want slightly heavier downstrokes and open counters so the letters do not close in after a year. There is a debate in fandom about literal quotes versus symbolic glyphs. One camp prefers exact wording, the other favors symbols that nod to the line without rendering it verbatim. If you plan to reveal the piece, a strapless or wide-neck top lets the text sit cleanly above the fabric.
11. Small Beskar-Inspired Geometric Wrist Band
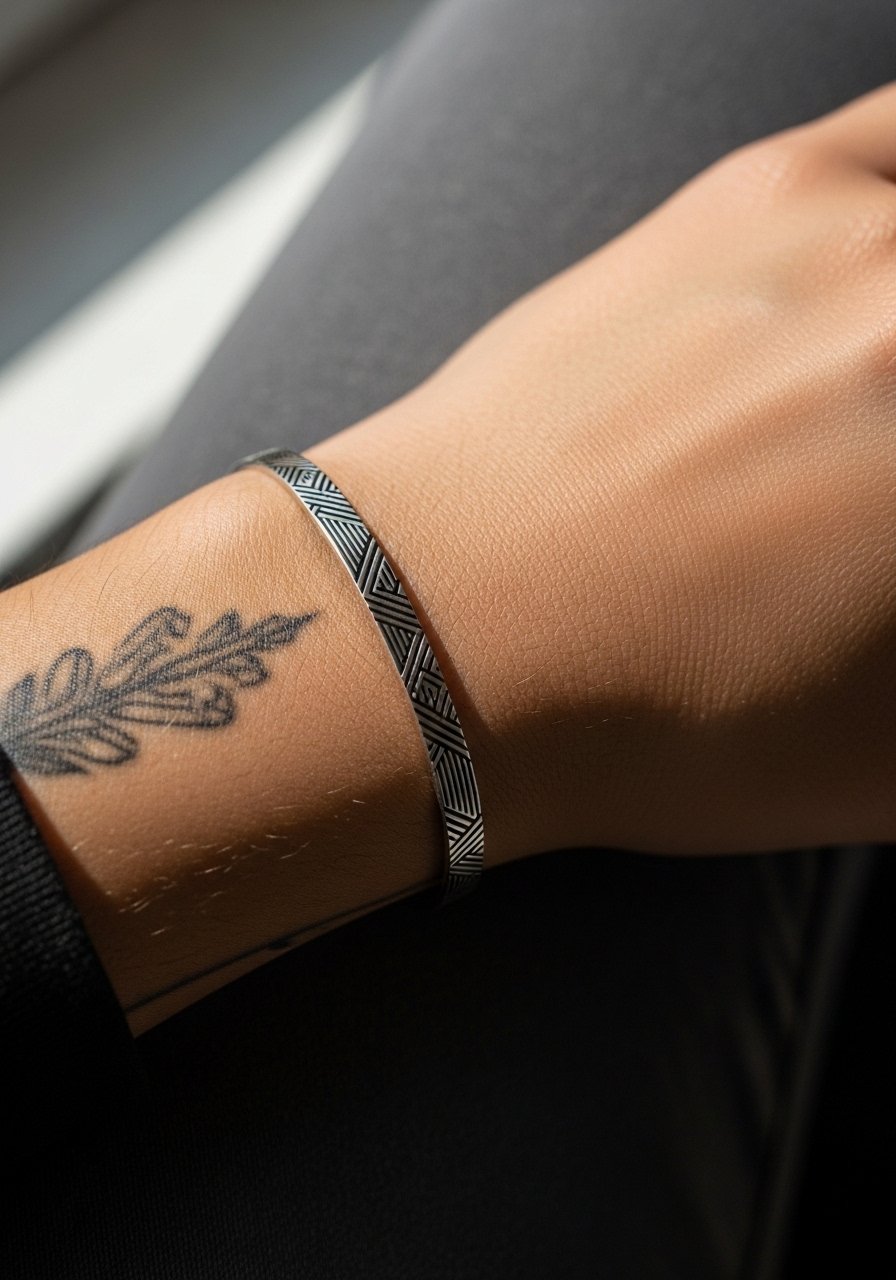
Wrist bands are highly visible and take daily wear from watches and bracelets, which affects healing. If you want a band that lasts, avoid ultra-fine parallel lines stacked tightly. Ask for slightly more space and a hair more saturation than your reference image. The session typically is quick but the first week requires attention to reduce scabbing from friction. For showing the band, consider a minimalist watch that complements rather than competes with the linework.
12. Watercolor Princess Leia Hairline Silhouette on Sternum
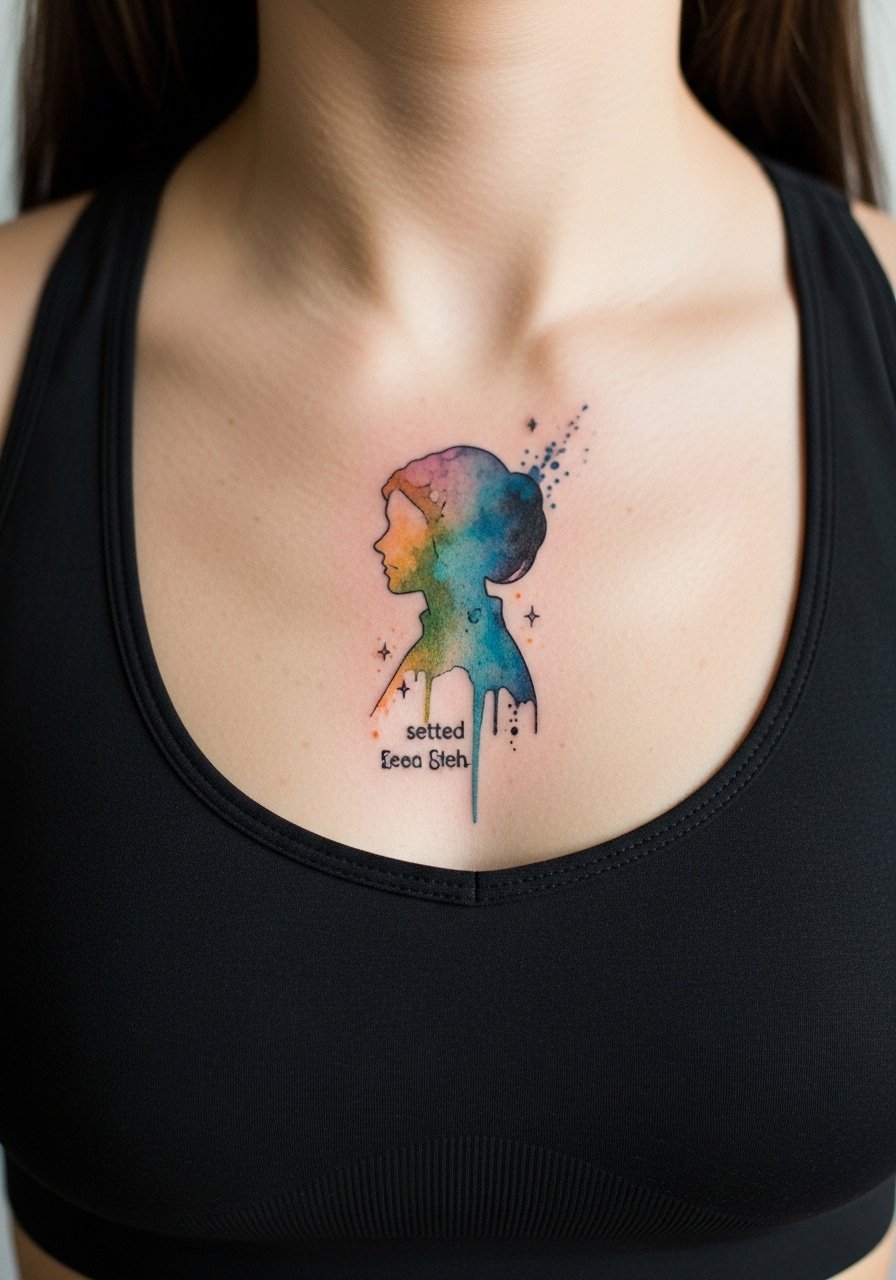
Sternum work is intimate and often more painful than arm pieces. Watercolor washes over the sternum need support from slightly firmer anchor lines so the image keeps shape as color fades. In consultation, mention you want the color anchored to subtle black micro-lines rather than pure wash. This placement also raises a small cultural debate about using iconic faces versus suggestive silhouettes. One side prefers literal portraits for fidelity. The other prefers simplified homage to avoid direct likenesses. If you choose this area, wear a sports bra on the day of the session so the artist can access the sternum cleanly.
13. Tiny Droid Line Pair on Fingers
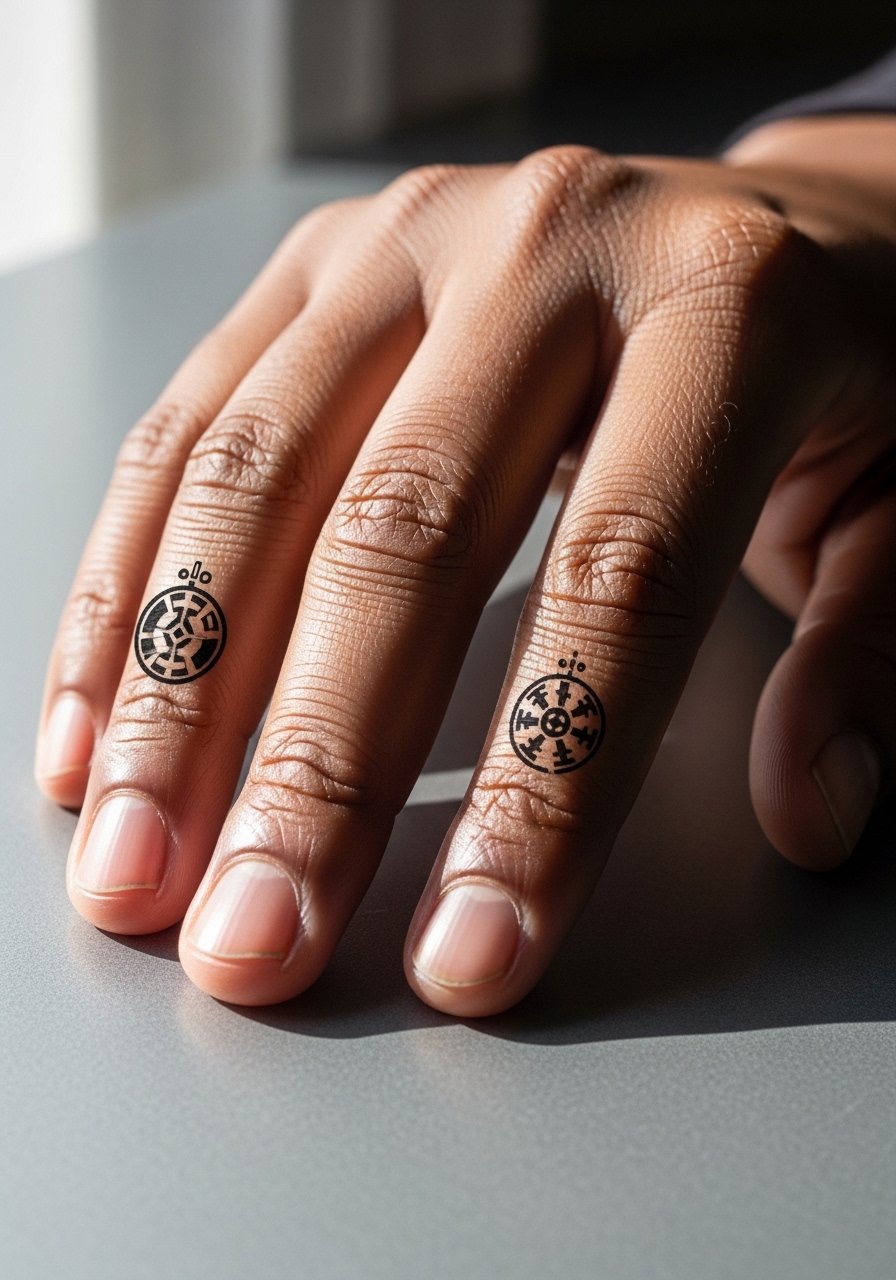
Finger tattoos live in one of the most aggressive longevity zones. Expect linework to blur and fade faster due to hand washing and friction. If you still want a finger nod to the droids, request thicker simplified icons and plan on touch-ups within one to two years. The session is quick and painful in short bursts. A common regret is asking for ultra-thin script or micro detail on fingers. For the design to last, embrace bold minimal shapes.
14. Bold Black Saber Hilt on Hand Edge
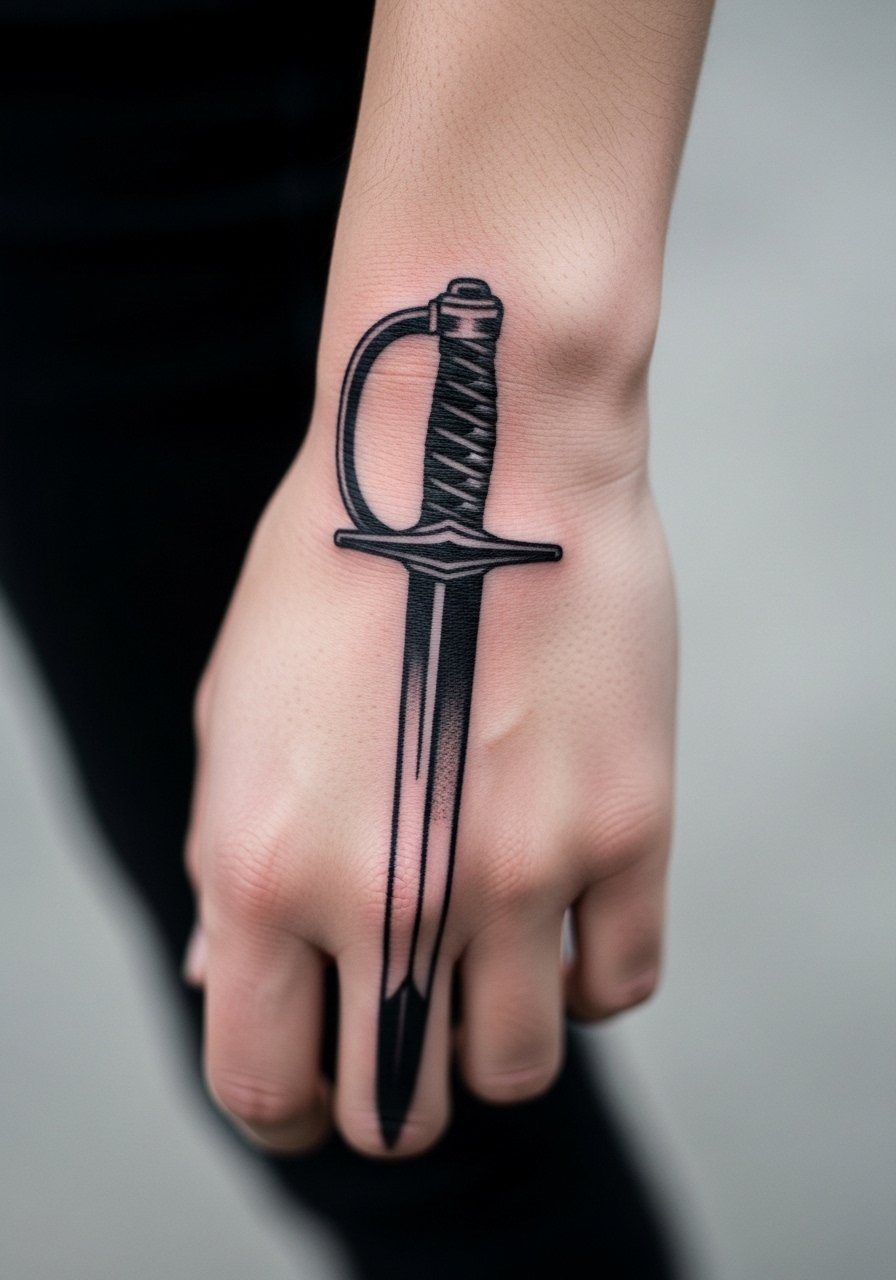
Hand-edge tattoos are high visibility and also high friction. They can look authoritative when done in saturated blackwork. Expect sessions to sting more because the area has little fatty padding, and expect some early patchiness as the hand heals with frequent movement. The biggest mistake is treating a hand piece like a forearm piece and selecting too little saturation. For showing it off selectively, wear a thin chain ring set that complements the hilt without covering the linework.
15. Galactic Coordinates on Upper Back
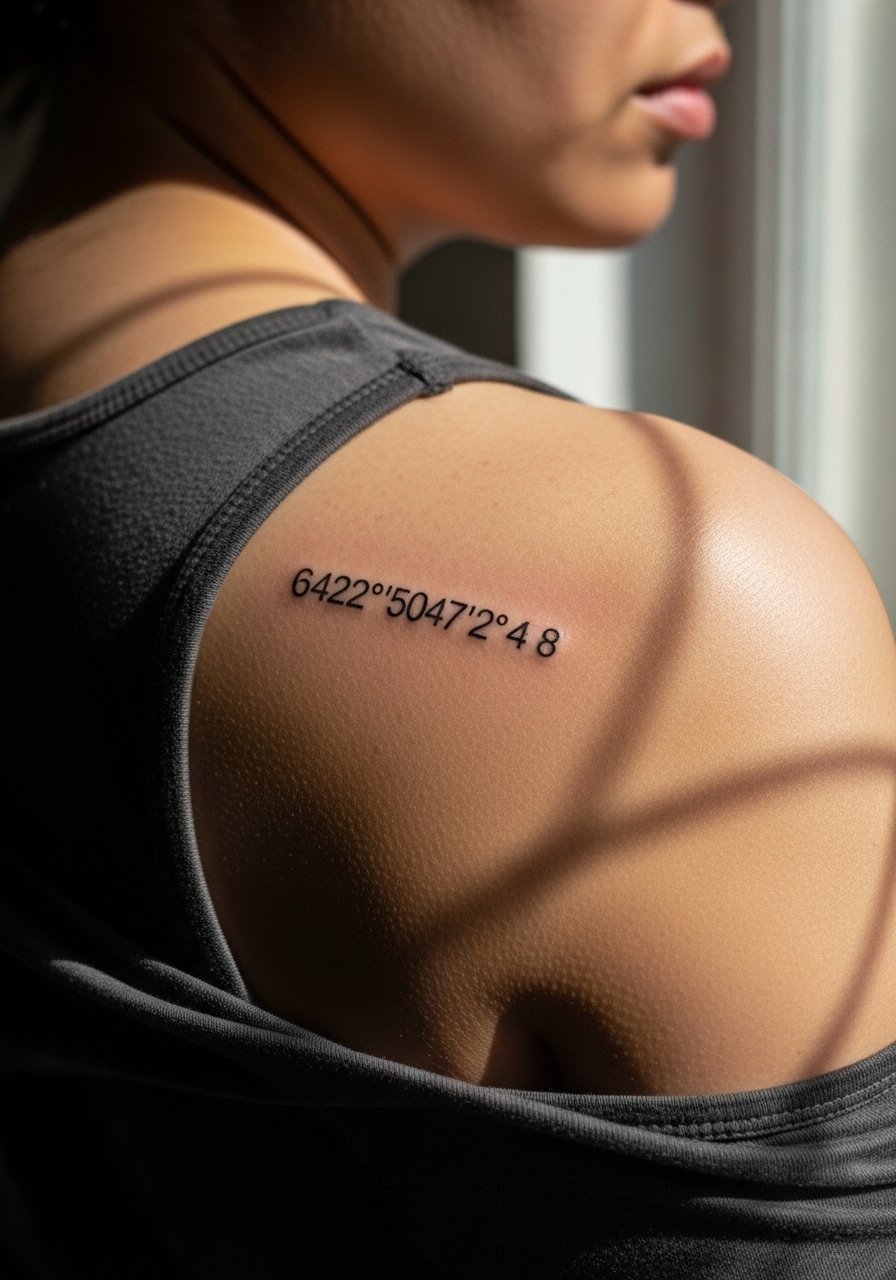
Coordinates or small lines of text on the upper back are subtle and age well because the skin moves less than the torso. Make sure the script is slightly bolder than a stationery pen stroke and that kerning is open. The session is short and the area tolerates a follow-up if you want heavier saturation. A show-off pairing for open-back garments is an easy way to reveal the piece without conflicting accessories. When booking, look for artists who document healed upper-back text in their portfolios so you can see real outcomes.
16. Stylized TIE Fighter Sleeve Accent on Outer Bicep
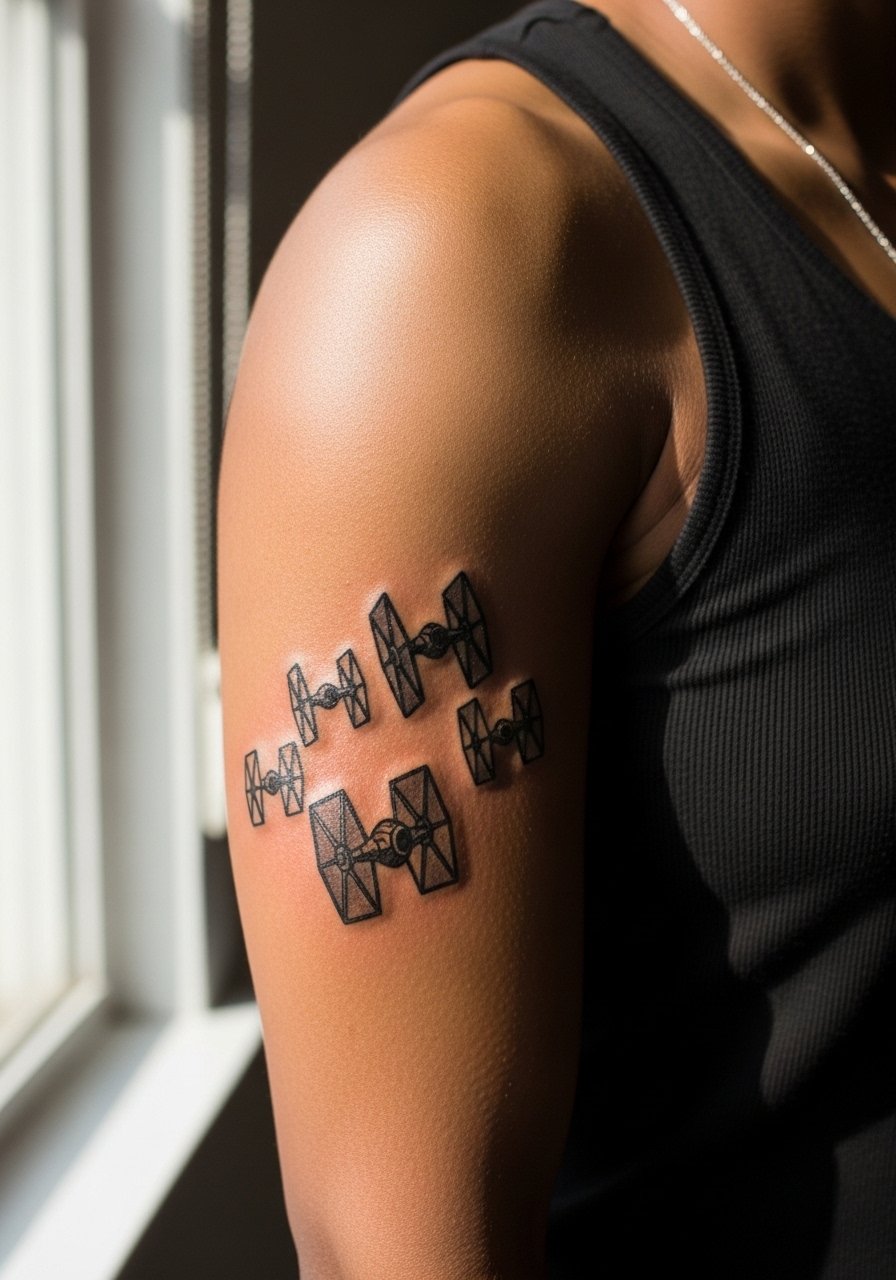
Outer bicep pieces are comfortable sessions and hold linework reliably because the skin is thicker. For a sleeve accent, coordinate negative space so the TIE fighters breathe between other elements. A common error is crowding the composition when trying to fit multiple small fighters into a narrow band. Ask your artist for mock-up photos at different arm angles so you can see how movement affects the cluster. When you want to show it, a loose tank top gives a casual reveal without rubbing the healing edges.
17. Constellation Map Sleeve Wrap on Forearm
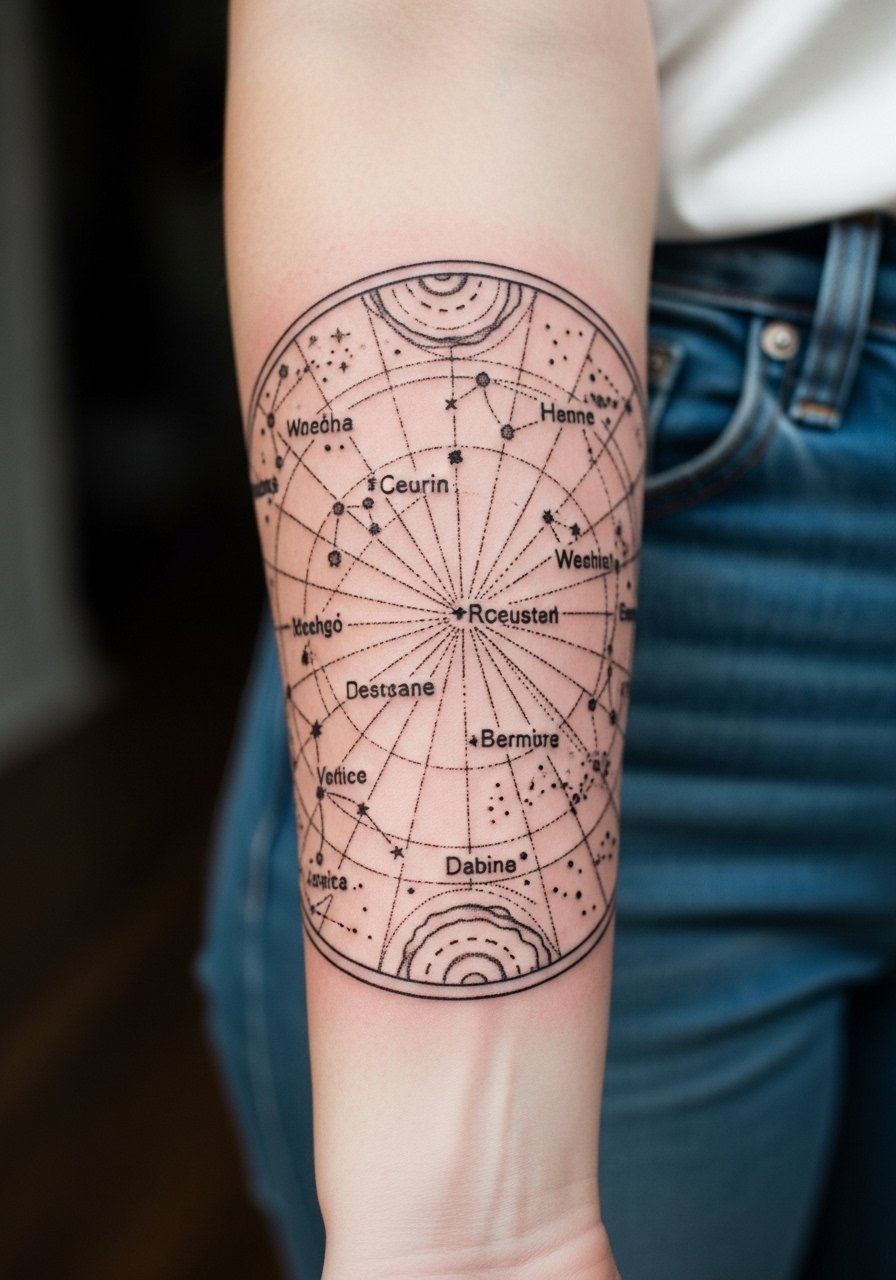
A forearm wrap with constellation lines and star dots can be approachable and scale-friendly when planned with spacing. The biggest mistake is making the dots too small or the linework too close; both lead to cluster blur over time. Tell your artist you want dot work spaced like a minimal constellation map and to reserve tiny negative gaps between stars. The session typically runs a few hours for a wrap, and the forearm is forgiving for touch-ups. For casual wear that frames the map, roll sleeves or choose short-sleeve linen shirts.
Frequently Asked Questions
Q: Will fine line Star Wars tattoos like the lightsaber or constellation map blur quickly?
A: Fine line pieces depend heavily on spacing and placement. In my experience, forearms and upper backs are more forgiving than fingers and ribs. Ask for slightly heavier lineweight than your aesthetic reference and schedule a touch-up conversation at the consult.
Q: Are character portraits harder to tattoo well than symbols?
A: Yes and no. Portraits need more contrast and careful shading to keep likeness over time. Symbols often age more predictably because they rely on silhouette. If you want a portrait, ask to see healed photos of similar portraits from the artist before booking.
Q: How do I find a tattooer who can do these Star Wars styles without naming artists?
A: Use discovery pathways like local shop directories, convention guest lists, genre-specific hashtags, Reddit threads for portfolios, and online gallery filters that let you search by style. Bring healed-photo references to the consultation and ask about their touch-up policy.
Q: Should I worry about copyright or cultural sensitivity when tattooing iconic Star Wars imagery?
A: Some fans prefer exact movie likenesses and collectors accept that. Others choose stylized or symbolic nods to avoid direct replicas. Both camps have valid points. If you use imagery derived from cultural sources, consider slight variations or consult community resources to respect origins.
Q: What should I wear to a chest or sternum session to make the appointment easier?
A: Wear a fitted sports bra or a zip-up top so the artist can expose only the needed area. A practical option is a fitted sports bra that you can pull down slightly without full removal. That keeps you comfortable and preserves modesty during the session.
Q: How often will I need touch-ups for hand, finger, or ankle Star Wars pieces?
A: Those zones see the most friction and sun exposure. Plan on touch-ups within one to three years depending on your skin, lifestyle, and how much you protect the area. Expect faster fading on fingers and ankles than on upper arms or backs.
