
Fine line watercolor pieces keep trending, but what holds up on skin is not always what gets the most saves. Hyper-saturated washes look gorgeous fresh and then sink into faint halos if placed on high-friction areas. A small, well-spaced constellation will keep its character far longer than a dense watercolor wash packed into a narrow wrist. The list below gives design options that balance the watercolor mood with placements and details that age better.
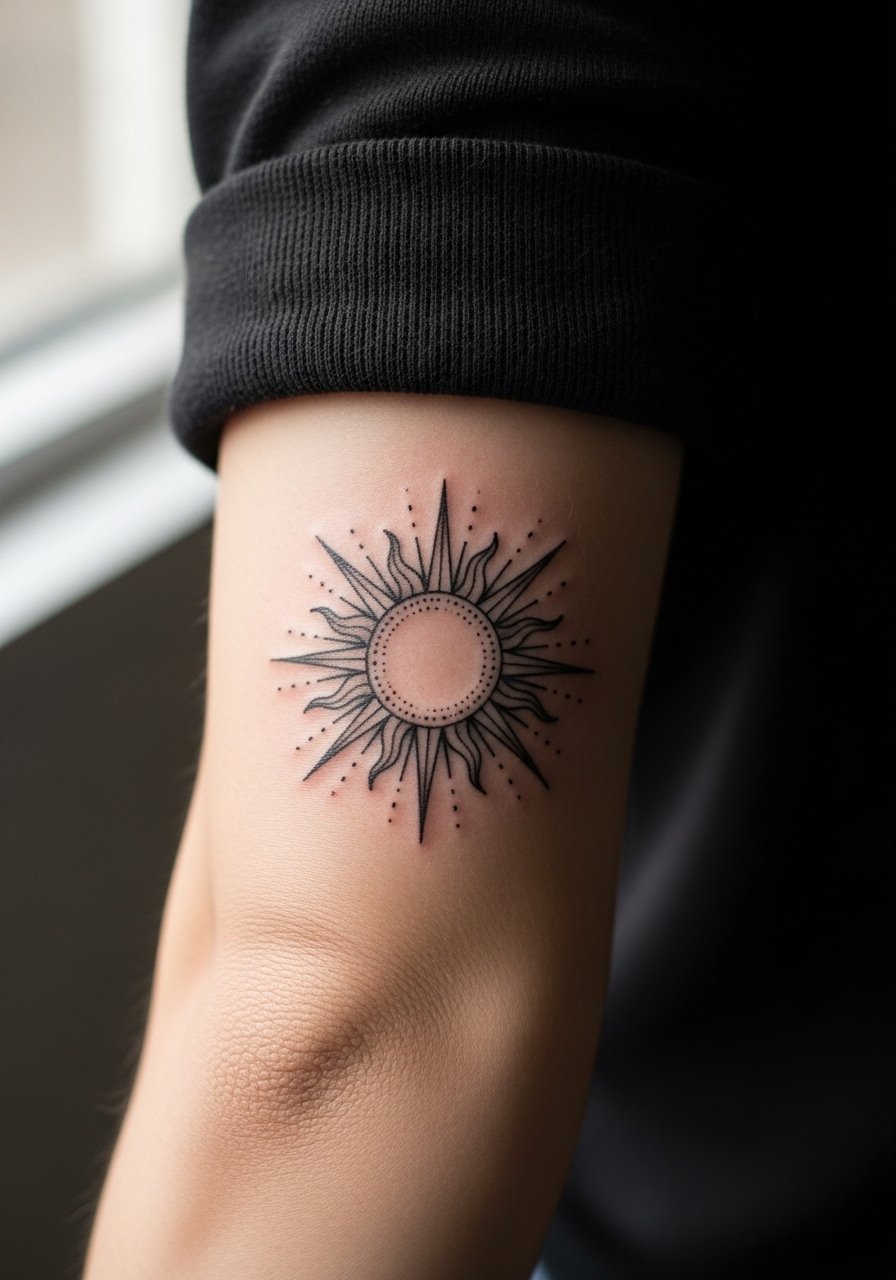
1. Delicate Sun on the Inner Forearm with Floating Stars

I often recommend the inner forearm when someone wants a daytime sun motif that can be shown or covered easily. Ask your artist for slightly stronger linework around the sun so the face and rays remain readable as the color softens at six months and beyond. A common mistake is packing too many tiny stars close to the main sun, which causes the dots to merge over time. Expect low pain, a single session under two hours for a minimalist sun and a few tiny stars, and a touch-up possibility at year three for color refresh. For showing it off, roll up sleeves and pair with a linen button-down shirt that frames the forearm without competing with the palette.
2. Crescent Moon with Watercolor Halo on the Wrist
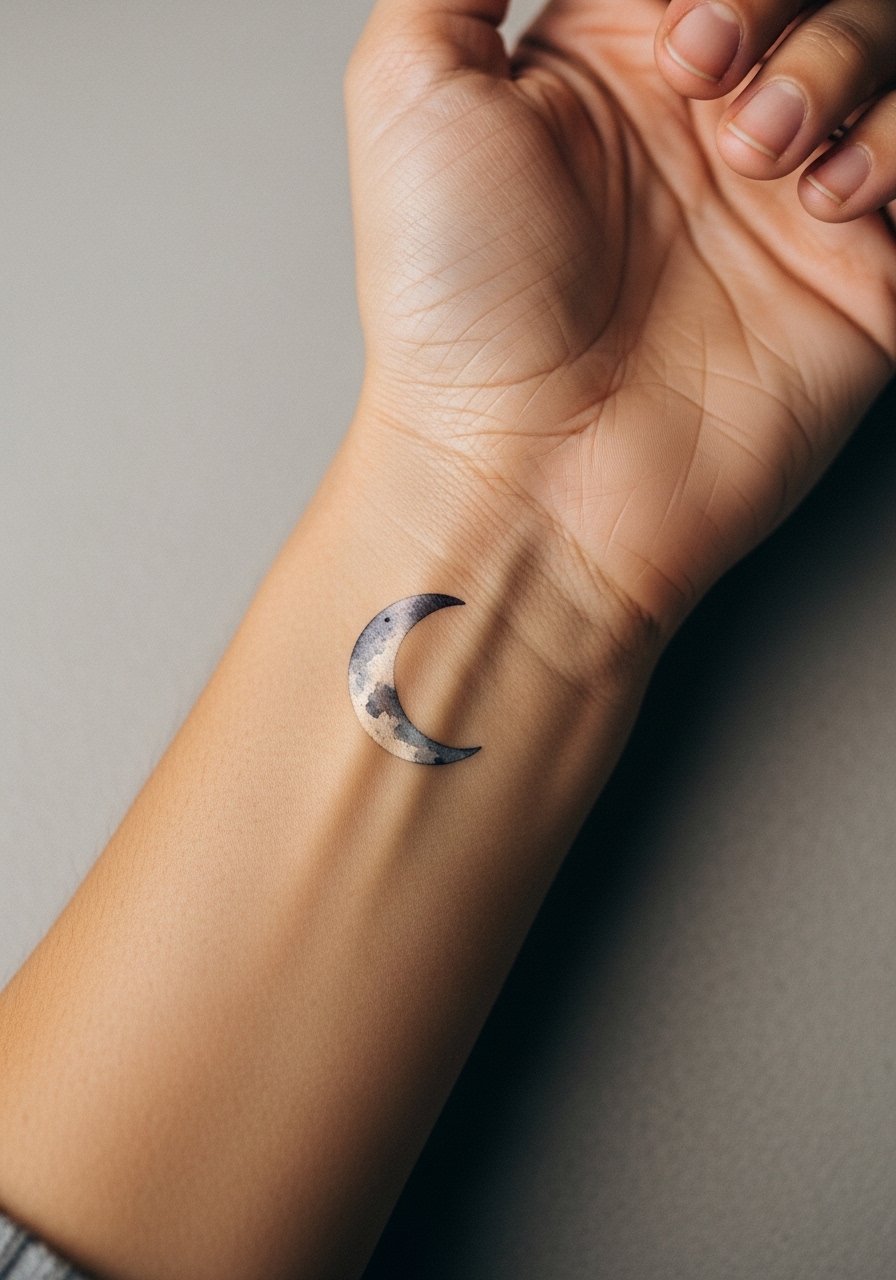
Fair warning, the wrist is higher risk for fade because it gets a lot of sun and washing. I tell clients to ask for a bold outer contour around the crescent and ask the artist to keep the watercolor halo airy rather than dense. The session feels quick but the area is sensitive, so plan for light discomfort and a fifteen to thirty minute break if needed. At six months the halo will look softer and by two years the contour carries most of the image. Pair with stacked dainty bracelets and a thin chain bracelet to keep attention on the wrist without crowding the motif.
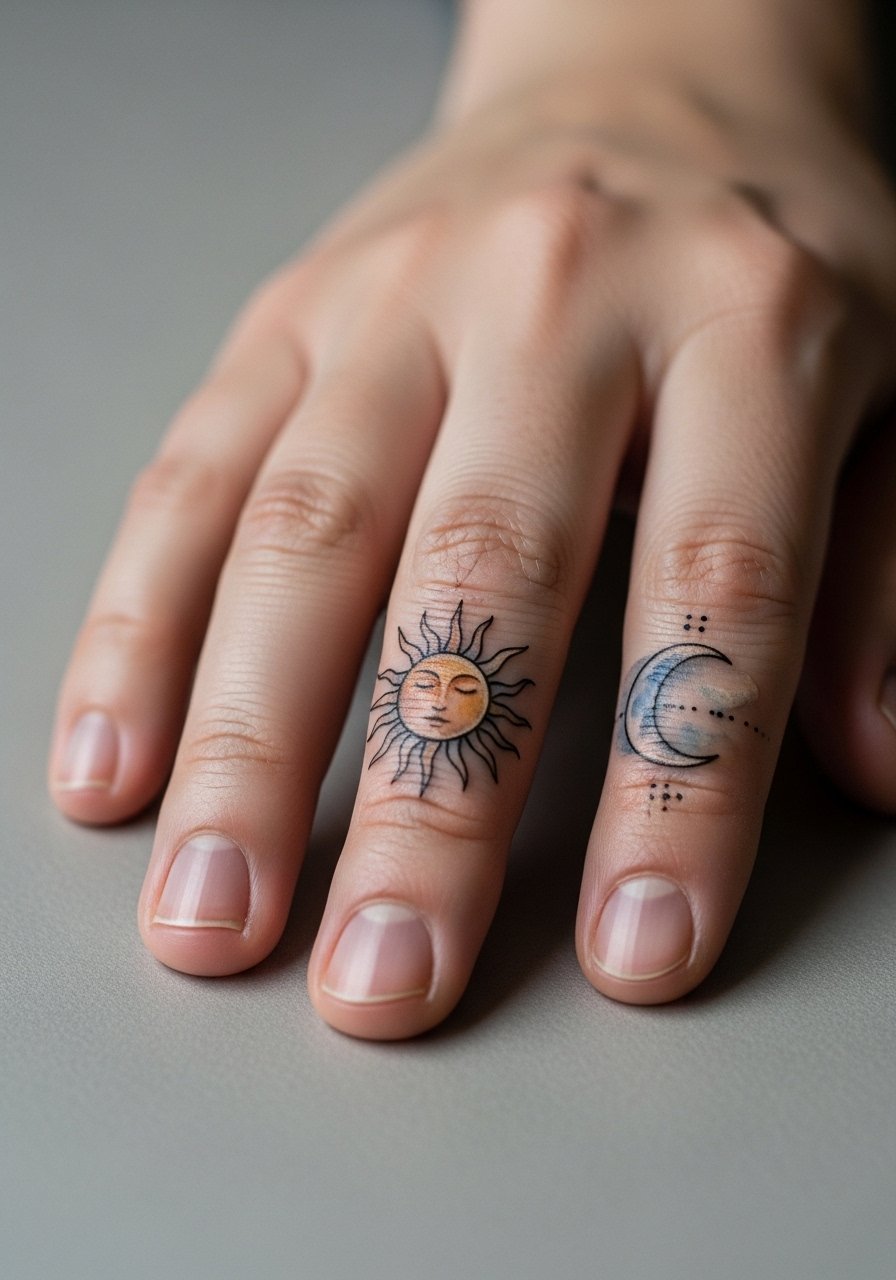
3. Tiny Constellation Ringing a Tiny Sun on the Finger
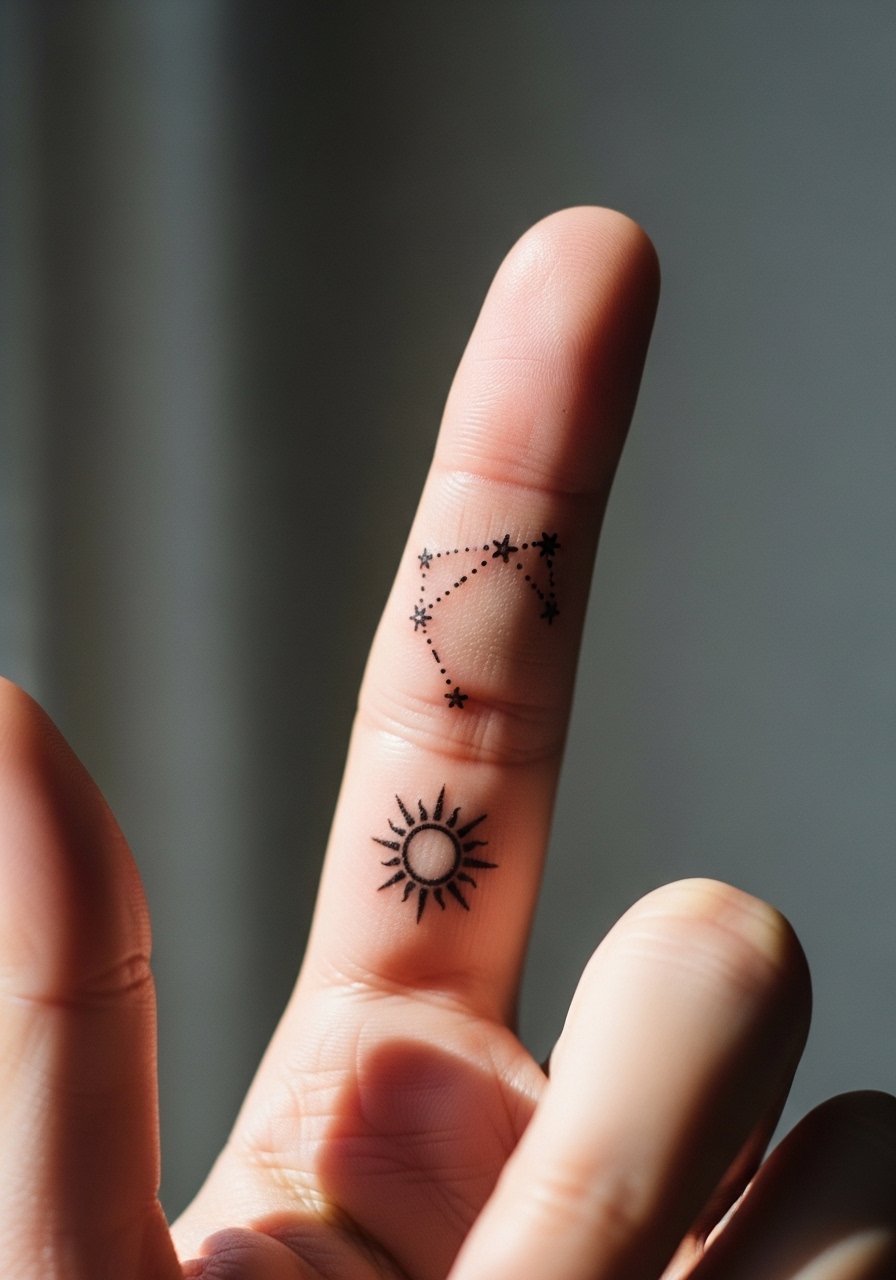
Finger tattoos age differently than arm work because the skin there regenerates quickly and experiences friction. The usual error is asking for too much detail in a tiny space. I advise a simplified sun icon with three or four star dots around it, and a realistic touch-up expectation at year one or two. The session is short but painful, especially near joints, and wear on daily items speeds fading. For the appointment, bring a soft cotton glove you can slide off to keep circulation calm after the stencil is set.
4. Watercolor Moon Sliced by Fine Line Stars on the Ribcage

Artists split on ribs for watercolor and fine line. One camp warns that the skin stretch and movement blur lines within two years. The other camp argues that with the right depth and spacing the lines hold up well. In my experience the key is scale and spacing. Make the moon large enough to avoid compressing details and mention to the artist that you sleep on your back or side so they can consider how friction will affect the wash. Expect higher pain, a longer session, and a likely touch-up at year two for any soft areas.
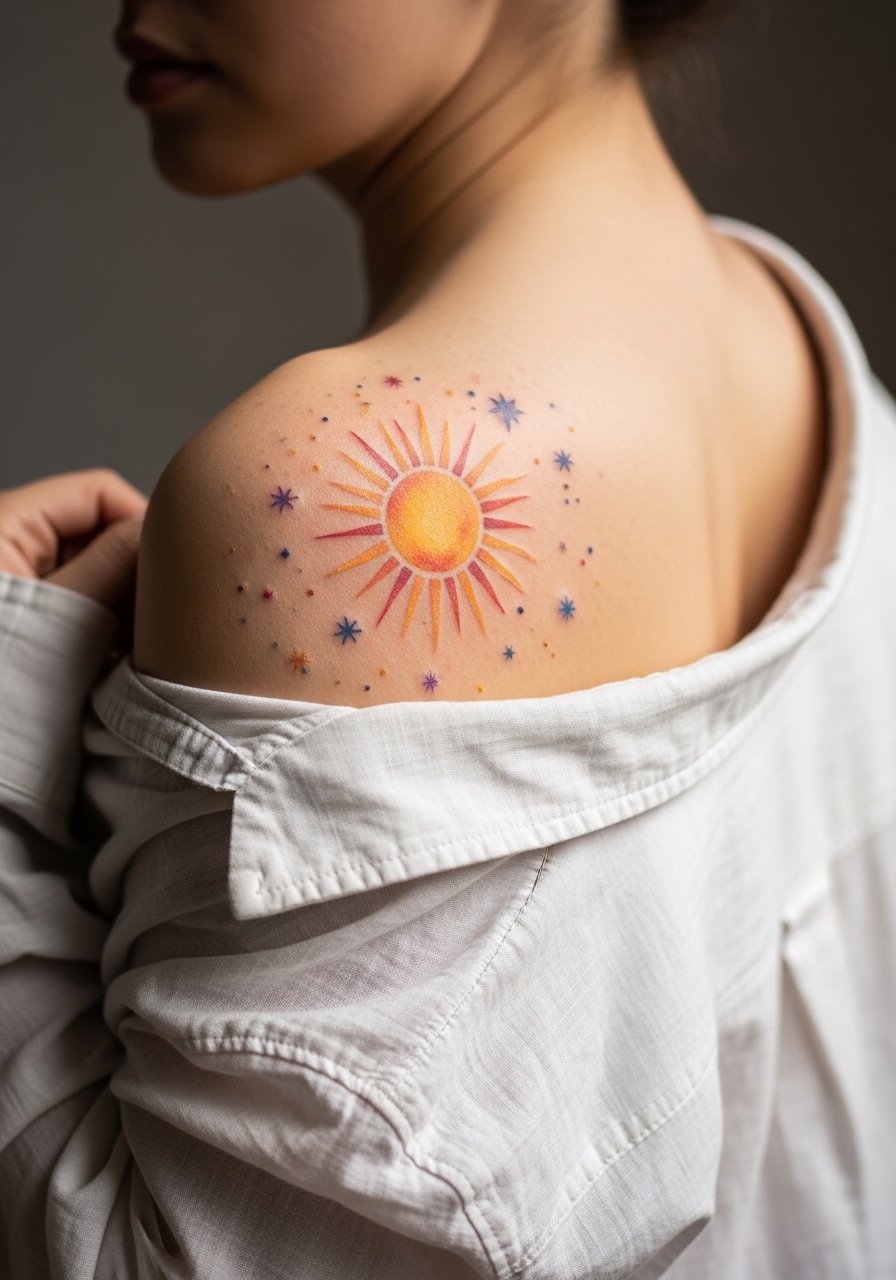
5. Solar Mandala with Watercolor Wash on the Shoulder Cap
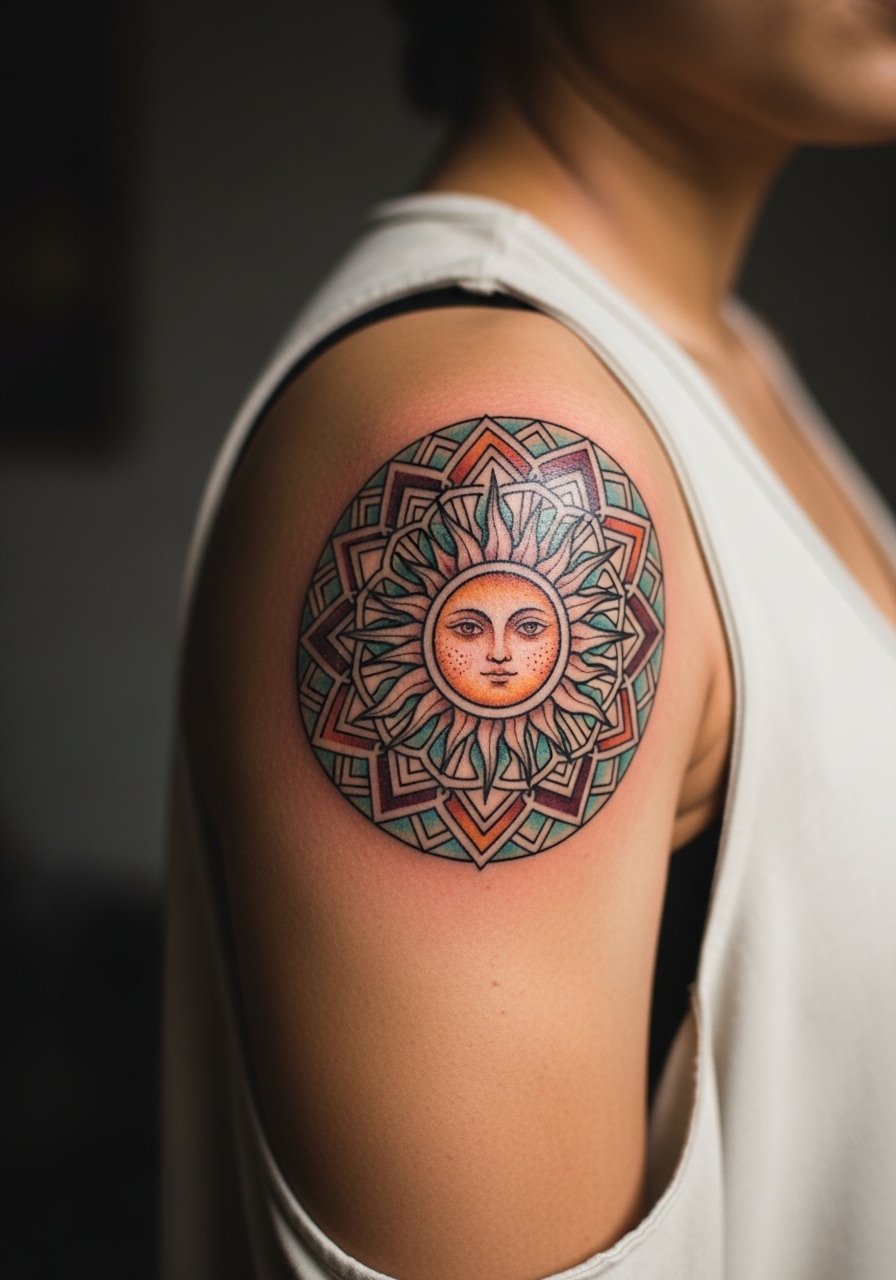
There is something about shoulder placement that keeps mandala linework readable even as watercolor fades gently around it. Ask your artist to separate the mandala's dense geometry from the wash by leaving tiny negative spaces between petals. The shoulder handles saturation well, pain is moderate, and most work completes in a single two-hour session. People often err by compressing dots and stipple too tightly into the center, which leads to merging after healing. Show this piece with a loose tank top for evenings out, the open shoulder keeps attention on the sun motif.
6. Sternum Sunburst with Tiny Stars Above the Band
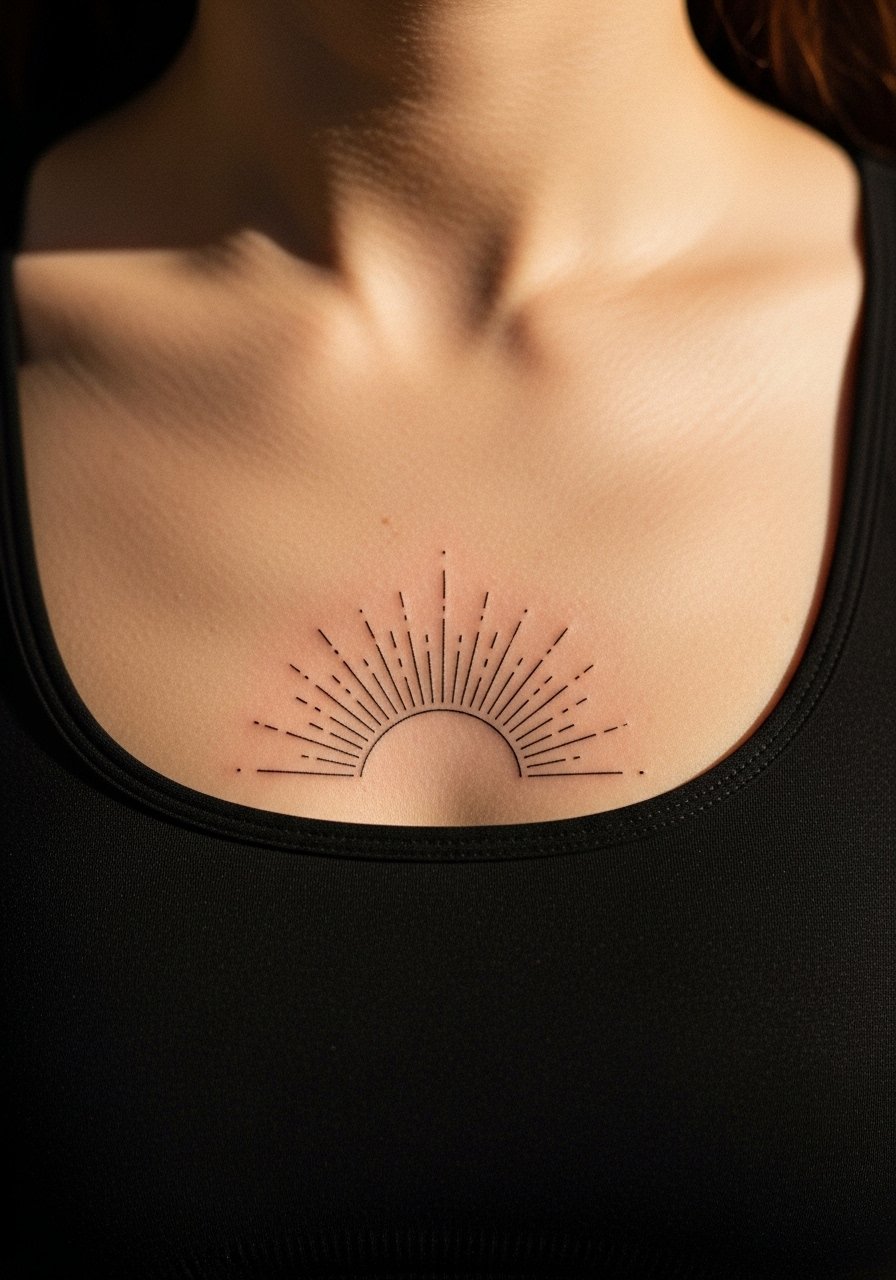
Sternum work is intimate in both placement and aftercare needs, and the biggest mistake is requesting ultra-fine detail in a high-motion area. Ask for slightly bolder primary rays and keep the tiny stars a touch larger so they last. Expect a painful session and the need to wear loose clothing for the first week. The piece reads differently at six months when swelling settles and by two years when the main rays remain the anchor. For the session wear a strapless or zip-up top so the artist has clean access without risking irritation.
Studio Day Picks
The small pieces above on wrist, finger, and forearm need different prep than the sternum and ribcage work, so these tools make the day and the first week smoother.
-
Stencil transfer paper kit. Lets you preview line placement on skin before ink, which is helpful for fine sun faces and constellation layouts on small zones.
-
Topical numbing cream. Applied per product instructions before the session it can ease the edge during sensitive ribcage and sternum work without changing the stencil.
-
Thin protective film roll. Useful for wrist and finger pieces that face constant washing and contact during the first days.
-
Fragrance-free body wash. A gentle cleanser for showering the area without stripping the light watercolor pigments that define these pieces.
-
Aquaphor healing ointment. Thin layers during the initial healing window help retain moisture for fine line areas without clogging pores.
7. Tiny Solar System Curve Behind the Ear
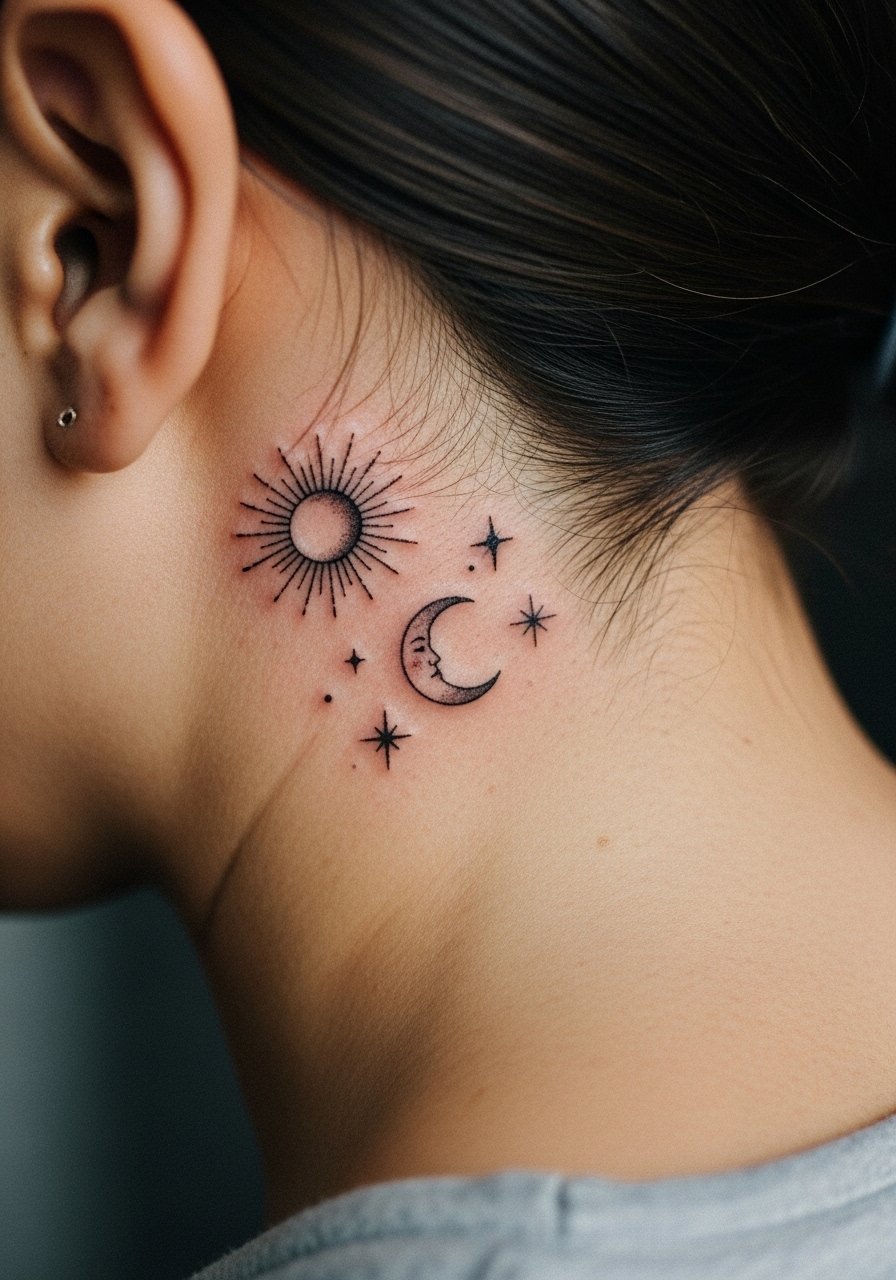
Behind-the-ear placements read as discreet and personal, but artists need clear stencils because the area is curved and small. The typical mistake is cramming a full composition into that tiny space. I suggest a small sun, a crescent moon, and two stars spaced along the curve, and tell your artist to test the transfer with hair down to see how it sits. Pain is low to moderate, and touch-ups are common because of hairline friction. For showing it off, wear hairstyles that pull the hair behind one ear or a wide-brim hat to let the tiny piece peek out elegantly.
8. Back of Shoulder Blade Sun and Scattered Stars
The shoulder blade supports larger watercolor shapes without the noise of constant friction. I recommend spacing stars out from the center sun so the negative space ages into part of the composition rather than an accidental blur. Sessions are comfortable if you can lie prone, and the piece often completes in one longer appointment. The common error is choosing colors that contrast poorly with skin tone, which diminishes the watercolor effect once healed. For best evenings-out looks, try an open-back blouse to frame the sun and stars.
9. Minimalist Solar Glyph on the Ankle
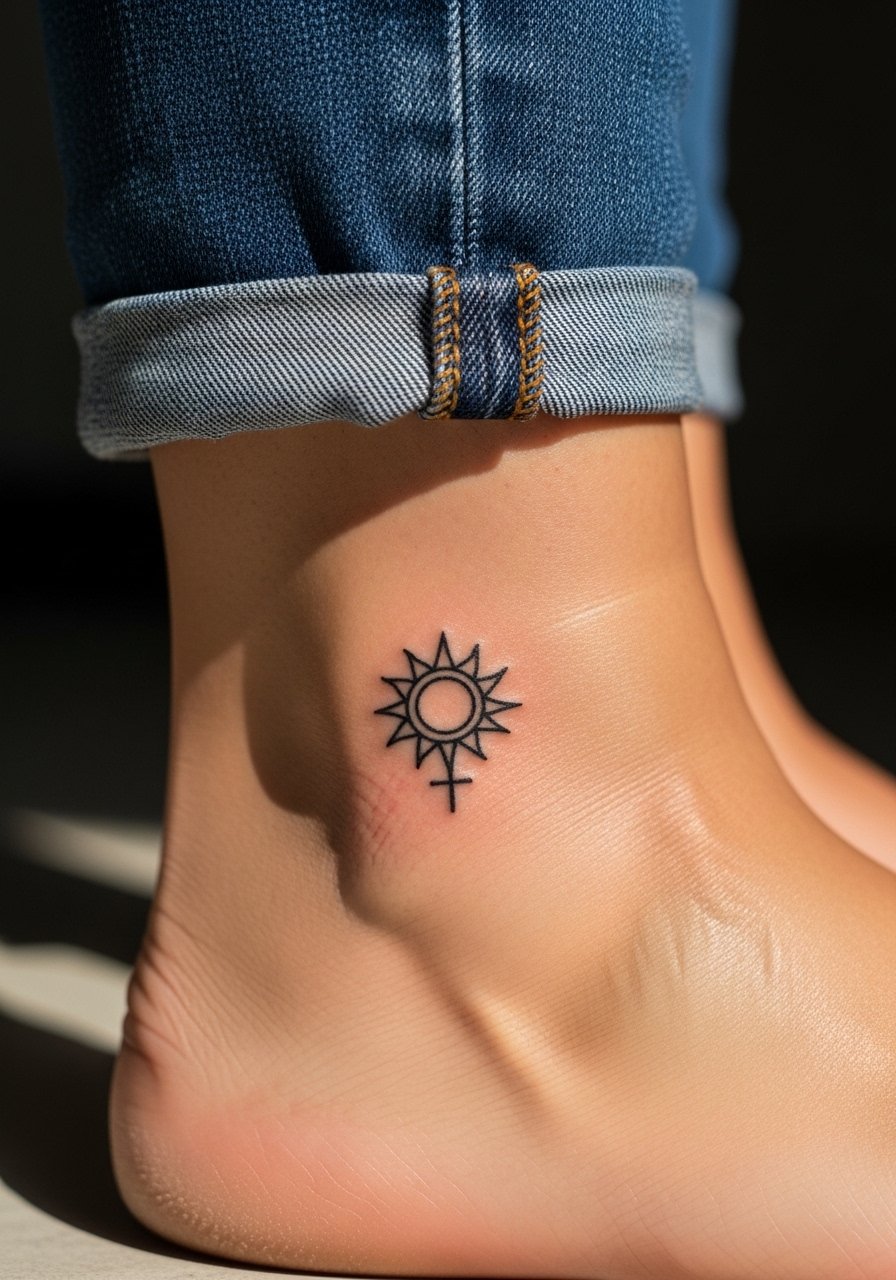
Ankle tattoos face friction from shoes and socks, and small detail disappears fast if placed over a bony prominence. The design I favor keeps the glyph simple with a bold micro outline around the sun and spaced stars above. Pain is moderate, especially near the bone, and healing needs mindful footwear choices the first week. At two years the darker outline will carry the motif even if the watercolor fades. Wear sandals or roll-up jeans to show it off with a pair of minimalist sandals that keep the area visible without rubbing.
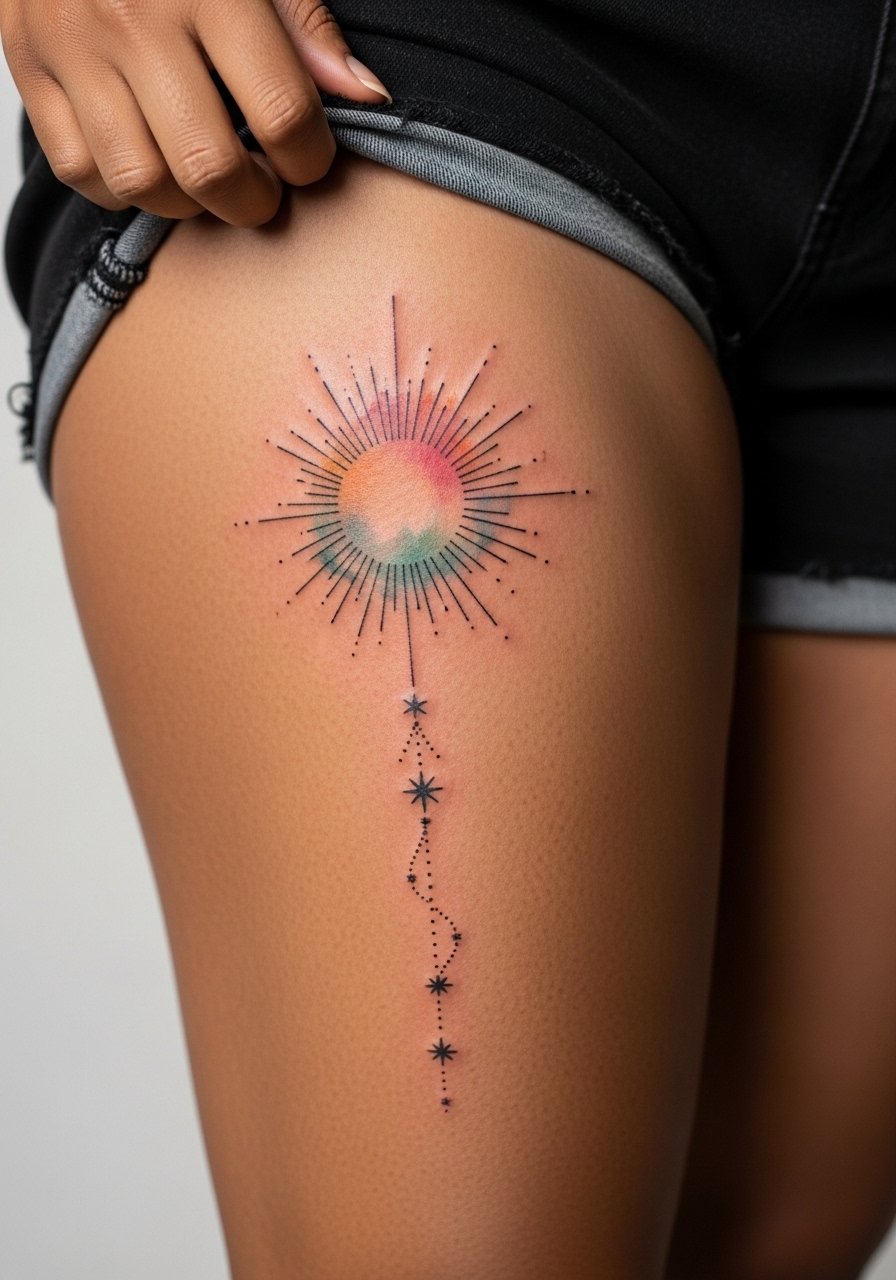
10. Solar Eye on the Upper Thigh with Scattered Micro Stars

Upper thigh pieces let you go larger and keep watercolor washes saturated longer thanks to lower daily abrasion. I tell clients to choose a bold central sun-eye and scatter micro stars outward so the composition breathes across the skin. Sessions are less painful than ribs but can be long if the wash is extensive. A common mistake is asking for too many tiny lines near the groin area, which complicates healing. For the appointment, wear high-waisted shorts or a wrap skirt so the artist can access the spot without discomfort.
11. Solar Motif Over the Elbow with Dot-Work Stars
The elbow has unique motion and skin folding that can distort linework, so I recommend placing the sun just above the joint rather than directly on it. Dot-work stars around the sun use stipple shading which keeps contrast as the piece ages, but avoid dense stippling right on the fold. Sessions will include breaks because the area is bony and sensitive. Expect touch-ups earlier than arm pieces. For casual wear, roll sleeves to sit just beneath the motif and add a casual denim jacket to frame the arm without hiding the work.
12. Watercolor Moon Phases Down the Spine with Tiny Star Chains
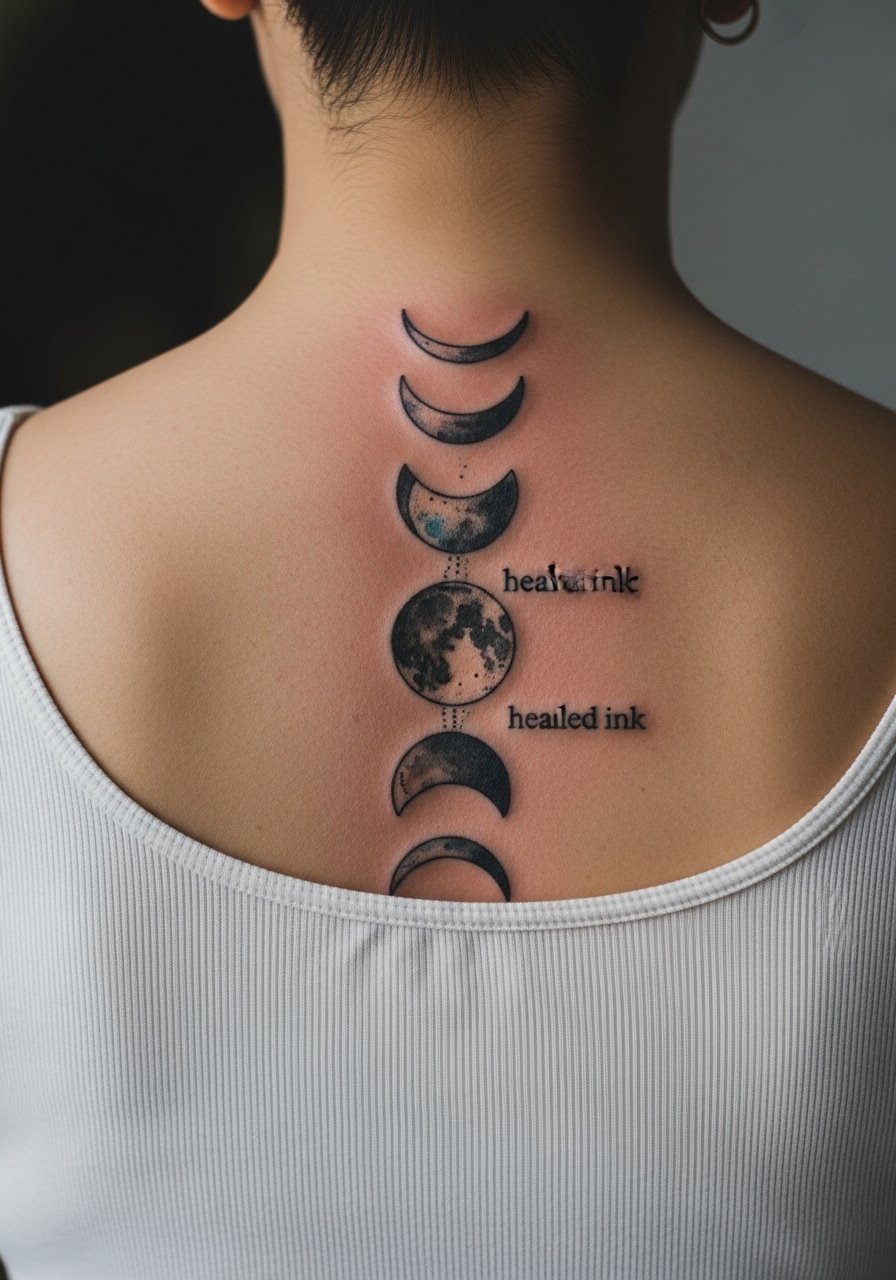
Spine placements prompt a controversy about linear fine line application versus bolder spacing. One group says tight fine lines along the spine blur as the skin shifts. The other group says careful spacing and gentle saturation solve that. From what I have seen, spacing phases out with tiny star chains between each moon phase and that spacing is what keeps the travel of the ink legible at year three. Pain can be significant on the spine and sessions may split across multiple appointments. Show this piece in an open-back dress or with a low-back tank to let the moons read clearly.
13. Solar Compass on the Calf with Subtle Star Accents
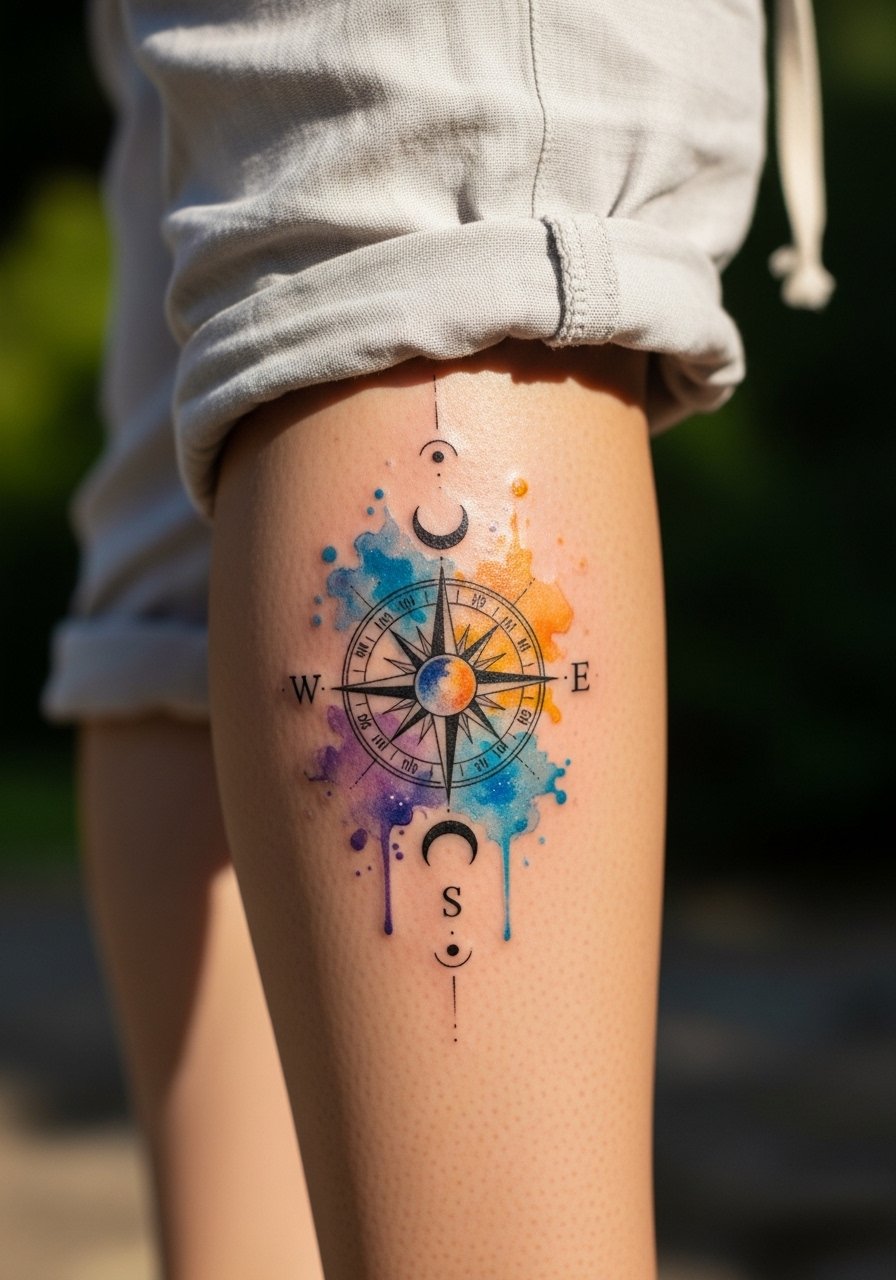
Calf pieces age predictably and handle saturation well, which makes them great for a watercolor solar compass that needs legible points. The main risk is choosing colors that muddy against darker shorts or boots, so pick contrast that complements your wardrobe. Sessions are comfortable and healing is straightforward, often finishing in a single appointment. One mistake I see is adding tiny script or micro detail that fades unevenly. Pair the calf piece with rolled linen pants and a loose drawstring linen pant to show the motif without rubbing it daily.
14. Tiny Sun and Shooting Star on the Collarbone
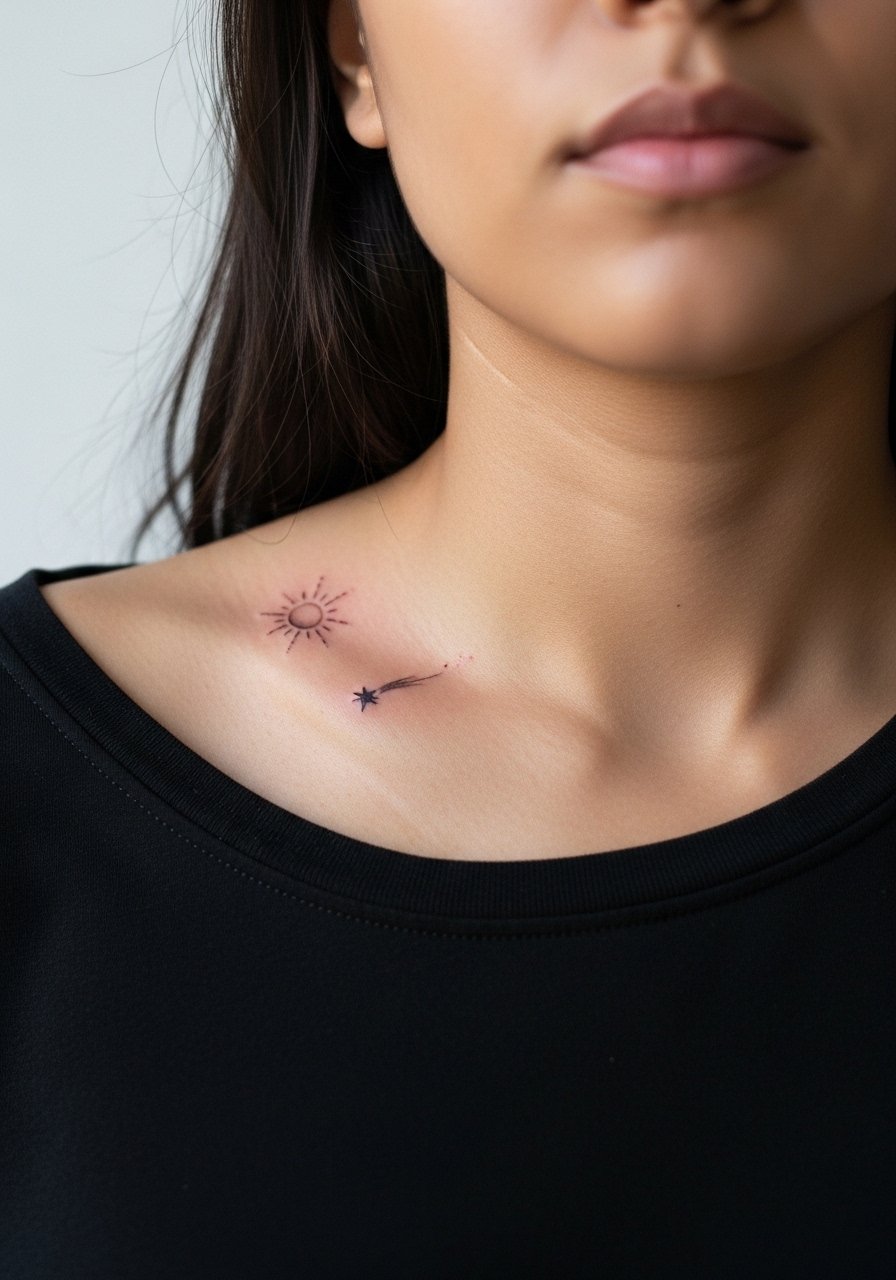
Collarbone tattoos can look striking when paired with jewelry but they also face movement from breathing and shoulders. I often suggest the sun be slightly offset from the bone and for the shooting star to be elongated so it reads even as the wash softens. The session is moderate in pain and short in duration. A common error is placing dense watercolor right on the bone where it can seem patchy after healing. For show-off looks, pair with a thin chain pendant necklace that sits above the design without crowding it.
15. Sun Face Micro-Realism Behind the Ear of the Upper Neck

Neck work is visible and sometimes influences workplace perceptions, so think through visibility before booking. The sun face in micro-realism looks intimate behind the ear or on the side neck if the linework is slightly bolder than your typical micro detail. Pain is moderate to high and healing benefits from loose collars the first week. The mistake is choosing too tiny a face that loses character fast. For appointment comfort, wear a loose button-down you can pull aside without tightness around the neck.
16. Watercolor Sun Halo on the Upper Arm Sleeve Edge
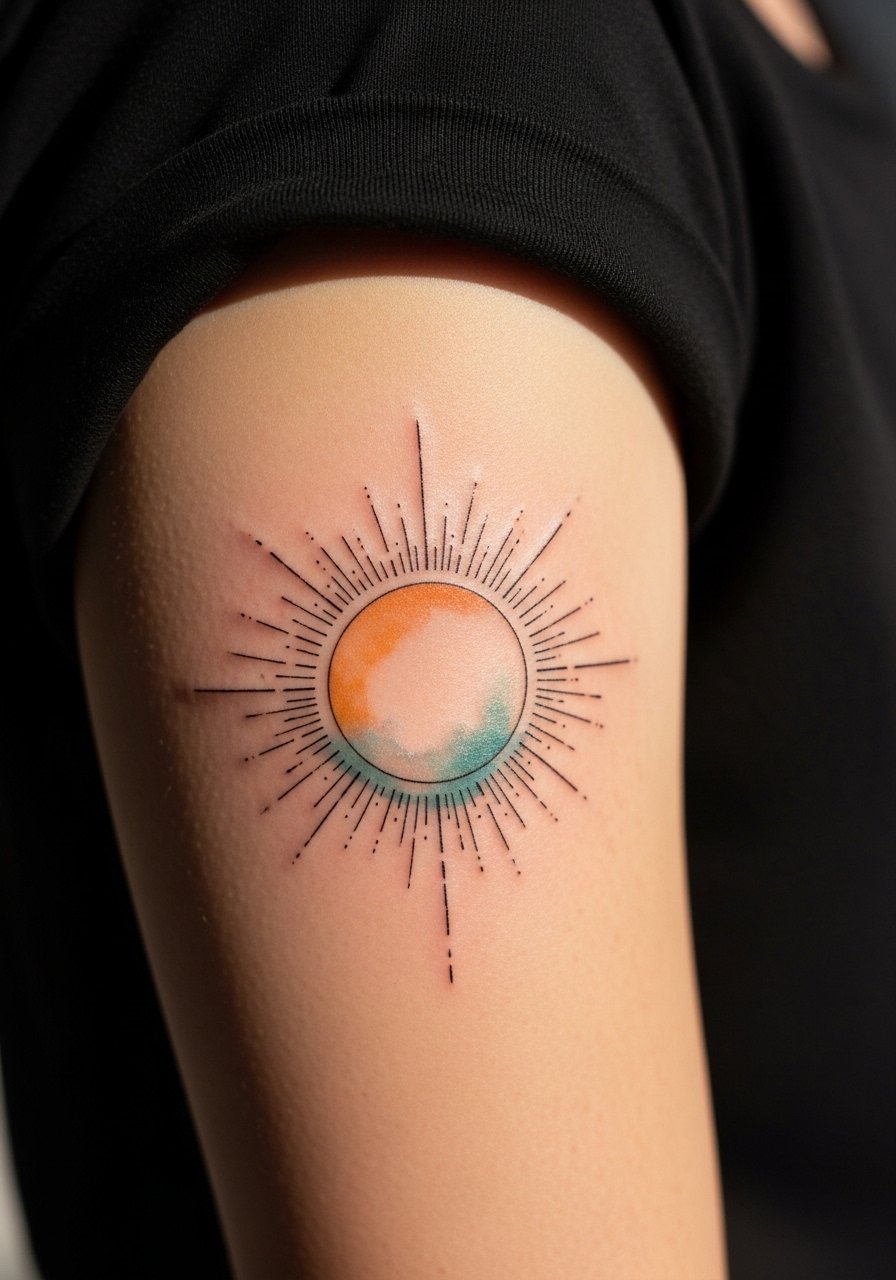
The upper arm tolerates larger watercolor washes and this placement keeps saturation intact longer because it gets less abrasion than lower-arm zones. Ask your artist to anchor the halo with a slightly darker ring so the motif remains readable at two years. The session is low to moderate in pain and often finishes in a couple of hours. A common error is blending the halo into a sleeve without enough negative space which creates muddy transitions. For showing the piece, wear a rolled-sleeve shirt to keep focus on the upper arm art.
17. Sun Disk on the Lower Back with Tiny Star Trails
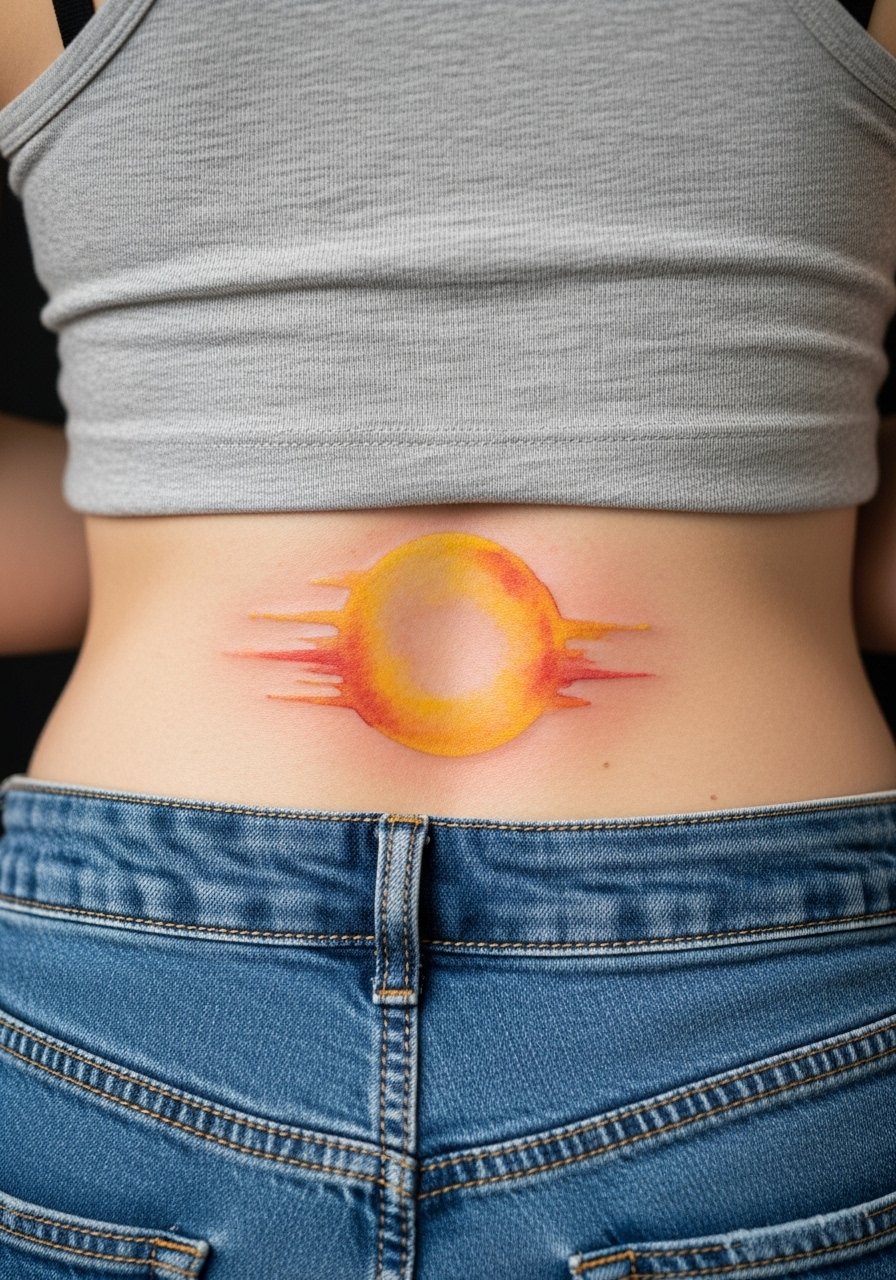
Lower back tattoos can be hidden or shown depending on clothing choices, which makes them versatile. I recommend the sun disk be centered and for star trails to arc outward so that the design works whether you wear jeans and a cropped top or a longer top. Sessions are moderate and healing requires avoiding tight waistbands. A frequent mistake is placing the piece too low near pants where straps rub during recovery. Pair with high-waisted bottoms or a cropped tee that frames the lower back without constant friction.
18. Tiny Solar Cluster on the Side Hip

Hip tattoos hide well and allow for playful placement, but friction from waistbands can accelerate fade. I tell clients to request a slightly raised contour around each tiny solar element to help the shapes persist through rubbing. The session is low to moderate in pain and touch-ups are common after heavy summer wear. A real mistake is placing the cluster under a tight waistband. For showing off the piece at the beach, choose high-cut swimwear or a high-waisted bikini bottom that exposes the tattoo without constant chafing.
19. Sun and Moon Finger Wrap with Micro Stars Along the Band
Wrap tattoos on fingers must respect scale or they will blur into unreadable bands. The right approach is to keep the sun and moon as simple glyphs and to space star dots so they do not sit on top of a joint. Expect the fastest fading here and a need for a touch-up at year one. The session is brief but can be painful where skin is thin and near bone. For the appointment choose a soft cotton glove to reduce post-session swelling if recommended by your artist.
20. Watercolor Sunburst with Chain of Stars on the Outer Thigh
Outer thigh pieces age well and support larger washes and graceful star chains that can travel toward the hip. I recommend asking for a mix of stipple shading and soft watercolor so the sunburst keeps punch as the color moderates over time. Sessions are comfortable but can be long for full washes. A common mistake is placing the chain too close to the groin where movement distorts it. For showing the piece pair with a pair of denim shorts that allow the artwork to breathe and stay visible.
21. Micro Solar Motif on the Back of the Hand with Subtle Star Scattering
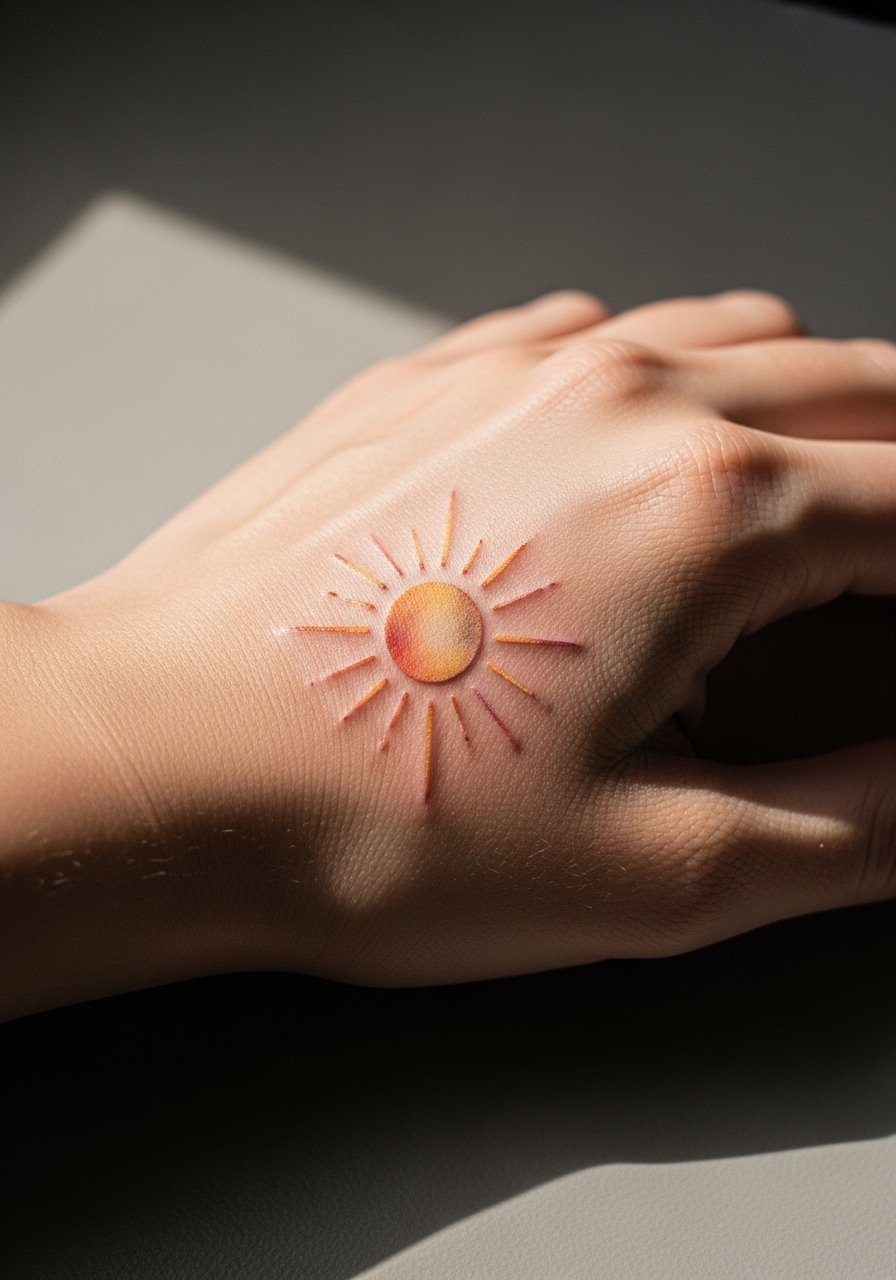
Hand tattoos remain controversial because they are so visible and often subject to workplace scrutiny. The best versions simplify the sun motif and use fewer watercolor washes so the linework reads clearly. One mistake is adding too many tiny stars that get rubbed away by daily tasks. The session is painful and fading is likely by year two, so plan for touch-ups. If you need to protect the piece, a subtle ring or bracelet can frame the hand without masking the art.
Frequently Asked Questions
Q: Do watercolor-style sun, moon, and stars tattoos need different aftercare than traditional pieces?
A: Yes. Watercolor pieces benefit from gentle cleansing and thin layers of ointment early on because heavy rubbing or thick creams can drag pigment. I recommend following your artist's specific aftercare and being ready for a color touch-up at year two to three for lighter washes.
Q: Will fine line stars and tiny moons blur faster if I get a sleeve of watercolor work?
A: It depends on placement and spacing. Tight clusters of fine lines in a sleeve can merge over time if there is not enough negative space. Ask for intentional breathing room between star clusters and for slightly stronger anchor lines where you want the design to remain distinct.
Q: How do I find an artist who knows how to balance watercolor wash with durable linework?
A: Use local shop directories, tattoo convention portfolios, and hashtag searches that show healed work rather than fresh photos. Look for healed pieces with similar color palettes and notes about touch-ups in portfolios. Bring those healed examples to your consultation and ask about their touch-up policy.
Q: Are there placements I should avoid if I want my watercolor sun and moon to last longer?
A: High-friction zones like fingers, palms, and the side of the hand fade fastest. Ribs and sternum are riskier for fine line unless scaled appropriately. Upper arm, calf, and thigh tend to preserve watercolor washes longer.
Q: How long should I expect between touch-ups for small watercolor stars and tiny moons?
A: For small, exposed placements expect a possible touch-up around year one to two. Less exposed zones like the thigh or upper arm often go longer before needing refresh. Your lifestyle, sun exposure, and skin type will change that timeline.
