
Fine line and pastel watercolor sleeves are everywhere right now, but the reality is messier. Many people report vibrant washes turning into muddy smudges within a year, others can’t find an artist who shows healed sleeve work without blur, and a quoted price often balloons once layering begins. Below are 17 sleeve-ready watercolor directions, what to ask for in consults, and how each one ages so you know where touch-ups will matter most.
1. Peony and Rose Gradient on Upper Arm
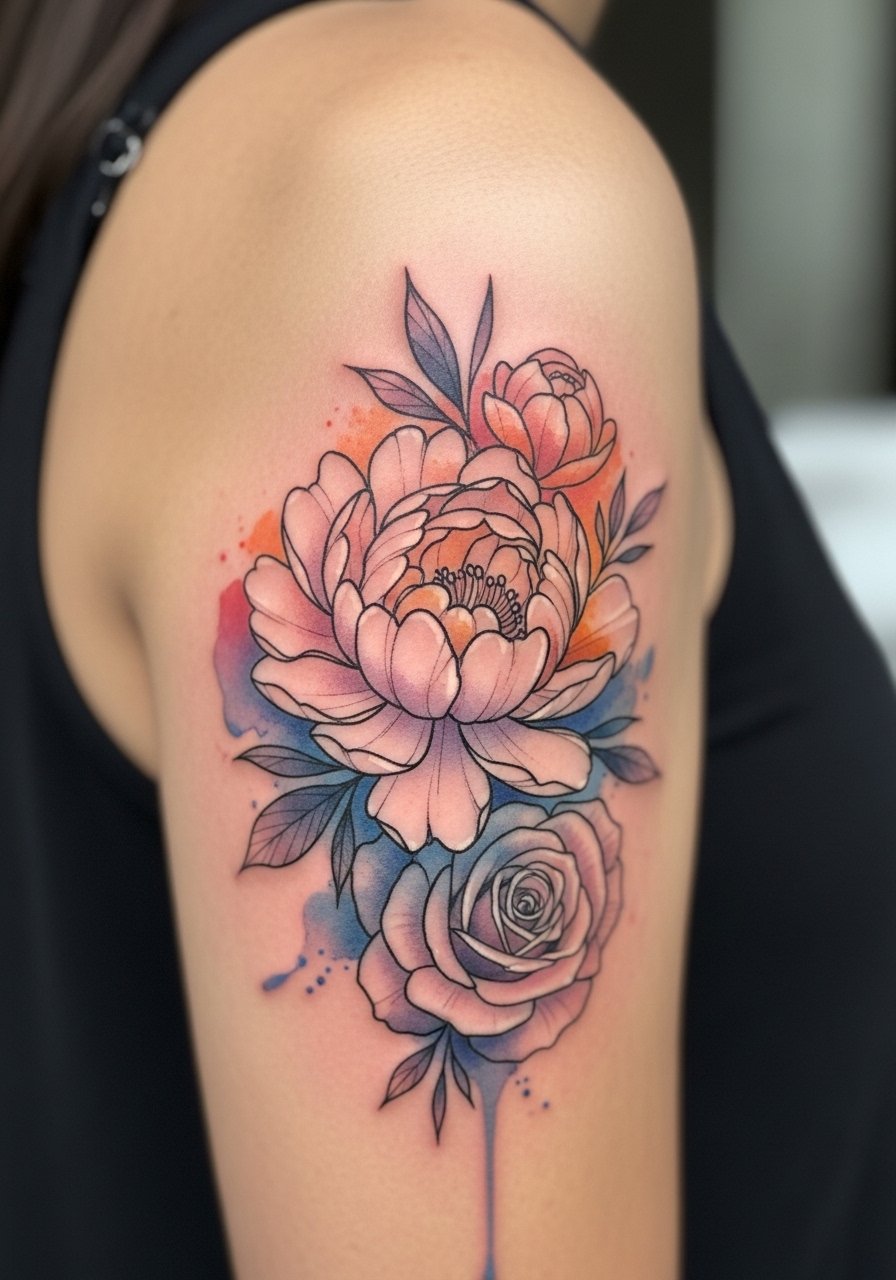
I recommend this when you want painterly blooms that flow with the shoulder curve. Tell your artist you want deliberate pigment packing around petal edges so the pinks and blues keep shape after a year. The common mistake is asking for zero outlines and expecting years of crisp petals. Expect four to six sessions for saturation to read from a distance, and plan a touch-up at the 6 to 12 month mark for midtones. For showing it off, pair the sleeve with an off shoulder blouse women that lets the gradients breathe visually. Session-wise this area is moderate pain, and the artist may use broad whip shading for the washes.
2. Butterfly Wing Washes Across Forearm
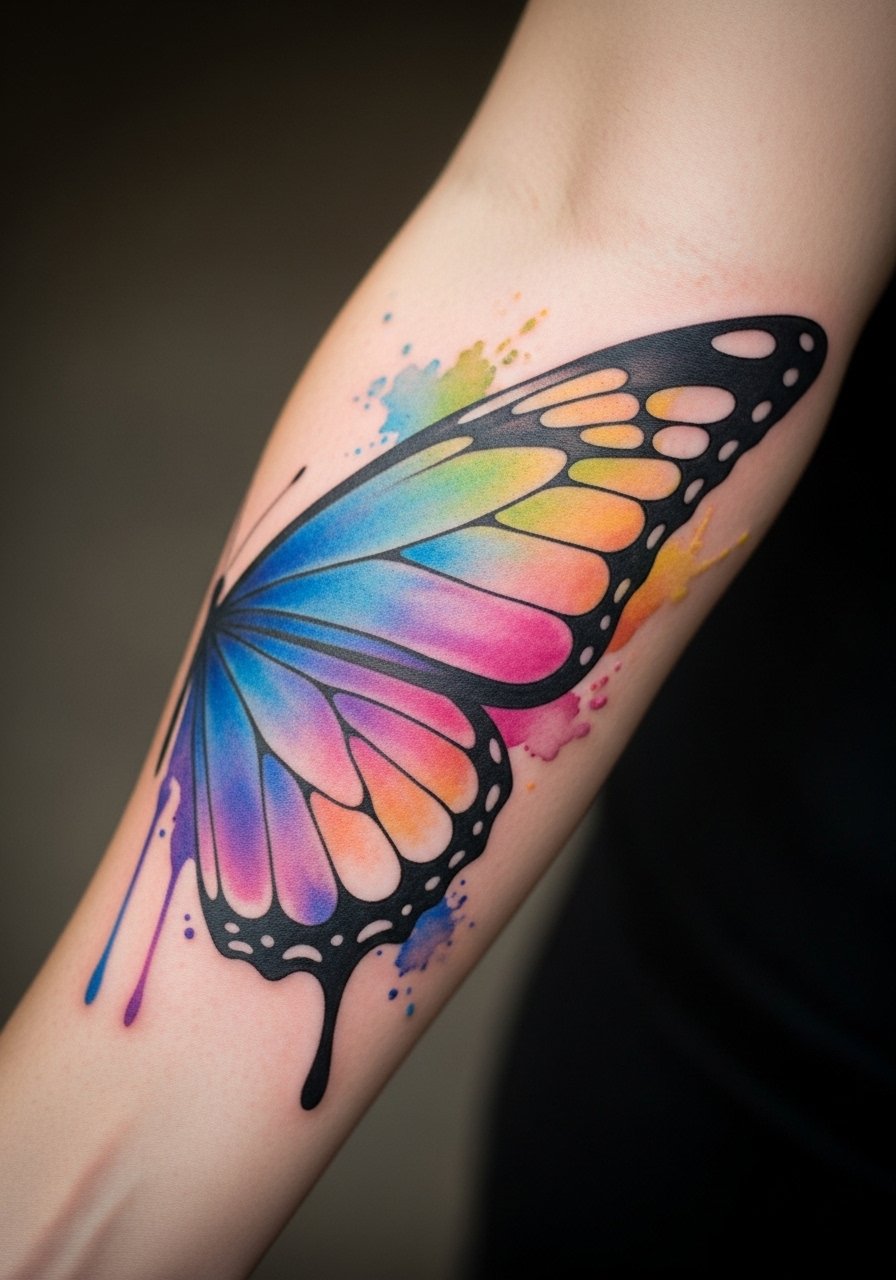
This design reads as ethereal movement when the wings fade into abstract washes. In consultation bring healed butterfly examples and ask for healed pictures on a similar forearm tone so you can avoid fresh-ink illusions. A common fail is too many overlapping colors packed shallowly, which can blur into one muddy mass by year two. Expect three sessions and a fair amount of blending work during each visit. For everyday wear, rolled sleeves highlight the forearm. Try a rolled cuff shirt women to frame the wings without competing with color. Forearm work shows blowout risk if the linework is too tight near wrist creases.
3. Pastel Mandala Flow on Bicep

This ornamental mandala uses watercolor fills inside spaced petal layers to keep negative skin breathing room. During consult ask the artist to leave deliberate gaps in dense areas so stipple shading, not tiny lines, defines the petals. Many mandalas get scaled too small and the dense ink merges after healing. Expect five sessions for a full bicep build and a touch-up at year two for saturation. For evenings, a strapless tube top draws the eye up without clashing with the pastel palette. The bicep tolerates longer sessions well, though swelling can change contour between passes.
4. Painterly Portrait with Color Splash on Outer Bicep
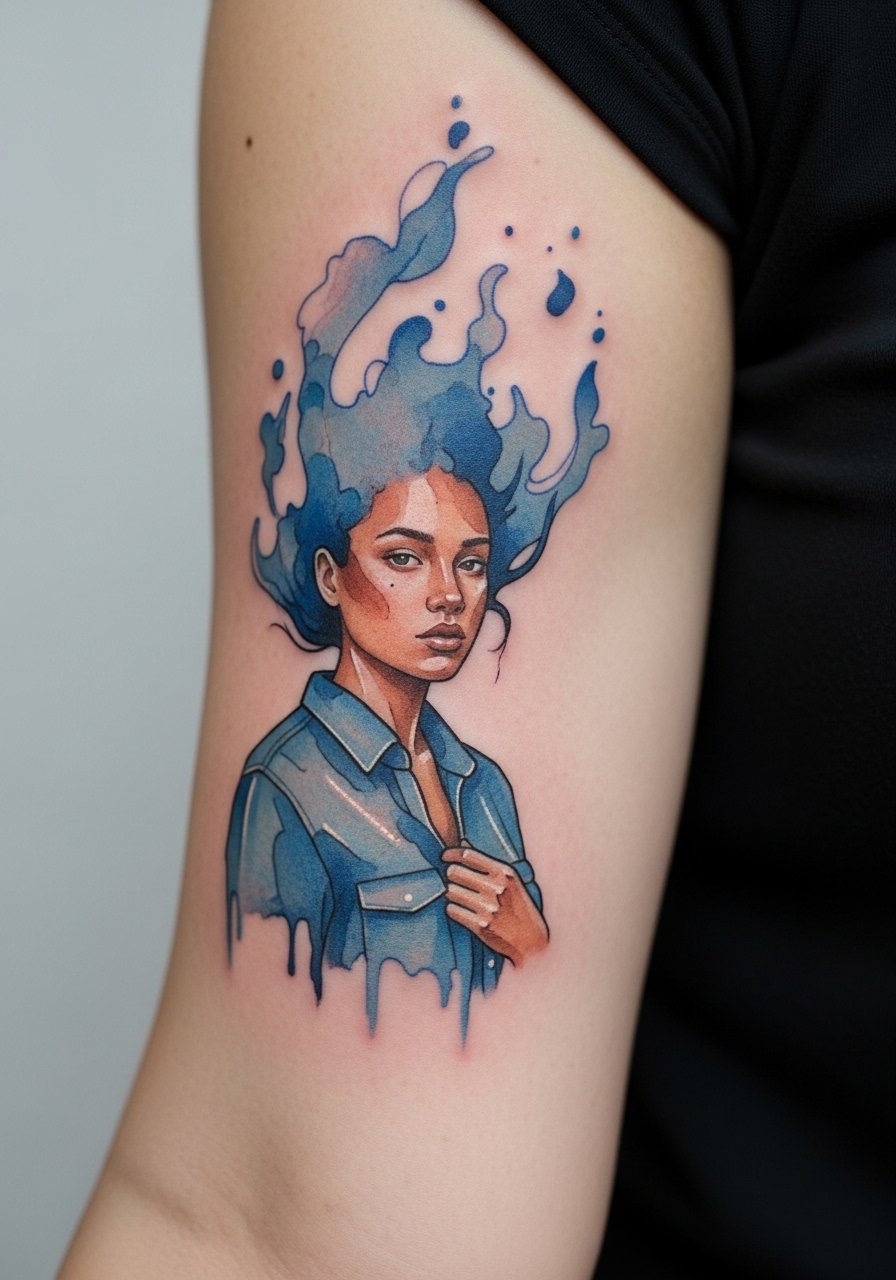
Go for this when you want a narrative piece rather than repeating motifs. Tell your artist you want healed-reference photos of portraits they have done, and to avoid overly finessed micro realism that relies on tiny dots for shading. The pitfall is booking a portrait that looks stunning fresh but loses definition as washes settle. Portrait sleeves often take six or more sessions and can cost more than expected because skin tones and realistic shading demand layering. Outer bicep sessions are easier on pain than inner arms, but still plan breaks. If you have darker skin, ask about higher-contrast pigments and budget a touch-up for midtones.
5. Nebula Galaxy on Inner Arm
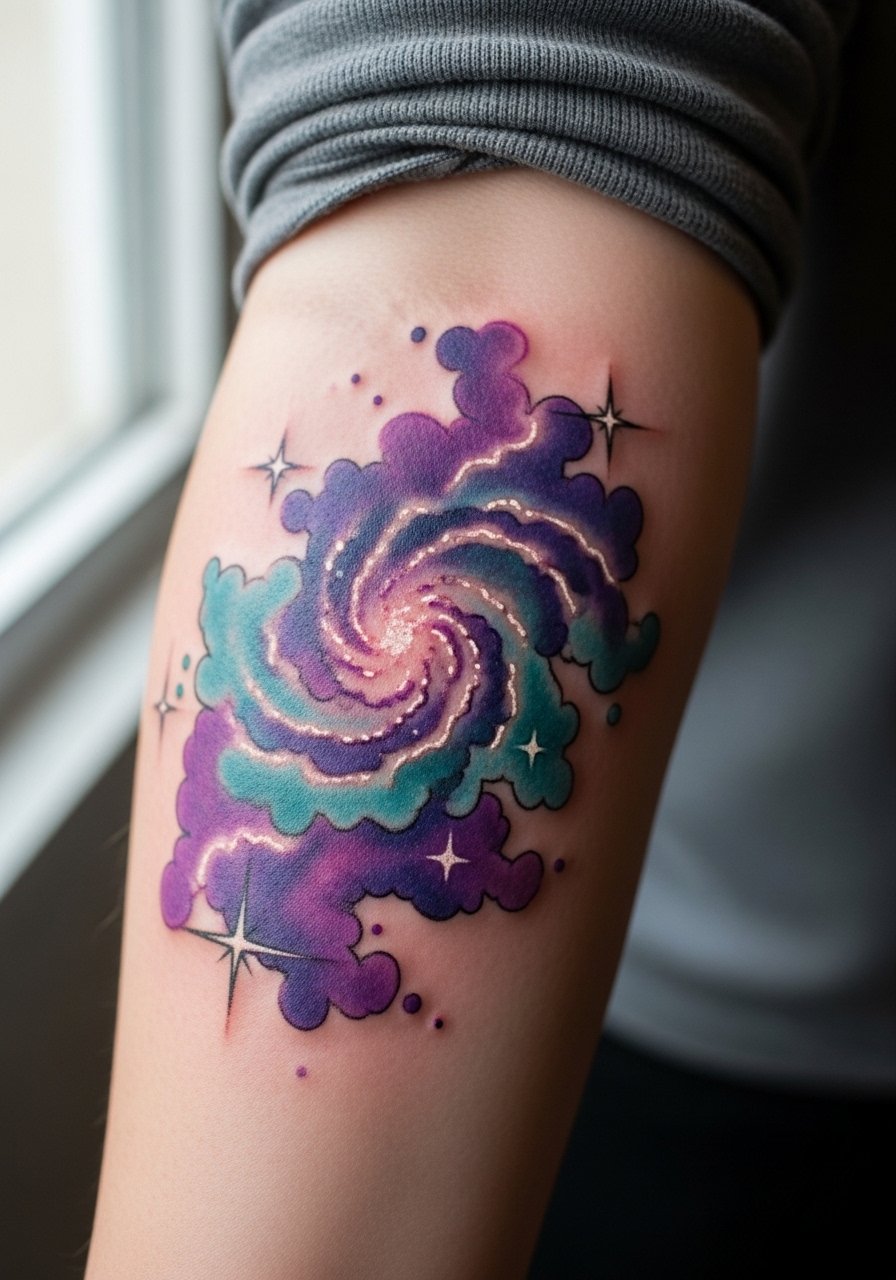
I like this when you want depth without hard edges. Tell the artist to anchor bright points with tiny black or gray pin dots to preserve star contrast after fading. The mistake is relying solely on pastel washes for stars. Inner arm placement needs attention because sweat and friction can soften washes faster. Expect four sessions and a touch-up schedule at year one. When showing it off, push up a fitted long sleeve top so the galaxy peeks out. Inner arm sessions can feel more tender during blending passes.
6. Vine and Leaf Half-Sleeve on Forearm
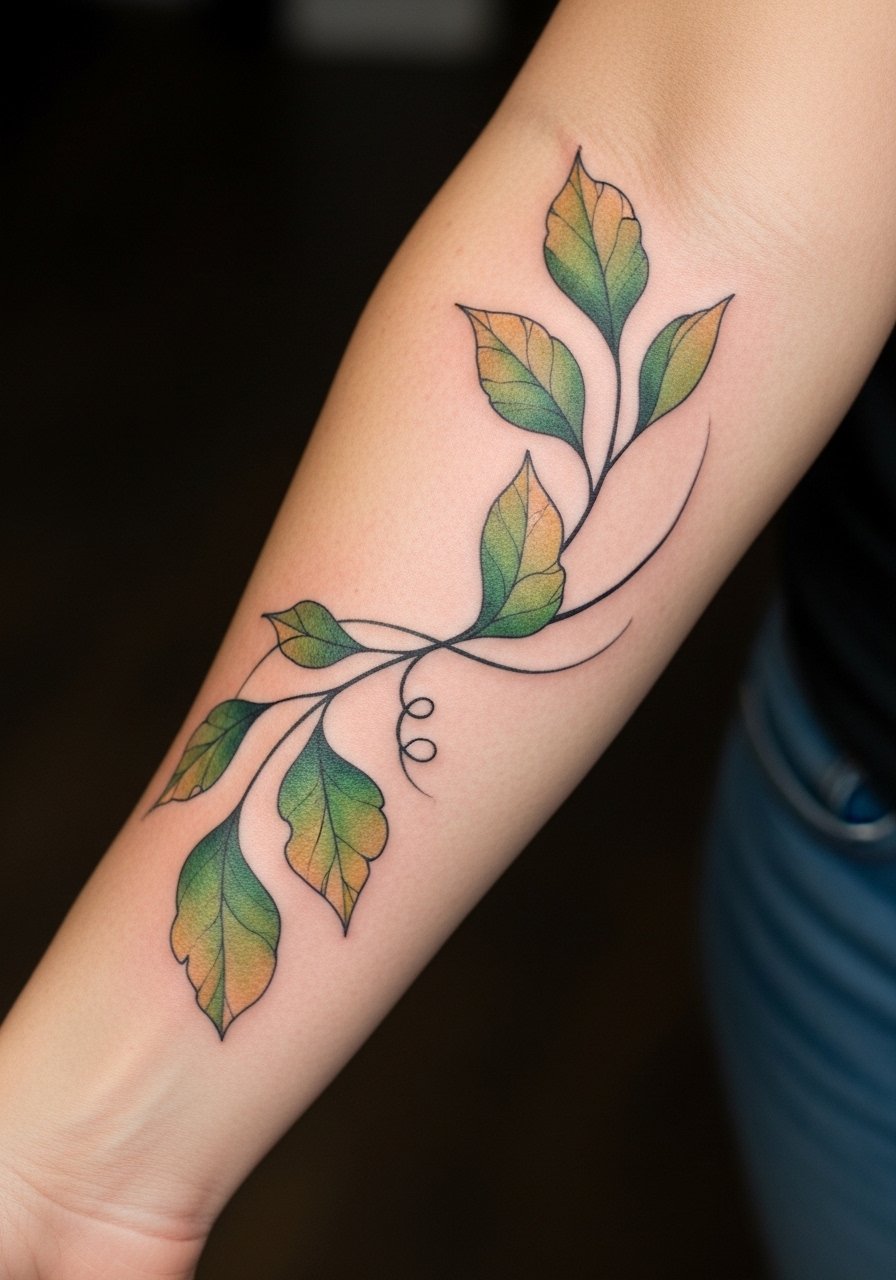
This organic wrap works for folks who want growth motifs that follow arm movement. In consult explain you want leaves with stronger edge saturation near veins so the design stays readable as the greens fade. A common mistake is continuous color with no skin breaks, which causes a washed look in humid climates. Plan three to four sessions and expect to book a touch-up for saturation once the peeling settles. For outfits, rolled sleeves and a slim silver slim cuff bracelet balance the botanical without overwhelming it. Forearm wraps have moderate blowout risk if placed over soft tissue creases.
Studio Day Picks
The first six sleeves above include wrist, forearm, and bicep placements that heal differently, so a few targeted products smooth the session and the first week.
- Tea tree soap bar. A gentler wash option for watercolor layers, it cleans without stripping color during the early healing phase.
- Ink-Illusions style balm alternative. A lighter balm that helps avoid the heavy film some people blame for stifled watercolor saturation.
- Japanese aftercare oil alternative. Useful for humid climates when heavier ointments can trap moisture and risk color bleed.
- Small-batch breathable tattoo salve. Fast-absorbing salves can prevent yellowing and keep washes clear as scabs fall away.
- Framydex-style thin healing ointment. Thinner formula for the first few days helps fine line and pastel work avoid clogging while still locking in moisture.
7. Heart and Feather Motif From Wrist to Elbow
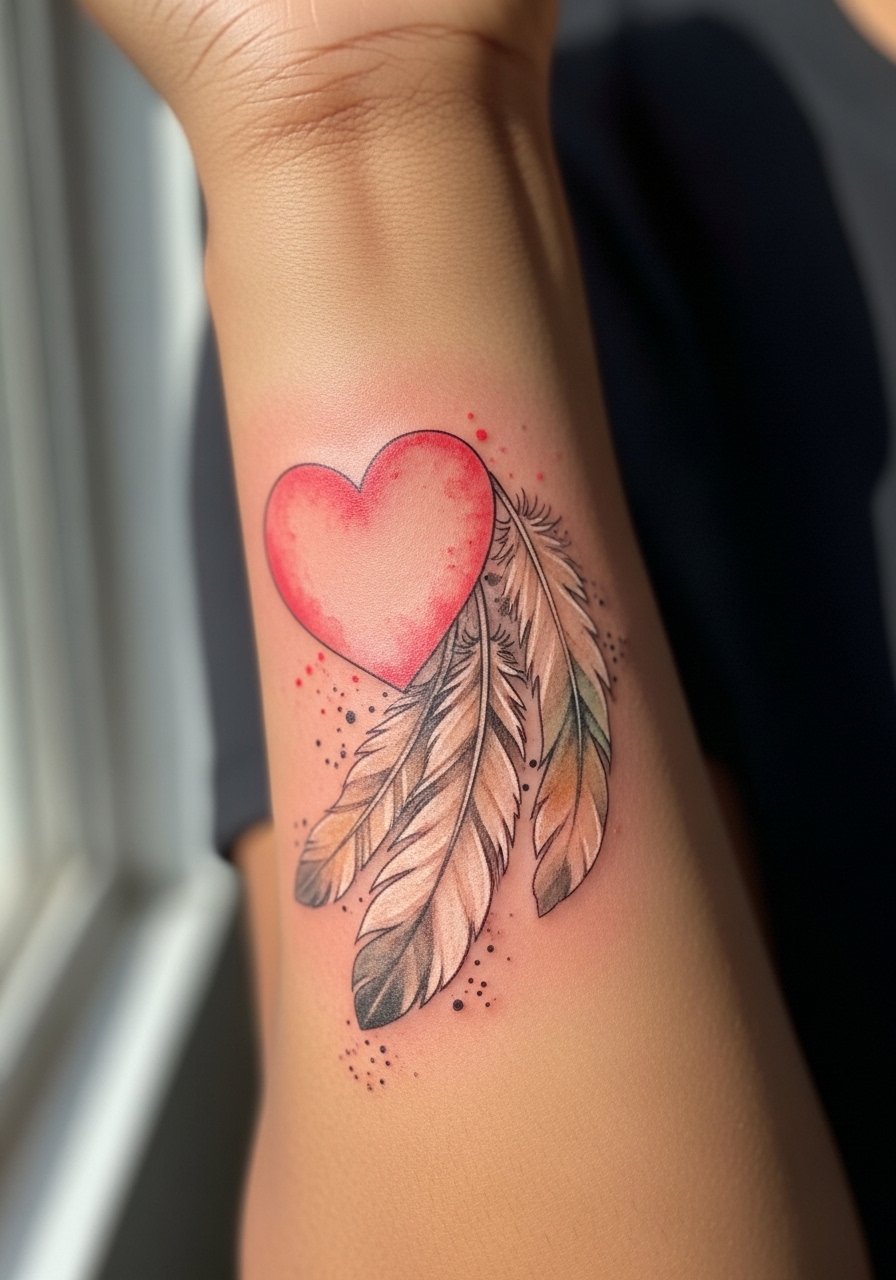
This vertical motif feels airy when feathers break into negative skin space. Ask for subtle white highlights only if your artist has healed white work examples on similar tones. Many people ask for pure pastel reds that fade into pink smears; instead insist on contrast points where pigment is a touch deeper so the heart silhouette holds. Sessions are typically three visits and wrist areas need careful bandaging the first week because of friction from typing and jewelry. Expect touch-ups around year one. Wrist-to-elbow runs can feel sharp near the wrist bones, but the middle forearm is milder.
8. Dreamcatcher With Feather Washes on Upper Arm
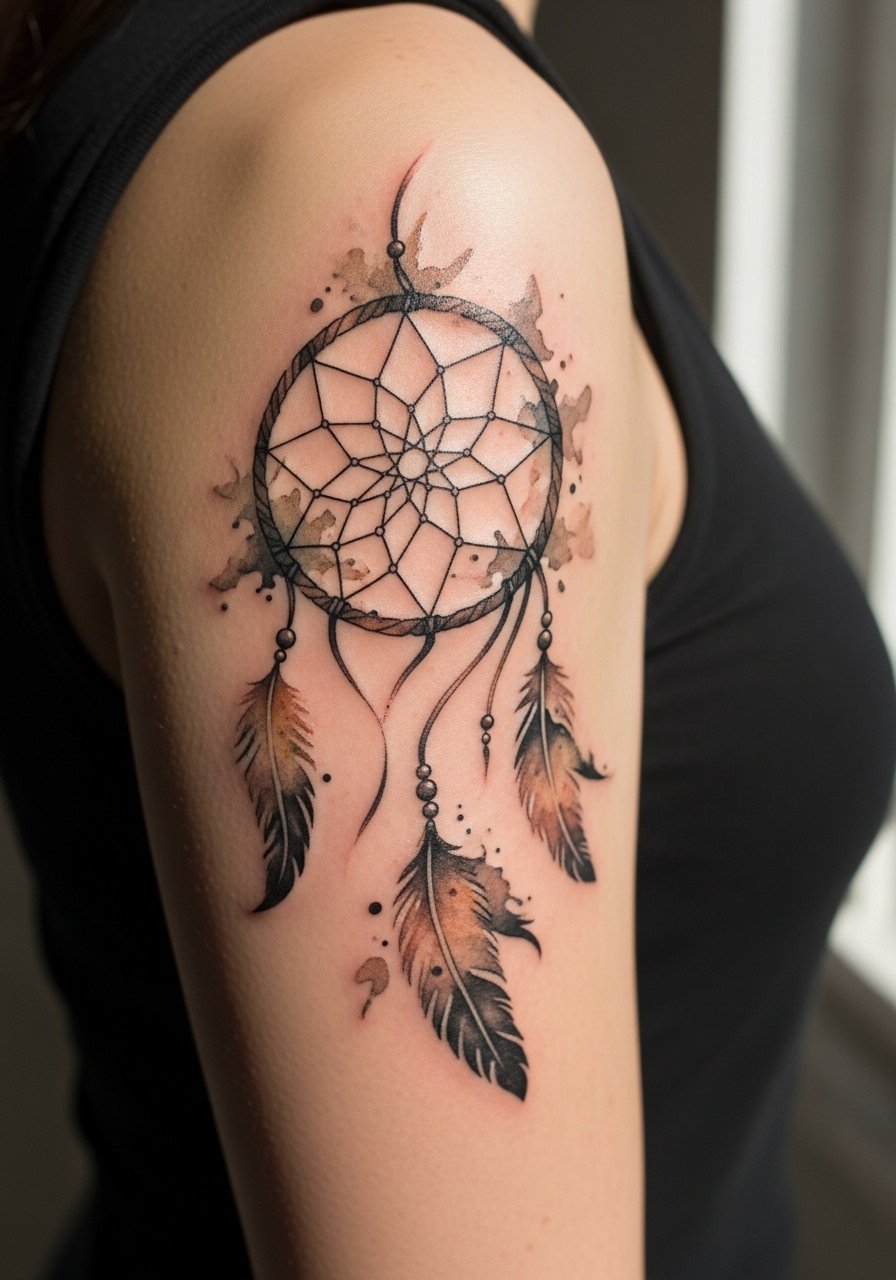
If you choose cultural motifs, acknowledge the origin respectfully and consider personal reinterpretation instead of direct replication. For a watercolor dreamcatcher tell the artist how much detail you want in the hoop versus the feather washes so the design ages with clarity. A frequent mistake is packing too many tiny beads into washes where dot work will disappear. Upper arm placement is forgiving for longer sessions, and touch-ups are usually cosmetic rather than structural. The decorative washes pair well with casual sleeve rolls and layered necklaces.
9. Lotus Bloom Flowing Into Waves from Shoulder to Wrist
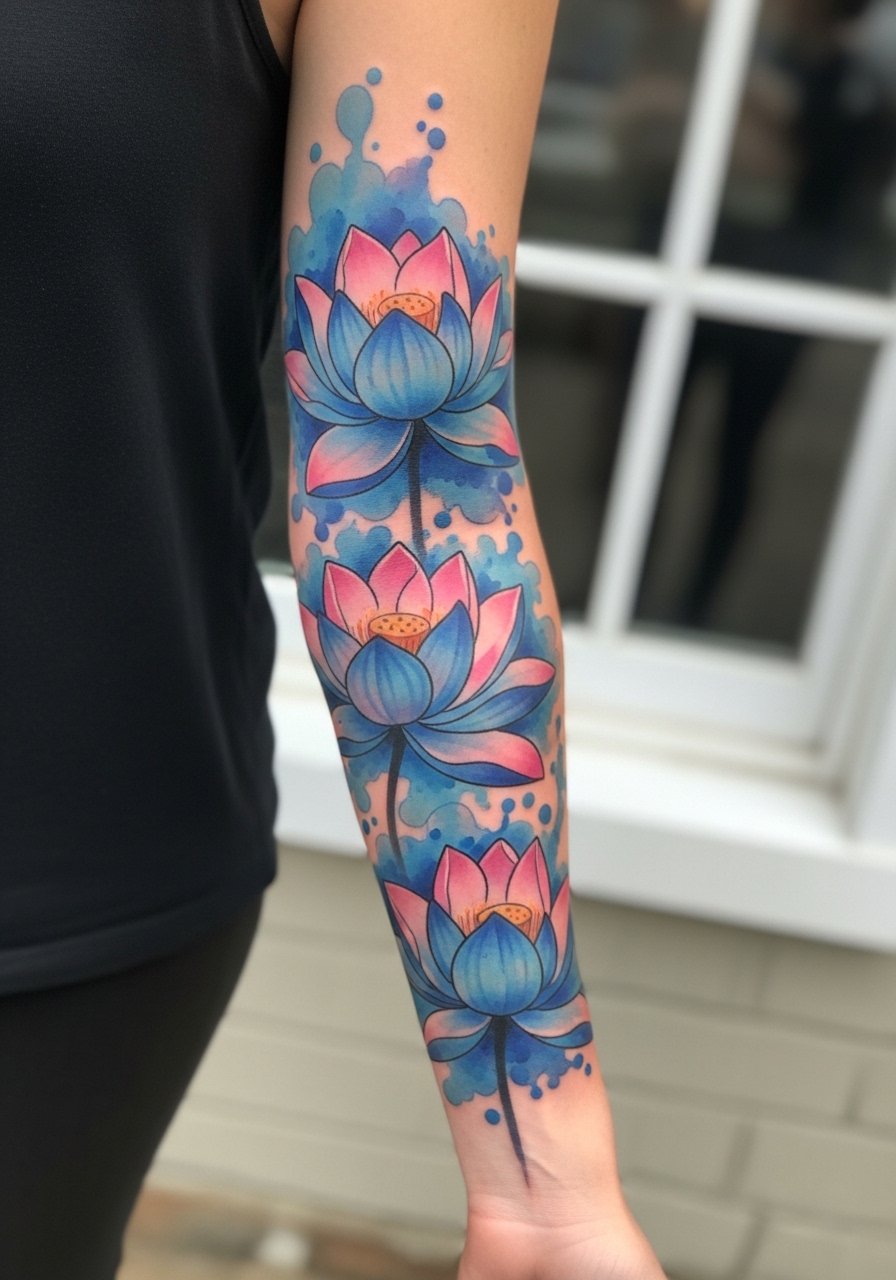
The lotus is popular for its compositional versatility across arm contours. Ask the artist to map petal placement to muscle transitions so the bloom reads at a glance even as skin shifts. I bring up the Saniderm versus dry healing debate here because sleeves like this can trap moisture in tight folds. One camp prefers transparent film for the first 24 to 48 hours to limit contamination. The other camp warns the film can soften scabs and blur delicate washes. Pick a method and follow your artist's protocol. Expect five sessions and a scheduled touch-up after the peel phase.
10. Migrating Bird Flock on Outer Forearm

This dynamic sleeve works best when bird sizes step down along the arm for movement. During consult ask the artist to stagger saturation so the lead birds have slightly denser pigment than the trailing ones. People often request identical birds and then lose the motion after healing. Plan three to five sessions depending on how many birds you want. For outfits, push up a push up sleeve tee to let the flock appear in motion. Outer forearm work is visible and photographs well, but keep sun protection in mind for long-term vibrancy.
11. Rose and Thorn Drip Sleeve With Dark Accents
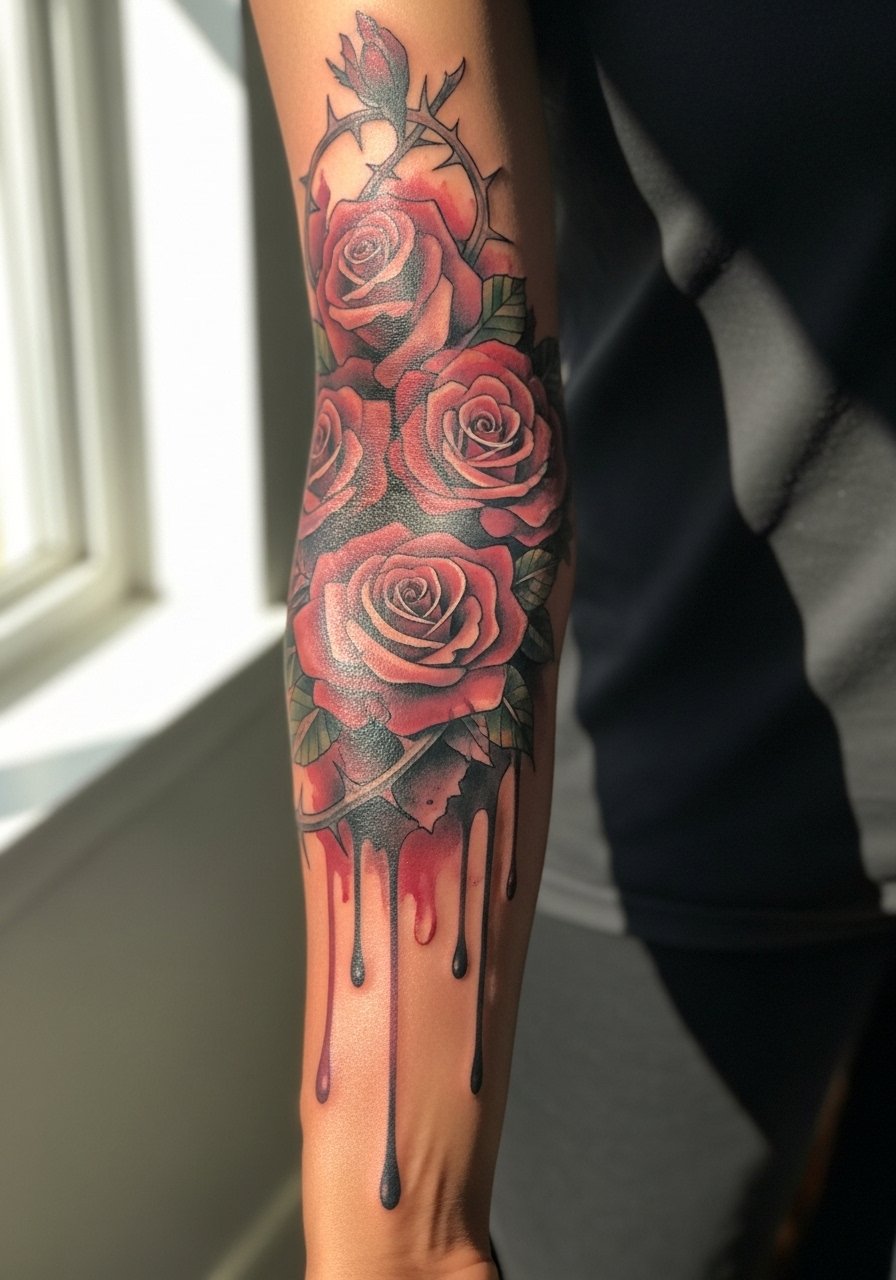
Combine romantic roses with sharper thorn lines when you want contrast between softness and edge. In consult ask for selective black-gray accents around thorns to preserve silhouette as reds fade. The version that ages poorly is full-saturation red everywhere with no dark anchors. Expect four sessions and a touch-up at year one for reds. Full-arm red work can require more maintenance because red pigments tend to shift in tone. The thorn detail also benefits from slightly bolder linework to avoid blowout along tight curves.
12. Mermaid Tail Half-Sleeve on Bicep
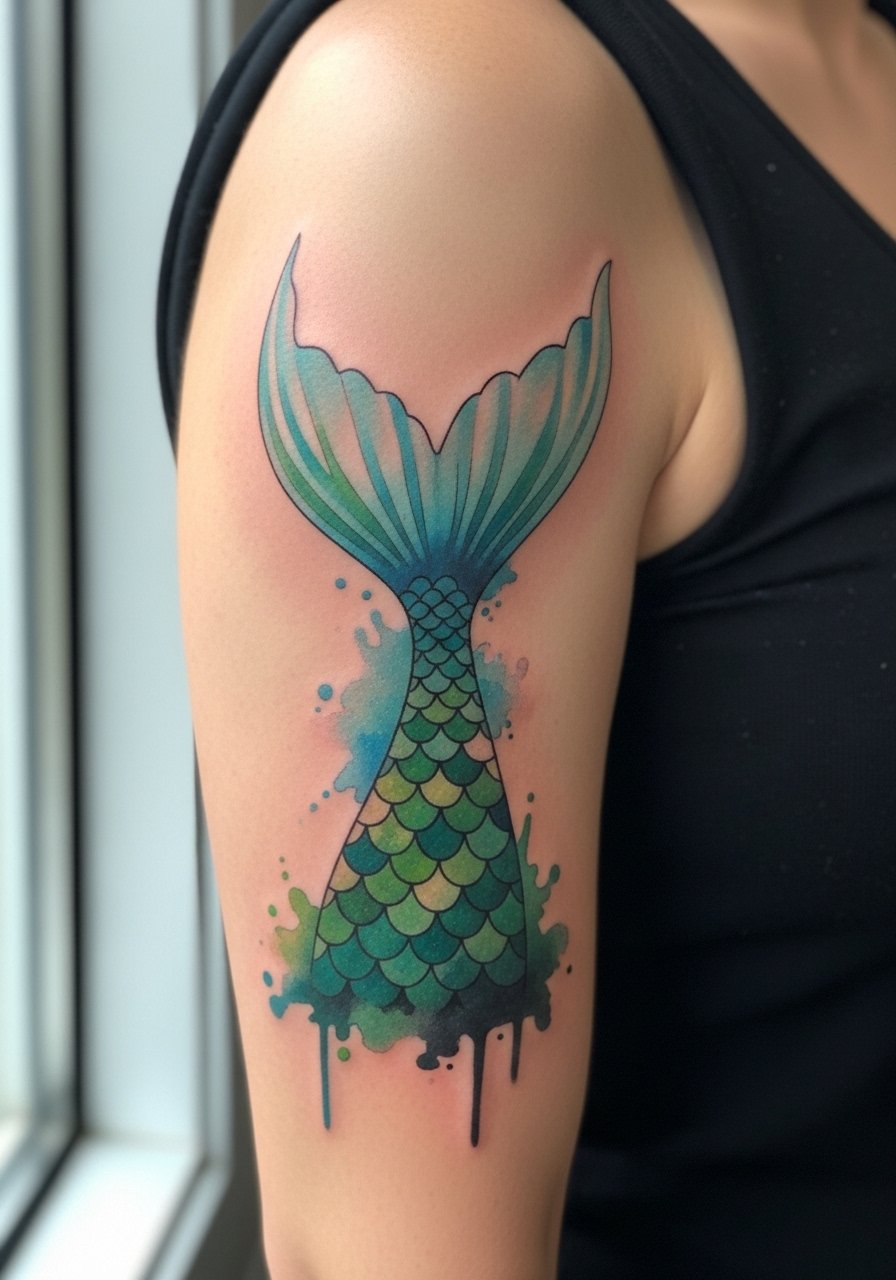
This playful half-sleeve needs scale direction that follows muscle shape for a believable shimmer. Tell the artist you want gradient saturation per row of scales so highlights survive after a year. A common mistake is uniform color that fades into patchy texture. Sessions usually number three and you should schedule at least one follow-up for midtone blending. For the session wear, bring a flowy sleeveless top so the bicep is accessible while staying covered. The bicep is one of the easier spots for longer watercolor layering.
13. Patchwork Sleeve Built Over Time
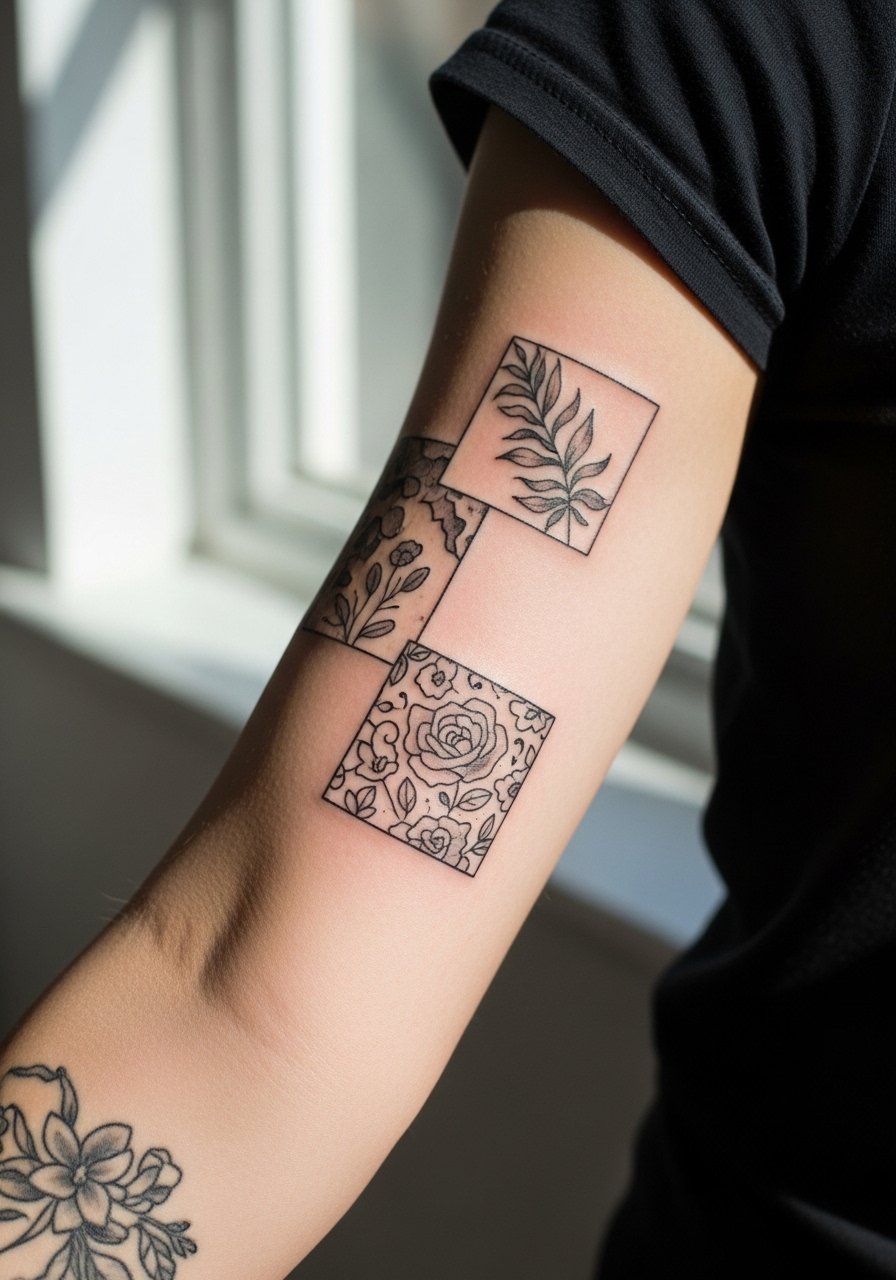
If you want to build a sleeve over years, start with a patchwork approach. Begin with a few small watercolor pieces spaced with planned skin breaks. Tell your artist you intend to link them later, and ask for routing ideas that keep each element readable when isolated. People who rush a full sleeve in one book-in risk budget surprises and unnecessary color layering. Phased builds let you test pigment choices against your skin and schedule touch-ups as needed. This strategy also helps if an artist cancels sessions because the gaps read better than a half-finished saturated mass.
14. Negative-Space Watercolor Sleeve for Breathability
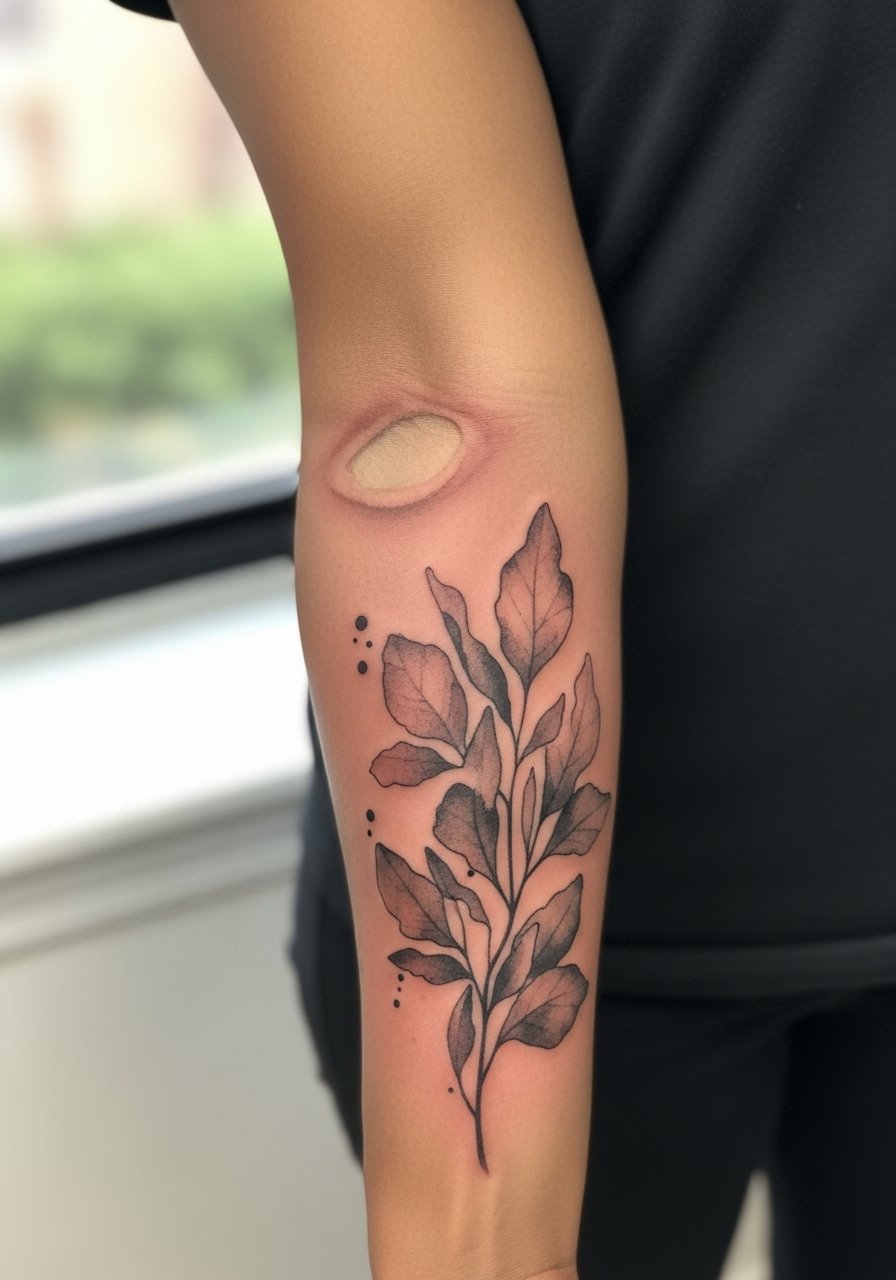
Designing with intentional skin gaps can help watercolor breathe on humid skin types. Ask for a negative-space map during consultation so you see where pigments stop and skin remains. The mistake is assuming small gaps vanish; they must be planned around muscle movement and clothing friction. Expect three to five sessions depending on how much linking you want later. For showing this off, a sheer layer looks elegant, and a sheer kimono sleeve works well because it moves without rubbing. Negative-space sleeves can age gracefully because they reduce large continuous washes.
15. UV-Reactive Accents for Blacklight Glow
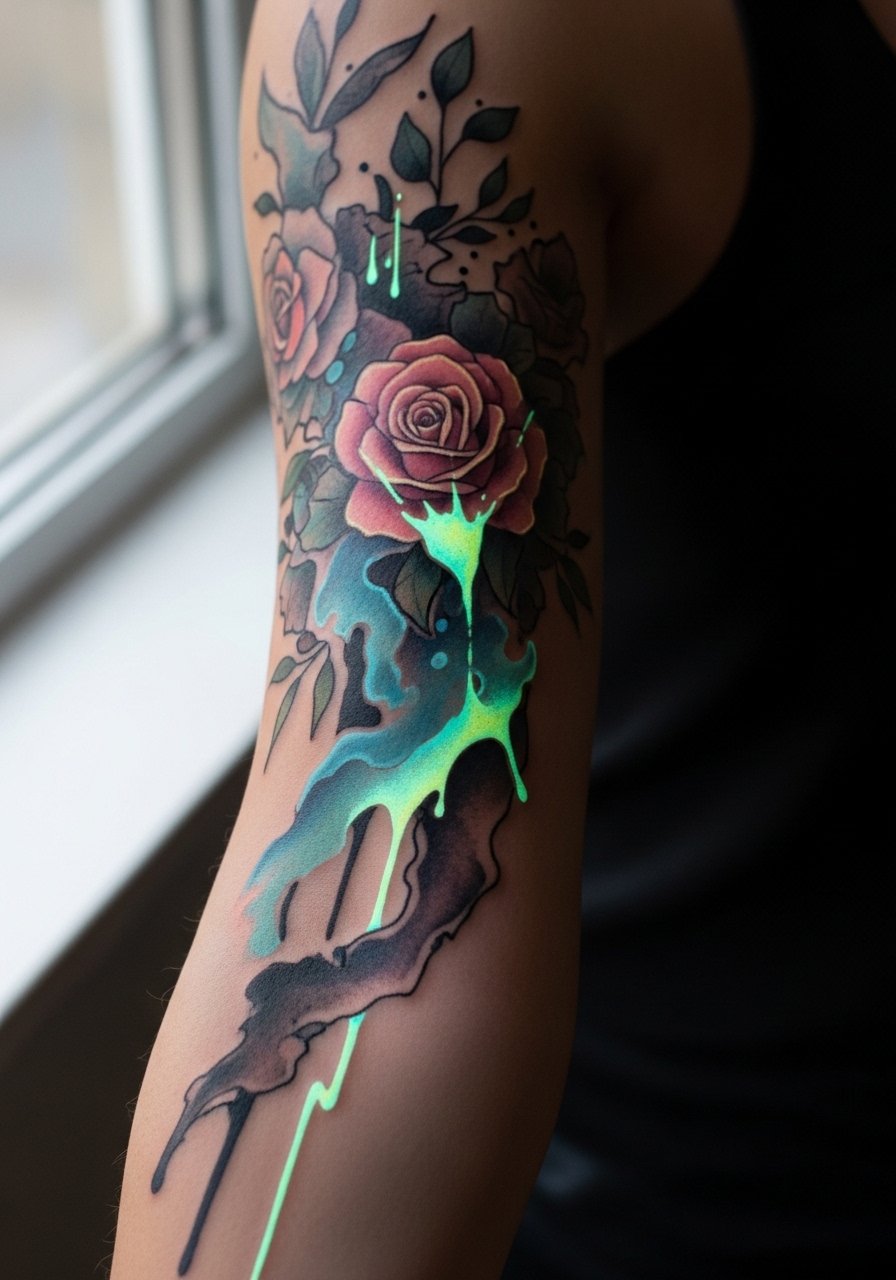
If you like playful, hidden details consider limited UV-reactive pigments in highlights. Ask the artist about longevity because UV inks behave differently in skin and can require specialized touch-ups. A lot of studios treat UV as a novelty and only a few have healed examples. Expect extra sessions for testing small patches before committing to a large area. This approach is great for sleeves meant to change under different lights, but factor in higher maintenance and occasional pigment migration.
16. Flip-Visibility Sleeve for Dominant-Hand Choices
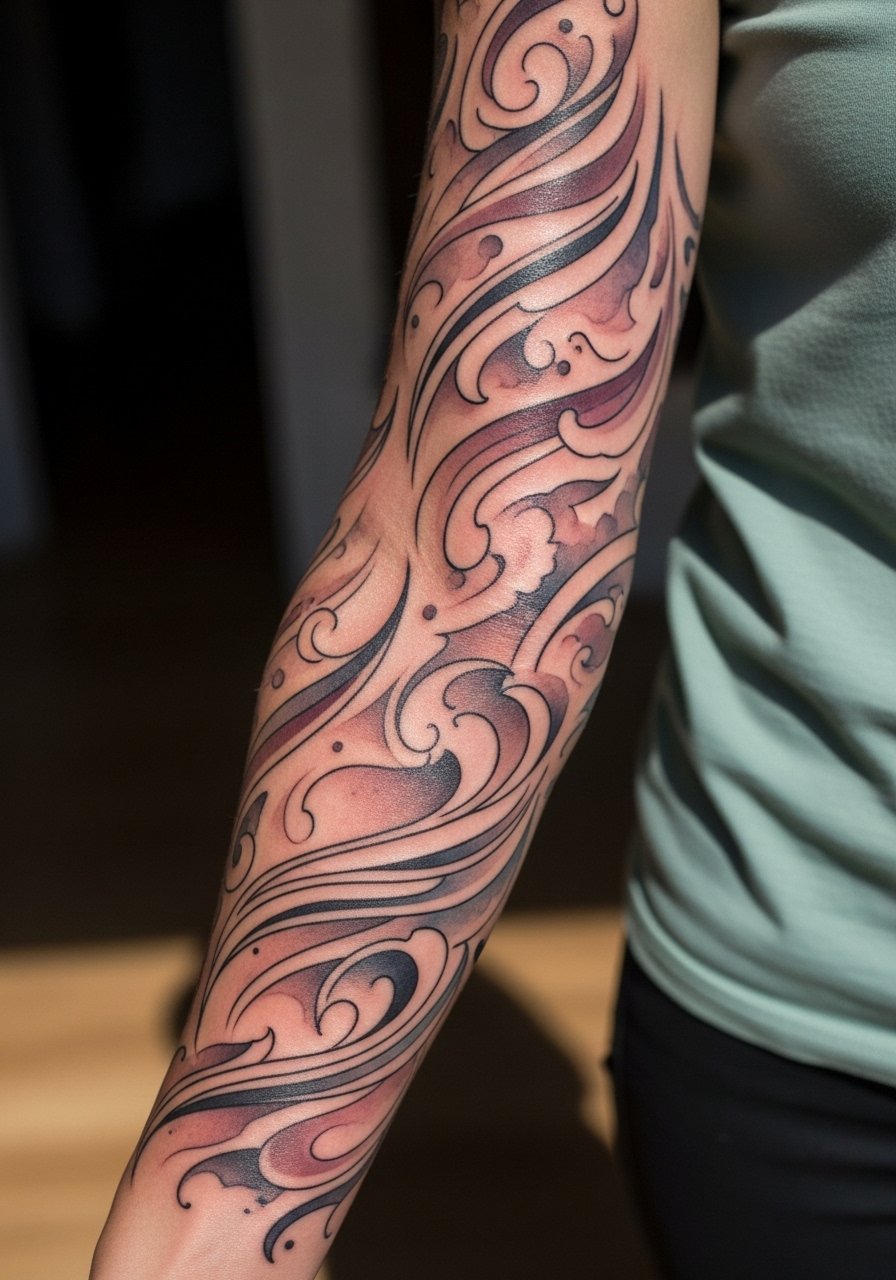
Think about how you want the arm to read in everyday life. If you are left-hand dominant you might prefer the right arm visible in photos and gestures. During consult clarify which arm you want as the show piece so motifs face outward when you hold objects or gesticulate. A common oversight is symmetry that hides the main motif when you stand naturally. Session wear is simple, so bring a racerback tank top to keep the shoulder accessible. Flipped placement is a small planning detail that changes daily visibility.
17. Black-and-Gray Watercolor Hybrid for Longevity
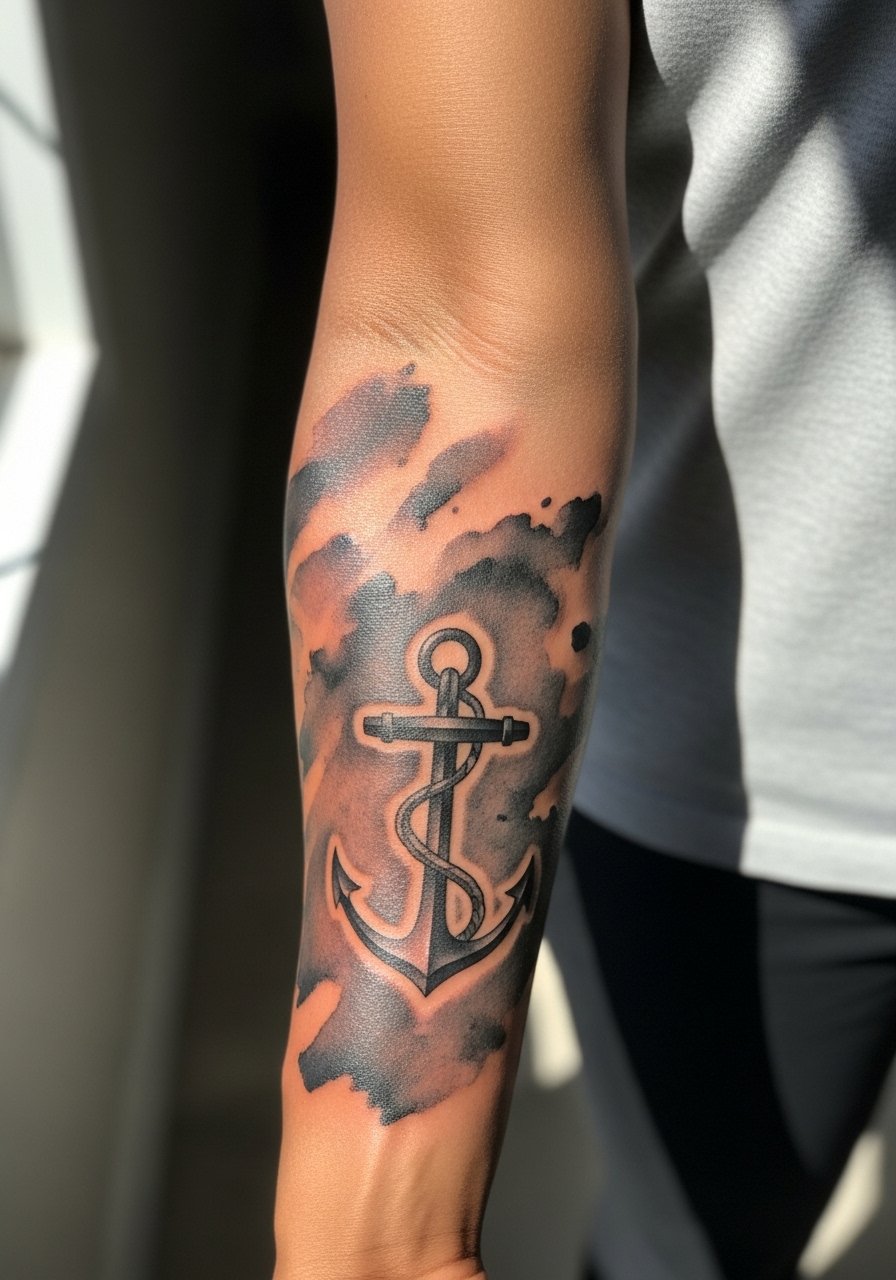
For people worried about fade, a watercolor hybrid that blends muted color with stronger black anchors can hold structure longer. This one touches the fine-line versus bold-outline debate. One camp says fine line preserves the watercolor feel but fades faster. The other camp argues that purposeful darker anchors help watercolor read for years. Ask the artist where they stand and request a test patch for both approaches on similar skin. Expect four sessions and plan a touch-up schedule at two to three years for the color zones. The hybrid reduces blowout risk because black anchors compress pigment movement.
Frequently Asked Questions
Q: Do watercolor-style sleeves need different aftercare than traditional ones?
A: Watercolor washes often rely on shallower layering and pastel pigments, so the early healing window matters more. I see people benefit from a lighter ointment and air exposure once scabs form, but artists split on film versus dry healing. Follow your artist's routine and expect to moisturize sparingly twice a day after peeling.
Q: How soon will a watercolor sleeve need touch-ups?
A: Expect touch-ups earlier than heavy blackwork. Most watercolor sleeves benefit from a touch-up between six months and two years depending on placement and sun exposure. Areas with friction or frequent sun exposure usually require attention sooner.
Q: What should I ask my artist in consultation to avoid a blurry sleeve?
A: Ask to see healed photos of full sleeves on skin tones similar to yours and request a session breakdown that lists how many color passes are planned. Insist on spaced negative areas in dense designs and ask whether they prefer to anchor washes with tiny dots or light outlines to preserve shape.
Q: Do darker skin tones need different pigment choices for watercolor sleeves?
A: Yes, on richer skin tones higher-contrast pigments and slightly deeper saturation help watercolor read in photos and daylight. Ask for healed examples from the artist on similar tones and budget a follow-up session to refine midtones.
Q: What should I wear to a full-sleeve session to stay comfortable and keep access?
A: Wear a loose button-style shirt or a tank that you can pull down or roll up without tugging the stencil. A loose button down shirt is handy because it gives access while keeping the rest of you covered.
