
Fine line and cosmic themes look effortless in photos, but the reality is different. The tiny crescents and micro stars that read crisp on a screen can merge into a soft blur if they are placed on high-friction skin or under-spaced. Pick the right placement and line weight now, and your sun, moon, and stars will age like a clear map instead of a smudge. The first idea below shows a safe, everyday spot to start.
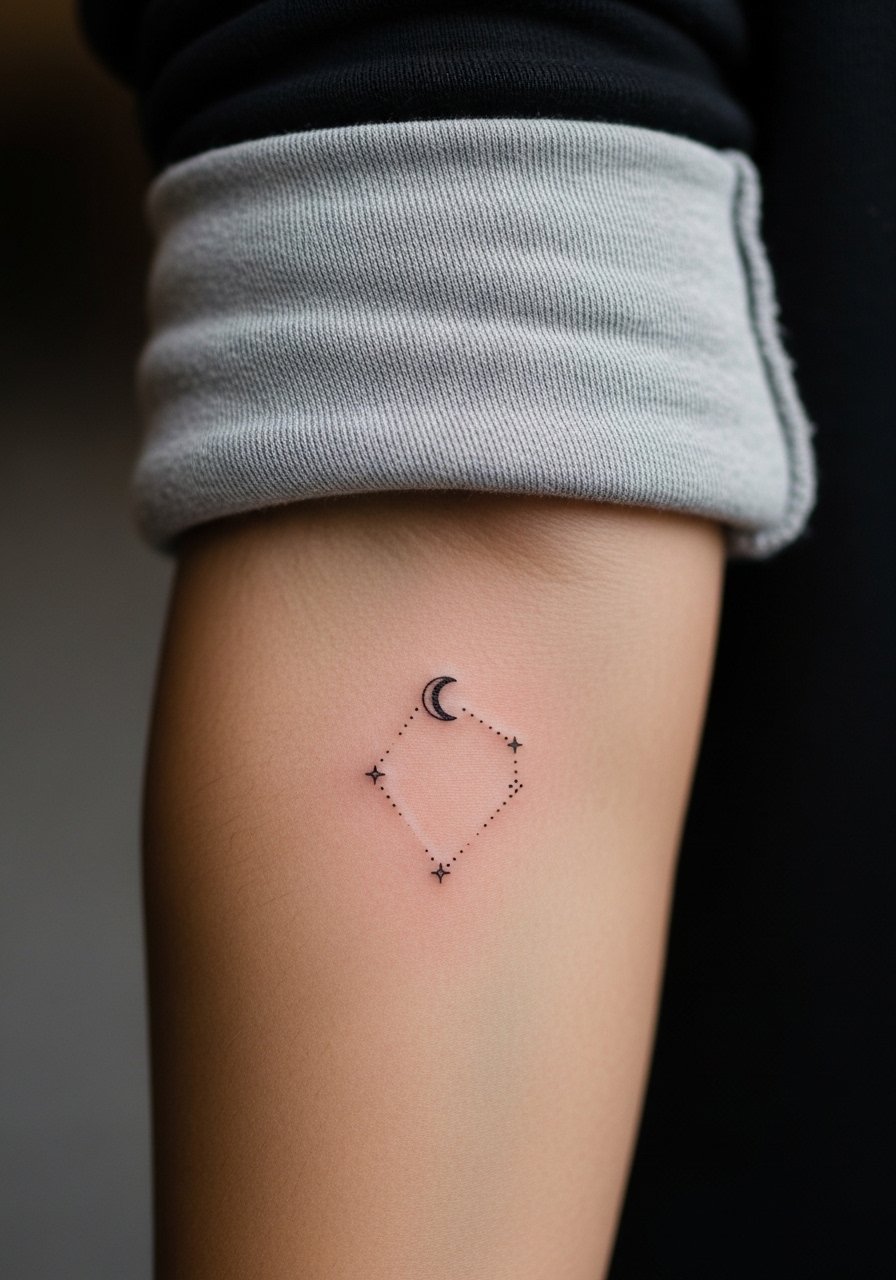
1. Micro Constellation on Inner Forearm
This intimate cluster of tiny stars and a slim crescent moon works well on the inner forearm because the skin there sits flat and stretches predictably. I recommend asking your artist for slightly heavier single-needle linework than the thinnest reference, because too-fine lines on the forearm can soften by year three. Expect low to moderate pain, a single short session, and a likely touch-up around year two for crispness. For showing it off, roll sleeves or pick a racerback tank that leaves the lower arm visible and keeps the focus on the linework. Common mistake: requesting the tiniest possible stars without allowing breathing room between them.
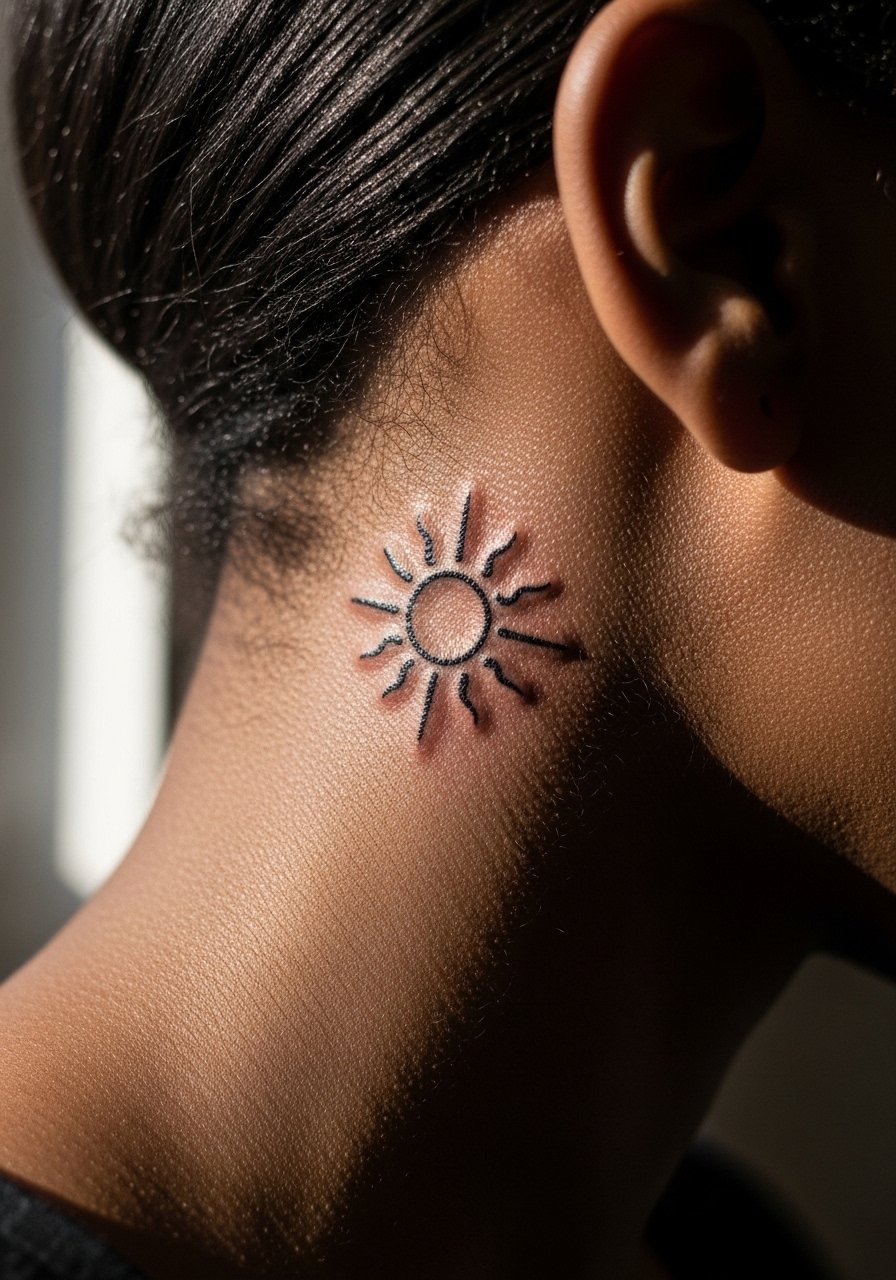
2. Mini Solar Glyph Behind the Ear and Neck
This tiny solar glyph sits on the skin just behind the ear, below the hairline on the neck, and reads secret and personal while still visible when hair is up. Because the area moves and the skin is thin, artists split into two camps. One group says micro detail blurs fast from motion. The other group says with correct depth and spacing it holds. Ask your artist where they stand and plan for a touch-up if they prefer the conservative approach. Session feels quick, under thirty minutes. Note that a neat hair-up style highlights this placement without being overt.
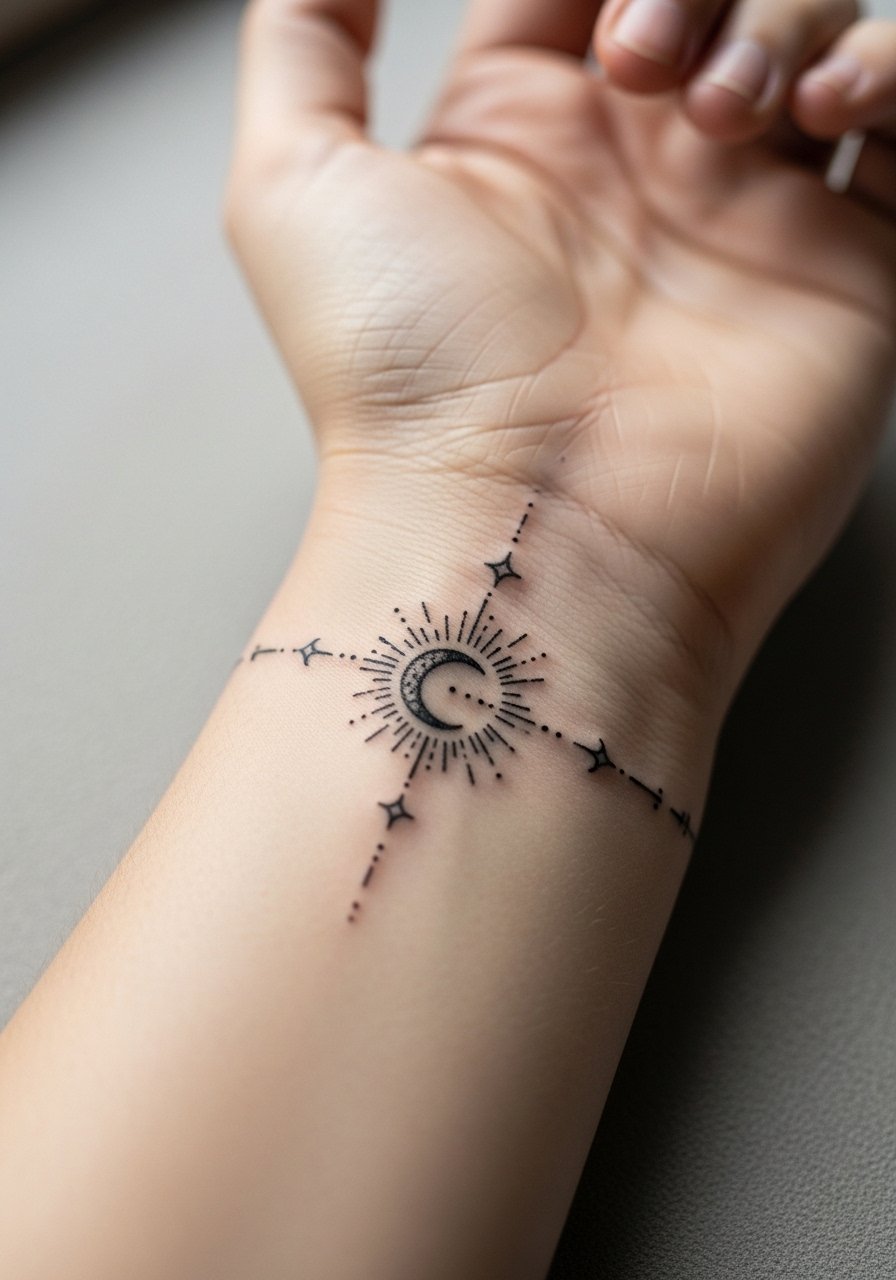
3. Celestial Wrist Band with Dot Work
A thin band of tiny suns, moons, and stars around the wrist reads like jewelry when done with dot work and light stipple shading. Fair warning, wrist skin sees a lot of wash and friction, so the design needs crisp spacing to avoid premature softening. Wear a thin chain bracelet or stackables that sit beside it without rubbing directly on the ink to keep the area visible. The session is short and the pain is mild, but expect the highest abrasion risk in the first two weeks.
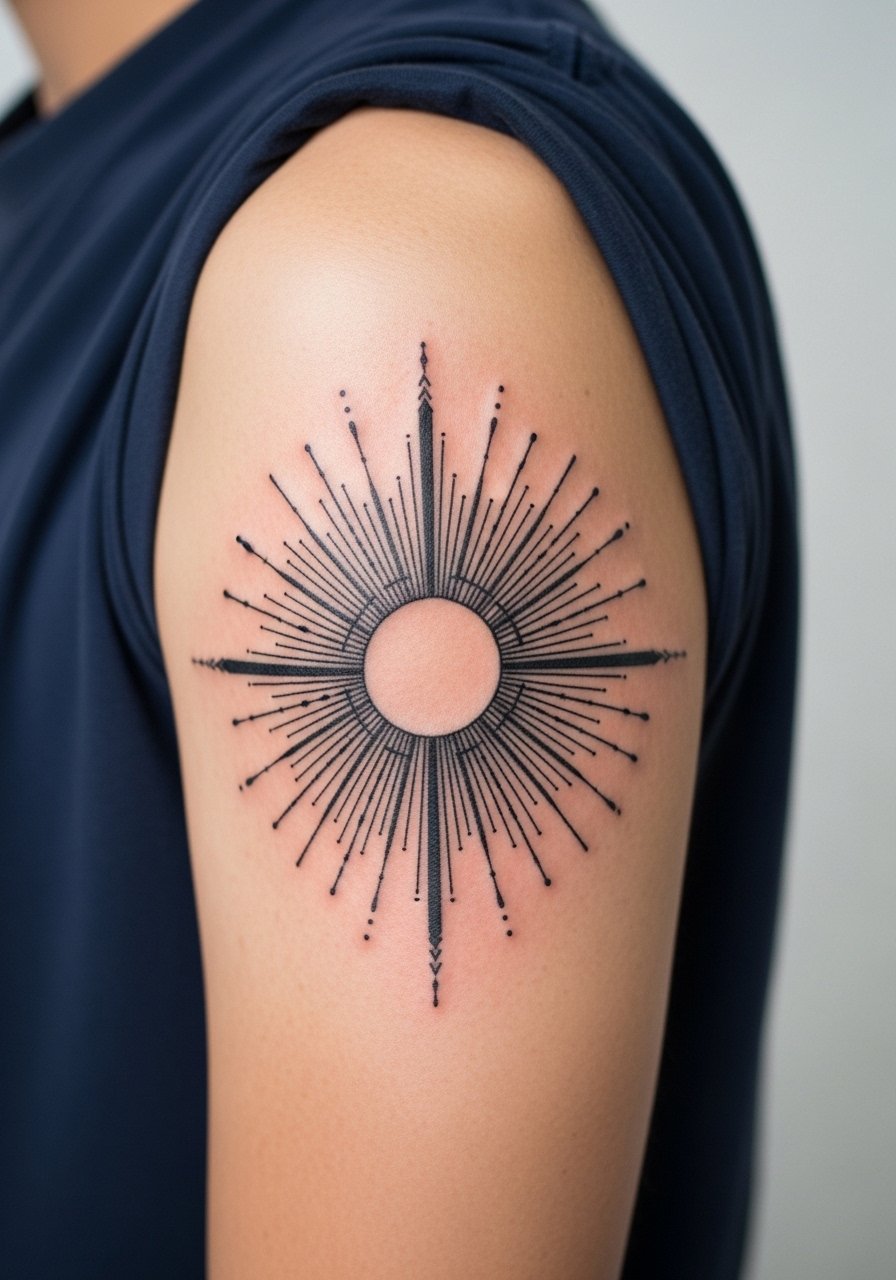
4. Linework Sunburst on Upper Arm
There is something about a small sunburst on the outer upper arm that reads clean from a distance. The outer arm tolerates tighter line density than the inner arm, so you can use more rays and small fill without risking early blur. Bring reference photos that show the exact ray length and spacing, and tell your artist you want the rays to breathe rather than cram. Pain is low, session time usually under an hour, and touch-ups run less frequently than wrist work. Pair with rolled-up sleeves or a loose button-down shirt for casual show-off looks.
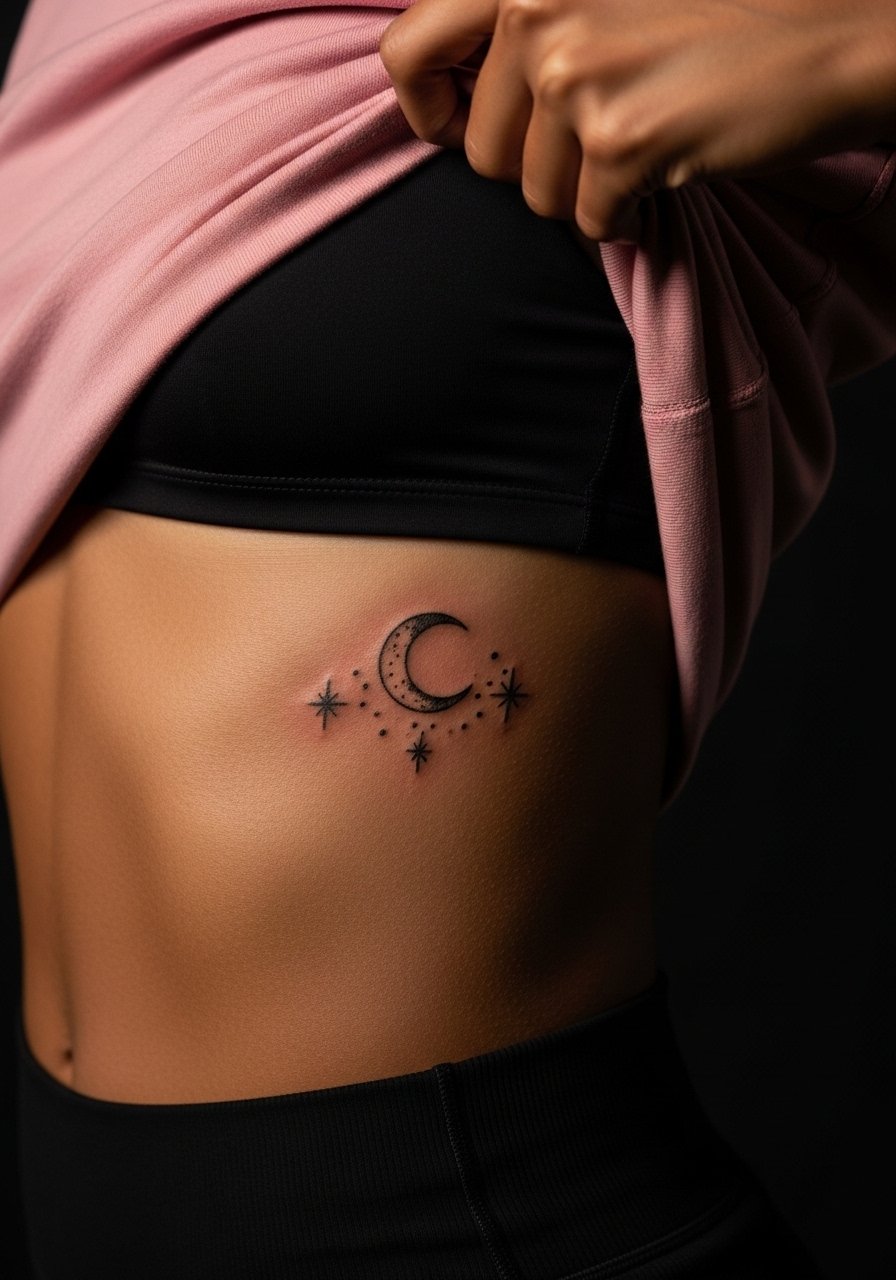
5. Crescent and Stars on the Side Ribcage
Ribcage placements show curves beautifully, but they are controversial when it comes to fine line. One camp argues the skin stretch and frequent movement blur fine lines within a couple of years. The other camp says deeper placement of the needles and more spacing solves that. I advise a slightly bolder outline and modest detail to balance longevity with delicacy. Expect higher pain and a longer session, and plan comfortable clothing for aftercare. For session day, wear a cropped athletic top you can lift slightly so the artist has access while the rest of you stays covered.
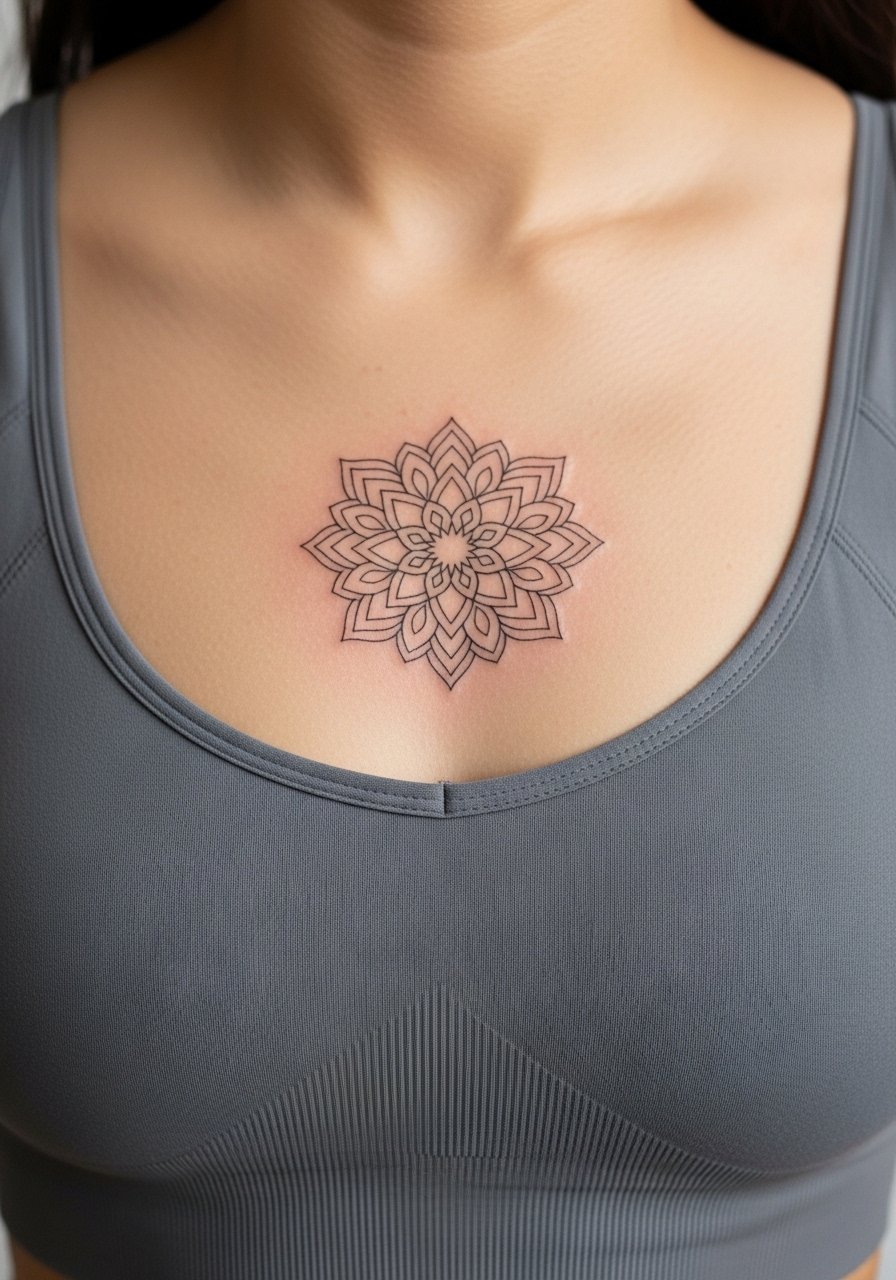
6. Solar Mandala on the Sternum
A small mandala with a sun center and tiny orbiting stars above the sternum reads like jewelry beneath clothing. Because the area is sensitive, ask for slightly wider gaps between dense dot work so the design ages with less merging. Pain is higher and sessions can run longer due to breath movement, so hydration and sleep the night before matter. For the appointment, wear a fitted sports bra or bandeau top that shows only the sternum area, it makes access simple and keeps you comfortable. Consider a touch-up plan at year two for high-contrast crispness.
Studio Day Picks
The chest, wrist, and ribcage pieces above ask for specific prep and early healing care, and a few targeted items make the session and first week smoother.
-
Stencil transfer paper kit. Lets you test placement on skin before the needle touches it, which matters for collarbone and wrist designs where scale can deceive.
-
Topical numbing cream. Applying this 30 to 45 minutes before a sensitive rib or sternum session can reduce initial shock and help you settle for a longer appointment.
-
Thin protective film roll. Useful for finger and wrist pieces that face friction, the film shields the ink during the first day of high contact.
-
Fragrance-free gentle body wash. Cleanses healing areas without irritation, which is important for fine line pieces that need careful washing.
-
Aquaphor healing ointment. A thin layer during the initial days keeps moisture balanced for small linework without clogging the needle channels.
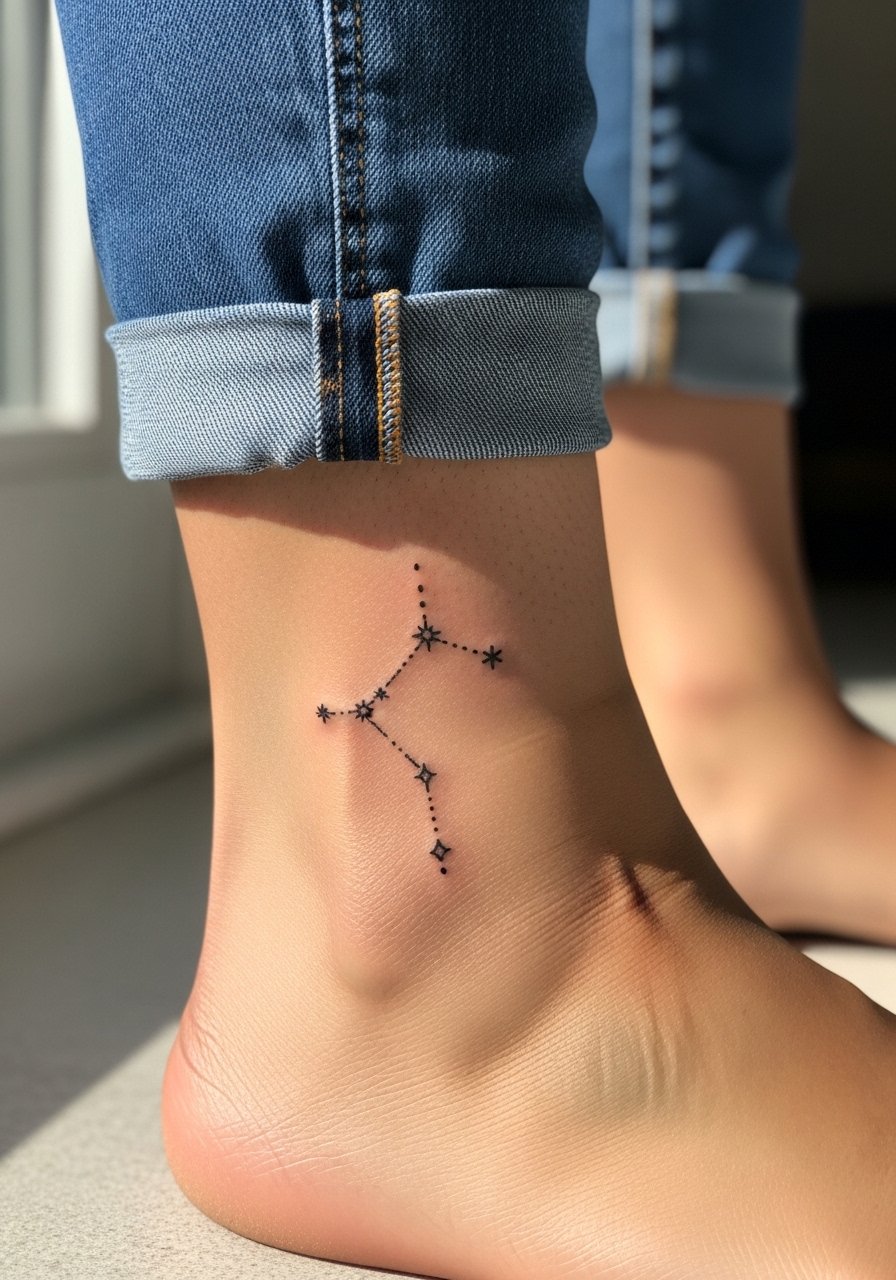
7. Tiny Solar Cluster on the Ankle
Ankle constellation pieces are small and discreet, but they rub against socks and shoes often. The trick is to keep spacing between stars and to ask for a slightly stronger outline to resist abrasion. Pain on the ankle is moderate. Session time is short, but plan a week of shoe choices that avoid constant rubbing. For show-off fits, a pair of sandals or rolled pants keeps the ankle visible without pressure on the fresh ink. Expect potential touch-up because of friction zones.
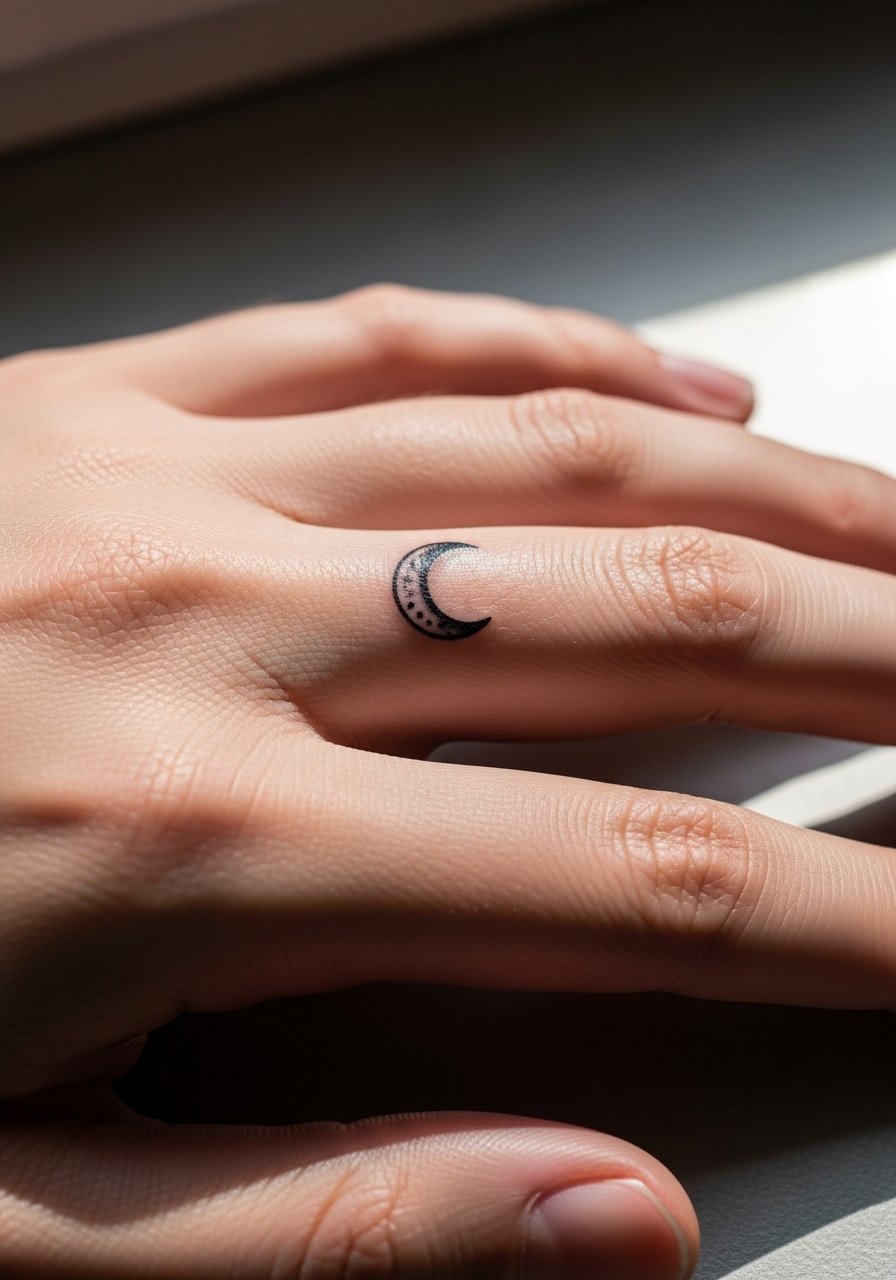
8. Micro-Moon on the Finger
Finger tattoos demand honesty. The skin is thin and exposed to water and motion, so tiny moons tend to fade faster than larger nearby designs. Ask for a bolder silhouette rather than tiny inner detail, and expect a higher touch-up frequency. The session is quick but can feel sharp. For showing it off, stack it with a thin minimalist ring that sits next to the tattoo without rubbing the ink directly. Consider the career implications of visible hand ink before booking.
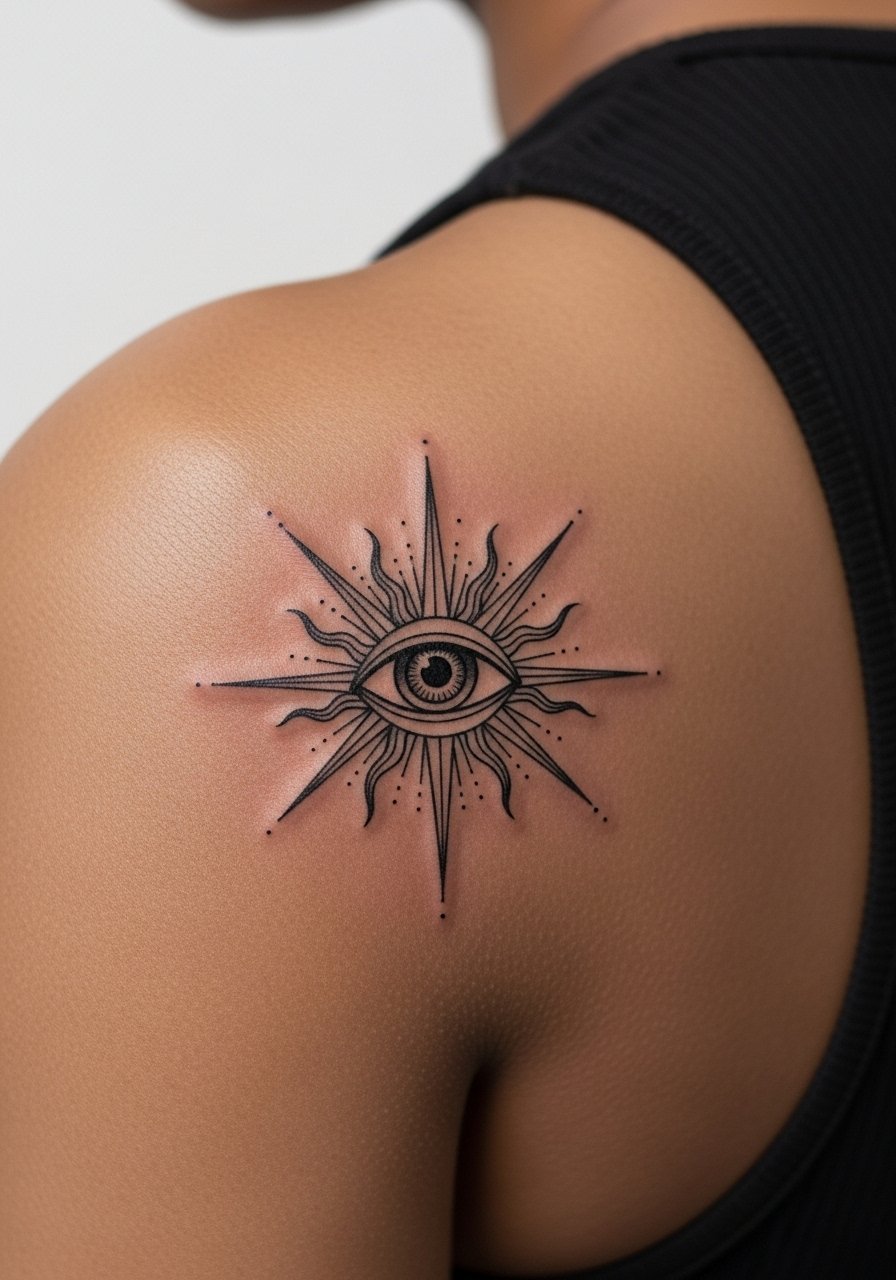
9. Solar Eye on the Shoulder Blade
A small solar eye framed by tiny stars sits beautifully on the shoulder blade. The area avoids much friction from clothing and ages better than the forearm or wrist. When you consult, show the artist exact negative space you want between the eye and the stars, because dense dot work too close to the curve can merge over time. Pain is low and session time is moderate. For wardrobe, open-back tops or a halter dress highlight the area while keeping the artwork private when needed.
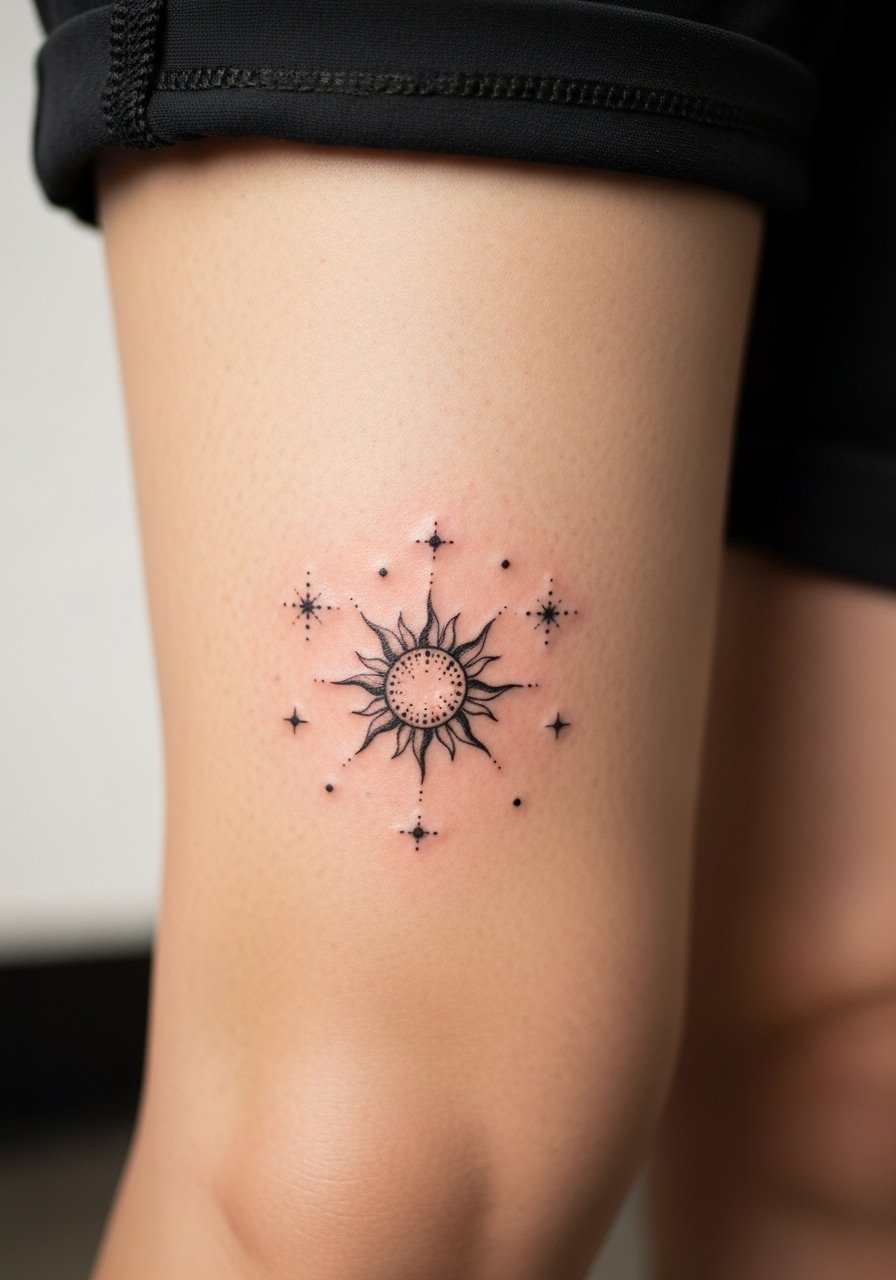
10. Tiny Sun and Stars on the Calf
The calf is forgiving for slightly larger micro-realism suns and scattered stars. The thicker skin there holds saturation longer, so you can include small shaded rays and subtle stipple without as much worry about blowout. Pain is moderate and sessions are comfortable because the area rests easily. Bring calf-length shorts for the appointment so the artist can access the entire area. For evenings, a loose midi skirt works well for showing the piece without restricting movement.
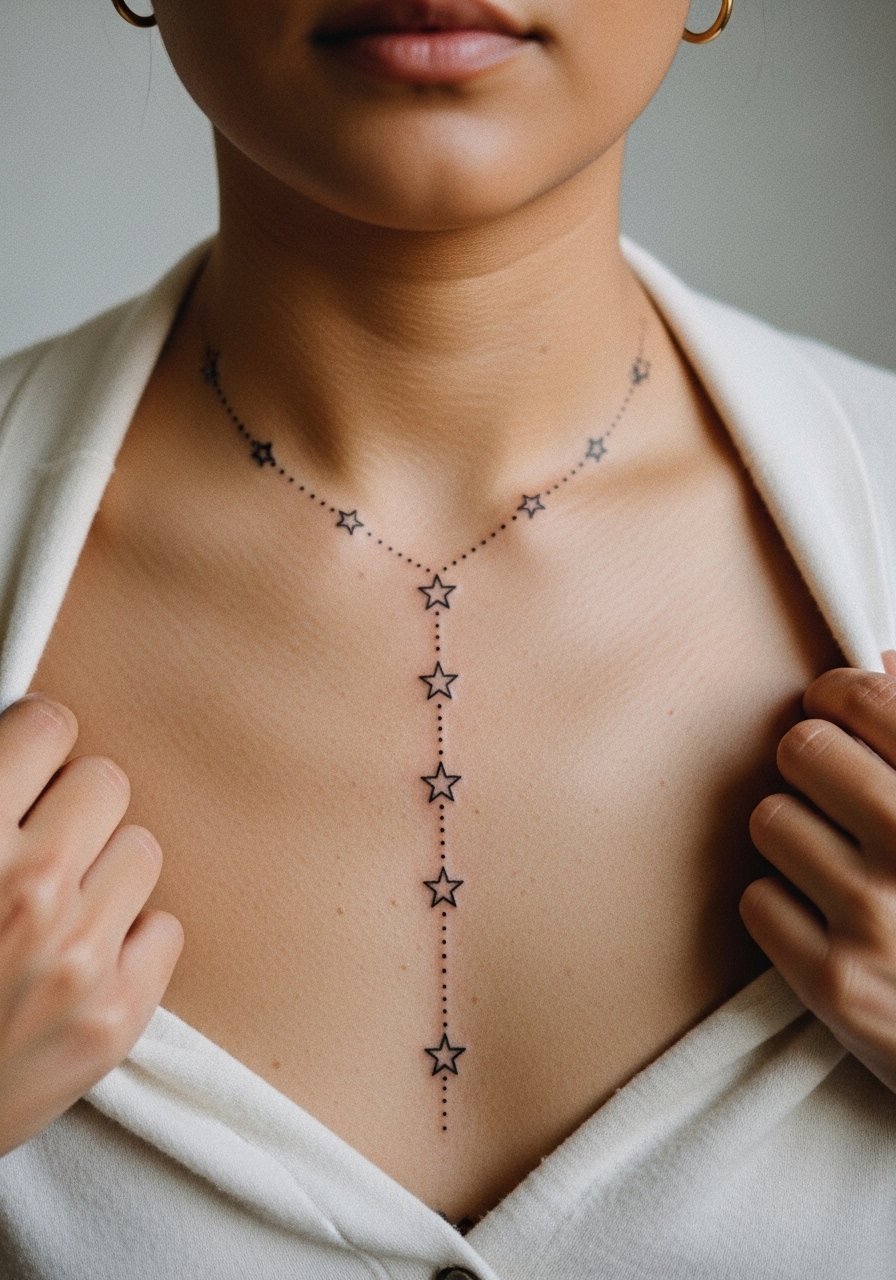
11. Cosmic Chain from Collarbone to Sternum
A delicate chain of tiny stars and a central moon that sits between the collarbone and sternum needs careful spacing so the piece reads at different clothing angles. Because the area moves and may be covered by shirts, pick a slightly bolder chain link and limit dense detail near the sternum. Pain varies with proximity to the bone. Mention during consultation you want negative space to keep contrast over years. A thin pendant necklace can sit above without competing with the ink.
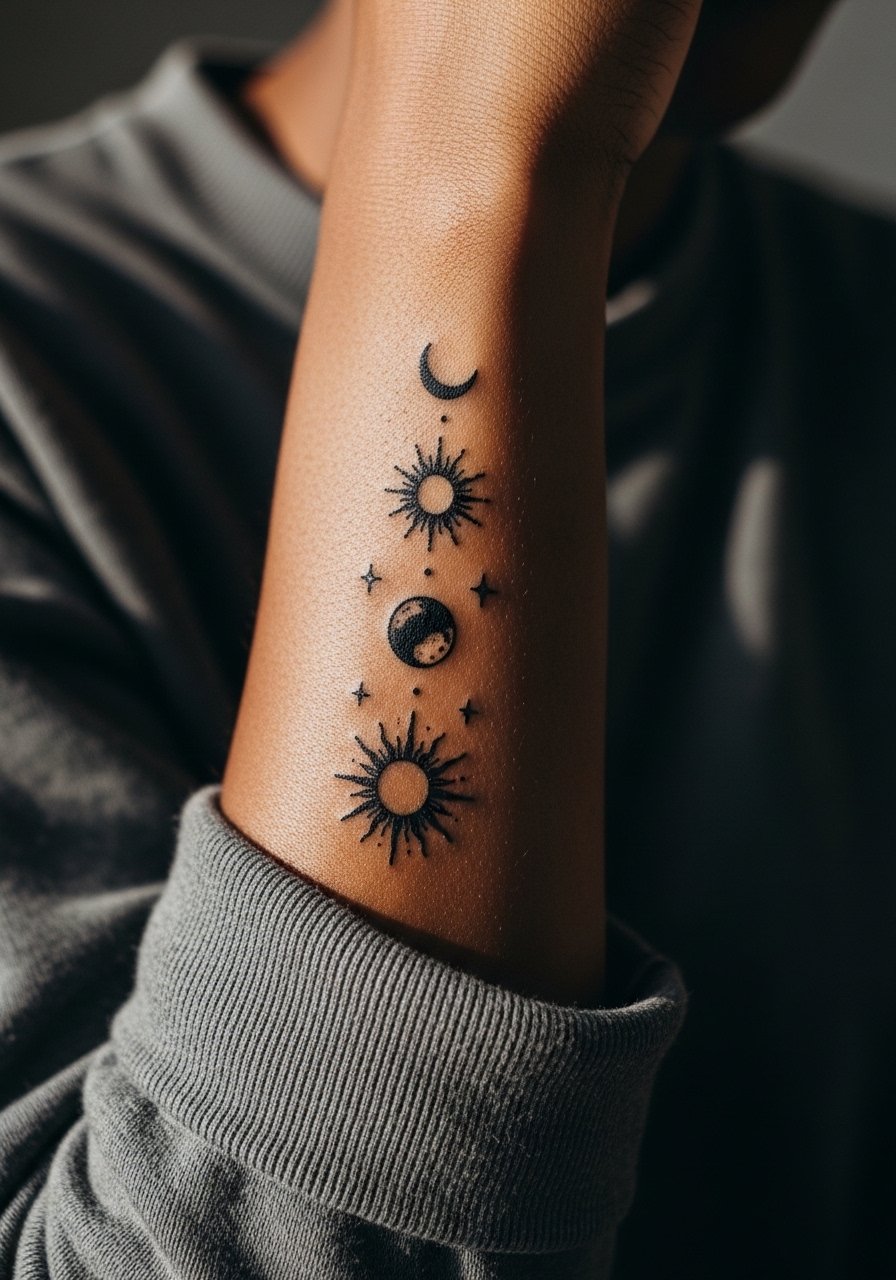
12. Minimal Solar Sleeve Accent on the Forearm
Instead of a full sleeve, a band of sun, moon, and stars spaced along the forearm gives the feel of a sleeve without the density. The advantage is you leave gaps that allow long-term breathing in the design. Ask for varied line weights in the consultation so the small elements do not all settle into the same visual plane. Sessions are modular, often done over two short visits. For daily wear, roll sleeves or choose a loose drawstring linen pant that keeps the aesthetic relaxed when paired with the forearm piece.
13. Tiny Celestial Ring on the Thumb
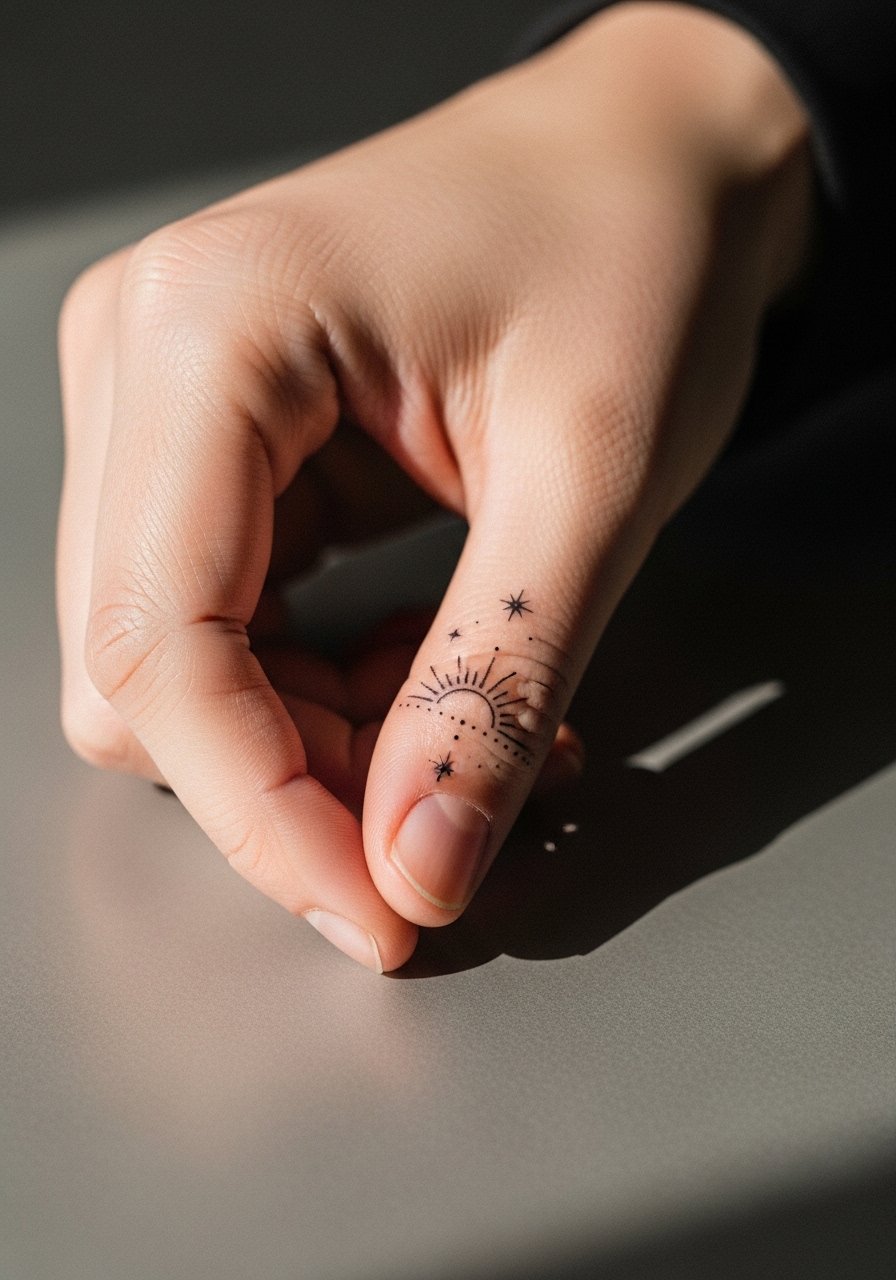
A micro ring featuring a sun and star around the thumb can mimic jewelry while being compact. The thumb sees heavy wash and motion, so design for bold silhouette rather than interior detail. Expect higher fade and likely touch-ups. Session time is short with sharp sensations. A simple thin band or ring nearby helps frame the tattoo when you want it to look like an accessory. Think about daily tasks that may scuff the area and plan your aftercare accordingly.
14. Sunburst Behind the Knee
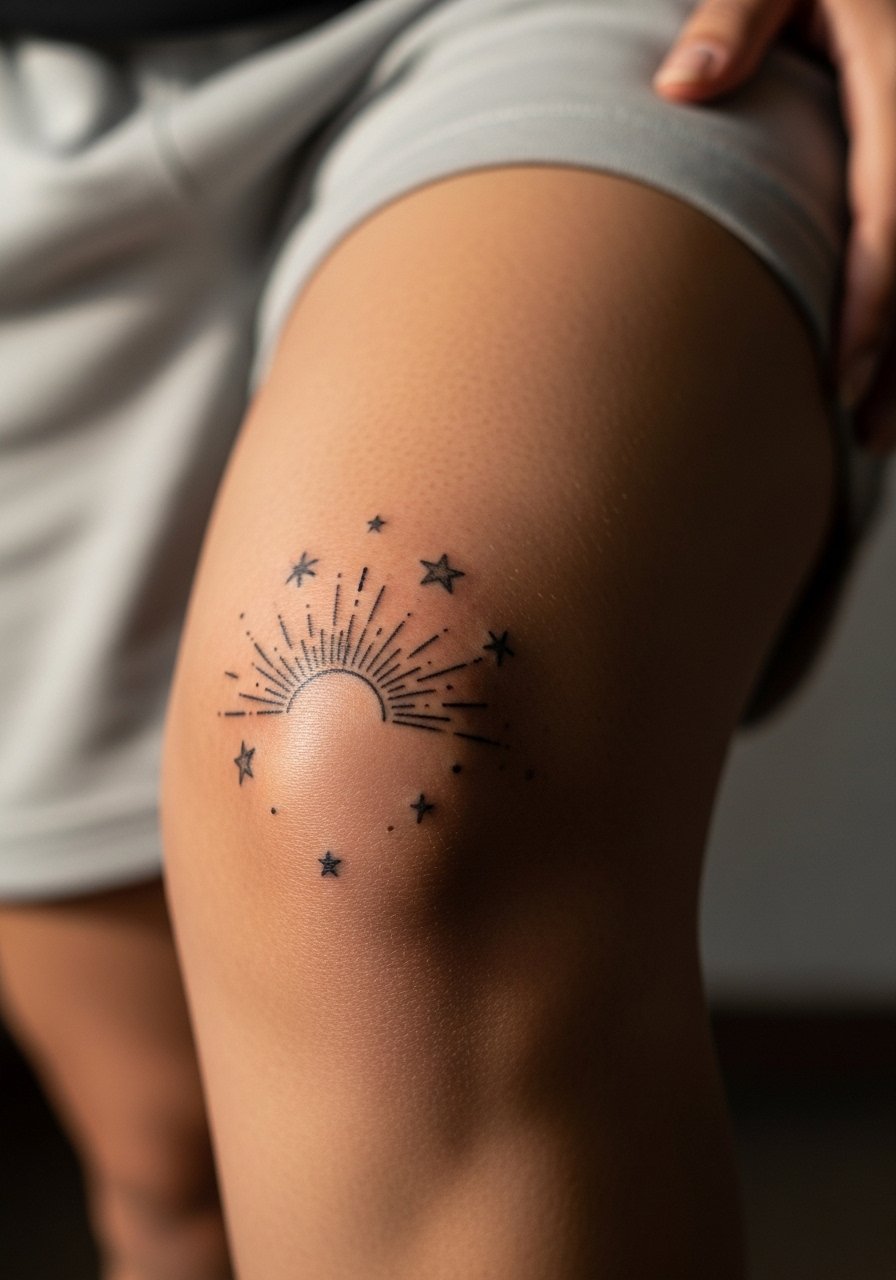
Small suns with orbiting stars behind the knee face more stretch than the calf. Placement makes the design playful and often visible with skirts or athletic wear, but the skin movement means you should avoid overly dense dot work. Pain is moderate to high depending on sensitivity. Wear shorts or athletic wear that allow the artist clear access during the session. For showing the piece, a pair of athleisure shorts keeps the area visible without pressure on the healed tattoo.
15. Micro-Solar Script Along the Spine
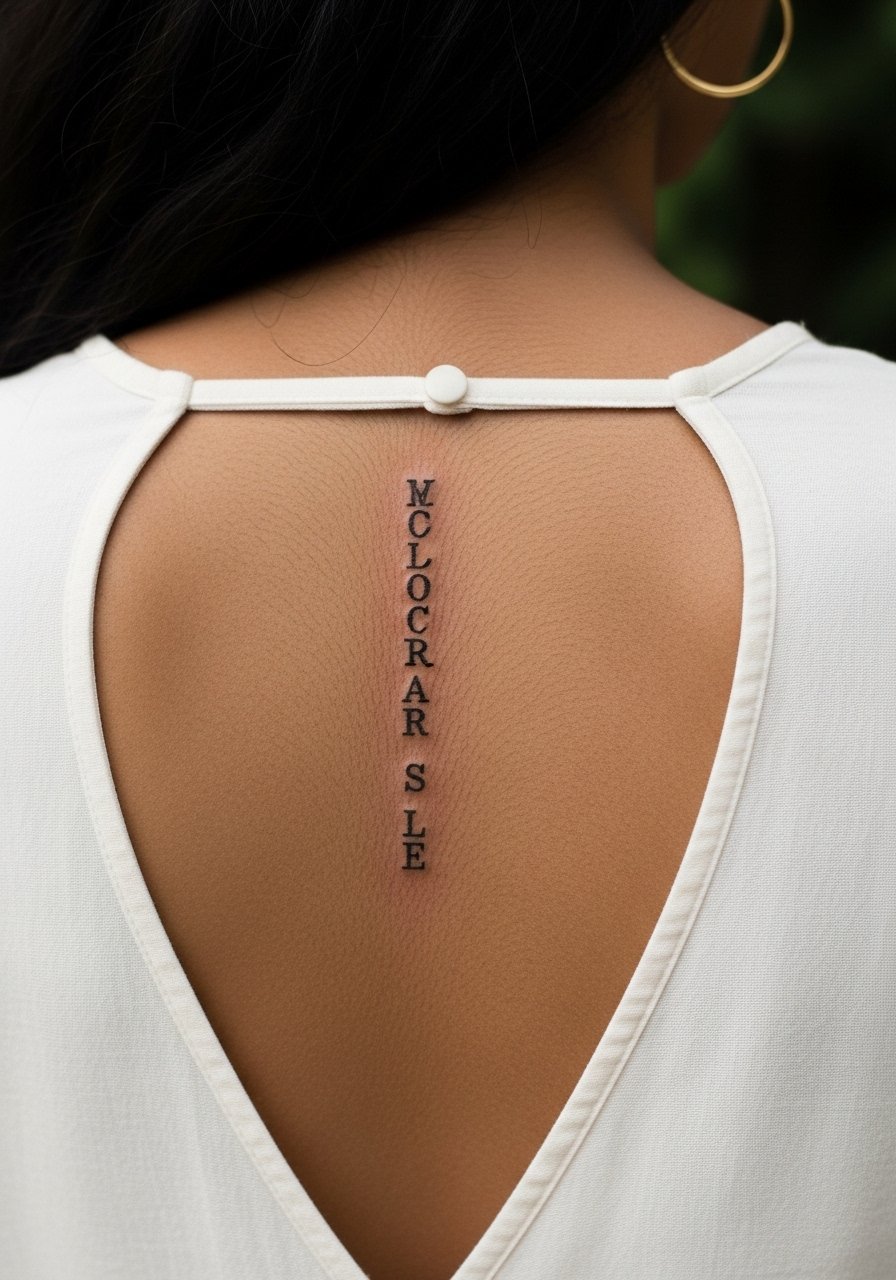
A thin vertical script combining a tiny sun glyph with star accents along the upper spine looks elegant with open-back clothing. The spine area handles linear compositions well, but fine script can blur if placed too small. Ask for slightly increased spacing and a mid-weight line to preserve legibility over time. Sessions can feel sensitive near bone. For evening looks, pair with an open-back dress to let the piece breathe.
16. Pocket Constellation Near the Hip
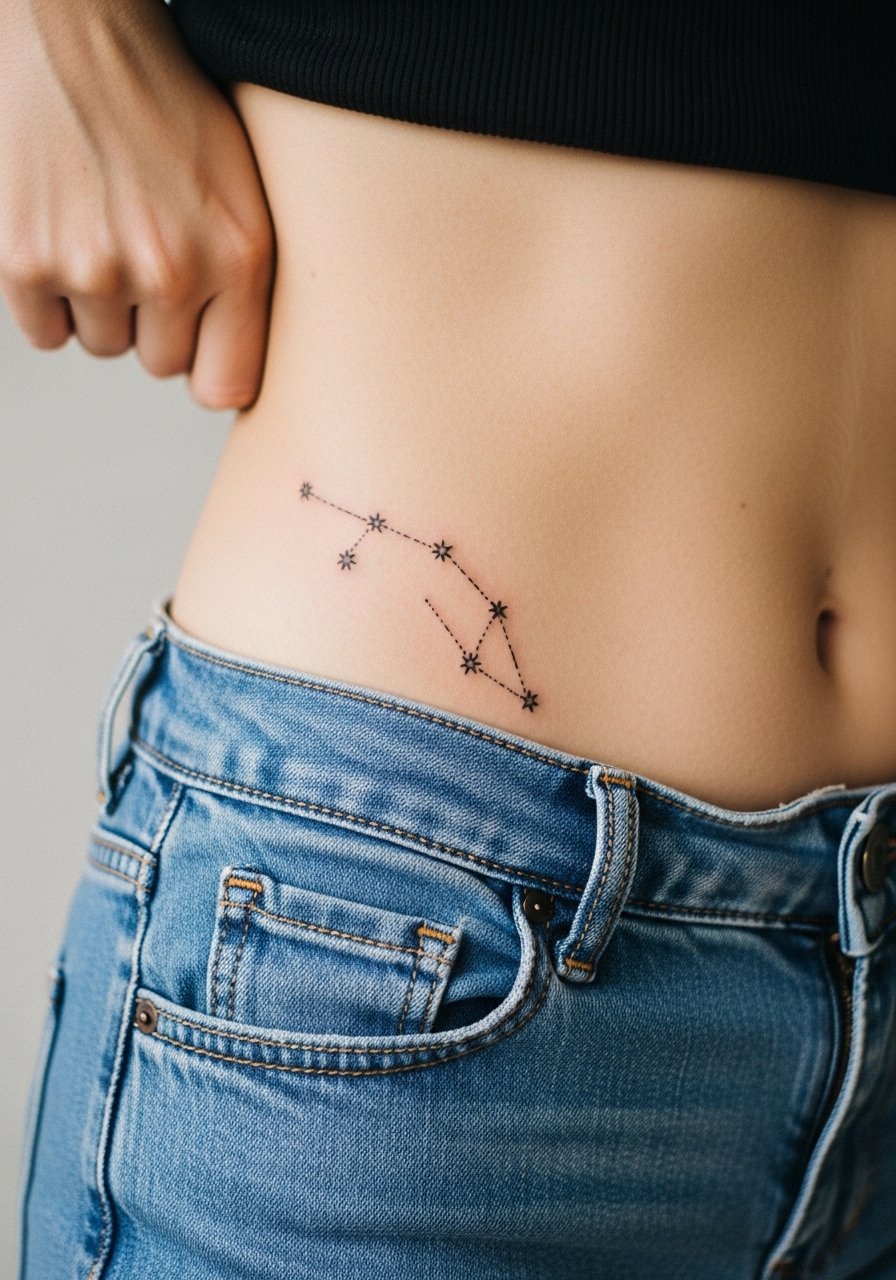
A pocket-sized constellation on the hip reads private and seasonally visible with swim or low-rise jeans. For safety and modesty, the photo shows the tattoo with high-waisted denim pulled slightly down at the hip to reveal the area only. The hip is moderately forgiving, but plan for a short session that can feel deep. If you want to show it off occasionally, a high-waisted bikini bottom or low-rise jeans works without exposing more than you intend.
17. Sun, Moon, and Stars Calibrated as a Minimal Chest Cluster
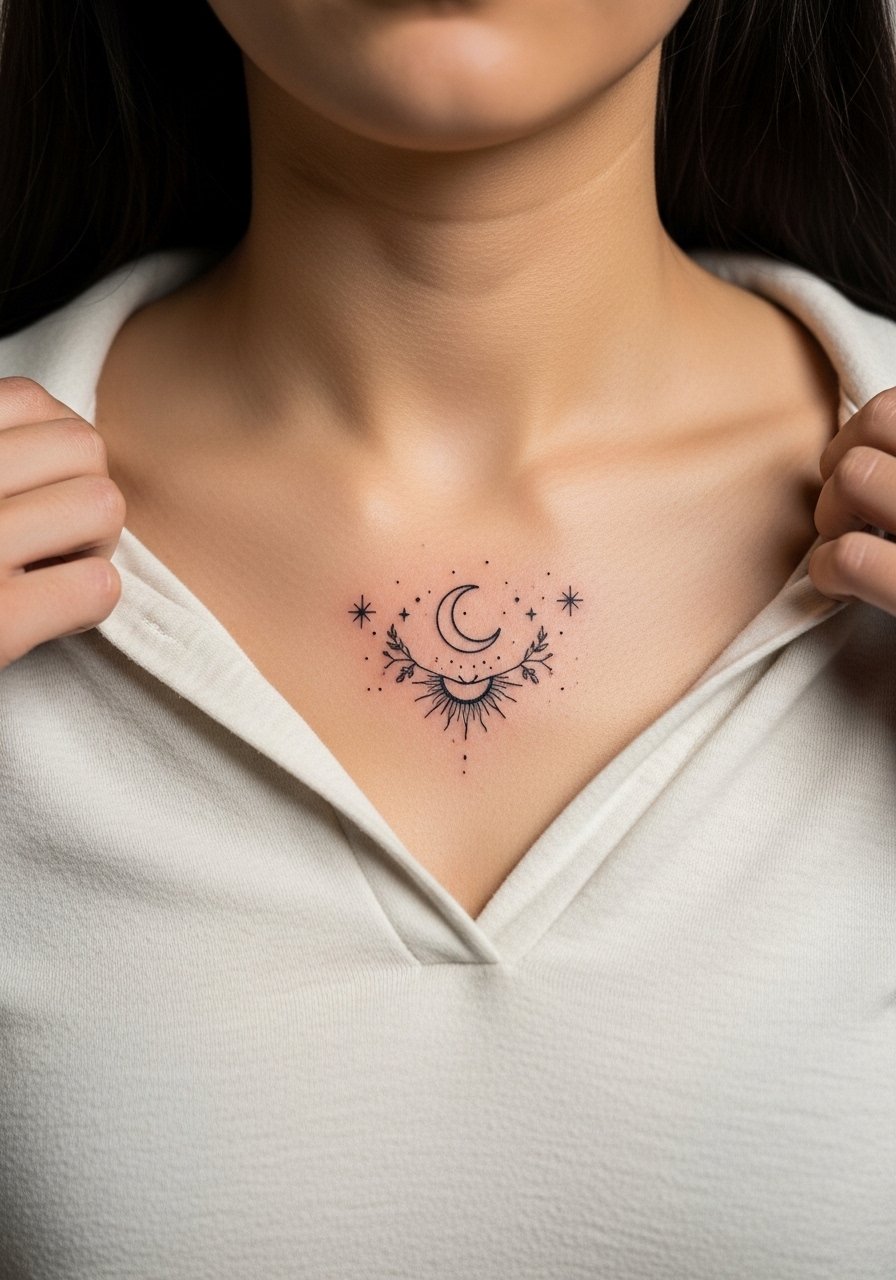
A tight cluster over the upper chest with a small sun, a crescent moon, and scattered stars reads like a pendant peeking out of a neckline. Avoid cramming too much dot shading into the center. A little negative space preserves contrast as the piece ages. Session is moderate and the area tolerates mid-weight linework well. For show-off outfits, a wide-neck shirt pulled slightly aside keeps the cluster visible without full exposure.
Frequently Asked Questions
Q: Will fine line sun and star tattoos blur faster on the ribs than on the forearm?
A: Yes, in my experience ribs move and stretch more, which increases the chance of lines softening. Two camps exist on this. One says ribs naturally blur fine line within a few years. The other says careful spacing and correct needle depth prevent that. Ask your artist which approach they prefer and plan a touch-up timeline.
Q: How should I dress to keep a new wrist or finger celestial tattoo safe during the first week?
A: Keep the area dry and avoid tight jewelry. Swap habitual bracelets for a thin chain bracelet that sits loose, and wear clothing that does not rub the wrist or fingers during showers and chores. Friction is the main early enemy of tiny linework.
Q: Are chest and sternum cosmic clusters appropriate for people worried about workplace visibility?
A: Chest work can be easy to hide under shirts, so it is a common choice for people who need discretion. Consider neckline choices that cover the piece during formal situations. If you need frequent concealment, place the cluster lower under clothing lines rather than on the collarbone.
Q: How often should I expect touch-ups for a micro moon on a finger versus a sun on the calf?
A: Fingers typically need touch-ups sooner because of constant wash and movement, often around year one to two. Calf pieces usually keep saturation and line clarity longer, sometimes not needing a touch-up until year three or later. Exact timing depends on skin type and sun exposure.
Q: What should I ask during a consultation for a solar mandala that I want to last?
A: Ask about spacing between dots and the suggested line weight for longevity. Request to see healed photos of similar placements on the artist's portfolio. Also ask whether they recommend a staged session for denser areas so the design can settle before adding more detail.
