
Fine line tattoos dominate saved boards right now, but trend popularity and real-world wear are two different things. I see the same tiny scripts and micro glyphs come back for touch-ups, fade differently across skin tones, and react to friction in predictable ways. This list pulls placement choices you can actually live with, shows what to ask your artist in the chair, and points out wardrobe moves that make a small piece read exactly how you want.
1. Fine Line Wrist Script
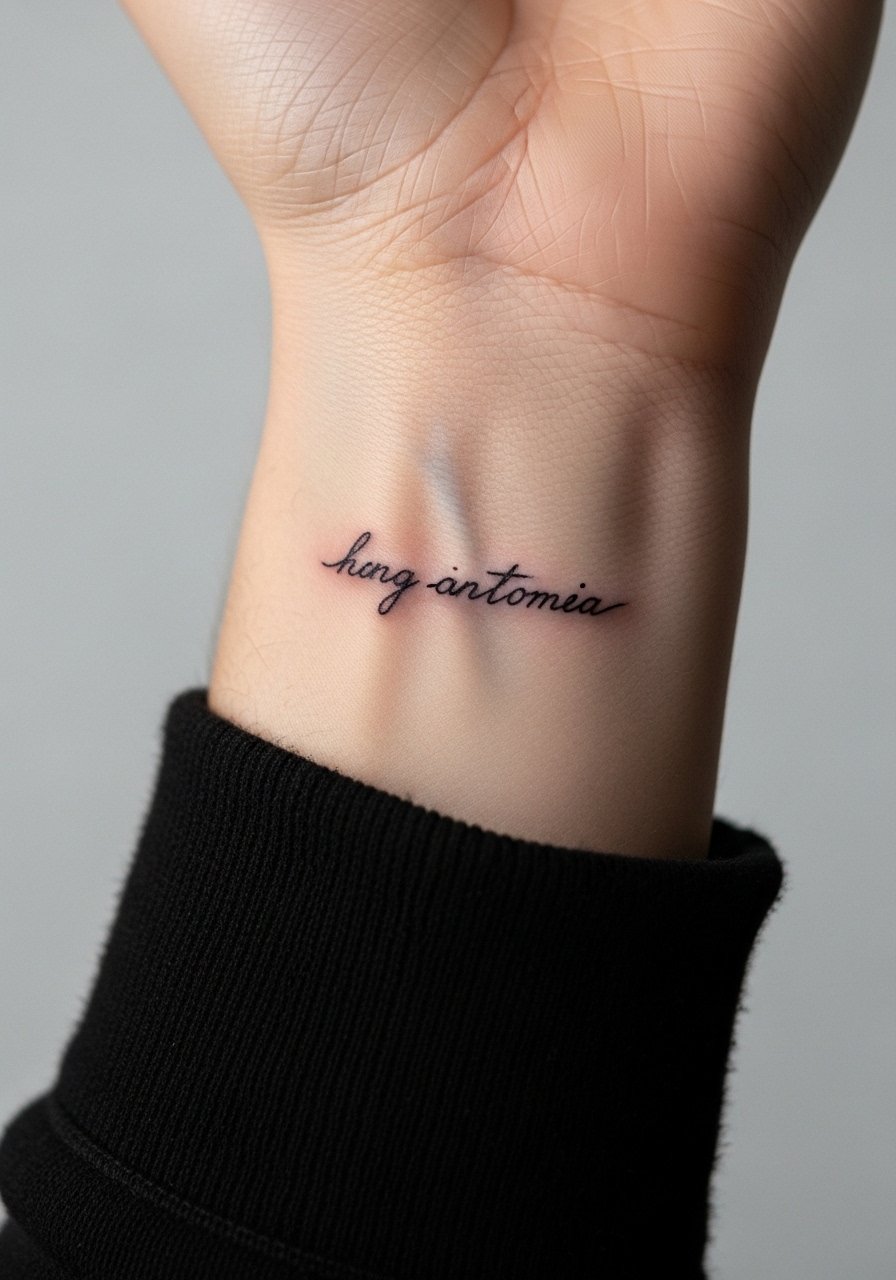
I mention this one first because the inner wrist is a daily-show placement but it is also a friction zone. Ask your artist for slightly bolder line weight than the thinnest option so the letters keep definition as the years pass. Expect a one-session piece that hurts more than the forearm and less than ribs. A common mistake is asking for tiny hairline script and then wondering why it ghosts in photos on darker skin tones. For the appointment wear a sleeveless linen tank so the artist has full access and nothing bunches under the cuff, and for evenings pair the piece with a rolled cuff chambray shirt to frame the script.
2. Minimal Arrow on Inner Forearm

I tell people this when they want a low-drama motif that still reads at arm length. Ask for a 1.5 to 2 inch layout so the arrow has room to breathe and the shaft does not blur into a line over time. Pain is mild and the session is short. The aging story is straightforward: at six months the ink looks clean, at two years the line will soften a little, and by five years the silhouette can still read if you avoid tiny hairlines. The common error is requesting a 0.5 inch arrow on contoured skin, which invites blowout. During consults bring reference that shows exact line weight, not just silhouette.
3. Minimalist Geometric Behind the Ear
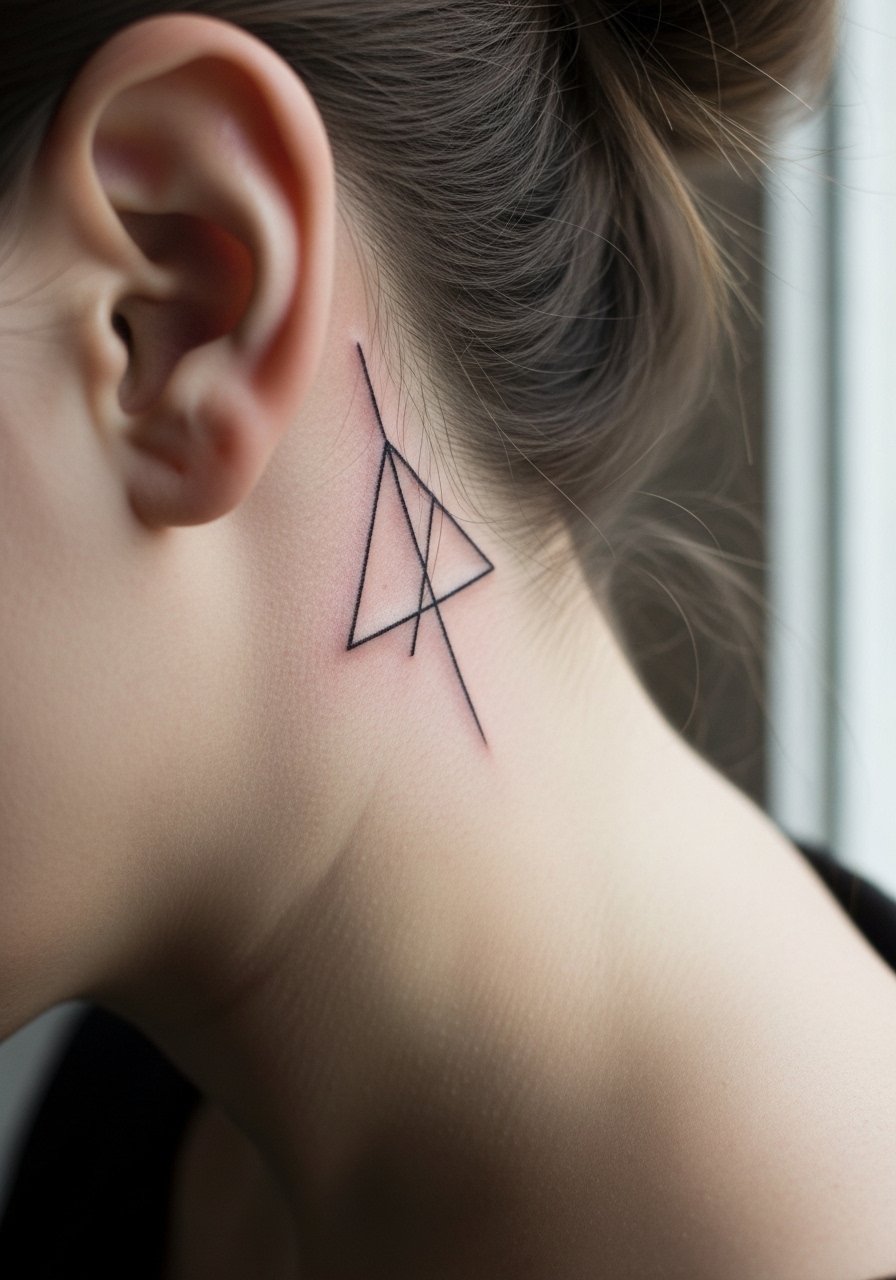
Fair warning, this is peekaboo placement that loves hair-up days. Ask for under-1-inch geometry and a clean single-session layout so the negative space holds. The pain is low and healing is simple because the area gets minimal friction. The frequent mistake is asking for dense dot clusters too small for the space. For showing it off, a high ponytail and small stud earrings work best. For the session secure hair with a soft silk tie and wear an off shoulder sweater you can pull hair and collar away from.
4. Dainty Ankle Floral

Ankle pieces photograph beautifully in warm weather because they peek out with sandals. Pick a 1.5 to 2 inch botanical drawn to sit on the ankle bone so movement does not collapse the composition. Pain is moderate, healing needs care because socks and shoes rub. The common aging issue is distortion after weight or footwear changes, so avoid overly linear stems that will stretch. For session wear loose shorts or rolled jeans so the artist can work without pressure. Pair with strappy sandals or a cropped straight jeans look to highlight the piece.
5. Thin Line Side Finger Symbol
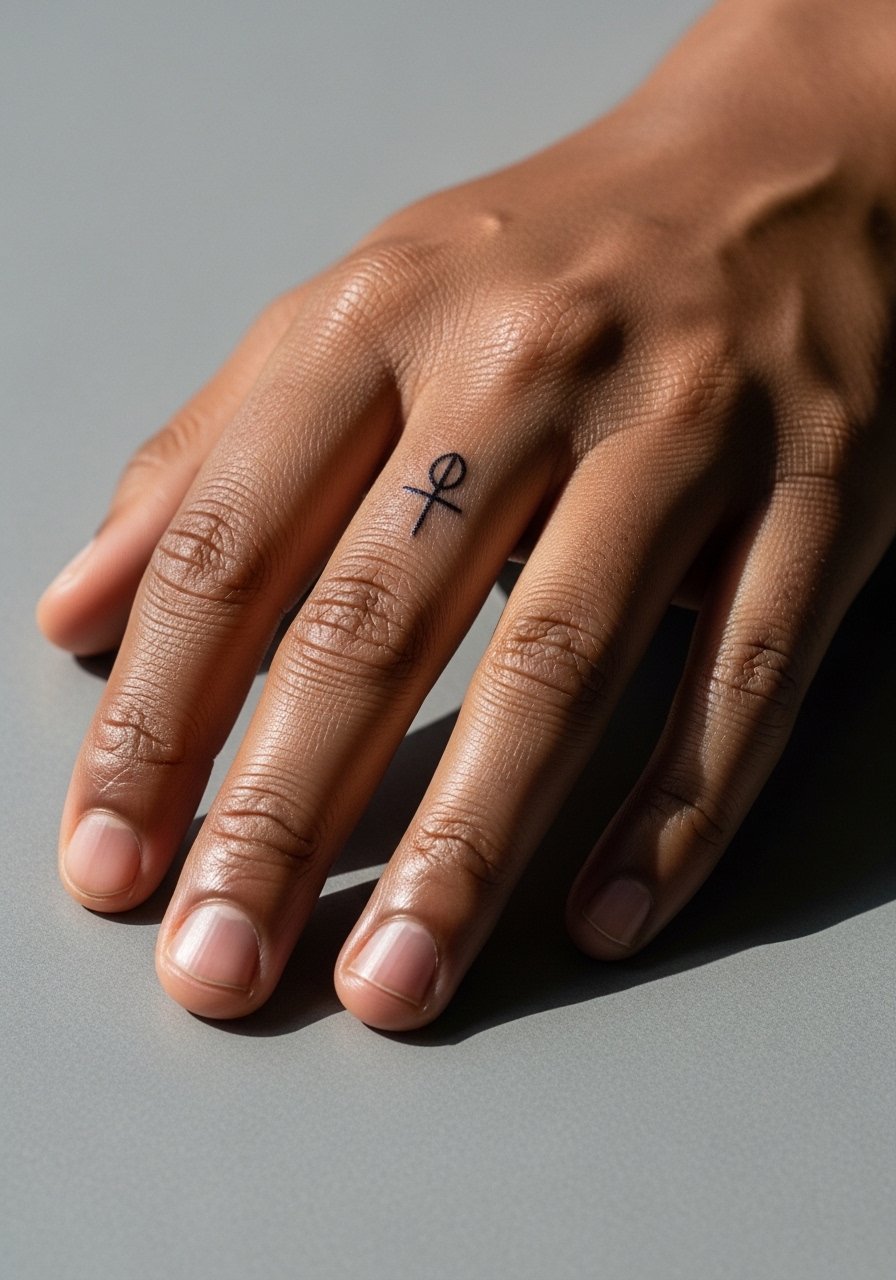
Artists split on finger work and you should know both camps. One group argues that fingers naturally shed ink and are a high-touch zone that fades quickly. The other group says thicker line weights and simpler shapes can last if you plan for touch-ups. I recommend the second route for symbol work that matters to you, but expect a realistic touch-up timeline at around six to twelve months. The biggest mistake is asking for micro hairlines on the pad or side without discussing touch-ups or line weight. For showing the ringless look, a thin ring stack complements a tiny symbol without crowding it.
6. Small Collarbone Linework
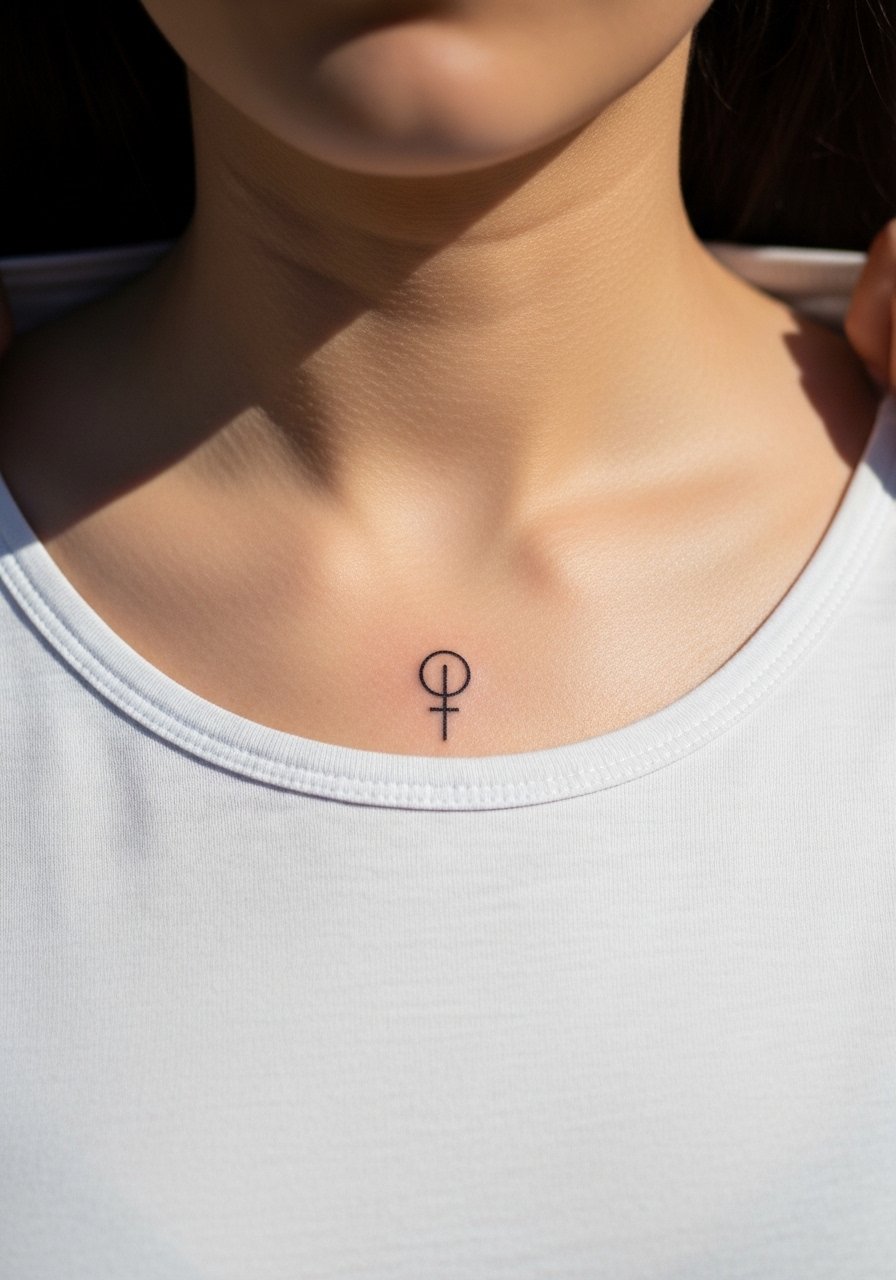
The collarbone is low movement and very flattering for one-line symbols. Pain is low to moderate, session time is short, and the line follows the natural curve of the clavicle for a flattering read. A common mistake is centering a long horizontal script rather than letting the line arc with the bone. For the session wear a strapless bralette or wide-neck shirt so the artist can access the area easily. When you want to frame the piece casually, a delicate chain necklace sits above without competing.
Pre-Session Essentials
The tiny wrist, finger, and collarbone pieces above have different access needs than larger back or thigh work, so a short kit keeps the chair time smooth and the first week of healing calm.
-
Lush Charity Pot balm. A lighter-feeling balm some people prefer for low-coverage sites like the collarbone and ribs where greasier options feel heavy.
-
Hada Labo moisturizing lotion. Thin hydration that forum users say helps fine line pieces keep contrast without leaving residue.
-
Indie butter balm. A thinner alternative many guest artists recommend for areas that need less shine while healing.
-
Australian after-sun gel. A cooling option people use for ankle and thigh sessions during summer to reduce surface heat.
-
Fragrance-free CeraVe healing ointment. Use a thin layer in the first 48 to 72 hours for fine line work that needs moisture without heavy pore-clogging residue.
7. Fine Line Inner Wrist Geometric
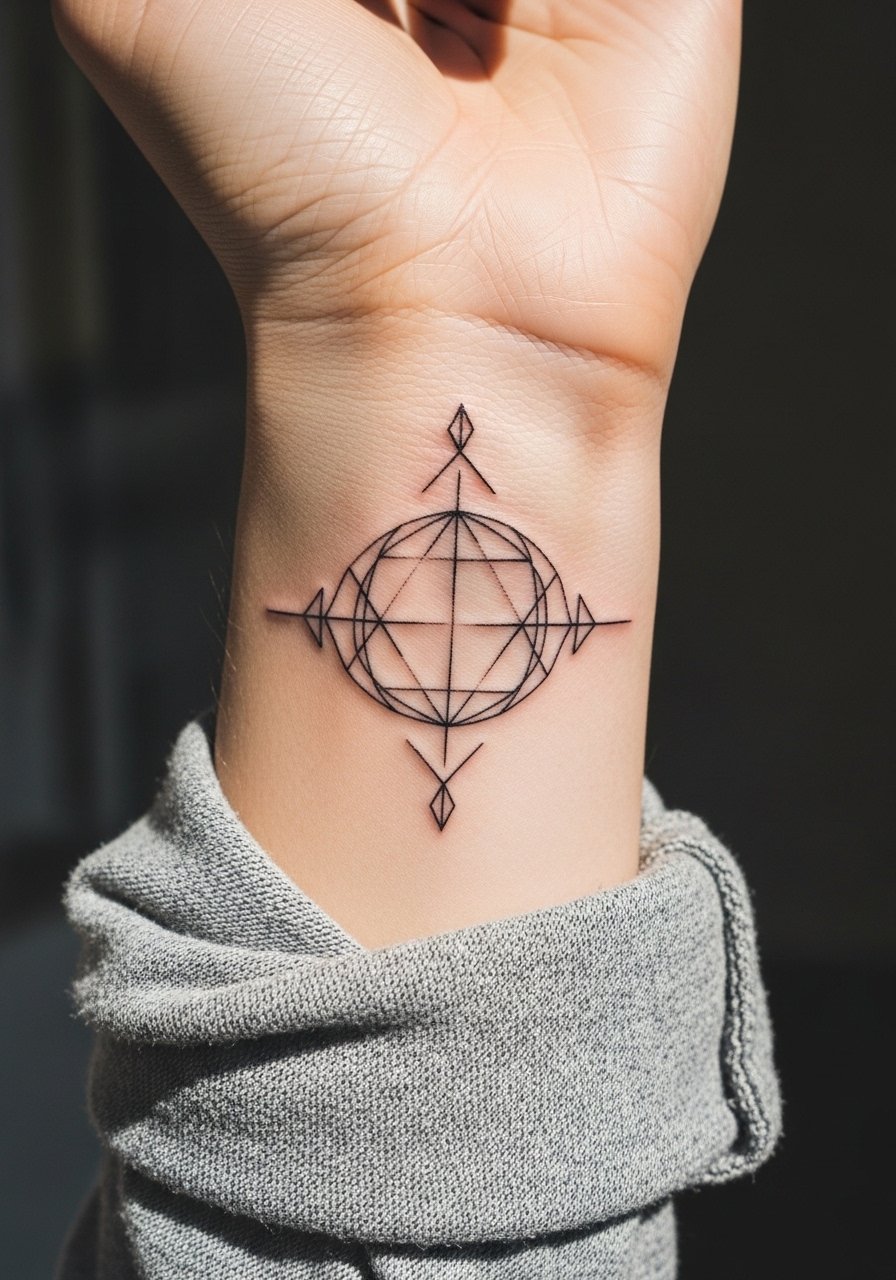
When I see geometric work on the inner wrist that holds up, it was given room. The mistake is crowding tiny triangles and expecting crisp negative space long term. Ask for 1.2 to 1.8 inch sizing and a bit more line weight than your initial mood board. The session is short but the area gets a lot of sun and washing, so plan for a touch-up as this kind of placement fades faster than a forearm block. For the session wear a rolled sleeve blouse so you can easily pull fabric away and avoid smearing the stencil.
8. Subtle Behind-Ear Dotwork Pattern
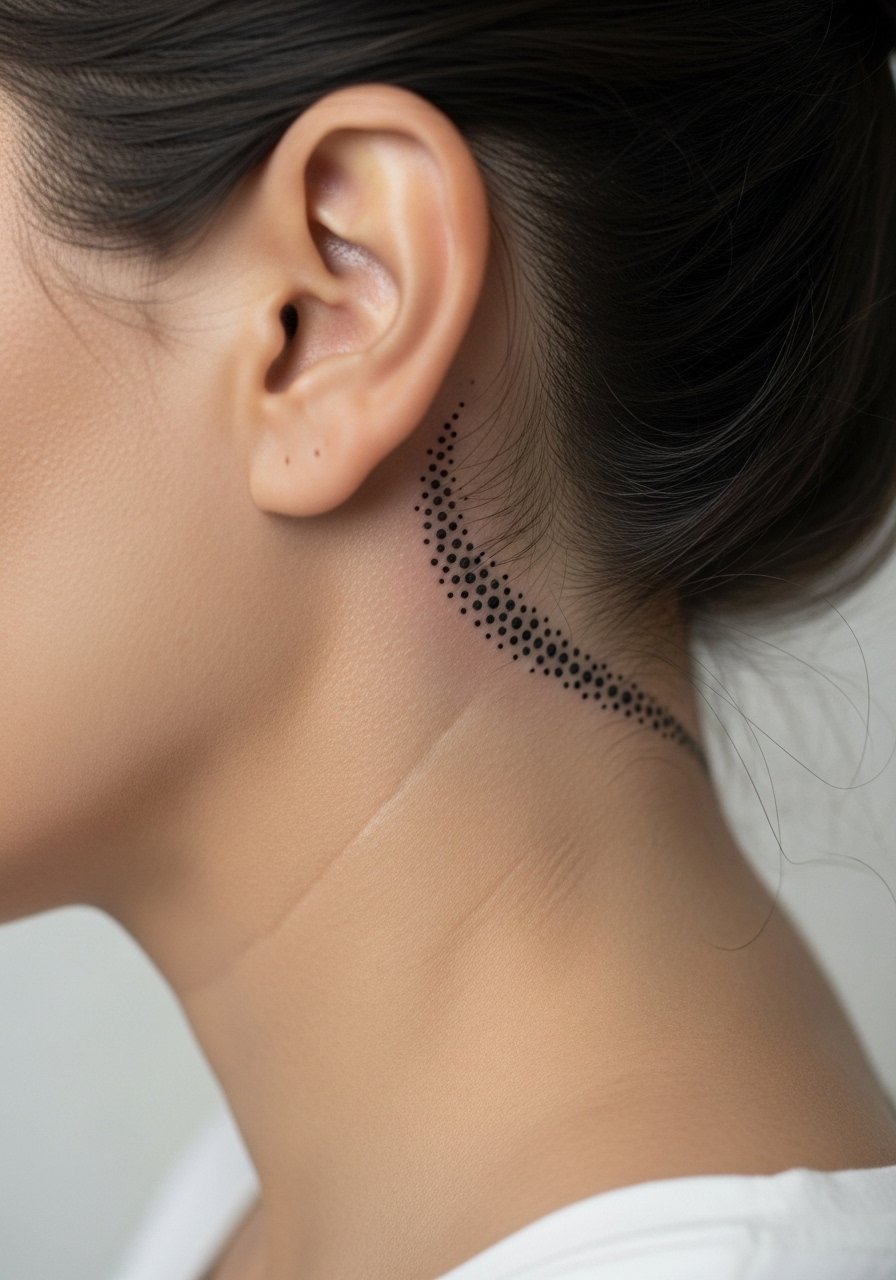
Dotwork behind the ear is a quiet option that reads as texture rather than a graphic. It often heals clean because the location sees less abrasion. A common error is asking for high-density stippling in too small a space, which can merge over time. Expect a single session and straightforward healing. Because this sits just below the hairline, the artist will want hair secured and the skin clean. No special wardrobe calls beyond tying hair up.
9. Small Shoulder Blade Outline
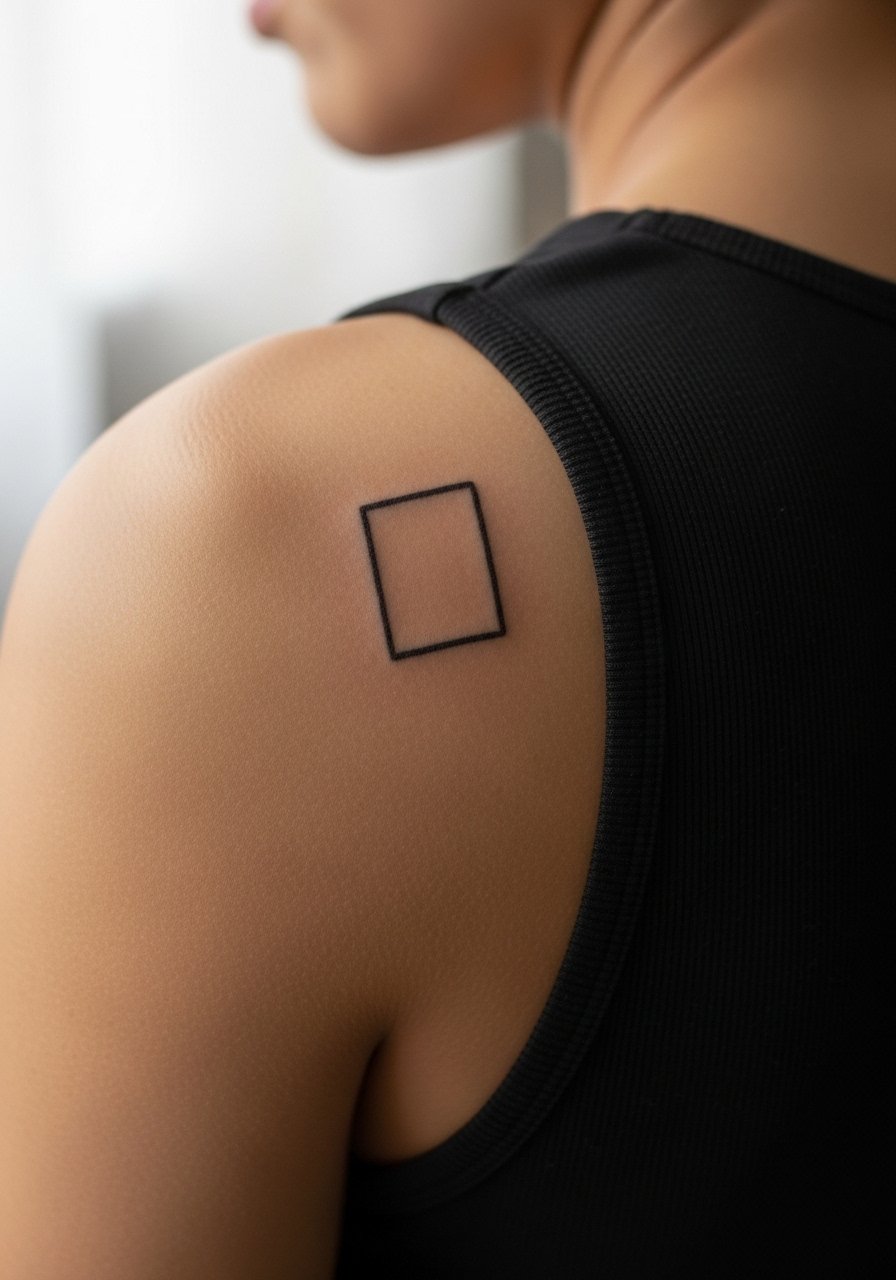
The shoulder blade balances privacy and show-off potential. It tolerates a little more detail than tiny hand pieces because it moves less and gets less washing. People love 2-3 inch outlines here for their ability to wear as they please. Pain is low and sessions are short. A common mistake is centering a large composition too close to the spine rather than letting it sit on the flatter outer blade. For the appointment wear a button-front or tank top so you can pull fabric aside.
10. Minimalist Ribcage Script
Artists split on fine line on ribs. One camp says the thin skin, frequent expansion, and high movement blur hairline scripts within a couple of years. The other camp argues that if the spacing and needle depth are right, a fine script can settle and stay legible. I tell people this depends on your anatomy and the exact line weight. Expect higher pain, a careful session, and a realistic touch-up plan at year two if you keep hairline letters. For the session wear a sports bra or cropped top so the artist can work without fabric tugging.
11. Tiny Finger Heart Outline

The finger is tempting for little icons because it is always visible, but it is also a high-friction, high-exposure zone. Expect faster fading and a likely touch-up at the one-year mark unless you accept bolder, simpler outlines. The frequent mistake is treating the finger like forearm skin and asking for filigree. For a clean result pick a half-inch or smaller heart with clear negative space. Pairing this with a bare hand aesthetic and a thin ring keeps the focus without crowding.
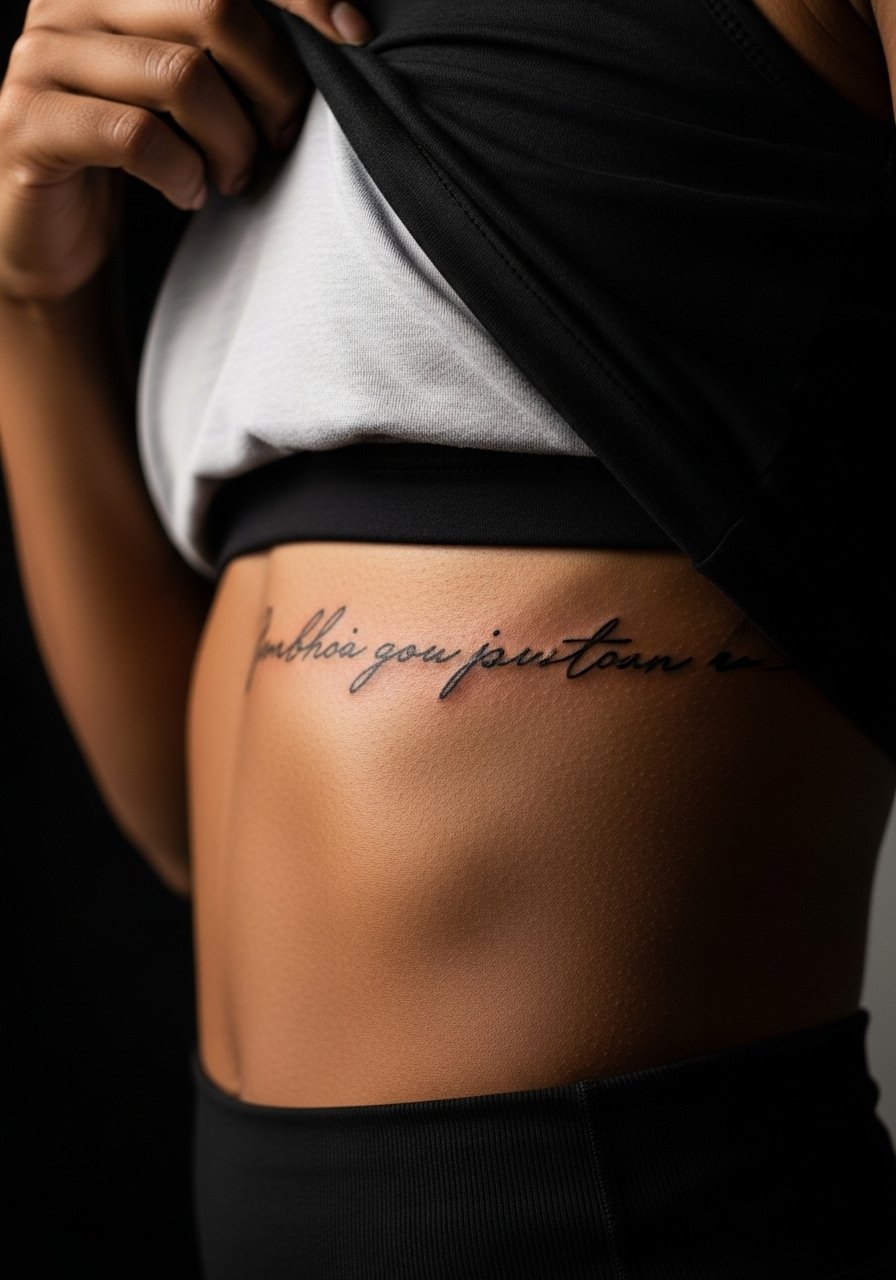
12. Fine Line Hip Floral

The hip is a private place that photographs well at summer frontiers. It tolerates a fuller two-inch botanical with graceful aging because it sees moderate friction, not constant abrasion. The common error is placing a long vine perpendicular to the waistline, which can shift with changes in posture. Sessions are single and relatively comfortable. For the reveal wear high-waist swimwear or jeans. If you want a tried-and-true summer pairing, a high waist bikini frames the piece.
13. Inner Bicep Flowing Script
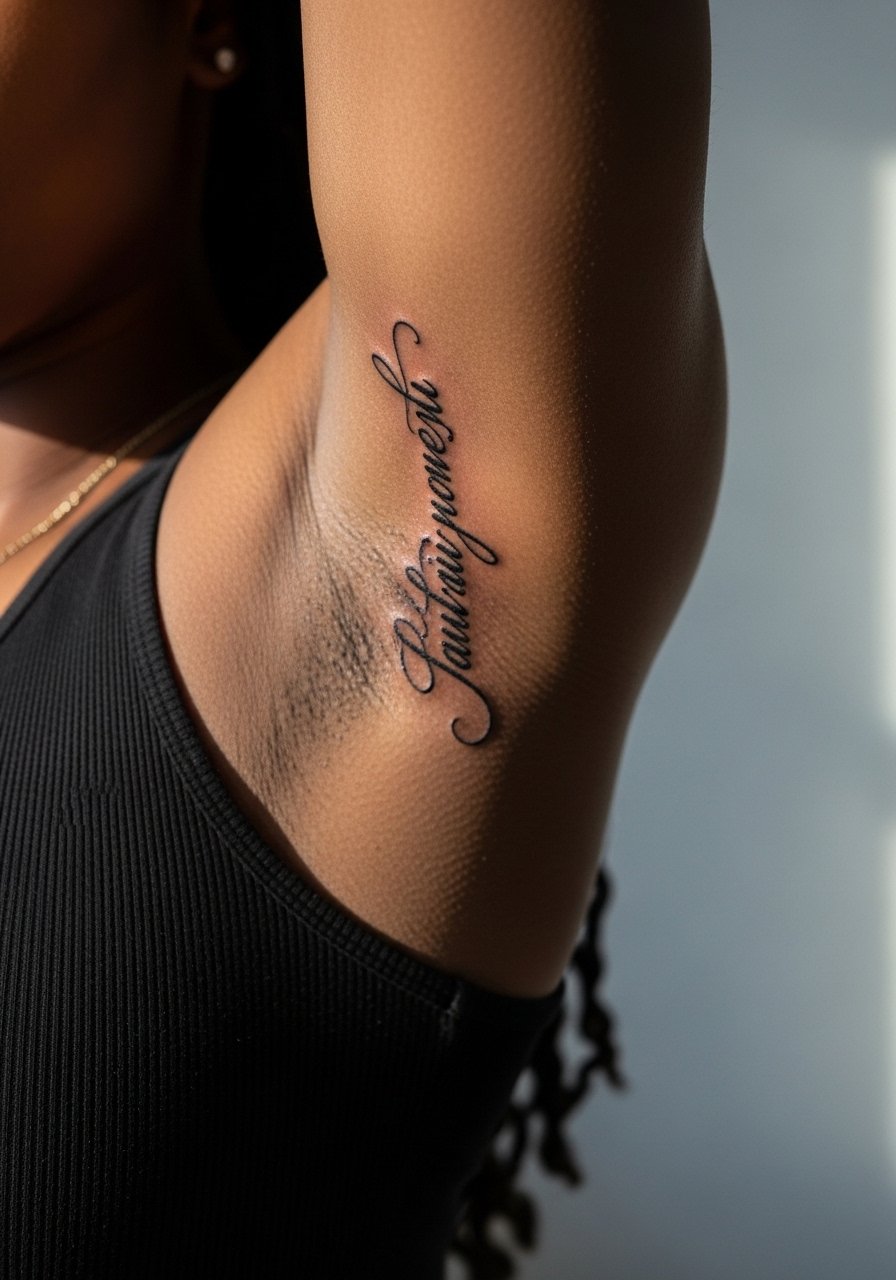
This is one of those under-covered options that reads organic along muscle lines. The inner bicep offers a flattering canvas with moderate pain and a low-friction healing window. The most common mistake is following a straight reference onto a curved inner arm without compensating for the muscle bulge. Tell your artist you want the script to follow the arm's natural fall. For the session wear a tank top so the area is easy to access.
14. Underbust Negative Space Linework

Negative space underbust pieces are stealthy and impactful when revealed. Expect moderate pain and a single session for clean linework. Avoid cramming text or heavy shading here; the line should breathe with the contour of the rib cage. If you plan to show it in swimwear or crop tops, keep the design minimal and horizontal. For the session wear a bandeau or strapless top so the artist has unobstructed access.
15. Lower Back Mini Bloom

A lower back tattoo gives you private control over reveal and is forgiving in terms of detail for a 2-3 inch design. The spot ages well because friction is low and the skin is relatively stable. Sessions are comfortable and healing tends to be uneventful. A common error is locating the design too low for typical pant lines, which causes awkward cropping in everyday wear. Wear a tank top you can shift for the session.
16. Inner Thigh Miniature

Inner thigh pieces live behind closed doors until you choose to show them. Expect a moderate to higher pain threshold depending on placement and a single session for small motifs. The area tolerates a tiny scene or word because it is not exposed to daily friction. The mistake I see is picking a very sharp, geometric piece that jars with the softer thigh contour. For the session, wear shorts you can shift comfortably.
17. Sternum Minimalist Line
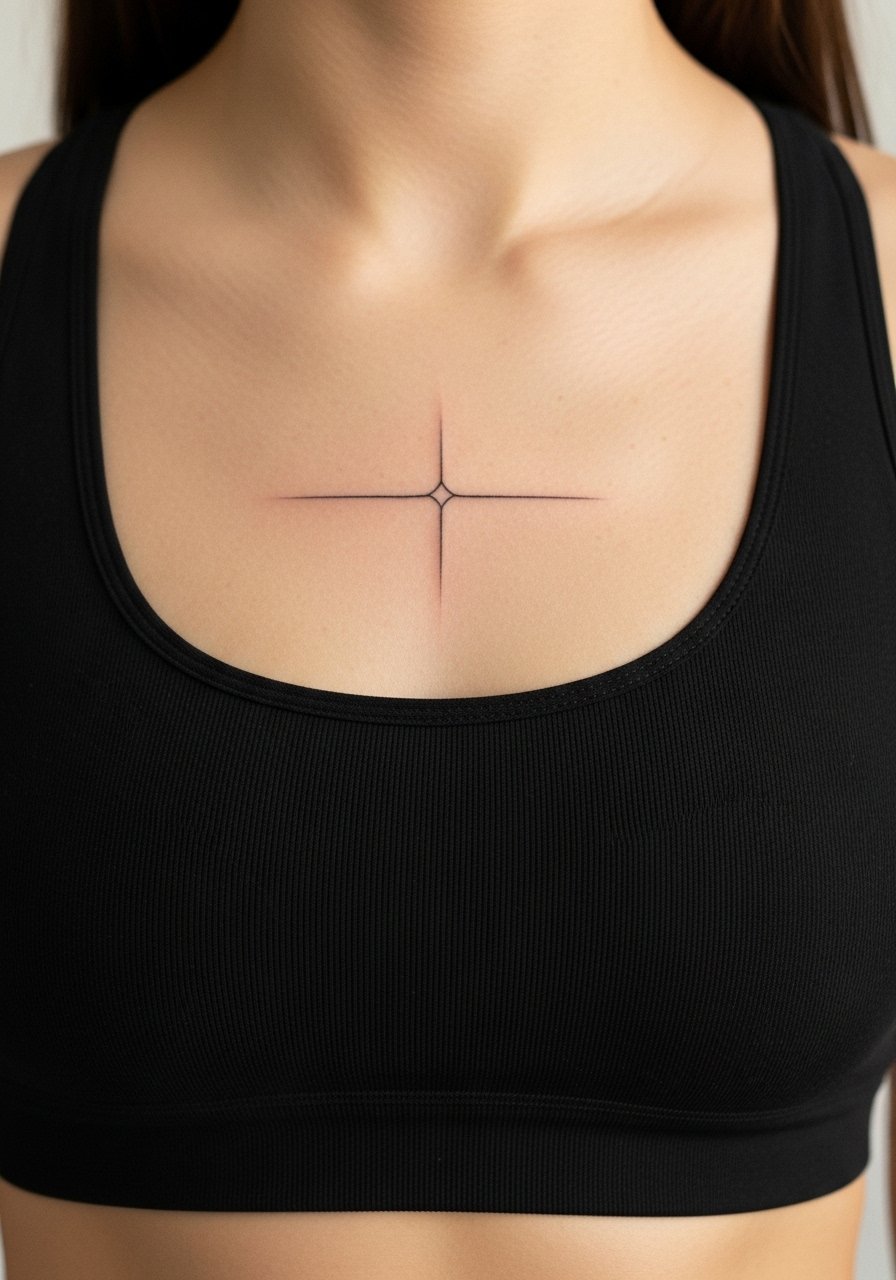
Sternum work is intimate and effective when kept simple. Expect high pain and a slower session because breathing affects the stencil. Many people choose a small centralized symbol to avoid distortion when the torso moves. The common mistake is making the piece too wide for the sternum band. For the session a fitted sports bra is the best call so the artist can work without fabric shifting.
18. Upper Arm Tiny Compass

Outer upper arm placements are forgiving and low pain. A small compass in classic linework makes for an enduring mini symbol that ages nicely because the limb sees lower abrasion. The session is short and the healing straightforward. People sometimes ask for micro lettering near the compass which can clutter the piece; keep surrounding space open for best longevity.
19. Calf Micro Landscape
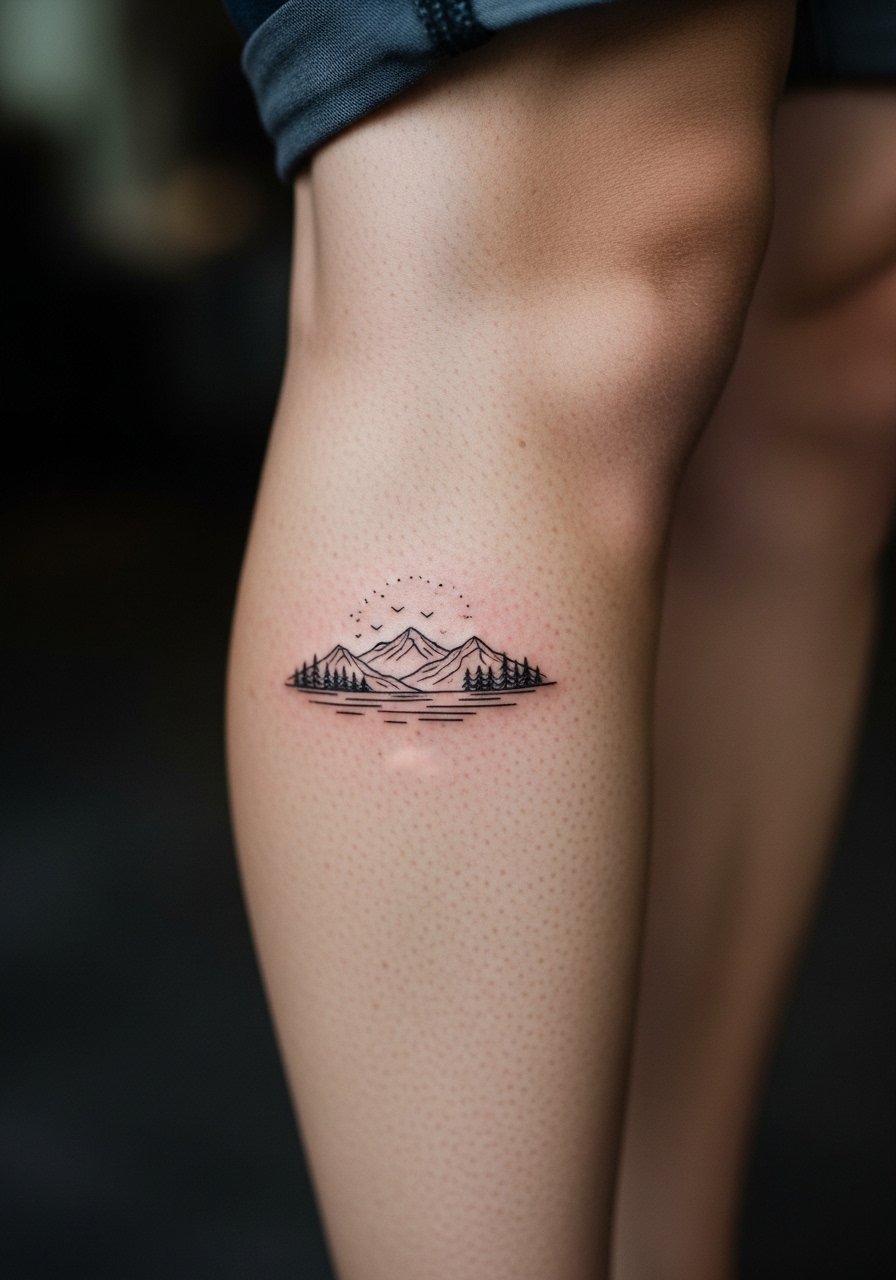
Calf pieces read from a distance while staying easy to hide with pants. The area tolerates modest detail up to a few inches and tends to hold linework well. For session wear pull-on shorts so the leg is free. Keep in mind that socks and shoe collars can rub during the first week, so plan footwear accordingly.
20. Top of Foot Minimal Script
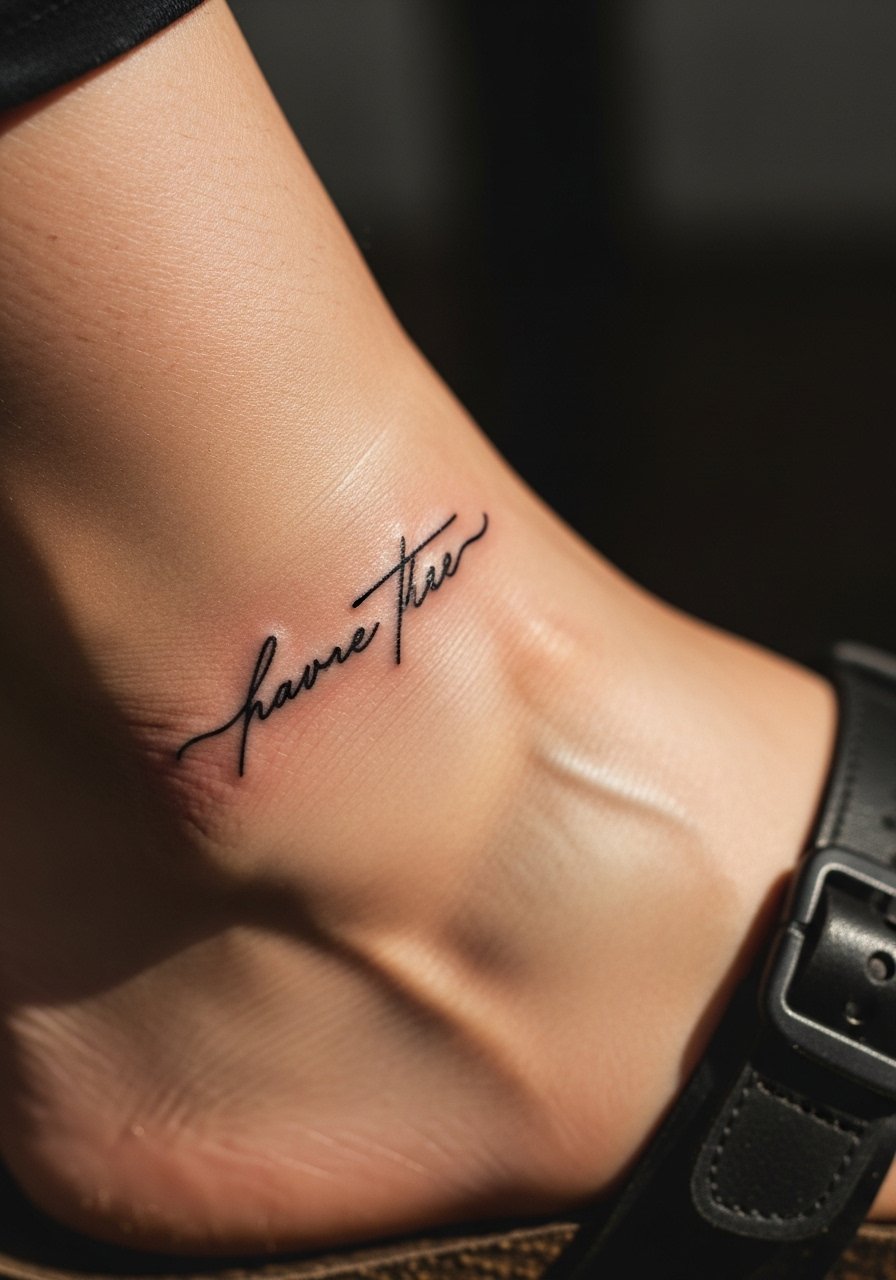
Top-of-foot scripts are lovely in warm months but heal with extra caution because shoes and socks cause rubbing. Choose a short word and ask for slightly thicker letters than your image to combat early fading. The session has moderate pain and requires shoe choices that minimize friction during the first week. Show it off with sandals and cropped trousers.
21. Nape of Neck Little Star

The nape or side neck reads when you tug a collar or wear an updo. Small glyphs here are low in session time but visible enough to become part of your daily style. Expect a bit more sensitivity than the shoulder blade. For the appointment wear a wide-neck shirt that you can shift without exposing other areas.
22. Wrist Wrap Minimal Band
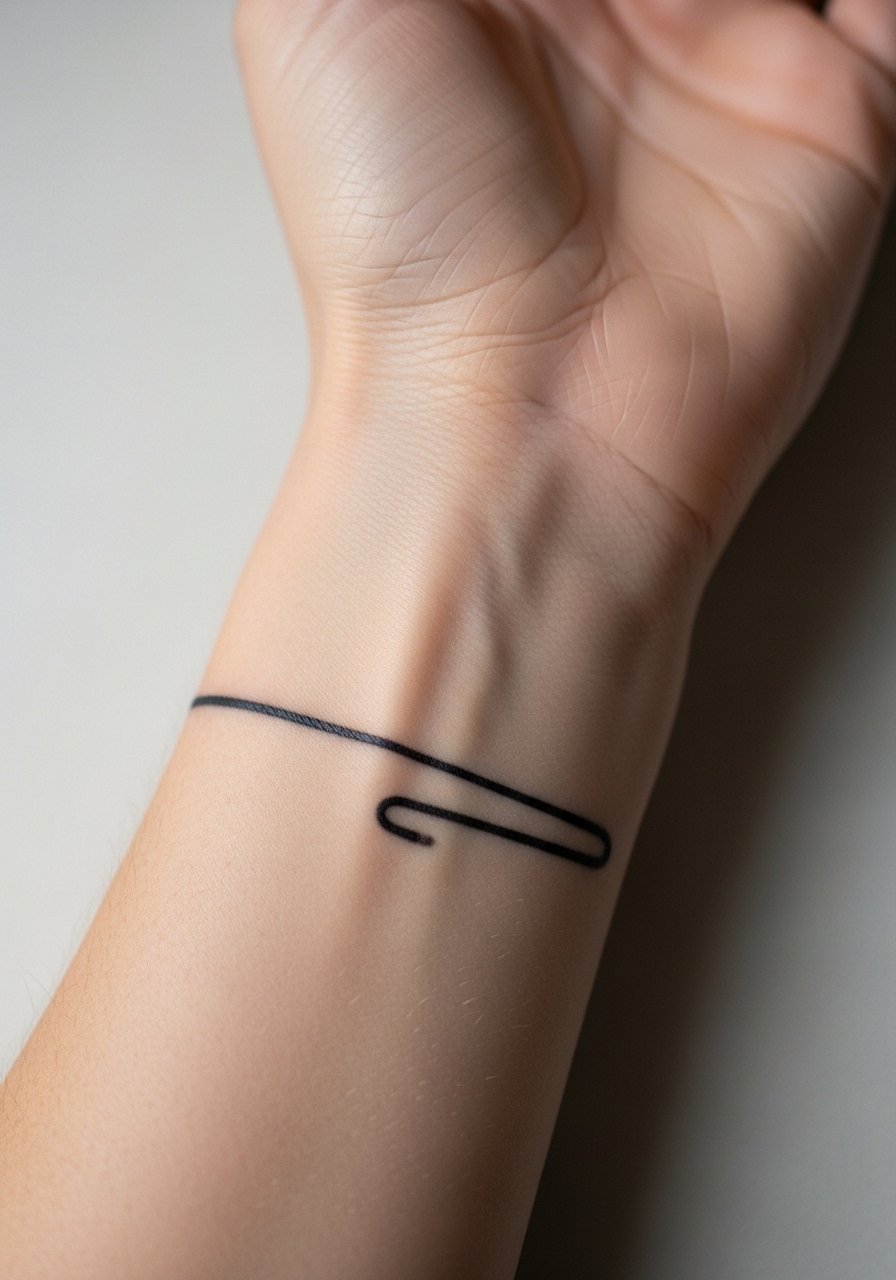
A thin wrap band around the wrist is a modern take on bracelets. Ask for a slightly bolder line than your thumbnail sketch because the wrist sees constant movement and handwashing. The session is quick and pain is mild. The biggest mistake is choosing an ultra-thin line that becomes a soft grey blur after a year. Complement it with small bangle jewelry rather than chunky bracelets.
23. Micro Ankle Quote

Topical micro quotes on the ankle are discreet and show on demand when you pair them with summer footwear. Keep height under one inch for letters and request open counters on letters so they do not close up as the ink settles. The session is short but healing needs attention because socks can irritate. For show-off pairing think midi skirts or strappy flat sandals.
24. Micro Collarbone Dot
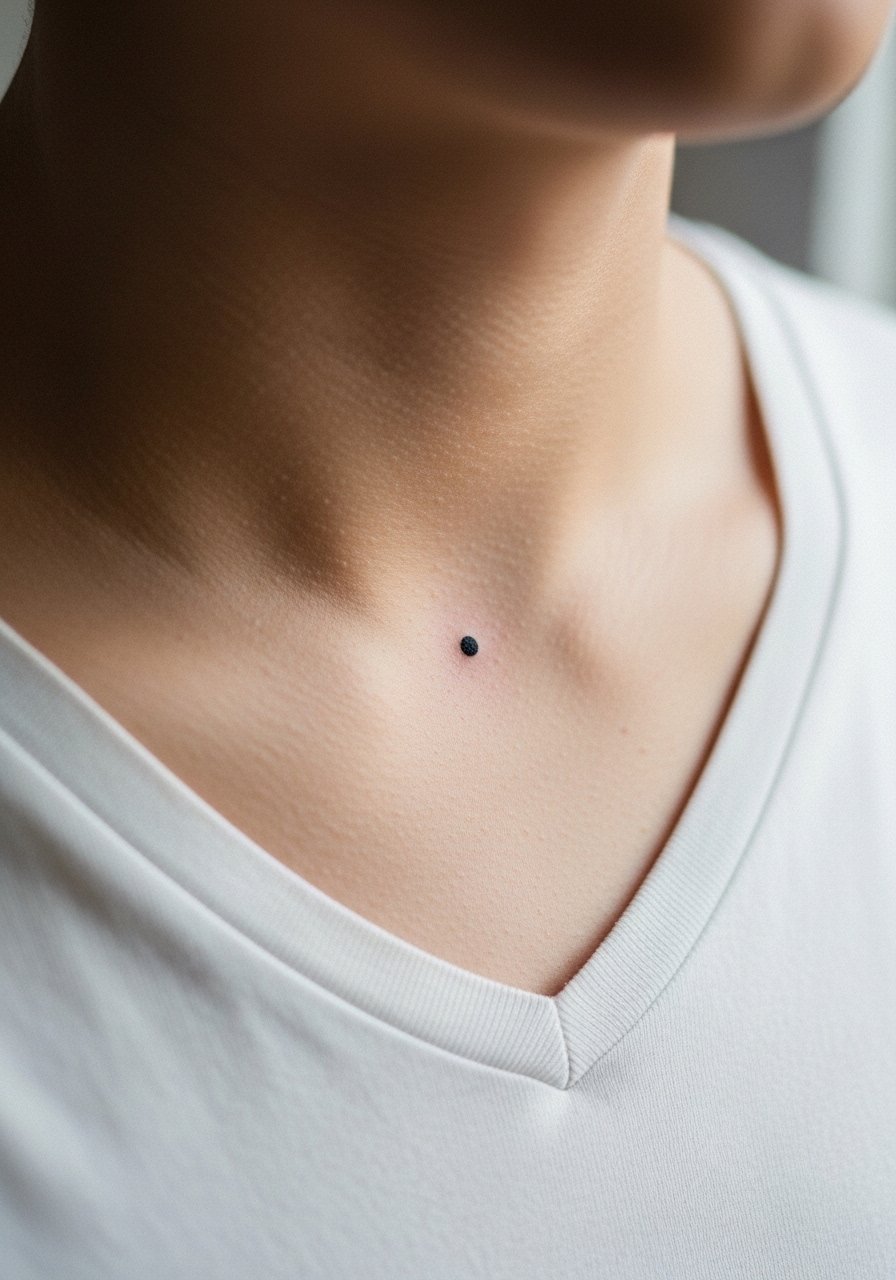
A single micro dot at the clavicle is nearly invisible until you want it to be. It ages well because there is almost no saturation to blur. Pain is low and the session is tiny. Avoid asking for a series of dots too close together unless you are committed to periodic touch-ups.
25. Tiny Finger Pad Symbol

Finger pad pieces suffer the highest wear from everyday tasks. If you choose this, simplify the shape and plan for touch-ups around the one-year mark. The common mistake is treating the pad like standard skin and expecting a five-year crisp look. Keep the symbol compact and bold enough to keep its personality.
26. Inner Forearm Tiny Botanical
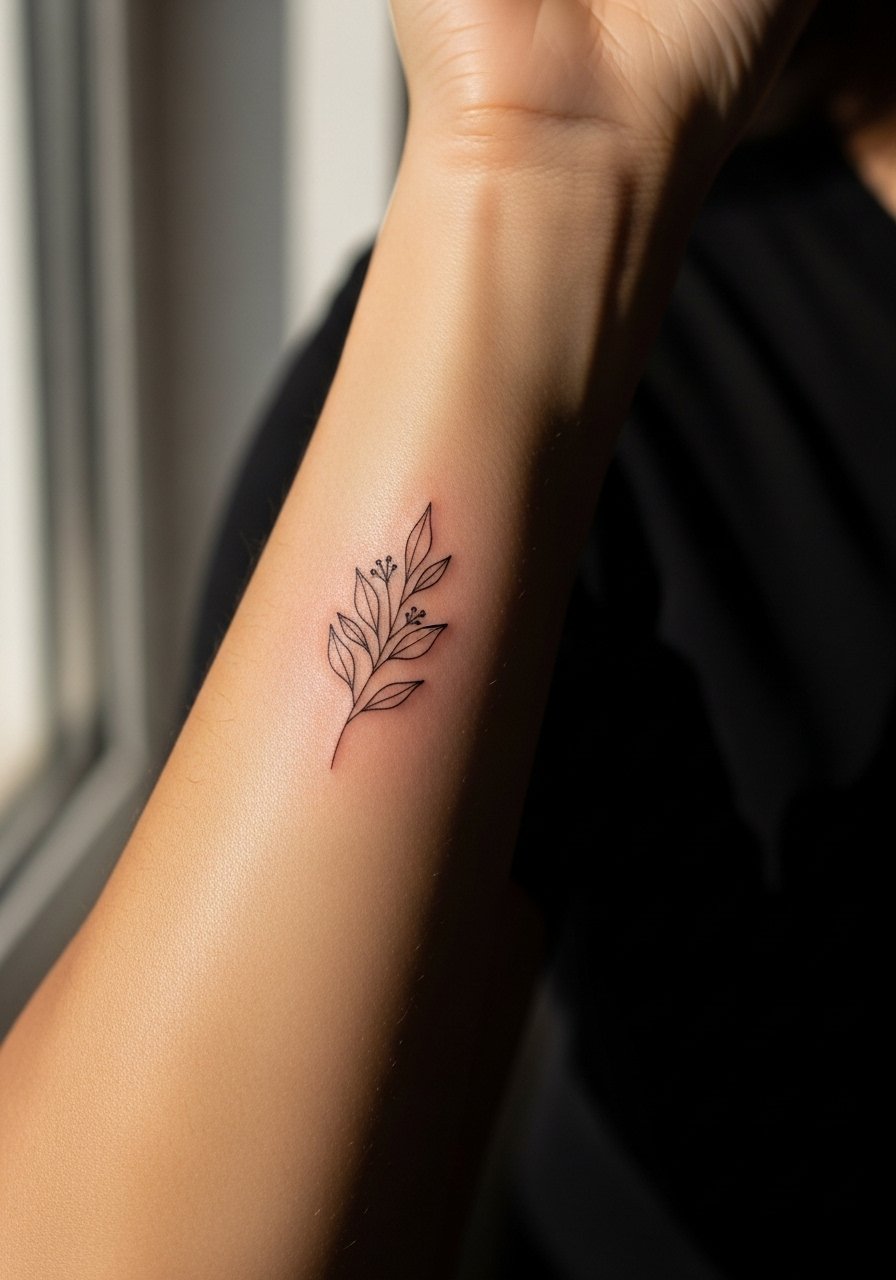
The inner forearm is the dependable canvas for fine line botanical motifs. The skin is flat, so geometric spacing and stems hold. Sessions are comfortable and healing is straightforward. The mistake is compressing a long vine into too small an area. Tell your artist the exact size and curvature you expect so the piece breathes.
27. Micro Collarbone Symbol

A micro symbol on the clavicle is stable because the skin there moves less than the wrist or ribcage. Expect low to moderate pain and a single session. The usual error is layering necklaces that sit directly over the ink during the first week of healing. Keep chain placement gentle and avoid fabric that rubs the fresh edges.
Frequently Asked Questions
Q: Do fine line wrist and finger tattoos need different aftercare plans?
A: Yes, in practice wrist and finger pieces need different care because fingers experience more washing and friction. I treat fingers like high-traffic zones and plan a touch-up at six to twelve months, while wrist pieces usually need standard moisture and sun avoidance for the first month. Your artist will advise whether occlusive or thin moisturizers suit your skin.
Q: How should I choose line weight for a tiny collarbone symbol versus a wrist script?
A: Choose slightly heavier line weight for wrists because of daily use and for collarbones pick a fine but visible line that follows the bone curve. Ask your artist to show three scaled stencils on skin during consult so you can compare visual read at normal distance.
Q: Are there placements I should avoid if I want minimal touch-ups long term?
A: High-friction and high-sun zones such as fingers, the top of the foot, and the soles of wrists typically require more touch-ups. Low-movement spots like the outer upper arm, shoulder blade, and hip tend to keep their linework longer. Think about lifestyle and wardrobe when deciding.
Q: Does skin tone change how fine line tattoos read in photos or everyday light?
A: From what I have seen, contrast and line weight matter more than tone alone. On darker skin tones, slightly bolder lines or micro-realism techniques keep more visibility in photos. Ask an artist who works across skin tones to show healed examples that match your complexion.
Q: Is it worth booking a guest artist at a convention to lower cost for a small piece?
A: Many people find guest spots or conventions useful to compare prices and styles because some artists offer lower session minimums for quick work. Be sure to confirm deposit and cancellation policies before booking so rescheduling does not mess with your healing timeline.
