
Fine line tattoos are everywhere on saved boards and short-form feeds right now, but the pieces that still read clean after three years are usually the ones that respected spacing, placement, and skin type. The trend looks gorgeous fresh. The reality is longevity depends on where you put it and how you ask for it. Below are 21 subtle resident evil tattoo ideas with what to request in consultation, how they age, wardrobe pairings, and practical session notes.
1. Umbrella Corporation Logo Outline on Inner Forearm
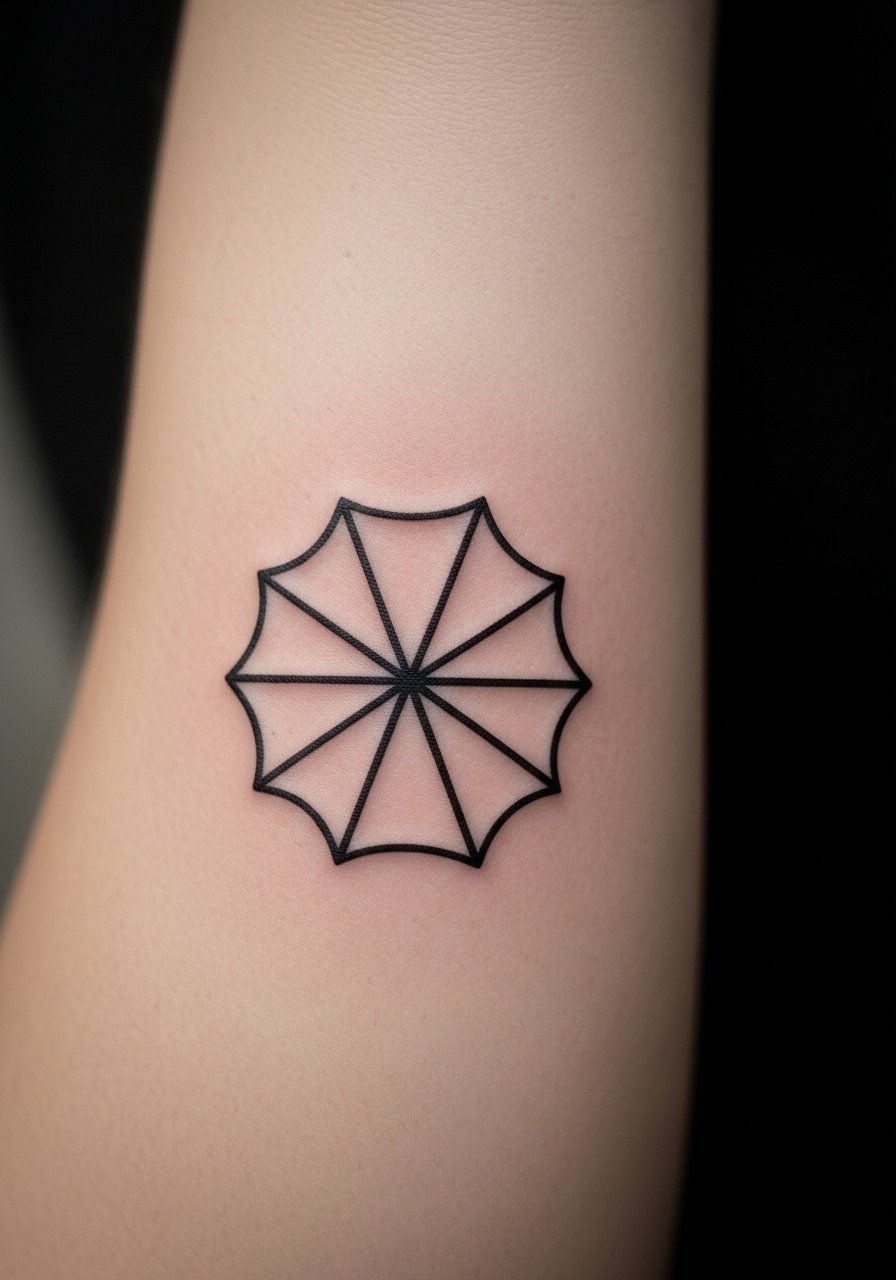
I've seen small Umbrella outlines last best when they lean into bold linework instead of feather-thin single-needle attempts. For a forearm piece, tell your artist you want clean blackwork with 2-3mm spacing between spokes so the negative space stays readable as the skin settles. Common mistake is shrinking the logo under 2 inches, which makes the spokes merge within a couple of years. Pain is mild for the inner forearm and a single session usually does it. For the session wear, roll up a rolled cuff chambray shirt so the artist has unobstructed access and you keep the aesthetic when showing it off.
2. Fine Line T-Virus Vial on the Inner Wrist

Fair warning: tiny wrist work takes a beating from daily washing and friction. I recommend a 1.5-inch fine line vial with a millimeter or two of deliberate breathing room around the cap so the ink does not smudge into the wrist crease. Ask for slightly deeper needle depth than you'd normally request for a decorative wrist mark. Expect touch-ups at 12 to 24 months if you lead an active lifestyle. During the session wear a sleeveless tank top so jewelry can be removed and the area is easy to prep.
3. Micro-Realism Tyrant Silhouette on Upper Arm

This design reads like menace without taking over a wardrobe. Ask your artist for a 3-inch silhouette with softened edges and minimal face detail so it reads like a shadow at distance and a portrait up close. The upper arm handles micro-realism well because the skin there holds saturation. A common mistake is over-detailing the face, which becomes an indistinct patch after a few years. Session feels moderate and comfortable. Touch-up schedules run between 12 and 36 months depending on how much sun it sees.
4. Neo-Traditional Umbrella with Red Splatter on Shoulder
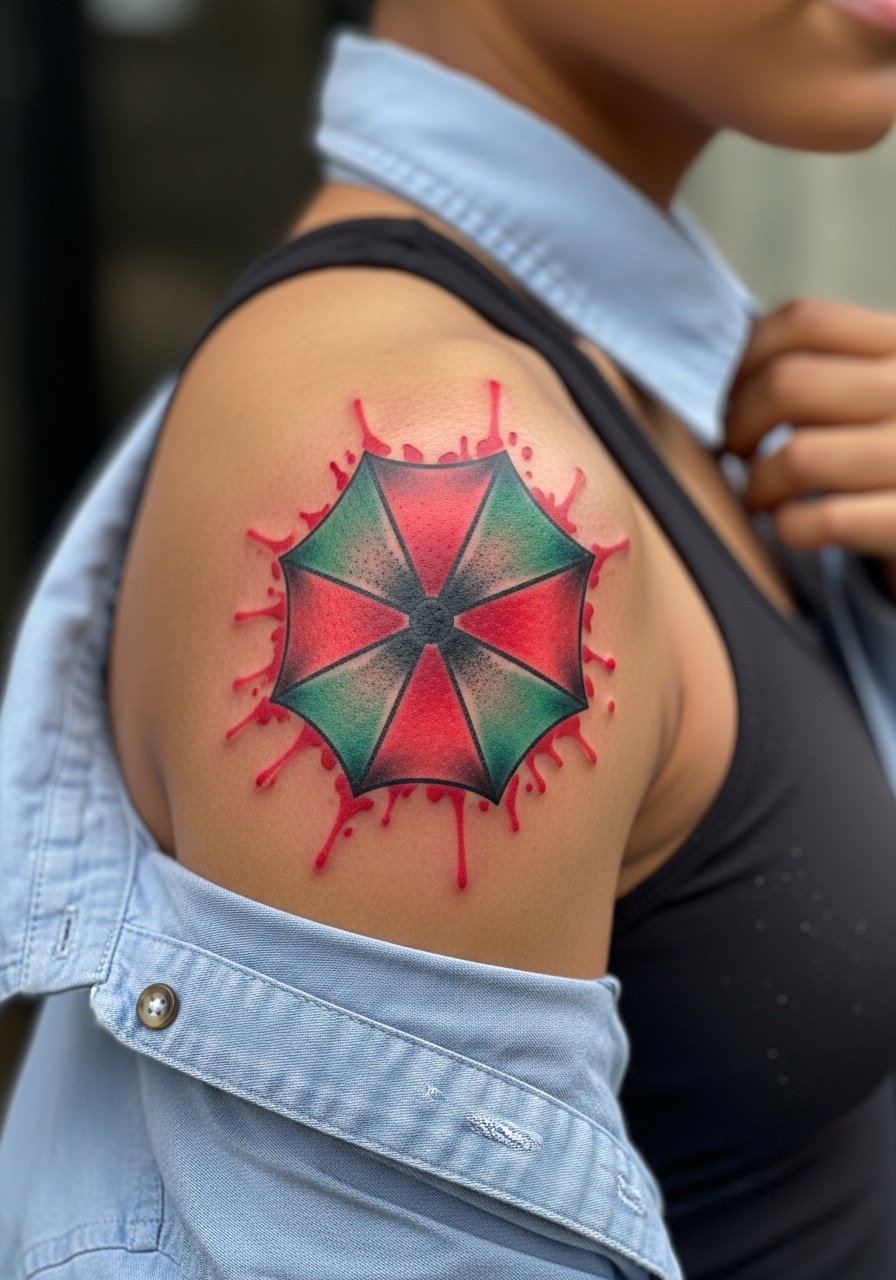
This one leans into color while keeping the Umbrella shape readable from a distance. Name the red as muted, not fluorescent, and ask the artist for saturated black outlines around the petals so the red sits behind strong linework. Shoulder placement is forgiving and shows nicely with sleeveless tanks. For showing it off, try an olive sleeveless muscle tank that keeps attention on the shoulder without competing. Two-session work is common here. Artists split on color placement for dark skin, so ask them how they handle saturation on deeper tones.
5. Geometric RE Herb Pattern on Collarbone
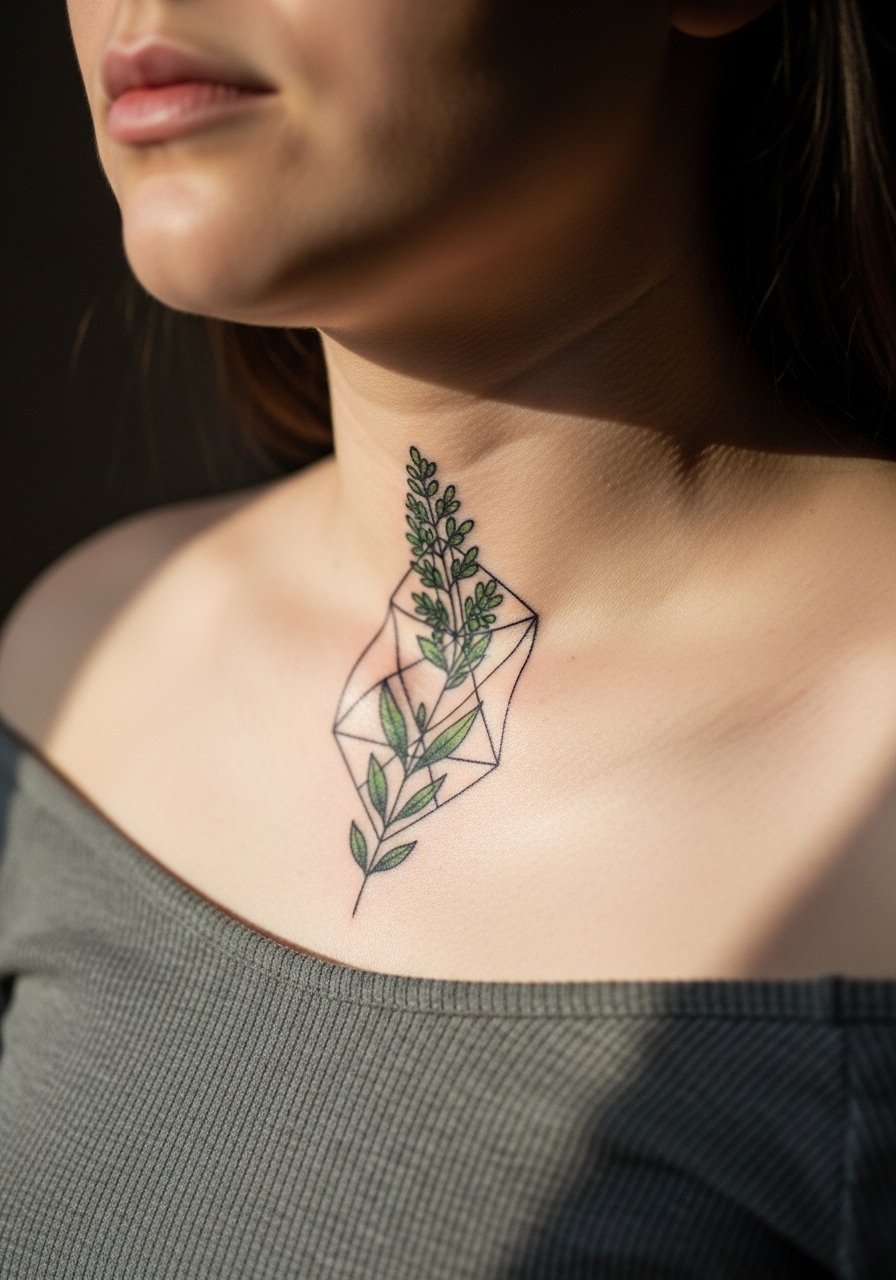
This pattern works as ornament and as a lore reference without shouting franchise names. For a collarbone layout, specify a 2×3 inch grid and ask for slightly thicker stems so the green holds against skin variations. Most people make the mistake of cramming geometric lines too tight on collarbones, which leads to merging after healing. Pain is low to moderate. Wear an off shoulder top on reveal days to frame the work and a loose tank during the session for access.
6. Blackwork Zombie Claw Outline on Outer Forearm
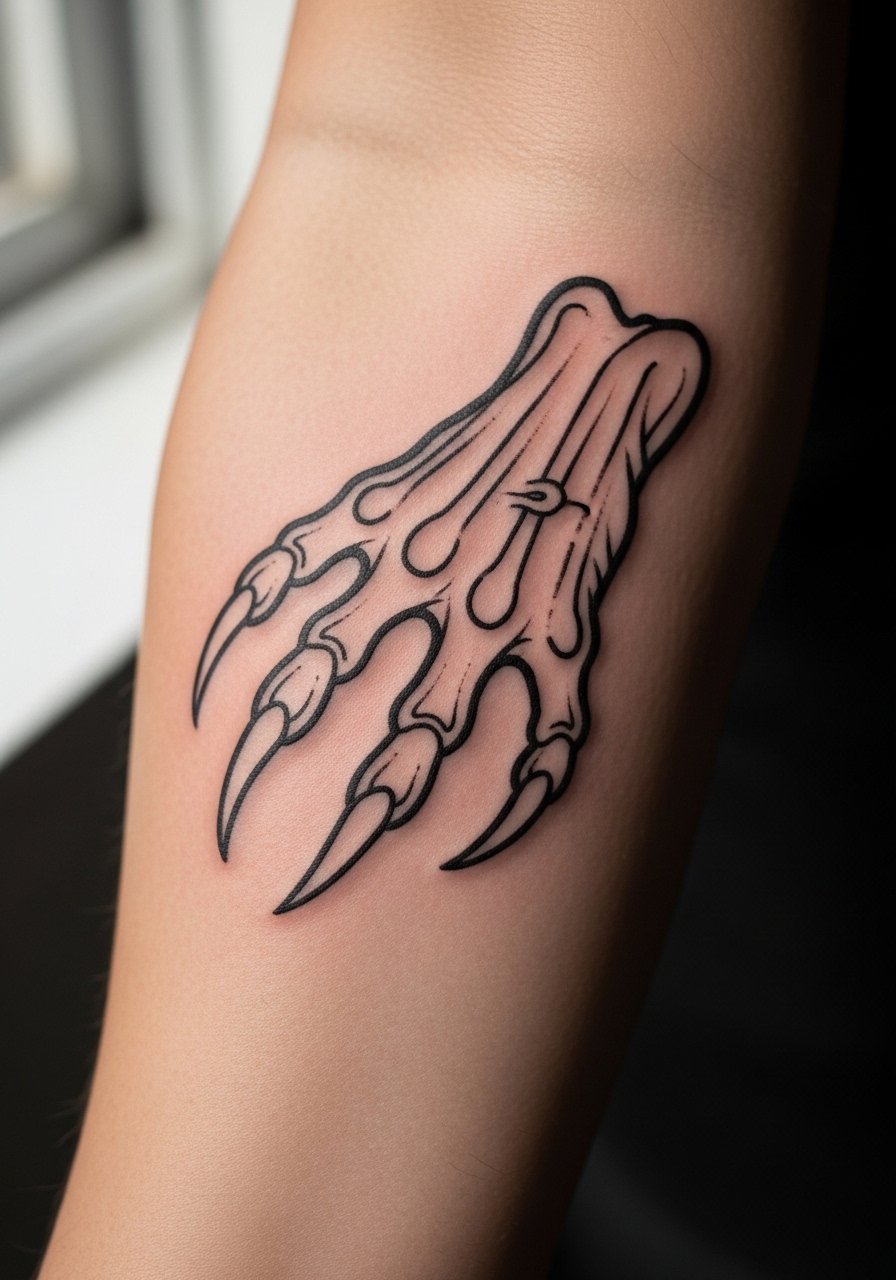
Blackwork claws survive fading better than delicate shading in high-contact areas. Tell the artist you want bold outlines and negative-space claw marks instead of filled texture to reduce blowout risk in the long run. The outer forearm has low blowout risk compared to the inner forearm. Expect one to two sessions depending on size. For the session, roll sleeves up or bring a loose fit short sleeve tee so the artist can position the arm comfortably. Touch-ups at year two are common if you bike or scrub your arms frequently.
Studio Day Picks
The small wrist and collarbone pieces above need different prep than larger shaded work, so a compact kit tailored to those placements makes the session and first week easier.
- Tea tree ointment thin formula. A thinner ointment is less likely to clog tiny channels on fine line wrist pieces while still keeping the area from drying into hard scabs.
- Australian lanolin balm. Hands-on forum users report it minimizes greasy shine while helping blackwork areas heal smoothly, useful for shoulder and forearm pieces.
- Japanese rice bran aftercare balm. Lighter absorption makes this one handy for darker skin tones where too-thick products can look muddy in photos.
- Indie soy-based moisturizer. A non-shiny finish helps healed fine line work photograph truer to life, which matters for ankle and wrist placements.
- Saniderm protective film. Short-term protective film can reduce early scabbing on freshly inked collarbones and wrists when used as your artist recommends.
7. Minimalist S.T.A.R.S. Badge on Ankle
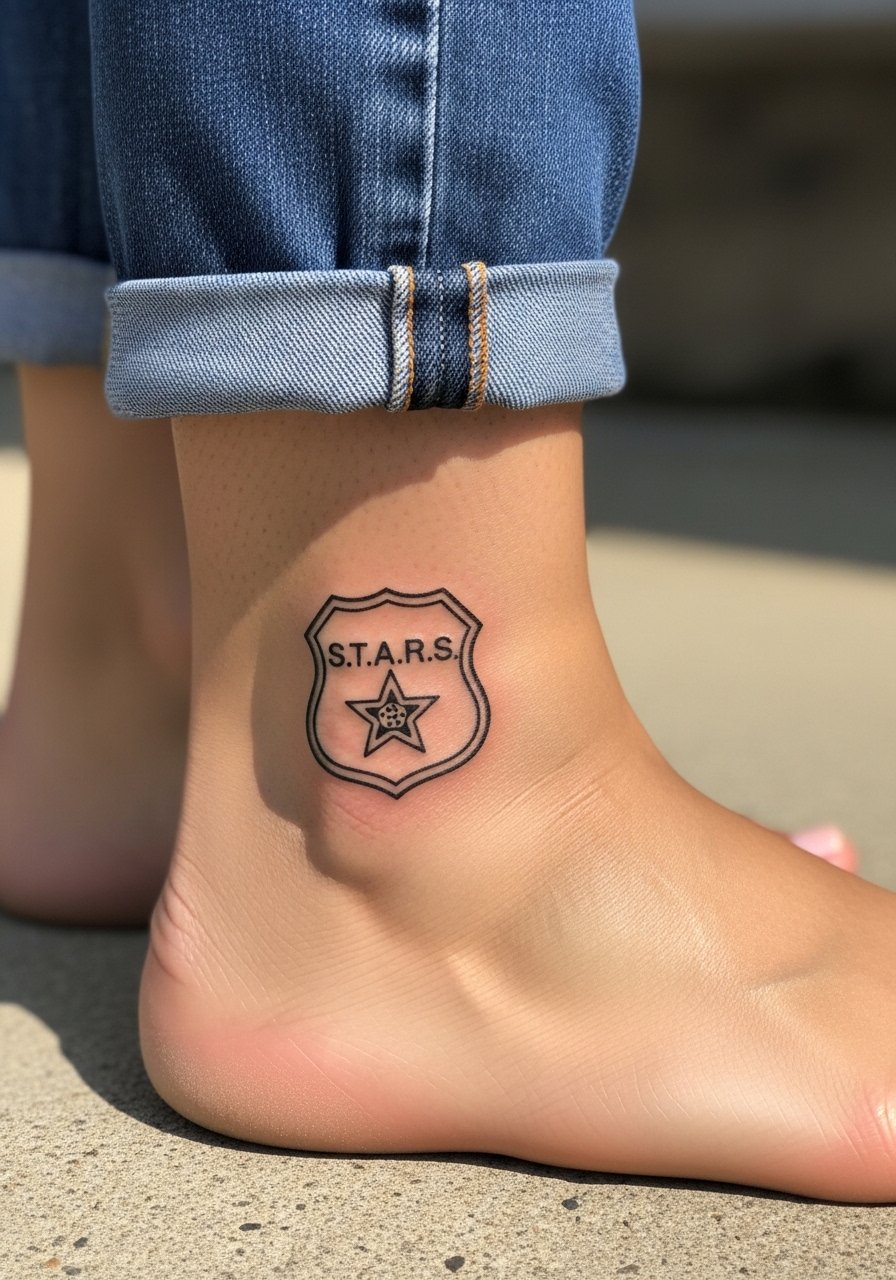
Ankle badges read best when kept around 1.5 inches and with a crisp black outline. The ankle endures more friction from shoes and socks, so ask for slightly bolder lines than you would on the wrist. A usual mistake is tiny fine line detail around the badge edges. Expect low to moderate pain and plan to keep socks off for short walks during the first week. For summer reveals, cuffed chinos or cuffed chinos show the piece cleanly while protecting it most days.
8. Watercolor Nemesis Portrait Fragment on Outer Thigh
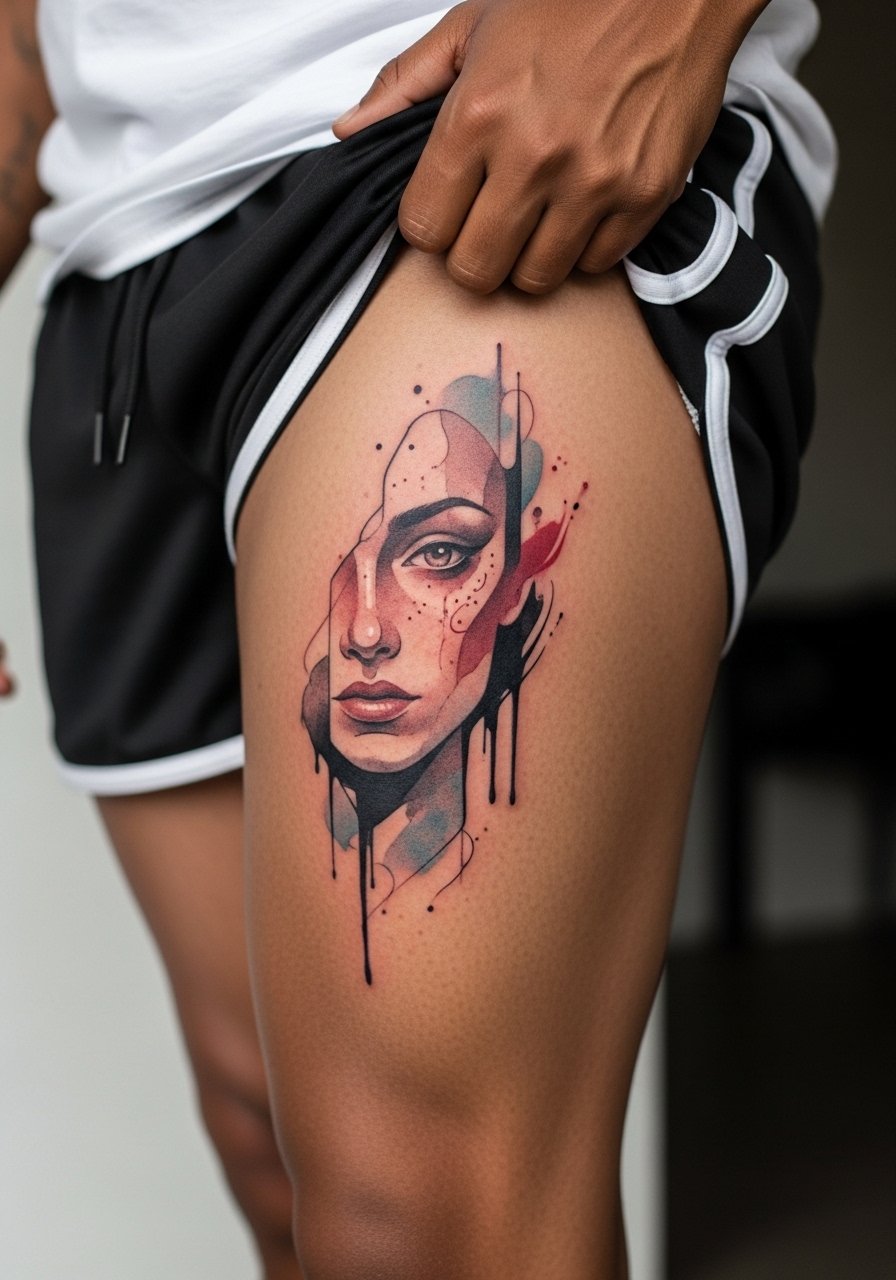
Large watercolor fragments age differently than linework. Ask for muted, desaturated pigments and a fragmentary composition so the piece remains interesting but avoids abrupt color loss that looks like bruising later. Thigh placement gives skin a stable canvas and tolerates longer sessions. Pain is moderate. A two to three session plan is common. During the session wear loose athletic shorts so the artist can access the area without you feeling exposed.
9. Ignorant Style Licker Tongue on Ribcage

Fair warning: the ribcage is a high-pain zone, and the biggest mistake is asking for heavy detail at small sizes there. The ignorant style thrives at 3 inches with bold outlines that read even through the skin's movement. Artists split about fine line on ribs, with one camp saying lines blur and the other saying correct depth keeps them crisp. If you want a bold, playful licker that stays legible, insist on thicker contour lines and expect one session plus a touch-up. Dress in a cropped top or a zip hoodie for session comfort.
10. Fine Line Jill Valentine Silhouette on Inner Bicep

Inner biceps can hold single-needle work if the design has breathing room. Tell the artist you want 2.5-inch height and minimal internal detail so the silhouette reads as shape, not noise. A common mistake is packing character detail into the silhouette, which softens into smudge. Pain is moderate and session time is short. Ask about touch-up timing at booking because this placement is moderate risk for early fade when the arm is frequently rubbing against clothing. For the session wear a loose tank top so the artist can lift the arm without stripping the top off.
11. Ornamental RE Typewriter Keys Along the Side Neck

Neck pieces require careful placement because skin moves and jobs sometimes care about visible ink. Keep the cluster compact at about 2 inches and ask for slightly thicker outer rings on each key so the numbers stay legible. A common mistake is lettering too small for neck curvature. Pain is higher than the arm and healing needs patience. If visibility is a concern, place the keys on the side neck where a wide-neck shirt can hide them when needed. For discovery, search the tags I mentioned earlier to find similar executions and ask your artist to show healed photos.
12. Black and Gray Mansion Window on Calf
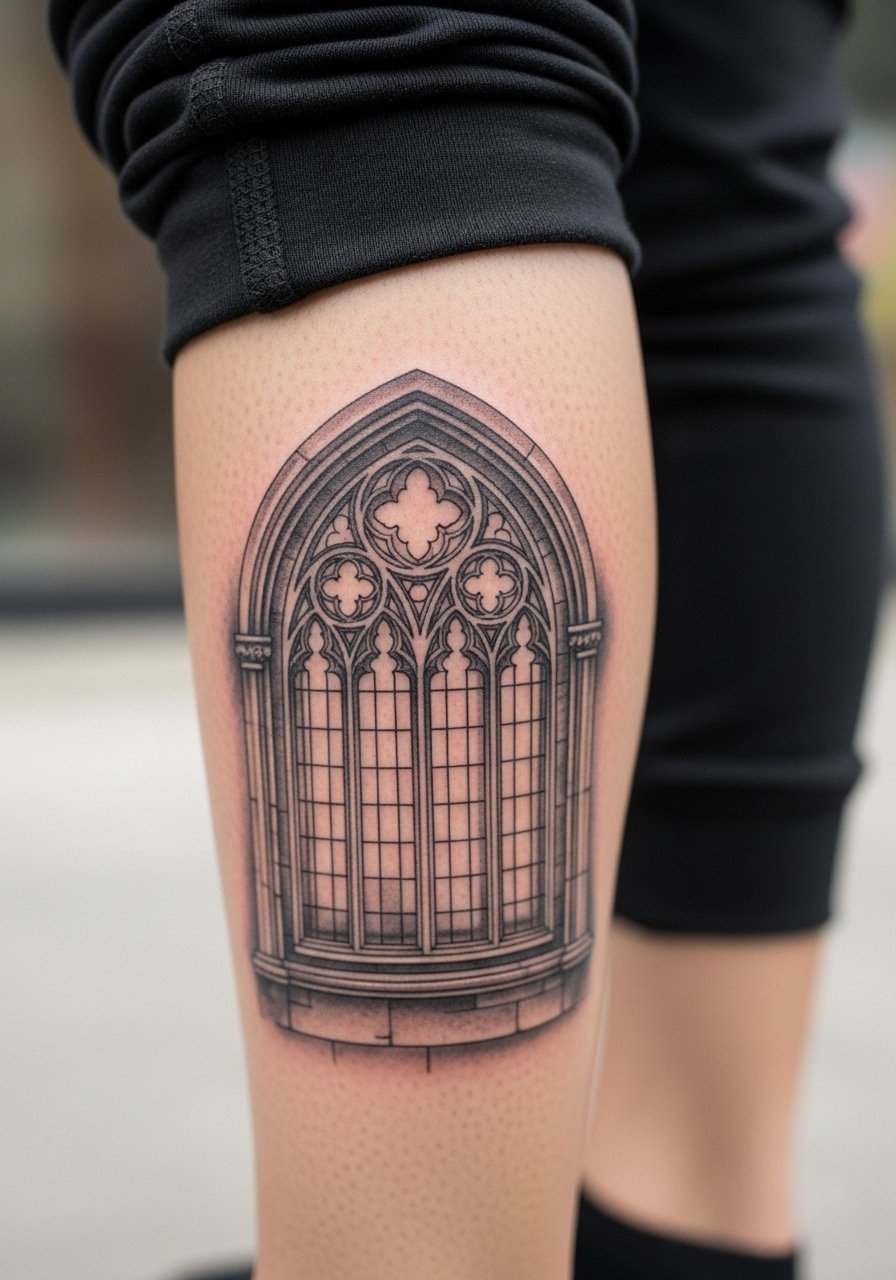
Architectural details hold on the calf because the skin there is steady and rarely stretches dramatically. Request a 4×4 inch composition with clean window panes and soft stipple shading behind the glass. The mistake is overcrowding the window with tiny ornamentation that blurs as it heals. Calf work looks great with rolled joggers and reads well at a distance. Expect two sessions if you want deeper shading. For showing the piece, try rolled jogger pants to make it visible without losing comfort in cooler weather.
13. Micro-Realism Enemy Eye Fragment on Upper Chest

Partial eyes from enemies can suggest menace without full portraits. Keep the fragment small and slightly off-center to the collarbone for a quiet reveal. The chest settles well if the ink sits in healthy dermal depth. A common mistake is pushing contrast too far, which can make the healed piece read like a bruise on darker tones. If you plan for visibility, wear an off shoulder top for reveal days. Session is moderate and one to two sittings may be necessary for crisp micro-realism.
14. Tiny Inventory Grid on the Side of the Finger
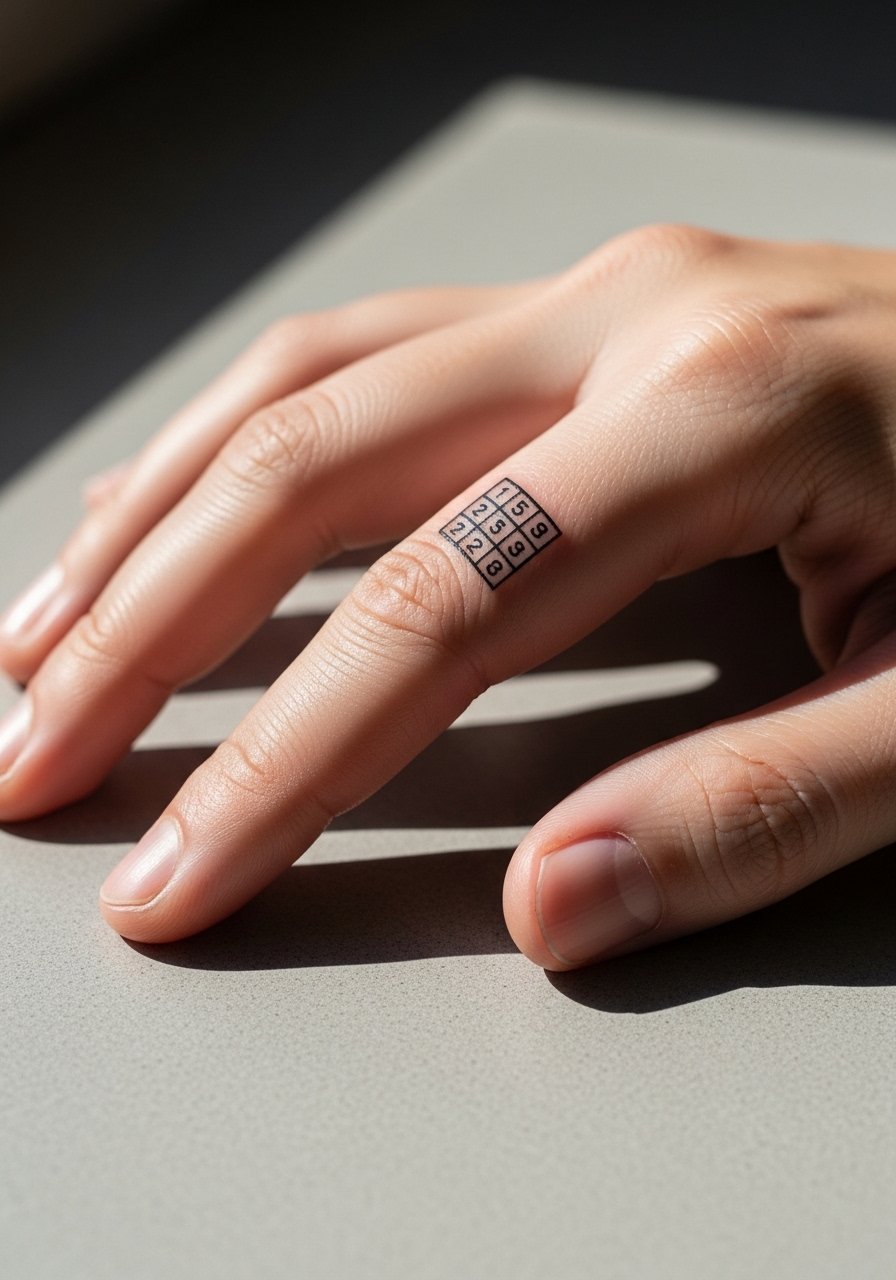
Finger work ages fast because of constant use and washing. If you want an inventory grid, make it a 3×3 cluster on the side of the finger and ask for bolder square outlines rather than feathered internal marks. Expect significant fade and a likely touch-up at six to twelve months. The mistake is requesting micro detail inside each cell. Pain is high for finger placement because the skin is thin. For practical reasons, consider the outer side of the index finger rather than the pad so typing and washing affect it less.
15. Neo-Minimal Leon Jacket Patch Behind the Ear
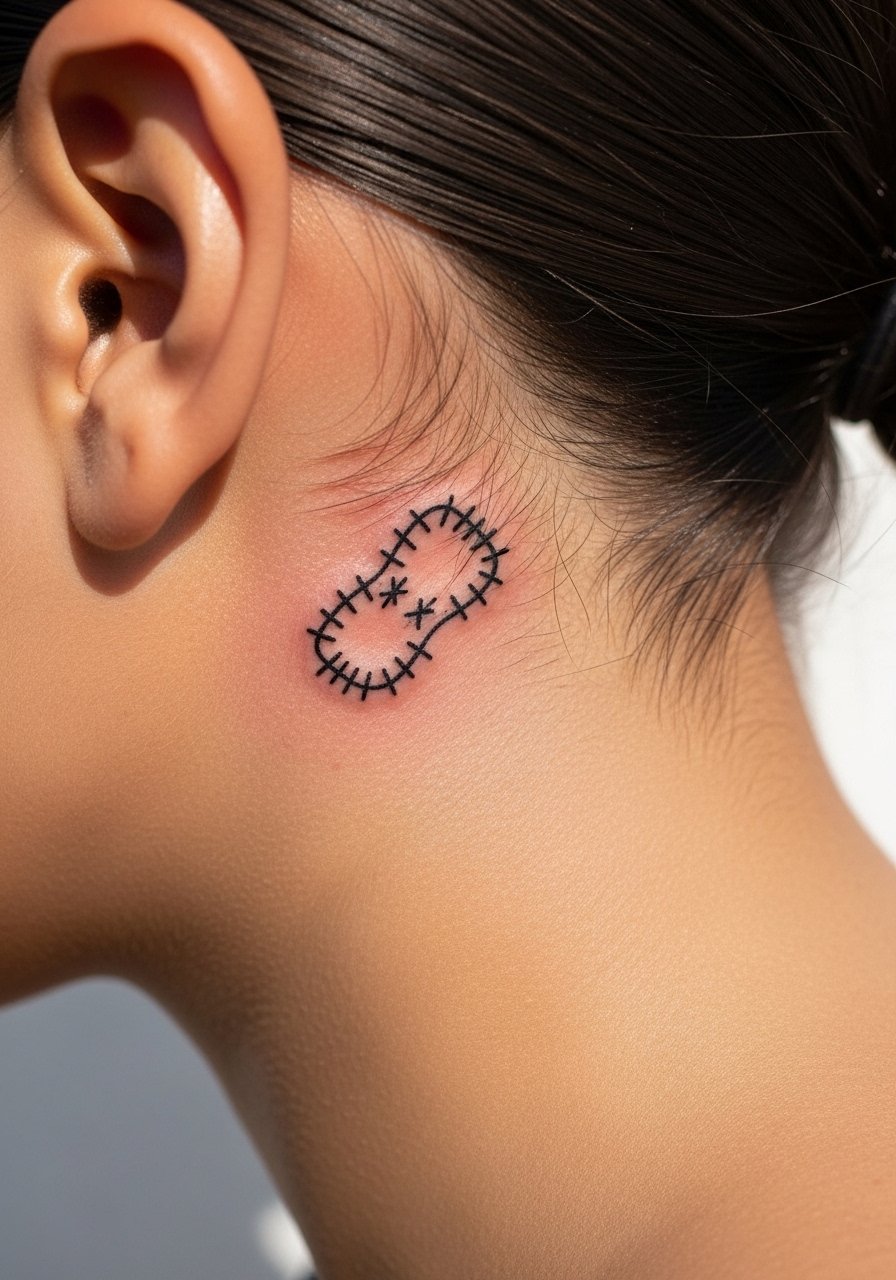
Behind-the-ear placements need tight composition and a clear clothing plan. Keep the patch tiny so it reads as a garment tag. The biggest mistake is over-detailing. Pain is low to moderate but visibility is limited. Make sure your artist is comfortable with hairline stencils. For session convenience, wear a haircut-friendly top that lets hair fall naturally after the stencil is set. This area benefits from subtlety and works well as a hidden easter egg.
16. Geometric Herb Mandala on Upper Back
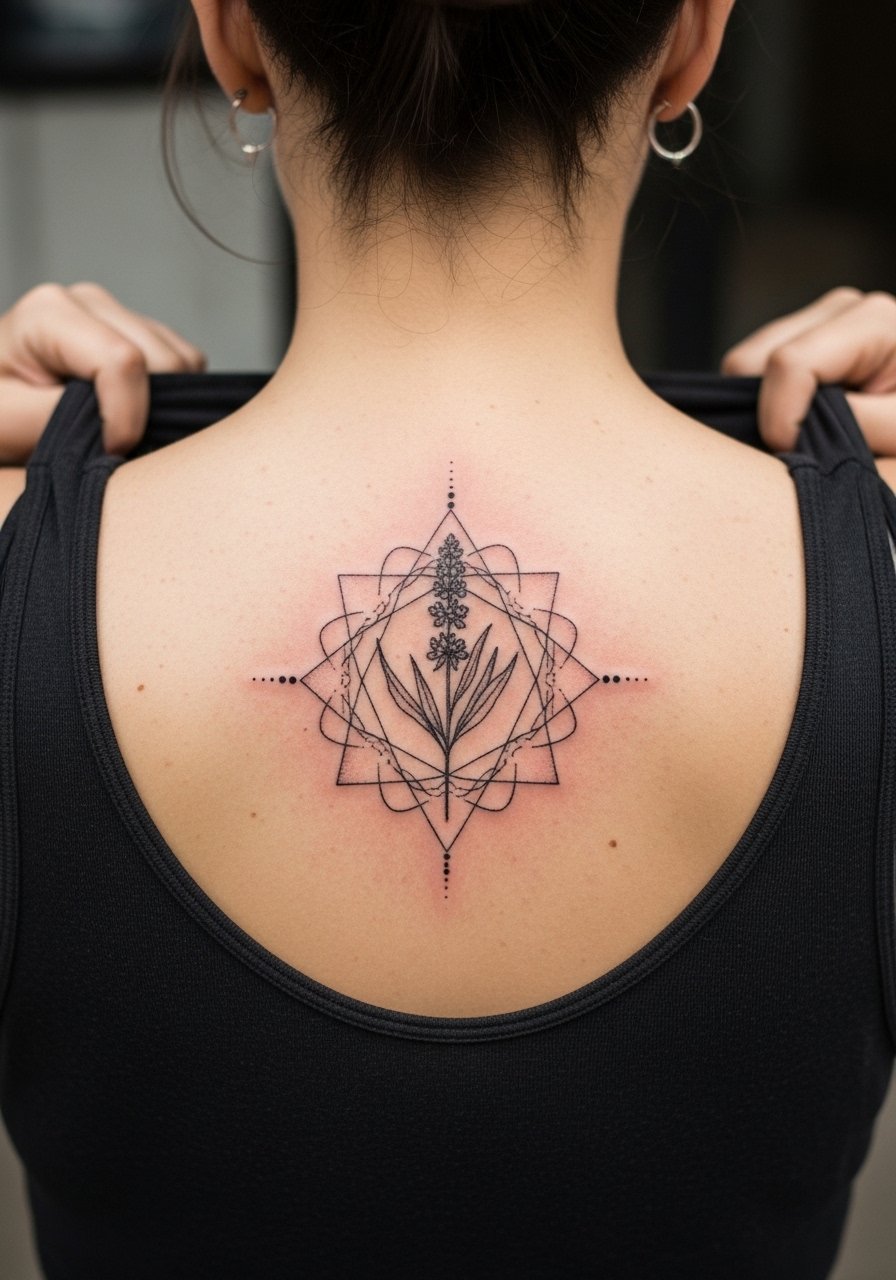
Mandala layouts require breathing room. On the upper back ask for radial spacing and negative space between herb motifs so the design keeps its structure over time. Many people try to compress mandalas into small diameters and lose the mandala effect after a few years. Pain is mild on the upper back and single session work is common. For the session wear a loose tank top you can slide down or a button-up to take off without pulling over your head.
17. Micro Umbrella Dot-Ring Behind the Wrist

Small ring compositions around the wrist can hint at franchise lore without explicit logos. For longevity, ask for a tight ring of dots with a thicker anchor point to prevent early blowout in the wrist crease. The mistake is making the ring too thin. Expect touch-ups at year two in most cases. Pain is low. For showing off, layer with a thin silver chain bracelet rather than bulky cuffs so the tattoo reads clearly.
18. RPD Key Silhouette on Inner Wrist
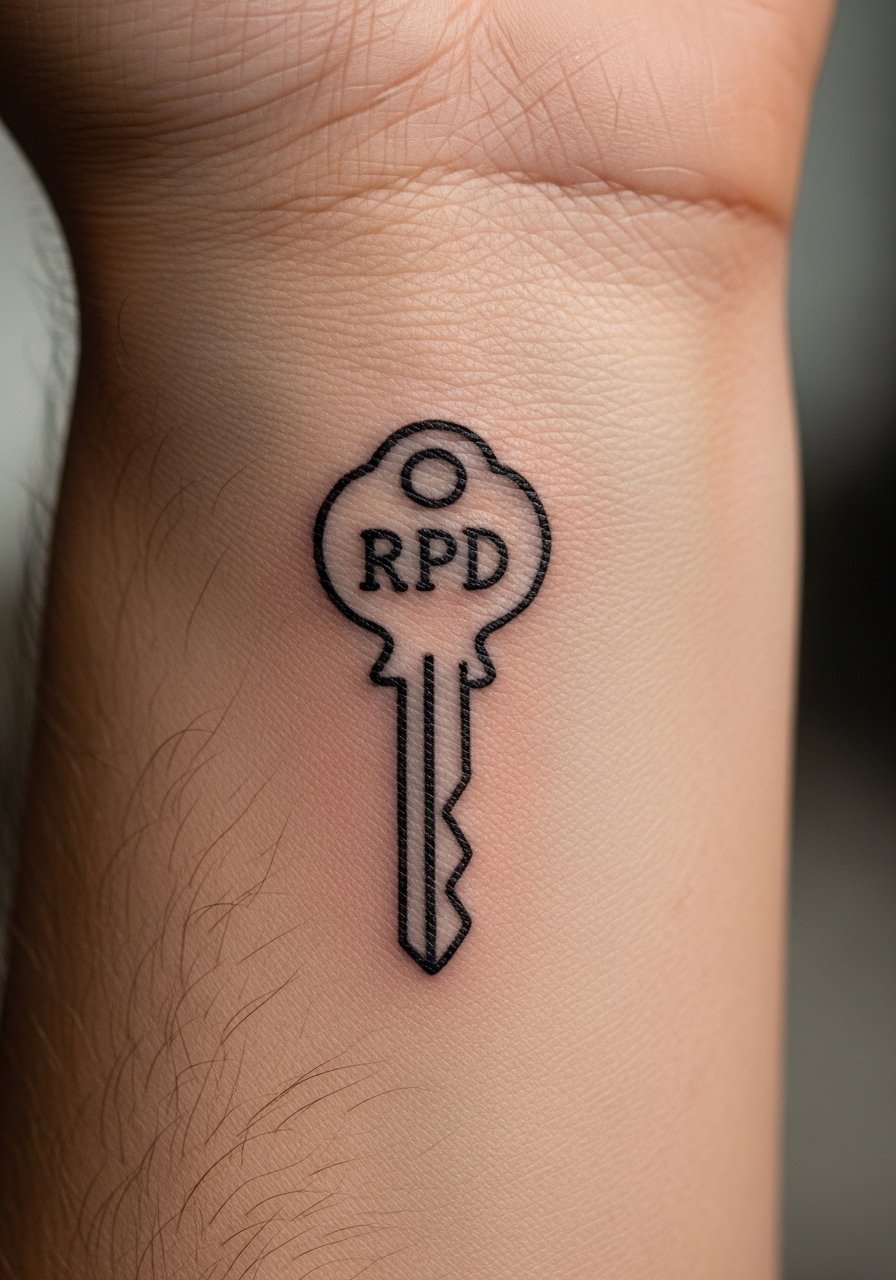
The inner wrist is a classic for small symbolic marks. Keep the key silhouette at 1.5 inches and request crisp negative-space teeth so it reads when photographed. The common error is cramped teeth detail that disappears. Pain and healing are predictable. Plan on a touch-up at 12 months if you wash hands frequently. For session comfort remove rings and wear a shirt with short sleeves so the area is unobstructed.
19. Partial Nemesis Jawline Fragment on Thigh
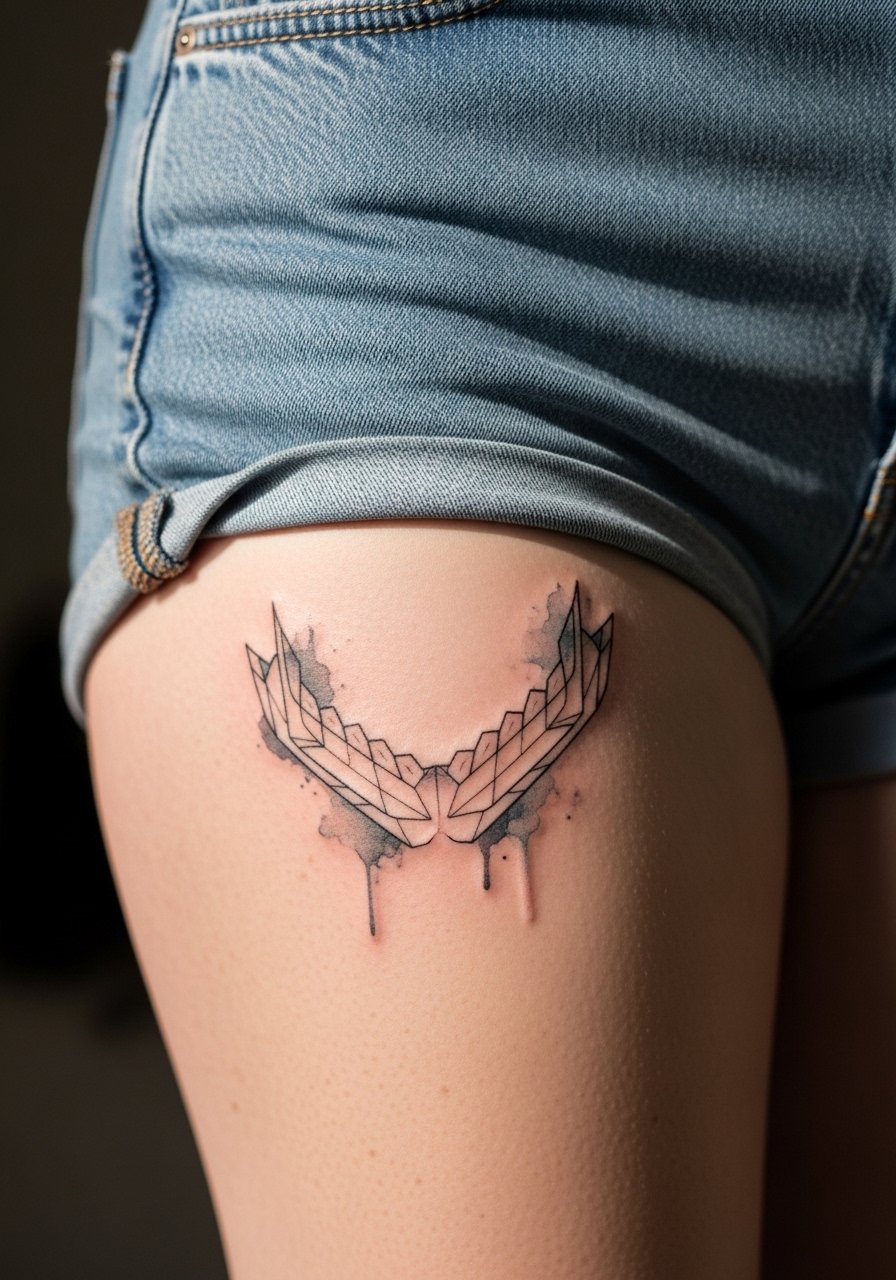
Thigh pieces are forgiving and great for partial portraits. Request just a jawline fragment with muted watercolor patches so the design reads as atmosphere rather than full portrait. The mistake is overworking the face. Pain is low to moderate. For shows, high-waisted denim shorts reveal the piece without it feeling exhibitionist. Bring high waist denim shorts to the reveal if you want a casual, beach-ready look.
20. Stipple-Shaded Chemical Hazard Glyph on Collarbone
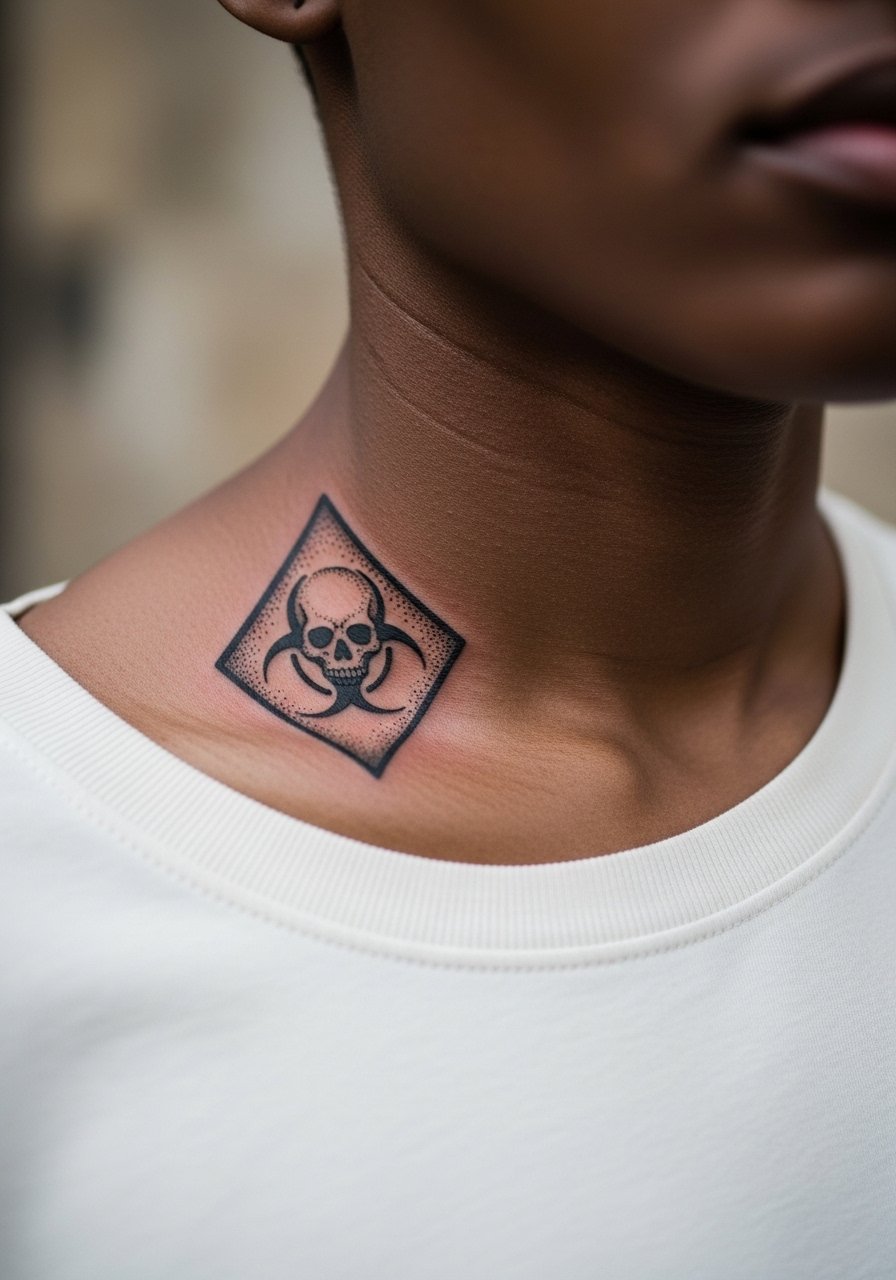
Dot work holds nicely on collarbones when given room. Ask for stipple shading and softer transitions rather than solid fills. A frequent mistake is compressing dots too tightly which turns into a gray patch after healing. Expect low to moderate pain. For reveals, a delicate delicate chain necklace sits just above the glyph and frames it without competing. Touch-ups are rare if the stippling is spaced correctly.
21. Micro-Realism Survivor Dog Tag on Inner Bicep
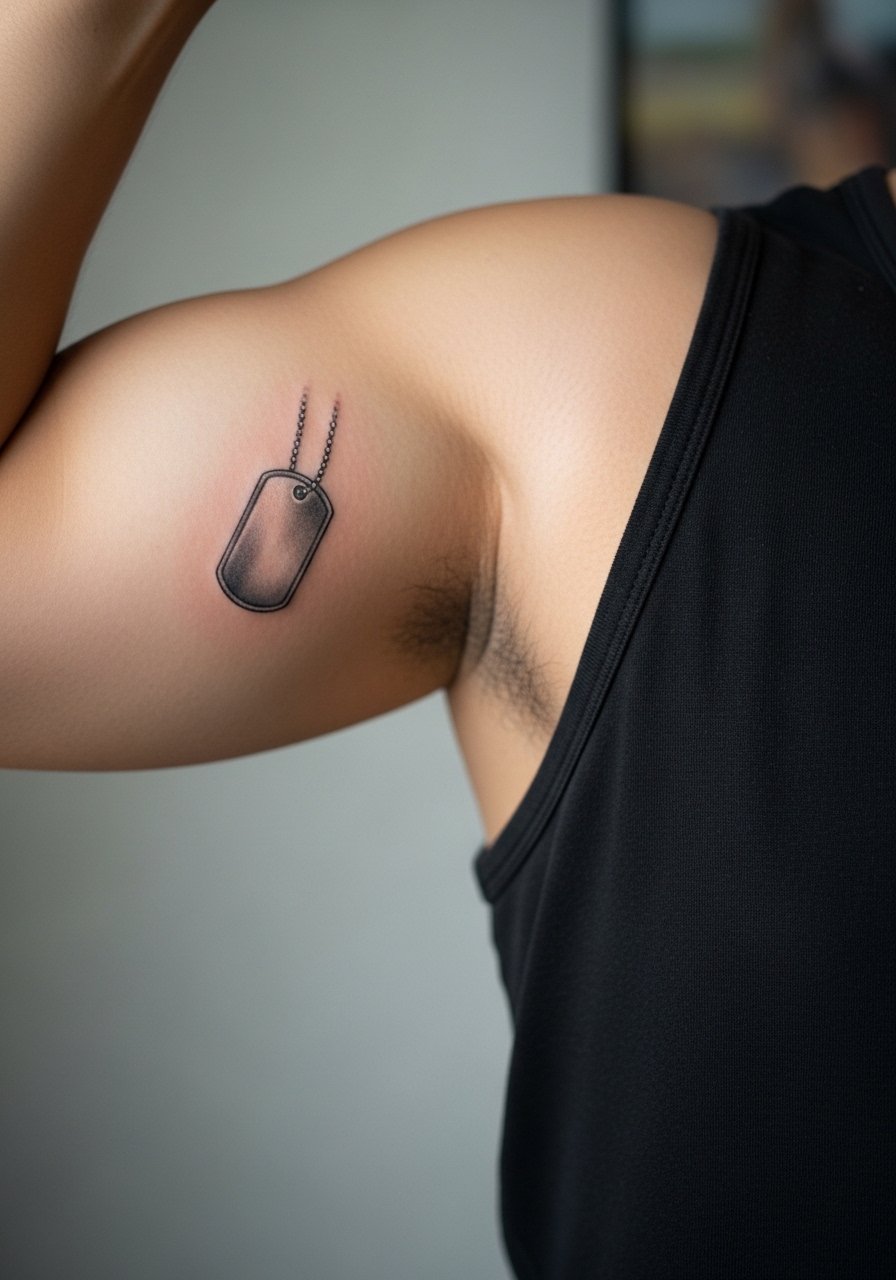
A small dog tag reads as personal lore without being literal. Keep the tag to around 2 inches and request soft reflections rather than heavy contrast so it ages into an object rather than a sticker. Inner bicep work tolerates this style well but remember the mistake of over-contrasting which appears harsh on darker tones. Pain is moderate. Ask your artist about touch-up timing when booking. For the session wear a tank top so the arm can be lifted easily.
Frequently Asked Questions
Q: Will a fine line T-virus vial on my wrist blur faster than a blackwork Umbrella on my forearm?
A: In my experience, yes, very small single-needle wrist pieces tend to need touch-ups sooner because of washing and skin friction, while a bold blackwork Umbrella on the forearm usually stays legible longer. Placement and daily wear patterns matter more than the aesthetic alone. If longevity is a priority choose slightly bolder line weight or plan a touch-up at 12 to 24 months.
Q: Are there special considerations for getting Resident Evil motifs on dark skin?
A: Darker skin benefits from higher-contrast linework and careful color selection. Artists who work regularly on deeper tones will recommend slightly thicker outlines or small white highlights sparingly for photos. Show your artist healed tattoos on similar skin tones during consultation so you can set realistic expectations.
Q: How should I dress for a ribcage Licker session to balance modesty and access?
A: Wear a cropped athletic top or a zip hoodie you can lift, so the artist can focus on the rib area without you pulling clothing over your head. A breathable, removable top reduces movement during longer sessions.
Q: I want a collarbone herb pattern and still work in business casual settings. Any wardrobe tips?
A: An off-shoulder blouse or wide-neck shirts show the piece when you want and hide it under standard collars. A loose tank top is also convenient for session prep while allowing easy reveal afterward.
Q: How do I pick between fine line and blackwork given the controversy about fading?
A: Artists are split. One camp says single-needle fine line ages gracefully if placed away from high-friction sites. The other camp points out significant fade on hands and fingers within a year. My recommendation is to match the style to placement and accept that fine line often needs proactive touch-ups, whereas blackwork tends to age more predictably.
