
Fine line trends and franchise nostalgia do not always play nice together. Sketch style Resident Evil tattoos look spontaneous and cinematic at first glance, but the parts that frustrate people most are pain during the session, how the tiny sketch lines soften over time, and stubborn spots that need touch-ups. These 27 ideas lean into what holds up and what looks like a sketch even after years, so you can pick a version that ages with the game.
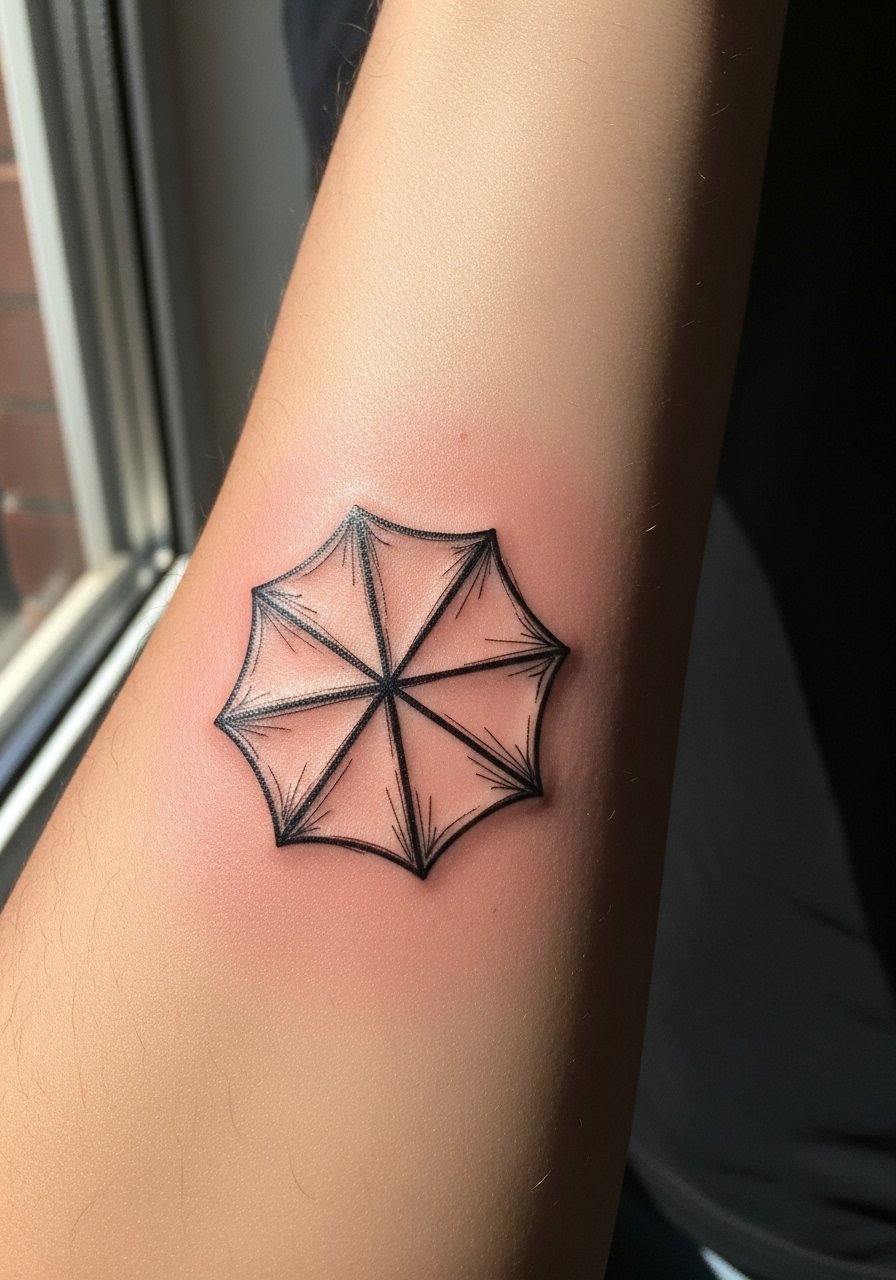
1. Umbrella Logo, Sketched, Inner Forearm
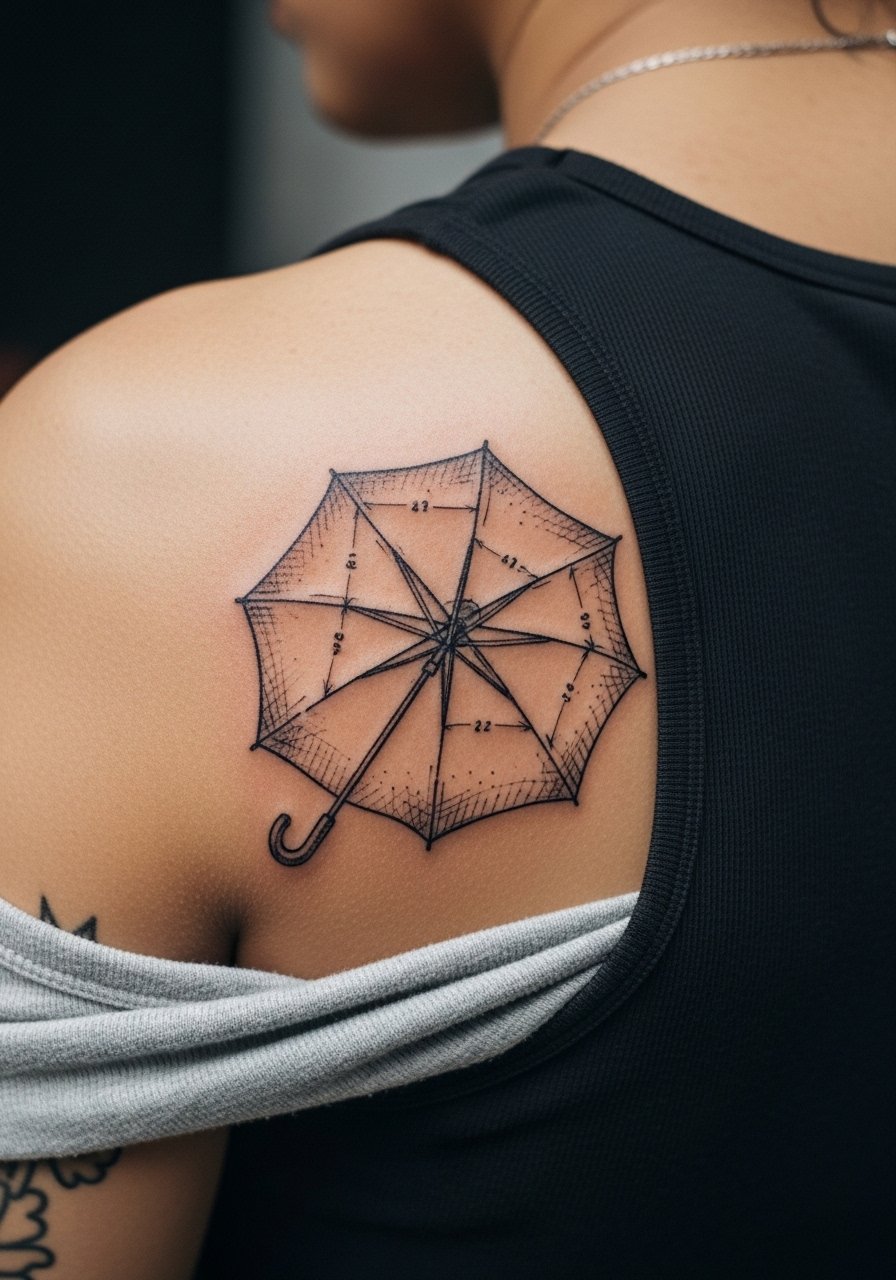
I've seen Umbrella logos done as bold patches and as loose sketch studies, and the sketched inner forearm version lasts better when the lines breathe. Ask your artist for broken hatch marks and avoid packing lines too close together. Pain is low for the inner forearm and sessions run short, usually under an hour. The common mistake is shrinking the logo until the hatch shading blurs into a gray blob within two years. For showing it off, roll sleeves or pick a loose button-down shirt you can push up, the cropped cuff frames the mark without competing. Expect a touch-up window around year three for fine hatchwork.
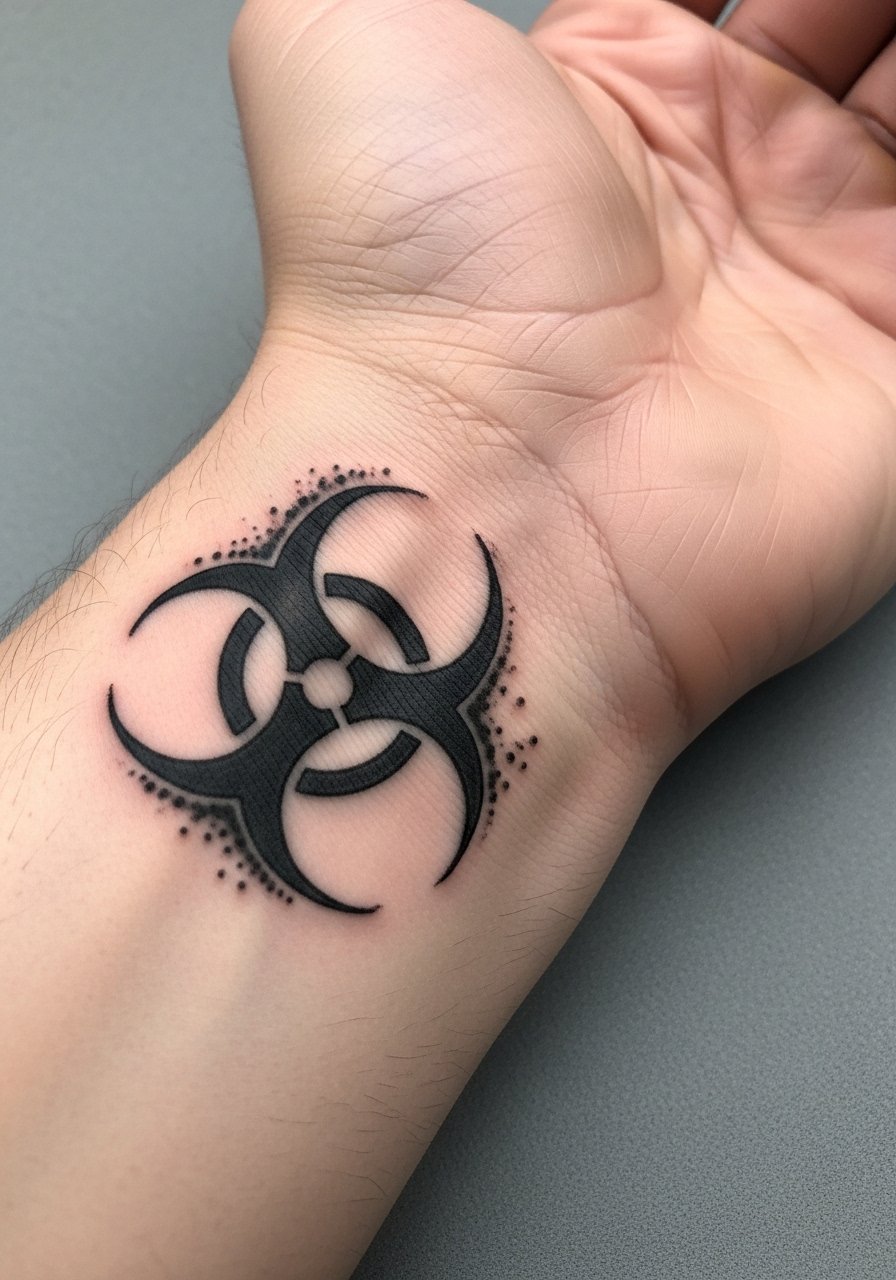
2. Biohazard Symbol with Scribble Shading, Wrist
Fair warning, the wrist is unforgiving for tiny sketch details because of constant movement and washing. This biohazard mark works when kept slightly larger with airy scribble shading. Tell your artist you want space between the pen strokes so the sketch reads at arm's length. The session is short but expect sensitivity, and a thin protective film helps the first week. Pair it with a thin chain bracelet to frame the wrist without crowding the symbol. The biggest mistake is going too small and dense, which leads to merging lines after heavy use.
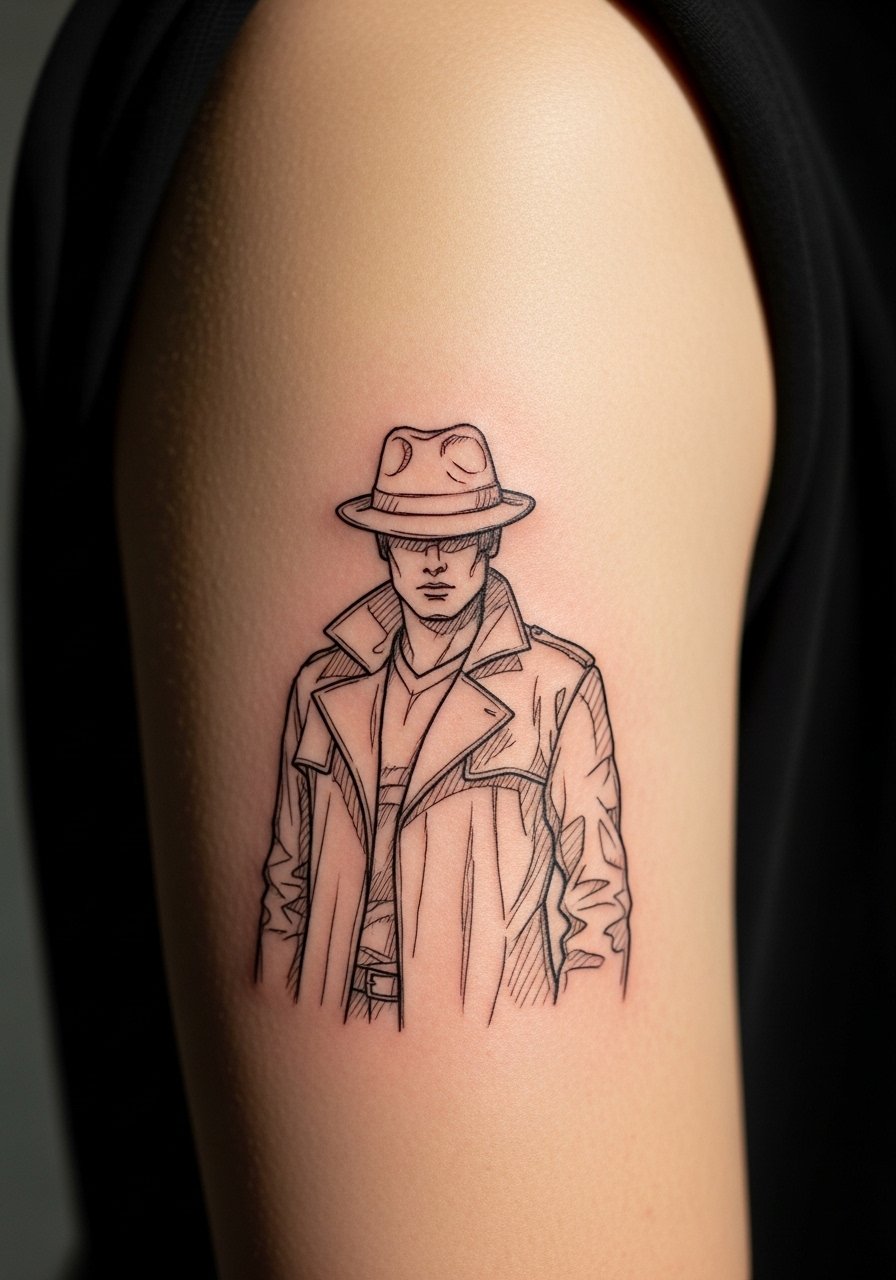
3. Leon Silhouette, Quick Ink, Upper Arm
There is something about a loose character silhouette sketched with uneven linework that reads cinematic and holds up on the upper arm. When you consult, bring screenshots for pose reference and ask for contrast between thick contour lines and thin inner marks. Pain is moderate and sessions usually take one to two hours depending on detail. The common error is over-detailing facial features in sketch style, which turns into smudged gray mass after two years. For casual wear, a short-sleeve linen shirt rolled at the cuff keeps the arm visible without calling attention away.
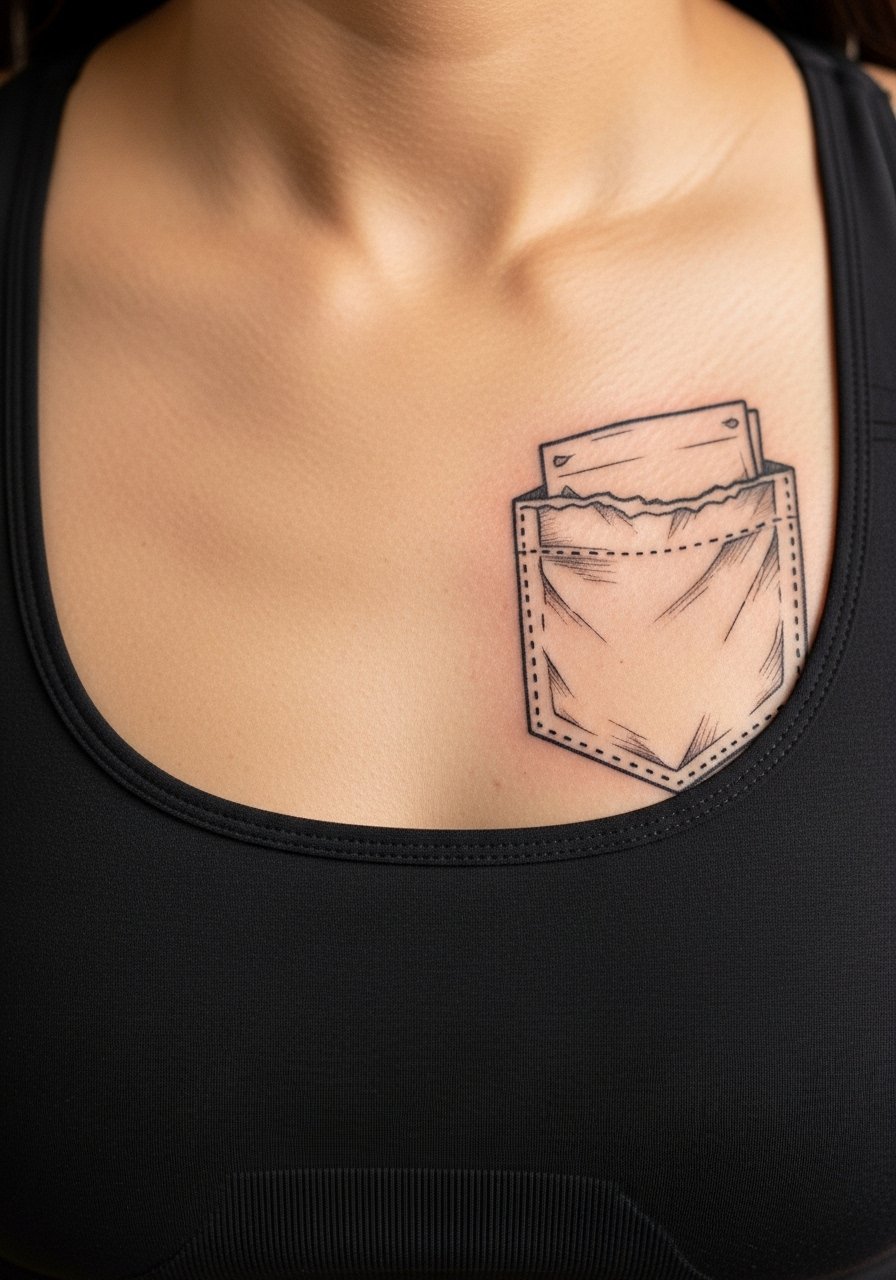
4. Jill-Inspired Pocket Sketch, Ribcage
Artists split on fine line on ribs. One camp says the skin stretch on the ribcage blurs thin lines within two years. The other camp argues that with careful depth and spacing the sketch settles fine. If you want a ribcage pocket sketch, ask for slightly bolder anchor lines and looser inner hatching, and plan for one touch-up at year two. Pain here is high and sessions can be spread across shorter visits. For the session wear a cropped top or sports bra so the artist can access the area without full exposure. This placement rewards dramatic reveals with open shirts.

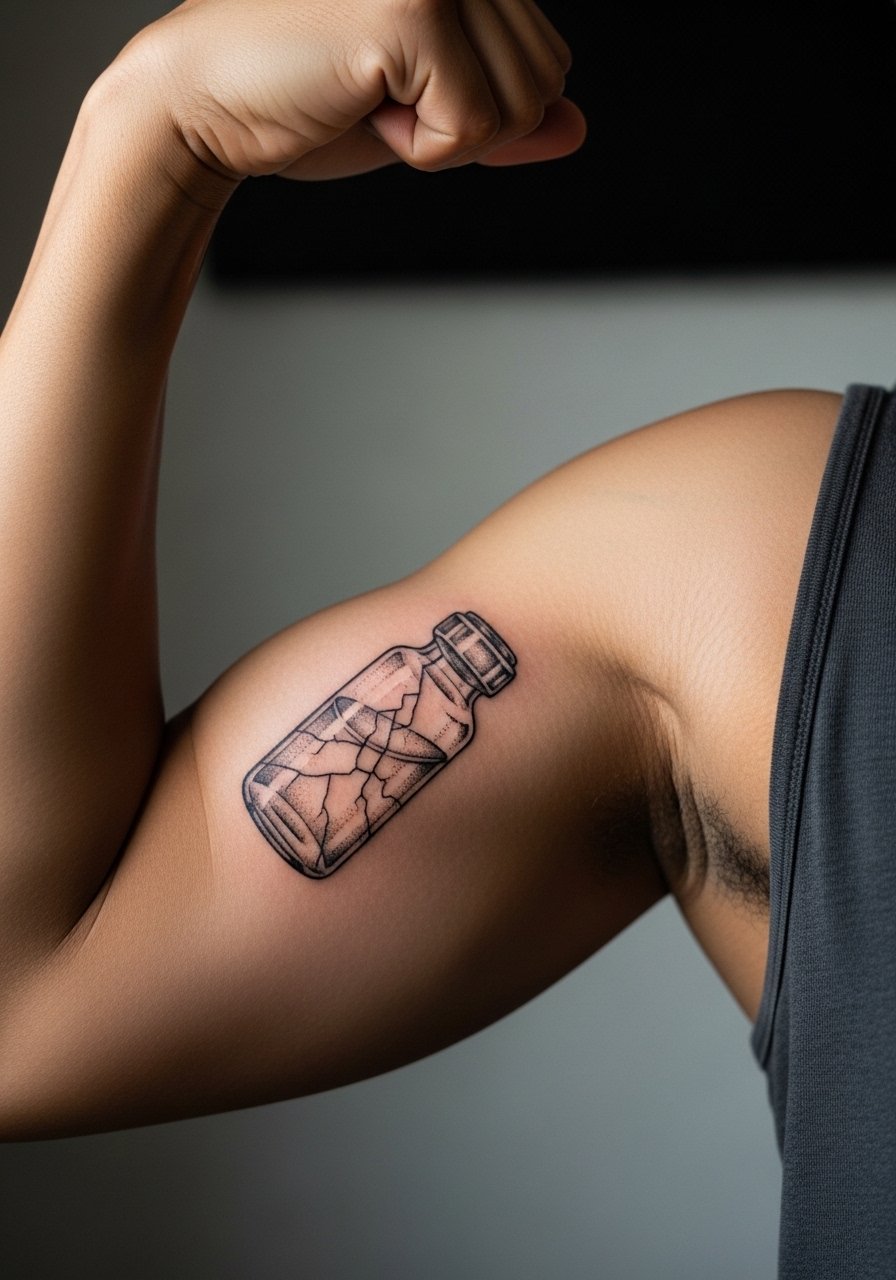
5. Cracked Valve Vial, Inner Bicep
Most people miss how inner bicep skin changes with muscle movement. This cracked vial sketch looks alive when the glass lines have a mix of stipple shading and quick hatch marks. For consultation, describe the glass texture you want and show a reference of light reflecting off cracked surfaces. Pain is moderate to high because of nerve bundles, and sessions are usually under two hours. A common mistake is too much dot work packed into a small vial shape, which blurs. For the appointment wear a tank top so the artist can raise your arm comfortably.
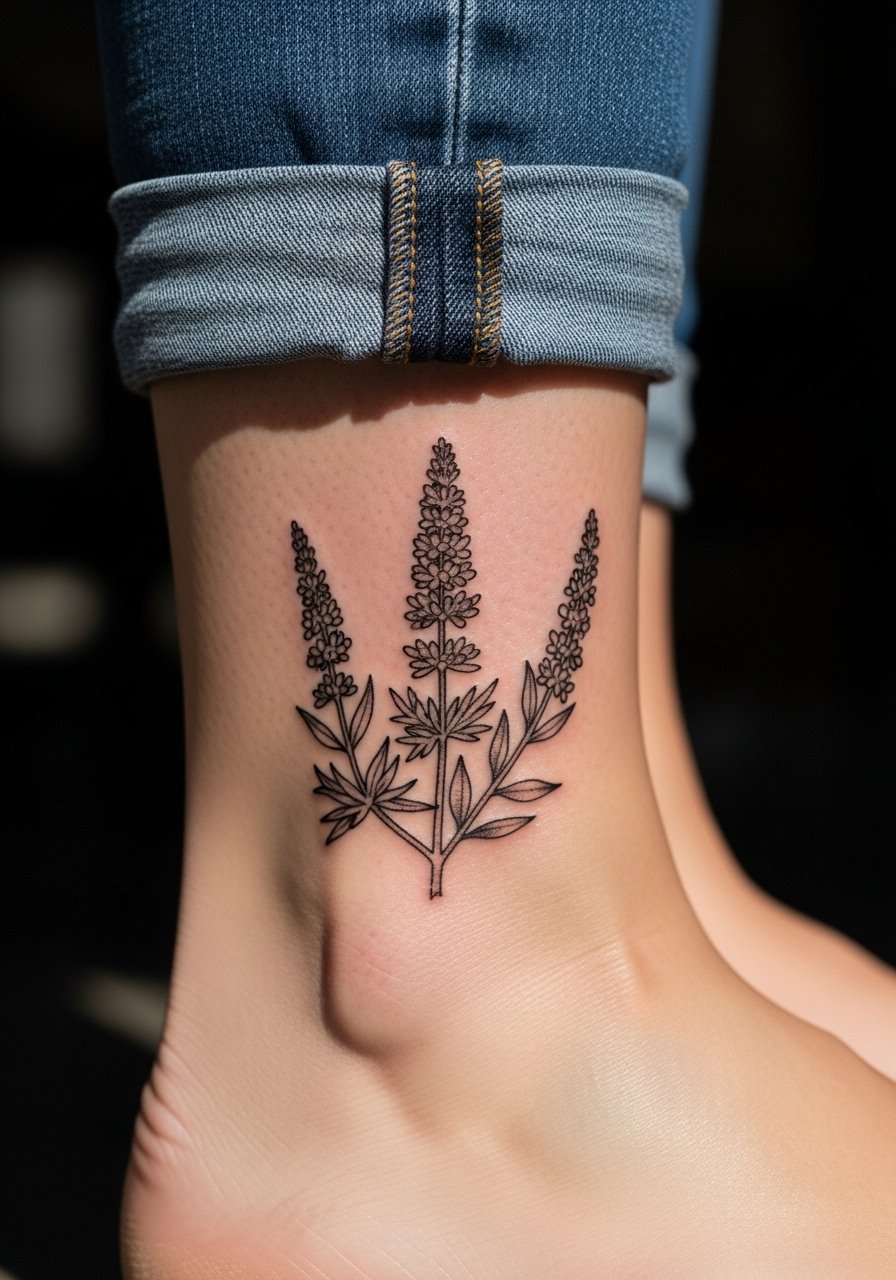
6. Herb Trio in Rough Pen, Ankle
I've seen herb clusters survive long when positioned on the ankle with enough spacing between leaves. For a sketch style herb trio, ask for loose contour lines and stipple shading to suggest texture without tight fills. The ankle is a low to moderate pain spot and sessions are short. The frequent mistake is wrapping stems too tightly around the ankle bone where friction from shoes accelerates fading. Pair the piece with rolled jeans or a pair of sandals for summer show-off looks. Expect touch-ups around year three if you wear the area heavily.
Studio Day Picks
The first six pieces above highlight wrists, inner biceps, ribs, and ankles, and those areas each ask for different prep and first-week protection.
-
Stencil transfer paper kit. Lets you see and move the sketch stencil on the skin, especially helpful for forearm and rib placements above.
-
Topical numbing cream. Applied per instructions it eases wrist and rib sensitivity so short sessions feel more manageable.
-
Thin protective film roll. Protects ankle and wrist sketch work from rubbing and water during the first week.
-
Fragrance-free body wash. Cleans the healing skin gently, which matters when fine hatchwork needs to avoid harsh soaps.
-
Aquaphor healing ointment. Thin layers in the first days help keep linework moist without sealing off needle channels.
7. Nemesis Linework Study, Calf
Personal observation lead works for the calf because larger sketch pieces read well there. A Nemesis-inspired line study benefits from long vertical strokes that follow the muscle. Tell your artist you want a mix of heavy contour and loose cross-hatching to keep movement visible. Pain is moderate and sessions can be longer if you include background lines. The usual mistake is tiny facial detail in a narrow calf canvas, which merges over time. For session comfort wear a pair of loose drawstring linen pants so the artist can roll the leg up without pressure.
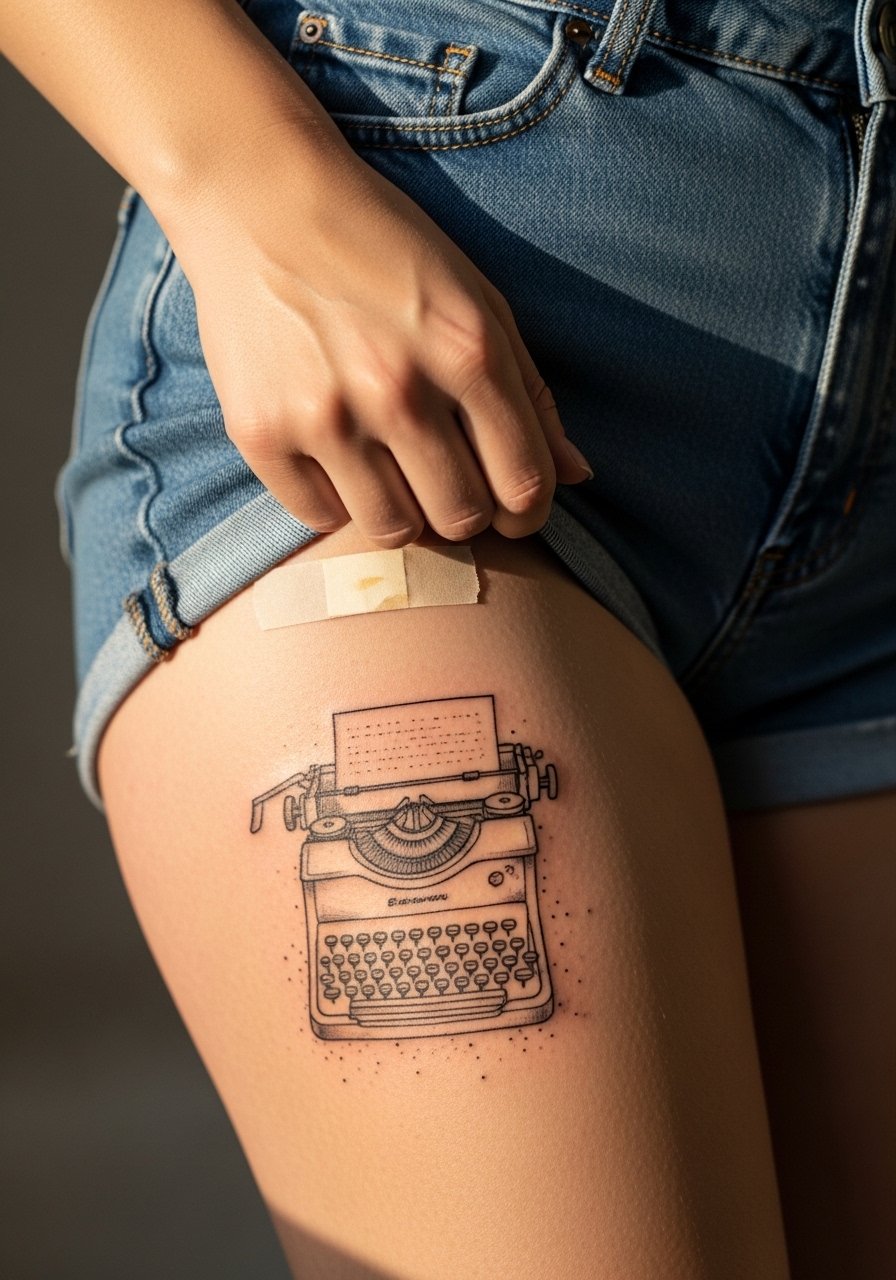
8. Typewriter and Tape, Outer Thigh
The outer thigh is forgiving for ink that reads like a sketch and ages with less blotch. I recommend larger negative space around the typewriter and loose line scratch marks across the tape reels. During consultation, ask how the piece will sit when you wear jeans or skirts. Pain is low to moderate and sessions can be split. For the session wear high-waisted shorts or a wrap skirt so the artist can access the outer thigh without full exposure. A wrap skirt works well for both access and later show-off outfits.
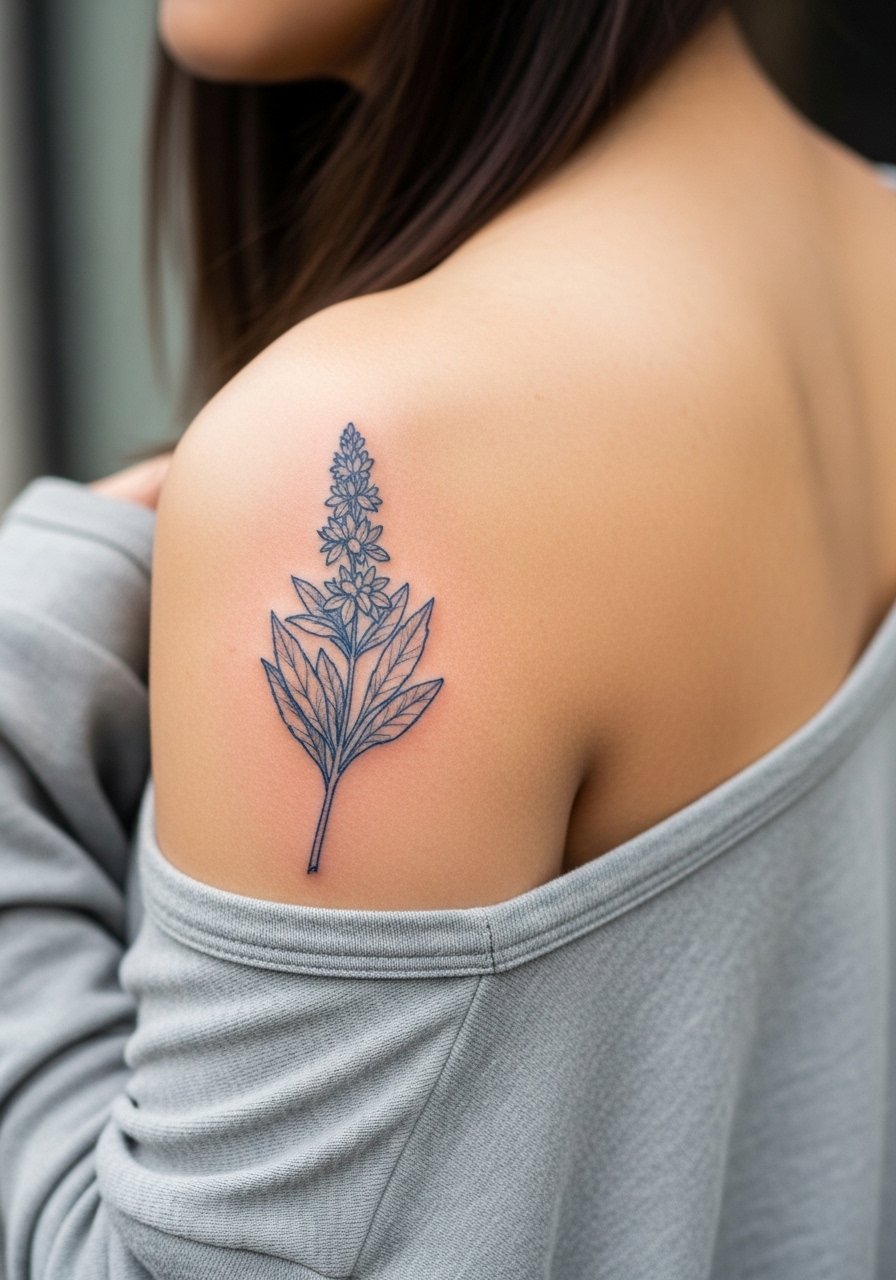
9. Blue Herb Watercolor Sketch, Shoulder Blade
Visual impact lead fits shoulder blade work because it becomes a reveal piece. Combine sketch lines with light blue wash spots to hint at the healing herb effect without full saturation. Tell the artist you want the color to sit under sketchy contour instead of overpowering it. Pain is moderate and access requires a button-down or tank top you can move aside. Avoid dense water washes too close to fine lines or the color will muddle the hatchwork in a few years. For evenings wear an open-back midi dress to let the shoulder blade sit as the focal point.
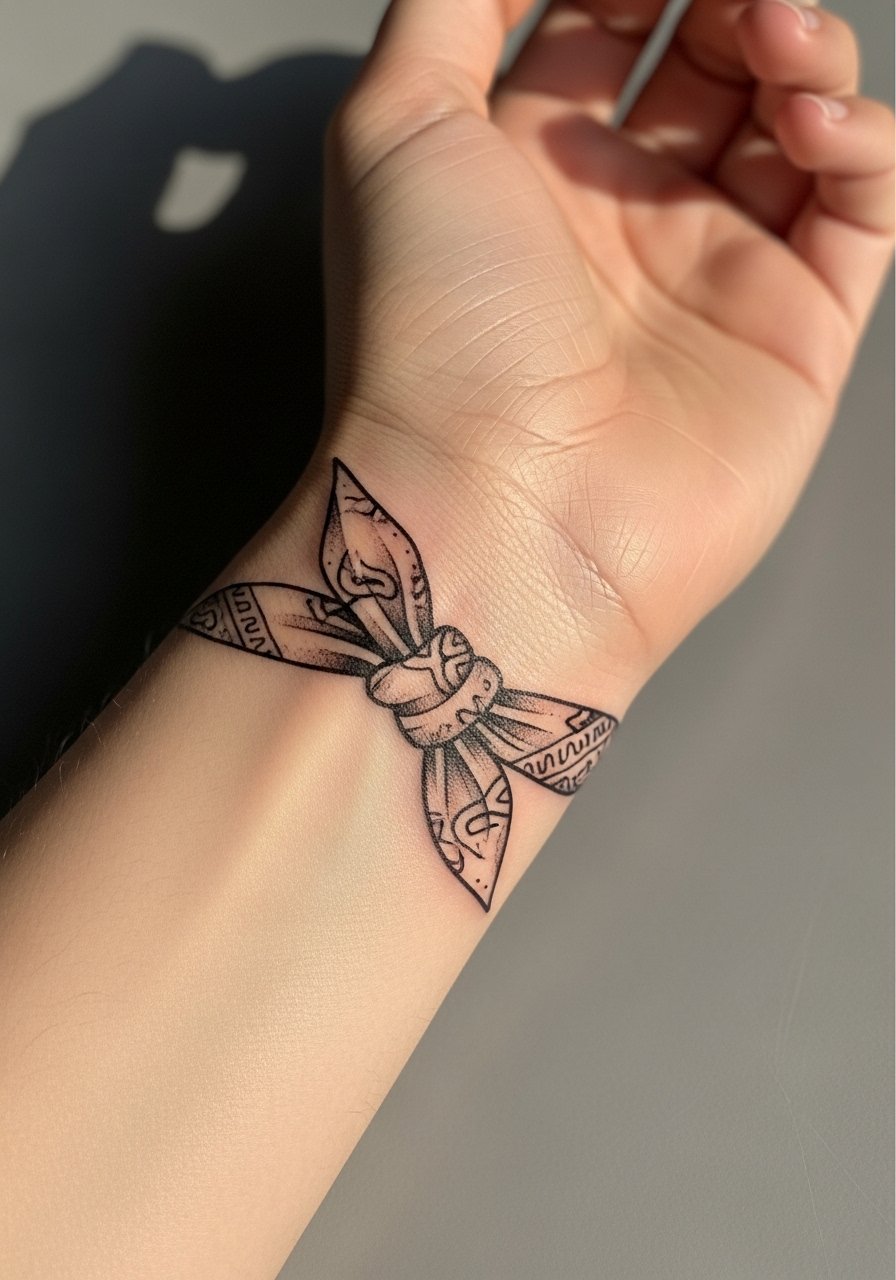
10. Claire-Style Bandana Sketch, Wrist Wrap
Mistake lead for wrist wraps is useful because this motif often gets too intricate for the small space. Keep the bandana lines bold enough to survive frequent washing and friction. For the consult, describe the exact bandana pattern and ask for airy negative space. Sessions are short and pain is light. A common error is overworking the knot detail, which becomes a gray smudge after heavy hand use. To show it off, pair with a minimalist watch or swap between bracelets to let the sketch peek through.
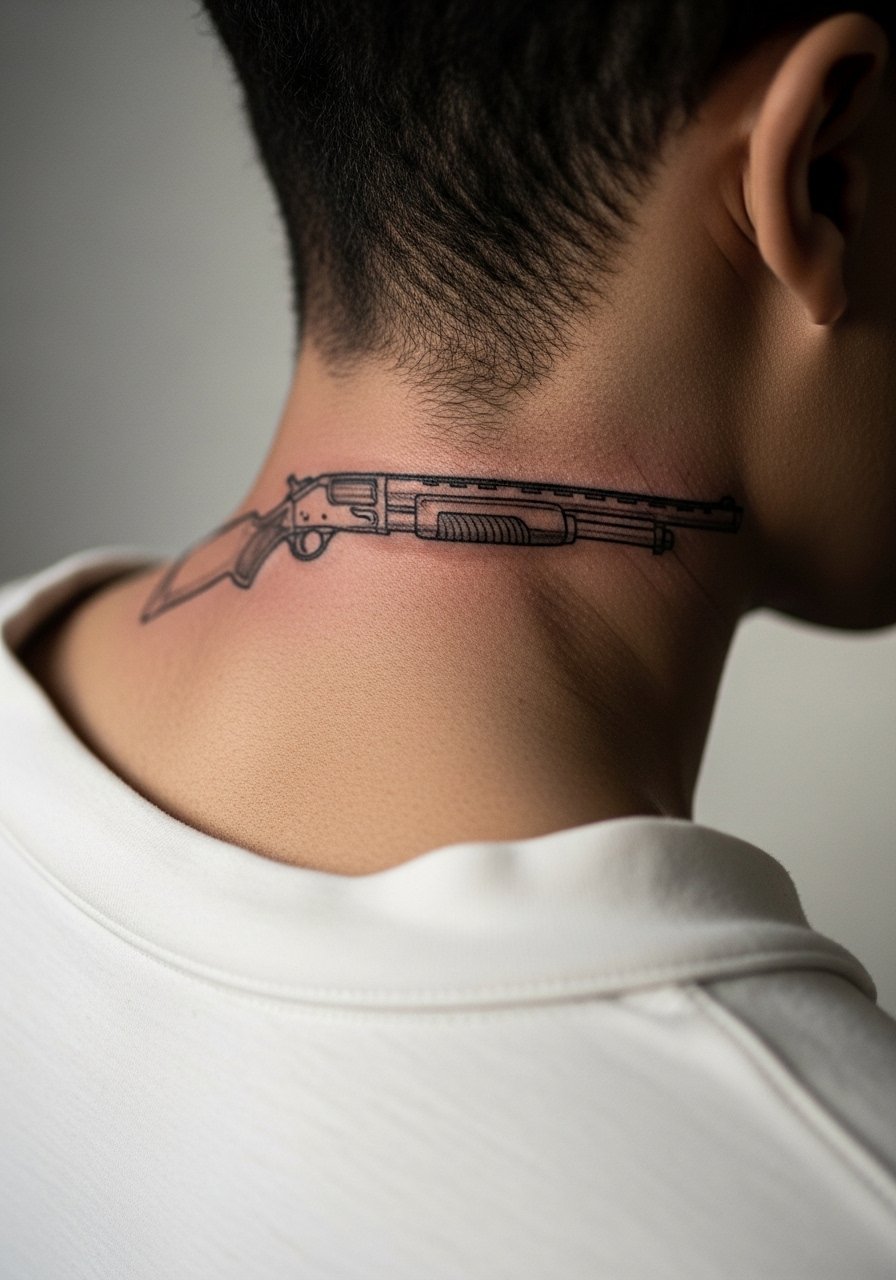
11. Hand-Drawn Shotgun Blueprint, Back of Neck
Consultation lead works here because the back of the neck needs precise placement. A shotgun blueprint in sketch form is striking when the blueprint lines remain slightly unfinished. Pain is low to moderate and sessions are brief. Sensitive placements like the neck require a wide-neck shirt or collar pulled aside during the session. Hand tattoos still affect hiring in some industries so consider career implications before committing. The biggest mistake is pushing too many tiny parallel lines, which can look muddy as the neck ages.
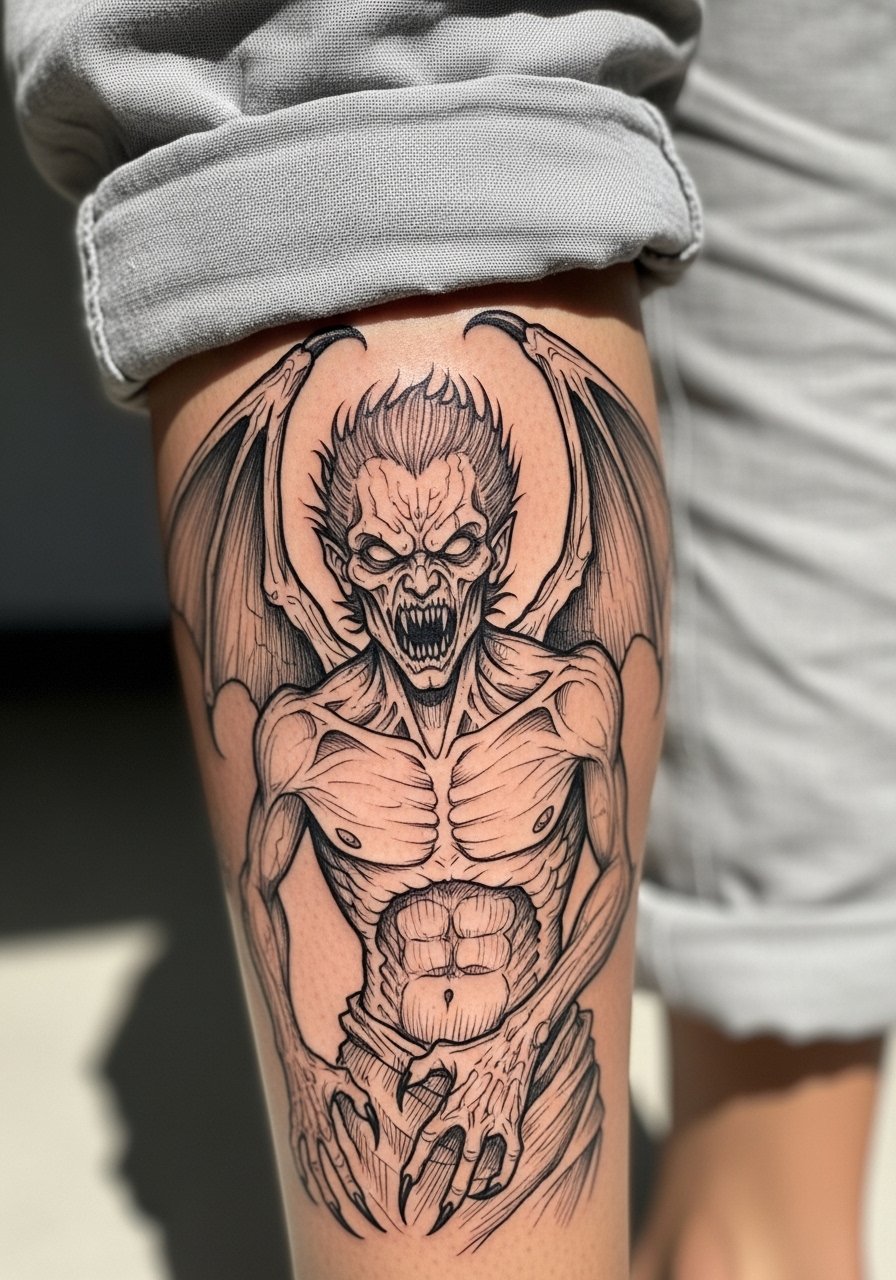
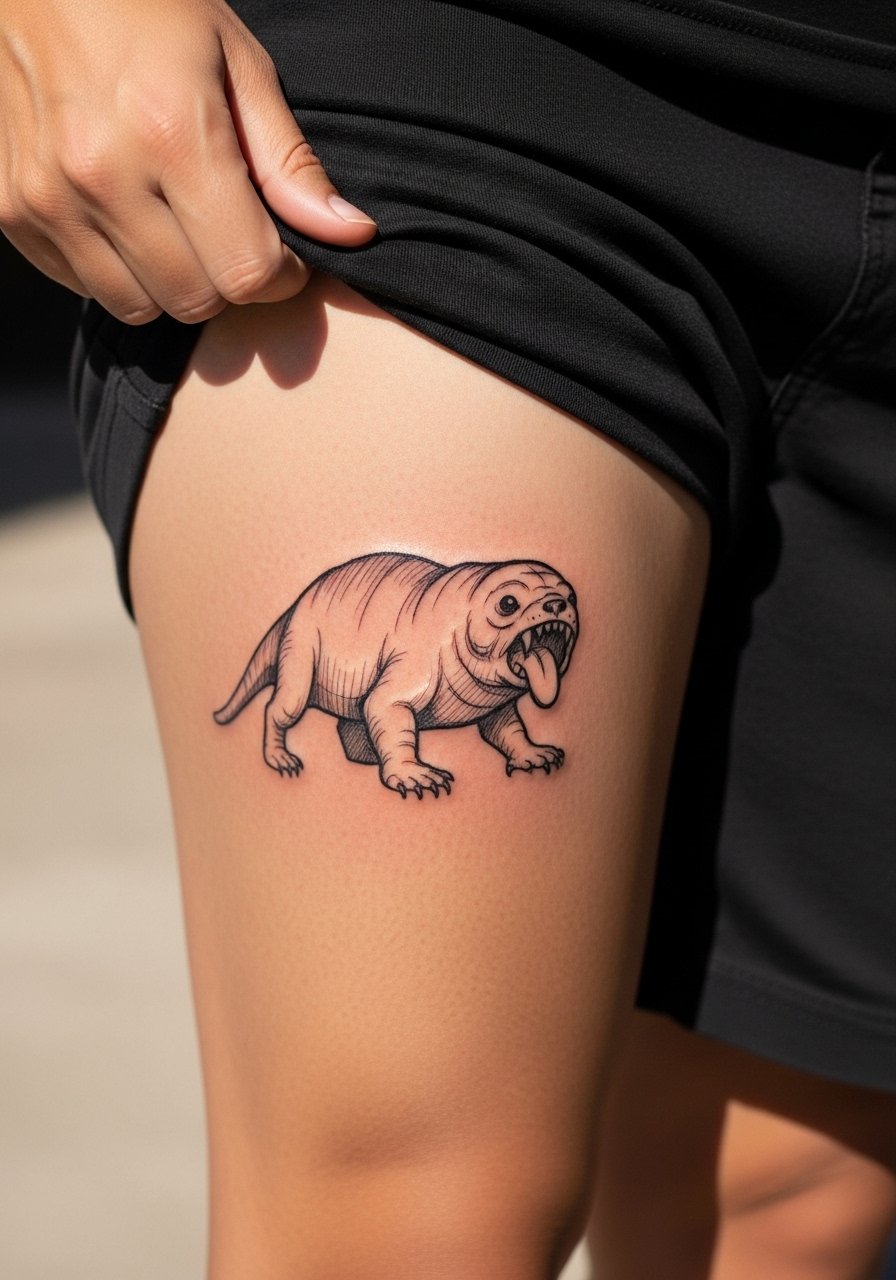
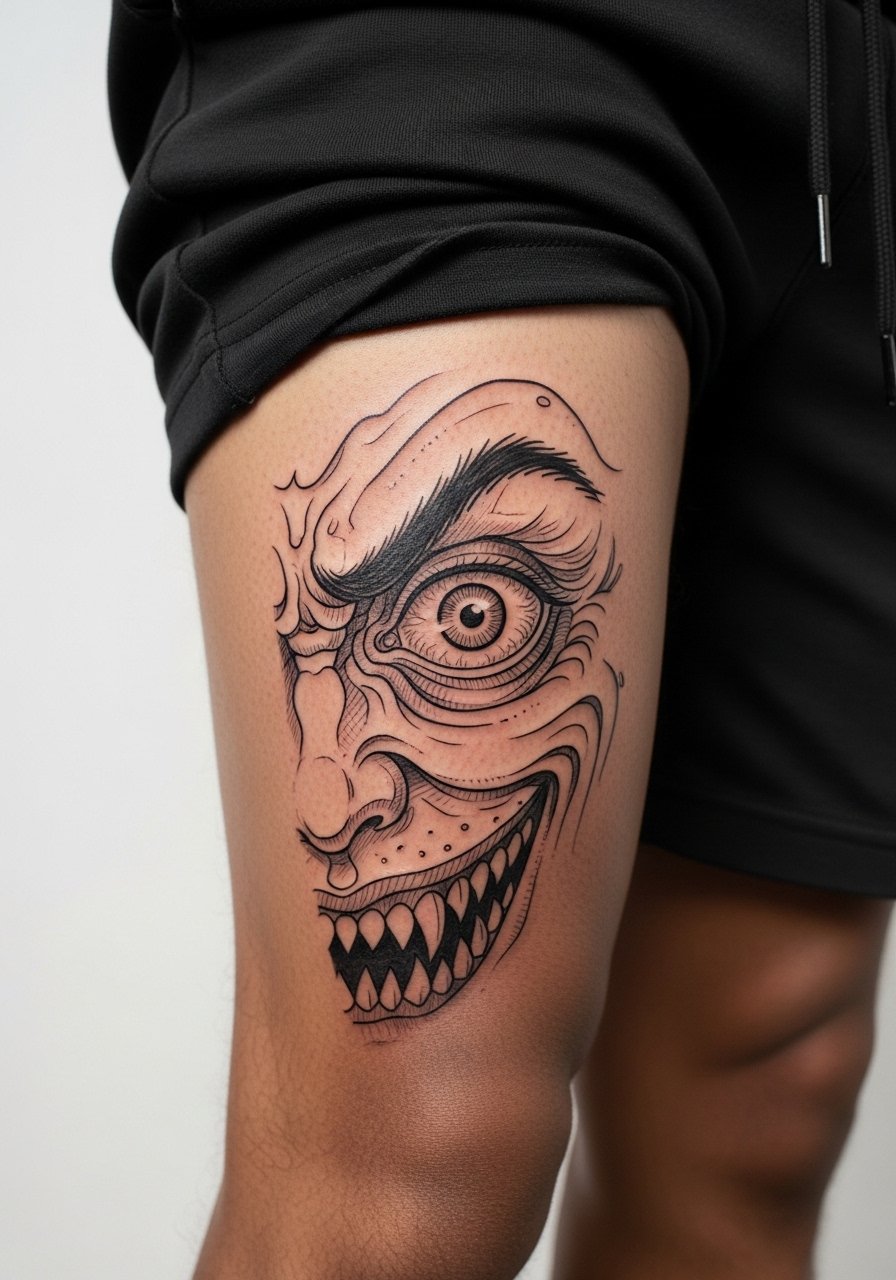
12. Licker Silhouette with Quick Cross-Hatching, Thigh
Aging lead fits for thigh work because it offers space for dynamic lines that keep a sketch feel. Licker silhouettes with swift cross-hatching look alive when you move, and the thigh's lower friction helps them age better. In consultation, ask for negative space between hatch strokes and avoid full black fills. Pain is low and sessions can be longer. The common error is adding fine veins or teeth detail that fall apart into gray masses. For both the session and later outfits, a loose drawstring linen pant works so the artist can shift fabric without rubbing the area.
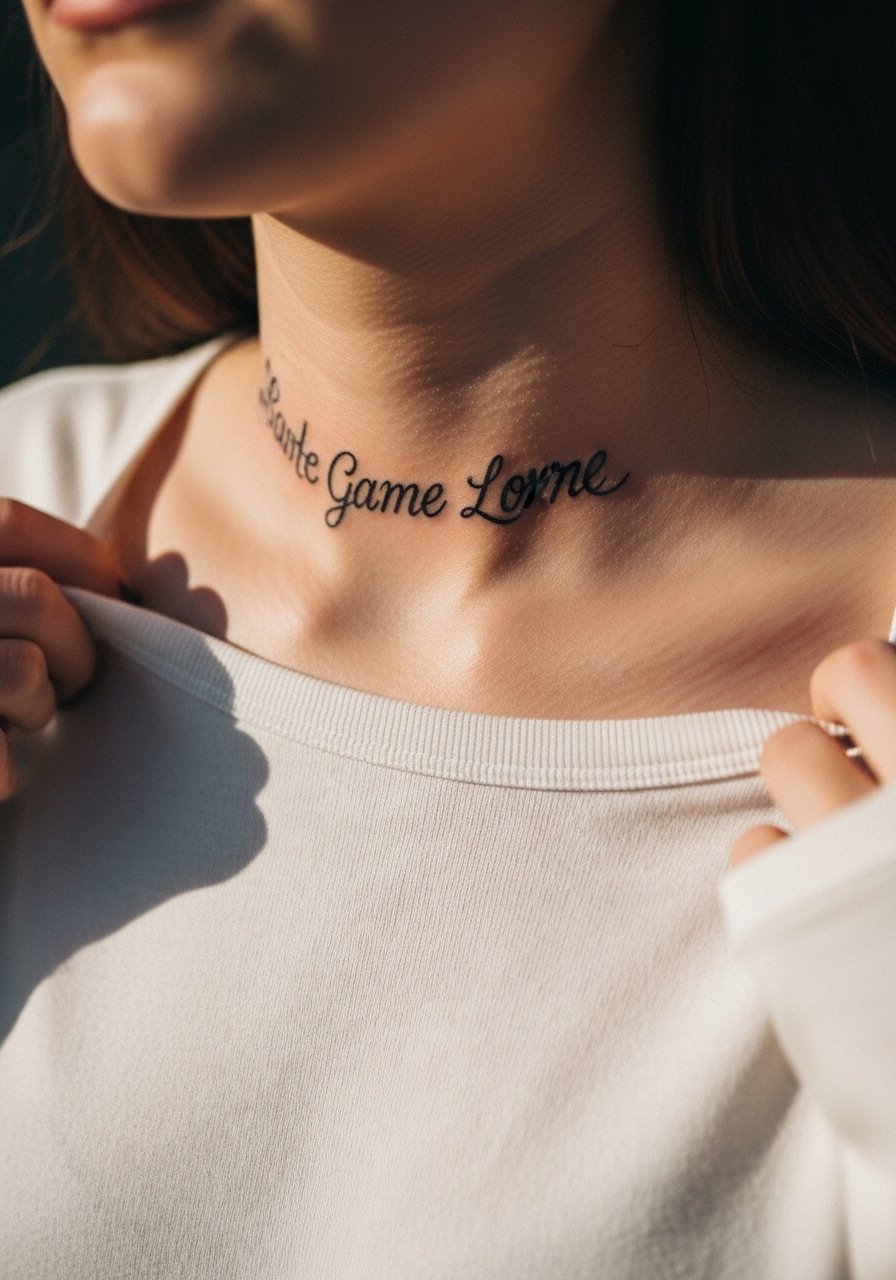
13. Typewriter Ribbon Script, Collarbone
Personal observation lead is good for collarbone scripts because that area shows personality. A quick handwritten phrase or coordinates pulled from the game looks handwritten when the artist uses sketchy strokes and tiny imperfections. Pain is moderate and sessions are short. Common mistakes include making the script too thin over the collarbone hinge where movement causes line breakage. For showing the work, a thin chain pendant necklace sits just above the script without competing.
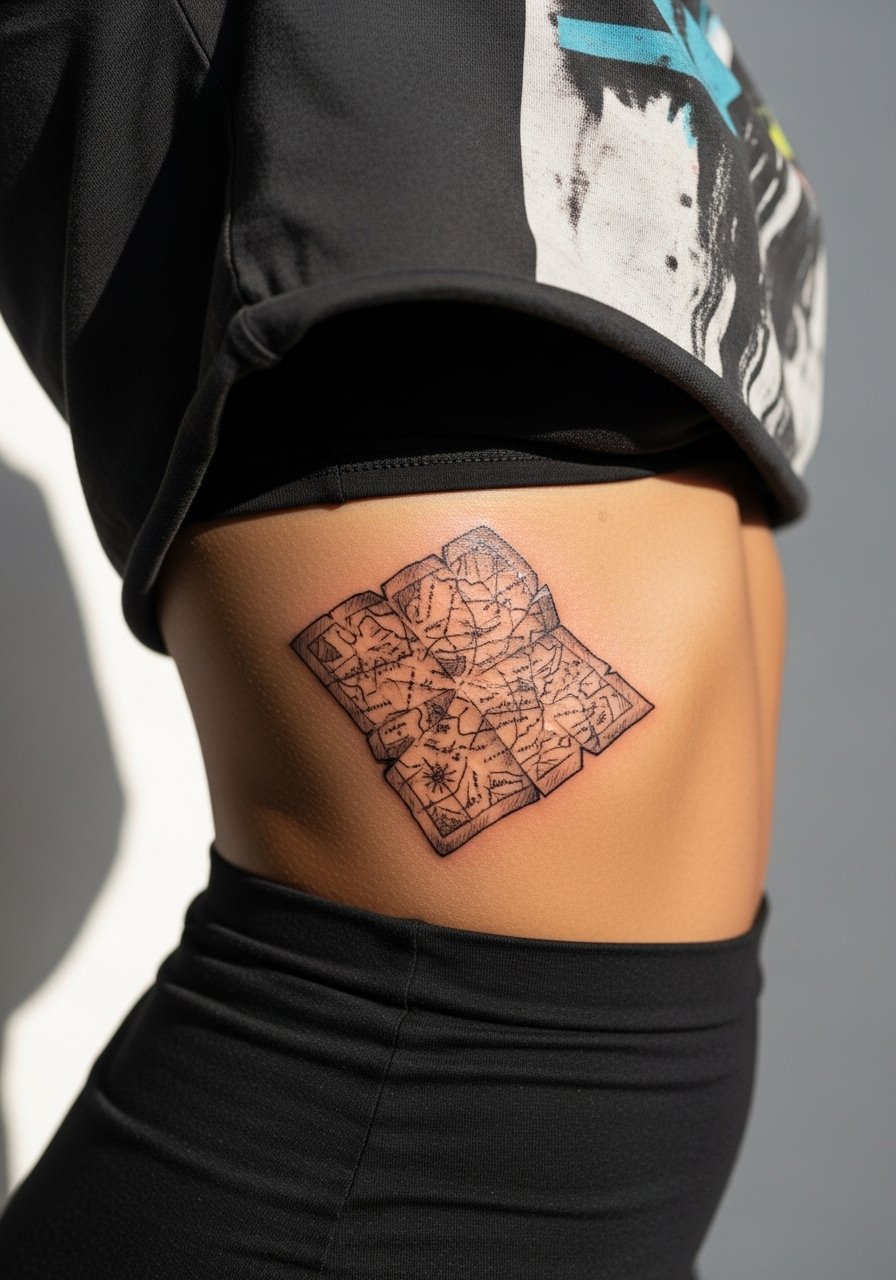
14. Crumpled Map Fragment, Side Torso
Mistake lead warns that side torso detail can suffer if crammed too small. A crumpled sketch map fragment benefits from coarse hatchwork and visible fold lines, which keep the sketch personality. Pain is high on the side torso and sessions may be split across visits. For the appointment wear a cropped tee so the artist can reveal only the narrow strip needed. The typical error is overlaying tiny text labels that turn into fuzz. Leave labels sparse and bold.
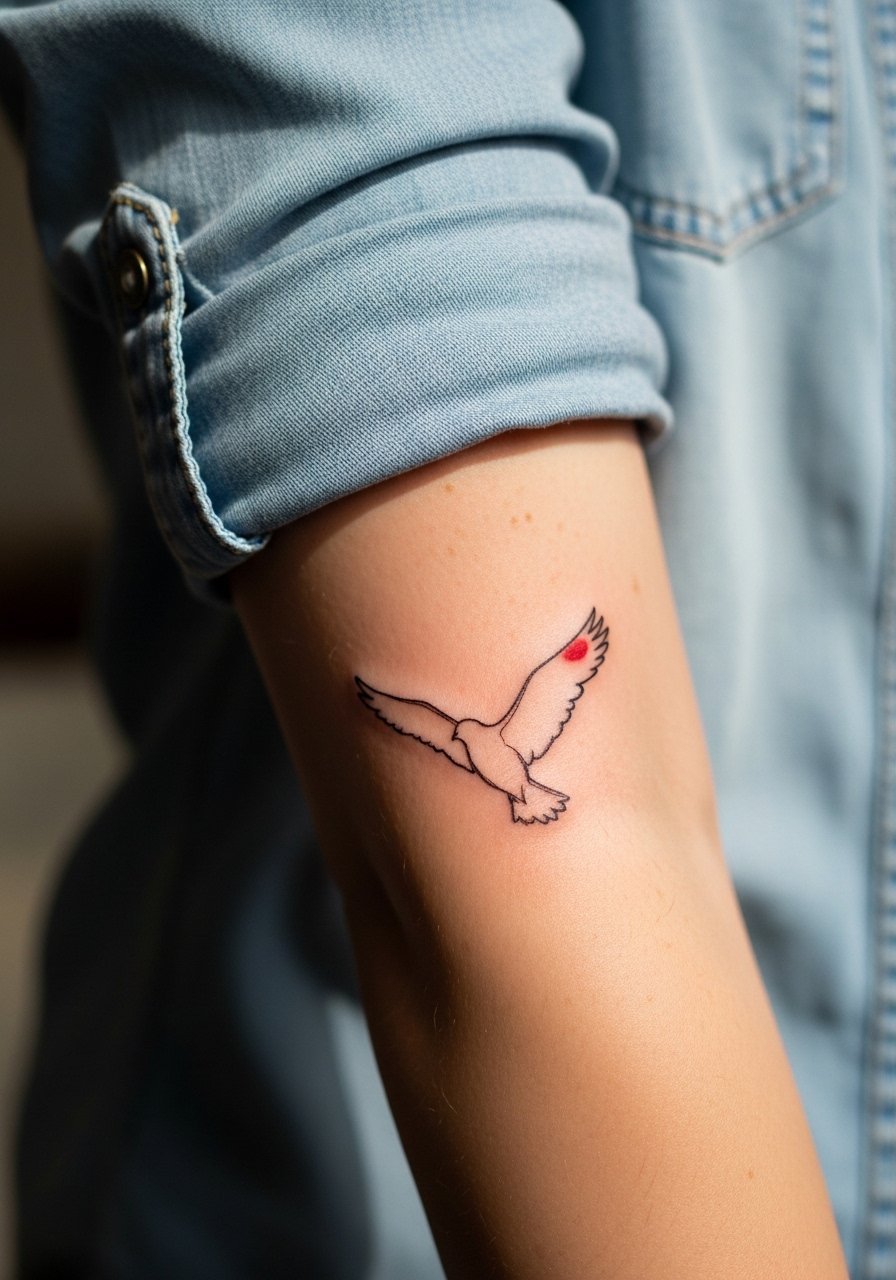
15. Ada Wong Silhouette with Red Accent, Outer Forearm
Consultation lead fits because color accents in sketch style need precise placement. A single red wash over a sketch silhouette draws the eye while keeping the rest loose. Forearm pain is low and sessions are usually under two hours. The common mistake is over-saturating the red in a tiny area, which turns into blotches as it heals. For showing the piece, a rolled-up sleeve cotton shirt frames the forearm and lets the red pop on evening outings.
16. Umbrella Blueprint Fragment, Back
Visual impact lead works for large back fragments because they can carry loose structural lines and remain readable. If you want a broken blueprint slab, ask for large sweeping hatch marks and avoid tight dot fills. Pain varies and sessions will be multiple. The common error is cramming tiny blueprint annotations into the negative space. Keep the labels minimal and readable. For coverage decisions use directory searches and convention discoverability rather than one-off portfolios to find someone confident with larger sketch compositions.
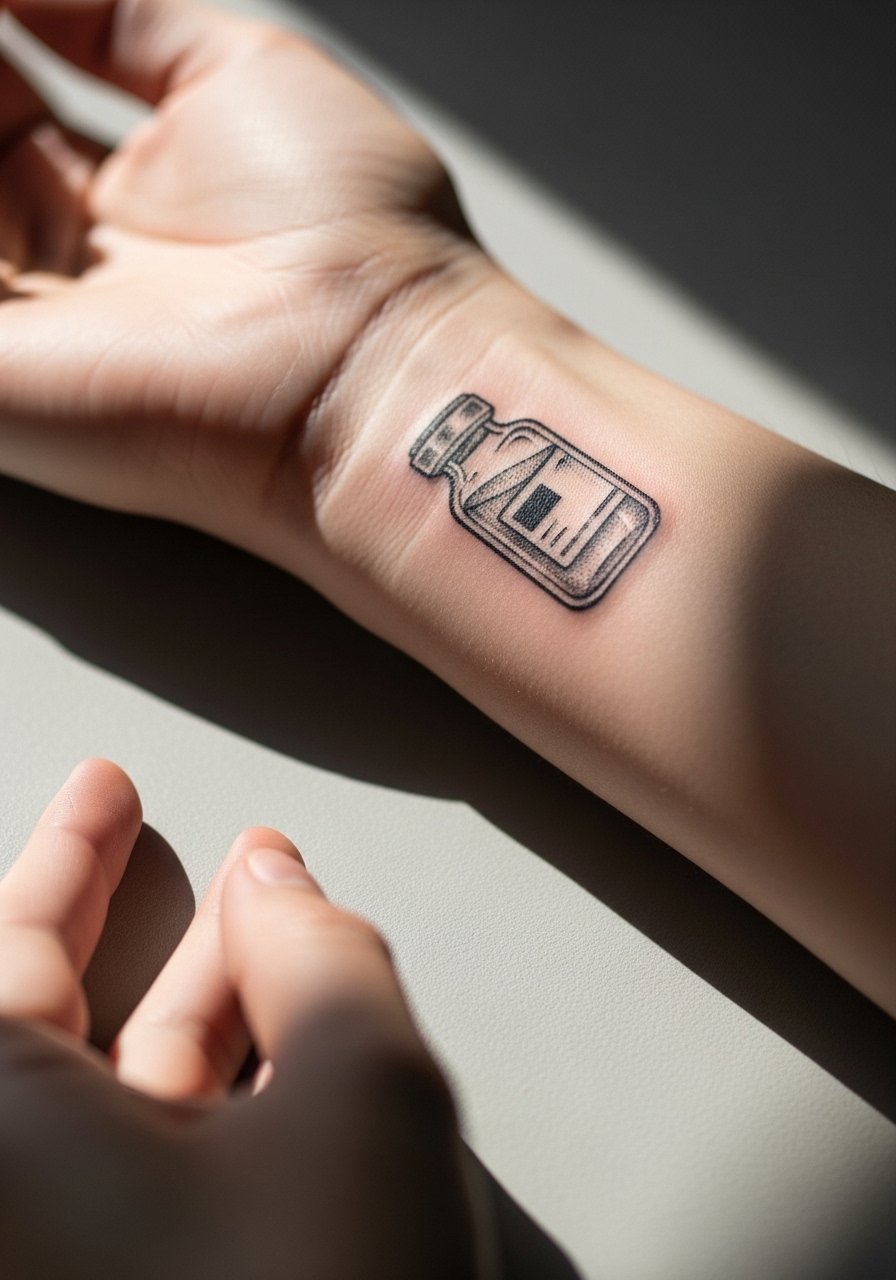
17. Viral Vial with Loose Stipple, Inner Wrist
Mistake lead because the inner wrist gets a lot of wash and hand motion, which eats thin stipple. For a viral vial with stippling, ask the artist to space dots and anchor with a faint contour so the dot work breathes. Pain is low and sessions are quick. A common error is packing too many dots into a small circular vial which then softens into gray. For showing off, pair with a minimalist bracelet stack that does not sit directly over the ink to avoid early abrasion.
18. Nemesis Eye Study, Calf Inner Side
Personal observation lead because isolated eye studies photographed on calves retain impact. Request a rough cross-hatch to frame the eye and avoid dense fills. Pain is moderate and sessions are manageable. The frequent mistake is attempting micro-realism inside a sketch piece which causes tonal flattening. For session comfort wear shorts or a skirt so the artist can access the inner calf easily. This placement handles motion well so the eye keeps its character even with years of walking.
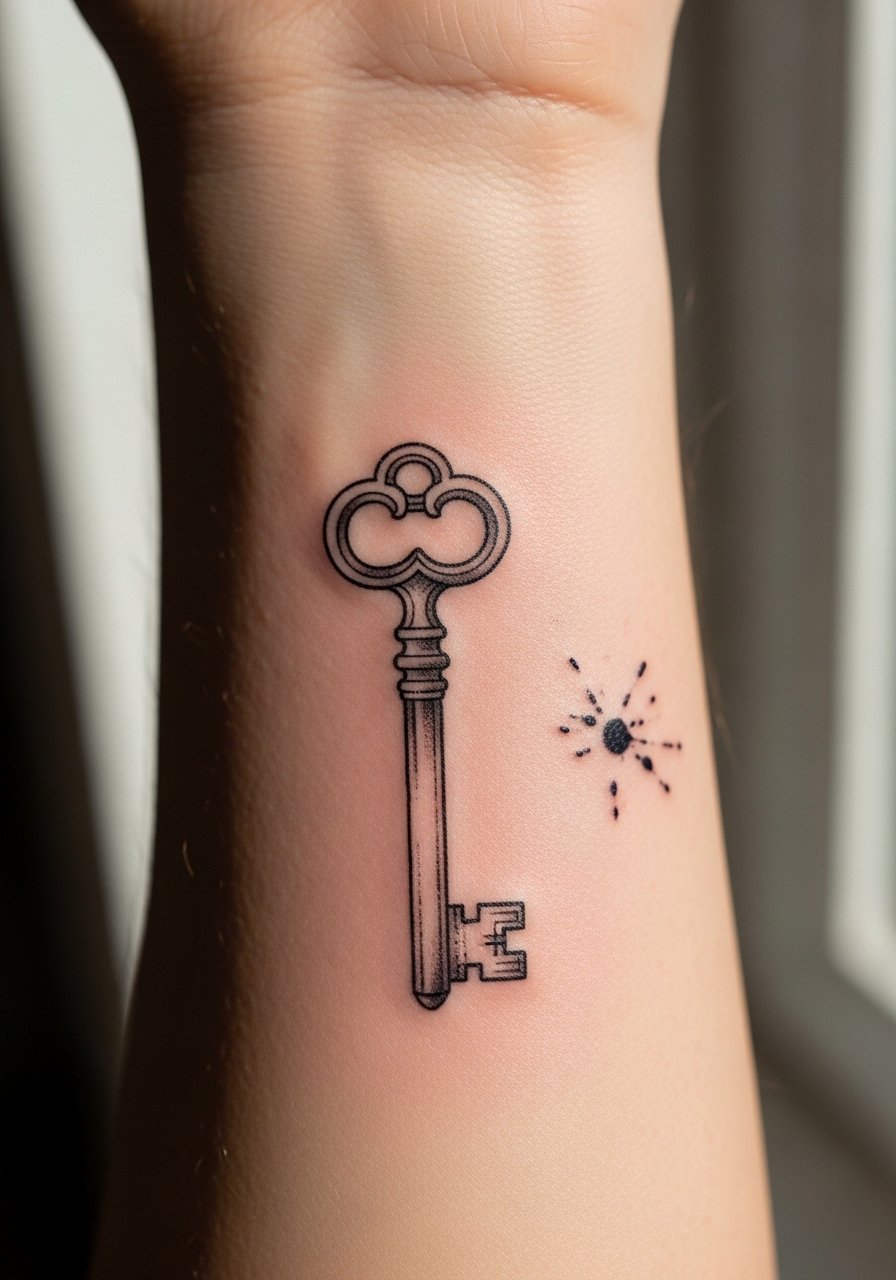
19. Vintage Key and Ink Splotch, Inner Forearm
Aging lead helps here because inner forearm ink reacts to sun and sleeve friction. Vintage key sketches with loose ink splotches look intentional when the splotches are placed with negative space in mind. Sessions are short and pain is low. The mistake is over-inking the splotch so it heals into a uniform dark mark. For sessions wear a short-sleeve cotton tee you can push up without rubbing the fresh ink. Expect minor touch-up needs in sun-exposed years.
20. Jill Pocket Sketch with Torn Paper Edge, Sternum
Controversy lead because sternum sketch work divides opinions. One camp warns that the sternum's movement and thin skin make fine hatch fade quickly. The other camp says a slightly bolder anchor line and measured spacing lets sketches last. For this placement wear a fitted sports bra so the artist can expose only the sternum band. Pain is high and sessions are shorter but may be split. The frequent mistake is trying to cram tiny paper tear details into the sternum area. Keep the torn edge bold and the interior sketch airy.
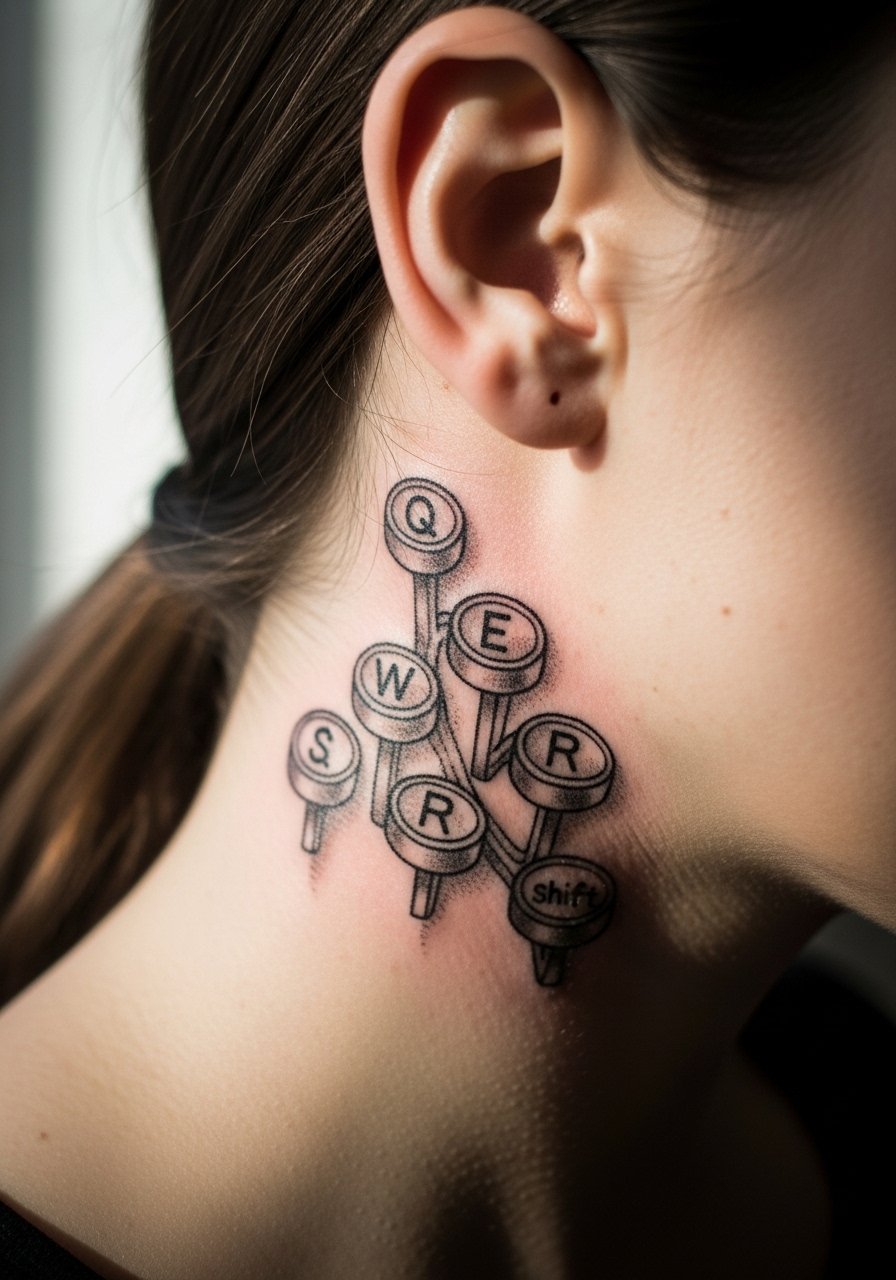
21. Typewriter Key Cluster, Behind the Ear
A personal observation lead is useful because behind-the-ear sketches can peek out from hair and still read as candid. Describe placement as on the skin behind the ear below the hairline on the neck so the artist frames the small keys correctly. Pain is low and sessions are short. The typical error is trying to add color in such a small space. For subtle displays choose hairstyles that let the cluster peek through. Small marks here age gently if kept slightly bold.
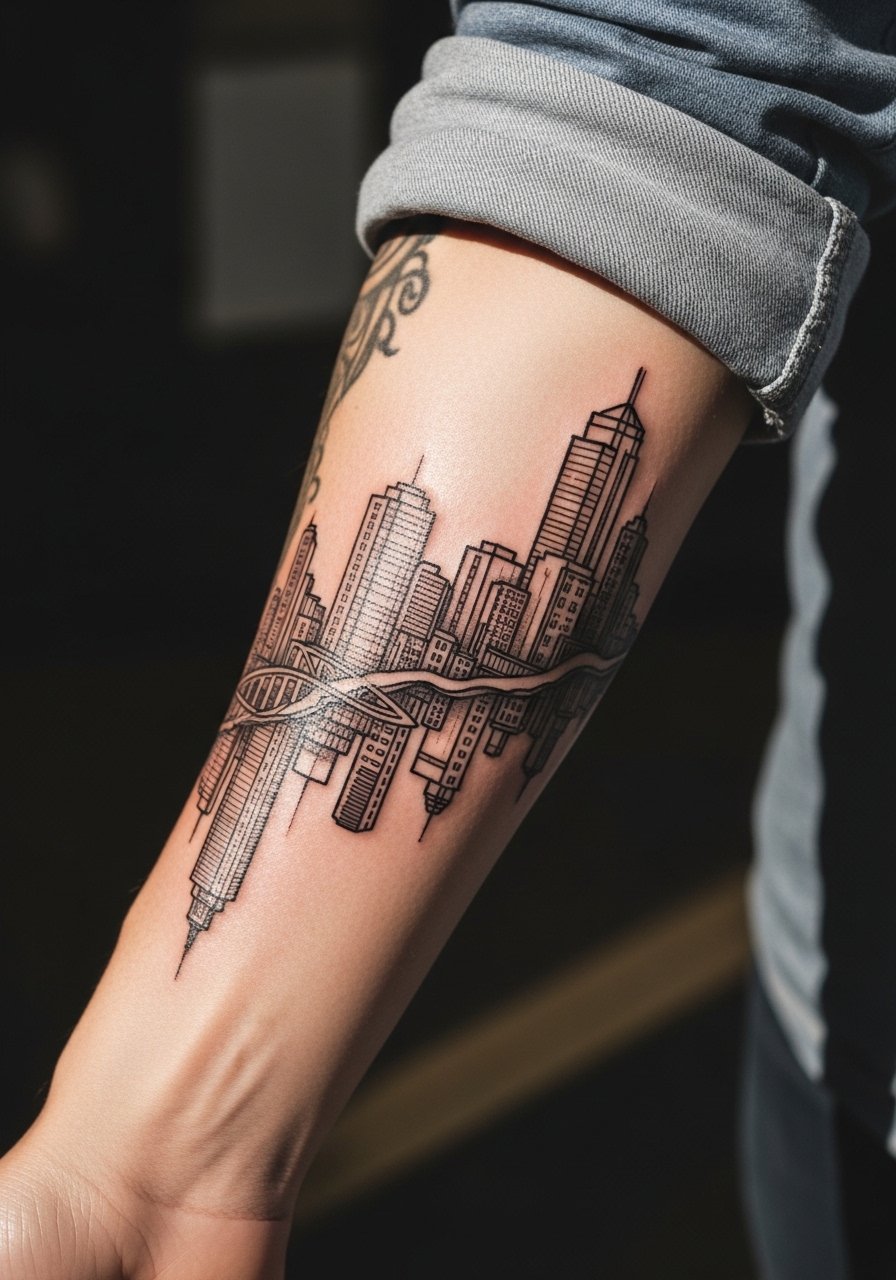
22. Raccoon City Skyline, Forearm Wrap
Visual impact lead explains why a forearm wrap skyline holds well. A loose, single-stroke skyline with sketchy vertical lines gives motion and reads from a distance. Ask for spacing between spires and avoid tiny window dots. Pain is low and sessions run one to two hours. The common mistake is making the skyline too thin where sleeve friction causes fading. For dress pairing roll sleeves or wear a button-down shirt with the cuff folded to showcase the wrap.
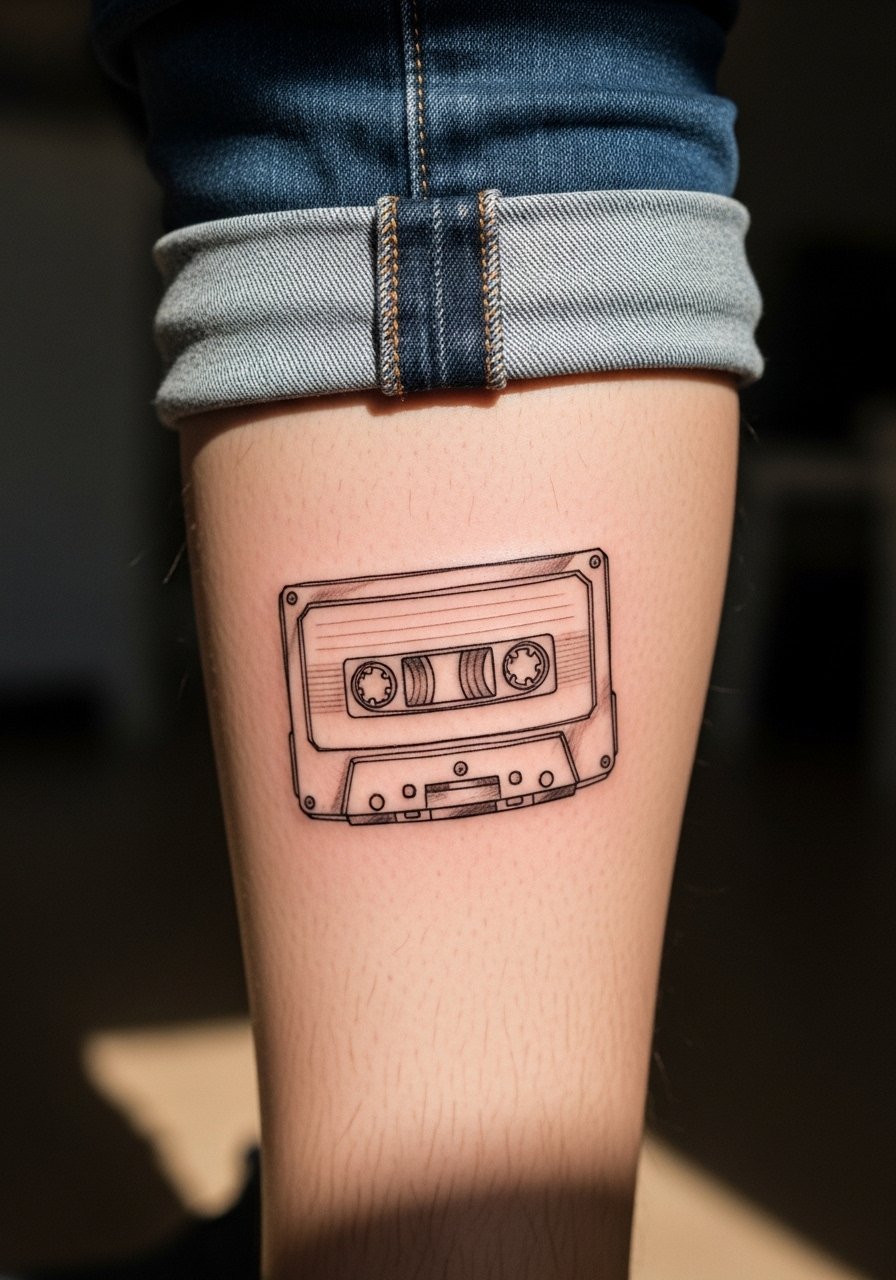
23. Cassette Tape with Scratched Lines, Calf Outer Side
Consultation lead because scratched sketch lines require deliberate placement on the calf's flatter plane. Keep the scratches spaced and let the tape reels read with negative space between loops. Pain is moderate and sessions are comfortable. The mistake is overworking tiny grooves inside the reels which blurs. For casual shows pair with cropped pants or a pair of canvas sneakers so the calf remains visible while keeping the outfit grounded.
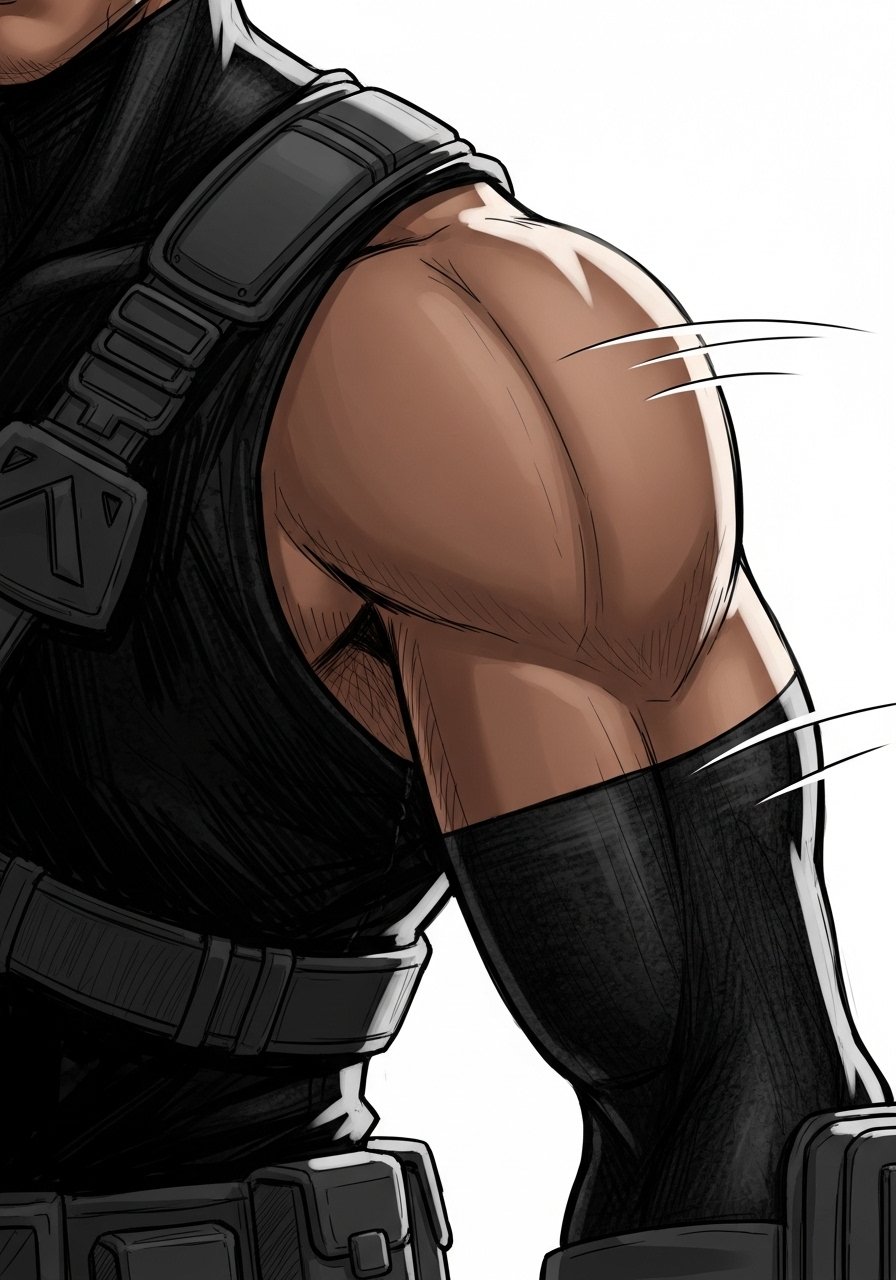
24. Tyrant Silhouette with Motion Lines, Upper Arm
Visual impact lead suits upper arm silhouettes because motion lines amplify the menace. Ask for long directional strokes to imply motion rather than tiny details. Pain is moderate and sessions are mid-length. The typical error is trying to translate game textures into tiny marks that do not age well. For selection use local conventions and hashtag discovery to find artists who enjoy sketch silhouettes. The upper arm handles broad strokes and looks dramatic in short-sleeve shirts.
25. Herb Vial Portrait with Dot Work, Calf Inner Side
Personal observation lead works because the inner calf takes dot work well when spread out. For a portrait of a herb vial use stipple for shading and leave room around the portrait to let dots read. Pain is moderate and sessions can be longer. A common mistake is densifying dot clusters which flatten. For sessions wear shorts and consider a pair of slide sandals that do not press the calf during healing.

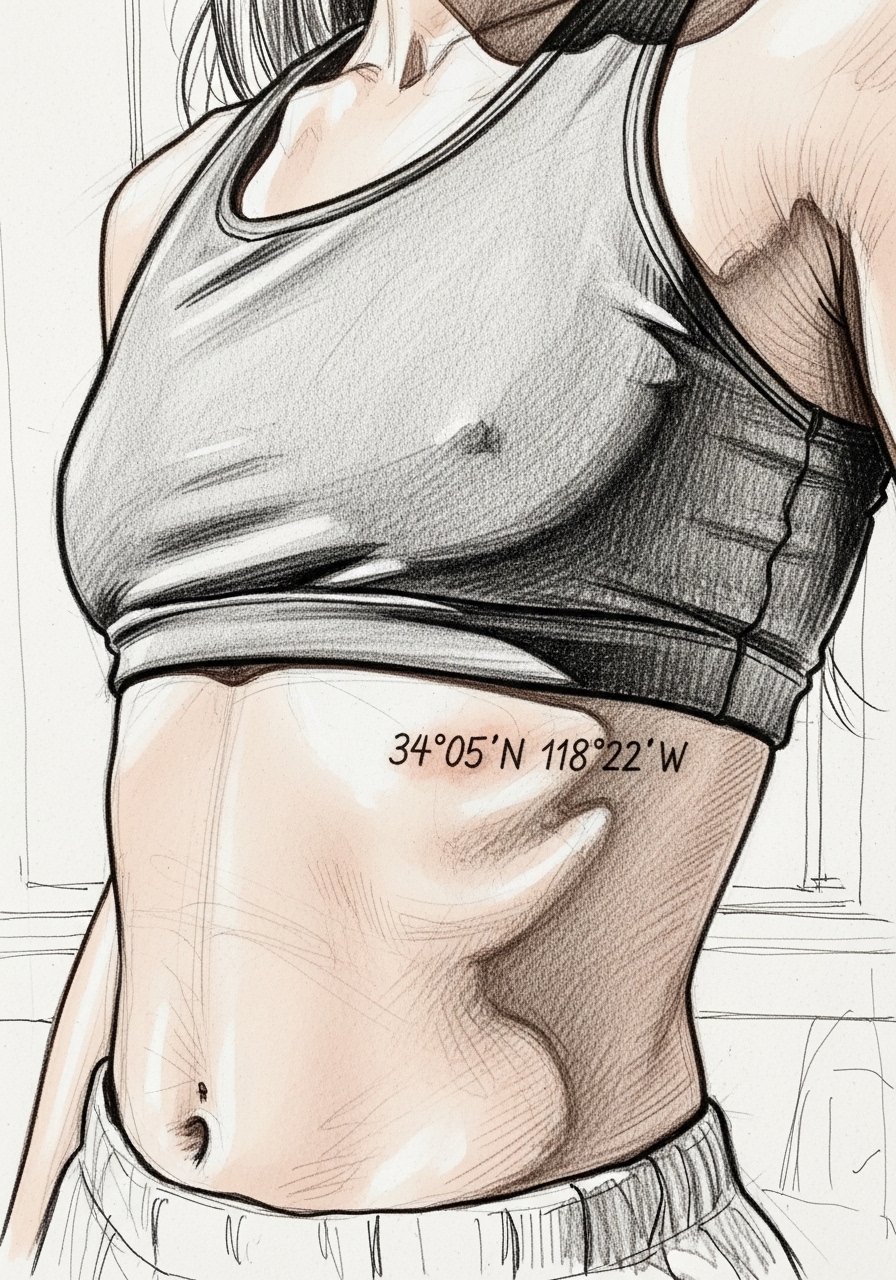
26. Hand-Scrawled Game Coordinates, Ribcage Side
Consultation lead because script on the ribcage requires anchor spacing to avoid distortion with breathing. The hand-scrawled coordinates look like a field note when done in sketch strokes and spaced letters. Pain is high and sessions should be brief. The common mistake is compressing lettering which warps when skin shifts. For the session wear a cropped top so the artist can access the area without full exposure. Choose fonts that breathe and keep the numbers bold.
27. Hand-Held Map with Torn Edges, Thigh Outer Upper
Styling lead closes the list because thigh pieces are easy to wear and to show. A hand-held map sketch with jagged torn edges reads like a field scrap when the artist uses rough hatchwork and avoids dense fills. Pain is low to moderate and sessions can be longer. The mistake is over-detailing map icons, which turns into noise after healing. For showing the piece off pair with an open-back sundress on warmer days so the thigh reveals like a page.

Frequently Asked Questions
Q: Will sketch style fine hatchwork on the ribs blur faster than on the forearm?
A: It depends on placement, skin elasticity, and spacing. Ribs experience more stretch and movement which can cause very fine closely packed hatches to blur sooner than forearm work. I usually recommend slightly bolder anchor lines and more negative space on ribs so the sketch reads longer.
Q: How often should I expect touch-ups for small sketch elements like wrist vials or tiny scripts?
A: From what I have seen, tiny sketch elements often need a touch-up around year two to four depending on sun exposure and friction. Keep daily exposure low and protect lines for the first year. For showing small wrist pieces, swap heavy bracelets for a thin chain bracelet to avoid constant abrasion.
Q: Are color accents in sketch tattoos risky for longevity?
A: Single, pared-back color accents can hold well if the pigment sits beneath sketch contours and is not over-saturated in tiny doses. The main risk is small color patches in high-motion spots which can fade into patchy tones. Ask your artist how they layer color under or over lines during consultation.
Q: How should I find an artist who understands sketch style Resident Evil motifs without naming anyone?
A: Use discovery pathways like targeted hashtag searches, local tattoo shop directories, convention guest lists, and portfolio tags on community forums. Look for portfolios that show intentional-looking sketch work over several healed photos so you can judge how those lines age.
Q: Is the healing for inner bicep and thigh sketch work different?
A: Yes. Inner biceps can be more sensitive and prone to sweat and rubbing, so session-day clothing like a tank top helps. Thighs usually have lower friction from clothing and can handle denser hatchwork, but keep dot clusters spread out.
