
Fine line and sketch tendencies rule social feeds right now, but trends and longevity often pull in different directions. Sketch style half arm sleeves read lively when they keep airy linework and negative space, yet the same looseness can muddy under heavy sun or fast weight shifts. Below are 27 sleeve concepts that favor sketchy motion while giving you the consultation notes and wardrobe tips to make the piece last.
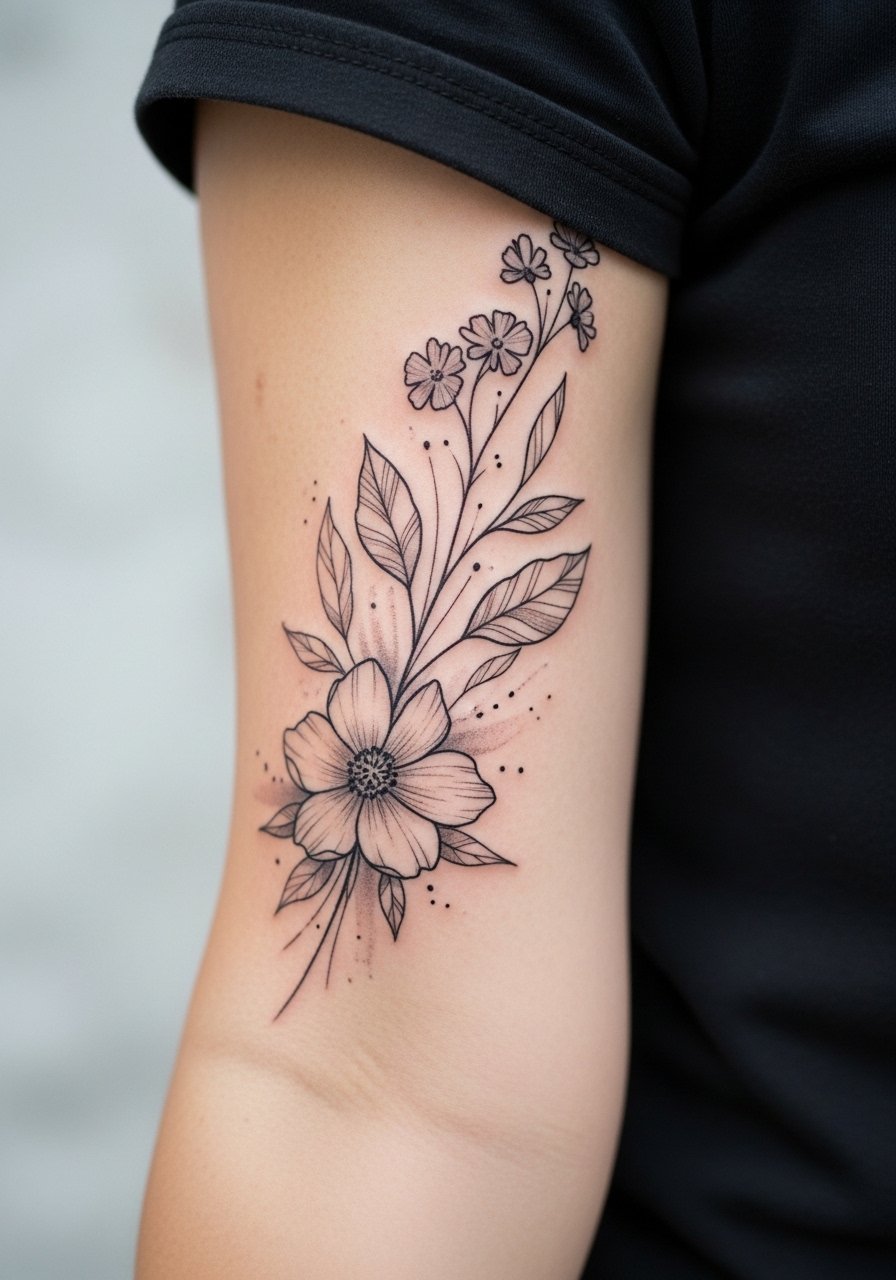
1. Loose Botanical Wrap on Upper Arm

I've seen this design age well when artists keep stems airy and avoid packing tiny leaves too close. Ask your artist for slightly varied line weight and open negative space so the foliage can breathe as the skin settles. Fair warning, the outer upper arm is low on blowout risk but will see sun, so expect slower fading there than on inner surfaces. For the session, wear a loose button-down shirt you can pull aside without stretching the area, and plan a single 2.5 to 4 hour sitting.
2. Sketchy Celestial Sleeve with Constellation Trails
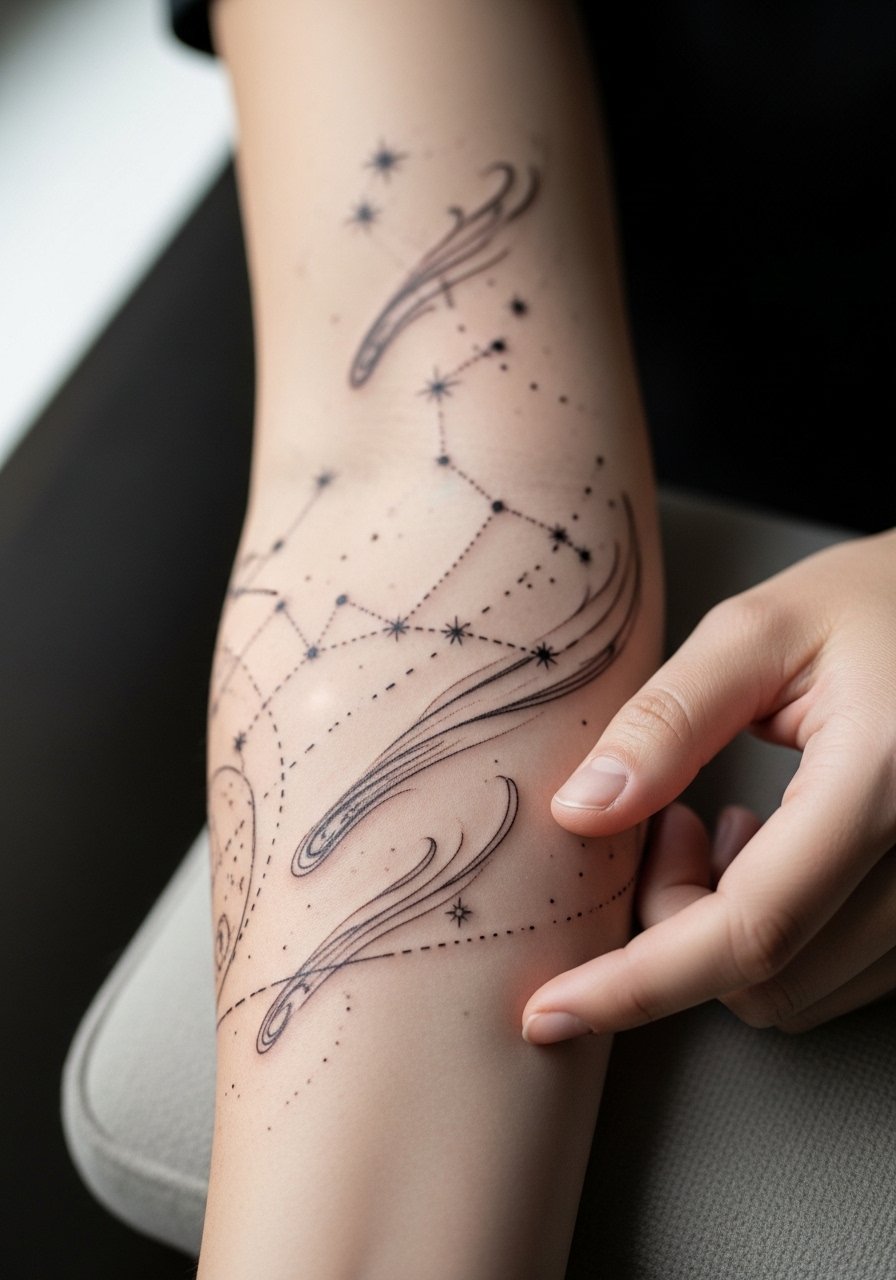
I've noticed celestial motifs read especially well in sketch style because the trails let the eye follow the arm. Mention to your artist that you want faint dot work between stars rather than dense shading so the piece keeps its airy feel at six months and two years. The inner forearm is moderate on pain with low blowout risk, but expect touch-ups on tiny dots around year three. Pair the look with rolled sleeves and a minimalist watch to show off the trail, and try a minimalist watch band that sits above the design.
3. Whip-Shaded Portrait Fragment with Sketch Lines
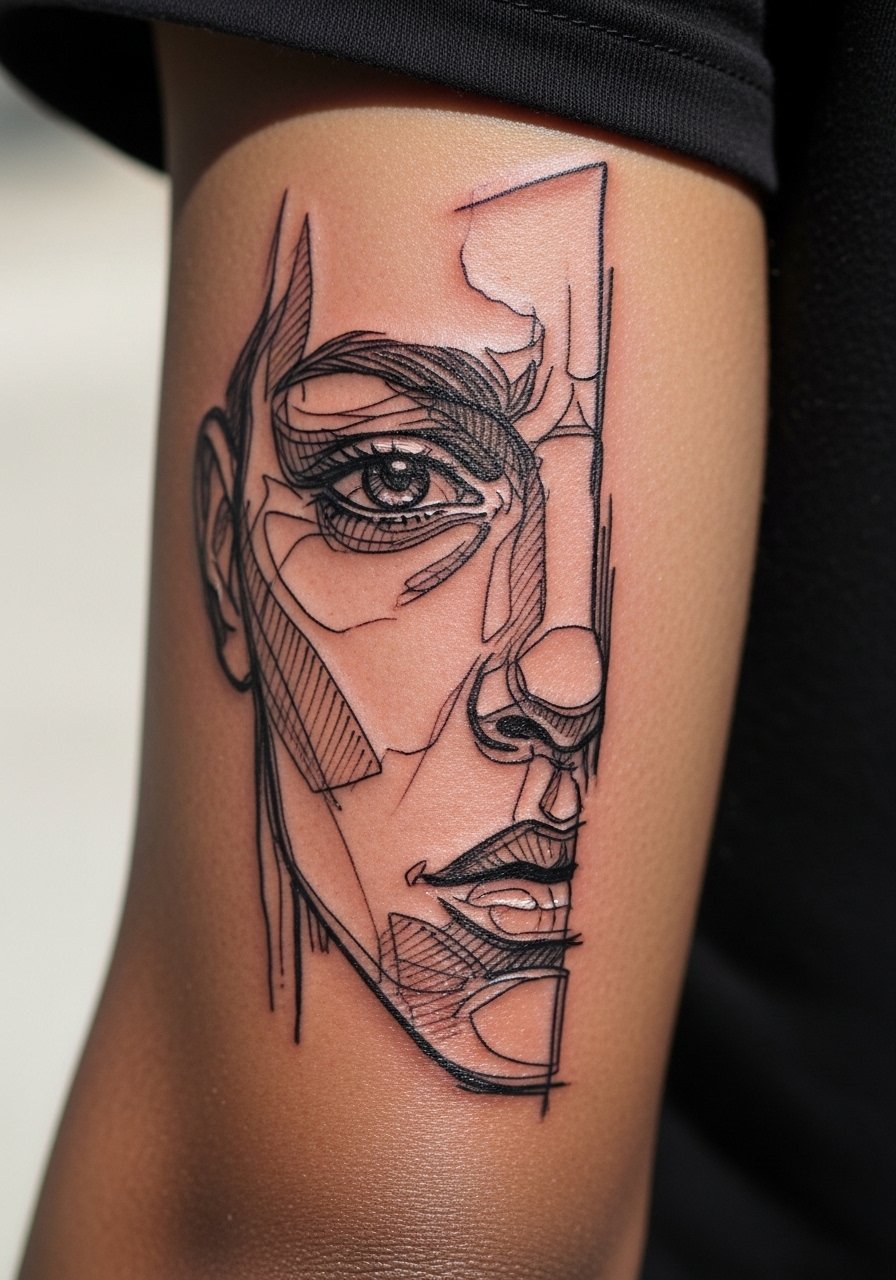
When a portrait leans sketchy, ask for reference photos of the exact facial angle and request whip shading instead of heavy graywash. The outer bicep is forgiving for saturation, but portraits depend on crisp linework that can soften with movement. A common mistake is packing too much tiny detail into a small area, which blurs into tone at year two. Plan for a longer session, often 4 to 6 hours, and bring up touch-up expectations in the consultation so you and the artist agree on long-term clarity.
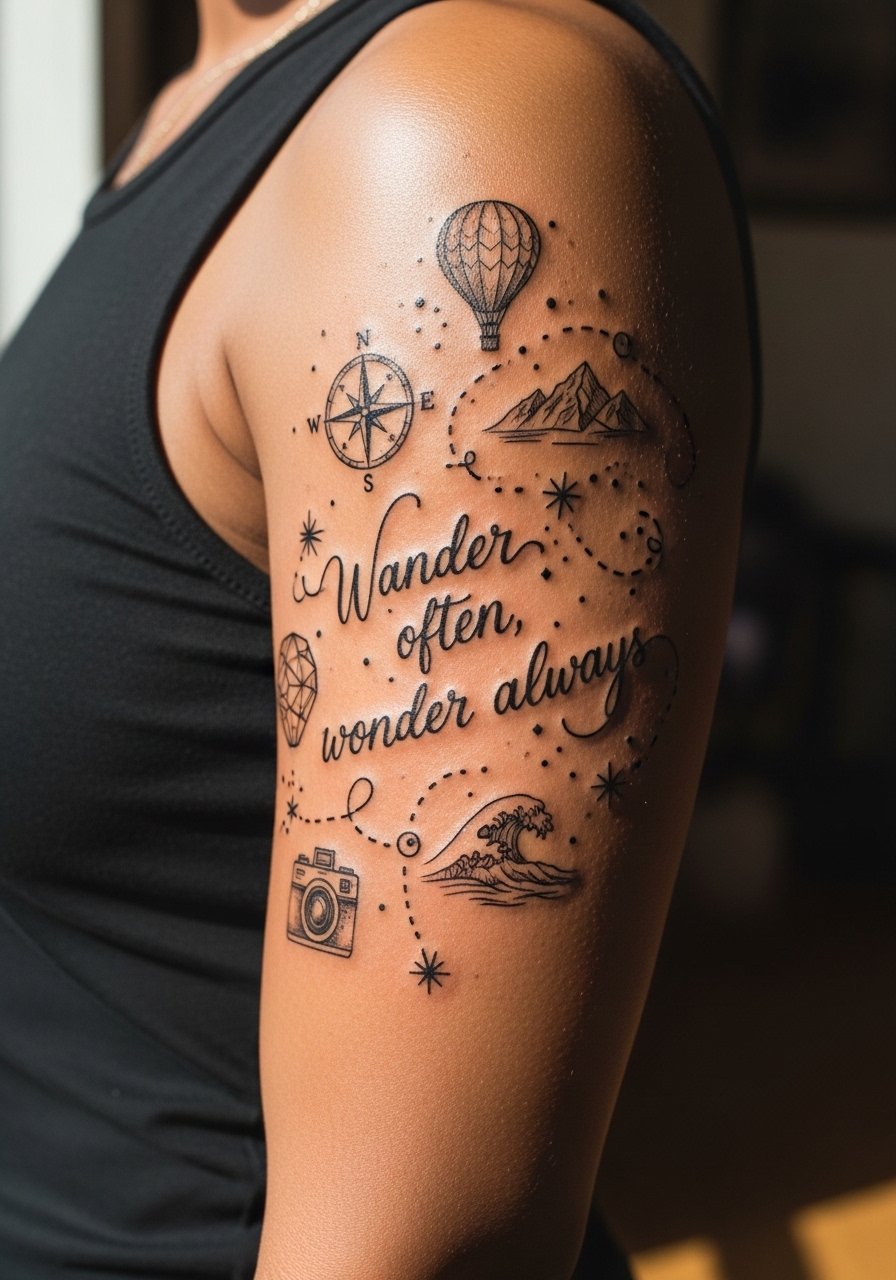
4. Flowing Script and Vine Combo Along the Arm
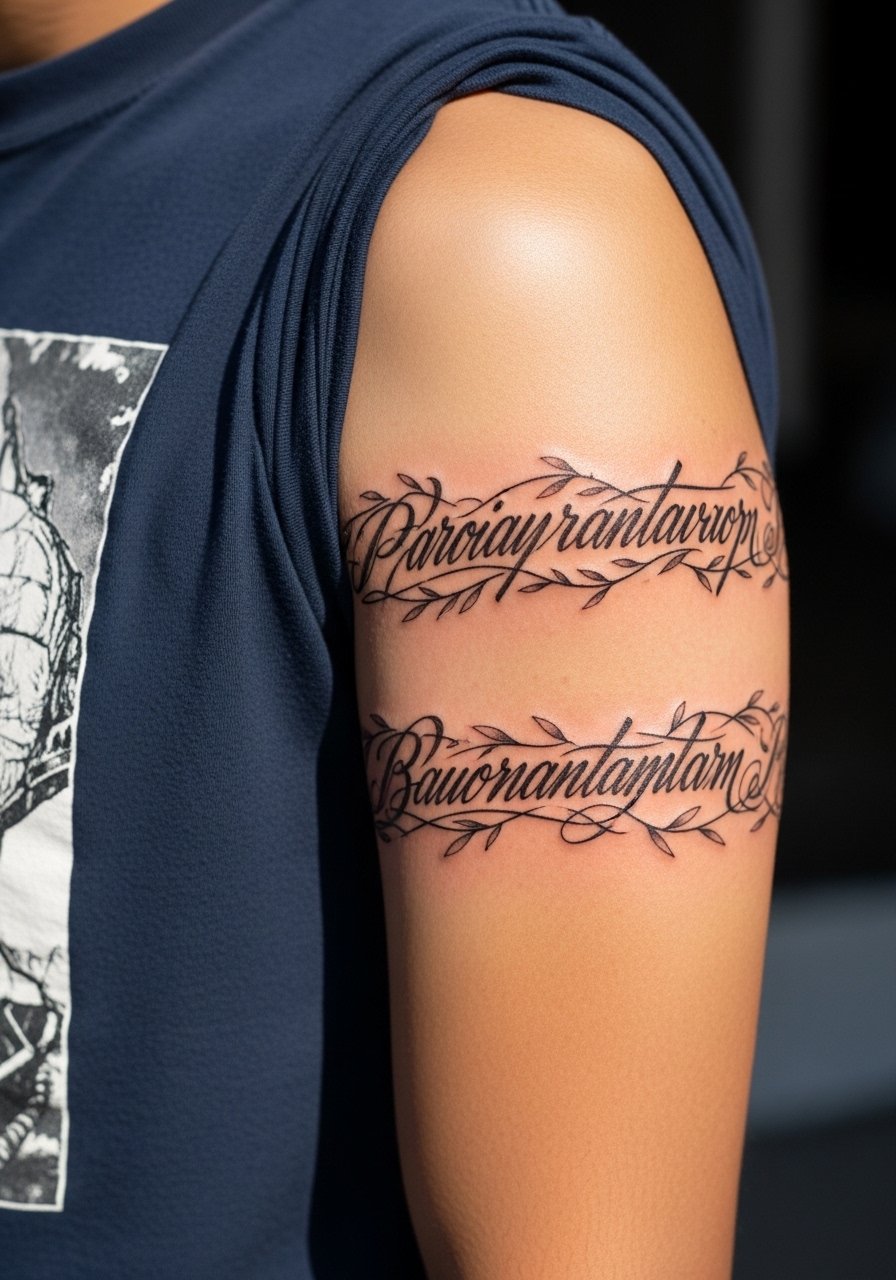
For script that feels handwritten, ask your artist to sketch the phrase freehand on skin before committing to a stencil. The biggest error is picking lettering too small for the arm's curvature. Expect the script to soften between six months and two years if the letters sit too close. Session time is usually fragmented into two sittings if you want crisp letters and surrounding flora. Show-off pairing: cuffed sleeves or rolled-up linen shirts frame the script without overshadowing the linework.
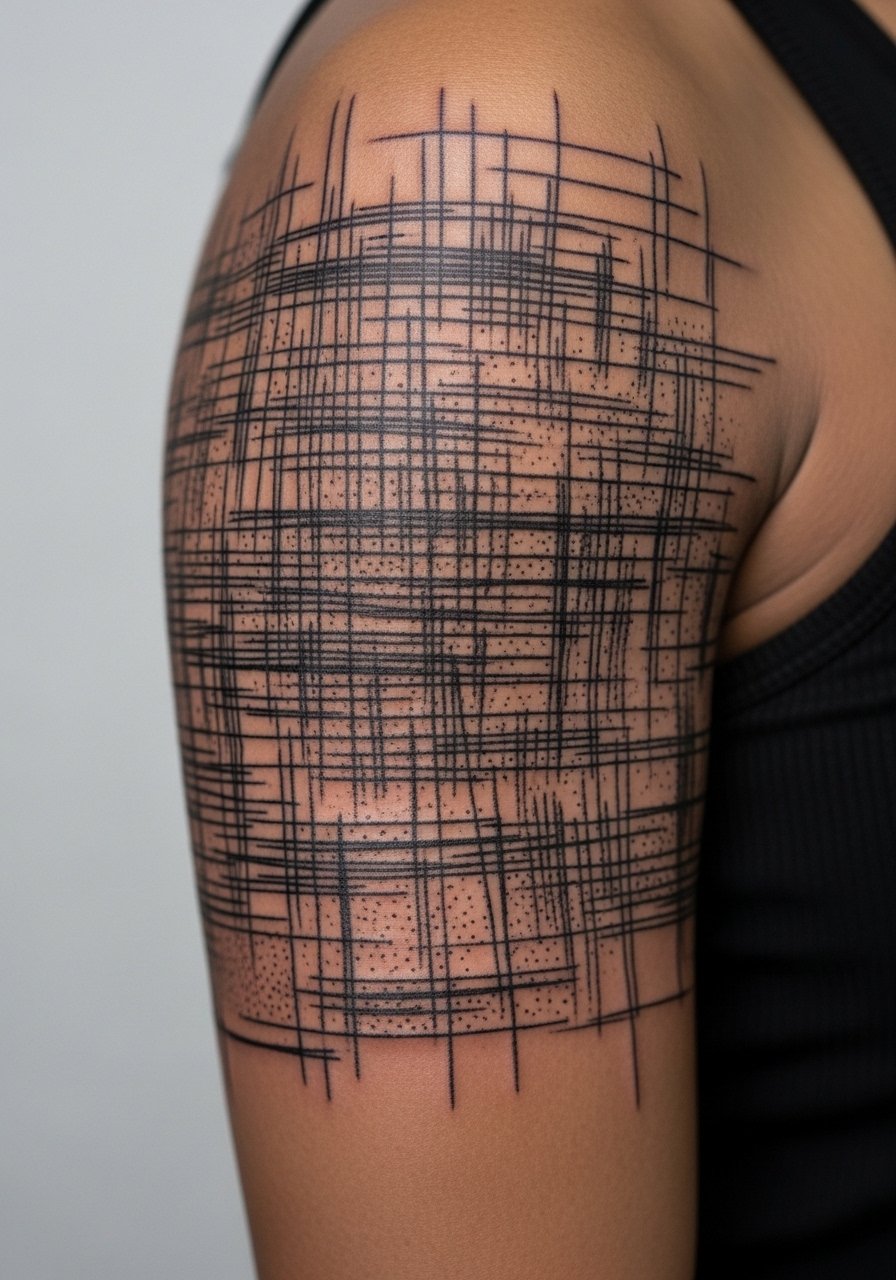
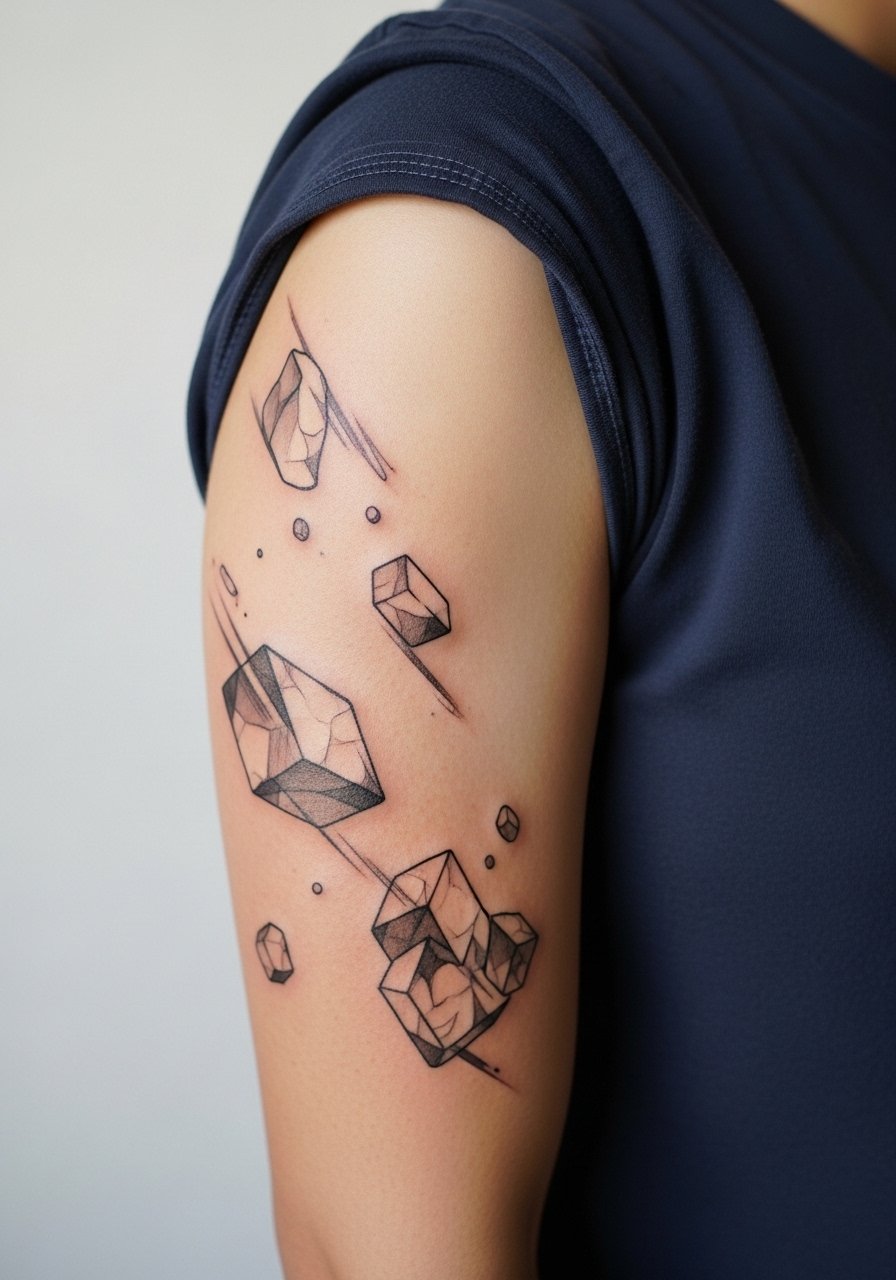
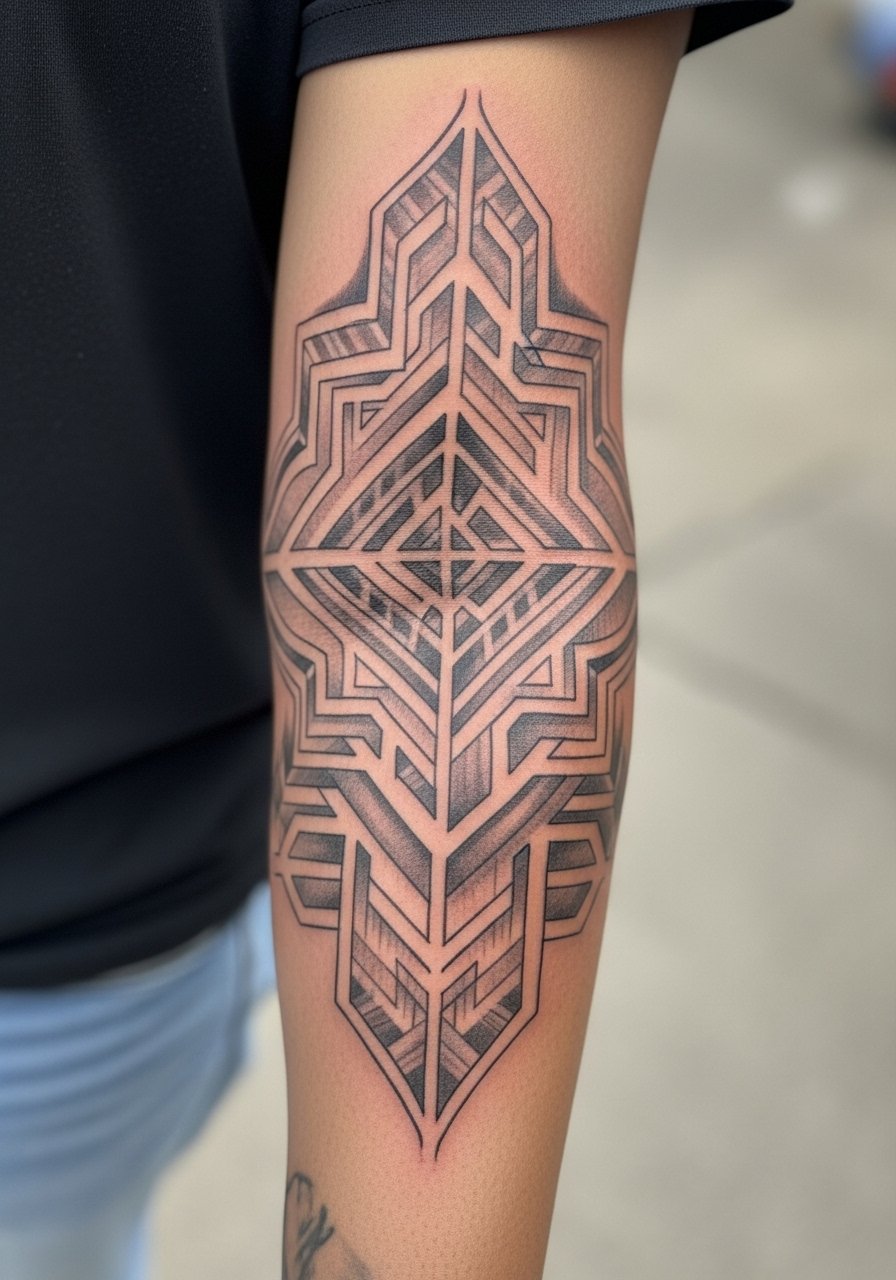
5. Architectural Linework with Negative Space
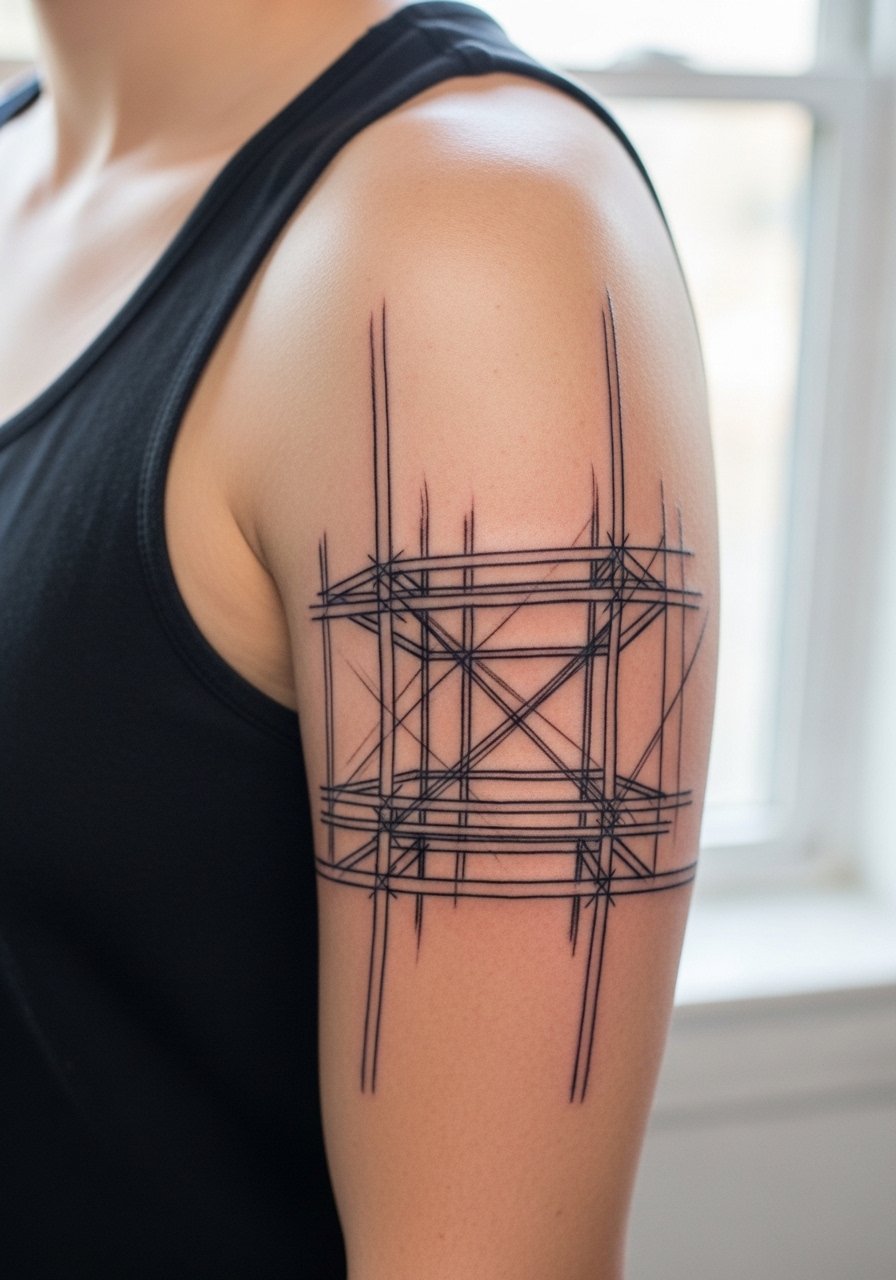
Architectural sleeves benefit from planned breaks in density so corners do not blend into a gray block as they age. Tell your artist you want clear nodal spaces between shapes and to avoid micro hatching in high-density zones. Pain is low to moderate and sessions typically run 3 to 5 hours. A common mistake is asking for ultra-fine geometry at a small size. For the session, wear a racerback tank so the shoulder and upper arm are easy to access and you stay comfortable.
6. Loose Animal Sketch with Motion Lines
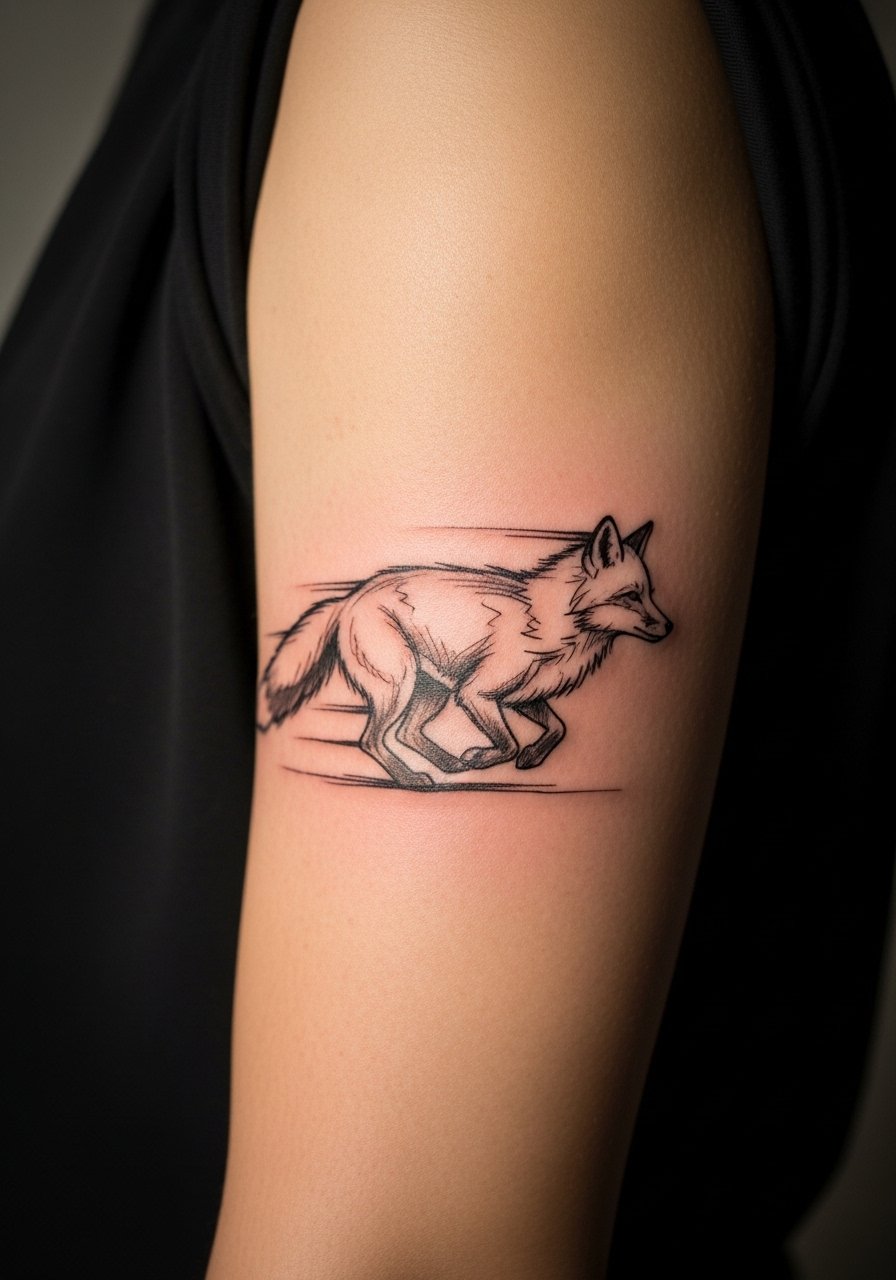
I often recommend this one for people who want movement without heavy fill. Ask the artist to prioritize kinetic strokes over dense shading so the animal keeps motion as the skin moves. The outer arm is a friendly place for longer lines, but avoid tiny internal details that smudge into texture at five years. Session time typically 3 hours for line and a follow-up for any shading. Wear a loose button-down shirt you can pull aside during the session.
Studio Day Picks
These six sleeve starts live in different friction and sun zones, so a few targeted items smooth the session and the first week.
-
Stencil transfer paper kit. Lets you preview how long linework and negative space will sit on the curved arm before the needle hits skin, which matters for architectural and script pieces.
-
Topical numbing cream. Useful for tight inner-arm spots when a long session would otherwise be disruptive to breathing and movement.
-
Thin protective film roll. Keeps forearm and wrist tattoos cleaner during the first days of showers and wrist motion.
-
Fragrance-free gentle body wash. Cleans healing lines without stripping the tiny needle channels that fine line work depends on.
-
Aquaphor healing ointment. A thin layer in the first 48 hours helps keep delicate linework moist without clogging pores, especially on sleeves with lots of thin strokes.
7. Abstract Scribble Sleeve with Layered Lines
Personal observation: abstract scribble sleeves read best when the artist treats line placement like composition rather than random marks. In consultation, show a few reference scribbles and note which sections you want dense versus airy. Expect a 3 to 5 hour session and light touch-ups at year three if lines wander. A common issue is asking for too many intersecting tiny marks. For evenings out, pair this sleeve with short-sleeve tees and a thin chain bracelet that sits just above the design without crowding it.
8. Botanical Sketch with Negative Wash Accents
When artists add a negative wash, ask for it to be sparse and high on contrast. The negative washes can help the linework pop at six months, but heavy washes near the elbow can soften into a muddy tone by year five. This placement is low pain and typically a 3-hour sitting with a follow-up. During the session, wear a loose drawstring linen pant if the studio is cool, so you stay relaxed and still.
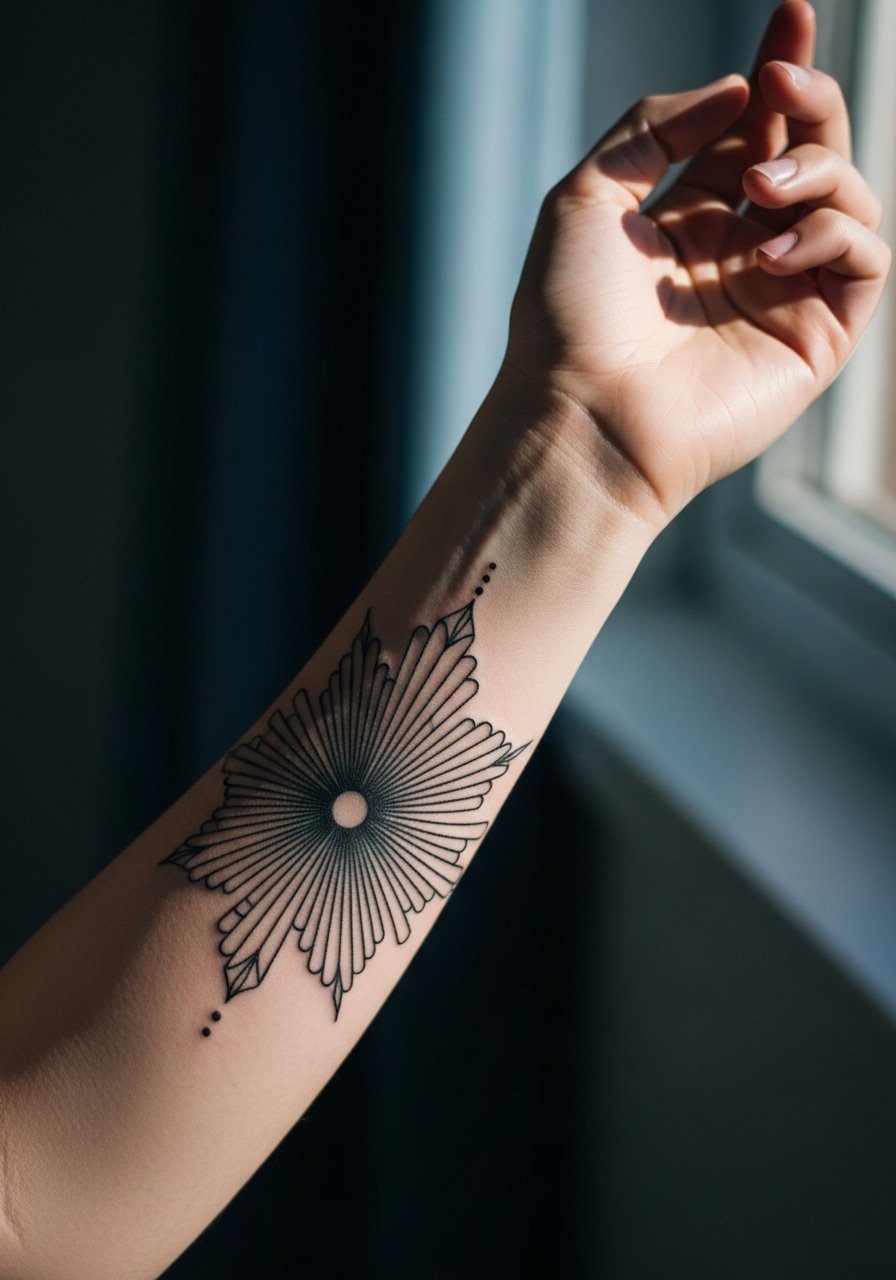
9. Layered Mandala Fragment with Sketch Borders
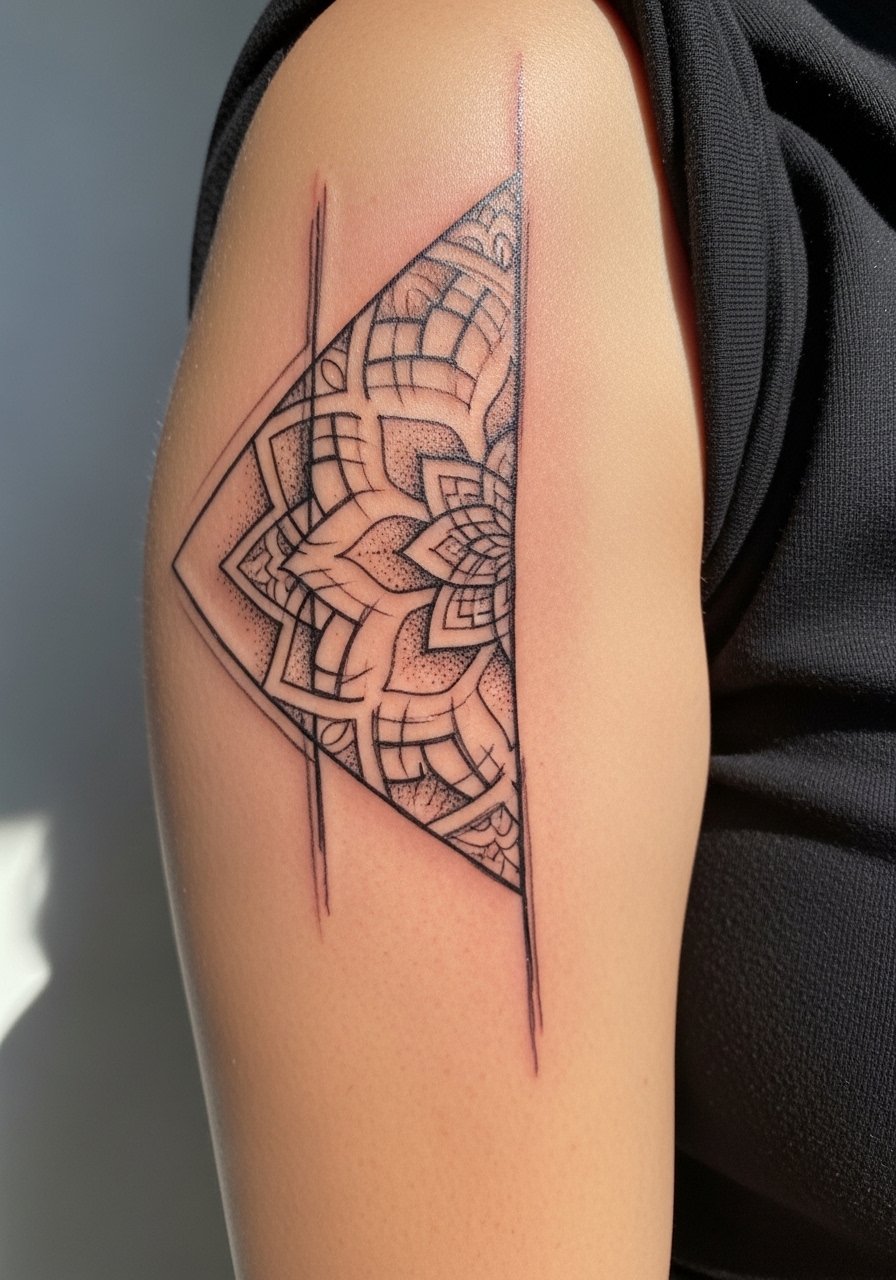
Most people assume mandalas need tight repetition to read well, but sketch-style fragments hold up better when spaced and with stipple shading for texture. Tell the artist you want larger gaps between petals and stippling that adds depth without dense fill. Expect a 3 to 4 hour session and plan a touch-up if any fine dots fade. Pair this with a thin chain pendant necklace if the design peeks toward the shoulder for balanced layering.
10. Blueprint Sleeve with Architectural Notes

Consultation lead: bring photos of the exact motifs you want translated into sketch blueprint language and ask the artist to sketch directly on skin. The upper arm tolerates crisp architecture but small numerals or tiny ticks can blur after a few years. Sessions are often split into two sittings to preserve line precision. A realistic mistake is wanting ultra-tiny text in a busy area. For long-term clarity, ask about spacing and planned touch-ups during booking.
11. Mythic Creature in Quick-Stroke Style
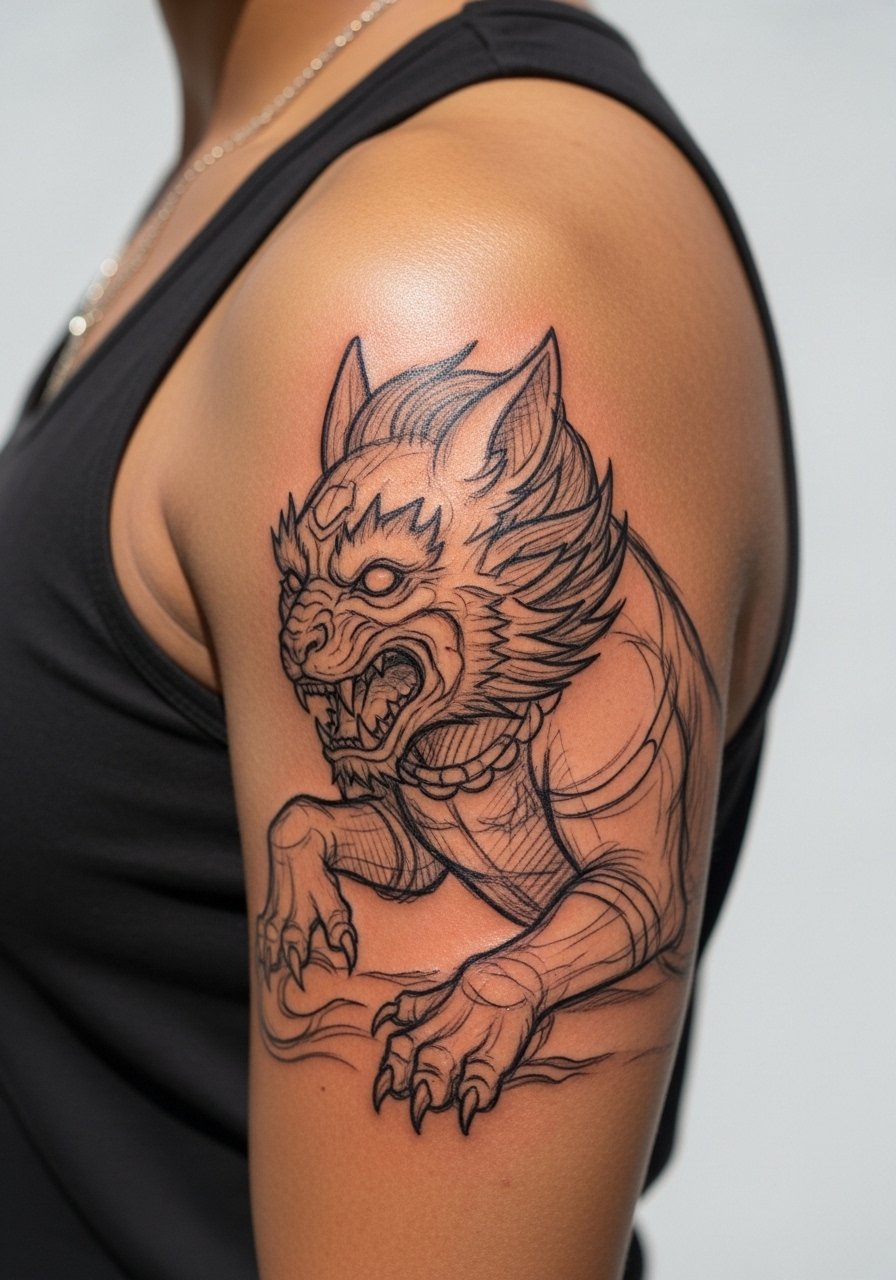
Visual impact lead: sketch strokes that suggest fur or scales keep a sleeve readable without heavy fill. Tell the artist the exact pose you want and note which limbs can be simplified. Shoulder and upper bicep sessions are moderate in pain and usually 3 to 4 hours. Avoid packing tiny texture into shadow zones because it becomes visual noise with time. Show-off pairing: sleeveless tops or a loose tank top let the creature's motion show fully.
12. Scripted Coordinates with Sketch Mapping
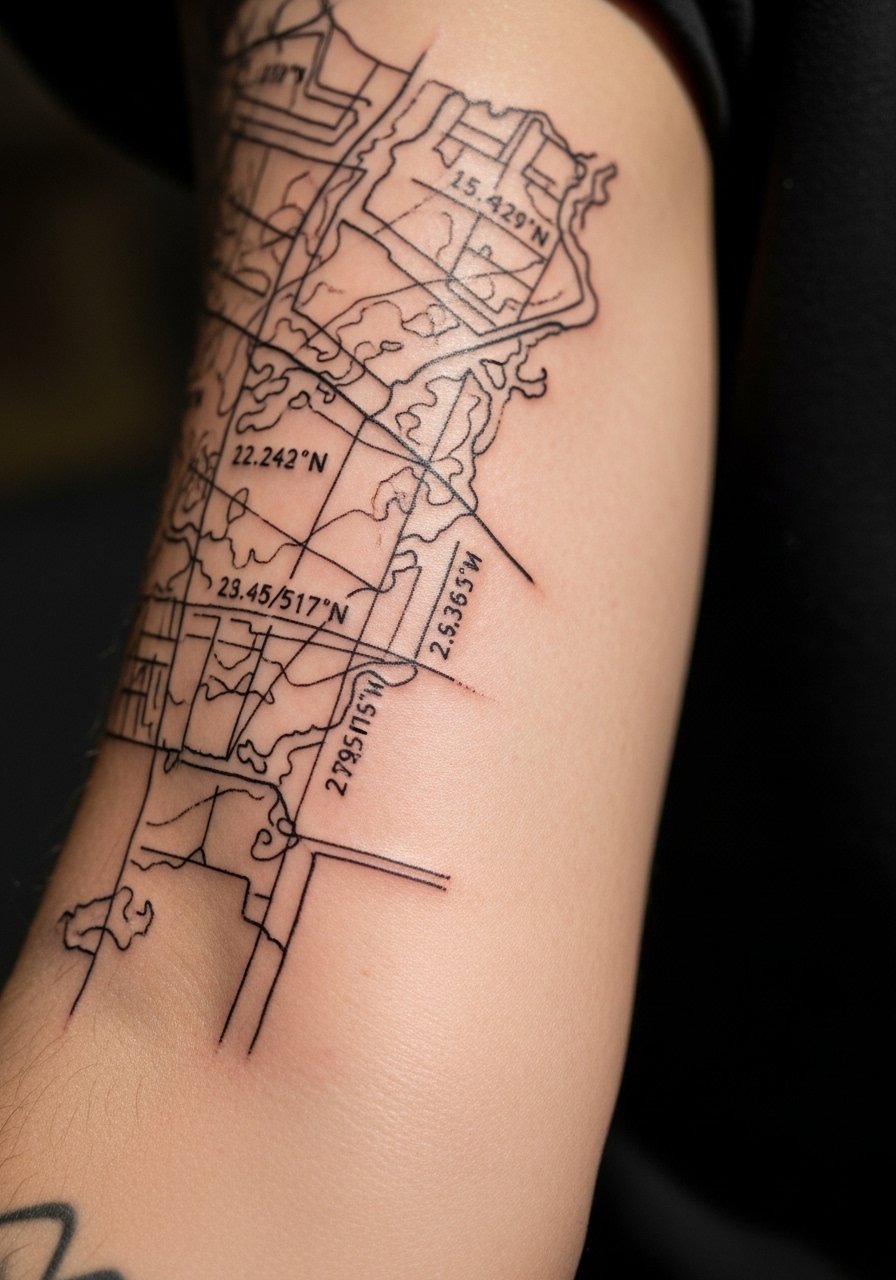
Consultation tip: specify the exact coordinates in plain text to ensure the layout prints correctly. When map lines run around curves, ask for slightly larger spacing so the path reads at arm movement over time. The outer forearm is low on blowout risk, but tiny digits need space to remain legible. Sessions usually run 2 to 3 hours. Wear a minimalist watch band below the coordinates so the piece stands out without competition.
13. Painterly Sketch with Sparse Color Wash
Aging lead: light color washes can be beautiful at first and then lighten faster than black linework. Request a muted palette and have the artist limit color to accents so the black sketch remains the anchor. People who pick broad washes often come back for a color boost at year two or three. Sessions typically split into outline then color. For evening looks, a open-back midi dress works when the sleeve peeks toward the shoulder.
14. Collage Sleeve of Small Sketch Panels
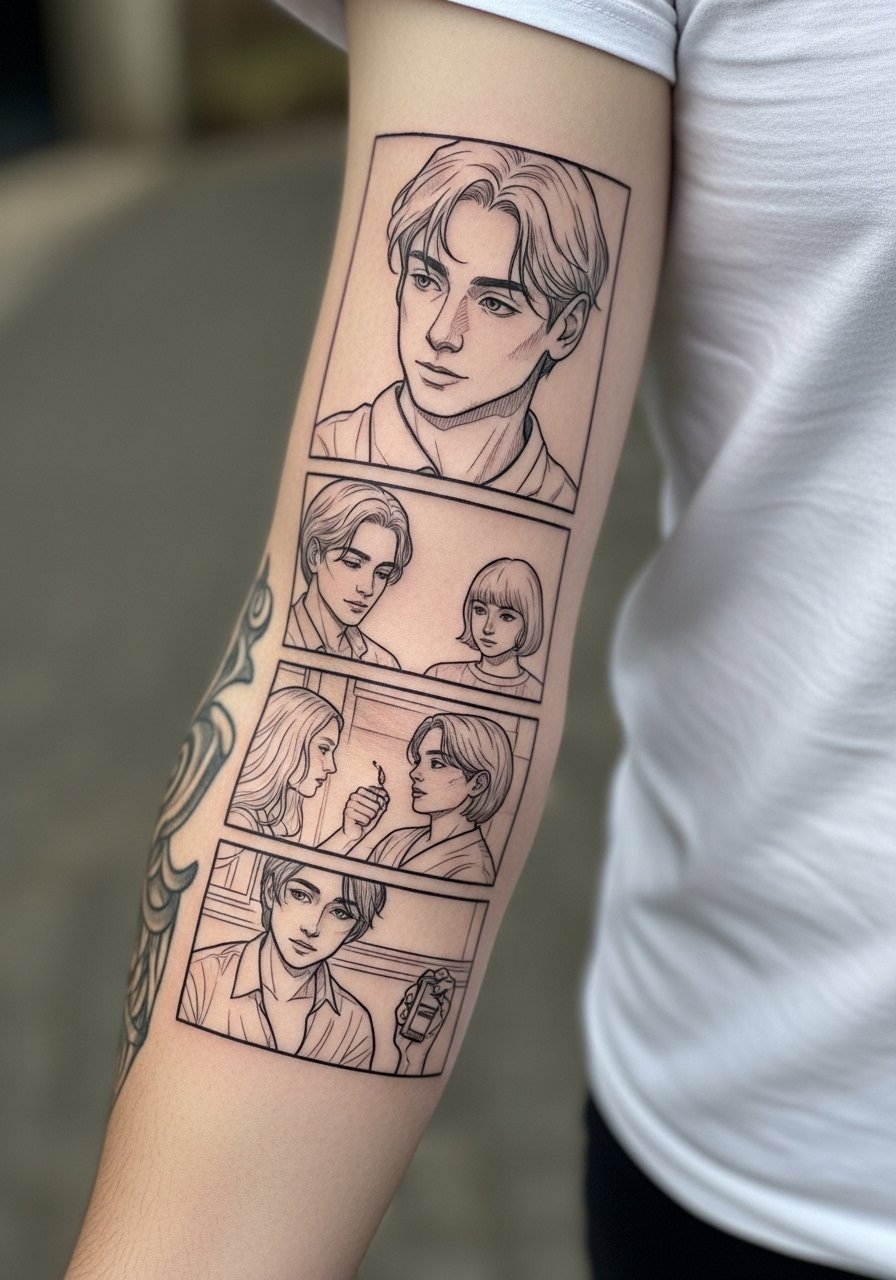
Mistake lead: the biggest error is letting panels sit too close. Panels need breathing room or they blend into a single texture over time. Ask your artist to plan negative space between each vignette and to keep internal details slightly larger than what looks tiny on screen. Session time varies but expect multiple shorter sittings to keep the layout cohesive. Pair with rolled sleeves and a thin chain bracelet when you want to reveal a single panel.
15. Bold Sketch Lines with Sparse Dot Shading

Visual impact lead: use stronger individual strokes for main contours and micro-dot work for shadow rather than continuous gray. The outer upper arm handles bolder strokes well and they age into a defined silhouette. Expect 3-hour sessions and one touch-up depending on how the dot work settles. A common mistake is overdoing dot density. For the session, wear a loose button-down shirt for easy access and comfort.
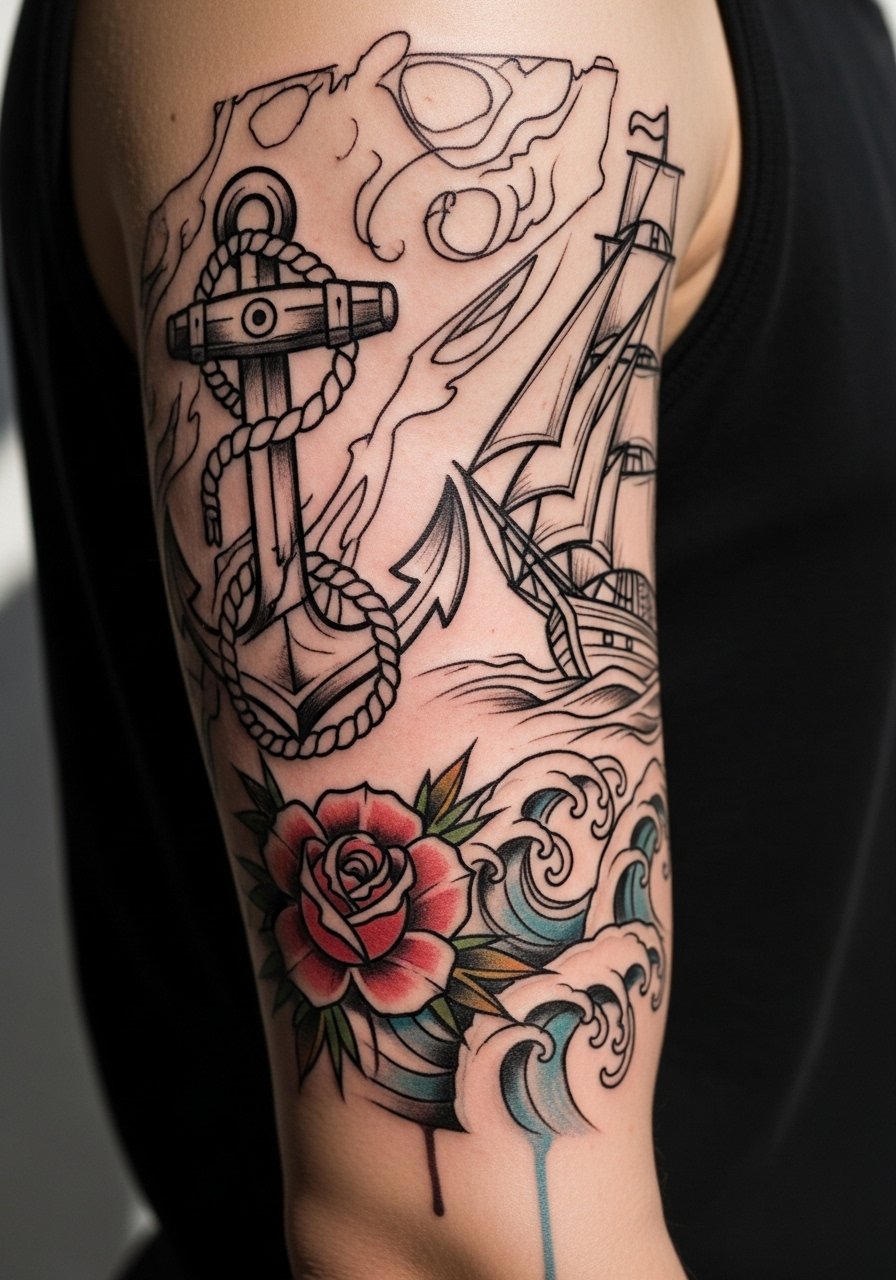
16. Nautical Sketch with Compass and Lines
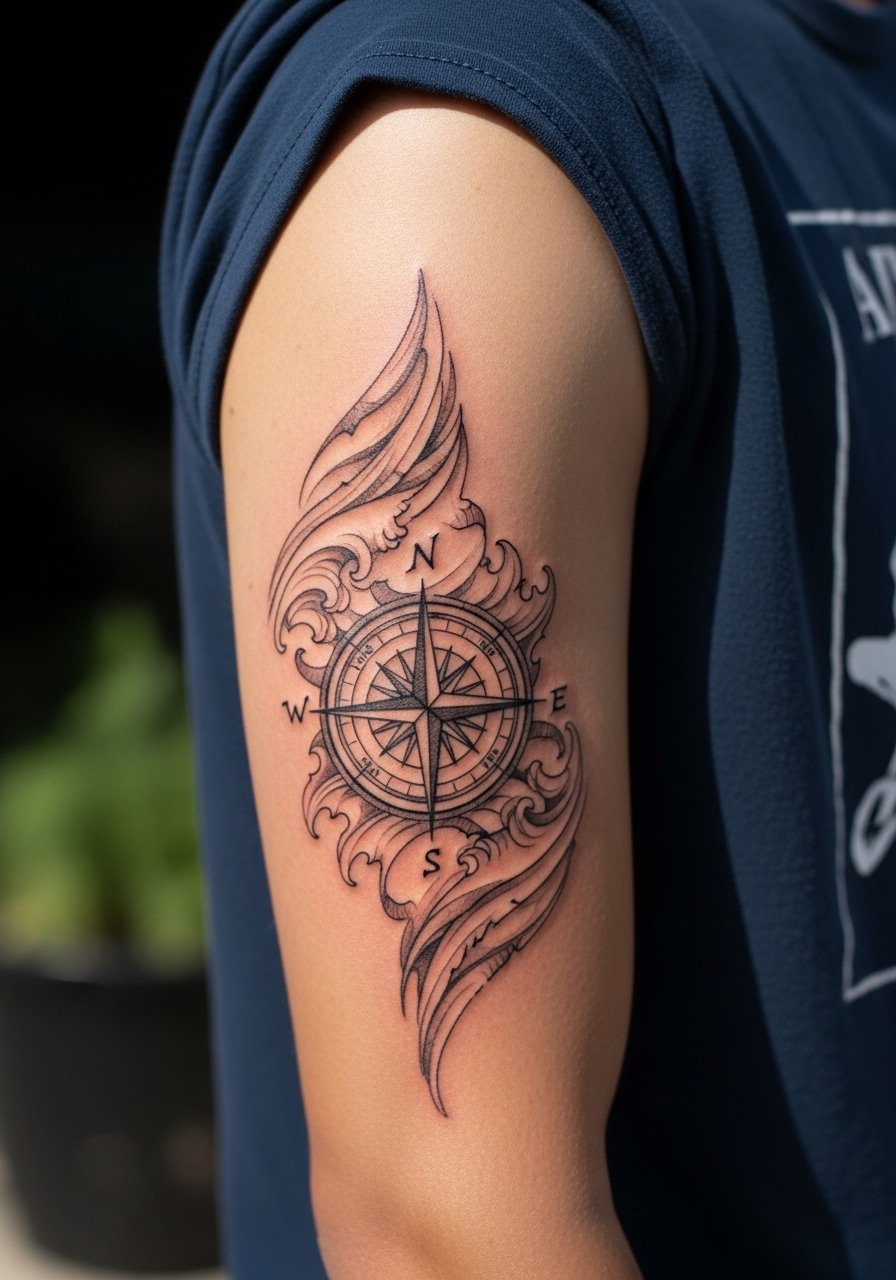
Consultation lead: small compass points tend to blur, so ask for slightly larger cardinal markers and open spacing around the compass face. The outer arm has low friction but gets sun exposure, so sunscreen will matter later. Sessions usually run 2 to 4 hours depending on line detail. Pair this with rolled sleeves or a striped cotton tee for classic nautical vibes.
17. Sketch-Style Map Fragment with Route Lines
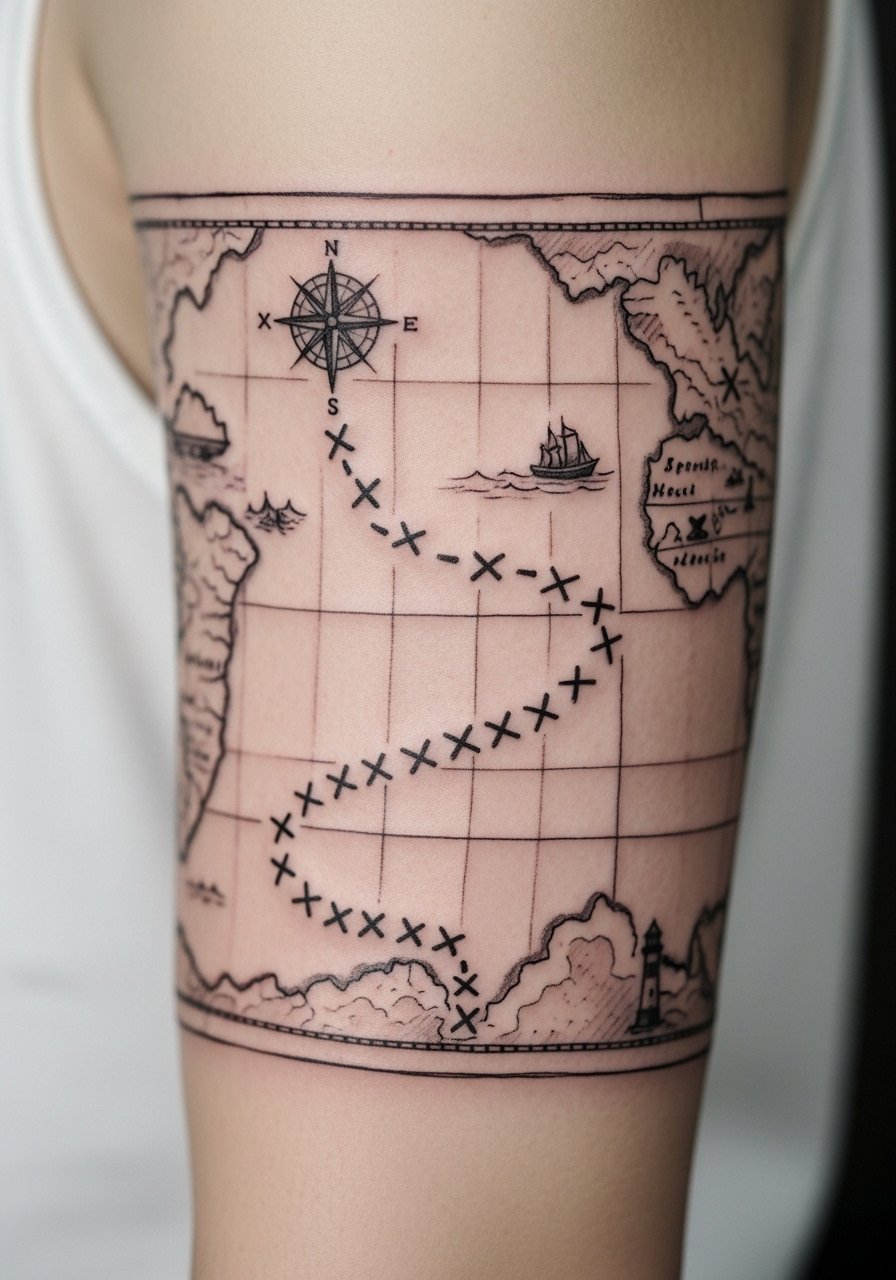
When the sleeve includes route lines, have the artist map them directly on skin so curves flow with muscle. Tiny icons need to be scaled up slightly to remain readable at two years. Sessions often span multiple sittings. A practical mistake is insisting on micro-icons that vanish into texture. For an outfit that reveals the route, choose sleeves that lift easily and a rolled-up linen shirt for casual showing.
18. Sketchy Floral with Stipple Depth
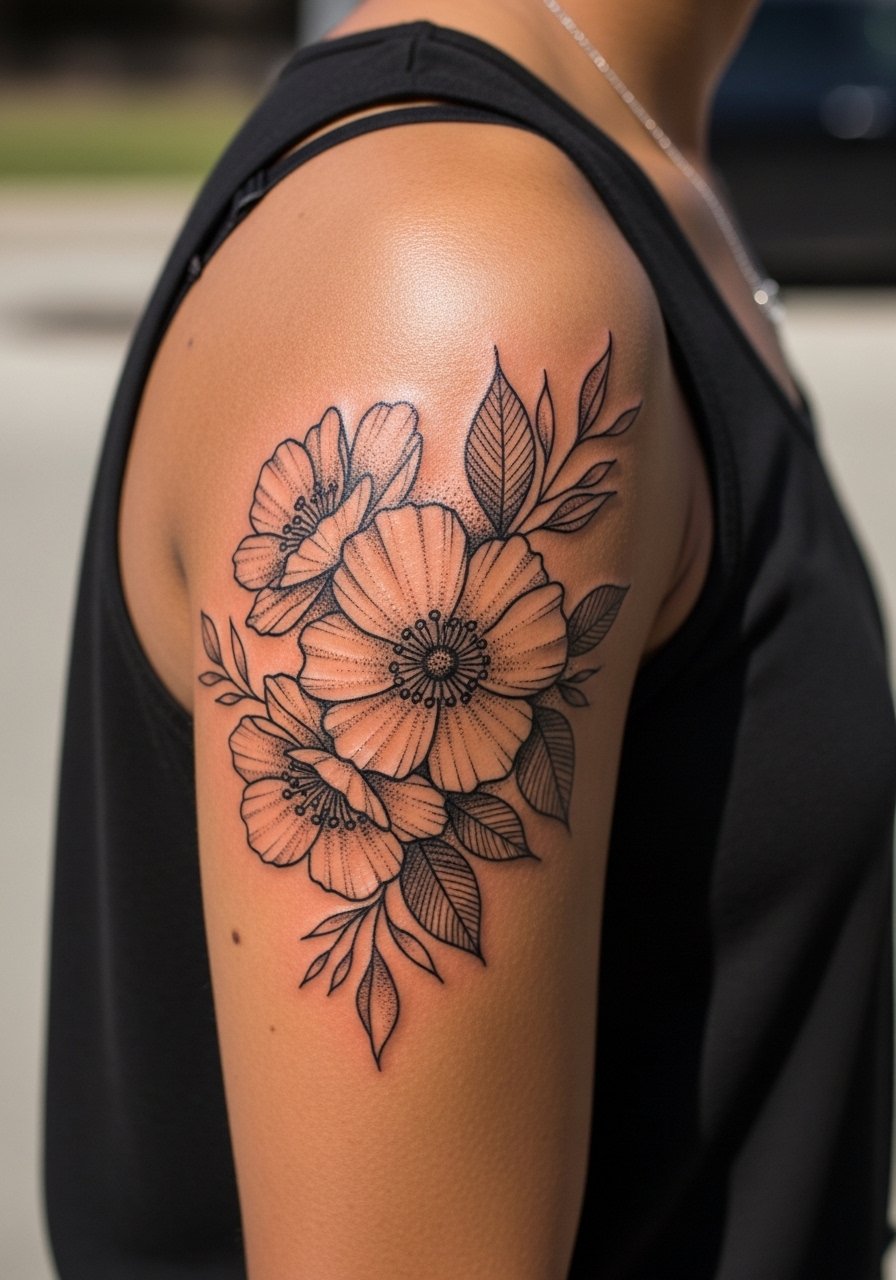
Personal observation: stippling builds texture without the heaviness of solid gray. Tell your artist you want stipple concentrated in shadow wells and light linework elsewhere. The inner parts of petals can soften by year three if stippling is too dense. Sessions usually require two appointments to balance line and texture. Show-off pairing: a thin chain pendant necklace keeps attention near the shoulder when the sleeve connects up top.
19. Sketch-Style Mechanical Sleeve with Open Gaps
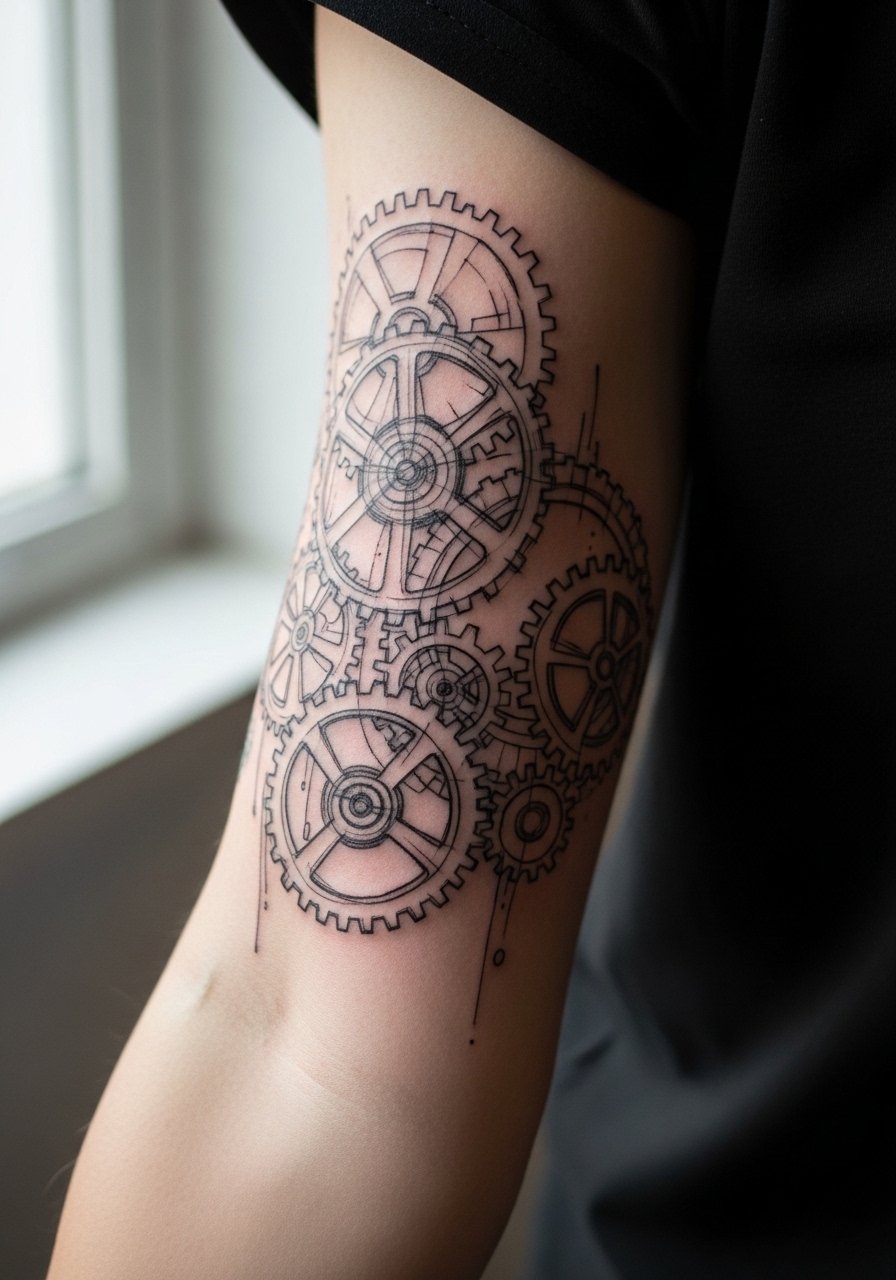
Mistake lead: overly tight gear teeth can merge into a single gray mass over time. Request larger inter-tooth spacing and let some gears be suggested rather than fully rendered. The outer arm absorbs bold linework well and usually needs a single long sitting. For a clean session, wear a loose button-down shirt you can move aside without tugging.
20. Surreal Sketch Collage with Floating Forms
Visual impact lead: surreal elements work best when each floating form has its own spacing so they do not cluster later. Ask for distinct anchor points that read separately when your arm moves. Sessions vary but expect split sittings to layer outlines and light shading. A common mistake is cramming many small surreal bits into a narrow band. For highlighting, lift sleeves and wear a thin chain bracelet that does not cross the tattoo.
21. Continuous Line Portrait Sleeve
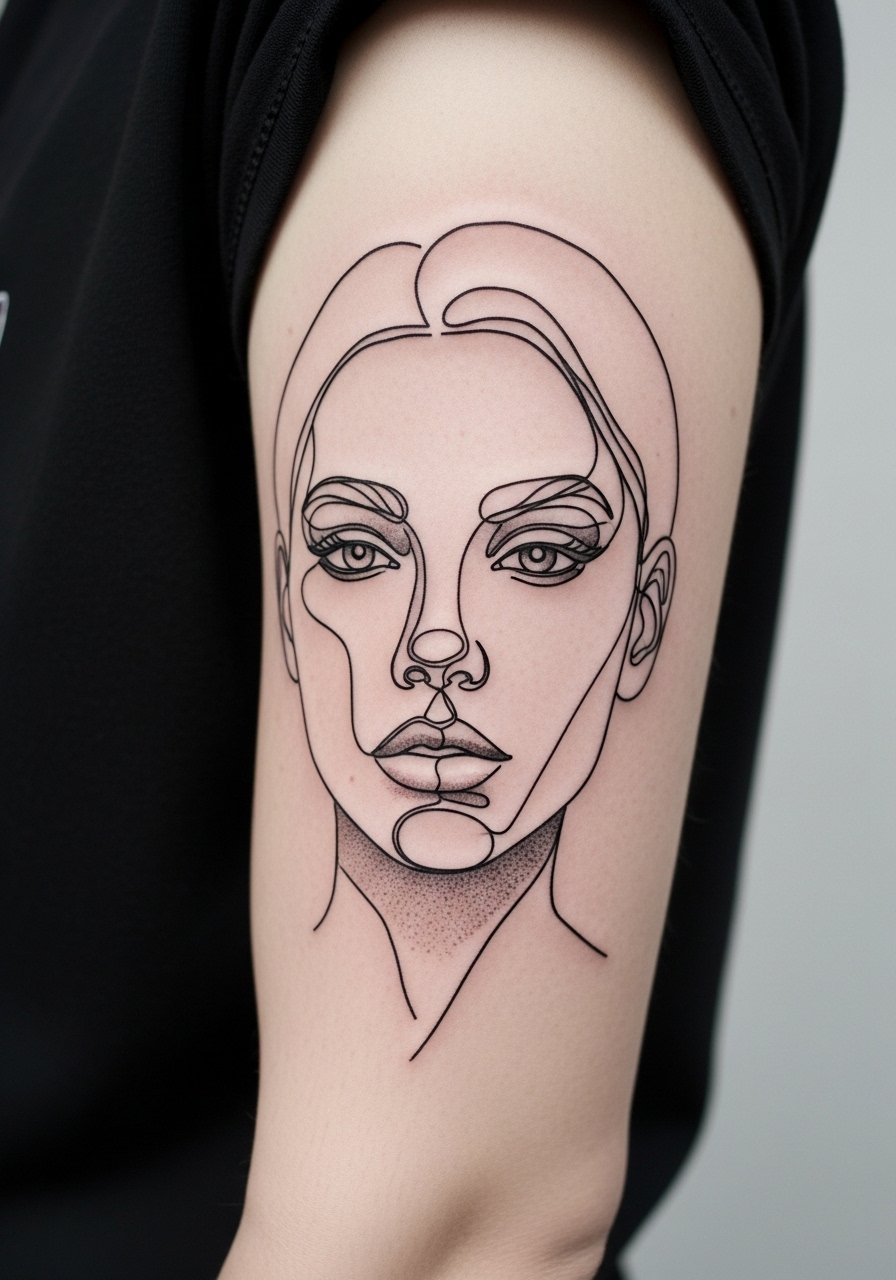
Consultation lead: continuous line portraits need confident execution; ask the artist to practice the single line on tracing paper first. The simplicity helps longevity because there is less micro detail to blur. Sessions are typically 2 to 3 hours. A real mistake is adding small filler marks that undermine the continuous aesthetic. Pair with rolled sleeves and a minimalist watch band so the portrait reads without clutter.
22. Scripted Phrase Wrapped with Small Sketch Icons
Mistake lead: wrapping long phrases too tightly is a common request that ages poorly. Keep letters roomy and icons slightly enlarged so they remain legible at two and five years. The outer arm is forgiving, but plan for touch-ups if you want the script to stay crisp. Sessions often broken into two parts. For showing it off, cuffed sleeves or a rolled-up linen shirt work well.
23. Mythical Landscape in Sketch Layers
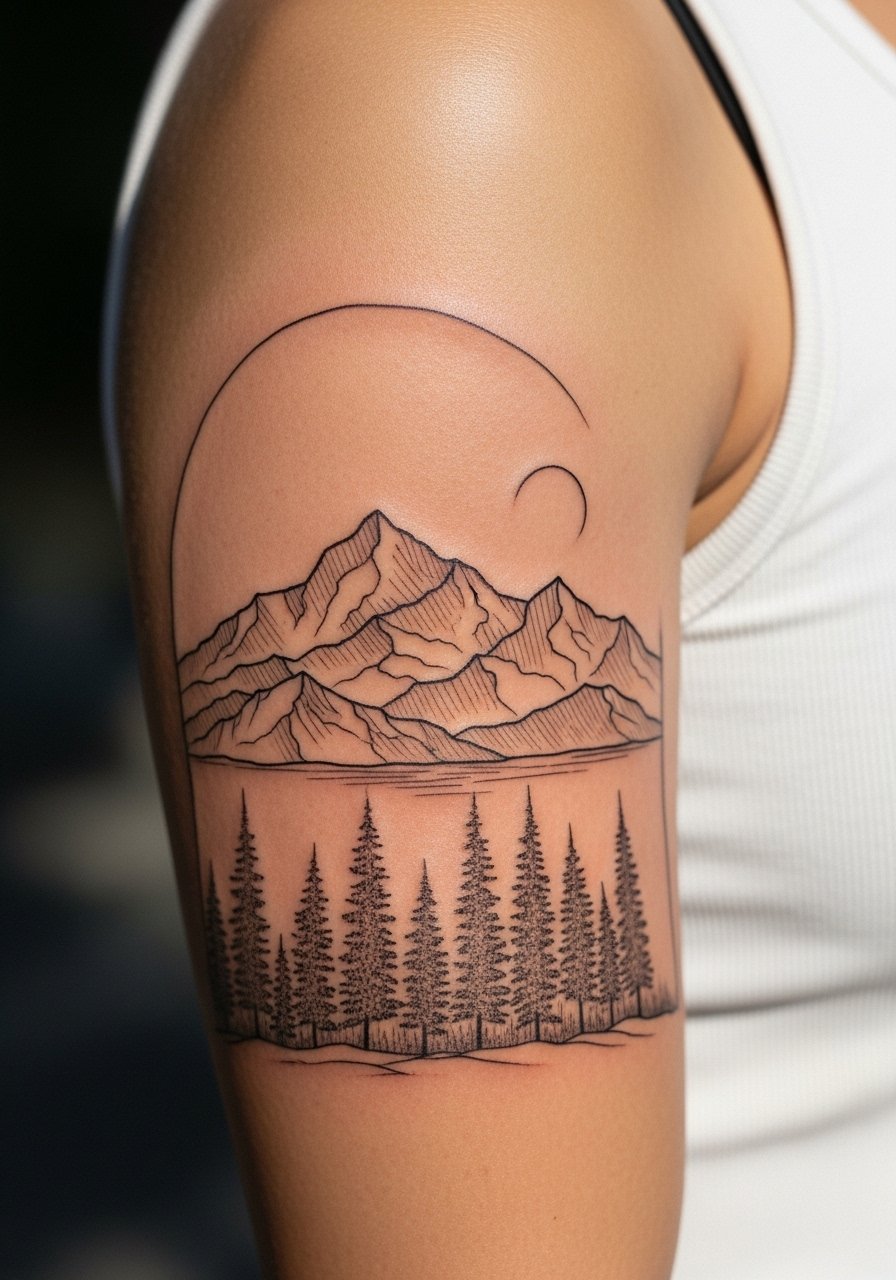
Aging lead: layered landscapes need clear spatial breaks so distant marks do not collapse into a single plane. Ask for light mid-ground stippling and heavier foreground strokes. Sessions will be longer to lay in each plane with clarity. A typical mistake is adding too many distant details that vanish quickly. For the session, wear a loose button-down shirt so the artist has easy access and you stay comfortable.
24. Tattoo-Flash-Inspired Sketch Sleeve
Styling lead: flash-inspired sketch sleeves are approachable because each motif is readable on its own. Tell the artist which flash elements you want scaled up so they survive time. Sessions vary by motif count but expect several shorter appointments. For an outfit that pairs, choose short-sleeve cutoffs or a striped cotton tee that nods to traditional styling without competing.
25. Geometry Meets Freehand Sketch
Consultation lead: balancing geometry and freehand needs careful spacing so triangles and circles do not merge into blobs. Ask for intentional open spaces between shapes and for the artist to map where muscle movement will touch edges. Sessions often split to maintain crisp geometry near joints. A typical mistake is insisting on ultra-fine geometry at very small scales. For showing, wear a loose tank top to reveal the contrast.
26. Sketch-Style Wildlife Montage with Motion Arcs
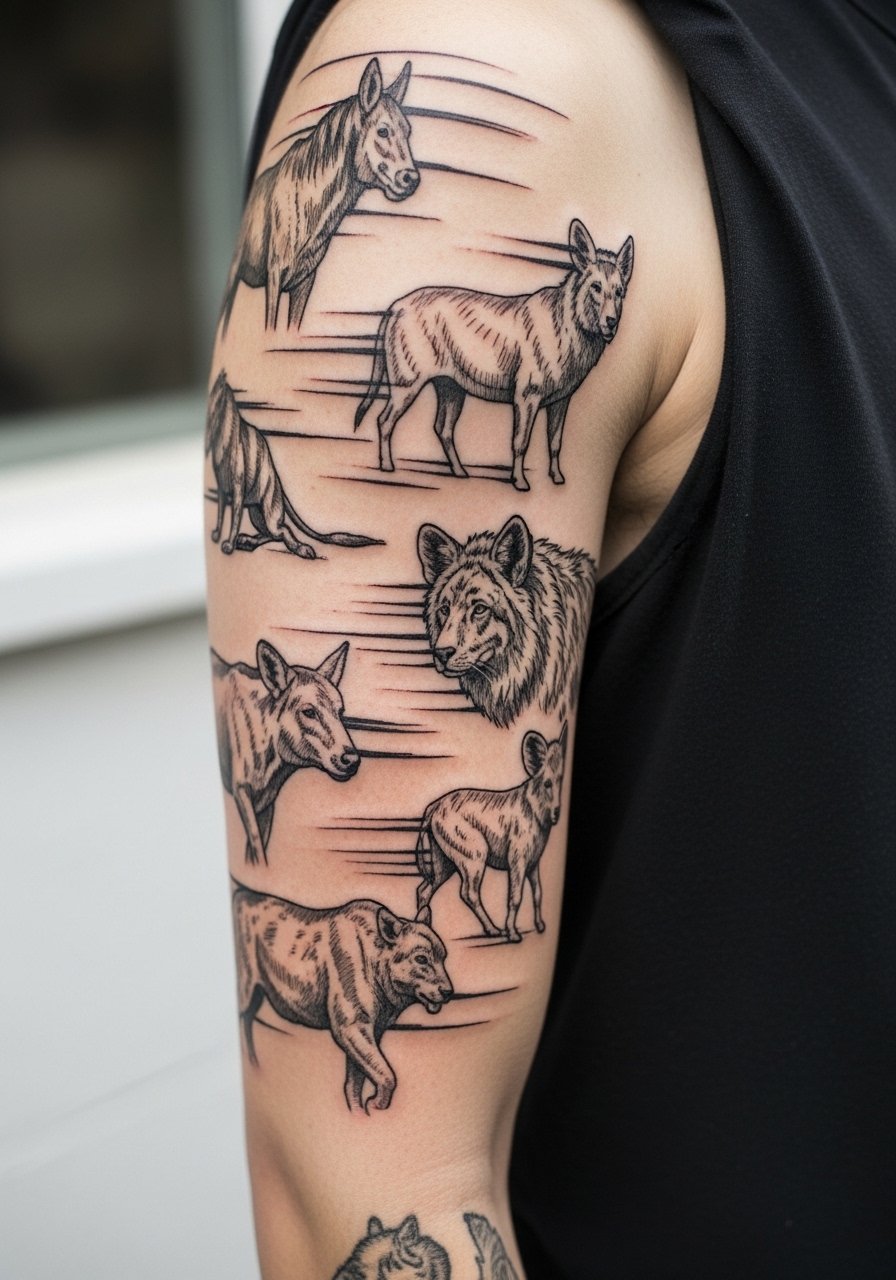
Personal observation: montages that suggest movement with arcs and repeated contours feel alive without heavy fill. Tell your artist which species to render in silhouette and which to suggest with strokes. Expect multi-hour sessions and occasional touch-ups where arcs cross high-movement zones. Avoid over-detailing faces that will blur into texture. For the session, wear a loose button-down shirt you can move aside easily.
27. Negative Space Portrait with Sketch Frame
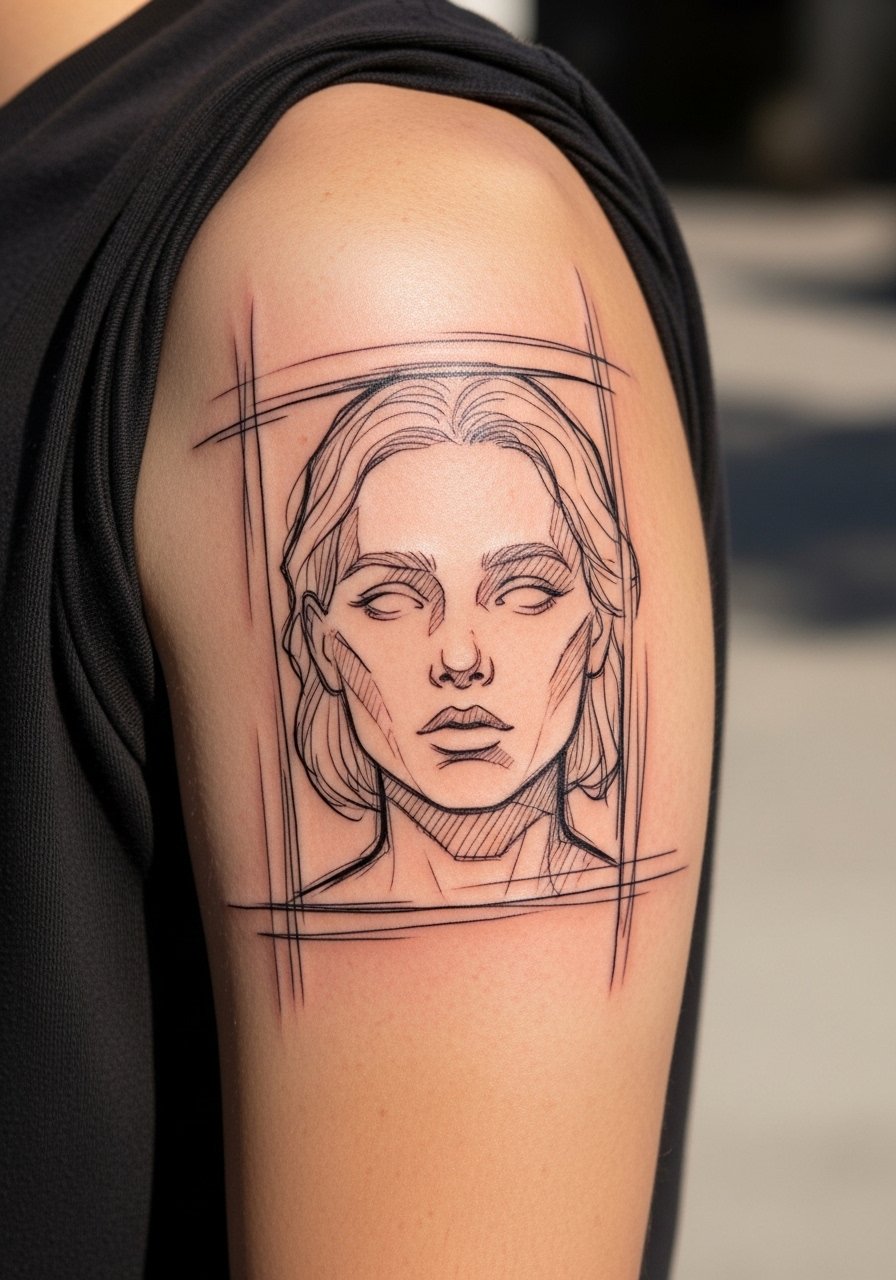
Aging/healing lead: negative space portraits rely on surrounding line clarity rather than interior shading, so the artist must plan the frame precisely. The upper arm is supportive of this approach, but thin framing lines can soften at five years if placed too closely. Sessions typically require an outline sitting and a follow-up to refine edges. A common mistake is shrinking the negative area too small. For a night out, pair with an open-back midi dress to let the framed portrait peek through.
Frequently Asked Questions
Q: Will a sketch-style half arm sleeve need more touch-ups than a traditional saturated sleeve?
A: It depends on the density of linework and placement. Sketch sleeves that rely on ultra-fine marks and tiny dots usually need touch-ups sooner because those elements soften with sun and movement. Pieces with planned negative space and slightly bolder anchor strokes will generally age more gracefully.
Q: Are there placements on a half sleeve that are particularly prone to blowout with sketch lines?
A: Inner seams and areas with thin subcutaneous fat tend to show blowout sooner. The outer upper arm is one of the safest zones. Ask your artist about blowout risk during the consultation and look for portfolios showing healed sleeves on similar placements.
Q: What should I wear to the studio for a long half sleeve session?
A: Comfort and access are key. Bring a loose button-down or a racerback tank so the artist can easily expose the entire upper arm without you getting cold. Layering also helps if the studio temperature changes through the day.
Q: Do sketch-style sleeves look worse faster on darker skin tones?
A: No, but the approach differs. On darker skin tones, contrast matters more, so artists often use slightly bolder anchor strokes and selective negative space to preserve legibility over time. Talk to artists who show healed work on a range of skin tones to see their method.
Q: Should I be worried about workplace reception for a half arm sleeve in sketch style?
A: It depends on your field and visibility of the sleeve. If you need to cover it, plan clothing choices during consultation so the piece sits where a shirt sleeve can hide it when required. Using discovery pathways like local directories and forums helps you find artists who understand placement concerns.
Q: Is sketch style appropriate for a first large piece or should I start with something small?
A: Sketch work can be a great first large piece if you and the artist plan spacing and anchor lines from the start. I recommend breaking the session into manageable sittings so you can gauge how the style reads on your skin before committing to full saturation or dense detail.
