
Fine line work is trending and watercolor pieces are getting the most saves, but the tattoos that look best after a few years are the ones planned with aging in mind. I have seen fine line forearm pieces hold when placed carefully and watercolor ship patches hold when given room to breathe. Below are 17 Star Wars tattoo ideas that balance fresh looks with long-term wear, starting with a small forearm piece that ages well.
1. Fine Line Yoda Silhouette on Inner Forearm
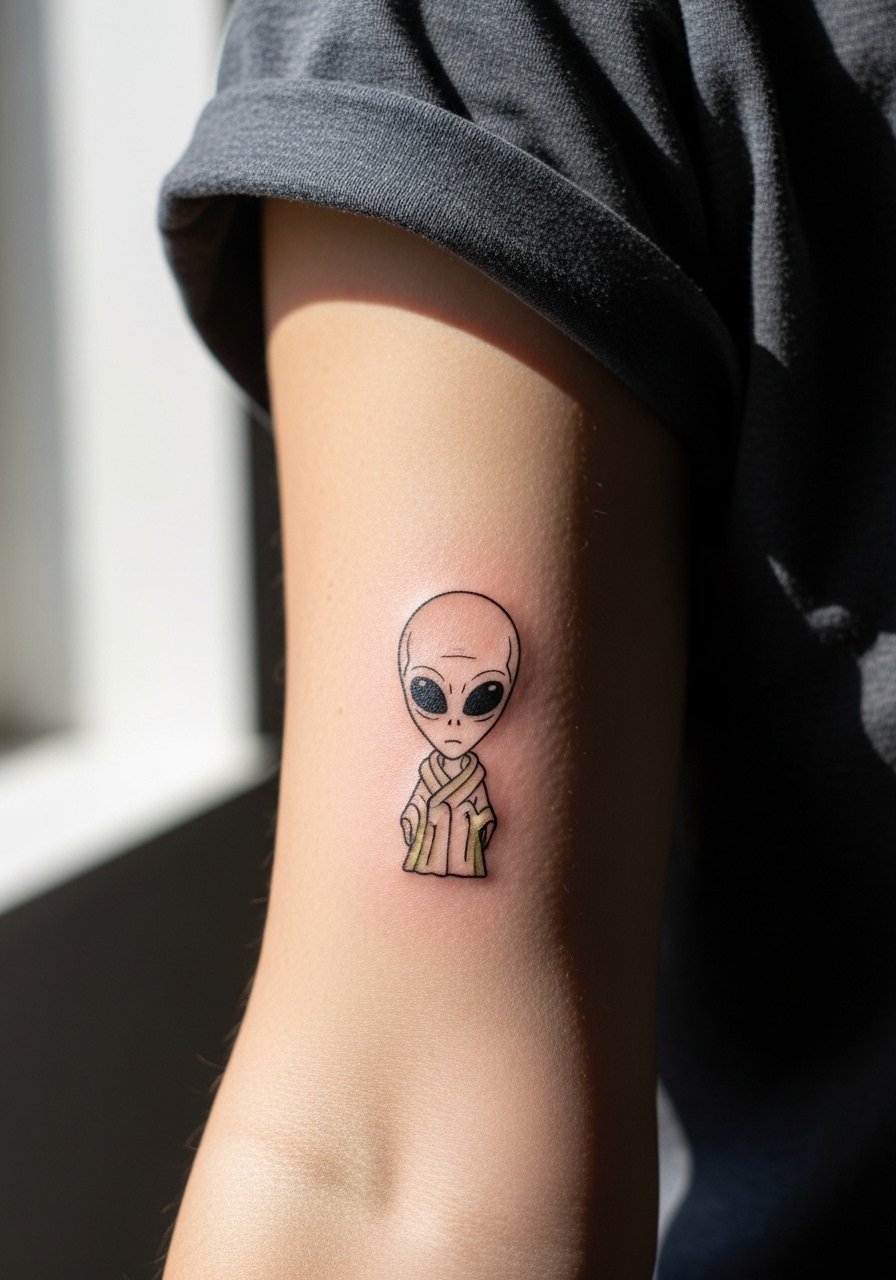
I recommend this when you want a low-commitment nod to Jedi wisdom that still reads clean years later. Tell your artist you want single-needle linework with a tiny bit of spacing around the silhouette so the lines do not merge as the skin moves. Common mistakes include asking for ultra-thin strokes without spacing, which can blur into a soft gray at year three. Pain on the inner forearm is moderate and a single session usually covers a 2 to 4 inch piece. For the appointment wear a rolled sleeve chambray shirt so the artist can work without fabric drag and you can preview placement in natural light.
2. Watercolor Millennium Falcon on Upper Arm
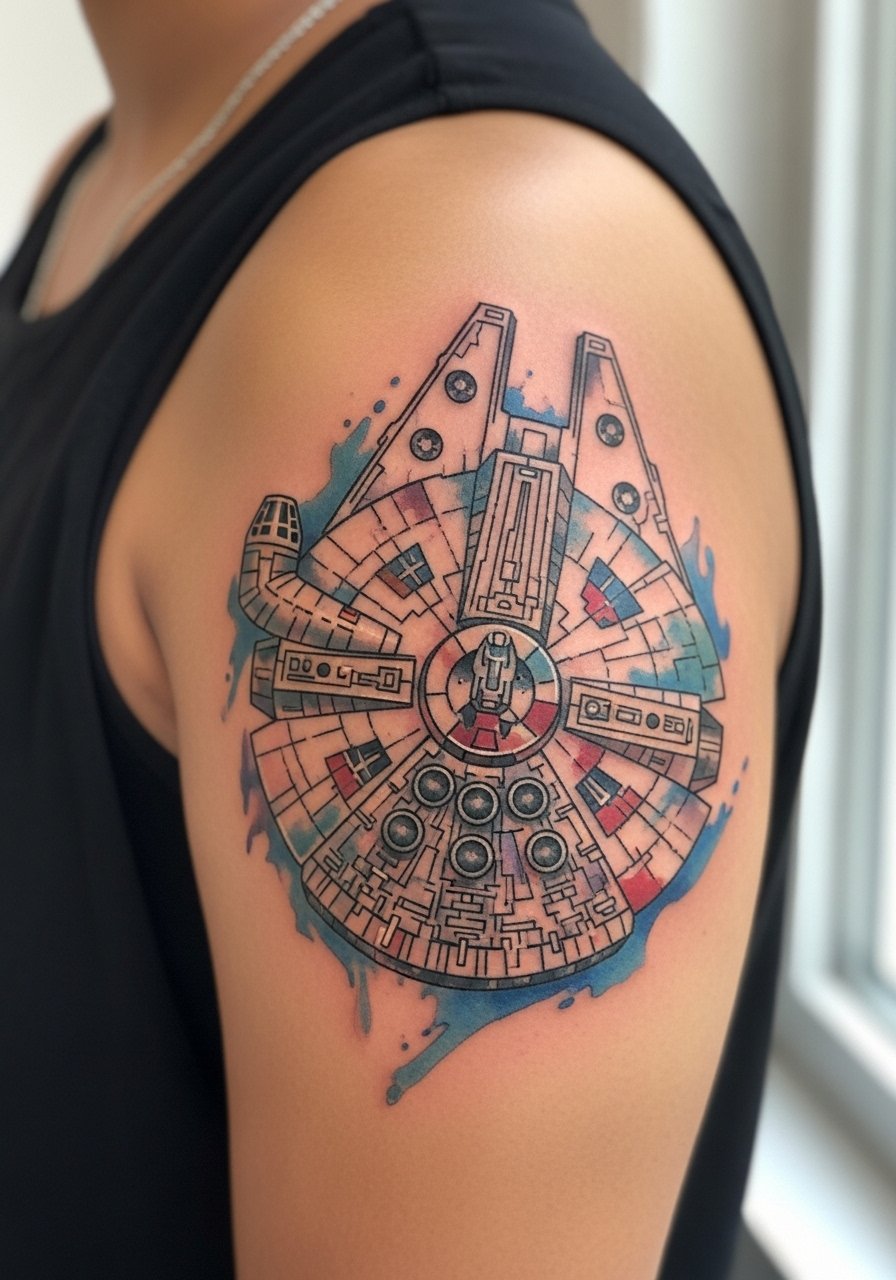
This piece works when you want color and motion without a sleeve. Ask for a slightly larger composition than you think you need so the washes have room to age without bleeding into the ship outline. One common aging problem is overtight color gradients placed too small. At six months the watercolor reads vivid. At two years expect gentle fading in pale washes unless you add a protective touch-up. Session time is typically two sessions for a 4 to 6 inch piece. For showing it off after healing, a sleeveless muscle tank in deep blue keeps attention on the color contrast.
3. Traditional Boba Fett Helmet on Calf
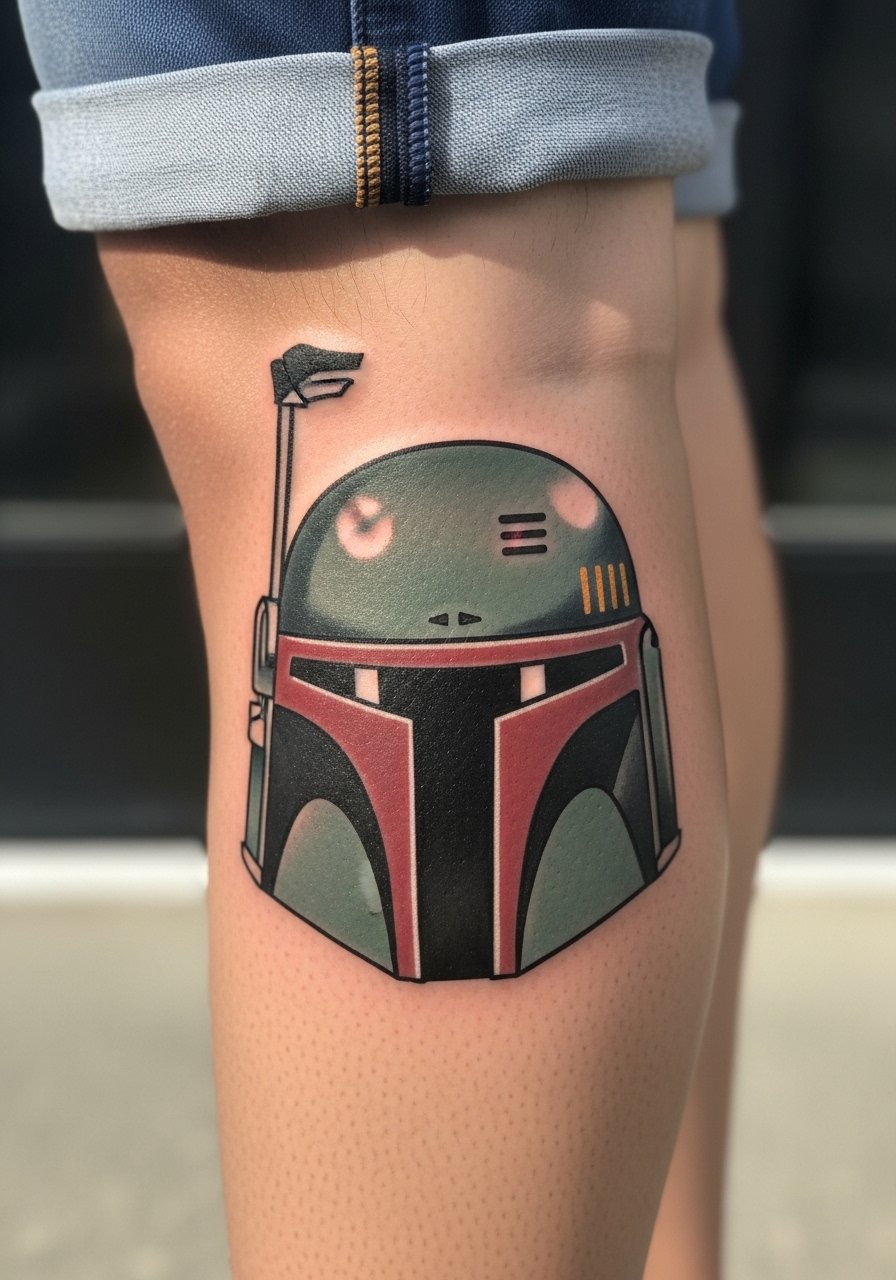
There is something about bold black outlines and saturated color that holds up on lower-leg placements. Ask for sturdy outlines and solid saturation rather than delicate details that sit too close together. A common mistake is requesting tiny helmet details that get lost as the skin stretches. Calf sessions are comfortable for most people and usually finish in one to two sittings for a five inch piece. If you plan to show it off, roll slim joggers to mid-calf or wear cargo shorts so the helmet reads clearly against tanned skin.
4. Neo-Traditional Stormtrooper Portrait on Shoulder
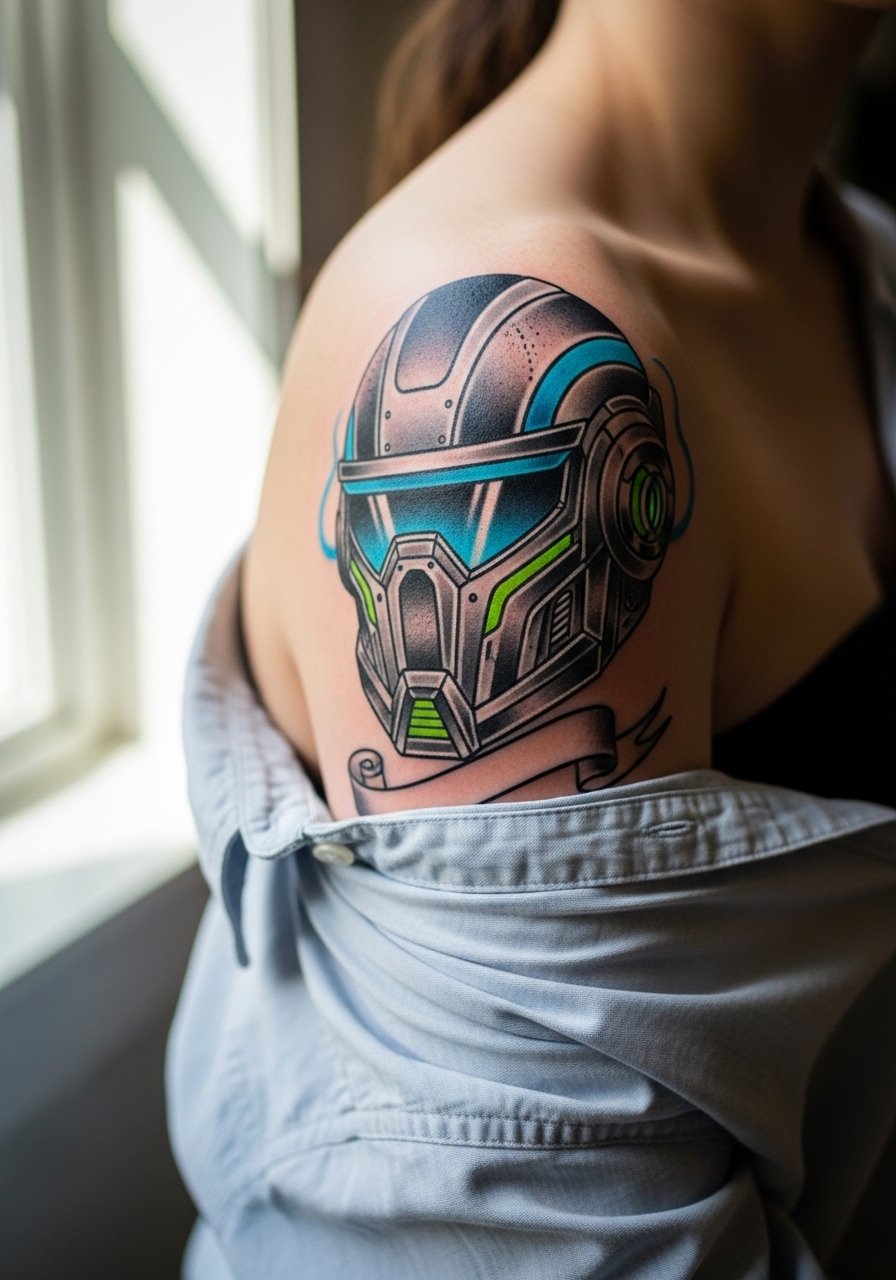
Shoulder placement is forgiving for detail and suits neo-traditional flair. In consultation ask for bold contrasts between black and muted color accents so the portrait keeps shape as saturation softens. Artists split on how much tonal detail to pack into a six inch piece. One camp prefers simplified shapes for longevity. The other argues careful layering retains character. I advise asking your artist which approach they favor and why. Sessions usually span two to three sittings. For sessions wear a loose button-down shirt you can pull aside so the shoulder is fully accessible.
5. Minimalist Lightsaber Outline on Wrist
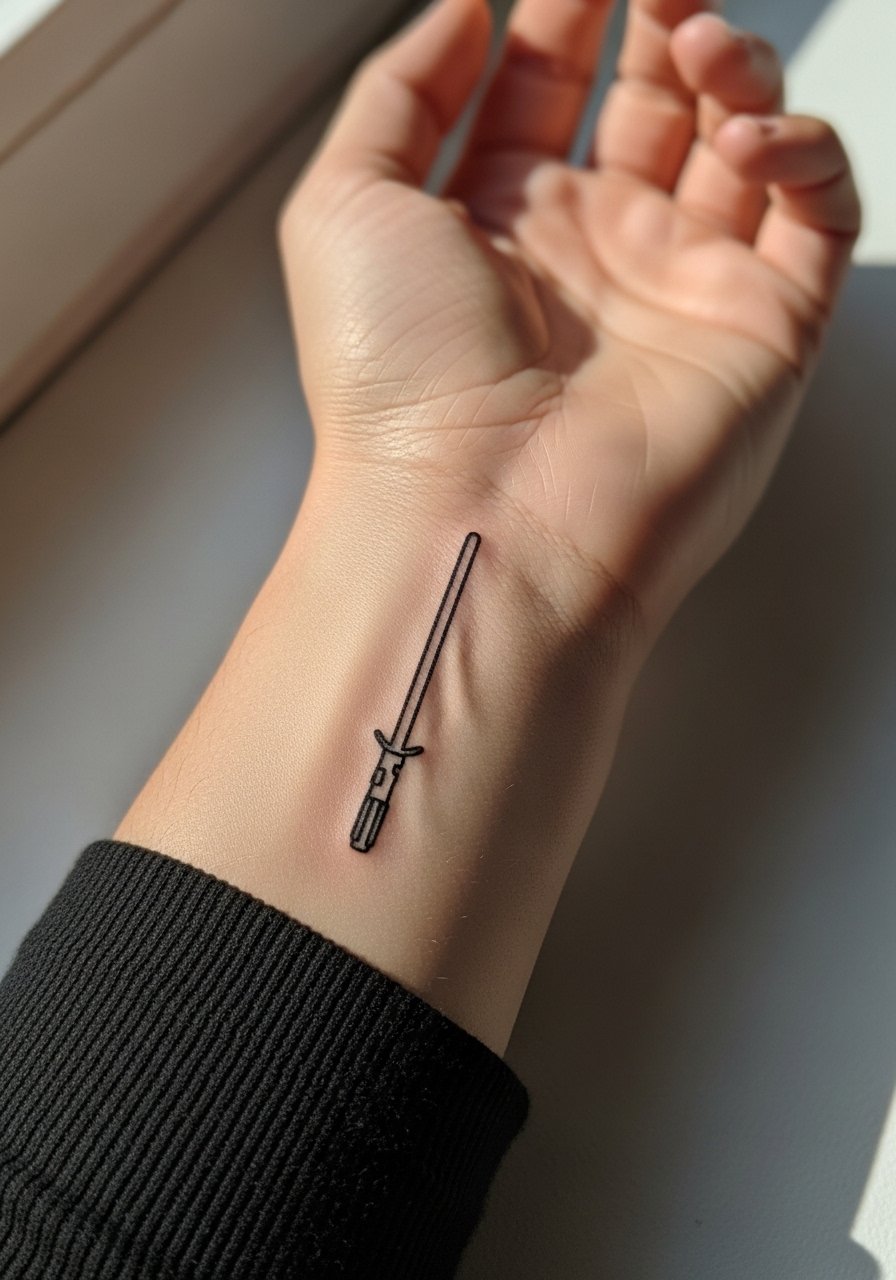
Fair warning, the wrist sees friction every day so thin lines need breathing room. Tell your artist you want a 2 inch line with slightly heavier primary contour to prevent early softening. The usual mistake is requesting ultra-fine single-needle lines with no backing stroke, which can fade unevenly after heavy washing. This is a quick single-session piece for most artists. After healing you can pair the wrist design with a leather cuff bracelet or a slim watch on the opposite wrist to frame the line without crowding it.
6. Blackwork Death Star on Outer Thigh
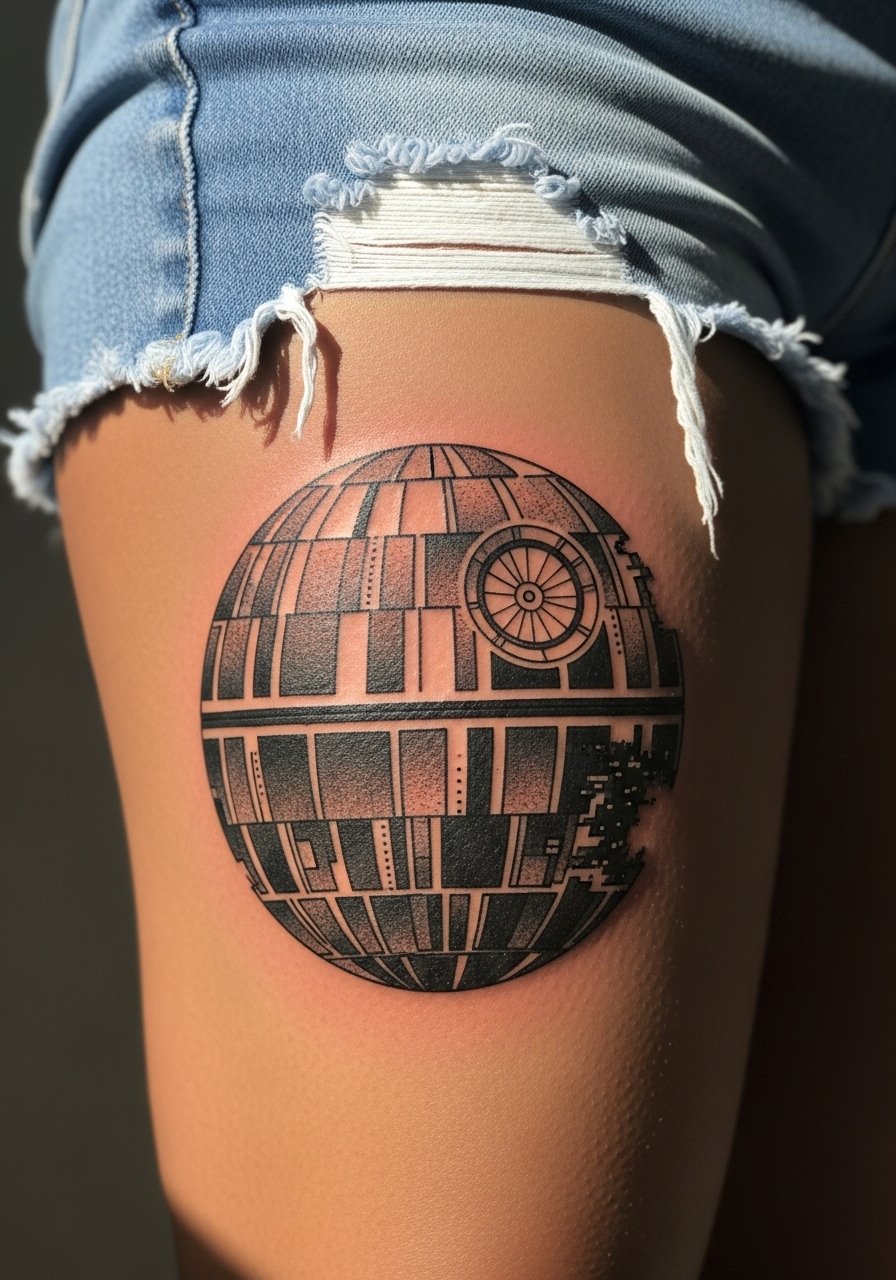
Large blackwork holds exceptionally well on the thigh because the canvas is broad and the ink sits deep. A common error is compressing too many micro details into an eight inch solid block. That increases blowout risk over time. For longevity ask for bold, large shapes with negative-space highlights. Expect multiple sessions for an eight inch piece. Session wear should allow the leg to be propped comfortably so bring high-cut shorts or loose athletic shorts for easy access and minimal fabric pressure.
Pre-Session Essentials
The wrist, forearm, and calf pieces above heal differently from larger thigh and shoulder work, so a few small items smooth the session and the first week.
-
Stencil transfer paper kit. Lets you preview placement and line weight on skin before the needle, which is especially handy for the silhouette and script pieces in ideas 1 and 10.
-
Topical numbing cream. Applied about 45 minutes before can ease wrist and rib sensitivity without affecting the artist’s linework.
-
Thin protective film roll. Keeps small wrist and finger tattoos cleaner during the first week when friction from washing and typing is highest.
-
Fragrance free gentle body wash. A mild cleanser helps the delicate linework in fine line forearm and collarbone pieces during daily showers.
-
Aquaphor healing ointment. A thin layer for the initial days locks in moisture without smothering tight single-needle channels, which is important for pieces that rely on crisp linework.
7. Micro-Realism R2-D2 on Collarbone
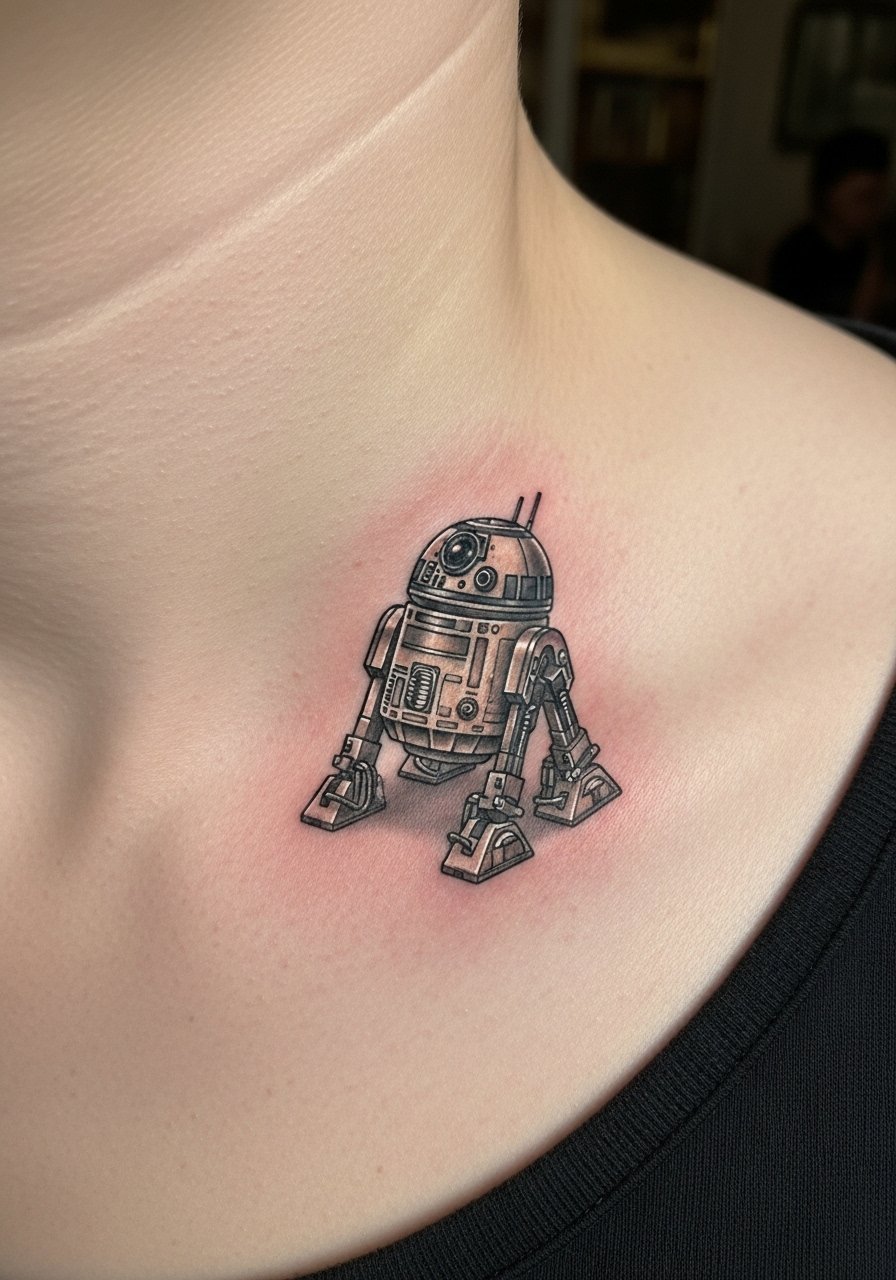
Tiny micro-realism thrives on the collarbone if you respect scale. Tell your artist to prioritize contrast and clean dot work over adding more tiny parts. The common mistake is shrinking the reference too much, which turns detail into muddiness by year two. Expect one to two sessions for a 3 inch piece. Session wear should be a wide-neck shirt or strapless top so the chest is accessible without full exposure. Be aware that collarbone tattoos can be sensitive and may need a short touch-up at year two.
8. Ornamental Mandalorian Symbol on Upper Back
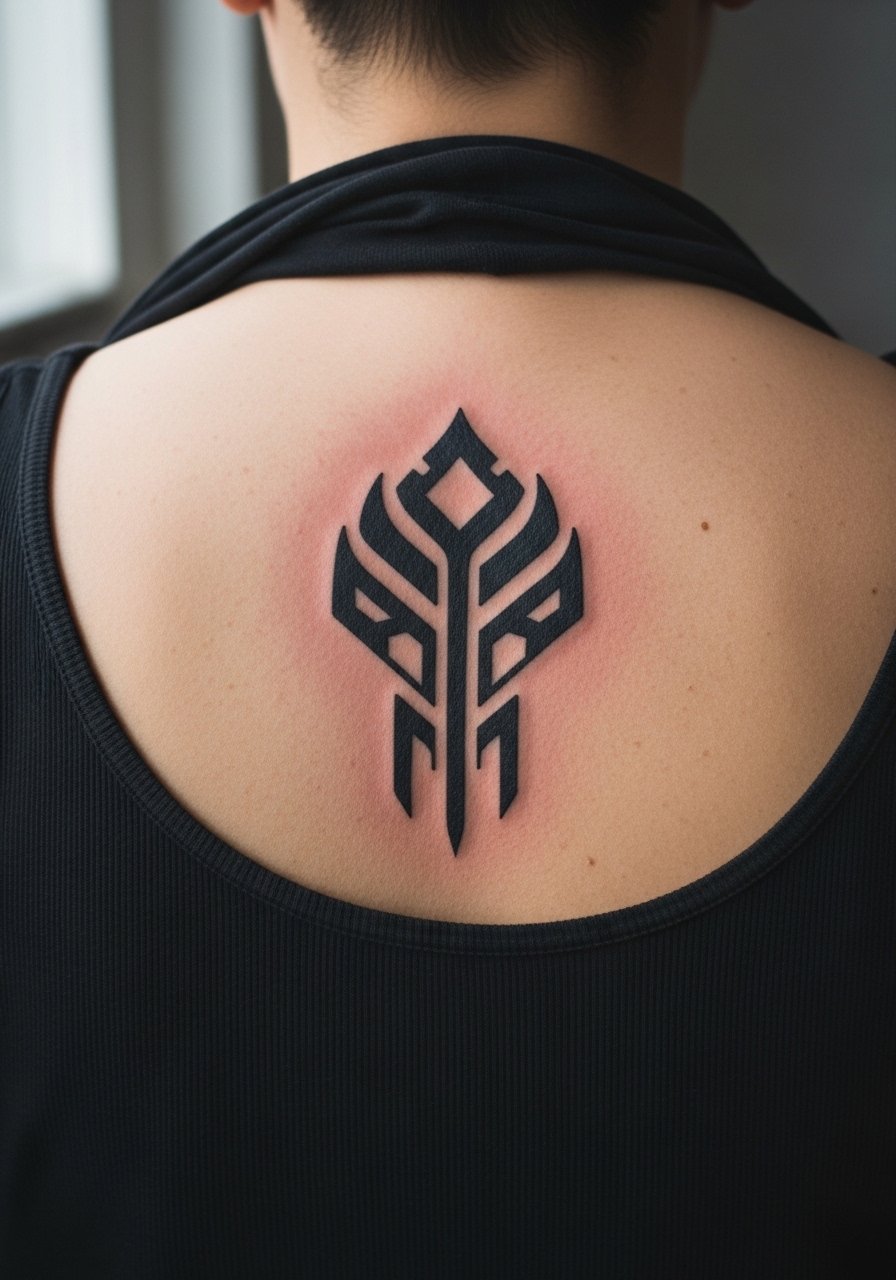
Upper back gives space for repeating geometry that reads like armor. In consultation mention you want negative space to prevent heavy fill from turning into a solid patch after a few years. A frequent mistake is packing too many tiny motifs without breathing room. Expect three to four sessions for a seven inch ornamental piece. For the appointment wear a loose tank top that you can pull aside so the artist has clear access. This pattern has cultural echoes in warrior motifs, so consider subtle personalization rather than copying sacred motifs directly.
9. Ignorant Style Chewbacca Portrait on Bicep
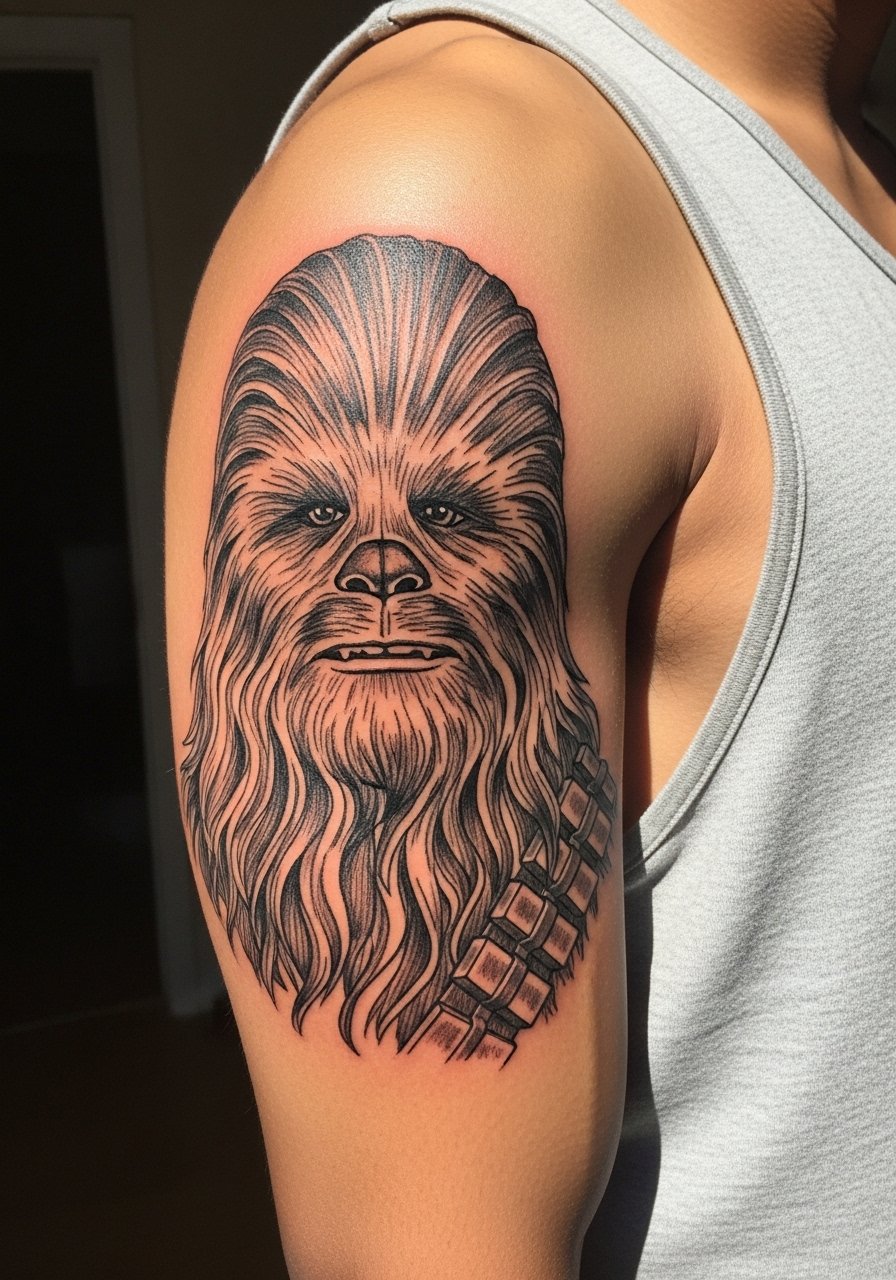
This scratchy, sketch-book approach reads playful on the bicep and suits someone after raw energy rather than polished realism. Tell the artist you want visible pen-like strokes and avoid heavy smoothing. Mistakes happen when clients ask for the look but then request tight edges; that defeats the ignorant style. Expect two sessions for a five inch piece. The bicep is moderate in pain. For showing it off, a sleeveless top in olive or cream complements the retro bounty hunter vibe without competing with the black scribble lines.
10. Fine Line "Do or do not" Script on Ribcage
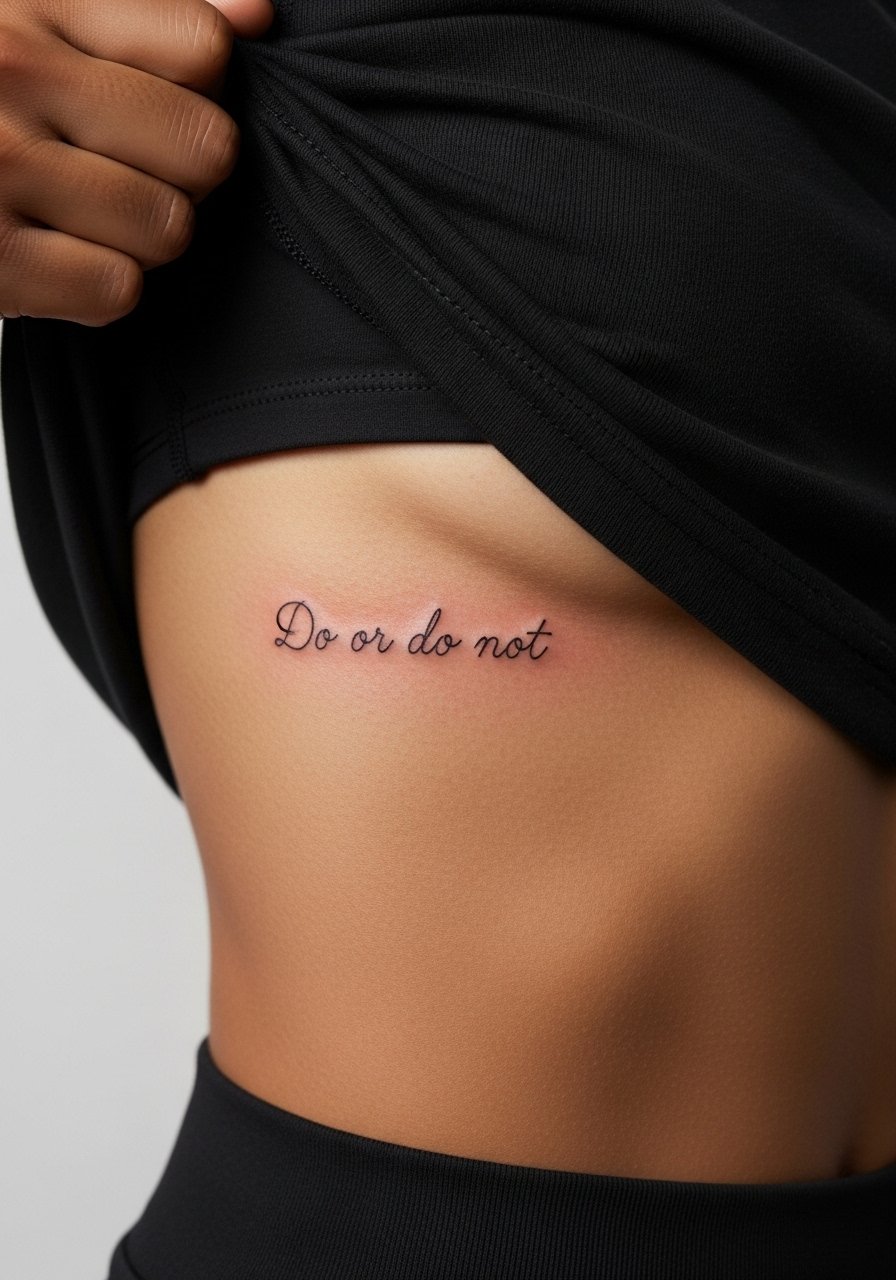
Artists split on fine line on ribs. One camp says the skin stretch there blurs tiny script within two years. The other camp argues that with correct spacing and depth the script settles fine. Ask where your artist stands and request a mock stencil at life-size. The ribcage is a higher pain area rating and often needs one careful single session for a curved four inch script. A common error is asking for hairline thin letters tucked too close together. For the session wear a cropped athletic top so the artist can access the side torso without exposing more than the tattoo zone.
11. Watercolor Ewok Village Scene on Ankle
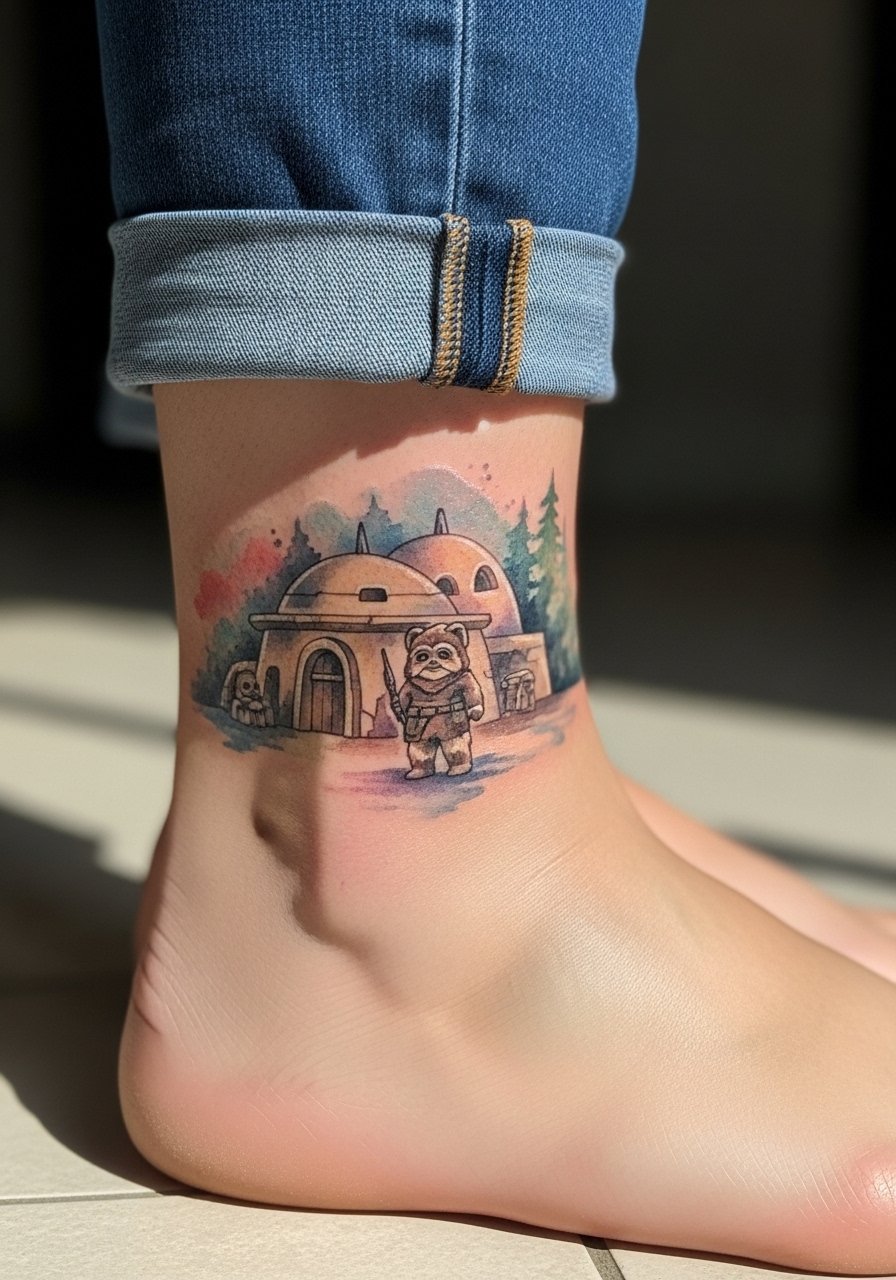
Small watercolor scenes shine on the ankle but they age differently than bold blackwork. The main problem is fading from frequent shoe friction and sun exposure. Ask for slightly stronger pigment near the focal points and for the artist to leave negative space around tiny trees so those details do not wash out. Sessions for a 3 to 5 inch ankle wrap usually take two sittings. For the appointment roll your jeans or wear sandals so the artist can work with the foot angled comfortably. After healing, a high-cut sock habit may cause rubbing so plan footwear accordingly.
12. Yakuza-Style Star Wars Sleeve Fusion on Full Arm
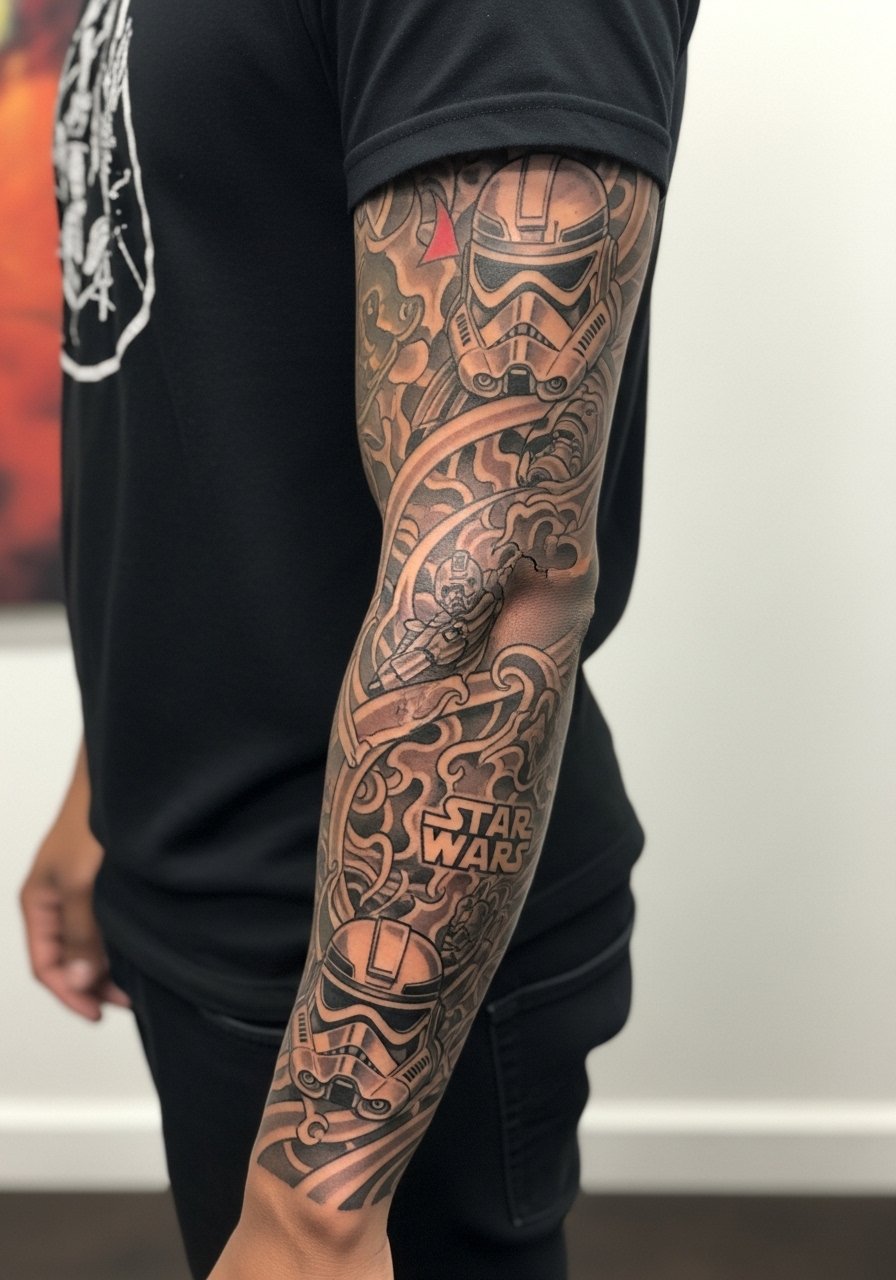
This is for someone ready to commit to a large custom narrative combining traditional Japanese flows with Star Wars iconography. In consultation stress a cohesive background so the elements do not appear like pasted flash. A real mistake is forcing many distinct styles into one sleeve without a unifying palette, which ages like patchwork. Expect multiple long sessions and a realistic touch-up timeline in the years after completion. Practical session wear is a loose short-sleeve shirt to allow the artist to work the entire arm comfortably. Respect cultural origins and consider adapting motifs rather than direct replication.
13. Tiny BB-8 Behind the Ear
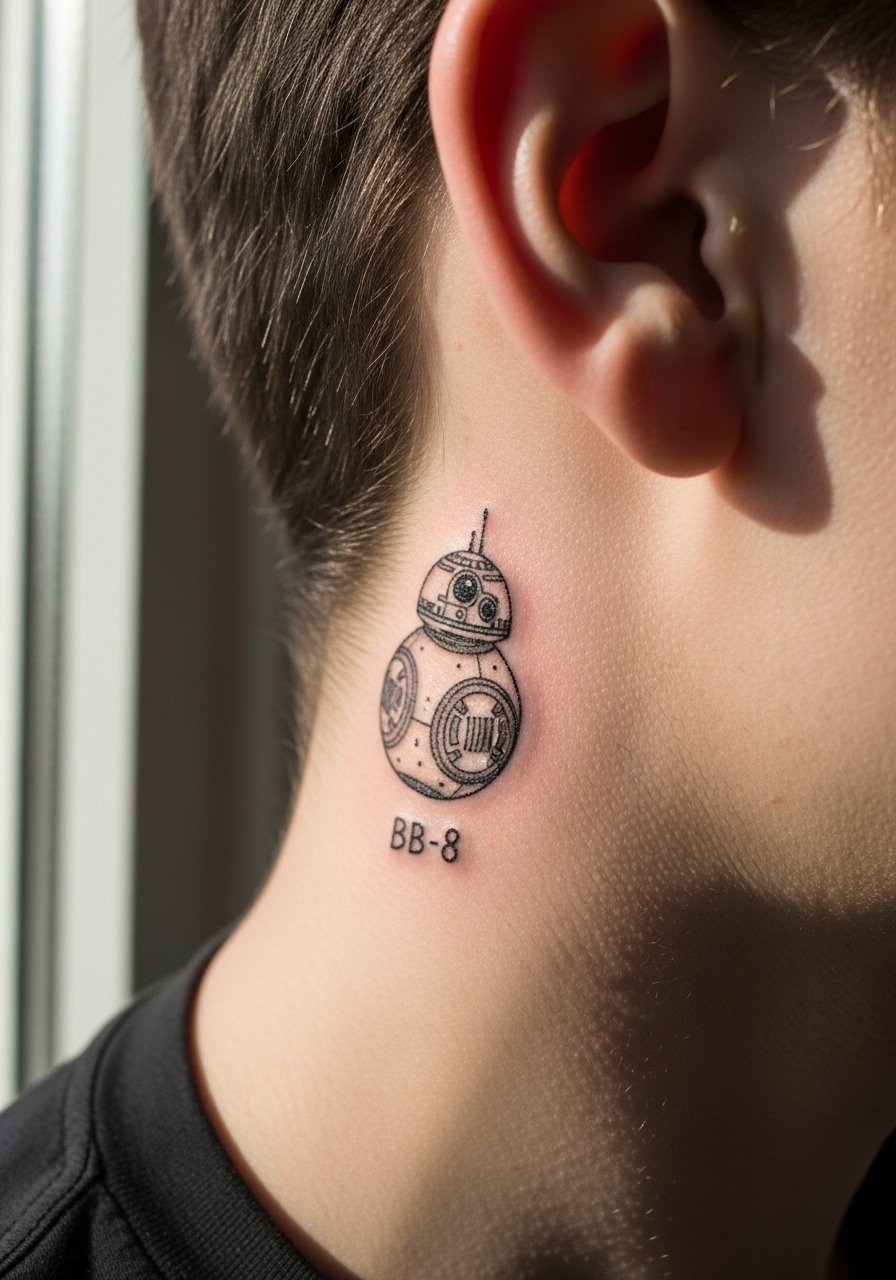
Behind the ear is a discreet spot that reads like a secret nod to the saga. The skin there is thin and sensitive and the area needs an artist experienced with micro placement. A common error is insisting on too much tiny detail that the curved surface cannot hold. Sessions are short but expect tenderness and a potential touch-up. Also note the placement is visible when hair is up so think about workplace visibility. For this sensitive spot choose a simple, bold BB-8 shape rather than micro detailing.
14. Geometric AT-AT on Outer Calf
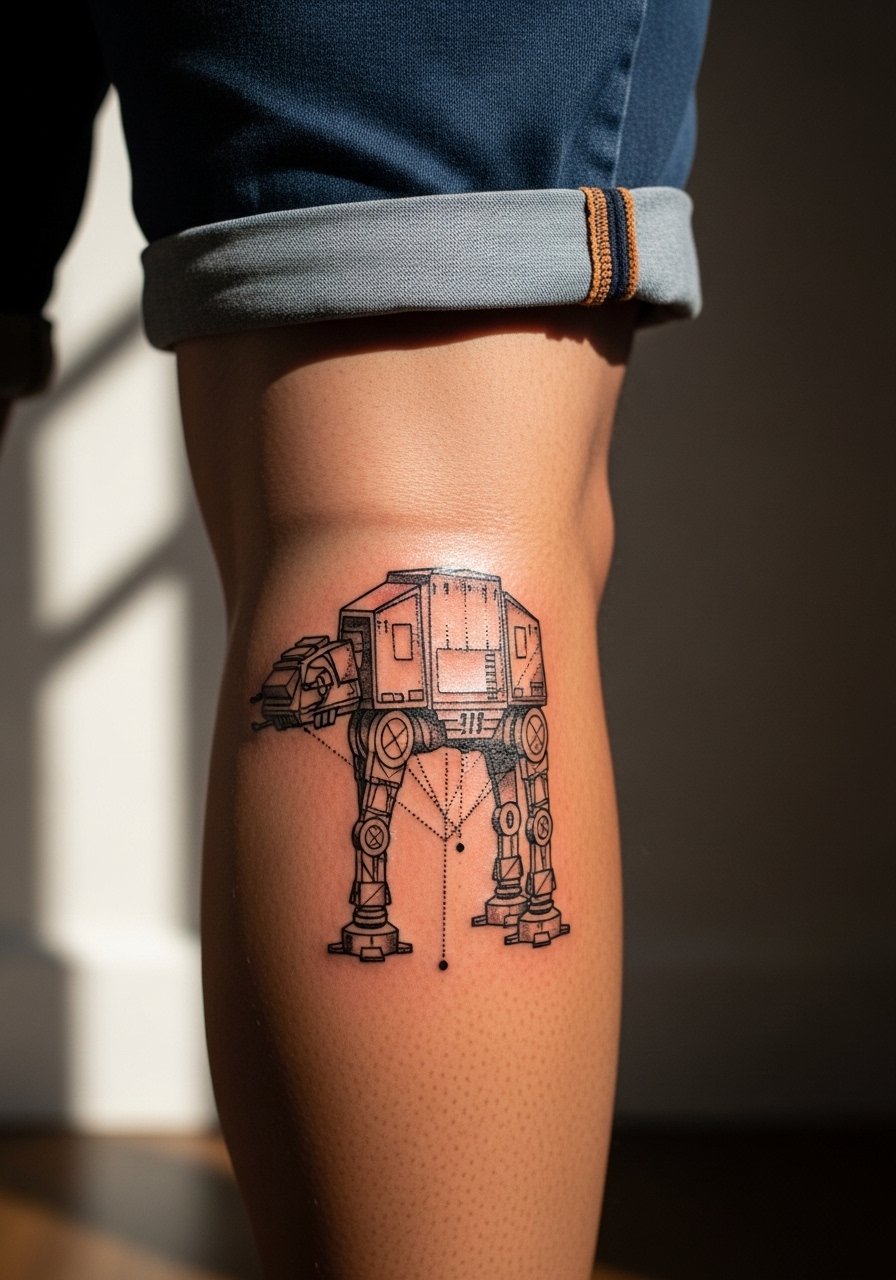
Geometric reductions of machinery work well on the calf where lines can stay bold and readable. Ask the artist for deliberate spacing and stipple shading to avoid heavy solid fills that risk blowout. The outer calf tolerates longer sessions and keeps linework crisp for several years. A common mistake is shrinking complex geometry too small. For the session wear shorts that can be rolled up easily so the leg can be positioned without fabric rubbing during work.
15. Minimal Rebel Alliance Glyph on Finger
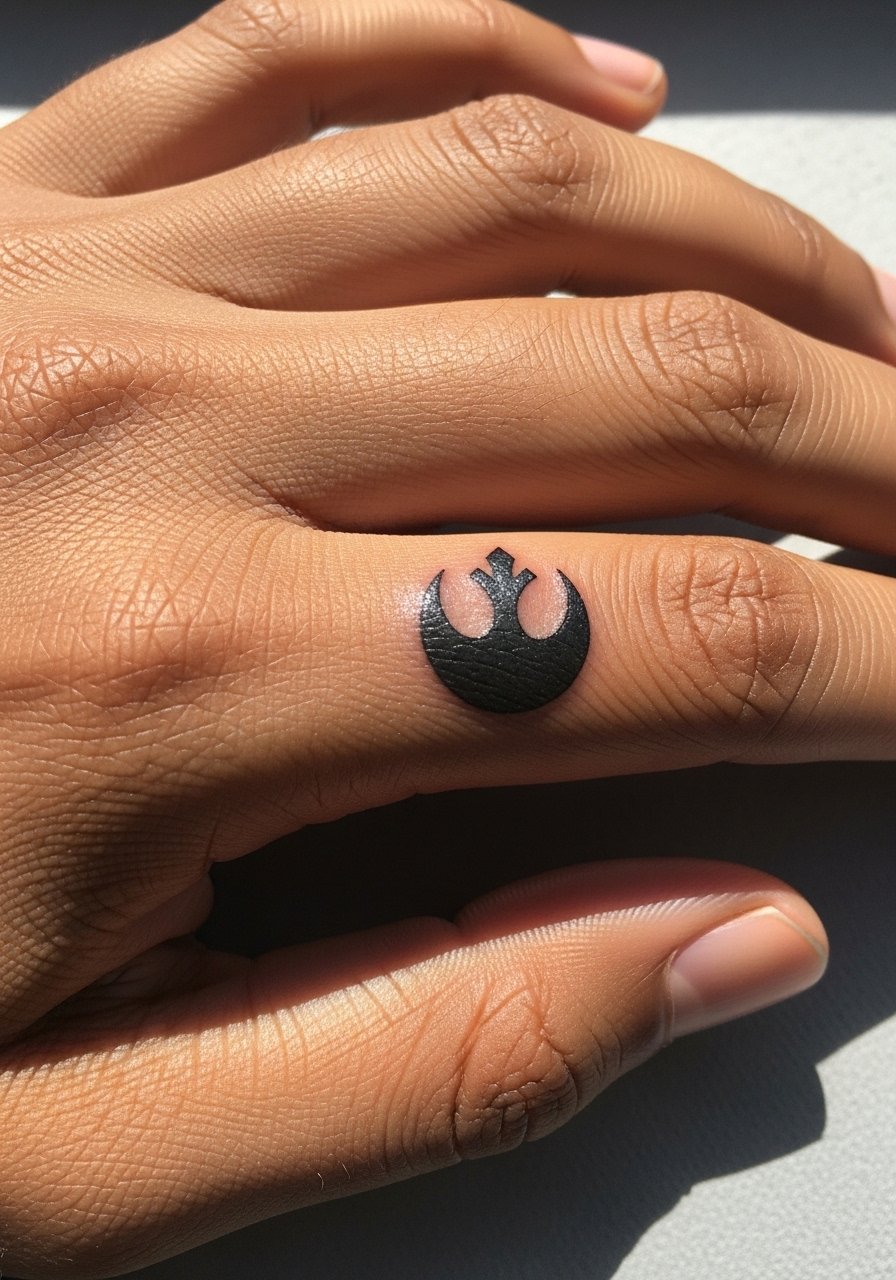
Finger tattoos are high-friction zones and often need more touch-ups than arm pieces. If you want a tiny glyph keep it simple and slightly larger than you think so the negative space survives daily use. Tell the artist you prefer a thicker primary outline to guard against early fading. Sessions are quick but expect a realistic touch-up timeline in the first two years. For daily wear consider simple rings that do not rest directly over the ink while it heals.
16. Princess Leia Bun Silhouette on Nape of Neck
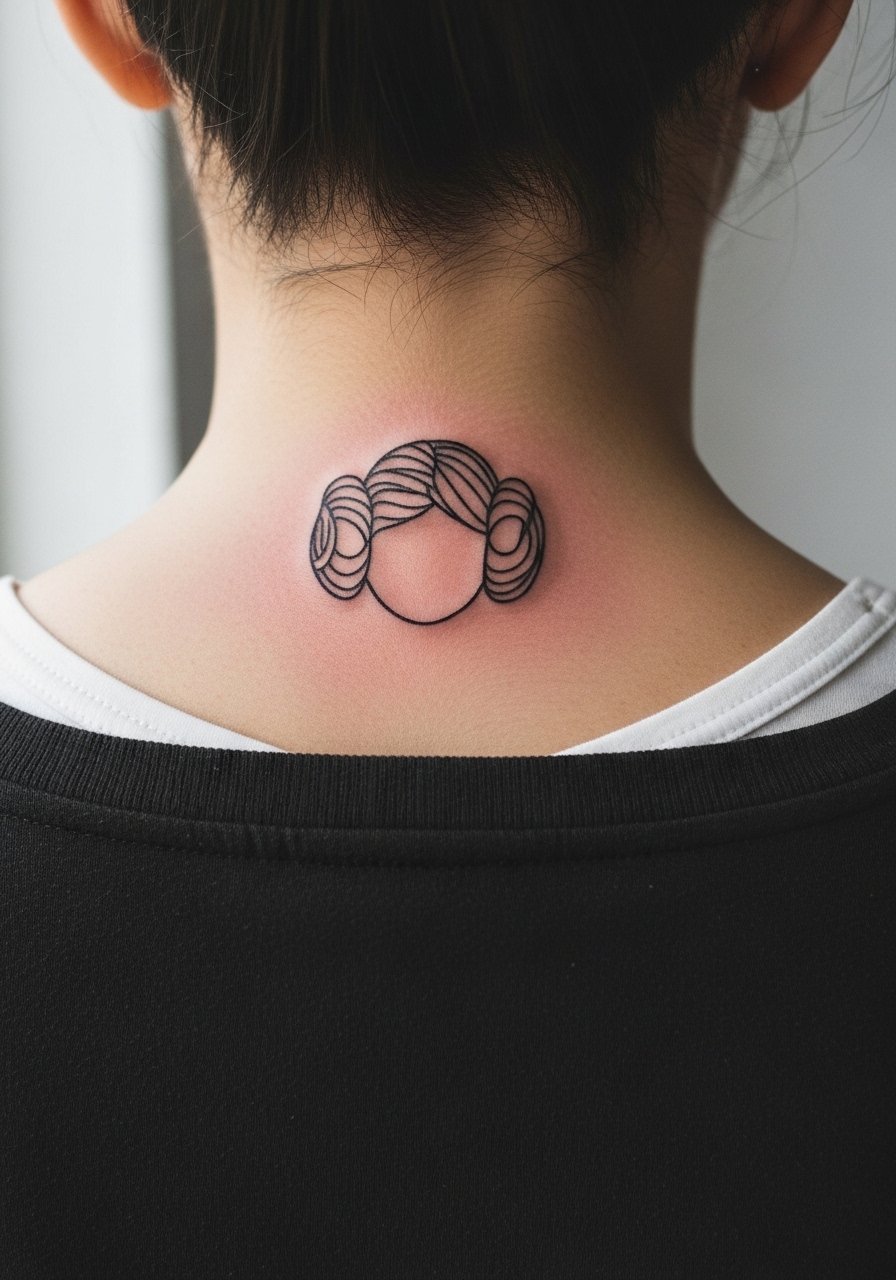
The nape is a visible spot when hair is up and it suits a compact graphic silhouette. Ask for a slightly bolder contour so the iconic bun keeps silhouette clarity as the ink ages. A mistake is choosing micro-detail within the bun rather than a clear shape. The nape can be tender and typically needs one focused session. For the appointment wear a wide-neck shirt that you can shift to expose only the nape area. Consider how often you wear your hair up, since visibility is part of the design choice.
17. Watercolor Planet Landscape Patch on Upper Arm
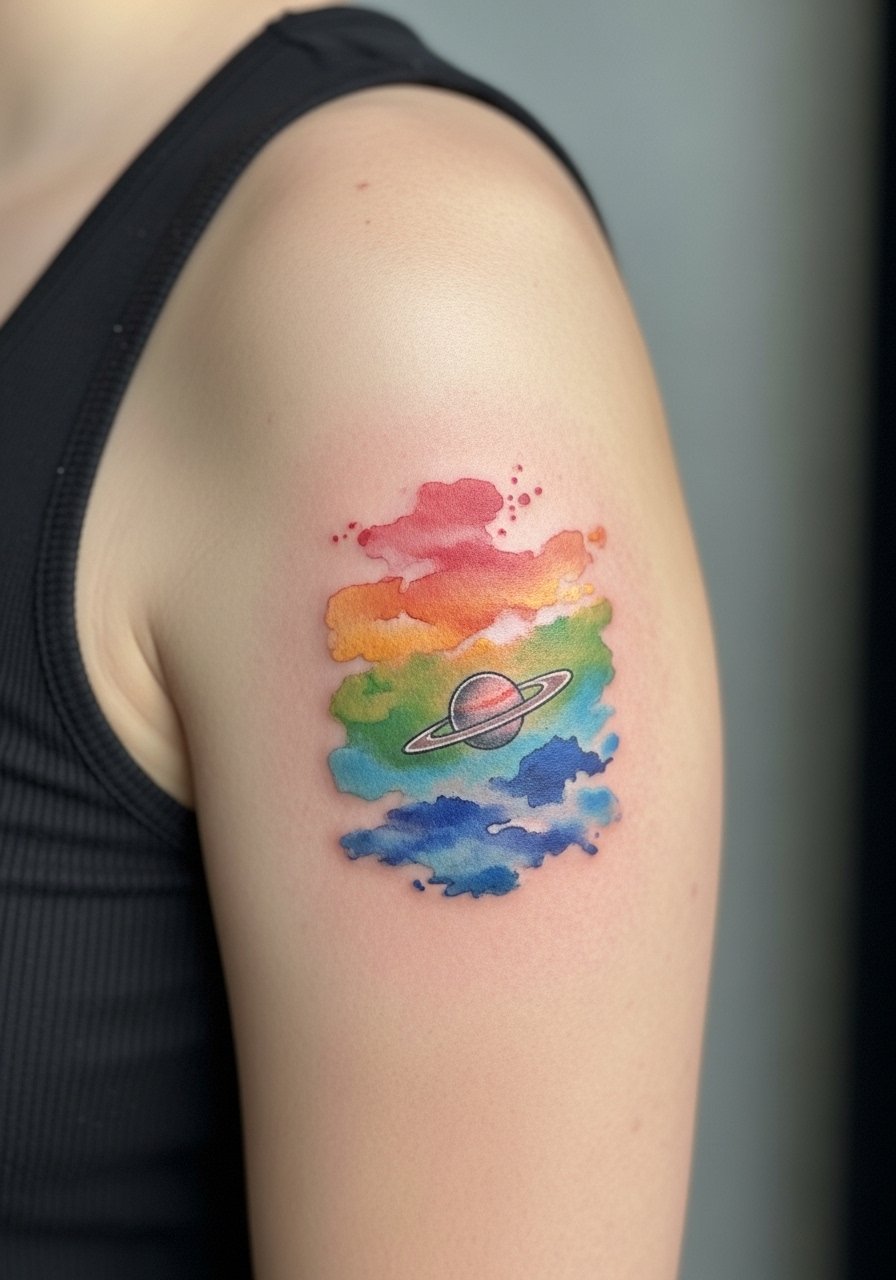
A small planetary landscape gives you the watercolor motion without a huge commitment. The trick is keeping washes slightly desaturated around edges so touch-ups are straightforward if the pale regions fade. A common mistake is compressing a complex scene into a tiny patch, which loses the feeling of depth after a year. Expect two sessions for a 4 to 5 inch patch. For showing it off wear a fitted tank that allows clean visibility and frames the soft color fields.
Frequently Asked Questions
Q: Will fine line tattoos blur faster on ribs and forearms?
A: It depends on placement and spacing. Ribs move with deep breathing so very tight single-needle scripts are more likely to soften faster there. Forearms are generally kinder to fine line work if the artist allows space between strokes. Ask for a mock stencil and a plan for touch-ups before you book.
Q: Do watercolor-style tattoos need different aftercare than traditional pieces?
A: The basic hygiene steps are the same, but watercolor relies on delicate washes so avoid aggressive exfoliation and long sun exposure while healing. Keep friction low and follow your artist’s patch-specific timeline. If you want extra clothing protection during the first week, a loose tank or sandals can reduce rubbing on arm and ankle patches.
Q: How much does a small fine line Star Wars tattoo typically cost?
A: Expect small fine line pieces to fall roughly in the 100 to 400 range depending on shop location and the artist’s experience. Complex micro-realism or color pieces usually run higher because they take longer and may need multiple sessions.
Q: Are hand and finger tattoos worth it for long-term clarity?
A: They can be but plan for more touch-ups. Hands see a lot of washing and abrasion so simple bold shapes hold better than micro detail. If you want a tiny glyph or line, make it slightly larger and consider ring or accessory choices that will not rub the area while it heals.
Q: How do I pick a studio for an intricate sleeve fusion or Yakuza-style work?
A: Look for portfolios showing consistent healed photos of large pieces and ask about session pacing. Search local convention tags and tattoo directories to find artists who post healed sleeves. During the consult ask about how they plan background flow and touch-up timelines so the whole sleeve reads coherently over years.
