
Fine line trends look beautiful on feeds, but they do not always win the longevity contest. Plenty of the sea turtle ideas you will see photographed fresh will soften faster than you expect. The sweet spot is choosing a style, placement, and line weight that match how you live, what you wear, and how much sunlight your skin gets. Start with the small, wearable options below and turn up the scale only after you know how the ink settles.
1. Tiny Fine Line Turtle on the Inner Wrist
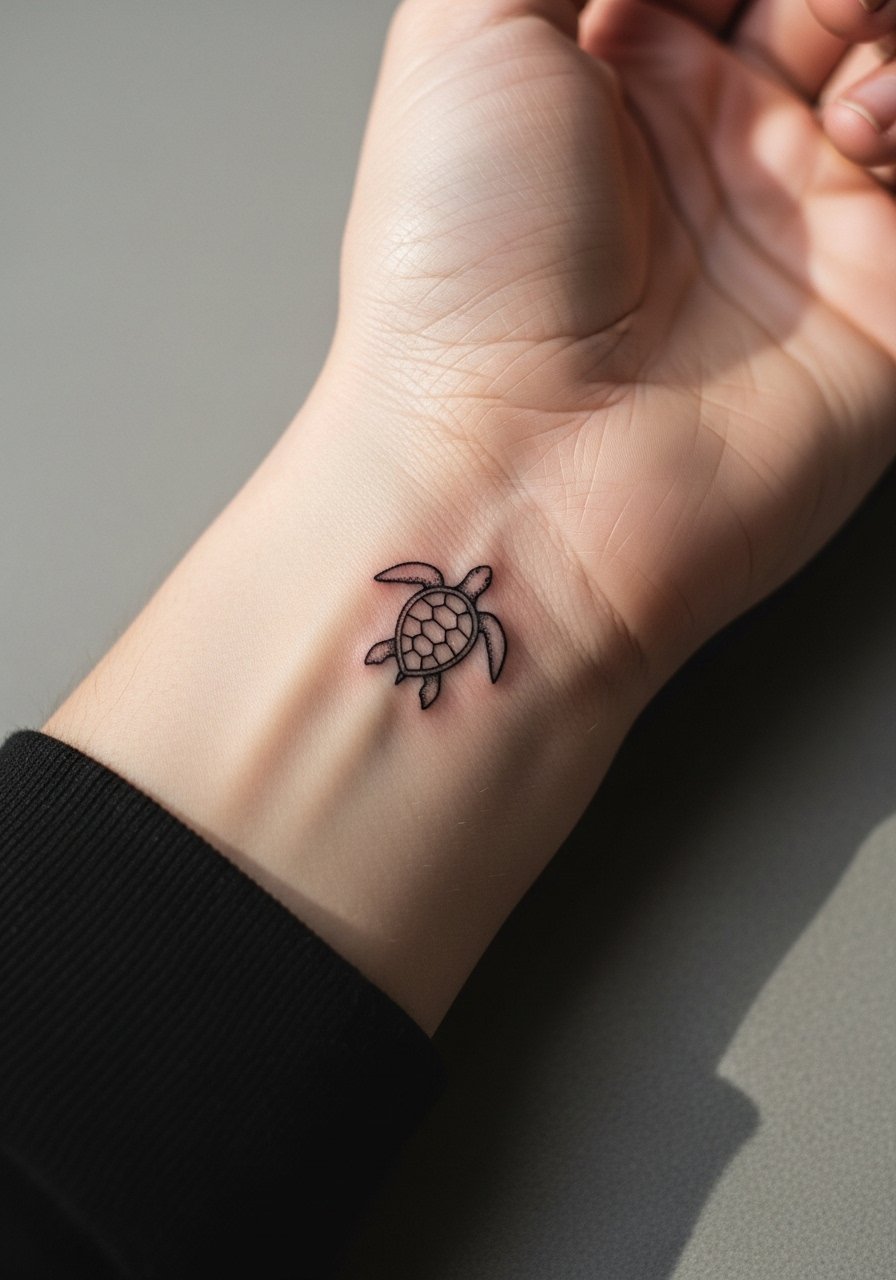
I've seen tiny wrist turtles hold well when artists use slightly bolder linework than pure ultra-fine. Fair warning, the wrist sees friction from watches and bracelets, and that is where most micro lines blur first. Ask your artist for slightly heavier contour lines and minimal interior detail so the shell reads clearly after a year. The session is short and the pain is low, but expect touch-ups earlier than for larger pieces. For showing it off, pair this with a thin chain bracelet or a minimalist watch, both frame the wrist without crowding the tattoo.
2. Micro-Realism Shoulder Blade Turtle with Bubbles
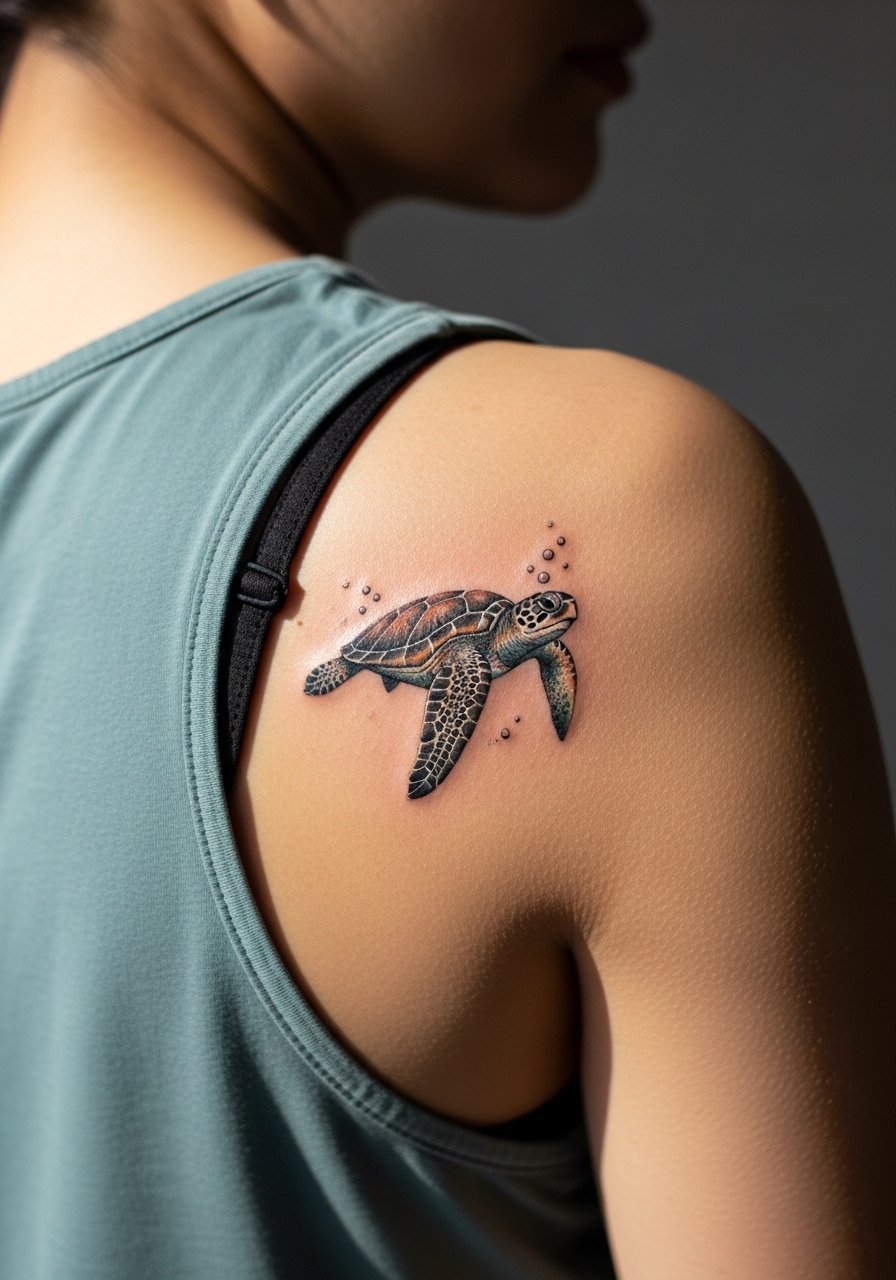
The shoulder blade gives micro-realism room to breathe, and the slight curve of the scapula adds depth to the shell. In consultation, ask for reference photos showing texture rather than extreme tiny details. The common mistake is overfilling shadow areas, which can turn into muddy patches as the piece heals. Expect a two-hour session with gentle soreness for a day or two. For session comfort, wear a loose tank top you can slide aside. The shoulder blade ages gracefully with moderate sun exposure protection.
3. Color-Blocked Traditional Turtle on the Upper Arm
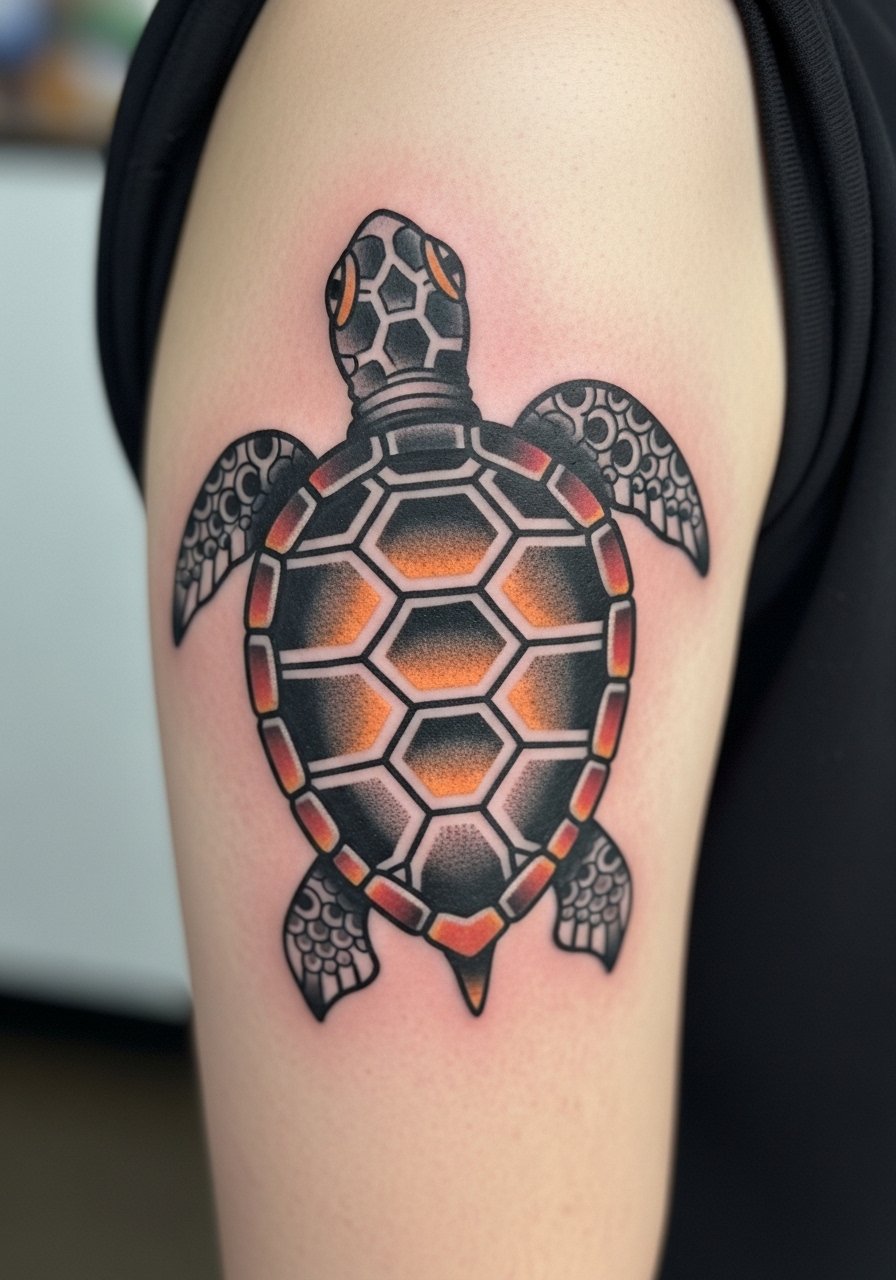
There is something about bold outlines and saturated color that reads well across time. This version uses classic block color and solid linework so the shell keeps definition as the ink settles. Tell your artist you want clear negative spaces inside the shell, not dense stippling. Pain is moderate and session time is about two to three hours depending on color area. The main mistake is asking for tiny color details that look busy on the arm and blur later. Pair this piece with rolled sleeves or a short sleeve linen shirt to show the arm without the tattoo competing with busy patterns.
4. Watercolor Turtle with Faint Line Shell on the Ribcage
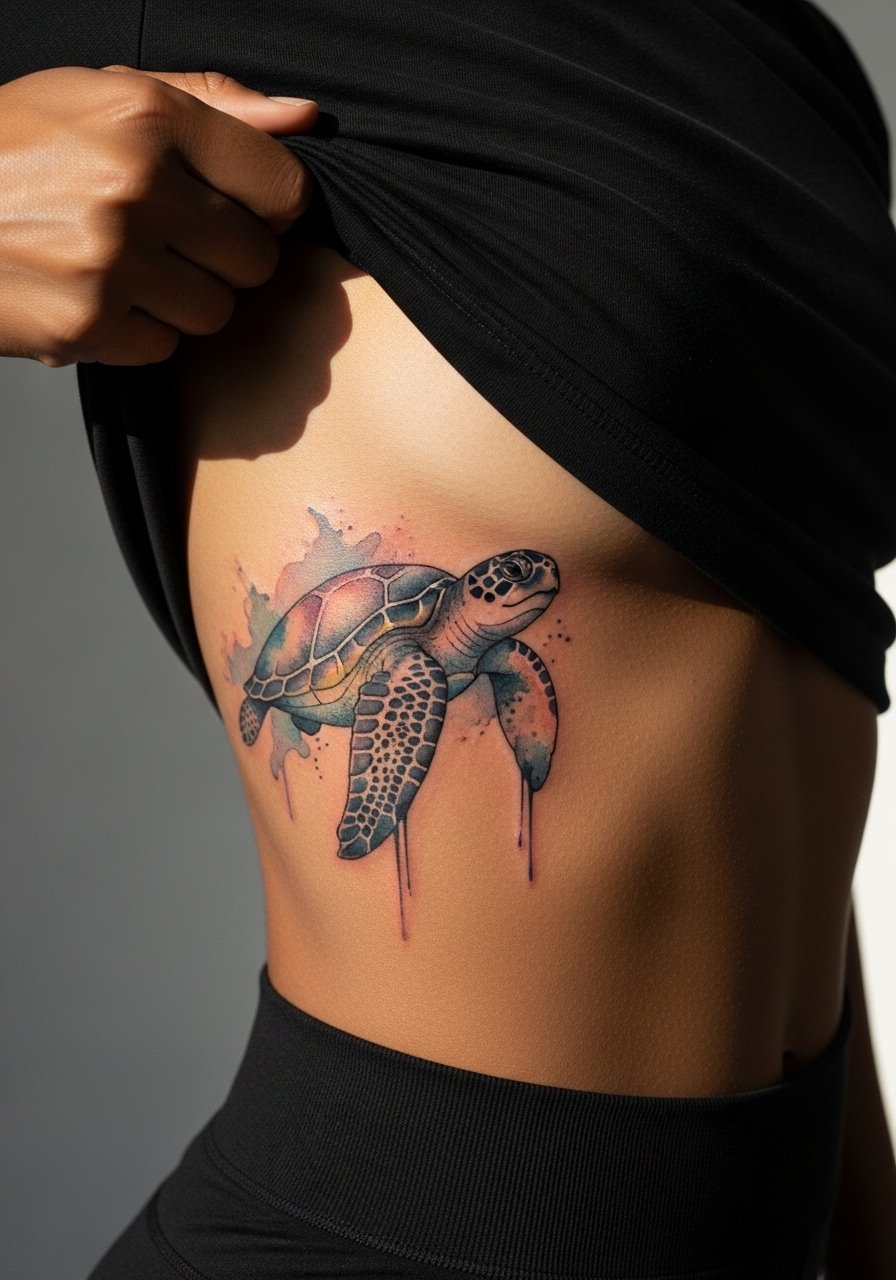
Ribcage watercolor splits artists into two camps. One camp says the skin motion and stretch make watercolor bleed and fade fast. The other camp argues that with heavier anchoring lines and conservative color placement, watercolor can hold on ribs. My advice is to pick the anchored approach. The ribcage is painful for most people, and sessions often need to be split. A frequent mistake is asking for a full watercolor wash that reaches the sternum and the flank in one sitting. For the session, wear a zip-up hoodie you can unzip and slide aside so you stay warm between passes.
5. Minimal Shell Ankle Tattoo with Negative Space
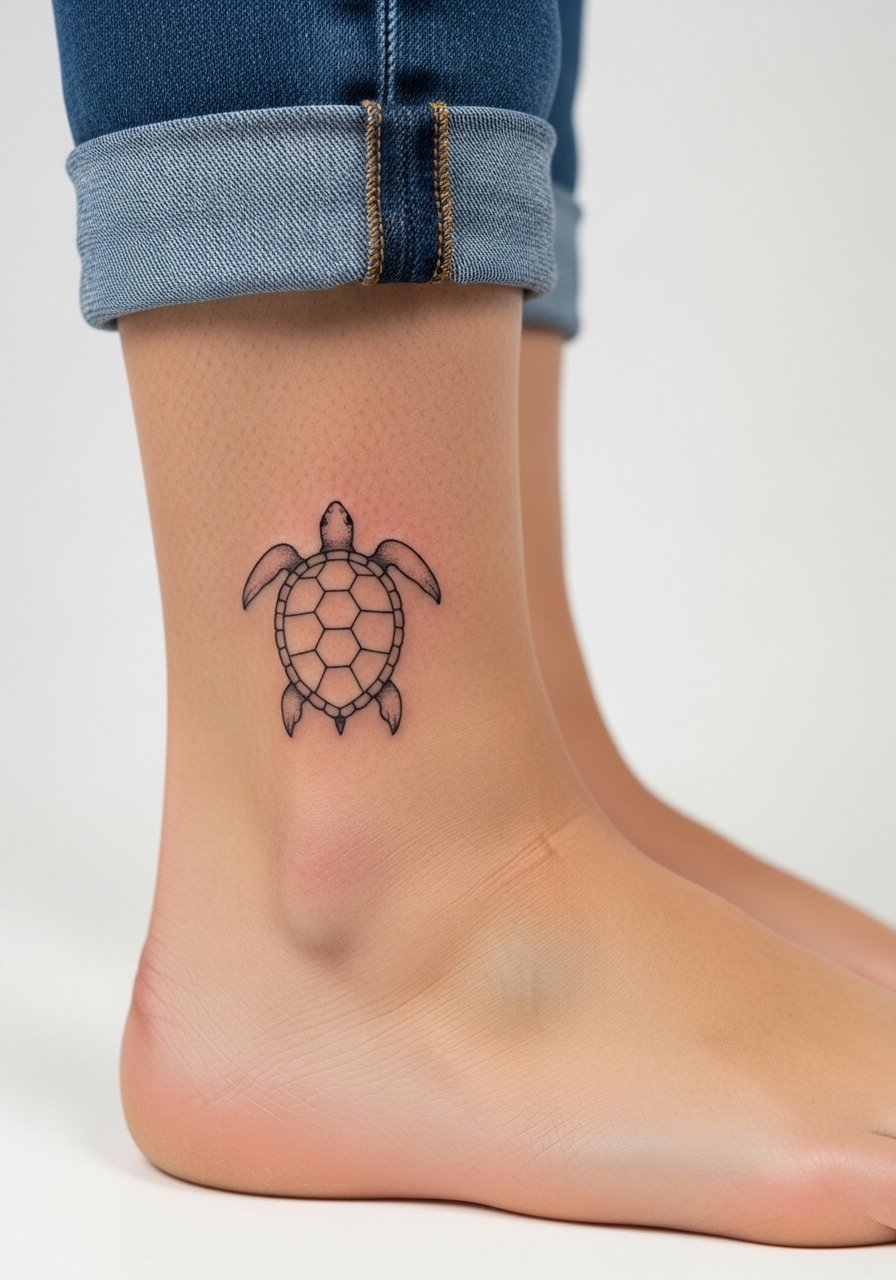
The ankle is a high-friction zone because of shoes and socks. A negative space shell with clear gaps ages better than fully shaded tiny shells. Tell your artist to avoid heavy stippling near the bone where blowout risk is higher. The session is quick and the pain is a sharp, short sting. Expect more frequent touch-ups if you wear low-cut shoes that rub the area. For showing it off, a pair of strappy sandals or cropped trousers keep attention on the ankle without rubbing the fresh lines.
6. Geometric Shell Mosaic on the Calf
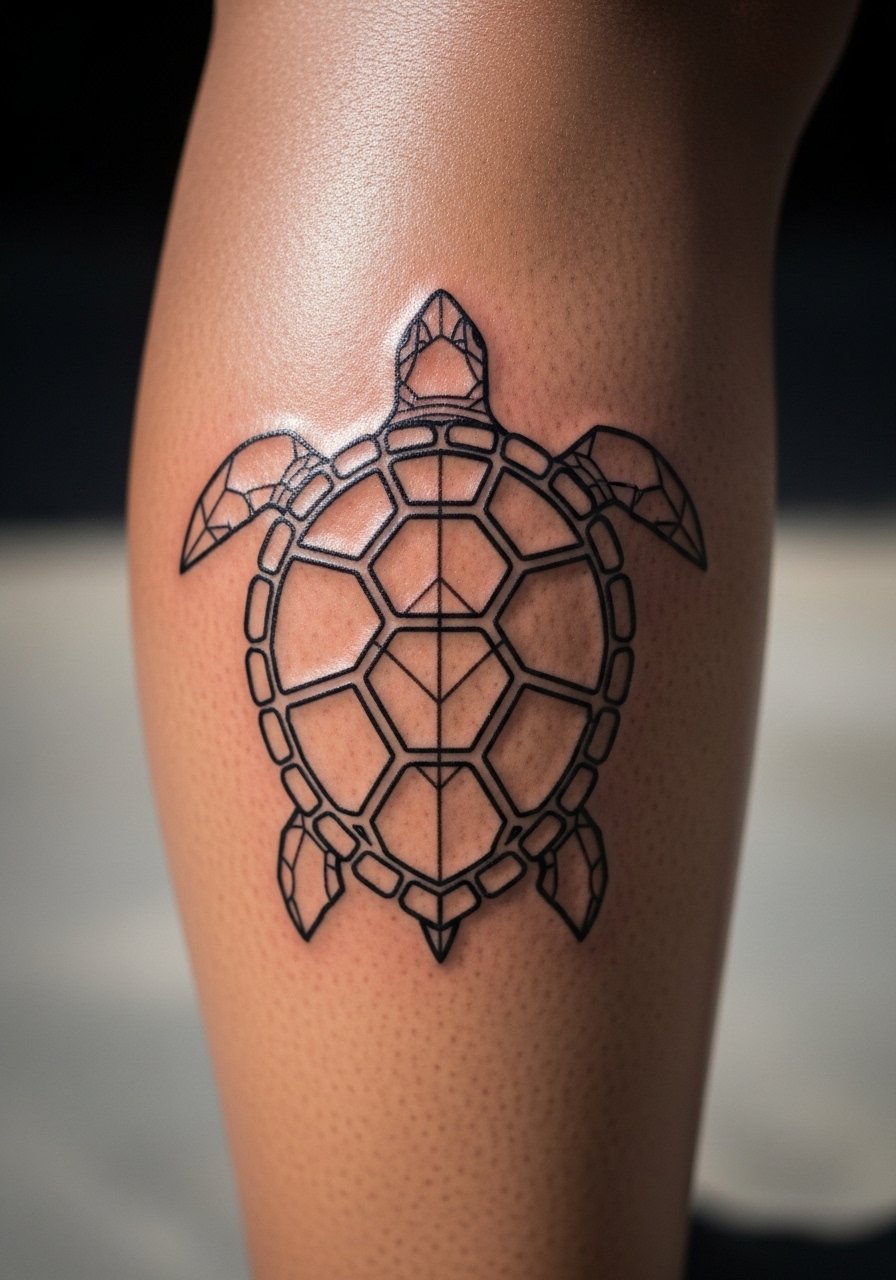
Geometric patterns on the calf benefit from scale. The biggest mistake is compressing a complex tessellation into a tiny space. With the calf you have room, and scaling the geometry prevents the lines from merging. The calf is medium pain and usually fits a single longer session. Tell your artist you want generous spacing between lines and a plan for future expansion into a sleeve area if desired. Pair this with rolled-up denim or a drawstring linen pant so the calf gets visible breathing room without tight fabric pressing on fresh work.
Studio Day Picks
Most of the pieces above, from the wrist to the rib, require small prep differences. The right tools smooth the session and help protect delicate linework during the first week.
-
Stencil transfer paper kit. Lets you preview placement and lineweight on skin before the needle touches ink, especially helpful for wrist and collarbone pieces.
-
Topical numbing cream. Applied as directed before the session can ease sensitivity on rib and sternum appointments without affecting saturation.
-
Thin protective film roll. Useful for ankle and finger tattoos to reduce friction from socks and daily hand use during the first days.
-
Fragrance-free gentle body wash. Mild cleansers help keep fine line and color work from irritating while they heal.
-
Aquaphor healing ointment. A thin initial layer can lock in moisture for fine line pieces without clogging delicate needle channels.
7. Micro-Realism Half Sleeve Featuring Sea Turtle and Coral
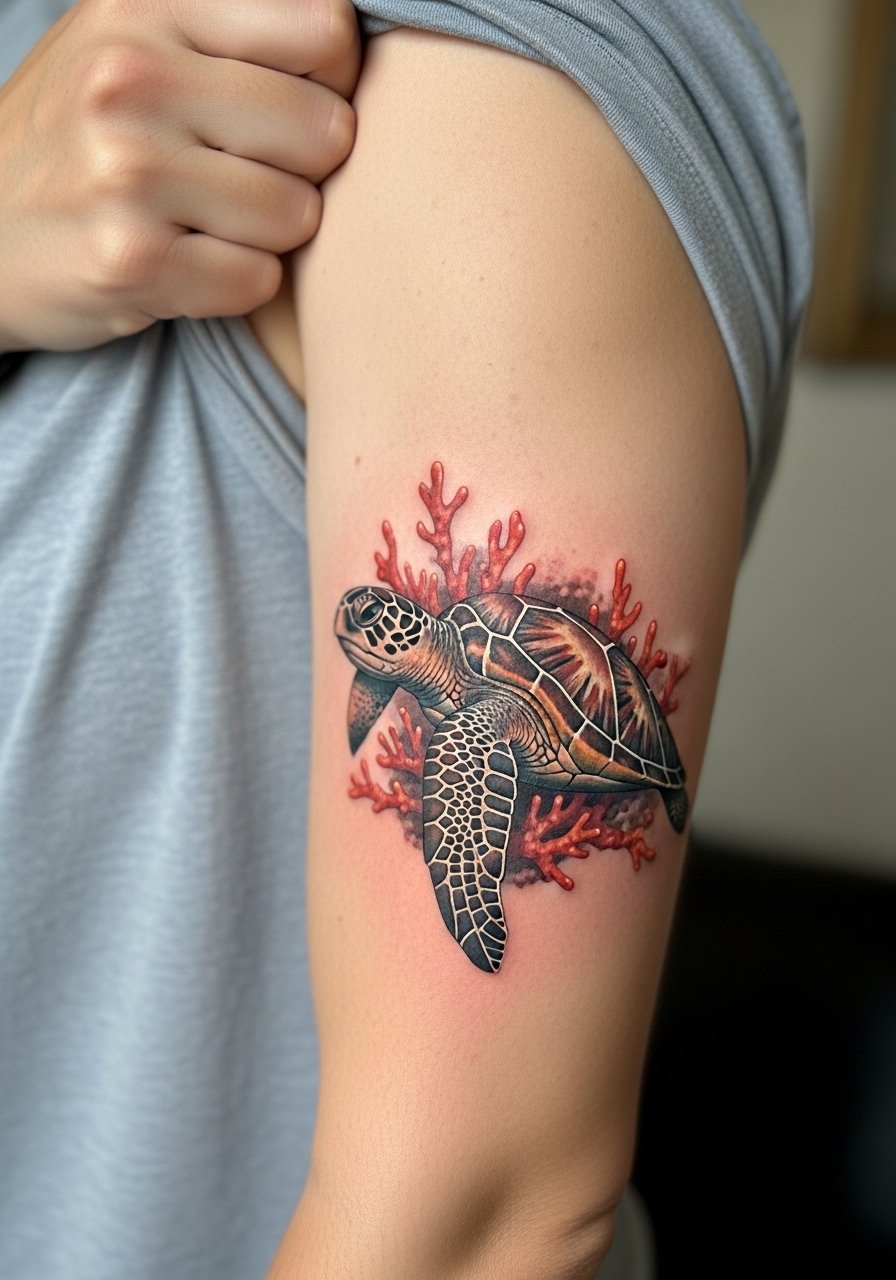
Half sleeves let you tell a small ocean story while still planning for future work. For micro-realism keep the turtle at a larger scale than a micro wrist piece so the tiny textures read over years. A common mistake is packing too many tiny background elements that look busy after healing. Sessions run longer and can be split. Expect a moderate pain level and a touch-up timeline around year two to three for crisp detail maintenance. For showing the sleeve, rolled-up short sleeves or a lightweight chambray shirt frame the arm without hiding the composition.
8. Negative Space Collarbone Turtle
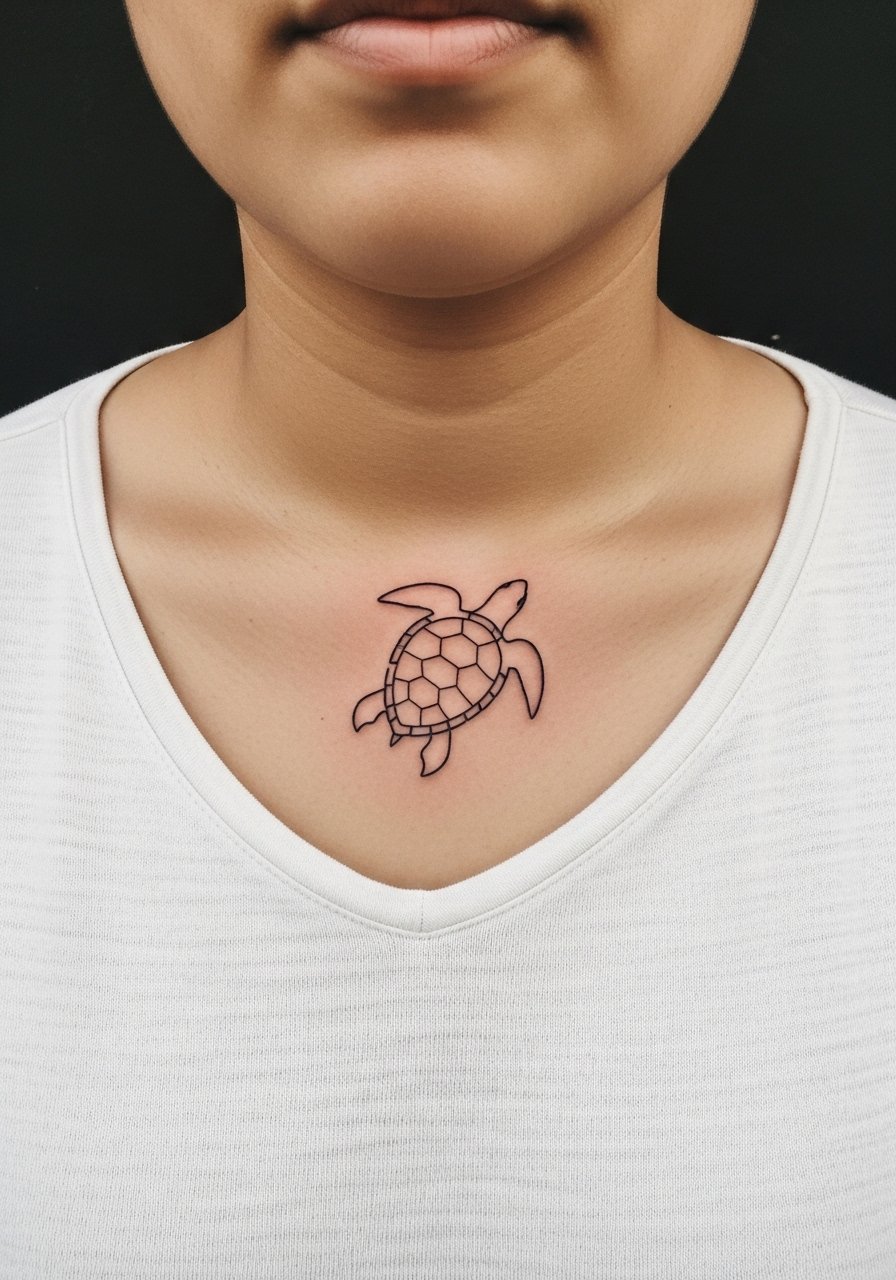
Collarbone tattoos are visible and sit close to movement and sun. Negative space shells keep the piece readable because they rely on contrast rather than tiny interior lines. Tell your artist to map the negative gaps and test the stencil placement while you stand. Pain is moderate with sharp spots near bone and session time is usually under two hours. A common mistake is asking for overcrowded detail that competes with the bone contours. Wear a wide-neck top the day of the session so the artist can access the area without you undressing.
9. Minimal Line Turtle Behind the Ear
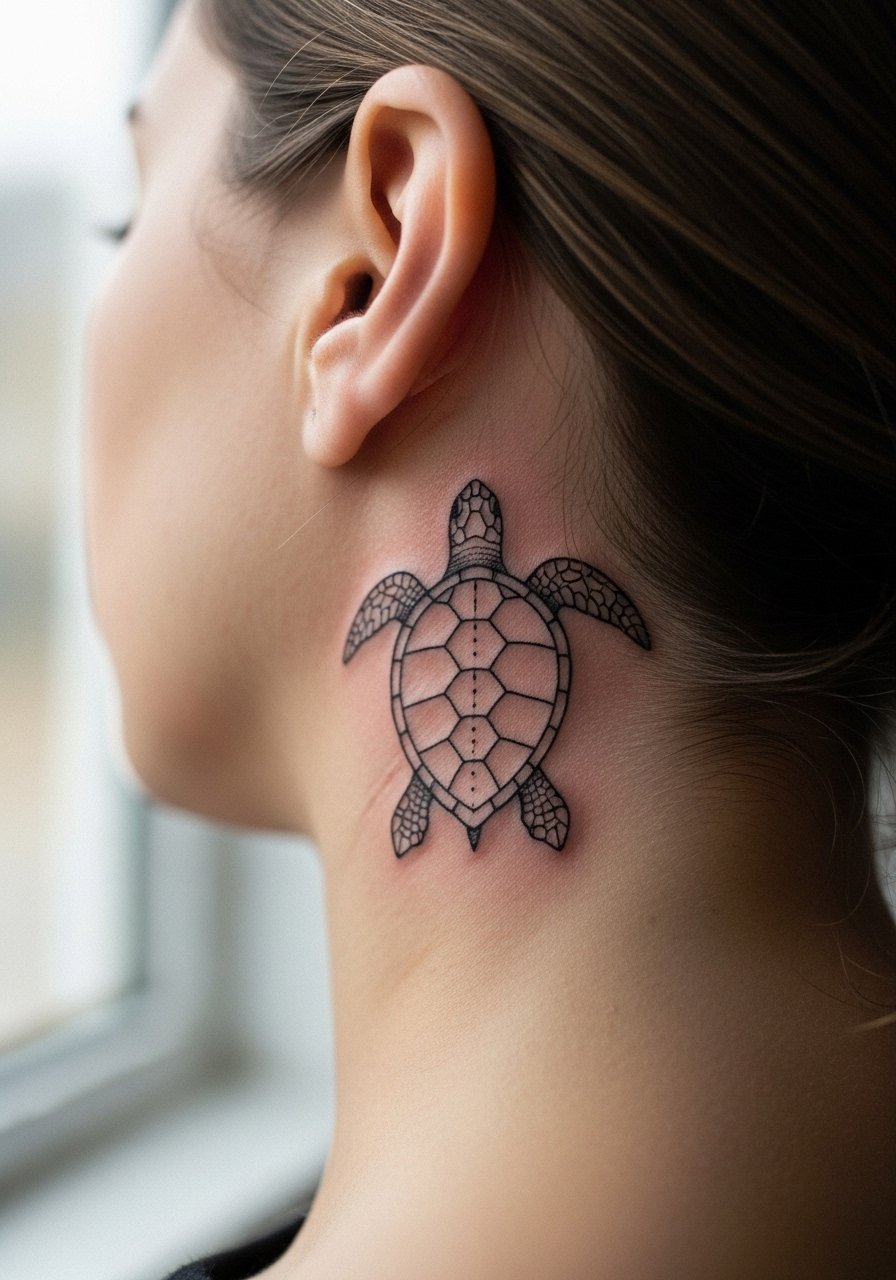
Behind-the-ear pieces are discreet and delicate. The rule about this placement is to keep linework bold enough to handle hair movement and occasional oil. Artists debate whether fine line truly lasts here. One camp says tiny lines blur with hair oils, the other says placement under hair helps hide any softening. If you want longevity, ask for a slightly stronger outline and minimal interior detail. Pain is low to moderate and sessions are quick. Note that visibility depends on hairstyles and hats. For the session, plan a hairstyle that keeps hair tucked away so the artist has clear access.
10. Watercolor Shell Accent on the Side Thigh
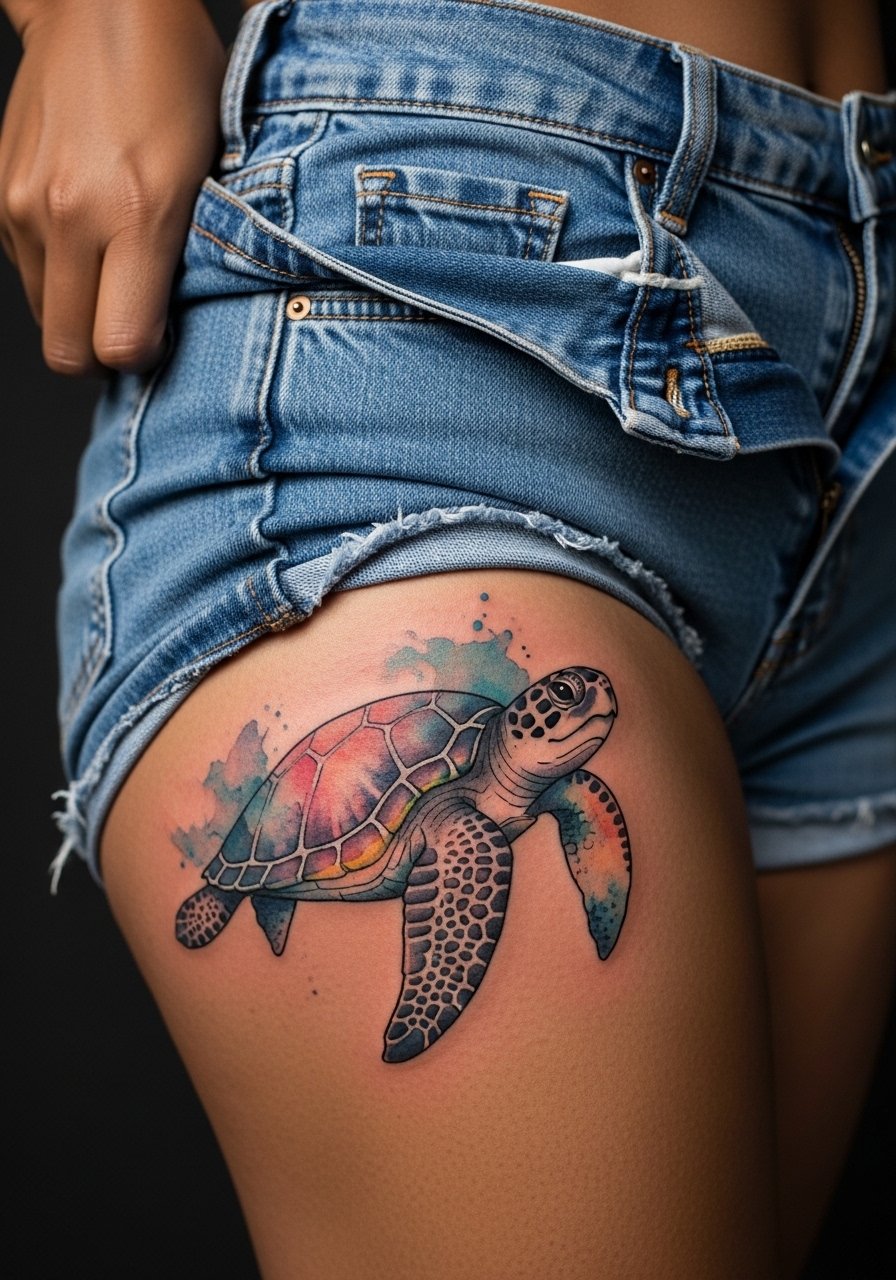
Thighs take color well because the skin is thicker and there is less stretch from surface motion. For watercolor accents, ask for anchored lines near high-contrast areas so the color has a frame. The mistake people make is asking for full bleed watercolor with no anchor, which blurs earlier than expected. Pain is lower on the fleshy thigh and sessions can be longer. For the appointment, wear loose shorts or high-waisted denim you can shift slightly so the artist can work without you feeling exposed. Showing this piece with a flowy skirt keeps it visible for summer months.
11. Tiny Toe or Side-Foot Turtle
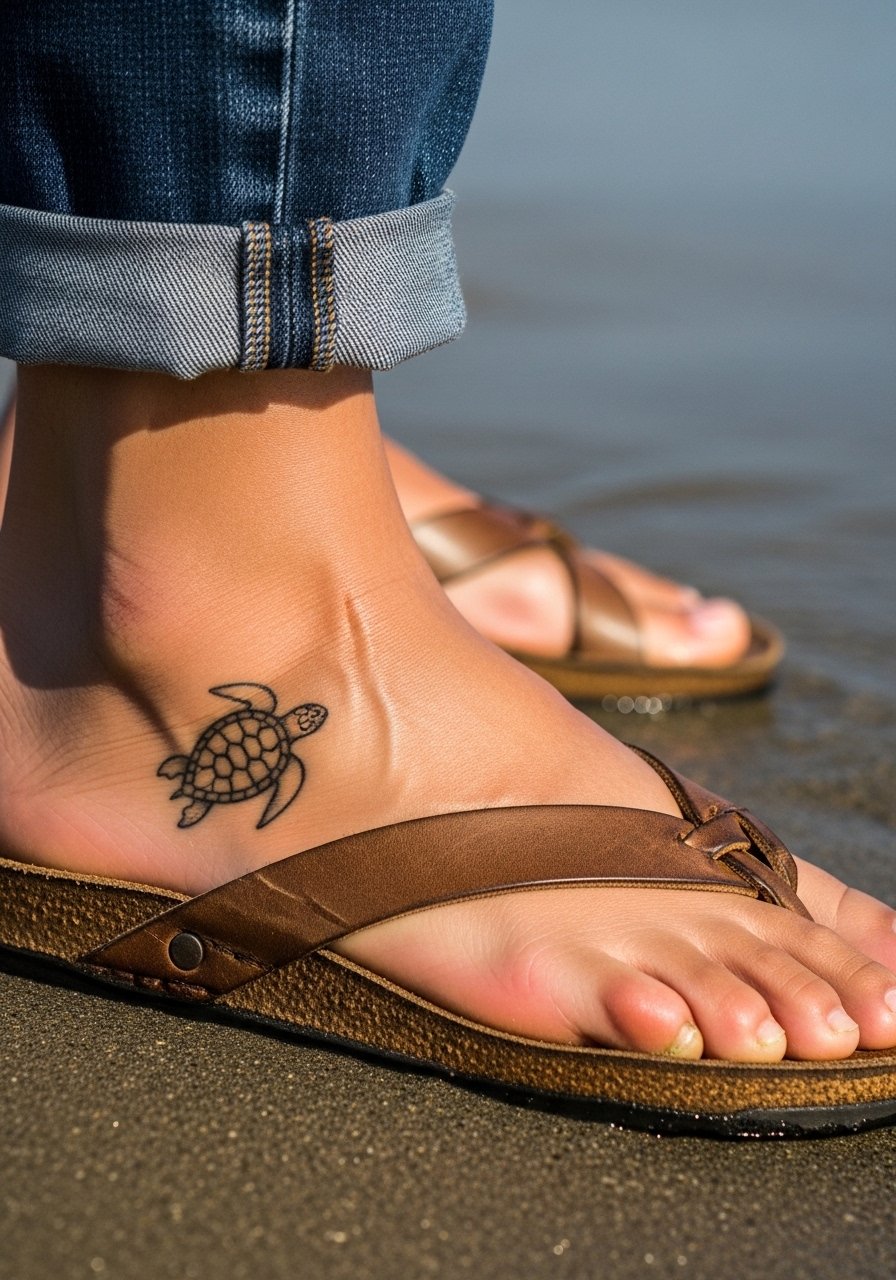
Feet and toes are notorious for fading and irregular healing because of constant rubbing and poor circulation. If you want a foot turtle, plan for a bolder outline and expect touch-ups. The most frequent mistake is insisting on micro-detail in an area that cannot hold it. Pain is high and healing can be spotty. For showing off, sandals and cropped pants help, and for the session avoid tight shoes after healing. Consider a pair of open sandals to minimize pressure while the ink settles.
12. Stipple-Shaded Turtle on the Outer Thigh
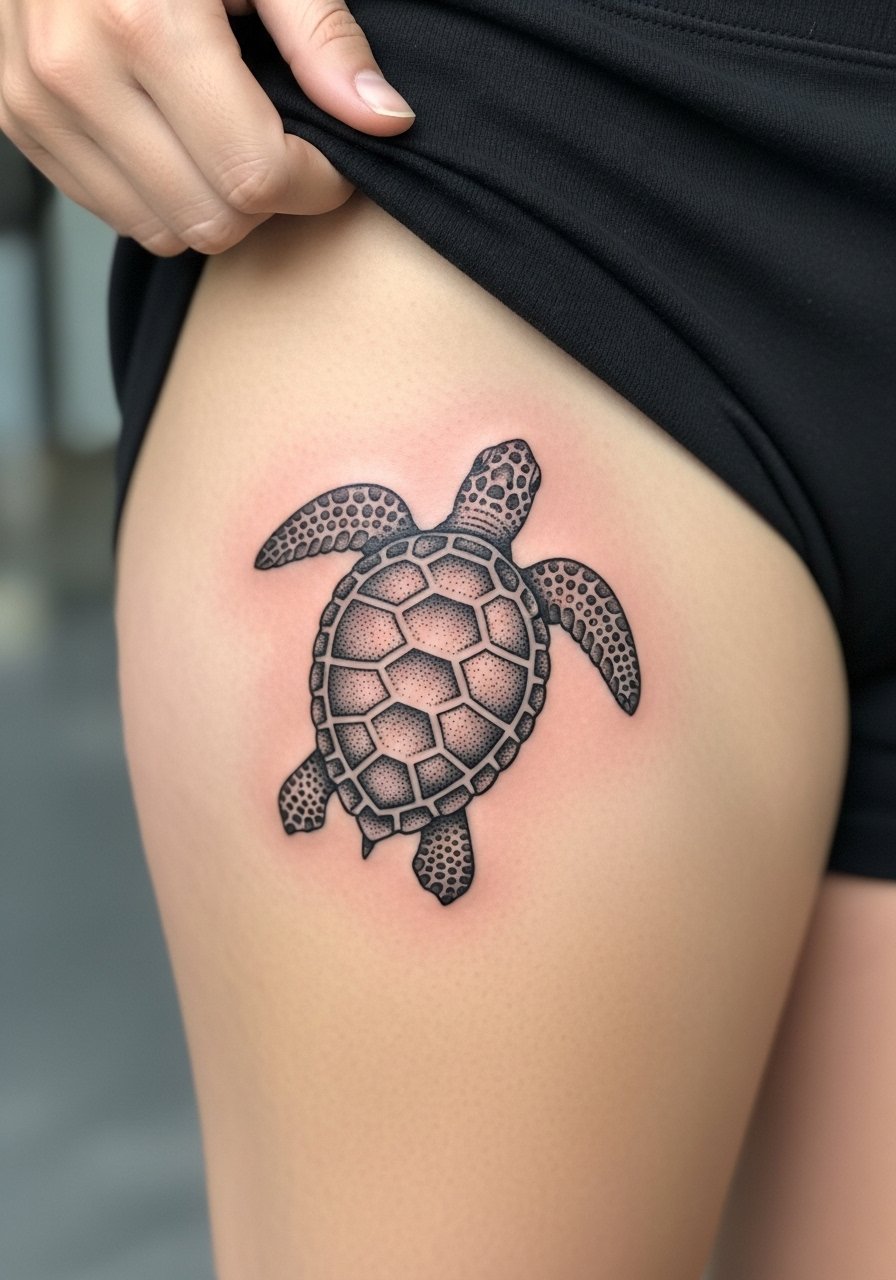
Stipple or dot work gives shell texture without dense saturation, which can age gracefully on the outer thigh. The outer thigh is a forgiving canvas, and stippling avoids solid blocks that might blur over time. Tell your artist you prefer visible dot spacing rather than tight clusters. Sessions are comfortable and often longer because of the detailing. A common error is packing stipple too tightly for a small piece. For showing it off, high-waisted bottoms or a wrap skirt frame the area without constantly rubbing the tattoo during recovery.
13. Blackwork Silhouette Turtle on the Sternum
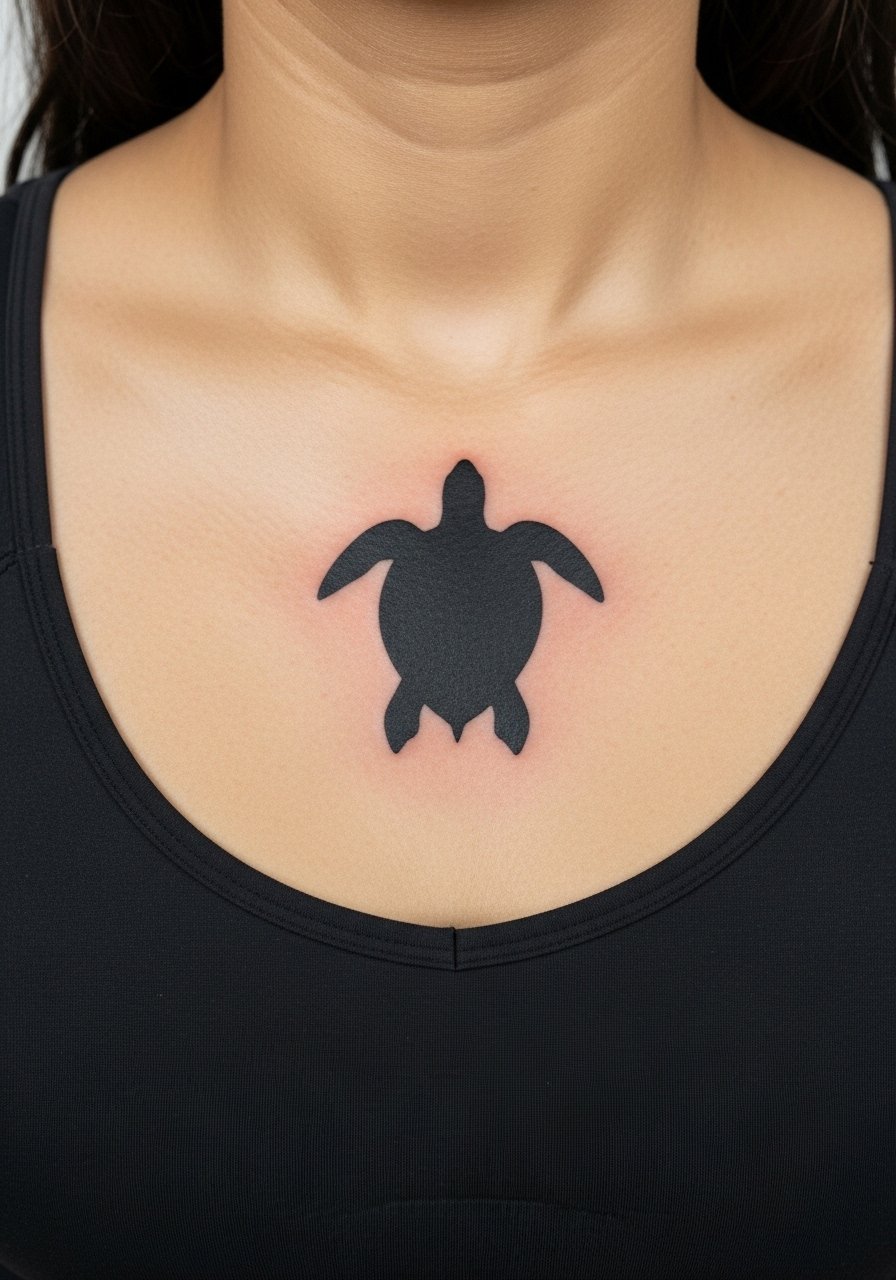
Sternum tattoos are intimate and demand careful composition. Solid black silhouettes can hold up well here if the shape is clean and not overly detailed. The session is painful for many and often split into two. A common mistake is squeezing too many fine details into the sternum where skin movement and contouring change how lines settle. For the session, wear a fitted sports bra that reveals only the area needed. Some people prefer subtle symmetry in the design because it reads well against the chest contours.
14. Tiny Shell Tattoo on the Side of the Finger
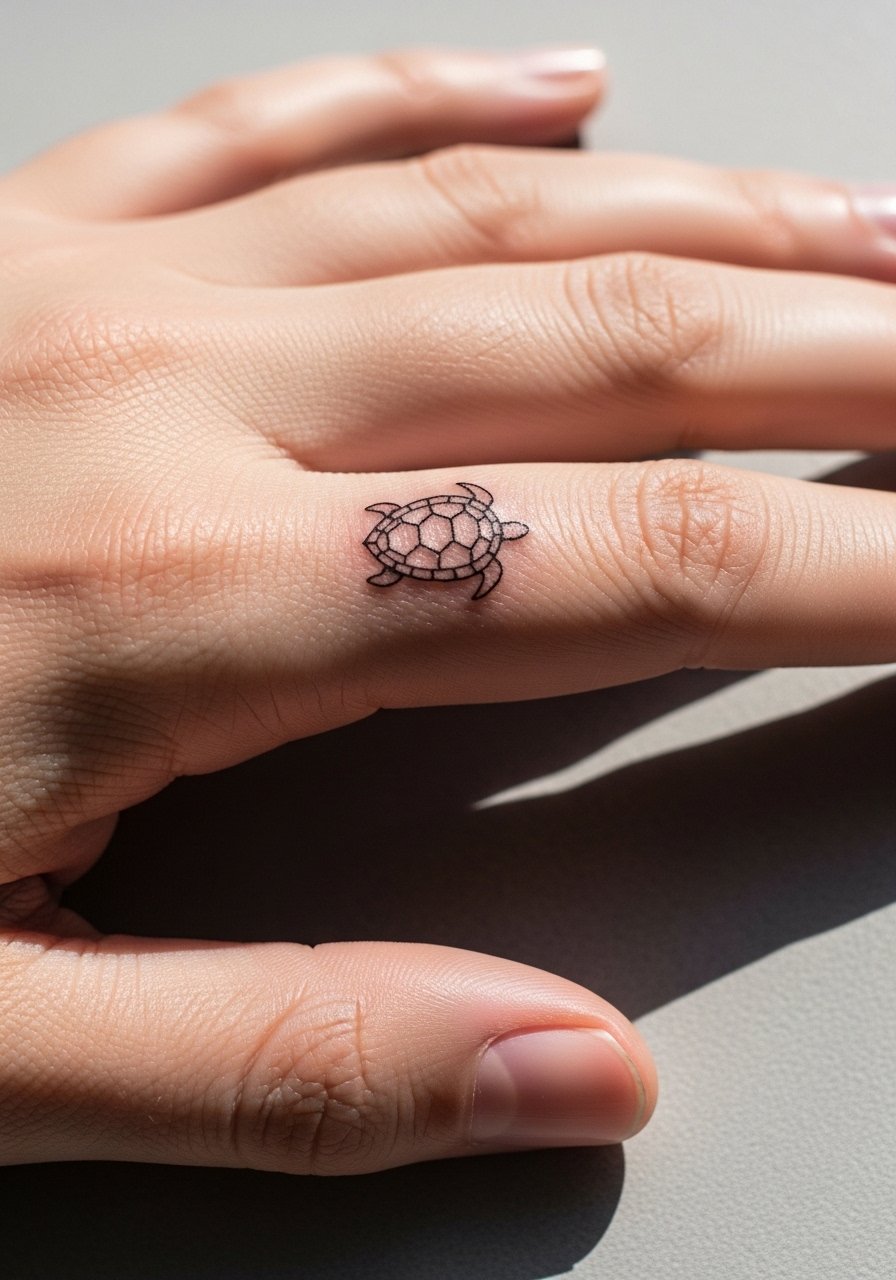
Finger tattoos are exposed to constant washing and friction, making them a high-maintenance choice. The side of the finger fares slightly better than the pad because it sees less abrasion. Expect faster fading and plan on touch-ups. The frequent mistake is choosing a complex design that becomes a smudge after a few months. Sessions are quick but painful and healing requires care. If you want this, talk with your artist about placement on the lateral finger edge. For showing it off, stack dainty rings rather than bulky bands so the tattoo keeps breathing room.
15. Realistic Tiny Sea Turtle on the Forearm
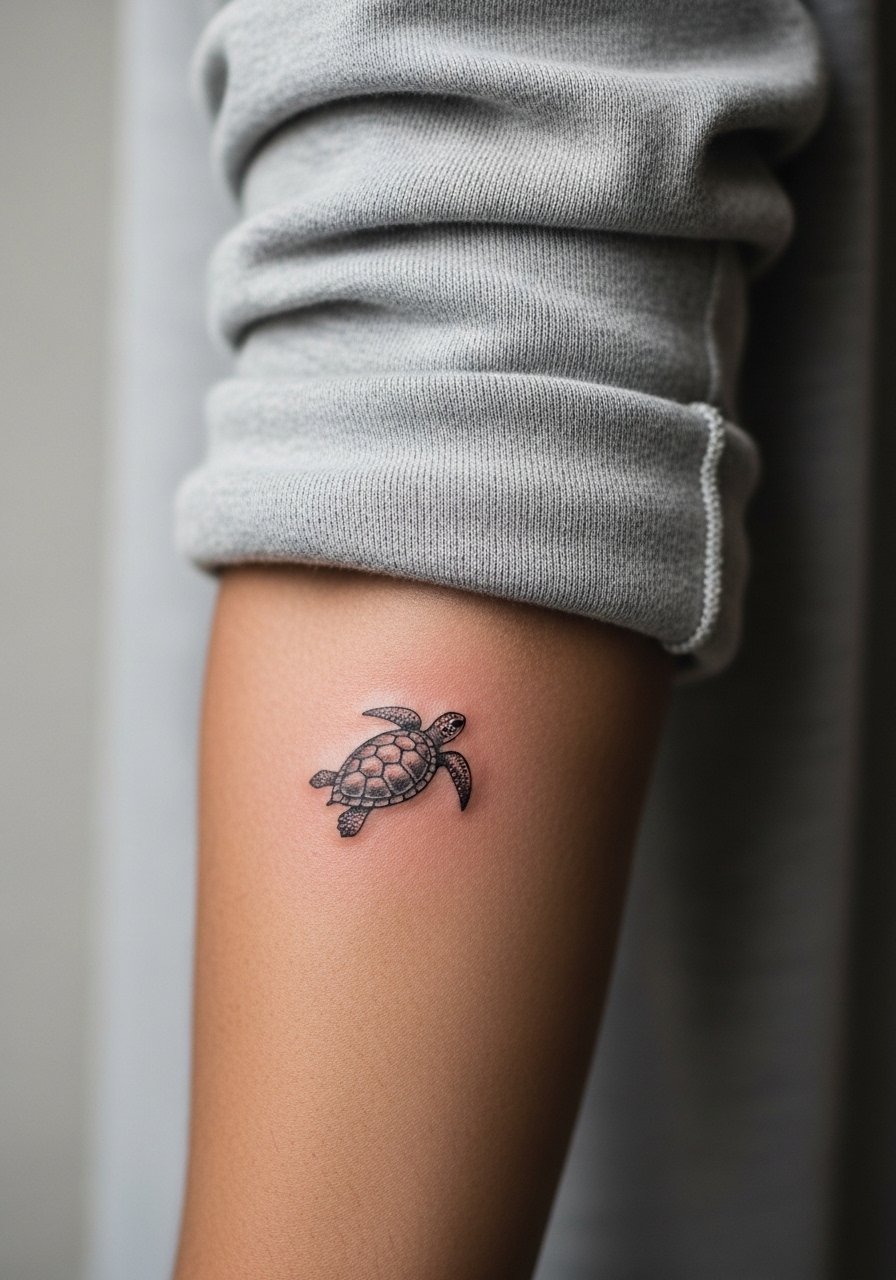
The forearm is one of the most forgiving places for micro-realism because it is visible and easy to protect from sun. The key is scale. Make the turtle large enough for shell and eye detail to translate after healing. A common mistake is asking for micro-shadowing that looks lovely fresh but fills in as it heals. The forearm session is moderate in pain and often done in one visit. For the appointment, roll a loose sleeve or wear a long sleeve you can pull up easily so the artist can access the area quickly.
16. Linework Turtle with Floral Frame on the Upper Back
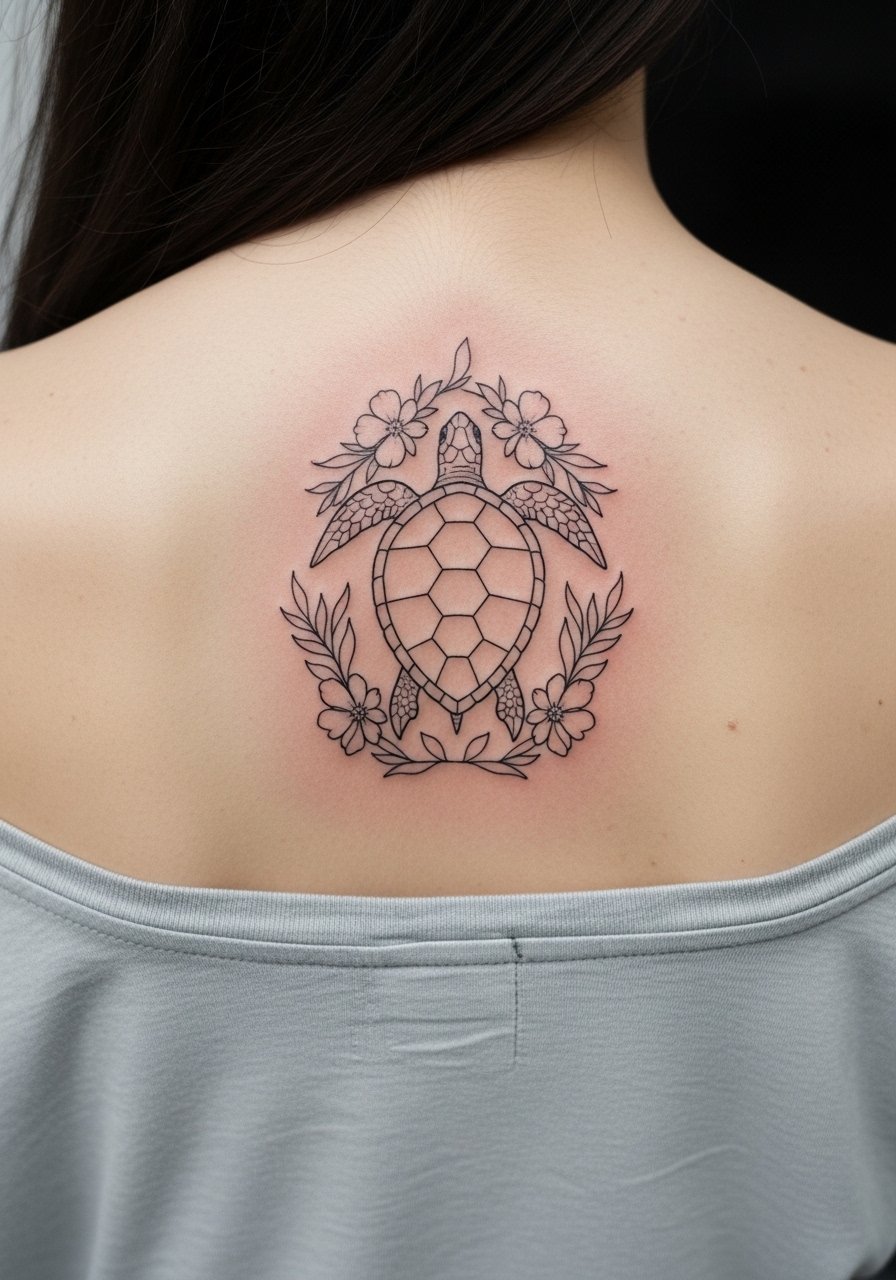
Upper back compositions let you combine a turtle with botanical elements that create a natural frame. The biggest mistake is cramming floral detail too close to the turtle, which competes for attention as the ink ages. Ask your artist to balance negative space with anchor lines so each element keeps clarity. Sessions can be split depending on size and are low to moderate in pain. For the session, wear a wide-neck shirt you can slide aside. Open-back dresses or tops later highlight the work for special occasions.
17. Tribal-Inspired Turtle Motif on the Hip
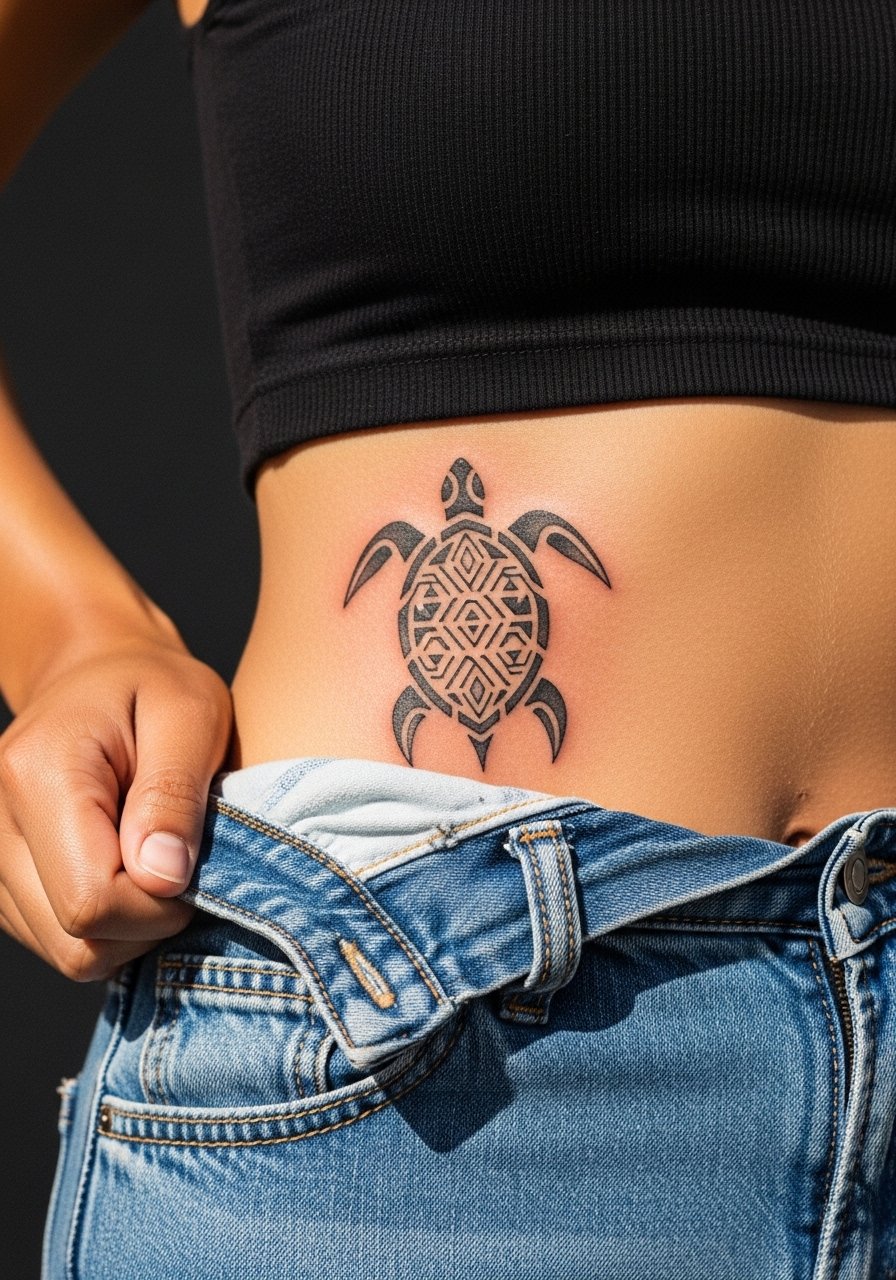
Designs that reference indigenous or Polynesian motifs require care. If you choose a tribal-inspired turtle, be explicit about wanting an interpretation rather than direct cultural replication. That respects origin and avoids appropriation. The hip is a sensitive yet private spot that heals well when you avoid tight waistbands after the session. Expect medium pain and a session time that depends on complexity. The common mistake is asking for culturally specific symbols without discussion. If you plan to show the piece, high-waisted garments that reveal the hip subtly work best.
18. Minimalist Turtle on the Side Neck
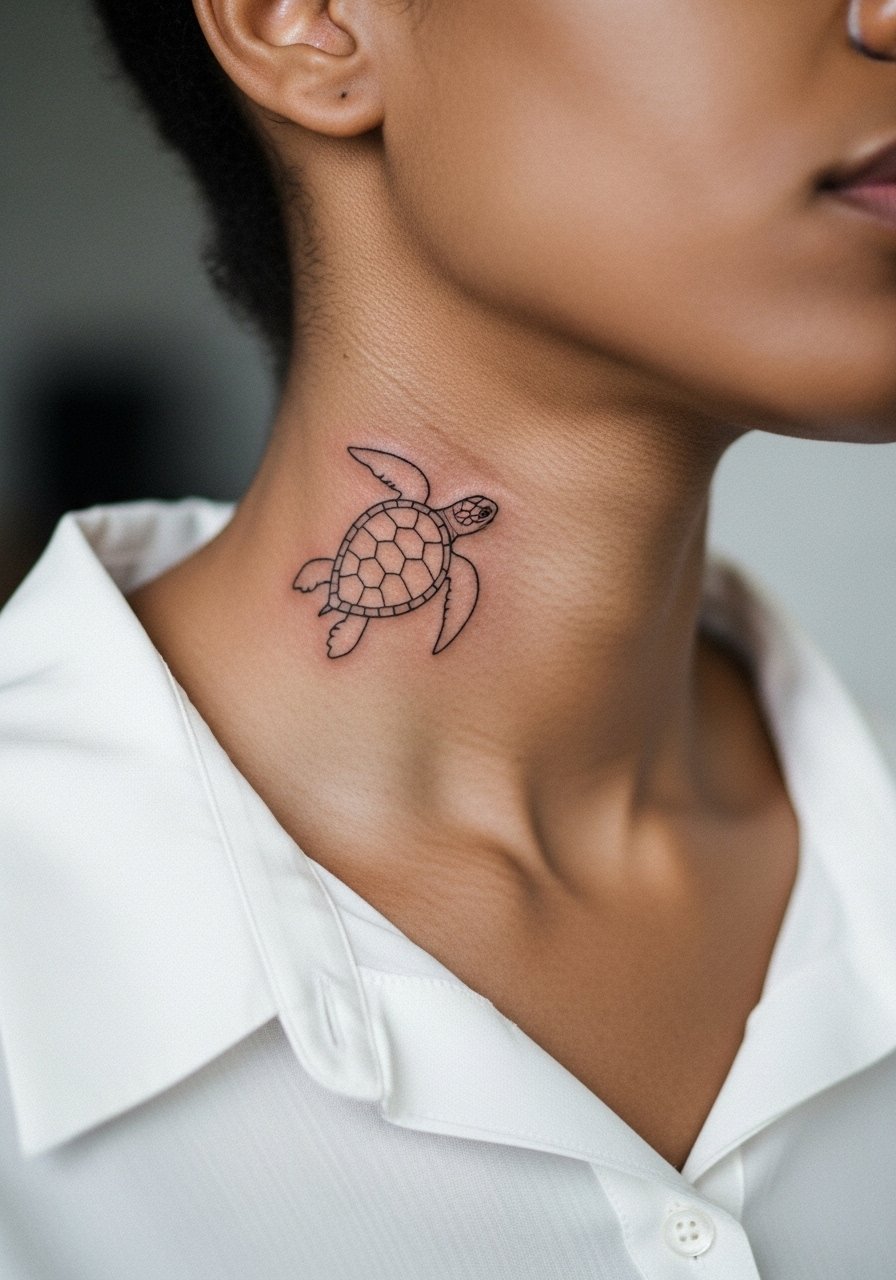
Neck tattoos are visible and can affect professional impressions in some fields. The side neck is more discreet than the throat and can look refined with minimalist linework. Discuss longevity with your artist because neck skin varies and exposure to sun accelerates fading. Pain is moderate to high. A common mistake is going too intricate for the scale. For the session wear a wide-neck top. If visibility is a concern, consider placement just below the hairline where it can be covered with hair when needed.
19. Multi-Tone Shell Accent for the Lower Back
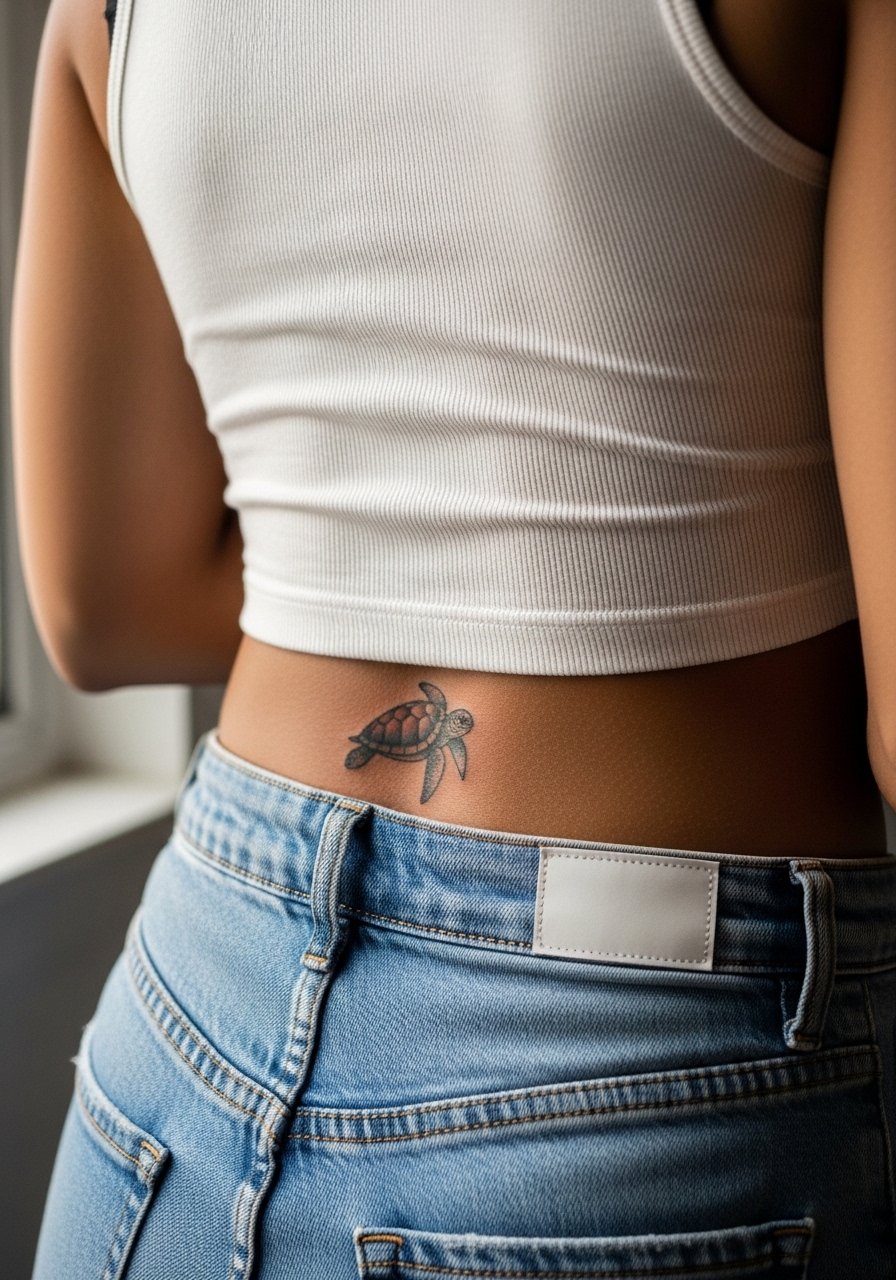
Lower back tattoos can be a great option if you want a design that is both private and showable. Multi-tone accents work because the area gets less daily abrasion than ankles or hands. The mistake is choosing overly detailed shading for a small lower back piece that will flatten as it heals. Sessions are low to moderate in pain. For the appointment, wear a tank top or shirt you can pull up a bit. High-waisted skirts or jeans later let you reveal the piece selectively.
20. Tiny Nautical-Style Turtle Near the Clavicle
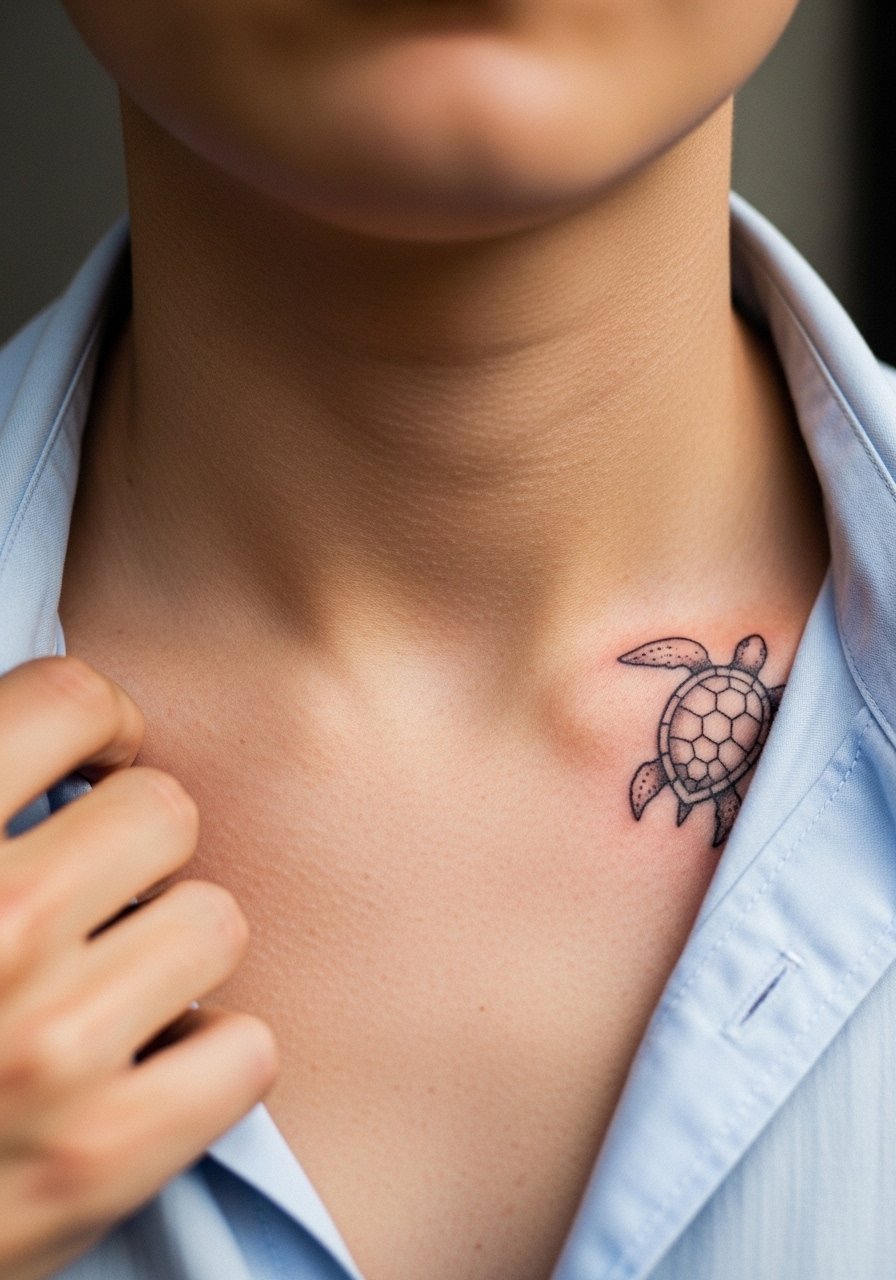
Clavicle placements are visible and frame necklaces well. Nautical styling with simple shading keeps the tattoo readable despite movement and sun exposure. The common mistake is requesting tiny shading that turns patchy over time. Pain is moderate and sessions are short. For the session, an open collar shirt that you can pull aside is ideal. Pair the result with a thin chain pendant necklace for a balanced look that does not crowd the tattoo.
21. Full-Back Composition: Sea Turtle in Ocean Scene
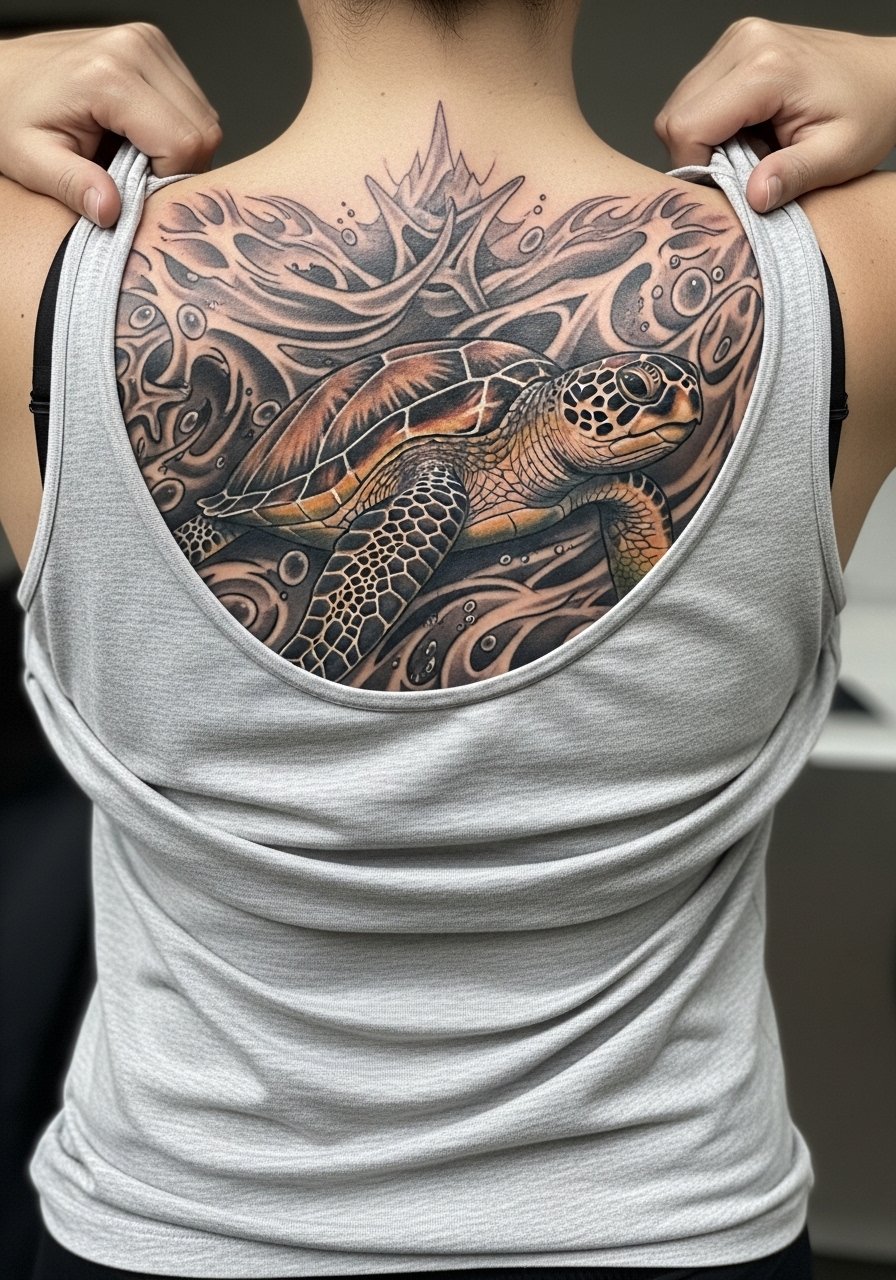
Full-back pieces are ambitious and rewarding if planned as a series of sessions. The key is building broad shapes first and leaving room for later detail so the composition does not get muddy. A common mistake is trying to finish everything in a single marathon session. Expect multiple longer sessions and variable pain across the back. Touch-ups are often built into the plan. For discovery, search reputable directories, hashtags, and convention listings to find artists with portfolio work you admire. For session comfort bring loose clothing you can re-dress in between visits.
Frequently Asked Questions
Q: Will fine line wrist and finger turtles need touch-ups sooner than forearm or back pieces?
A: Yes, in my experience fine line work on wrists and fingers usually needs touch-ups earlier because those areas see more washing and friction. Planning for a light touch-up at year one or two is realistic, especially if you wear rings or tight bands on the same fingers.
Q: Can watercolor turtles be adapted to ribs so they last longer?
A: They can be adapted by asking for anchoring lines and conservative color placement to frame the wash. The debate among artists is real. One camp warns ribs plus watercolor equals fast fading. The other camp says anchored lines make it work. It depends on how conservative the color is and how the artist spaces the pigments.
Q: What should I wear to a thigh or hip session to make the artist's life easier?
A: Loose shorts or high-waisted bottoms you can slide down slightly are best. A loose drawstring linen pant or shorts give access while keeping you comfortable between passes. Comfort reduces movement and helps the artist maintain consistent linework.
Q: Are hand and foot turtle tattoos worth it if I want long-term clarity?
A: They are worth it if you accept the maintenance. Hands and feet fade faster and often need annual touch-ups. If you want less maintenance, choose larger, bolder linework or pick a less exposed placement.
Q: How do I find an artist who understands both realism and geometric styles for a hybrid turtle piece?
A: Use discovery pathways like artist directories, convention portfolios, and targeted hashtags to find someone with both styles in their book. Look for portfolios that show clear healed photos of similar work. Ask to see healed images when you consult so you know how their linework and saturation settle.
