
Fine line peonies are all over saved boards, and ankles are an easy place to plant one, but trends and real life do not always match. On ankles, sun exposure, shoes rubbing, and skin that sits close to bone change how a peony ages. Read the next section for a fine line option that leans on longevity and what to ask for at your consultation.
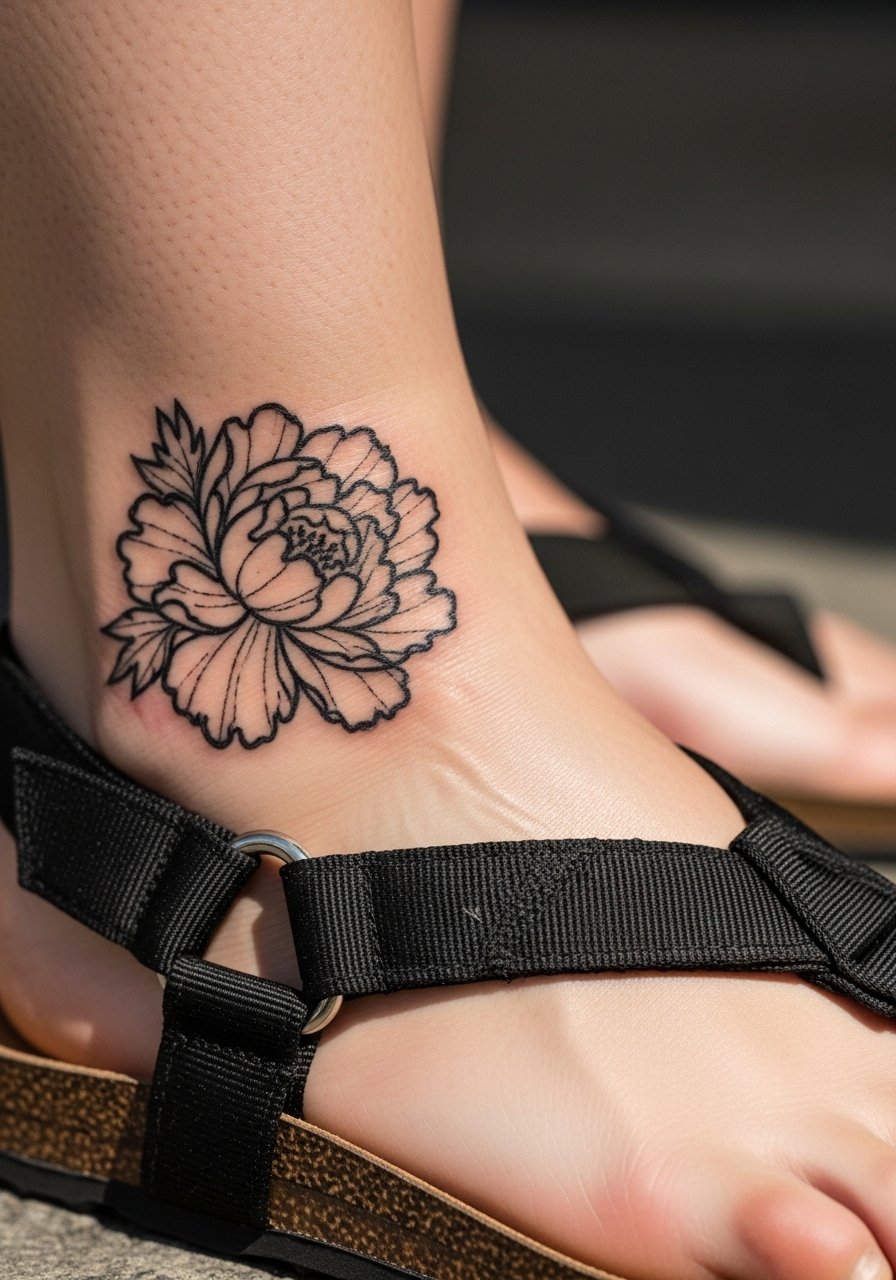
1. Single Bloom Fine Line Peony on Outer Ankle
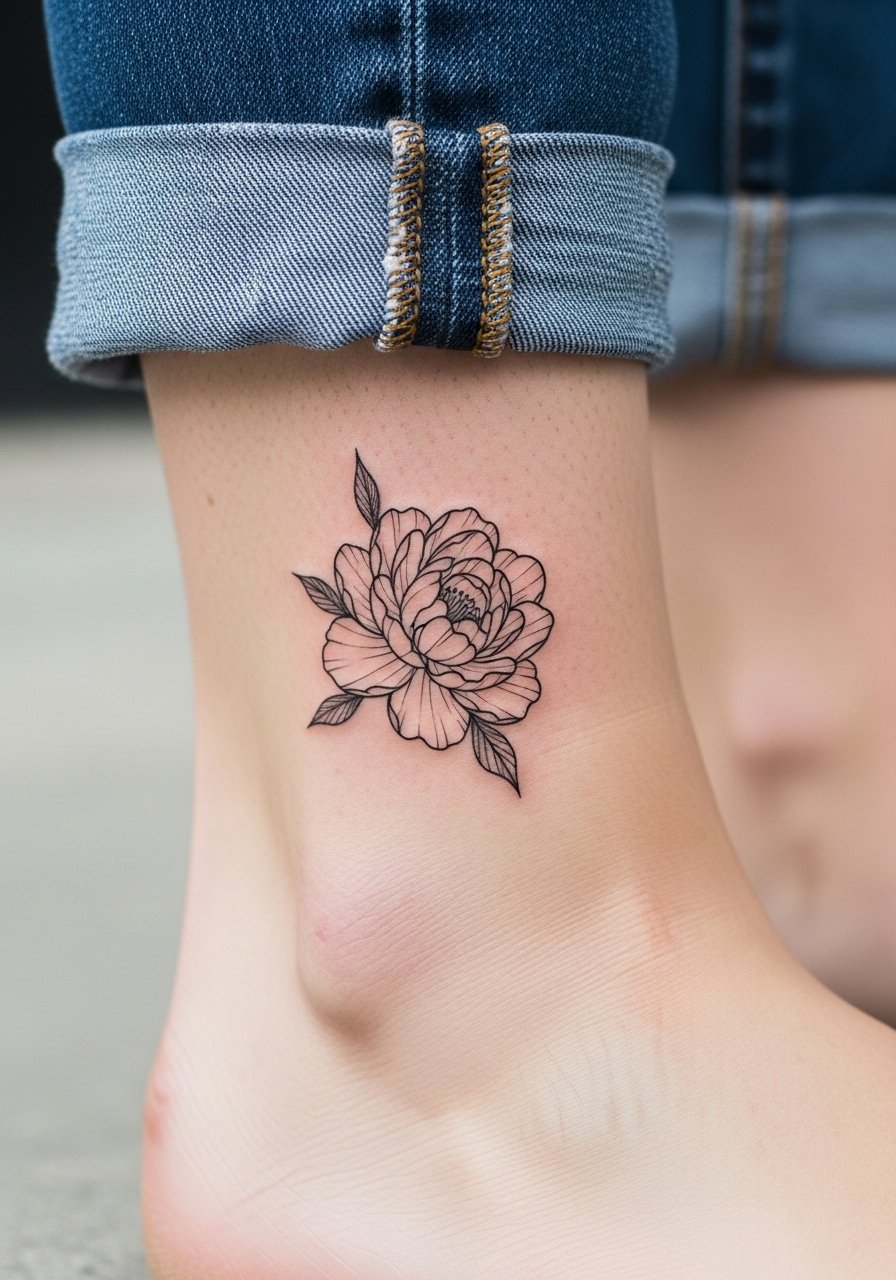
I recommend this when you want something small that peeks from sandals without swallowing the foot. Fair warning, fine line on ankles ages differently than on arms. Ask your artist to use slightly thicker linework, around two to three millimeters, and to space the inner petal lines so they do not merge as the tattoo settles. Expect a short, one-session appointment and moderate pain because the skin is thin over bone. A common mistake is asking for micro hairline details that look great fresh and then soften into a ghost at year two. For showing it off, pair the placement with raw hem ankle jeans that draw the eye to the delicate outline during warm months.
2. Blackwork Peony Cluster on Inner Ankle
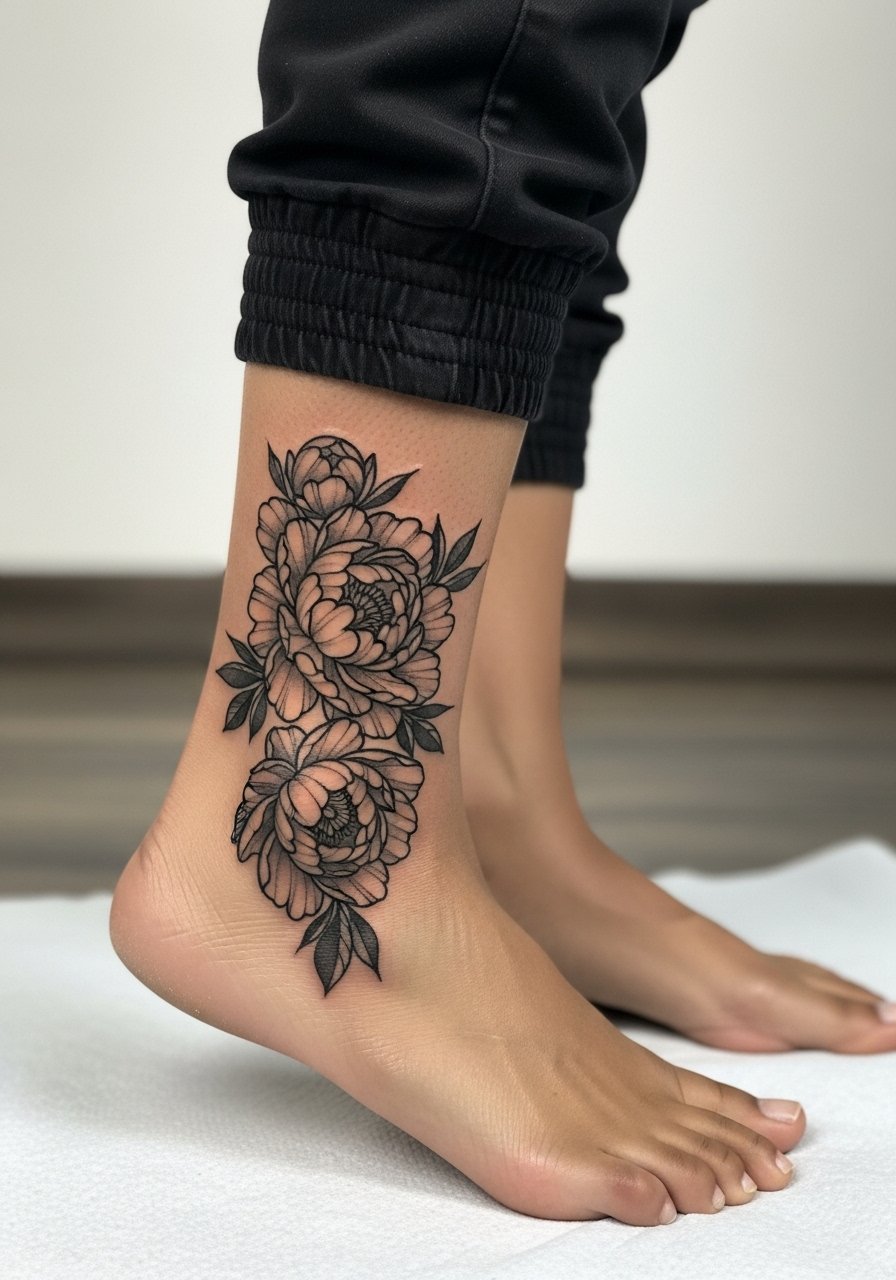
This design is for anyone who wants contrast that lasts. Blackwork holds up better on ankles because saturation resists fading from sun and friction. Tell your artist you want bold fill and crisp edges rather than tiny stippling that can gray out under socks. Expect two shorter sessions and a higher pain score on the inner ankle where the skin folds. Blowout risk rises with overly thin shading near curves, so ask for clean edge lines and a touch-up plan six months out. For footwear that frames the piece, try pairing it with black leather chelsea boots or strappy sandals for contrast when you want it to pop.
3. Traditional Peony with Leaves on Ankle Bone Top
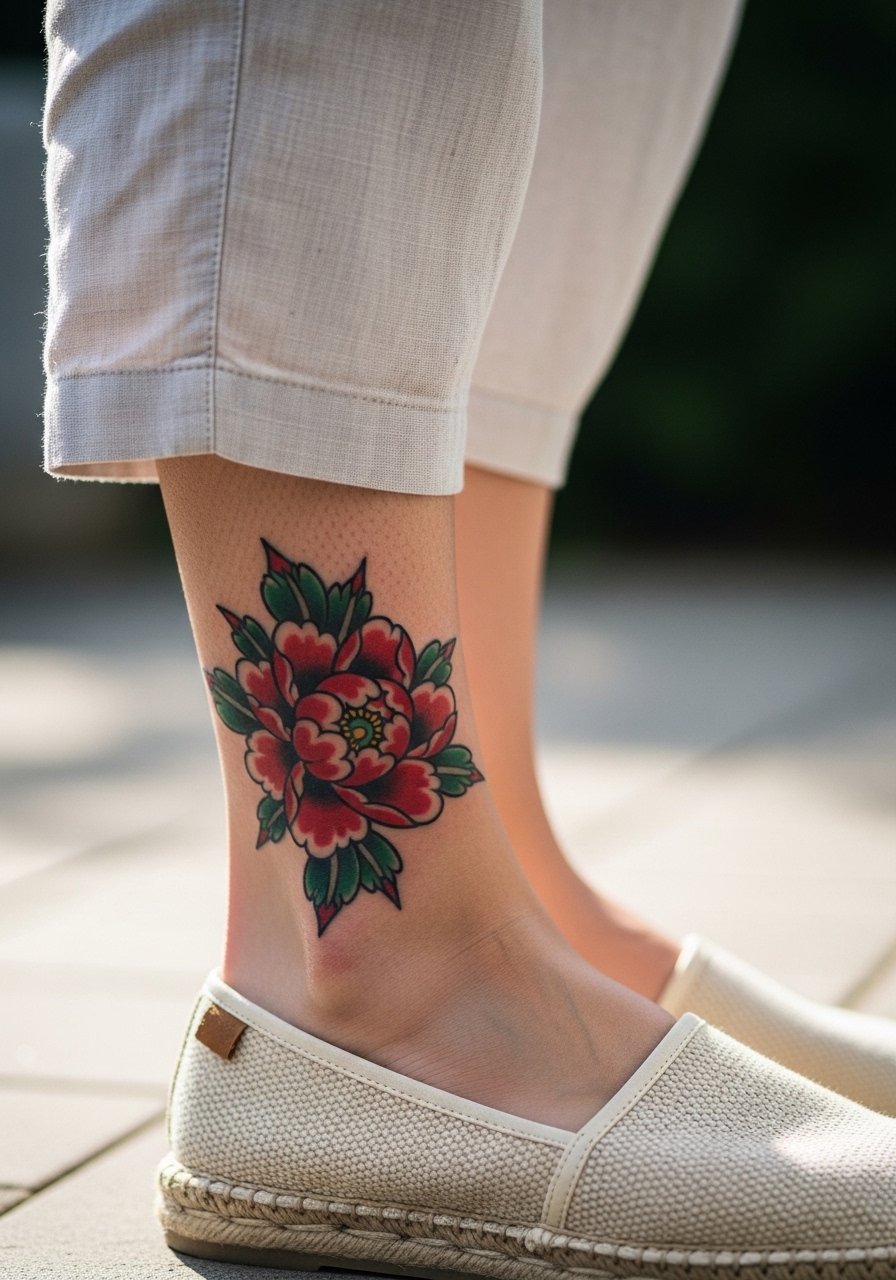
If you want saturation and old-school lines, this top-of-ankle placement reads loud without being large. Tell the artist to keep outlines strong and color blocks slightly larger than the stencil so the petals do not mush together as they heal. The session can be one to two hours and the bone contact raises pain, but the payoff is color that ages into a lively silhouette. A common error is asking for too many tiny color gradients in a 2-inch piece. For show-off outfits, canvas espadrilles or white boat shoes keep attention on the color without competing.
4. Watercolor Peony Splash on Calf Below Ankle
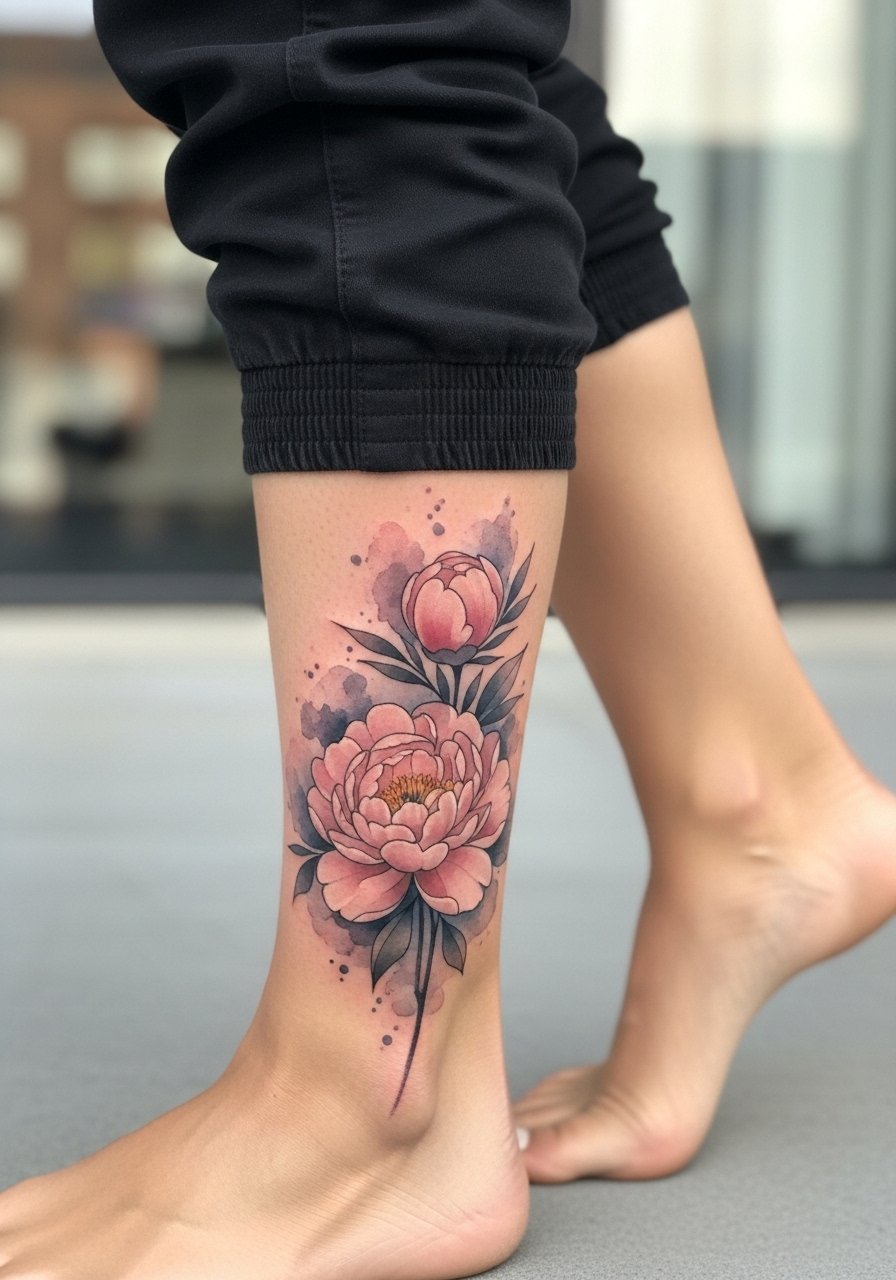
This one stretches the classic ankle into the lower calf so the painterly washes can breathe. Visuals matter here more than crisp linework, so bring references that show how much bleed you accept. Sessions run longer, often two to four hours, and expect more soreness because the needle covers more surface. The aging reality is that watercolor fades faster than blackwork, so plan a color-refresh session if you want the washes to stay bright. For movement-friendly outfits, a cropped jogger in heather gray or a flowy midi skirt shows the fade and flow as you walk.
5. Neo-Traditional Peony with Thorns on Ankle Wrap
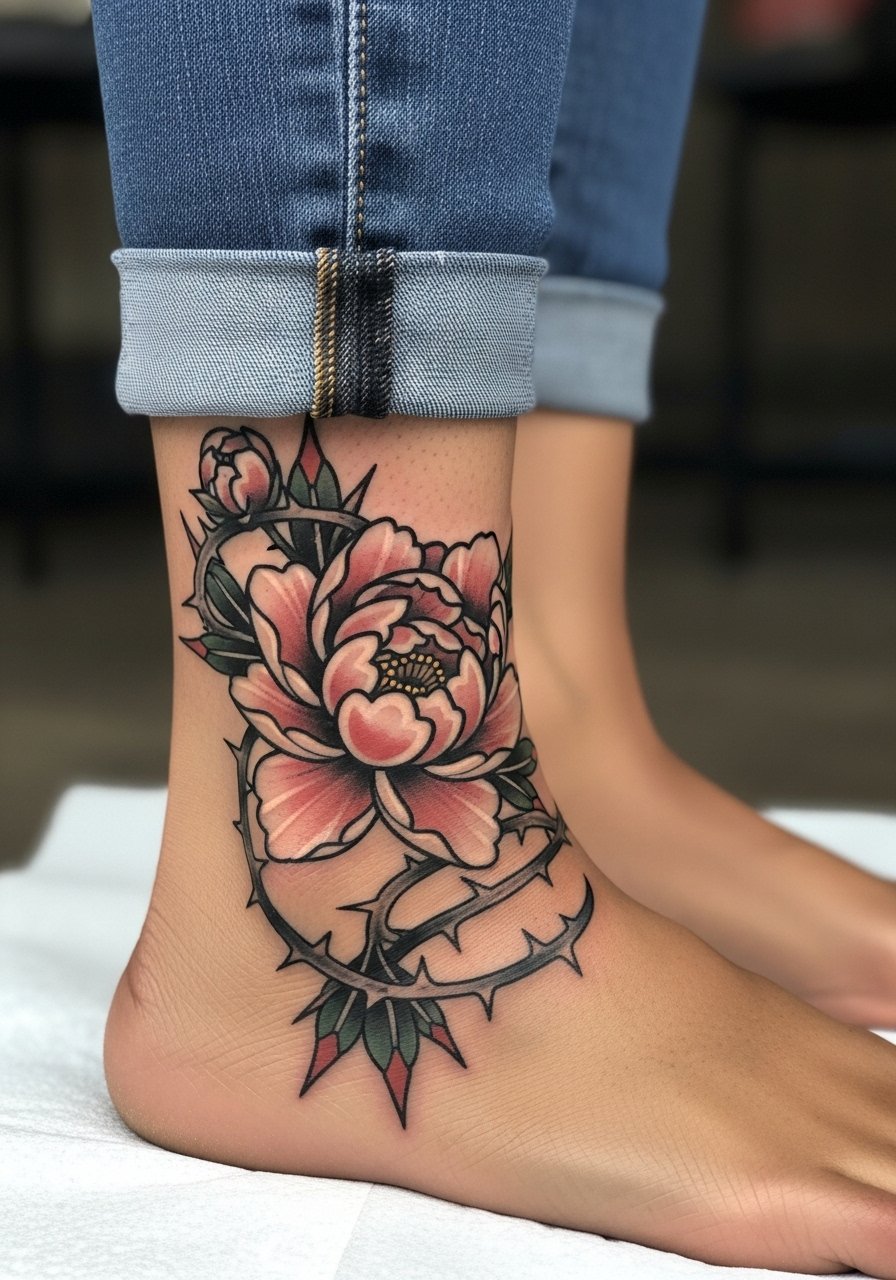
This wrap balances bold outlines with decorative thorns so the motif reads from any angle. Mention during consultation that you want the thorns to follow the ankle curve rather than cut across bone areas. Two to three sessions are common and the wrap needs careful stenciling so the design flows with the ankle when you move. The biggest mistake I see is trying to compress a full wrap into a too-small band which causes overcrowding and early blurring. For a city-ready look, cuffed skinny jeans or faux leather leggings frame the wrap and echo the edge work.
6. Minimalist Outline Peony on Side Ankle
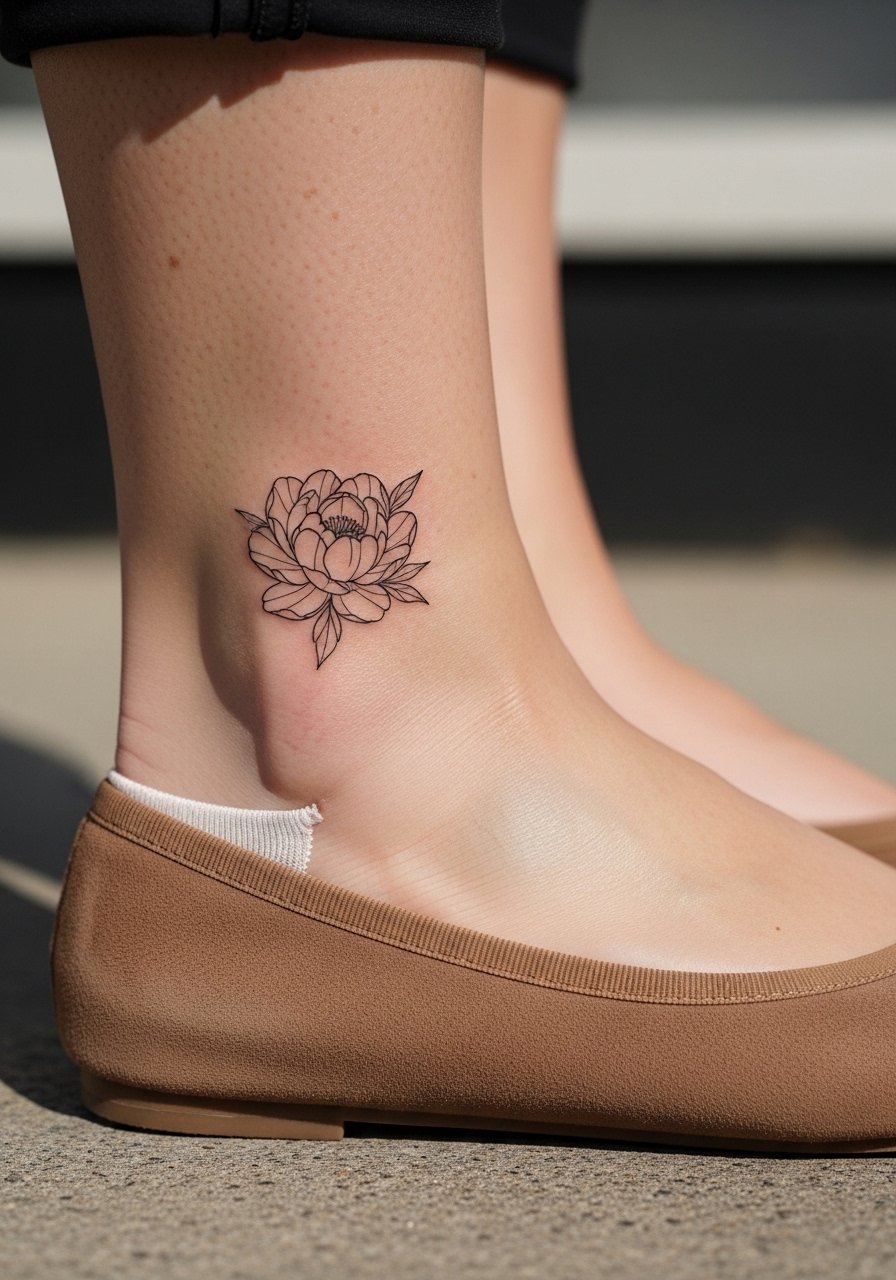
This is a great first-tattoo choice because the session is quick and the appointment-level pain is low when placed on the fleshy side ankle. Ask the artist to draw the stencil slightly larger than you think you want and to use a steady hand with a single pass. Many people request hairline lines that vanish within months, so request a modestly thicker outline for longevity. Plan for a one-session appointment and a possible touch-up at six to twelve months. For everyday outfits, pair the placement with suede ballet flats or white lace-up sneakers to let the tiny outline peek.
Pack Smart
The designs above show a mix of small fine line work and saturated wraps, so pack items that protect the ankle and keep the area comfortable during your session and first week.
- CeraVe Healing Ointment. A non-greasy ointment many people use during the first few days to avoid heavy residue while still keeping the skin from cracking after a fine line session.
- Indie Butter Tattoo Balm. A breathable balm useful in humid weather so your ankle does not sit in shiny, pore-clogging ointment while wearing socks.
- Hada Labo Lightweight Lotion. A simple hydrating lotion some artists recommend after the initial healing window to keep delicate linework from drying out.
- Manuka Honey Antibacterial Balm. Helps reduce the risk of minor infection around high-friction ankle areas when you need an antibacterial option during outdoor months.
- Tattoo Goo Ointment. A thin, non-clogging option that many people prefer over heavier greases for ankle tattoos that see a lot of movement and sock contact.
7. Micro-Realism Single Petal on Front Ankle Bone
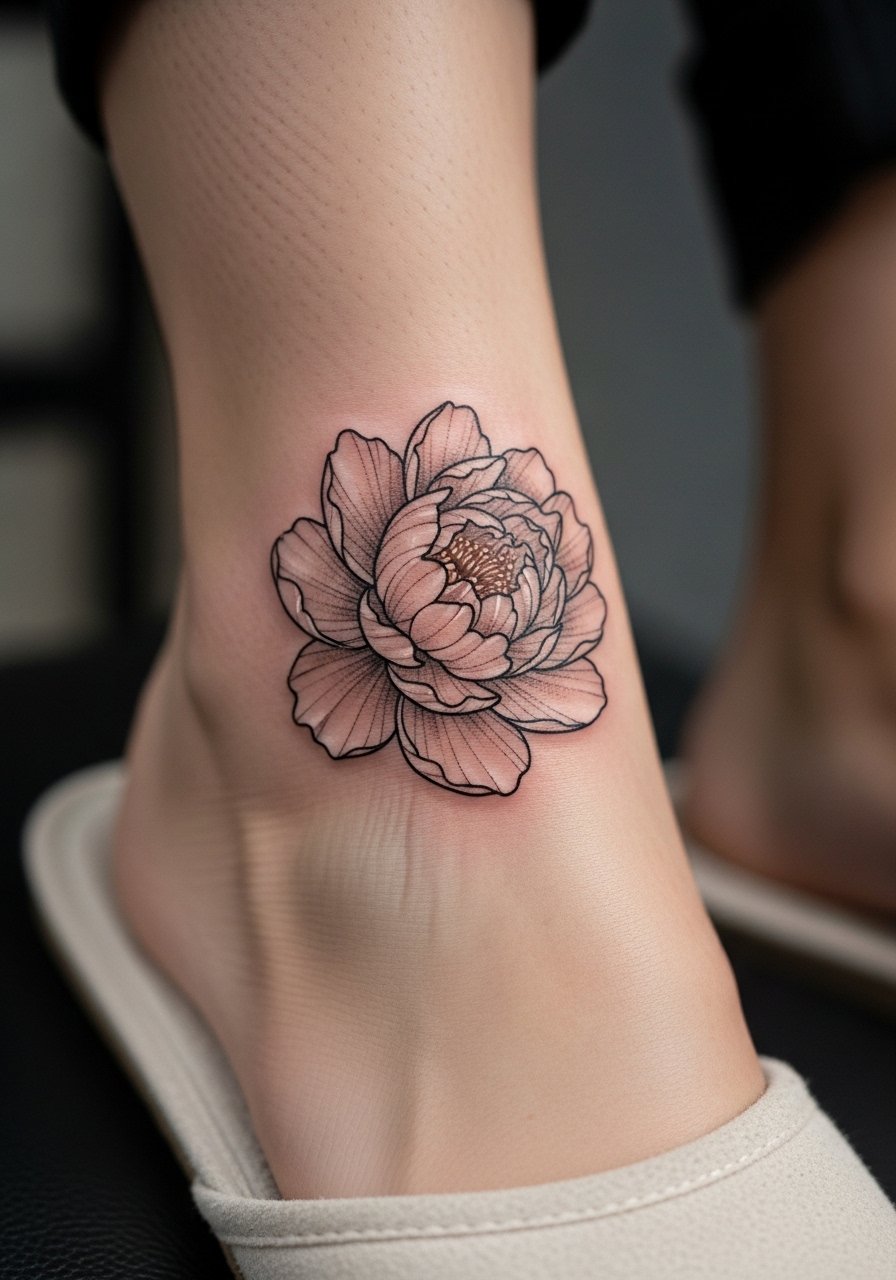
Micro-realism gives texture in a tiny space, and a single petal reads like a jewel on the ankle bone. Tell your artist you want contrast between the petal's edge and the internal texture so the detail holds as the skin moves. The session is short but concentrated, and bone contact means higher pain for a small area. A frequent mistake is requesting ultra-fine flecks that do not hold on ankle bone after healing. Plan for a possible touch-up at six to twelve months if you want the grain to stay crisp.
8. Ornamental Peony Mandala on Ankle Top
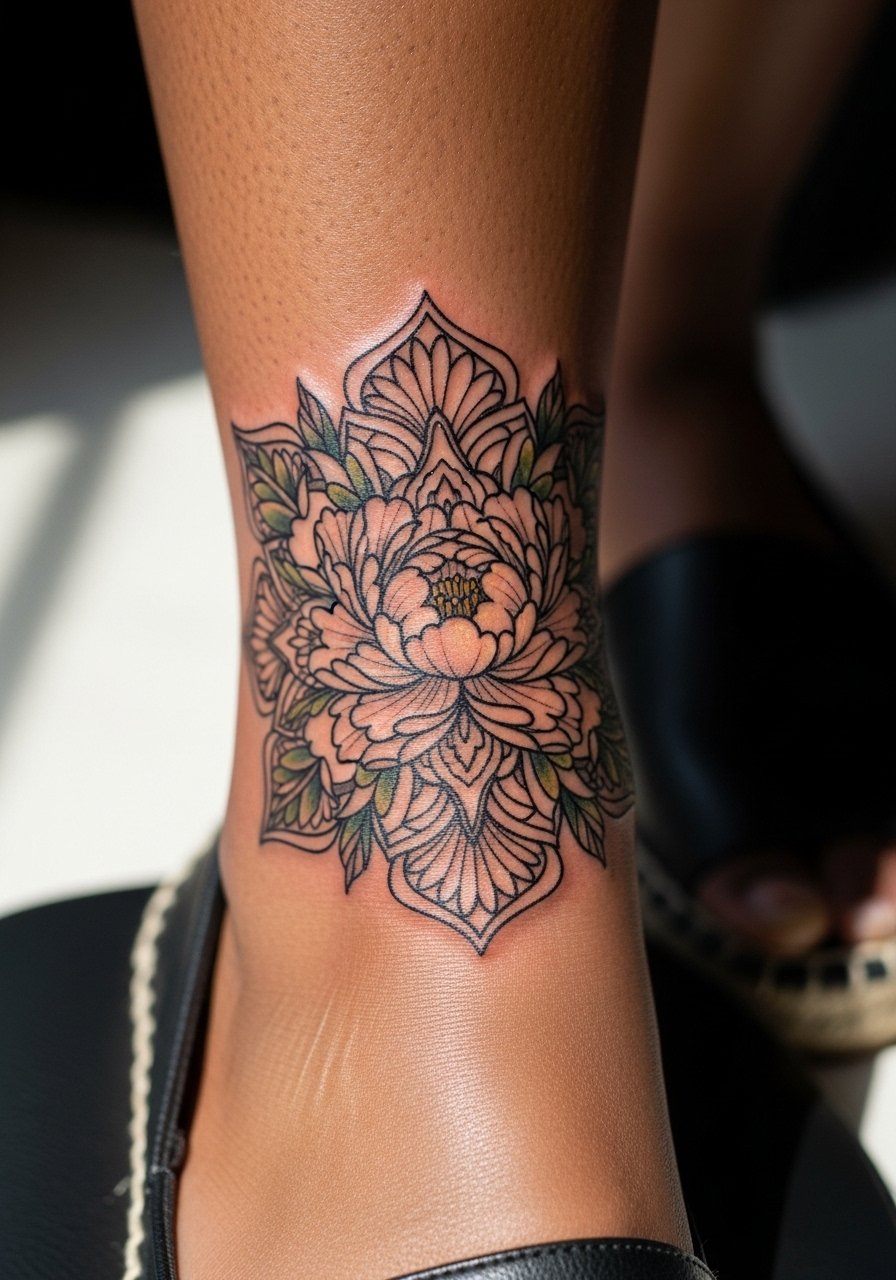
A mandala peony uses symmetry to work with the ankle's curve instead of against it. When consulting, have your artist place a full-size stencil and move it until the radial points follow bone contours. Expect longer setup time and a two to three hour session to get the geometry right. The mistake to avoid is compressing too many concentric rings into a small area which creates muddied healed linework. For shoe pairings, open-toe espadrilles or boat shoes keep the mandala visible without covering the top.
9. Ignorant Style Peony Scribble on Lower Ankle
This raw, hand-sketched approach embraces imperfection and reads like a quick ink note on the skin. The session is often playful and short, but discuss scale with the artist so the scribble does not bleed into the foot crease. Expect less predictable aging because the intentionally imperfect strokes can either mellow into character or blur depending on placement and footwear. If you want festival-ready ankles that look casually undone, this is a good pick. The real mistake is asking for scribble at too small a scale which will just look like a smudge after a year.
10. Black and Gray Realism Peony Bouquet on Ankle-Calf Transition
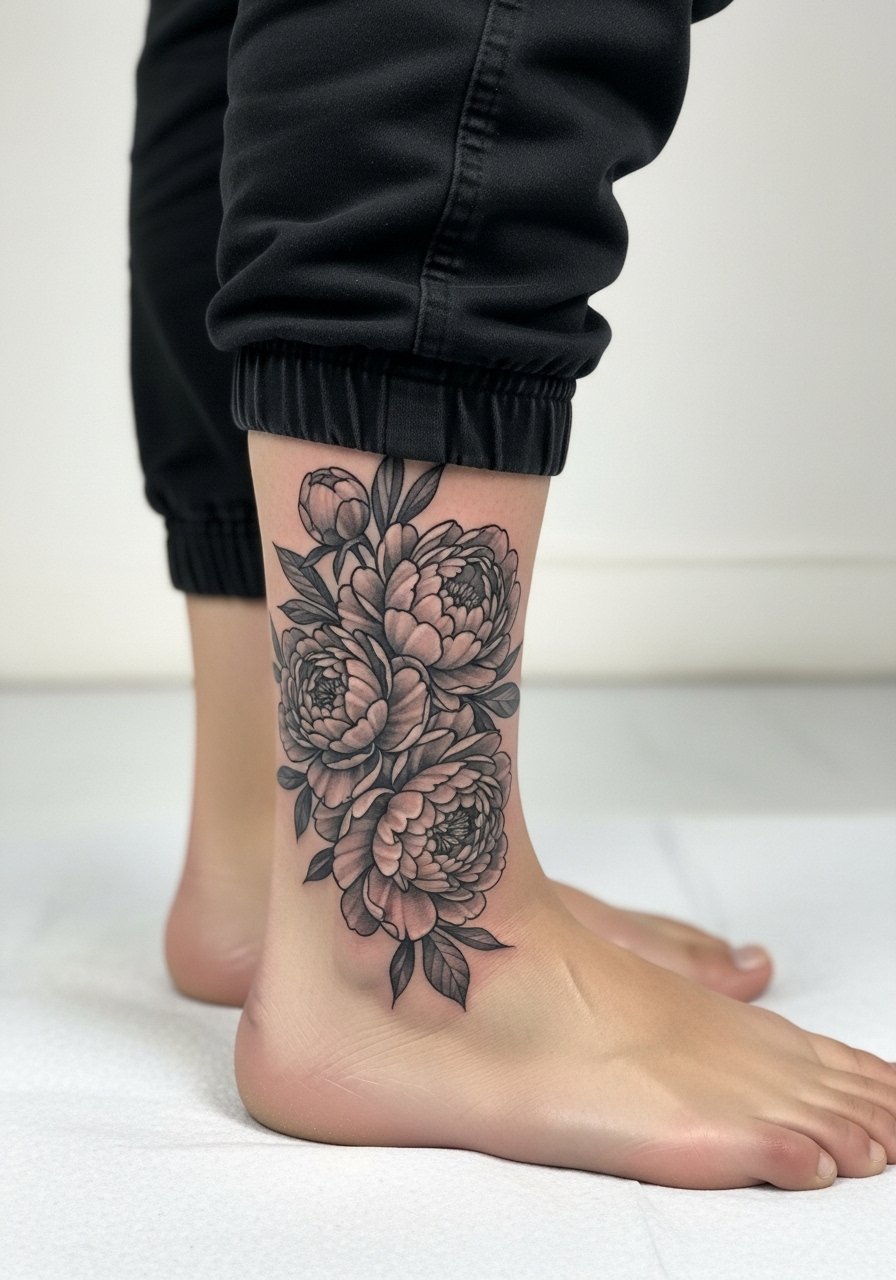
This option solves visibility and depth issues by expanding the canvas into the calf. Realism needs space to render petal depth, so plan for multiple sessions and longer appointment hours. Pain is moderate to high depending on how close work crosses the ankle bone. The advantage is longevity because grayscale holds up better than light washes on exposed skin. The common error is compressing realism into a 2-inch spot which robs shading of contrast and invites muddiness. For styling, cuffed joggers or faux leather leggings show the flow and let the bouquet read at different heights.
11. Inverted Inner-Arch Peony Following Foot Contour
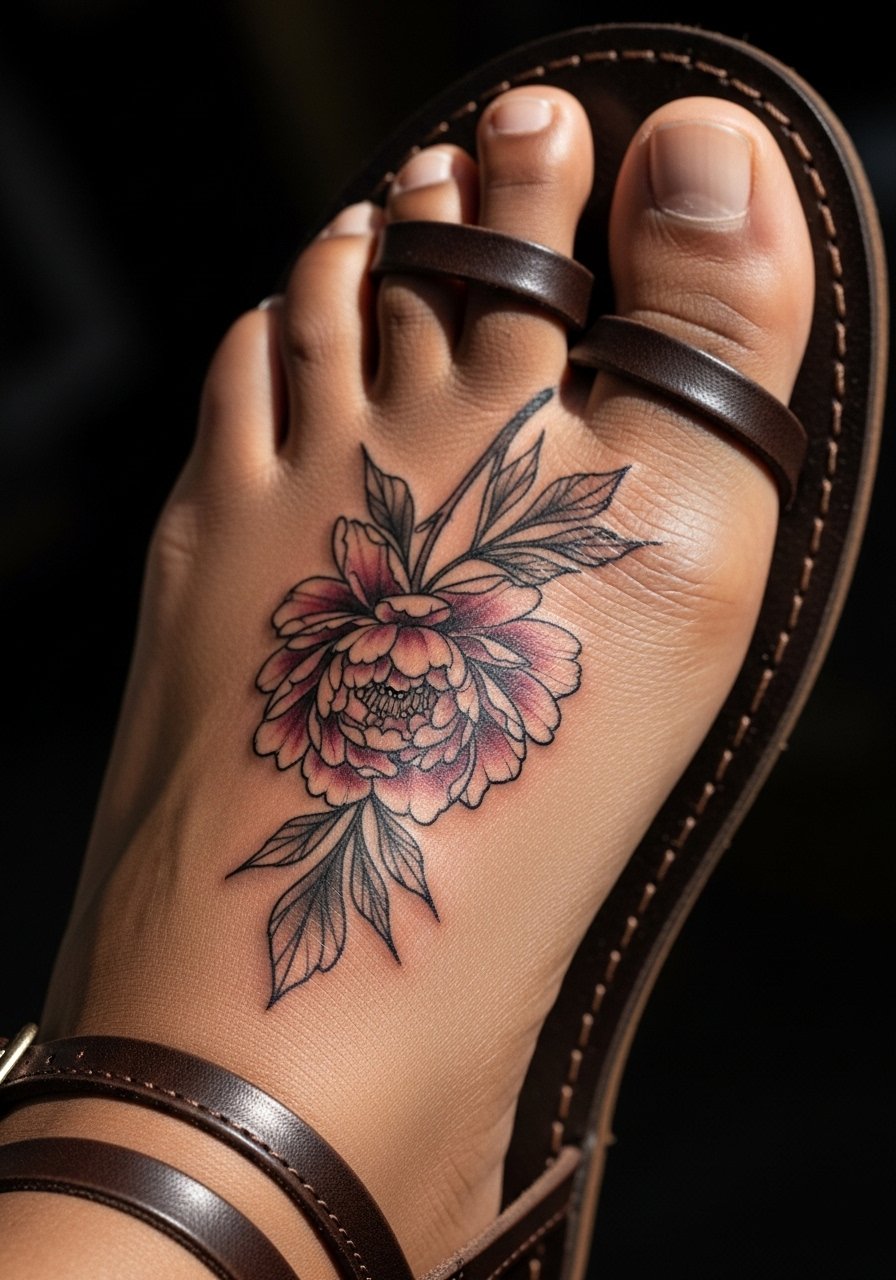
This under-covered angle tucks the peony into the foot arch so it reveals itself when you lift your foot or wear low-cut sandals. It is ideal for people who want discretion and a little surprise detail. Tell the artist you want the bloom mirrored to the arch so movement expands the shape rather than warping it. Expect higher pain because the arch is sensitive, and anticipate more friction from shoes during healing. A common misstep is placing heavy saturation here which bruises or scabs poorly; a single-session outline with selective shading tends to settle better.
12. Negative Space Skeleton-Floral Hybrid on Ankle
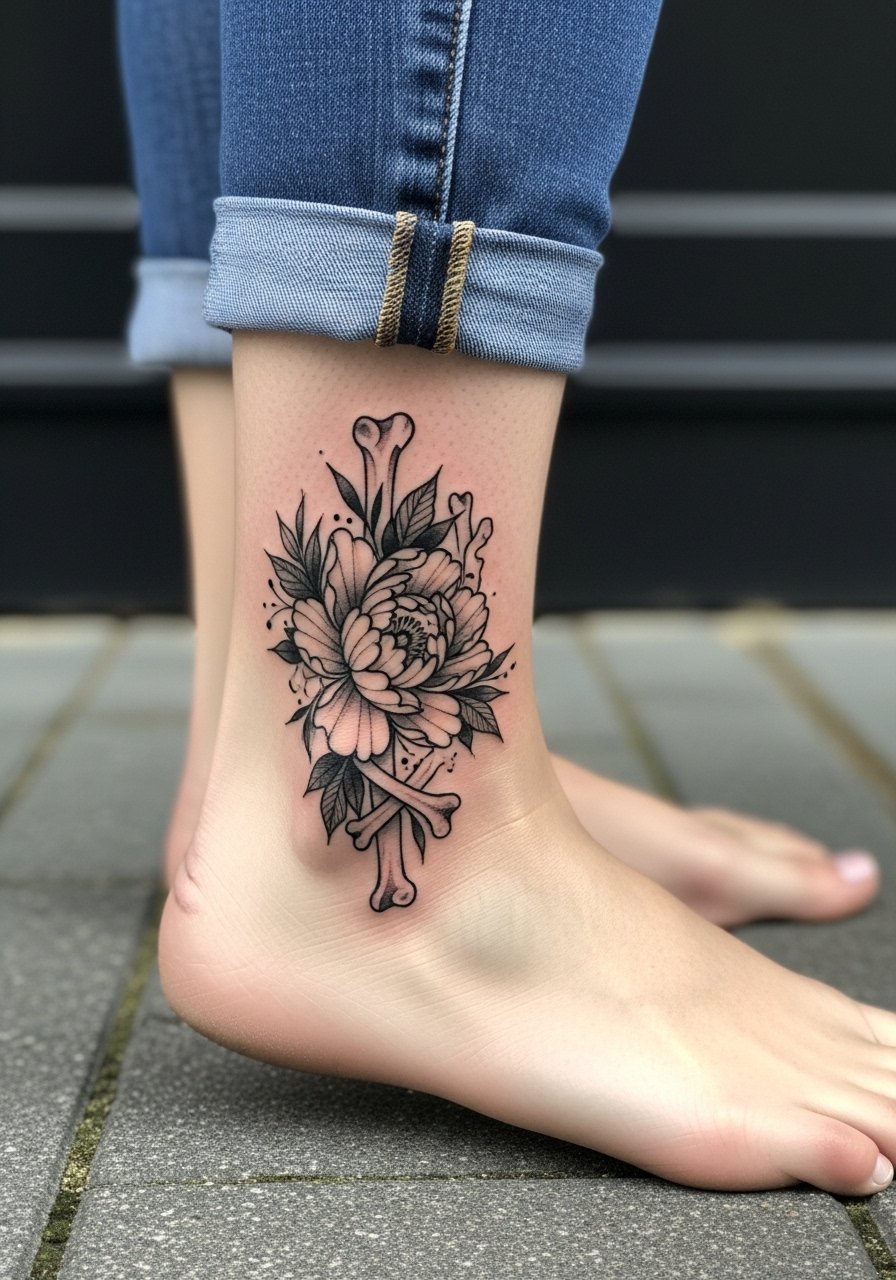
Pairing peony petals with negative-space skeletal lines creates contrast that reads well on ankles. Ask your artist to map out which areas will remain skin so the negative shapes do not close up during healing. This concept works best with bold edges and mid-weight fills rather than micro detail. Sessions are moderate in length and the main risk is over-detailing the bone lines which can blur. This hybrid solves the "too precious" complaint by adding structure and high-contrast areas that age into readable shapes.
13. Boot-Concealed Peony Sized for Lace-Up Boots
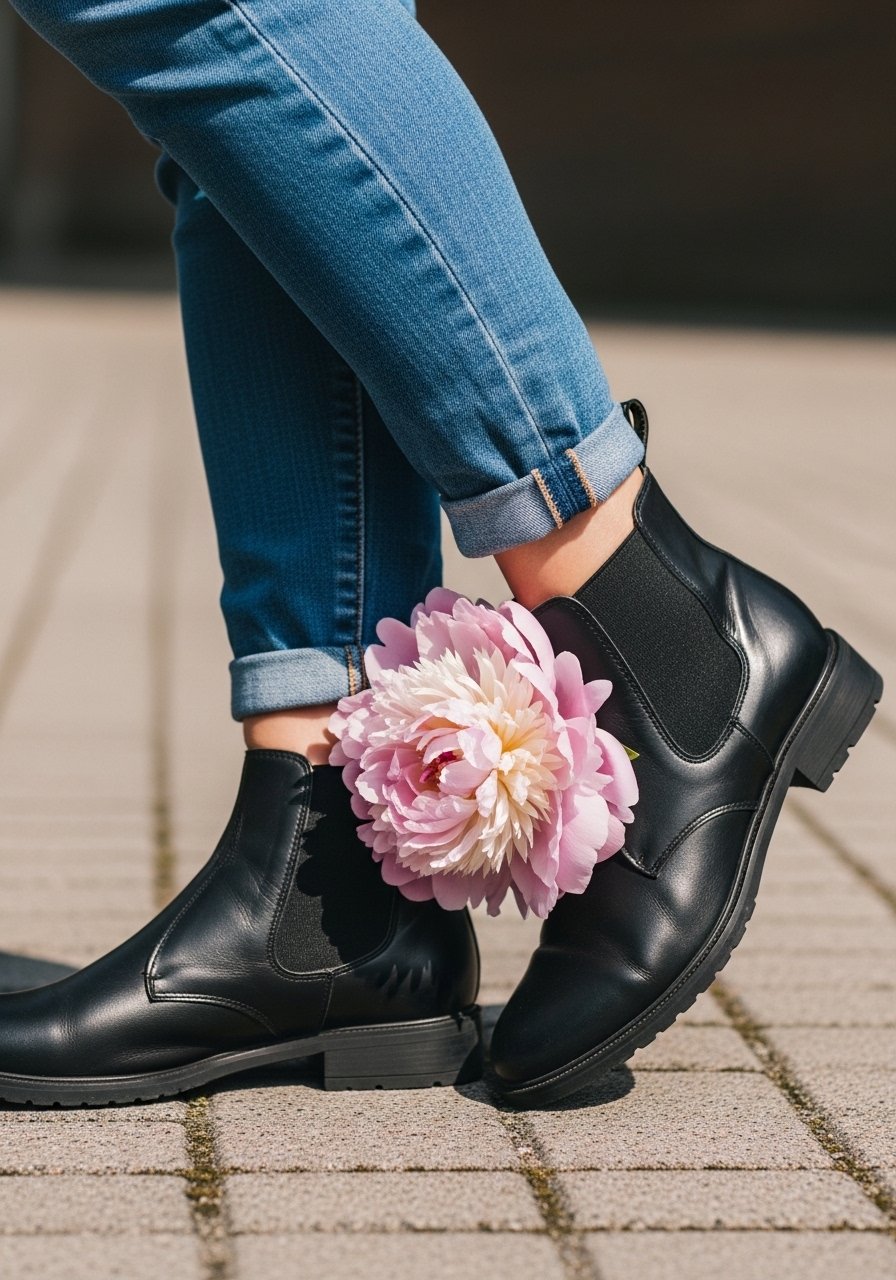
If you prefer to hide your ankle work during colder months, size and placement matter. Ask the artist to place the bottom of the flower where the boot cuff will naturally sit so the bloom is covered when you lace up. Sessions are quick and the pain is moderate. Beware of putting heavy shading right at the top of the boot line because friction can dull saturation. For winter wear, pairing with black leather chelsea boots or cuffed skinny jeans keeps it hidden while showing off when you want.
14. UV-Reactive Ink Peony for Festival Ankles
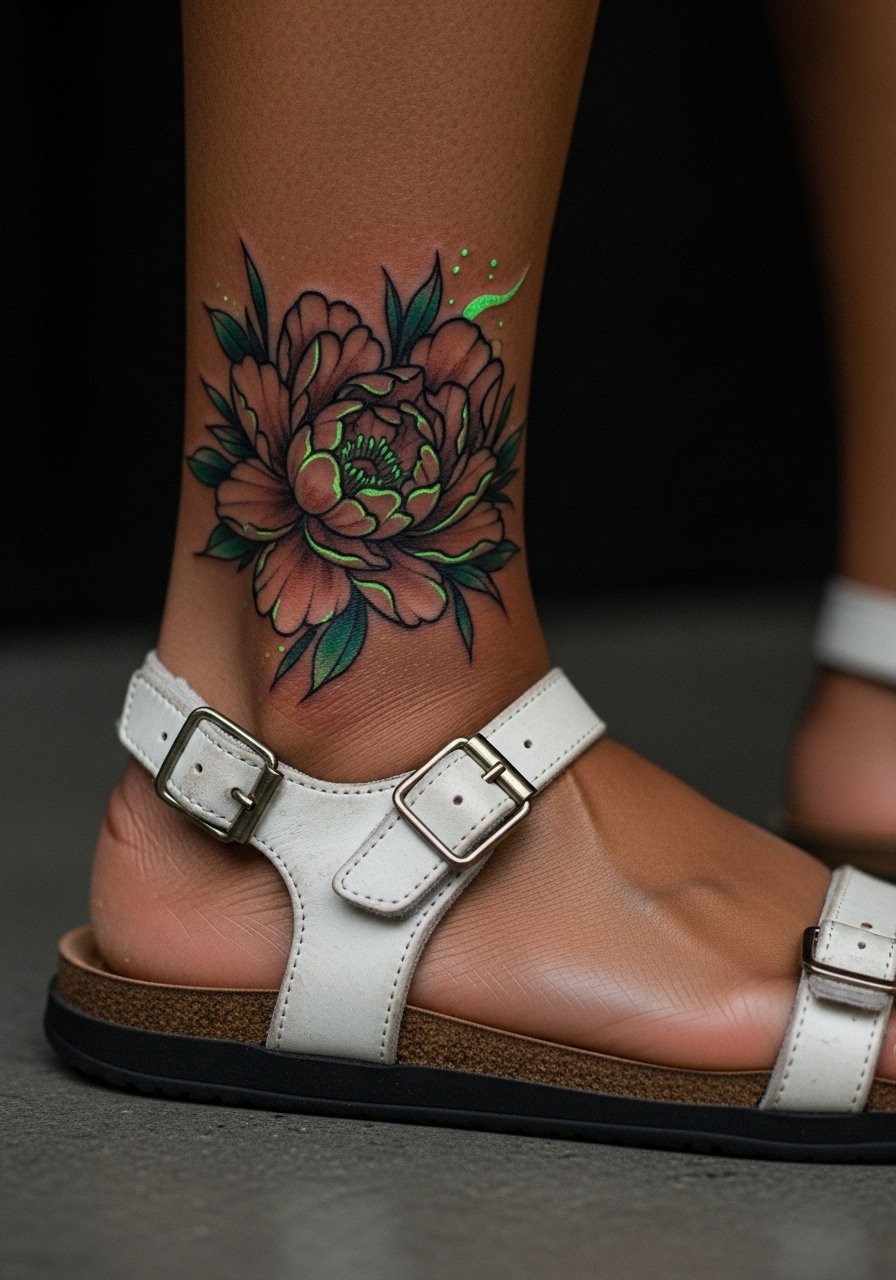
UV-reactive inks let you keep a low-key look by day and reveal a glow at night under blacklight. Discuss safety and long-term visibility with your artist because not all UV inks behave the same on different skin tones. The session may require a test patch to check reaction. Pain is similar to other ankle tattoos, but plan for potential faster fading of the UV component and a separate touch-up window. If festivals are a priority, this is a playful way to add a secret effect.
15. Tiny Single-Petal Minimalist on Ankle Bone
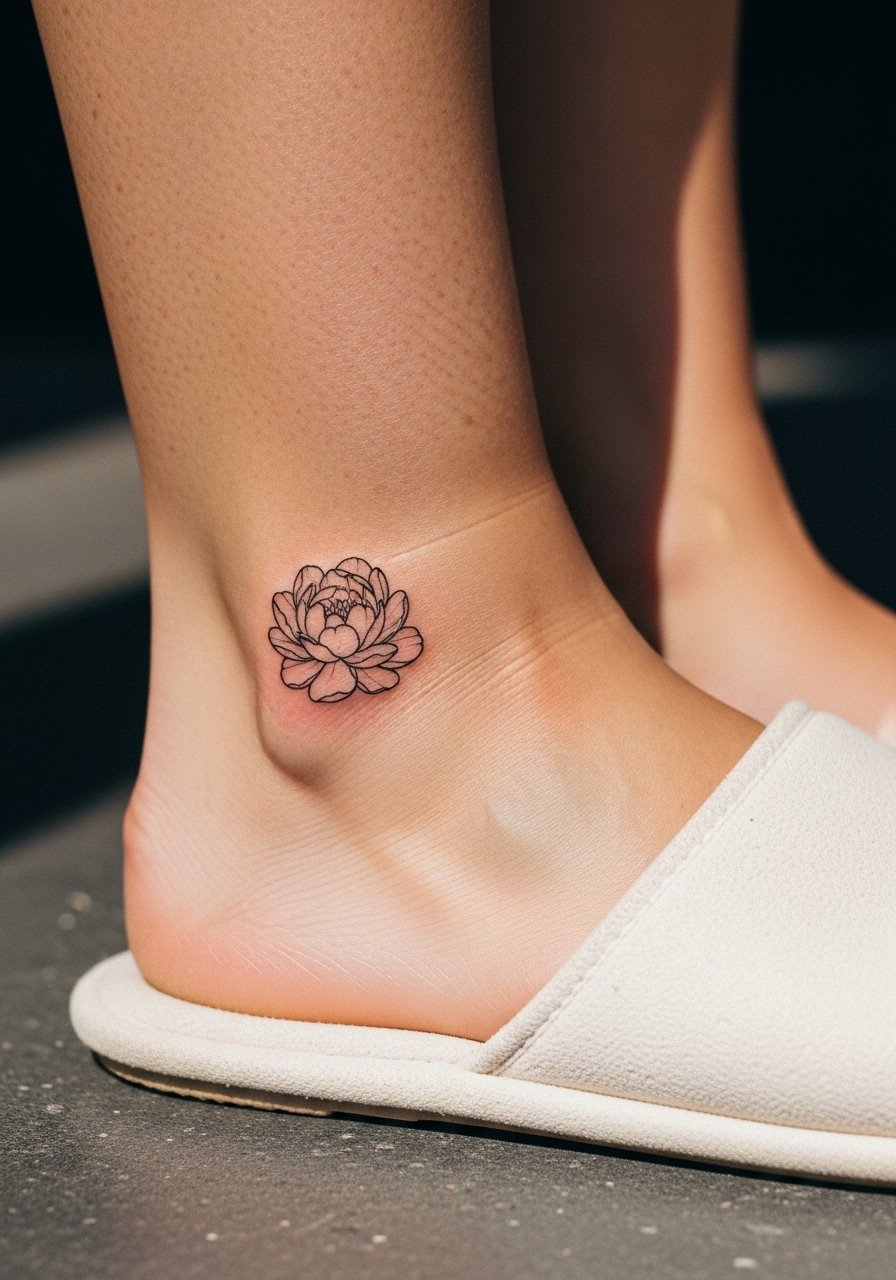
Even tinier than the micro-realism petal, this minimalist single petal is about subtle punctuation. It is excellent for first-timers who want low session time and low commitment. Ask for a slightly bolder outline than you think you need so the shape remains legible after healing. Expect one quick session and a small amount of soreness. The major misstep is asking for hairline filigree in the same area which will disappear. Pairing with open-toe slippers makes this micro detail readable in photos.
16. Stipple-Shaded Peony with Dot Work Border
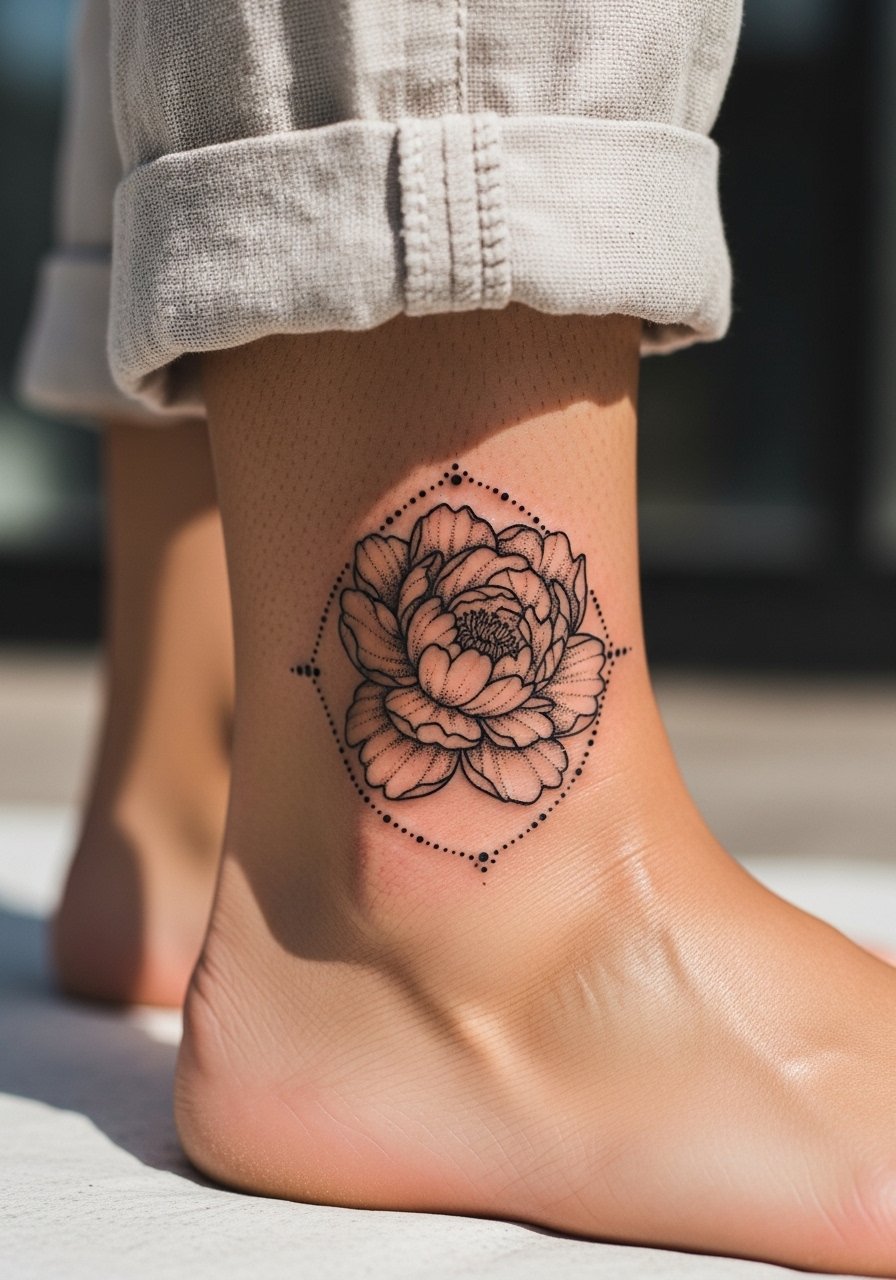
Stipple or dot work adds texture without heavy saturation, and it can age gracefully when the dots are spaced intentionally. Tell the artist to space the stipple so it does not fuse into a gray mass after healing. Sessions take longer because stipple is labor intensive, and pain varies with how close the dots sit to bone. A common error is asking for too dense a dot pack in a small area, which causes loss of the dotted look. For warm-weather outfits, wide-leg linen pants or rolled sleeves show off the textured border without covering it.
17. Peony with Minimal Thorn Chain for Subtle Wrap
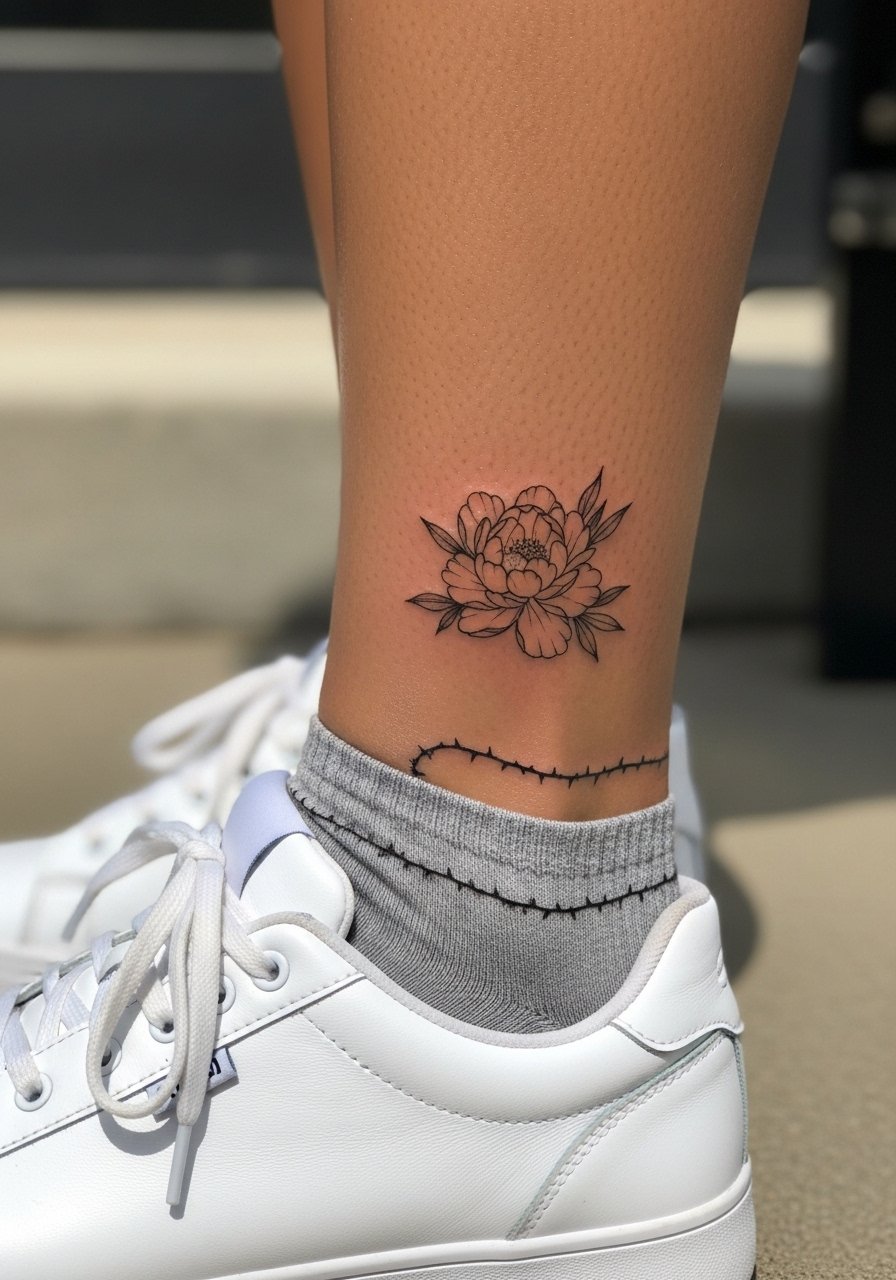
This version keeps the romantic peony but gives it an edge through a thin thorn chain that wraps partly around the ankle. During consultation, specify where the chain should sit when you stand naturally so the thorns do not press where shoes rub. Expect moderate session time and higher sensitivity on areas near the bone. The mistake to avoid is asking for a continuous thorn band that circles the ankle too tightly which can irritate during healing. For everyday wear, a pair of white lace up sneakers lets the wrap show when you want it to.
Frequently Asked Questions
Q: Will a fine line peony on the ankle need touch-ups sooner than a bold blackwork piece?
A: In my experience, yes. Fine line work on ankles often requires touch-ups earlier because the skin there experiences more movement and sun exposure. Ask your artist about slightly thicker line weight and plan a follow-up at six to twelve months to see how the lines settle.
Q: How painful is an ankle peony compared with other placements?
A: The ankle is higher on most pain charts because of thin skin and proximity to bone. Expect a sharper sensation than a fleshy forearm session. If pain is a concern, discuss topical numbing options with your artist and plan to elevate the foot after the session to reduce swelling.
Q: I have darker skin. Should I avoid color for a peony on the ankle?
A: Not necessarily. Darker skin can take color beautifully, but high-contrast blackwork or bold, saturated color tends to read better in photos and over time. Talk to artists experienced with melanated skin and ask to see healed ankle examples in the artist portfolio before booking.
Q: Artists disagree on Saniderm versus dry healing. Which camp should I follow for an ankle tattoo?
A: Artists split into two camps. One group favors protective film for the first few days to reduce mess and friction, especially on ankles that rub socks or shoes. The other group prefers dry healing to minimize trapped moisture and scabbing. I recommend asking your artist which method they use and why, and follow their protocol for the best healed result.
Q: What should I wear to my appointment for an ankle peony session?
A: Wear something that gives clear access to the ankle without tight bands. Loose joggers that can be rolled up or a pair of shorts are ideal. If you plan to take photos afterwards, bring shoes that show the placement like strappy metallic sandals or rolled denim.
Q: How can I avoid my ankle peony stretching if my weight fluctuates?
A: Placement matters. Side ankle positions that sit on flesh rather than directly over bone and joints adapt better to small weight changes. If you expect larger fluctuations, consider slightly larger scale or placement that follows natural contours so linework distorts less.
