
Fine line patchwork on the thigh is having a moment, but what looks dreamy on a phone screen does not always behave the same on skin. Patchwork pieces mix flash-style fragments into a single band or cluster, and placement, spacing, and fabric friction determine whether the collage stays crisp or needs a touch-up. Read on for 27 thigh-focused patchwork ideas with what to ask your artist and how to show them off.
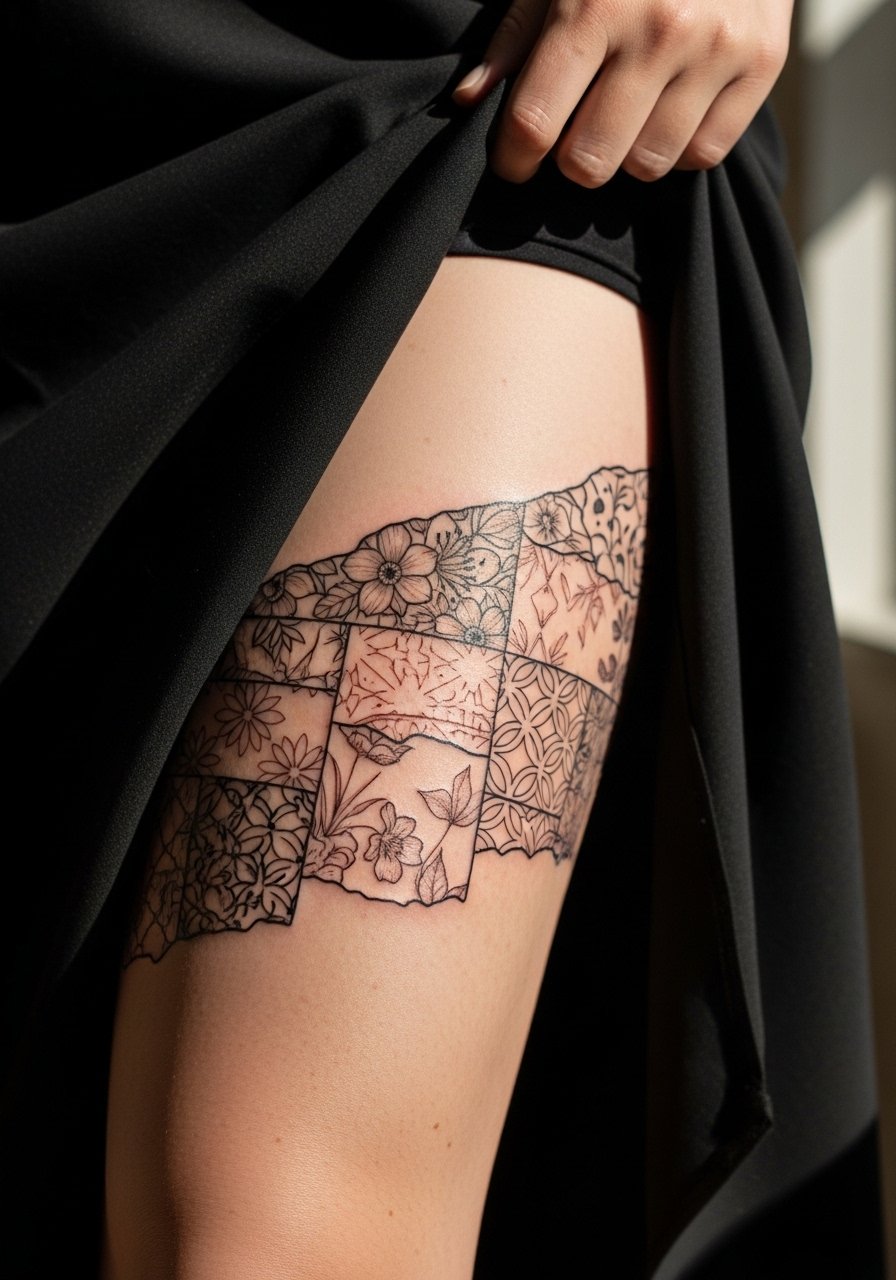
1. Floral Patchwork Cluster on Inner Thigh
I've seen floral clusters age differently depending on spacing. For inner thigh patchwork, ask your artist to scale each bloom slightly larger than reference and keep negative space between motifs so the petals do not merge as they settle. Fair warning, the inner thigh bruises more during the session and can feel like a 6 out of 10 on most pain scales, but short, focused passes keep session time under two hours for a moderate cluster. Common mistakes are making stems too thin and packing too many tiny buds. For the appointment, wear shorts shifted slightly up so the artist can work without stretching the area.
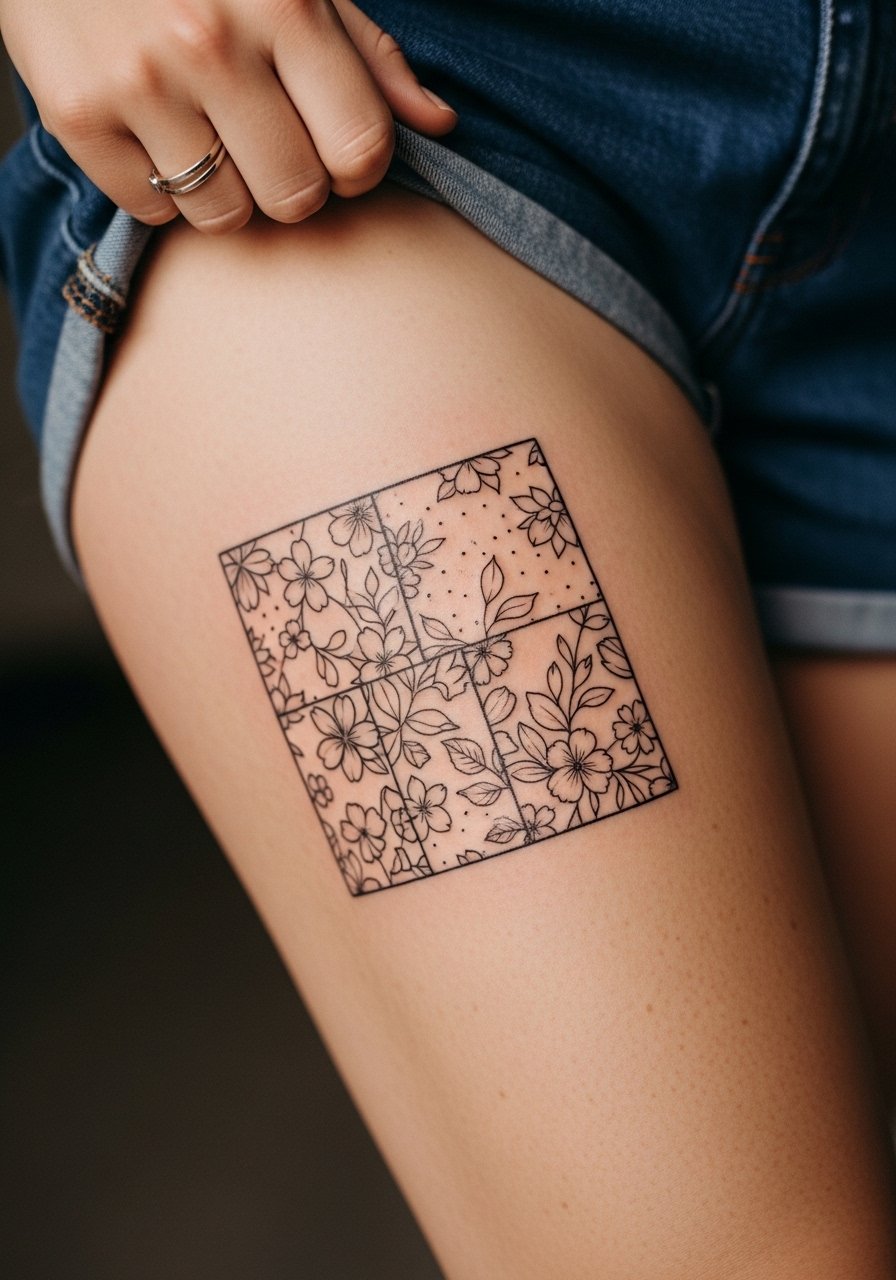
2. Vintage Flash Squares Across Upper Thigh
A vintage flash patchwork reads like a curated thrift find. Personal observation has shown that bold outlines with moderate saturation keep those squares readable at year five. Tell your artist you want bolder anchors around the edges and lighter interior shading so the motifs do not compete. Expect a session that feels like steady machine work rather than long shading passes and plan for a touch-up at year three if you live in sunny climates. Pair this with a high-waisted denim skirt when you want to show the collage without revealing too much.
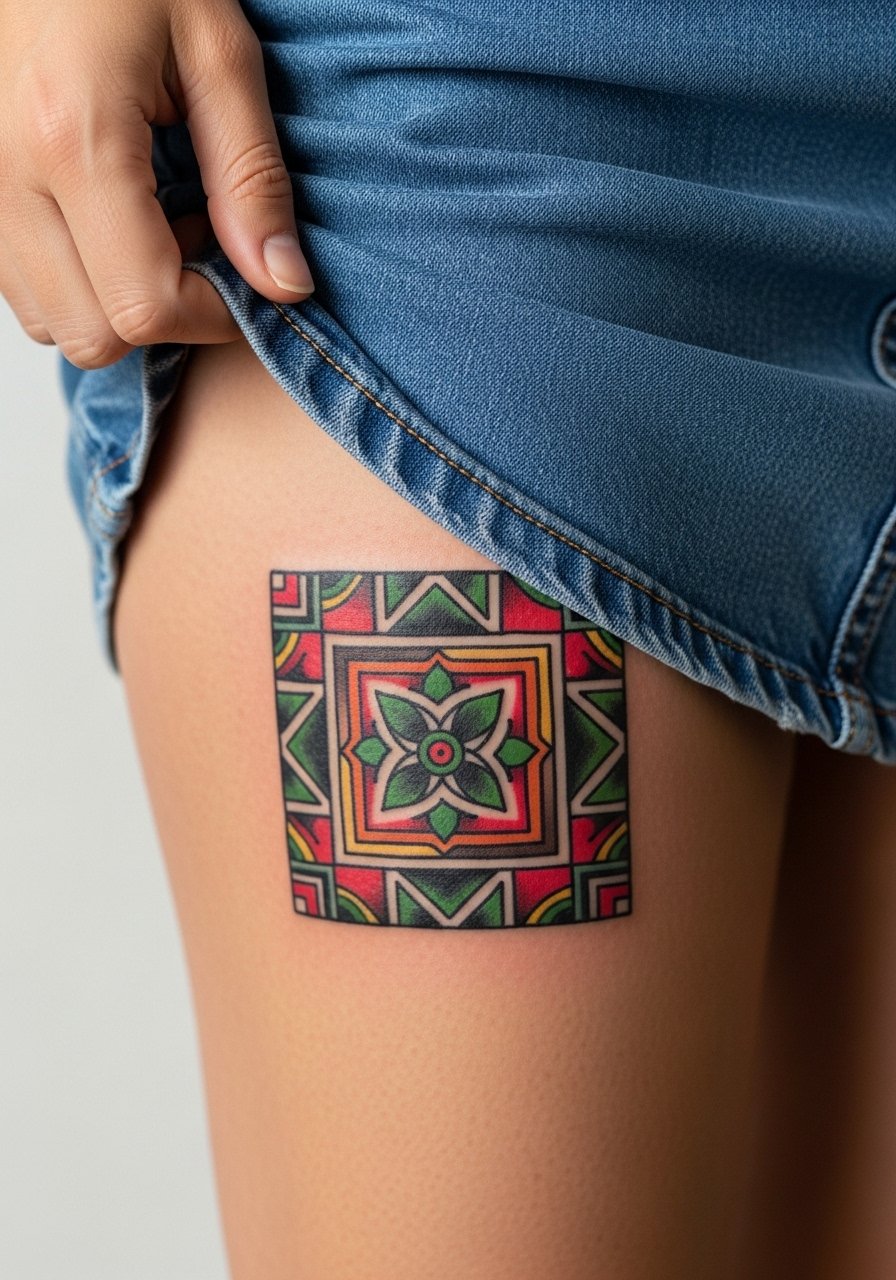
3. Micro-Realism Portrait Patches Along Lateral Thigh
Most micro-realism patches on the thigh work best when they are kept at a slightly larger scale than portraits on the forearm. The lateral thigh gives enough canvas for fine detail without risking blowout. During consultation, bring face-close references and ask for stipple shading rather than dense grey wash to preserve texture as it heals. Sessions take longer, often two to four hours per portrait, so split into multiple appointments if you do a collage. Career considerations rarely apply here, but plan seating and clothing for comfort. For evenings when you want to highlight a portrait, an open-back midi dress frames the area nicely.
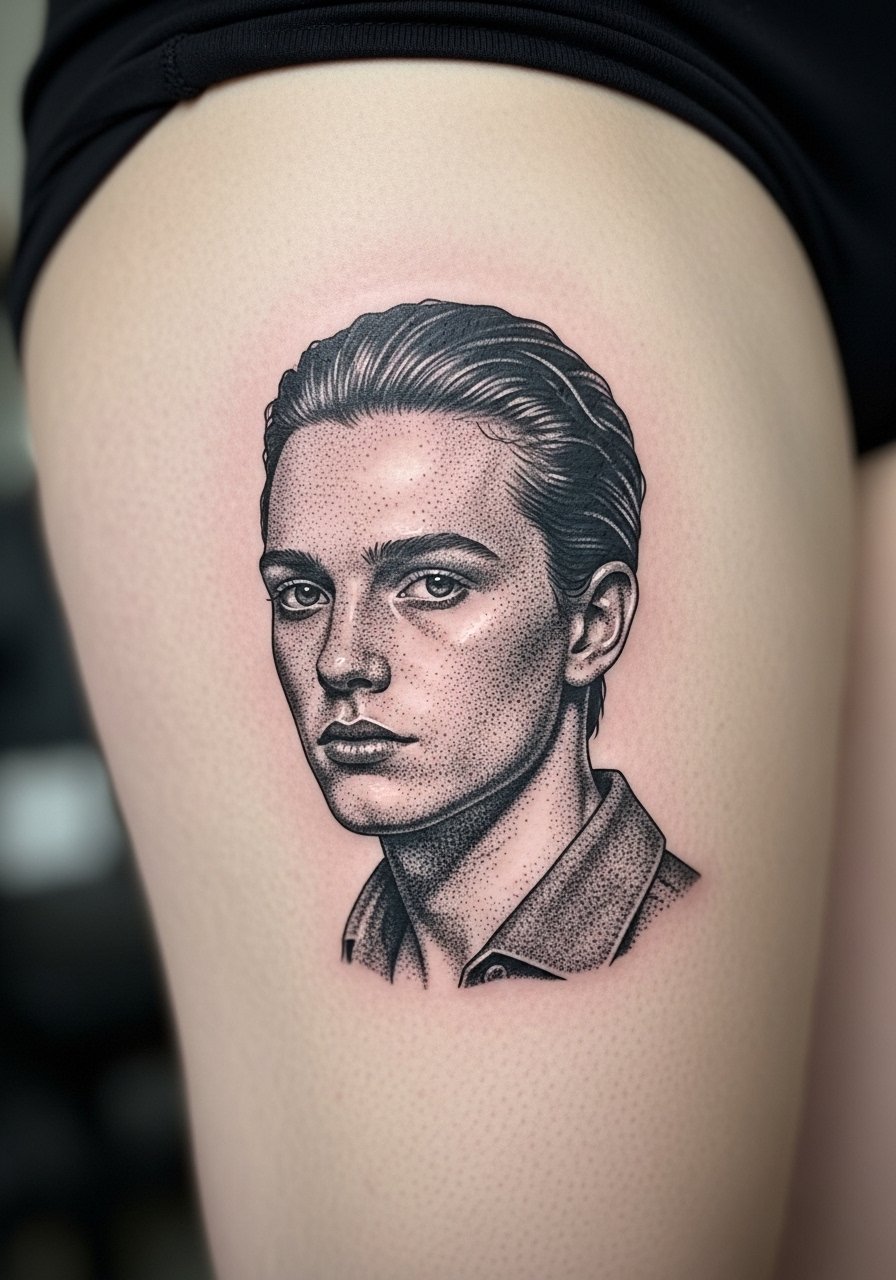
4. Blackwork Geometry Patch Blocks on Outer Thigh
There is something about solid black geometric patches that reads from across a room. Visual impact lead applies here because the negative space between blocks is as important as the shape. Tell your artist to use clean linework and consistent saturation, and request touch-up clauses for large black fills since they may compress over time. Pain is usually moderate on the outer thigh, and a dense block can make the session feel like long steady passes. For showing this off, pair with biker shorts that stop above the design so the shapes are revealed cleanly.
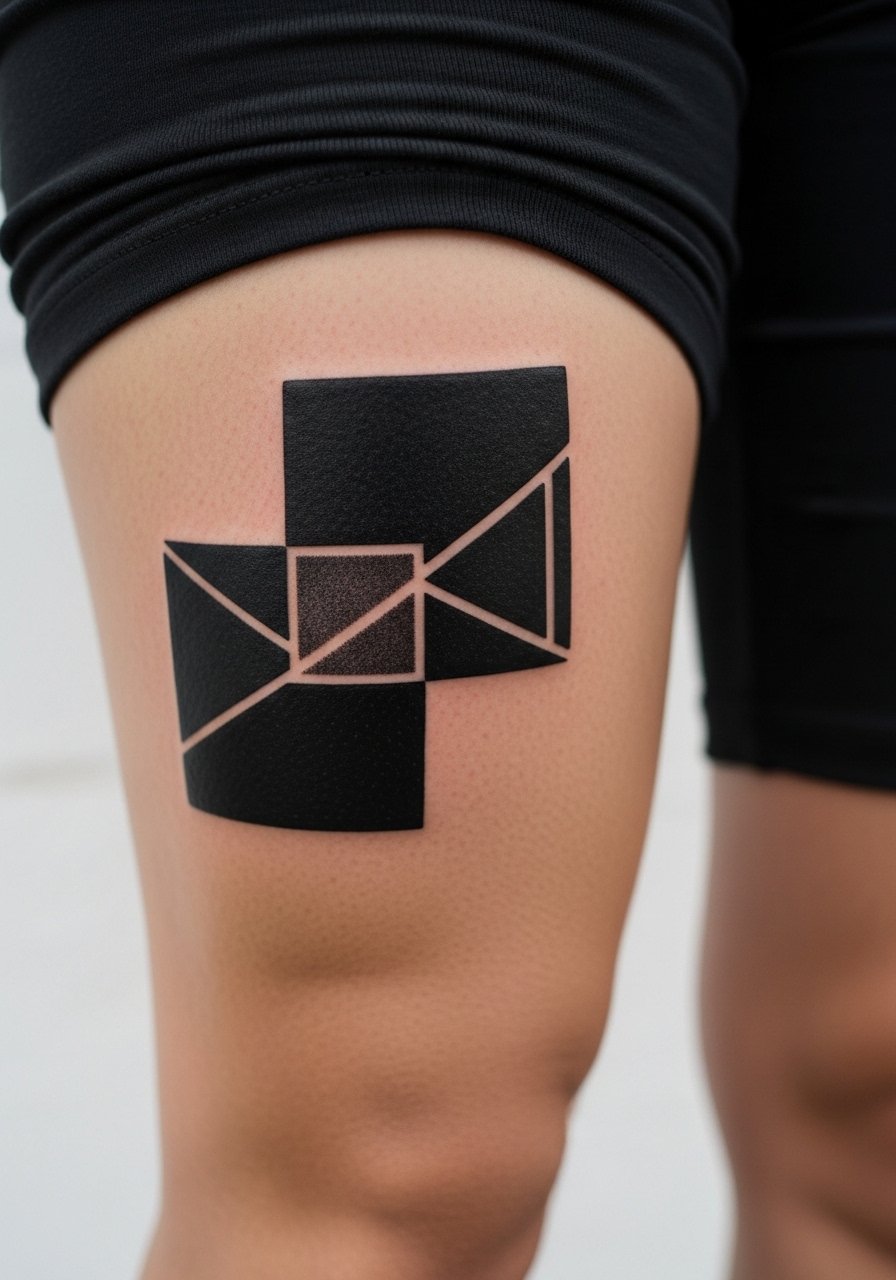
5. Watercolor Patch Panels Fading to Negative Space
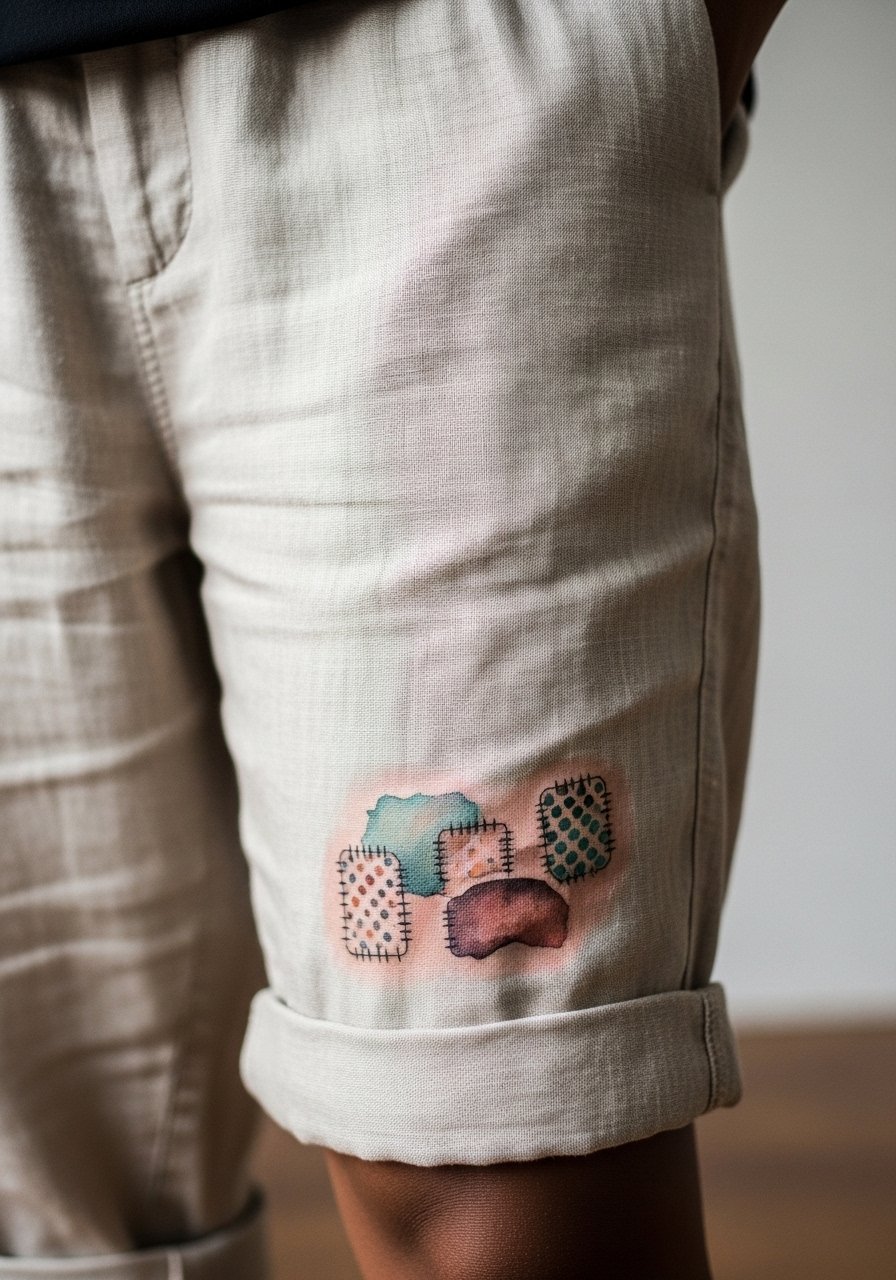
Most watercolor-style patches age poorly when artists saturate too lightly or use dyes that pool. The aging/healing lead matters here because a softer approach at the start keeps the bleed minimal. Ask for concentrated pigment near anchors and feathered edges that intentionally fade into uninked skin. Sessions feel like layered washes rather than deep lining, and touch-ups at year two to three are common if you want freshness. For the session, wear a loose drawstring linen pant so you can roll the leg without friction on the tattoo.
6. Script and Symbol Patch Band Around Mid Thigh
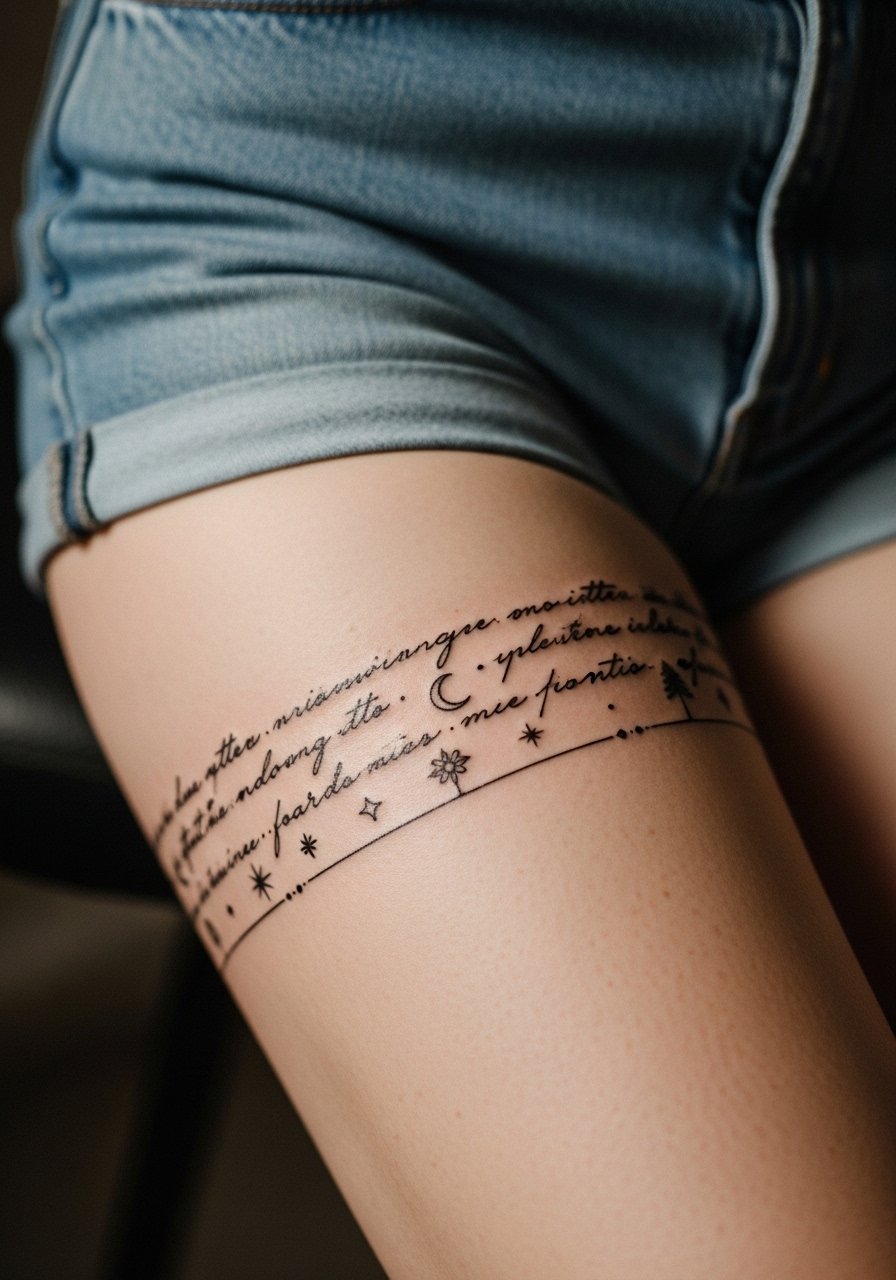
When script is part of a patchwork band, spacing and font weight decide longevity. The biggest mistake is choosing ultra-thin script for a part of the leg that rubs against clothing. Ask for slightly heavier linework and ask the artist to space letters a touch wider. Sessions are quick for short phrases, often 30 to 60 minutes per strip. For wearing out, layer with a thin chain pendant necklace that draws attention upward and balances the mid-thigh band visually.
Studio Day Picks
The designs above range from dense blackwork to delicate script, and the right prep makes those first sessions and the first week much smoother.
-
Stencil transfer paper kit. Lets you preview how individual flash pieces read on the curve of the thigh so you can adjust size and spacing before needle touches skin.
-
Topical numbing cream. Helpful for inner thigh sensitivity and longer portrait passes when you need the session to stay comfortable.
-
Thin protective film roll. Useful for areas that rub against shorts or bike seats during the first few days.
-
Fragrance-free body wash. Cleanses healing patches without stripping color or irritating delicate linework near seams.
-
Aquaphor healing ointment. A light layer in the first 48 hours helps keep fine lines from drying into tight scabs on thinner patches.
7. Collaged Animal Motifs on Upper Thigh
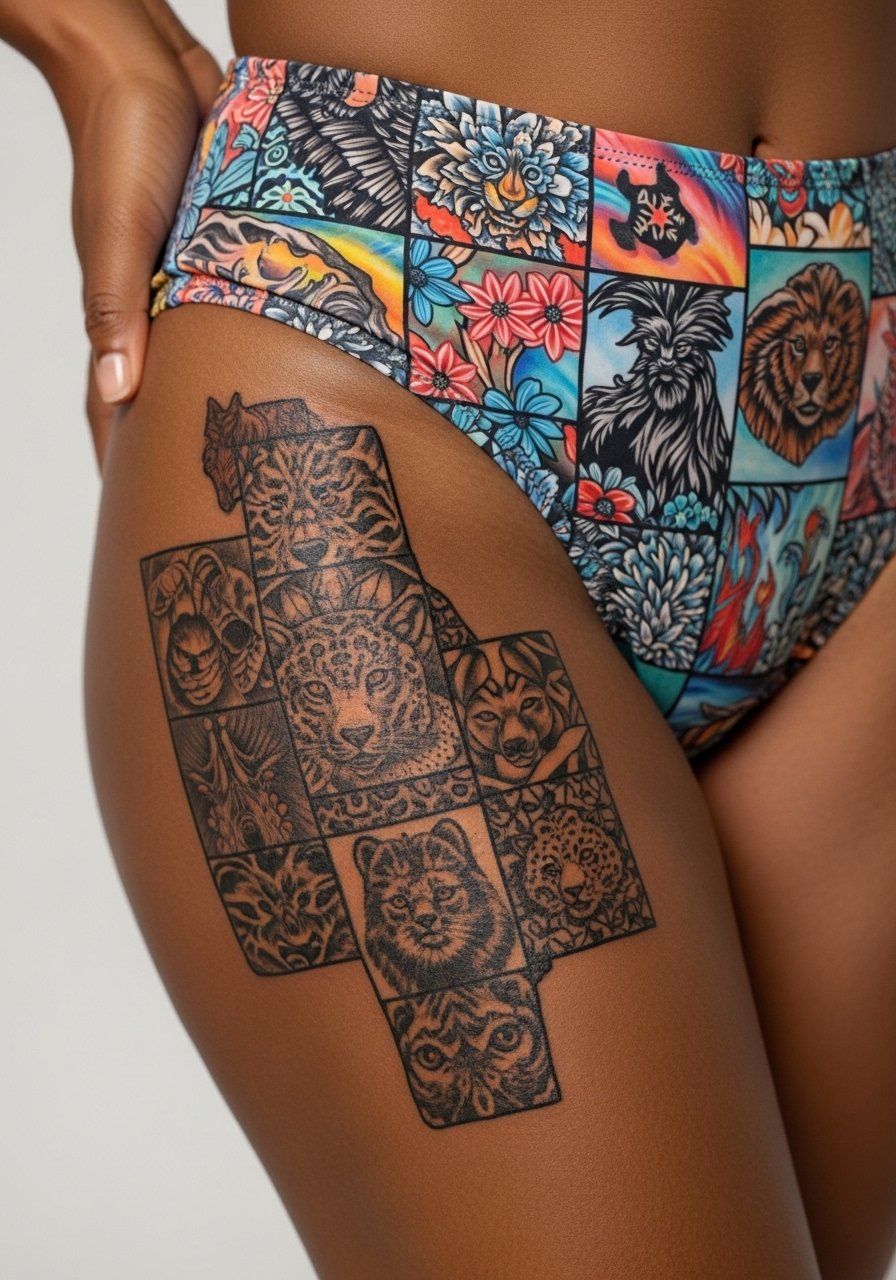
Personal observation suggests animal motifs in a patchwork feel cohesive when scaled to the leg's anatomy. For upper thigh placement, ask for orientation that follows muscle curves so each animal reads at a glance. The session can be broken into short bites, each 45 to 90 minutes, which helps with pain and swelling. A common error is forcing symmetry across the thigh where natural asymmetry would look better. For a night out, an open-back slip dress or a high-cut swimsuit bottom shows a single motif without revealing more than you want.
8. Botanical Cut-Outs Framing the Thigh Crease
Visual impact lead applies because framing the thigh crease with negative-space cut-outs makes a small collage read larger. Tell your artist to preserve skin channels between cut-outs and avoid tiny filler dots that will blur into shading. Expect the session to be mildly uncomfortable when the needle gets close to the crease. Most people report less pain than inner thigh work. Over time, the negative space helps the piece maintain contrast. During the session, wear high-waisted shorts that you can slide down slightly so the artist can access the crease cleanly.
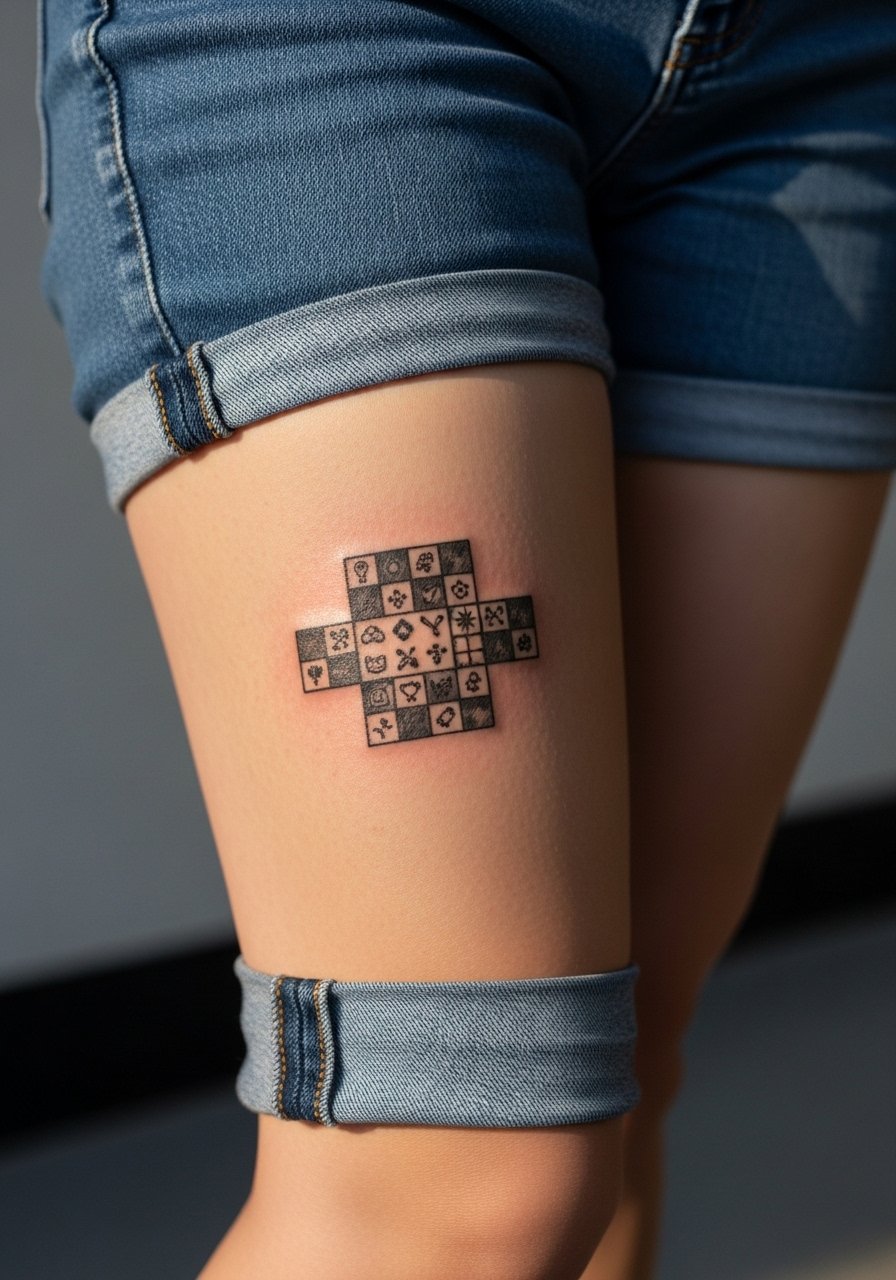
9. Checkerboard Patch Mix with Tiny Icons
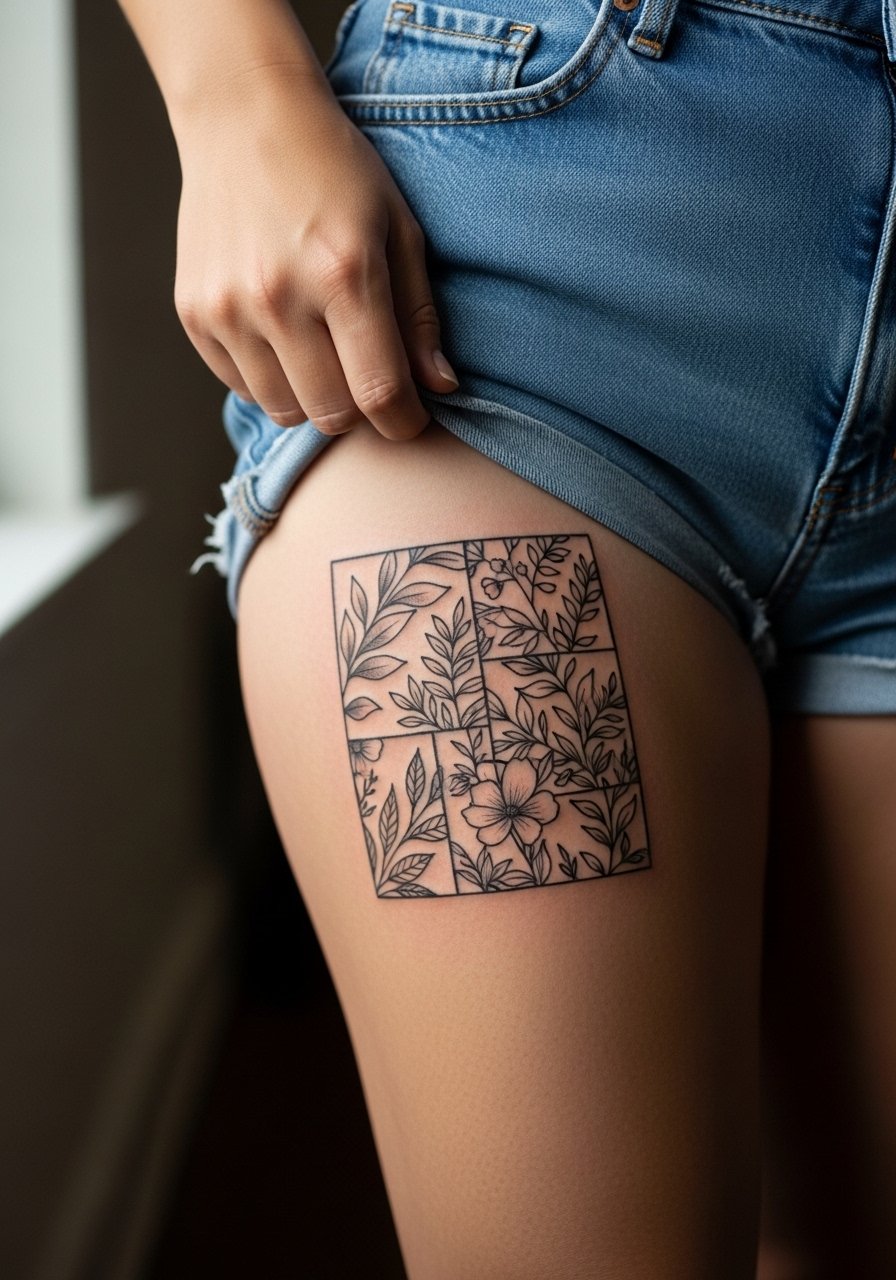
Mistake lead: the biggest mistake with checkerboard-style patchwork is making each cell too small. On the thigh, those tiny icons will blur over time. Recommend cell sizes at least the width of a quarter and discuss which cells get dense pigment and which stay airy. Session time is moderate and can be completed in one to two sittings depending on total area. For casual days, pair this look with jeans rolled at the hem so the ankle-to-thigh silhouette stays balanced when you want to show off a patch of squares.
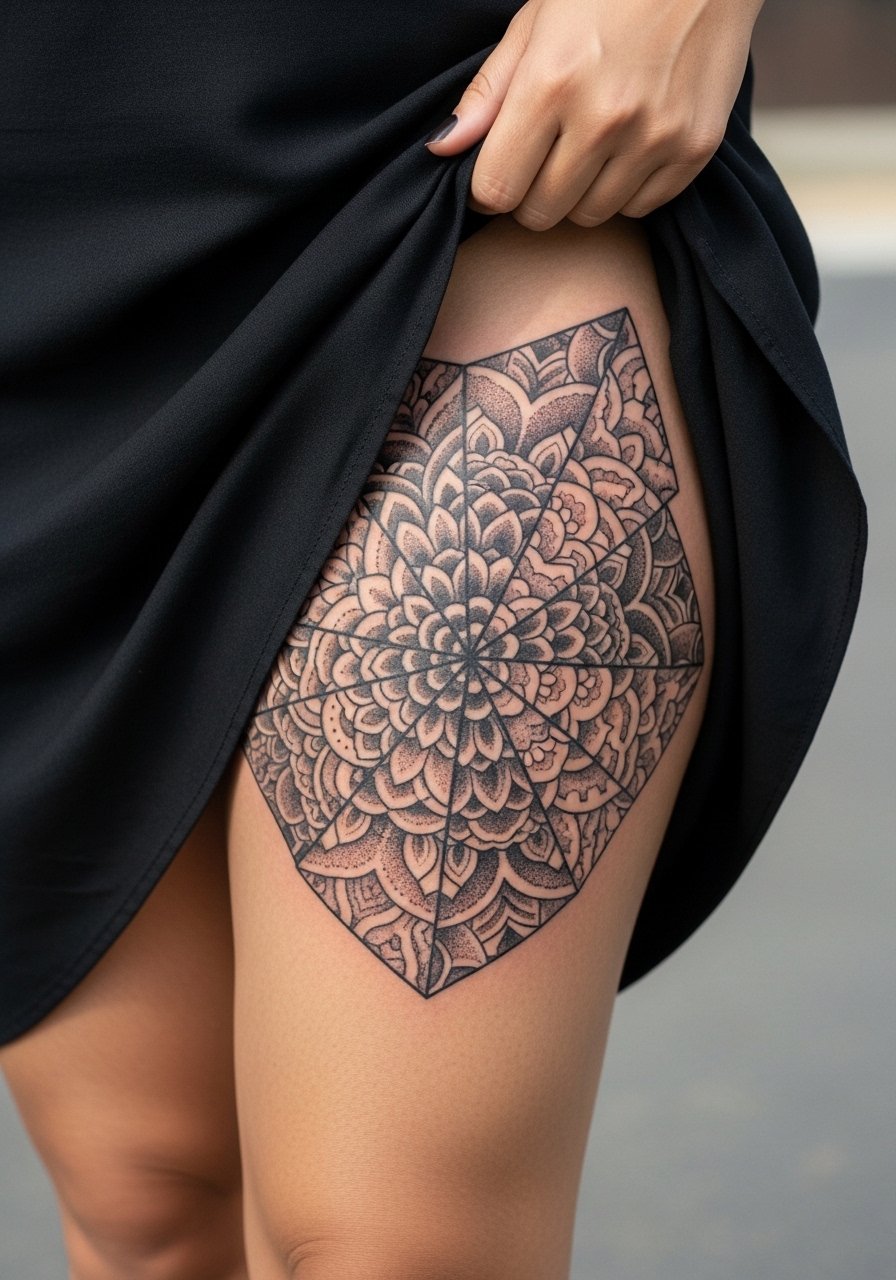
10. Mandala Patch Panels Radiating Outward
Aging/healing lead fits here because mandala density needs breathing room on the thigh. Dense inner lines without spacing cause merging in a few years. When you consult, ask for an outer ring of negative space and stipple shading to keep the center from becoming a dark blot. This placement takes longer per panel, often two to three hours for a full mandala, so schedule breaks. If the design references cultural forms, consider slight stylistic variation to show respect for origin. For evenings, a wrap skirt shows the curve where the mandalas sit while keeping the silhouette elegant.
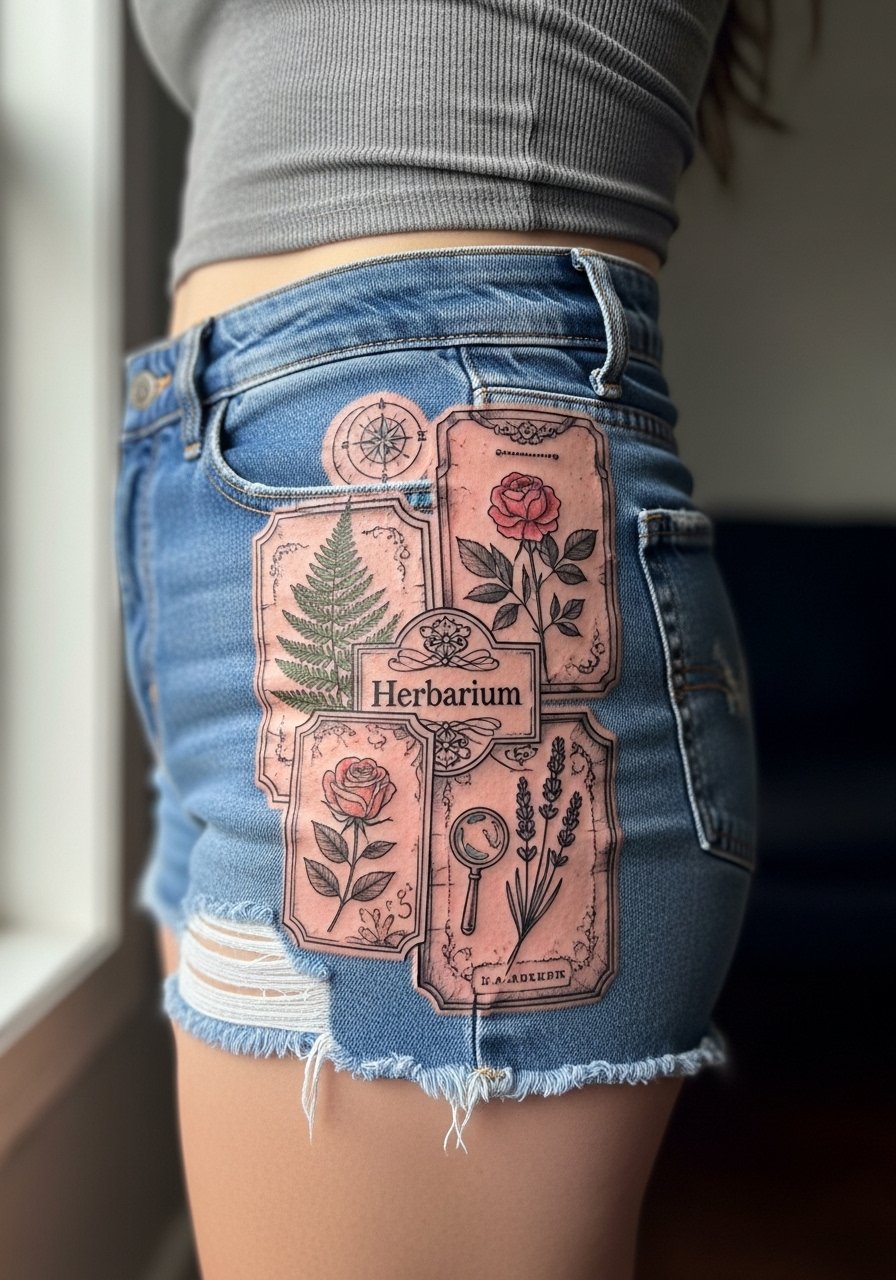
11. Collage of Vintage Botanical Labels
Consultation lead: bring label-style references with clear text if you want readable lettering inside botanical patches. The image prompt rules for text require the exact words, so decide on label copy during booking. Sessions are layered and can feel like fine-line work followed by light shading. The common mistake is overstuffing the patch with ornament; leave simple borders and breathe. For casual shows, a racerback tank top keeps attention on the thigh without adding visual noise.
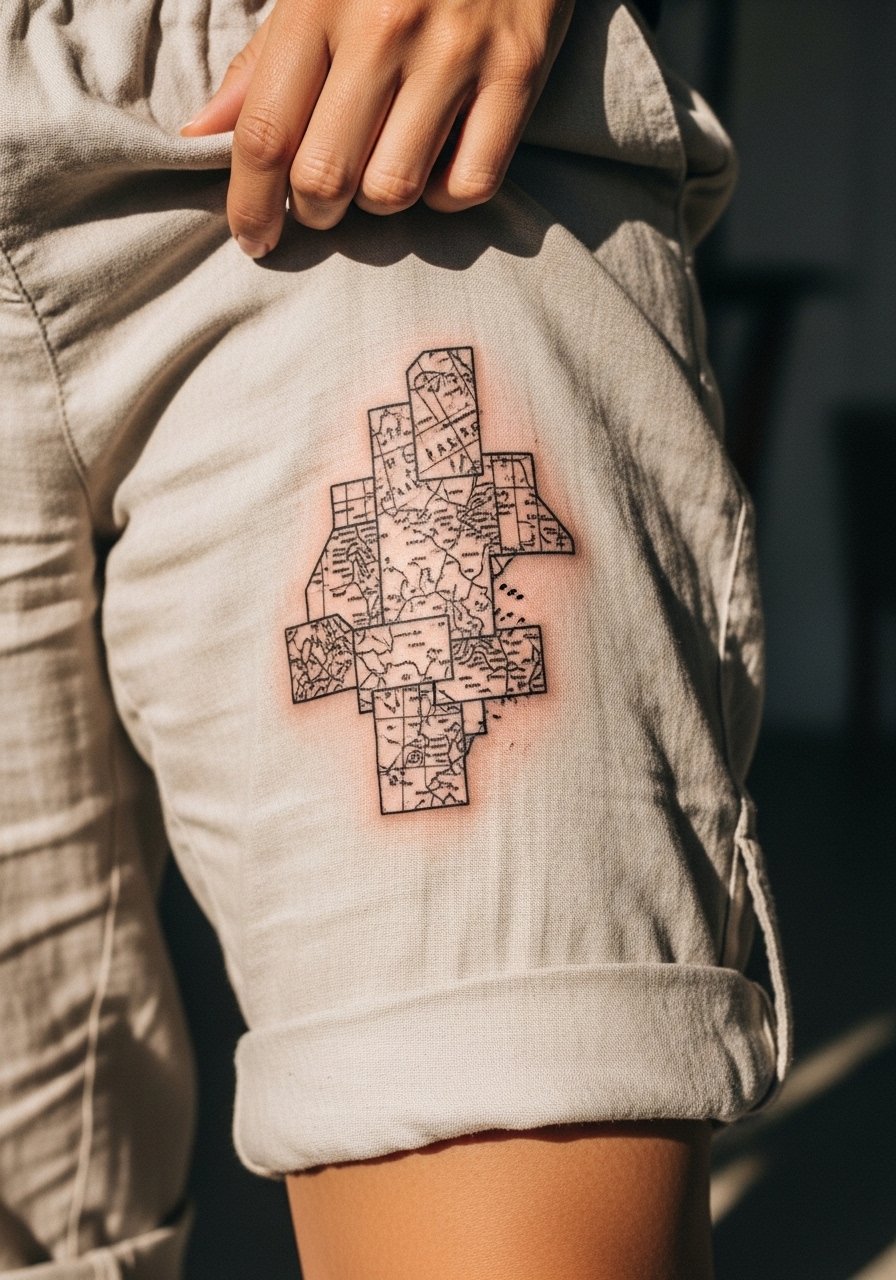
12. Fragmented Map Patches Across Upper and Inner Thigh
Visual impact lead: map fragments ground a personal narrative into patchwork without requiring portrait detail. Tell your artist which map fragments matter and supply coordinates or place names as exact text. Sessions are longer if you want micro-detail. A mistake I see is trying to compress too many landmarks into a small area. For comfort during the session, wear loose drawstring linen pants so you can roll the leg up without pressure on the skin.
13. Mixed-Texture Patchwork with Stipple and Whip Shading
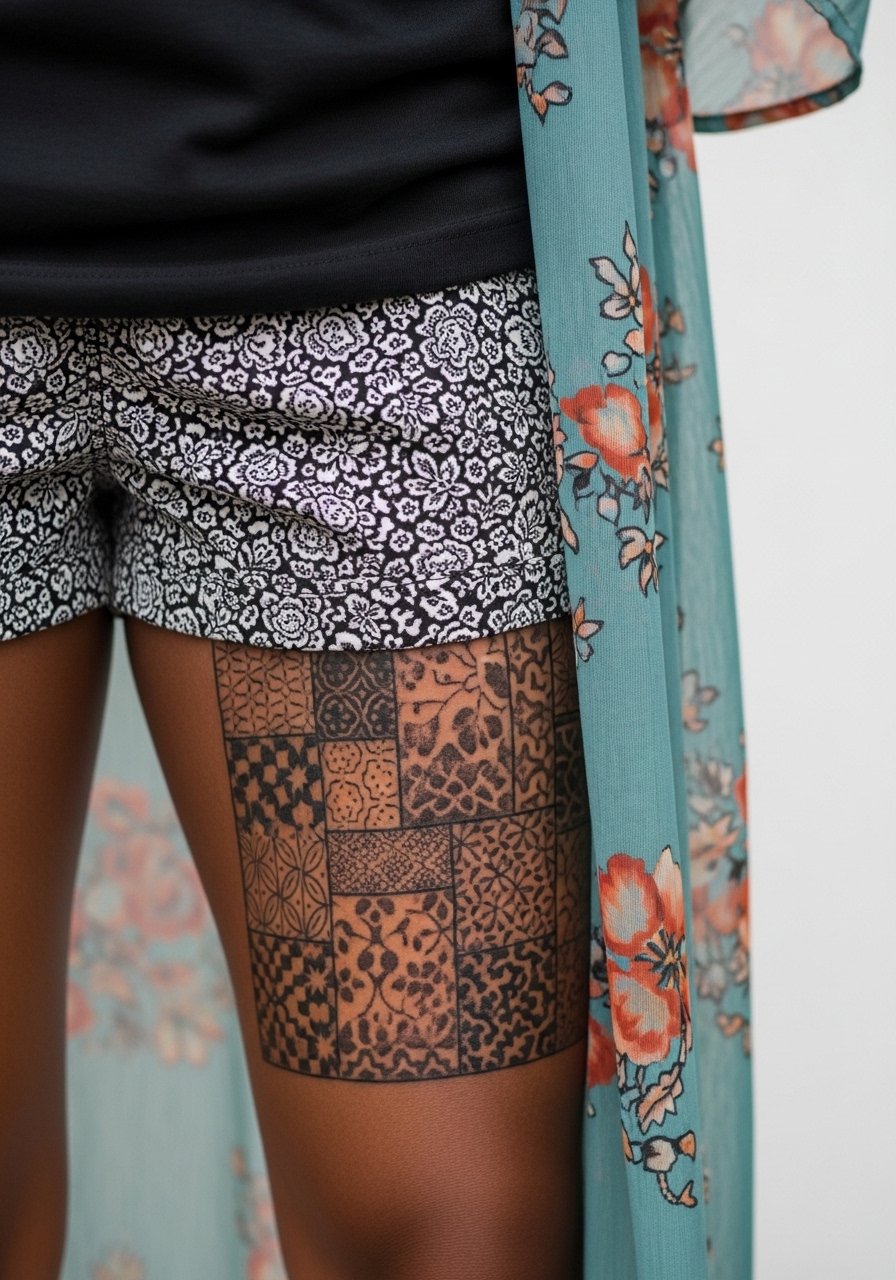
Mistake lead: combining stipple and whip shading requires planning or the piece looks disjointed. Ask for consistent light direction and anchor motifs so the different textures read as a single language. Sessions vary by texture; stipple sections can take longer because they are composed of many small passes. On the thigh, blowout risk is lower than on the wrist, but thin lines still blur if too shallow. For showing off texture, choose a shorts and sheer kimono combo that layers without covering the tattoo.
14. Neo-Traditional Patch Squares with Saturated Color
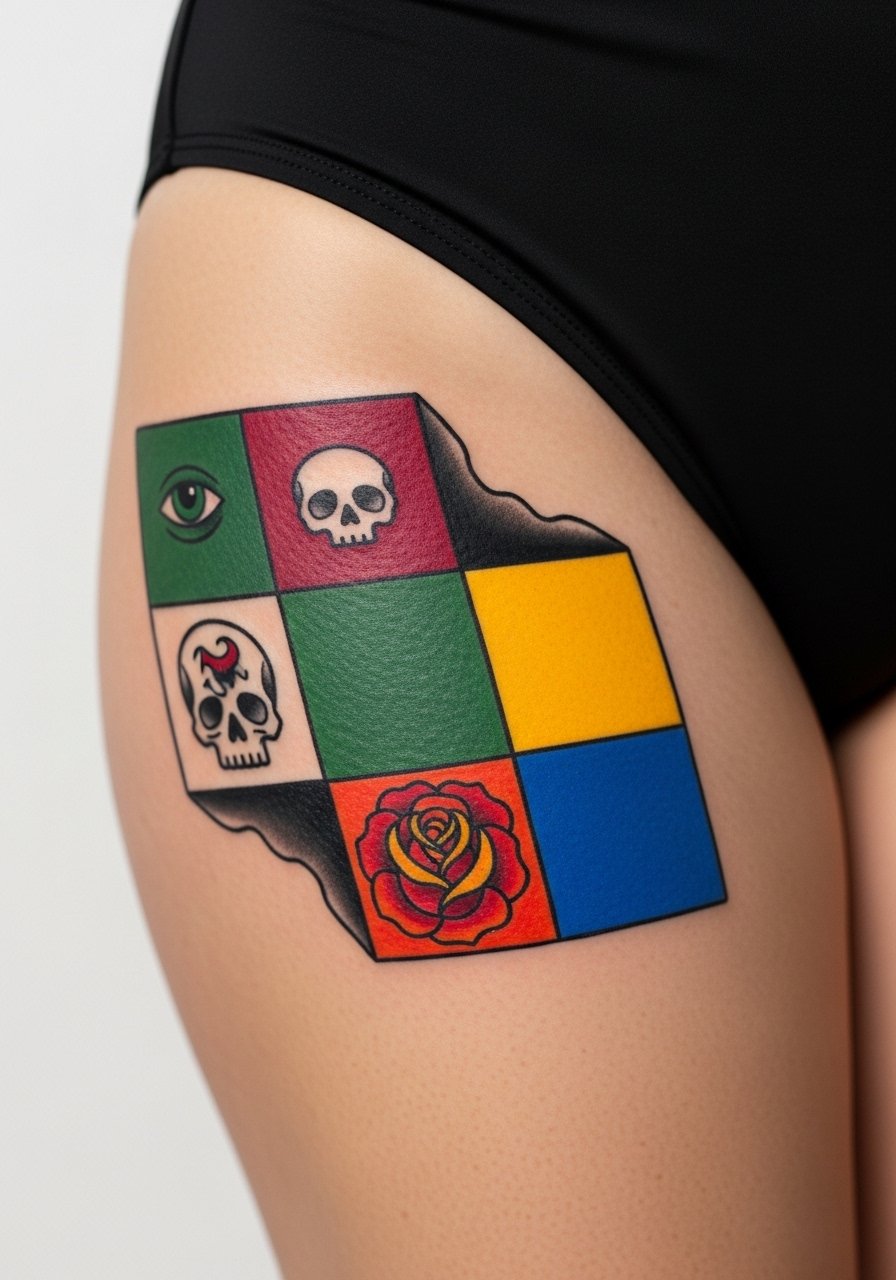
Visual impact lead: saturated neo-traditional blocks can hold color well on the thigh if the pigment is placed at correct depth. Ask your artist about colorfast pigments for warmer skin tones and request solid color anchors rather than gradients inside small patches. Sessions can be medium-length and sometimes require a follow-up for saturation. A common mistake is cramming too many hues into one square. For summer nights, a high-cut swimsuit bottom shows color without exposing the whole thigh.
15. Minimal Line Icons Scattered as a Band
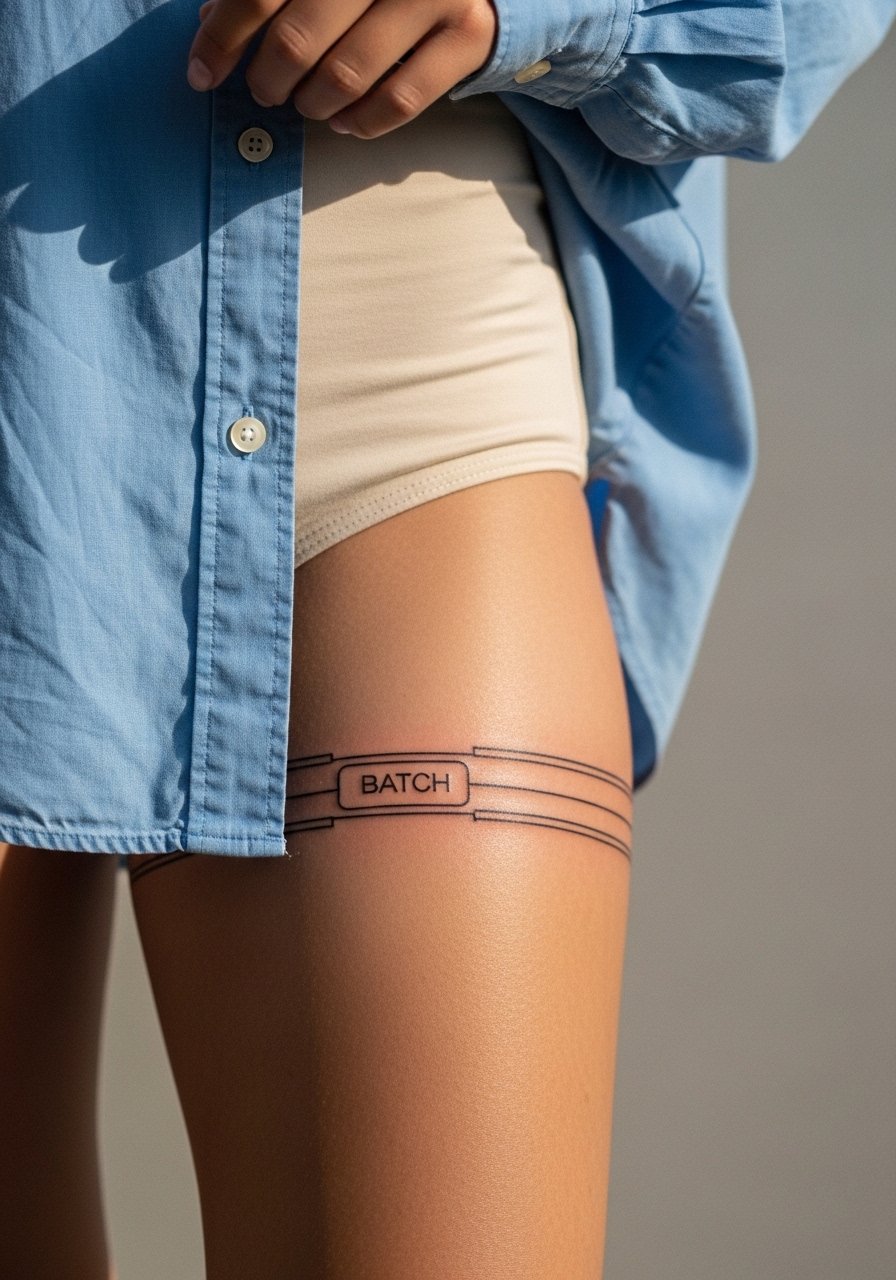
Personal observation: minimal icons spaced as a band work well when each symbol is given a small breathing room. The thigh tolerates tiny icons better than fingers, but keep lines slightly heavier than you might pick for hand work. Sessions are short and tolerable and often completed in one half-hour to hour time. The common mistake is repeating near-identical icons that read as clutter. Pair with a loose button-down shirt for casual framing when you want to reveal a strip of skin.
16. Ornamental Lace Patches Near the Hip
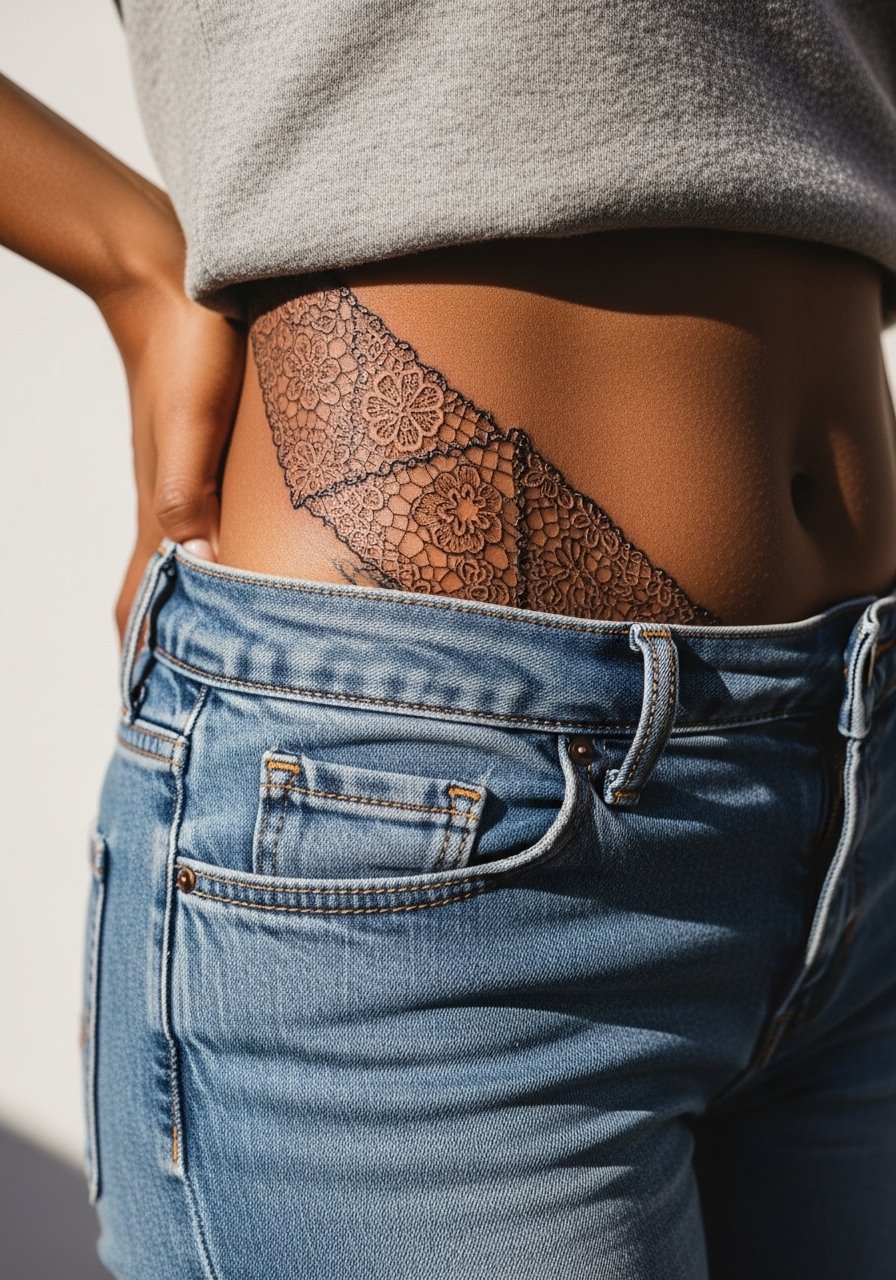
Aging/healing lead: lace-style patchwork near the hip risks losing its openwork unless the pattern has consistent line weight and spacing. Ask the artist to avoid ultra-fine filigree and request slightly bolder connectors. Sessions feel like delicate hand when shading small open areas. Hip exposure during the appointment should be minimal; wear high-waisted jeans pulled slightly down at the hip so only the targeted area is revealed. Respectful note: lace patterns can echo cultural dress motifs; consider a simplified version if you are borrowing a specific heritage design.
17. Asymmetrical Patchwork Band That Wraps the Thigh
Pain warning lead: the inner wrap feels different as the band curves and the sparser areas can be more sensitive. Plan the band as asymmetrical so it flatters muscle flow. Ask for clear anchors so the eye follows the composition rather than stopping at random spots. A seasoned artist will advise on spacing to prevent merging in two to five years. For show, a slit skirt reveals one pane of the band without exposing the entire wrap.
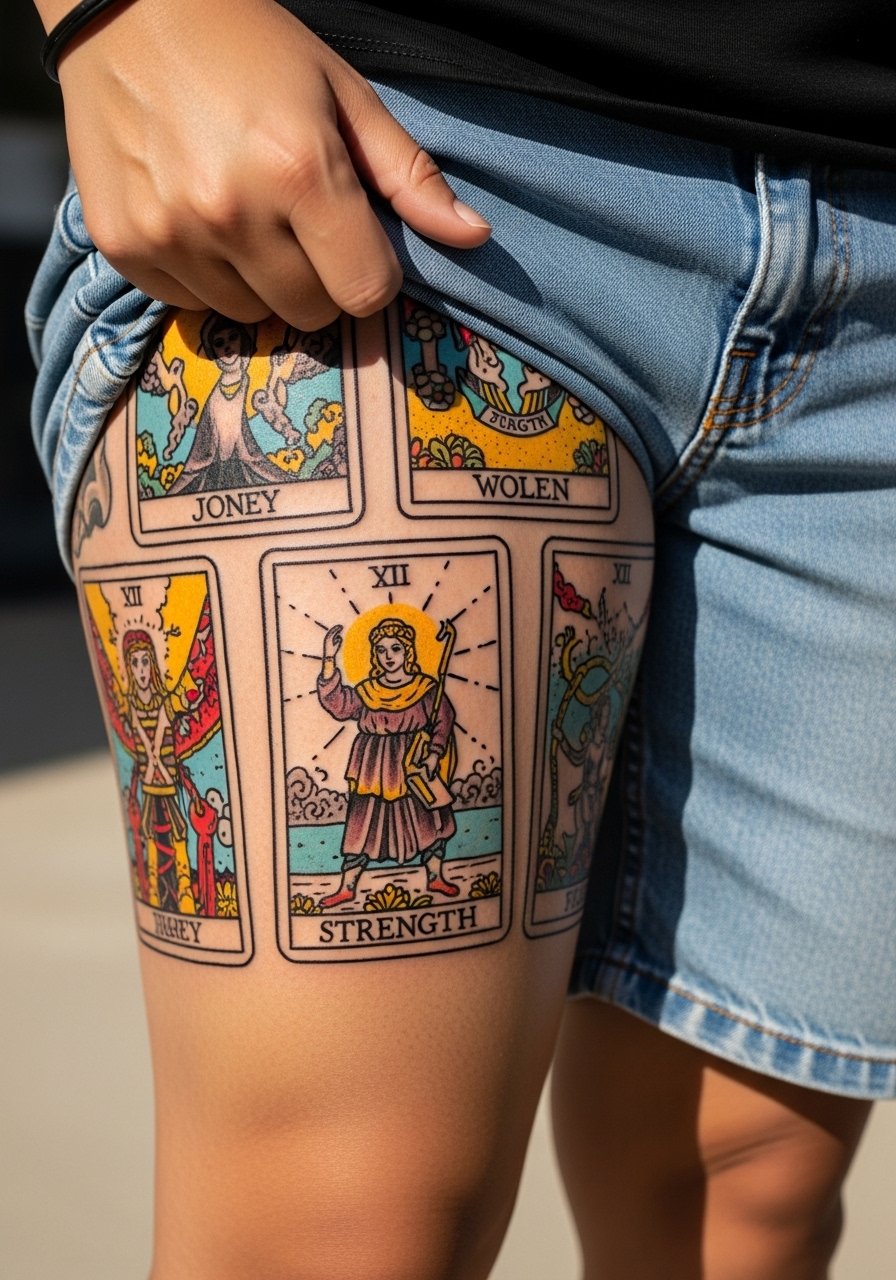
18. Tarot Card Patch Set Stitched Across the Thigh
Consultation lead: bring exact tarot card art and decide which symbology matters to you. For readable detail, keep cards larger and avoid tiny decorative borders. Sessions can be split into multiple cards so each gets proper attention. A mistake is asking for micro-cards that age into smudges. For appointments, wear shorts shifted slightly up to give the artist clear access to each card area.
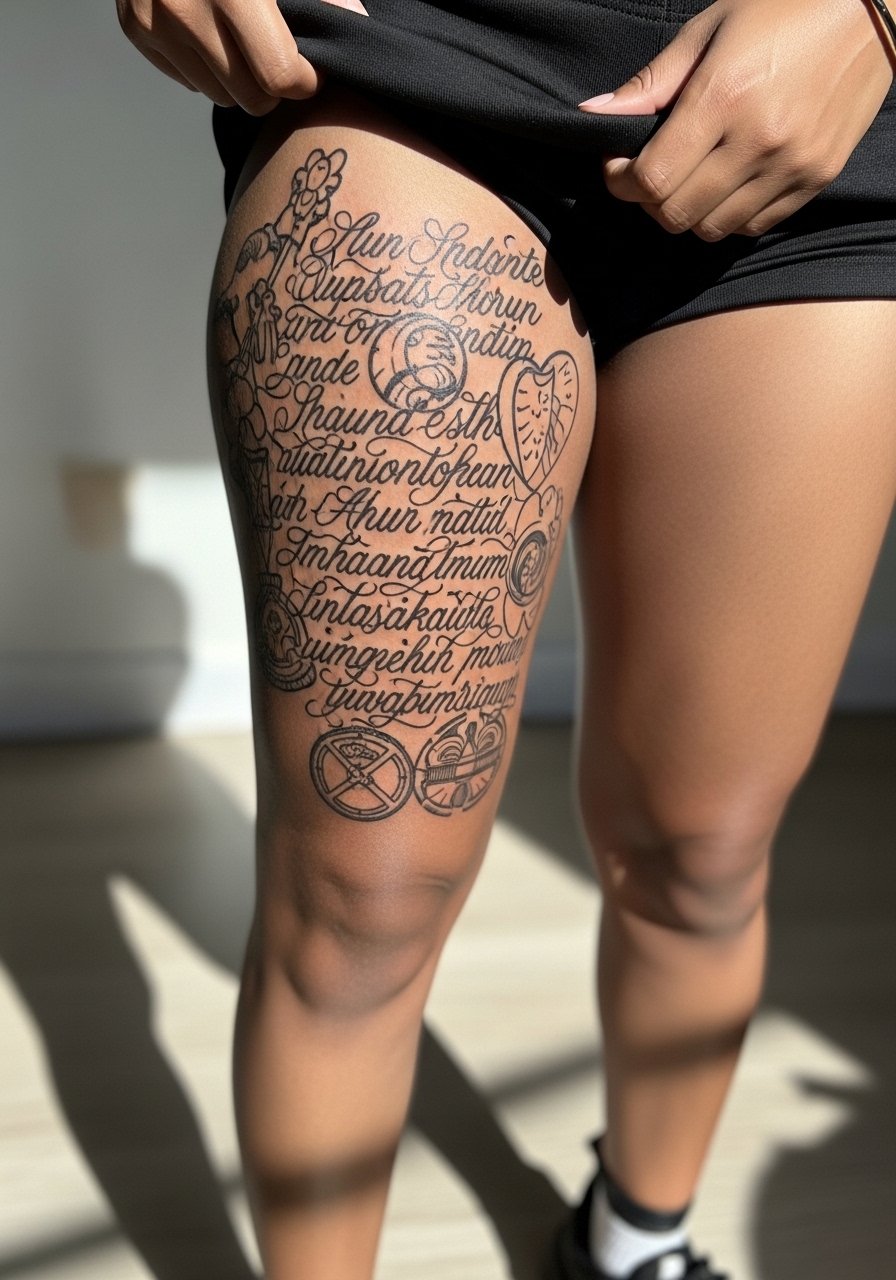
19. Mixed Script and Icon Collage Near the Upper Thigh
Mistake lead: mixing script with icons works when type and symbol weights align. Ask for a mock overlay of text and icons and decide which should lead visually. Sessions vary depending on script length. A common error is choosing ultra-thin cursive that disappears against busier icons. Pair the patch with a thin chain anklet or a simple ankle strap shoe to draw the eye down and balance a heavy upper-thigh visual.
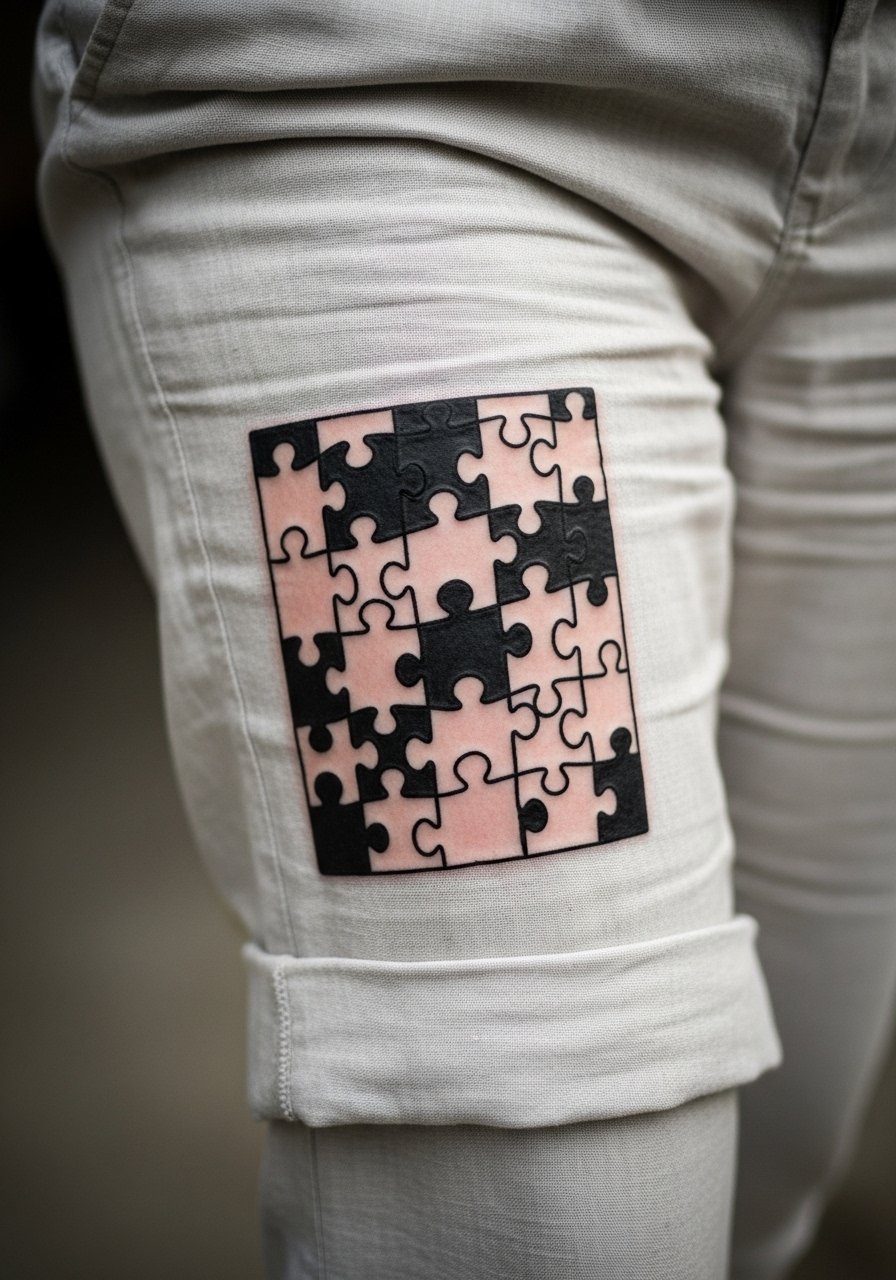
20. Puzzle-Piece Patch Blocks That Interlock
Visual impact lead: puzzle-piece patches read as a single system when each edge is slightly exaggerated for clarity. Tell your artist not to make tabs too thin. This style can cover a large span in two or three sessions. Common mistakes include forcing perfect symmetry on curved anatomy. For session comfort, wear loose drawstring linen pants that roll easily and do not rub against new work.
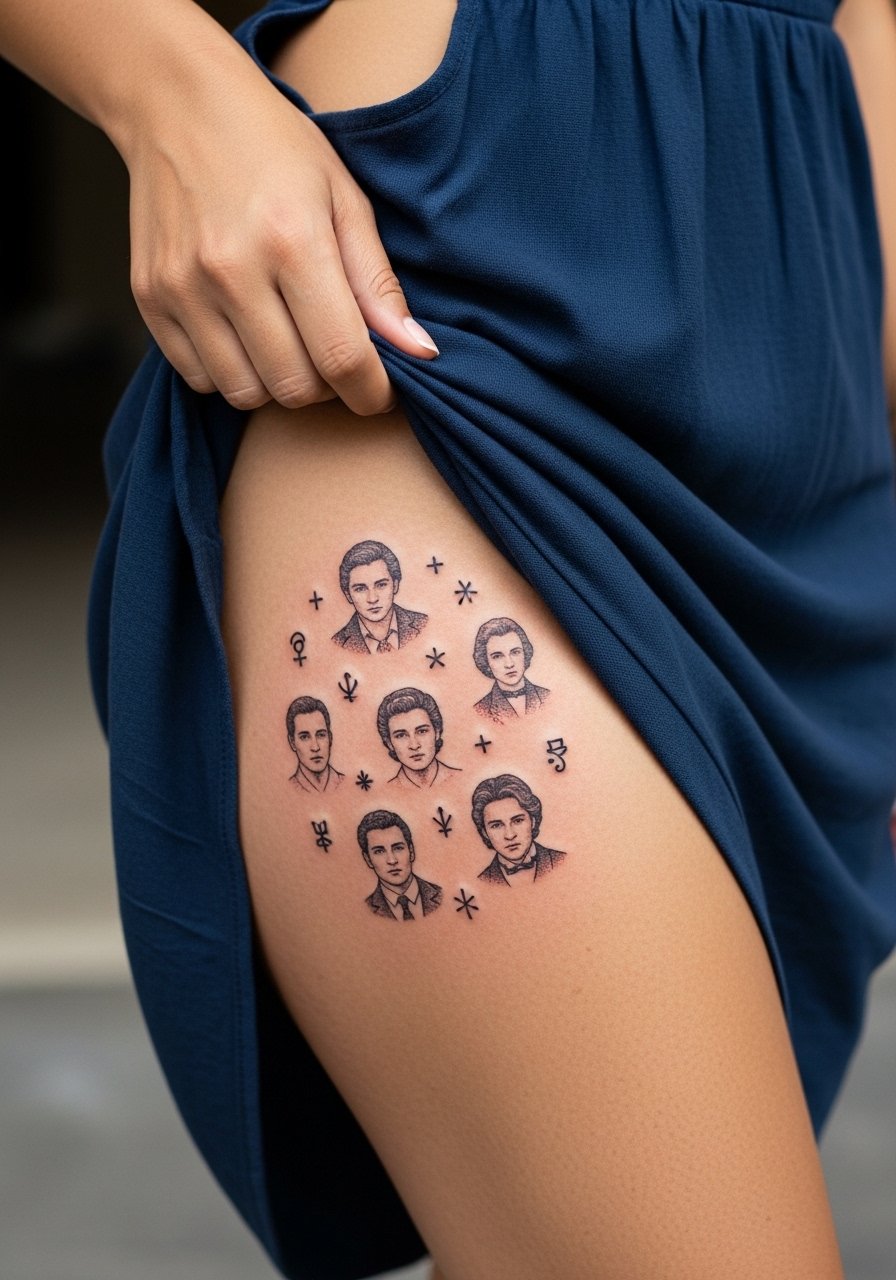
21. Collage of Tiny Portraits and Symbols
Personal observation: tiny portraits deserve scale on the thigh. When they are too small they lose identity. Ask for slightly larger faces and stronger outlines around facial features. Sessions are detailed and patience is necessary. A common mistake is combining too many micro portraits without anchors. For an evening look, an open-back midi dress or high-cut bottom frames a single portrait patch with elegance.
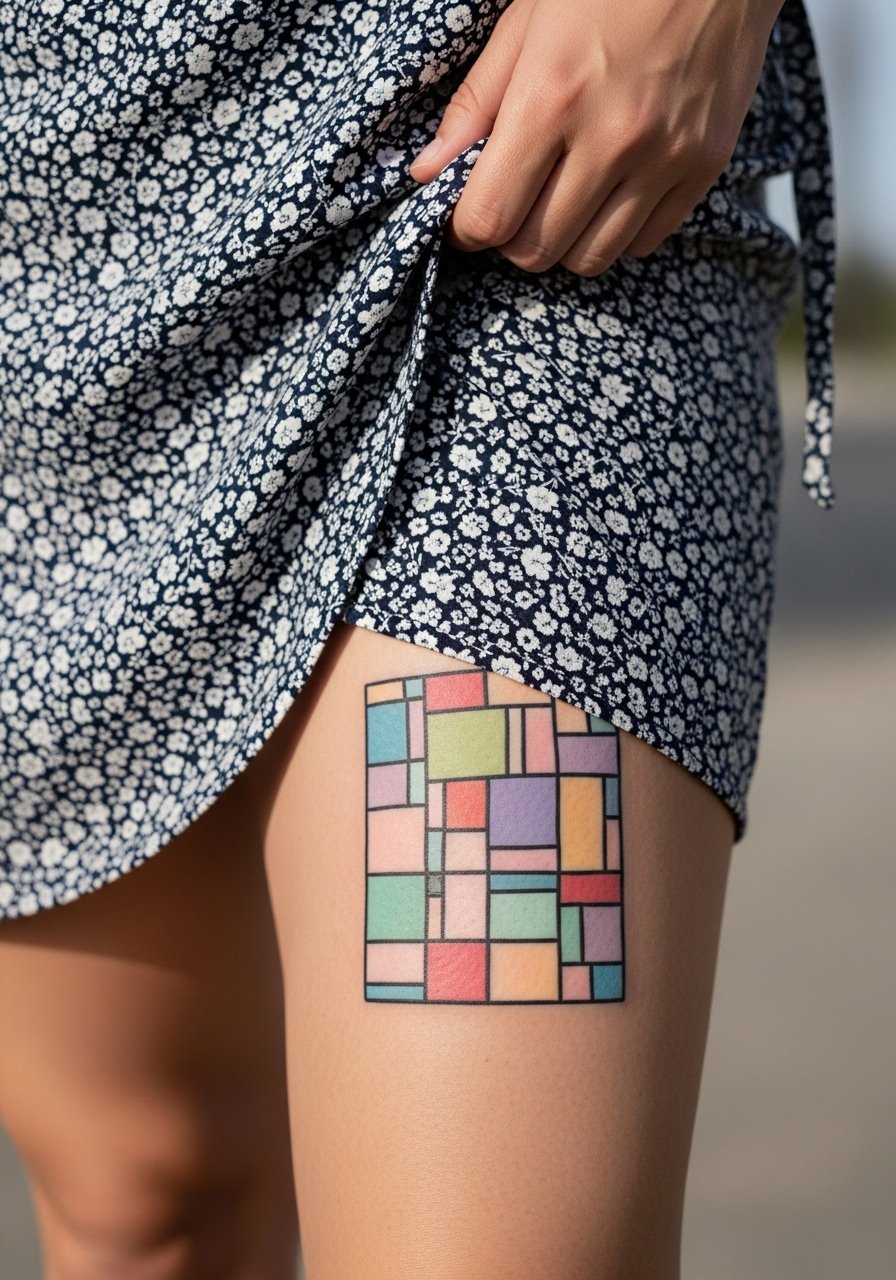
22. Color-Blocked Patchwork with Pastel Panels
Aging/healing lead: pastel panels need stronger outlines because soft pigments tend to fade faster. Discuss color anchors with your artist and ask which pigments hold best for your skin tone. Sessions require multiple passes for pastel saturation and often a touch-up at year two. For daytime wear, a wrap skirt or high-cut swim bottom showcases the soft hues without overexposure to sun.
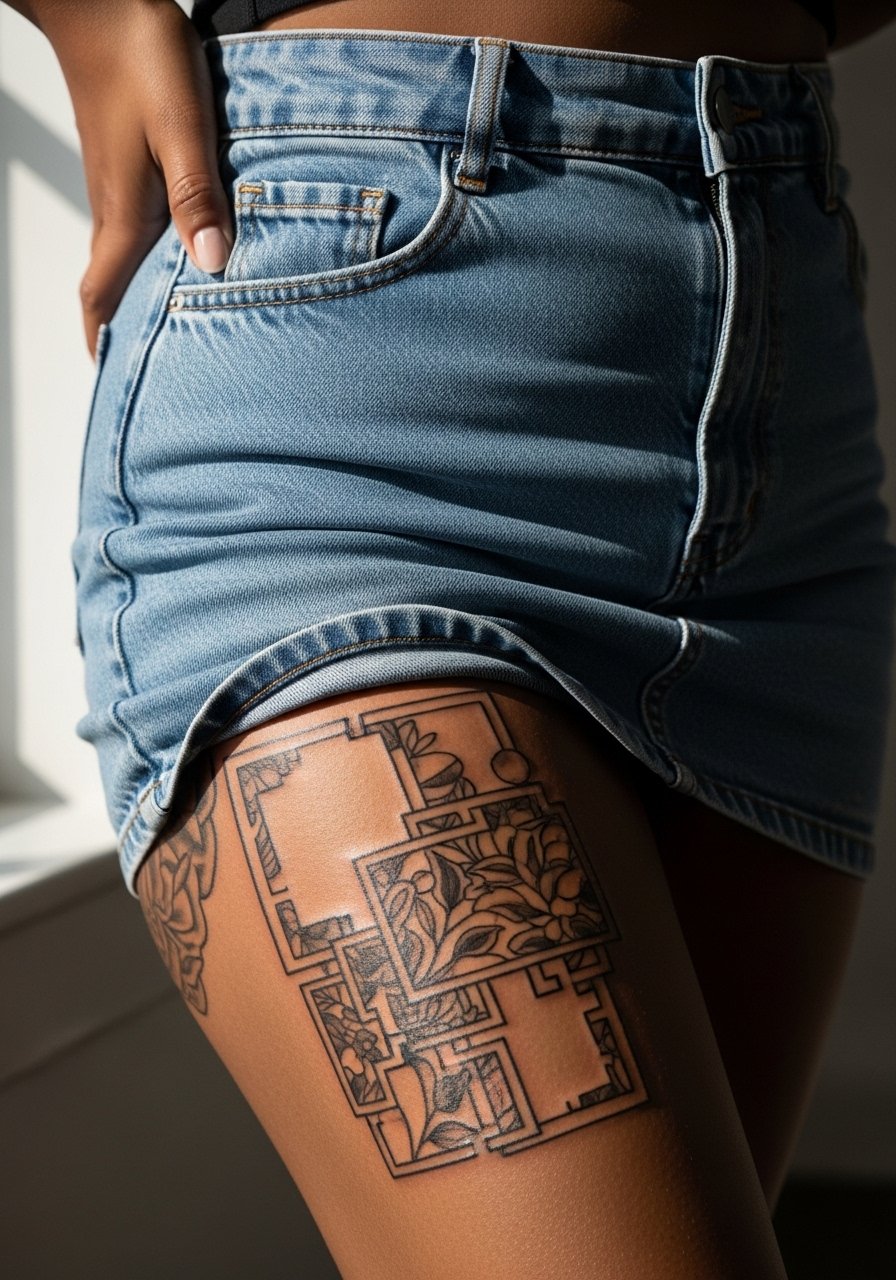
23. Cut-and-Paste Flash Collage With Negative Space Frames
Mistake lead: too many tight frames creates a busy piece. Negative space frames should be generous so each flash element reads separately. The thigh allows room for this breathing. Sessions are modular and you can build the collage across several appointments. For showing off, choose a high-waisted denim skirt that stops above the collage so a single panel can be revealed.
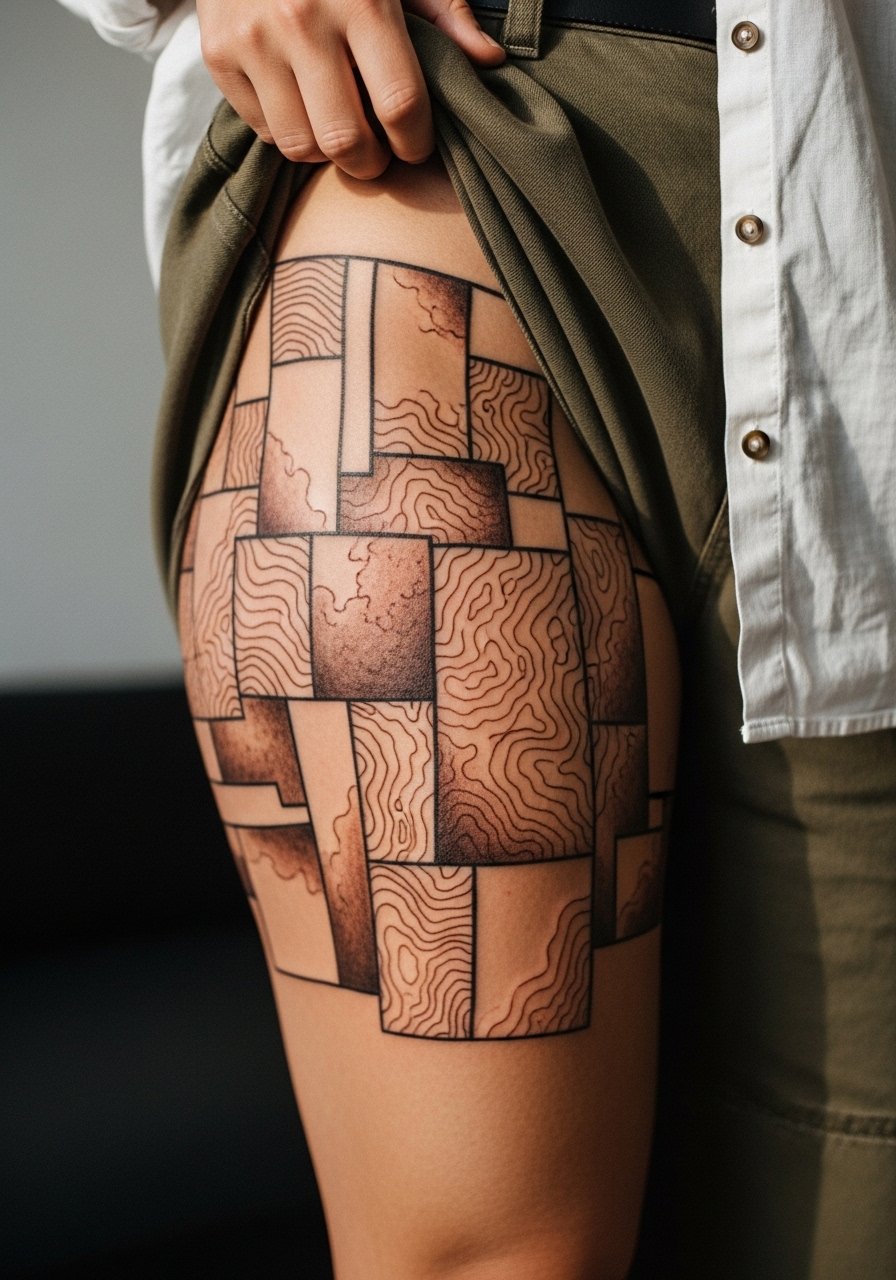
24. Single-Color Sepia Patch Panels for a Vintage Look
Aging/healing lead: single-color sepia panels wear differently than true blacks because brown pigments can fade unevenly. Ask your artist about pigment choice and expect touch-ups sooner than with saturated black. Sessions are medium-length and the shading should be planned to maintain contrast after healing. Pair with a loose button-down shirt for casual framing when you want to show a panel without revealing the whole thigh.
25. Botanical and Script Interplay Along the Inner Thigh
Controversy lead: fine line and script on the inner thigh split artists into two camps. One camp advises thicker strokes because the area sees more friction and a higher chance of blur. The other camp insists on precise depth and believes thin script can settle fine. The practical step is to ask where your artist stands and request a test stencil. Sessions can be sensitive and shorter breaks help. For the appointment, a racerback tank top plus foldable shorts keeps access easy and comfortable.
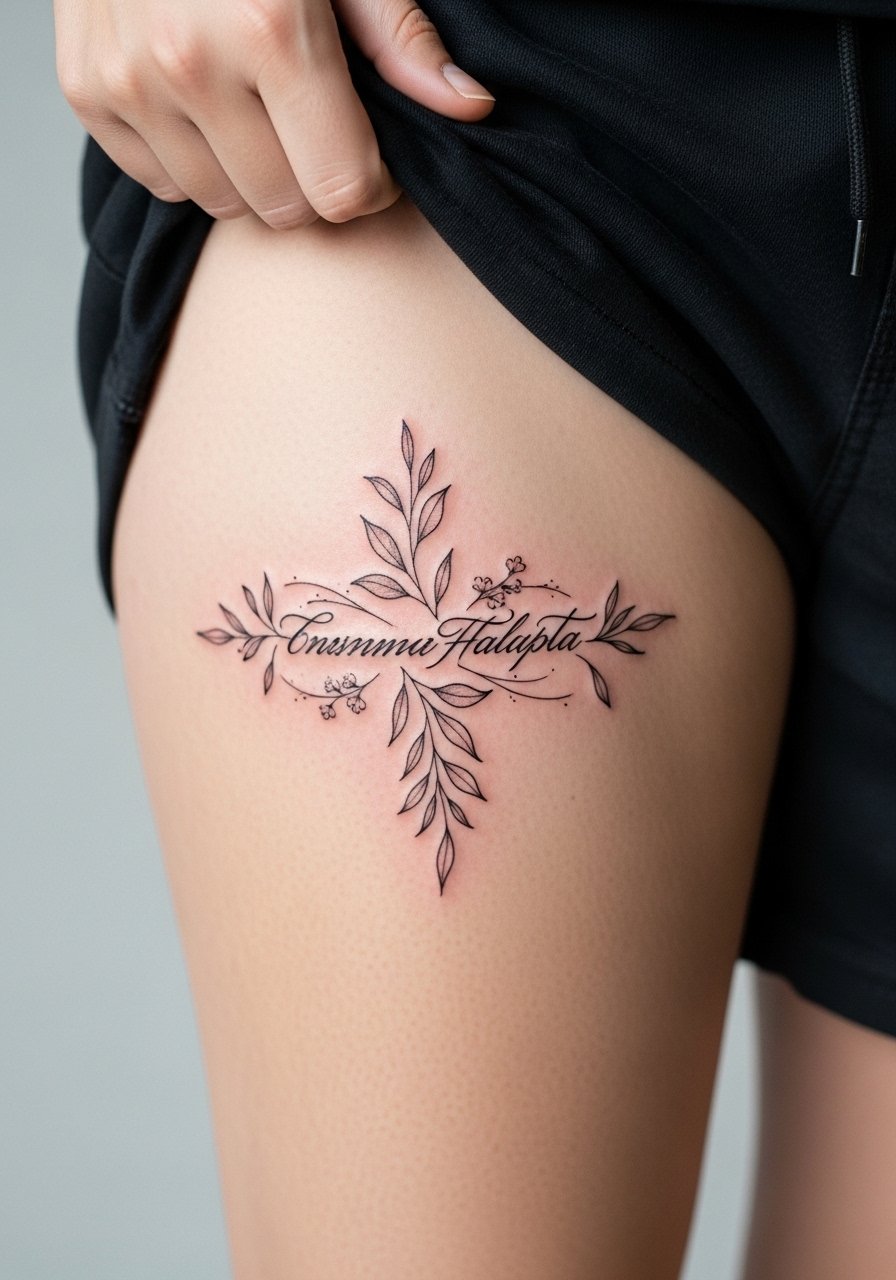
26. Fragmented Floral and Geometric Hybrid
Consultation lead: hybrids need a clear visual hierarchy so florals and geometry do not fight. Decide which motifs take foreground and which recede. Sessions can alternate between quick florals and longer geometric fills. A common mistake is equal visual weight for all parts, which flattens the collage. For showing off, layer with an open-back slip dress when you want one area to be the focal point.
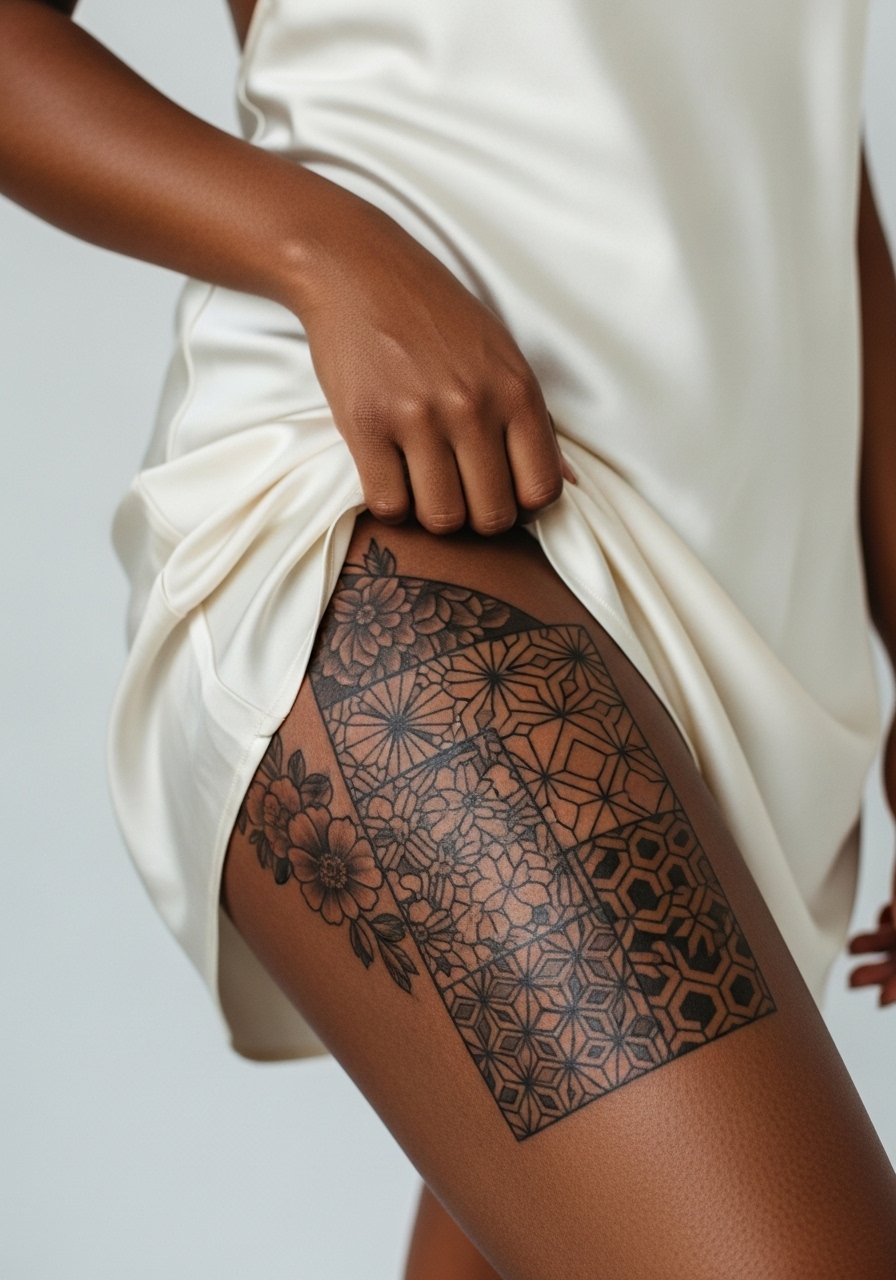
27. Assembled Flash Mosaic With Contrasting Anchors
Visual impact lead: a mosaic that uses contrasting anchors keeps the eye moving and prevents any single motif from swallowing the rest. Ask your artist to plan three anchor pieces and fill between them with lighter flash. Sessions are naturally modular and the thigh allows large mosaics over multiple visits. A common mistake is random placement without an anchor plan. For an easy show-off outfit, choose high-waisted shorts that stop above the mosaic so an upper panel can be revealed with a single motion.
Frequently Asked Questions
Q: Will a patchwork thigh tattoo need touch-ups more often than a single-piece thigh tattoo?
A: It depends on density and pigment choice. Heavily saturated black blocks tend to outlast very fine-lined patches, but a well-planned patchwork with intentional spacing can behave much like a single-piece sleeve. Ask your artist about realistic timelines for touch-ups, especially if your collage includes ultra-fine scripts or very pastel fills.
Q: Can I combine different styles in a single thigh patchwork without it looking messy?
A: Yes, if you establish visual anchors and coherent spacing during consultation. Tell your artist which elements should read as foreground and which should recede. Honest conversation about scale and weight prevents a muddled finish.
Q: Are inner thigh patches riskier for healing and longevity?
A: Inner thigh skin is more sensitive and sees more friction, so light lines can blur faster there. One camp of artists recommends heavier line weight for that zone, and another camp says precise depth and spacing are all you need. Ask your artist which approach they prefer and why.
Q: What should I wear to the appointment for a large thigh patchwork session?
A: Choose loose, nonrestrictive clothing you can slide to expose only the working area. Options like loose drawstring linen pants or shorts that pull up easily are practical and keep the area free from irritation during the session.
Q: Do pastel and watercolor patch panels need special aftercare?
A: Pastels and watercolors often need more attention to sun protection because lighter pigments fade faster. That said, aftercare products and routines vary by artist. The product block above lists items that make the first week easier and protect delicate pigments while they settle.
