
Fine line wings look gorgeous straight after the chair, but what keeps them legible five years from now is placement, spacing, and honest sizing. Hyper-dense feather detail in a tiny space softens into a gray smudge over time. Pick a design that breathes and plan for a touch-up, and you will get a tattoo that reads like a quiet signature instead of a short-lived trend. Below are 17 minimalist wing directions that work on men, with what to ask your artist and what to wear to the session.
1. Single Fine-Line Wing on Inner Forearm
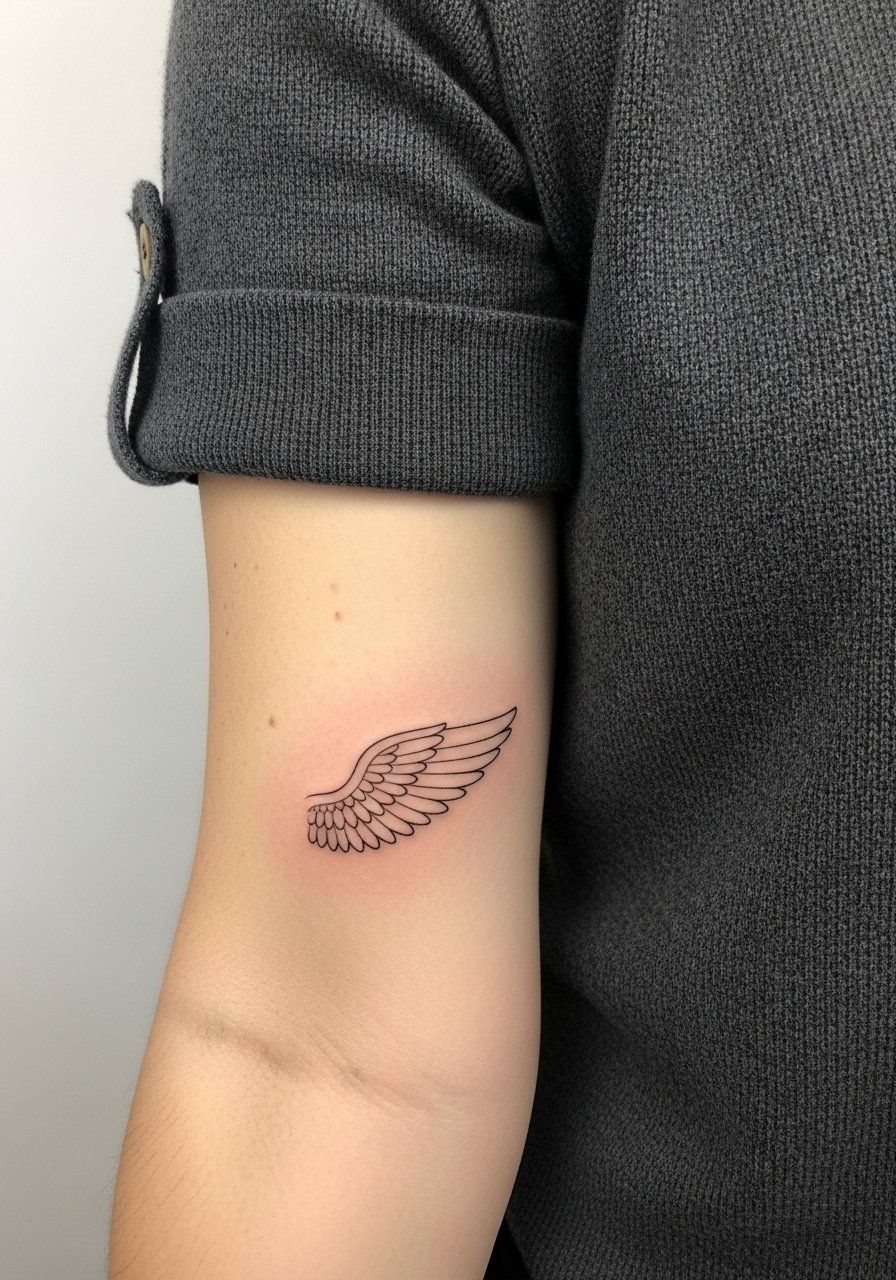
I recommend this for first timers who want a visible but low-commitment piece. Fair warning, the forearm shows sun exposure over years, so ask your artist to space feather lines and use a slightly heavier lineweight than your initial reference. In the consult bring photos that show the exact angle you want and say you want room between feathers to avoid merge by year three. Expect mild discomfort and a single-session job under ninety minutes. For showing it off, rolled sleeves in a rolled sleeve henley men or a slim leather cuff on the opposite arm frames the linework cleanly.
2. Paired Geometric Wings on the Wrist
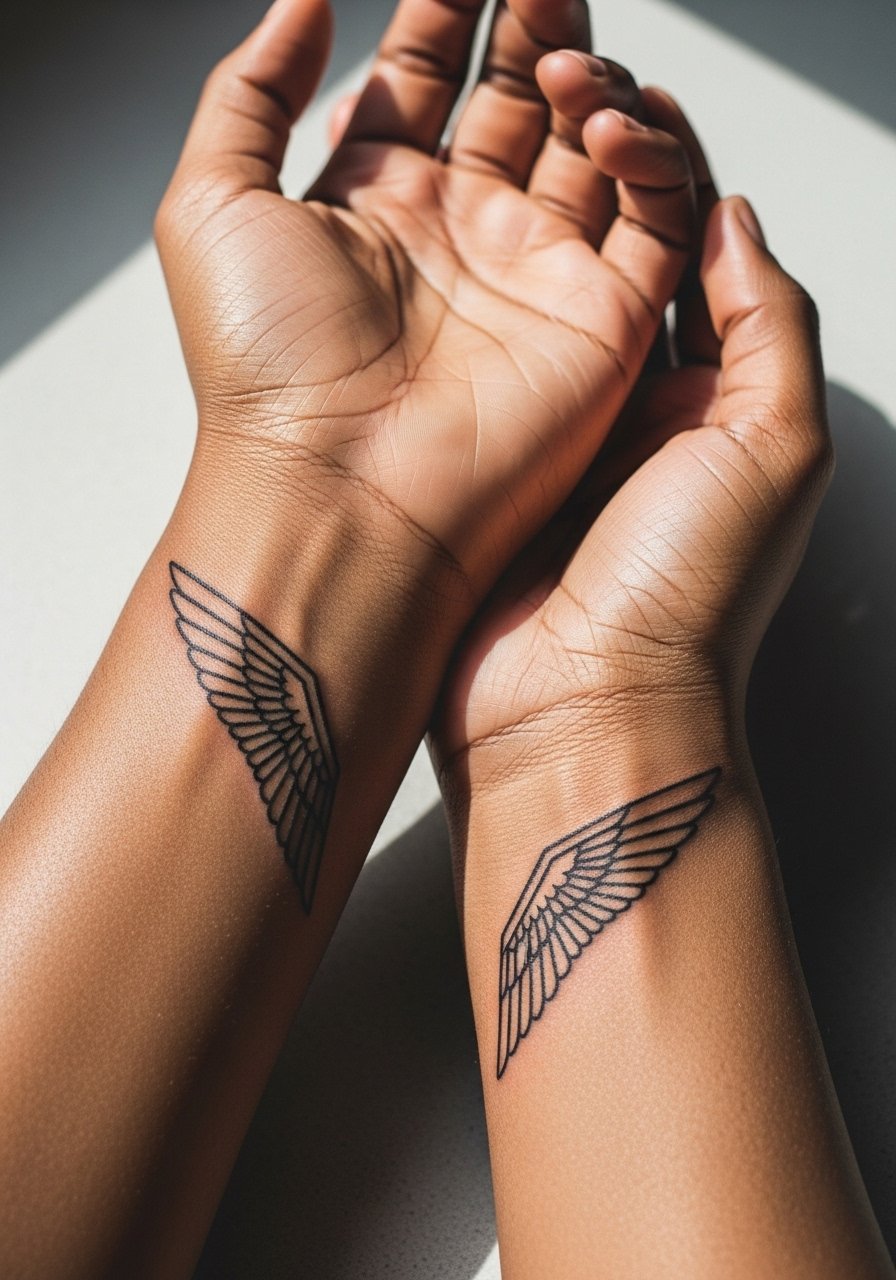
Wrist pieces read modern and pair naturally with watches. The biggest mistake is scaling the geometry too small so the angles blur after a year. Tell your artist you want negative spacing between each line and to avoid ultra-fine single-needle work in the tightest corners. Pain is typically a five out of ten but can spike near the bone. Session time is short, often a single visit under sixty minutes, with a likely touch-up window at year two. For a clean presentation wear a thin leather watch men on the opposite wrist when you want the tattoo to read as deliberate, not accidental.
3. Feathered Fine Line on the Collarbone
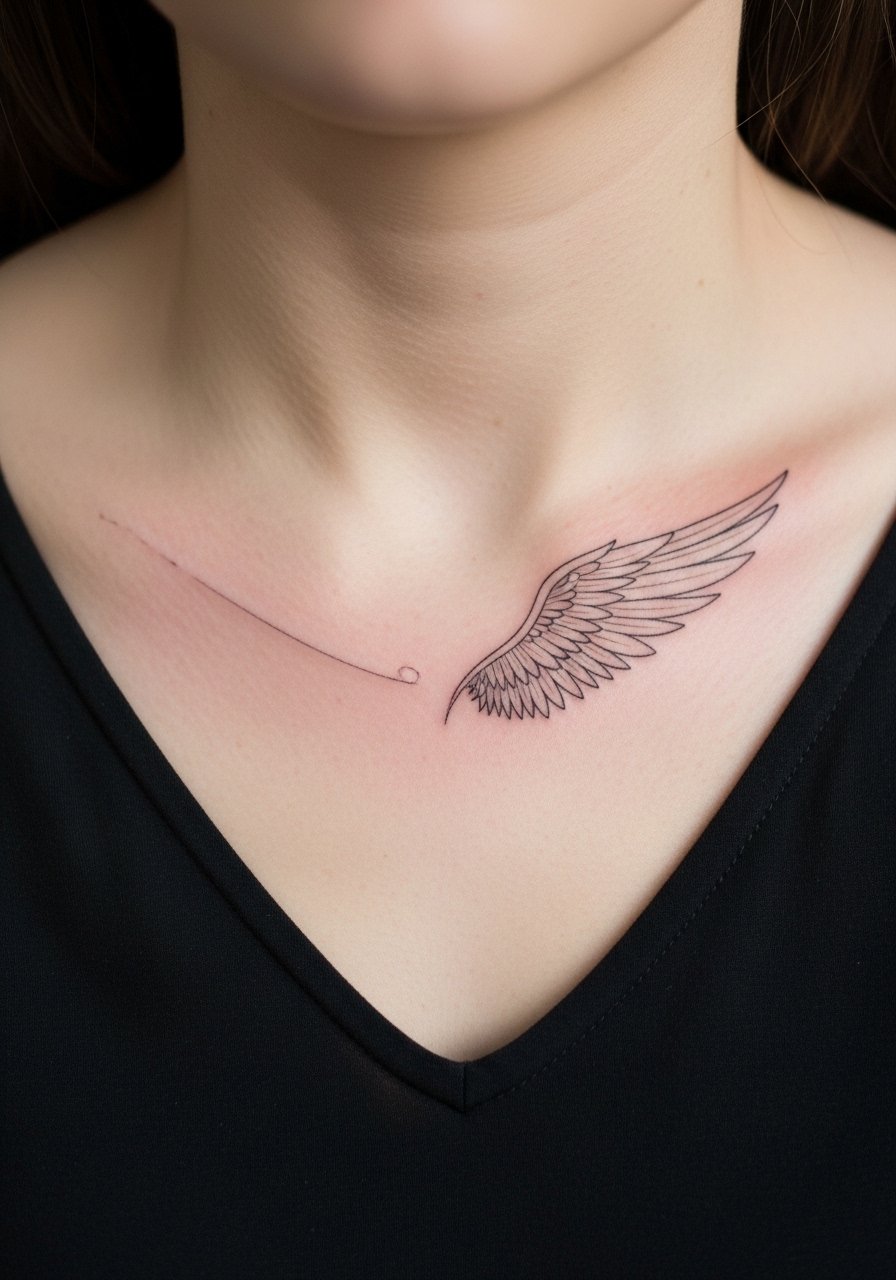
Collarbone placements are subtle and peek from shirts, which is why they are popular for men who want a hint of edge. Pain here is moderate because the bone is close to the surface. Ask for staggered feather spacing and a slightly arced baseline so the wing follows your collarbone. Artists disagree on fine line on thin skin. One camp argues thin lines can blur fast across collarbone ridges. The other camp says with correct depth and spacing it holds up well. Bring up both concerns in consultation and ask where your artist stands. Wear a v neck tee men or an open collar shirt to the session so the area is easy to access.
4. Micro Wing Silhouette on the Back of the Neck
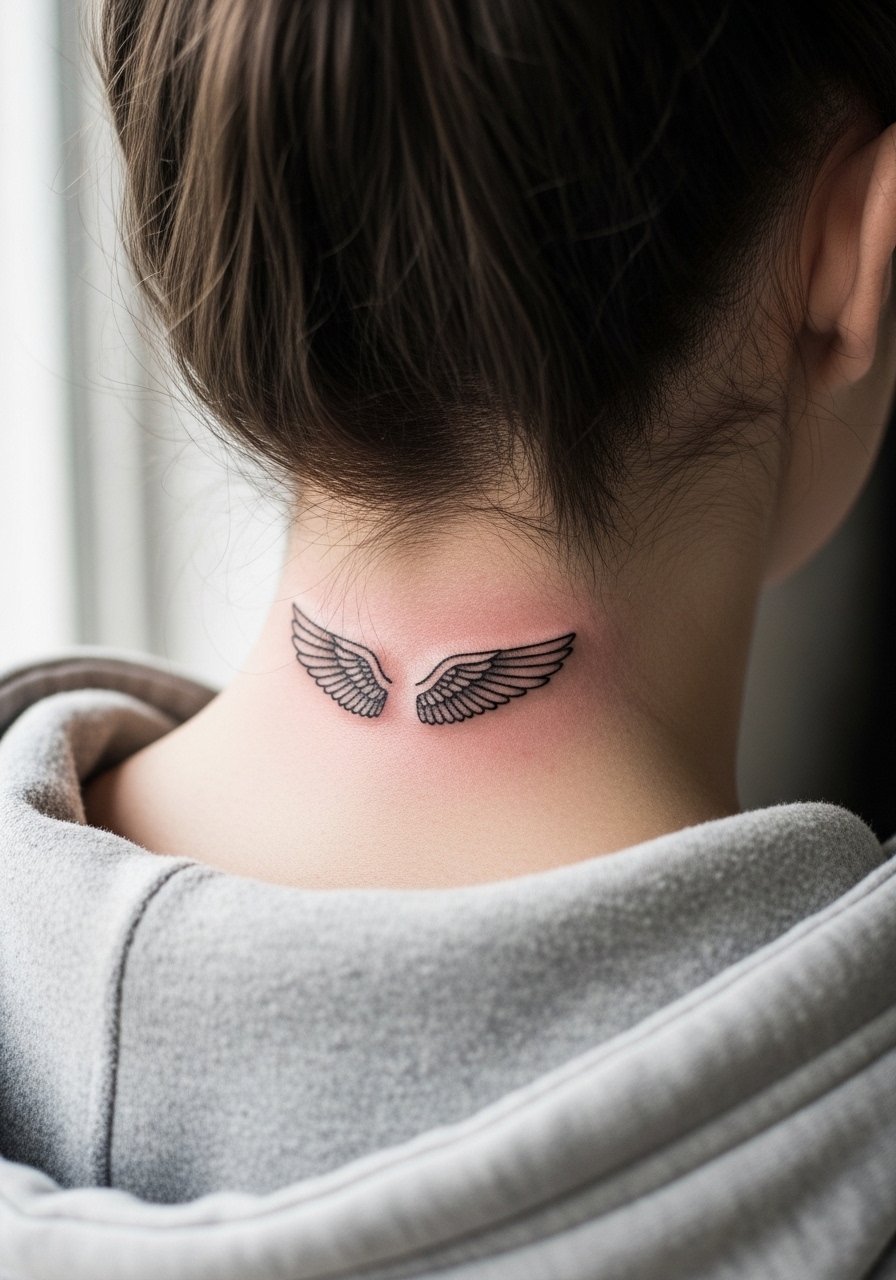
This one is for people who want a hidden cue that appears when hair is up. It is a low-commitment one-inch piece and popular with first timers. The main consult note is to confirm final placement with the artist while seated and standing, because the curve of the neck changes how the silhouette reads. Expect a sharp sting during the session and a single quick appointment. For sessions wear an easy-access shirt like a crewneck hoodie men that you can pull down slightly and a haircut or tied hair helps the artist see the area.
5. Asymmetrical Wing on the Outer Bicep
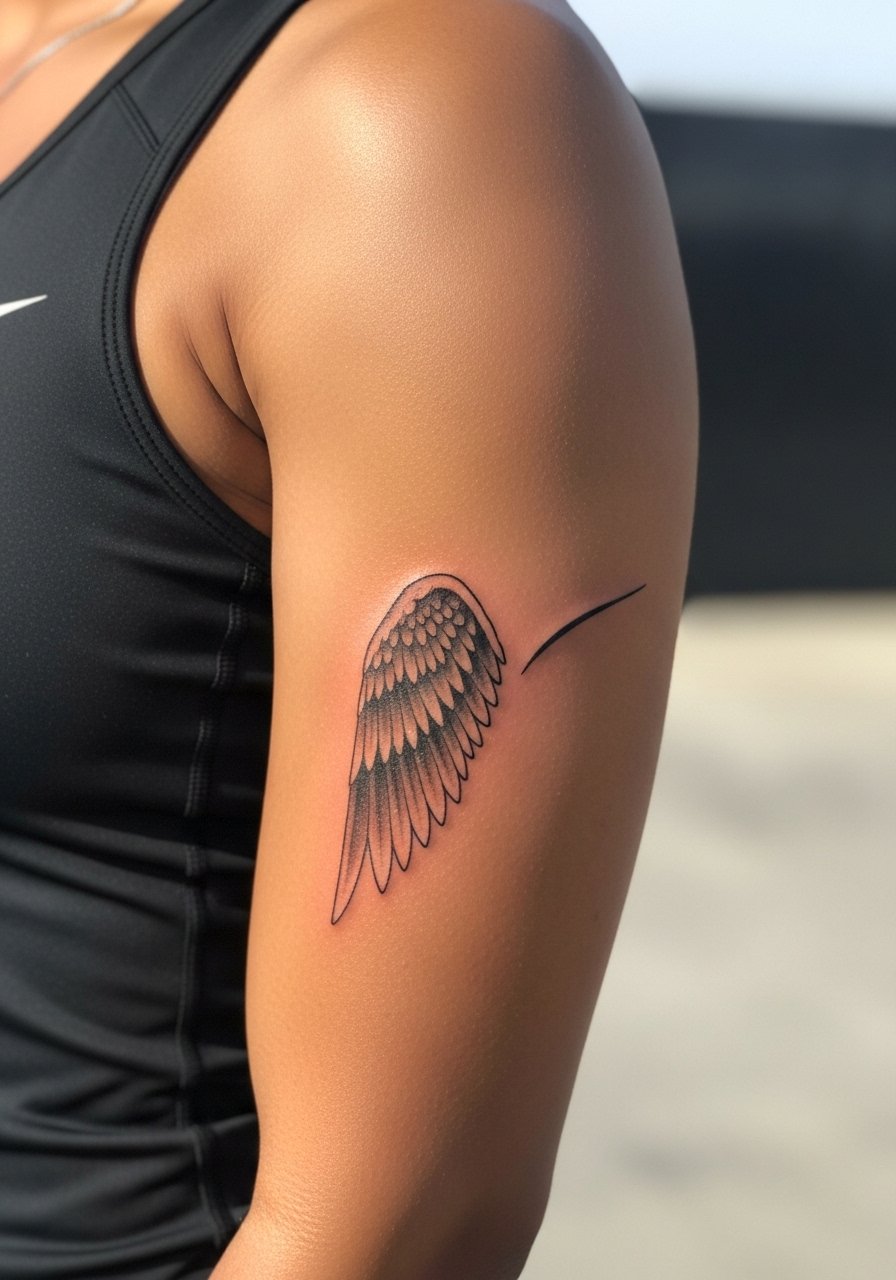
Gym-goers favor this placement because it flexes with the muscle and reads masculine without shouting. The common mistake is asking for too much fine feather detail in a four-inch span. Ask your artist to design the wing to flow with the muscle curve and to avoid tiny parallel lines that can blur. Expect moderate pain and a session that can run ninety minutes if there is shading. For the session wear a fitted athletic tank men so the artist has full arm access and you do not get fabric rubbing on the new ink post-session.
6. Negative-Space Feathers on the Ribcage
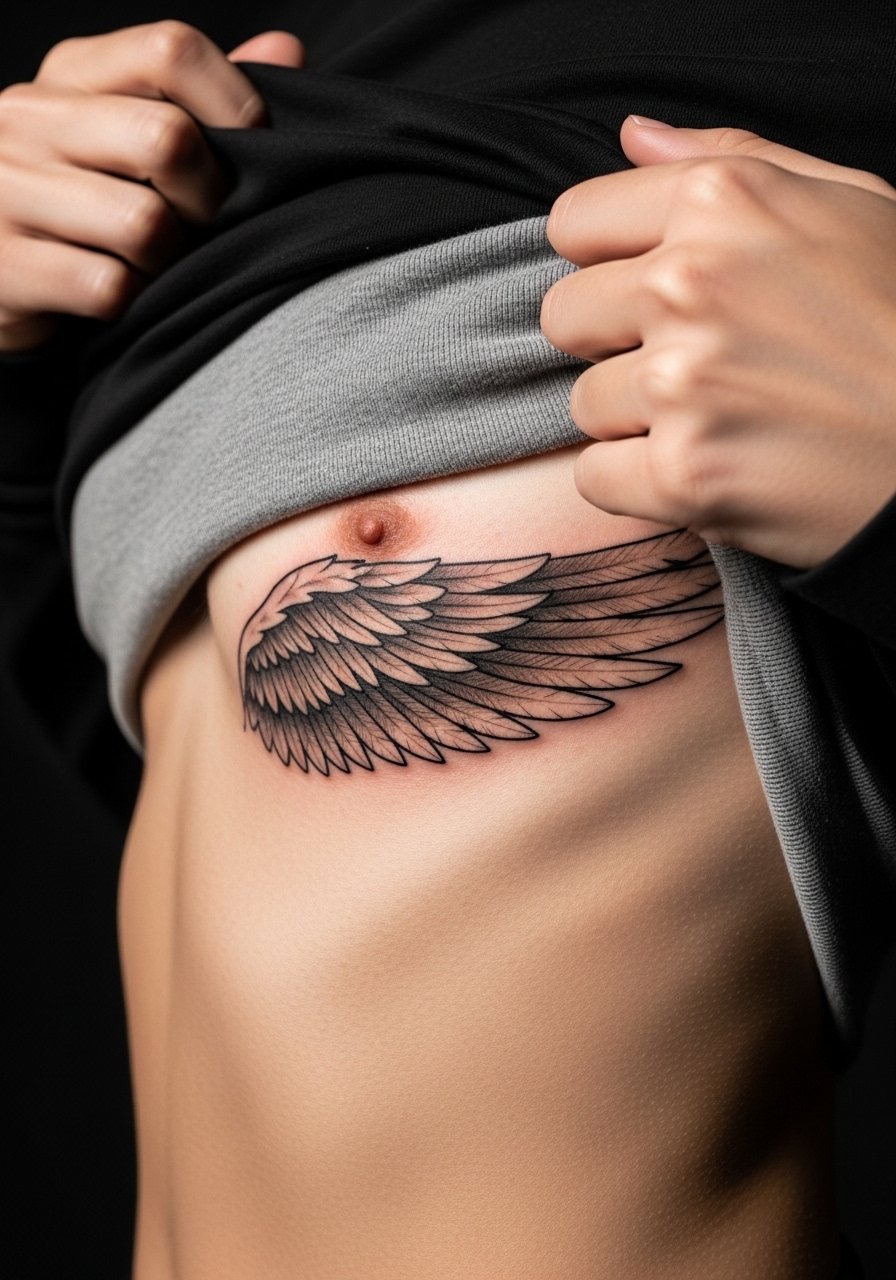
Fair warning, the ribs are a high-pain area and a common place for regret when detail is too tight. The controversy is direct. One camp insists fine line on ribs blurs quickly due to skin stretch and movement. The other camp counters that with correct needle depth and spacing fine line can settle beautifully. I suggest negative-space feathers because they allow the skin tone to act as the highlight, reducing the need for dense lines that can blur. Bring images that show the exact vertical placement you want and plan on a two-session split if you choose heavier outline work. For intimate placements think about who will see it and when.
Pre-Session Essentials
The forearm, wrist, and rib pieces above all ask for different prep, and a few small items smooth the session and the first week.
-
Stencil transfer paper kit. Lets you preview exact line placement on skin before the needle touches, especially useful for the forearm and collarbone pieces above.
-
Topical numbing cream. Applied before the appointment it eases the sharp spots on the ribcage and neck without changing the artist's linework approach.
-
Thin protective film roll. Keeps wrist and ankle tattoos protected from friction during the first days when your routine still involves lots of hand washing and walking.
-
Fragrance-free body wash. Gentle cleansing helps the delicate linework on inner forearm and collarbone heal without stinging or irritation.
-
Aquaphor healing ointment. A thin layer during the first two to three days keeps fine line channels moisturized without suffocating the skin.
7. Single Curved Wing Line on the Ankle
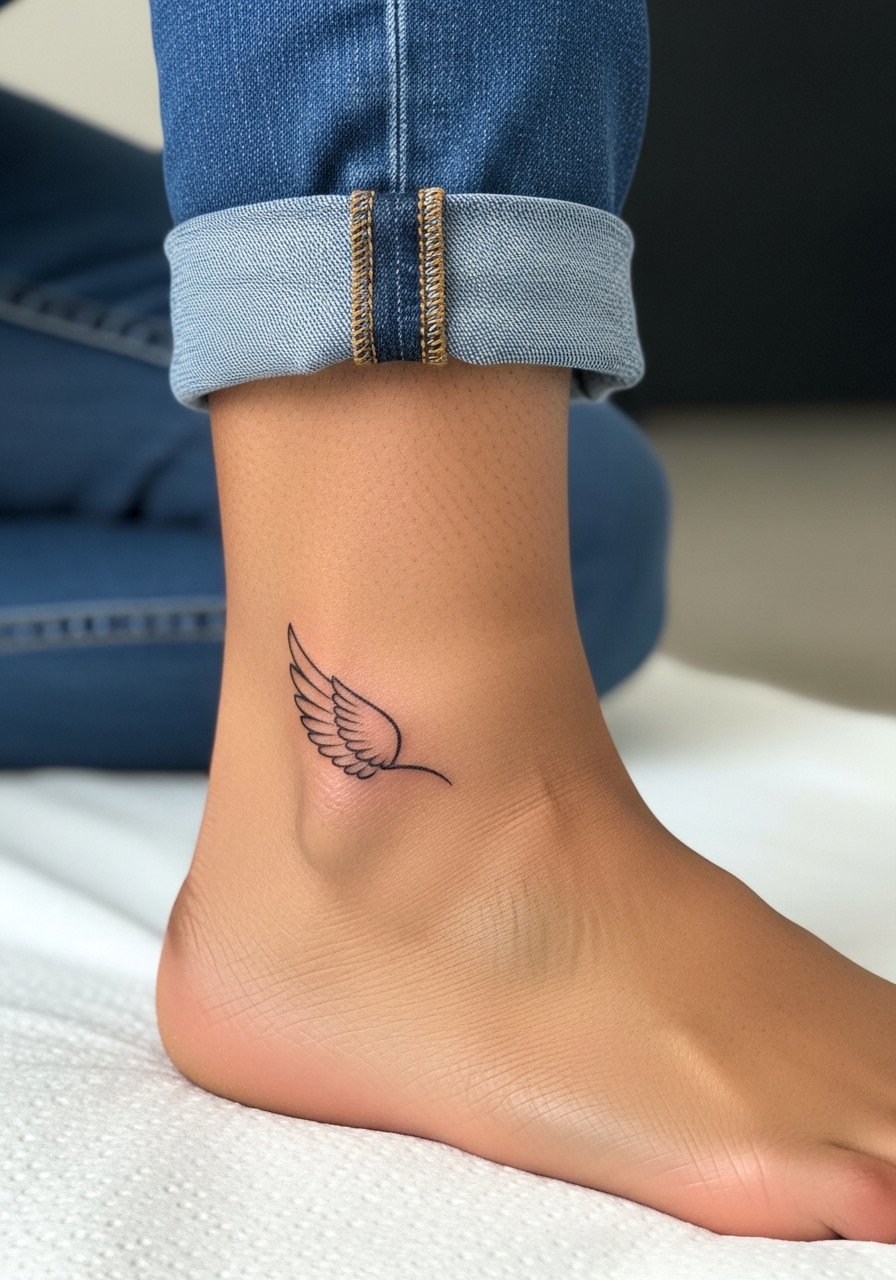
Ankle tattoos balance subtlety and personality, but the skin there takes a beating from shoes and socks. The common error is placing delicate single-needle curves too close to the bone where rubbing will fade them quickly. Request slightly bolder contour on the contact edge and a single session with aftercare attention on friction zones. Pain is brief but sharp when the needle crosses bone. For show-off looks try no-show socks with rolled-up chinos, and wear slip-on shoes to the session so you can remove footwear without tugging on the area. For quick access bring a pair of no show socks men.
8. Abstract Wing Fragment on the Shoulder Blade
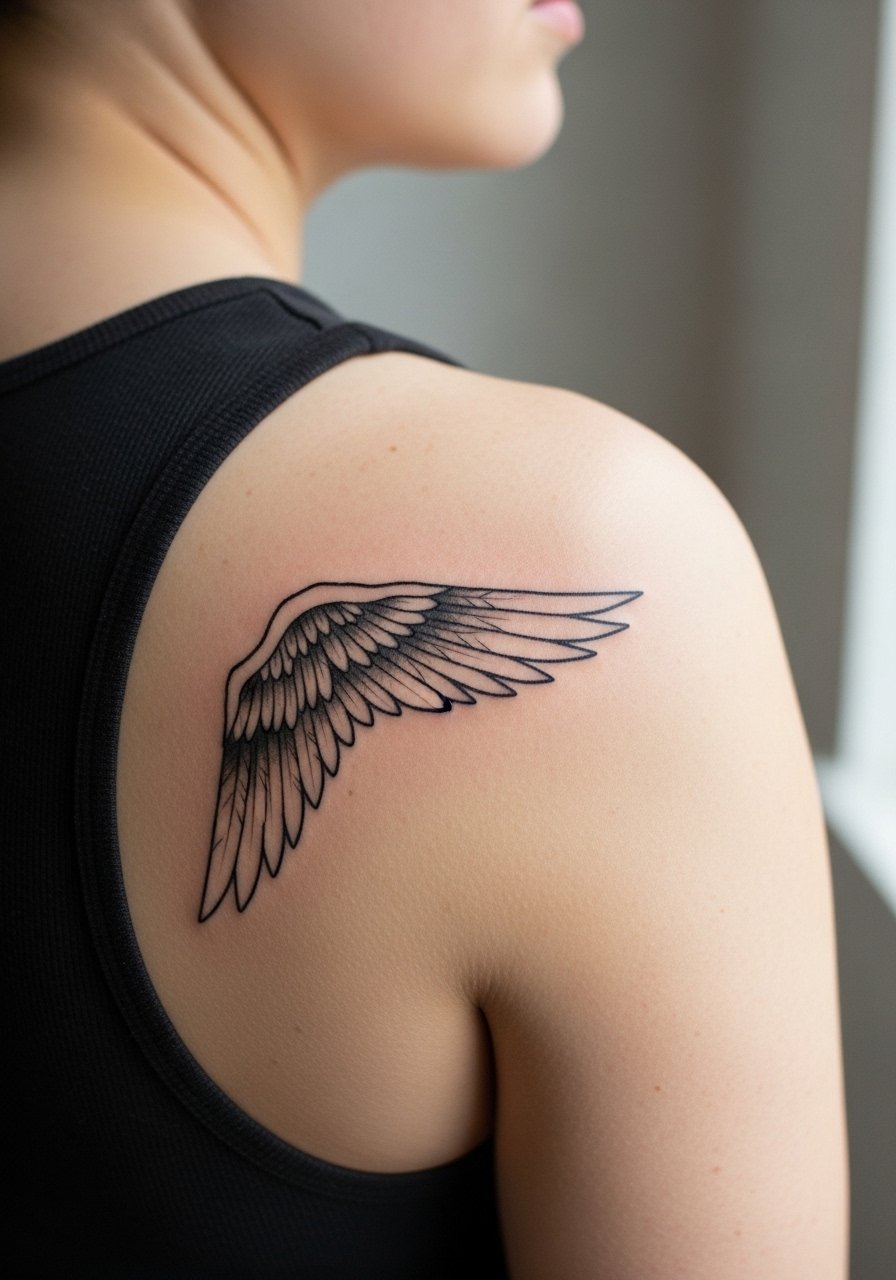
This placement is a strong choice if you plan a future patchwork sleeve or upper-back composition. Shoulder blade skin handles linework well and has moderate pain. A common mistake is treating the fragment as a finished piece without room to add future elements. Tell your artist you want flow points for future work and to avoid locking in heavy shading that would conflict with later ink. Session time varies depending on shading, expect up to two hours for denser blackwork. For the appointment wear a loose tank top men so the artist can access the area without you being uncomfortable.
9. Minimalist Dotwork Wing on the Calf
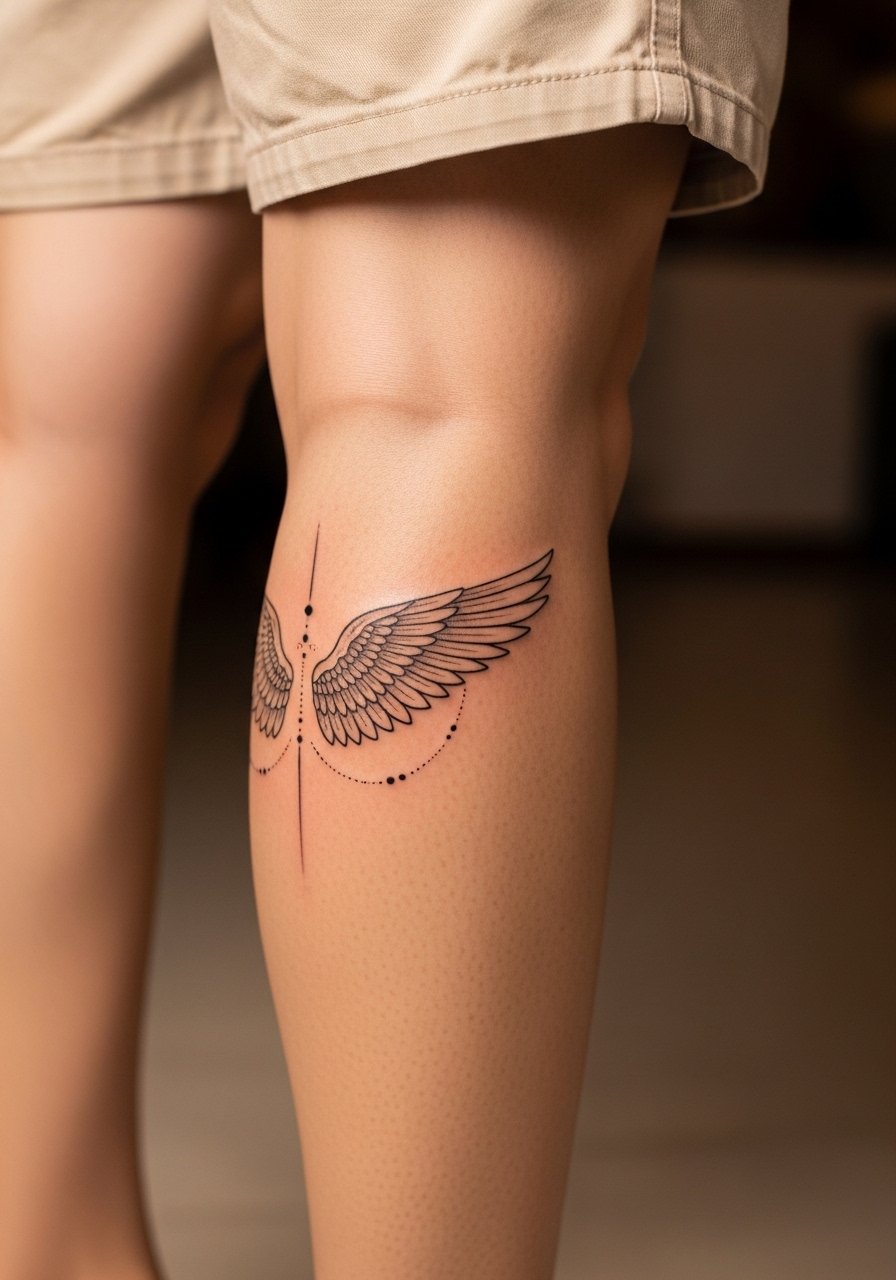
Calf placements are athlete-friendly and show during shorts season. Dotwork requires a steady hand and the risk is overpacking dots so they merge into a patch of tone. Recommend stippling that graduates outward and ask for reference photos that show dot scale. Pain on the calf is medium and sessions for a four-inch dotwork piece usually run under two hours. Dotwork tends to age well if dots are spaced intentionally, with touch-ups less frequent than fine single lines. For the session wear loose shorts and bring a pair you can roll up without friction.
10. Hourglass Wings on the Inner Forearm
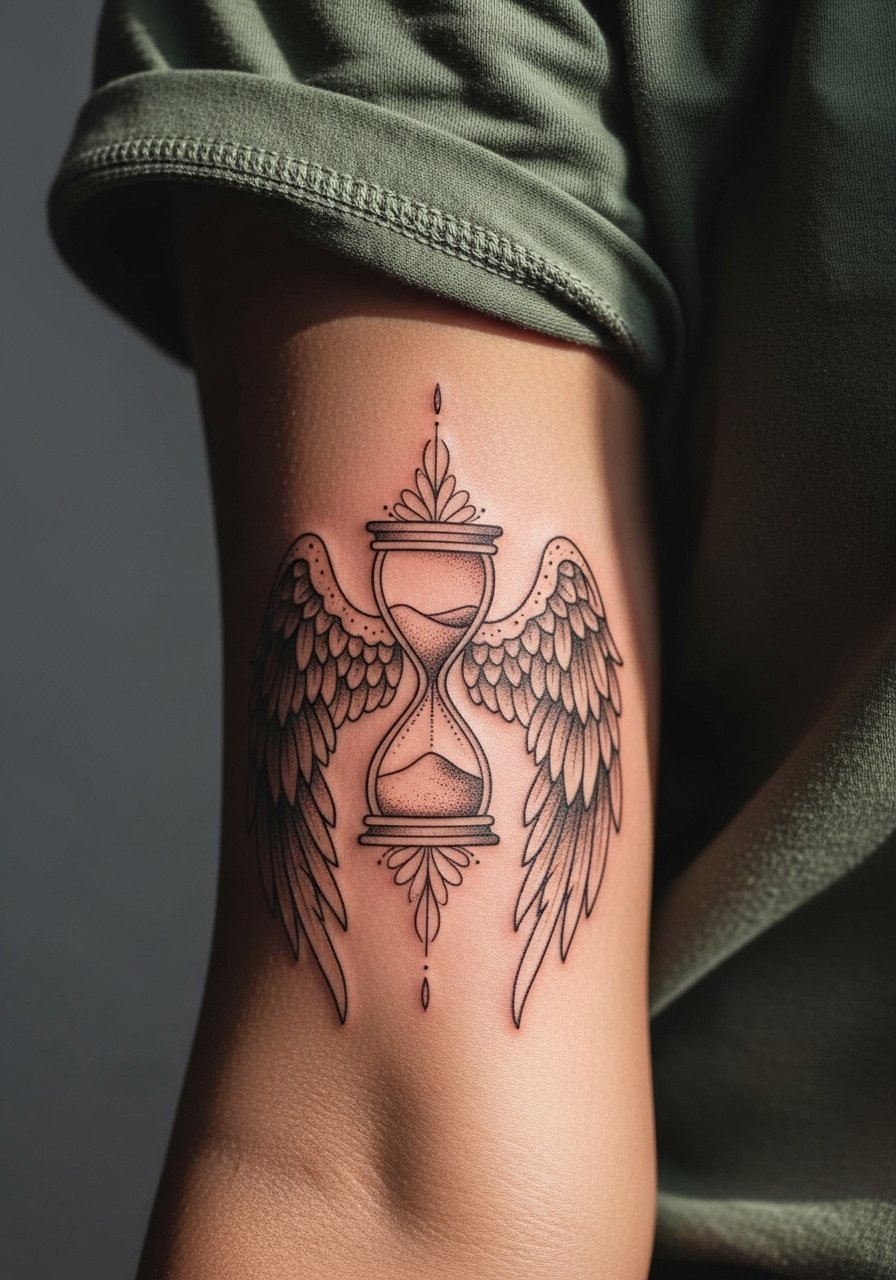
This symbolic take uses an hourglass shape to suggest time and motion without heavy detail. Avoid asking for too many micro-feathers inside the hourglass; they will blur. Tell your artist you want clear negative space in the central hourglass so the silhouette remains legible as the skin moves. Expect a single session under ninety minutes and a touch-up window by year three for crispness. For showing it off, roll sleeves and pair with a loose fit short sleeve tee in neutral colors so the linework reads like an intentional accessory.
11. Fragmented Geometric Wing on the Upper Back
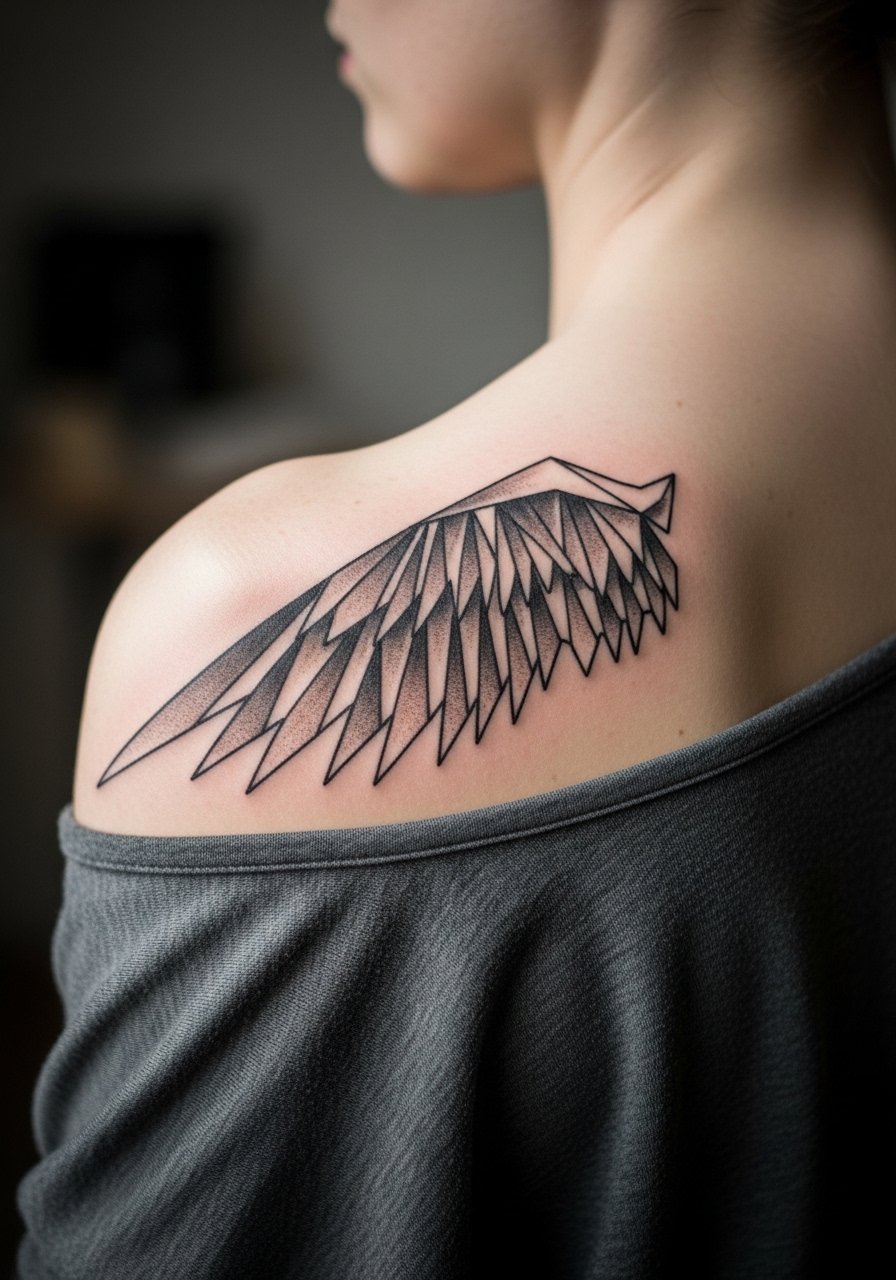
Upper-back pieces give you room to play with asymmetry and geometric breaks without crowding. The mistake people make is forcing mirrored symmetry where organic flow works better. Ask your artist to map the design across your trapezius so the fragments sit with muscle movement. Pain is low to moderate and sessions can be split if you want to add shading. The design scales well if you later expand into a larger back piece because the geometry creates natural anchor points.
12. Tiny Wing Silhouette Behind the Ear
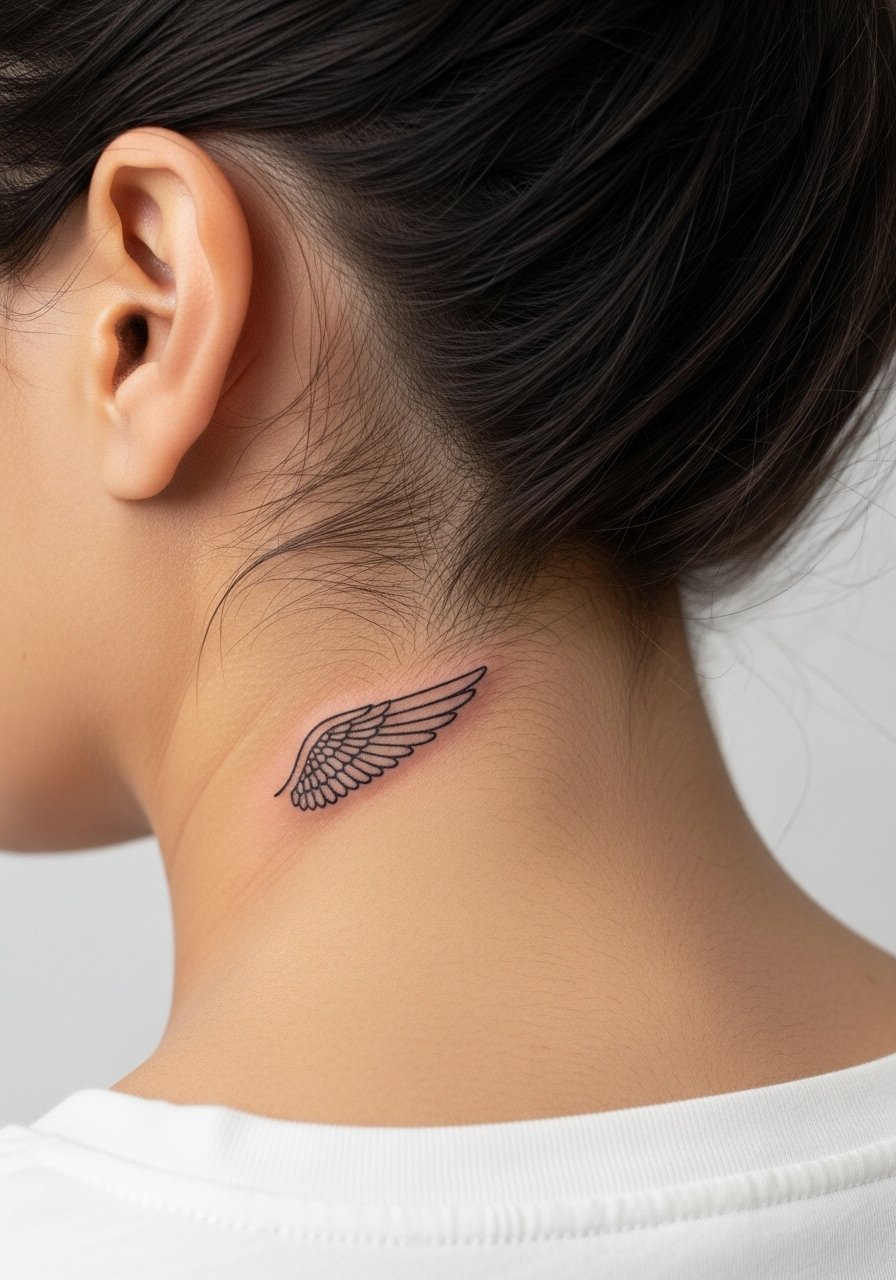
Behind-the-ear pieces are micro and intimate. The deployment must be precise because the area is small and curves. Always describe the exact inches down from the hairline during the consult. Pain is sharp but short, and the session is a quick in-and-out. For professional considerations note that some workplaces notice neck ink more than hidden forearm work, so factor careers and visibility into your placement choice. A button-down you can pull slightly aside helps the artist confirm the final position during the stencil stage.
13. Stylized Isis-Inspired Wing on the Sternum
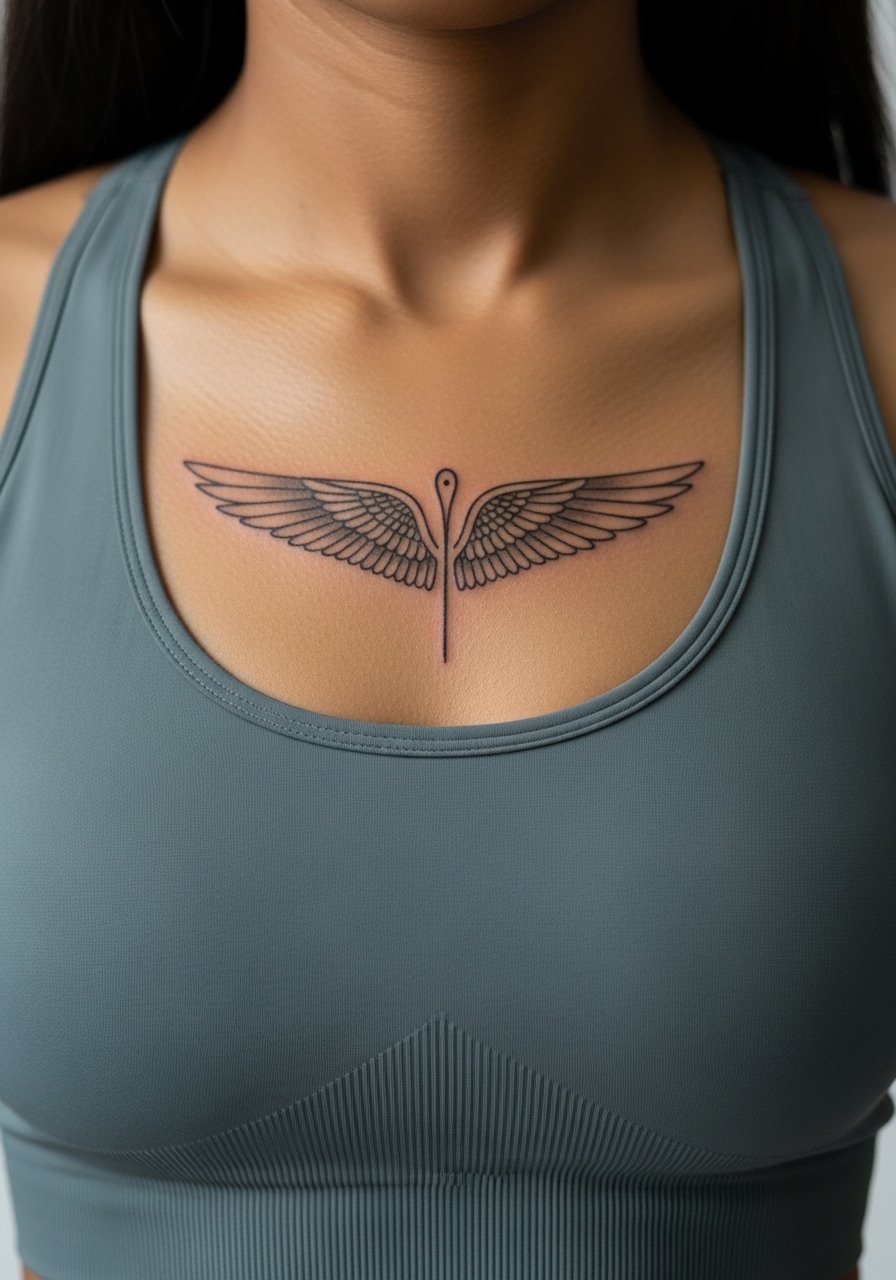
This design nods to ancient protective symbolism and can read strongly on the sternum when simplified. Cultural origins matter here. If you want historic references, ask for a subtle modern take rather than a direct historical copy. Sternum work is high on the pain scale and usually requires a skilled artist with experience on the chest. Plan for at least one longer session and possibly a pause for breath during the linework. If you choose this, discuss symmetry carefully and expect a touch-up between one and three years depending on your lifestyle.
14. Minimal Single-Line Wing on the Anterior Foot
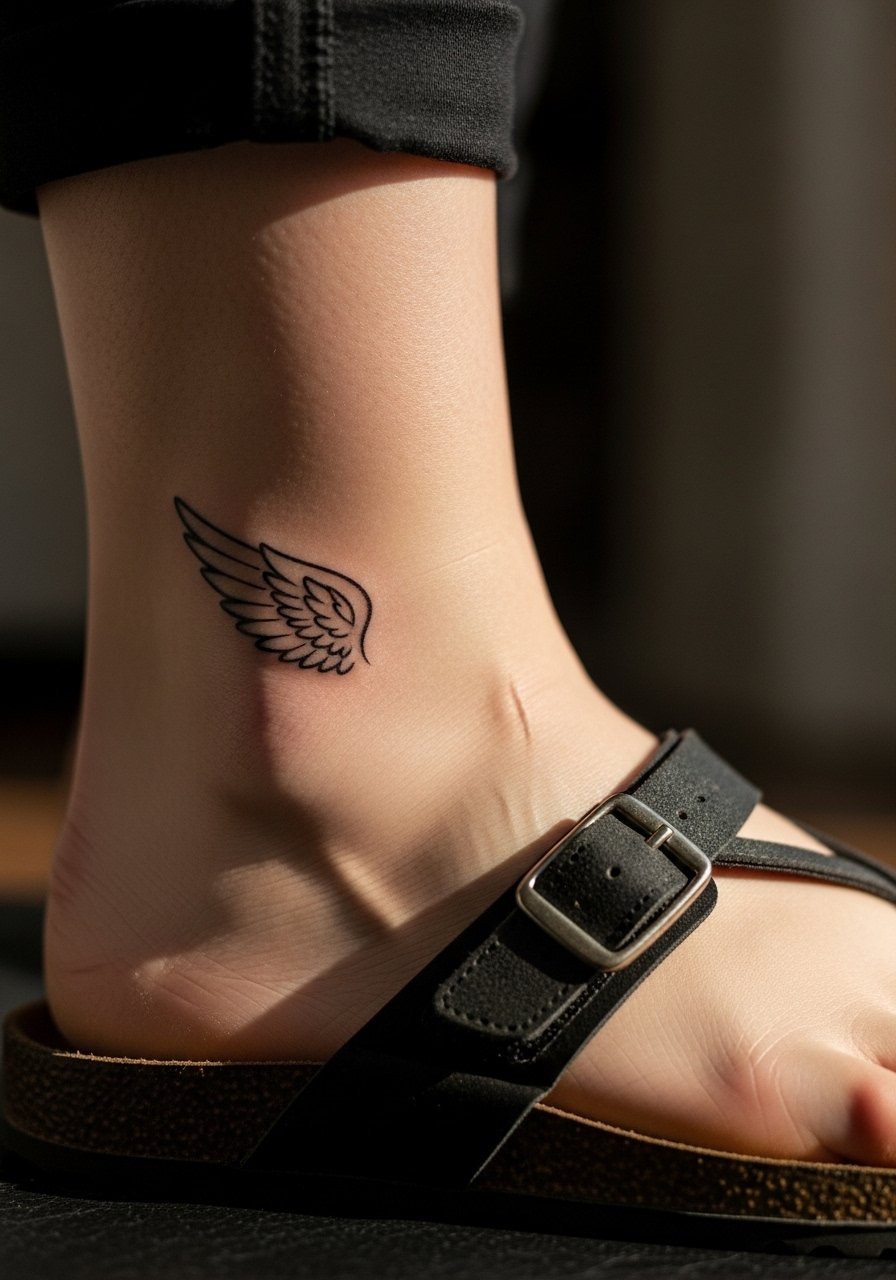
Foot placements are elegant but notoriously fickle because of movement and shoe friction. The common mistake is placing delicate single-line work without protecting it from footwear. Ask your artist to plan the piece so it avoids the highest pressure points where shoes rub. Expect the session to be uncomfortable and to need meticulous aftercare under the film during the first week. For everyday wear try sandals that limit rubbing while the piece settles.
15. Split Paired Wings Across the Chest
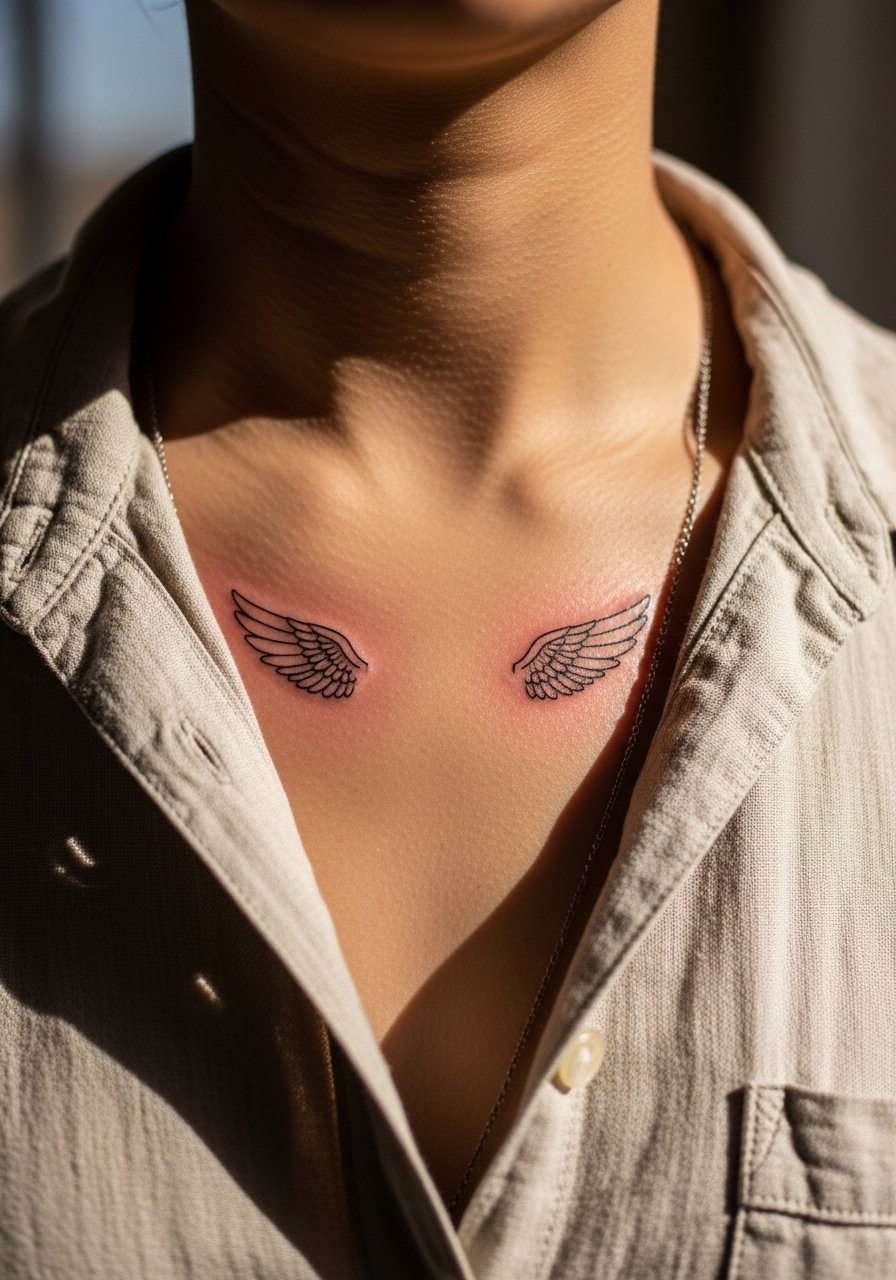
Paired chest wings give a classic guardian motif without heavy detail. The key consult line is to confirm spacing relative to your sternum and clavicle so the wings do not creep into awkward chest muscle contours as you move. Pain varies with proximity to bone. Plan for one to two sessions and a likely touch-up at year three if you want the pair to remain perfectly mirrored. For styling, open collar shirts or v-necks reveal the pieces in a controlled way and let the linework do the talking.
16. Whip-Shaded Minimal Wing on the Outer Thigh
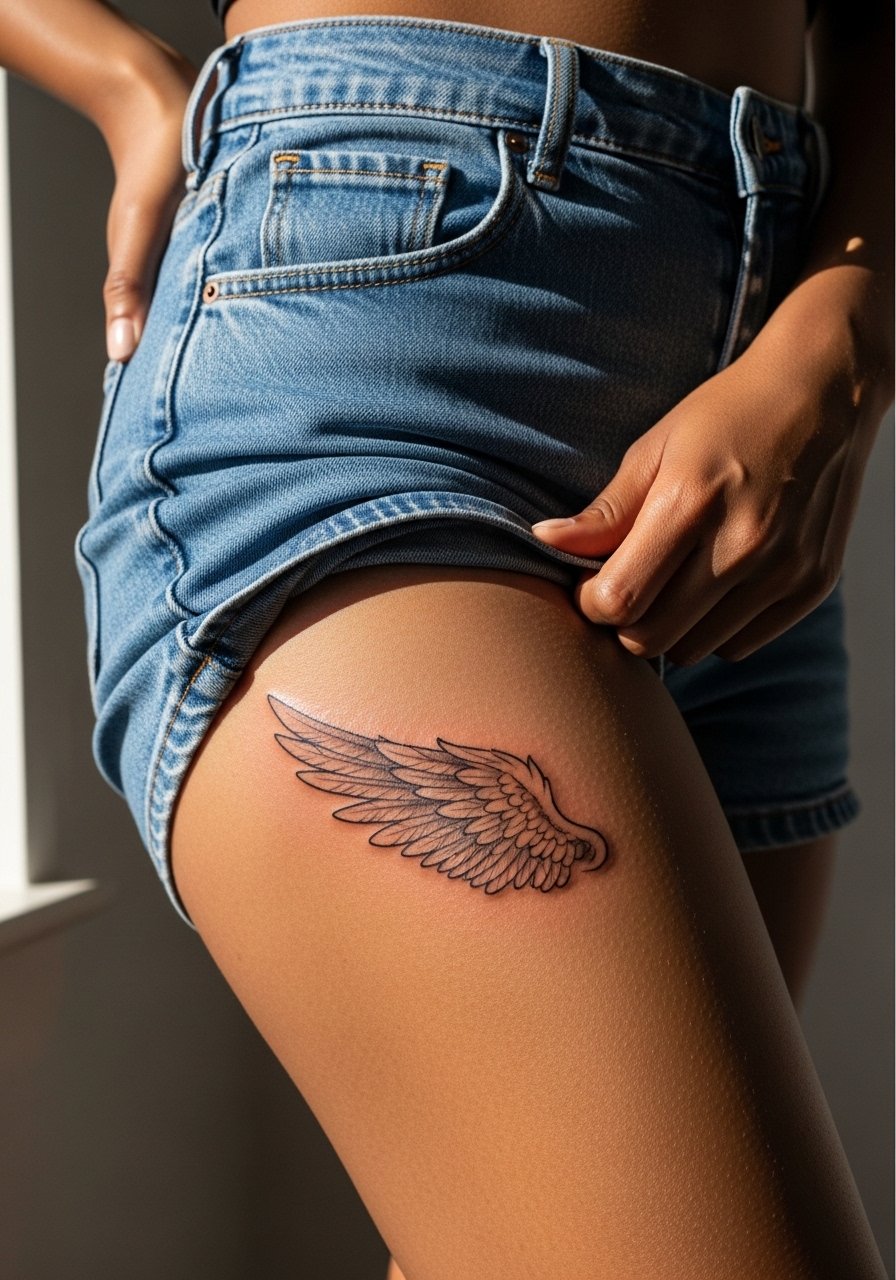
Outer thigh ink sits in a low-friction zone and handles whip shading nicely. A common error is crowding the wing with too many tiny feathers which can blur when the skin stretches. Tell your artist you want a light whip-shade gradient and room for negative space. Pain is typically moderate and sessions are comfortable with the right positioning. This placement is great if you want a larger design without daily visibility, and it pairs well with shorts or high-cut swimwear when you choose to show it.
17. Minimalist Wing with Dot Accents on the Calf Wrap
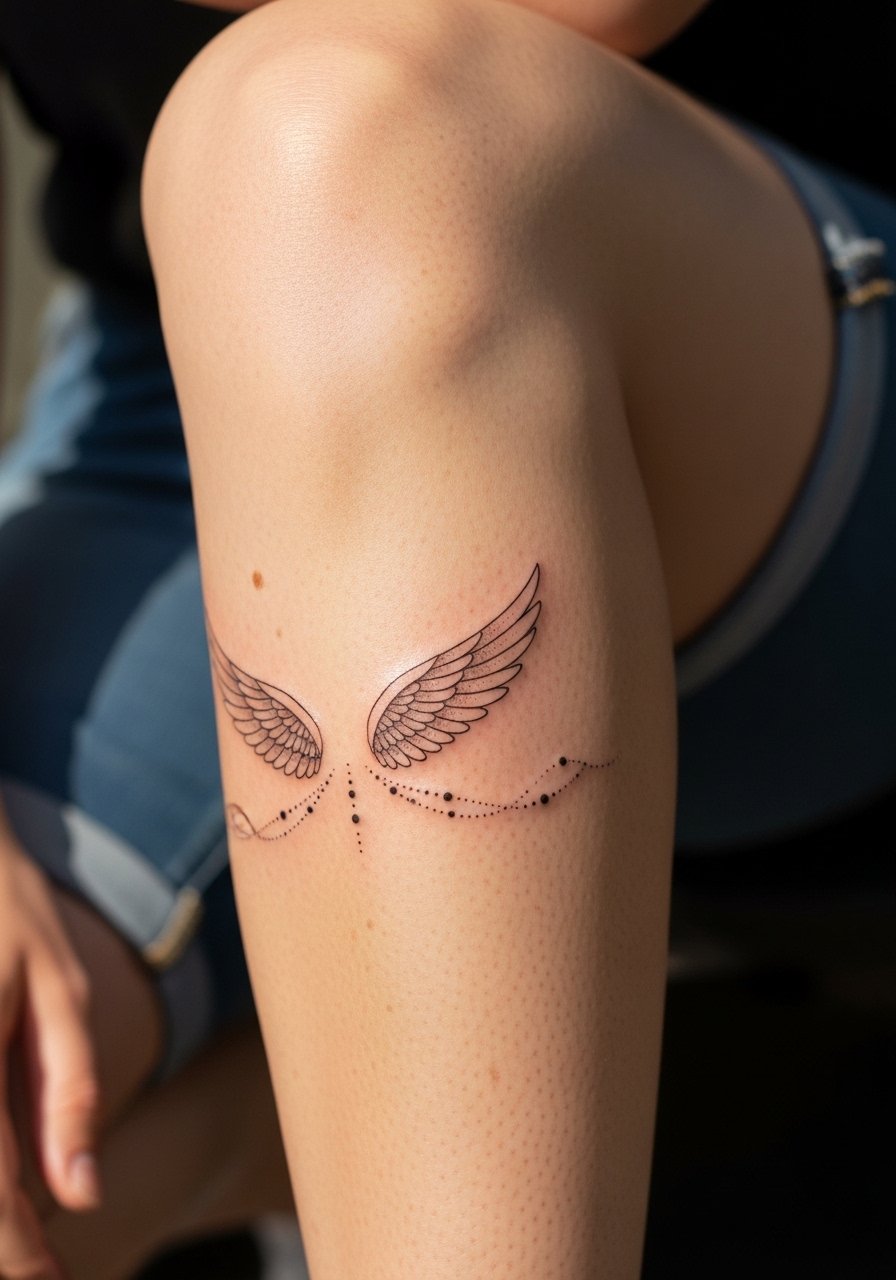
A wrap-around calf piece gives motion while staying discreet. The design ages well because the calf is less exposed to constant sun and friction. The common mistake is wrapping too tight so the piece looks compressed when you move. Ask for a gentle spiral and for dots to decrease in scale outward so the eye reads the wing as a gradation. Sessions are usually single visits under two hours, and dotwork touch-ups are less frequent than fine single lines.
Frequently Asked Questions
Q: How much will a minimalist wing tattoo cost and how should I budget for touch-ups?
A: Prices vary by shop and region, but in my experience a small minimalist wing often sits in the lower to mid price tiers at single-session shops. Budget extra for a touch-up one to three years after the session, especially for fine-line work. If you want a clearer sense for your area, search local studio portfolios and ask about their touch-up policy during consultation.
Q: Will fine-line wings blur faster on ribs and collarbones than on forearms?
A: Yes, thin skin and frequent movement on ribs and collarbones can accelerate blur compared with forearms. Artists split on this. One group warns that lines on ribs will soften within two years. The other says careful depth and spacing make it work. The practical step is to ask your artist about their experience on those placements and request extra spacing rather than ultra-fine single-needle lines.
Q: What should I wear to a session for a collarbone or shoulder blade wing?
A: Wear something that exposes the area without you feeling cold. For collarbone and shoulder blade pieces a loose tank top men or an open-collar shirt you can pull aside is ideal. The goal is easy access and minimal fabric rubbing on the fresh tattoo afterward.
Q: Are negative-space wing tattoos appropriate if I want a discreet design?
A: Yes. Negative-space wings on ribs or inner forearm let skin tone act as the highlight, which keeps the design subtle and less dense. They are a good pick if you want less visible saturation and a look that reads in close rather than from across a room.
Q: How often do minimalist wing tattoos need touch-ups?
A: Expect fine-line pieces to need touch-ups sooner than bolder blackwork. A reasonable window is a touch-up at around year two to three for many fine-line placements, with some pieces remaining crisp longer depending on sun exposure and skin type. Discuss a realistic timeline with your artist so you can plan maintenance.