
Fine line "Fear God" script is everywhere online, but what looks delicate on a phone rarely behaves the same on actual skin. Fine line pieces can read crisp for a year and then soften, while bold blackwork keeps its edge longer. If you want something that still reads clearly after a few years, the trick is choosing placement, spacing, and line weight up front. Below are 17 minimalist takes that balance the look you want with how ink actually heals.
1. Minimalist "Fear God" Script on Inner Forearm
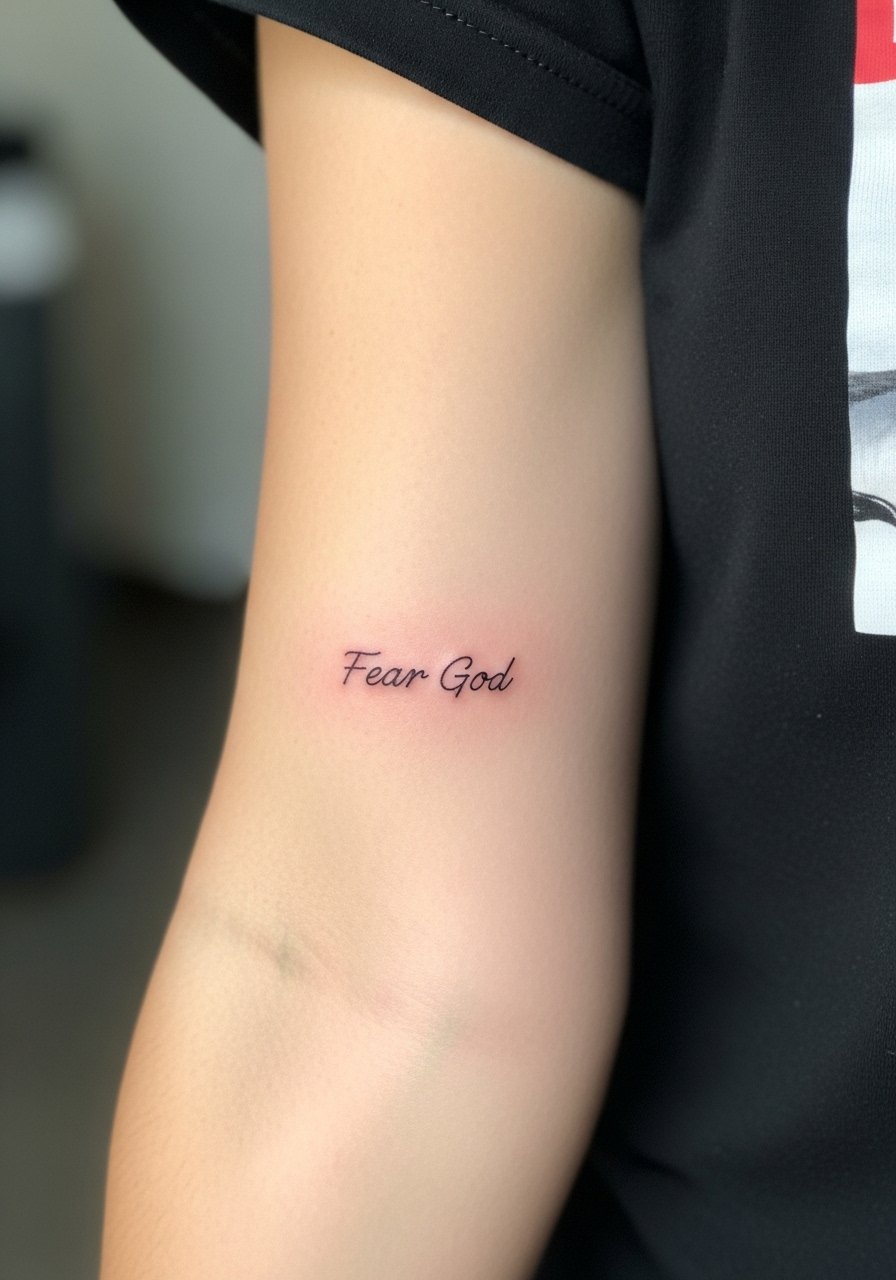
The inner forearm is where minimalist script thrives because the skin is relatively stable and easy to cover if you need to. Expect moderate pain, a single session under an hour for a 2-4 inch script, and touch-up needs around year two to three for very fine strokes. Tell your artist you want slightly increased line weight compared with the reference photo so the letters read after healing. A common mistake is asking for hairline strokes that vanish on darker tones or after sun exposure. For showing it off, rolled sleeves look great, try a rolled cuff chambray shirt for casual days.
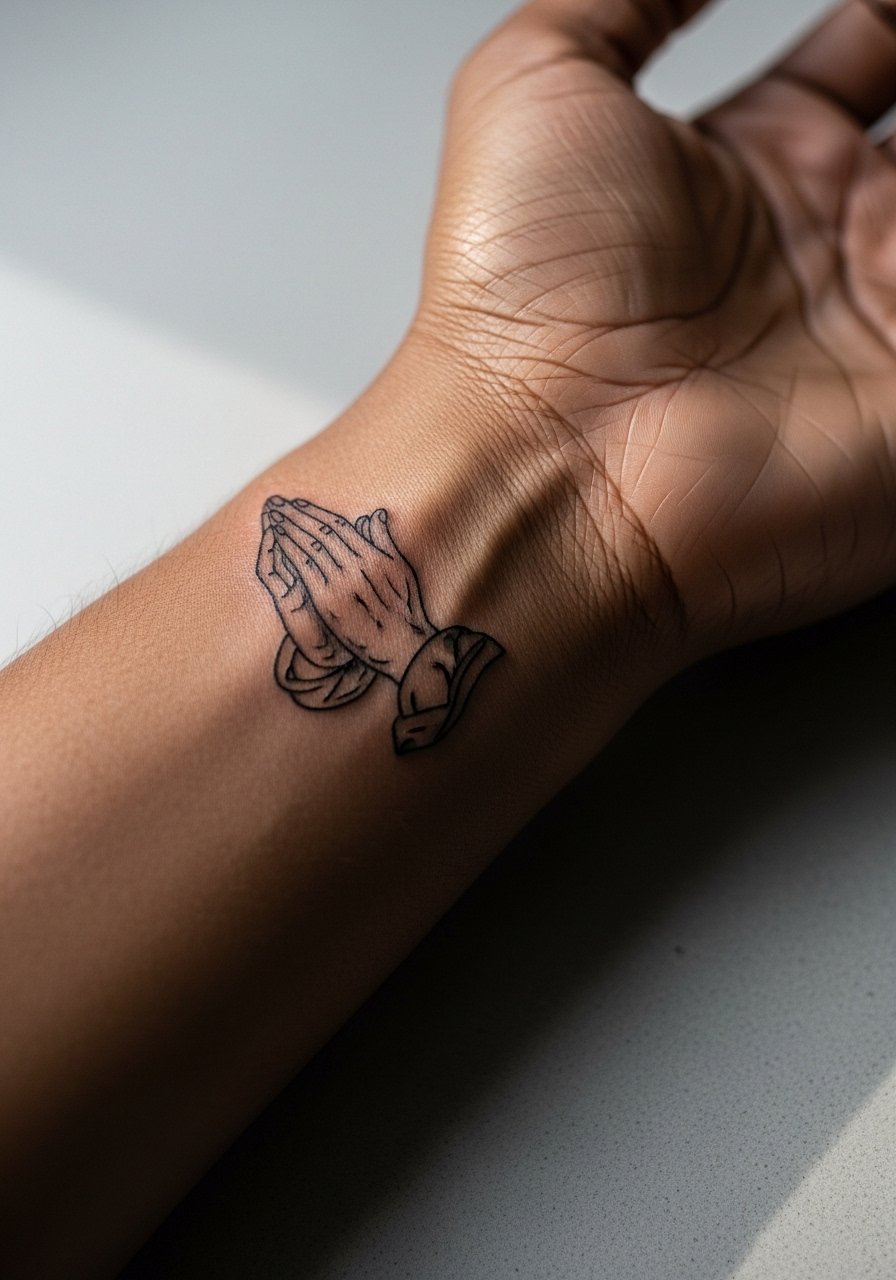
2. Fine Line Praying Hands with "Fear God" Text on Wrist
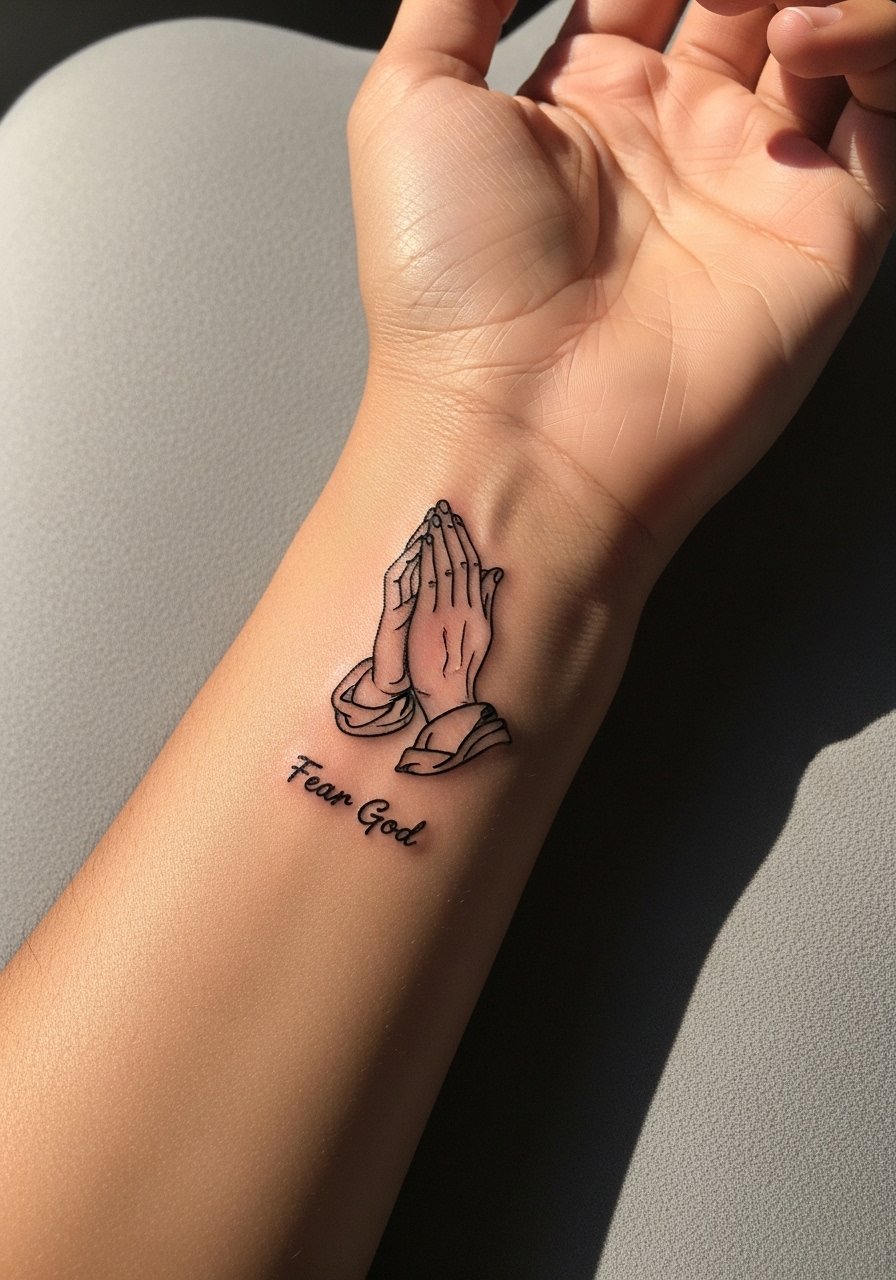
Wrist placements are high-visibility but high-friction. The session feels quick and sharp since the bone sits close to skin. Ask for a small buffer of skin around the script so the hands and letters do not blur into each other at year two. Artists disagree about fine line on wrists. One camp warns that constant washing and sunlight broaden thin strokes fast. The other camp says with slightly heavier single-needle work and precise spacing it settles well. If you plan to show this off, wear a thin metal watch on the opposite wrist to balance attention.
3. Blackwork Skull and Hourglass with "Fear God" on Upper Arm

This design trades delicate detail for saturation that ages well. Expect two sessions if you want deep fills and crisp negative space. Tell the artist you want solid blacks with intentional negatives so the hourglass reads from a distance and the script stays legible when viewed close. A common mistake is packing too much micro detail into the skull, which softens into gray mass over time. For appointment day, wear a short sleeve button up so the artist can access the outer arm without tugging.
4. Minimalist Divine Light Beam with Tiny Script on Collarbone
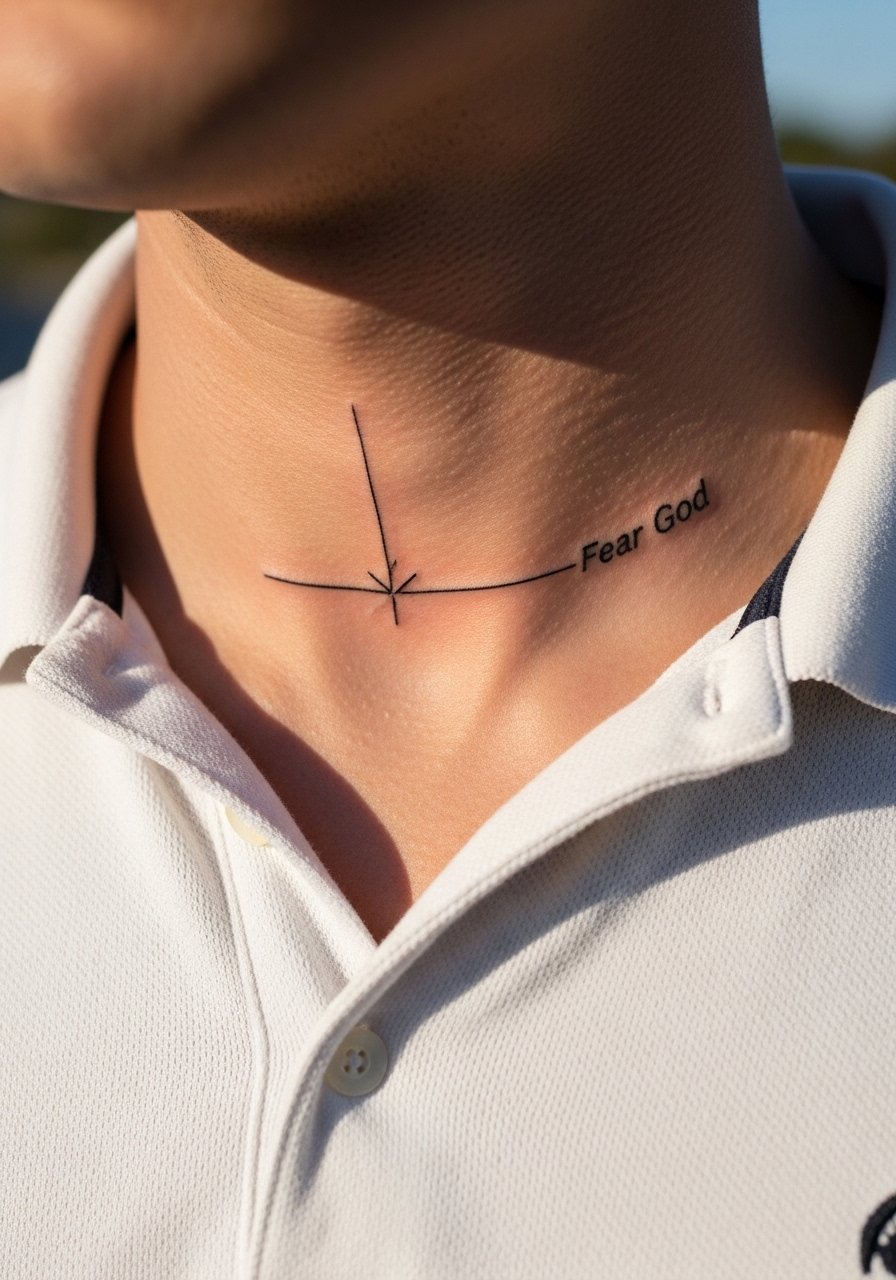
Collarbone pieces are delicate to place because the bone and motion affect healing. Pain is higher than the forearm but still tolerable. Ask for a thin linear beam plus slightly bolder script so the text keeps contrast against skin tone. One mistake is placing the text too close to the bone which causes more scabbing and patchy healing. For evenings out pair this with a v neck polo shirt to let the linework show without competing patterns.
5. Neo-Traditional "Only Fear God" Script on Outer Forearm
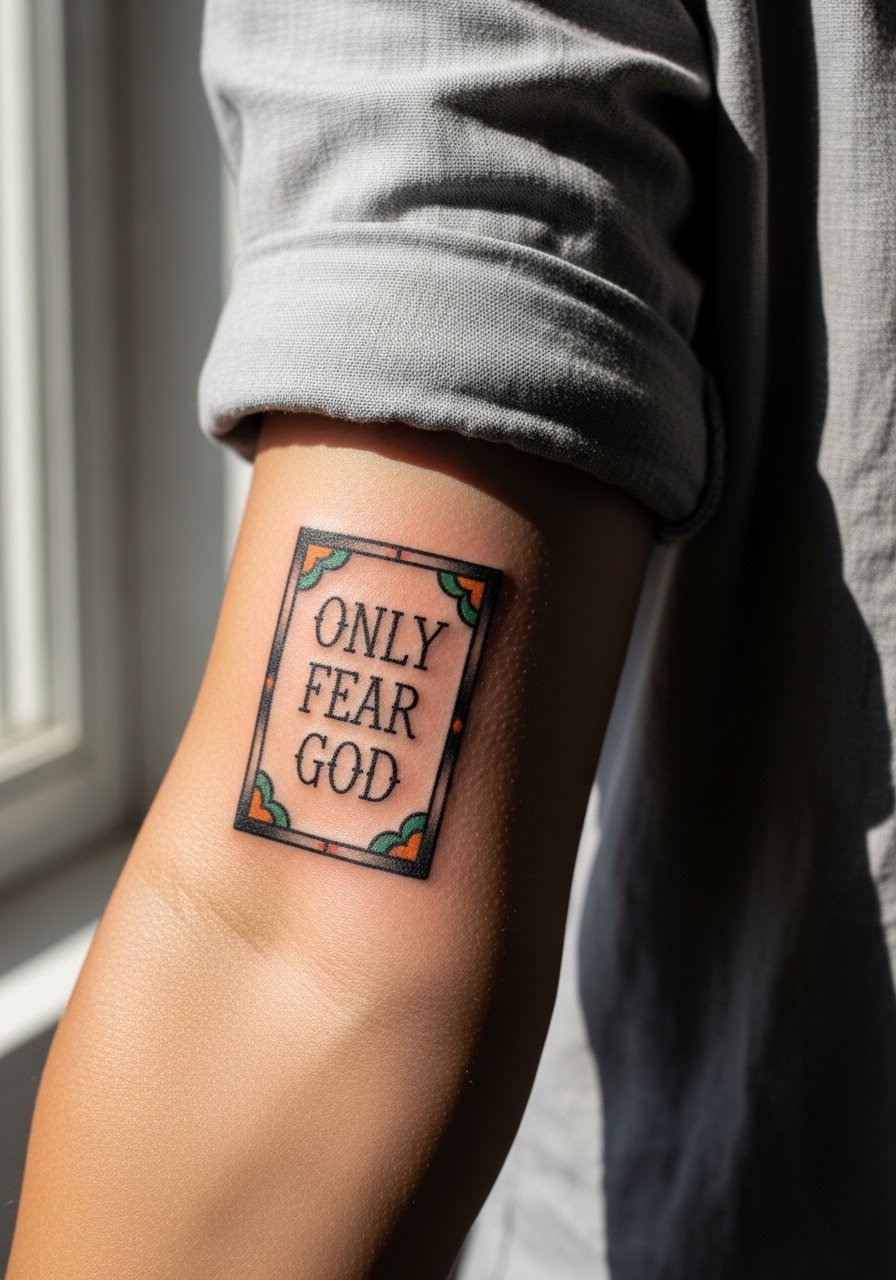
Neo-traditional lettering uses thicker strokes and color accents that look intentional even after years. Sessions run longer because color layering and shading need time. In consultation, specify which colors you want and note you prefer a darker outline so the letters remain crisp under wash and sun. The debate between subtle minimalist and bold neo-traditional shows up here. One group prefers the quiet script for private faith. The other wants color and contrast for a statement. Think about how visible you want your faith to be before committing. Show it off with a rolled cuff chambray shirt that frames the outer forearm.
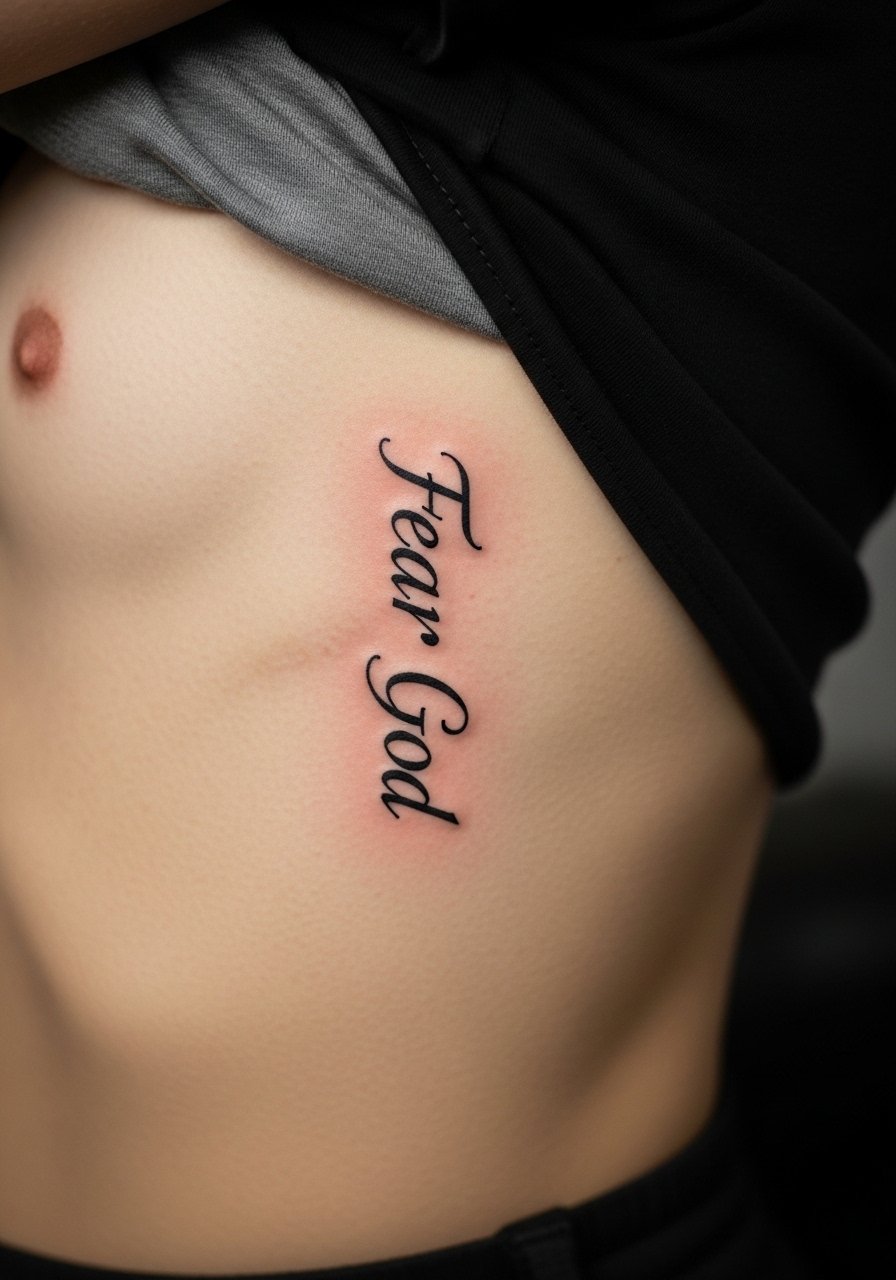
6. Black and Gray "Fear God" with Cross on Ribcage

Fair warning, ribcage sessions are among the more painful placements. Expect a 1-2 hour session and more aftercare due to movement and clothing friction. Ask your artist to use slightly wider linework and softer gradients so the cross and script do not concentrate ink too tightly. A common mistake is requesting extremely fine strokes on ribs which often spread into strokes that look fuzzy after healing. For the session wear a loose tank top you can lift without rubbing the fresh tattoo.
Studio Day Picks
The forearm and ribcage pieces above ask for different prep, so these studio essentials smooth the session and the first week.
-
Stencil transfer paper kit. Lets you preview exactly where the script and small motifs land on skin before the needle starts, useful for forearm and collarbone layouts.
-
Topical numbing cream. Applied before a ribcage or sternum appointment this takes the edge off without changing how the linework sets.
-
Thin protective film roll. Keeps wrist and finger tattoos clean during the first week of frequent hand washing and friction.
-
Fragrance-free body wash. Gentle cleansing helps delicate fine line work on forearms and collarbones heal without irritation.
-
Aquaphor healing ointment. A thin layer in the first days protects small script and densely shaded pieces while the surface skin repairs.
7. Micro-Realism Praying Hands Outline on Inner Wrist
Micro-realism at wrist scale looks refined when done by someone who specializes in tiny realism. Expect sharp sensation for the short session and a steady hand from your artist. Request reference photos at the exact size you want so shading and negative space are calibrated to wrist anatomy. The mistake here is asking for too much tiny texture which becomes muddled during healing. For sessions consider minimal jewelry and a sleeveless top so the artist can work without obstruction. Pair finished work with a slim band bracelet to frame the piece without covering it.
8. Ornamental "Fear God" Frame with Dove on Shoulder
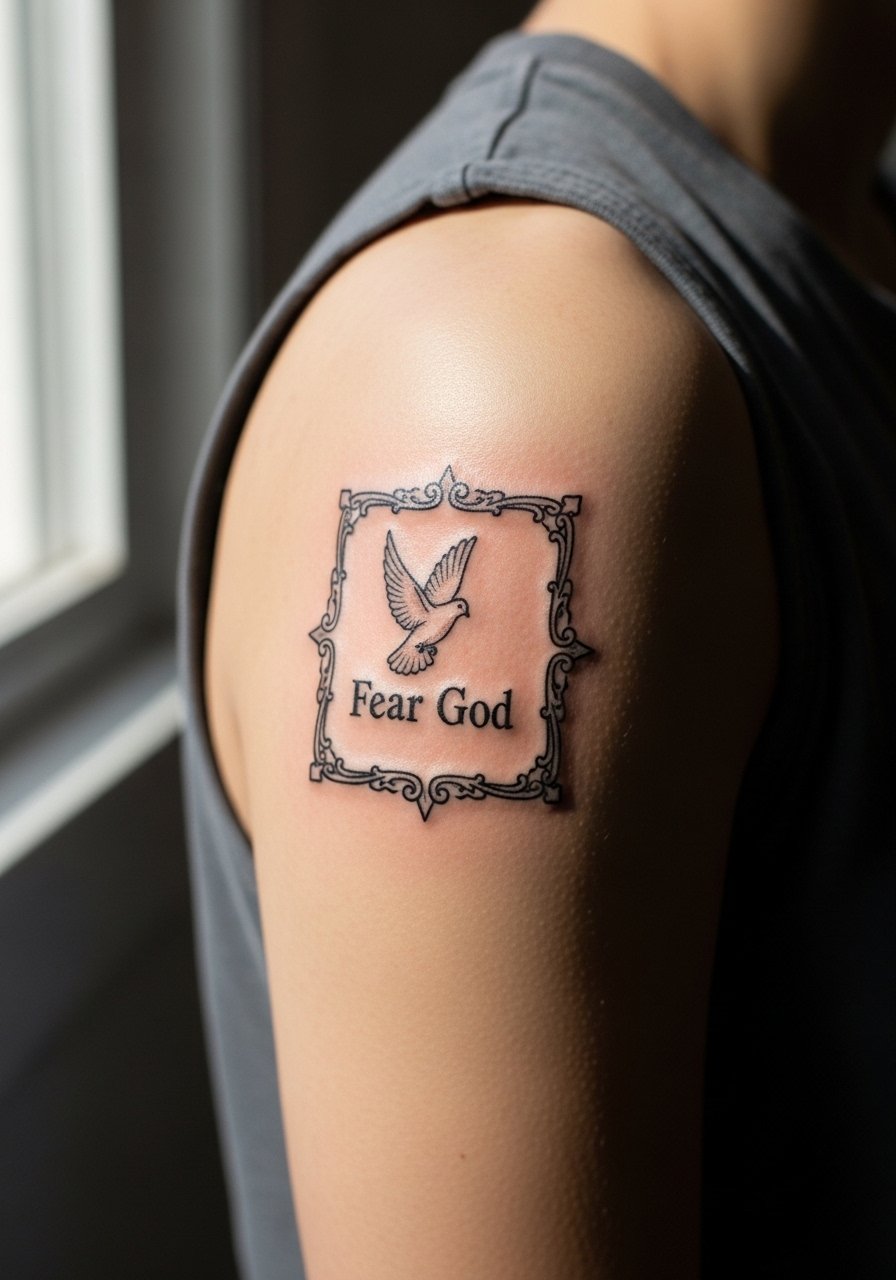
Shoulder designs give room for decorative borders that enhance the script. Pain is low to moderate and sessions are convenient because artists can work without contortions. Tell your artist you want negative space inside the frame so the dove and text breathe, and avoid tiny filigree that looks fragile after a touch-up. If you want to show it off, an off-shoulder muscle tee pulls attention to the frame. Try an off shoulder muscle tee for weekend looks.
9. Minimalist Hourglass "Fear God" Center Chest Piece
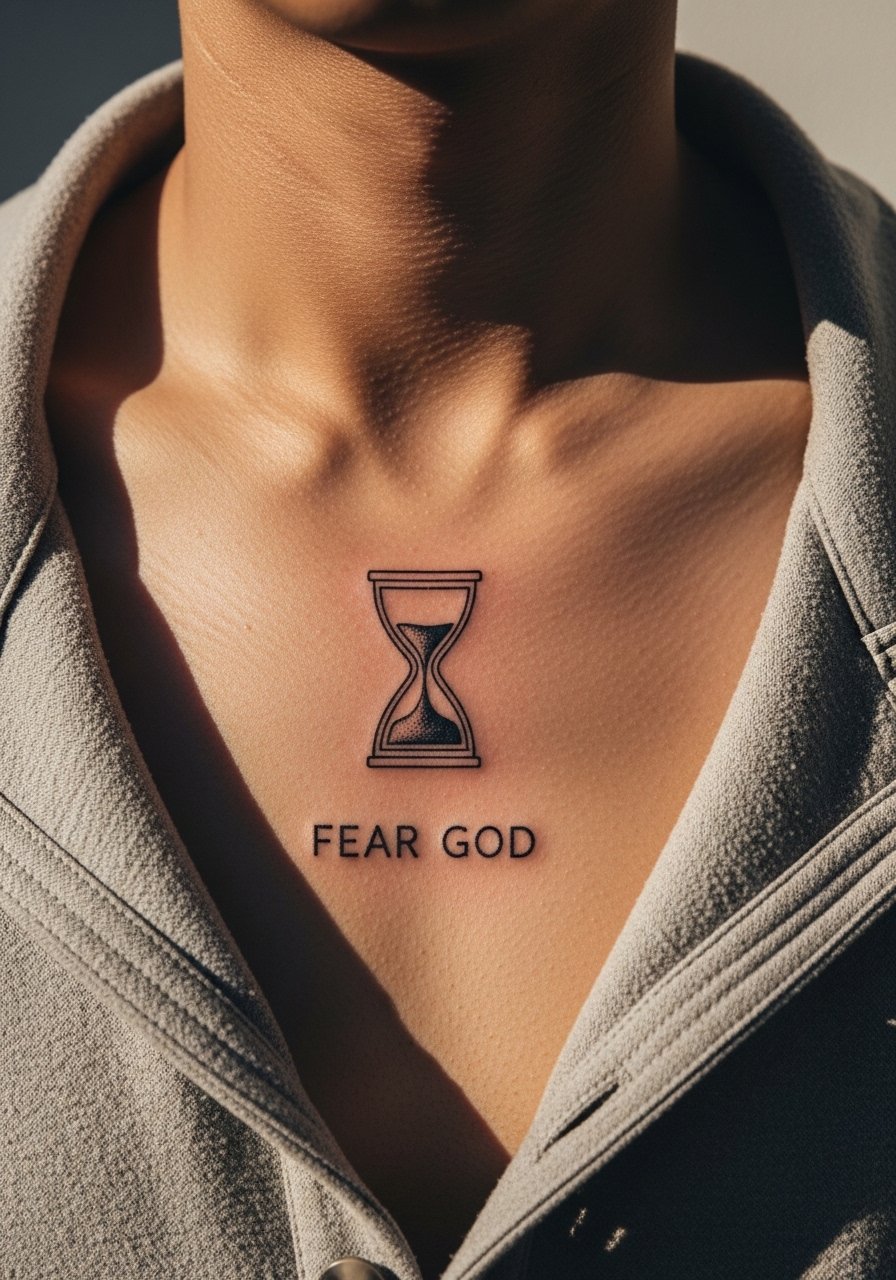
Center chest work reads private but can be revealed easily. Pain on the sternum line is higher than the outer chest. Ask for simple outlines and avoid dense shading near the bone to reduce scabbing. A common error is requesting extra tiny script close to the hourglass which can merge over time. For the session, an open-collar henley or wide-neck shirt that you can shift is best. Pair later with an open collar henley shirt when you want to reveal the piece.
10. Blackwork "Only Fear God" with Strength Symbols on Upper Back
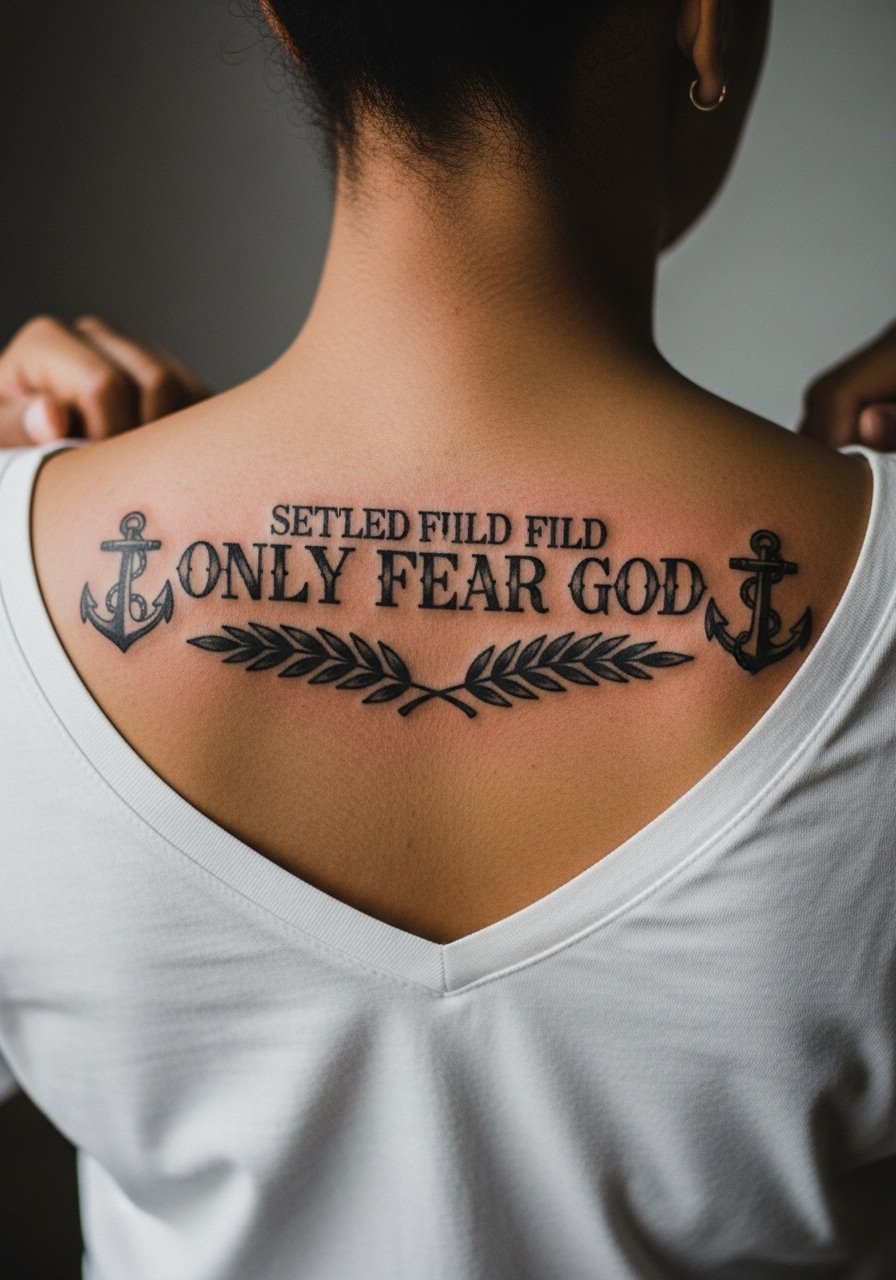
Upper back gives a canvas for bold blackwork that holds up. Sessions often need two sittings for saturation and crisp borders. In consultation ask how your posture will affect symmetry and whether the artist will stencil with you standing and sitting. Avoid packing tiny detail in the solid blocks; large fields of black age into clean silhouettes. For gym or beach reveals, a low v neck tee with the back pulled down slightly shows the upper back without overt exposure.
11. Tiny Vertical Script Along the Side of the Hand
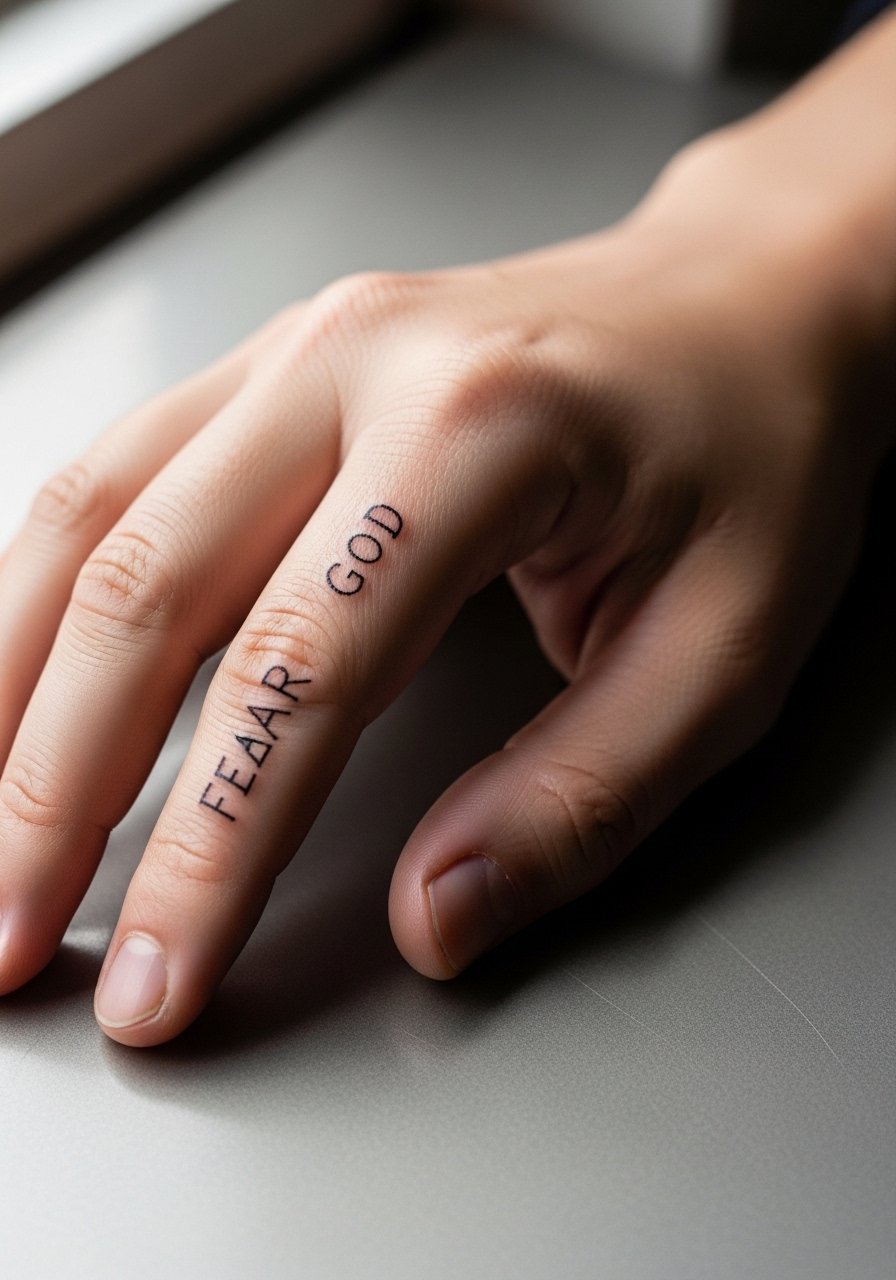
Hand placements are the most prone to fading and workplace scrutiny. The skin there regenerates quickly and sees constant friction. Expect frequent touch-ups and a higher chance of partial loss of linework. If you still want it, ask for slightly bolder stroke width and discuss touch-up plans with the artist. One practical move is to place the script closer to the thumb side where abrasion is lower. Be aware some employers still view visible hand ink as a liability.
12. Wrap-Around Bicep Band Script Reading "Fear God"
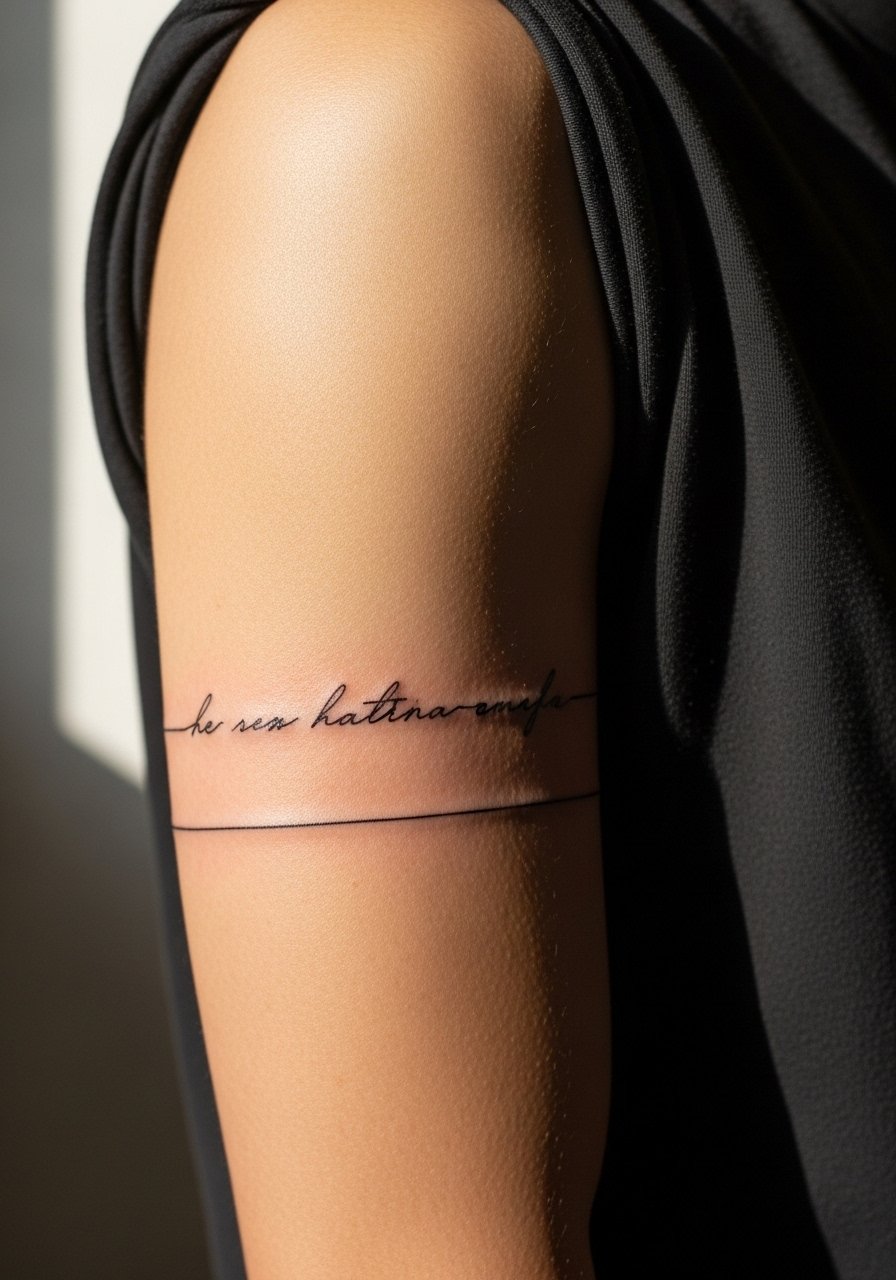
A bicep band balances concealment and display because sleeves can cover it easily. Pain is moderate and sessions are straightforward. Ask your artist to map the band while your arm is in both relaxed and flexed positions so the script does not distort when you move. A common mistake is ignoring how the muscle shifts and ending up with warped lettering. Show-off pairing includes muscle tees in earth tones to keep the band visible, try an earth tone tank top.
13. Minimal Script Behind the Ear on the Neck Edge
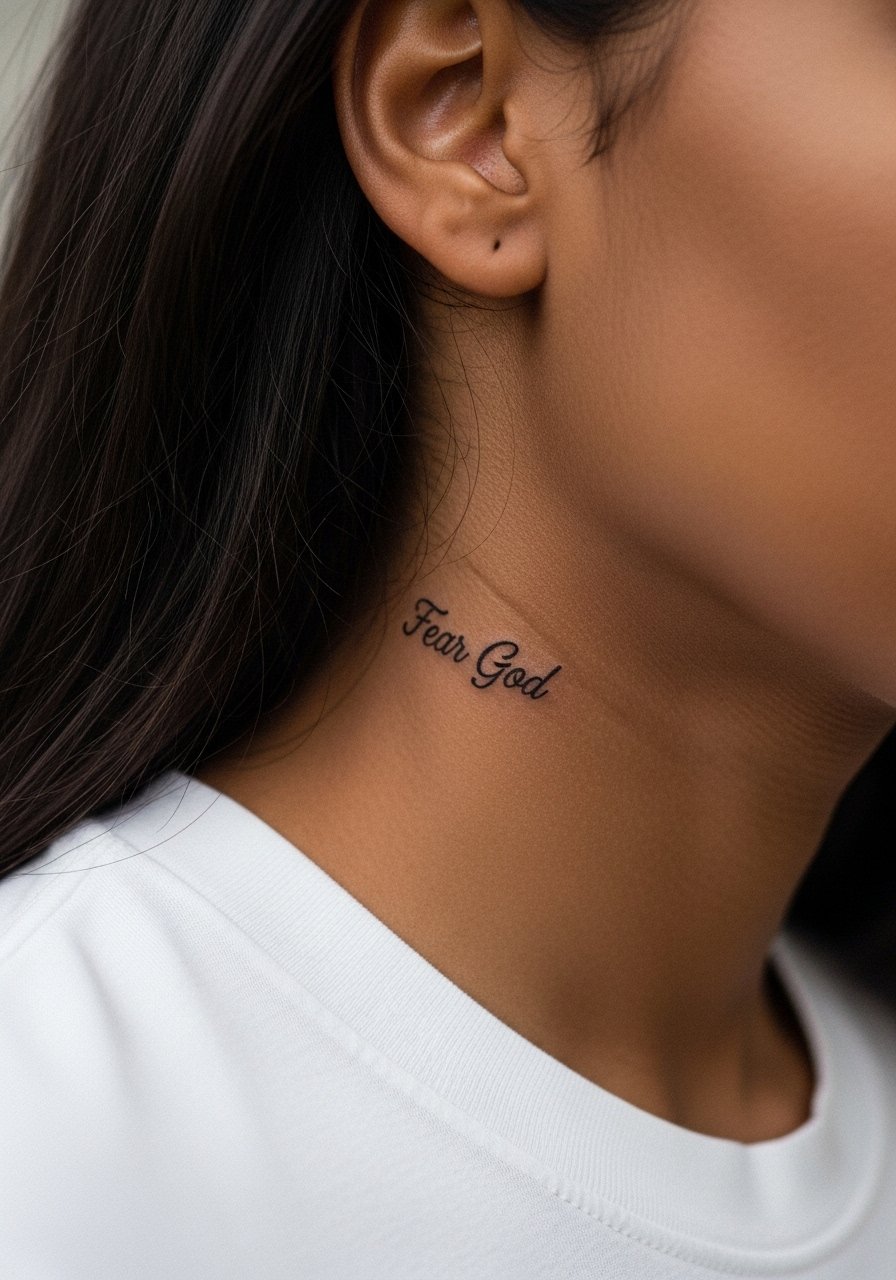
Behind-the-ear placements require a careful artist familiar with small scripts near hairlines. Pain is low but hiding and aftercare are tricky because hair and collars rub. Ask the artist to place the stencil below the hairline so the script is only partially exposed if you want discretion. The session feels short but precise. Keep gear like collars loose for the first week. Search portfolios with relevant hashtags to find people experienced with this spot.
14. Minimalist Cross with "Fear God" on Sternum
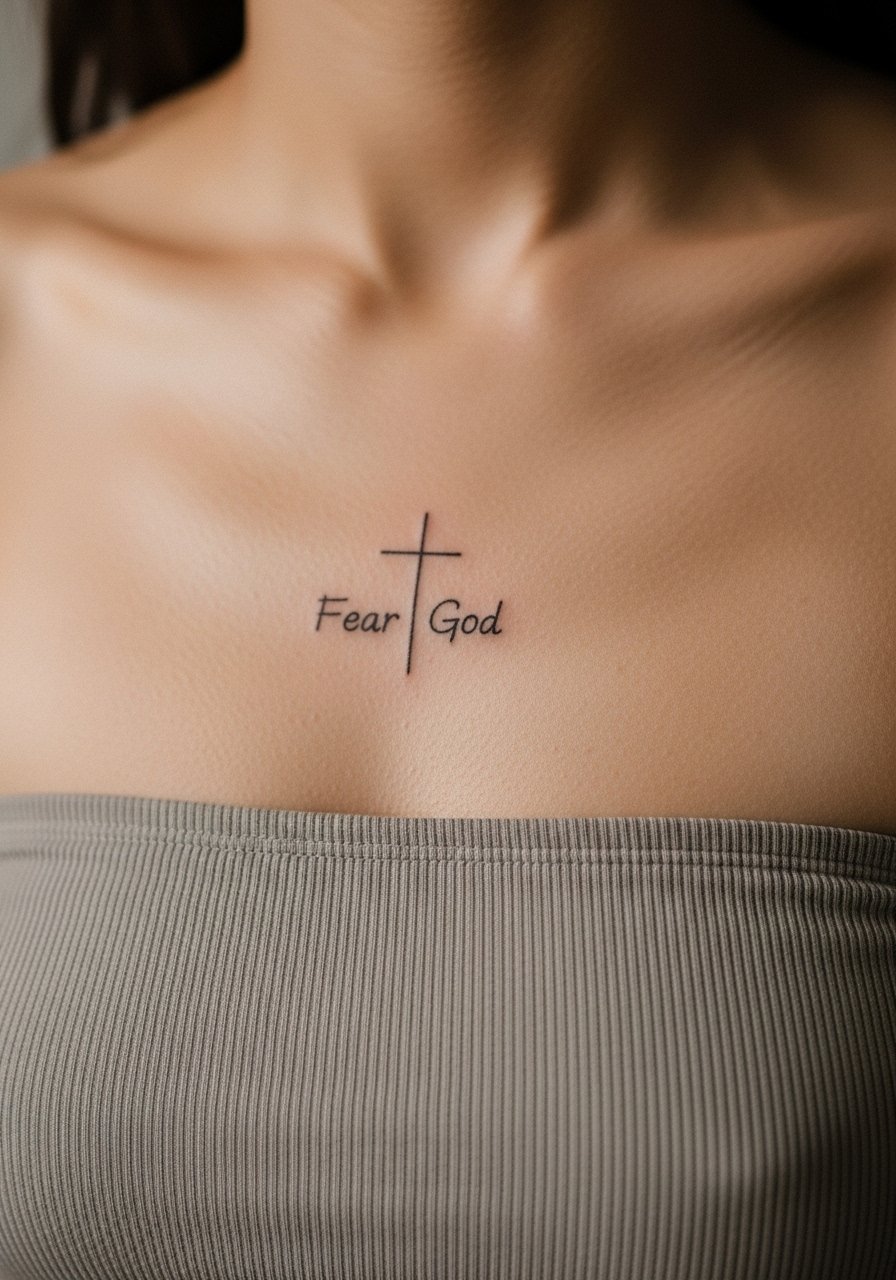
Sternum pieces sit on sensitive skin and need careful stencil placement. Pain ranges high because the bone sits close to the surface. Ask for a test placement and possible slight enlargement of the cross arms so the symbol stays readable as the skin moves. The common error is trying to miniaturize everything; a touch more size helps longevity. Wear a strapless or fitted top for the session to give the artist clear access and avoid straps that press on the healing area.
15. Minimal Script Along the Rib Curve, Vertical Orientation
Vertical rib scripts emphasize the body's natural lines but carry healing complications. Pain is on the higher side and the area sees a lot of stretch while breathing. Ask for slightly increased spacing between letters and a touch more line weight to allow the ink room to settle. Many people regret tiny vertical scripts because the letters can compress as the skin shifts. For the session choose loose clothing that does not rub the ribs during the first week.
16. Ornamental Shoulder Blade Dove with Script Tag
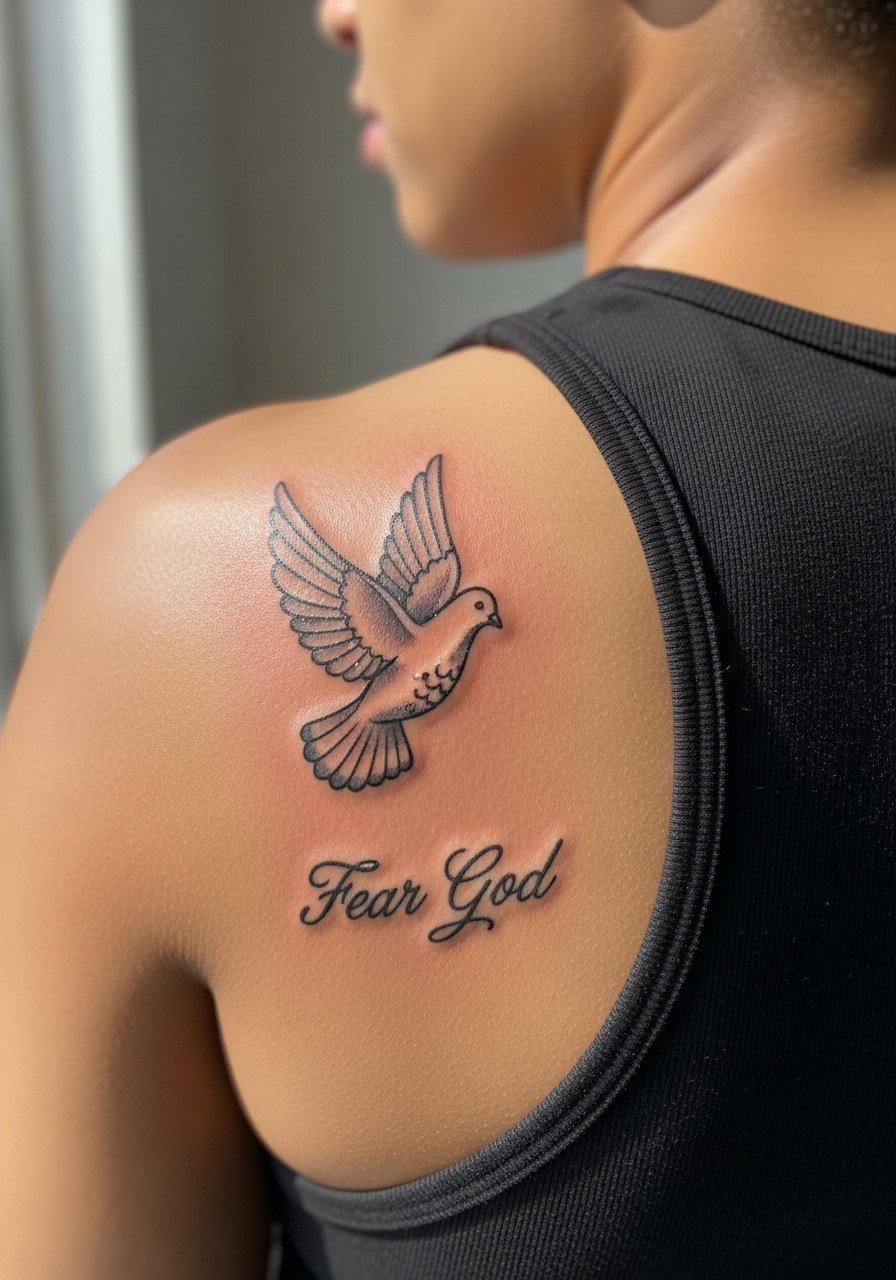
Shoulder blade placements are forgiving because clothing usually avoids that spot. Sessions are comfortable and the area accepts detail well. During consultation ask for the dove to be slightly larger than your initial sketch so the small script remains legible next to it at year three. People sometimes ask for overly intricate borders that blur; keep the ornamental lines open and airy. If you plan gym reveals, a backless tank or low-backed top shows the piece gracefully.
17. Fine Line Lower Ankle Script, Tiny Single Word "Fear"
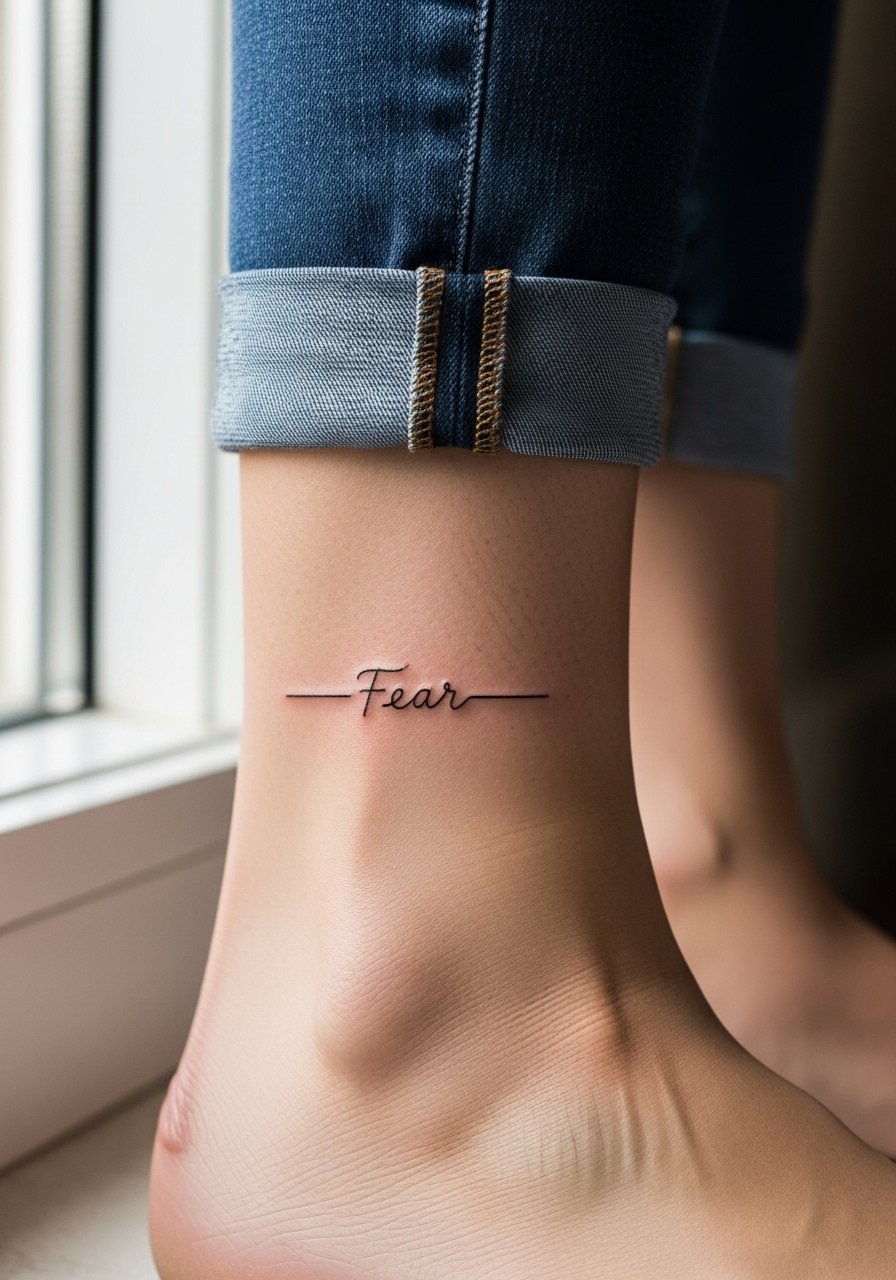
Ankle scripts are subtle and sit near shoes and socks, which increases friction-related fading. Sessions are quick but expect touch-ups sooner than forearm pieces. Ask your artist to avoid placing the script too close to the ankle bone, where scabbing and rubbing are worst. The common mistake is making the word too small. For showing off on warm days try rolling your jeans and pairing with sandals so the ankle work is unobstructed.
Frequently Asked Questions
Q: Do fine line "Fear God" scripts need touch-ups more often than blackwork?
A: Yes, in my experience fine line scripts usually need touch-ups earlier than bold blackwork, especially on high-friction spots like wrists, hands, and ankles. Plan for a touch-up around year two for very delicate strokes, or ask your artist to slightly increase line weight to stretch that window.
Q: Which placements from this list are best if I need to hide tattoos at work?
A: The inner forearm can be covered by rolled sleeves and the chest, shoulder blade, or upper back stay out of view with most shirts. Fingers and hands are the least concealable and carry the most risk of workplace scrutiny.
Q: How should I discuss longevity with my artist without sounding like I doubt them?
A: Be direct and specific. Ask how the proposed line weight and spacing will behave on your skin type and which areas they avoid for single-needle work. Saying you want a plan for a possible touch-up is a practical question rather than a critique.
Q: Are there design tricks to help small script stay readable on darker skin tones?
A: Yes, opting for slightly heavier line weight and higher contrast in placement helps. Testing a temporary henna transfer can show how the scale reads against your tone before you commit.
Q: How do I find artists who specialize in minimalist or micro-realism styles?
A: Look through location-tagged portfolios on social platforms using hashtags like #minimalisttattoo and #finelinetattoo, check directories for guest spots, and read recent client photos rather than relying on curated highlight reels. Booking a consult to view healed work in person gives the clearest sense of an artist's lasting results.
