
Fine line The Last Of Us motifs read like secret language on skin, small and exact but packed with reference. Fans who want subtle fandom pieces pick placements that move and age well, and they ask different questions in the chair. Below are focused minimal line ideas that account for placement, how the work heals, what to say at consultation, and how to style each piece so the tattoo becomes part of daily wear.
1. Tiny Firefly Emblem on Inner Wrist
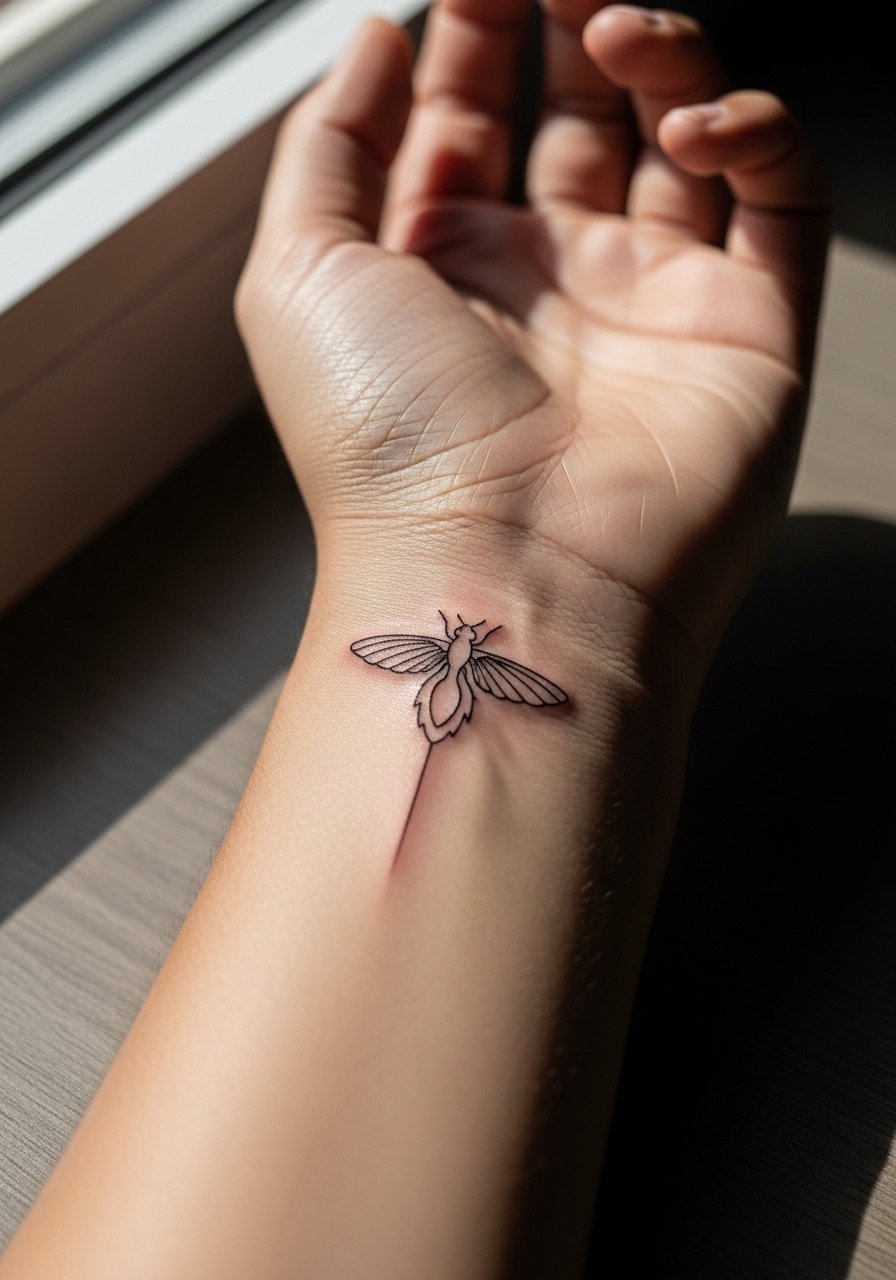
I've seen this little emblem read as a personal nod more than a logo, and that restraint keeps it wearable. Tell your artist you want a single continuous stroke with slightly more spacing between curves so the symbol does not fill in over time. Fair warning, the inner wrist can show early blurring if lines are too tight, so avoid micro details and plan for a touch-up by year three. For the session wear, bring a loose button-down shirt you can pull aside without rubbing the fresh ink. Pain sits around a medium level because of tendon proximity.
2. Micro Clicker Silhouette Behind the Ear
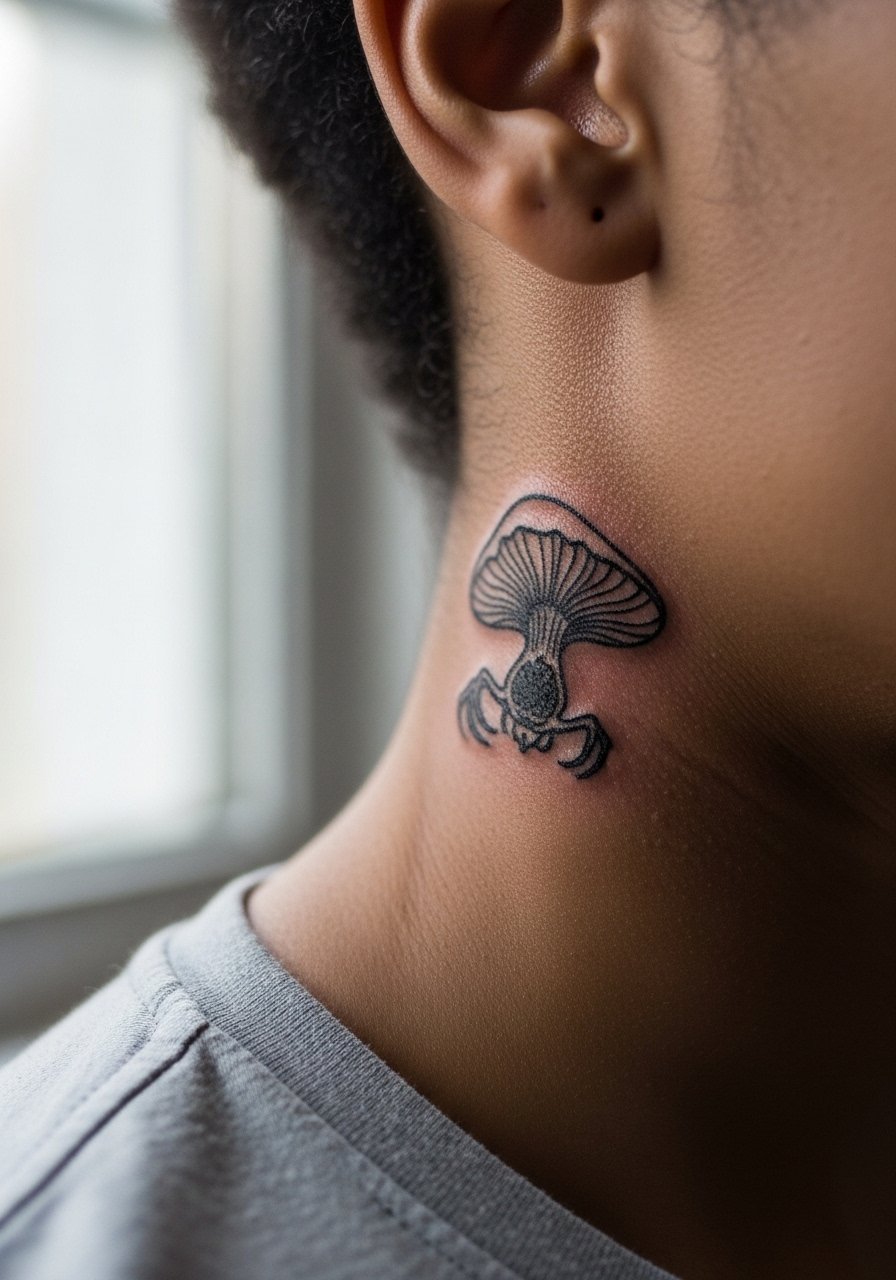
This placement is one of those quiet reveals that works best when the piece is very small. In consultation, ask for a single-layer outline with light spacing inside the silhouette instead of dense fill. Artists are split on very small work here. One camp argues the thin skin below the hairline blurs faster, the other says careful depth and spacing keep linework crisp. If you want to keep it discrete, show-off pairing is minimal, but for session access wear hair up and a wide-neck shirt. Expect a short session that still feels tender because the area is close to bone.
3. Guitar Neck Minimal Line Down the Inner Forearm

I've seen forearm pieces like this keep their clarity when scale is respected. Tell your artist you want moderate line weight and a few millimeters of negative space between frets so they do not blur together. The inner forearm is a reliable place for fine line, but sun exposure is the main enemy. Plan for sunscreen on healed work and expect a touch-up around year three if you bike or spend long hours outdoors. Pair this with a rolled-up linen shirt when you want the piece visible without overexposing the skin.
4. Tiny Cordyceps Spore Cluster on the Side of the Neck
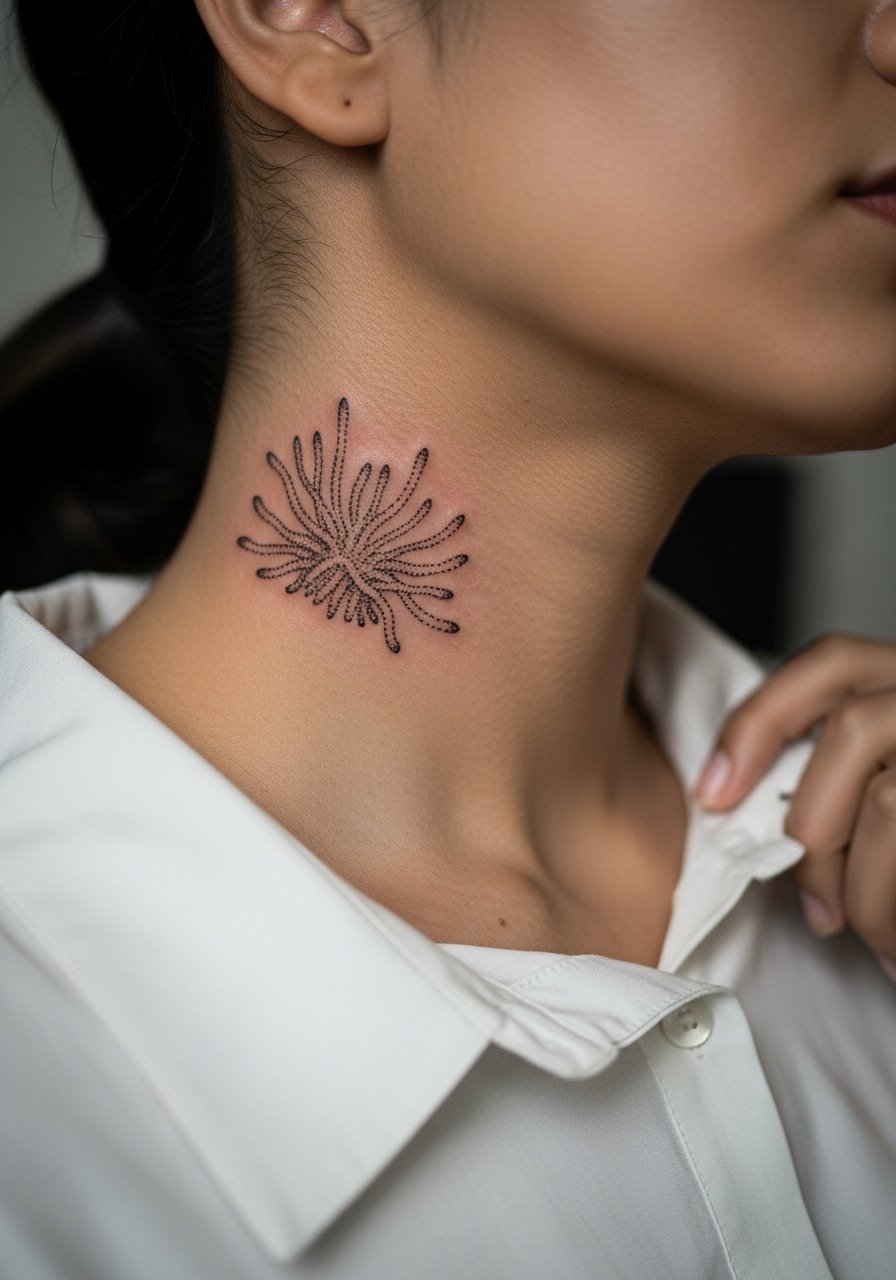
Neck placement reads bold even when the designs are minimal, so the trick is scale and dot spacing. Ask for stipple shading rather than solid fill so the spores age more gently. The side neck can be sensitive, and some people report faster fading from constant movement and friction. For showing off in cooler months, a wide-neck sweater frames the piece without smothering it. Expect a one-hour session and light soreness for a day or two.
5. Single-String Bracelet with Tiny Note on the Wrist
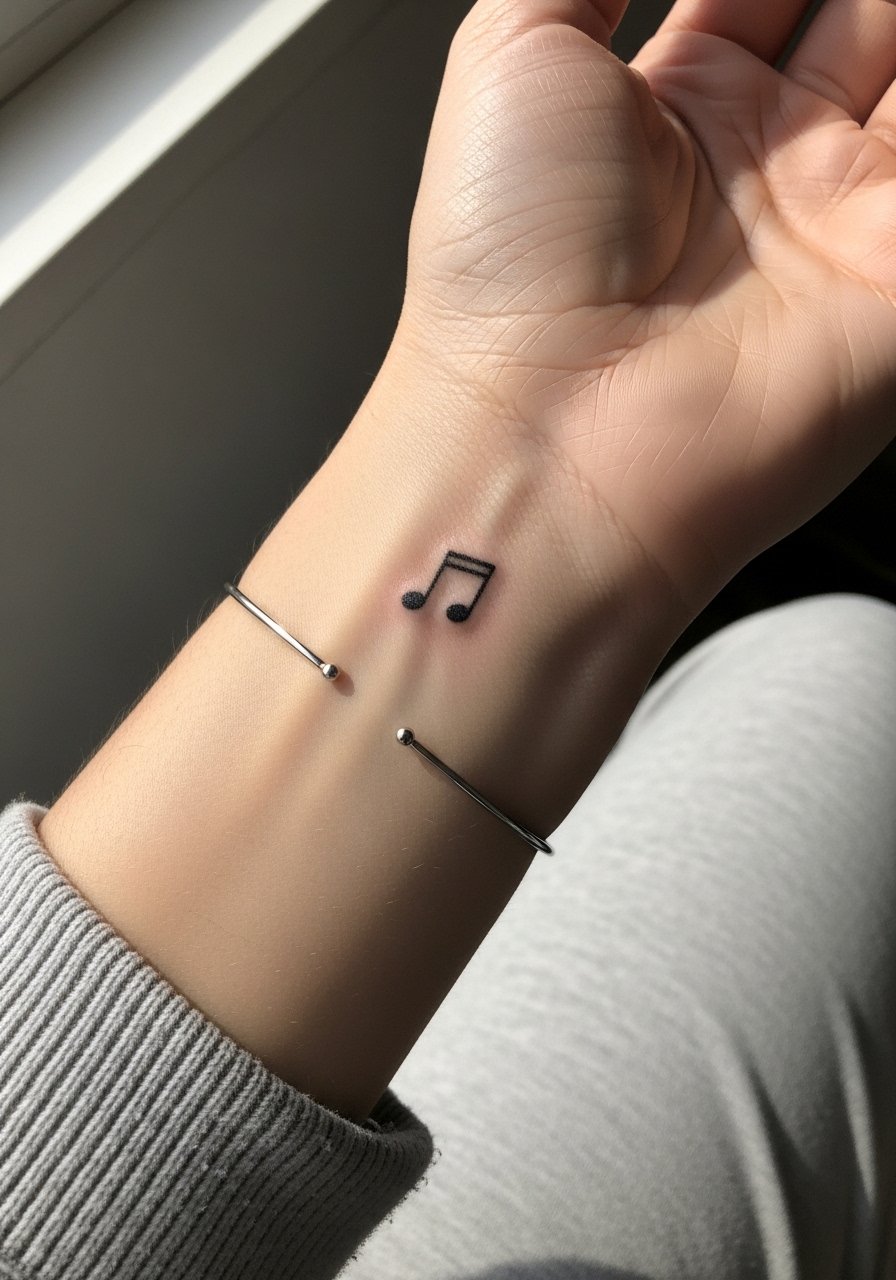
Bracelet-style tattoos age best when the line has breathing room from the wrist crease. The most common mistake is placing the line too close to the joint so it deforms with movement. In the chair ask for slightly heavier line weight on the outer curve to prevent early fading from constant hand use. For showing off, stack with a thin chain bracelet so metal and ink play together. Expect frequent washing and typing to wear the area, so a touch-up at year two or three is realistic.
6. Moth Outline Over the Collarbone

This placement flatters minimal line because the bone gives the silhouette a clear anchor. In consultation say you want the antennae spaced and very thin to keep the moth delicate without losing definition. Collarbone skin is thin and mobile, so one group of artists warns that fine antennae can blur, while another group suggests spacing and shallow depth prevent that. For session comfort wear a wide-neck tank so you can expose the area without discomfort. Pain here can spike on the bone, but the result photographs well.
Before You Book
The wrist and collarbone pieces above heal differently from darker, larger areas. A few targeted items make sessions easier and protect the fine lines that The Last Of Us motifs rely on.
- Stencil transfer paper kit. Lets you preview the exact placement and line scale on skin, which matters for wrist and neck ideas above.
- Topical numbing cream. Applied about 45 minutes before your session it can reduce edge pain on collarbone and neck work without changing how the ink sits.
- Thin protective film roll. Helpful for small wrist and finger pieces that face constant friction from daily tasks.
- Fragrance-free body wash. Cleanses healing fine line work without irritating delicate channels in the skin.
- Aquaphor healing ointment. A thin layer on day one helps maintain moisture for tight linework without over-suffocating the tattoo.
7. Mini Joel Portrait Dot Work Behind the Upper Arm
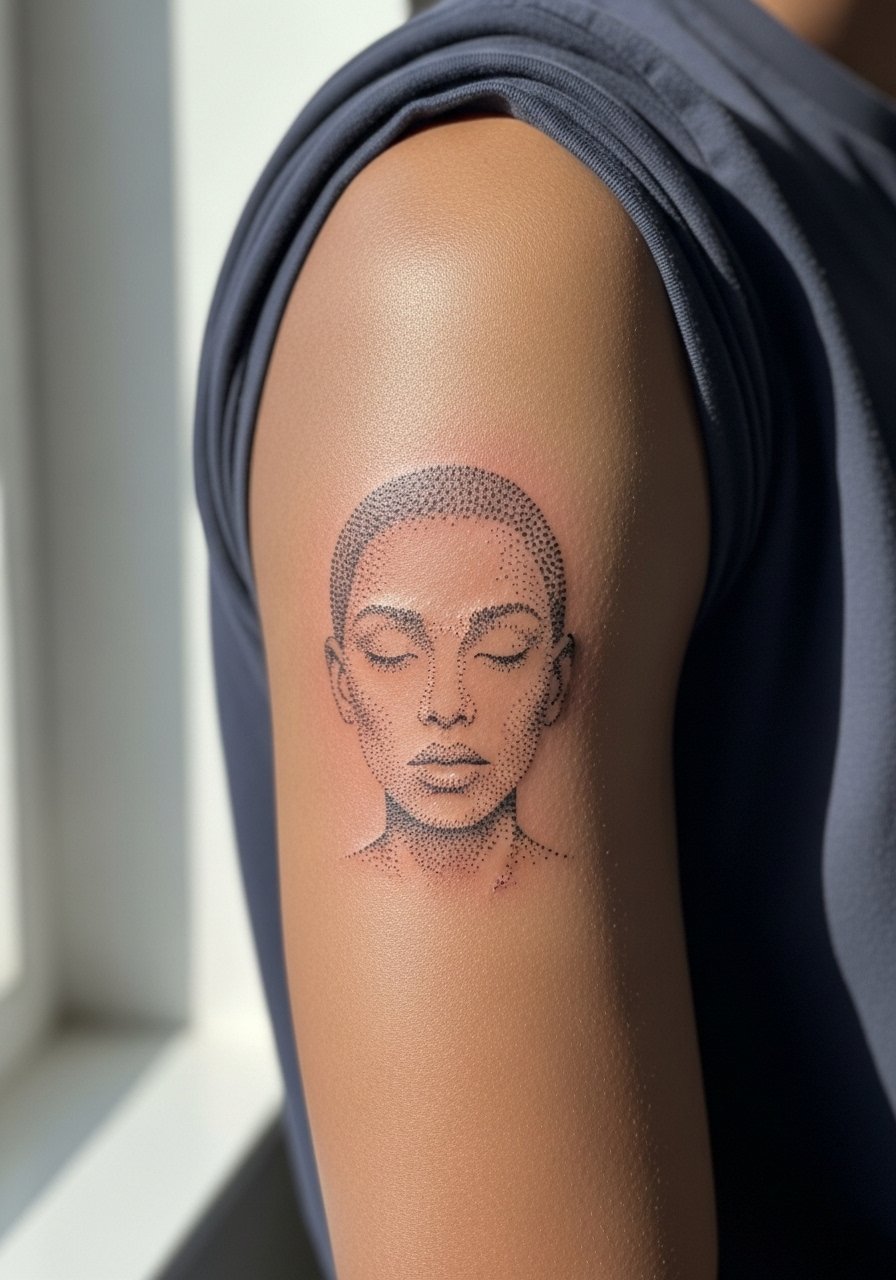
Outer upper arm is forgiving for dot work because the skin is thicker. When you show reference, ask for stipple shading and a simple outline so the portrait reads as suggestion instead of photo realism. The common error is asking for too much micro-detail in a small area. Session time runs longer for stipple because the artist builds texture point by point, but pain is mild compared with ribs or sternum. For casual visibility wear a short-sleeve tee that keeps the arm uncovered without constant sun exposure.
8. Tiny Hunter Knife on the Ribcage
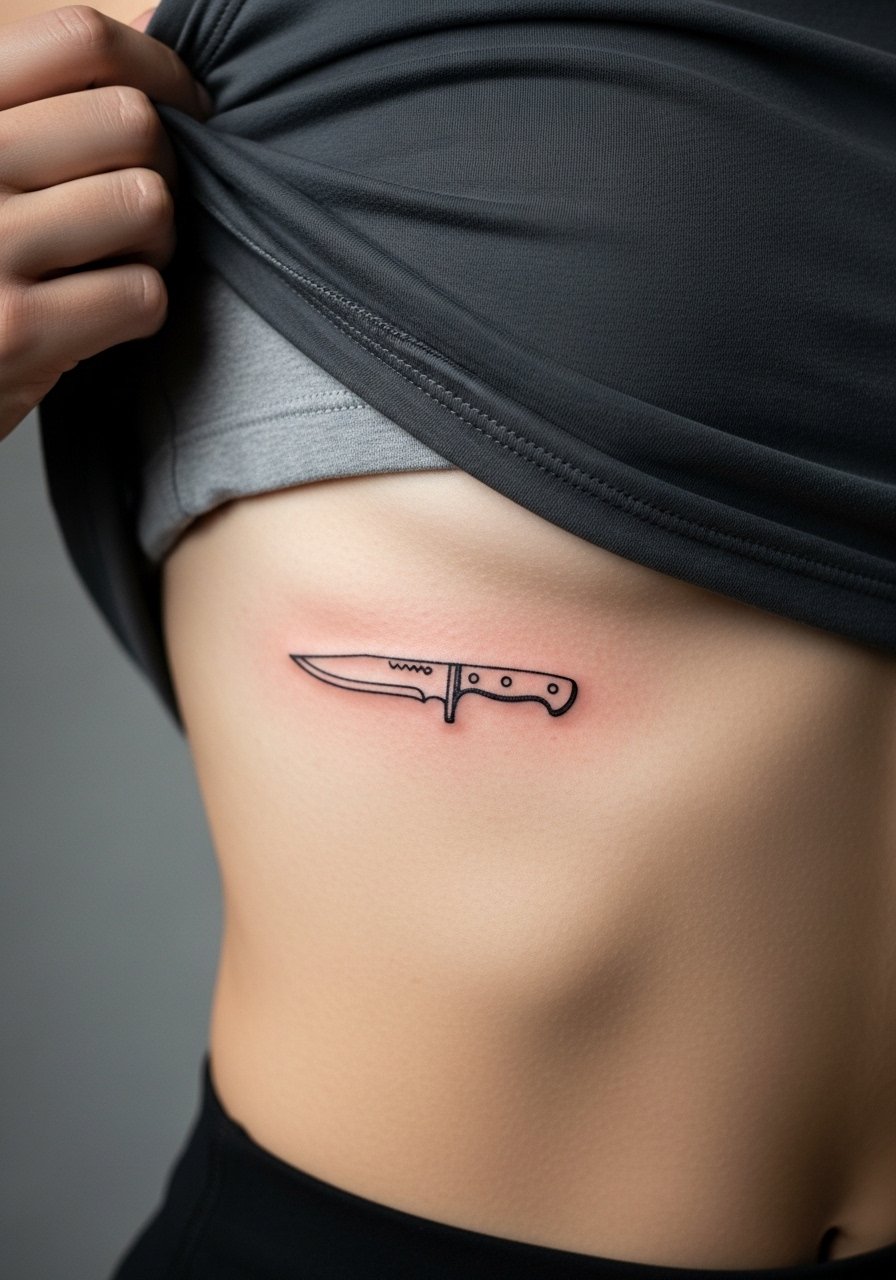
Fair warning: ribs are one of the more painful areas to sit through. Artists split on fine line here. One camp says skin stretch and movement blur detail within two years, the other says proper depth with slightly wider spacing holds up. If you want longevity request moderate spacing and accept a possible touch-up at year three. For the session, wear a cropped athletic top you can lift and lower easily. Expect a longer healing window and tender soreness for several days.
9. Minimal Fungus Tendril Up the Side of a Finger
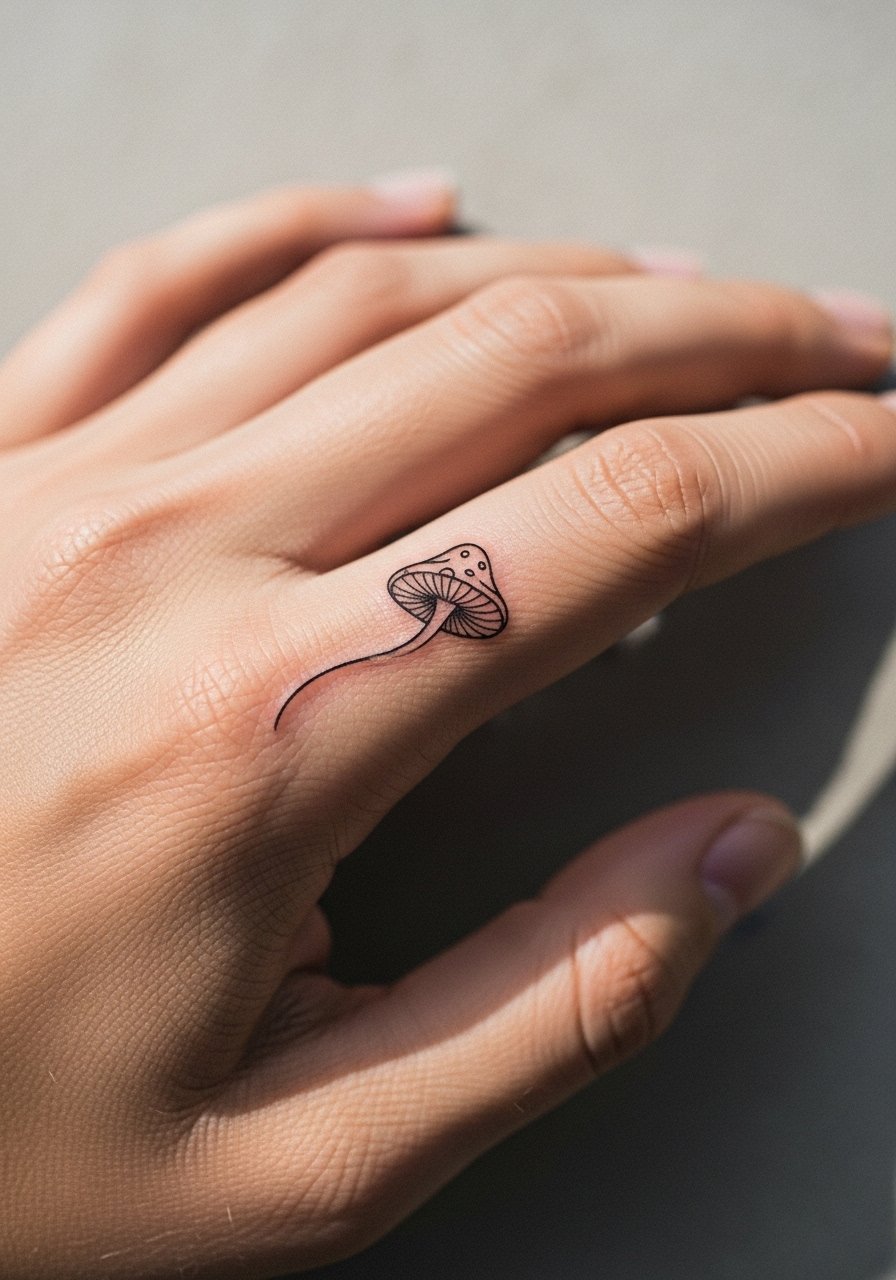
Fingers are notorious for fading and early touch-ups because of constant washing and skin regeneration. The biggest mistake is doing too much detail on such a mobile canvas. Keep the tendril thin but slightly bold compared with a hairline, and accept frequent touch-ups. For showing off, stack with a simple thin ring band that sits beside the ink without crowding it. Sessions are short but the maintenance commitment is higher.
10. Tiny Map Coordinates Below the Collarbone
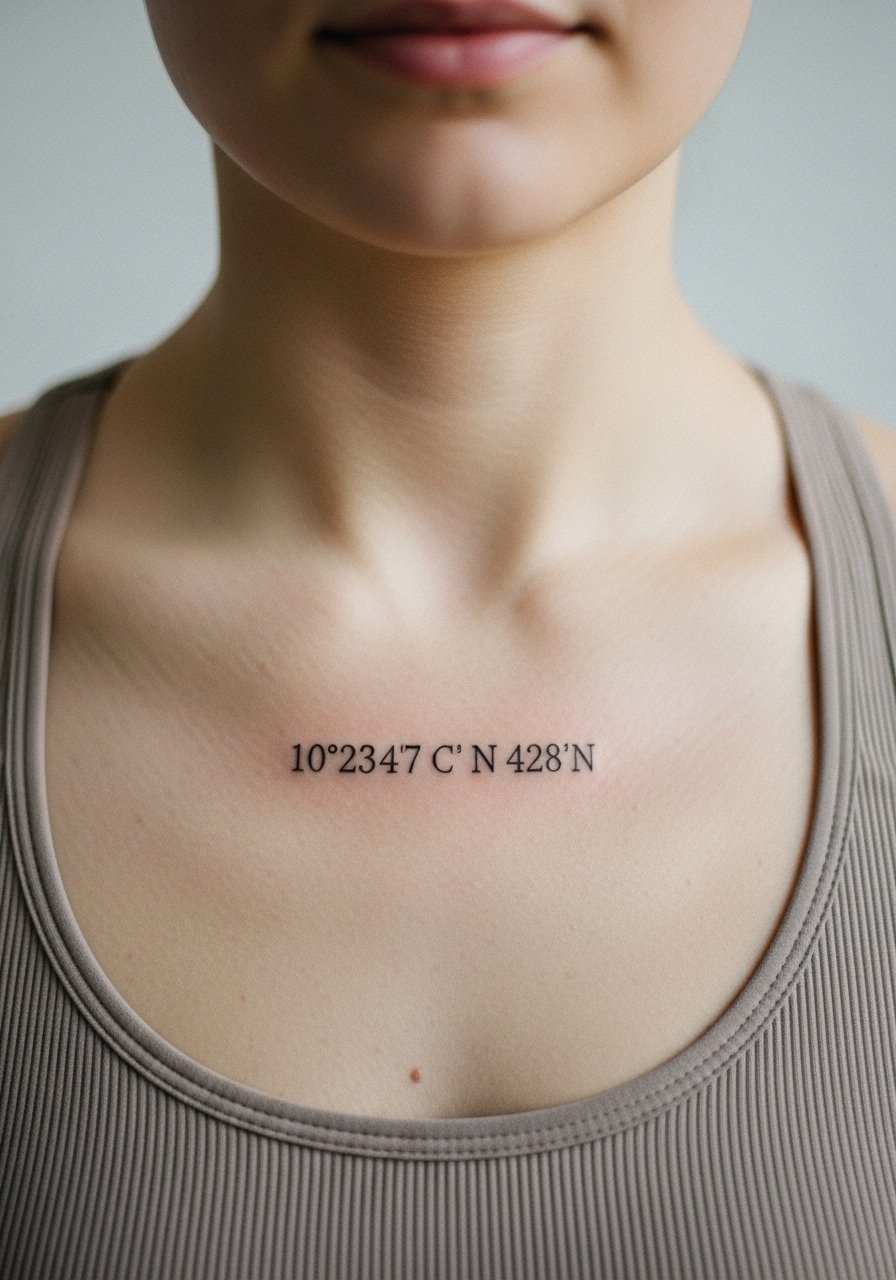
Text tattoos demand legible spacing from the start. Ask your artist to stencil the exact characters and to increase kerning if needed so the digits do not run together with time. The collarbone area can be sensitive and the thin skin may soften letters faster than forearm placements. For showing off pair with a thin chain pendant necklace that sits just above the text. Expect a 30 to 60 minute session and minor soreness on day one.
11. Minimal Moon and Clicker Eye on the Calf
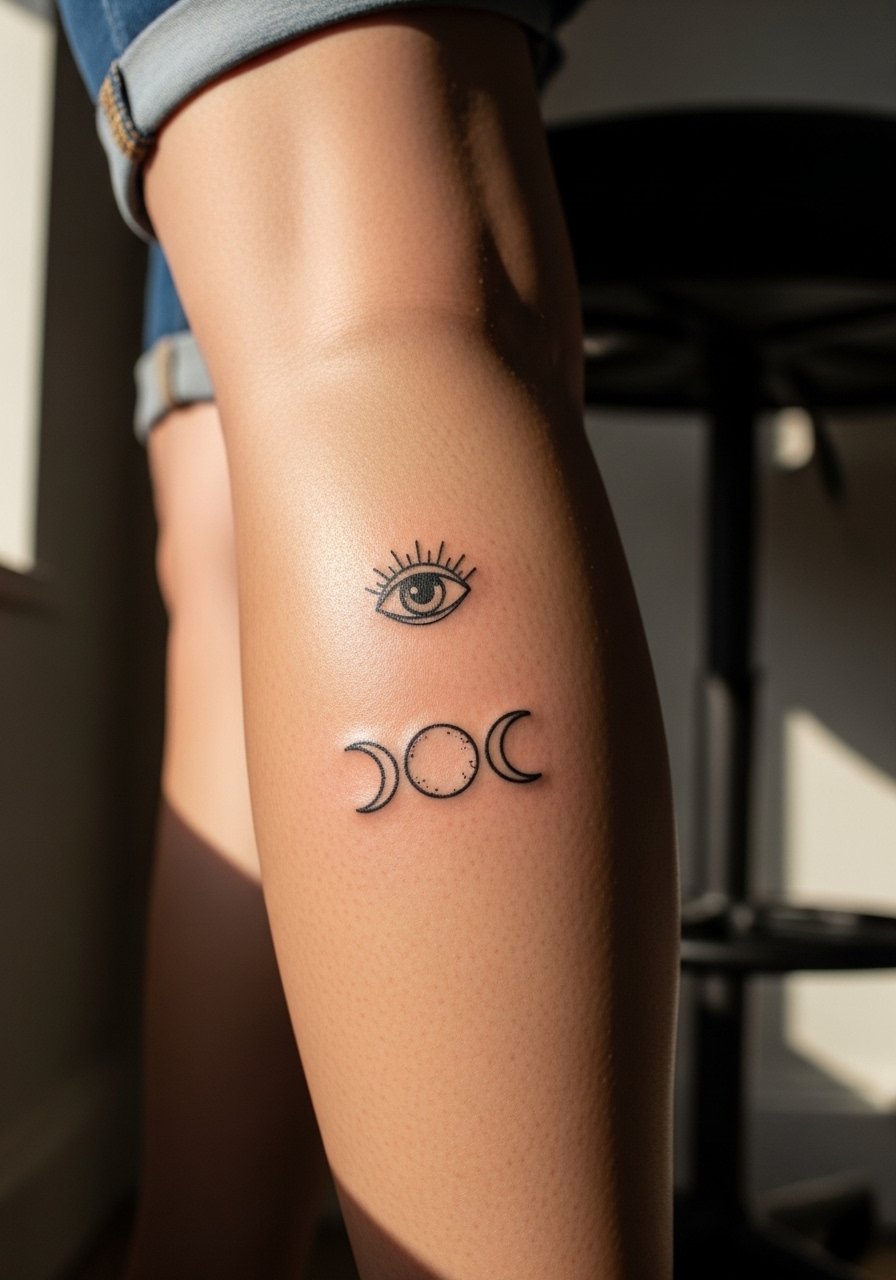
Calf skin handles linework well and the canvas lets you scale slightly larger without losing the minimal feel. I recommend stipple accents in the moon rather than solid fill to avoid dense areas that soften over time. The session is low pain compared with ribs and the area tolerates sunscreen well after healing. For showing off with boots or skirts, a short denim skirt or rolled pants frames the piece without rubbing it.
12. Single Line Guitar Pick on the Ankle
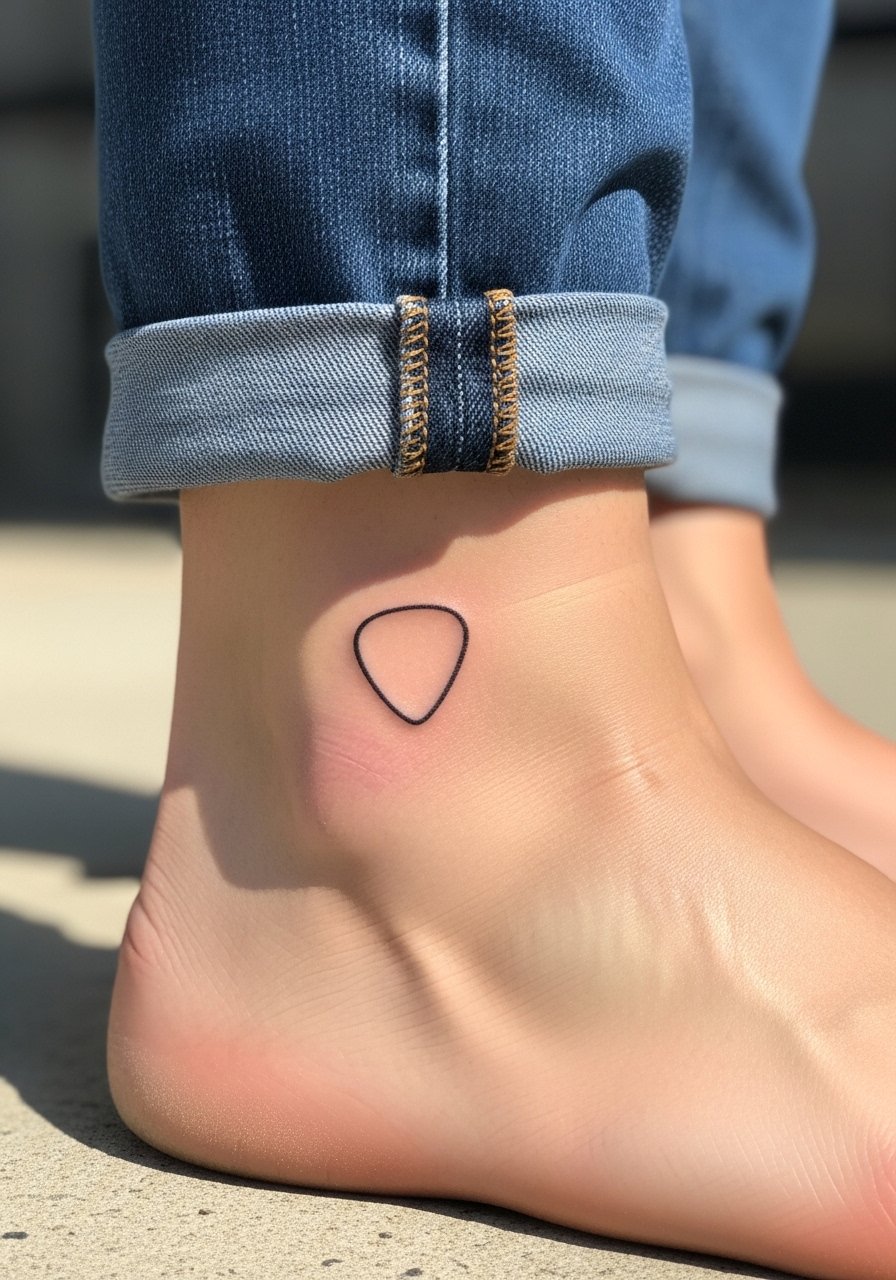
Ankle tattoos face friction from shoes and socks so the common mistake is placing tiny details where abrasion is constant. Ask for a slightly thicker outline to withstand wear. Session time is brief and pain is localized over bone. For showing off, slip into sandals or roll pants and pair with a delicate ankle bracelet. Plan for a touch-up after several months if you spend a lot of time in closed shoes.
13. Minimal Cord Bracelet on the Upper Arm
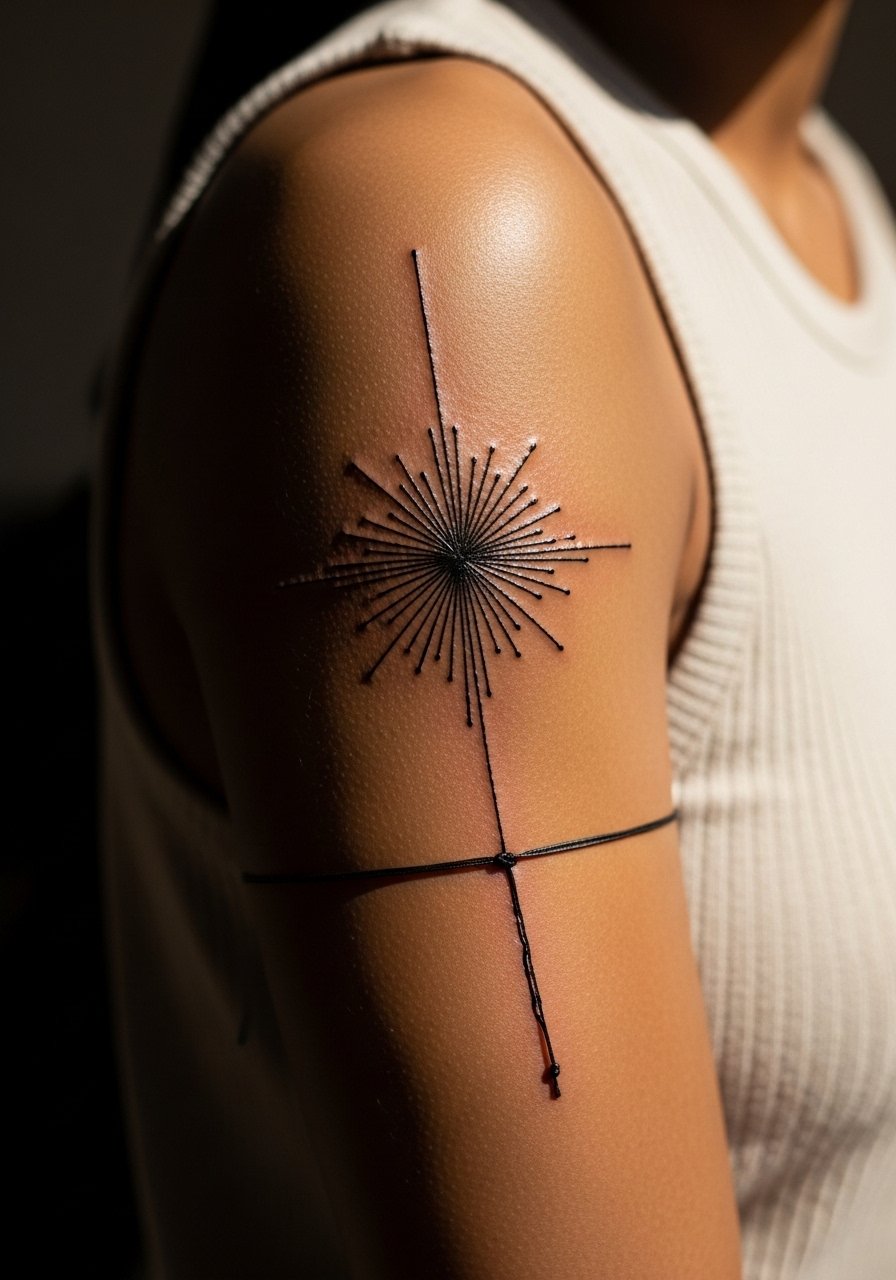
Upper arm placements tolerate linework well and age gracefully when not overworked. The mistake I see is asking for micro knots and tiny details that look great fresh but blur within a year. Request open spacing and slightly heavier single lines to carry through years. For casual visibility pair it with a sleeveless linen top. Sessions are comfortable and healing is straightforward.
14. Minimal Compass Needle on the Back of the Neck
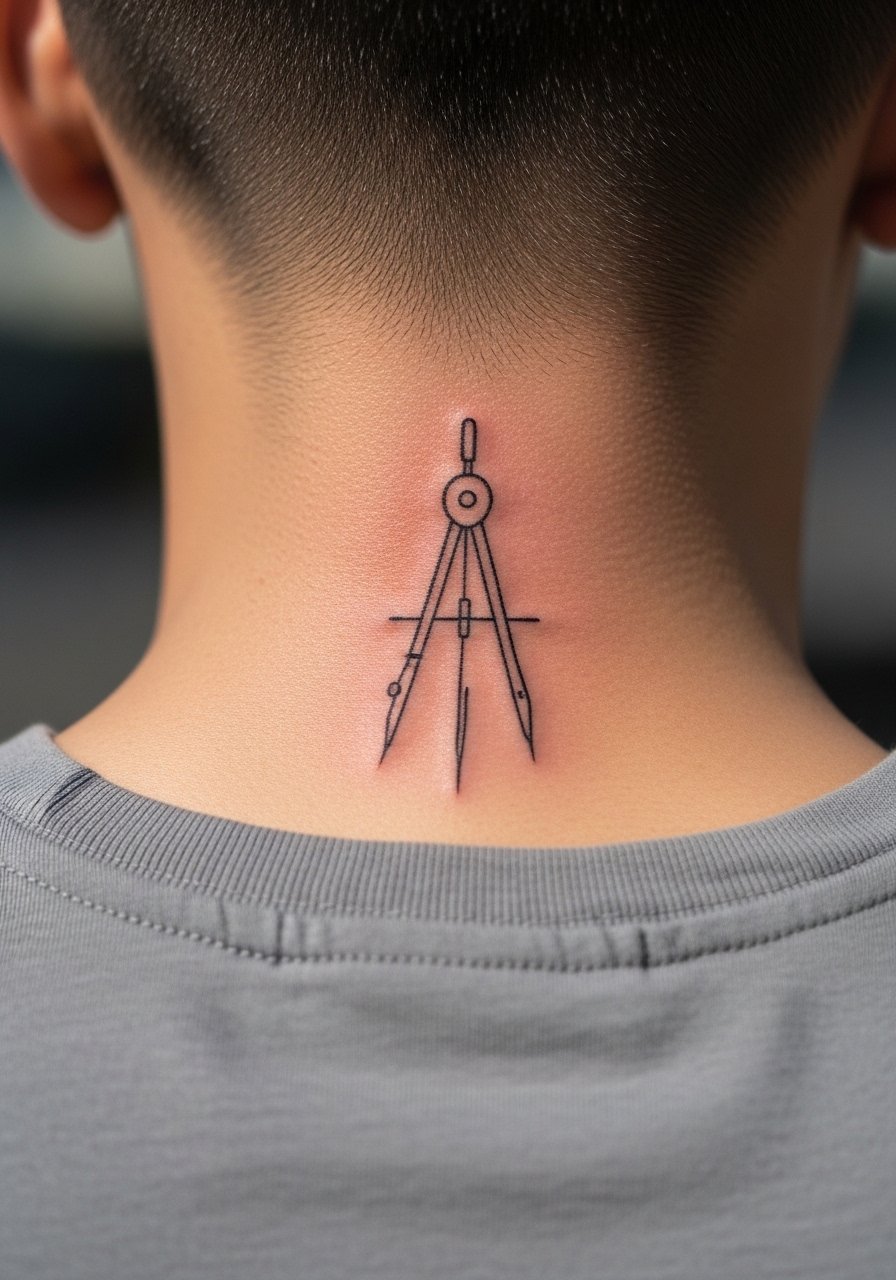
Tiny back-of-neck tattoos are visible with certain haircuts and very private with others, so discuss visibility in the consult. The skin here moves and stretches, so spacing matters more than needle finesse. Keep the needlework simple and ask for demonstration of healed examples in similar spots. For session day wear a t-shirt you can tug down slightly so the artist has access. Pain is moderate and the piece photographs well when hair is up.
15. Minimal Brick Wall Linework Along the Ribcage
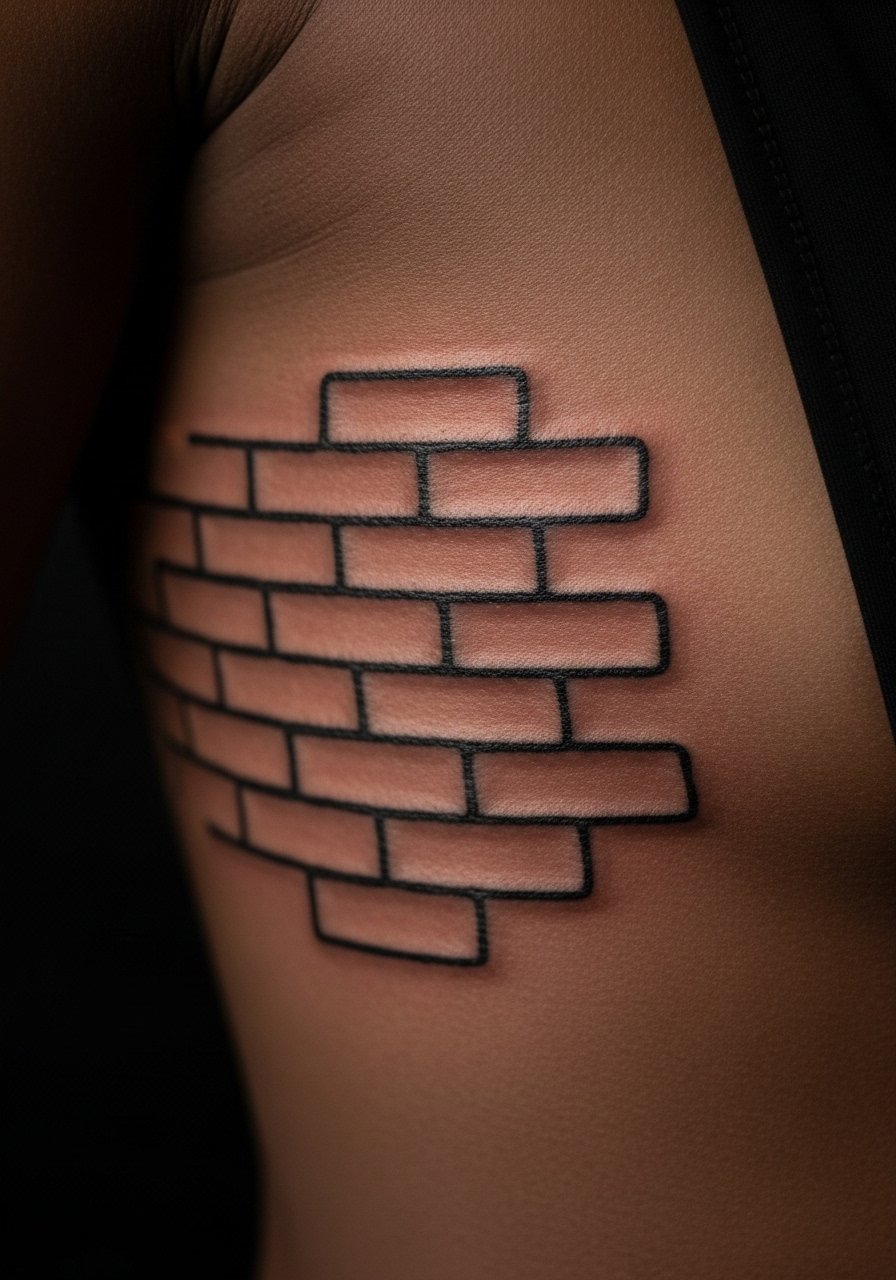
Ribcage patterns need deliberate negative space so the bricks do not merge as the skin shifts. The common mistake is making the pattern too dense. One camp of artists believes the ribs are too mobile for tight fine line, another says proper spacing and depth make small patterns hold. If you want this look keep the bricks larger and expect a longer healing timeline. For the session wear a cropped tank you can lift and lower comfortably.
16. Tiny Radio Tower Along the Spine
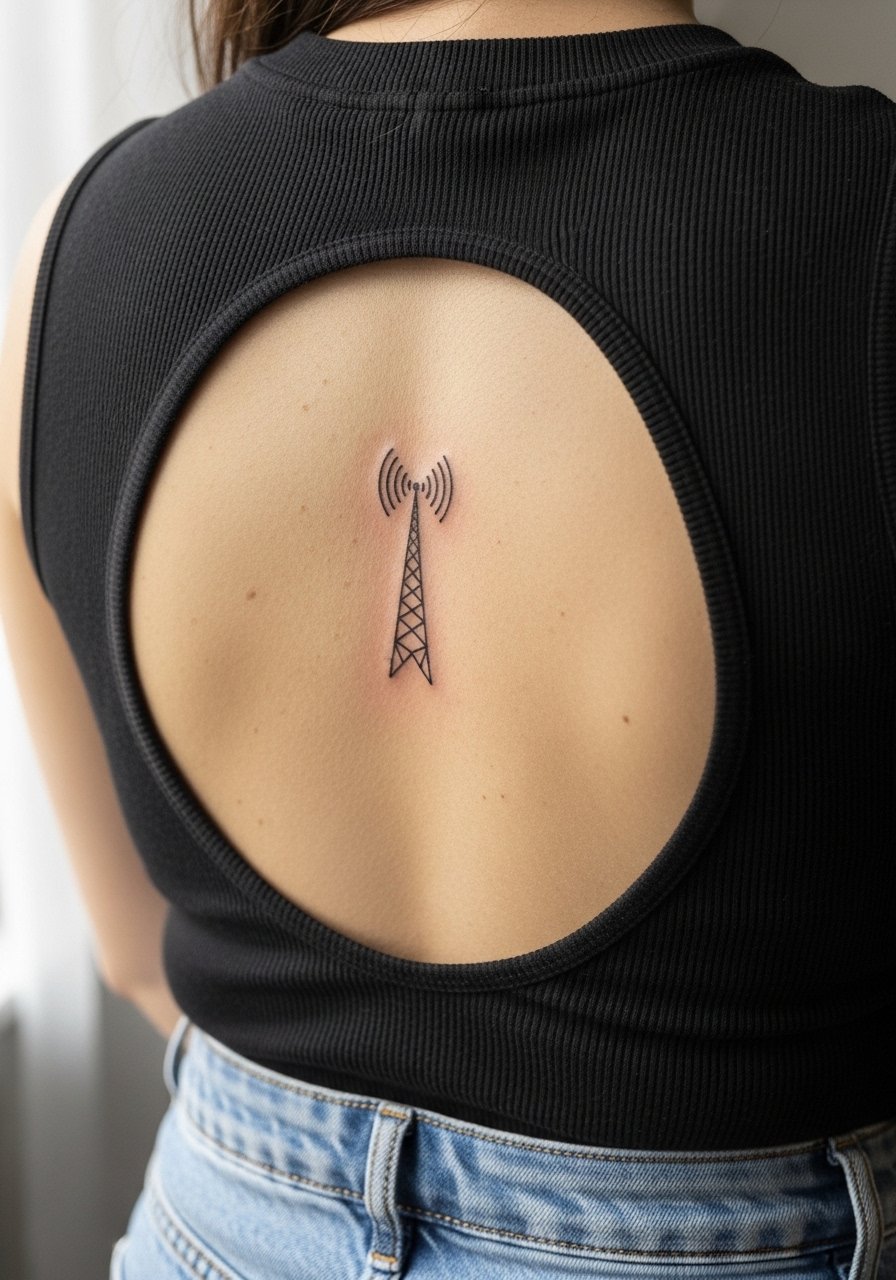
Spine placements are dramatic even when minimal. Tell your artist the tower should be composed of simple lines with small spacing between rungs so the silhouette remains clear with time. The pain can spike depending on proximity to bone, and movement can stress the area during healing. For evenings out pair this with an open-back dress that frames the piece. Touch-ups are not unusual for spine work after the first year.
17. Tiny Moth on the Side of the Thumb
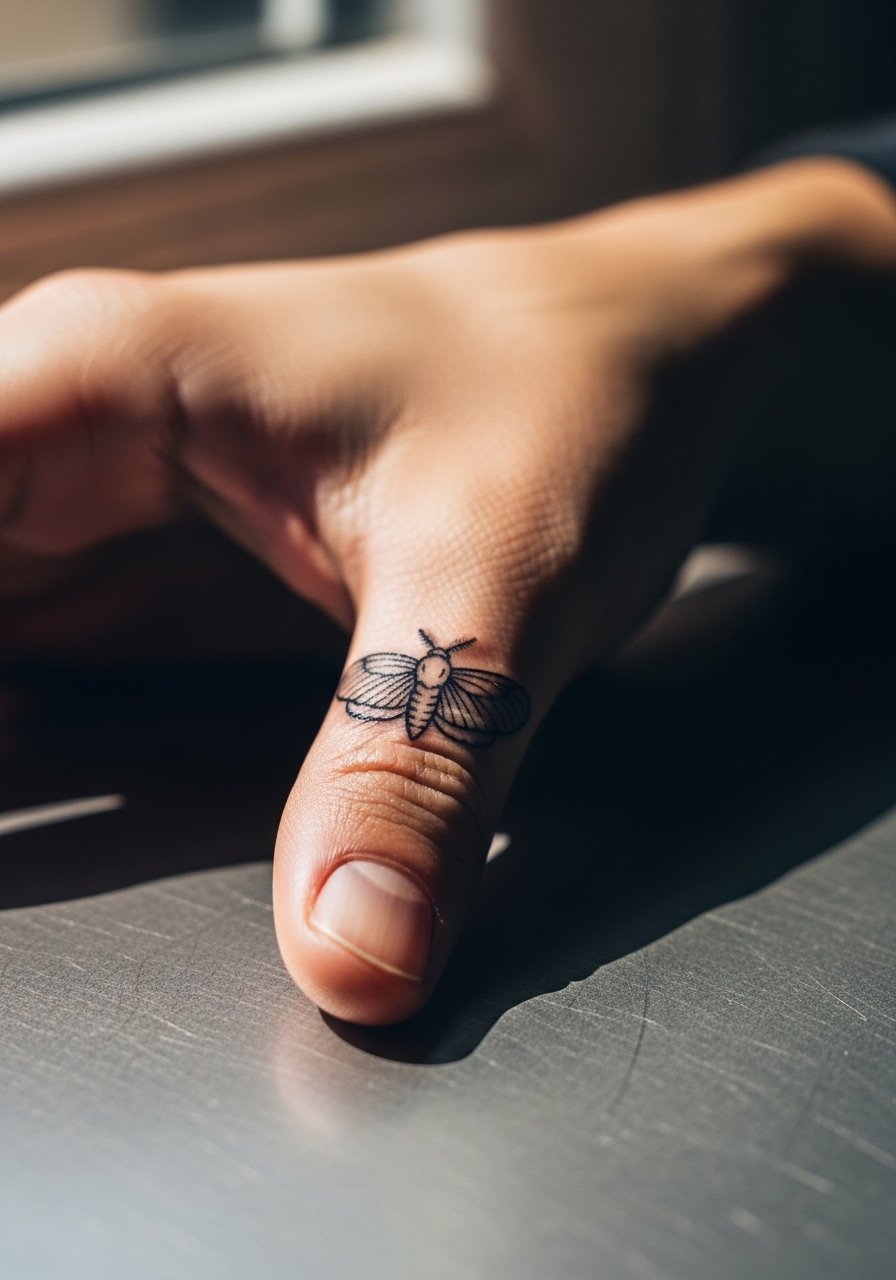
Thumbs are another high-maintenance zone. The biggest mistake is assuming small equals easy. Skin here regenerates rapidly and sees a lot of friction. If you want this spot choose a slightly bolder contour and plan on at least one touch-up in the first year. For showing off, a simple thin ring band keeps attention on the thumb without overlapping the art. Sessions are quick but expect more fading than in less used areas.
18. Minimal Stippled Mold Spore on the Inner Bicep
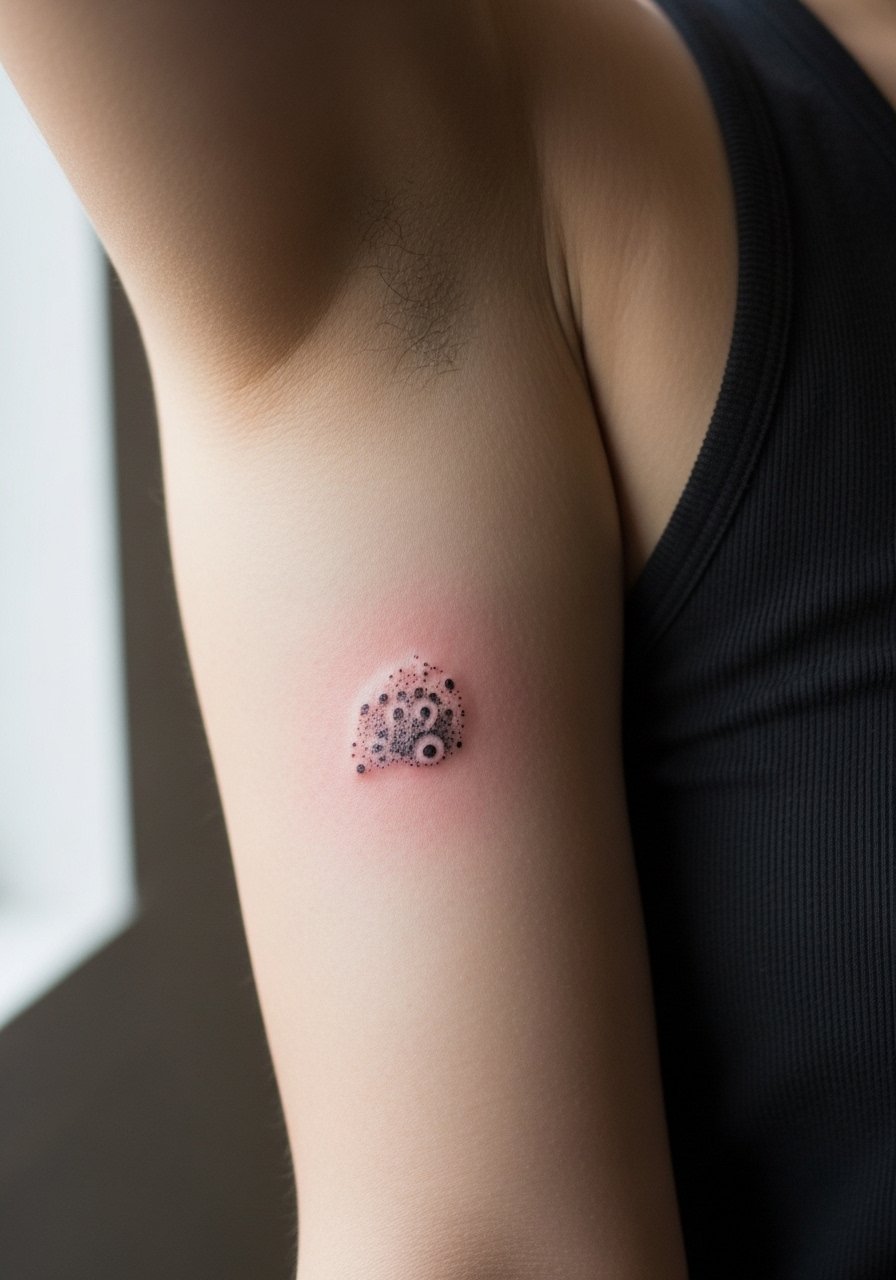
The inner bicep is a softer canvas that takes stipple nicely. I've noticed stipple ages more gracefully here than dense line fill. Tell your artist you want shallow dot work and to avoid heavy black fills. For the session wear a tank top so the artist can access the area without stretching the skin. Pain levels are moderate and healing tends to be smooth if you avoid friction from clothing.
19. Minimal Leafy Vine Around the Ankle
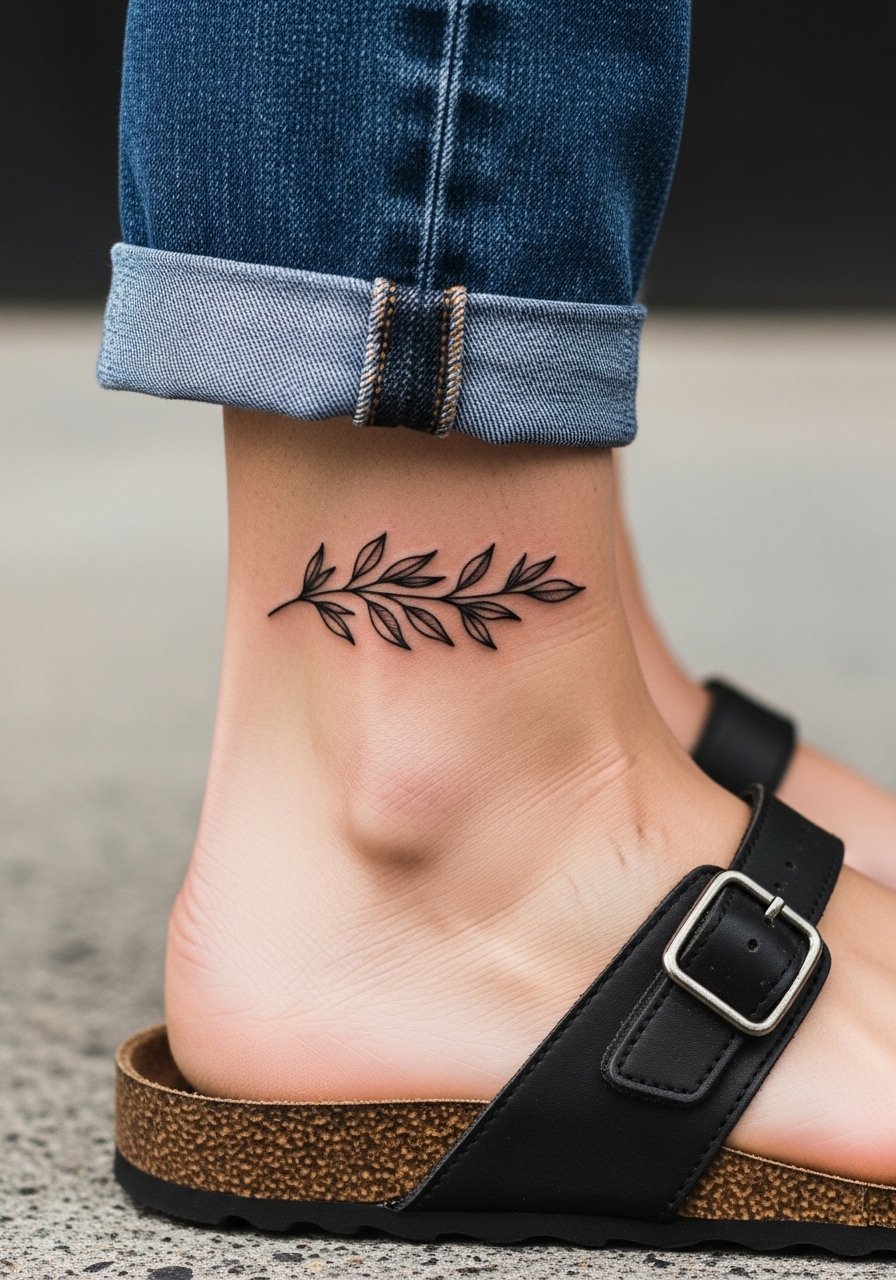
Ankle wrap designs work when the leaves have breathing room and the line avoids the joint crease. The usual error is too many tiny leaves close to the bone. Ask for simplified leaves and slightly stronger outline to resist abrasion. For showing off pair the tattoo with simple sandals and a delicate ankle bracelet. Expect touch-ups sooner if you wear closed shoes daily.
20. Minimal Mushroom Cluster on the Upper Thigh
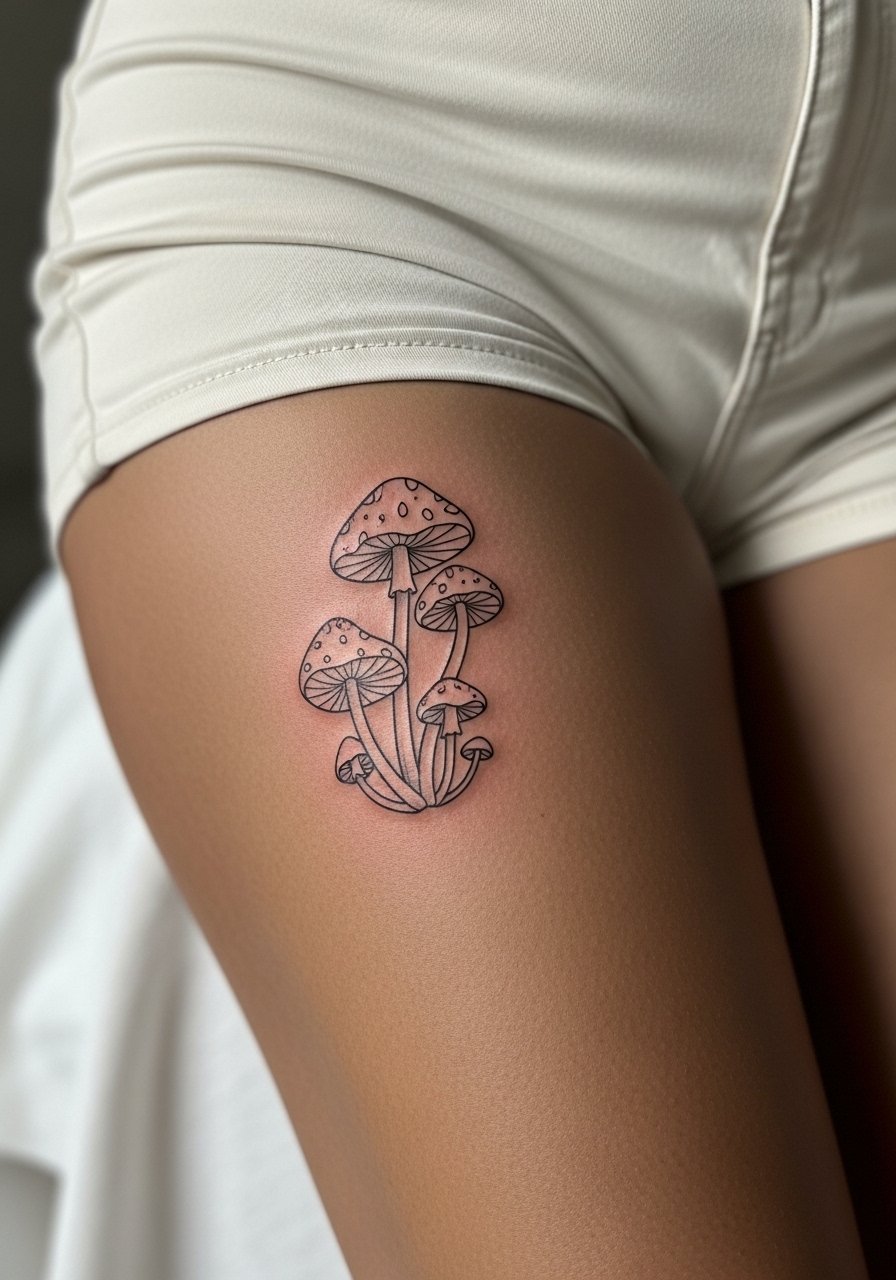
Thigh placements tolerate linework and allow slightly larger scale without looking busy. The common mistake is compressing too many small forms into a tiny area. Ask for clear spacing and discuss whether you want the piece to be more visible or more private. For the session wear high-waisted shorts you can adjust without discomfort. Healing is straightforward, but rubbing from tight clothing can affect crispness early on.
21. Minimal Graphite Stylized Plant on the Lower Back
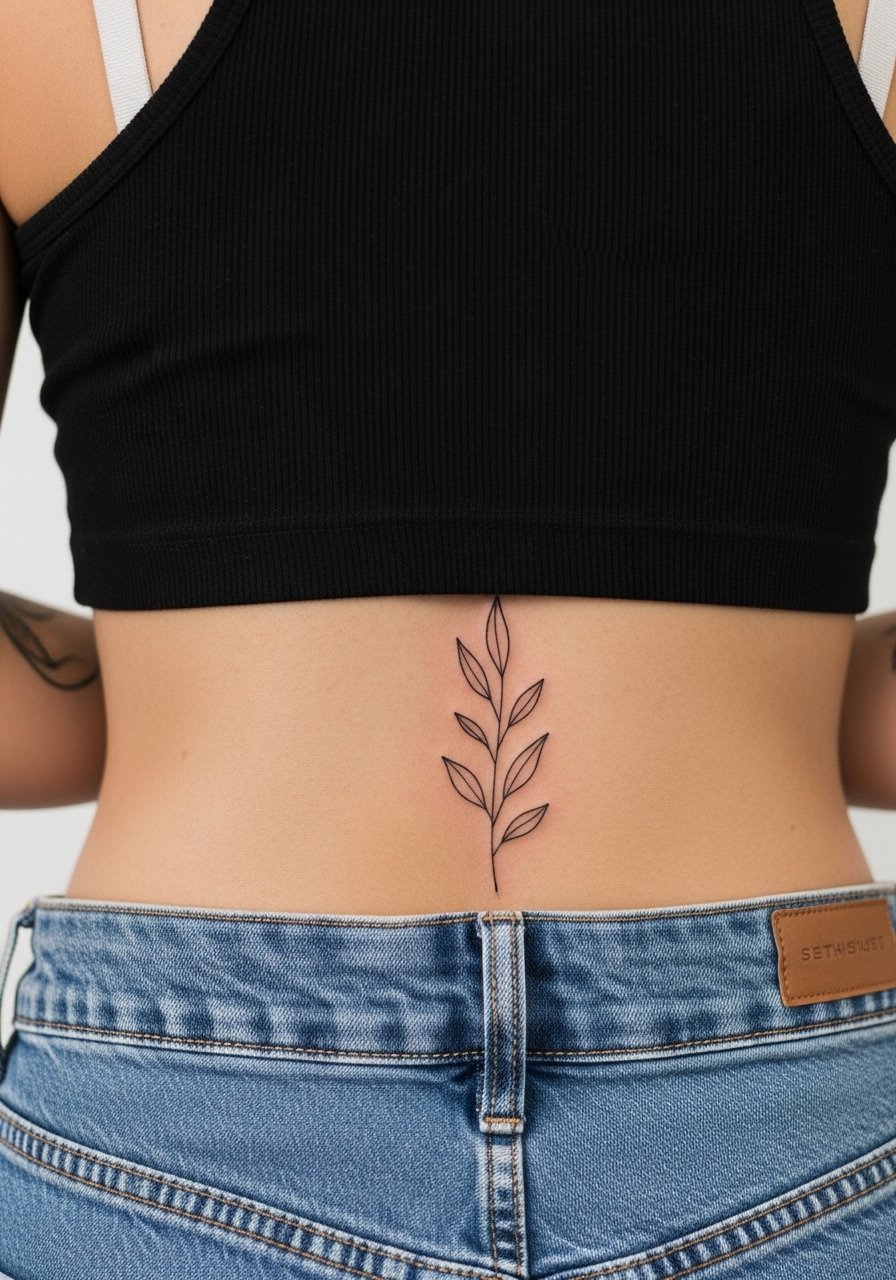
Lower back work is a classic canvas for minimal motifs since it moves less and lets lines hold. Keep designs centered and avoid crossing the spine with too many tiny details. Ask for a composition that remains balanced when the body is in motion. For session comfort wear a tank top with high-waisted jeans you can lower slightly to expose only the tattoo area. Pain is usually low and touch-ups are infrequent if the lines are left open and not overfilled.
Frequently Asked Questions
Q: Will fine line The Last Of Us motifs blur if I get a sleeve that mixes these small icons?
A: It depends on how dense you make the sleeve. Small icons need breathing room, especially on areas that stretch or see friction. If you want multiple tiny motifs on one limb, space them and scale each slightly larger than you think. Ask your artist for a mock stencil of the full layout to visualize long-term legibility.
Q: Are ribcage and sternum placements worth the pain for minimal line motifs?
A: They can be worth it if you want a dramatic but private placement. Expect more pain and a longer tender period. One camp of artists warns that very thin lines on ribs blur faster, while another says deliberate spacing and shallow depth solve that. Talk through healed examples with your artist and plan for a possible touch-up.
Q: How often should I plan touch-ups for finger and thumb tattoos from this list?
A: Finger and thumb spots usually need the most maintenance because of constant washing and wear. From what I have seen, expect at least one touch-up within the first year and more over time if you want the lines to stay crisp.
Q: What should I wear to the studio for a collarbone or sternum session?
A: Choose clothing that gives the artist access without exposing more than needed. A wide-neck tank or a fitted sports bra works well. If you prefer a buttoned shirt, bring one you can pull to the side. A wide-neck tank is a simple, practical option.
Q: Do minimal line tattoos work on darker skin tones?
A: Yes, with some adjustments. Contrast and spacing matter more than ultra-fine hairline strokes. On darker skin ask for slightly heavier line weight and wider spacing so the motif reads clearly when healed.
Q: Can I combine minimal line designs with small areas of stipple shading in one session?
A: You can, but let the artist guide which areas are safe to dot-shade without creating dense patches that might soften. Stipple pairs well with minimal lines when you keep the dots sparse and intentional.
