
Fine line tattoos look fragile in photos and they can feel fragile in real life. The hip bone responds to movement, clothing friction, and sun in ways that surprise many people. Plan for placement that moves with your body, ask for slightly more spacing than you think you need, and pick a shape that still reads if the line softens a bit over time. The first idea shows how spacing makes a difference.
1. Crescent Moon Curve Along the Hip Bone
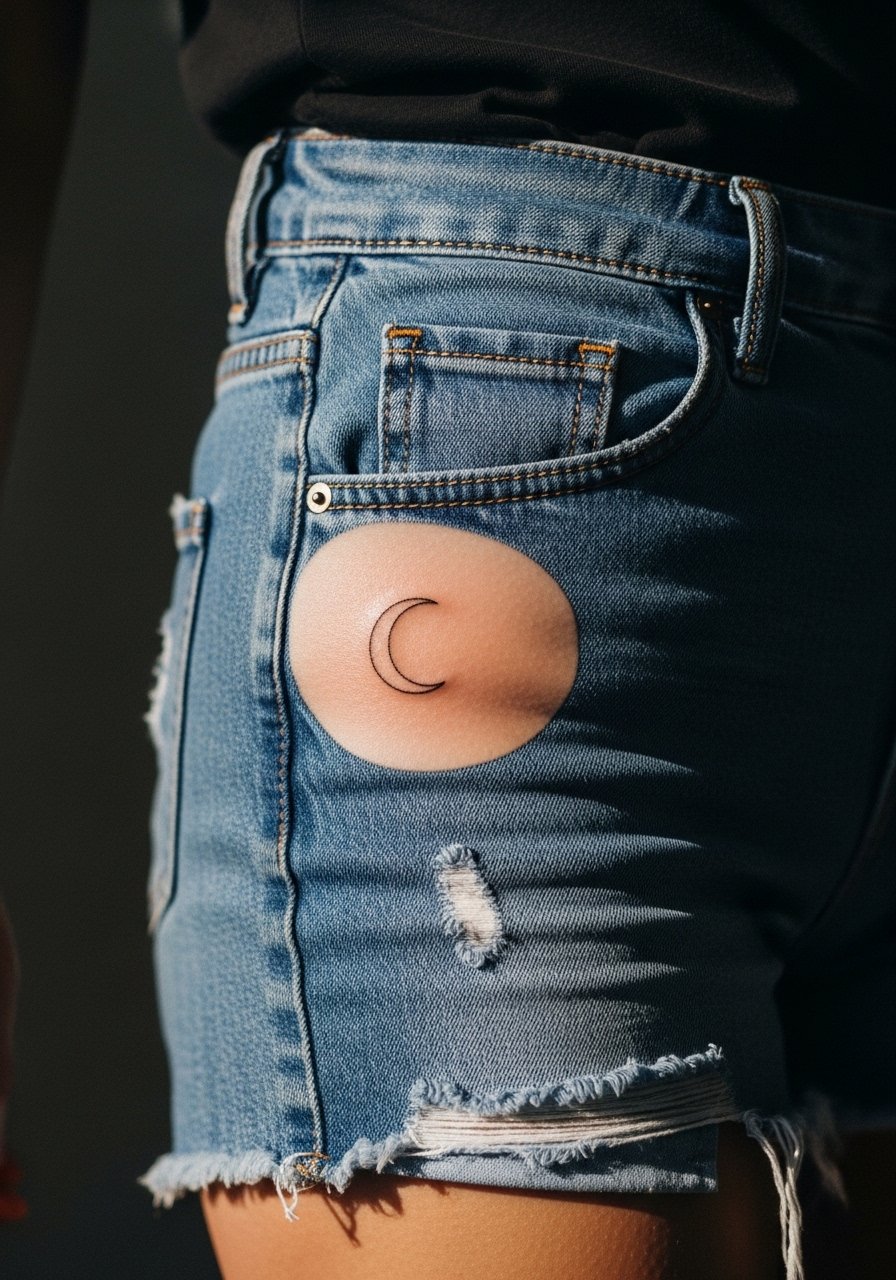
Start with the simplest shape if you want something that still reads when it softens. The crescent follows the natural curve of the pelvis, so it moves with clothing and body position instead of fighting them. Tell your artist to keep the curve open and avoid tightly packed detail, because the biggest mistake is asking for micro texture inside a space that will later need room to breathe. Pain at the hip bone is moderate, and most sessions for a tiny crescent run under 30 minutes. For show-off outfits pair it with high waisted denim shorts that reveal the arc and reduce friction during the first week.
2. Single Needle Dot Cluster Along the Bone

I often recommend dot clusters when someone wants texture without strong linework. Ask for varied spacing in the dots so they do not merge over time. A common mistake is requesting the dots too close together, which leads to merging and a need for touch-up. This placement feels like a 5 out of 10 on most pain scales and usually takes around 20 to 40 minutes. The healed look reads differently at six months versus two years because tiny dots tend to soften into a wash unless left deliberately sparse. For the session wear a bikini bottom high cut so the artist can work without fabric pulling across the area.
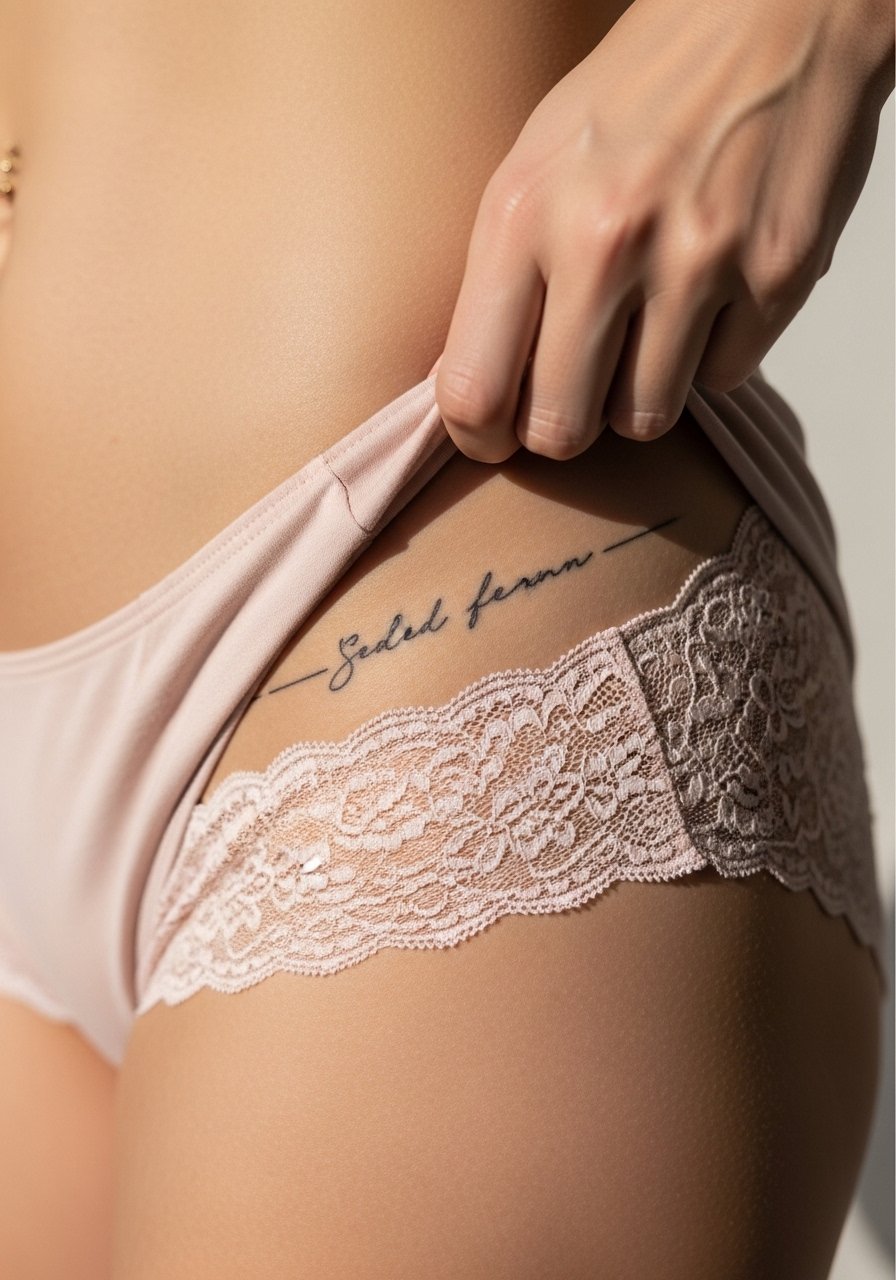
3. Tiny Script That Follows the Hip Line
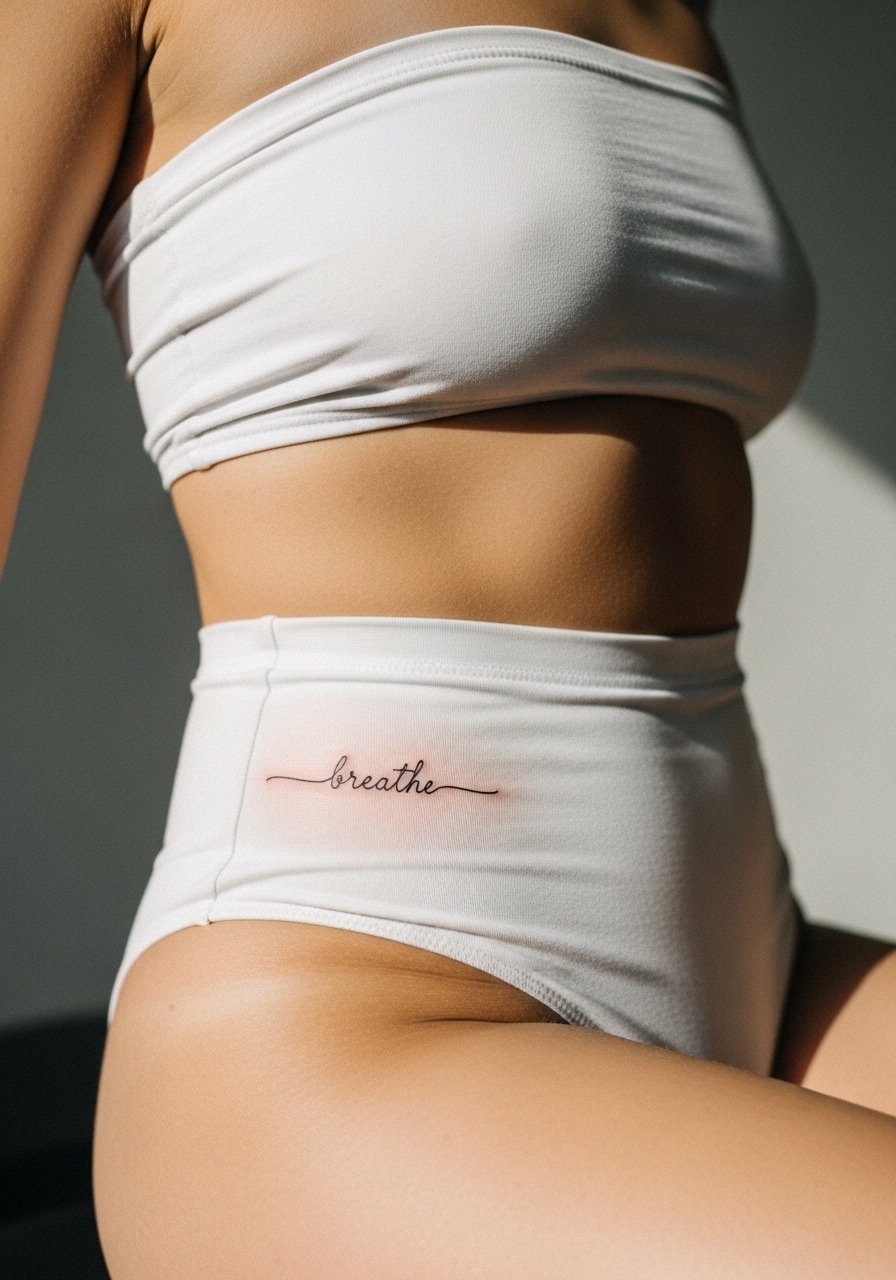
If you want lettering, pick short words and exact fonts before booking. The failure mode for script on the hip is trying to cram a full sentence into a curved, mobile spot. During consultation, show the exact font size and ask for the spacing previewed on skin. Expect a gentle sting during the session and a touch-up around year two if you wear tight jeans often. The session time is short but precise stencil placement matters more than needle work for this one. Showing it off pairs with a bandeau top and low-rise jeans for evenings out.
4. Minimal Geometric Arc With Negative Space

Geometric work looks crisp when you keep elements spaced. The most common error is shrinking a mandala-style idea until the lines touch, which causes blurring later. Ask your artist to draw the arc a touch larger than your reference, and to leave negative space as part of the design. Pain is moderate and the session often runs 30 to 60 minutes. Over two to five years, expect the sharpest corners to soften, so plan touch-ups in the timeline you want the geometry to remain crisp. Wear a wrap skirt to showcase the arc without rubbing it while it heals.
5. Single Stem Floral That Tucks Under the Waistband

A single-stem floral takes advantage of the hip's curve while staying readable. Tell your artist you want a tapered stem with minimal leaves, because dense shading near the waistband can fade into a smudge where fabric rubs most. The area can be sensitive near the bone, so expect a few twinges and a session around 30 to 45 minutes. Most botanicals look soft at six months and need small touch-ups by year three if they face constant friction. For showing it off choose a wrap midi dress that keeps the line visible without compressing it.
6. Tiny Constellation Curve Along the Hip Line
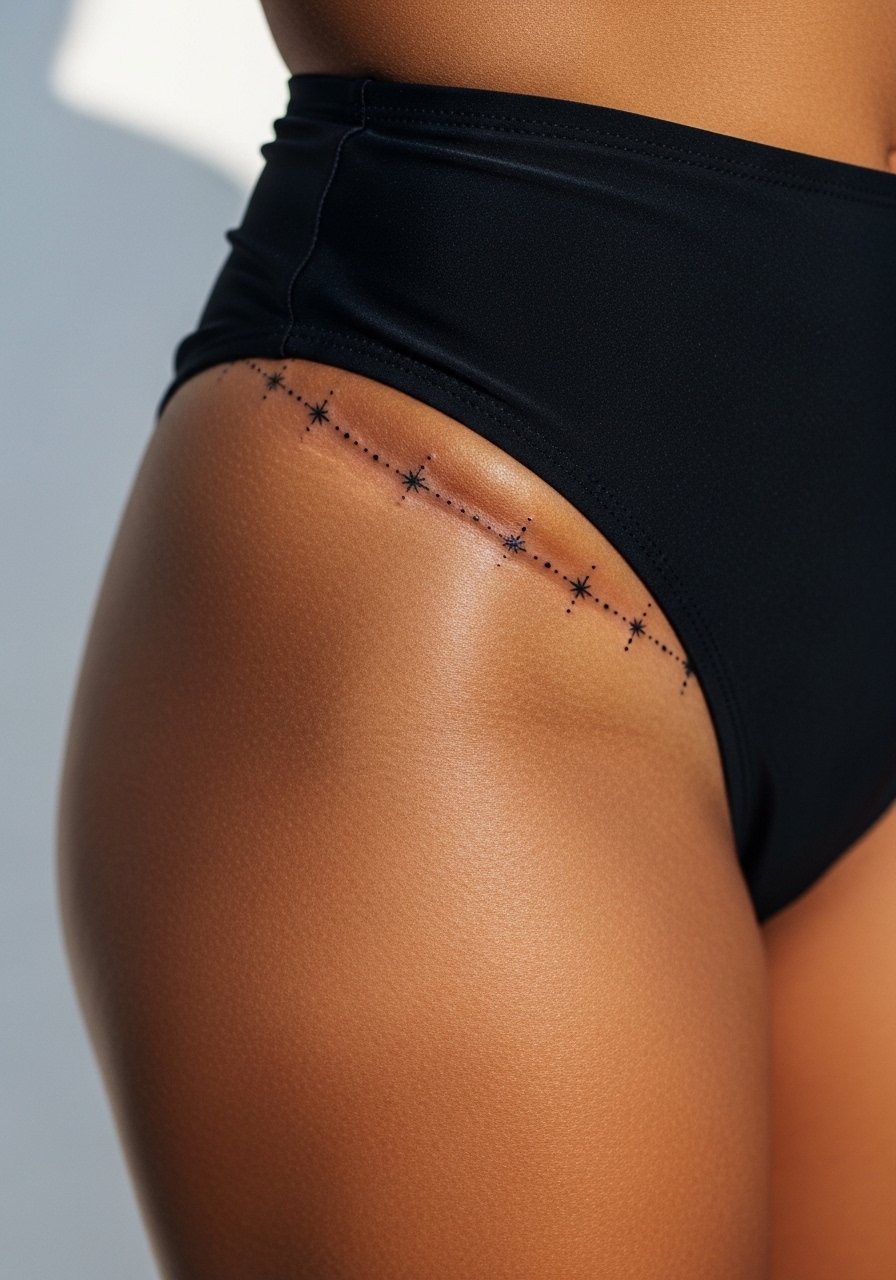
Constellations are forgiving because the tiny stars can be spaced to avoid clustering. During consultation, mark the exact curve on your skin and ask the artist to keep at least two millimeters between the prominent dots. A common mistake is packing too many small stars into a short arc, which leads to loss of definition. The session is quick and most people tolerate it well. Expect a light touch-up around year two depending on sun exposure and clothing. Pairing works well with a cheeky bikini bottom when you want to show the curve.
Studio Day Picks
Those first six hip pieces range from simple dots to small script, and a few session decisions make them easier to tattoo and to live with afterward.
-
Thin protective film roll. Useful for covering hip tattoos that sit under waistbands, this film reduces friction during the vulnerable first 48 hours.
-
Unfragranced gentle body wash. Cleanses the area without stripping or irritating the fine linework that small hip pieces depend on.
-
Breathable compression shorts. Keeps the area secure in transit after a session and reduces fabric rub while healing.
-
Topical numbing cream. Applied before the session it can blunt the sharpest sensations near bone without changing the artist's linework when used as directed.
-
Aquaphor healing ointment. A thin layer helps lock in moisture during the initial healing window, which is helpful for small fine line work on areas that get friction from clothing.
7. Petite Wave Line That Mirrors the Hip Curve
Fair warning, the hip curve and the natural movement of hips can stretch a wave design depending on stance and clothing. The advantage is that a simple wave requires very little session time and has low blowout risk when done at proper depth. Ask for a slightly heavier line weight than the thinnest you see online, because too-fine single lines on mobile skin can fade into a faint scar line over time. Most of these take under 30 minutes and usually need touch-up by year three if exposed to sun. Pair with high waisted leggings that can be shifted during healing.
8. Micro-Leaf Chain That Wraps the Bone
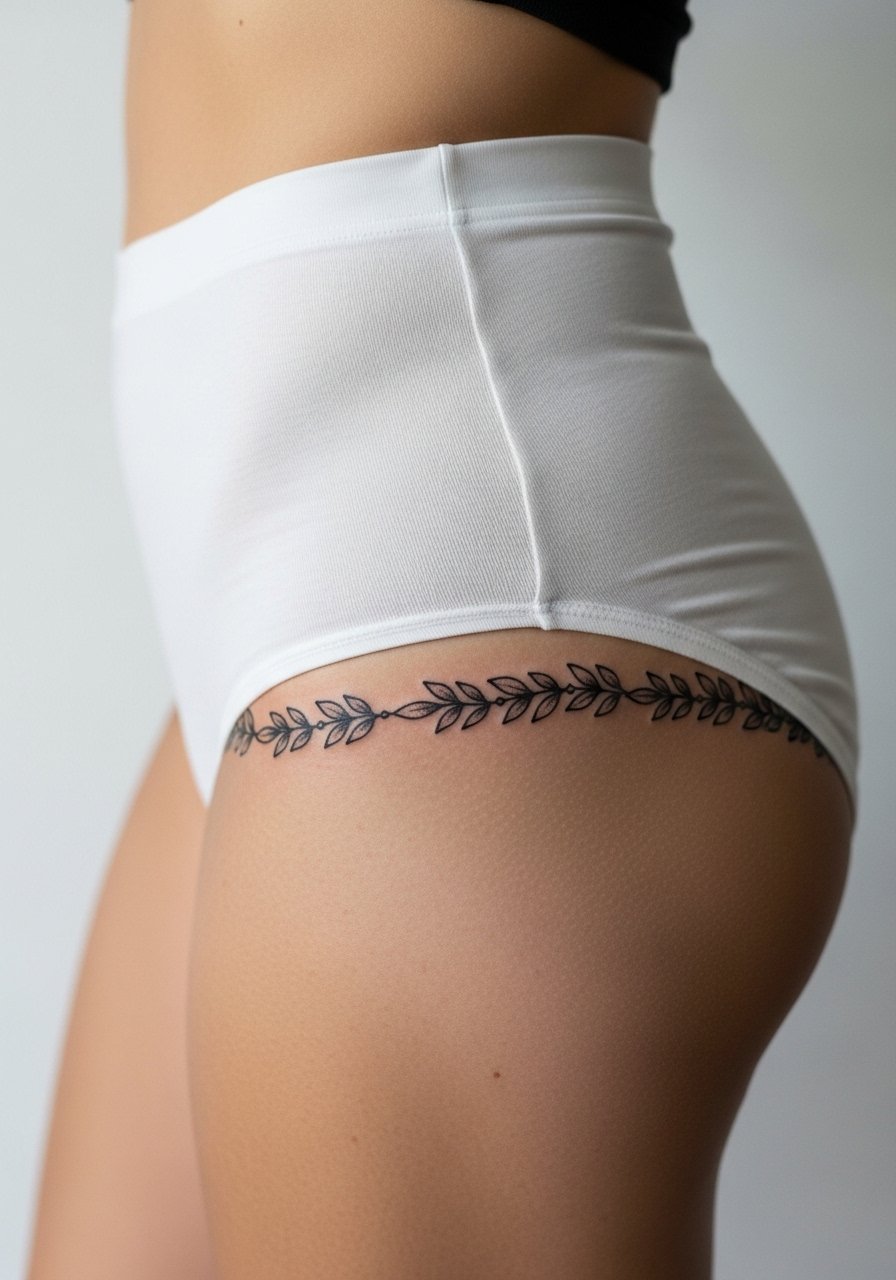
When leaves are tiny and repeated they create rhythm, but the common mistake is making each leaf too detailed. Ask for suggestion on leaf spacing and stipple shading so the pattern keeps definition over years. This placement feels like a 4 to 6 on the pain scale and a typical session is 30 to 50 minutes depending on length. At two years the pattern can blur if placed directly under tight waistbands. For showing it off, a high waisted skirt that sits below the tattoo keeps rubbing minimal and the leaves visible.
9. Minimal Horizon Line With Tiny Accent
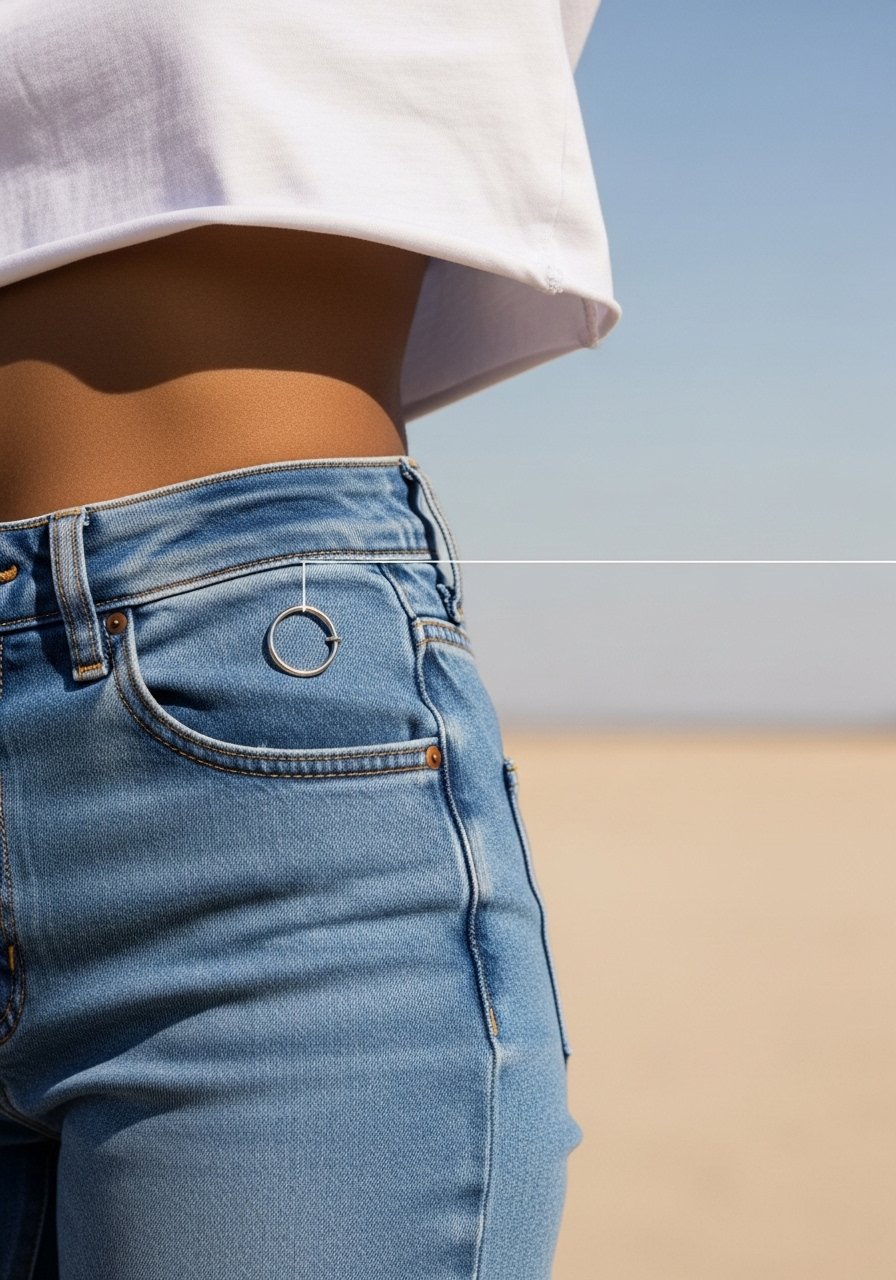
Visual impact comes from contrast between a crisp horizontal line and a small focal point. The biggest mistake is centering the accent where belt buckles or seams will constantly press it. During consultation, point out your favorite garments so the artist can place the accent outside friction zones. Pain is low to moderate and sessions are short. Over time the line softens and the tiny accent may need infill. For evening wear a cropped tee with high-rise jeans frames the horizon nicely.
10. Tiny Anchor or Nautical Symbol Near the Hip
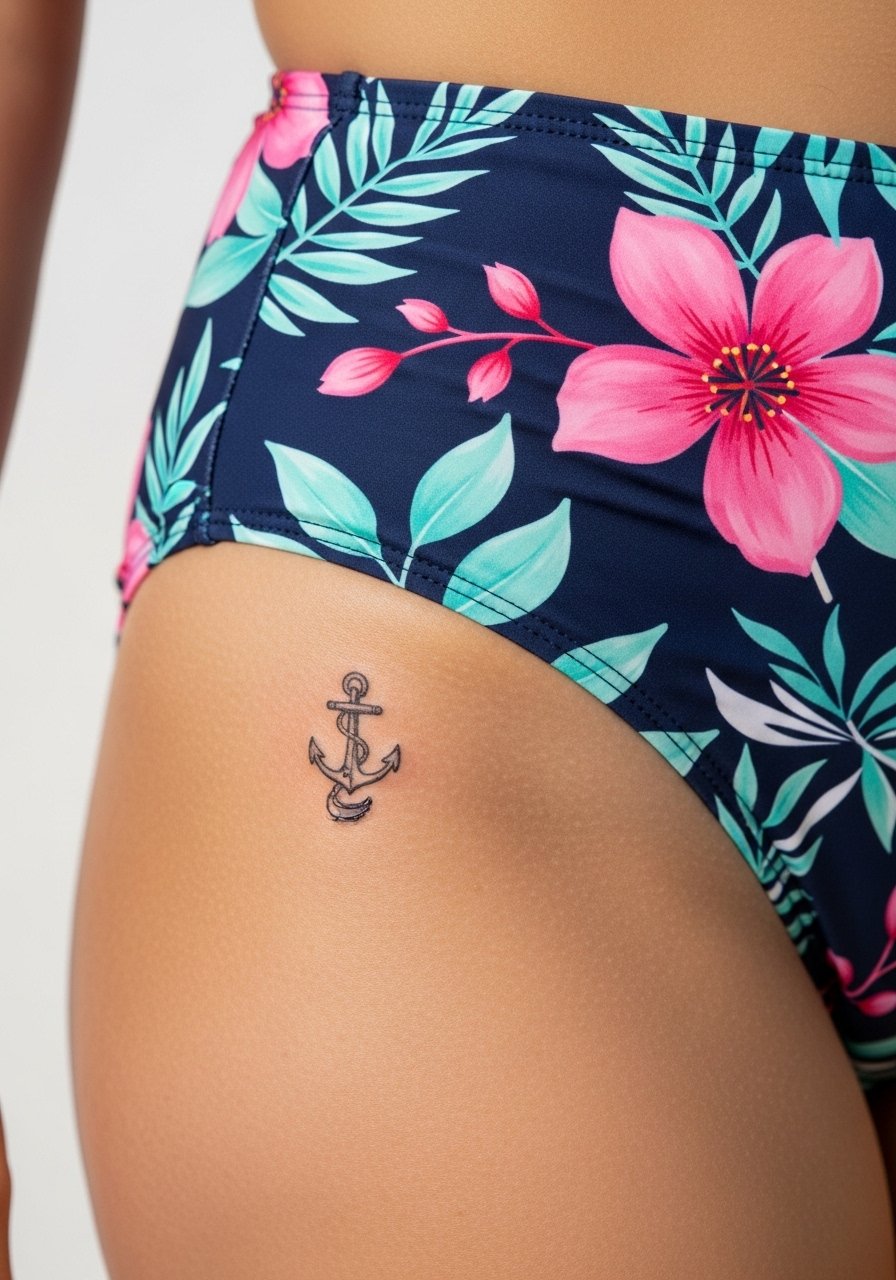
Symbols like anchors read well when kept tiny but not microscopic. A common error is asking for a full shaded anchor in a space meant for a single-line mark. Ask your artist for a simple outline and test how it looks at different angles before committing. The session is quick and feels pinchy near bone. Expect touch-up in two to three years if the area gets frequent sun. For show-off looks pick a strappy bikini that exposes the placement while avoiding tight waistbands.
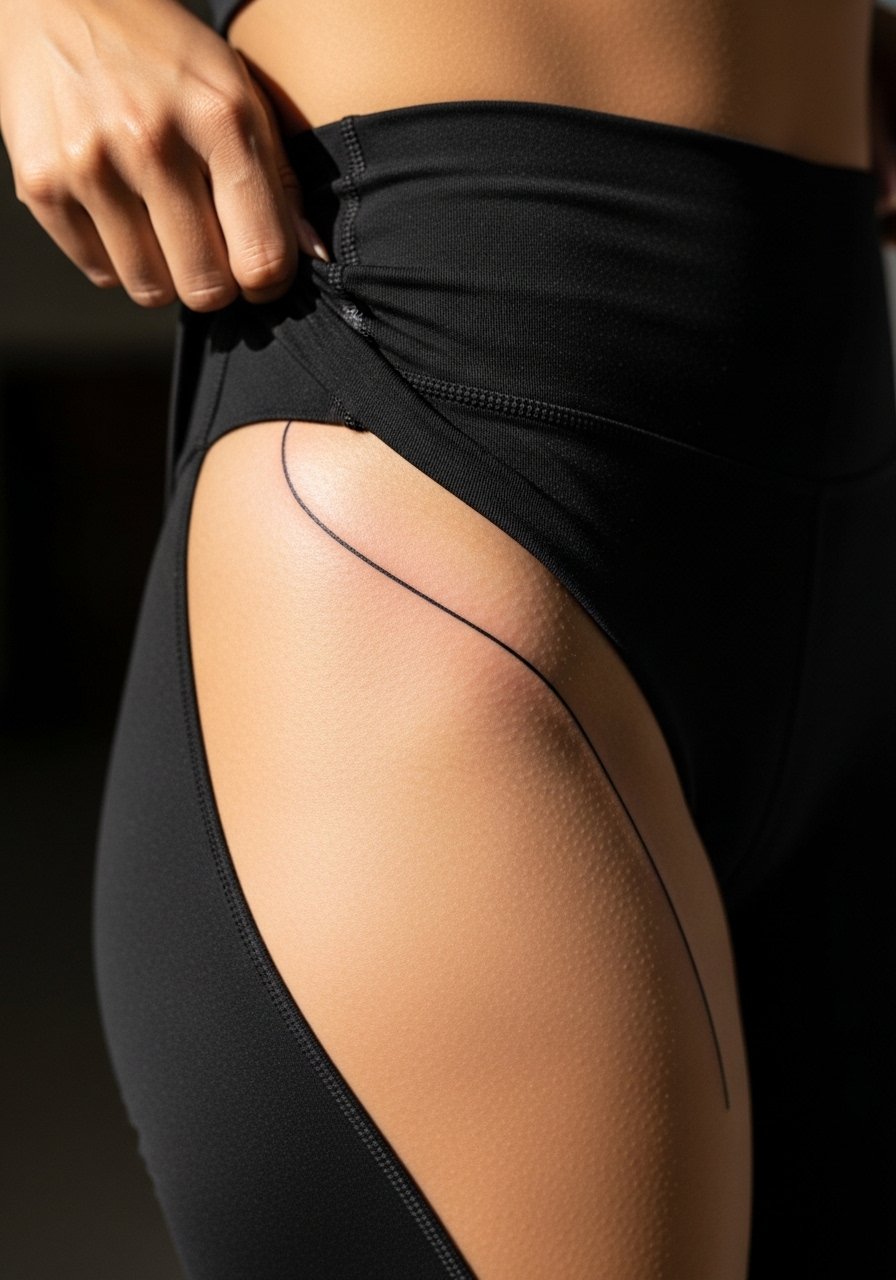
11. Abstract Brushstroke That Follows Movement
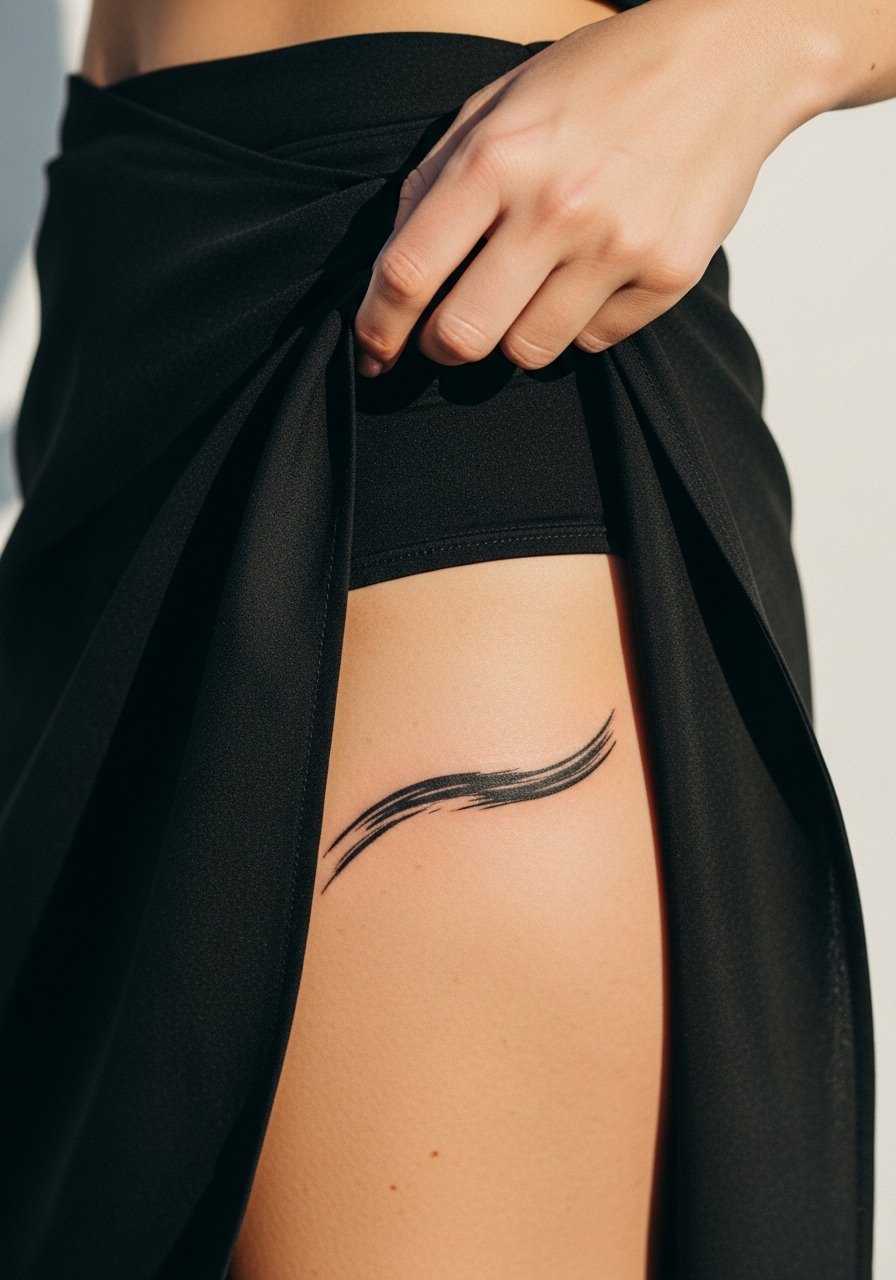
Abstract shapes can age well when designed to move. The consultation should include movement tests where you bend or sit, because a stroke that looks pleasing standing may bunch when you sit. The common mistake is treating the hip like a flat canvas. Pain is moderate if the line runs over bone. This style can be forgiving in the long term, because the shape is meant to soften. For wearing, a wrap skirt or low-rise trousers lets the brushstroke be visible without constant abrasion.
12. Tiny Animal Silhouette Nestled on the Bone
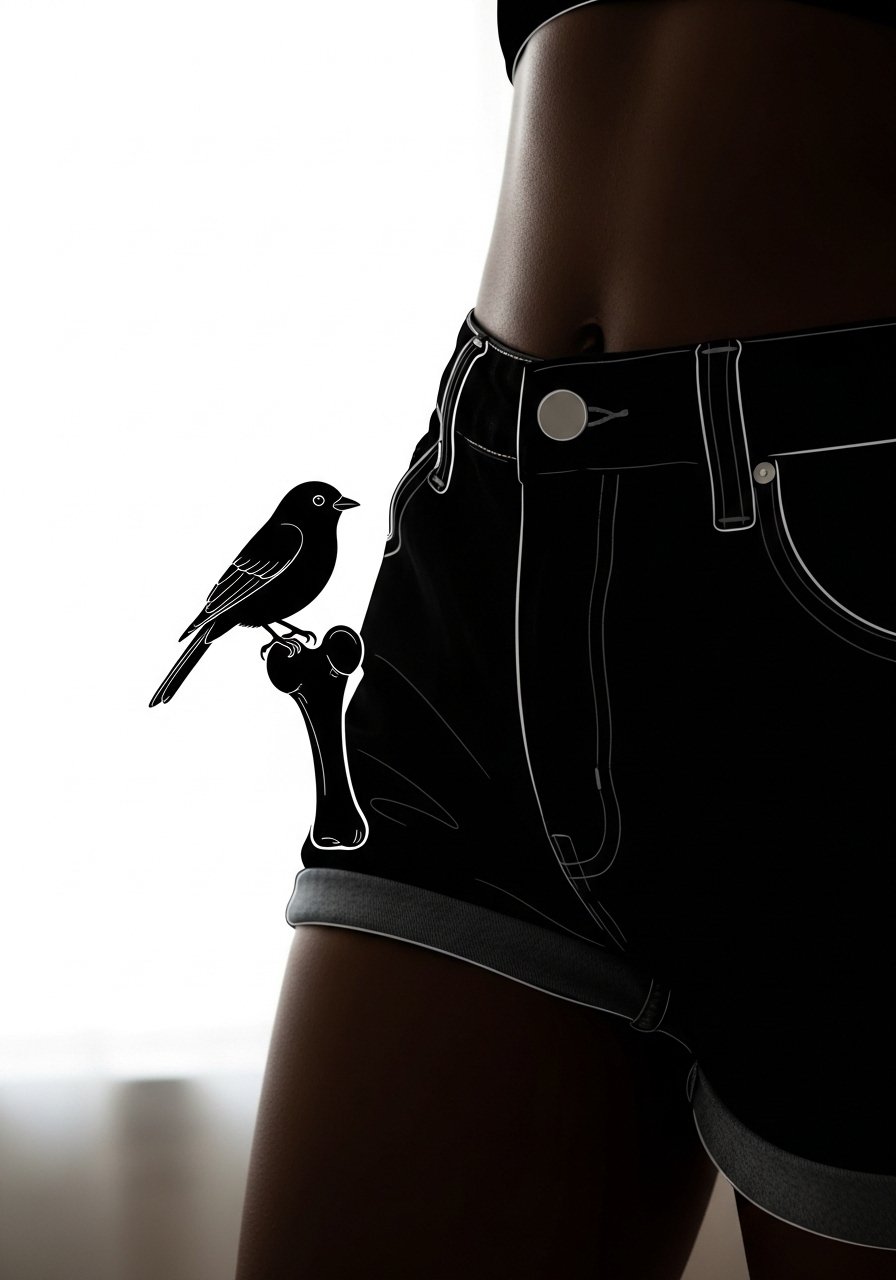
The silhouette approach keeps details off the table and focuses on a recognizably simple shape. During consultation, show multiple sizes so the artist can recommend the minimum size that still reads after healing. The mistake people make is shrinking the silhouette until it loses identity. Sessions are short and pain is manageable. At two years small silhouettes can lose crisp edges, so plan for touch-up if you want long-term sharpness. For showing it off pick high waisted shorts that reveal the silhouette cleanly.
13. Thin Chain of Tiny Diamonds Along the Hip
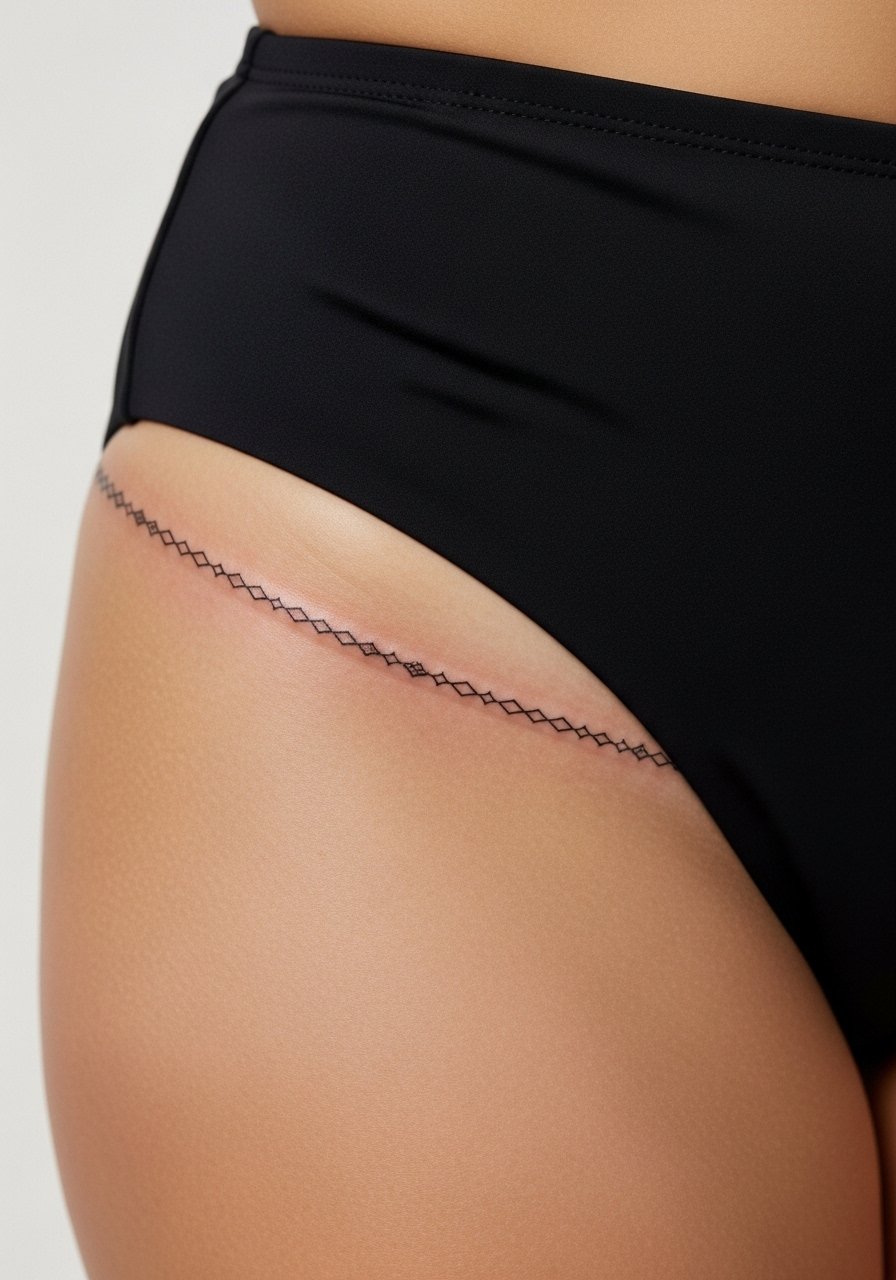
A geometric chain looks intentional when spacing is consistent. Ask your artist to stencil the full chain and wear your usual bottoms to test the position. The primary mistake is putting too many linked shapes in a small zone, which makes the chain appear as a gray band after a few years. Expect the session to take 30 to 60 minutes and the pain to range from low to moderate. Pair with a high cut swimsuit bottom for pool season.
14. Small Mandala Quarter That Sits at the Bone

Mandala elements can be striking when they are not overly dense. The controversy here mirrors wider debates: one camp argues that detailed mandala work should avoid mobile spots because the lines blur, the other camp claims careful spacing and stipple shading keep mandalas readable. Name both positions during consultation and ask the artist where they lean. The common failure is insisting on too many concentric rings. This piece can take longer than a simple line and might need a touch-up in three years if you frequently wear tight waistbands. For an outfit, a cropped tank top and low-rise jeans let the mandala peek out.
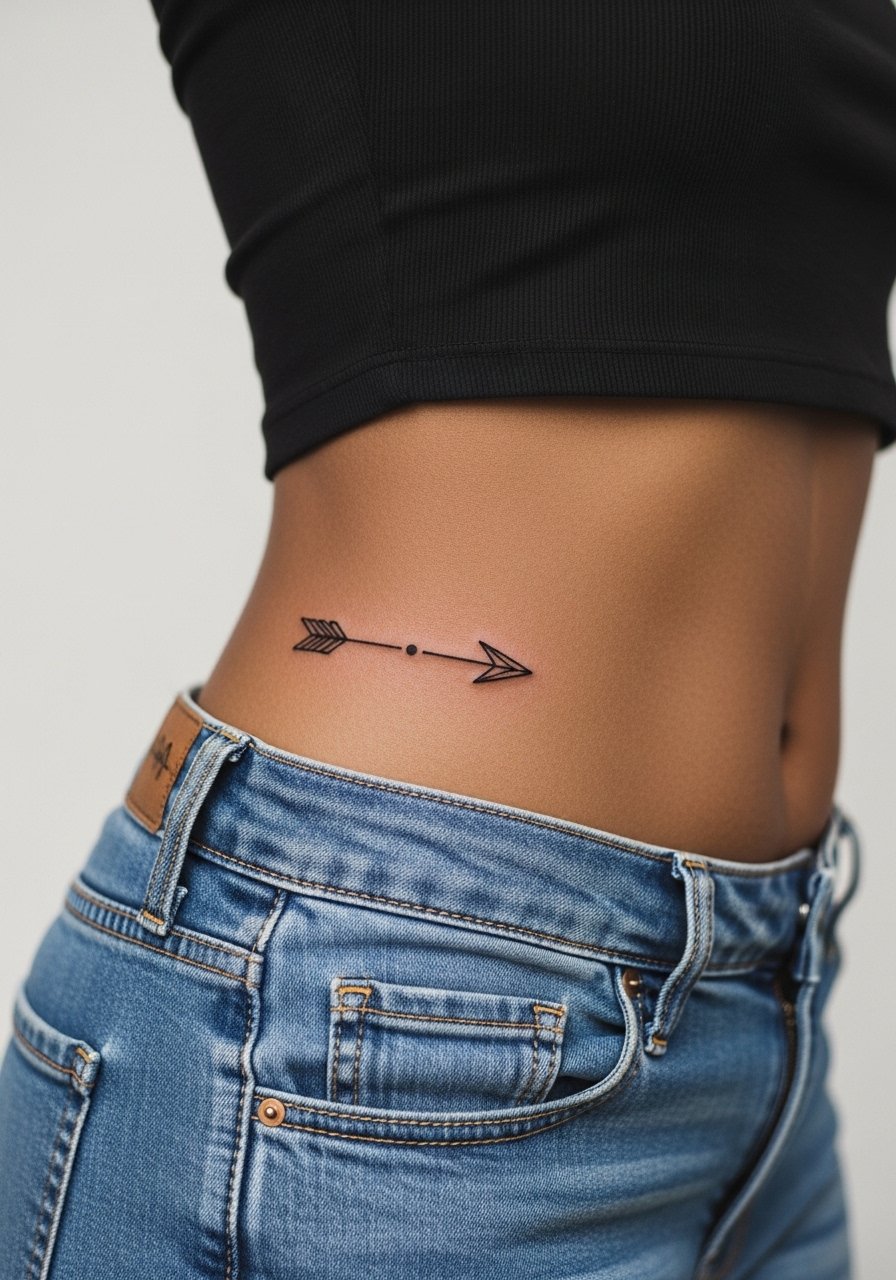
15. Miniature Arrow That Points Toward the Front Hip
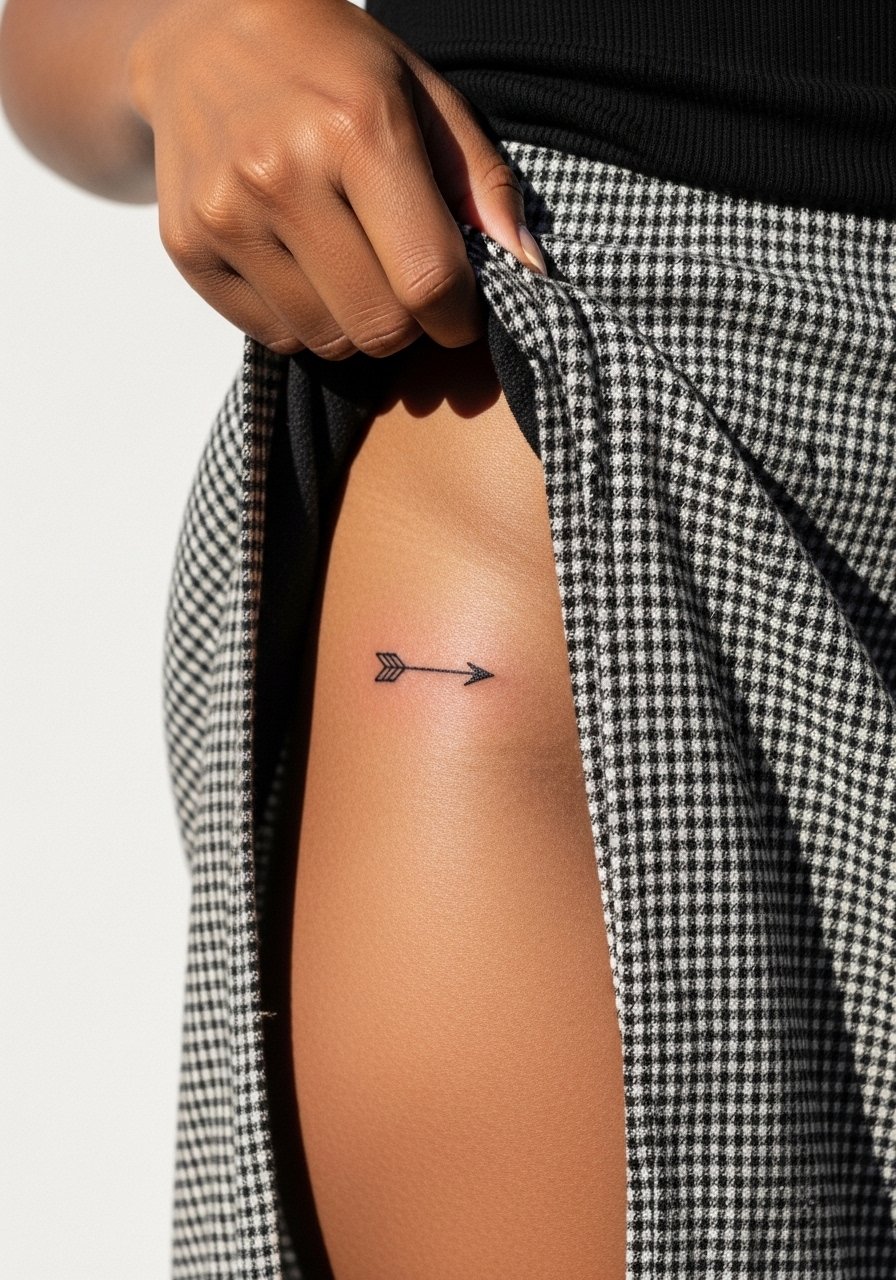
Arrows are directional and they read best when aligned with body movement. The mistake is placing the arrow where it will be interrupted by belt lines or seams. Ask the artist to mark the direction on your body in multiple postures. Pain is mild and a session is brief. Over time a tiny arrow may blur at the tip unless left with a small counterweight head. Show it off with a low rise skirt that keeps the arrow visible on bare skin.
16. Minimal Wave of Dots With a Single Accent
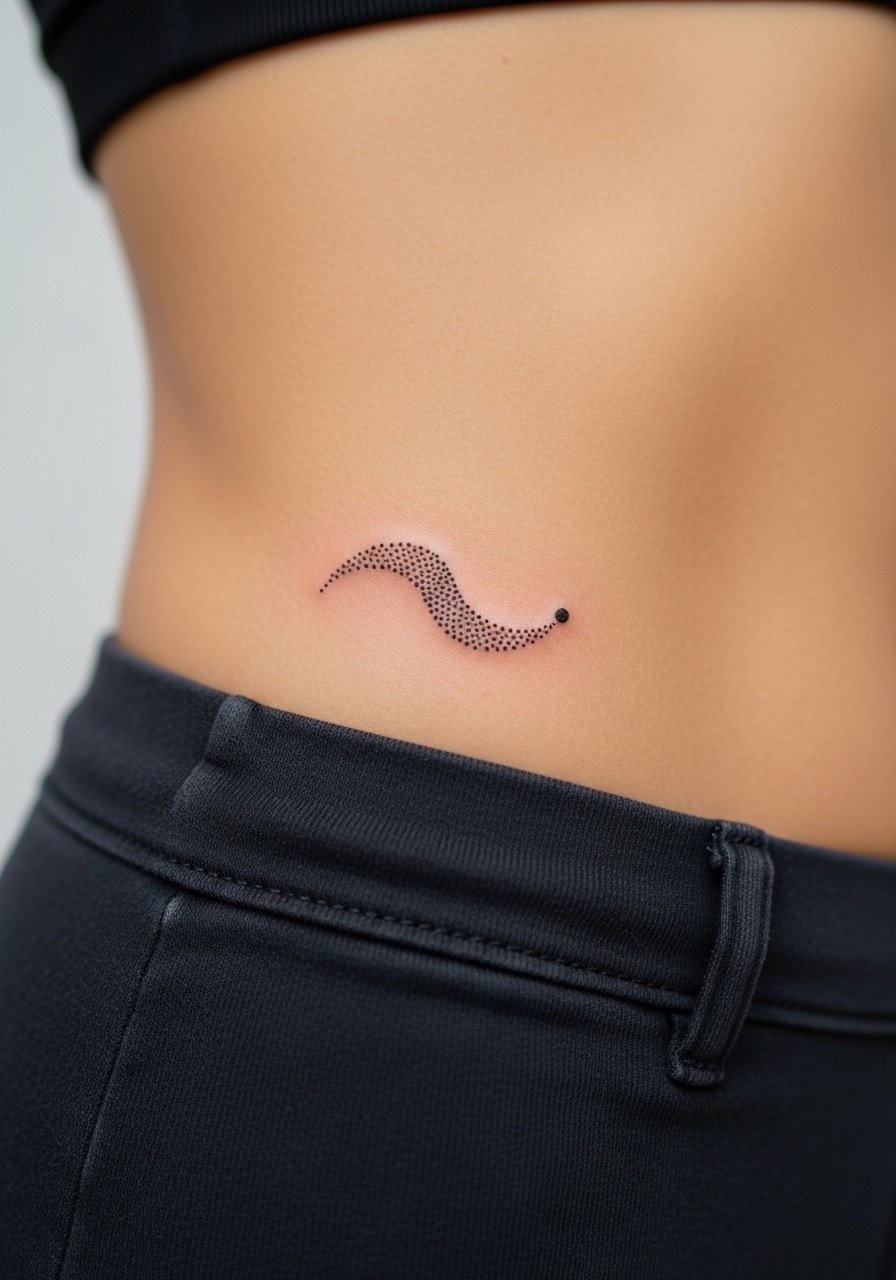
This is a play on negative space and rhythm. Tell your artist how dense you want the wave and where the larger accent should sit in relation to clothing seams. A common mistake is choosing accent placement that sits directly under a waistband. Expect a short session and moderate sensitivity. At five years the wave will soften into a softer curve if the dots are too close. Pair with high waisted bottoms that can be adjusted during the healing phase.
17. Tiny Scalloped Lace Edge Near the Hip
Lace-effect pieces can look elegant if kept airy. The biggest mistake is requesting dense lace details in a space that will compress. During consultation, ask for mockups and how the lace hits when seated. Sessions are longer than a dot or line because of continuous curves, and the area can be sensitive. Expect touch-ups by year three for preservation. For evenings pair with lace-trimmed underwear that mirrors the tattoo so the two feel like a set.
18. Small Horizon With Tiny Palm Silhouette
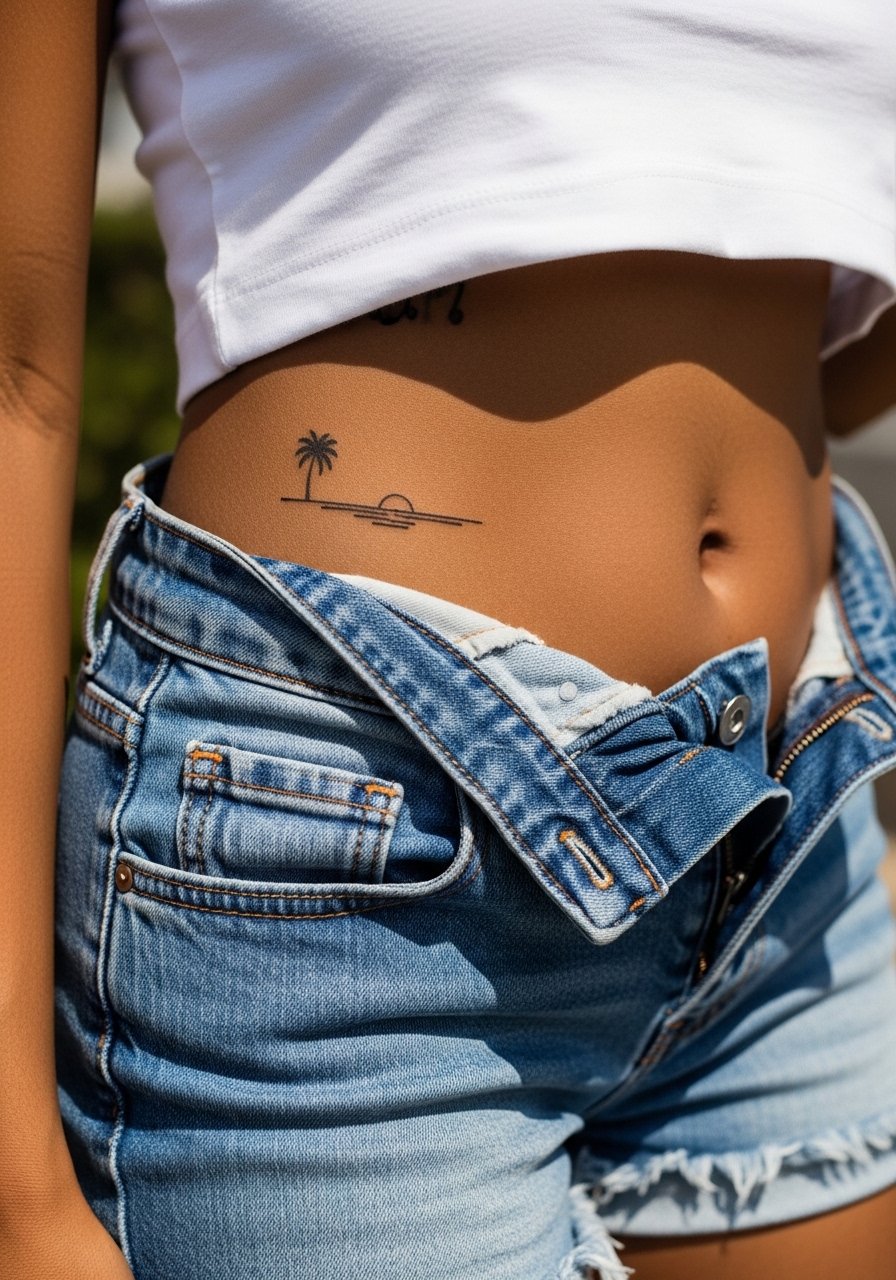
Tiny scenery reads best when the silhouette is bold rather than detailed. The error is trying to make a whole scene in a mini format. Ask for a simplified silhouette and check how it looks when you move. Pain is moderate and the session usually runs under an hour. Over time minor details will wash out, so keep elements bold. For summer looks pick high waisted shorts that showcase the horizon.
19. Micro Compass Offset on the Hip Edge
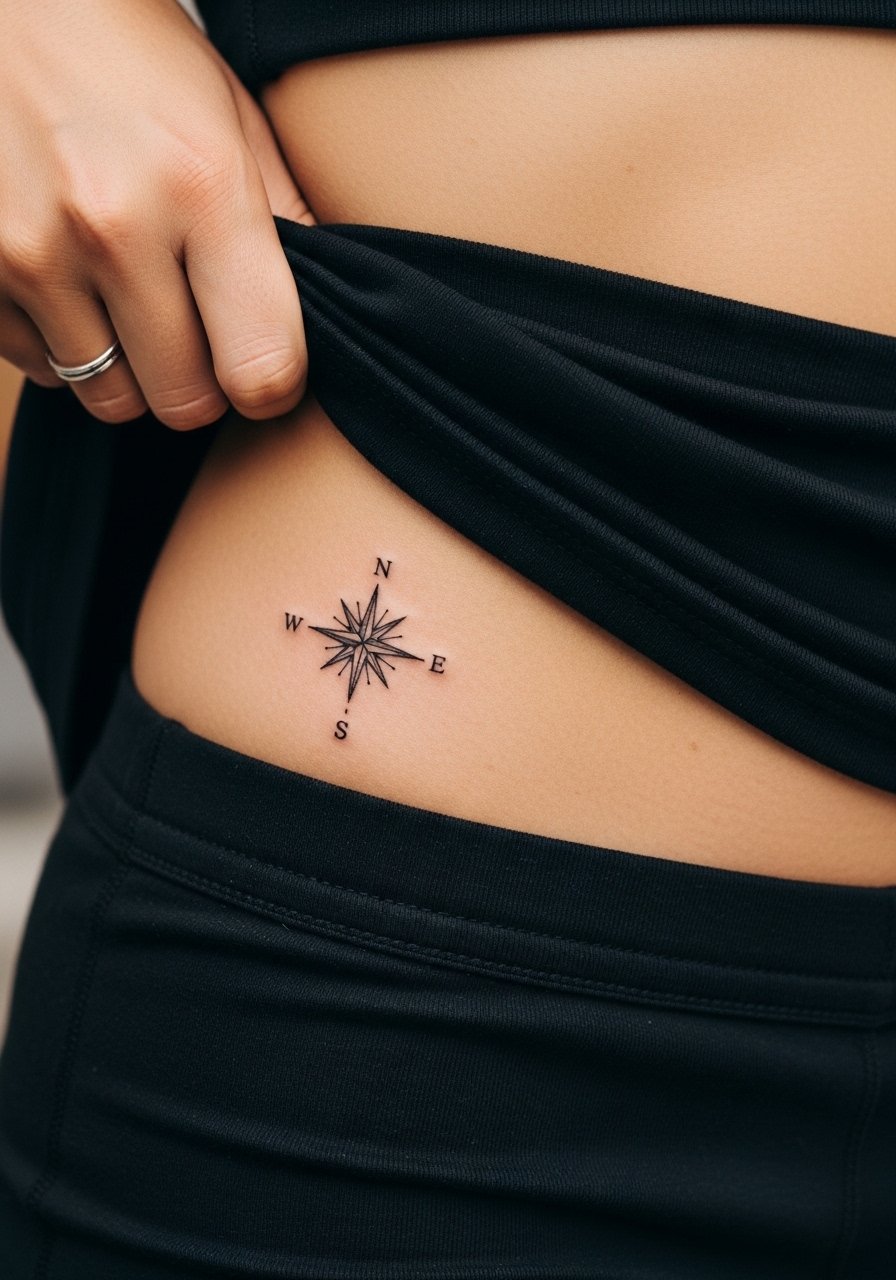
Compasses work when kept graphic and small. Tell the artist you want the cardinal points subtle and not extra lettering, because tiny letters rarely hold up. A common mistake is asking for roman numerals or coordinates in type that becomes illegible. Sessions are short and the pain is moderate near bone. Expect a slight softening of thin directional strokes by year three. Pair it with a high rise skirt that lets the compass sit just under fabric lines.
20. Minimal Heart Outline Nestled at the Hip
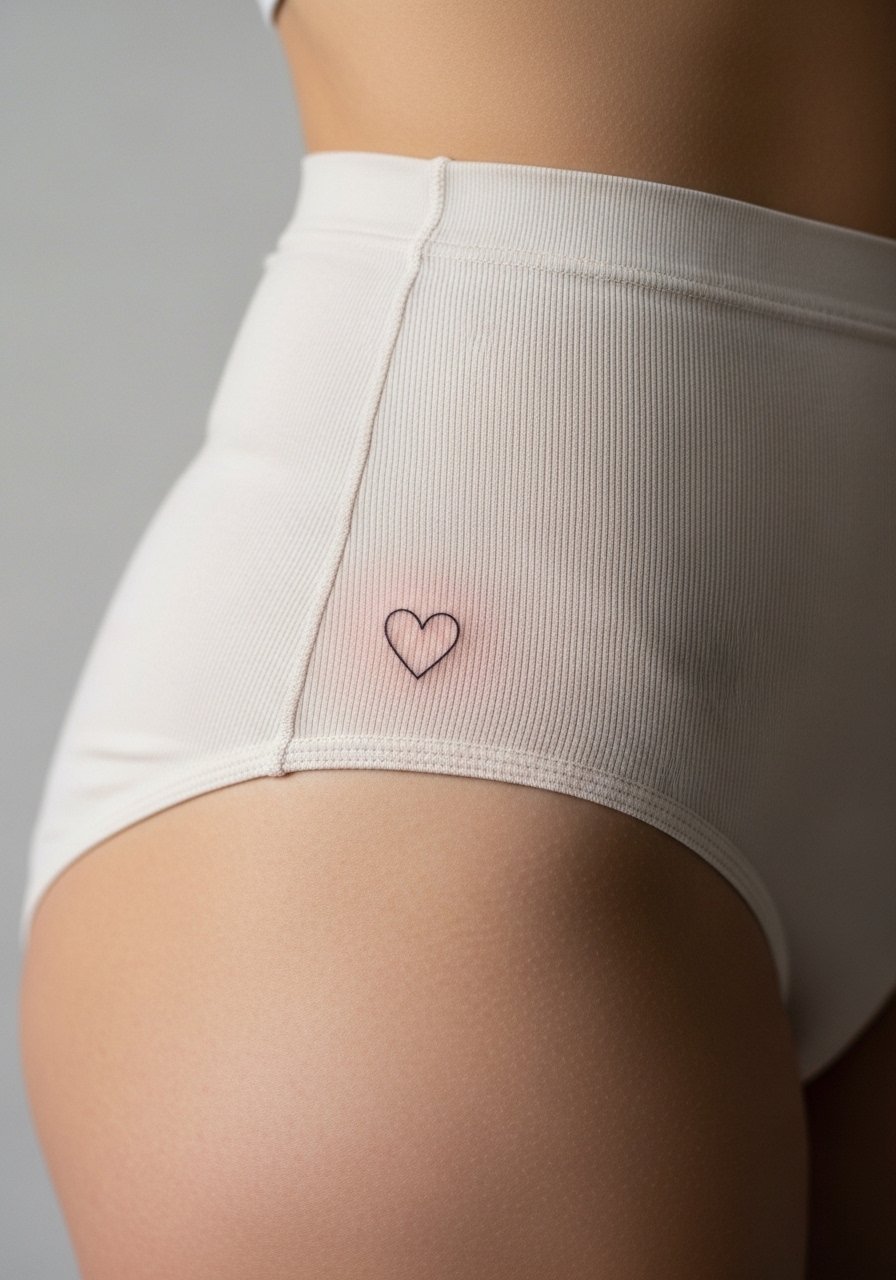
Hearts feel personal and simple, but the mistake is crowding them with extra script or ornaments. Ask for the exact size and have the artist stencil it while you wear your normal bottoms so you can check placement. The session is brief and sensitivity varies with proximity to the bone. Over time the outline may need a touch-up to stay crisp if exposed to sun. For nights out wear a high cut brief or low rise skirt that shows the placement.
21. Tiny Arrowhead and Dot Pairing Along the Curve
Small paired marks can read as a unit when distance is considered. The primary mistake is making the dot too large relative to the arrowhead, which unbalances the composition. During consultation ask the artist to try a few ratios. Sessions are short and the pain is tolerable. Expect touch-up in a few years if you get a lot of sun. Pair this with a cropped top and low-rise jeans that keep the two elements visible.
22. Minimal Floral Wreath Nesting the Hip Bone
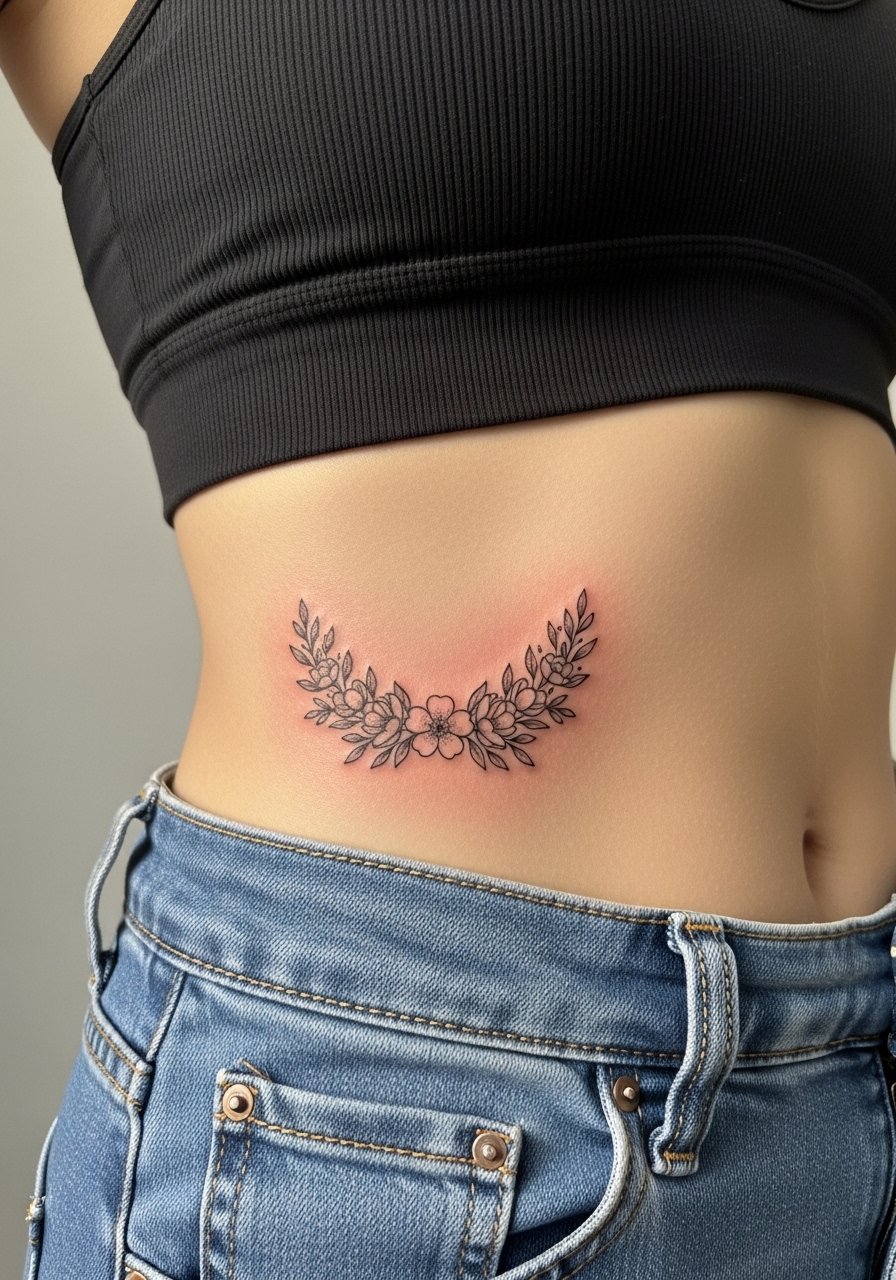
Wreaths look delicate but risk losing detail if shaded too densely. The consultation trick is to view the stencil while sitting so you can see how the wreath curves. The mistake is forcing small leaves and petals into a tight band. Sessions run longer than a single line. This piece will soften and may require a touch-up at two to three years. For an outfit, a fitted sports bra with high-waisted jeans lets the wreath appear without compression.
23. Tiny Script Date Hidden Under the Waistline
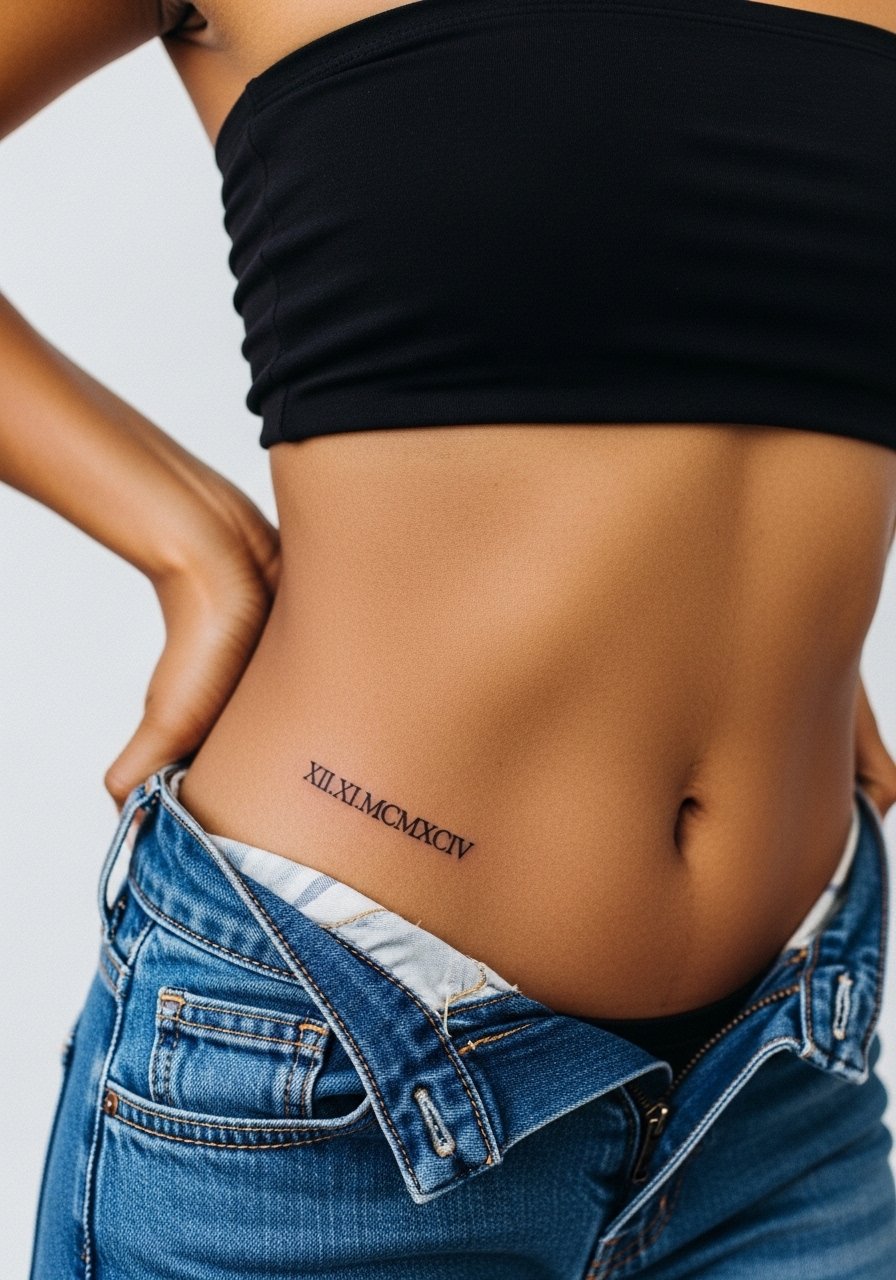
When text is mostly private, hiding it under a waistband works well. Use exact lettering in the stencil and confirm the size before the needle. The common mistake is picking a font with thin hairlines that disappear in mobile skin. Sessions are brief. Over time, thin numerals tend to blur, so larger numerals are safer. For revealing on occasion pick a bandeau top and low-rise jeans that let it peek out.
24. Minimal Botanical Crescent With Dot Shading
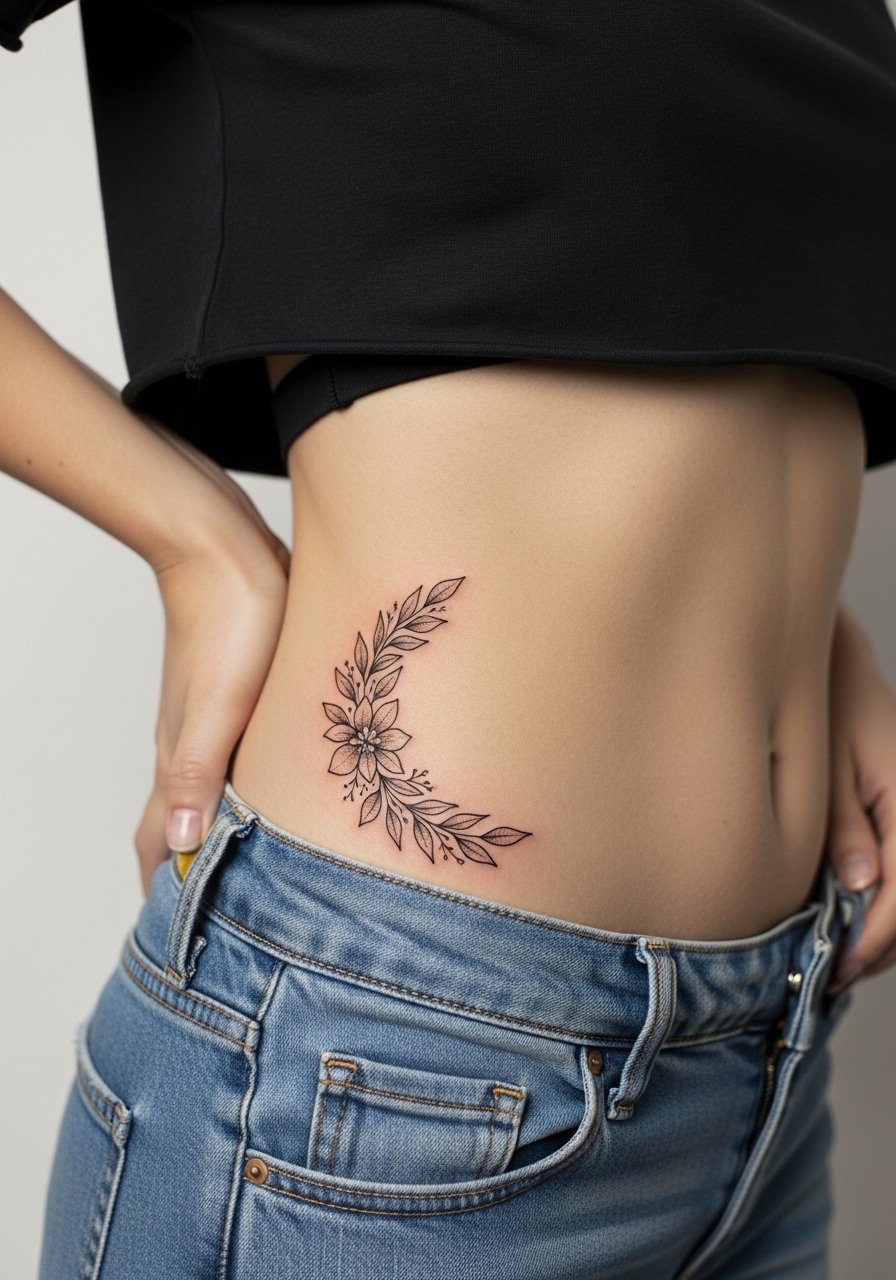
A crescent botanical balances curve and texture, and the stipple helps the piece age with a softer look. The mistake is too much dense shading near the waistband. Ask for spacing that keeps dots sparse where fabric meets skin. Sessions can take 45 to 75 minutes and the pain varies. Expect gentle softening at two years and plan touch-ups if you want crisp stipple. A cropped tee and low-rise jeans show the shape without compressing it.
25. Micro Portrait Silhouette Along the Hip Edge
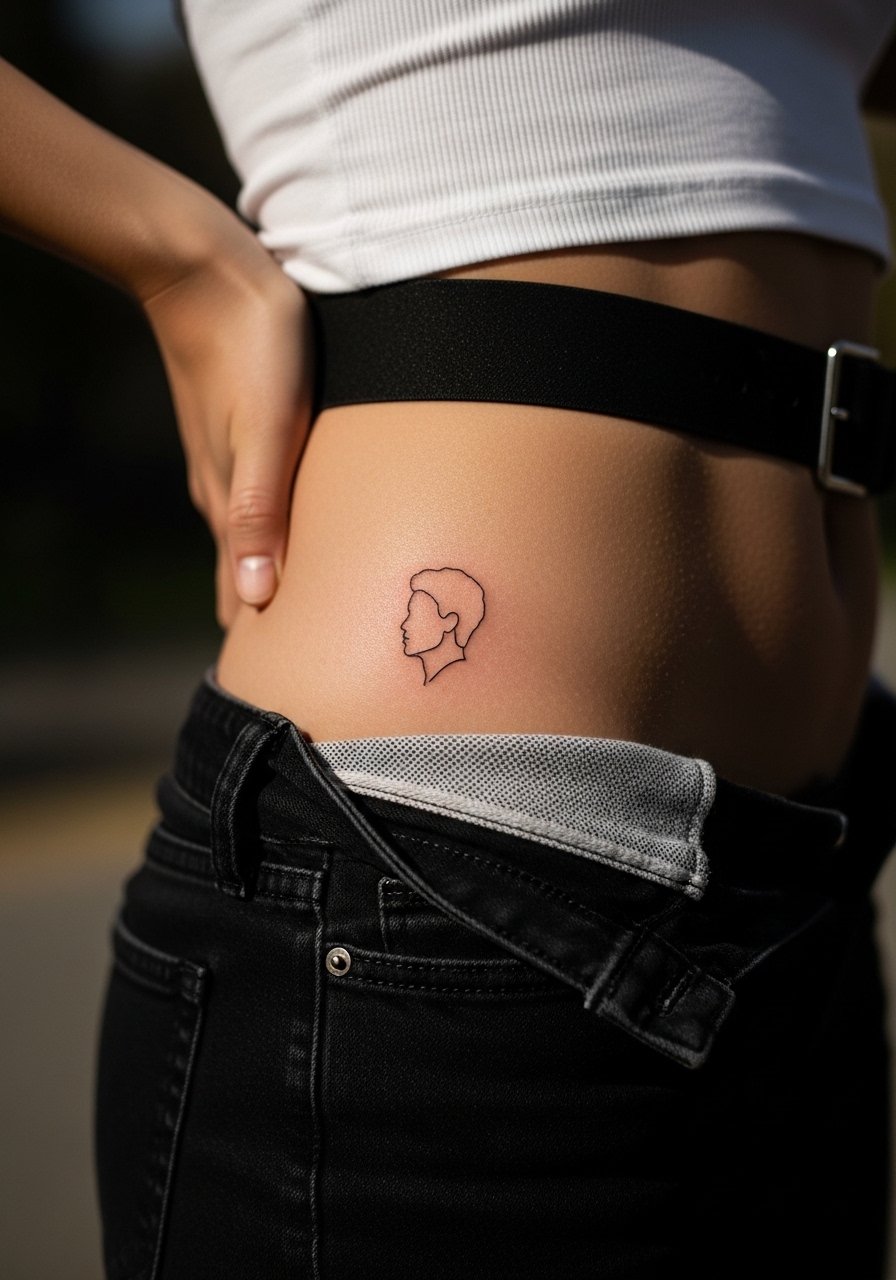
Portrait silhouettes at micro scale are an advanced choice. The thing people miss is that facial detail rarely survives in tiny formats. Ask for a silhouette version rather than a full tiny face, because silhouettes age into a readable shape more reliably. Sessions are quick but require precision and a steady hand. Expect the need for touch-up if you want longer-term definition. For an outfit, high waisted pants that can be adjusted during healing work well.
26. Small Arrow Ring That Encircles the Hip Crest

Rings around curved anatomy need consistent spacing. The common mistake here is making the ring too tight so it becomes a band after healing. Ask your artist to test it while you sit and lie down. The session is longer because it requires consistent pacing. Pain is moderate in parts that cross bone. Expect the ring to soften and consider reserving touch-up in the second year. For wearing, pick high cut underwear that does not press tightly on the ring during recovery.
27. Minimal Crescent with Tiny Star Accent
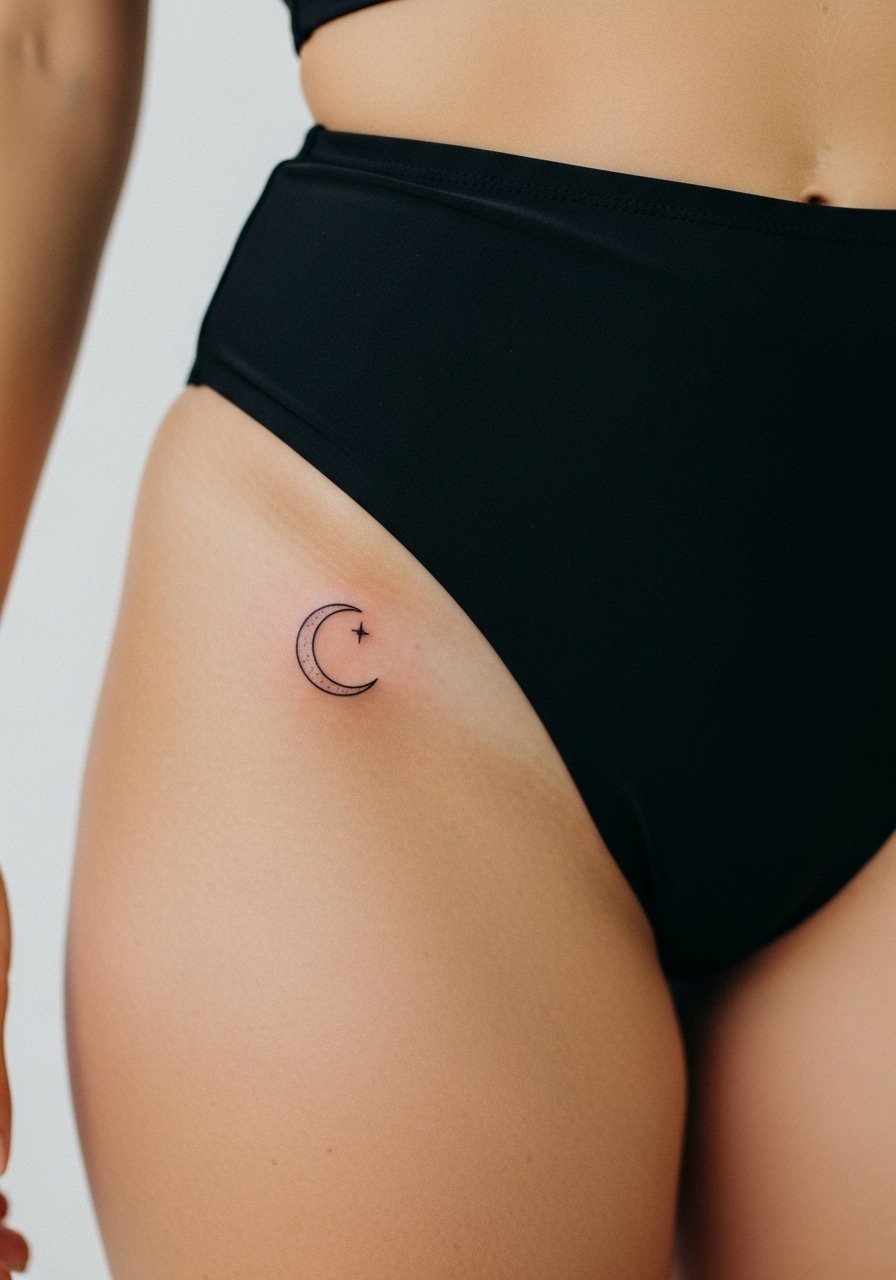
Finish with a small hybrid that combines curve and accent. Ask for the star to be offset so it does not sit under a seam. The usual mistake is placing the accent where it will be worn away by belts. Sessions for this are brief and sensitivity ranges depending on exact location. Over the years, tiny stars can lose point definition, so plan for touch-up if you want a sharp star. For pool season a swimsuit bottom high cut displays the duo without excessive rubbing.
Frequently Asked Questions
Q: Will fine line hip bone tattoos blur faster than bolder work?
A: From what I've seen, fine line pieces can soften sooner because the needles sit in less dense ink channels. Placement and clothing friction matter a lot. If you want longevity, ask for slightly heavier line weight and more spacing so the design has room to breathe.
Q: How should I dress to my appointment for a hip bone tattoo?
A: Wear something that gives the artist clear access without full exposure, like a wrap skirt or high-waisted bottoms you can shift. That makes stencil placement and aftercare easier while keeping you comfortable.
Q: Do hip tattoos need different aftercare than other placements?
A: Hip tattoos often rub against waistbands and swimwear, so minimizing friction during the first two weeks matters more than with arm tattoos. Keep the area loose and avoid tight waistbands until the scabs fall off.
Q: How often do small hip tattoos need touch-ups?
A: It depends on sun exposure and friction. Many fine line hip pieces benefit from a small touch-up around year two to three, especially if they sit under belts or frequent swimwear.
Q: Are there discovery tips for finding the right artist for fine line hip work?
A: Search local shop directories, browse hashtag galleries for "fine line" and your city, and read shop portfolios on community forums. Ask to see healed photos of similar placements so you know how their work holds up on mobile skin.
