
Fine line trends look effortless on social feeds, and the phrase "Only God Can Judge Me" keeps showing up in smaller, subtler spots that read personal rather than performative. Small script can look deliberate for years when the layout respects spacing, depth, and placement. Below are precise mini ideas that fit different skin, wardrobe, and life needs, plus what to say at the consult so the script still reads clean after a few years.
1. Micro Script on Inner Forearm
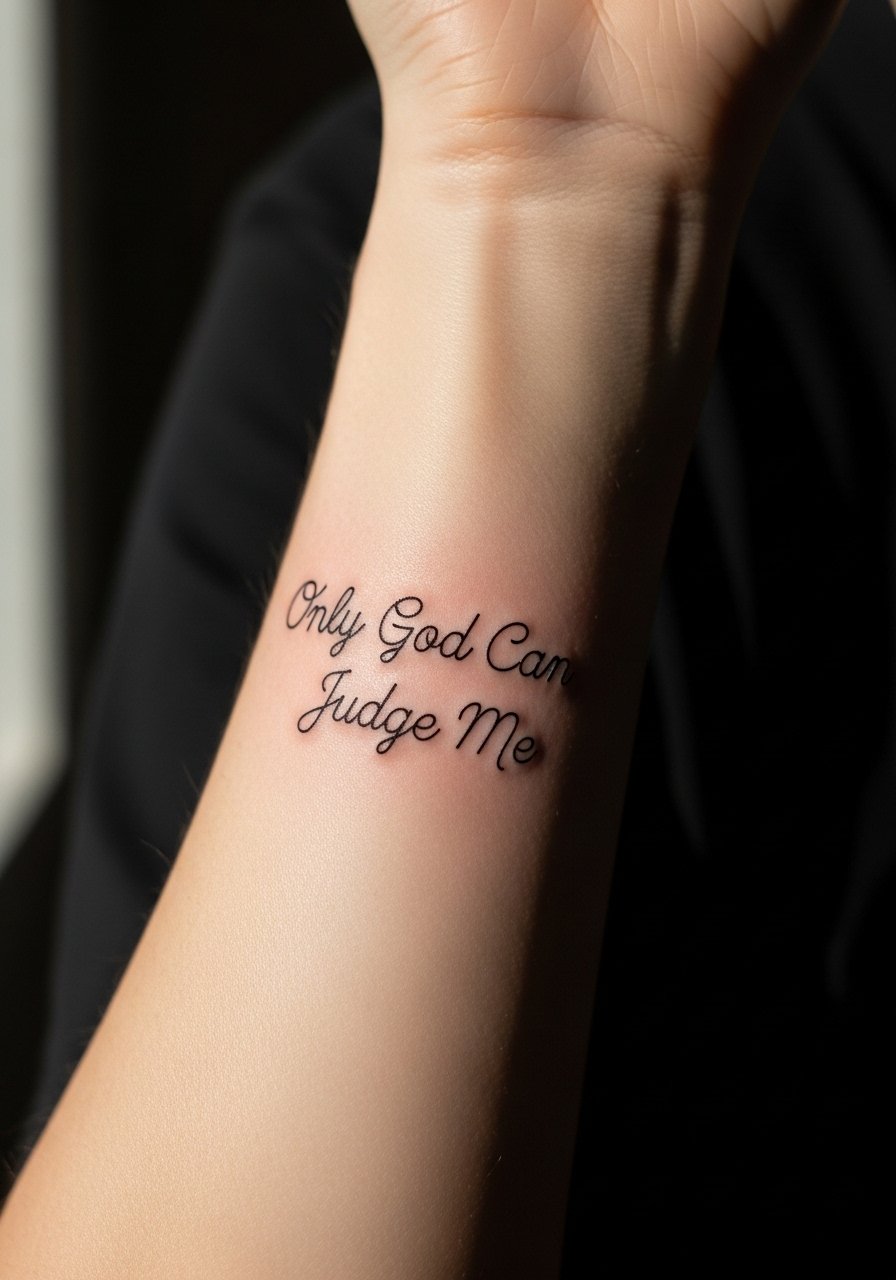
This is where the phrase reads like a private note you can show or cover easily. Pain is mild to moderate and most artists will finish a tiny script session in under 30 minutes. Tell your artist you want slightly heavier line weight than the finest needle so the letters don't blur by year three. A common mistake is asking for ultra-thin hairlines that vanish into fuzz after frequent sun exposure. For the consult, show examples with similar spacing and ask the artist to space ascenders and descenders slightly wider so letters keep their shape as the skin moves. Pair with rolled sleeves to show it off. For the appointment, a racerback tank top makes access and aftercare easier.
2. Tiny Script Along the Side Ribcage
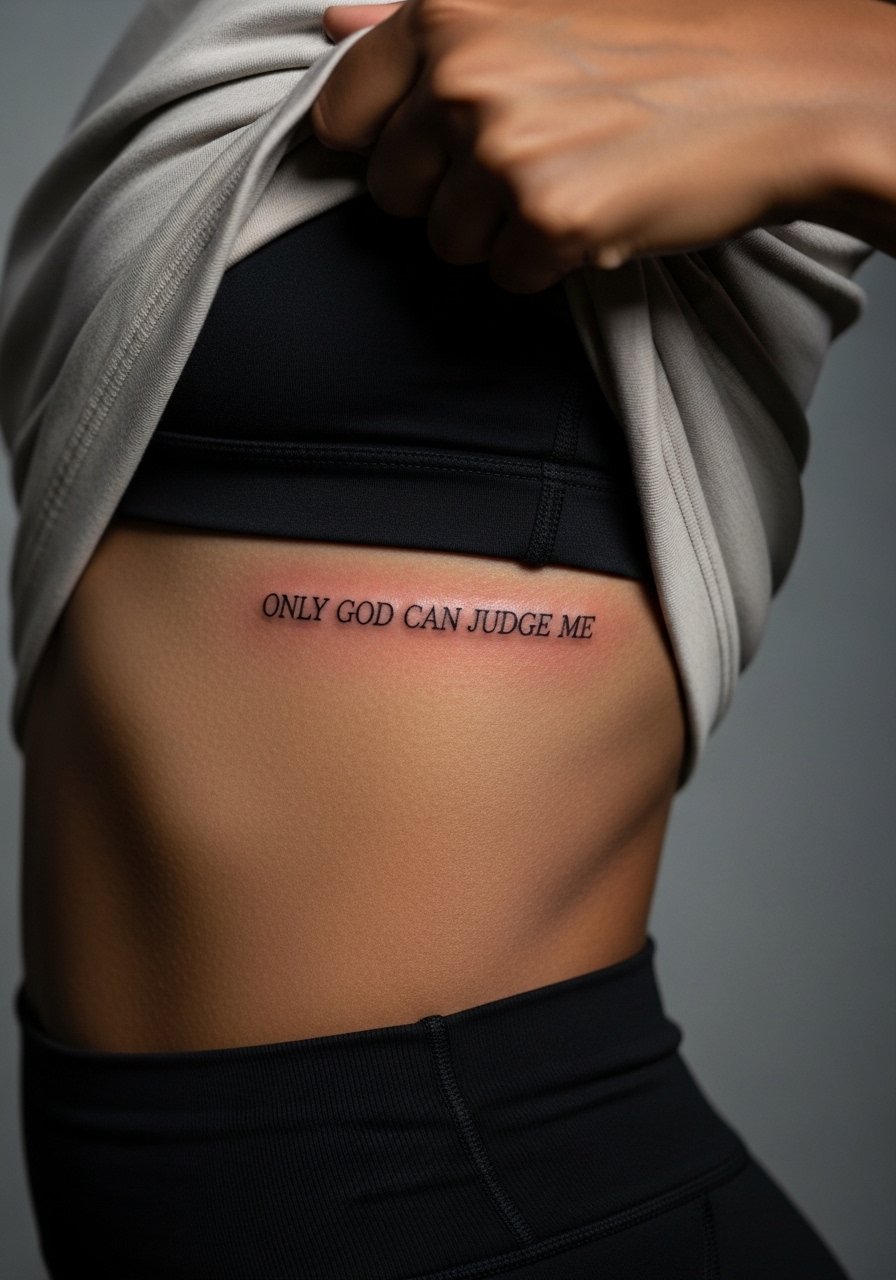
Fair warning, ribs are higher on the pain scale, and micro script there calls for careful depth control. Artists are split on fine line on ribs. One camp says the skin stretches and blurs lines within two years. The other camp says with correct needle depth and spacing it settles fine. Ask the artist where they stand and request slightly more spacing between words. Expect a 45 to 90 minute session depending on stencil adjustments. The mistake to avoid is asking for cramped text that travels with breathing and becomes a wavy line. For the session wear, bring a zip-up hoodie you can lift without being undressed.
3. Micro Script on the Side of a Finger
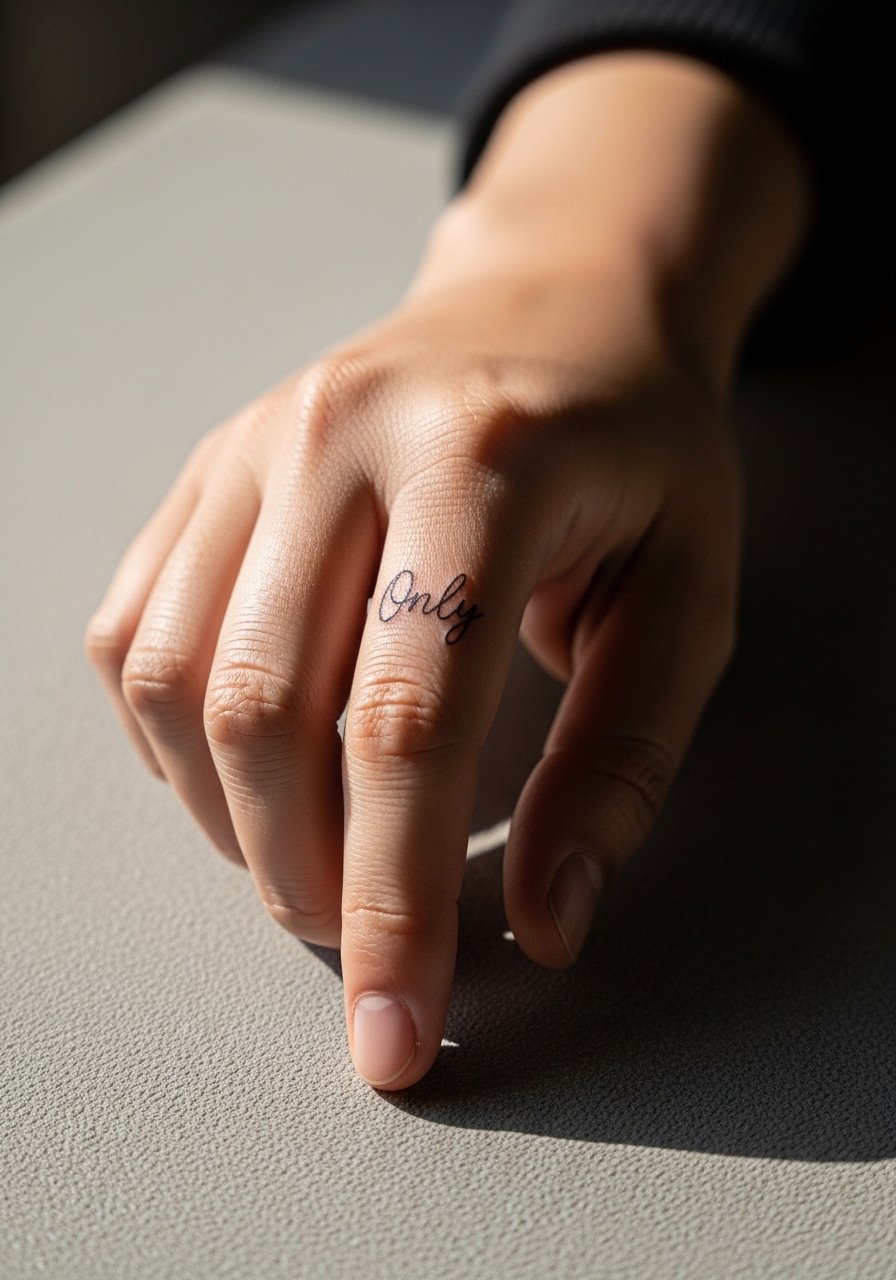
Finger placement ages differently because of frequent washing and friction. Expect thinner letters to soften faster and touch-ups to be part of ownership. Session time is short but the touch-up timeline is sooner than other small spots. Tell your artist you want bold enough strokes to survive daily hand use and ask about protective placement slightly toward the side of the finger rather than the pad. The common mistake is choosing very tight cursive that blurs within a year. If you want to show it off, a thin stackable ring helps frame the script without covering it.
4. Collarbone Script in Micro Blackwork
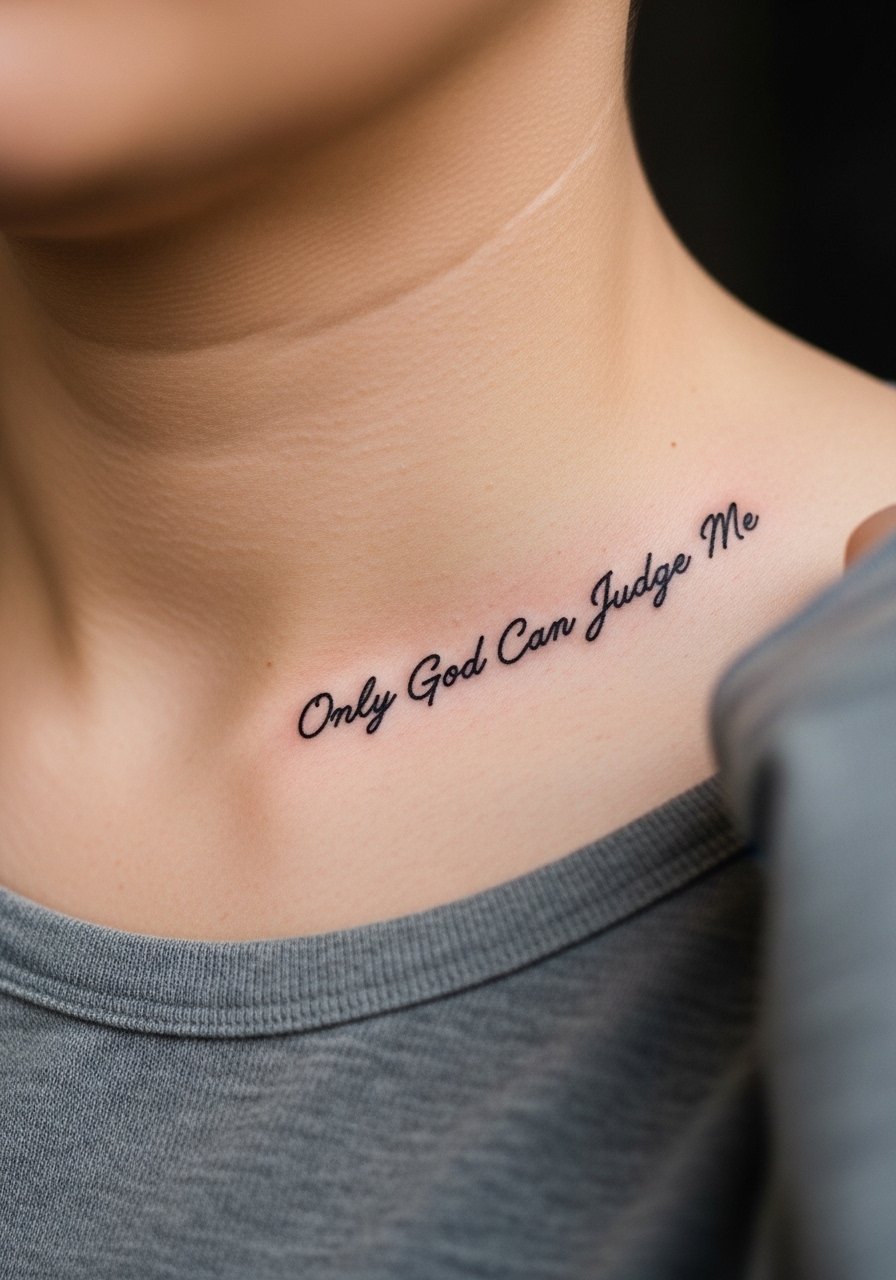
This placement reads like jewelry when you wear open necklines. Pain is moderate and healing benefits from loose clothing to avoid constant abrasion. Tell the artist you want the script slightly curved to follow the collarbone line rather than a straight baseline, that approach keeps the letters from looking compressed when you move. A mistake is requesting letters too small under the clavicle crease where movement distorts the shapes. For show-off outfits, try an open-back midi dress or a thin chain pendant necklace that sits above the script, both frame the text without crowding it.
5. Tiny Script on the Wrist
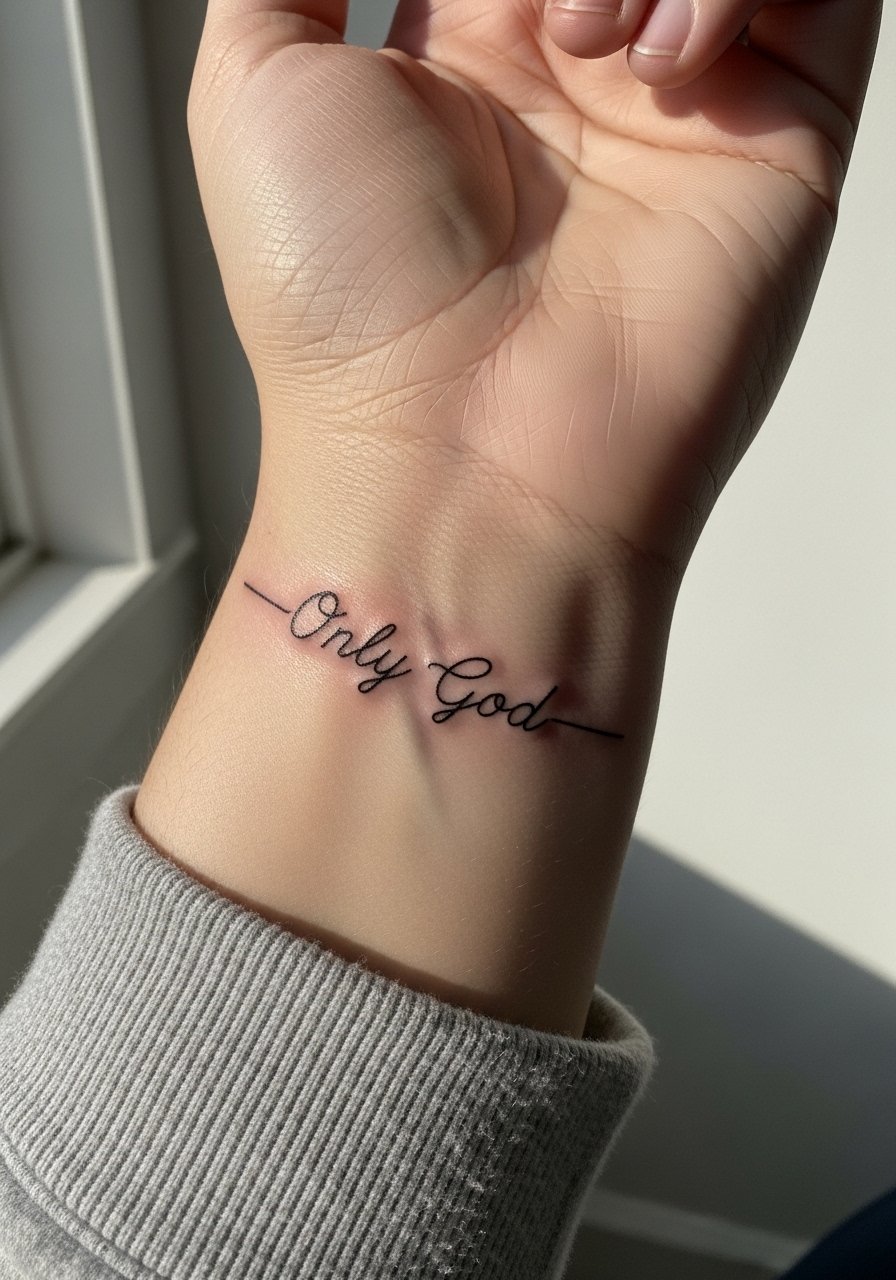
The wrist is visible and moves constantly. Go with slightly heavier strokes and ask for the script to follow the wrist curve so it looks natural at rest. Expect the session to be quick but plan for a touch-up at year two, especially if you wear watches that rub the area. The common error is requesting dense lettering that sits across a wrist crease. For the session, wear a loose button-down shirt you can pull up the sleeve easily.
6. Tiny Script Behind the Ear, Lower Neck Framing
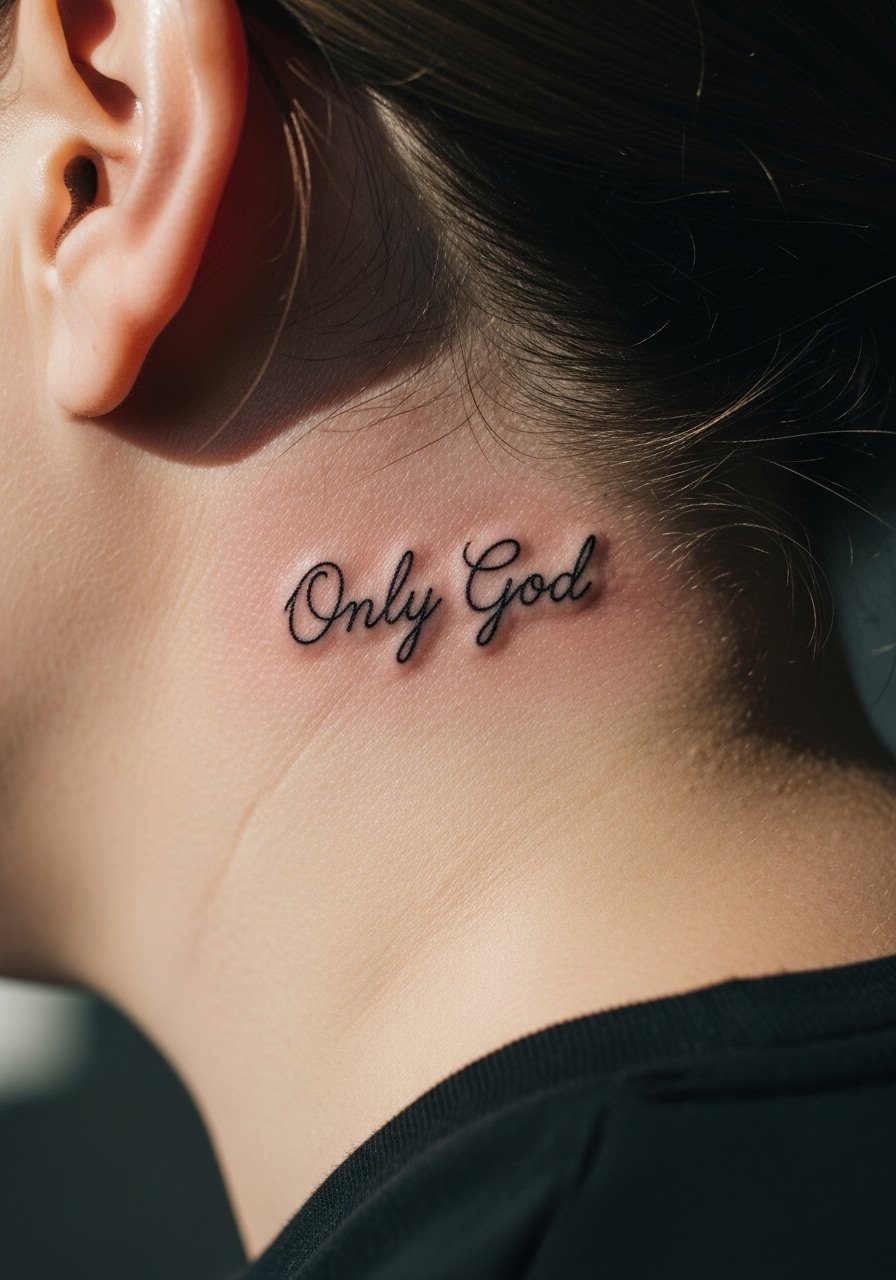
Behind-the-ear placements require a careful framing note. Describe the exact skin location to the artist, meaning "below the hairline on the neck" so the tattoo sits on skin not on cartilage. The area is discreet and sensitive, and sessions are short. A common mistake is stenciling too close to the hairline where hair and swelling obscure the letters. For careers where visibility matters, remember this spot can peek out depending on your hair. For the session, a wide-neck shirt makes access easy and avoids fussing with collars.
Pre-Session Essentials
The wrist and rib pieces above ask for different prep and first-week protection, so these items smooth the session and the initial healing window.
-
Stencil transfer paper kit. Lets you preview placement on skin before committing, especially helpful for the collarbone and forearm layouts above.
-
Topical numbing cream. Applied per instructions about 30 to 45 minutes before can reduce the edge of sensitivity on ribs and behind-the-ear sessions.
-
Thin protective film roll. Keeps tiny wrist and finger tattoos clean during the first days when hand washing is frequent.
-
Fragrance-free gentle body wash. Cleanses healing areas without irritating the shallow linework miniature scripts depend on.
-
Aquaphor healing ointment. Thin layers on days one to three lock in moisture for delicate script without suffocating the skin.
7. Micro Script on the Side of the Foot
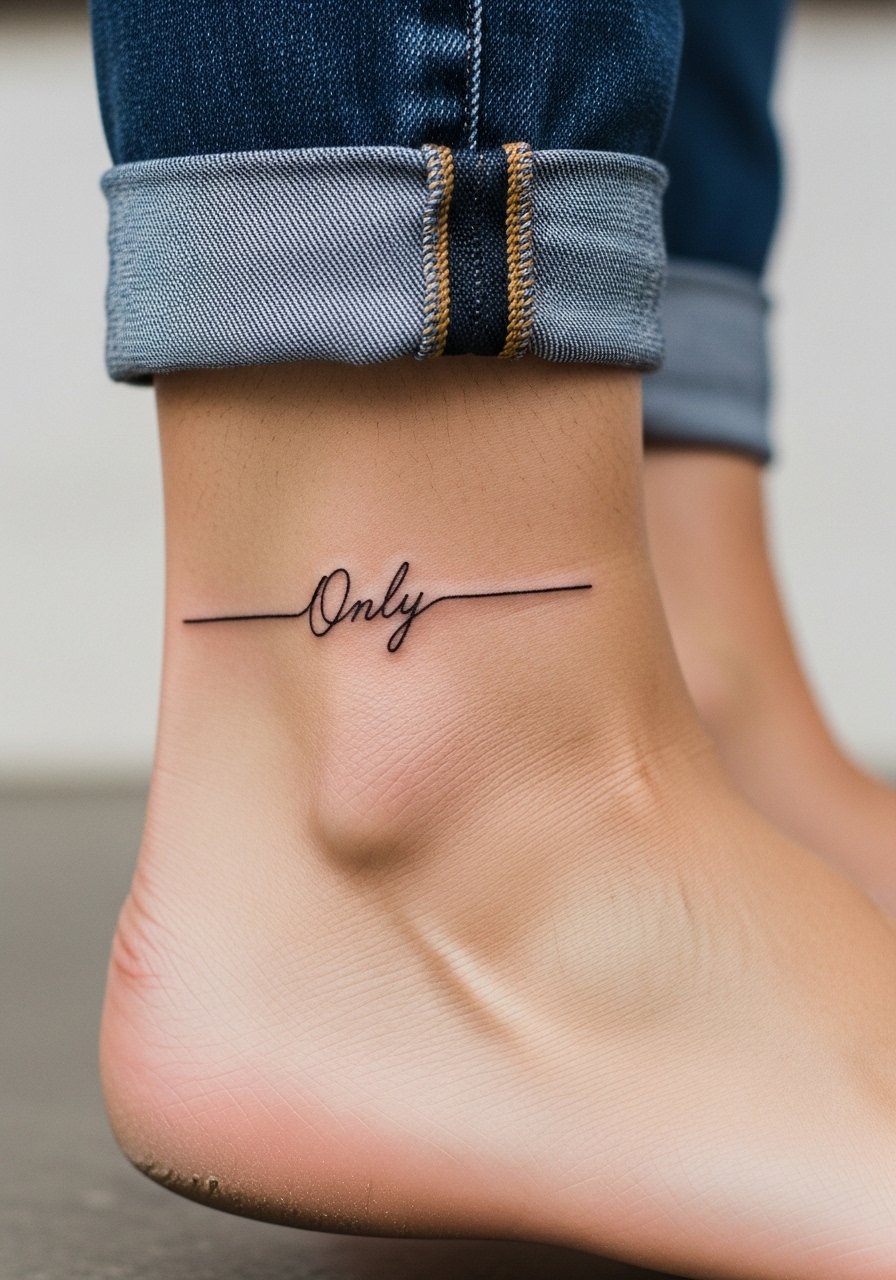
Foot tattoos live in a high-friction zone from shoes and socks, so expect slower healing and higher touch-up rates. The session feels sharp when needles meet bone closer to the ankle. Ask the artist to place letters where shoes will not press directly on the line for the first two weeks. A common error is centering script where shoe seams hit and cause scabbing. For showing it off in summer, try a simple strappy sandal that exposes the outer foot without rubbing.
8. Mini Script on the Inner Bicep
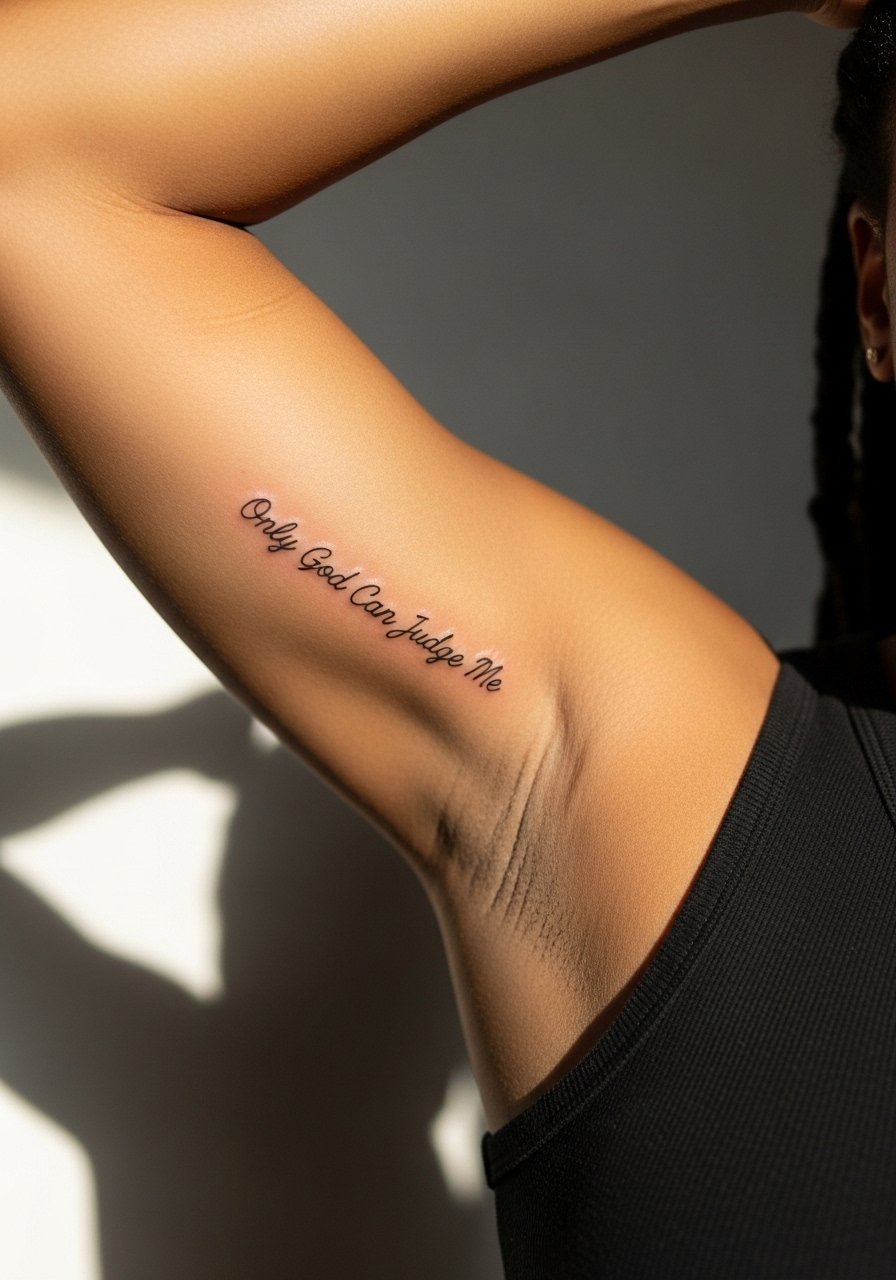
Inner bicep skin is softer and moves with arm flexion, so spacing is crucial. Expect moderate pain and a session around 30 to 60 minutes. Ask for mid-weight linework and avoid extremely tight cursive that rides the fold when the arm bends. A mistake is placing script too near the underarm crease where sweat and friction slow healing. This placement pairs well with sleeveless summer tops and a loose drawstring linen pant for the appointment if you want comfort while sitting.
9. Micro Script Along the Top of the Foot Arch
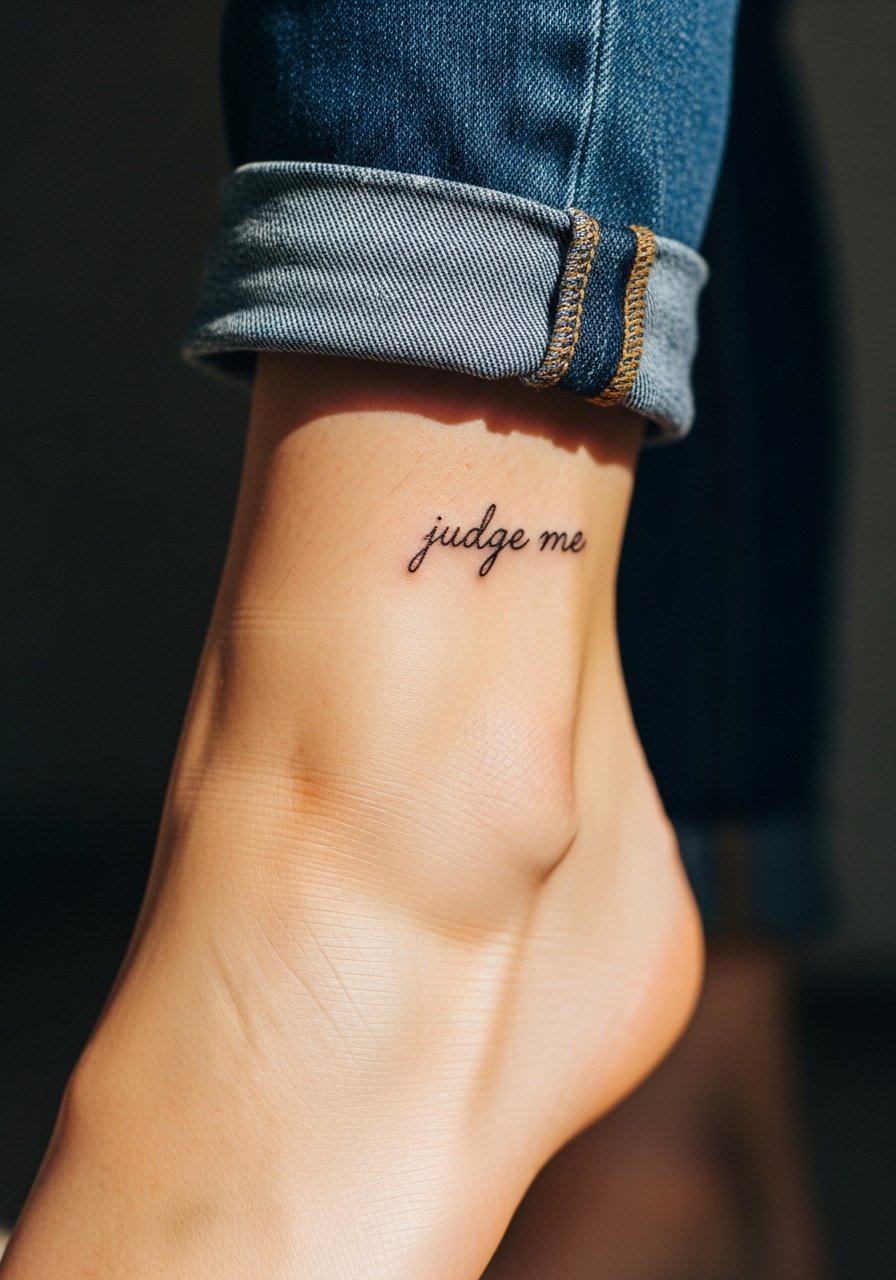
This placement reads private and low profile. Expect tender sessions because bones sit close to the surface. Tell your artist you want letters raised slightly toward the outer arch where shoes are less likely to rub. A common mistake is placing script directly under straps or seams of shoes. For session comfort, wear shoes you can loosen or remove, and bring a pair of slip-on sandals to avoid pressure on the fresh lines.
10. Tiny Script on the Side of the Neck
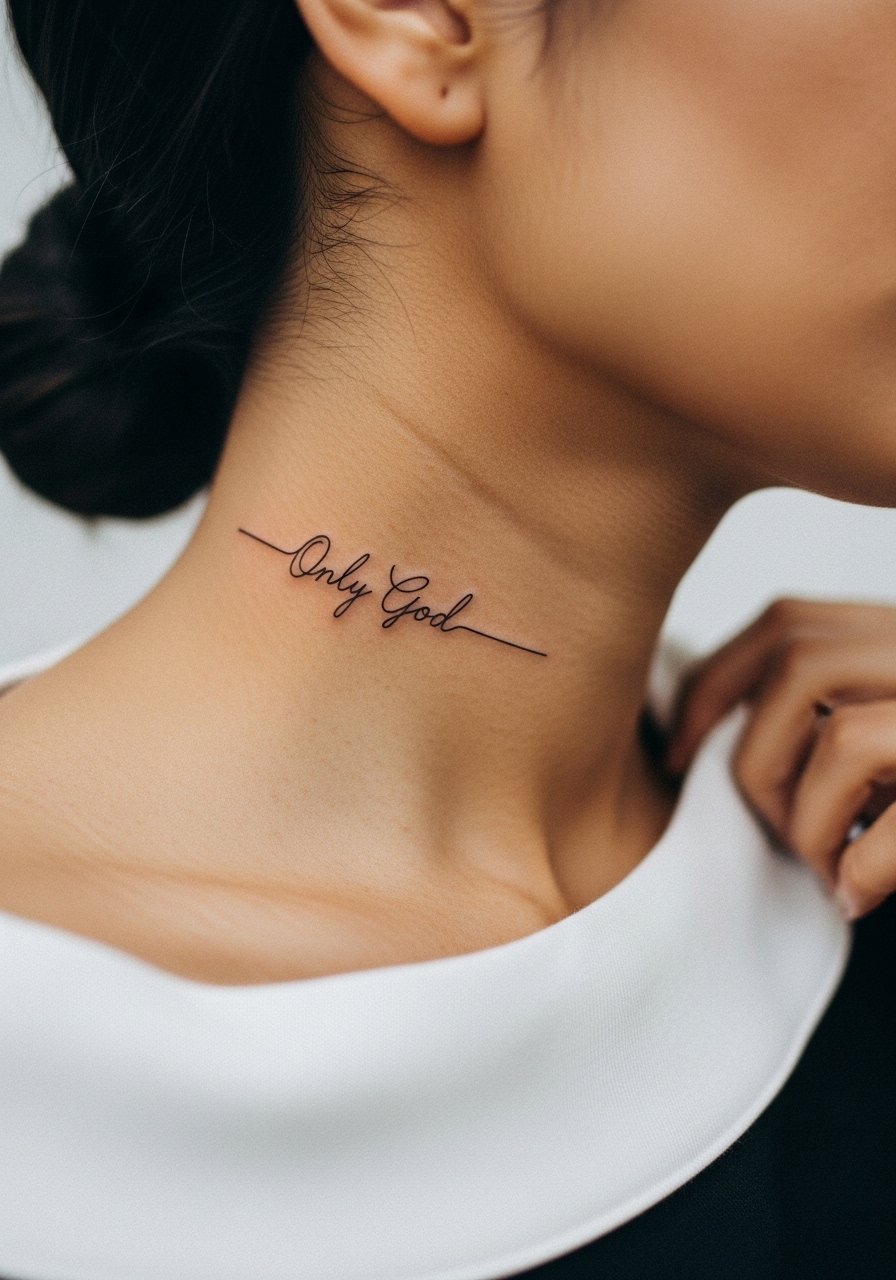
Neck placements are visible and can affect job interviews in conservative fields. Pain varies and often stings more than forearm work. Tell the artist you want text placed slightly lower or higher to align with collars if you plan to hide it. The mistake most people make is choosing vertical scripts too tiny for the neck's curvature. A stylistic tip is to coordinate with a thin chain pendant necklace that sits above the script and balances the look.
11. Micro Script on the Ankle Inside
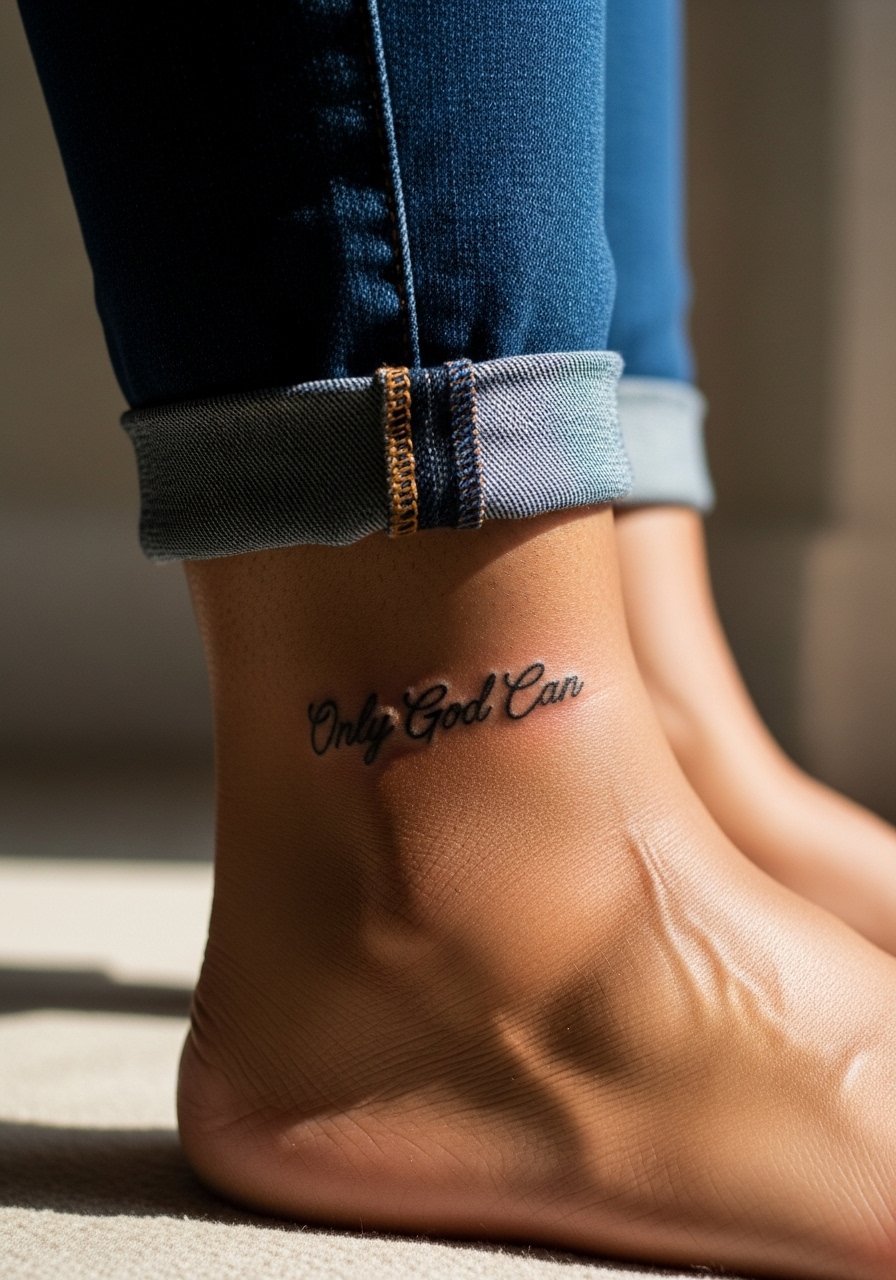
Inside ankle tattoos face shoe friction and socks. Expect slower initial healing and plan for a touch-up if you wear tight shoes often. Recommend mid-weight strokes to your artist so the letters last through repeated motion. A common error is requesting text that sits directly at the ankle bone where scabbing is common. For the session, choose footwear like sandals with ankle straps or shoes you can remove without bending the area.
12. Tiny Script on the Back of the Arm, Above the Elbow
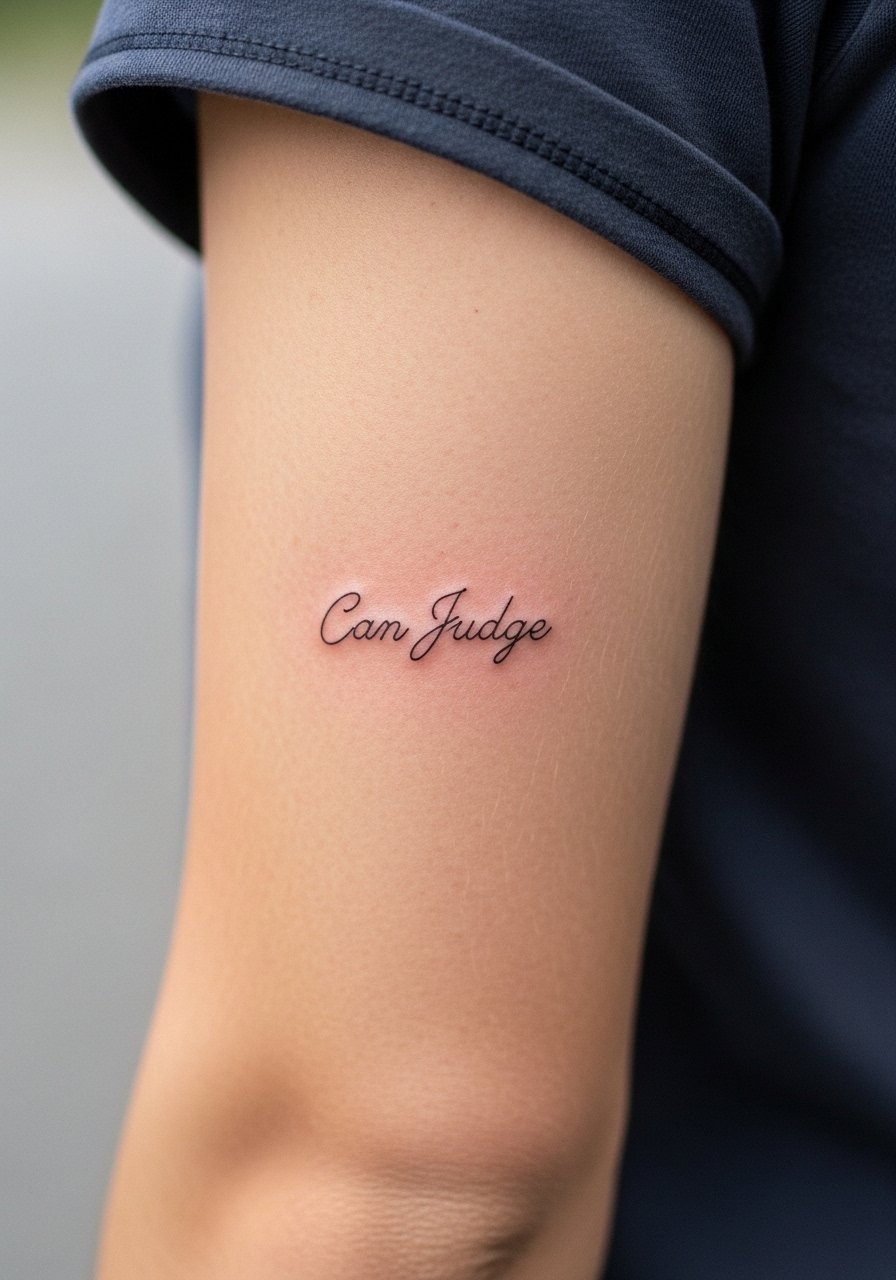
This spot sits where sleeves hit and can be a surprise when shirts ride up. The skin there is moderate for pain and benefits from wider letter spacing. Tell the artist you want the script oriented horizontally so the phrase reads when the arm is relaxed. The mistake to avoid is placing tiny text where shirt hems rub during healing. For showing it off, rolled short sleeves help; for the appointment, a loose short-sleeve tee that you can push up easily makes access simple.
13. Micro Script Near the Wrist Crease Outer Side
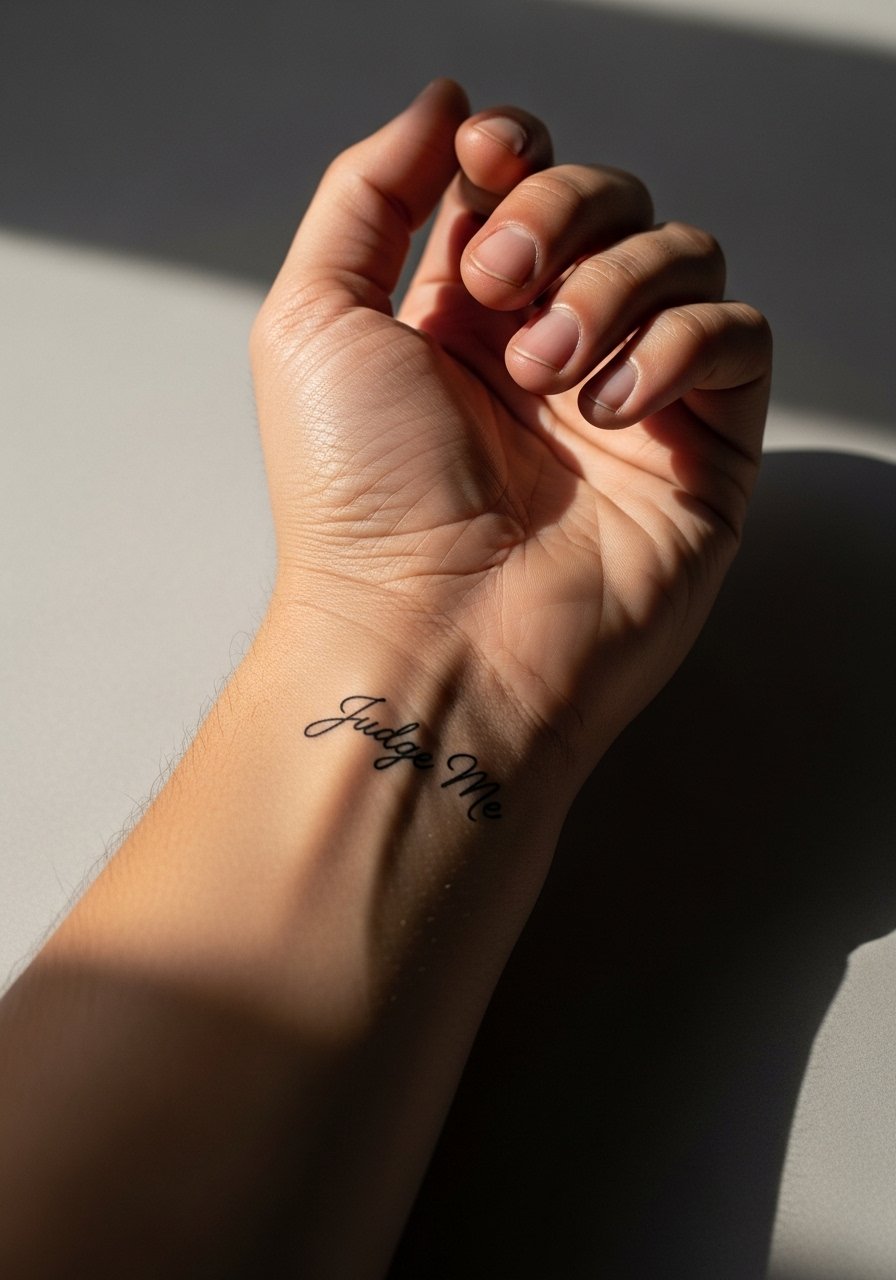
Outer wrist placements can catch sunlight and bracelets. Expect quick sessions and be realistic about sun protection. Ask for slightly heavier strokes and modest spacing so the words do not blur across the crease. A common mistake is requesting text that sits directly in the crease where motion naturally compresses letters. A tasteful accessory pairing is a minimalist watch worn on the other wrist to keep attention balanced.
14. Micro Script on the Sternum Edge
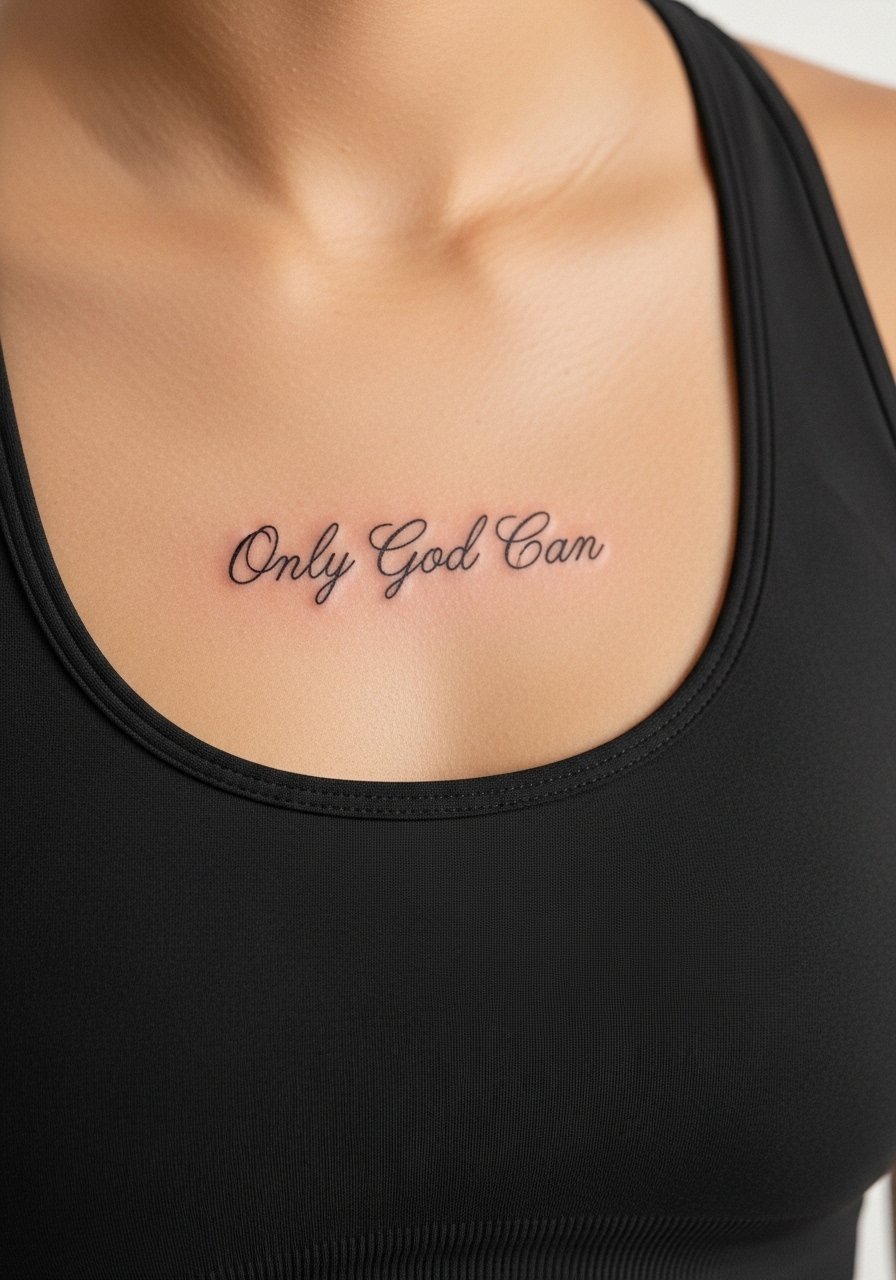
Sternum placements can be intimate and sensitive. Sessions can be uncomfortable and require careful breath coordination. Artists differ on how tightly to letter near the sternum crease. The mistake is compressing words too close to the chest fold where swelling distorts letters. If you plan to wear low-cut tops, a thin strapless piece will show the line without exposing too much. For the studio, bring a fitted sports bra so the artist can work without you being exposed.
15. Micro Script Along the Collar of the Wrist Inner Edge
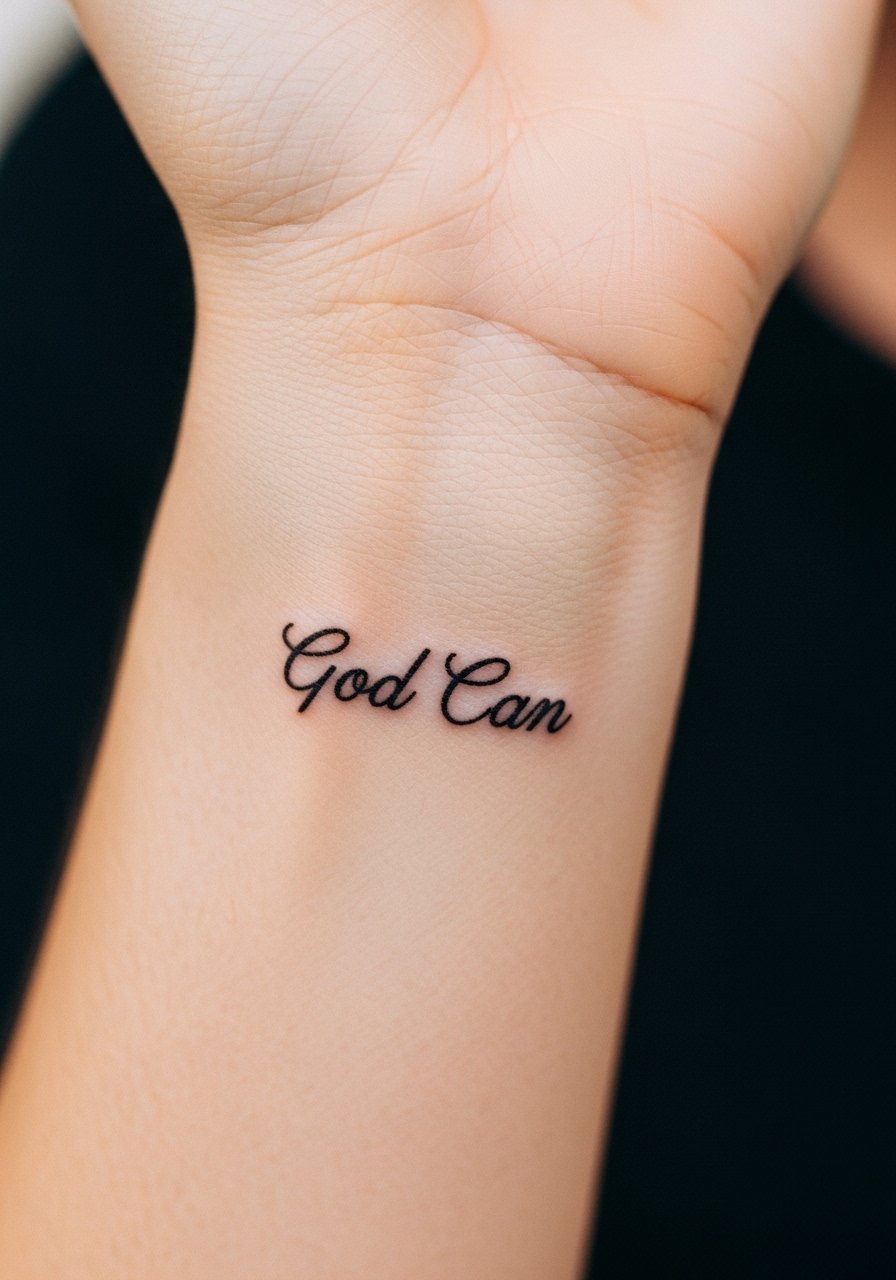
Inner wrist collar work is subtle and reads like a secret wrist cuff. Pain is usually mild. Ask the artist for a slightly slanted baseline so the letters follow the natural wrist curve and do not read compressed when you bend your hand. A common mistake is choosing ornate cursive that requires dense needles and blurs faster. Pair with thin bracelets that do not sit directly on the script. A slim chain bracelet sits well above the text and draws the eye.
16. Mini Script at the Base of the Thumb
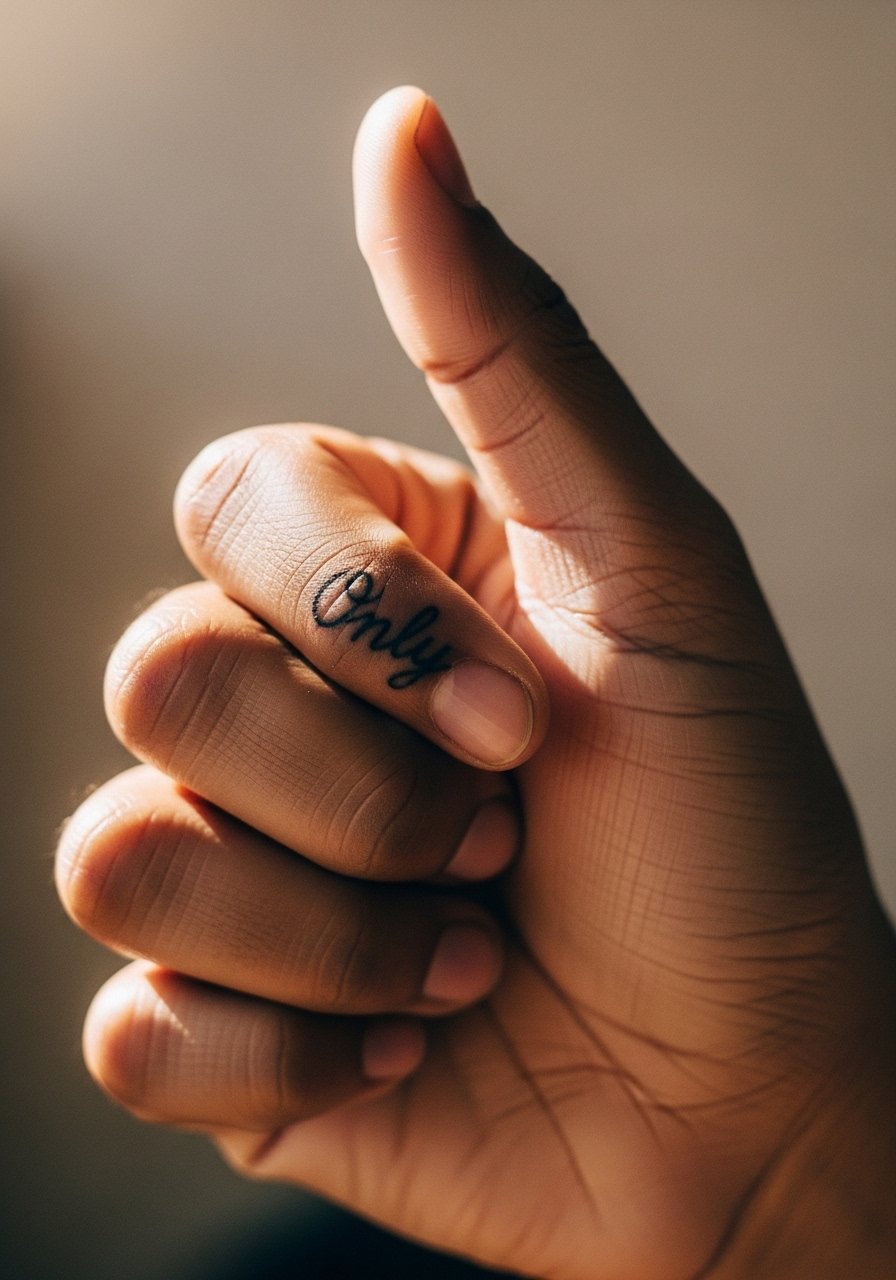
This is a high-movement, high-wash spot. Expect rapid fading and plan for touch-ups. Tell your artist you want placement slightly toward the side where rubbing is less intense. The common mistake is choosing extremely small, tightly connected letters that the skin will erode with daily hand use. For the session, go light on lotions and wear a glove-free top so the artist can access the area cleanly.
17. Micro Script on the Upper Thigh Side
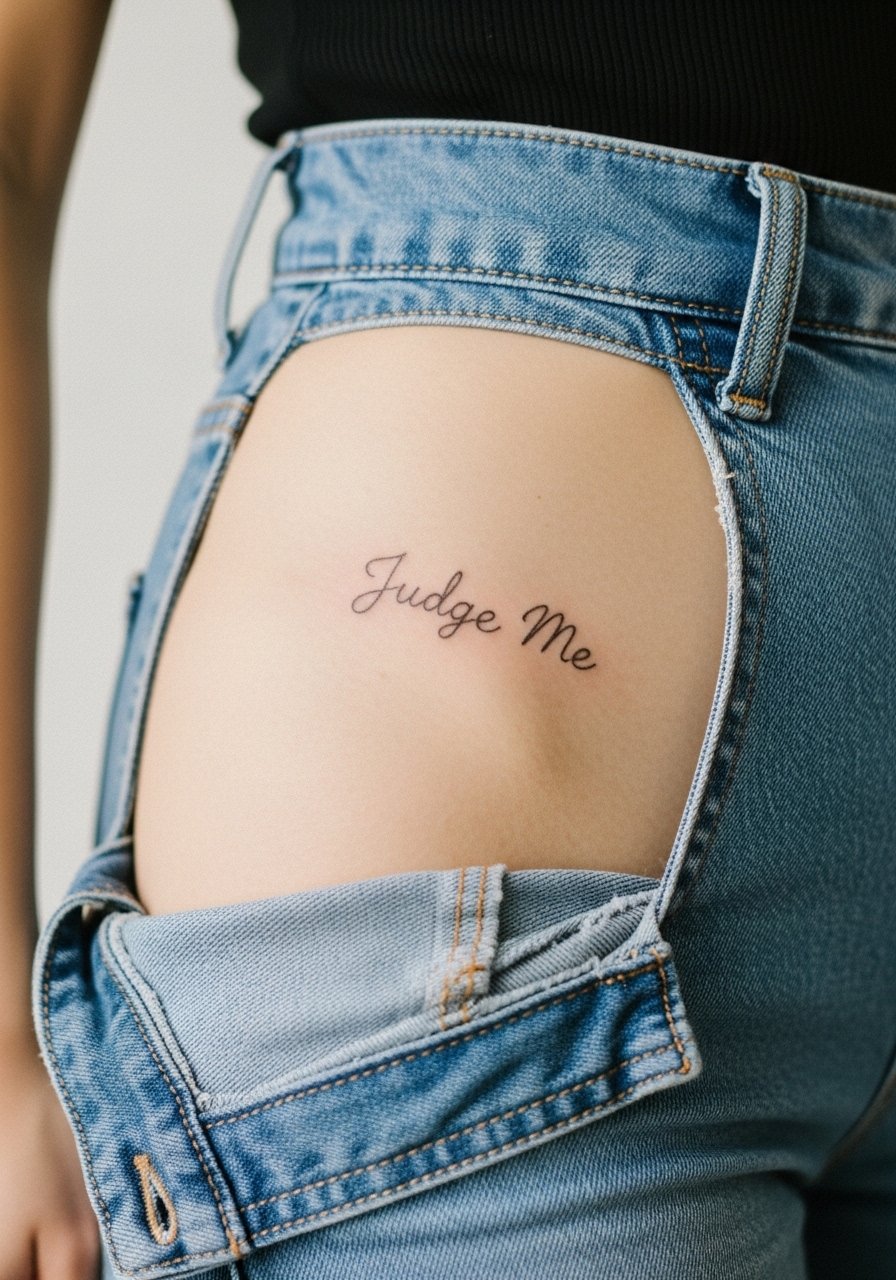
Upper thigh gives room for a tiny script to breathe and age well. Pain is low and sessions are comfortable because the area tolerates longer sits. Tell the artist you want the phrase angled slightly to follow your hip curve so it reads when standing. A mistake is placing text too low where waistbands and jeans press. For the appointment, wear high-waisted shorts you can shift without exposing more than the tattooed zone.
18. Micro Script Along the Spine Nape
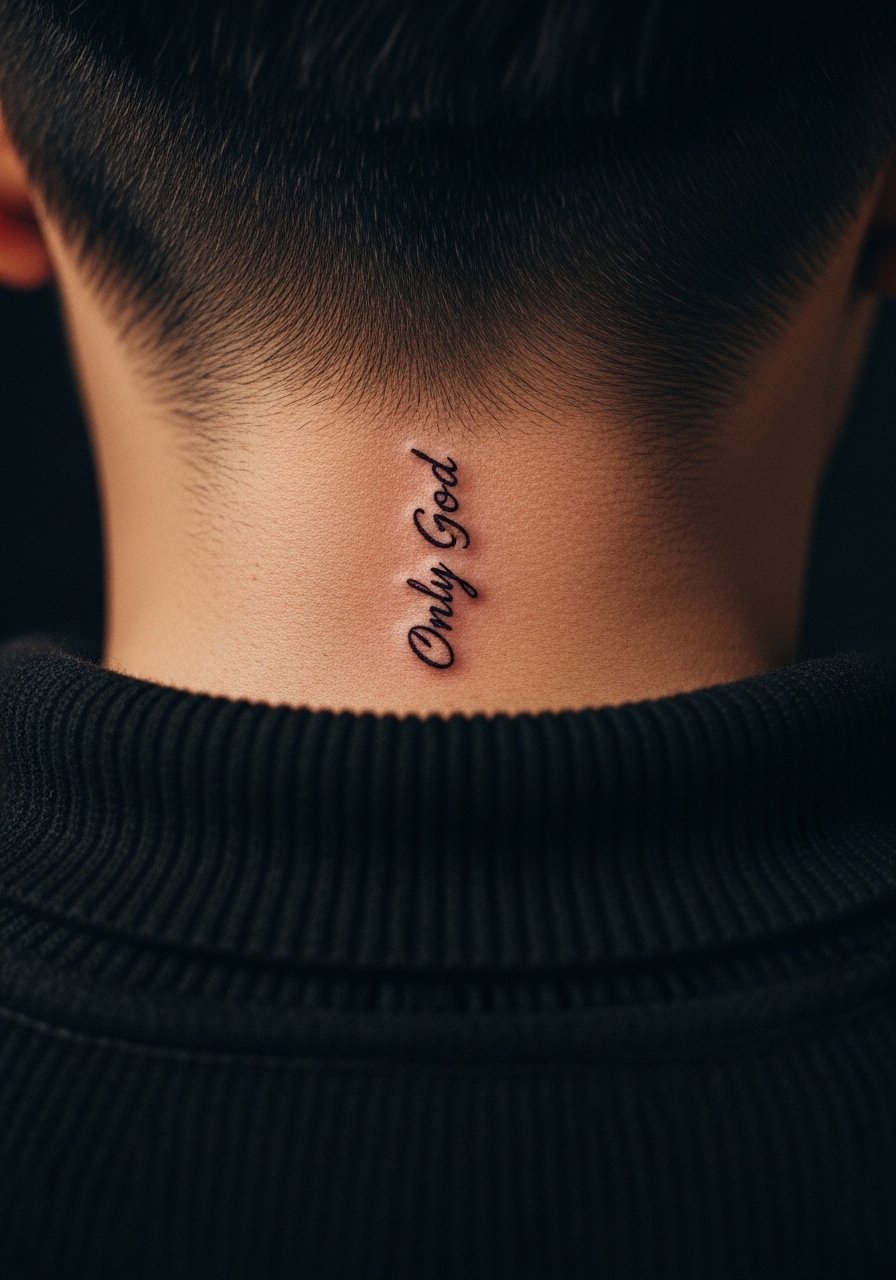
Spine nape work reads like a secret line under clothing and can be visible with updos. Pain is moderate for many people. Ask for slightly wider spacing when lettering vertically because tight vertical scripts can smear together over time. The common error is stacking letters too closely. For a polished reveal, a high-collared top pulled down slightly frames the script without showing more than necessary. Bring a wide-neck shirt you can adjust during the session.
19. Tiny Script Near the Shoulder Cap
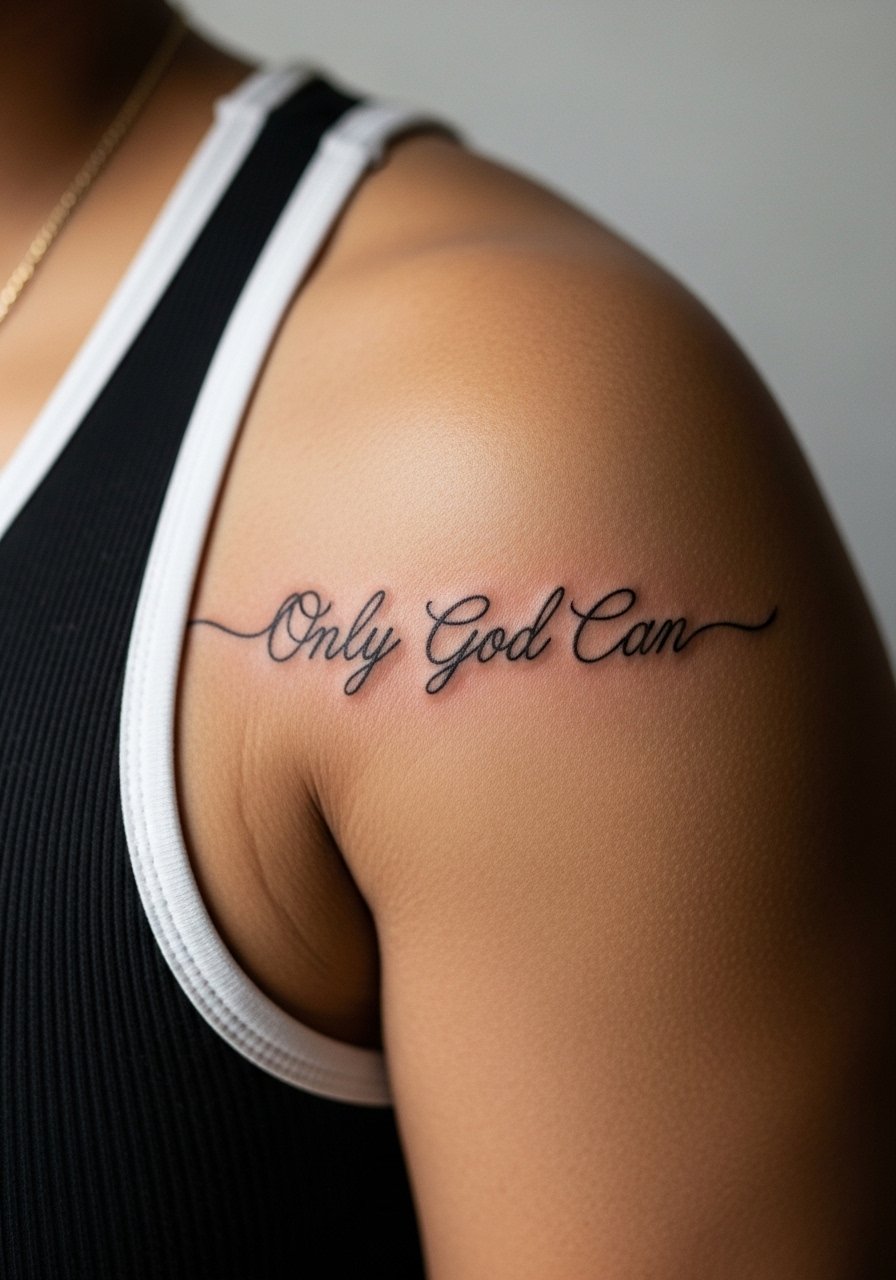
Shoulder cap placements are forgiving and age well when given room. Expect moderate pain and short sessions. Tell the artist you want the text placed to curve with the shoulder contour rather than cutting across the muscle line. A mistake is putting letters perpendicular to the natural drape which makes them distort when you move. For showing it off in summer, an open-back tank top frames the area nicely.
20. Micro Script on the Side of the Calf
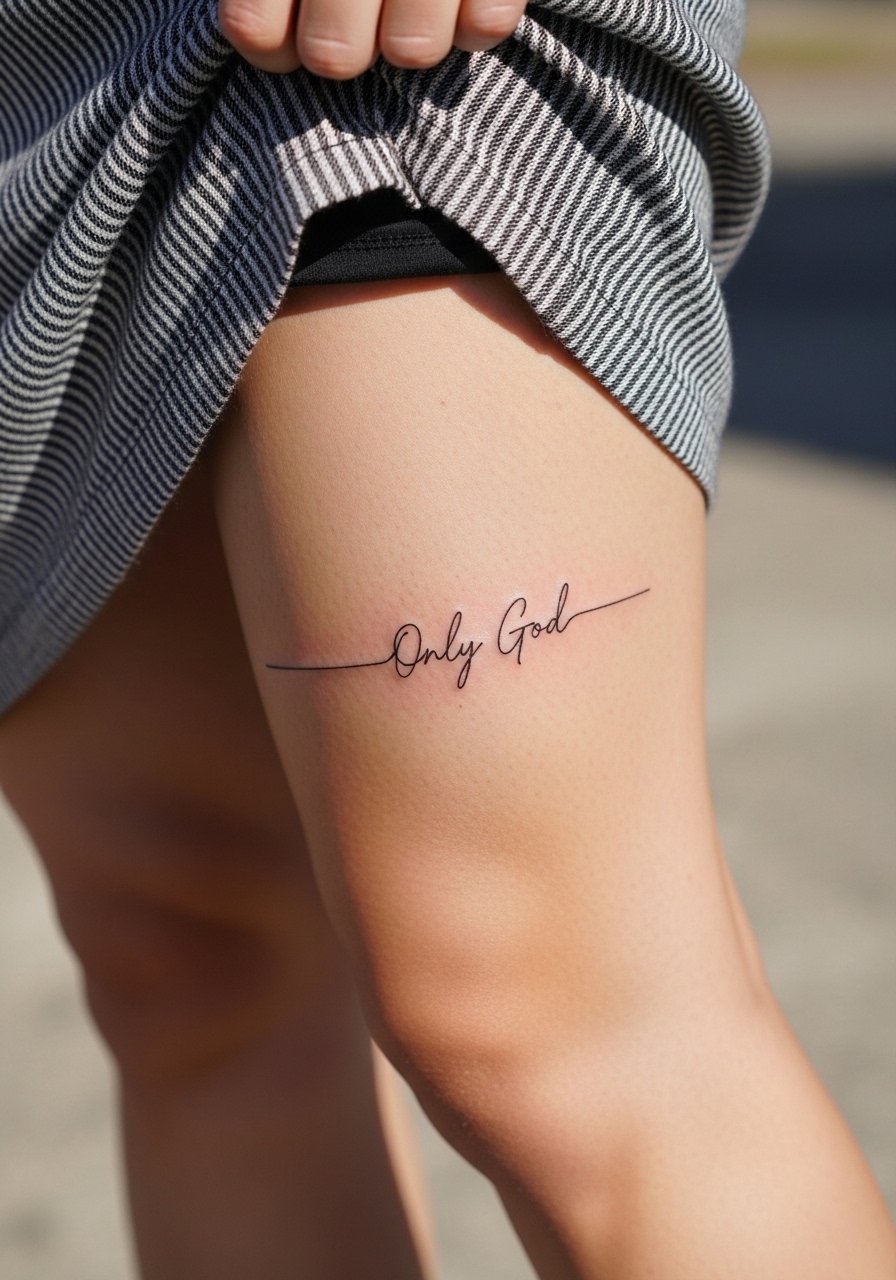
Calf placements are durable and often keep detail longer than wrist or fingers. Pain is mild to moderate and sessions last briefly. Ask for consistent line depth because thick and thin variation makes small letters unpredictable over years. The common error is cramming too much text vertically. For easy showing, a mid-length skirt or shorts works well.
21. Minimal Script on the Side of the Nose Bridge
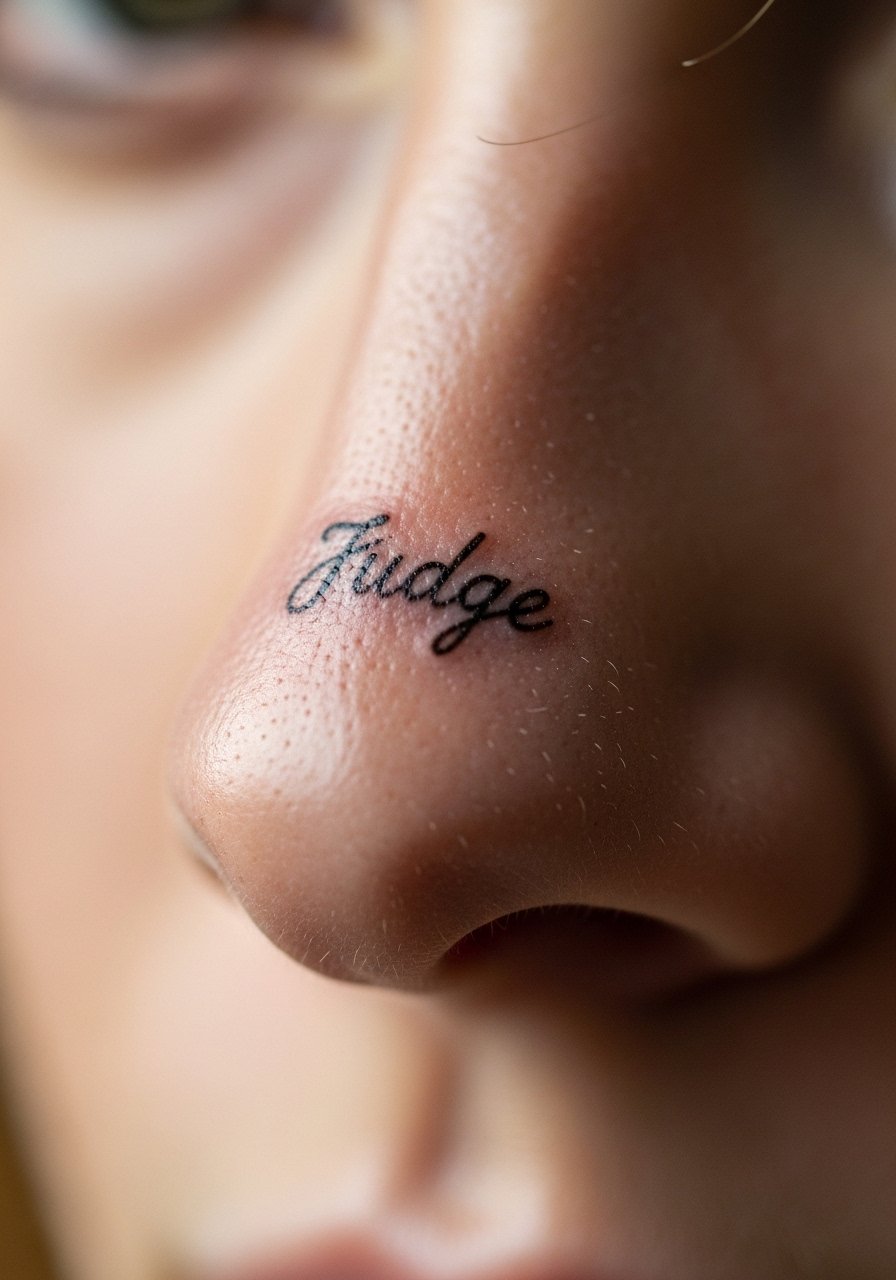
Facial-adjacent placements carry social and career considerations, so think before you do this. The skin there is thin and healing is delicate, so expect a careful consult and possibly a patch test. Tell the artist you want the text very small and set slightly to one side to avoid the central plane where swelling alters shapes. A common mistake is underestimating visibility and social response. If you pursue this, seek an artist experienced with facial or perinasal micro work and ask about local regulations and touch-up plans.
Frequently Asked Questions
Q: Will a micro script on the wrist need touch-ups sooner than on the sternum?
A: Yes, wrist and finger scripts face more friction and UV exposure so they typically need touch-ups sooner than protected chest or sternum placements. How soon depends on your sun habits and clothing friction. If you want fewer touch-ups, favor slightly heavier line weight and plan on sunscreen for the area after it heals.
Q: How should I describe the spacing and depth to an artist for a ribcage script?
A: Ask for increased inter-letter spacing and a mid-depth pass that avoids both surface shallow lines and overly deep saturation. Mention you want the letters to account for breath movement and request a small stencil reposition test while sitting up. If an artist resists discussing how they handle ribs with fine line, ask them to show healed rib examples in their portfolio.
Q: Are there style or clothing recommendations that help a collarbone script look intentional?
A: Yes. A thin chain pendant or open-neck tops complement collarbone script without covering it, and they draw the eye to the collar area. Try an open-back midi dress or a thin chain pendant necklace when you want to frame the line neatly.
Q: Is it controversial to get fine line script on the ribs or fingers?
A: Artists split into two camps on both ribs and fingers. One camp argues those areas blur faster due to skin movement and washing. The other camp says with correct spacing and needle depth, micro script can hold up. The practical approach is to ask the artist for healed photos from those spots and pick the technique you trust.
Q: What should I wear to the appointment for a sternum or upper thigh script?
A: Wear something that exposes only the area needed and keeps you comfortable. For sternum, a fitted sports bra works well. For upper thigh, high-waisted shorts or loose drawstring pants let you shift fabric without exposing more than the tattooed zone.
