
Bold black lines and woodcut textures read like history translated into skin, not a literal reproduction of an old print. Medieval woodcut tattoo sketches work best when they embrace bold linework, heavy contrast, and a little intentional imperfection so the design reads at a glance and holds up healed. Below are 17 ideas that lean into that graphic energy, plus practical notes on placement, aging, and what to tell your artist in the consult.
1. Knight in Profile on Inner Forearm

Pick the inner forearm when you want the woodcut texture to be visible in conversation and photos. Tell your artist you want heavy outline work and cross-hatch shading rather than tiny microdetail, so the stipple and whip shading read after a year. A common mistake is asking for too much tiny shading in a compact piece, which merges into a muddy patch with time. Expect a one- to two-hour session and moderate pain. Pairing idea for showing it off is simple: roll up sleeves and wear a loose button-down shirt in a neutral tone to frame the forearm and let the silhouette read.
2. Heraldic Shield on Outer Bicep
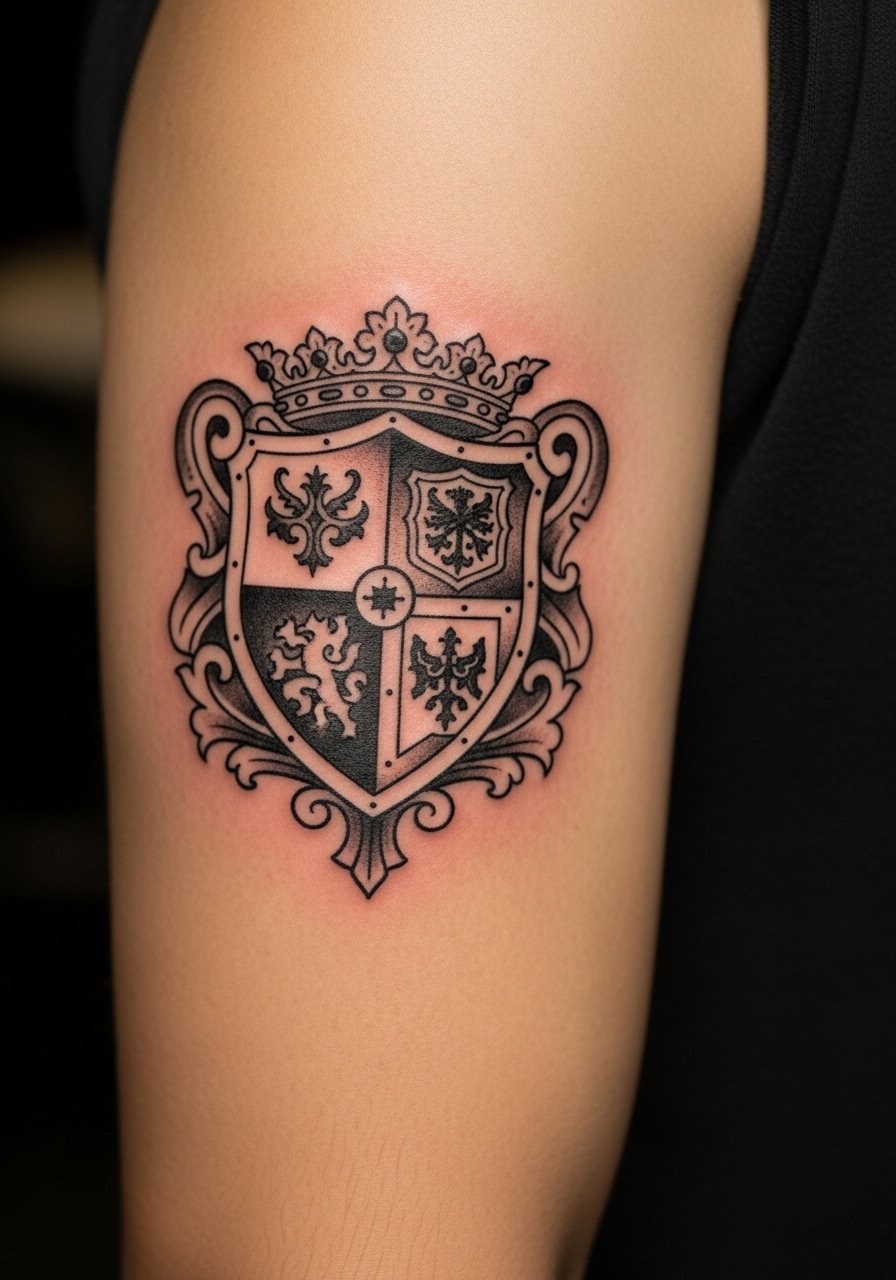
Outer bicep is a forgiving spot for bold black shields that need space for cross-hatching and deep saturation. During consultation, point to the negative-space areas you want preserved so the crest avoids looking overworked. The session feels like steady machine work rather than staccato needle dots, and most people rate bicep pain moderate. Overpacking detail into the crest ages poorly, so aim for larger hatch marks and clear separations between fields. For session wear, a loose tank top keeps access simple and the artist grateful.
3. Woodcut Saint Panels on Upper Arm Sleeve
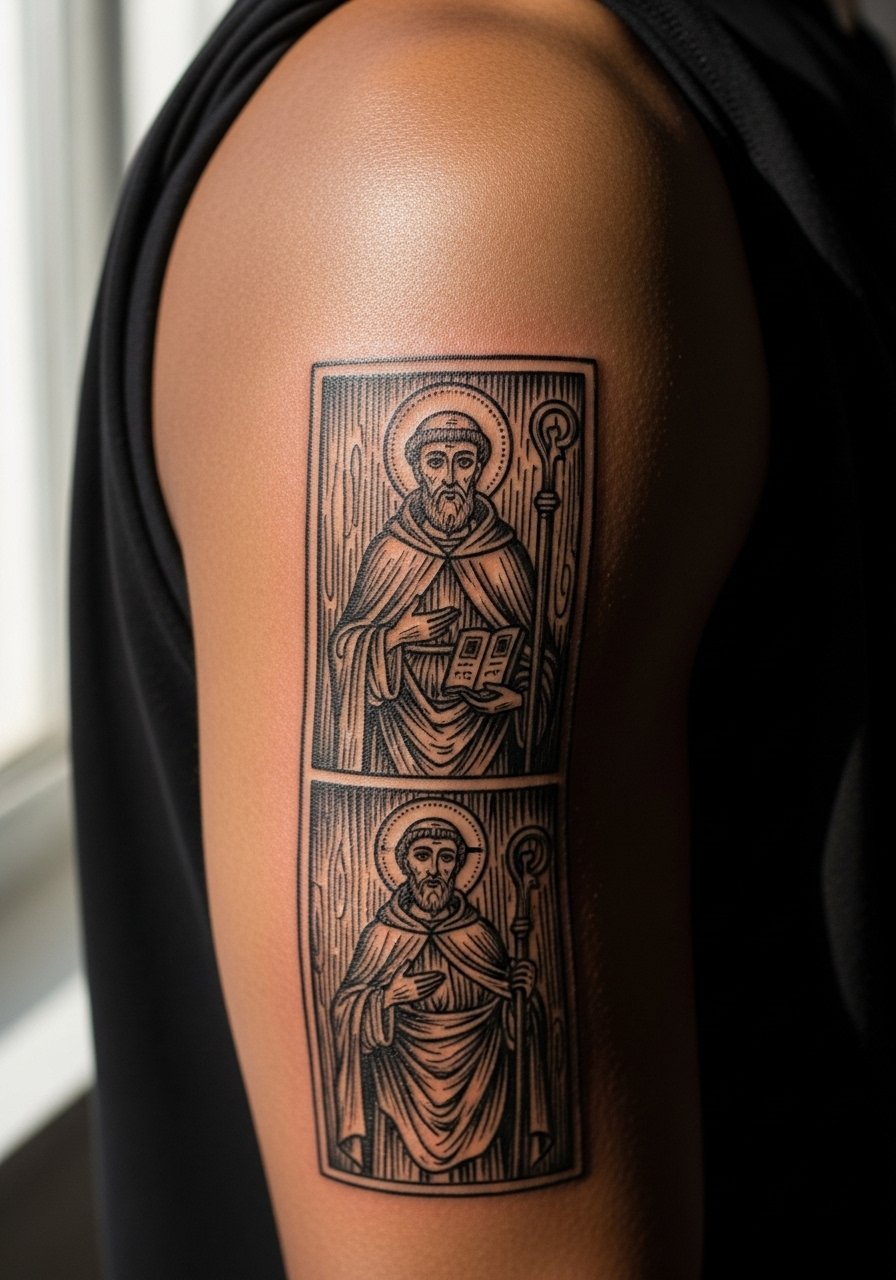
Multiple panels work well as a micro-sleeve because each panel gets breathing room for heavy linework and dot work. Tell your artist the narrative order you prefer and which elements should get the heaviest saturation. A common error is overcrowding panels with tiny emblematic details that bleed together by year three. Expect longer sessions broken into two appointments for saturation and touch-up. Styling wise, short-sleeve shirts or rolled sleeves keep the sequence visible. If the imagery includes religious iconography, acknowledge its origin and consider a respectful variation rather than a direct replica.
4. Woodcut Beast on Ribcage
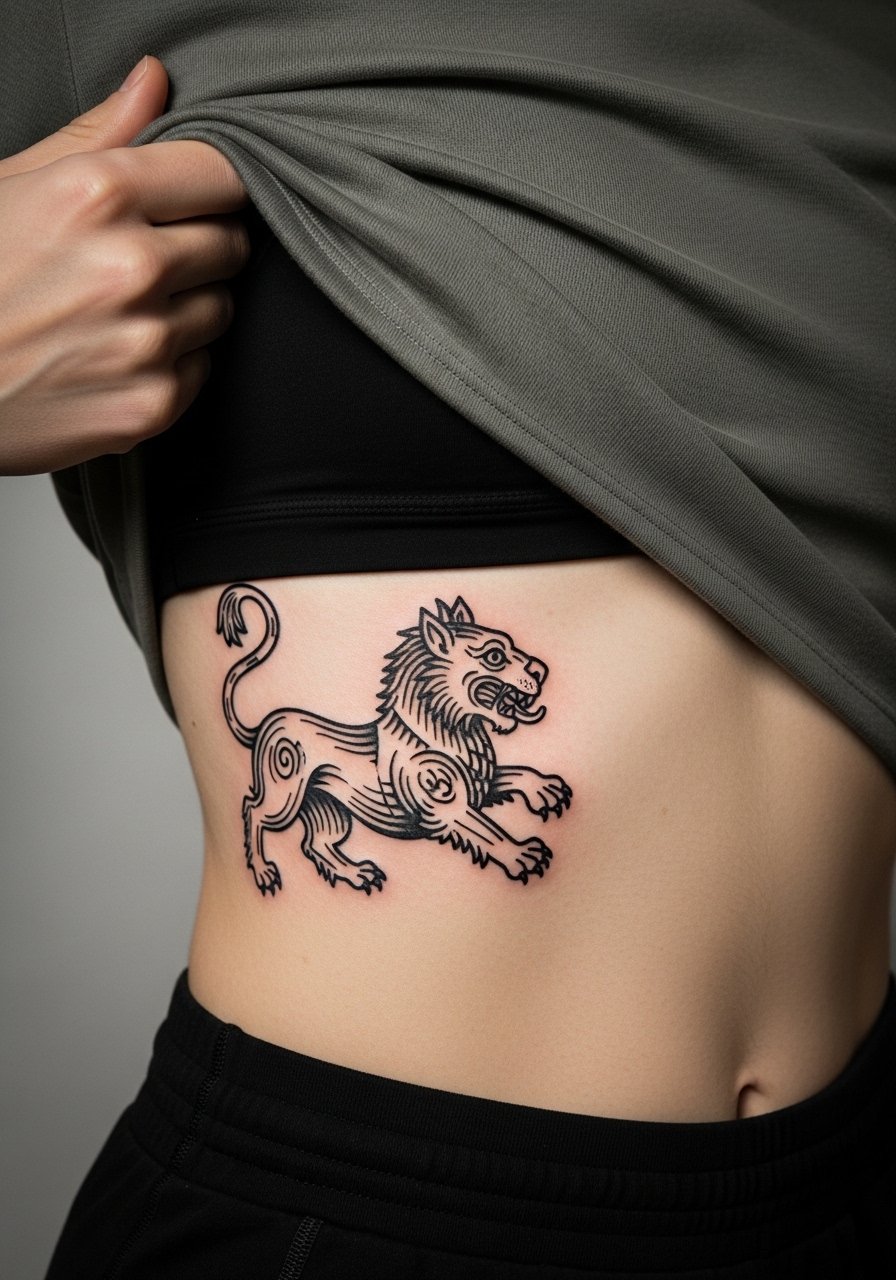
Fair warning, the ribcage is a high-sensitivity spot and a place where fine detail can blur if packed too tightly. Artists split into two camps on fine line here. One camp says rib skin stretches and softens lines fast. The other camp argues that with correct needle depth and spacing, woodcut textures can settle beautifully. Ask your artist where they land before booking. For session comfort, a loose cropped top that can be shifted is essential. Wear a cropped athletic top so the artist has access without full undressing.
5. Heraldic Animal on Thigh
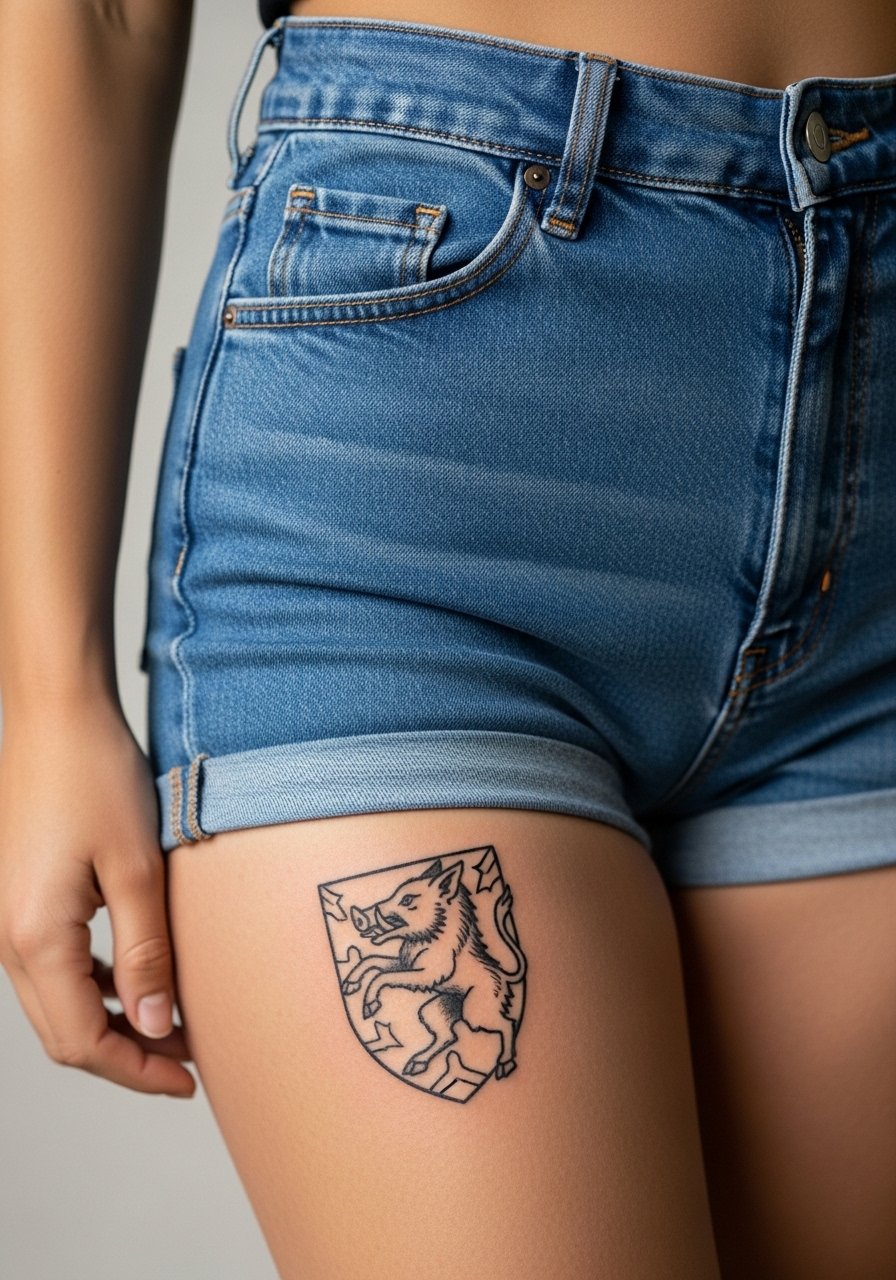
Thigh pieces let you go large with bold woodcut anatomy and dense hatch shading without the worry of everyday friction. Tell your artist you want saturated fields and deliberate white-space breaks so the silhouette stays readable in shorts or swimwear. The session will feel long but tolerable, usually split if you want full saturation. A common mistake is requesting too-fine facial detail on the animal, which disappears as the tissue settles. Pair with summer wear like high-waisted shorts, and for the appointment choose loose shorts or a wrap skirt to make access easy.
6. Medieval Ship on Outer Calf
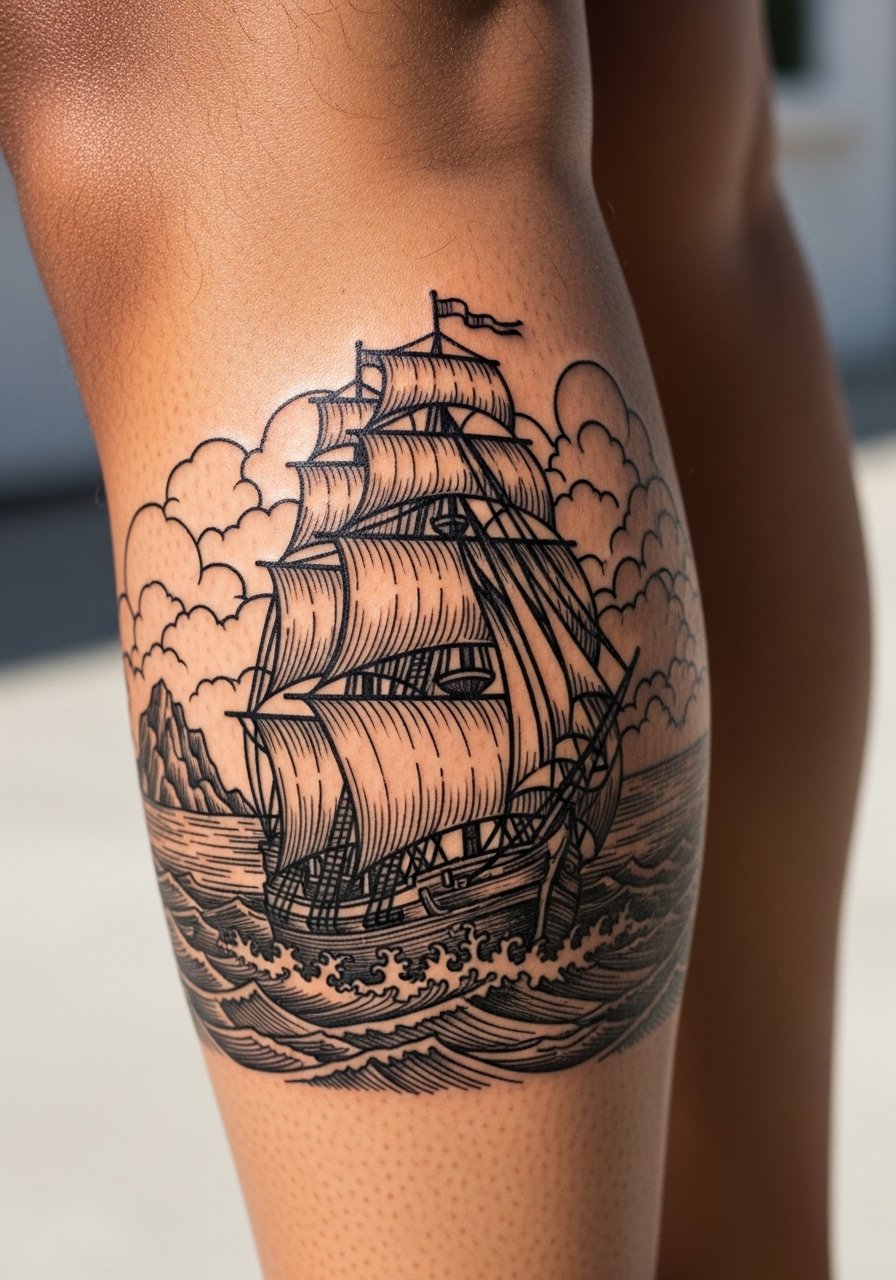
Outer calf is a great canvas for vertical compositions like ships because muscle movement does not distort heavy lines drastically after healing. During consult, mark where the ship mast should sit relative to calf curvature so the hull does not look skewed standing up. Expect moderate pain and a session of one to two hours. A frequent mistake is adding tiny rigging lines that smudge into one another; keep rigging bold and sparse. For showing it off, a pair of drawstring linen pants you can roll up makes the placement photo-ready.
Studio Day Picks
The ribcage, thigh, and calf pieces above need different prep than wrist or forearm work, and these items smooth both the session and the first week of healing.
- Stencil transfer paper kit. Lets you preview the linework on skin before committing, which is helpful for placements like the forearm panel and shield above.
- Topical numbing cream. Applied as directed before the session it can reduce discomfort on ribs and thighs without affecting the linework.
- Thin protective film roll. Useful for areas that rub during daily movement, like the calf and thigh.
- Fragrance-free gentle body wash. Cleanses tattooed skin without stripping saturation while the piece is settling.
- Aquaphor healing ointment. A thin layer in the first days keeps the heavy blackwork from drying into scabs that pull ink.
7. Woodcut Heraldry Across the Collarbone
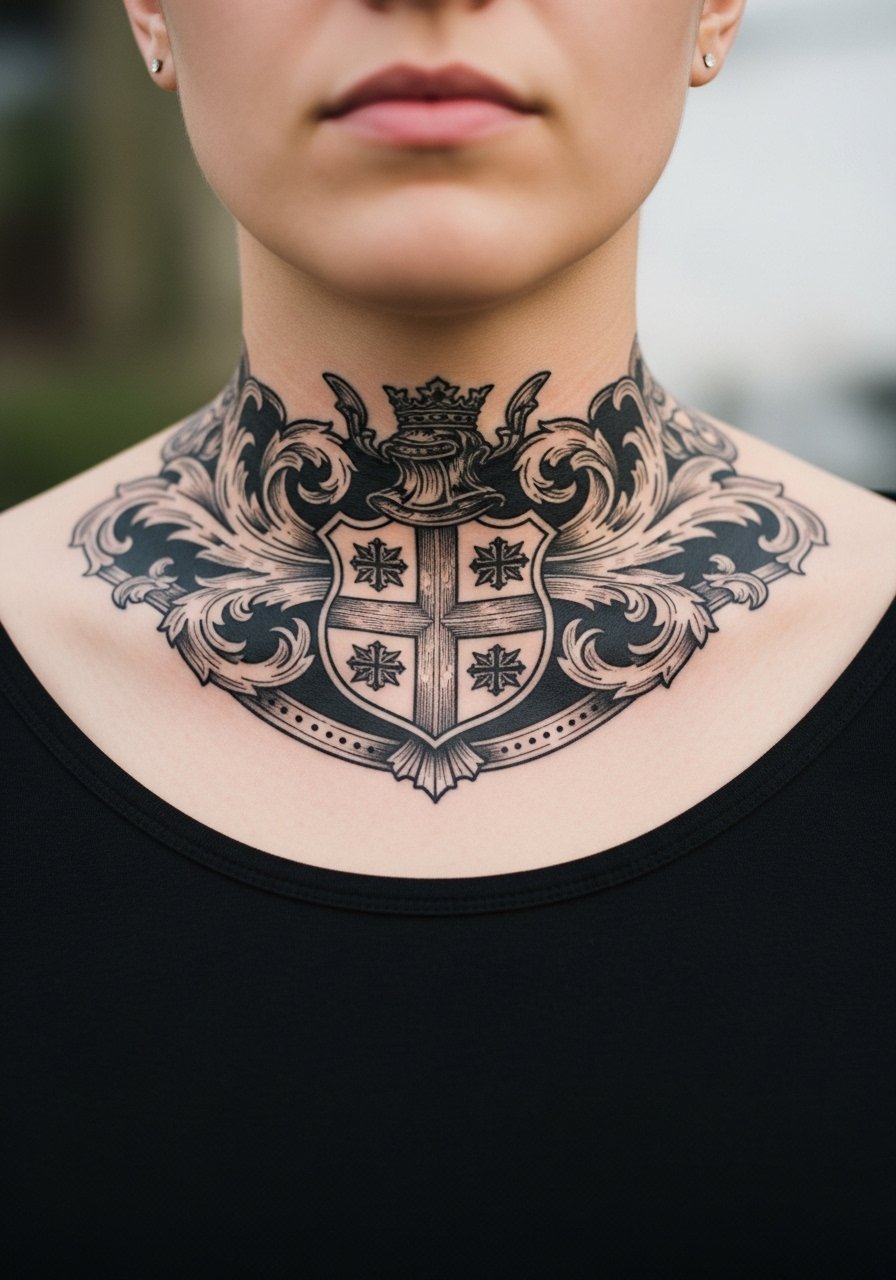
Collarbone pieces read boldly with black silhouettes and strong cross-hatching. Tell your artist to favor open negative space under the heraldry so the collarbone highlights sit against ink rather than crowded shading. Pain is higher over bone, but sessions are relatively short. A mistake is compressing too much detail into a narrow horizontal band, which looks busy once healed. For showing off, open-neck tops or a thin chain work best. Try a thin chain pendant necklace to rest just above the design without competing.
8. Woodcut Gargoyle on Shoulder Blade

The shoulder blade is forgiving for compact, bold figures that need curvature to read. In consultation, clarify how the design should follow muscle lines so the gargoyle does not appear stretched when you move. Sessions here are moderate pain and often take 90 minutes. Avoid overly fine facial features for the gargoyle; heavy shadow planes last longer. For the session, a loose tank top that can be adjusted makes the process smoother.
9. Knight and Maiden Diptych on Sternum
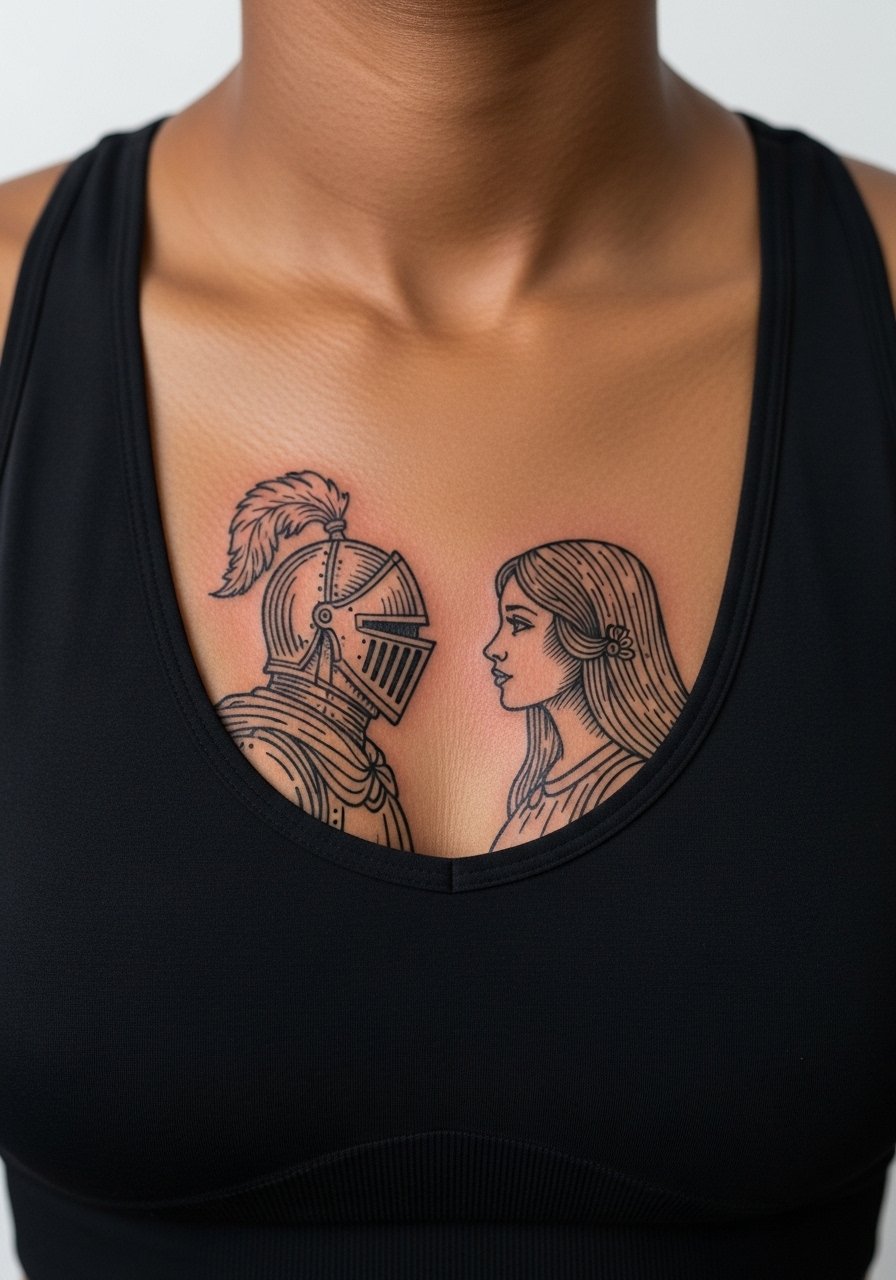
Sternum tattoos demand careful spacing because the chest moves with each breath and can distort tiny details. Artists disagree about dense work here and two camps form: one side prefers larger bold shapes to withstand movement, the other will do finer cross-hatch if spacing and depth are managed. Ask how your artist adjusts for the sternum specifically. Pain is high but sessions can be short if the composition is compact. For the appointment, wear a fitted sports bra that you can lift slightly so you stay covered while the artist works.
10. Medieval Tree of Life Down the Spine
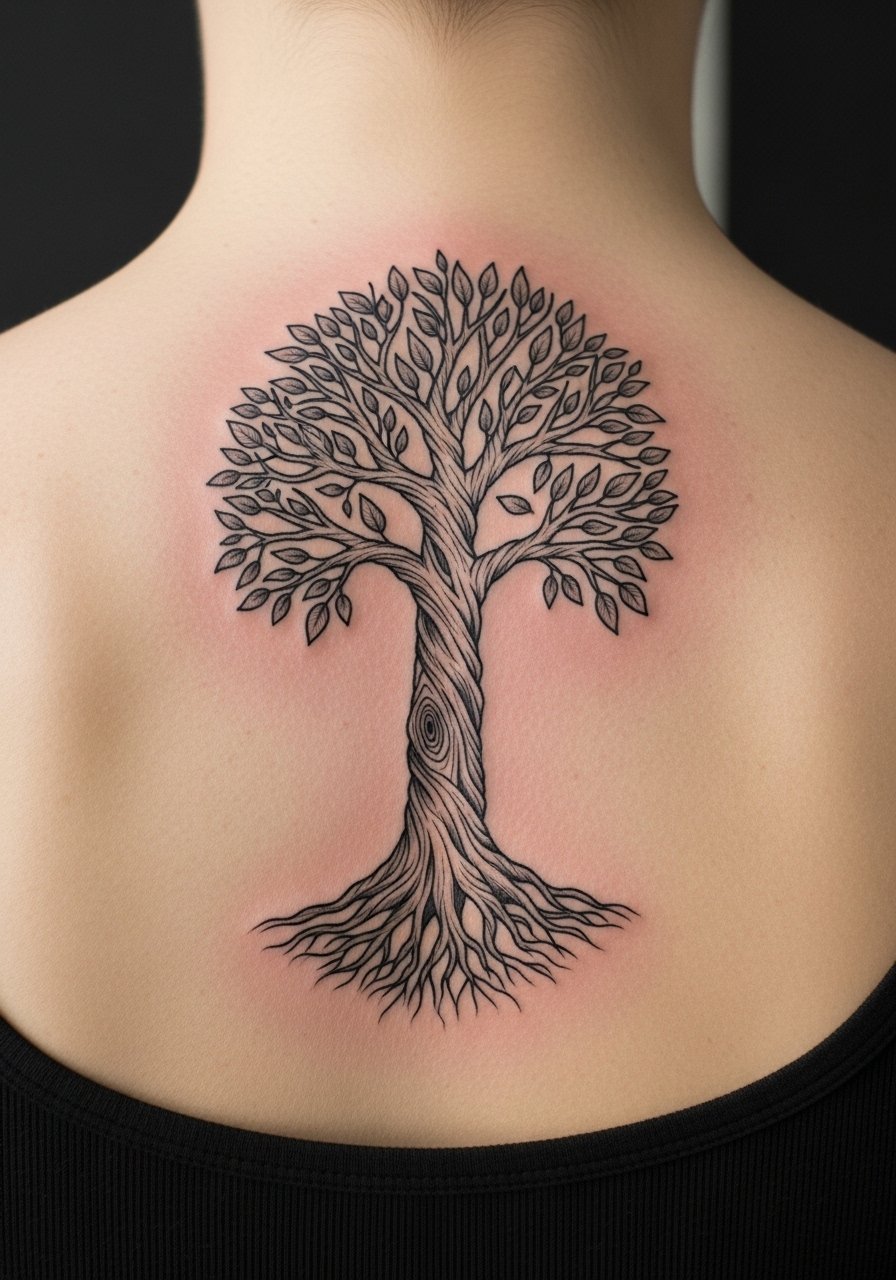
Spine pieces are dramatic because vertical woodcut lines accentuate posture. During consult, agree on trunk thickness so the tree does not become a thin, blurred line as it heals. The session can be painful near bone but heals predictably when the artist spaces the hatch marks. A common error is over-detailing branches too close together. For showing it off, open-back tops reveal the vertical flow without exposing other areas.
11. Shipwreck Scene on Lower Back
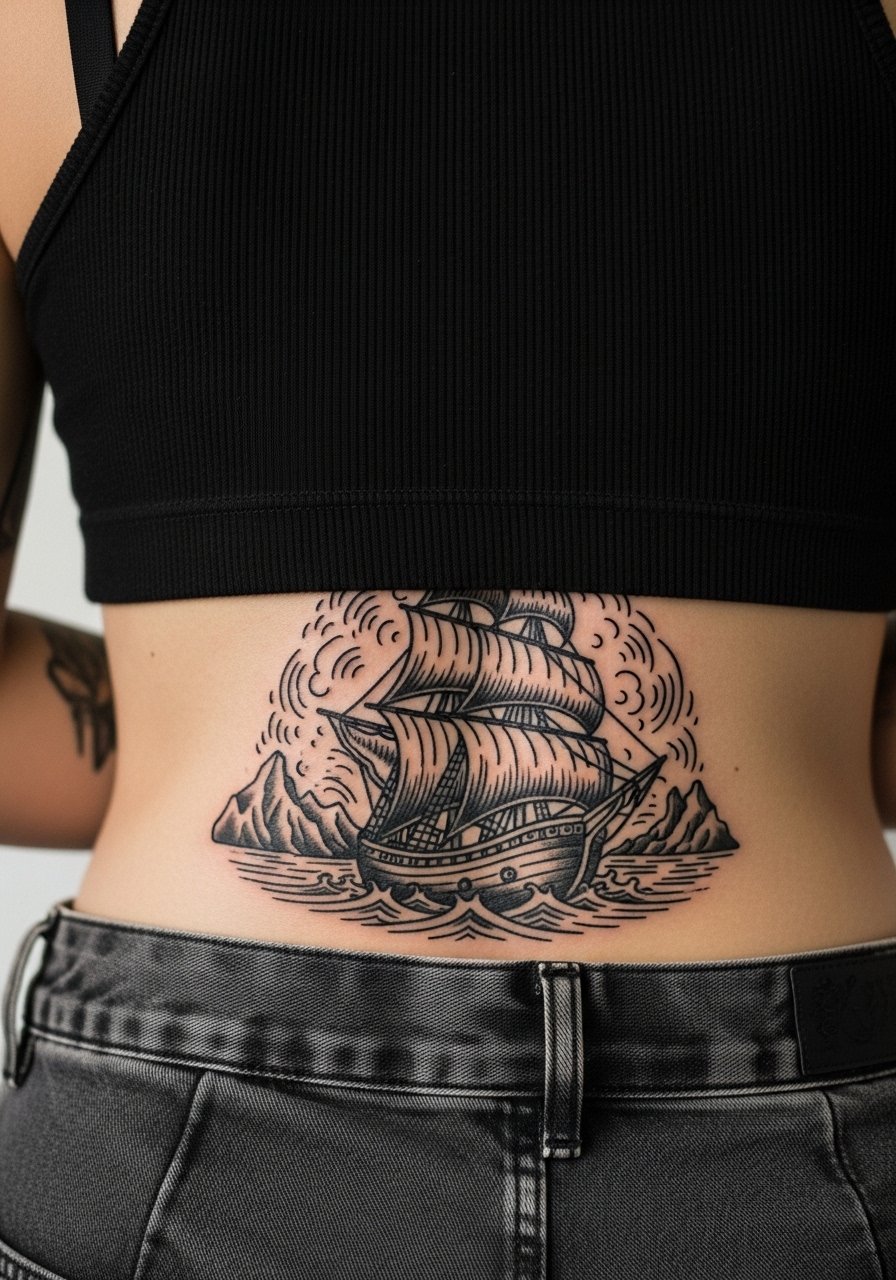
Lower back allows horizontal scenes with strong black silhouettes that age steadily if saturation is even. Tell your artist which elements must remain darkest so negative space preserves the horizon line. Sessions are moderate and placement sits in a low-friction zone if you choose clothing correctly. A mistake is placing tiny horizon details that disappear. For the session, wear a tank top and high-waisted bottoms that allow access without full disrobing.
12. Woodcut Crow and Moon on Hand
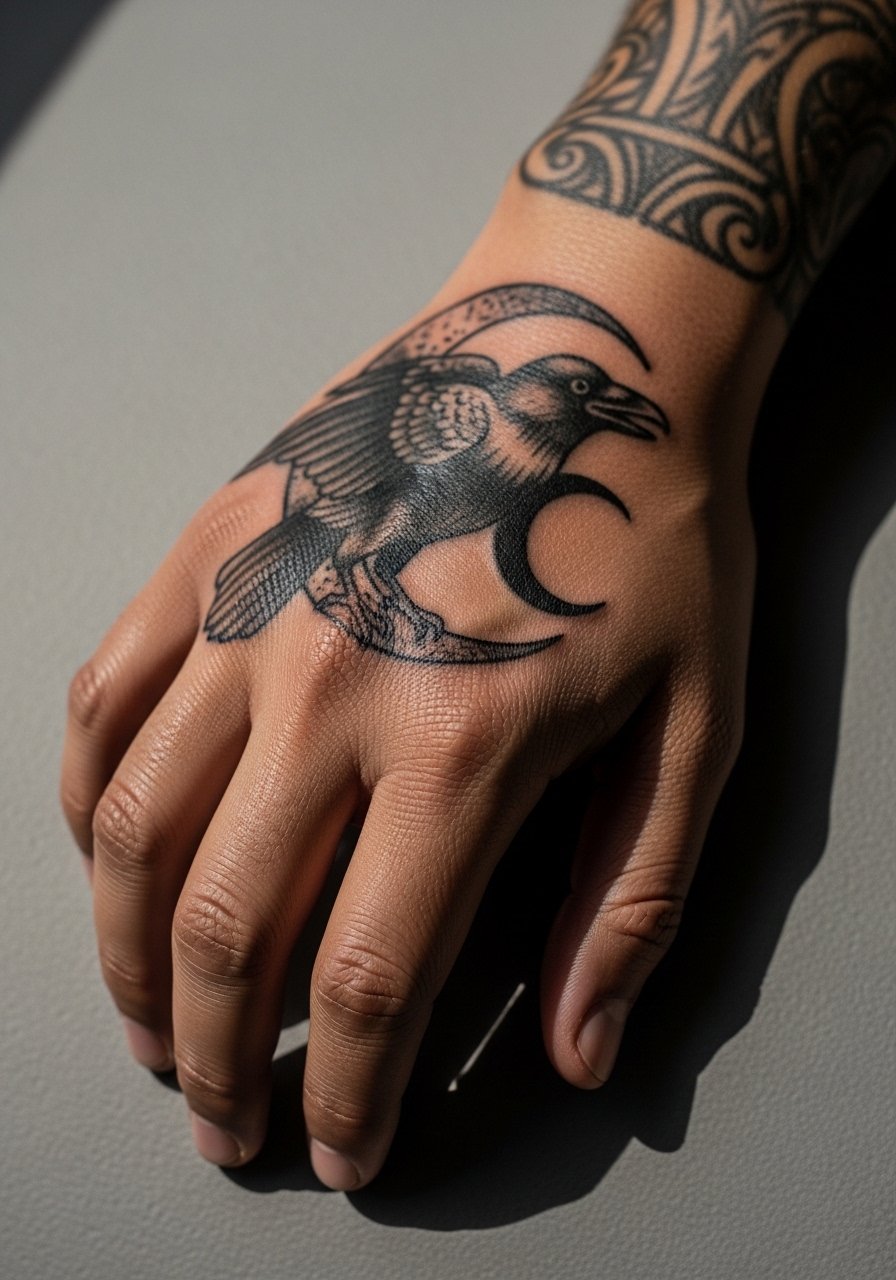
Hand pieces are high-maintenance because constant washing and friction can fade fine hatch and light lines quickly. If you want a woodcut hand piece, push for thicker linework and heavy black fields to preserve the silhouette. Artists split on whether micro hatching is worth it here due to early blur. Expect touch-ups within one to two years. Consider that hand tattoos can affect workplace perceptions. Keep the design bold and simple to maximize longevity.
13. Medieval Marginalia Scene on Upper Thigh
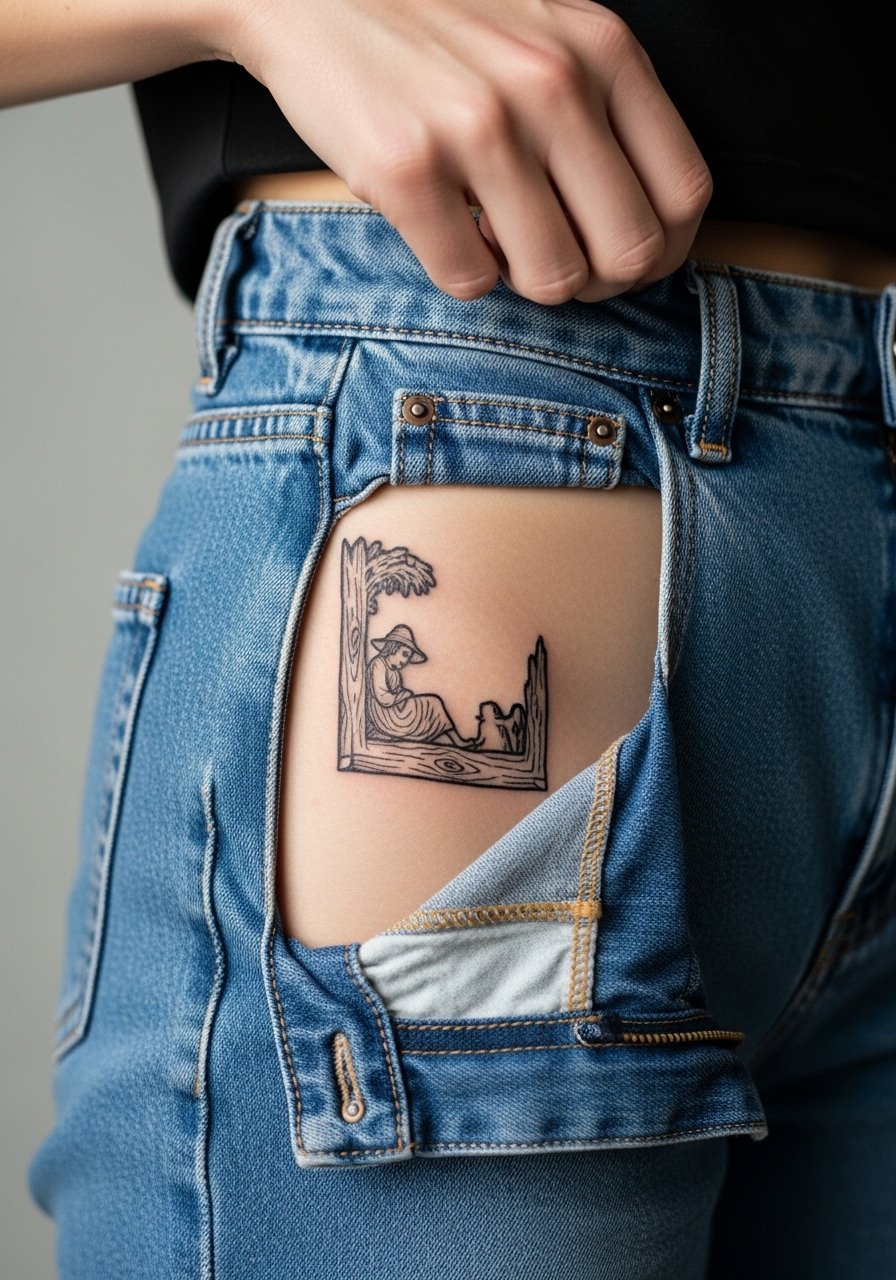
Upper-thigh designs let you place playful medieval marginalia with fine negative-space details and heavy anchors. Tell your artist which tiny elements are essential so they can scale them to survive healing. Sessions are comfortable and privacy-friendly. A frequent mistake is insisting on pin-prick details that disappear under compression from clothing. For the session, choose high-waisted shorts or a wrap so the artist can access the area easily.
14. Woodcut Floral Grotesque on Ankle
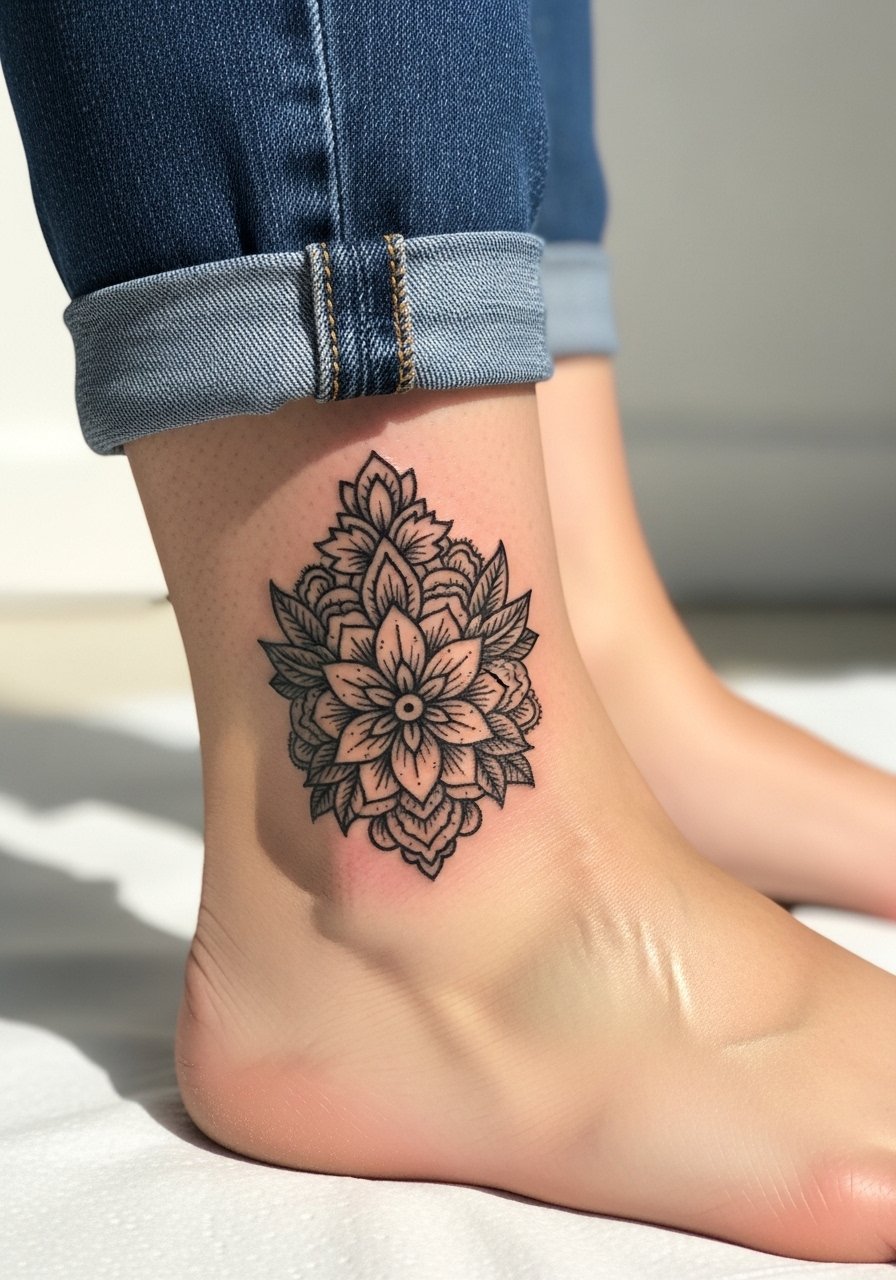
Ankle pieces work with graphic, high-contrast florals that read well in small sizes when outlines are confident. Tell your artist to avoid tiny inner petal hatch marks, which merge over time due to shoe friction. The session is low to moderate pain and quick. A mistake is packing shading into creases where shoes rub. For showing off, rolled jeans or sandals frame the piece without hiding its silhouette.
15. Woodcut Zodiac Panel on Wrist
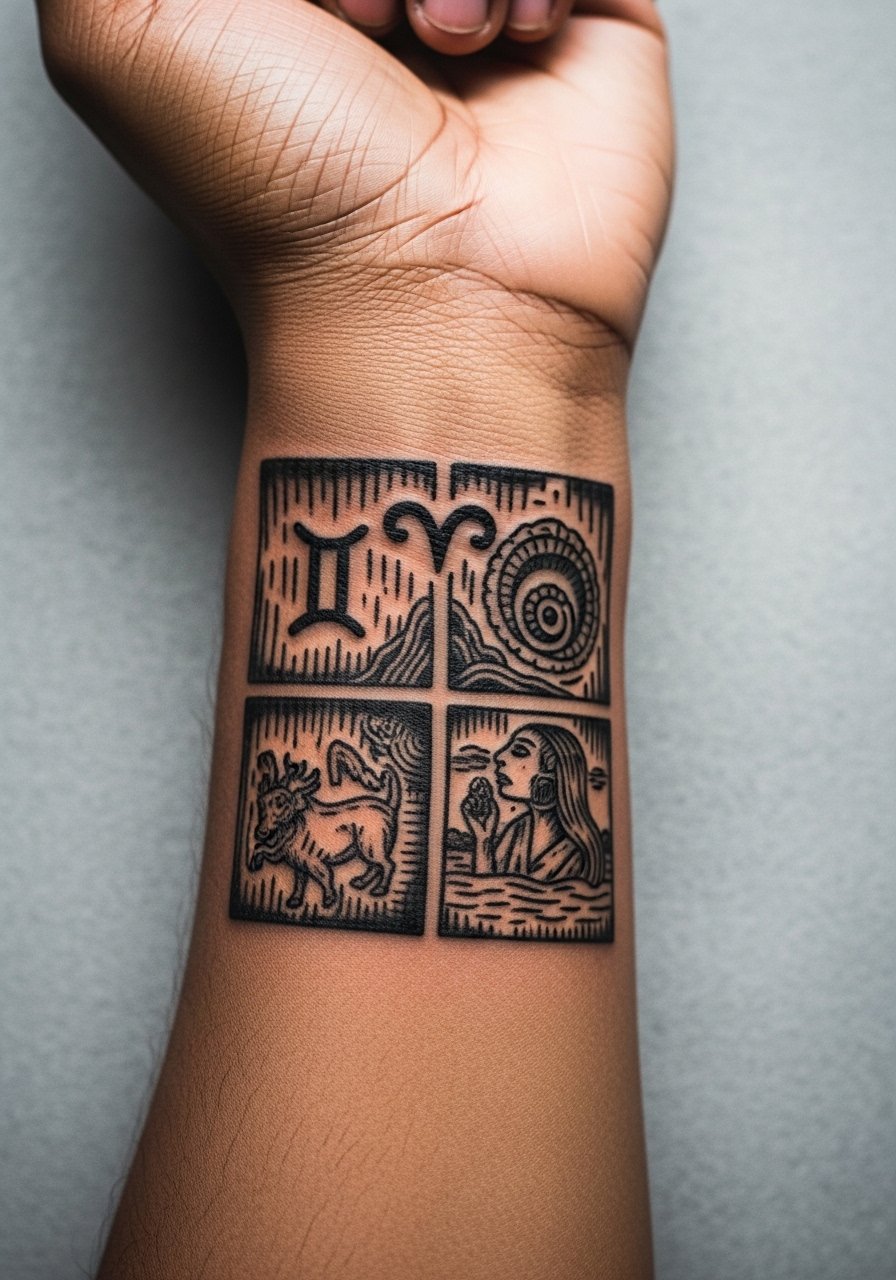
Wrist tattoos are public and constant exposure makes fine lines vulnerable. For a woodcut zodiac, prefer bold glyphs and clear negative space so the symbol stays legible. Discuss touch-up expectations; wrists often need a retouch at two to three years. For session wear, a short-sleeve shirt is fine. To show it off, stack with minimal bracelets. Try a minimalist leather cuff bracelet that frames the wrist without hiding the glyph.
16. Blackletter Phrase with Woodcut Ornaments on Inner Bicep

Text on the inner bicep reads strongly if letterforms are scaled to the muscle curve and given roomy counters. Specify exact text during the consult so stencil preview shows real spacing. The inner bicep can be tender but hides well under clothing during the healing window. Avoid ultra-thin blackletter strokes that the skin may not retain. If the phrase has cultural or religious weight, consider whether a slight stylistic variation would be more appropriate than a literal copy.
17. Woodcut Compass Rose on Calf
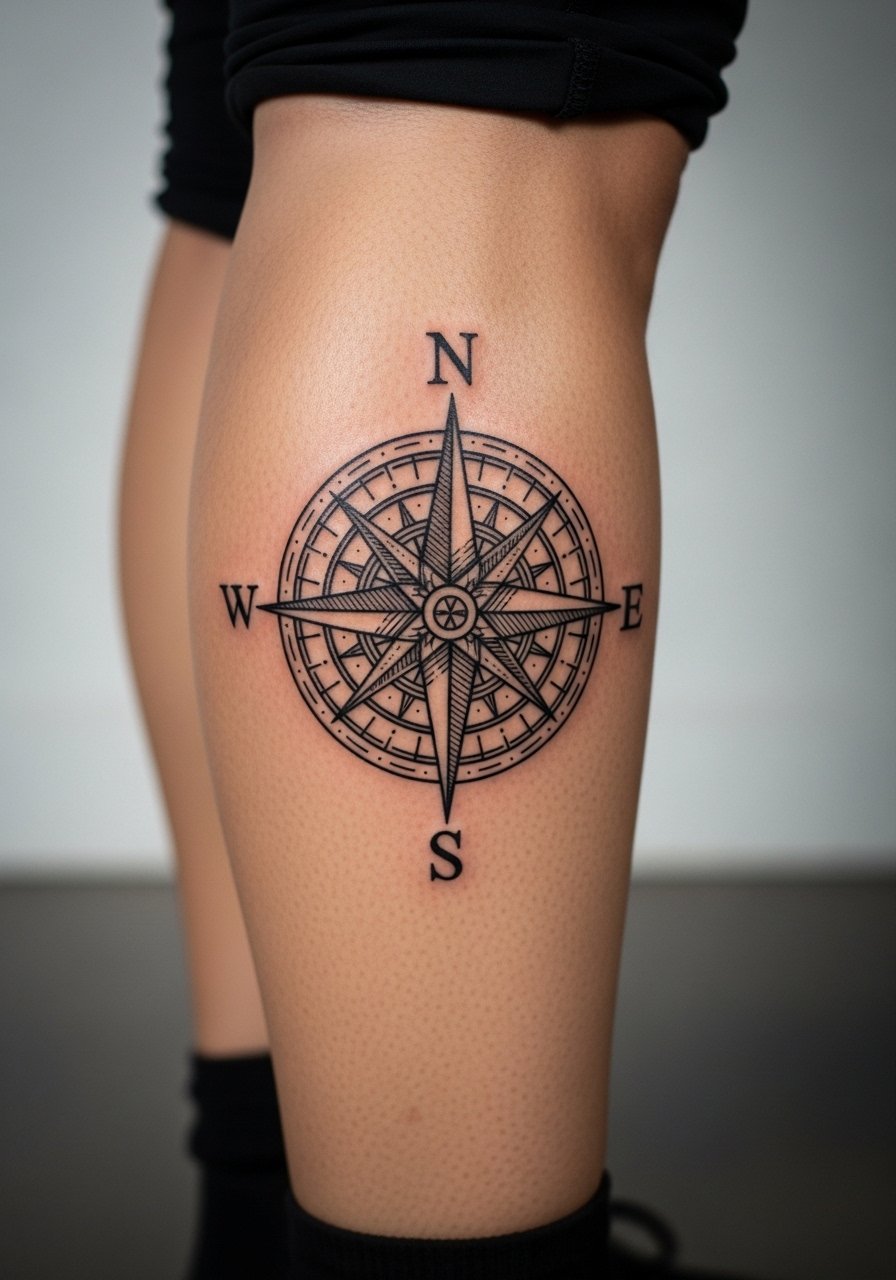
A compass rose benefits from radial negative space and bold directional points that keep their shape as the calf moves. In the consult, mark the orientation you want when standing so north points where you expect. The session is moderate and usually one sitting. A common mistake is asking for too many tiny directional ticks that fade with time. Show-off styling is easy: rolled pants or cropped skirts keep the compass visible without additional jewelry.
Frequently Asked Questions
Q: Will woodcut-style linework on my forearm blur faster than other blackwork?
A: From what I've seen, woodcut work relies on strong outlines and intentional negative space, which helps it age well on forearms. The pieces that blur are usually the ones with too much micro-hatching in compact areas. Ask your artist to emphasize clear silhouette and spacing during the consult.
Q: Is a ribcage woodcut worth the pain for the detail level people post online?
A: It depends on how much fine detail you want. Artists split into two camps on ribs. One camp avoids tiny hatch because of stretch. The other will do denser textures if they can scale everything larger. If you want bold, graphic woodcut textures that last, plan for larger marks and bring references showing spacing.
Q: How should I dress for a sternum or chest woodcut session?
A: Wear a fitted sports bra or a wide-neck shirt you can lift slightly so the artist has access while you stay covered. A fitted sports bra is an easy choice that keeps the area reachable and comfortable.
Q: Do hand and wrist woodcut tattoos require more touch-ups than thigh or bicep pieces?
A: Yes, hands and wrists face more friction and washing, so expect touch-ups sooner. If you want minimal maintenance, favor bolder, simpler compositions in those spots and accept that a refresh at year one or two is common.
Q: How do I handle imagery tied to religious or historical sources respectfully?
A: A short, practical approach is to acknowledge the origin when you bring references and ask your artist about slight stylistic choices that avoid direct replication. Many people opt for interpretive elements rather than exact copies, and artists can suggest tasteful adjustments during the consultation.
