
Fine line styles are everywhere on saved boards, but the pieces that still read clean five years from now are often the ones planned with spacing and placement in mind. Forearm work sits between visibility and skin movement, so a tiny tweak in scale or a small change in placement can be the difference between a tattoo that needs touch-ups and one that still looks intentional. Here are 21 forearm ideas that factor in aging, pain, and how you want to show them off.
1. Fine Line Sakura Branch on Inner Forearm
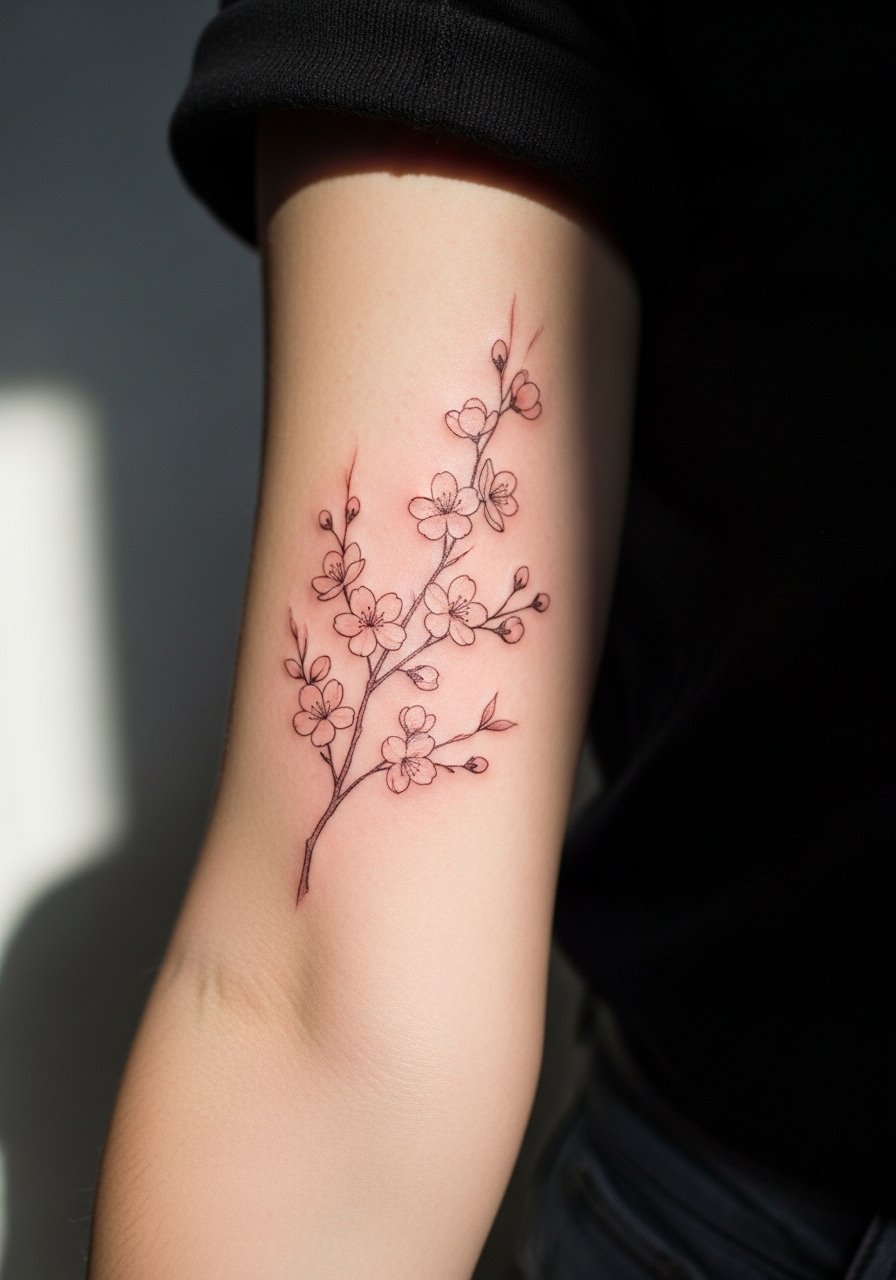
I've seen this one sit on inner forearms for years and still read delicate at arm distance. Pain is moderate, since the inner forearm is softer than the wrist. Plan for a single 60 to 90 minute session for a branched motif sized to leave breathing room between petals. Tell your artist you want slightly heavier spacing in dense areas so the petals do not merge over time. Common mistake is shrinking the design to fit a narrow spot. For showing it off, rolled sleeves and a loose button-down shirt frame the arm nicely and keep attention on the linework.
2. Outer Forearm Koi in Traditional Irezumi Motif

Most people picture this in bold color with solid black outlines. Pain is moderate, and a fuller color koi may take two sessions totaling three to five hours. Artists split on this one in terms of cultural sensitivity. One camp says strict Irezumi motifs should stay within Japanese traditions and artists, and the other camp supports respectful cultural exchange when clients research origins and tweak motifs. If you choose this direction, ask for the family crest or background waves to be adapted rather than copied verbatim. Expect saturated color to look rich at six months and to soften by two to five years, with occasional saturation touch-ups recommended.
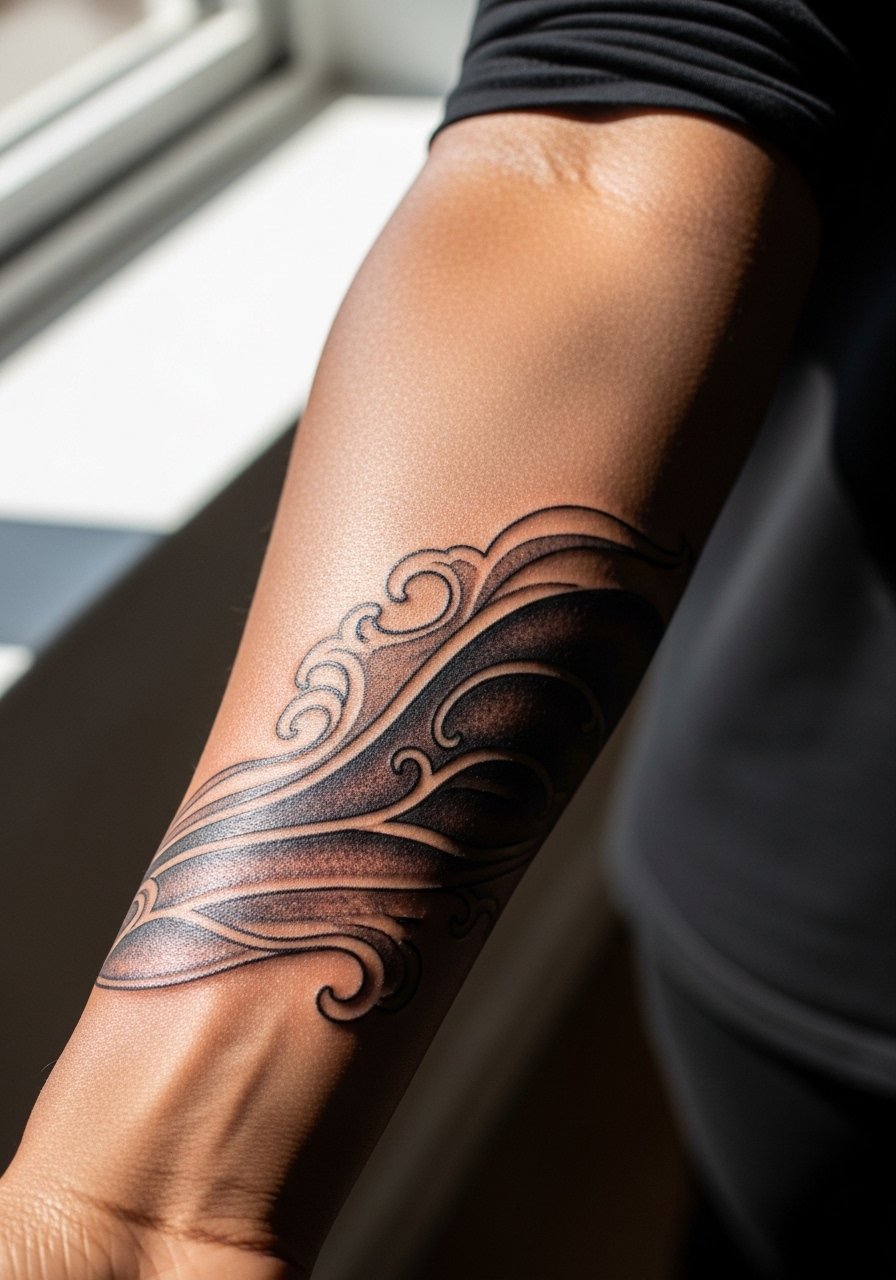
3. Wrist-to-Forearm Wave Band
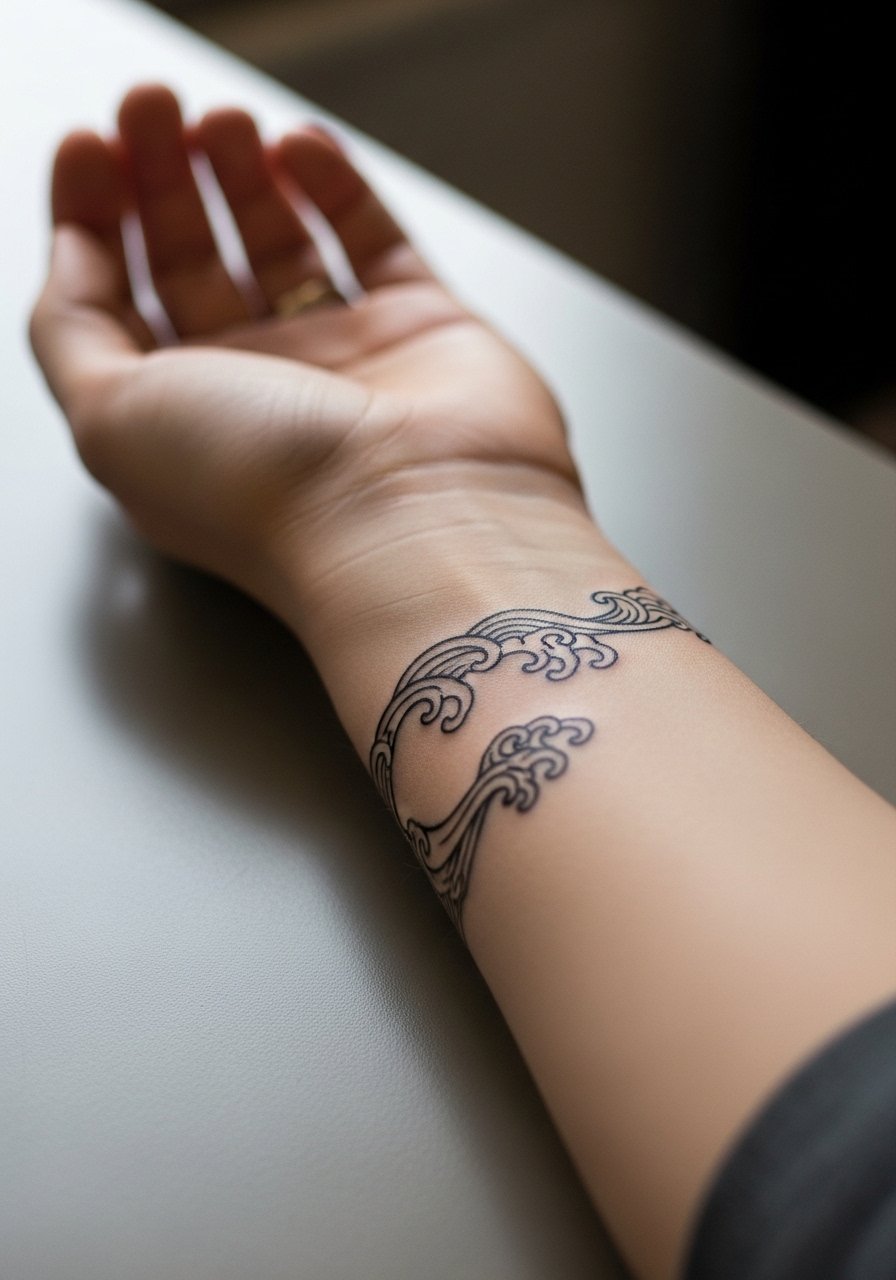
Fair warning: wrist-adjacent work feels sharper during the session than mid-forearm. This band reads bold from a distance and works well in a single 90-minute slot if you keep the scale medium. Tell your artist you want negative space between crest swirls to prevent early blurring. A common mistake is compressing too much detail into a thin band. For evening wear, pair with a minimalist gold watch or thin bracelets so the pattern keeps the focal point and the accessories do not crowd it.
4. Micro-Realism Crane in Flight on Outer Forearm
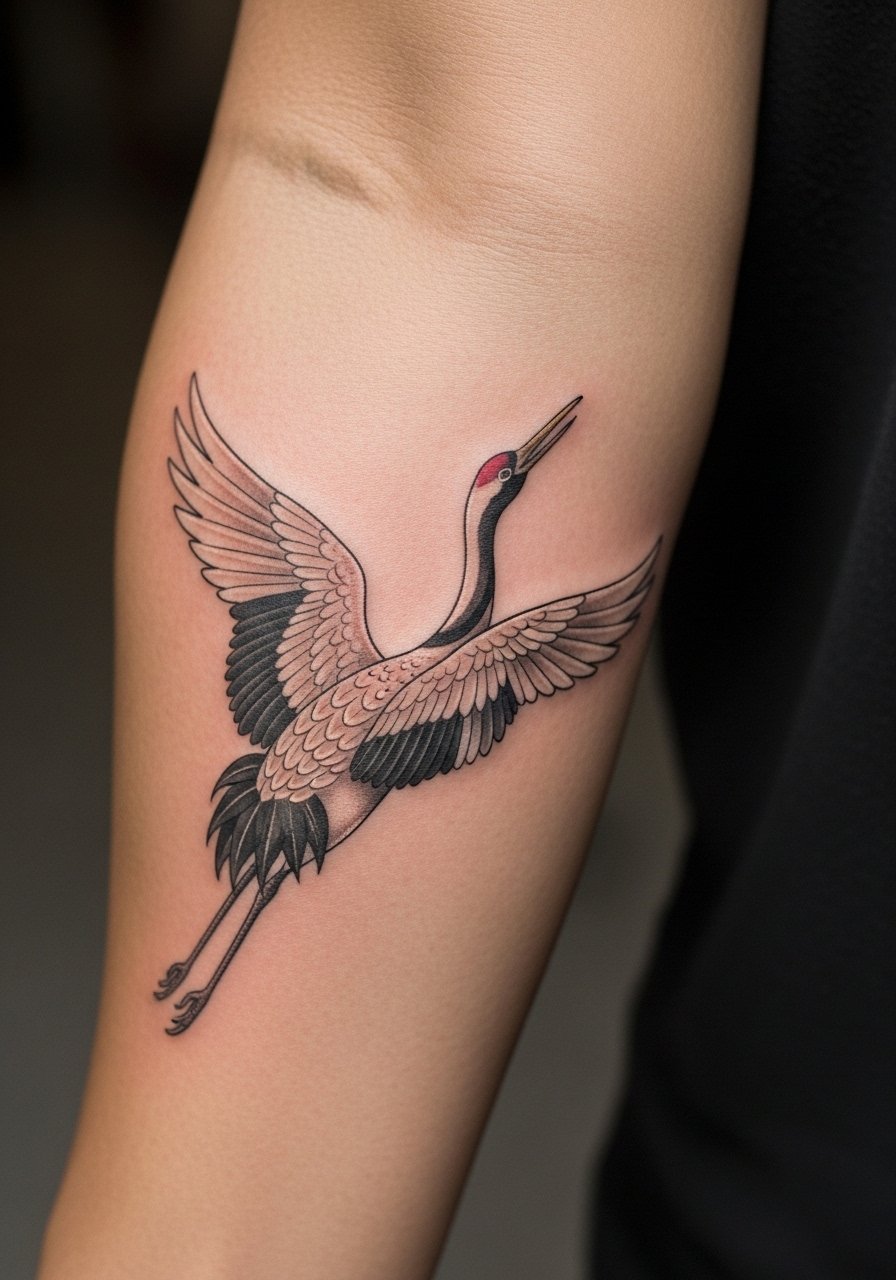
There is a visual payoff to keeping the crane slightly larger than you expect. Pain level is on the lower side for outer forearm. This piece can run one two-hour session depending on detail. Bring photos that show feathers and wing positioning so the artist nails scale. Most micro-realism shrinks visually as it heals, so expect crisp detail at six months and slightly softened feathers at two years. Avoid asking for hairline detail in tiny areas, that is a common mistake. Show-off pairing works with rolled sleeves and a thin chain pendant necklace that rests above the forearm when the sleeve is pushed up.
5. Peony with Wave Background on Inner Forearm

When you sit down with your artist for a floral and wave combo, bring references that separate petal edge from background shading. Expect moderate pain and a 90 minute session for a medium piece. The biggest mistake is using too much stipple in the petals close to heavy black waves. Ask for clearer margins so the petals do not fill in with time. For the session, wear a racerback tank so your sleeve can be moved without constriction. Color saturation here ages well if the artist layers pigment evenly.
6. Hitsuzen Dragon Wrap Around Forearm
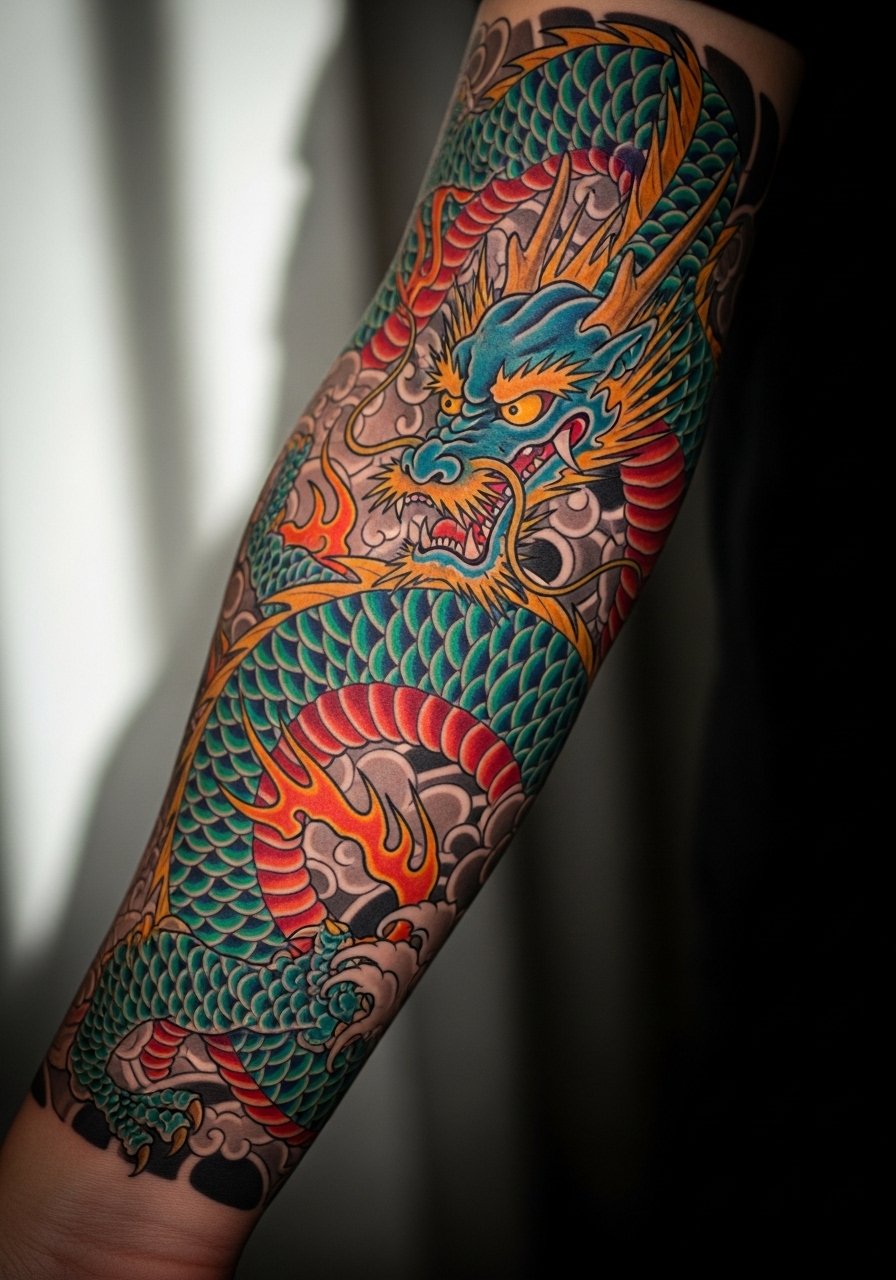
There is a visual impact to a wrap that follows the limb curve. Expect two sessions totaling three to five hours depending on how much color you want. Pain is moderate to high near the bone on the outer edge. A common error is starting the dragon too low on the wrist where motion stresses the ink. Mention you want the head and claws placed on flatter planes of the arm so detail survives over time. Some people view full Irezumi-inspired pieces as cultural borrowing. One camp urges adaptation or working with artists who can speak to tradition, and the other sees respectful interpretation as acceptable. Make your position clear in consultation.
Pre-Session Essentials
The lower-arm and wrist designs above benefit from different prep than fuller sleeve pieces, so a short kit makes the appointment smoother.
-
Stencil transfer paper kit. Lets you preview exactly where linework will sit on the forearm before the needle hits skin.
-
Topical numbing cream. Applied about 45 minutes before can take the edge off wrist sensitivity for shorter sessions.
-
Thin protective film roll. Useful for lower forearm bands and wrist work that experience friction in the first week.
-
Fragrance-free gentle body wash. Cleanses the area without stripping freshly deposited pigment while you shower.
-
Aquaphor healing ointment. A thin layer for the first few days helps keep moisture in without suffocating fine line channels.
7. Minimalist Torii Gate Near Wrist

Visual impact for a tiny architectural motif is all about proportion. Pain is higher at the wrist and this usually fits a 30 to 60 minute slot. Tell your artist to keep the gate slightly taller than you think so the verticals hold. A common mistake is drawing the crossbar too thin, which blurs first. For showing it off, a rolled sleeve or short cuff and a thin bracelet keeps the focus on the gate without covering the design.
8. Spearpoint Arrow with Wave Tail on Outer Forearm
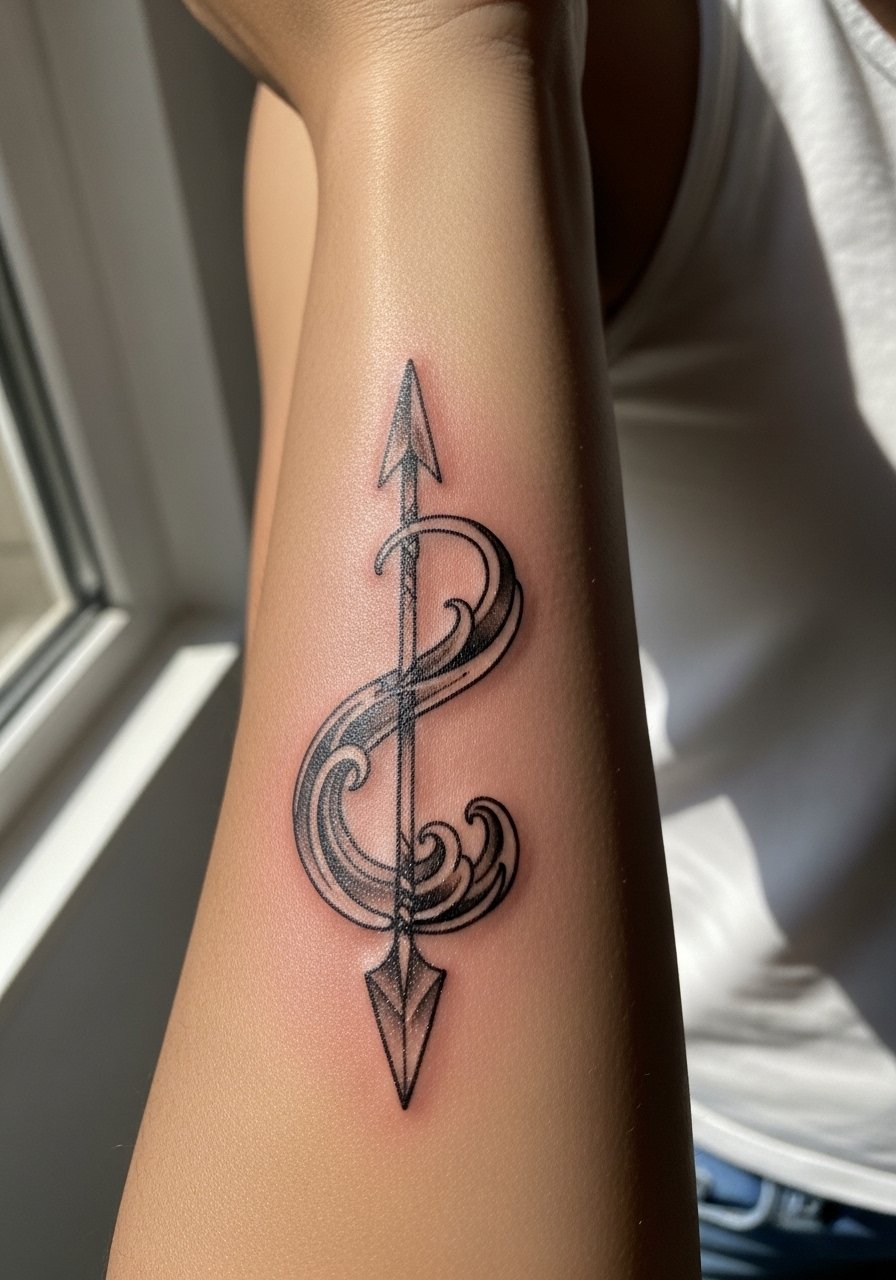
There's something about directional designs that works with forearm motion. Expect light to moderate pain and a single 45 to 75 minute session. During consultation, specify if you want the arrow aligned with the arm's natural lines or set on a slight diagonal. A frequent mistake is centering the arrow where tapering muscles distort its straightness. Smaller arrows can blur at two years, so scale up slightly for longevity. Wear a loose linen shirt when you want to show it off.
9. Kabuto Helmet Micro-Detail Near Elbow Fold
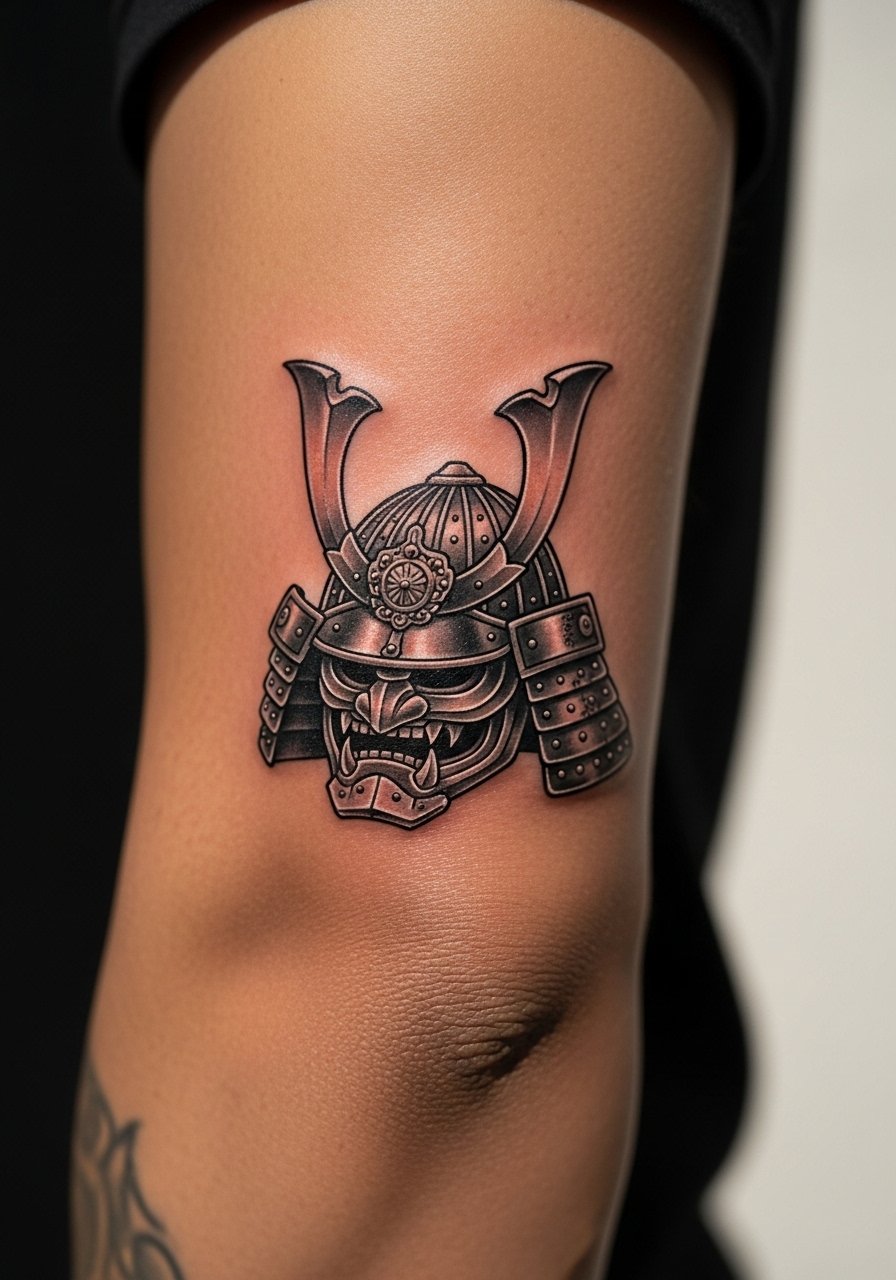
Pain spikes near the elbow crease, so fair warning before booking. This one often runs two sessions if you want micro detail, totaling around three hours. Ask your artist to map the helmet away from the fold so the most detailed elements fall on stable skin. A common mistake is compressing too much ornament into the crease. For session day, wear a loose button-down shirt that lets you roll the sleeve cleanly without rubbing the fresh ink.
10. Stipple Shaded Kiku Chrysanthemum Band

Stipple work ages predictably when dots are spaced properly. Pain level is moderate and a medium band often requires a two-hour session. Be explicit about dot density so it does not compact into a grey block in two to three years. The biggest mistake is asking for very tight stippling in narrow areas. This style pairs well with short sleeves and a simple cuff bracelet to keep the band visible without distraction.
11. Dot Work Wave with Mount Fuji Silhouette
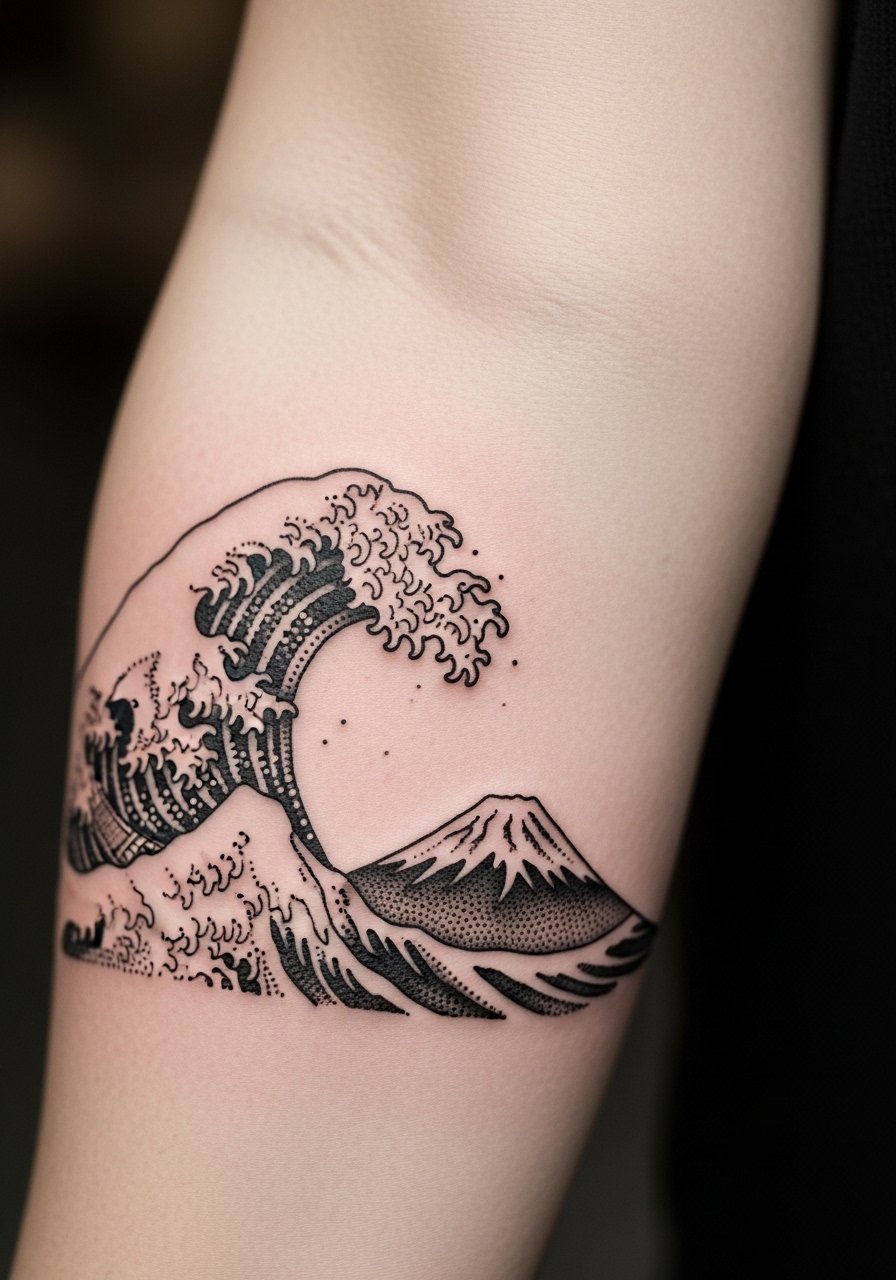
I've noticed dot work reads as texture rather than a solid block when scaled slightly larger. Pain is low to moderate and this typically fits into a single two-hour slot. During consultation, show distance references so the mountain reads crisp against the dotted water. Many clients ask for too small a mountain peak and it loses definition as it heals. Pair this with a rolled sleeve or a short-sleeve linen shirt to let the negative space breathe.
12. Kanji Script with Red Seal Accent Near Wrist
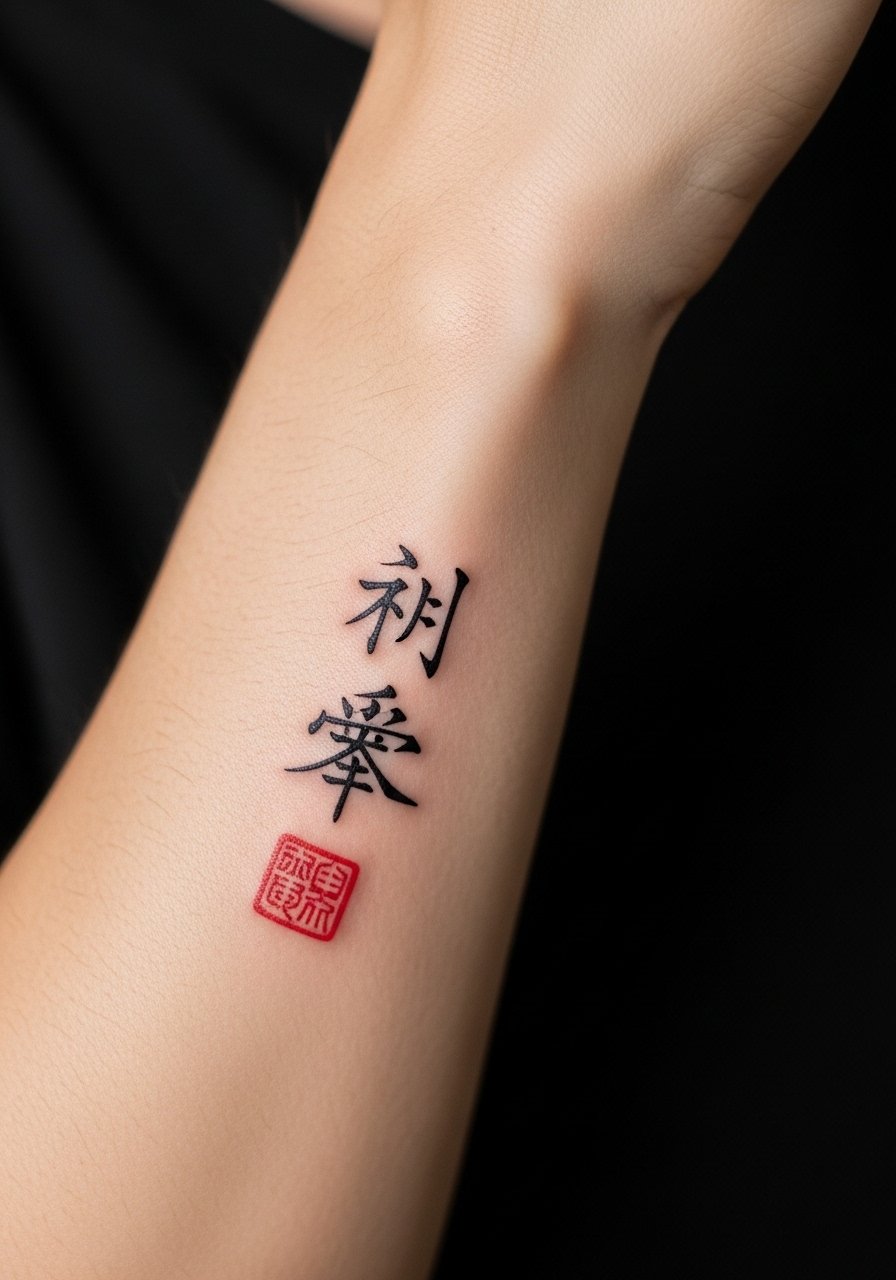
Consult closely on translation and font. Pain at the wrist is sharper, so plan a 45 to 75 minute slot. One common mistake is choosing a font that looks delicate on paper but fails as tiny linework. Ask your artist to stencil the exact characters in place before confirming. Script tends to soften slightly by year two, so scale letters large enough for legibility. For respect of origin, consider noting the phrase's source and meaning to your artist so any stylized seal is applied thoughtfully.
13. Crane and Bamboo Vertical Composition
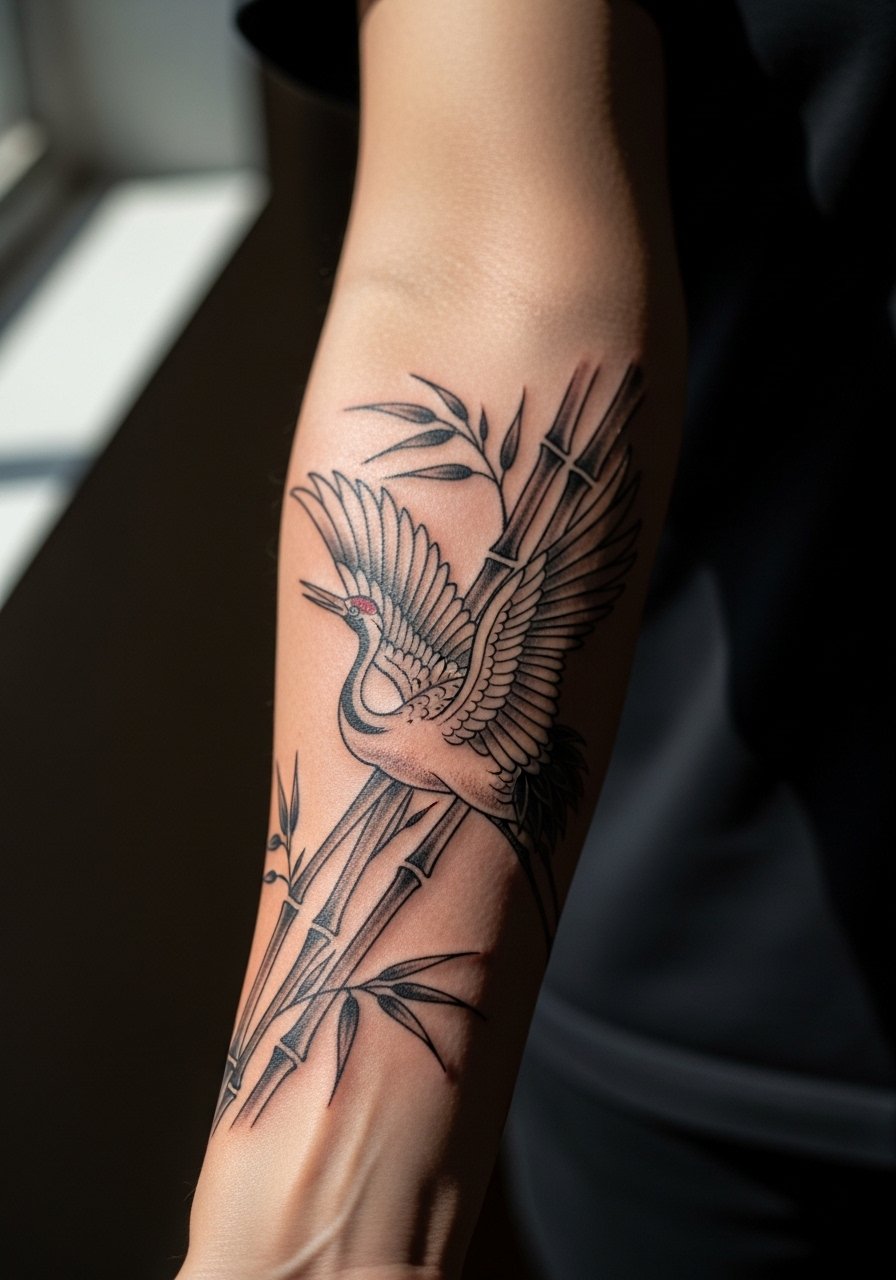
A vertical layout plays to the forearm's natural lines and feels elegant when kept tall. Pain is moderate and the session time is usually between 90 and 150 minutes. Tell the artist you want clear separation between bamboo stalks and the crane's wings so the breathing space remains as it ages. The mistake I see most is crowding foliage behind the bird. Show-off styling pairs well with a rolled sleeve blazer or lightweight jacket for evenings.
14. Minimalist Rising Sun Disc Near Elbow
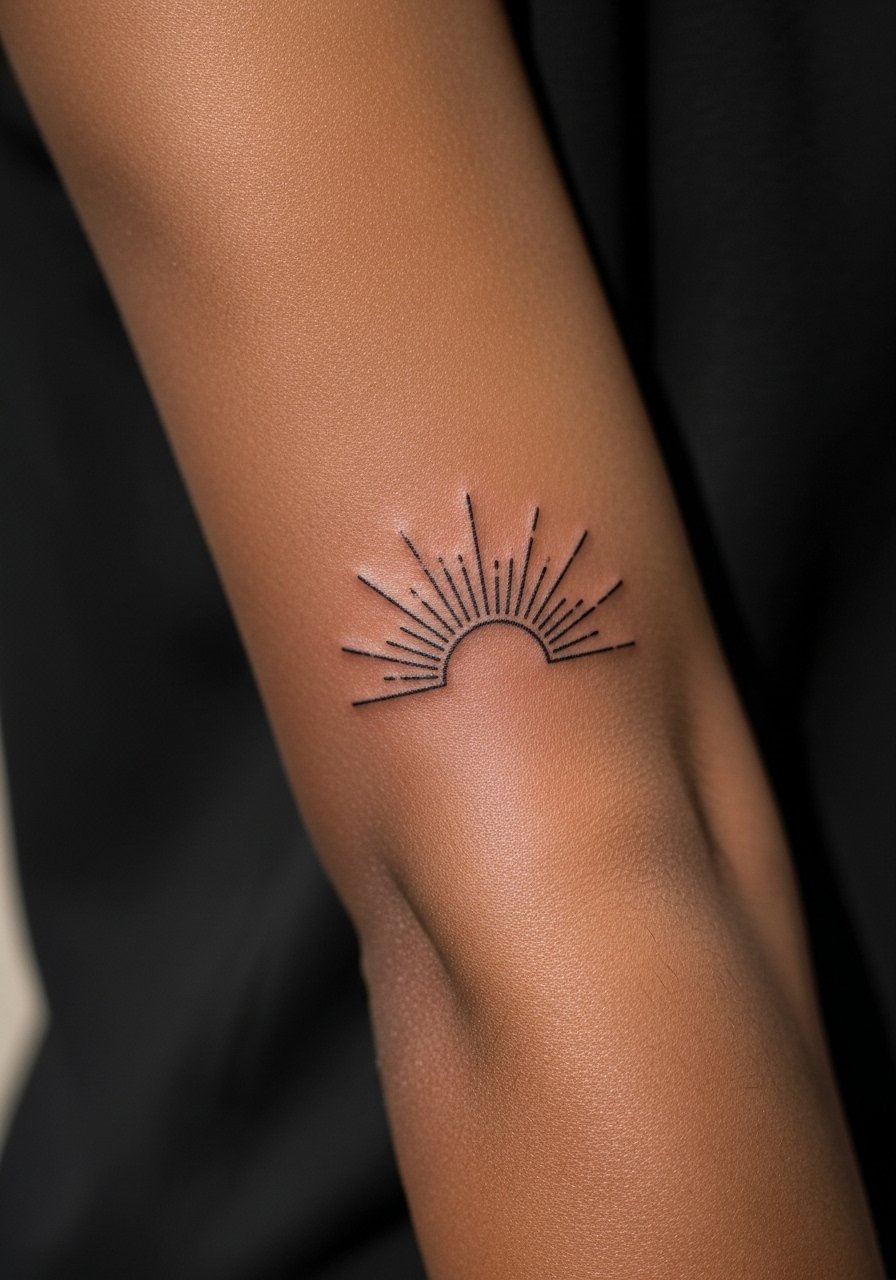
Visual simplicity depends on crisp geometry. Pain increases near the elbow but a small disc is usually done in 30 to 60 minutes. Ask for slightly thicker rays so they do not wash out at year two. A frequent error is expecting micro rays to stay sharp forever. Keep scale modest but bold. For casual wear, pair with a short sleeve tee that keeps the disc visible.
15. Watercolor-Inspired Inked Wave with Negative Space
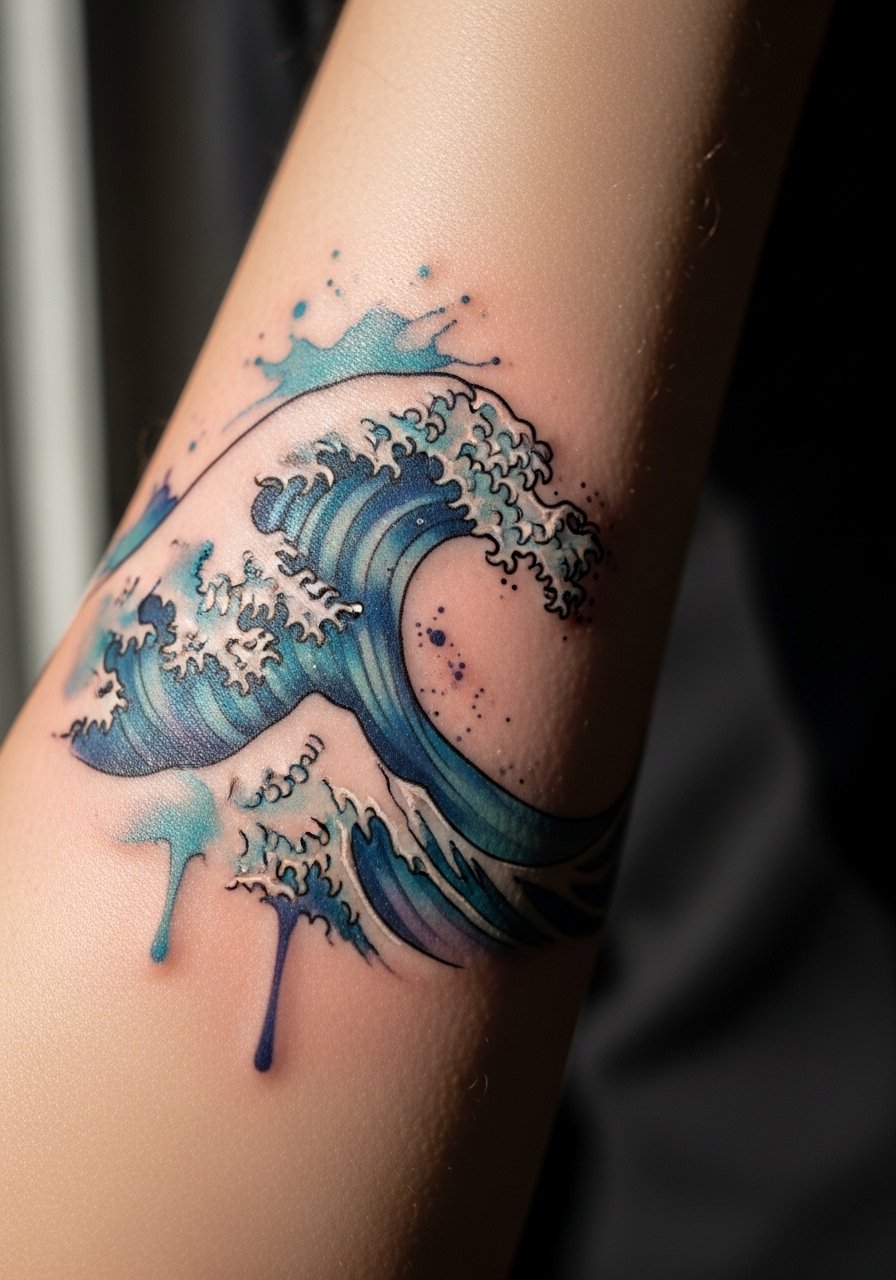
Most watercolor-inspired forearm pieces heal like soft washes rather than crisp lines. Pain is moderate and a single two-hour session can cover a medium wash. Artists are split on whether watercolor holds on forearms. One camp argues that softer edges need touch-ups earlier because pigment disperses, and the other camp says controlled saturation and slight outlines preserve the look longer. Discuss the expected touch-up timeline with your artist. For showing it off, a flowy open shirt or kimono-style top complements the painterly aesthetic.
16. Samurai Crest Circlet Around Lower Forearm
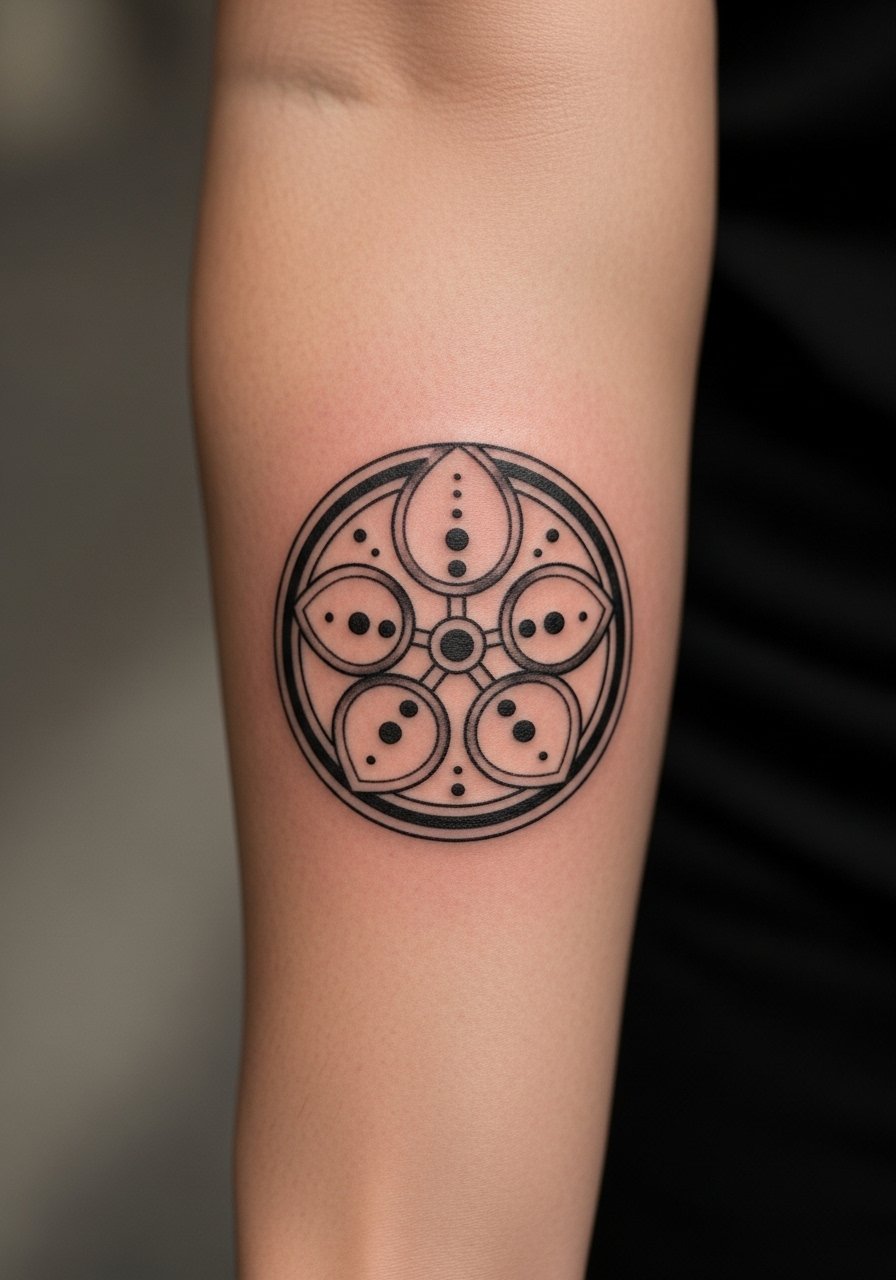
Circlets read best when evenly spaced. Pain at the lower forearm is moderate and this piece can fit a 90-minute session. Tell the artist you want symmetry checked with the arm relaxed and flexed so it sits correctly in both positions. A common mistake is designing a circlet that rides into the wrist crease where movement distorts it. Keep the crest slightly above the crease to avoid that.
17. Thin Blackwork Wave Sleeve Accent
Blackwork saturation ages differently from color. Expect heavier sensation during the session when large black fills are laid in. Sessions can stretch to multiple shorter appointments if you prefer. Ask for consistent packing so the black stays even and touch-ups are minimized. Many people underestimate how much time solid fills need. Pair this with a black leather cuff for a coordinated look.
18. Single-Line Continuous Crane Outline
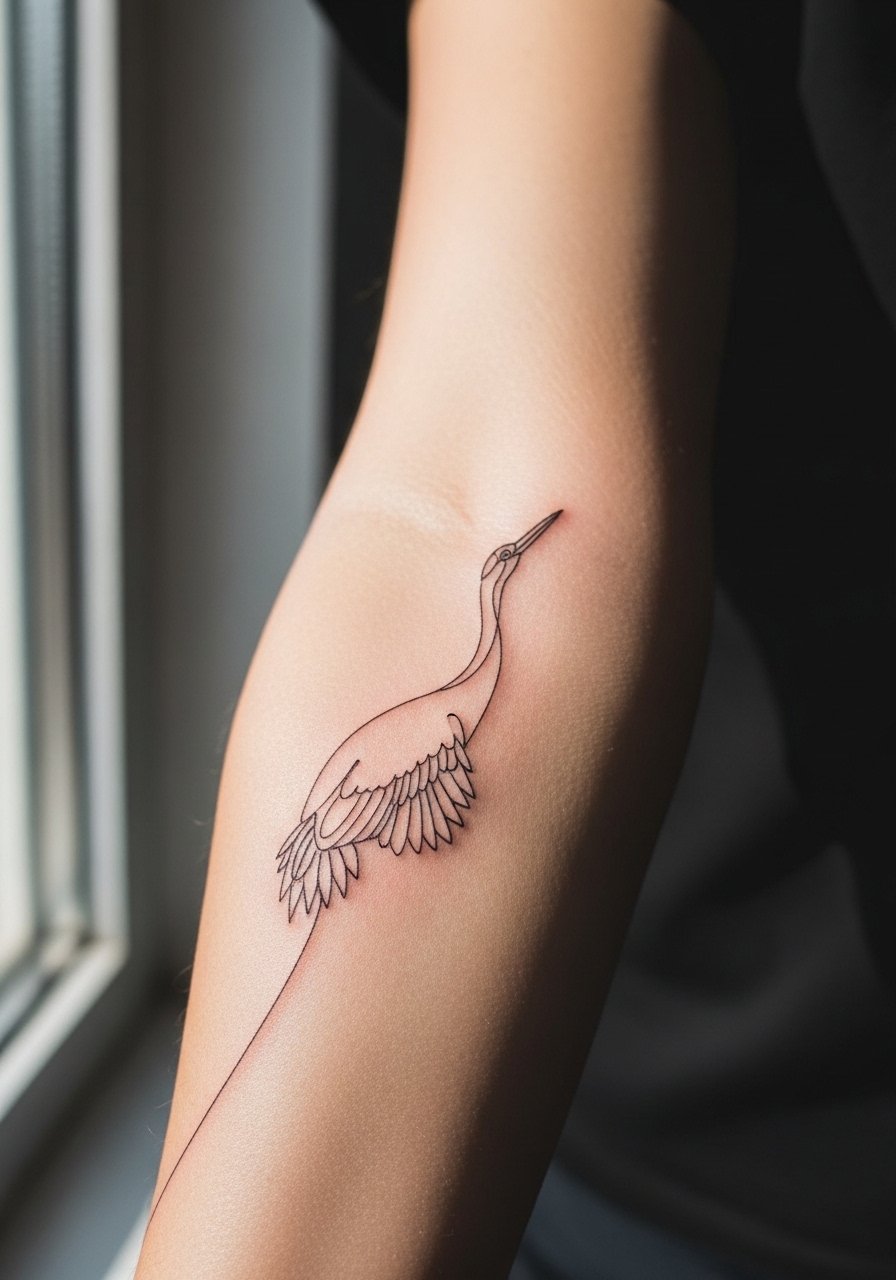
There is a risk and reward to unbroken single-line pieces. Pain is low to moderate and a steady hand can complete the design in 45 to 75 minutes. Ask the artist to mark the start and end points so you can visualize negative space. A typical mistake is pushing the line too thin for long stretches, which can look faint after healing. Scale with room and prefer a slightly bolder line weight for longevity.
19. Chrysanthemum and Snake Interlock
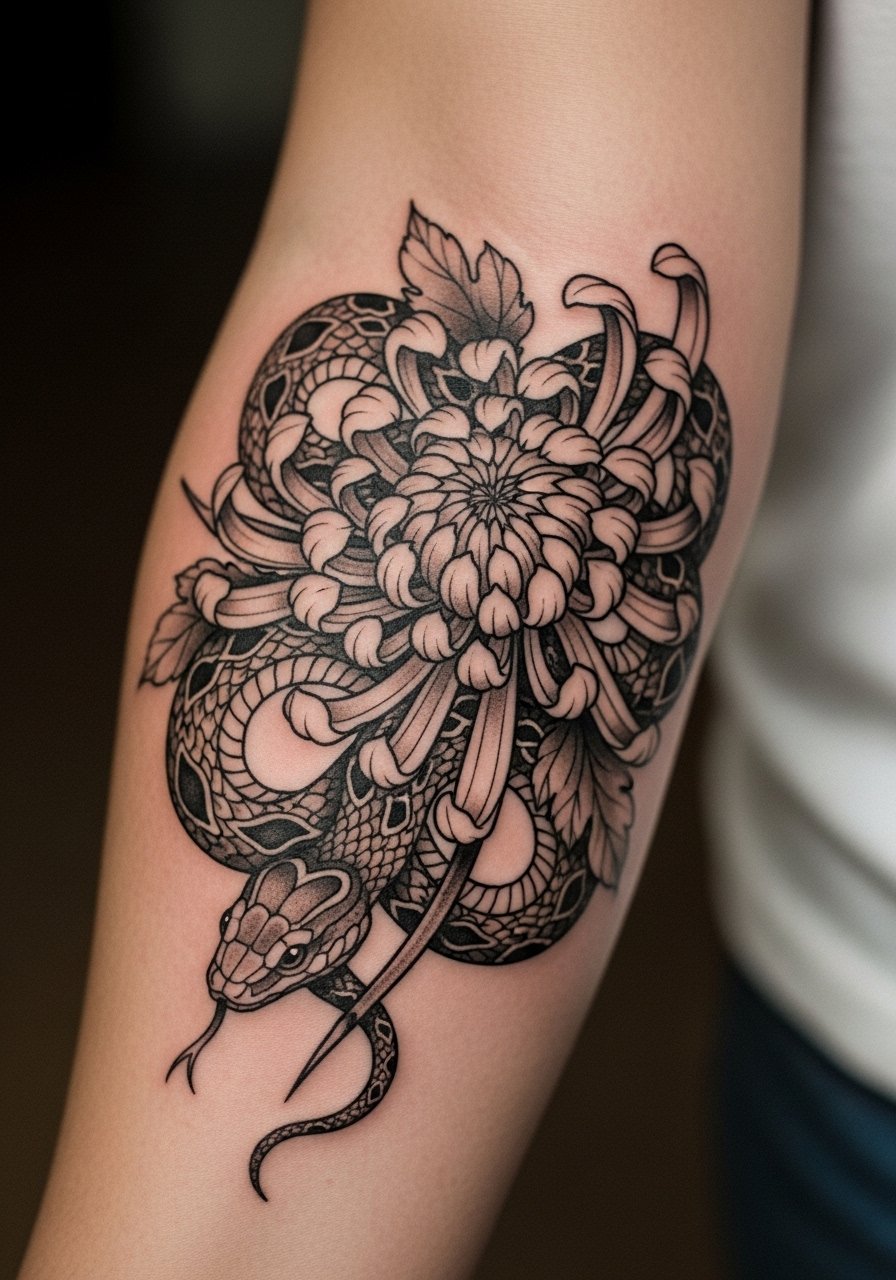
This pairing uses contrast between floral curves and sinuous scales. Pain is moderate and a medium piece often takes two sessions. In consultation, specify which feature you want dominant. Too much scale detail against tight petals can blur into visual noise. Older work shows that clearly prioritized focal points survive best. For showing it off, a rolled sleeve linen shirt in neutral tones lets the contrast read clearly.
20. Rising Phoenix Feather Trail Up Forearm
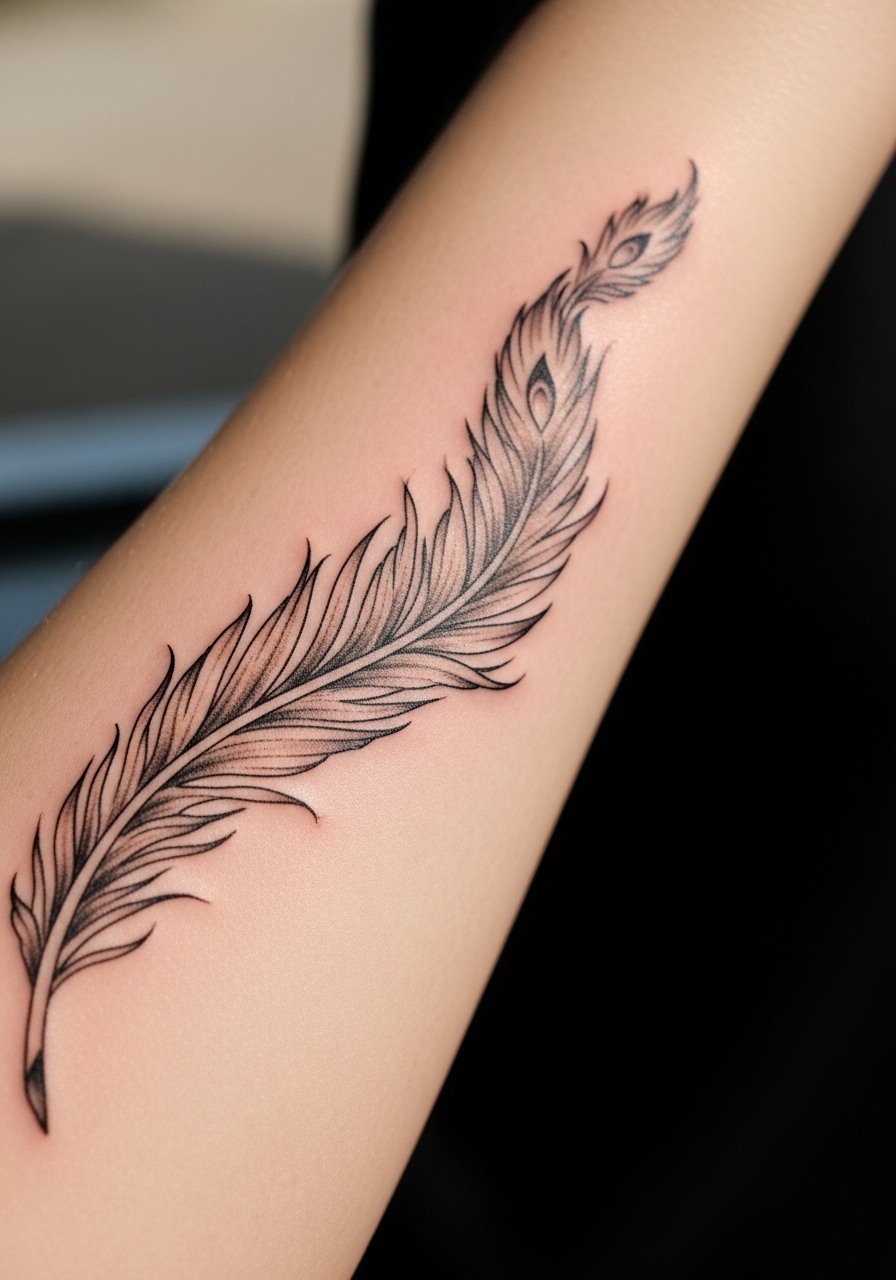
Feathered motifs need layered shading to keep depth. Pain level is moderate and the session time is usually one to two hours for a medium trail. Tell your artist to leave subtle highlight gaps so the feathers do not compact into a flat grey. A common mistake is over-layering dark shading near feather tips. This design pairs well with sleeveless tops or a tank top to let the feather trail show.
21. Mizuhiki Knot Rope Band Near Wrist
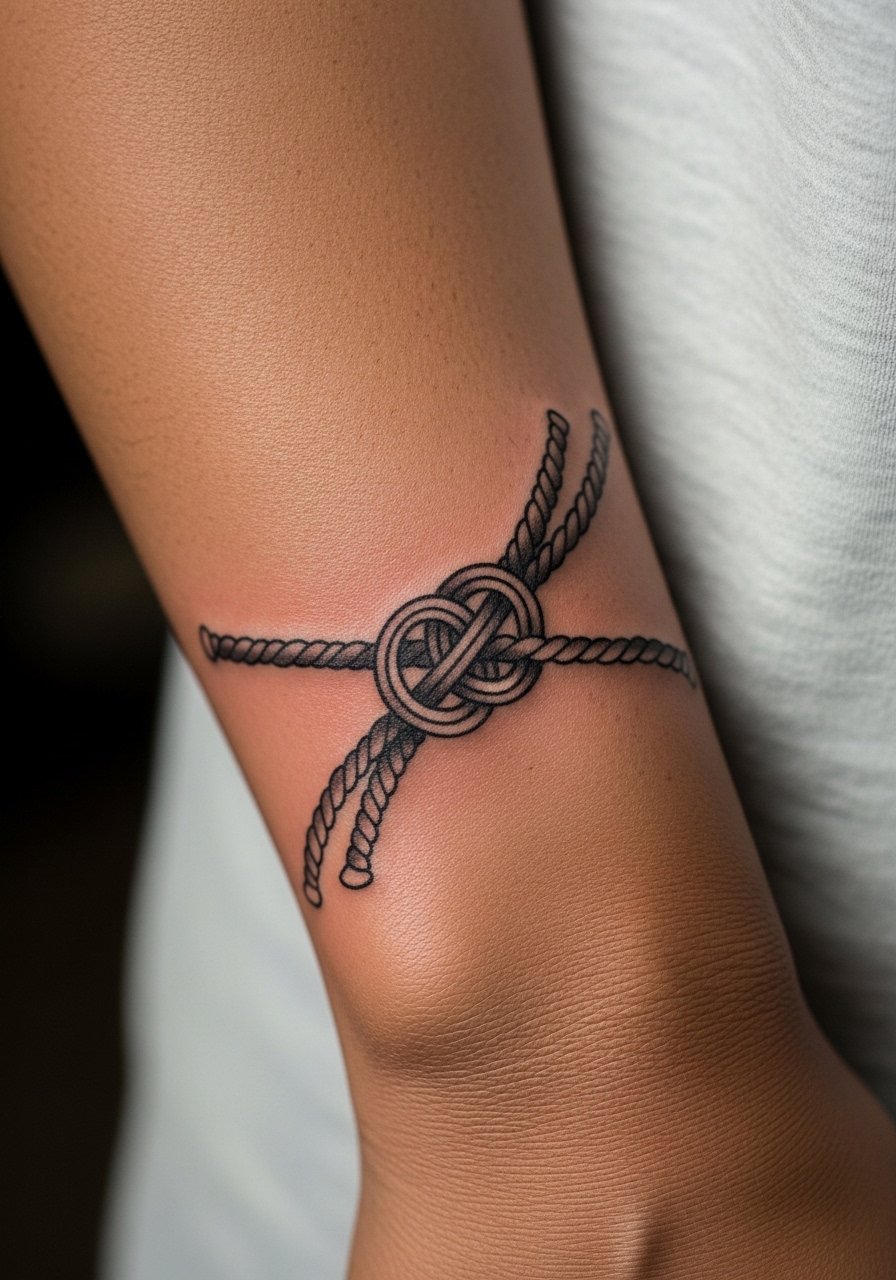
Small knotwork involves precise line spacing. Pain is higher near the wrist so expect a 45 to 90 minute session. Ask the artist to stencil the knot larger than pencil sketch size to keep individual strands readable over time. The biggest mistake is cramming too many rope crossings into a tiny band. For sessions, wear a loose sleeve you can pull back so the artist has easy access and the fabric does not rub the fresh ink.
Frequently Asked Questions
Q: Will fine line Japanese motifs on the forearm need more touch-ups than traditional bold Irezumi?
A: It depends on scale and placement. Fine line pieces on the forearm can blur sooner if lines are very close together or sit over high-motion areas like the wrist. Traditional bold Irezumi with heavier saturation often holds longer. Ask your artist about spacing and touch-up plans during the consultation.
Q: How should I choose between inner and outer forearm placement for a koi or dragon?
A: Think about visibility and movement. Outer forearm tends to show better to others and sits on firmer skin. Inner forearm is softer and can show more detail up close but may experience faster wear in tight, detailed areas. Try a stencil placement in natural light for a day to see how it reads with your daily gestures.
Q: Are there cultural concerns with getting Irezumi-inspired imagery if I am not Japanese?
A: There are two clear viewpoints. One camp urges restraint and recommends working with artists who understand the motifs and can advise on respectful adaptation. The other camp supports cultural exchange when clients educate themselves and avoid direct replication of sacred imagery. If you are unsure, state your intent in the consultation and ask how the artist would adapt the design respectfully.
Q: What should I wear to a forearm tattoo session to keep the area accessible and comfortable?
A: Pick a top you can easily roll or pull aside without tugging at fresh ink. A loose button-down shirt or a tank with a lightweight overlayer works well. Comfortable clothing helps you relax and gives the artist clean access to the forearm.
Q: How will a watercolor-style forearm piece age compared to blackwork or dot work?
A: Watercolor styles tend to soften sooner because they rely on softer edges and lighter saturation. Blackwork and well-spaced dot work usually keep their structure longer. Expect touch-ups earlier for watercolor than for dense blackwork.
Q: Can I get a forearm sleeve by combining smaller Japanese pieces over time?
A: Yes, many people build sleeves by spacing smaller motifs and letting negative space guide future additions. Plan with a loose map so future elements align. Use stencils and reference placements during early sessions to preserve room for cohesion.
Q: How do I find an artist who understands Japanese motifs and forearm placement without naming specific accounts?
A: Use discovery pathways like local shop portfolios, tattoo directories, hashtag searches for regional tags, and community forums where people post healed forearm work. Look for healed examples in portfolios rather than only fresh photos and ask about experience with similar motifs during the consult.
