
Fine line bumble bee tattoos look delicate on a screen and behave very differently on skin. Pain, placement, and how a design holds up under sun and daily wear decide whether a piece still looks crisp at year three. I want to save you the common mistakes people make when picking reference art, choosing placement, or planning touch-ups. Start with a small forearm piece that tells you a lot about how this style ages.
1. Fine Line Bumble Bee on Inner Forearm
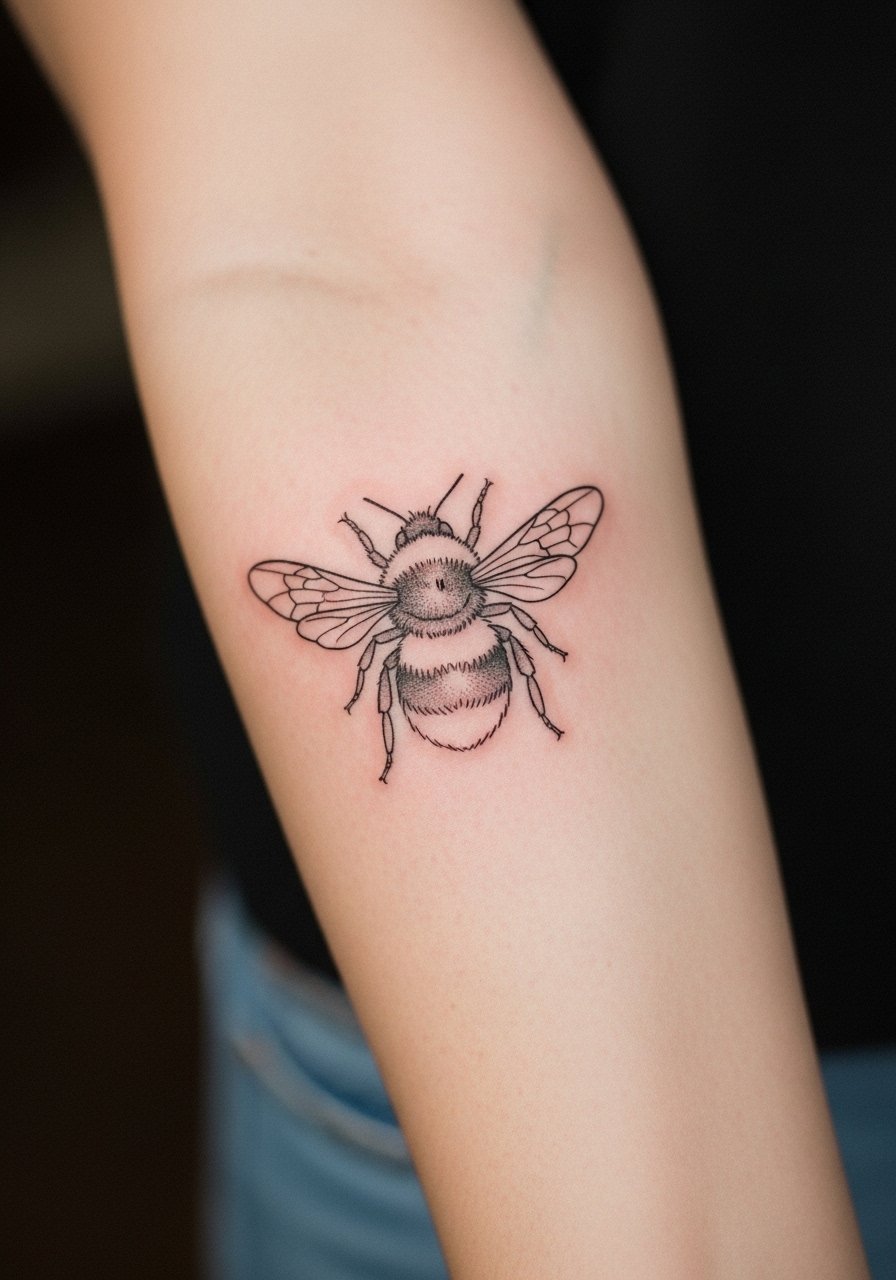
I've seen this placement go two ways. When scaled correctly the fine line forearm bee reads like a jewelry piece for years. A common mistake is asking for ultra-thin lines and tiny details that will blur into a smudge by year three. Tell your artist you want slightly heavier linework at the contour and open negative space inside the wings so stipple shading can age cleanly. Pain is low to moderate and most sessions finish under an hour. For showing it off, roll up sleeves and wear a loose linen button-down that frames the forearm without covering the design.
2. Micro-Realism Bee on the Wrist
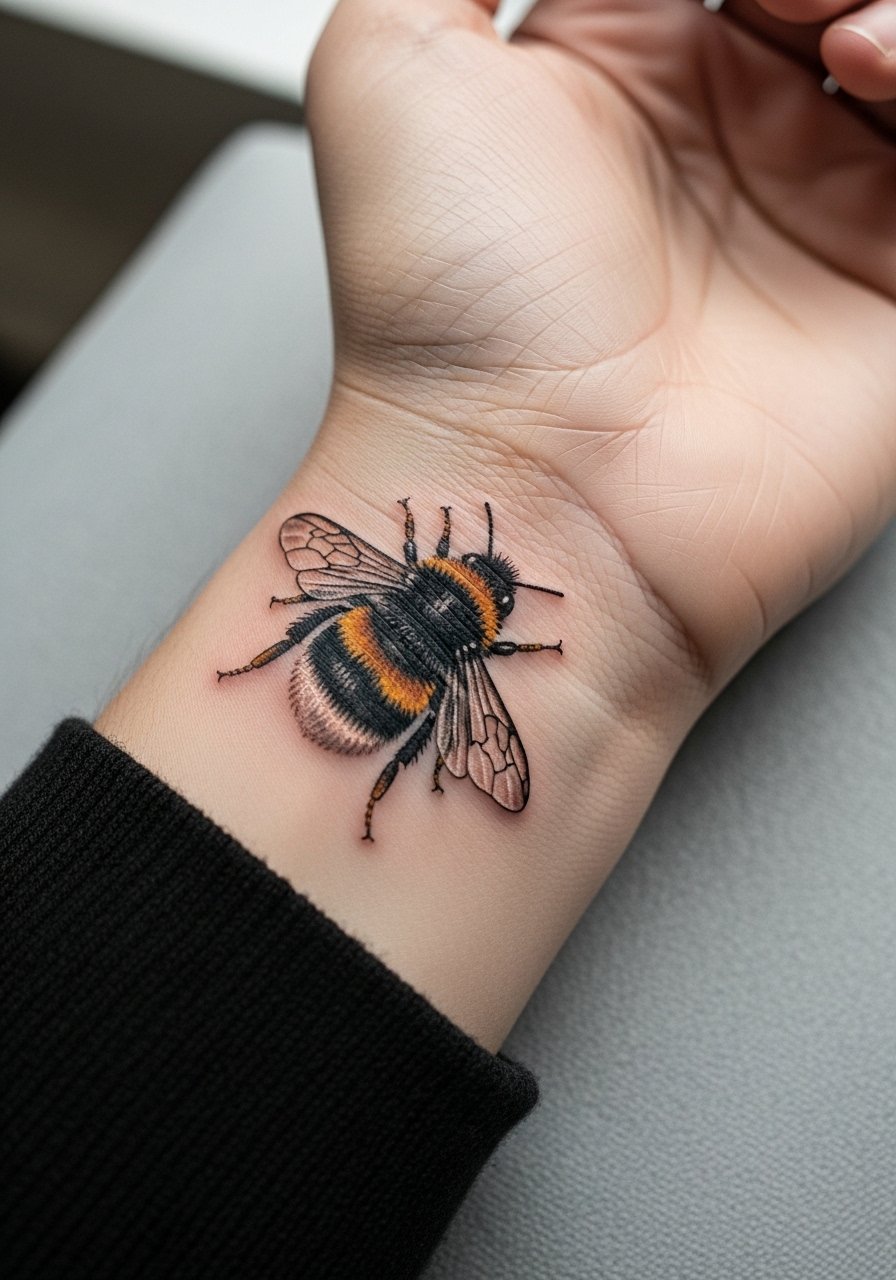
The wrist is high visibility and high friction. Expect a higher touch-up rate than the forearm because sleeves, bracelets, and frequent washing wear at the edges. During consultation, ask for slightly bolder keylines around the thorax to protect the micro shading inside. Real pain is moderate for most people because the skin wraps a small bone. A real mistake is placing the bee too close to the wrist crease. For outfit pairing, a thin chain bracelet complements the piece without rubbing the ink, and wear a soft cotton cuff to the session so the artist has easy access.
3. Traditional-Influenced Bee on the Ankle
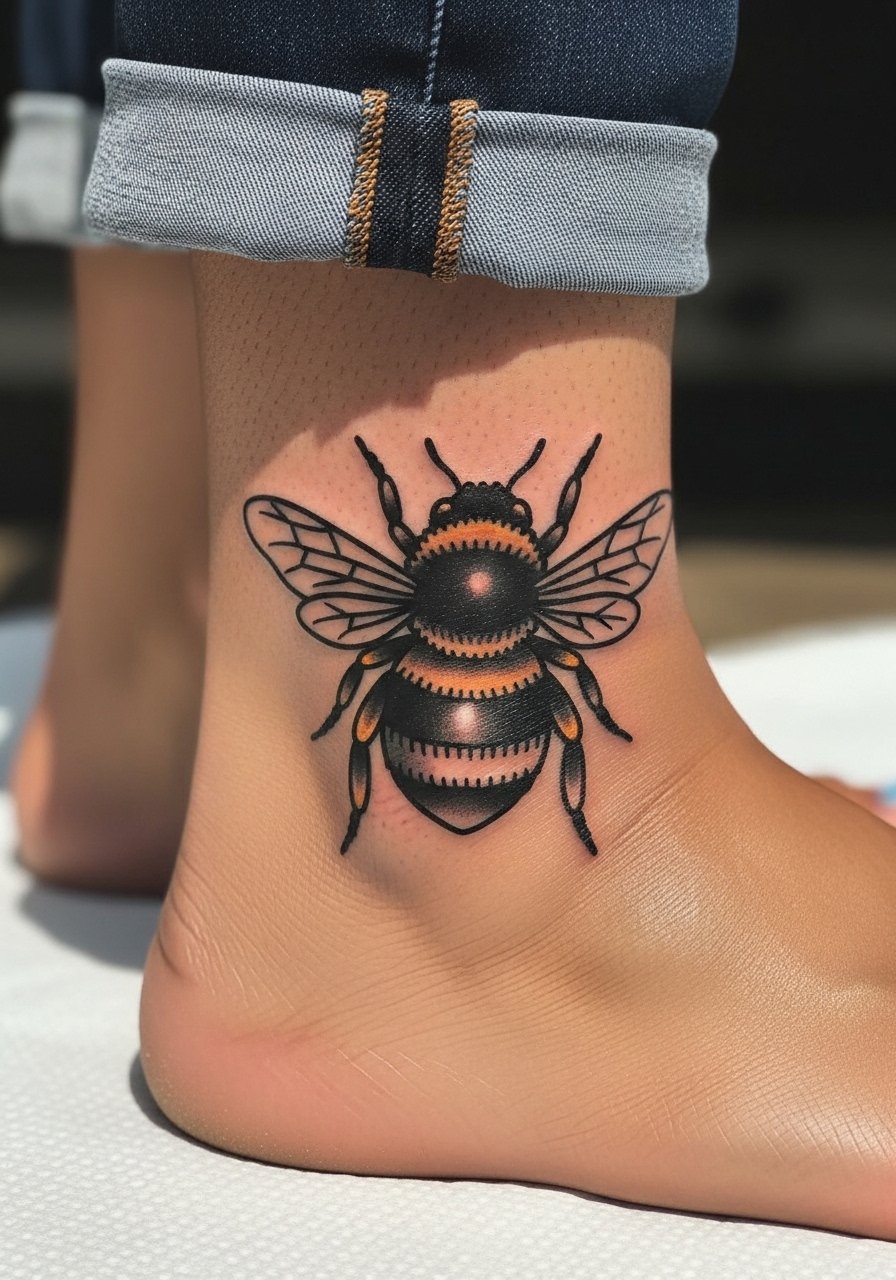
Ankle placements take friction from shoes and socks. Traditional saturation helps the bee age better here because saturated black resists blurring more than faint lines. Expect a stiffer session feel near the bone and moderate pain. A frequent error is asking for a highly detailed thorax that sits too small; lines need room. During the first two years the outline will be the anchor, color or stipple inside will soften. For wearing it out, slip into strappy sandals that keep the ankle visible and reduce sock abrasion during healing.
4. Dot Work Bumble Bee on the Shoulder Blade
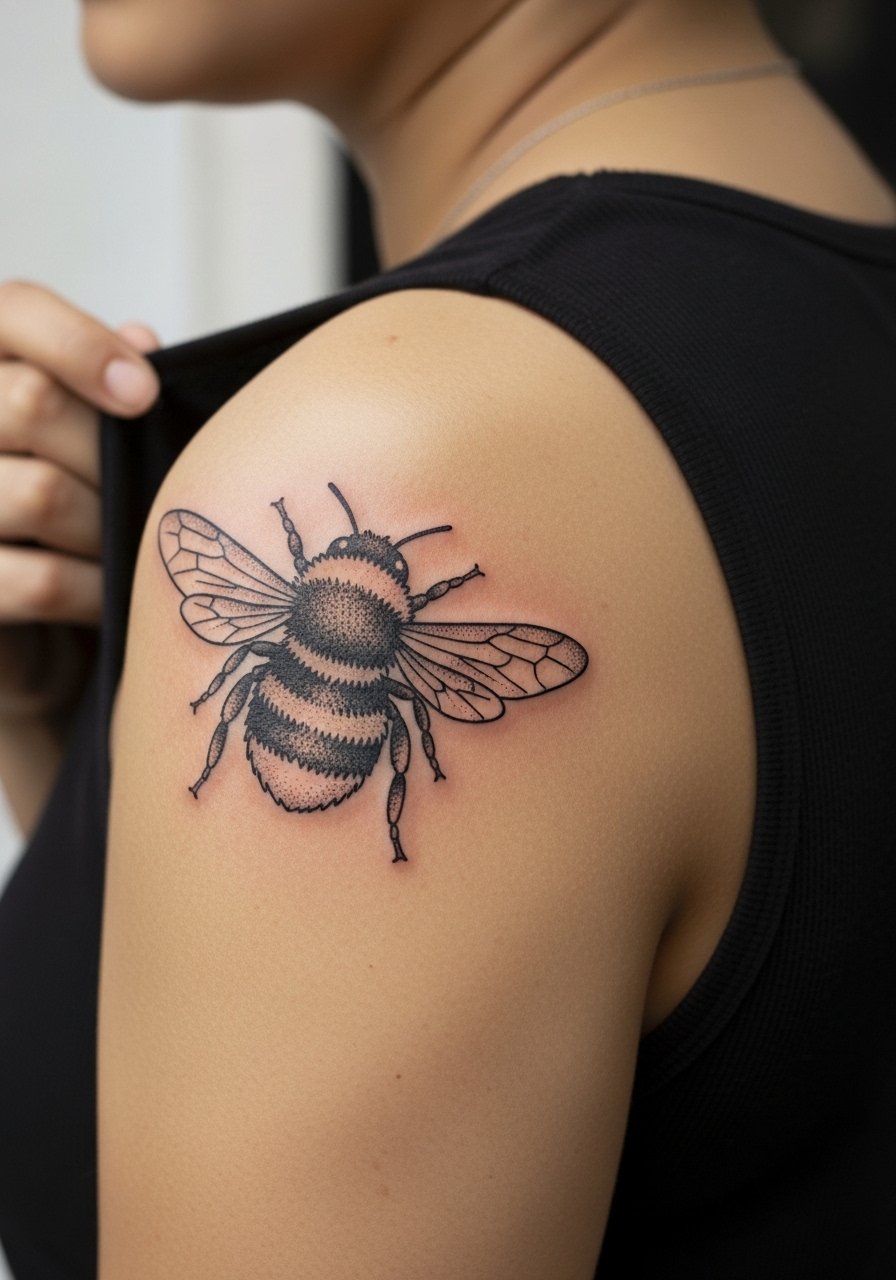
Shoulder blade skin is forgiving and handles dot work well because it stretches less than the ribcage. Tell the artist to prioritize dot work for gradients instead of continuous gray wash so the texture holds. Most people find the session comfortable with only occasional sharp spots when the needle crosses the shoulder blade edge. A typical mistake is compressing too many small elements into a compact layout. For showing this off, open-back tops or a thin strap tank highlight the bee without distracting from the stipple shading.
5. Tiny Bee Between the Fingers
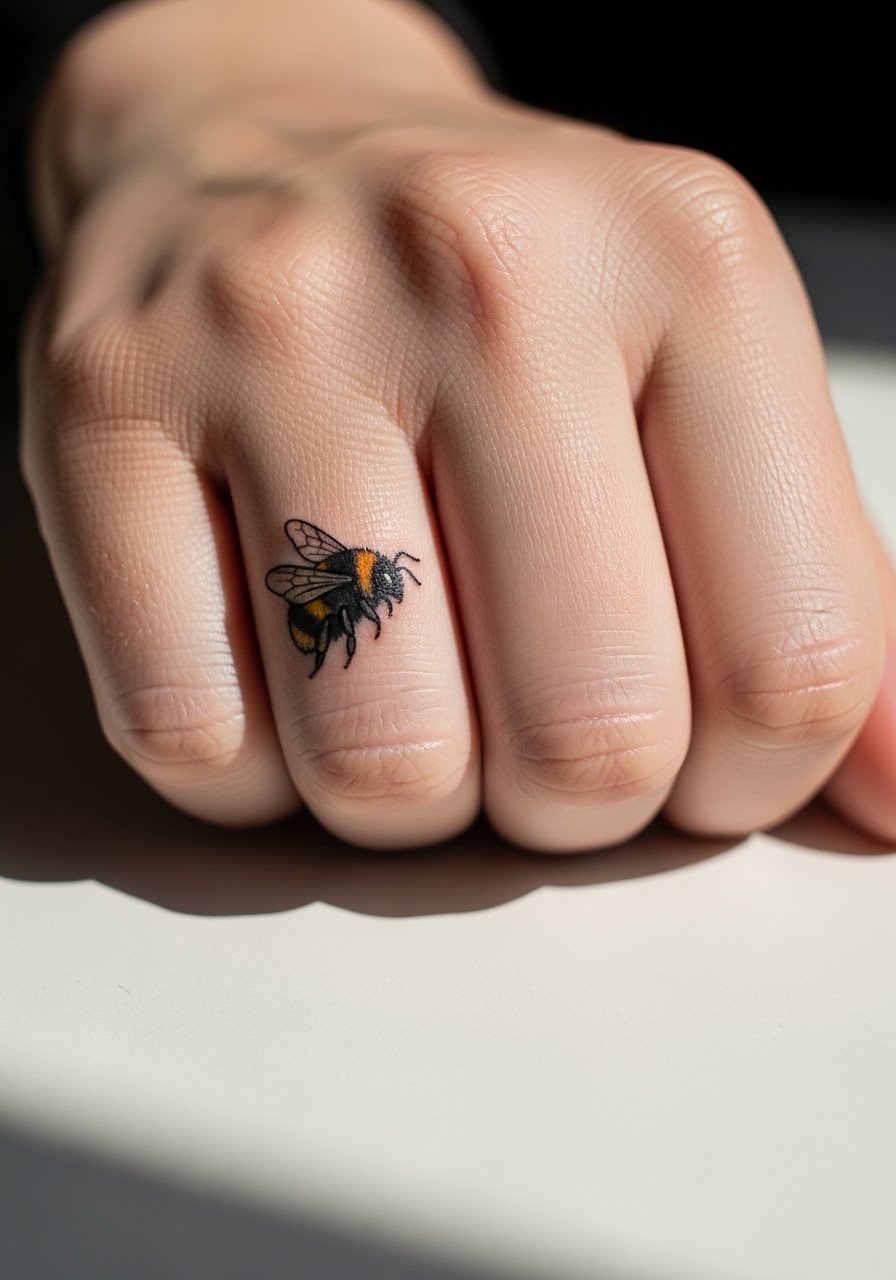
Finger tattoos are convenient but unforgiving. Blowout risk is higher because skin is thin and the area sees constant use. Expect touch-ups more often, sometimes as soon as year one. Ask your artist for simplified geometry, thicker anchor lines, and to avoid tiny inner details. The session is quick but sharp because needles hit close to bone. If you plan to wear rings, choose slim bands that sit away from the tattoo. For session wear, opt for a sleeve you can slide off without tugging at the hand, such as a button-up shirt with loose sleeves.
6. Ribcage Illustrative Bee with Floral Accents
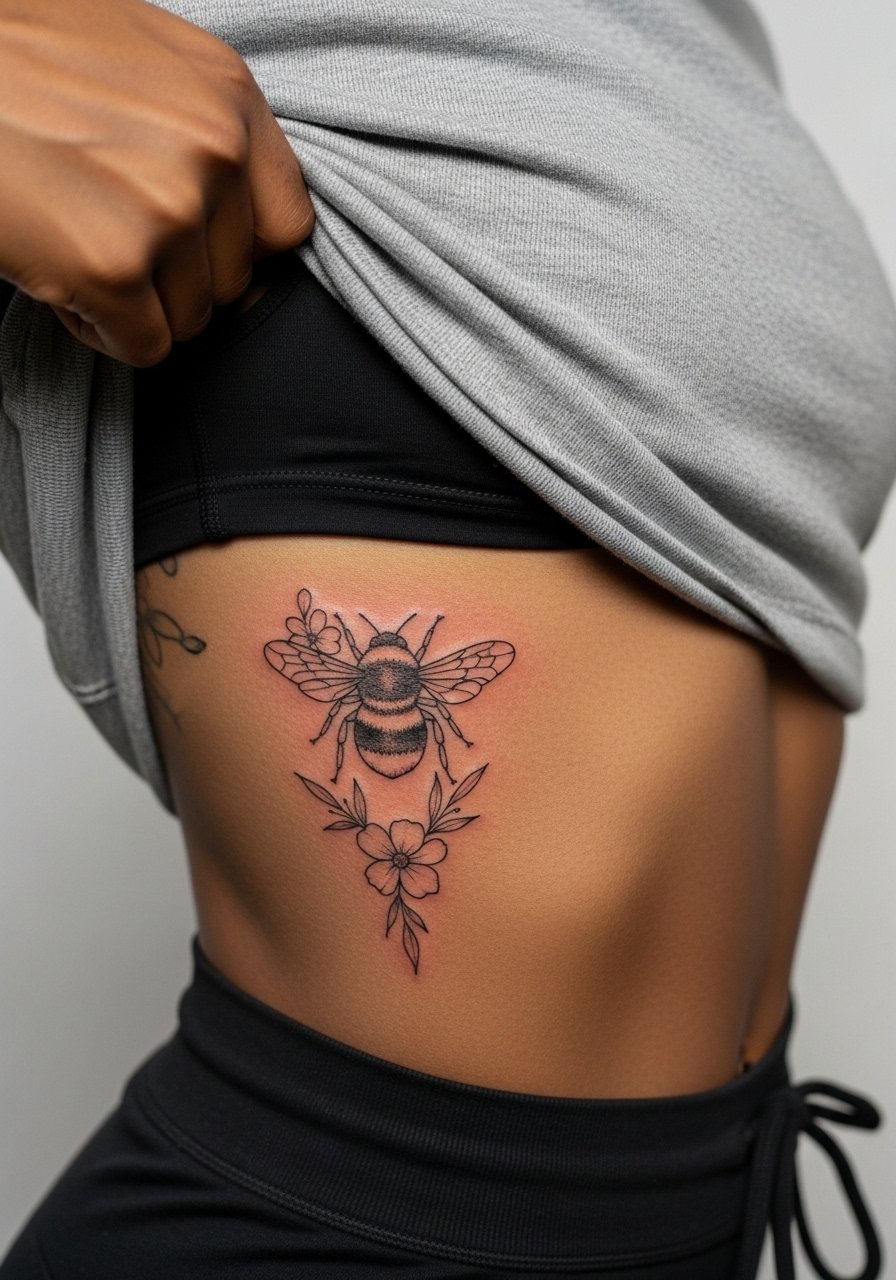
Fair warning: the ribcage is painful for many people, and the skin there moves with breathing. Artists split into two camps on fine line rib pieces. One camp argues that stretch and frequent motion blur fine lines within two years. The other camp says with correct needle depth and spacing the lines settle just fine. Ask your artist where they stand and show them references that emphasize spacing and negative space. Sessions can run longer because the area needs short breaks. For the appointment, wear a cropped athletic top that lifts easily without exposing the torso more than needed.
Studio Day Picks
The small placements above, from wrist and finger to ribs, each ask for different prep and protection during the session and the first week.
-
Stencil transfer paper kit. Lets you preview placement and scale on skin before the needle touches the area, which is useful for tight spaces like fingers and wrists.
-
Topical numbing cream. Applied as directed about 30 to 45 minutes before the session eases the rib and ankle discomfort without compromising the artist's linework.
-
Thin protective film roll. Keeps small, high-friction zones like the wrist and finger clean during the first few days when swelling and scabbing start.
-
Fragrance-free gentle body wash. Use during showers to avoid irritating fragile linework on forearms and shoulders while the tattoo heals.
-
Aquaphor healing ointment. A thin protective layer in the first 48 hours helps retain moisture for fine line pieces without clogging the tiny channels that need to settle.
7. Neo-Traditional Bumble Bee on the Upper Arm
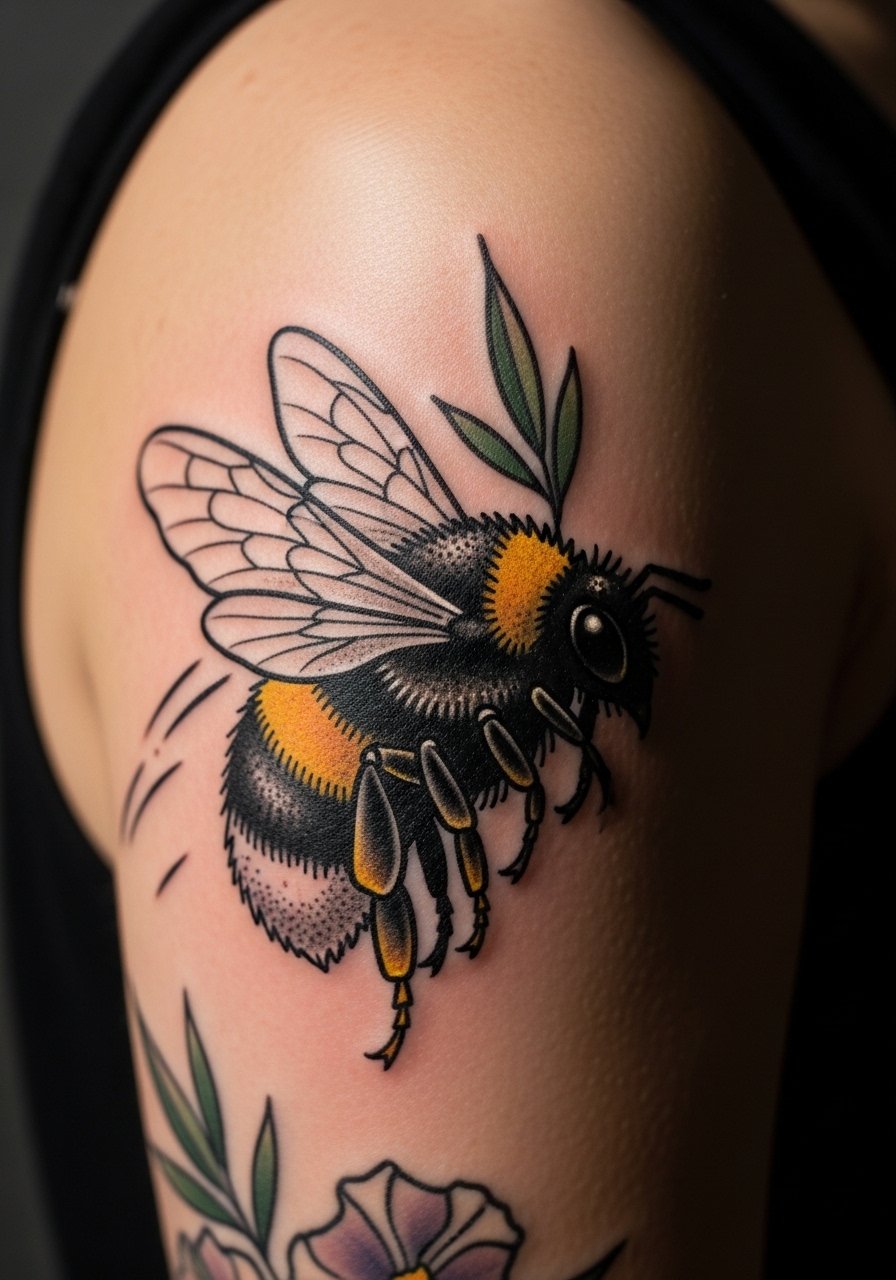
The upper arm is flattering and easy on healing. Neo-traditional saturation gives a long-lasting silhouette that still reads from a distance. Tell your artist you want the color blocked with solid edges so saturation supports the detail, and ask for touch-up expectations up front. Session pain is low and most pieces finish in one visit under two hours. People often make the mistake of cramming too many decorative elements around the bee. For daytime outfits, a rolled sleeve or a short sleeve tee keeps the arm visible and frames the bold contour without covering it.
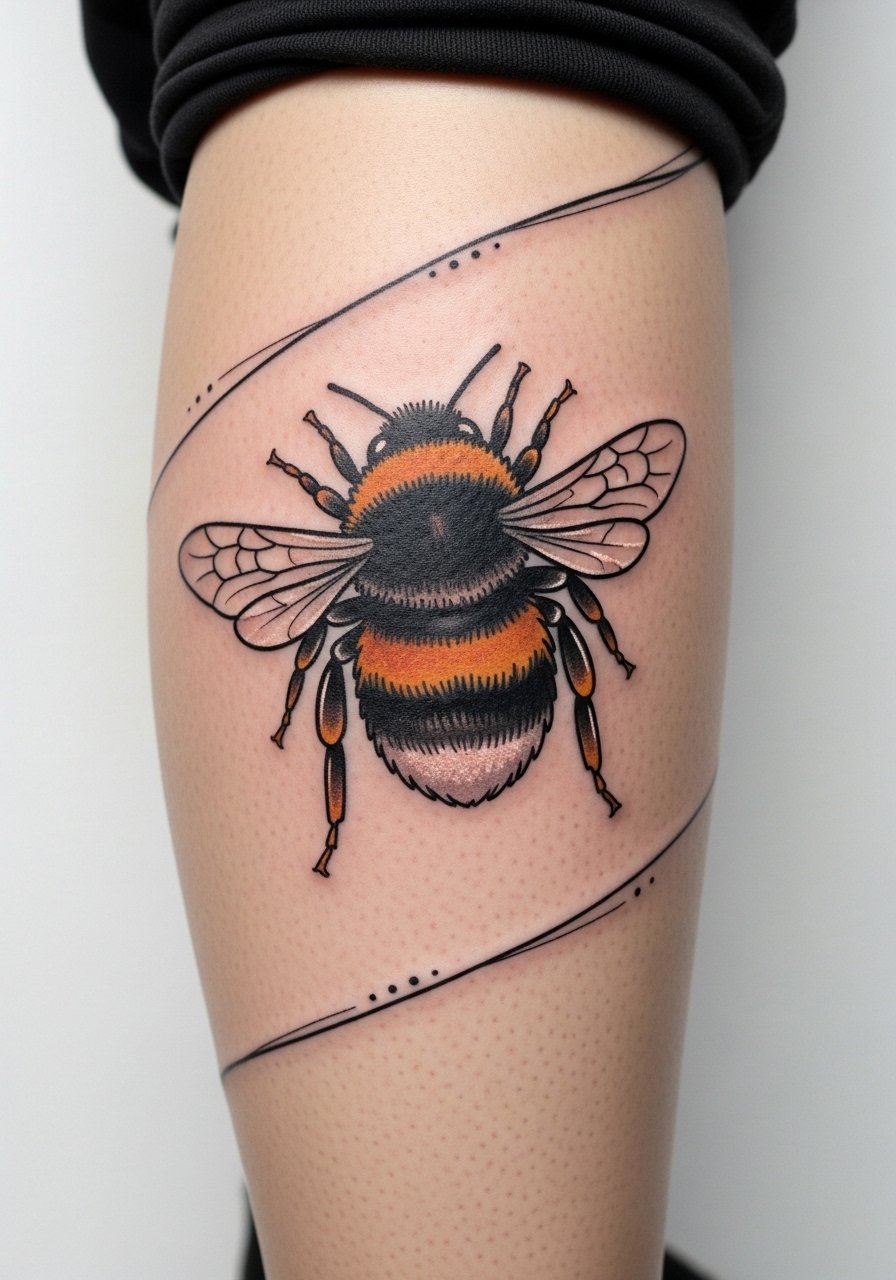
8. Watercolor-Accented Bee on the Calf
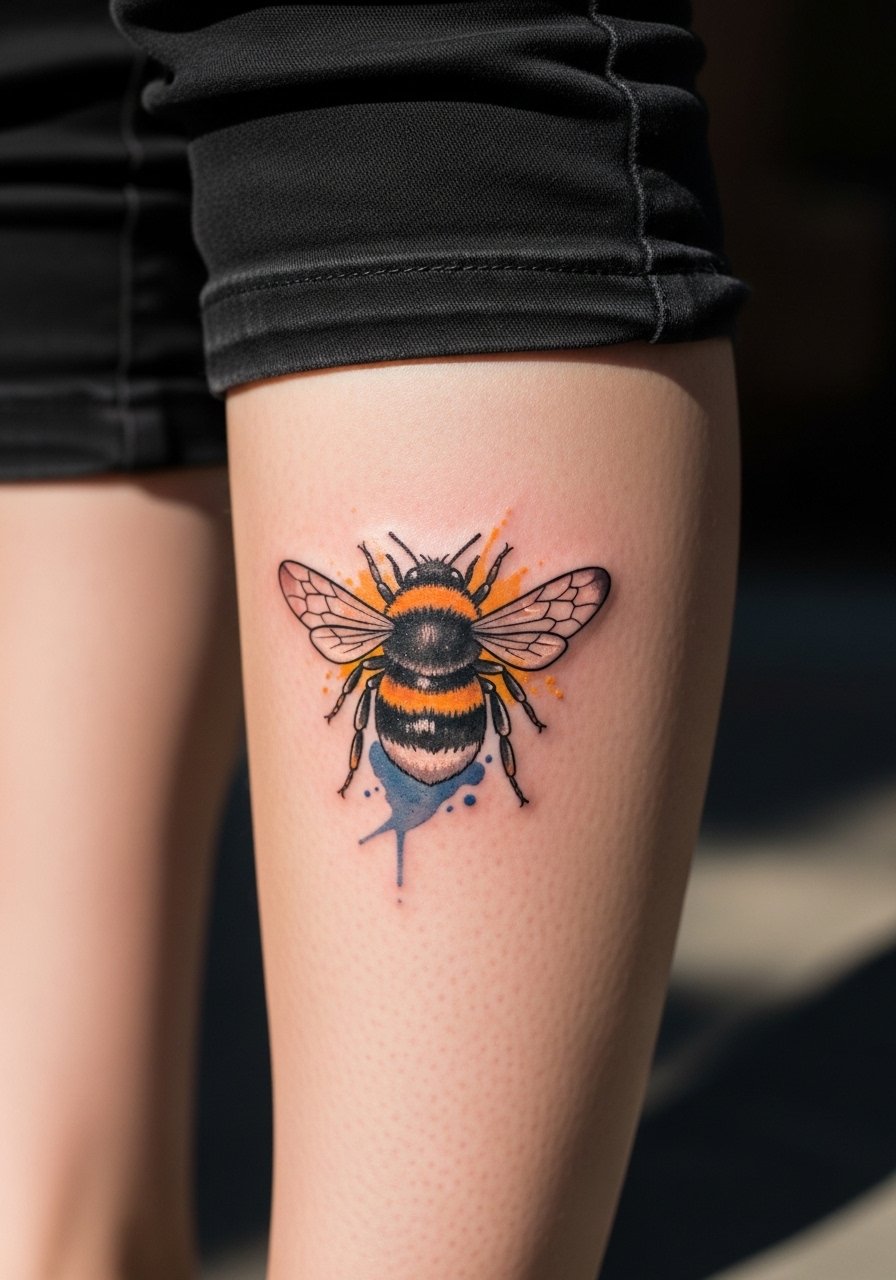
Watercolor washes look soft and painterly but they can fade faster in areas exposed to sun and friction. Ask your artist to anchor the watercolor with subtle blackline elements so the bee's shape remains readable over time. Calf sessions are comfortable and sit mid-range on a pain scale. A mistake is asking for pastel washes with no contrast. For showing this off, cropped pants or mid-calf boots are ideal. A pair of cropped linen pants keeps the area visible without rubbing the healing skin.
9. Minimalist Bee Behind the Ear
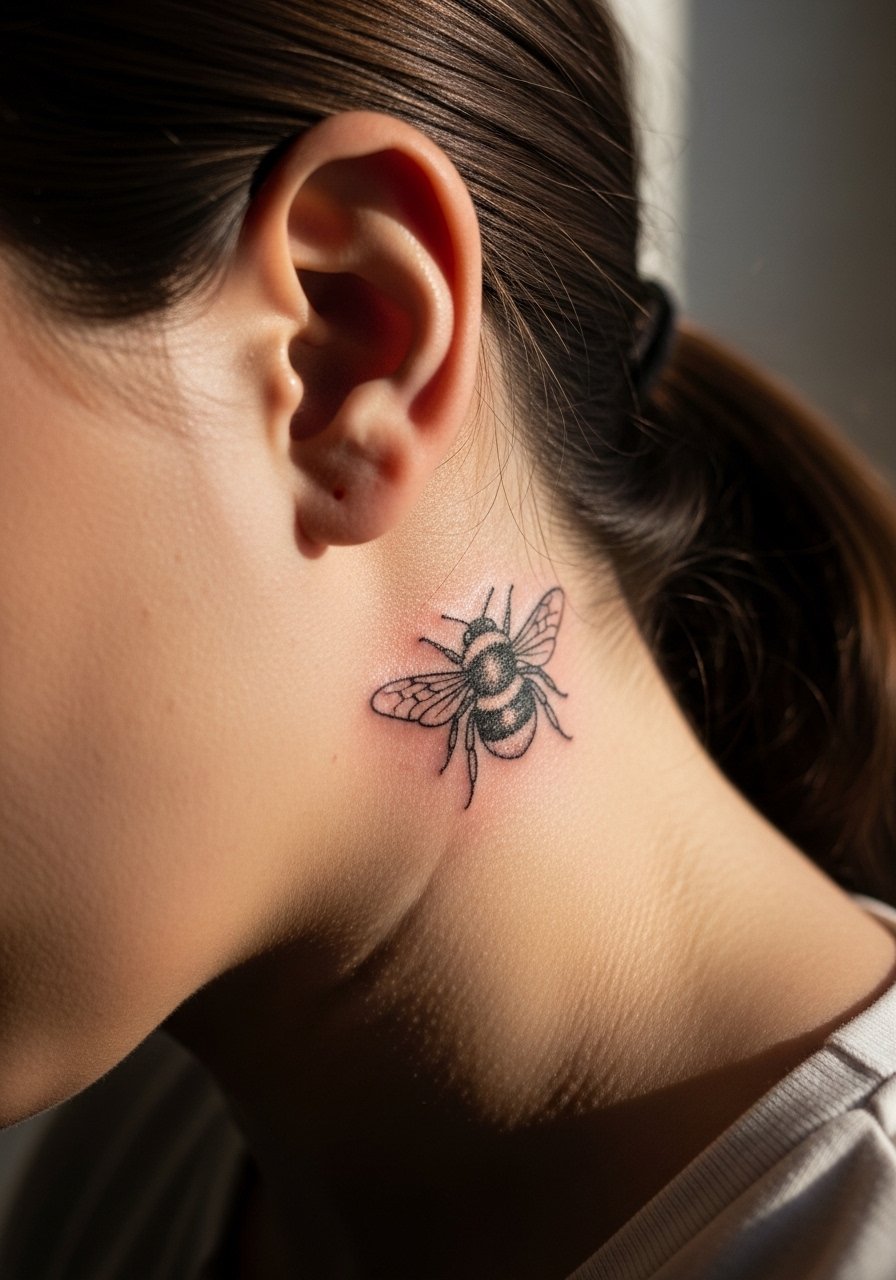
Behind-the-ear bees are discreet and charming. The area heals quickly because it sees less abrasion, but placement accuracy is critical. A common error is misplacing the bee relative to the hairline, which changes how visible it is with different hairstyles. Pain is low but the sound of the machine can feel harsher close to bone. For career considerations, remember some workplaces still react to visible neck or behind-ear ink. Styling wise, short hair or tucked styles make this pop, and a low ponytail scrunchie is a simple way to show it off.
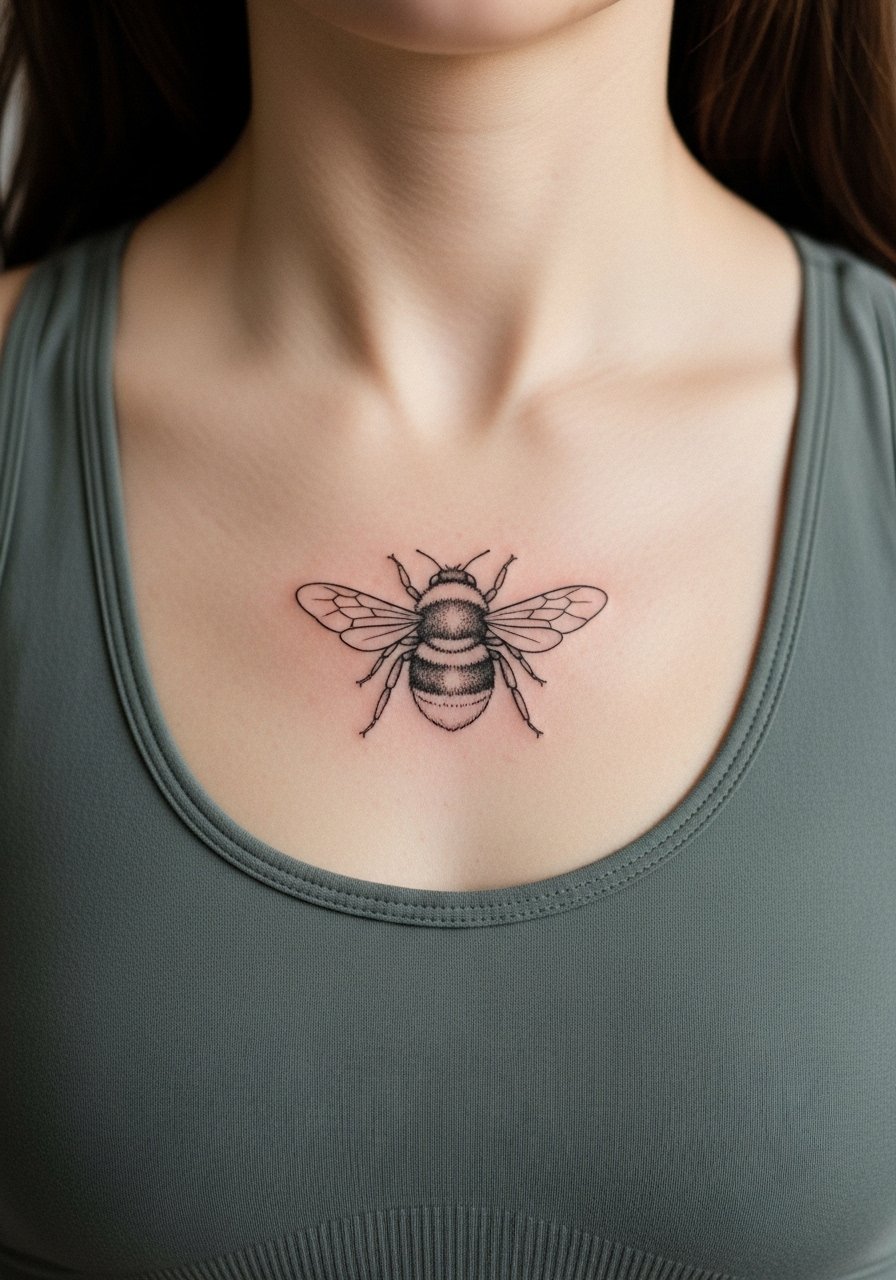
10. Collarbone Bee with Script
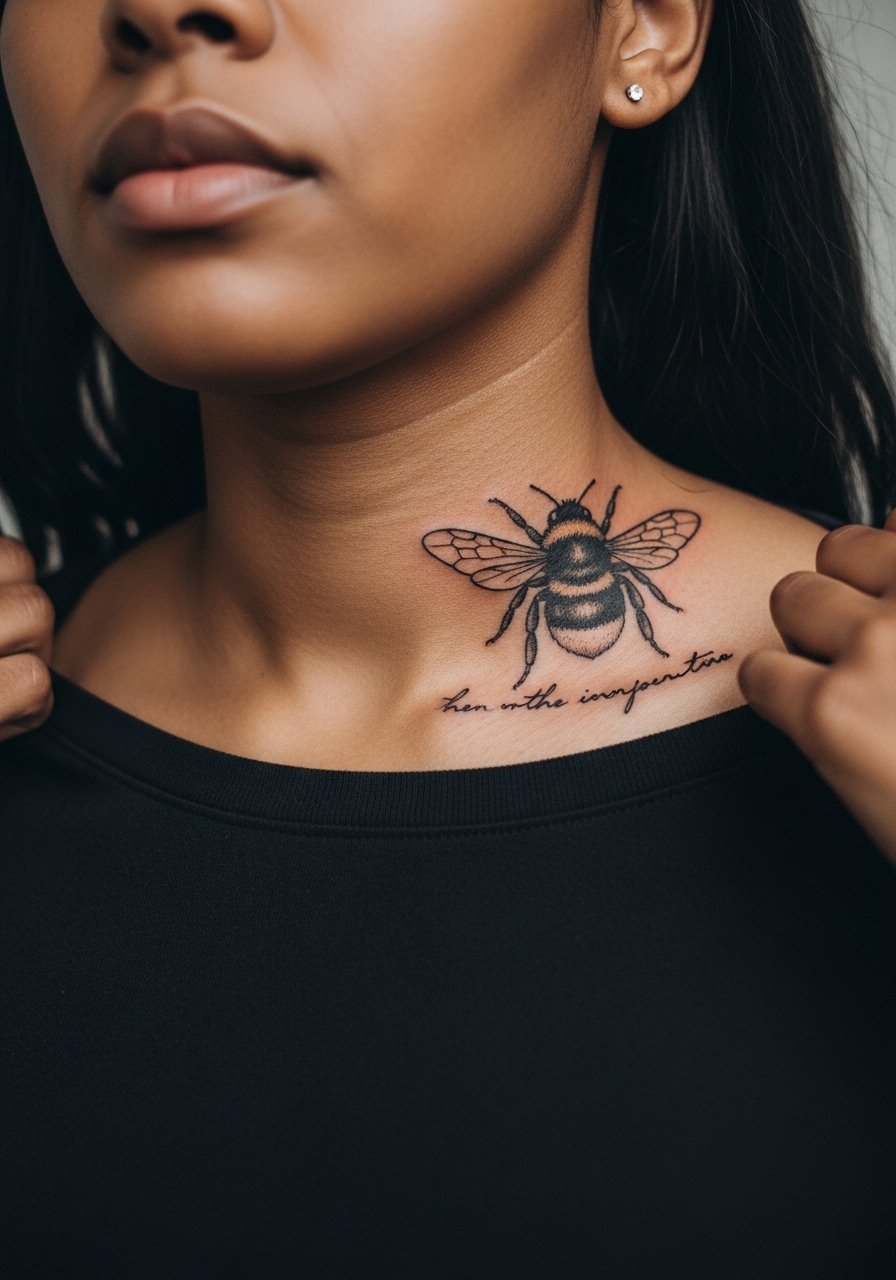
Collarbones show beautifully with delicate pieces, but the skin sits over bone and takes a different needle hand. Script near the bee needs exact spacing so the letters do not blur into the insect's wingwork. Expect moderate pain at the bone edge and plan for a longer session if combining script and imagery. A mistake is asking for thin script right next to dense wingwork. For clothing, a wide-neck blouse frames the collarbone and draws attention to the bee without competing with the script.
11. Blackwork Illustration Across the Back
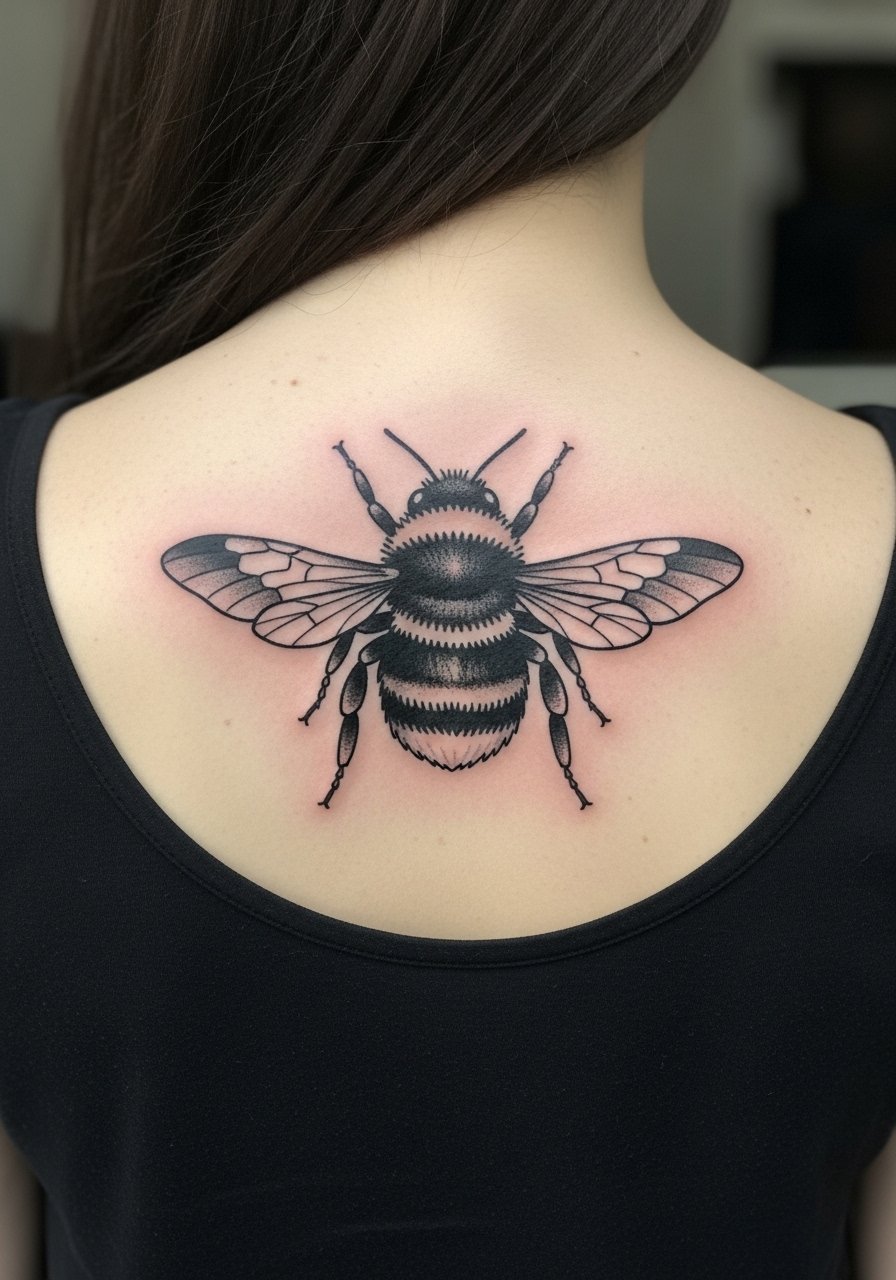
Large blackwork ages well on the back because skin moves less and saturation holds. Tell your artist you want solid fills and crisp edges that create a silhouette even as the fill softens. Sessions can be long and require breaks so bring a comfortable layer you can remove easily. People sometimes request ultra-fine internal texture in a solid black field, which disappears over time. For showing off, open-back dresses work, but during the session wear a loose tank top the artist can shift without exposing more skin than needed.
12. Thigh Bee with Botanical Frame
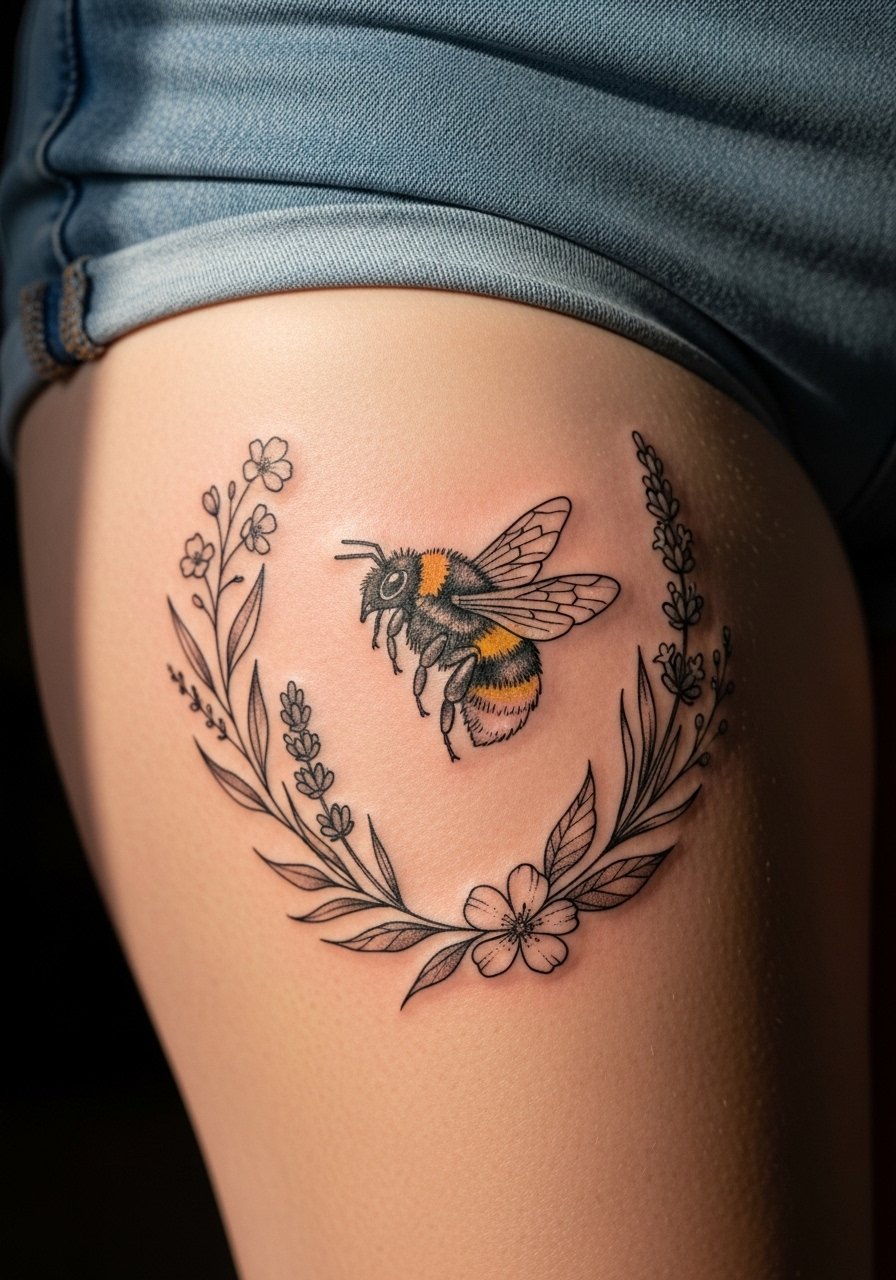
Thigh placements let you go larger and keep detail. The thicker skin and lower friction in many cases mean fine detail holds better here. Mention during consult that you want breathing room around the bee so the botanical elements age without merging into the main figure. Sessions are moderate in pain and often longer because of size. A common mistake is crowding in tiny blossoms that become indistinct later. For the appointment wear loose shorts or a skirt like a high-waisted short that shifts aside easily and keeps the area covered between passes.
13. Geometric Bee on the Palm Edge
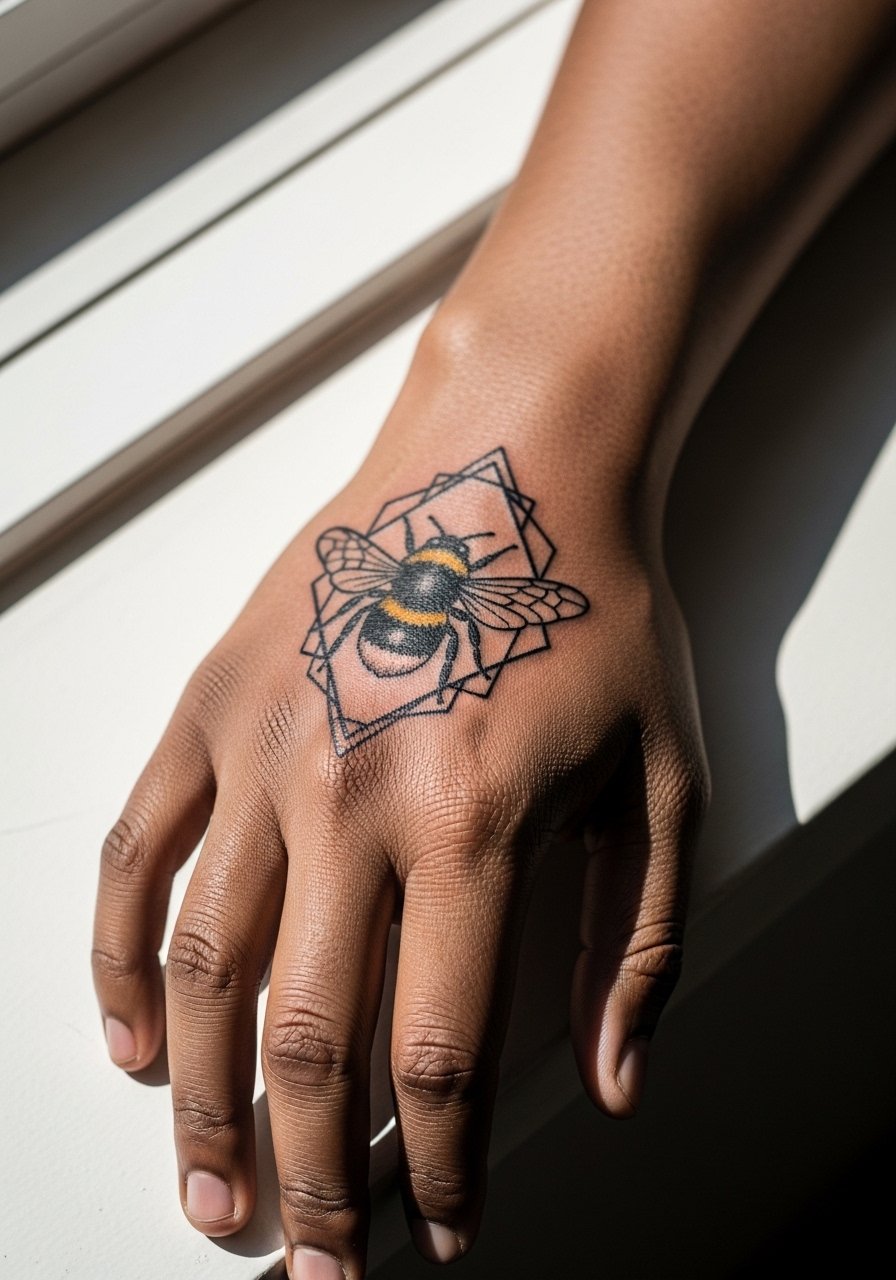
Palm and inner-hand work suffer the highest fade and touch-up rates. Many artists avoid dense palm detail because skin there regenerates quickly. If you insist on a palm-edge bee, request a simplified geometric anchor shape and accept that touch-ups are likely. The session is sharp because of the thin skin and bone. A mistake is treating the palm like forearm skin. For wearing it out pick minimal rings or open-backed gloves that do not press on the tattoo during healing.
14. Sternum Bee with Subtle Shading
Sternum tattoos need respect for contour and breath. Artists split opinions on heavy chest detail. One side favors bolder anchors that let the shading sit well as the body moves. The other side argues for minimal linework to avoid blurring along motion lines. Ask explicitly how your chosen approach will look at six months and at three years. Pain here ranges high for many people. For the session wear a fitted sports bra that lifts without exposing more than the immediate area, like a fitted sports bra.
15. Hip Bee Nestled Near the Hip Bone
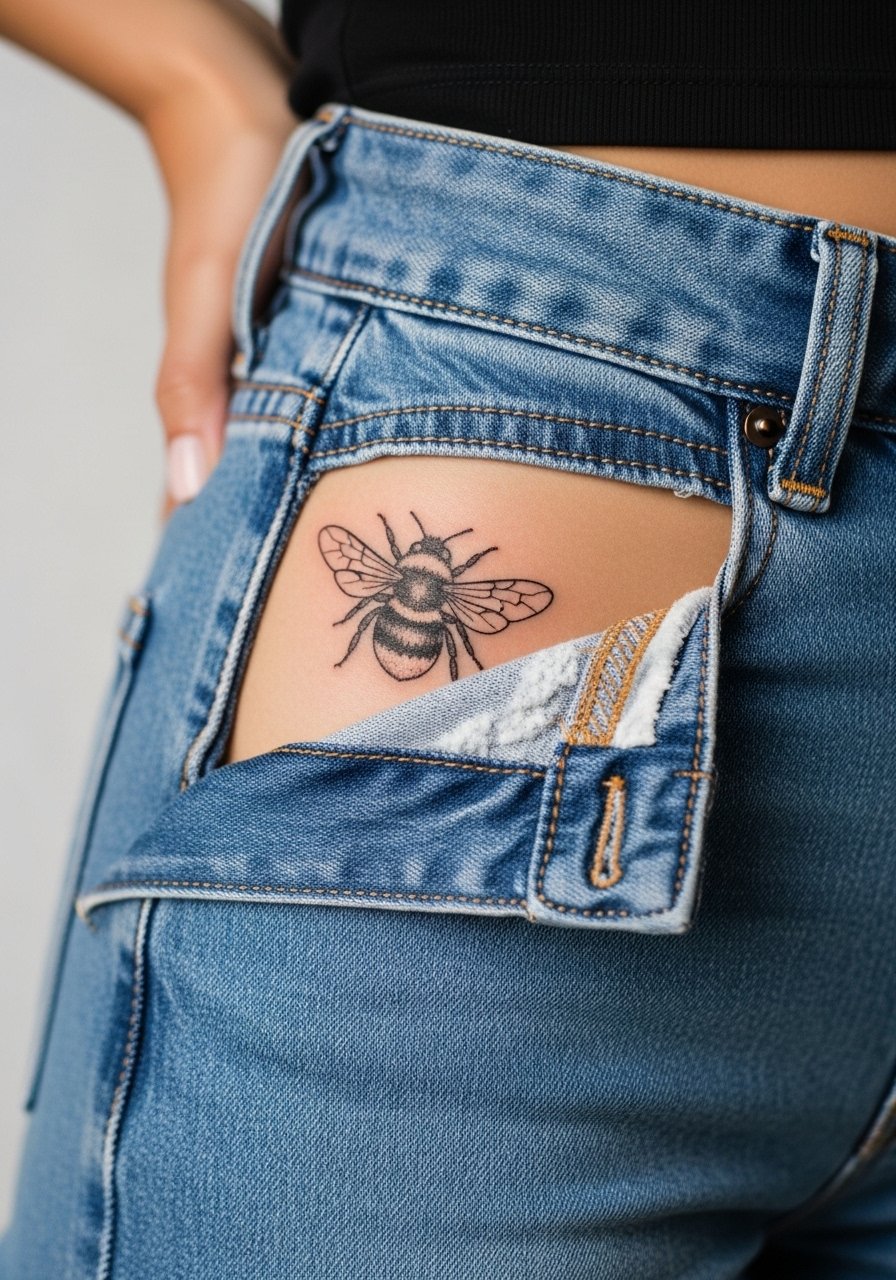
Hip tattoos sit in a spot that sees stretching with weight fluctuation and certain clothing styles. Keep the design slightly compact but avoid compressing linework into tiny elements. Expect moderate pain near the hip bone and a tendency for touch-ups if you wear tight waistbands that rub during healing. A common error is putting dense shading right at the waistband where friction is constant. For showing off, high-waisted skirts or lowered-waist jeans work. Try a high-waisted skirt that keeps friction low and reveals the bee when styled.
16. Calibrated Color Bee on the Calf Wrap
Color on the calf can look great for years if saturation and contrast are planned. The common debate is about bright color versus monochrome shading. Some artists insist that bright yellows and oranges will fade unevenly and prefer muted palettes. Others argue that strong saturation with proper layering resists patchy fading. Ask which approach the artist recommends and why. The session is comfortable and allows for more painterly fills. For showing the wrap, mid-calf boots or cropped pants like cropped jeans frame the piece and reduce rubbing during healing.
17. Tiny Back-of-Neck Bee Hidden Under Hair

Back-of-neck pieces are discreet and low friction when covered by hair, which helps longevity. Placement accuracy is crucial because small shifts change how the piece peeks out. Pain is moderate because the area sits over muscle and thin skin. A frequent mistake is choosing ultra-fine internal detail that disappears under growth and shirts. For showing it off or hiding it depending on mood, a wide-neck tee is practical and comfortable for the session.
Frequently Asked Questions
Q: Will a fine line illustrative bumble bee on my ribcage blur faster than one on my forearm?
A: It depends. Ribs move more with breathing and can cause fine lines to soften faster. Some artists say spacing and correct depth solve this. Others prefer thicker anchors for longevity. Ask your artist for examples of healed rib work and their touch-up timeline.
Q: How often should I expect touch-ups for wrist, finger, and palm bees?
A: Plan for more frequent touch-ups on hands and palms than on arms or thighs. The wrist and fingers rub against clothing and wash often. Palms may need a touch-up within a year. Treat these placements as higher maintenance from the start.
Q: Are color bees more likely to fade than blackwork, and does placement change that?
A: Color generally requires more maintenance than saturated black, especially in sun-exposed or high-friction spots. Placement matters a lot. A color calf piece will often last longer than a color finger piece. Ask your artist about pigments they prefer for yellow and orange because some hold up better.
Q: What should I wear to a session for a sternum or ribcage bee?
A: Wear a fitted sports bra or a cropped top you can lift slightly without exposing more skin than needed. That lets the artist work without repeated adjustments. A fitted sports bra is an easy option.
Q: Can I get a tiny bee between my fingers if I do not want constant touch-ups?
A: You can, but expect touch-ups. If low maintenance is the priority choose a nearby forearm spot instead. If you still want finger placement, accept simplified geometry, slightly thicker contour lines, and a more frequent touch-up plan.
