
Fine line tattoos dominate saved boards, but the reality is messier. They look razor-sharp fresh and then many owners tell me the same three complaints: the wrist rubs them raw, tiny lines fade faster than expected, and the bone area hurts more than friends warned. Read on for wrist-specific fixes, what to ask in consultation, and 21 practical fine line designs that actually hold up.
1. Fine Line Heart Outline on the Inner Wrist
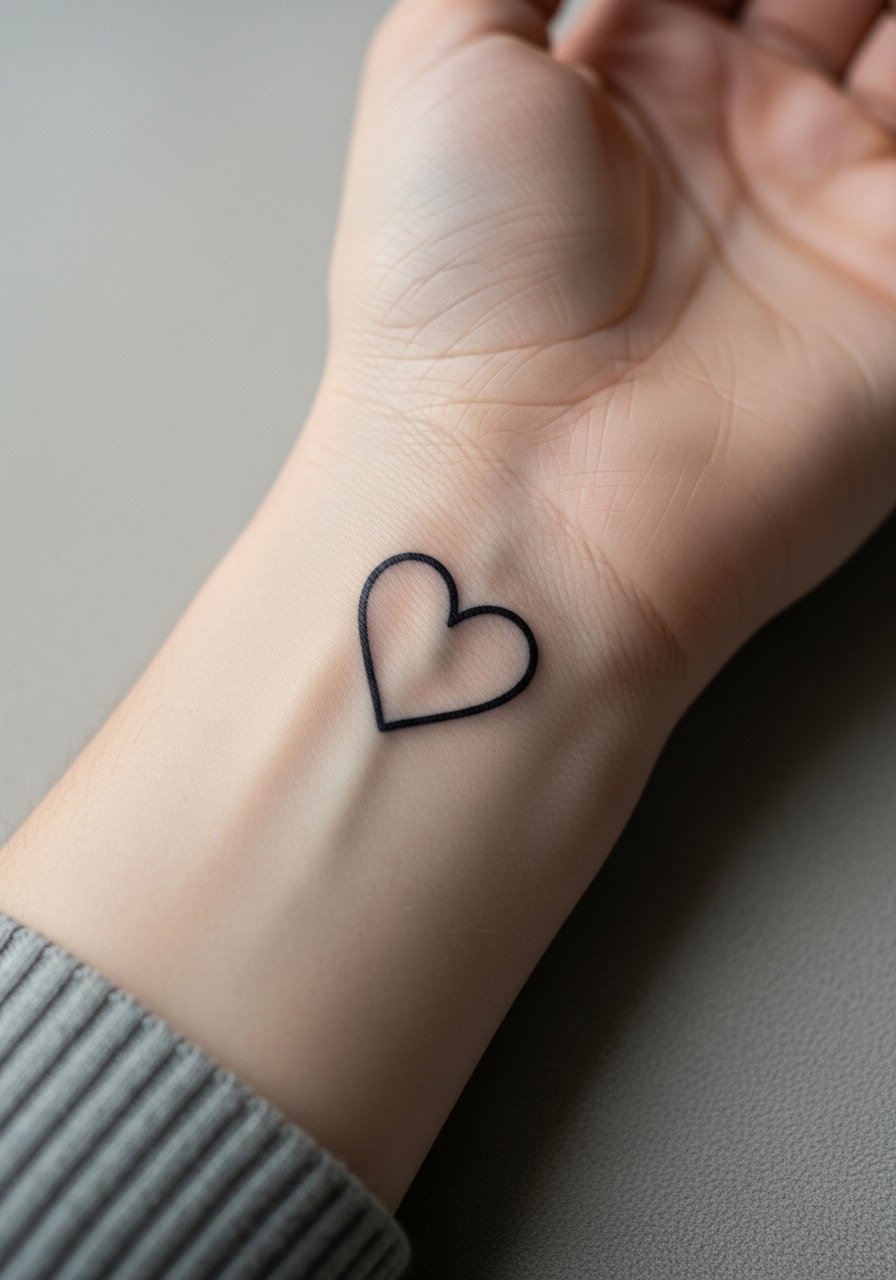
I recommend the tiny heart for first-timers who want meaningful minimalism without committing to heavy saturation. Tell your artist you want single-needle linework with slightly increased trace weight, not the hair-thin wire look many save online. The most common mistake is making it too small, which accelerates fading and blurring around cuffs. Expect a quick 20-30 minute session and a possible touch-up at 6 to 12 months for brightening. For showing it off, pair it with a thin silver chain bracelet on the opposite wrist, which frames the heart without covering the outline.
2. Single-Line Symbol That Wraps the Wrist
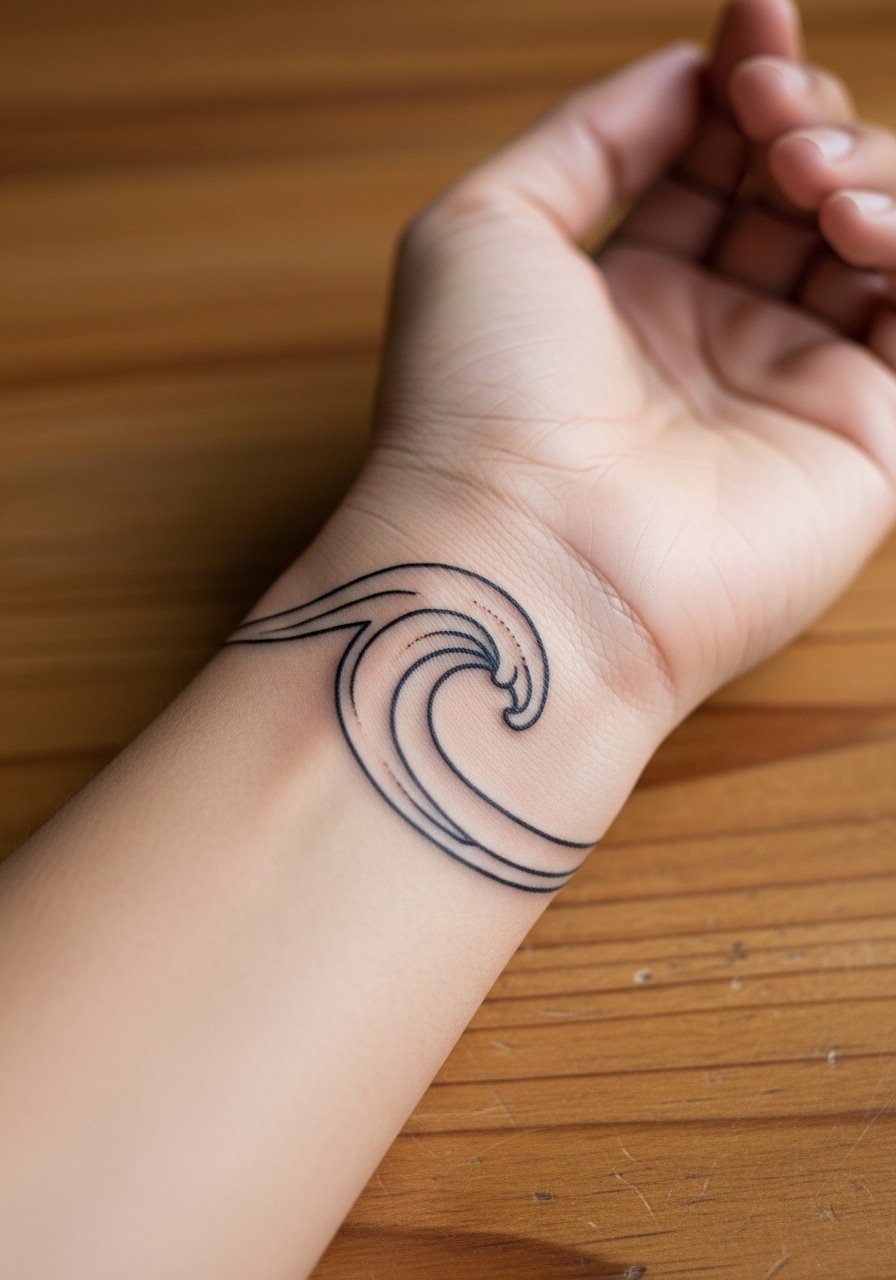
This continuous single-line design uses one motion to trace a symbol that reads almost like jewelry. Ask for a single continuous needle path and request the design sit slightly higher on the bone so it experiences less cuff friction. Artists often make the mistake of compressing the curve too tightly, which causes the lines to merge after a year. Expect a 30 to 45 minute session, and plan a touch-up window at 12 to 18 months depending on sun exposure. To style it, wear an oversized linen cuff bracelet on the opposite wrist so the tattoo reads as a companion piece rather than competing with jewelry.
3. Minimalist Arrow Pointing Inward on the Outer Wrist
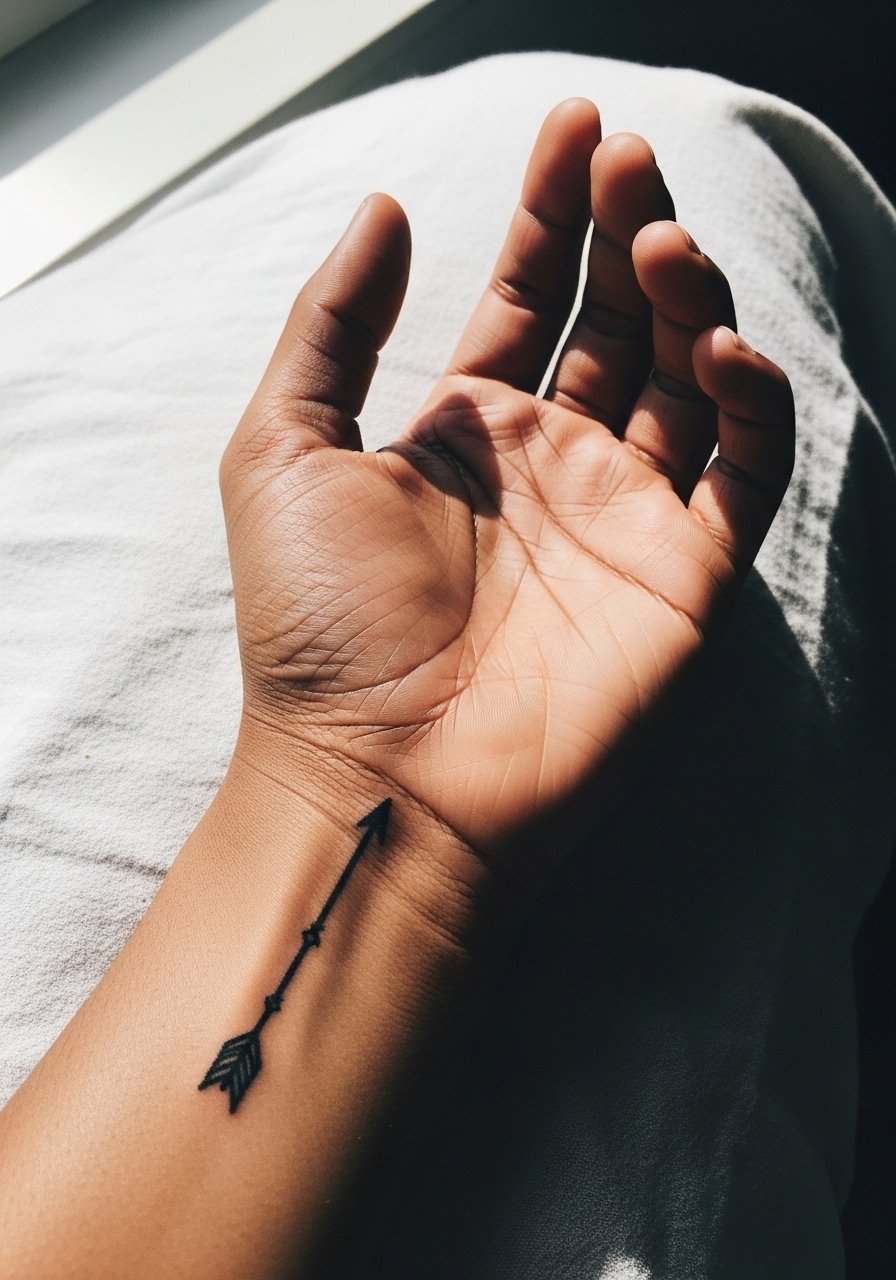
The inward-pointing arrow works as a small motivational symbol and fits high-movement areas. In consultation, specify that the arrow shaft should be a touch bolder than typical micro work so it survives daily washing and watch straps. A frequent error is asking for ultra-fine tips that break up into dots as the tattoo heals. Pain is noticeable over the radius bone but the session is short at 15 to 30 minutes. Expect visible softening at two years on high-friction wrists. Pair it with a minimalist bracelet stack on the opposite arm to keep attention balanced.
4. Tiny Script Mantra Along the Wrist Edge
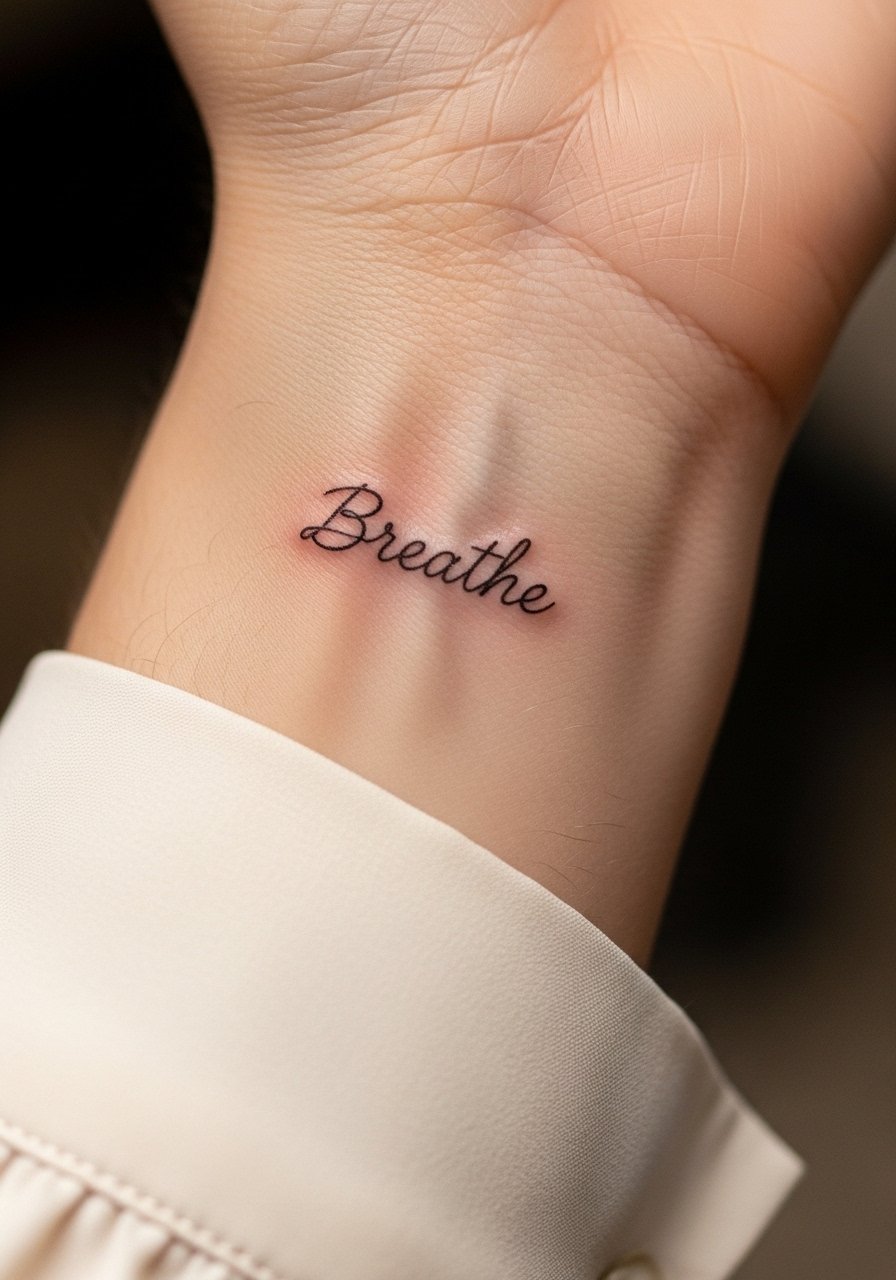
Script works well as a daily reminder but the right line weight matters. Ask your artist for letterforms scaled to read clearly at arm's length and show a healed portfolio sample of similar script on wrist skin. The most common problem is choosing a wispy font that disappears after frequent handwashing. Expect 20 to 40 minutes in the chair and a likely touch-up at six months if lines soften. For outfits, a cream linen blouse with the sleeve rolled back puts the script on display while keeping the area protected during cooler months.
5. Tiny Triangle Geometric at the Wrist Crease
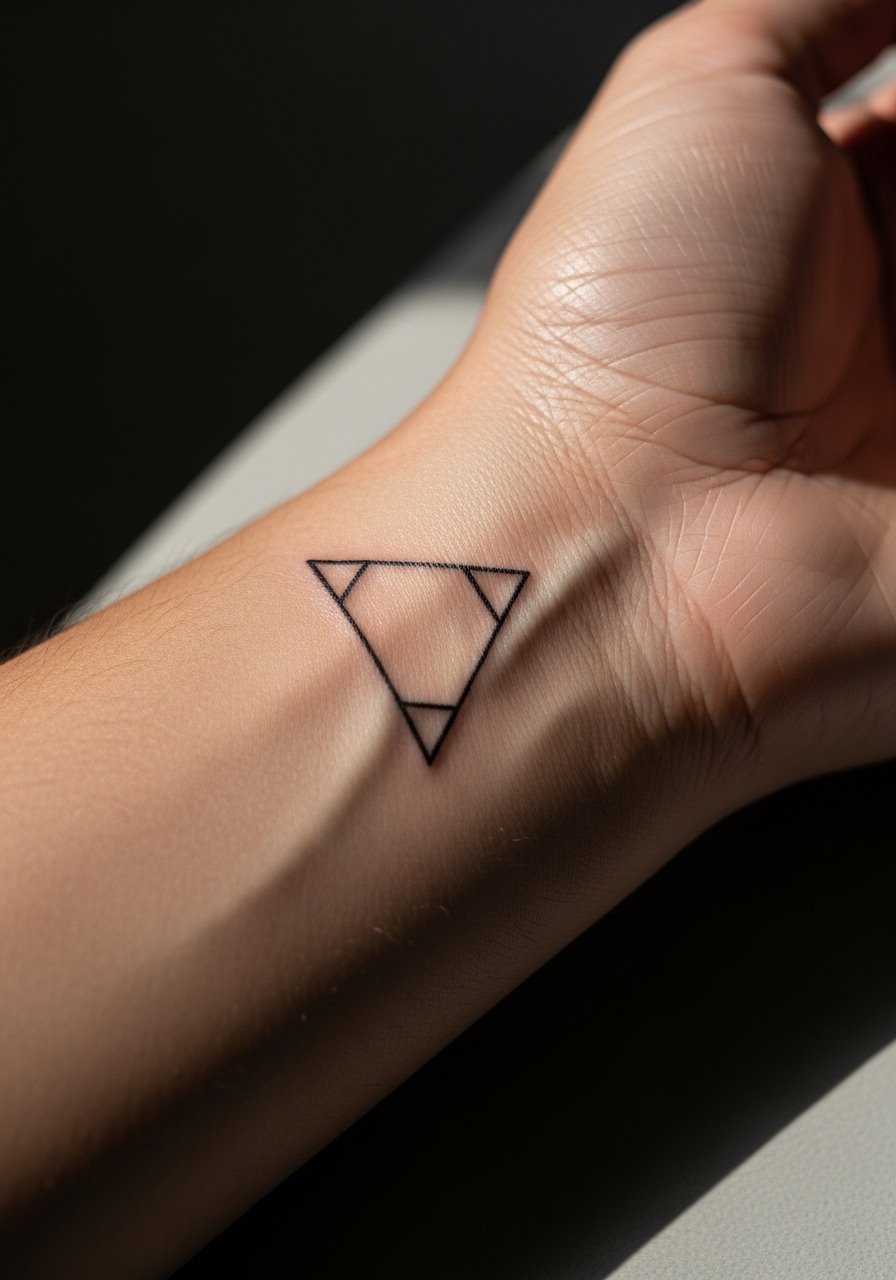
Geometric shapes need breathing room to age well. Tell your artist you want the triangle sized to retain clear vertices after two years, and ask them to draw it directly on the skin to check proportion. A common mistake is shrinking the motif to fit trend galleries, which leads to vertex rounding and the illusion of blurring. The session is quick at 15 to 25 minutes. For a put-together look, try a gold pinky ring simple on the opposite hand to create a subtle metallic echo.
6. Constellation Map With Small Dots and Lines
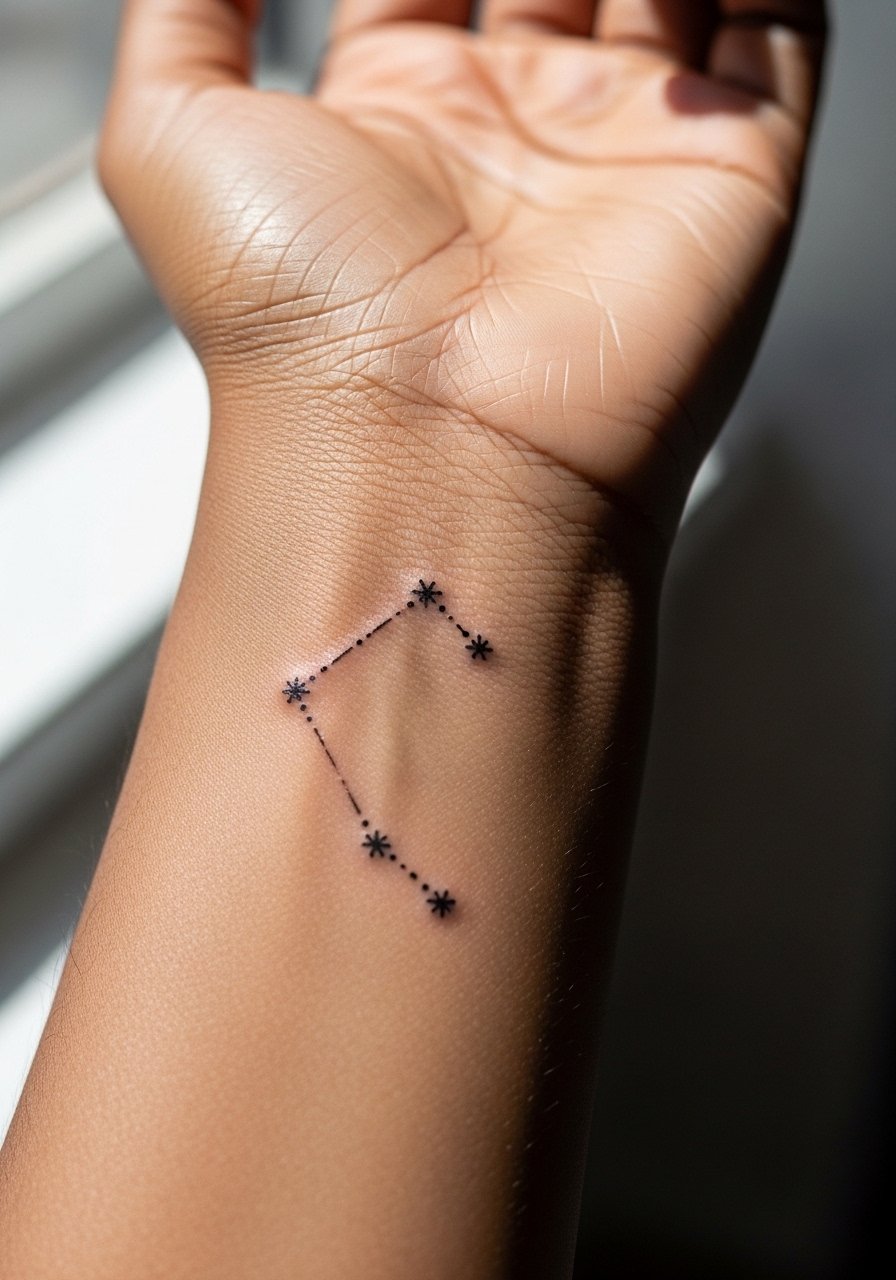
Constellation tattoos read like tiny maps and are ideal for people who want compact symbolism. Ask for dot work that uses slightly larger dots rather than pinpricks so the stars remain visible as the skin moves. A mistake I see often is asking for ultra-fine connectors that vanish after washing and rubbing. Expect 30 to 45 minutes and plan a touch-up at the one-year mark if dots lose contrast. For outings, rolled sleeves over a loose short-sleeve button-up highlight the inner wrist without constant exposure.
Pre-Session Essentials
The wrist-focused designs above ask for different prep than larger pieces, and a few items make the session smoother and the first week of healing less fussy.
- InkGuard wrist wraps. Provides a silicone barrier during the first week that prevents fabric rubbing and helps avoid scabbing from cuffs.
- Lush tattoo balm. A lighter balm that leaves less residue than heavy ointments, helpful where watches and bracelets touch.
- Bio-Oil scar serum. A post-three-month option some people use to maintain fine line contrast during seasonal fading.
- Tegaderm film. Breathable protective film that some prefer for high-movement areas like the wrist.
- Hustle Butter Deluxe. A thin, non-greasy balm many artists recommend for the initial days because it reduces clog risk under friction.
7. Botanical Stem Along the Inner Wrist
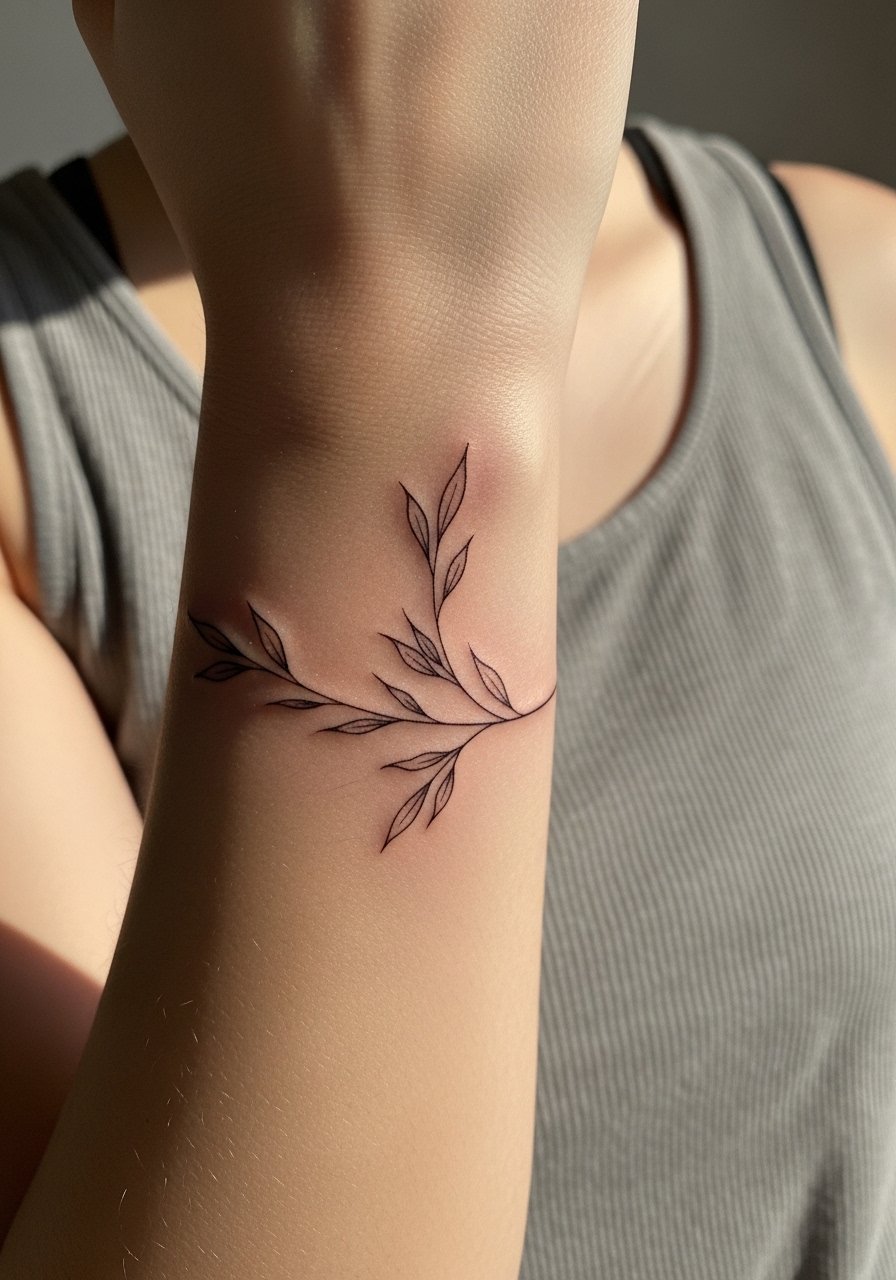
A narrow botanical stem elongates the wrist visually and suits people who want nature motifs without heavy shading. Ask your artist for single-needle stipple for the tiny leaves rather than solid fill. The biggest mistake is crowding too many leaflets into a 2-inch space which causes merging as the tattoo ages. Session time is usually 45 to 60 minutes and a one-year touch-up is common on the smallest details. For showing it off, pair it with a linen cuff bracelet women or keep the opposite wrist bare so the stem reads unobstructed.
8. Abstract Wave That Follows Wrist Movement
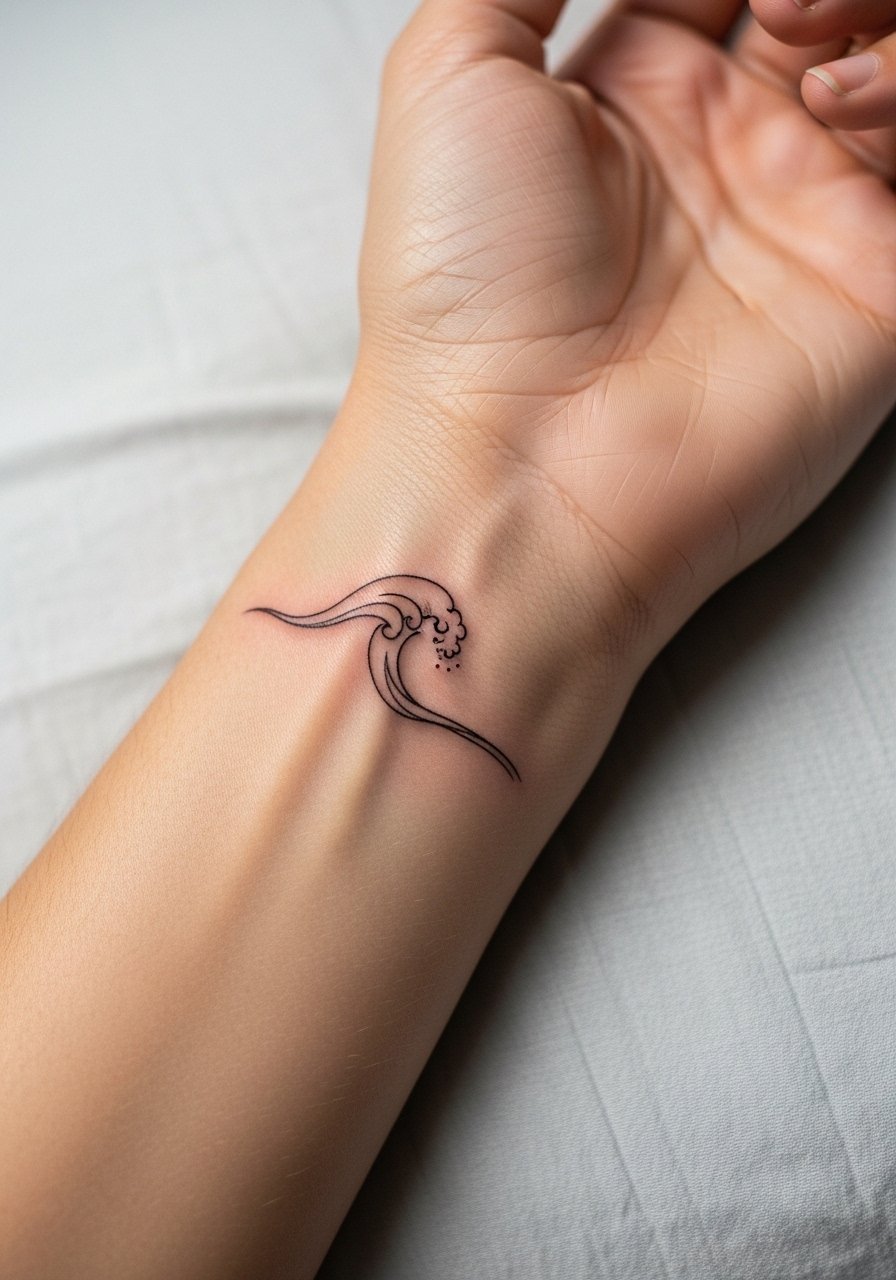
Waves feel dynamic because they move with the wrist. Tell your artist you want the crest placed where the wrist naturally folds so motion animates the design. A common error is ignoring the joint’s range, which causes tension spots where the ink heals unevenly. Expect a 30 to 45 minute session with moderate pain over moving tissues. At two years the wave may soften in contrast, so plan a follow-up if you want long-term sharpness.
9. Tiny Single Letter Initial on the Side Wrist
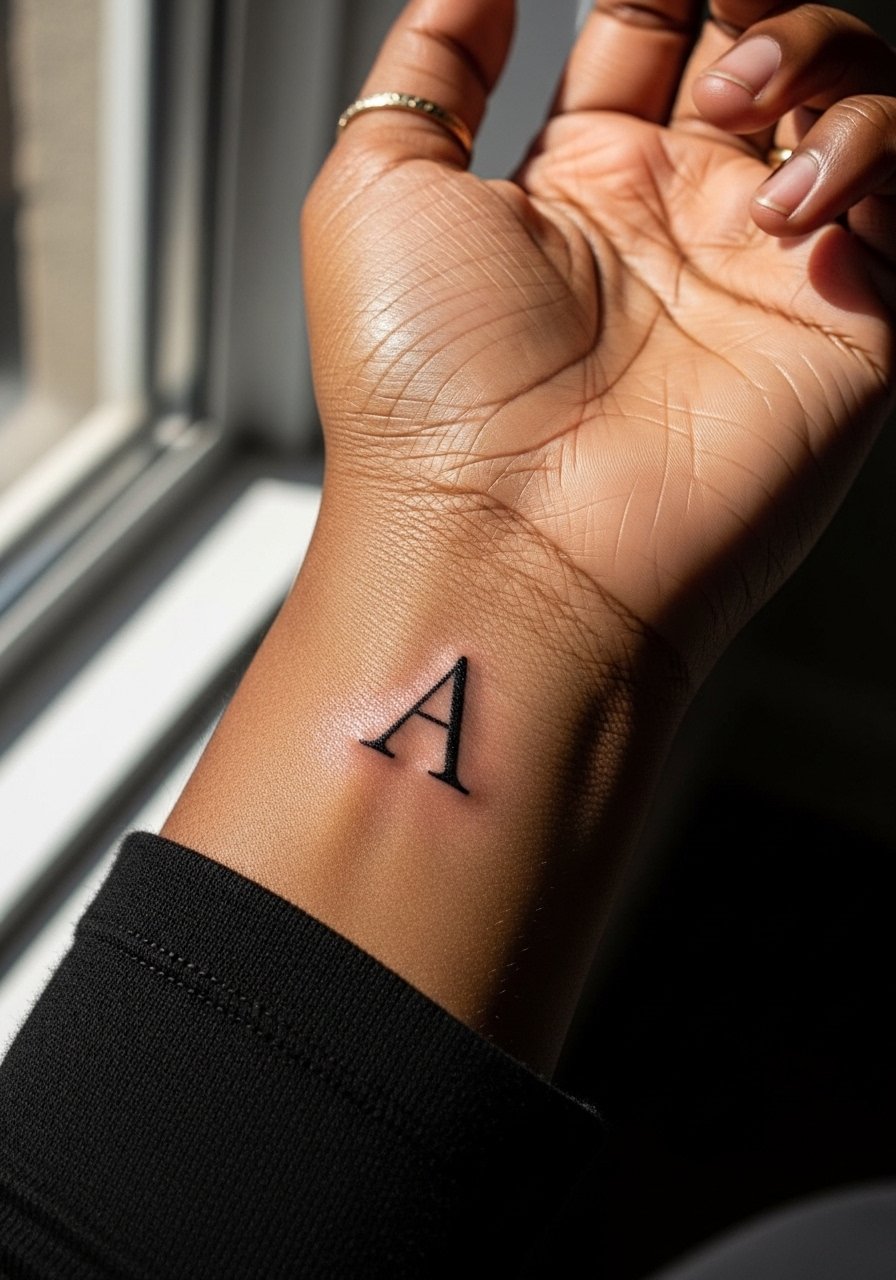
Initials are low commitment but demand readable type. Show the artist the exact font and request a slightly thicker stem than the pure micro version. The mistake people make is picking a script that looks great blown up but becomes indistinct when shrunk. Sessions last 15 to 30 minutes. Expect possible softening around the stroke ends after a year. For an elevated look, pair the initial with a gold pinky ring simple that draws the eye subtly upward.
10. Tiny City Skyline Along the Wrist Curve
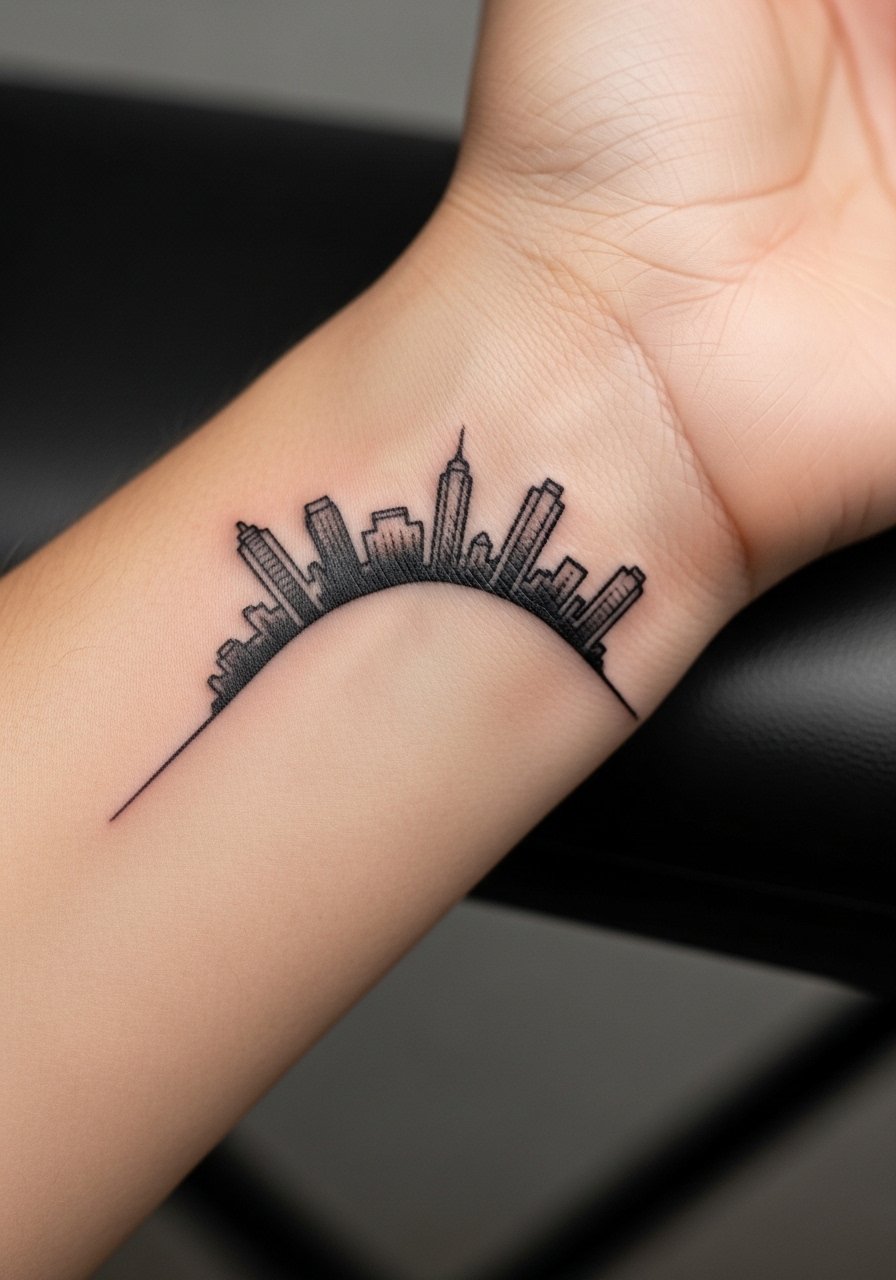
A skyline is a compact way to commemorate a place. Ask the artist to simplify roofs and towers into clean silhouettes rather than intricate architectural details that blur. The most frequent mistake is trying to fit too many buildings into a little strip which becomes a smudge with time. Allow 30 to 60 minutes and expect possible touch-up at 12 to 18 months depending on exposure. For travel-minded outfits, a thin silver chain bracelet balances the visual weight on the wrist.
11. Tiny Arrow With Dot Work Accent
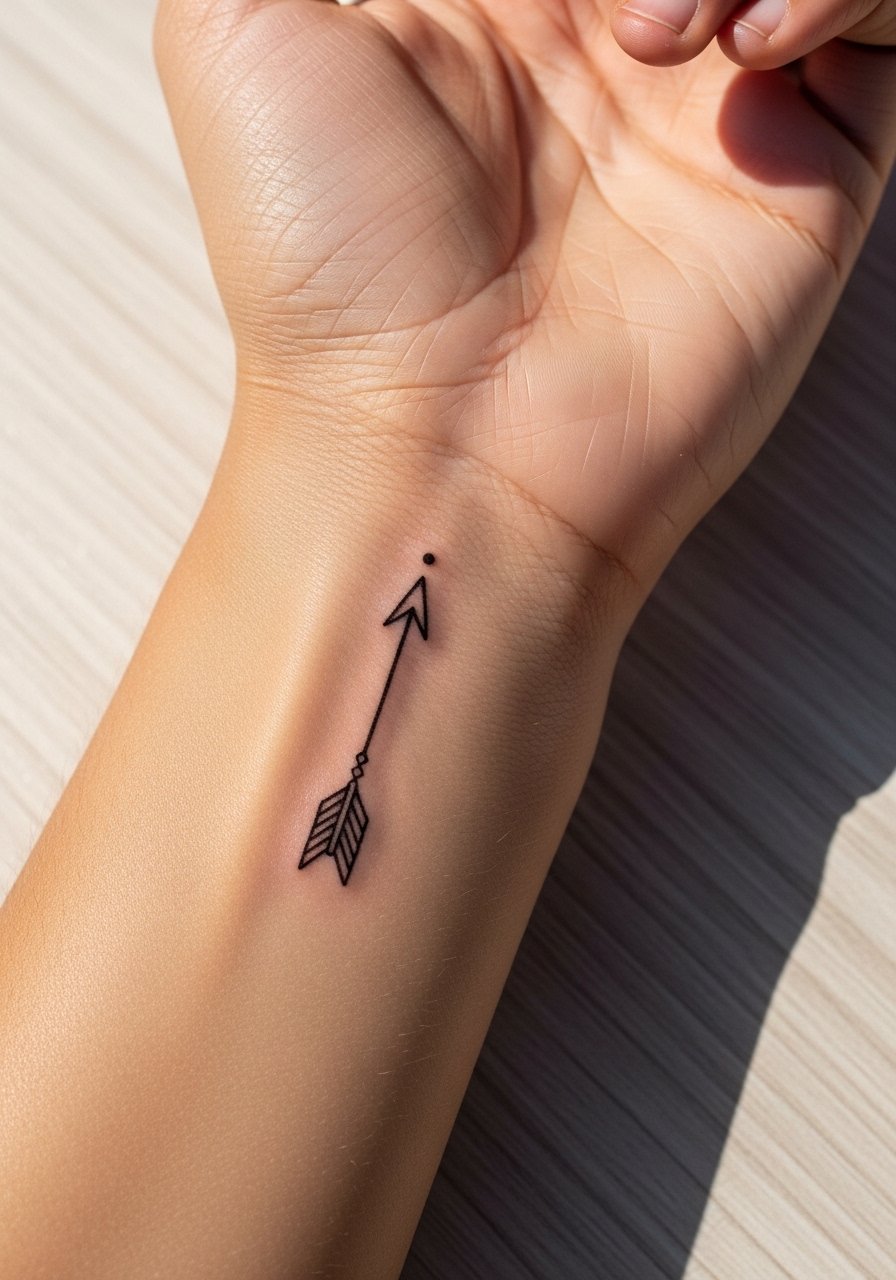
Arrows read as direction and progress symbols and pair well with tiny accents. Tell your artist to thicken the shaft slightly and to make the dot a fraction larger than expected so it holds. A recurring mistake is micro arrowheads that break into broken lines as the skin moves. Procedure time is short at 15 to 25 minutes and you may want a touch-up at one year if contrast fades. For shows, a charcoal slim-fit shirt with thumb-hole sleeves pulled up keeps the wrist visible without overexposing the area.
12. Stipple-Shaded Crescent Moon Near the Wrist Bone
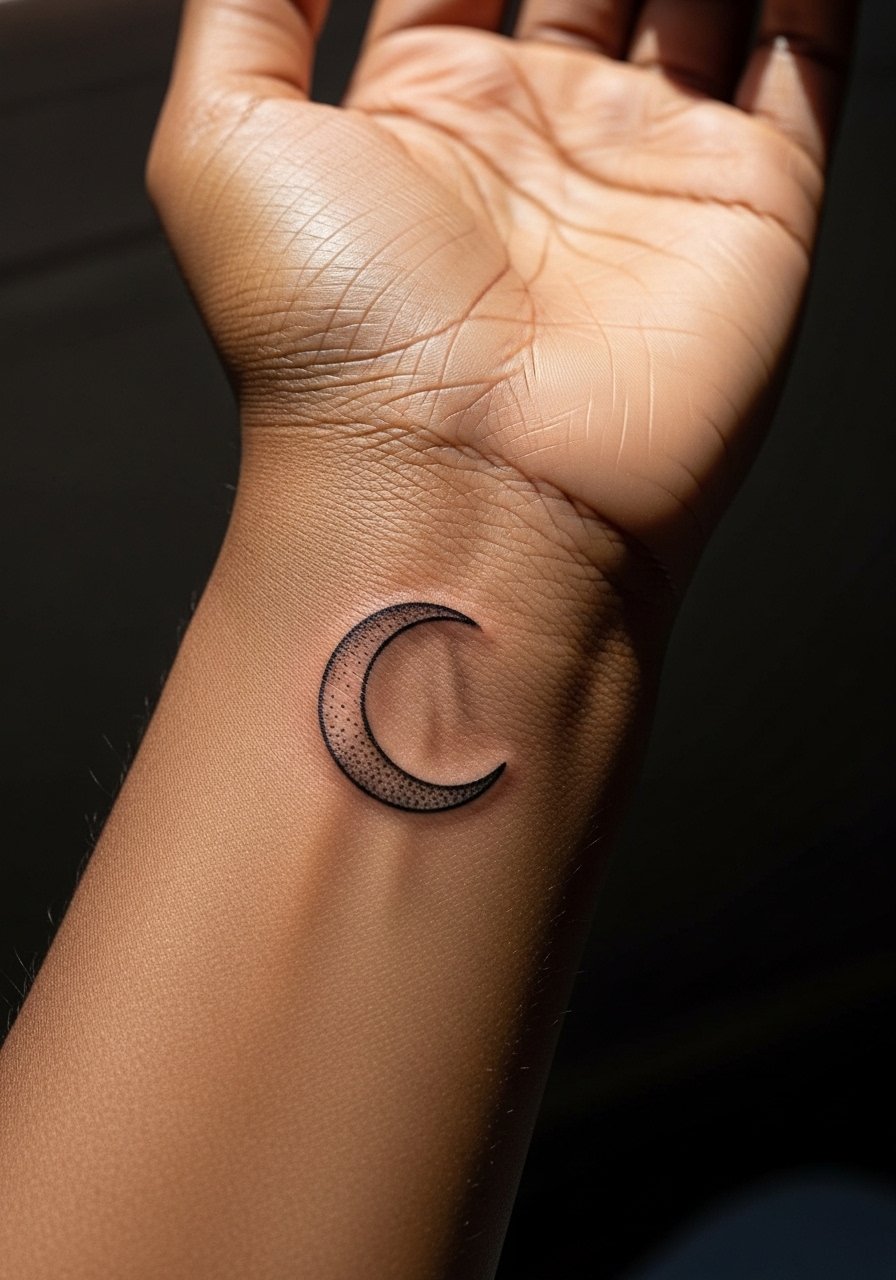
Stipple shading gives an airy texture without heavy saturation. Ask the artist for dot work density that increases toward the crescent’s edge so the moon keeps its shape as it ages. People often request solid fill that later looks like a smudge on the wrist. Expect 30 to 50 minutes and a touch-up timeline around 12 to 24 months depending on skin type. If you work in an office, note that placement near the wrist bone may show more rubbing from keyboards.
13. Micro Floral Vine That Wraps Slightly
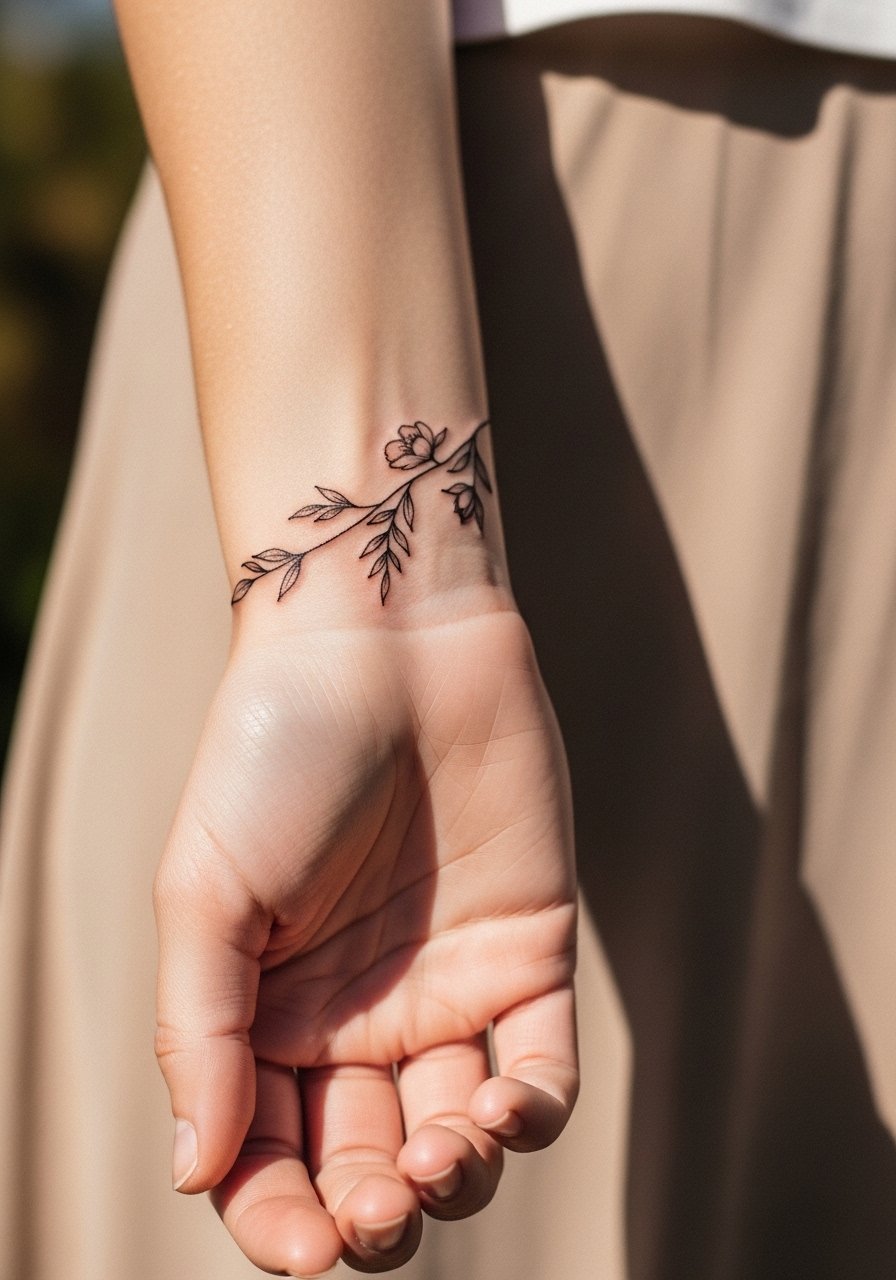
A vine wrap follows the wrist contours and can balance wider arm pieces. Tell your artist you want spacing between leaves to allow each petal to read after healing. Common errors include overfilling the wrap which leads to a blended mass after a year. The session can take 45 to 90 minutes if the vine is longer. For styling, rolled sleeves over a long sleeve fitted top let the vine peek out tastefully while protecting it during busy days.
14. Single-Needle Triangle Cluster Near the Wrist Edge
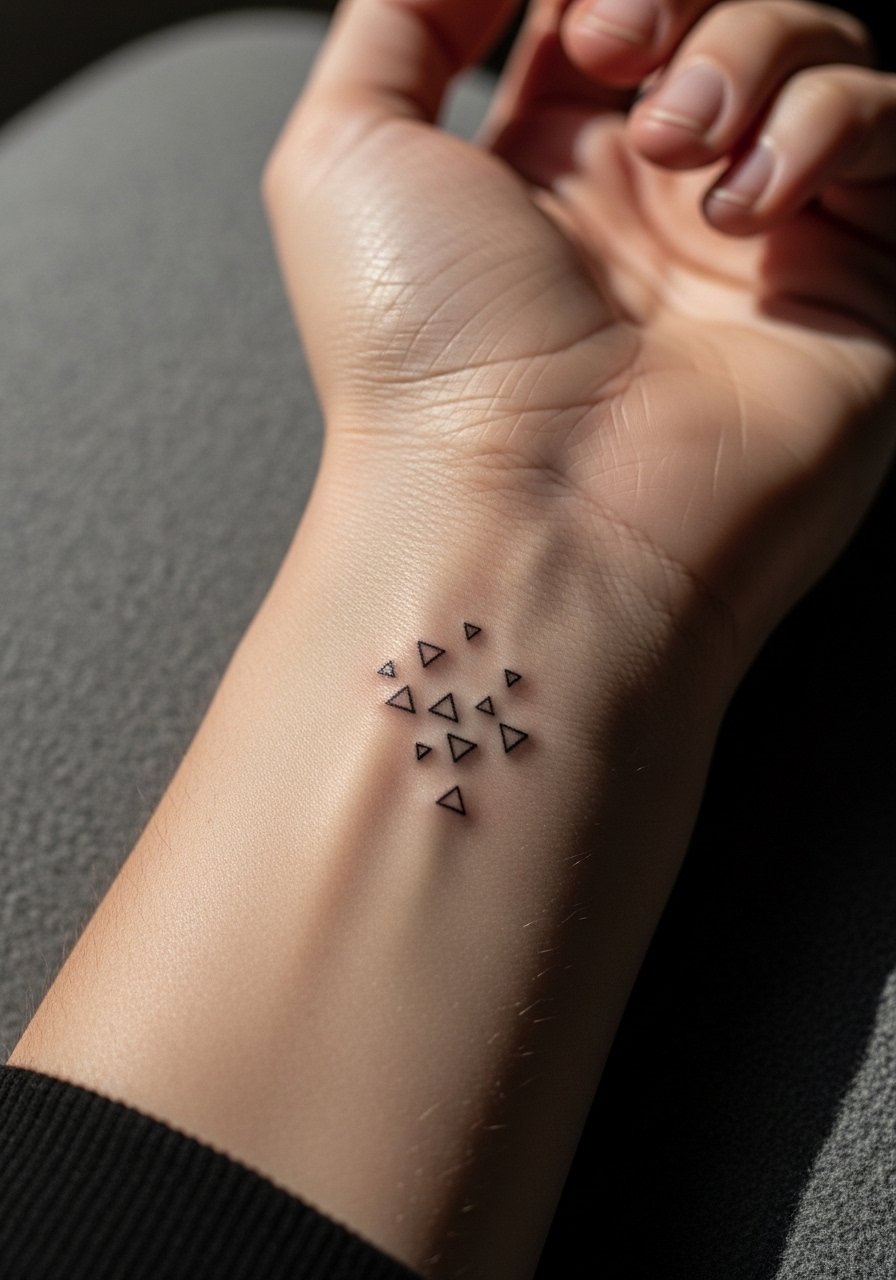
A triangle cluster offers modern geometry with repeatable motifs. In consultation, ask for clear spacing and slightly varied sizes so blending is visible rather than dense. The frequent mistake is packing identical micro shapes together which creates one blob as the skin ages. Sessions are generally short at 20 to 40 minutes. If you favor watches, position the cluster to avoid constant strap contact.
15. Tiny Floral Sprig on the Side of the Wrist
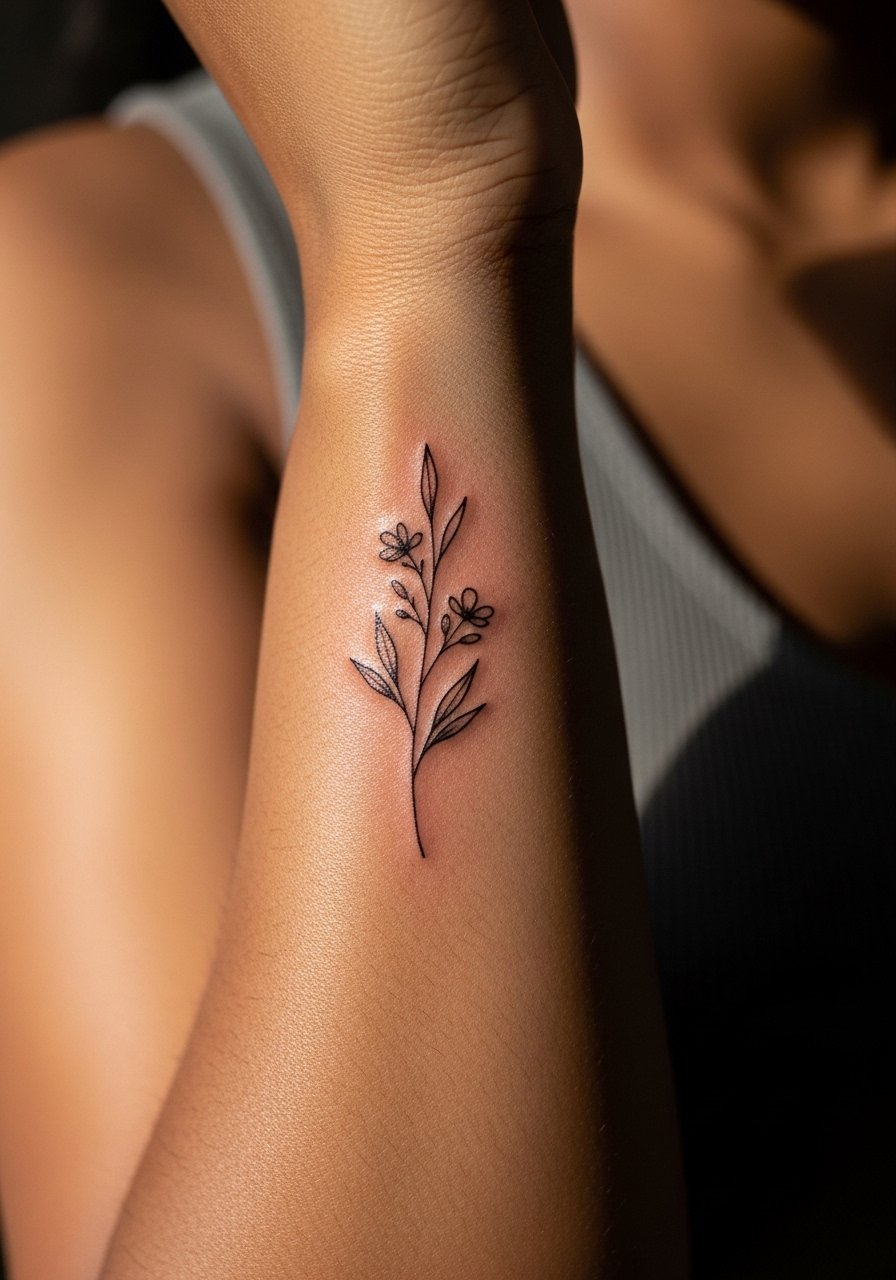
Side wrist placements hide under watches and show with rolled sleeves. Tell the artist you want the stem offset so the main bloom faces outward rather than toward the palm. The mistake I see is centering the stem so it always rubs against watches and bracelets. Session time is 30 to 45 minutes and touch-ups are common at six to twelve months if the main bloom loses contrast. Pair the sprig with a minimalist bracelet stack on the opposite wrist for symmetry.
16. UV-Reactive Tiny Accent Stars
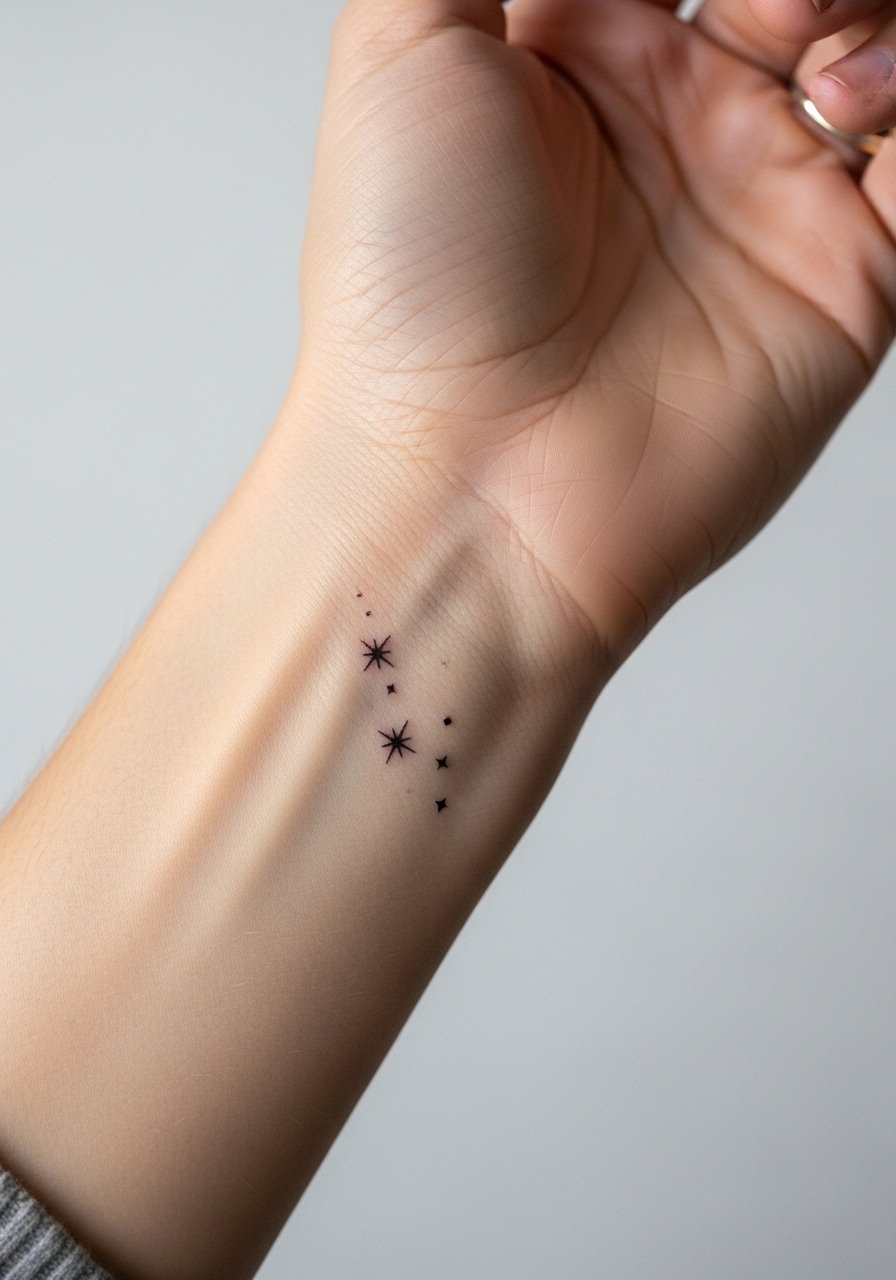
UV accents are a niche option that comes with pros and cons. Ask the artist to separate the UV dots from black linework by a hair so they do not blend during healing. Some shops do not offer UV ink, so use discovery pathways like hashtag searches and booking apps to find specialists. The controversy here is safety and visibility, with one camp praising subtle night glow and another warning about inconsistent longevity and visibility in daylight. Sessions are brief but require an experienced hand for the UV placement. Consider visibility needs before committing.
17. Fine Line Mandala Sliver at the Wrist Edge
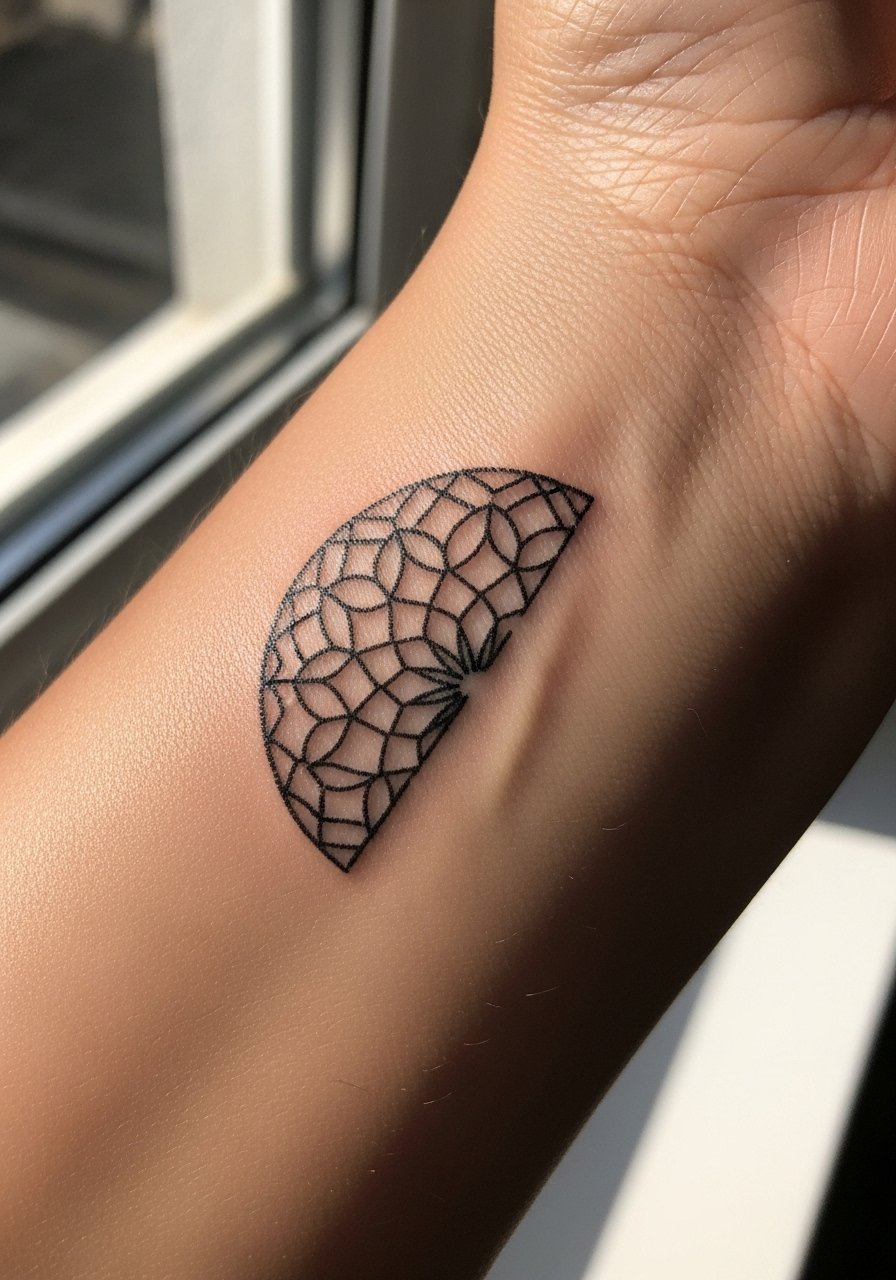
A mandala sliver gives symmetry while staying compact. When you consult, ask the artist for clear negative space between spokes so dense areas do not blotch over time. The common error is compressing mandala spokes too tightly which leads to merging in dense zones after a year. Sessions range from 45 to 75 minutes depending on detail. For a polished look, a white oversized shirt with cuffs unbuttoned frames the wrist and keeps the mandala visible.
18. Fine Line City Coordinates Near the Wrist
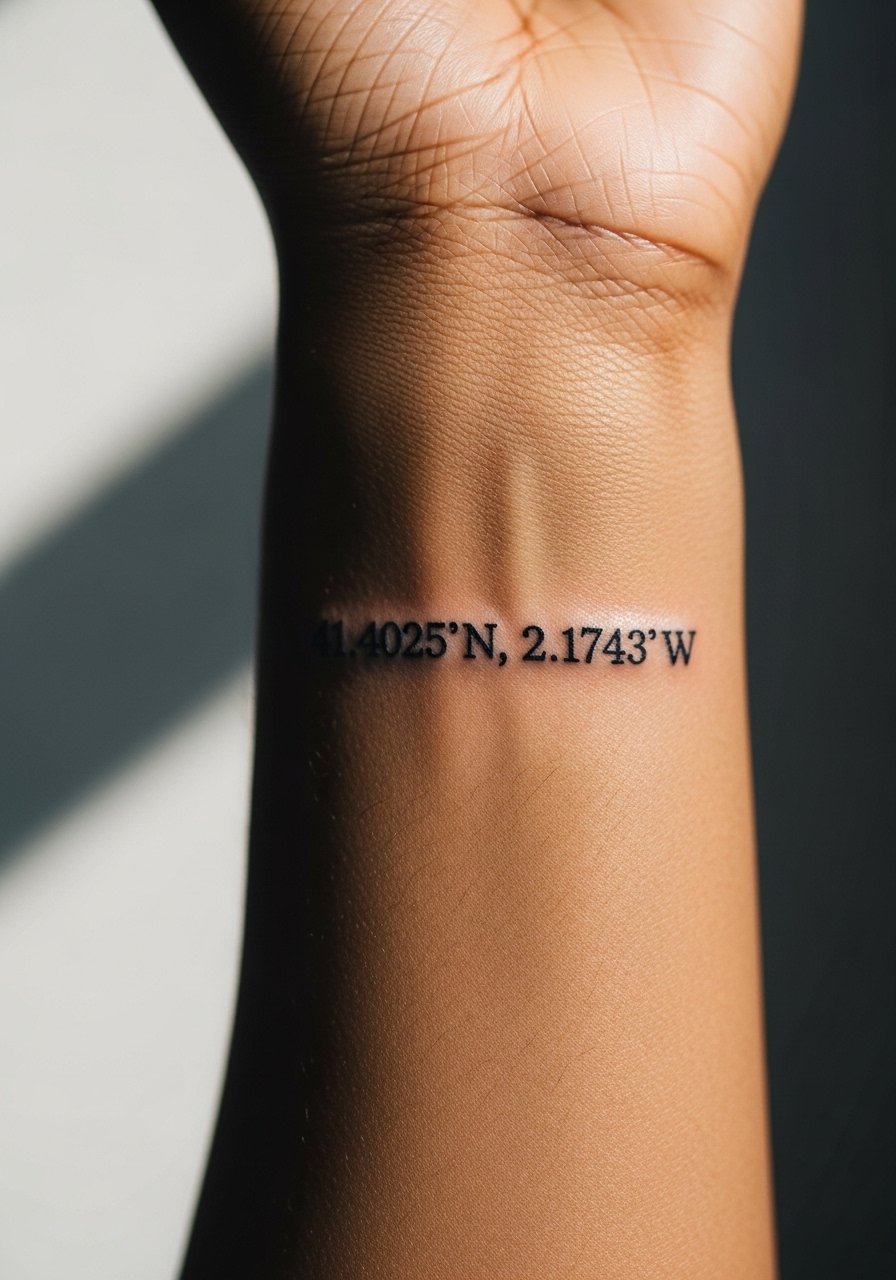
Coordinates feel private and precise. Provide the exact numbers during consultation and confirm font weight that reads at arm's length. The mistake is using an ultra-light numeric font that blurs into thin marks after regular washing. Sessions are 20 to 40 minutes and touch-ups help maintain crisp numerals after a year or two. Keep the wrist out of sun where possible to preserve contrast.
19. Fine Line Botanical Wrist Band Wrap
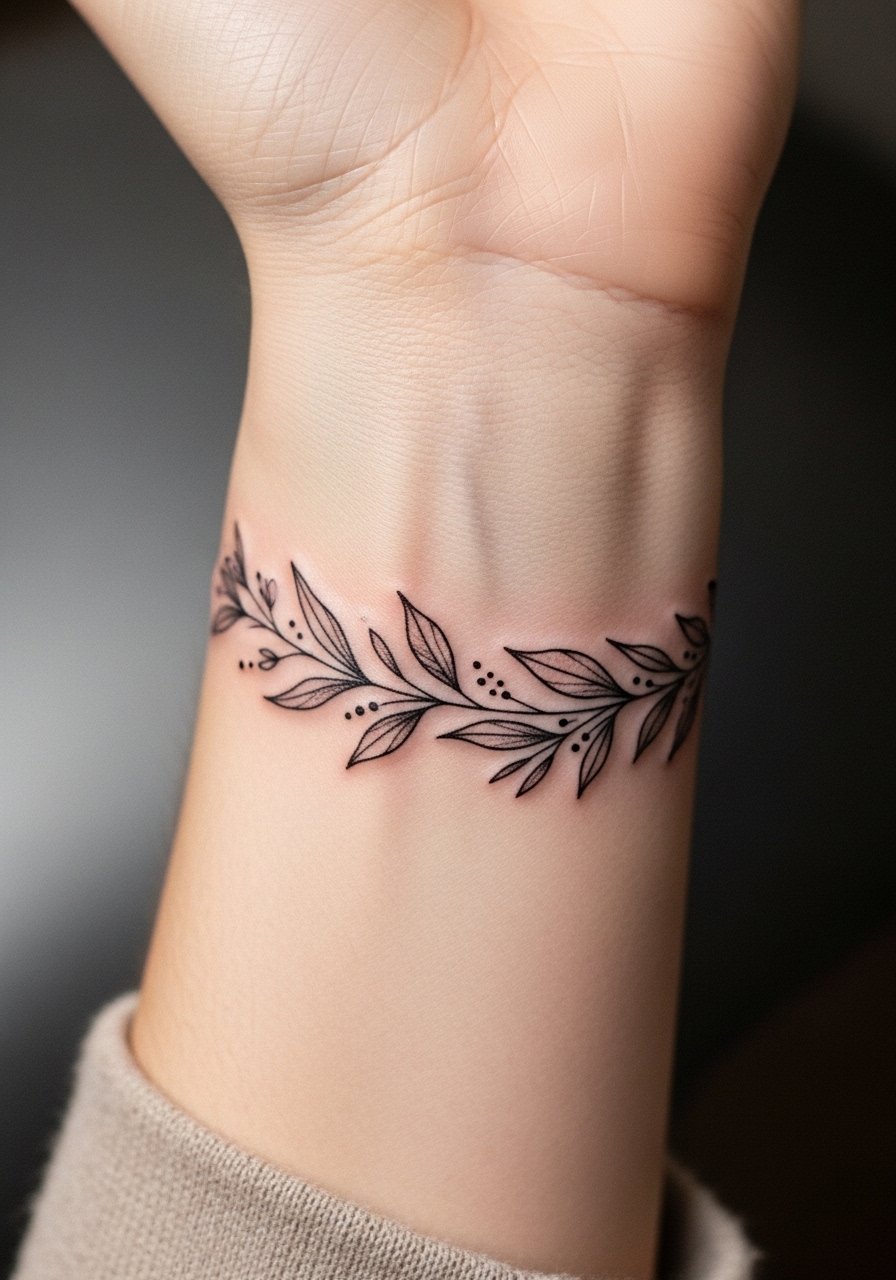
Band wraps act like permanent jewelry. Ask for spacing that mirrors bracelet gaps so the band keeps its bracelet-like rhythm after healing. A frequent mistake is designing a continuous dark band which becomes a single shaded area as the skin settles. Sessions can take 60 to 120 minutes depending on length. For show-off outfits, pair the wrap with a beige midi skirt and fitted top rolled at the cuffs so the band peeks out elegantly.
20. Fine Line Abstract Mountain Range on the Wrist
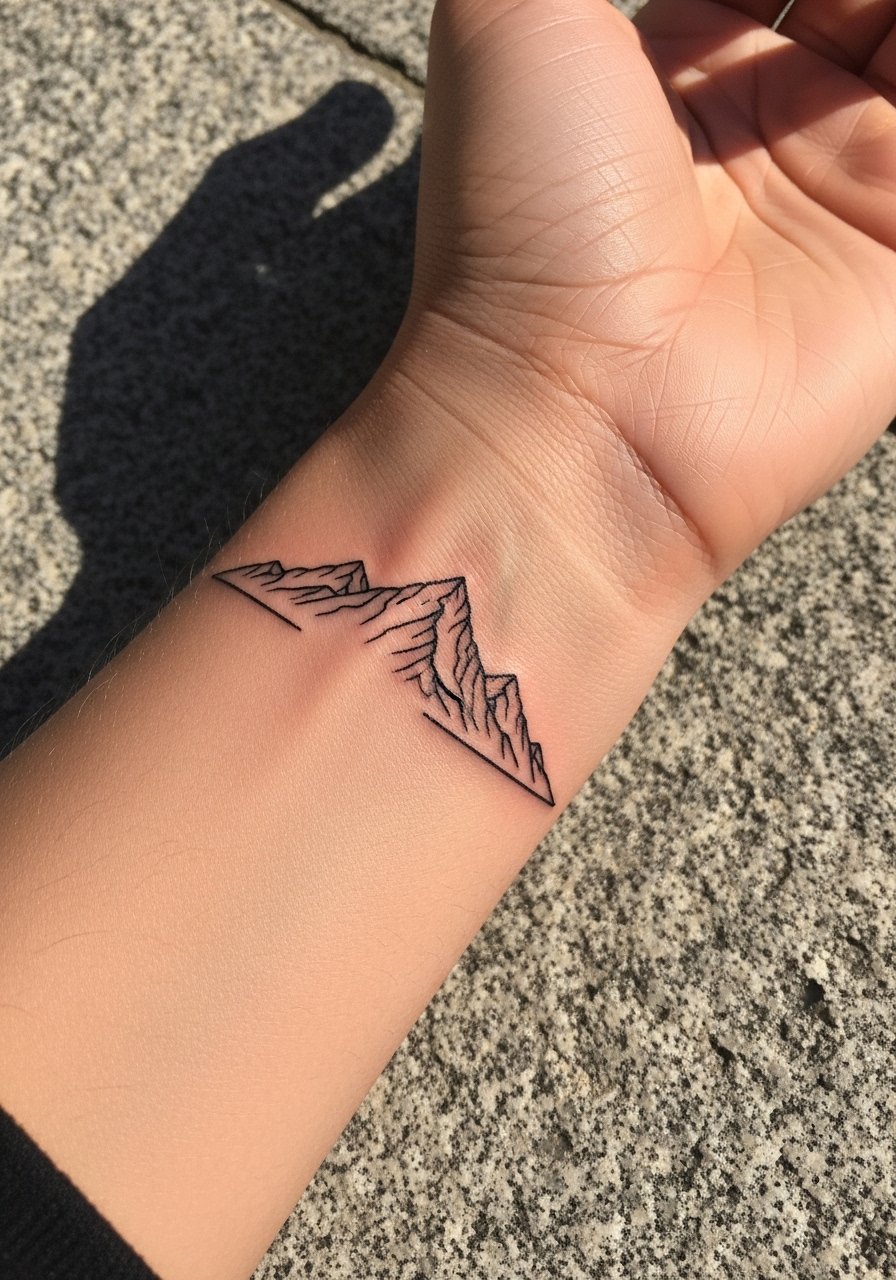
A tiny mountain silhouette reads well in strips. Tell your artist you want simplified peaks with negative space between ridges to avoid smudging over time. The main mistake is too many tiny peaks which coalesce into a gray blur. Expect 20 to 40 minutes in the chair and a potential touch-up at year two for crispness. If you plan outdoor work, keep the area protected from sunlight to slow fading.
21. Fine Line Botanical Vine With Opposite-Arm Balance
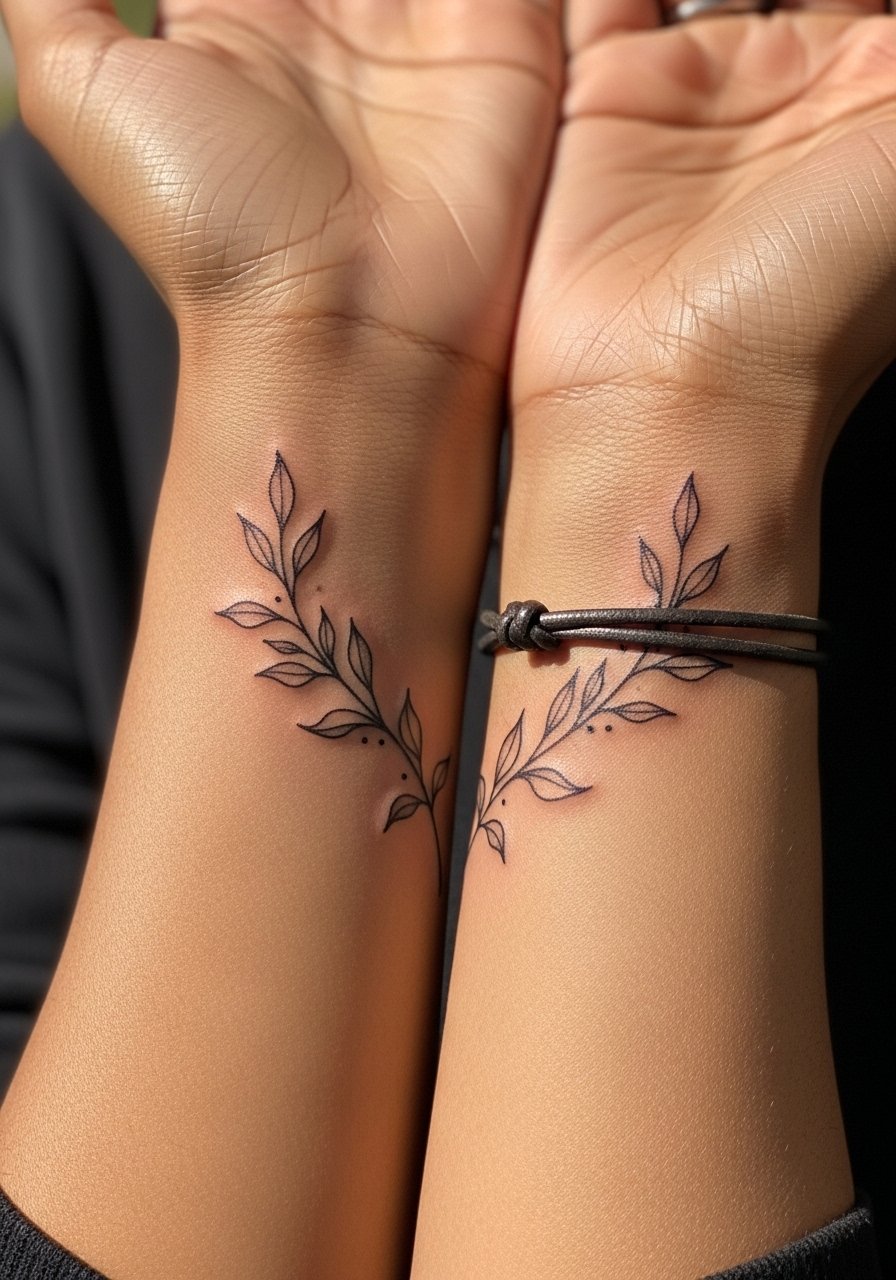
This vine is designed to be read in balance with a bolder piece on the other arm. When booking, ask the artist to place the vine so it curves toward the hands rather than toward the forearm, which helps it age gracefully when skin changes occur. The common mistake is matching thickness to the bold arm piece which creates visual discord in a few years. Sessions are 45 to 75 minutes and a one-year touch-up keeps the fine details sharp. Pair the vine with a leather cord bracelet on the opposite wrist for deliberate asymmetry.
Frequently Asked Questions
Q: Will a fine line tattoo on my wrist fade faster than one on my forearm?
A: From what I've seen, yes the wrist tends to fade faster because it takes more sun and rubbing. The fix is slightly bolder single-needle work, ask for spacing and a thicker trace so the design holds longer, and plan a touch-up between 6 and 18 months depending on exposure.
Q: Saniderm or dry healing for a wrist piece, which camp should I pick?
A: Artists and collectors split into two camps. One camp uses protective film like Saniderm to speed healing and reduce friction, while another argues dry healing prevents trapped moisture and infection on high-movement skin. Ask your artist which method they prefer and why, and factor in your daily routine. If you sweat a lot or wear bracelets, a breathable film often helps.
Q: How painful is a fine line wrist tattoo and can numbing cream help?
A: The wrist is bony and thinner than the forearm so pain is typically more noticeable. Numbing creams are used by some clients to ease the session, while traditionalists say it alters the ritual. If you plan to use a topical, tell your artist ahead so they can advise on timing and whether it affects their linework.
Q: I have darker skin. Will fine line tattoos blur faster on my wrist?
A: Darker skin can show different contrast dynamics, and some artists recommend slightly bolder linework or testing a small patch first. Ask to see healed photos on similar skin tones and discuss line weight during the consult. That pragmatic approach usually leads to better long-term results.
Q: What should I wear to the appointment for a wrist tattoo?
A: Wear clothing that gives full wrist access without tight cuffs, like a loose tank top or a button-up with sleeves you can roll high. Comfort during the session helps you hold positions without added friction on fresh ink.
