
Fine line tattoos look effortless at first glance, but they ask for careful choices at every step. Trends push ever-smaller motifs, yet what reads clean in a salon photo can blur under normal wear. Pick placement, spacing, and line weight with an eye toward how your skin moves. Below are 27 refined ideas with practical consultation notes, realistic aging expectations, and outfit tips to help you show off the work.
1. Fine Line Arrow on Inner Forearm
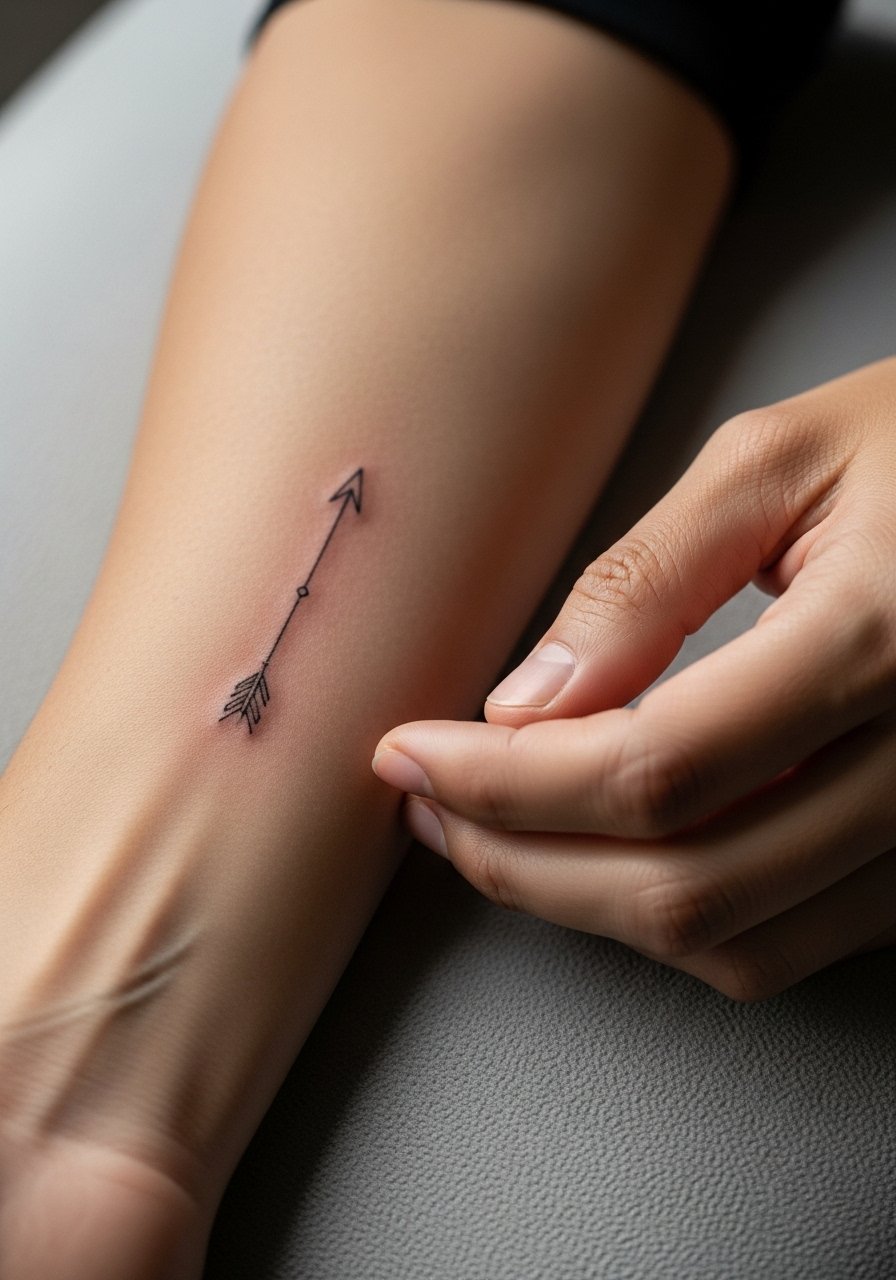
I recommend this when you want a directional piece that reads well under sleeves and with bracelets. Fair warning, the inner forearm gets sun and friction, so ask the artist for a slightly heavier line weight than a micro hairline. During consultation, show photos that illustrate your preferred line thickness and mention you want a single-pass stencil to avoid double lines. Expect a mild sting and a 45 to 75 minute session depending on length. For aging, the arrow will look crisp at six months, softer by year three, and may need a touch-up by five. A common mistake is requesting ultra-tiny shafts that merge over time.
2. Micro Floral Wrist Band
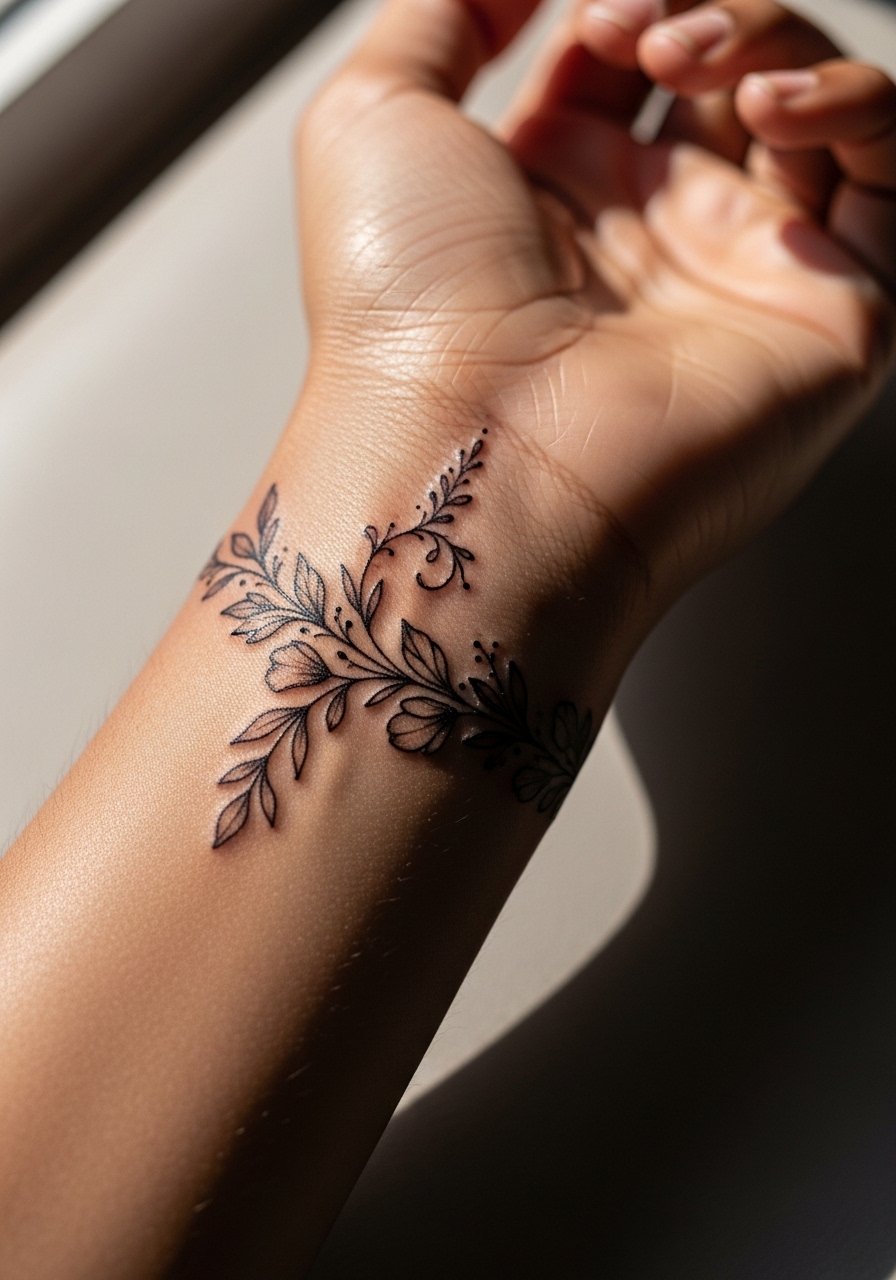
This reads like jewelry and works best as a horizontal band above the wrist bone. Pain is low to moderate and sessions run 30 to 60 minutes. When you consult, ask for slightly spaced petals so the design keeps its shape as the skin moves. Most people make the error of compressing too much detail into a two-centimeter band. At six months the linework will still read well, but friction from watches and sleeves accelerates fading. Pair this with thin stackable bracelets, such as a thin chain bracelet to frame the band without crowding it.
3. Tiny Constellation on the Ankle
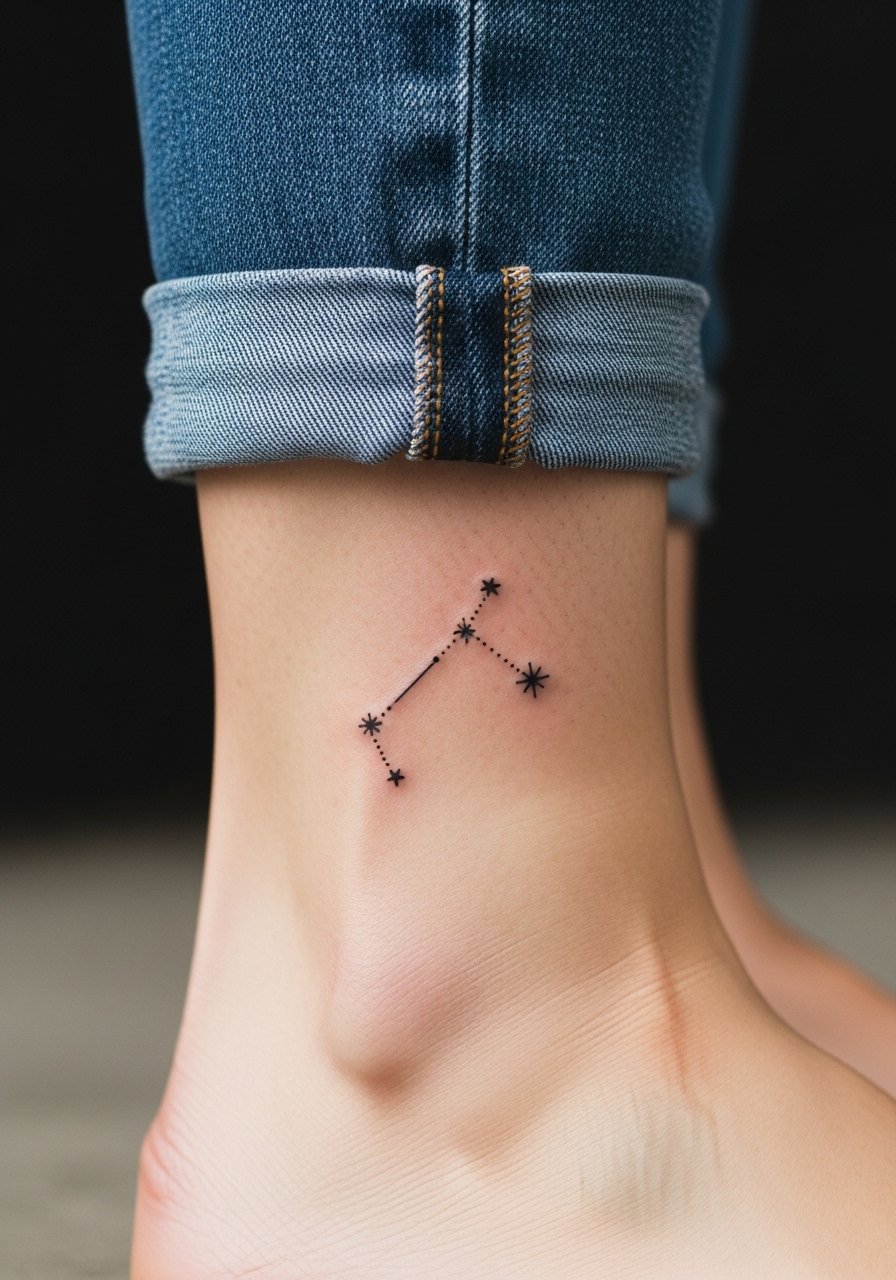
Ankle tattoos face a lot of rubbing from shoes and socks. If you want a constellation, request slightly separated stars and avoid dense connecting lines. The session is quick, often under 45 minutes, but the area can feel tender during the second day. Aging-wise, small points hold for a year or two before softening. A common mistake is requesting tiny dots too close together. Show-off styling pairs well with sandals or jeans rolled to the ankle so the design gets visibility without constant abrasion.
4. Script on the Collarbone
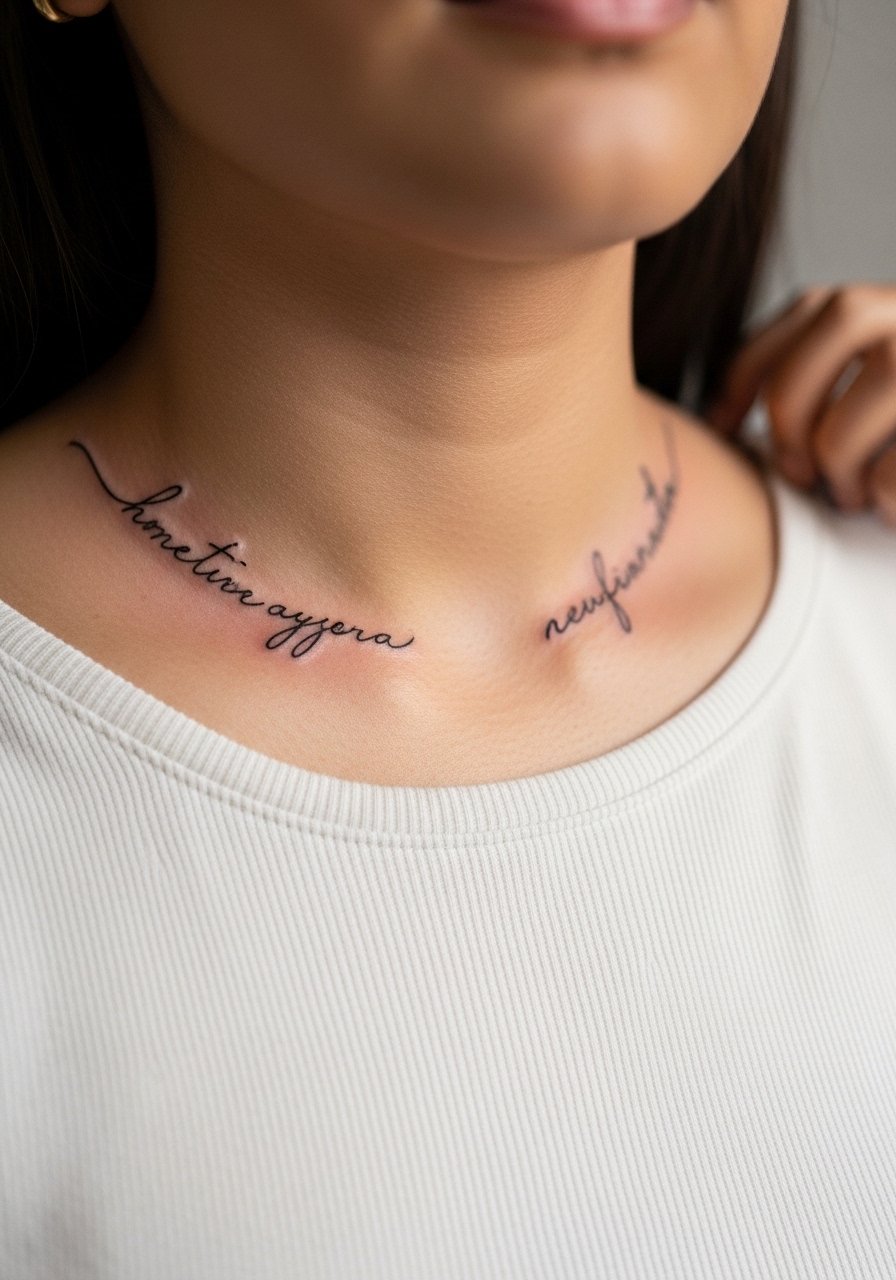
Collarbone script is flattering but placement shifts with posture. Tell your artist whether you want the text to sit with the collarbone ridge or in the soft plane below it. Pain is moderate and sessions vary from 30 to 90 minutes depending on length. For longevity, small cursive strokes need spacing so letters do not merge as the skin settles. The most common mistake is choosing an overly ornate font. To show it off, wear open-neck blouses that reveal the line without covering it up.
5. Ribcage Botanical Sprig
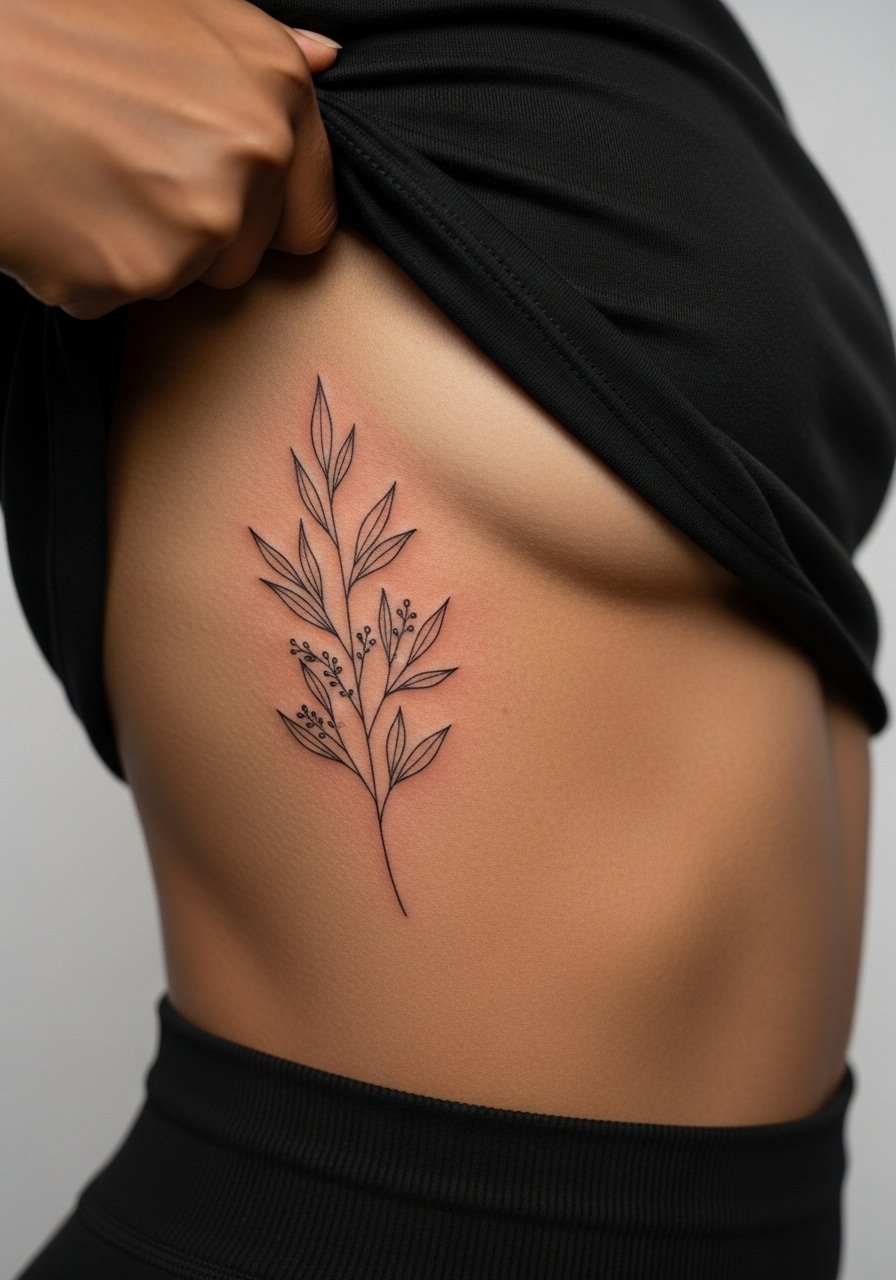
Fair warning: ribs are one of the higher pain spots on typical scales. The result can be elegant but talk to your artist about needle depth and spacing. Controversy exists here. One camp says the skin stretch and breathing make fine line on ribs blur within two years. The other camp argues that with the right spacing and slightly bolder line weight, fine line settles well. Ask the artist which approach they use and why. Sessions are often longer and may require breaks. Expect touch-ups sooner than for arm work. For the session, bring a zip-up hoodie you can pull aside to stay warm and give access to the area.
6. Micro Dot Work Finger Accent
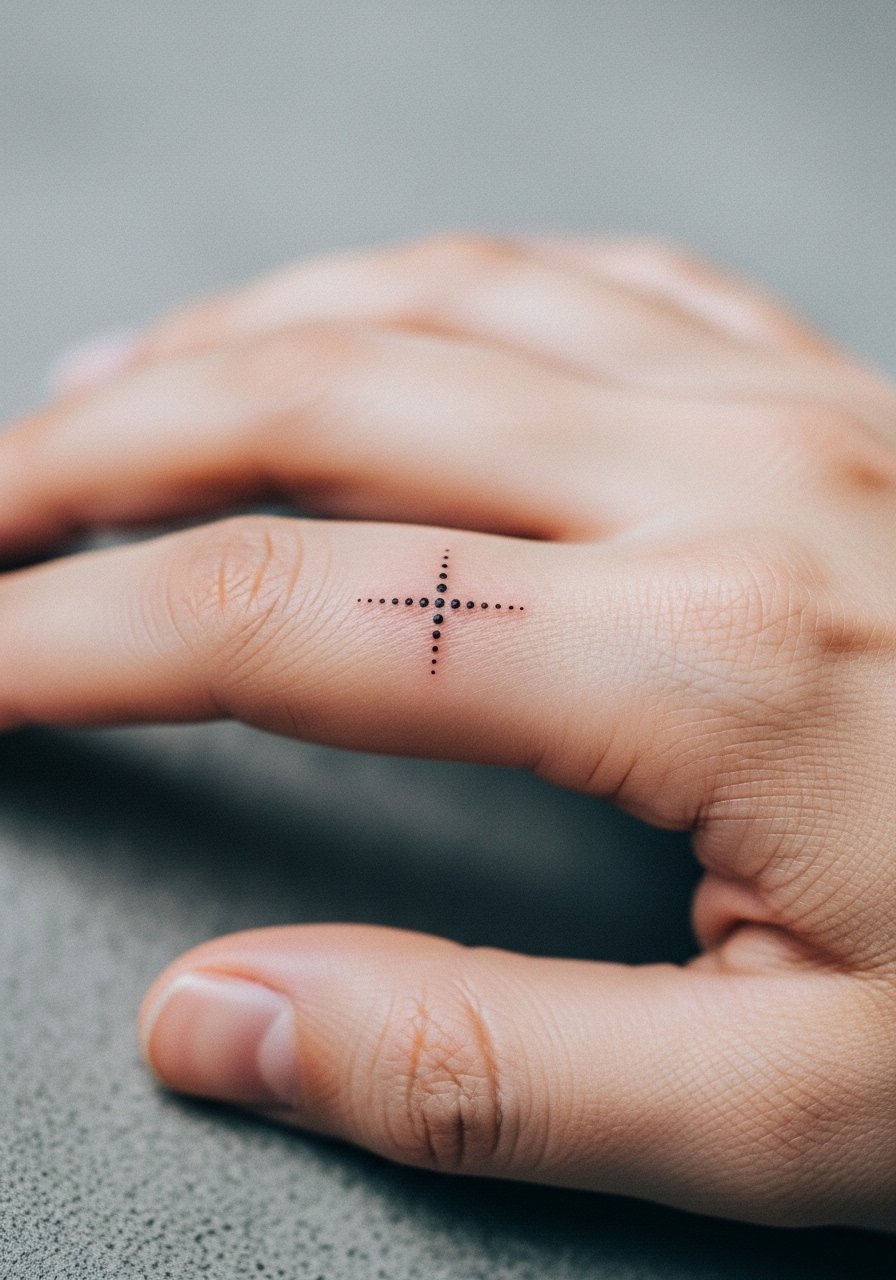
Finger tattoos are visible and thin-skinned, so they fade and blur faster. I recommend a sparse dot cluster or single glyph rather than dense patterns. Tell the artist you want the dots set a few millimeters apart so edges do not join as the ink spreads. Pain is sharp but short. Most finger pieces need touch-ups at year one or two. Career considerations still matter for hand tattoos, so think about long-term visibility. For showing it off, minimal stacked rings sit nicely next to a micro dot cluster.
Studio Day Picks
The rib, collarbone, wrist, ankle, and finger pieces above demand different prep and first-week care, so a few targeted items make the session and the first days easier.
- Stencil transfer paper kit. Lets you test placement and line scale on skin before the needle touches you, especially useful for collarbone and rib layouts.
- Topical numbing cream. Apply as directed before high-pain areas like ribs to reduce discomfort without impacting shading.
- Thin protective film roll. Keeps wrist and finger tattoos protected during the first week of frequent washing and movement.
- Fragrance-free gentle body wash. Cleans tattooed skin without stripping the fine line ink on delicate areas.
- Aquaphor healing ointment. A thin layer during the initial days helps retain moisture for fine line channels without clogging.
7. Behind-the-Ear Leaflet
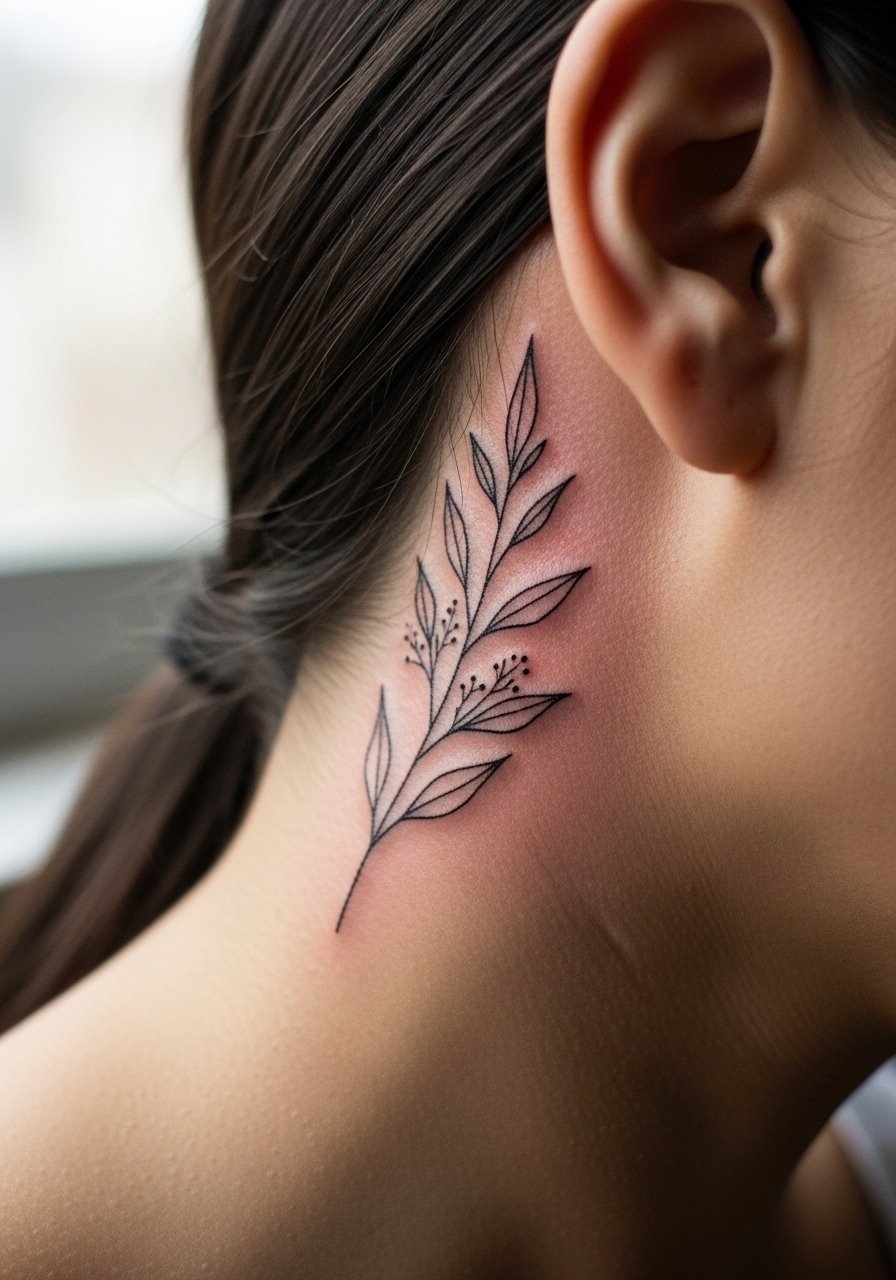
Behind-the-ear placements need careful framing because hair will conceal and reveal the piece. Ask for a compact motif that sits just below the hairline. The session is quick and the pain is low to moderate. Two common mistakes are overcrowding the zone and placing text too close to the hairline. Expect the lines to soften faster than forearm work because hair, sweat, and shampoo create friction. For showing it off, short haircuts or tucked-back styles display the piece without overexposure.
8. Nape Minimal Mandala

The nape is visible with hair up and subtle with hair down, which makes it a nice secret-to-show piece. Tell your artist if you want the mandala centered on the spine or offset toward one side. Pain is moderate and sessions usually last under 90 minutes. Dense mandalas done too small tend to fuzz into a blot by year three. Leave breathing space between petals and choose lighter negative-space work for better longevity. For style, a high ponytail or a wide-neck blouse highlights the design.
9. Inner Bicep Micro-Realism
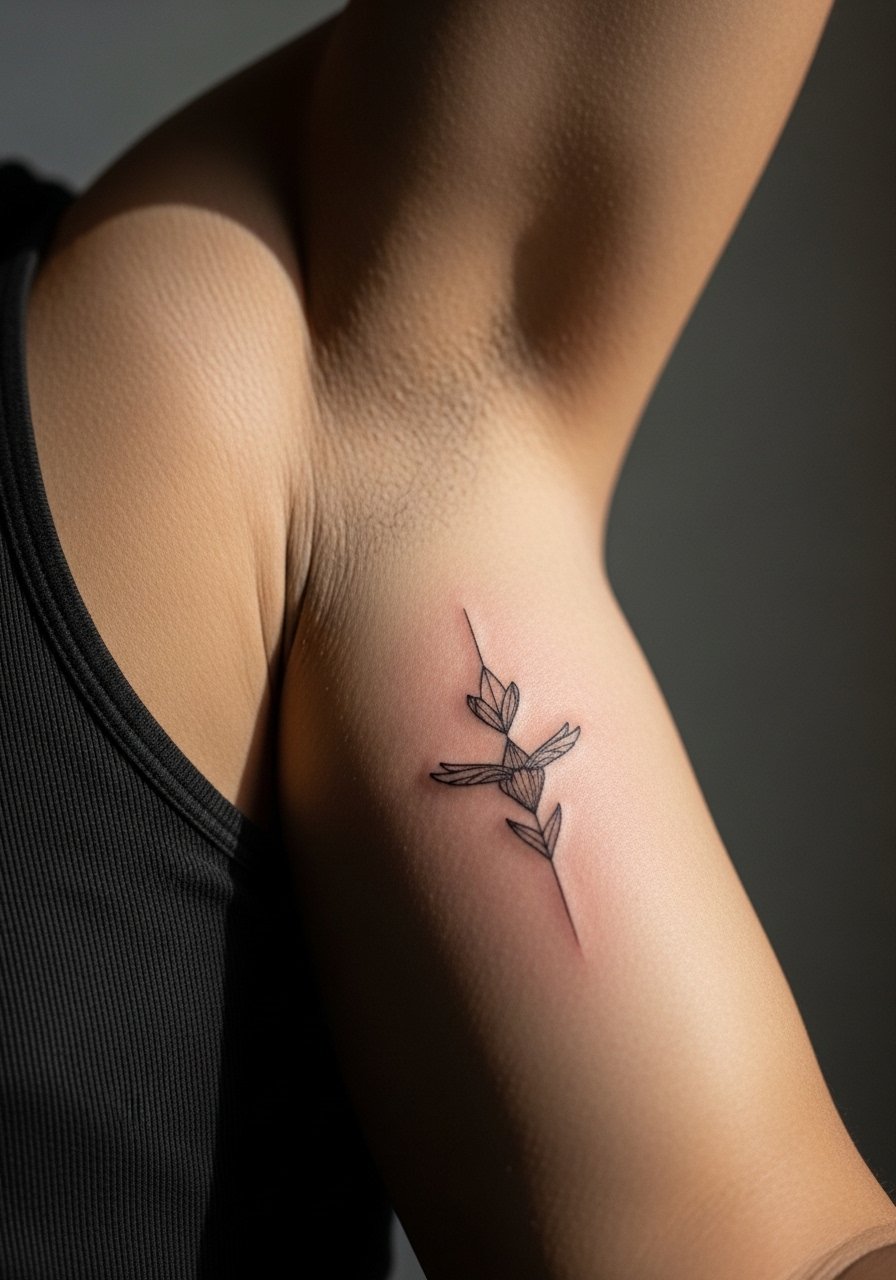
Inner bicep skin is softer and can be more forgiving for micro-realism, but the curvature affects stencil layout. During consultation, bring reference photos that match the arm's angle so the piece sits naturally when the arm hangs. Sessions can feel tender due to thin skin and last 60 to 120 minutes. The mistake I see is trying to cram high-detail faces into a narrow vertical patch. For showing it off, sleeveless tops or rolled sleeves work. Touch-ups are common around year two where the skin creases.
10. Sternum Fine Line Crescent
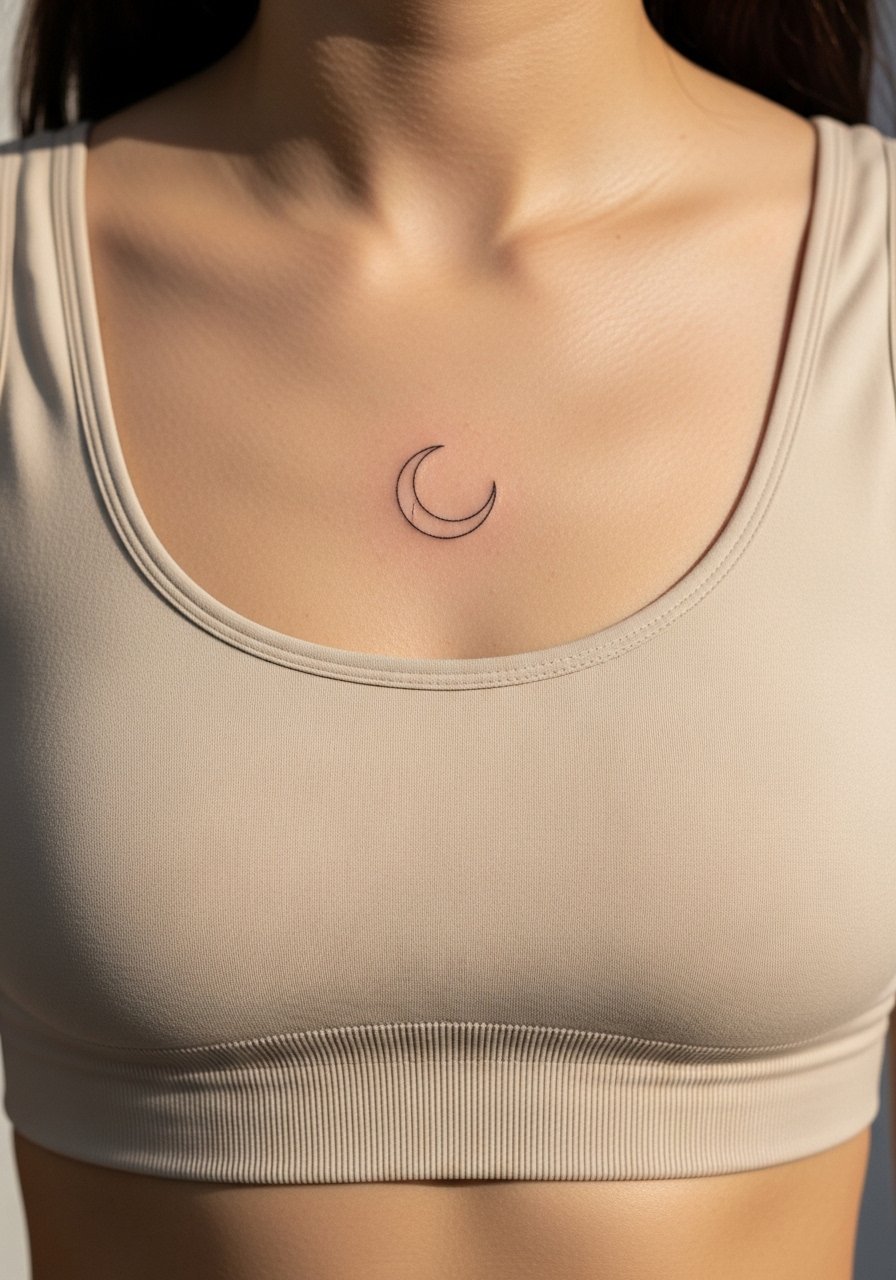
Sternum work reads intimate and bold. Pain levels range higher because the bone sits close to the surface. Tell the artist you want slightly thicker anchor lines so the crescent keeps definition as it heals. The common error is choosing excessive filigree that becomes muddled when the skin shifts. Sessions are often split for comfort. Expect touch-ups sooner than for arm pieces. For the session, wear a fitted sports bra or zip-up hoodie to allow access while staying covered.
11. Calf Minimal Mountain Range
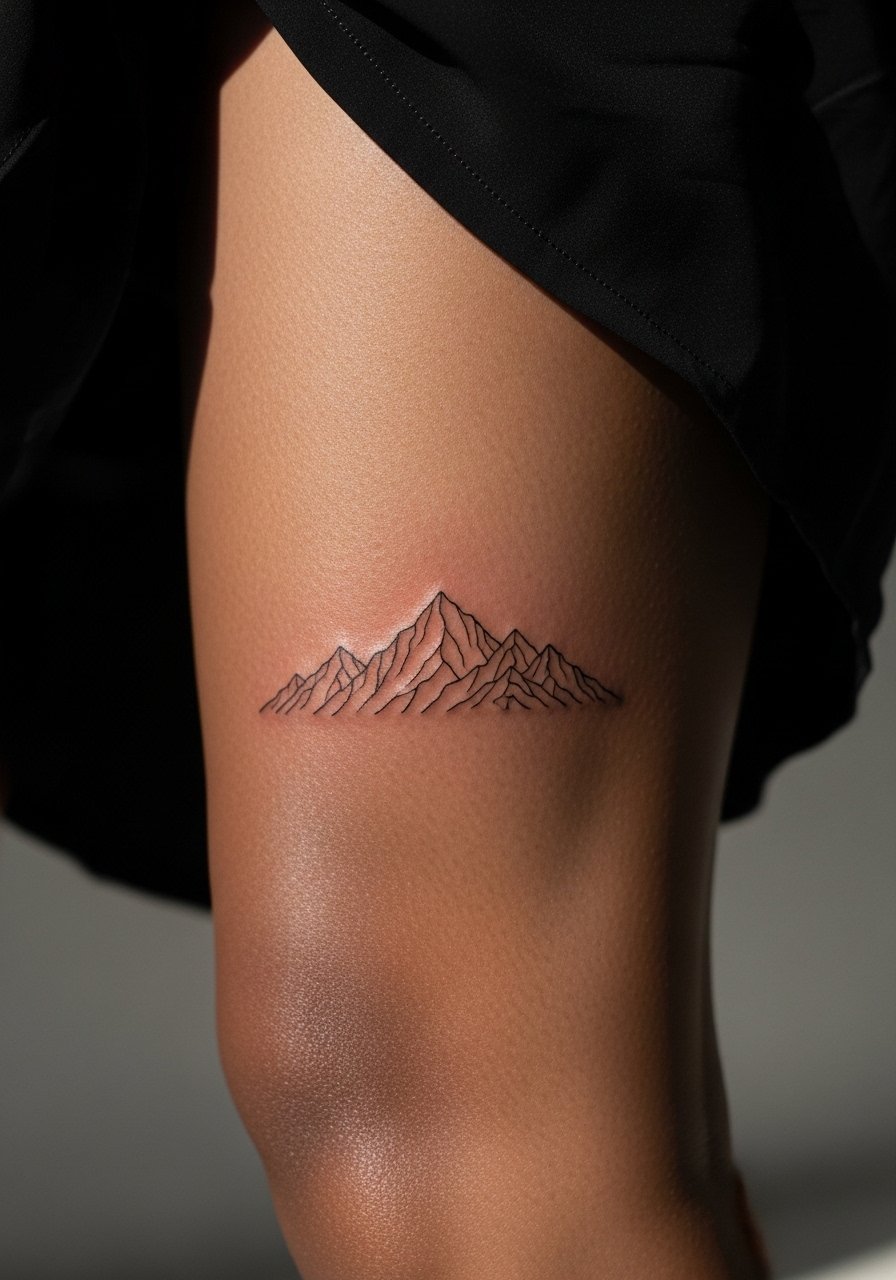
Calf tattoos tolerate linework well because of thicker skin and less direct friction. This design suits someone who wants a vertical or wraparound horizon. Pain is moderate and sessions last 30 to 90 minutes depending on size. A frequent mistake is placing tiny peaks too close together. For longevity, ask for subtle negative space between peaks. Pair with cropped trousers or midi skirts to reveal the silhouette during warmer months.
12. Shoulder Blade Single-Line Animal
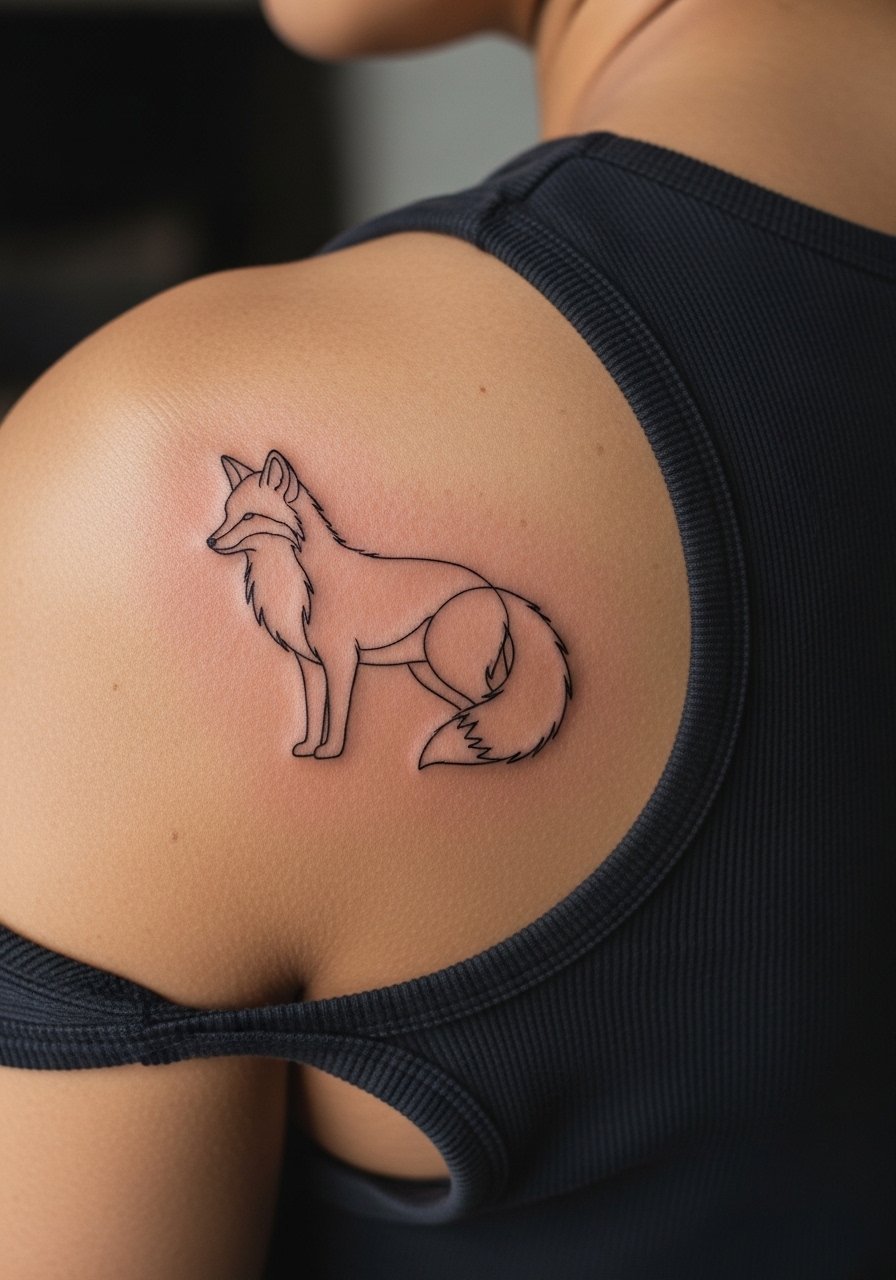
Shoulder blade skin is thick and moves less, so single-line animal silhouettes can remain defined for years. In consultation, discuss scale so the curves of the animal match the shoulder's plane. Sessions are comfortable and often quick. The usual mistake is making the design too small, which loses detail when clothing rubs. For showing, an off-the-shoulder top or tank exposes the piece. Touch-ups are uncommon but possible after sun exposure.
13. Thigh Botanical Band
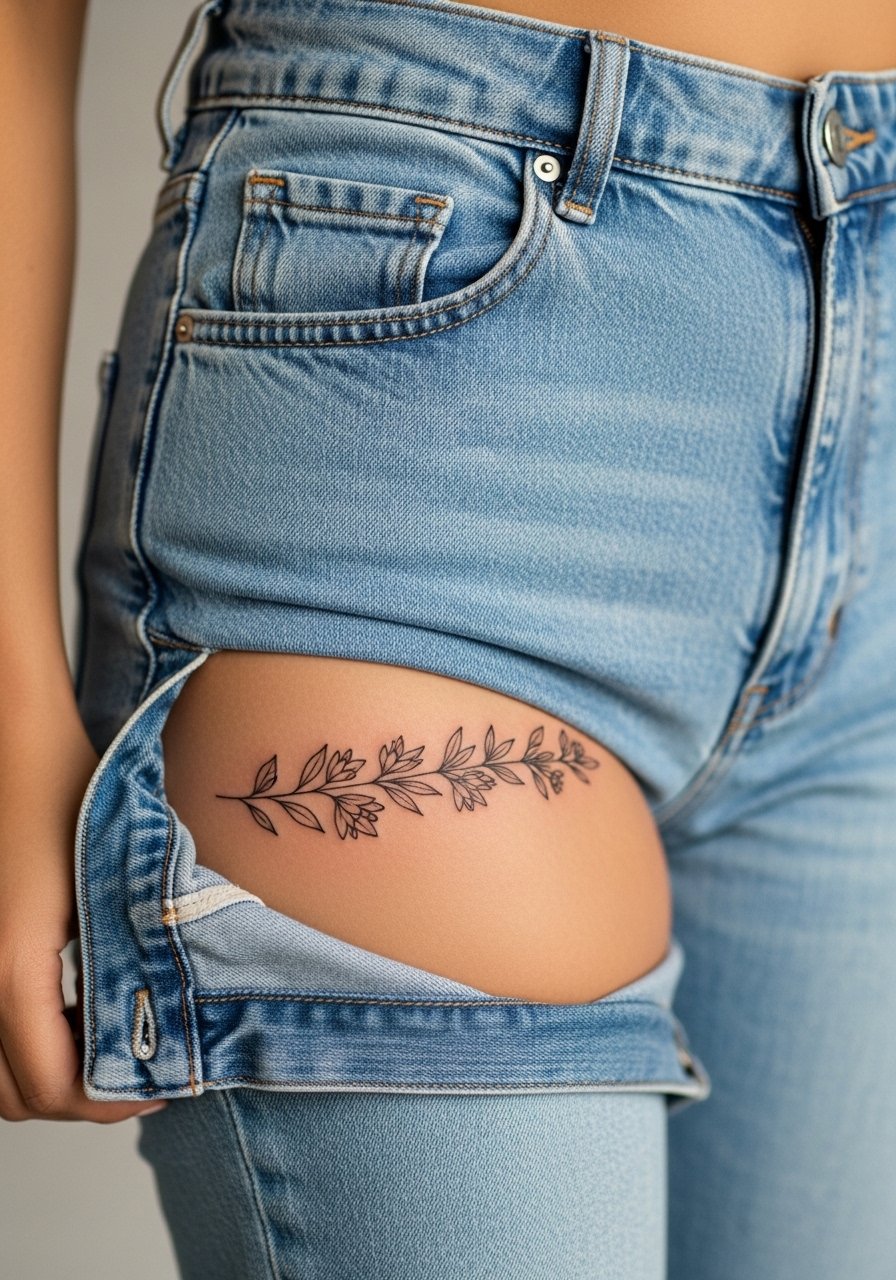
Thighs offer space and a forgiving canvas for detailed botanicals. The session can take longer because the area allows larger compositions. When you consult, mention whether you want the band horizontal or diagonal to flatter your body shape. Pain is moderate to low. A mistake people make is compressing too many stems into a narrow band. For recovery and session access, wear high-waisted shorts or loose skirts so the artist can work without restriction. Expect a touch-up at two to three years if you often sunbathe.
14. Behind-the-Knee Tiny Moon
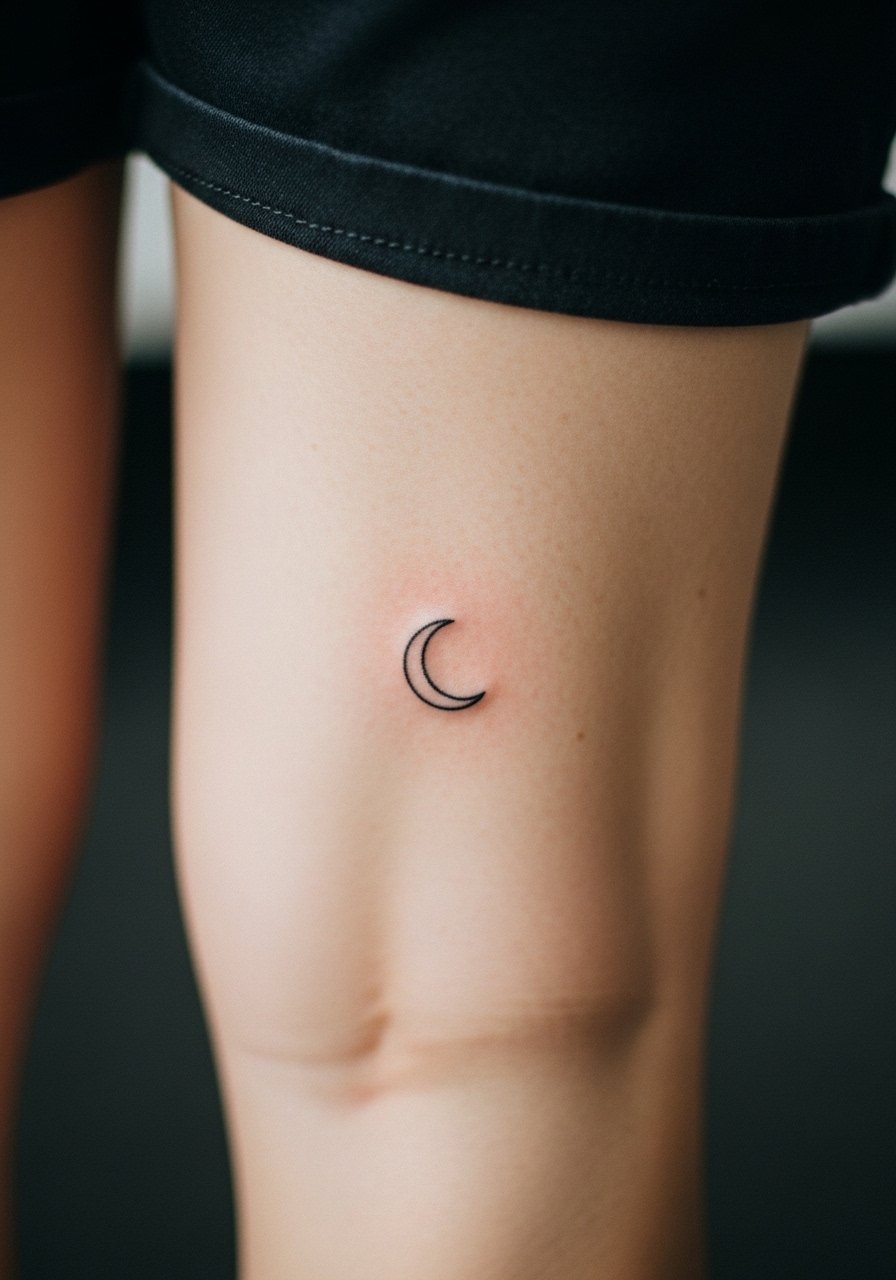
Behind-the-knee placements are unusual and sensitive when bending. The skin stretches and creases, so ask for a very simple motif. Sessions are short but the movement makes healing fussy. Most pieces fade faster here, and touch-ups are common. A common error is picking intricate shapes that do not survive the skin's motion. For the appointment, wear shorts you can move in and that do not rub the fresh ink afterwards. Avoid heavy training immediately after a session.
15. Lower Back Single Stem
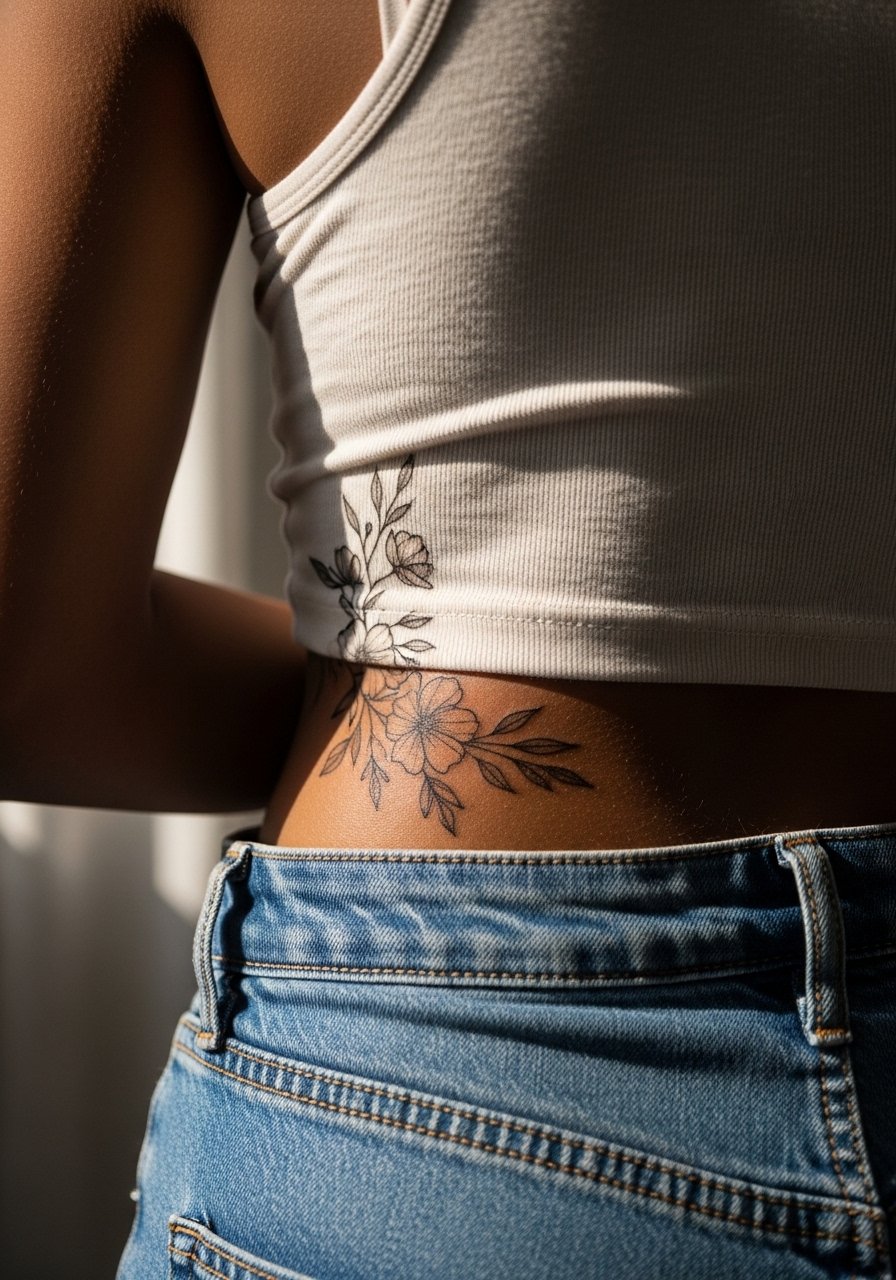
Lower back pieces age well because clothing rarely rubs that zone heavily. For a single stem, decide whether you want it centered or offset toward one hip. Pain is low to moderate and sessions are comfortable. The common mistake is selecting a very long, thin stem without anchors, which looks lost under clothing. For visibility, low-rise trousers or crop tops reveal the motif. If you plan frequent sun exposure, plan for a touch-up at three to five years.
16. Spine Vertical Script
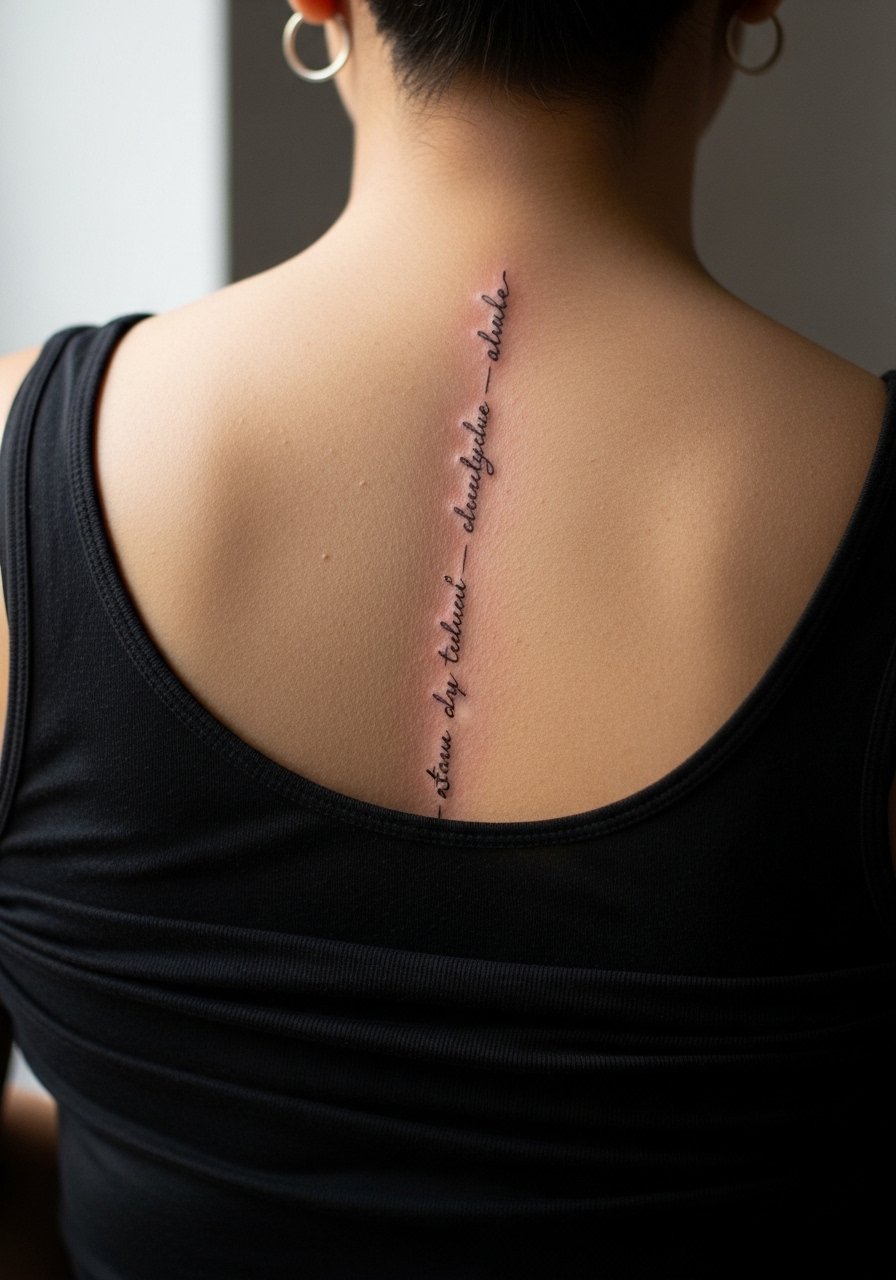
Spine scripts need careful kerning because the vertebrae create natural breaks. Tell your artist exactly where you want the top and bottom characters to sit relative to the shoulder blades. Pain varies by level but can be sharper over bone. Sessions can be split. The most frequent issue is choosing long sentences that compress into illegible blocks. For showing it off, open-back dresses or tops work well. Expect the center strokes to soften over time and plan for periodic touch-ups.
17. Hand Back Minimal Symbol

Hand tattoos are high visibility and high maintenance. The skin on the back of the hand interacts constantly with surfaces and soap. If you want a symbol, keep it small and bold enough to avoid merging. Pain is moderate and sessions are short. The controversy is practical more than artistic. One camp accepts regular touch-ups as part of the deal. The other prefers to avoid hands for longevity reasons. Think about work and lifestyle before committing. Rings and watches can draw attention without overcrowding the area.
18. Tiny Portrait on Upper Arm
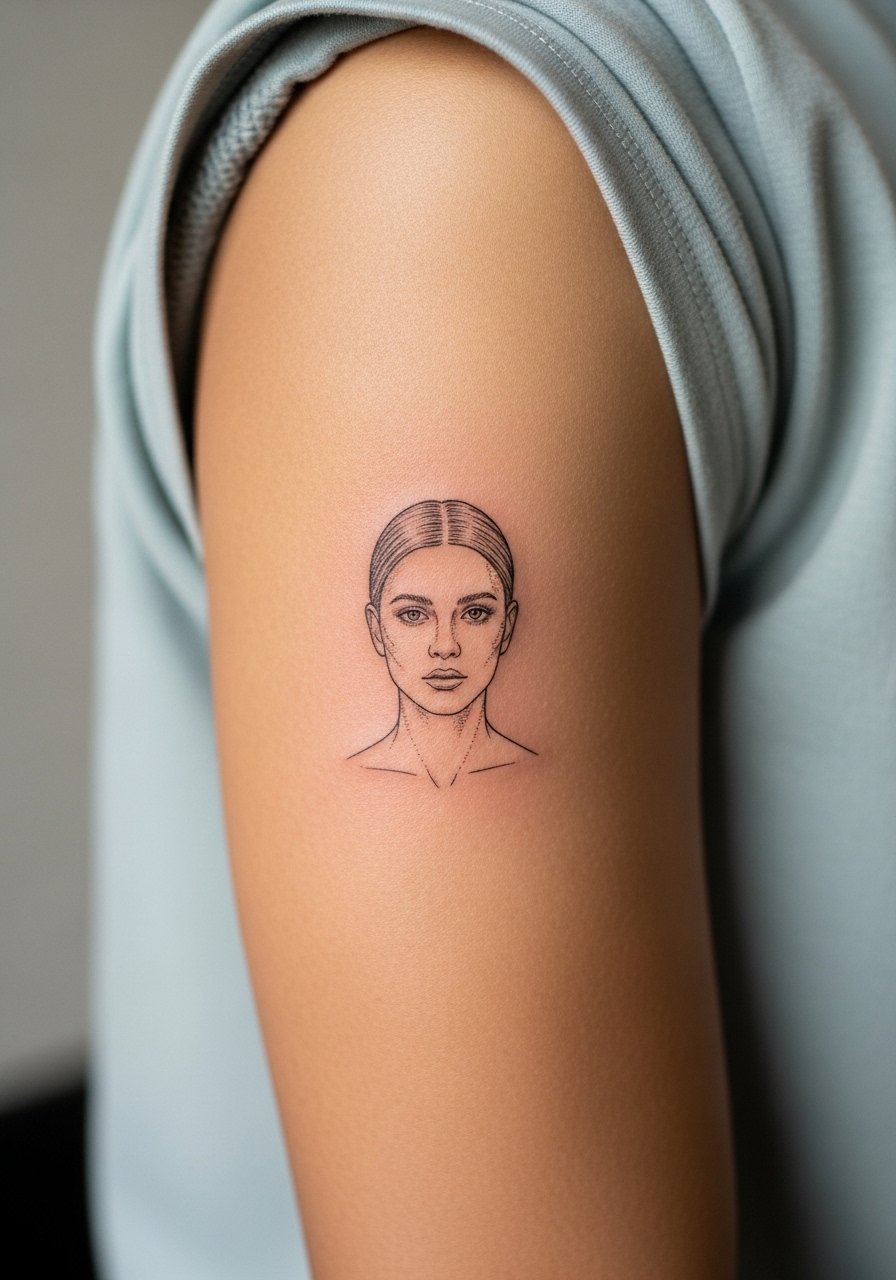
Micro portraits are delicate and depend on reference clarity. Tell the artist the exact crop you want and bring high-contrast photos. The session requires steady handwork and can run 60 to 120 minutes. A common mistake is expecting photographic detail at extremely small scales. For aging, fine shading softens by year three and touch-ups are common. Sleeves or short-sleeve shirts show the piece without daily exposure. Ask your artist about touch-up plans during consultation.
19. Geometric Mandala Wrist Cluster
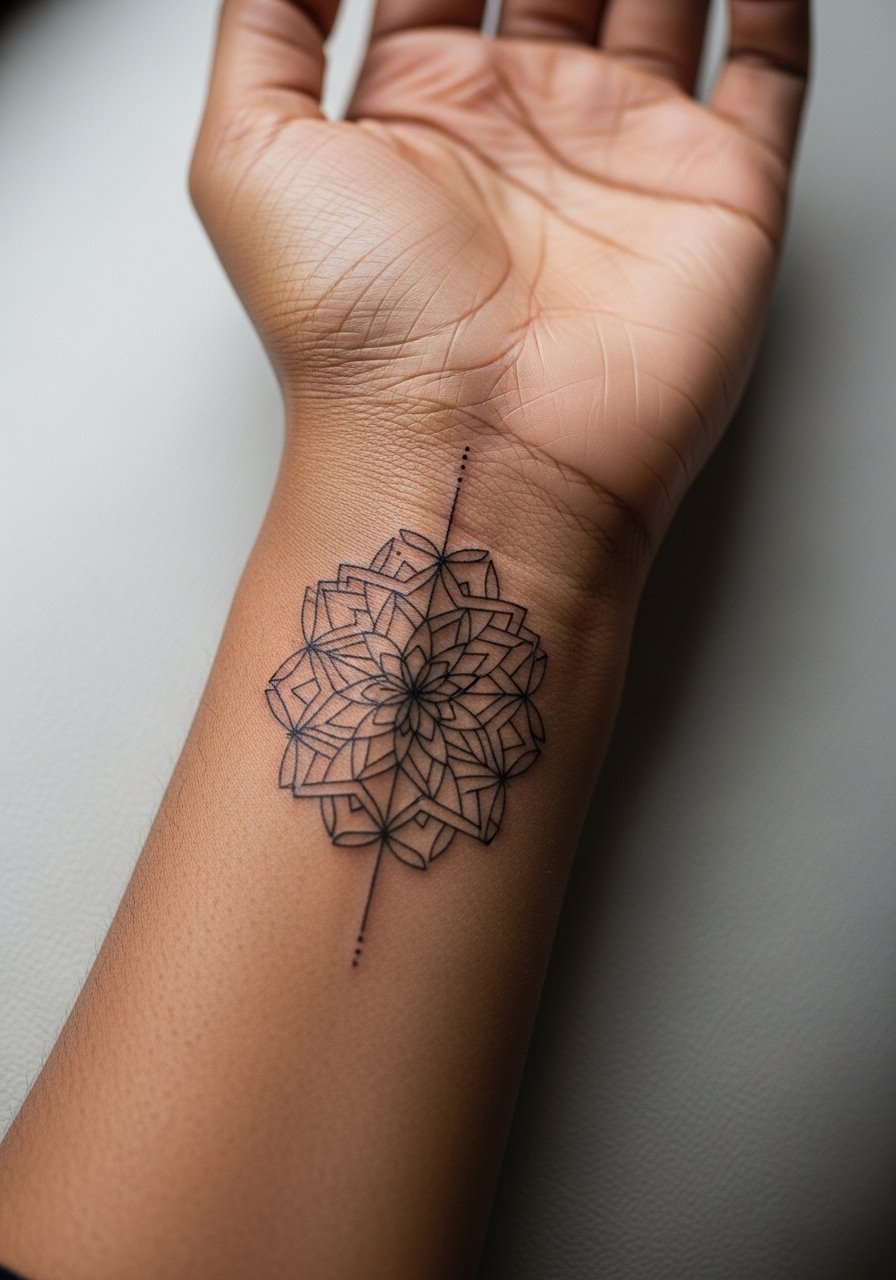
Mandala wrist clusters look intricate but need breathing room. Request simplified geometry with clear negative space and avoid cramming the design into less than a four-centimeter area. Pain is low to moderate and sessions are under 90 minutes. The usual mistake is overly dense petals that blur into shaded blobs by year two. For showing, roll sleeves and cuffed shirts highlight the geometry. A minimalist watch or slim cuff complements the pattern without competing.
20. Fine Line Matchstick on the Wrist
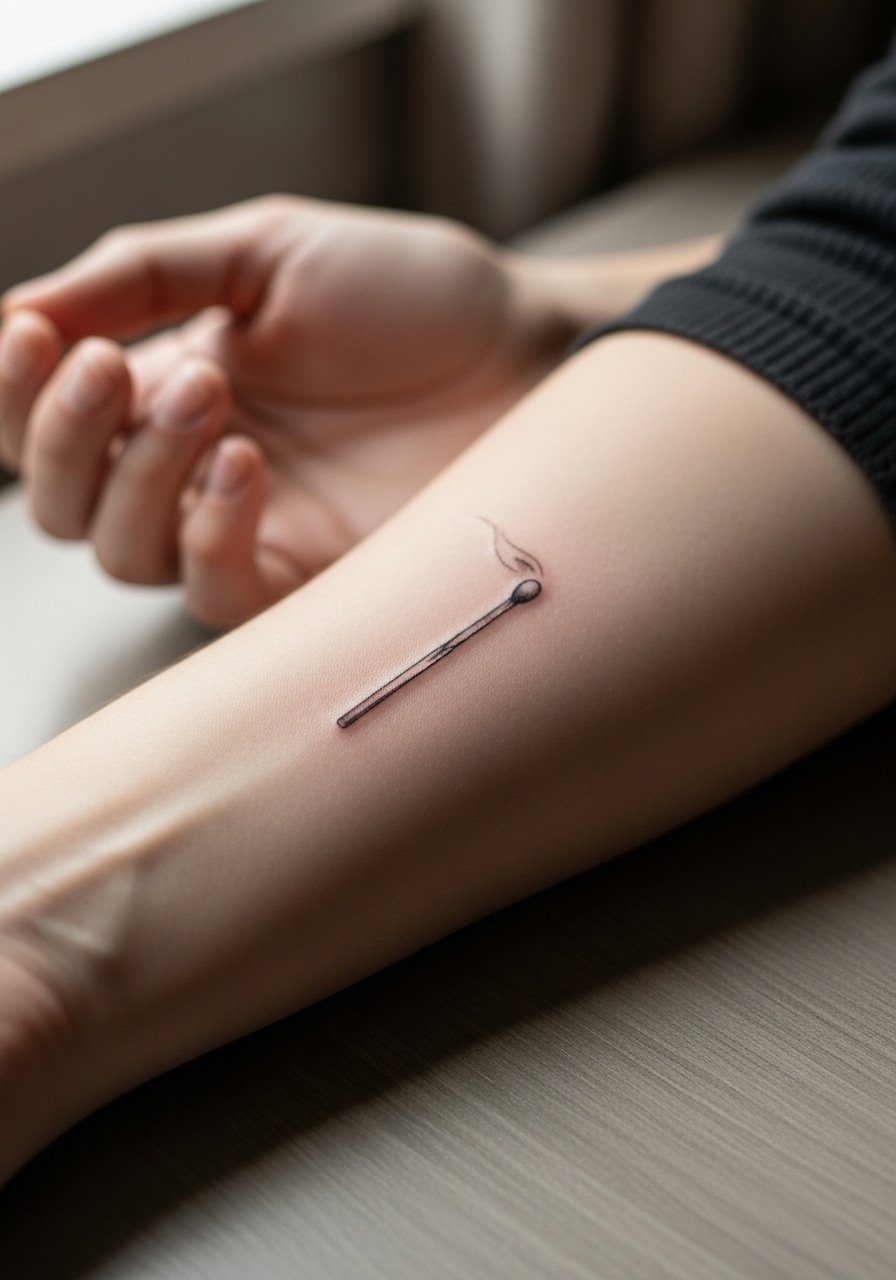
Small vertical designs on the inner wrist are intimate and visible. Ask the artist to bolden the strike tip slightly so the contrast survives daily hand washing. Sessions are quick and the pain is moderate. The common mistake is choosing an extremely thin stem that vanishes after a year. Pair with a slim bracelet or minimalist watch to frame the motif without obscuring it. Expect a touch-up at the two-year mark for most fine wrist work.
21. Negative Space Botanical Sleeve Accent
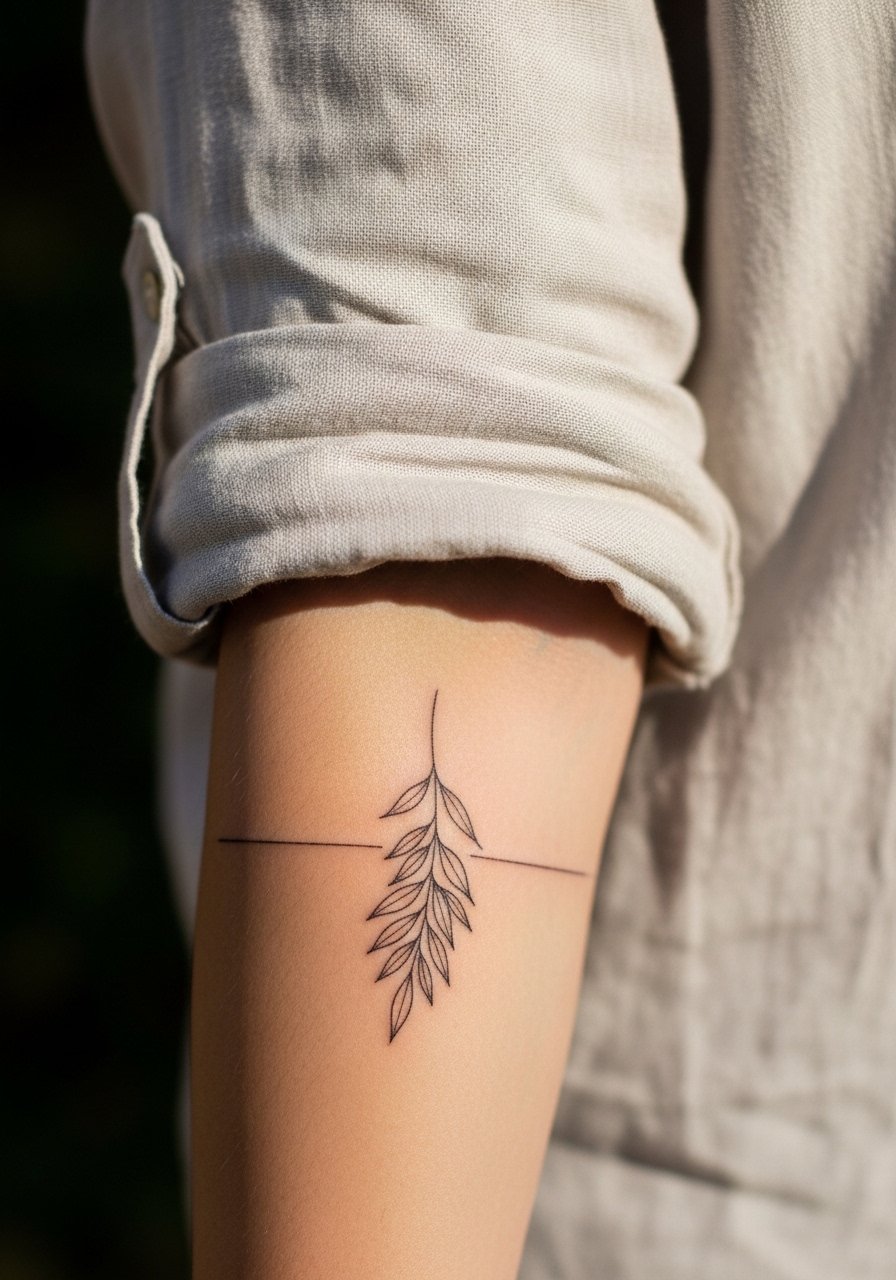
Use negative space to keep a forearm cluster readable while avoiding heavy saturation. In the consult, point out exactly where you want the empty skin to remain so the artist can plan overlap. Sessions can be modular, done over a few shorter visits. A common mistake is overfilling the band with line filigree. For showing it off, roll up sleeves on a loose linen shirt to let the open skin breathe visually and reveal the contrast.
22. Single-Line Continuous Animal on the Calf
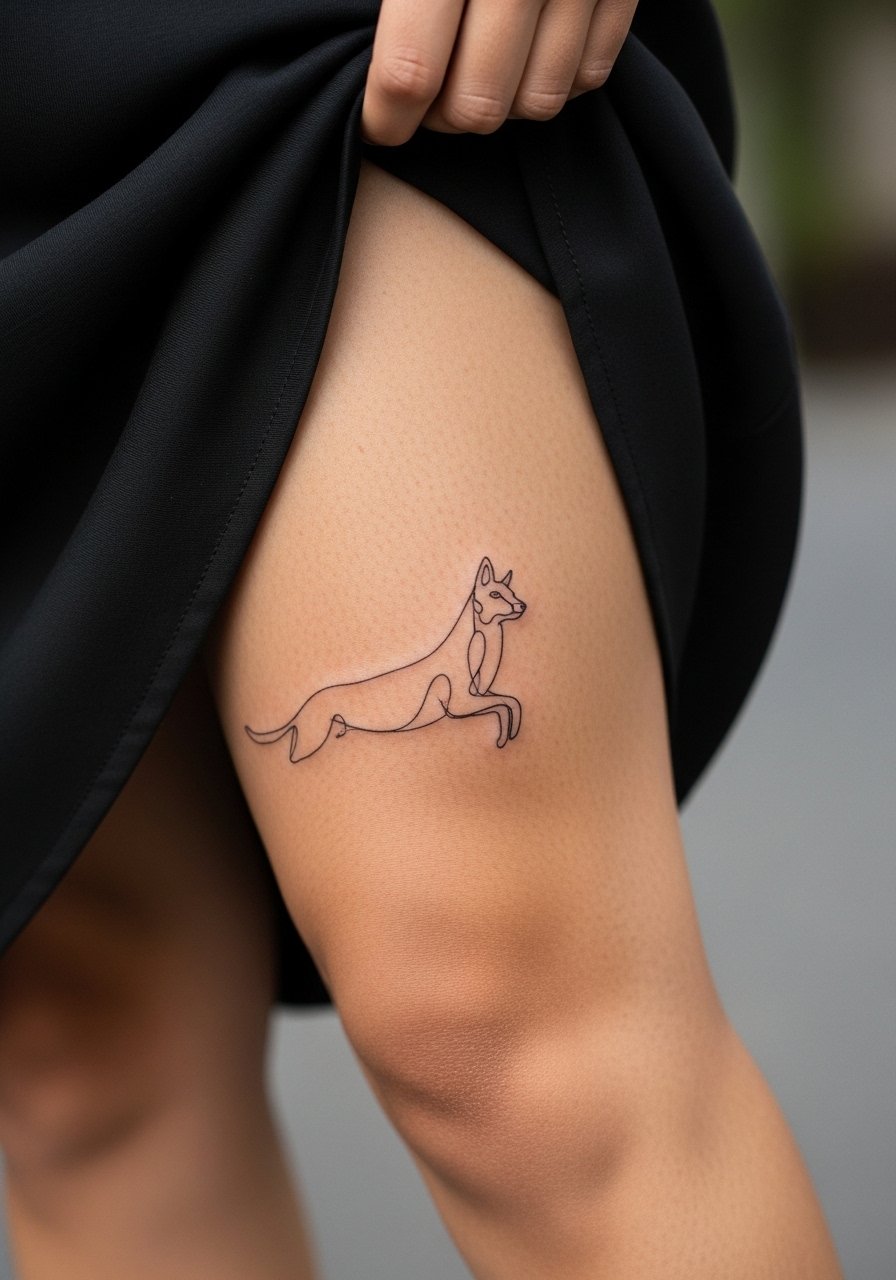
Single-line continuous designs look modern but need enough scale to show the movement. Tell your artist whether you want the line thickness to vary for emphasis. Pain is moderate and sessions depend on the wrap. The mistake is shrinking the piece until it loses flow. For styling, cropped pants and summer sandals reveal the wrap without constant abrasion from socks.
23. Micro-Realism Eye on the Wrist

Micro-realism on the wrist requires expert shading and careful scaling. Bring a reference that shows the eye at the angle you want. Sessions can be longer and may be split to allow healing between passes. The common flaw is pushing too much fine detail into a tiny space. Expect the crisp highlights to soften in two to three years. For showing it off, a slim cuff bracelet keeps attention on the wrist without crowding the eye.
24. Minimalist Mountain Line on the Forearm
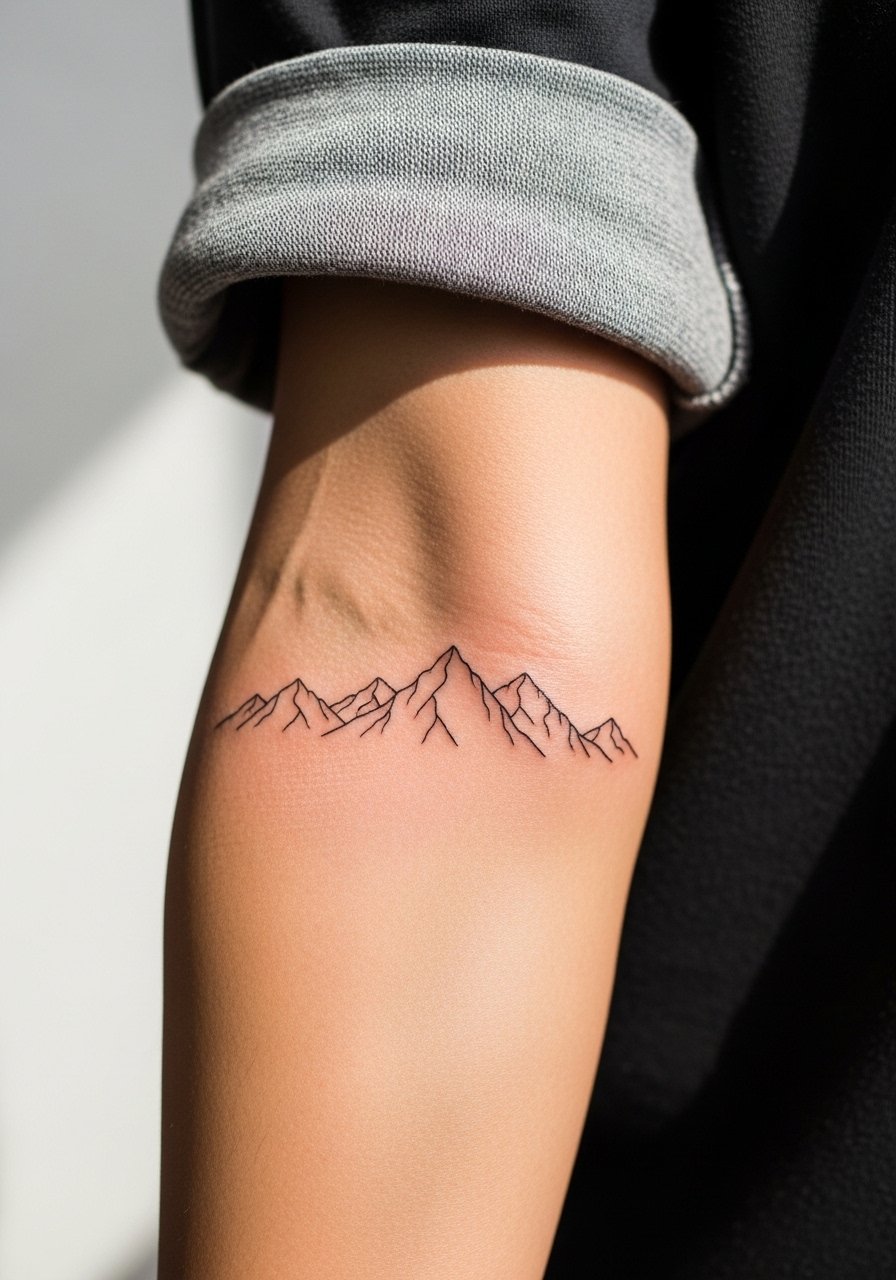
Forearm placements are forgiving for horizon scenes because the canvas is broad. Ask for negative space between peaks so the silhouette remains readable from a distance. Pain is moderate and sessions are comfortable. A typical mistake is compressing a panoramic concept into too small an area. To show it off, cuff sleeves or wear rolled linen shirts so the range reads like a continuous band. Touch-ups are occasional depending on sun exposure.
25. Delicate Wrist Chain Script
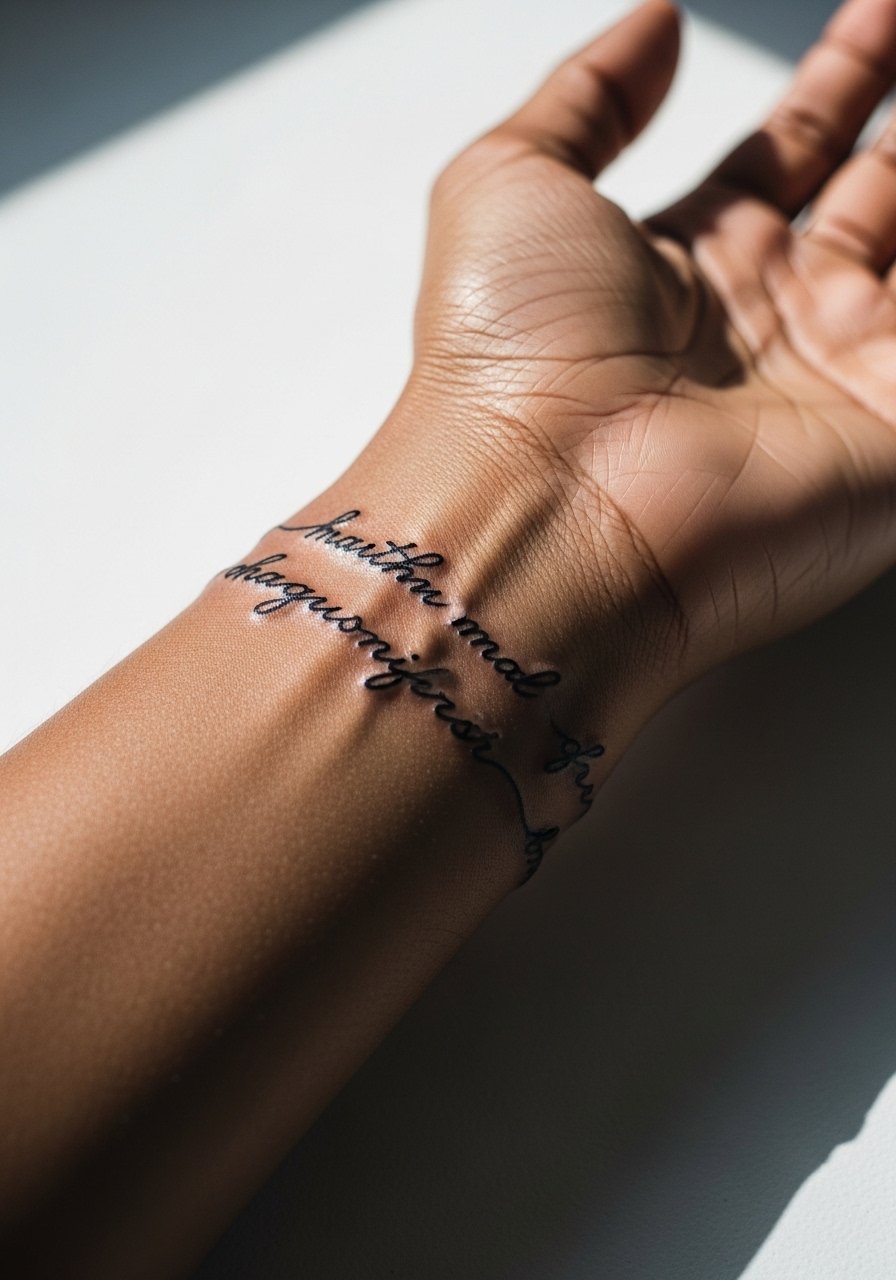
A script that mimics a chain is charming but needs legible spacing. Be explicit about letter height and join points in the consultation. Sessions are short and pain is manageable. The main mistake is selecting an ornate script that becomes illegible at wrist scale. For styling, a slim bracelet layered with a chain bracelet complements the illusion. Expect touch-ups at year two or three when the thin links soften.
26. Inner Thigh Delicate Vine
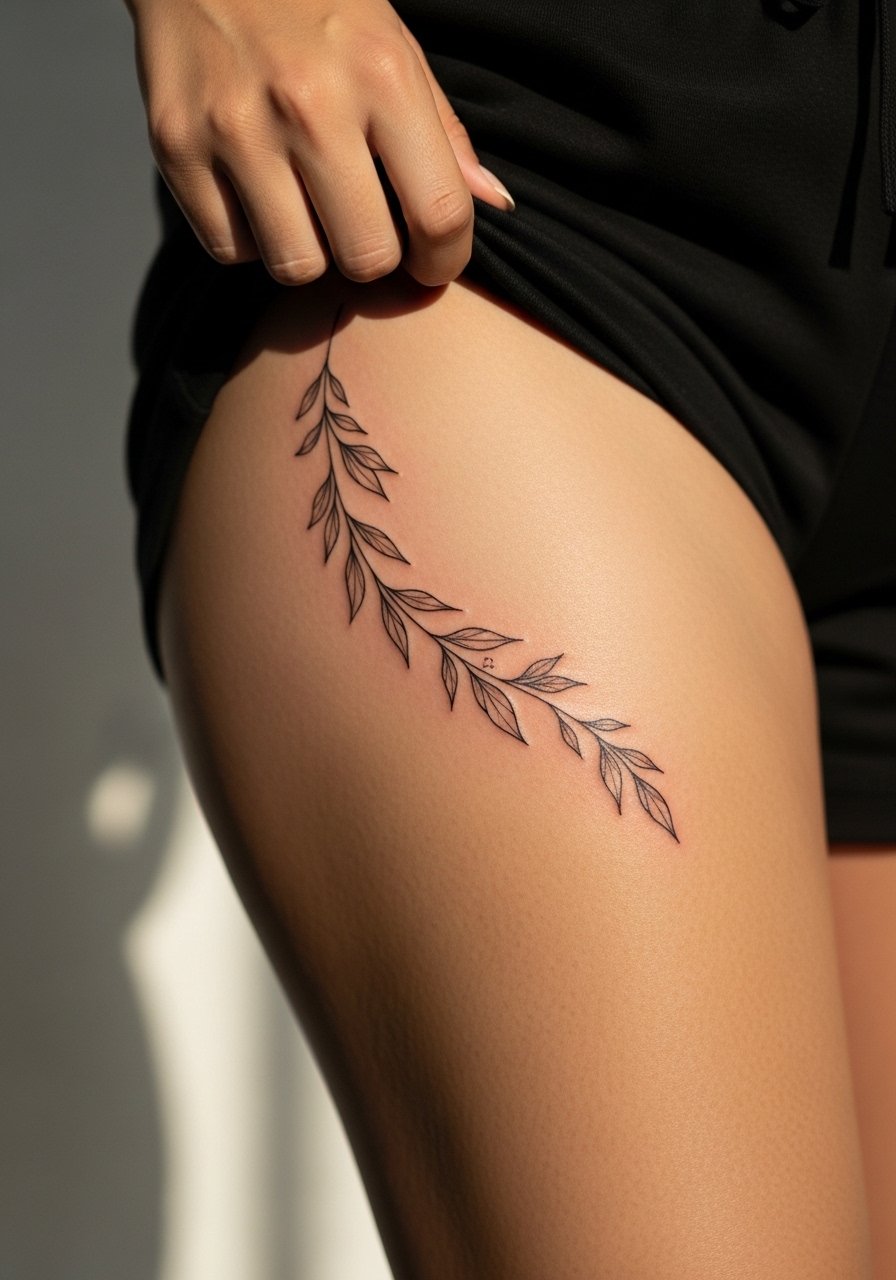
Inner thigh work is intimate and tends to heal protected from daily abrasion. Tell the artist whether you want the vine to mirror your contours or run straight. Pain is moderate and sessions can be comfortable. A mistake is going too dense too close to the groin. For session wear, pull up loose shorts or a wrap skirt so the artist can access the area without strain. Many people need a touch-up after heavier activity seasons.
27. Subtle Clavicle Star Cluster
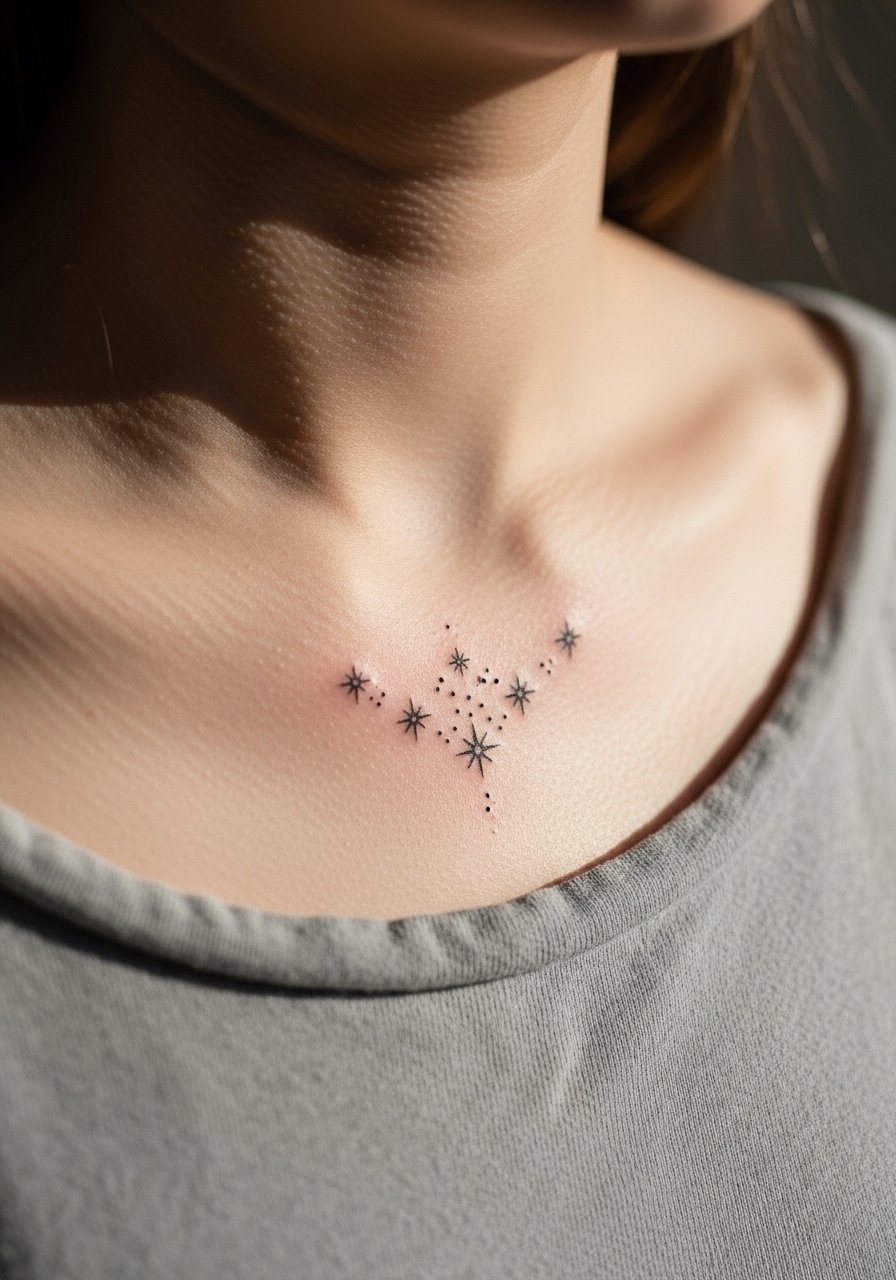
Clavicle clusters look best when the spacing follows the bone's angle. During the consult, mark a few dots on the skin so you can check visibility while standing. Pain is low to moderate and sessions are brief. Overcrowding the cluster is the usual error. For showing, open-neck tops or delicate pendant necklaces sit just above the stars and frame them tastefully. Expect softening of the faintest dots by year two.
Frequently Asked Questions
Q: Will fine line tattoos blur into each other if I get a full sleeve of micro motifs?
A: They can if the motifs are too close or too small. For a sleeve, plan negative space and slightly increase line weight compared with isolated micro pieces. Ask your artist to map breathing room between elements and expect touch-ups at three to five years depending on sun and friction.
Q: Do fine line pieces on ribs and sternum really need different technique from forearm work?
A: Yes, those areas often require slightly bolder anchor lines and more spacing because breathing and skin tension affect settling. Artists split into camps on whether razor-thin lines are safe there. The right choice depends on the artist's experience and your pain tolerance.
Q: How often should I expect touch-ups for wrist, finger, and hand work?
A: Plan for earlier touch-ups than for arm or back pieces. Many people need a refresh at year one or two for fingers and hands and around year two to three for wrists. Lifestyle, hand washing, and sun exposure shape the timeline.
Q: What should I wear to appointments for hip, inner thigh, or sternum pieces?
A: Choose clothing that gives access without full exposure, like high-waisted shorts for hip and thigh work, a fitted sports bra for sternum, and a loose button-down you can pull aside for shoulder or back pieces. Comfort matters during longer sessions.
Q: Are geometric mandalas better larger to avoid blowout?
A: Larger scale helps because dense geometry needs spacing. If you want a mandala, prioritize negative space and minor simplification at small sizes to prevent lines from merging as the skin ages.
Q: How do I find an artist skilled in fine line without relying on social handles?
A: Use local shop directories, convention listings, and community threads to locate portfolios. Look for healed photos of similar placements and ask shops about healed work in consultations. If you can, visit a few shops in person to compare stencil quality and portfolio consistency.
