
Fine line four leaf clover tattoos are everywhere on saved boards, but the ones that still look crisp years from now often follow the same rules. Placement, spacing, and how you prepare for the session matter more than the prettiest reference photo. Below are 17 ideas that balance delicate linework with real-world wear, plus the wardrobe and session tips that help these little lucky pieces age well.
1. Tiny Clover on the Inner Forearm
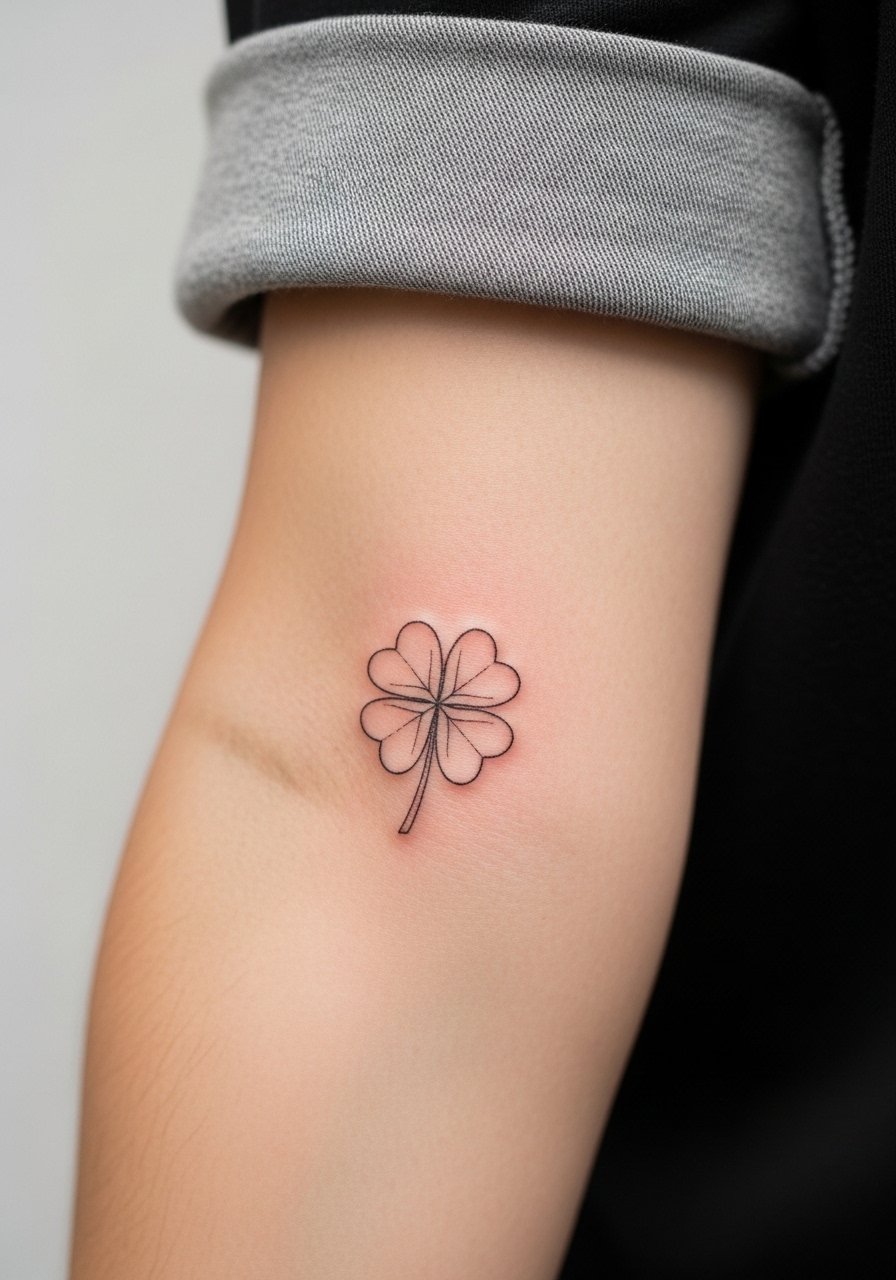
I recommend this spot when you want the clover to read like a small personal emblem. Tell your artist you want single-needle linework with a touch of stipple shading inside one leaf for dimension. Fair warning: the inner forearm gets sun and friction from bags, so expect softening after two to five years and plan a touch-up if you want it razor-sharp long term. For the appointment wear a loose button-down shirt you can pull aside so the area stays relaxed while they work. Pain is mild and the session is usually under an hour.
2. Micro Clover at the Wrist
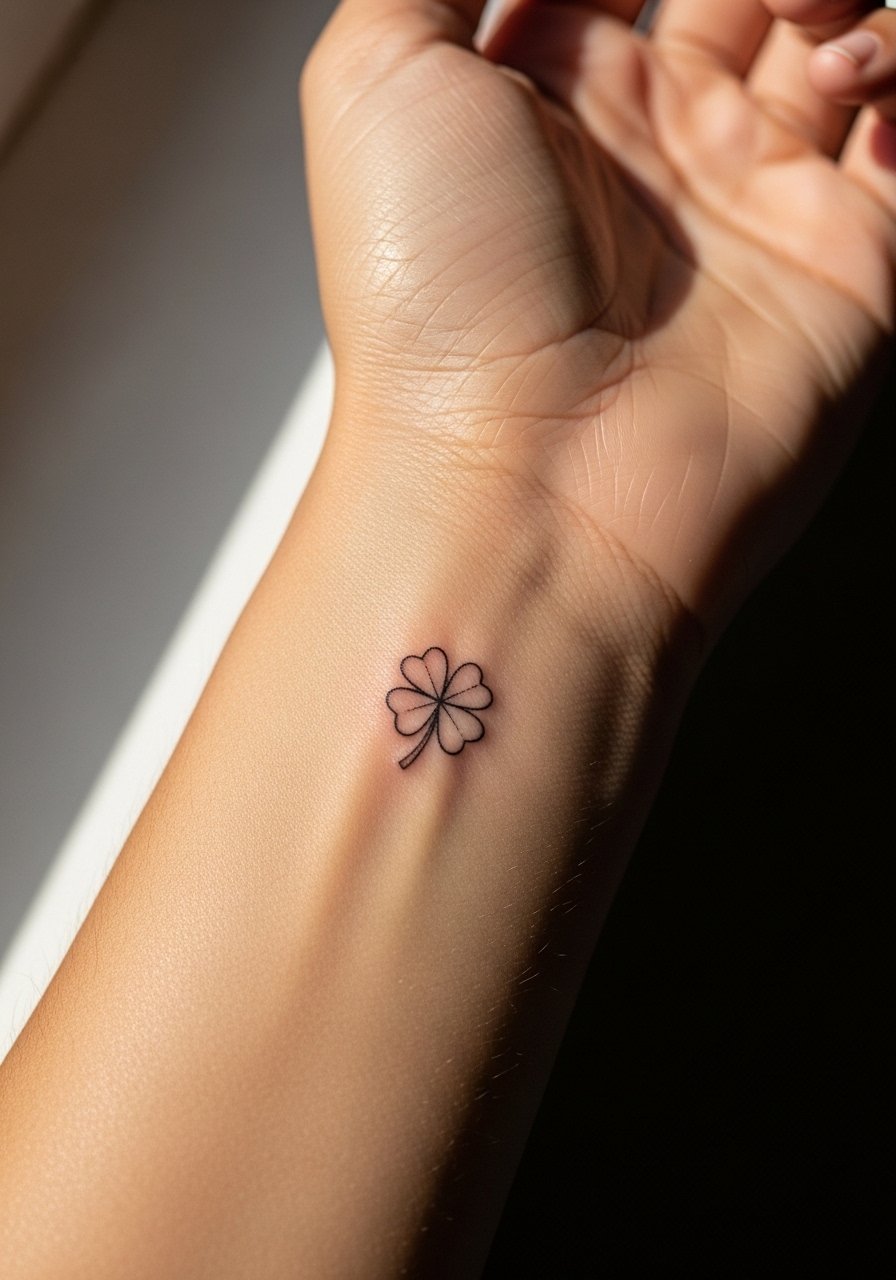
Wrist work looks great but it is exposed to constant movement and washing. Ask for slightly bolder lineweight than the thinnest single-needle so the outline stays legible after a year of hand washing. The common mistake is insisting on ultra-fine lines which blur with daily friction. Session time is short but the first week is the fussiest. Pair it with a thin chain bracelet to frame the design without crowding the wrist. Expect a possible touch-up around year two depending on your job and sun exposure.
3. Little Clover Behind the Ear, Neck Edge
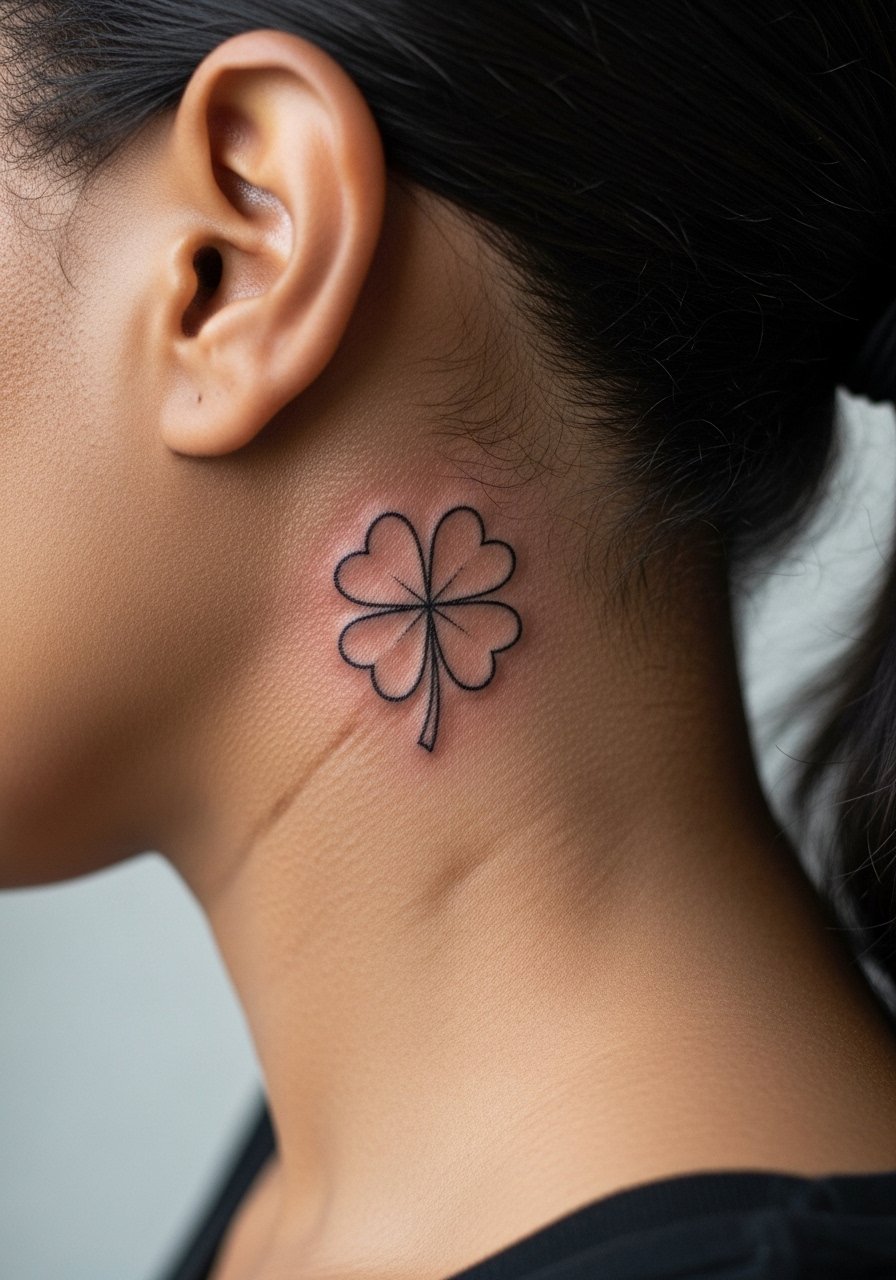
This hidden spot reads intimate and playful when revealed by a tucked hairstyle. Use the phrase "light single-needle with a short stem" during consultation so the artist knows you want a tiny, crisp motif. Pain is low and sessions are under 30 minutes. The downside is the area moves with sleeping and collars, which can nudge tiny lines over time. If your workplace is conservative, remember this placement is easy to hide with hair. For showing it off on evenings out try a wide-neck top that exposes just the hairline and neck.
4. Clover Cluster on the Collarbone
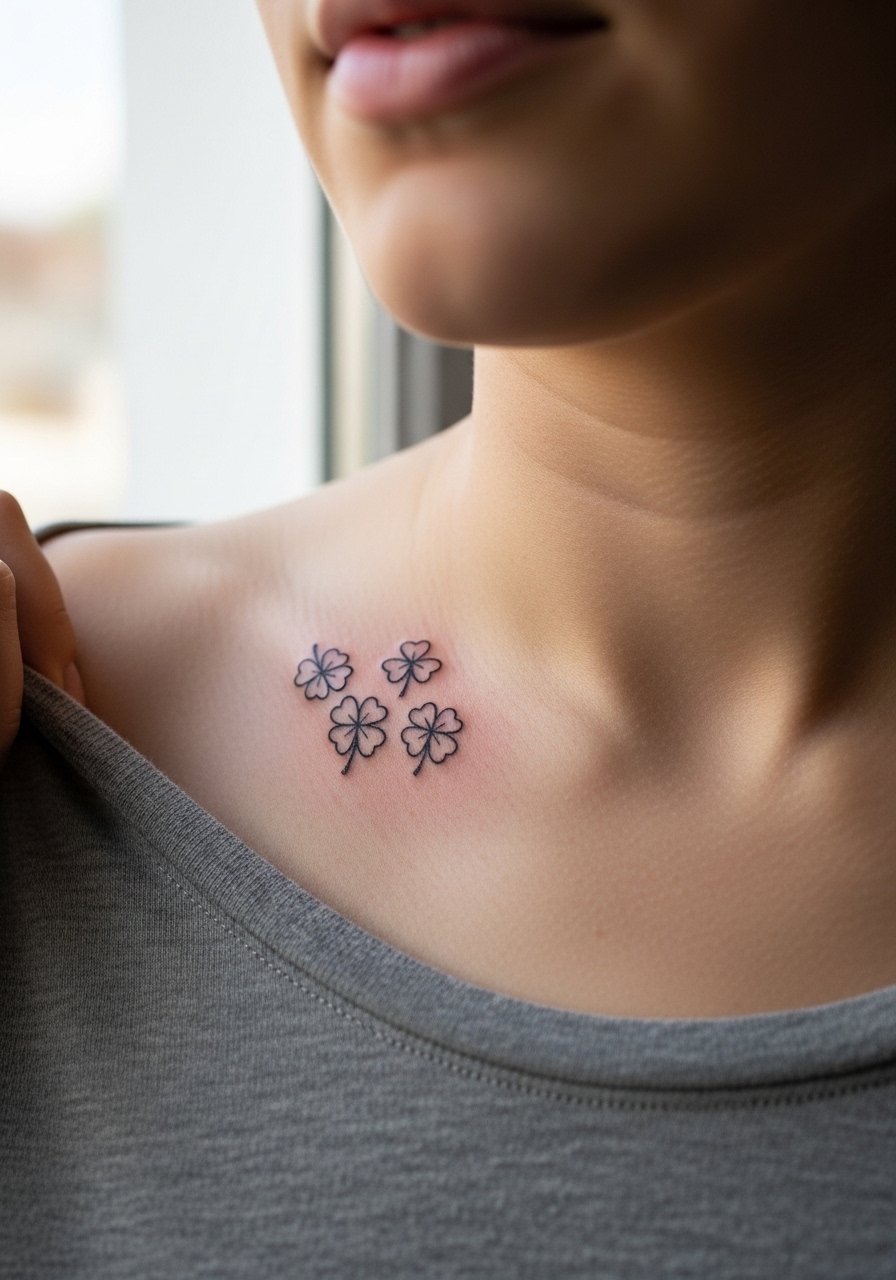
Clusters let you play with scale while keeping each clover clear. I suggest spacing each motif with at least half an inch so the fine linework does not merge as skin settles. The collarbone is a great show-off area that also handles subtle shading well. The session can sting more than the forearm because of the bone, and touch-ups are common around year three for fine detail. Pair with a thin chain pendant necklace to draw attention upward without covering the ink.
5. Single Clover on the Ribcage
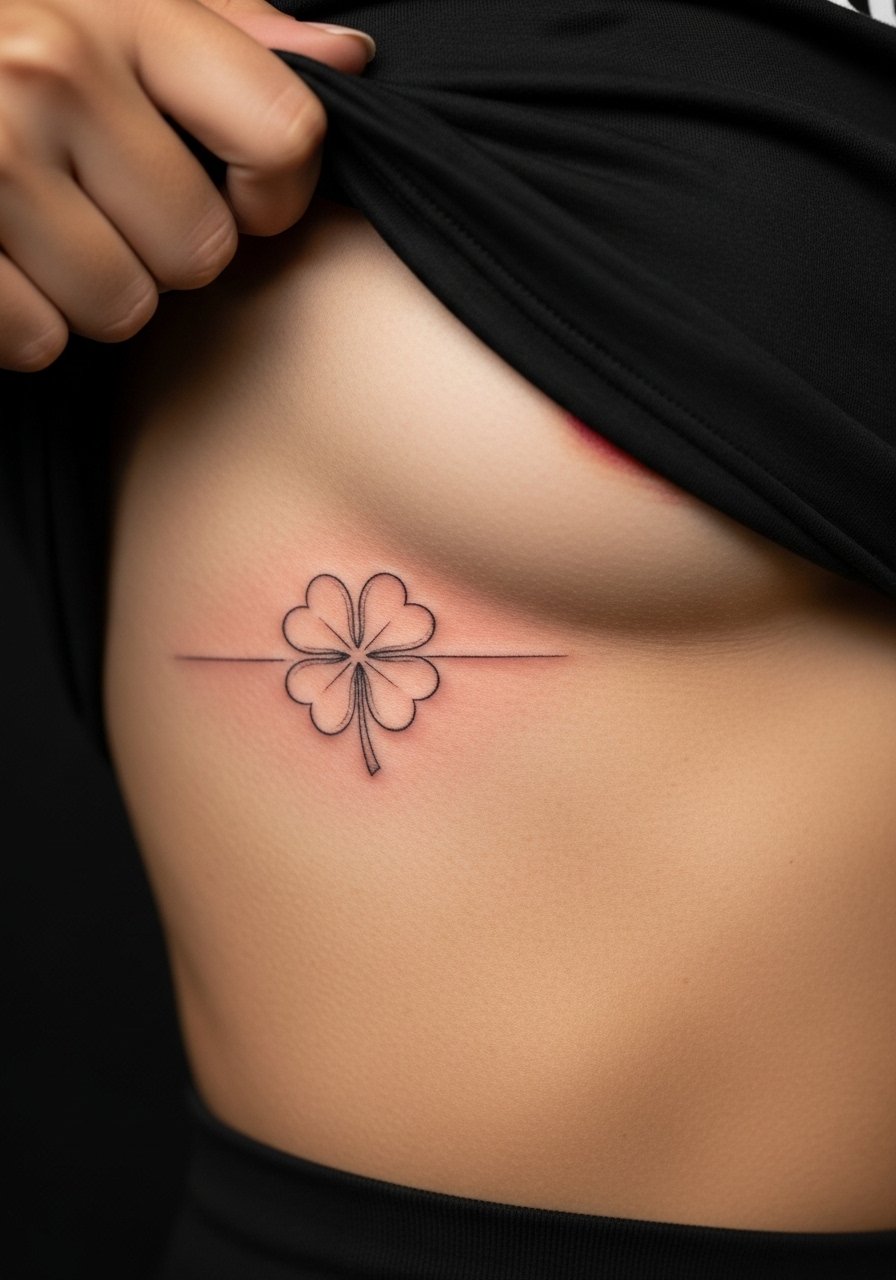
Fine line on ribs sparks debate among artists. One camp says the skin stretch on the torso makes thin lines blur within a couple years. The other camp argues that with slightly deeper needle depth and room between lines, fine work can hold up fine. When you book, ask how the artist balances depth and spacing for torso work. Sessions here are modest in time but higher on pain. For the appointment wear a fitted sports bra so the artist can access the area without you feeling exposed.
6. Micro Clover on the Ankle Side
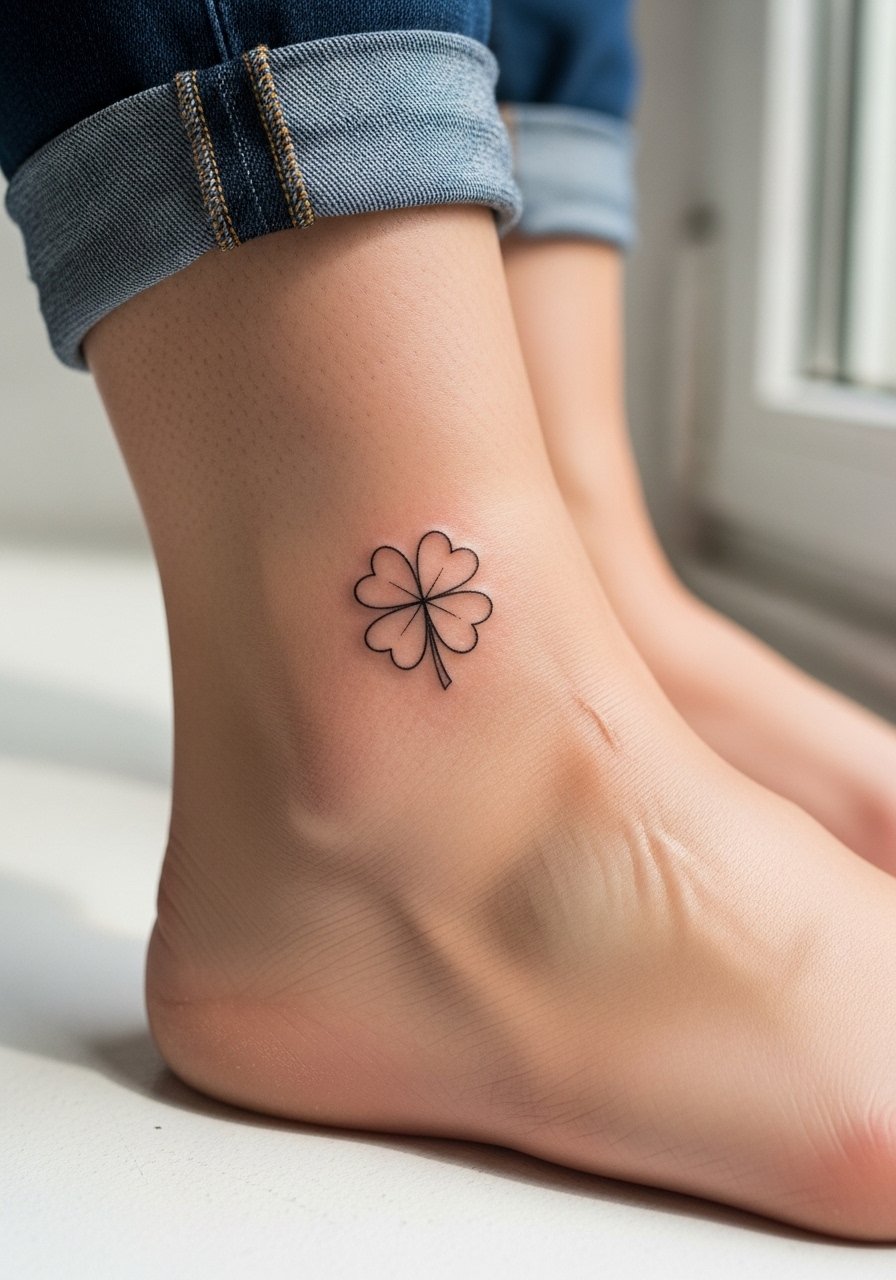
Ankle tattoos face abrasion from socks and shoes. I recommend a slightly sturdier outline and avoid extreme thinness. The mistake people make is placing it where shoe straps constantly rub. The session is short but the first two weeks need careful sock choices. For outfits, a pair of jeans you can roll up or minimal sandals let the clover show without exposing it to rough fabric. Expect a touch-up if you walk a lot or wear tight shoes.
Studio Day Picks
Those wrist, forearm, ankle, collarbone, and ribcage spots above need different prep and first-week care. These items smooth the session and reduce common issues for small fine line work.
-
Stencil transfer paper kit. Lets you preview placement on skin exactly where a tiny clover will sit, which is handy for collarbone and wrist pieces.
-
Topical numbing cream. Applied per instructions before a ribcage or ankle session eases the sting without changing the linework.
-
Thin protective film roll. Useful after ankle or wrist sessions where friction and hand washing are inevitable.
-
Fragrance-free gentle body wash. Cleans the healing area without irritating the delicate tiny lines on forearms or collarbones.
-
Aquaphor healing ointment. A thin layer helps lock in moisture on small fine line pieces during the earliest days of healing.
7. Clover Ring on a Finger
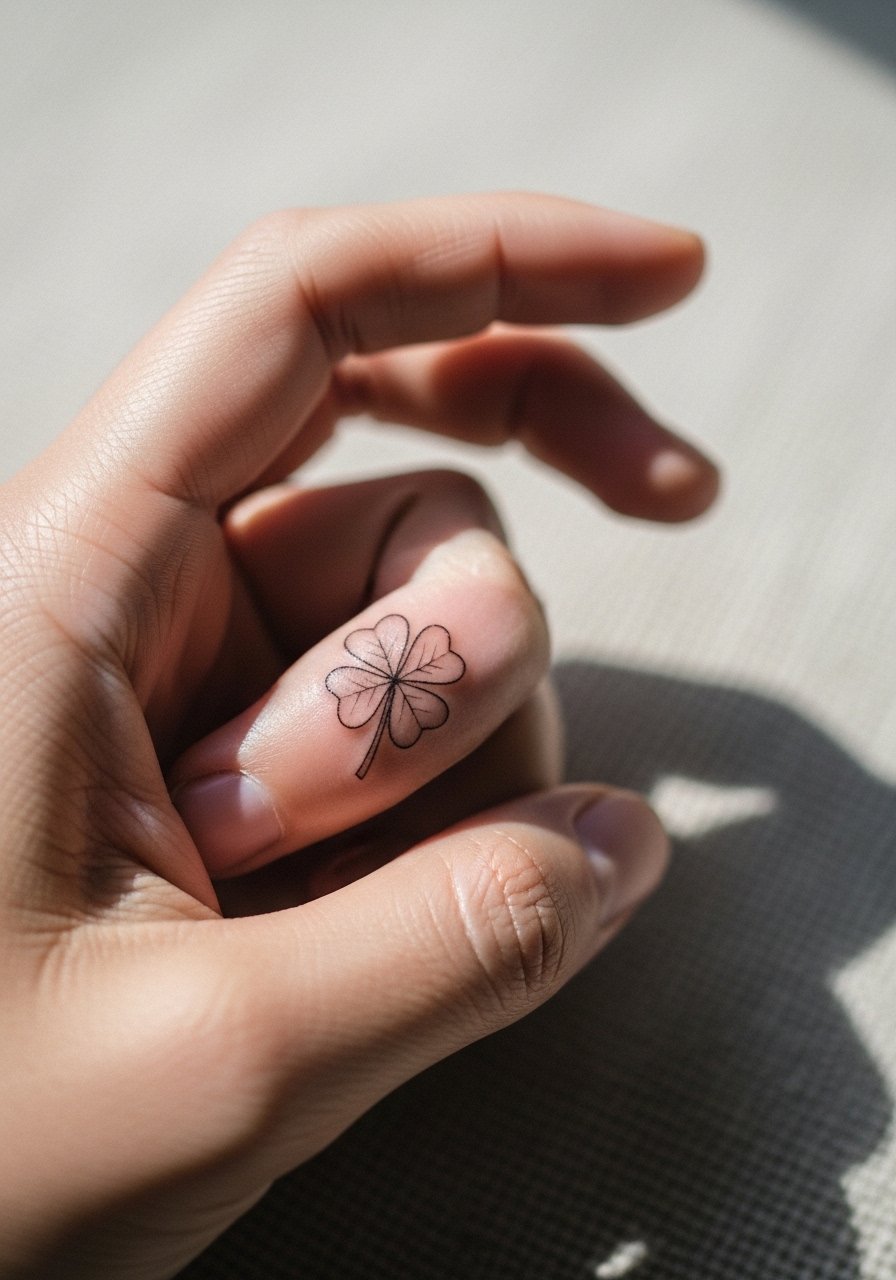
Finger tattoos are charming but they wear faster because of constant use and moisture. For a four leaf clover on the side of a finger ask for slightly heavier linework and realistic expectations about touch-ups. Career considerations are real because finger tattoos are highly visible in many workplaces, so think about that before committing. For showing it off pair with a minimalist stacking ring set that complements the tiny motif without obscuring the ink. Sessions are quick and painful in short bursts.
8. Clover Along the Side Neck
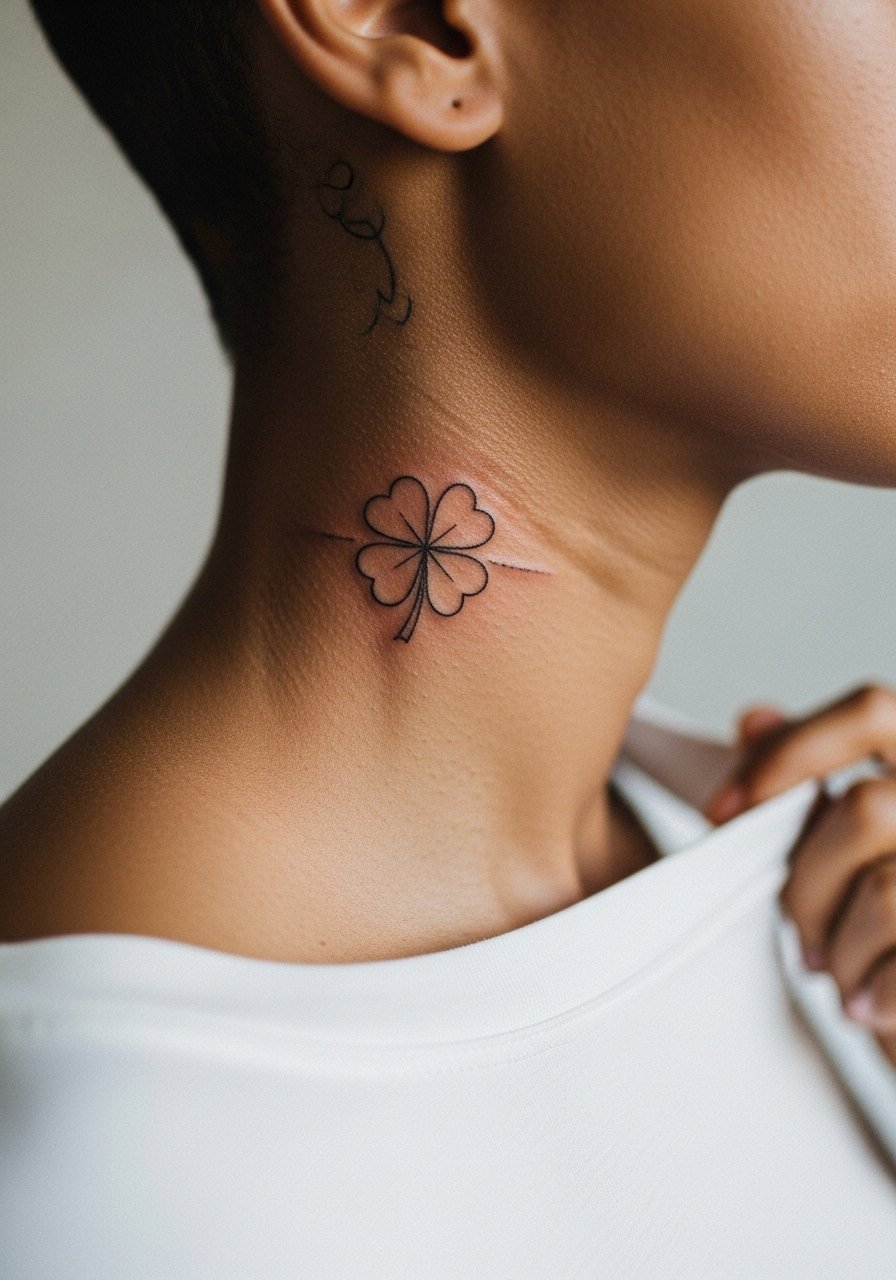
Side neck placements are bold for a small design. They read distinctly when framed by a collar or hair. Artists divide on whether the neck keeps super-fine lines intact. One group worries about movement and sun exposure. The other says proper spacing prevents early merging. If you choose this, request a modest lineweight and plan to limit direct sun. For session comfort and access, wear a wide-neck shirt you can pull slightly aside. Pain is moderate and touch-ups are common.
9. Clustered Micro Clovers on the Outer Shoulder
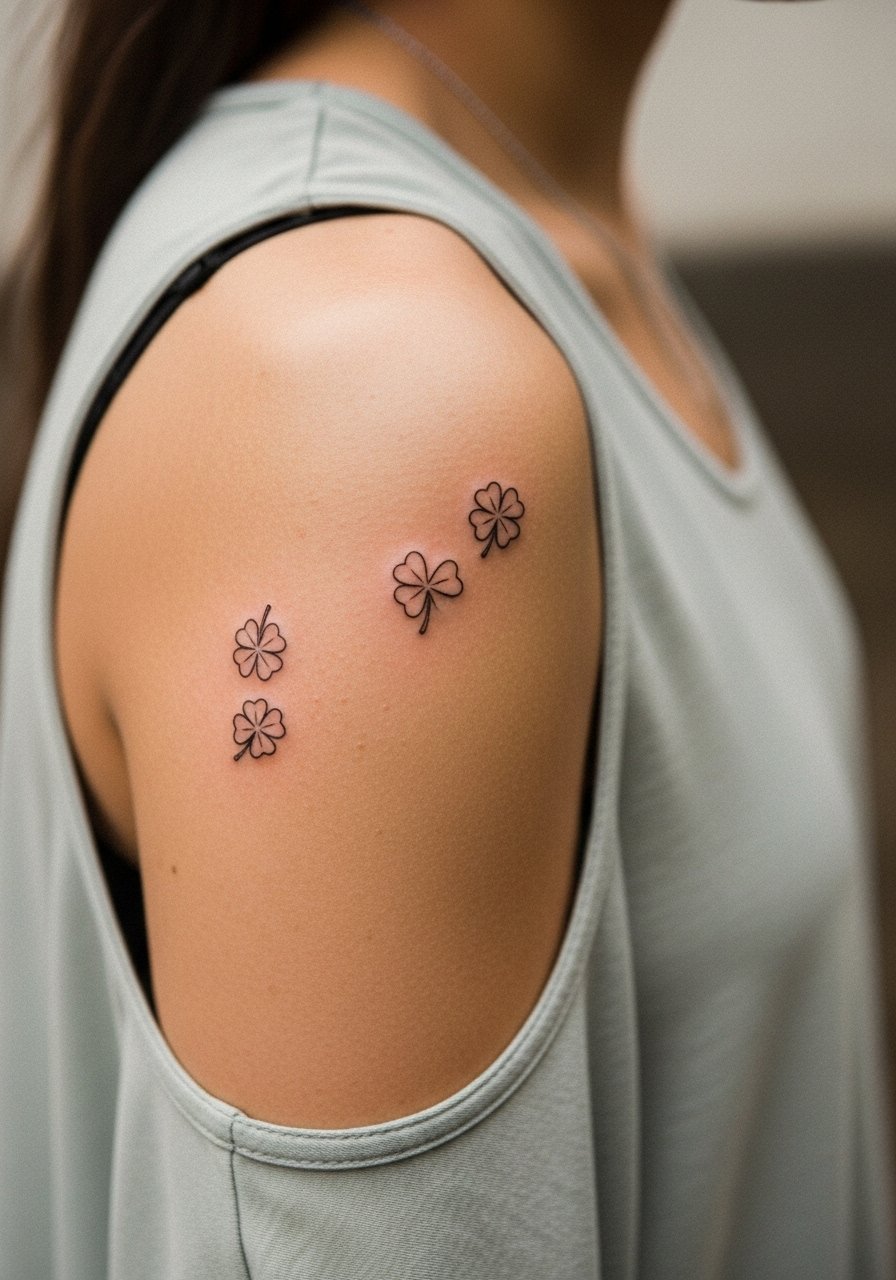
The shoulder is forgiving for fine line because it gets less friction and sun if you cover it. I often suggest spacing clusters so each clover has breathing room. In consultation ask the artist for slightly varied sizes so the cluster reads organic rather than stamped. Session time is comfortable and pain is low to moderate. Pair the placement with a loose tank top you can wear on repeat during warm months.
10. Tiny Clover at the Nape of the Neck
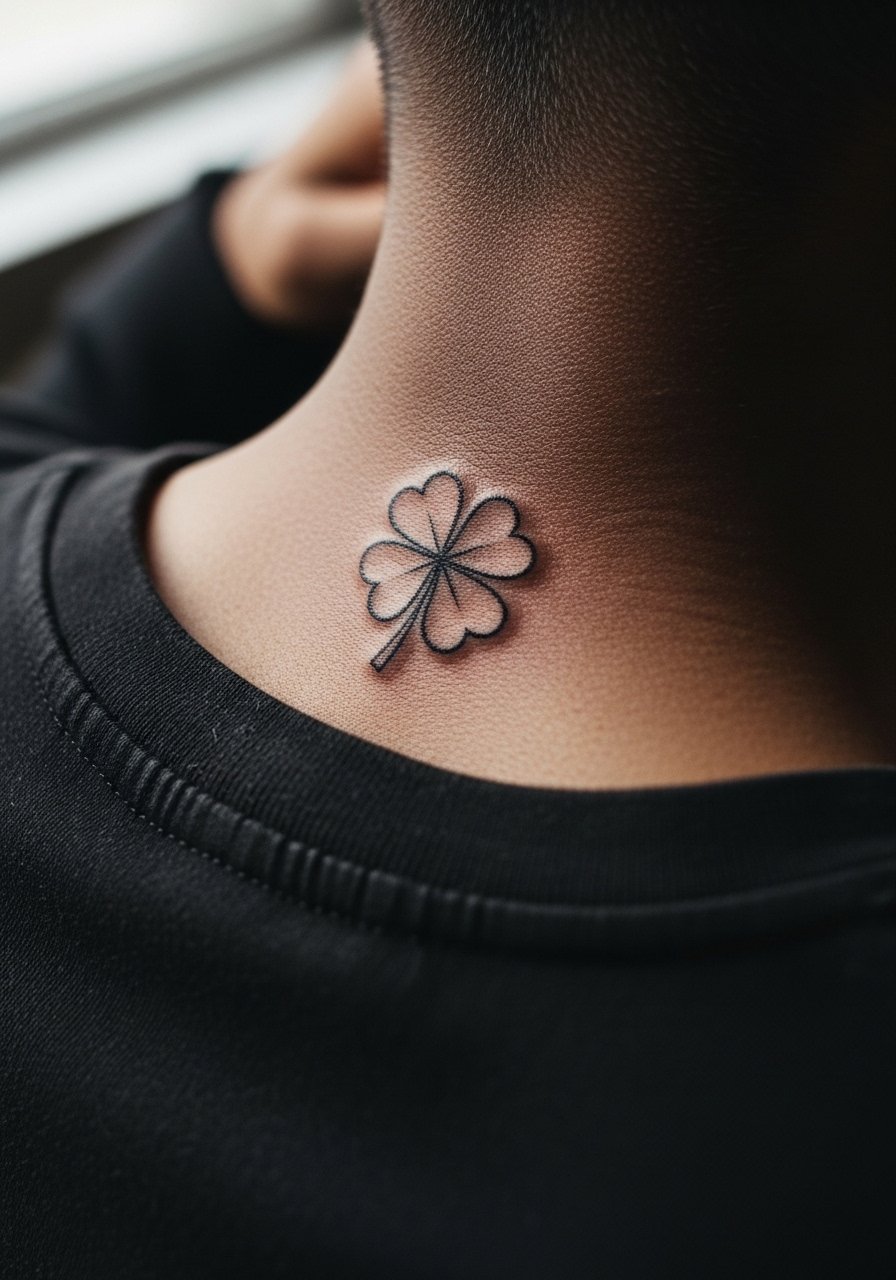
Back-of-neck tattoos are easy to hide with hair or show with updos. They look crisp when executed with modest spacing and slightly stronger outline. The typical mistake is making the design too intricate for the small canvas. For the session wear a shirt you can pull the collar down, like a crew neck tee. Pain is low and touch-ups are occasional depending on sun and hair products.
11. Fine Line Clover Over the Sternum
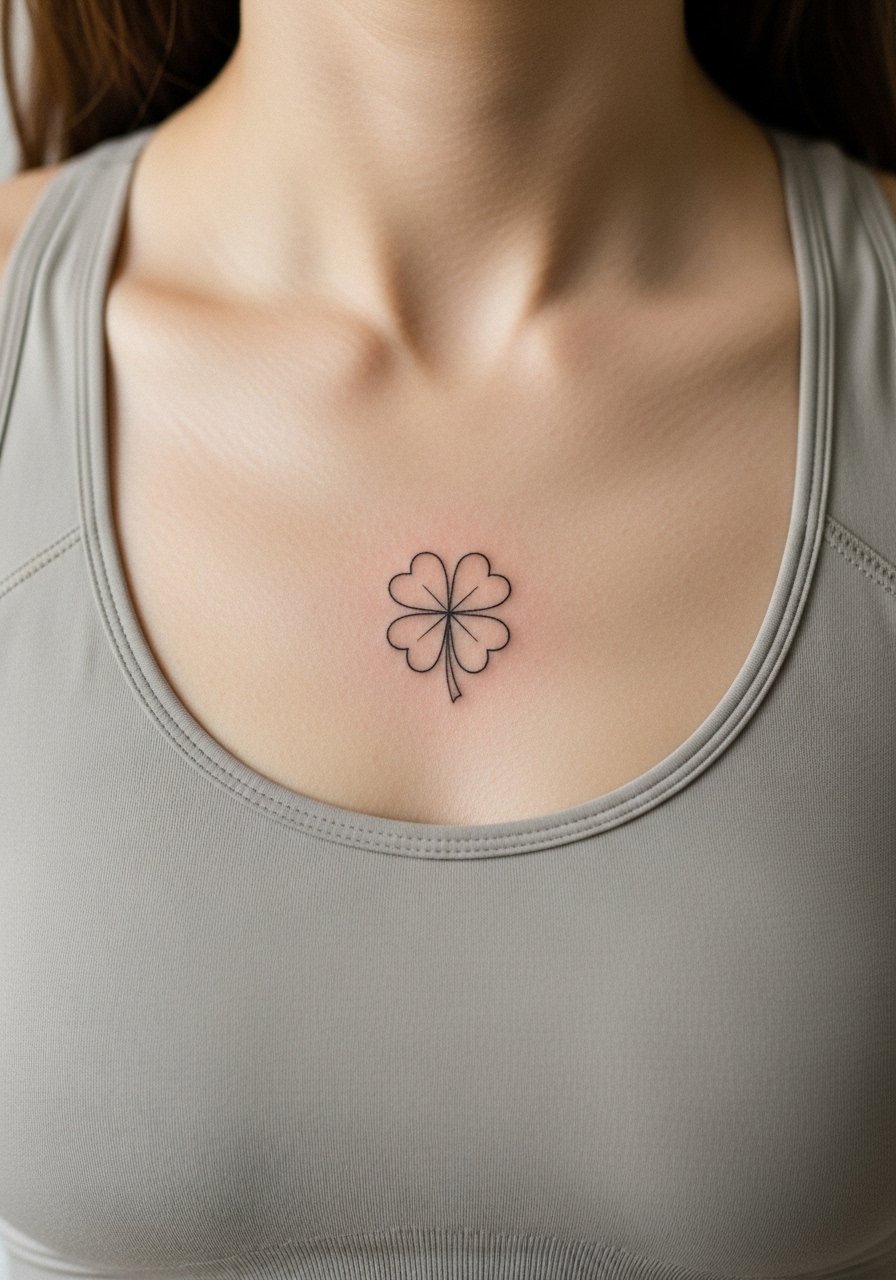
Sternum work needs careful planning because the skin moves a lot and the area is prone to friction from clothing. Ask your artist how they adjust needle depth for the torso. Sessions sting more than arm work and healing can feel tender for a few days. For the appointment choose a strapless or low-cut sports bra that gives access while keeping you comfortable. This placement benefits from slightly bolder single lines to survive movement.
12. Clover Peeking from the Hip
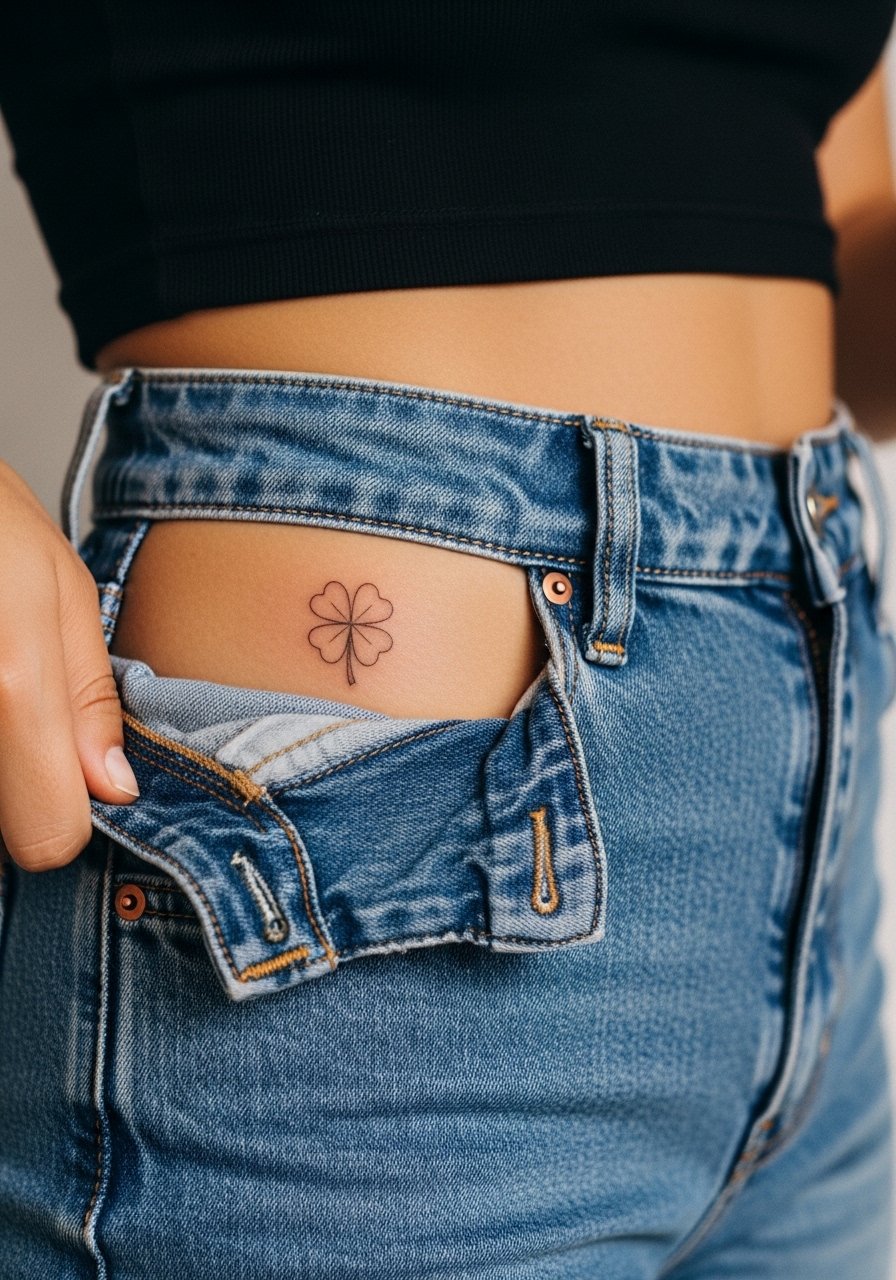
Hip tattoos age well if the design is given space and not crammed near stretch lines. The most common mistake is putting too much tiny detail where skin may shift. The session feels similar to ribcage work in sensitivity. For the appointment wear high-waisted shorts so the artist can access the area without you being exposed. Expect touch-ups if weight fluctuates.
13. Inner Thigh Clover Accent
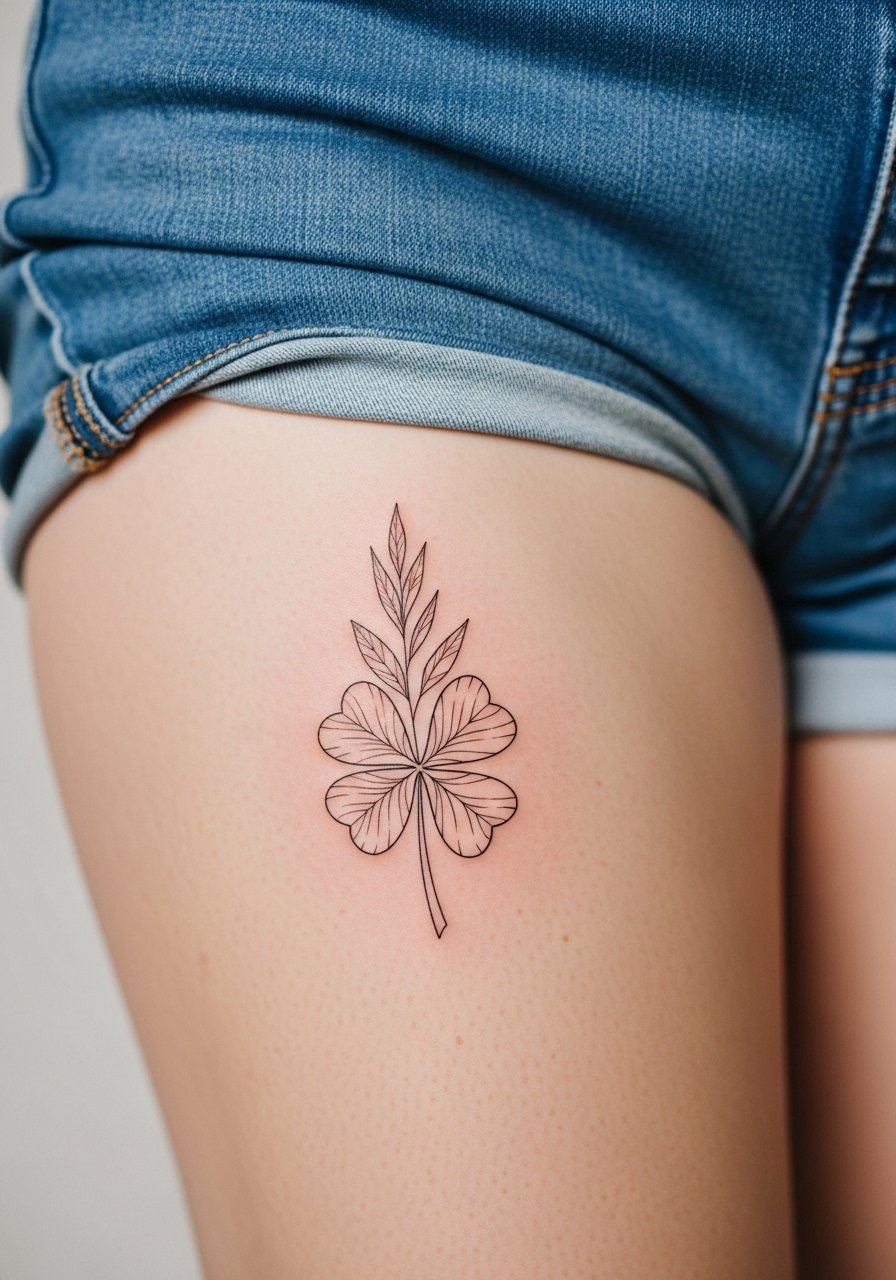
Inner thigh pieces are intimate and tend to be low on visible wear because they live under clothing. They do stretch with weight changes. This placement requires a specialist who has experience with inner-thigh skin texture. For the session wear comfortable shorts you can pull up slightly, like loose drawstring bottoms. Pain ranges moderate to high depending on how far up the thigh the ink sits. Many pick this for a private lucky charm rather than something to show daily.
14. Tiny Clover Above the Ankle Bone
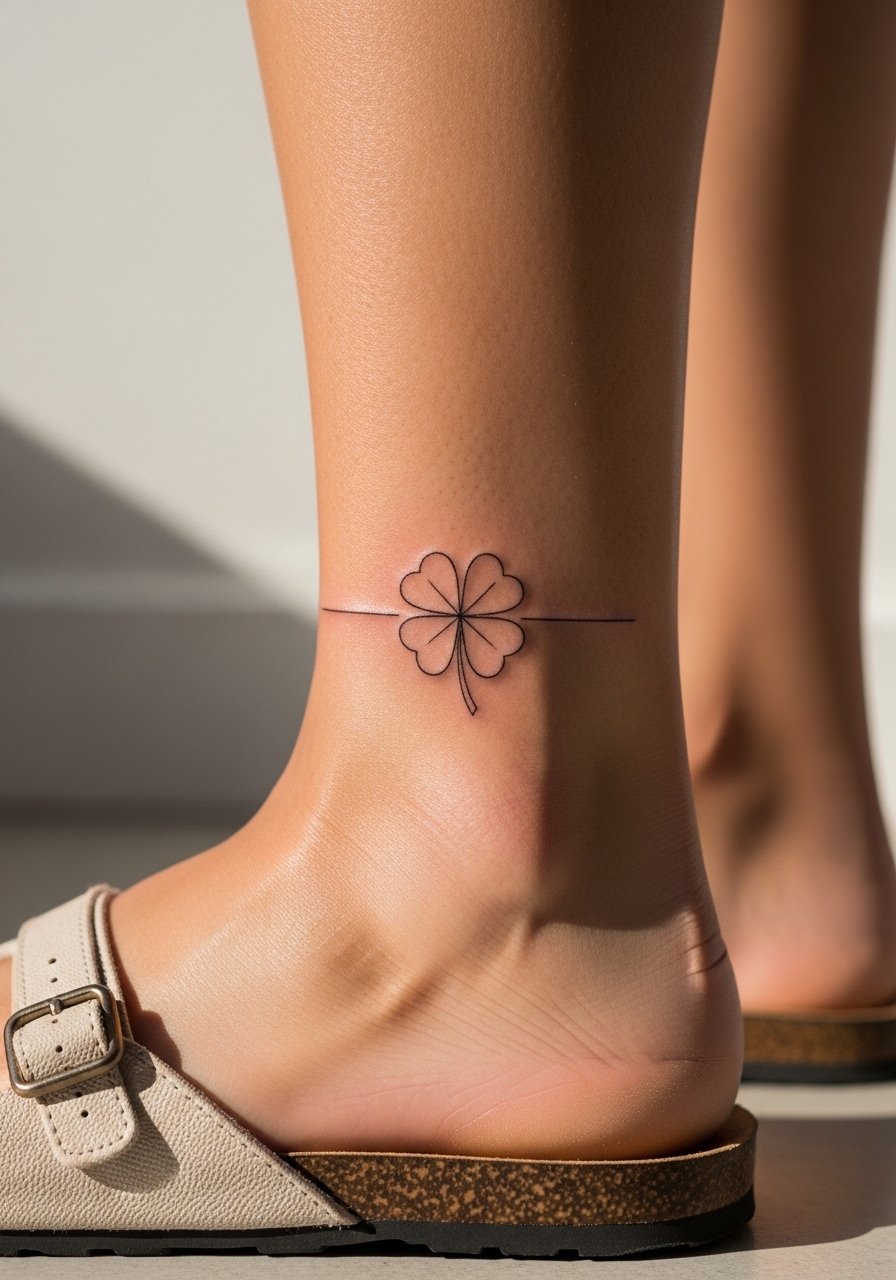
The area above the ankle sees less abrasion than the side of the ankle and can keep fine lines longer. Ask for a hairline stem and a slightly firmer outline so the shape does not melt into shadow over time. Footwear matters for healing, so avoid tight shoes during the first week. For styling, pair the spot with simple strappy sandals that let the clover peek through.
15. Micro Clover on the Calf
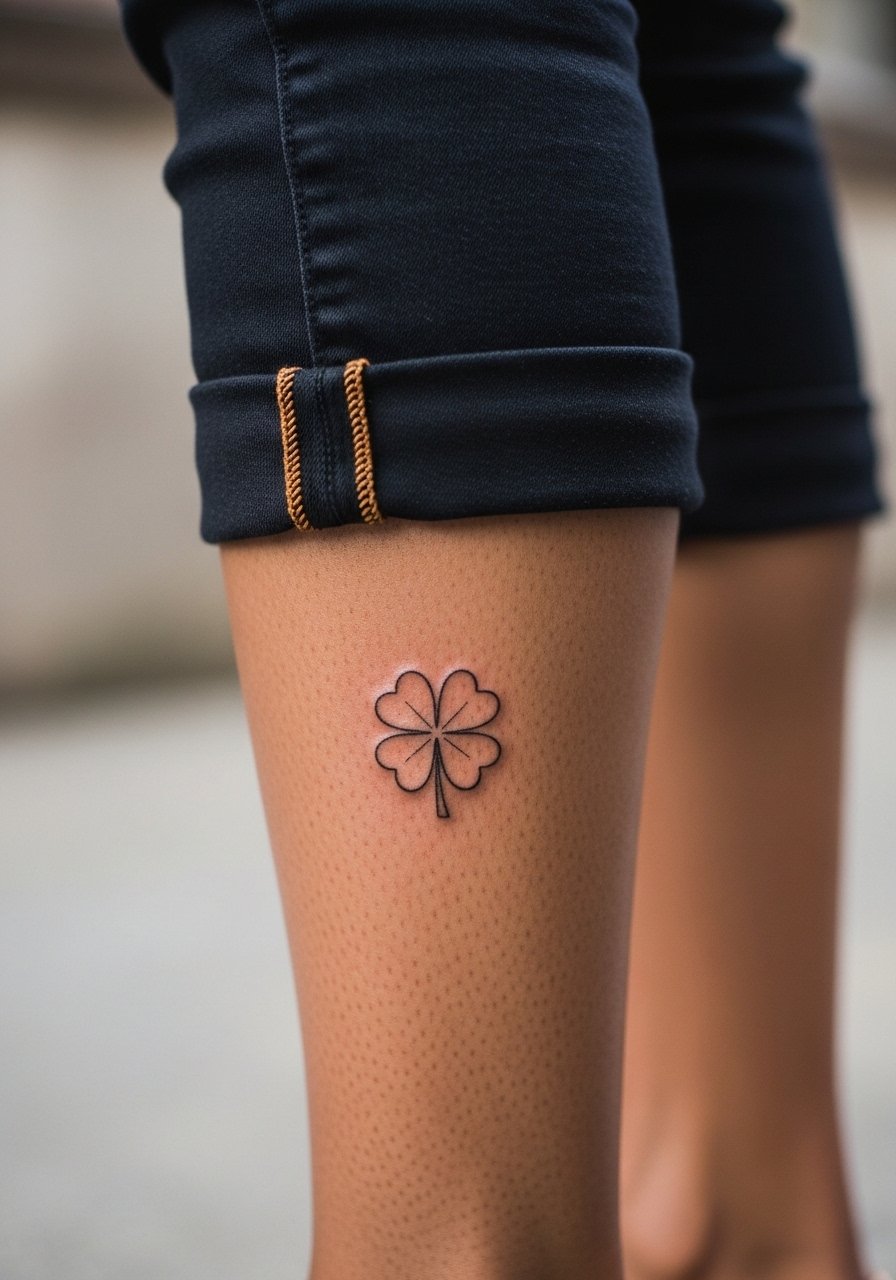
Calf tattoos are durable because the skin is thicker and there is less daily abrasion. They are a solid pick for tiny fine line work that you want to keep sharp. In consultation ask how the artist balances negative space around the clover to prevent congestion as it ages. The session is comfortable and healing is straightforward. Show it off with cropped trousers or a midi skirt that lets the design sit center stage.
16. Tiny Clover on the Lower Back
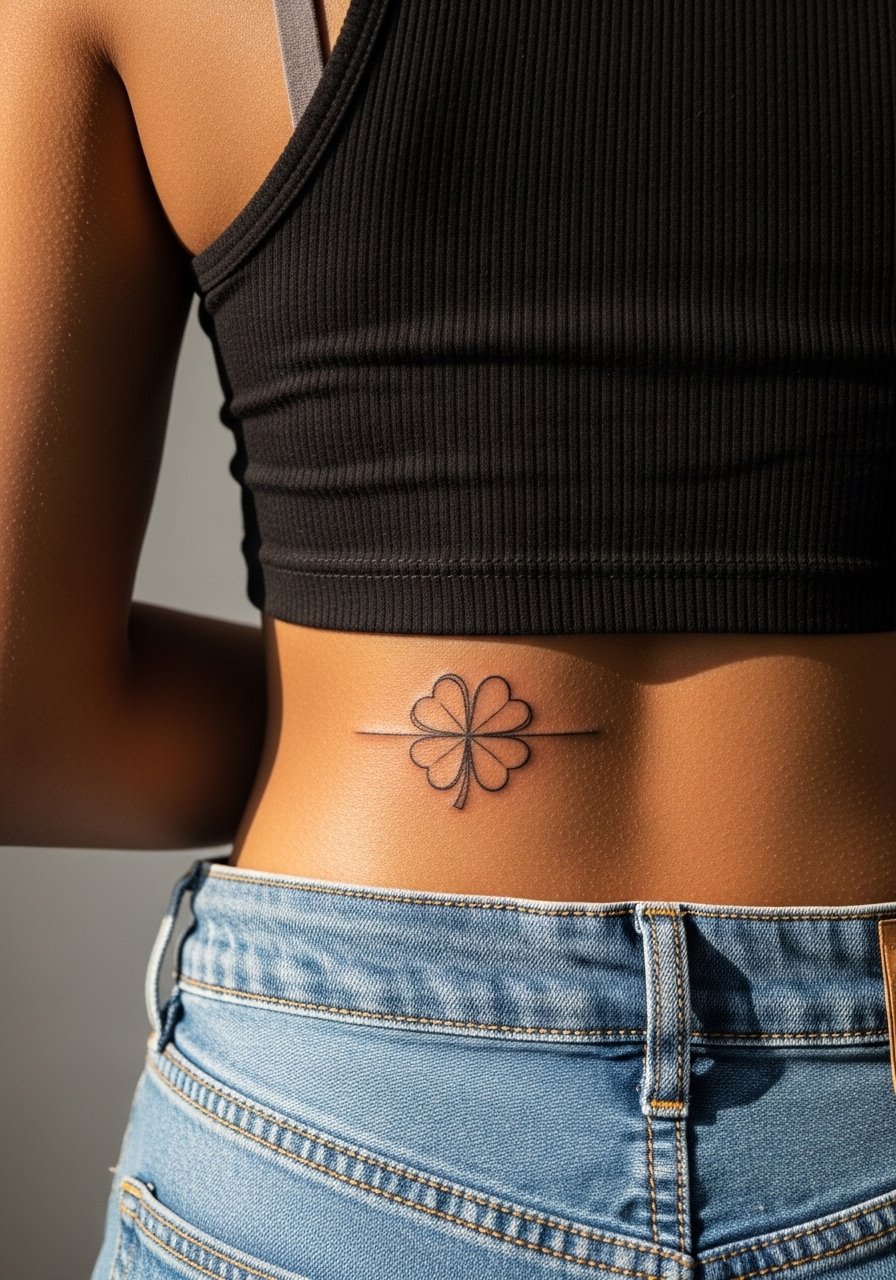
Lower back placements are private and usually age well because the area is rarely sun-scorched. Keep the design simple and avoid dense shading that can blur. The typical mistake is over-detailing a small motif. For the appointment choose a tank top that gives the artist easy access. Pain is moderate and touch-ups are uncommon unless you spend a lot of time sunbathing without protection.
17. Clover Accent for a Shoulder Blade
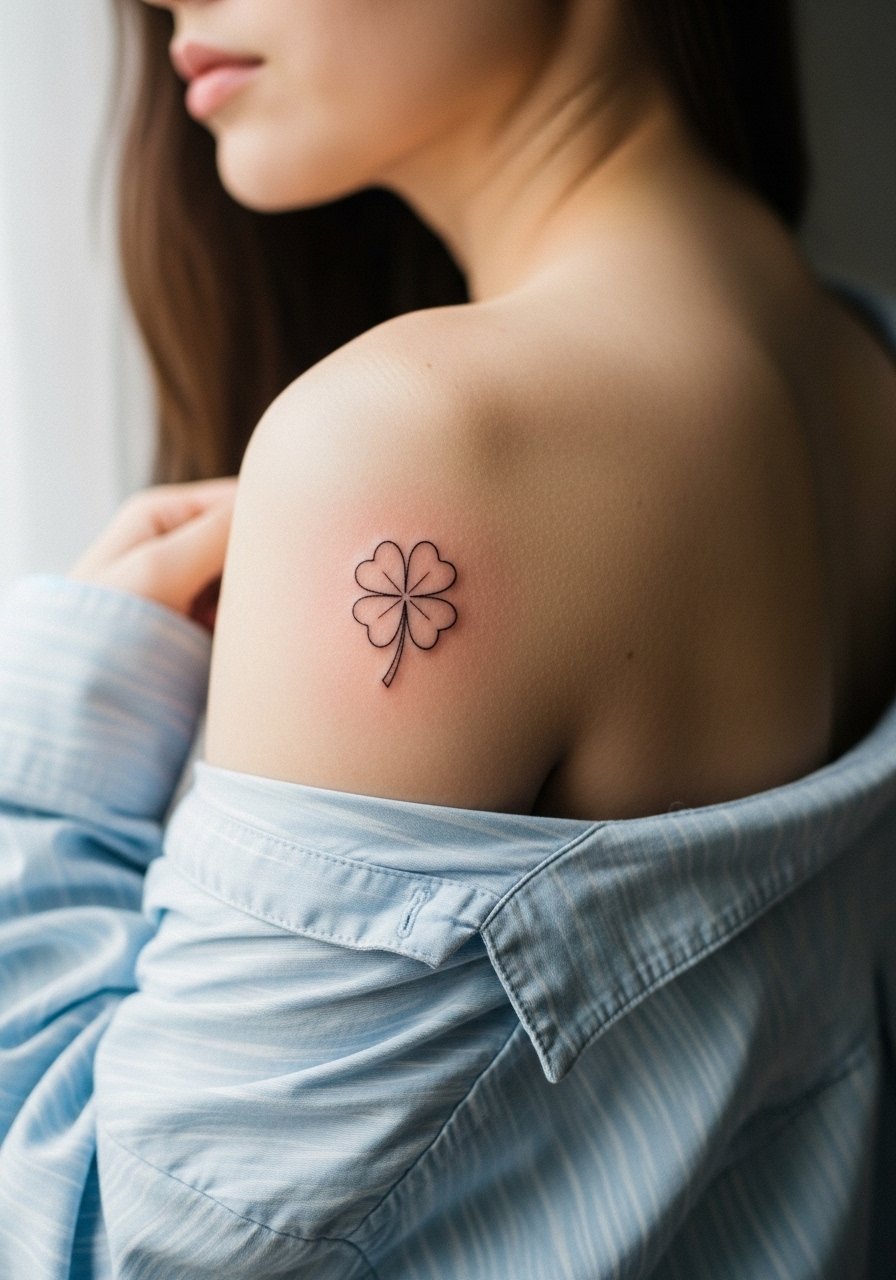
A shoulder blade clover benefits from slight scaling up relative to hand-size pieces so the linework keeps its silhouette. Ask the artist to show spacing mock-ups during the consultation so the motif sits naturally with the bone structure. The session is comfortable and the area handles sun well if covered when possible. Pair the tattoo with an open-back blouse to let it show on warm days.
Frequently Asked Questions
Q: Will tiny fine line clovers blur into each other if I get multiple on one forearm?
A: It depends on spacing and the original lineweight. Give each clover at least half an inch of skin between them and ask the artist for slightly bolder single-needle lines when clustering. From what I have seen, tight clusters without breathing room are the ones that require touch-ups sooner.
Q: Do four leaf clover tattoos on ribs and sternum need different aftercare?
A: The aftercare steps are similar but the rib and sternum areas often feel tender longer because of movement. Keep clothing loose, avoid heavy pressure on the area, and follow the studio's cleaning routine closely. Expect the torso pieces to be a bit more sensitive for the first week.
Q: How often should I expect touch-ups for a wrist or finger clover?
A: Fingers and wrists wear faster because of washing and friction. A realistic timeline is a possible touch-up around year two to three, though some people go longer. If your job involves constant hand use, plan for yearly to biennial checks.
Q: Are there placements I should avoid if I want this to look good long term?
A: Very high-friction spots like the side of the hand and inner fingers tend to lose tiny detail quickly. That does not mean avoid them, but be honest with the artist and plan for regular touch-ups if you choose those zones.
Q: How should I find an artist who specializes in fine line clovers without naming individuals?
A: Use local studio directories, search hashtags that focus on fine line work, and read recent client reviews in city forums. Visiting a handful of shops and asking to see healed photos of similar placements will tell you more than online galleries alone. Trust your gut when you see healed examples that match the look you want.
