
Fine line violets rule saved boards and short videos, but what holds up on skin is a different story. Trends look flawless on a phone screen and then soften in real life when placement, pigment choice, and aftercare collide. I put together 21 violet flower directions that balance fresh looks with realistic aging, placement tips, and the little styling notes that make sense on gallery days and in the chair.
1. Fine Line Single Violet on the Wrist
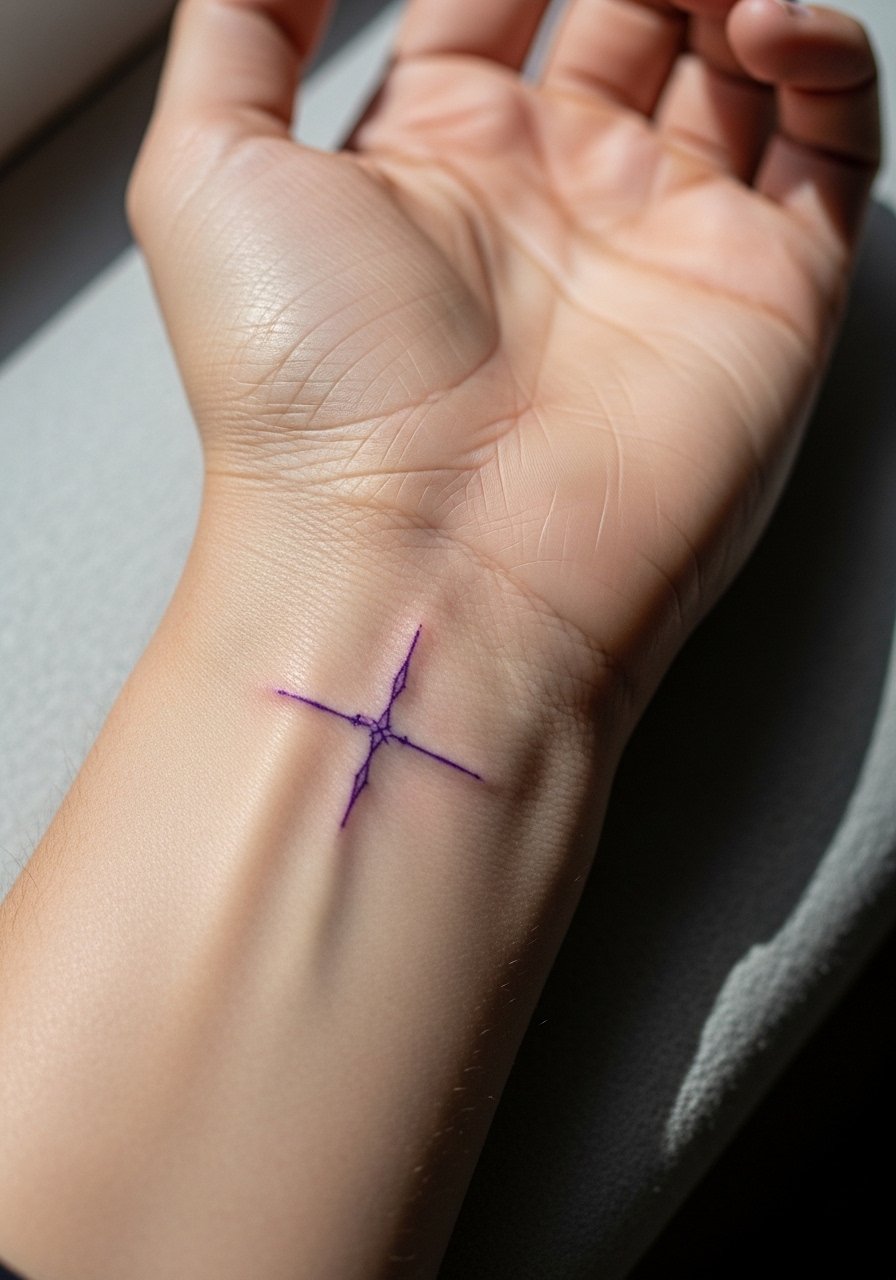
I've seen a lot of wrist violets blur because the needle sat too shallow or the lines were too tight. For a 1-2 inch single bloom ask your artist for slightly stronger lineweight than a hairline, so the lines have room to heal without merging. Pain is low on most wrist maps, session time under an hour, and touch-up timelines are common around year two to three for fine line work on high-motion zones. The usual mistake is insisting on ultra-thin contour for longevity. For showing it off, pair with a thin silver chain bracelet on the opposite wrist, and wear a sheer blouse with cuffs rolled so the tattoo reads against neutral fabric.
2. Watercolor Violet Cluster with Stem on the Inner Forearm
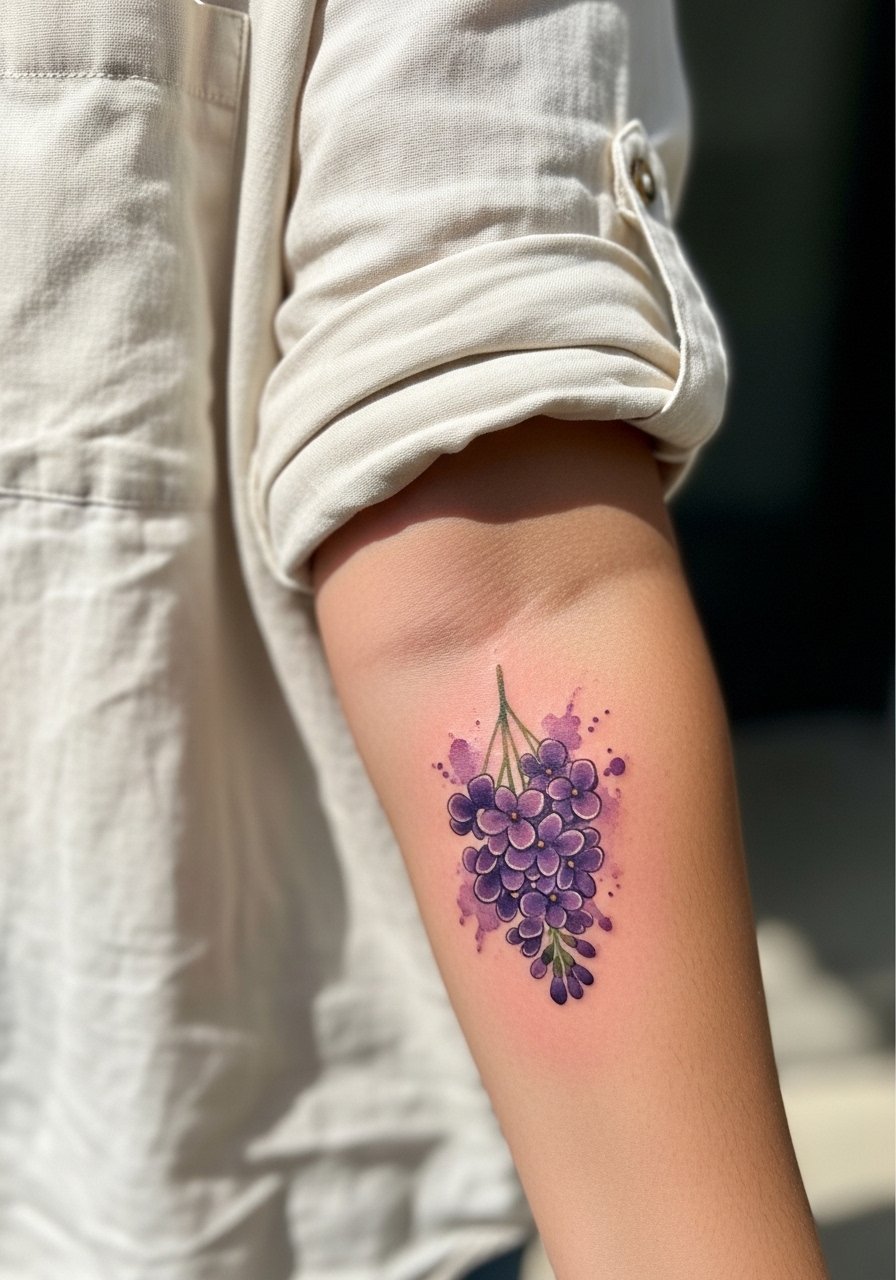
Visual impact lead. Watercolor violets give soft painterly color without bold outlines, but they need a bit more surface area to avoid muddying as they age. Plan for a 3-4 inch piece and two sessions if you want layered washes. Tell your artist you prefer soft transitions and ask for slightly stronger saturation near petal edges so the purple does not vanish into skin tones after year one. Outer forearm motion is gentle so bleeding is lower, but inner forearm sees more friction from shirts. Session wear matters, so show up in a linen button down you can roll, and bring a loose tee to put on after the session.
3. Neo-Traditional Violet with Ribbon Banner on the Collarbone
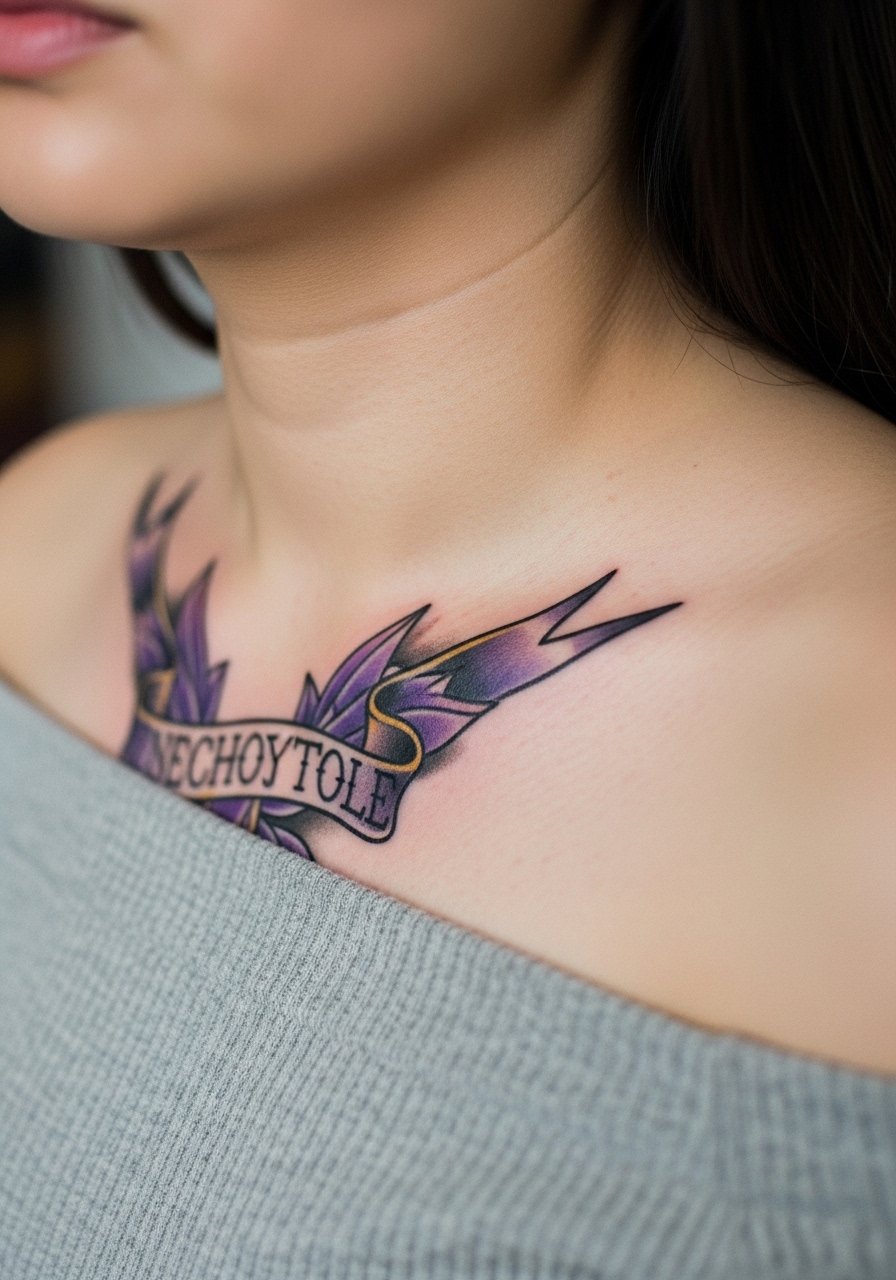
Consultation lead. The collarbone is cosmetically rewarding but unforgiving for tiny script. If you want initials or a name on the ribbon, ask for slightly larger lettering and a bolder edge so it keeps definition as the skin moves. Expect moderate pain along the bone and plan a 1.5 to 2 hour session for crisp shading. A frequent mistake is crowding the banner with too many small words. For evenings out, pair the placement with an off shoulder top and layer a delicate necklace that drops below the design.
4. Minimalist Violet Outline Behind the Ear
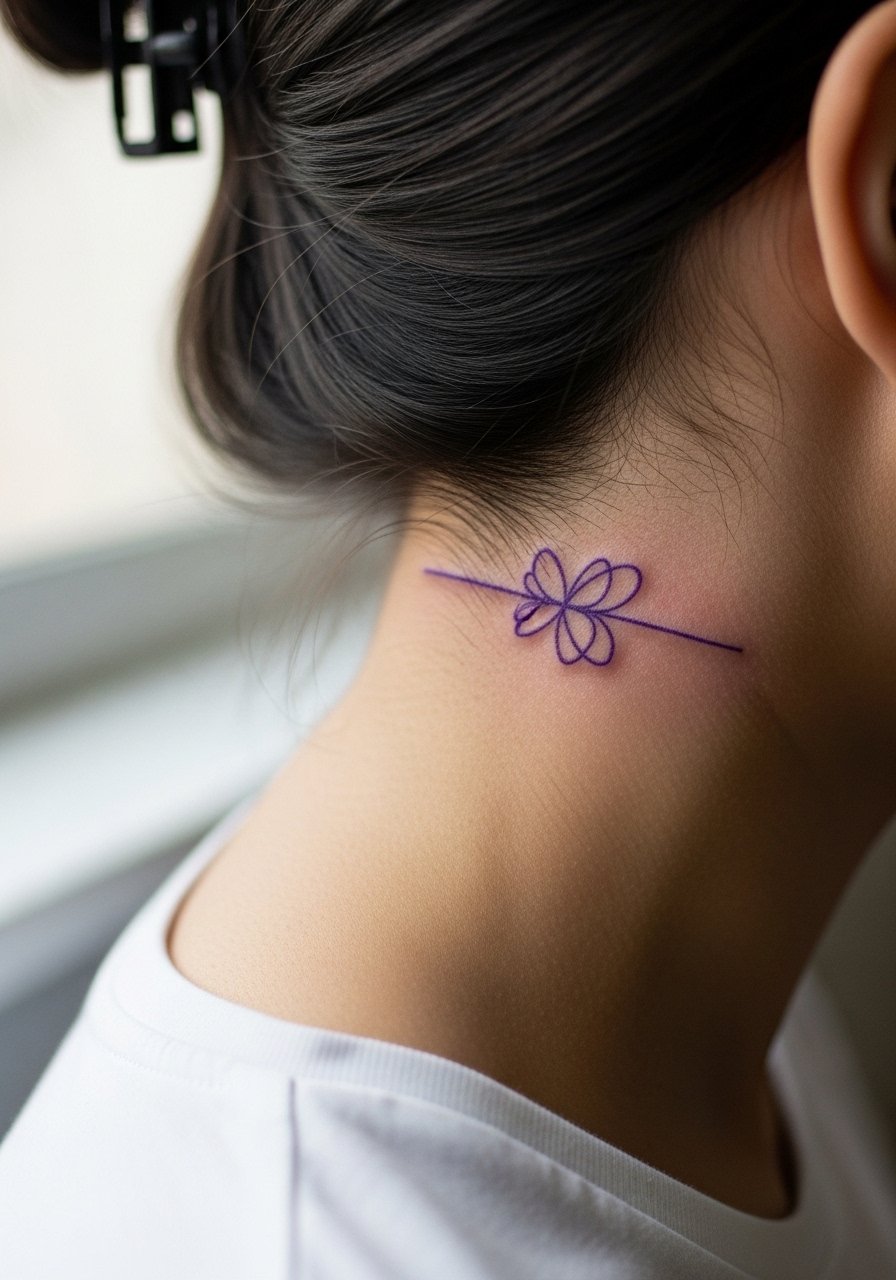
Mistake lead. Behind-the-ear outlines look charming small, but the skin there is thin and the area sees oil and hair contact. Ask for slightly open spacing in the petals so the lines do not merge in months. The pain is mild and sessions are under 30 minutes. For sensitive-skin reactions, test aftercare patching first. This placement reads best when hair is swept back, so think about haircut choices and how often you will see it. Note that behind-the-ear pieces sometimes need touch-ups earlier than arm pieces because of constant friction from hair.
5. Ornamental Violet Mandala on Upper Arm
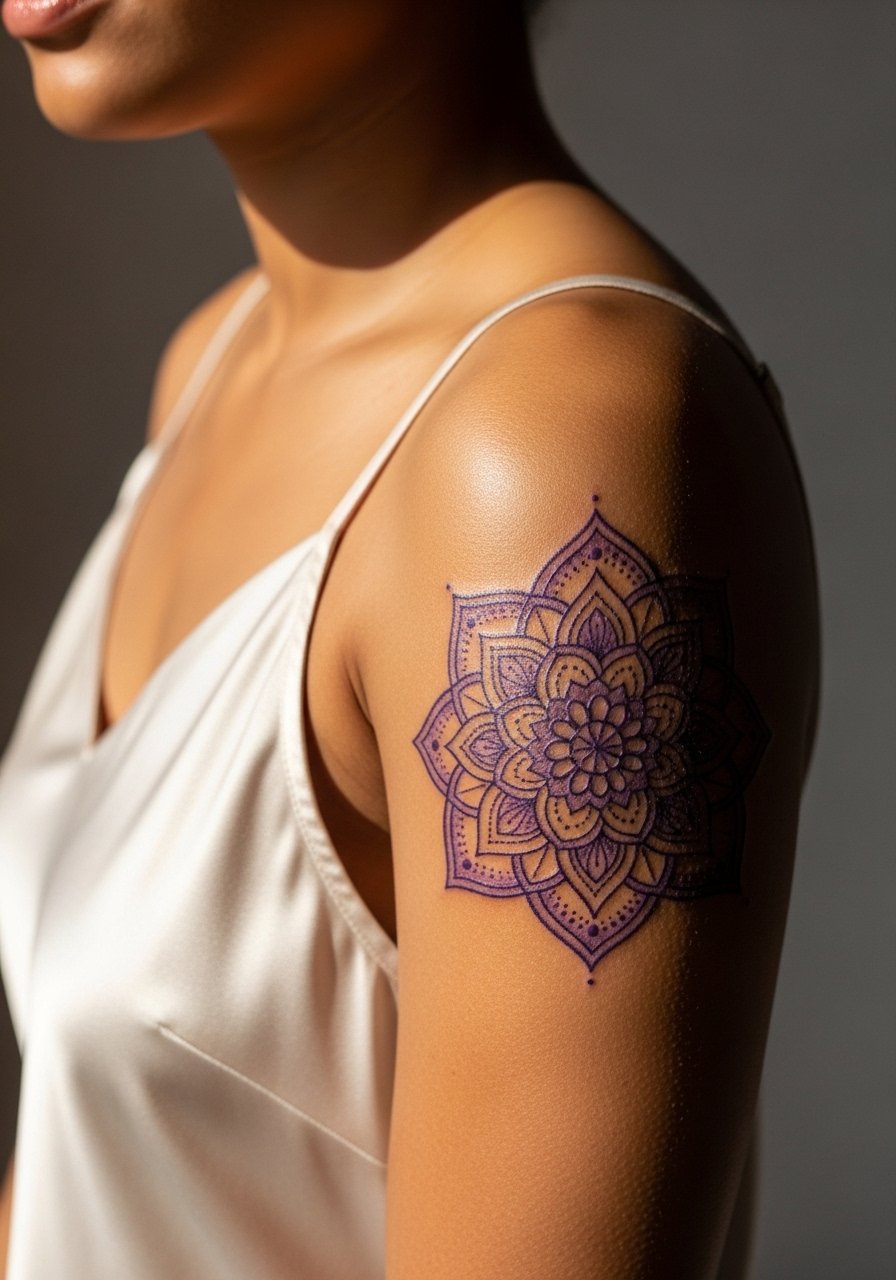
Visual impact lead. Mandala-style violets use symmetry and stipple shading to create meditative geometry. For darker skin tones ask for higher contrast in dot work and stronger black outlines to preserve the pattern over time. Sessions can run 2-3 hours for a 5 inch piece. A common mistake is packing too many tiny details into a small diameter. For gallery days try a sleeveless silk cami that frames the shoulder and keeps attention on the radial pattern.
6. Micro-Realism Violet Petal Scatter on the Ribcage
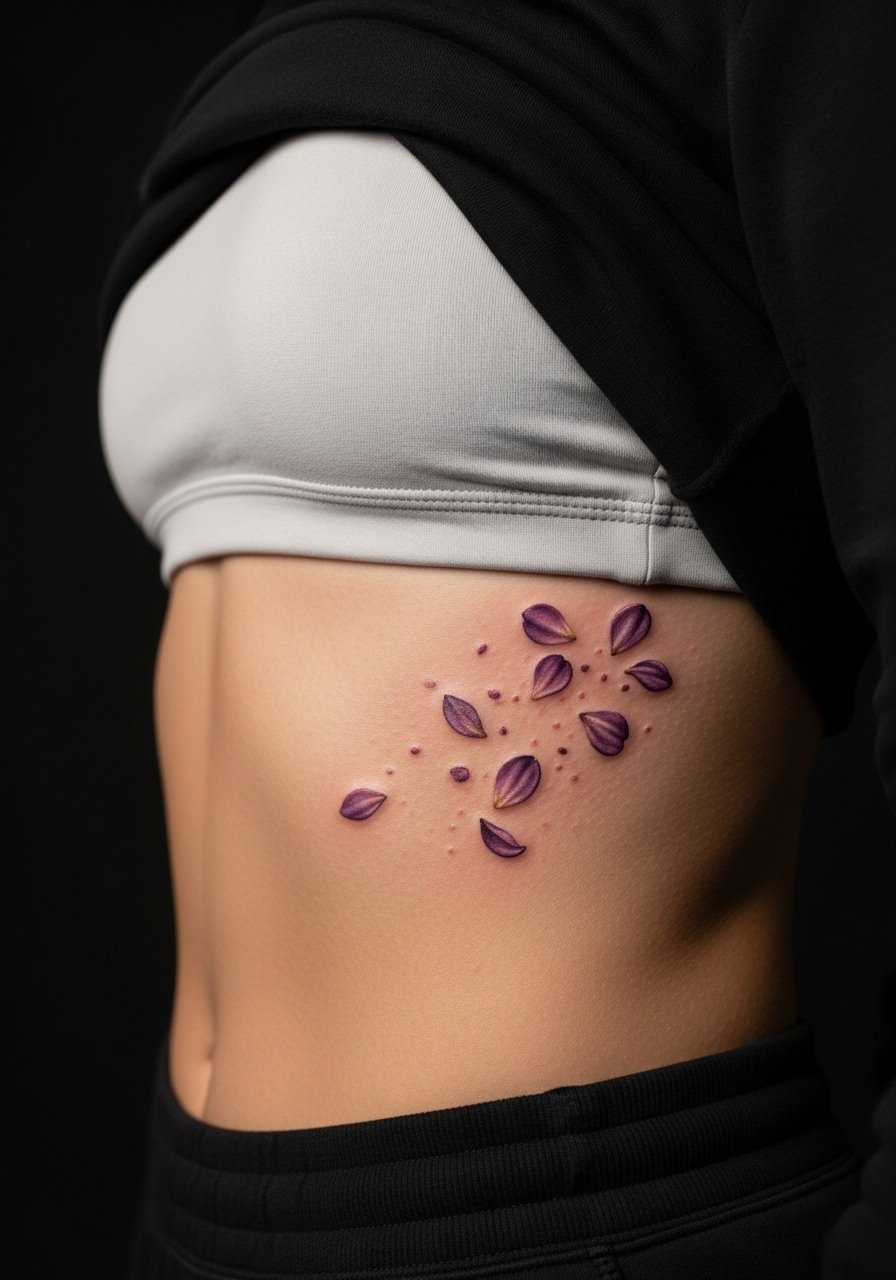
Aging and healing lead. The ribcage is a high-pain area and micro-realism thrives there because the canvas is flat and expansive. Expect a 2 session schedule for hyper-detailed petal texture. Artists split on aftercare for this zone. One camp swears by protective film like Saniderm to keep the area moist and reduce scabbing. The other camp favors dry healing, arguing that a natural barrier lowers infection risk. Ask your artist which approach they use and why, and plan for a touch-up at the six to twelve month mark since micro detail can soften with body movement. For the appointment wear a cropped bralette so the artist has access without full torso exposure.
Studio Day Picks
The tiny wrist, behind-the-ear, and ribcage pieces above ask for different prep. These five items smooth chair time and the first week of healing for the placements covered so far.
-
Tea tree salve tattoo aftercare. A thinner, non-greasy option that helps irritated wrist or behind-ear skin without the heavy residue some people hate.
-
Japanese rice bran balm. Gentle and good for preventing cracking on fine line sections like small collarbone or wrist violets.
-
Manuka cream healing ointment. Useful for infection-prone areas such as the ankle or sternum when the skin gets extra irritated.
-
Indie soy-free tattoo balm. For sensitive skin types who need a balm without petroleum or common allergens during the first two weeks.
-
Hustle Butter. Thinner than heavier ointments, it is a good option artists recommend for color retention in delicate violet washes.
7. Blackwork Violet with Dotwork Shading on the Outer Thigh
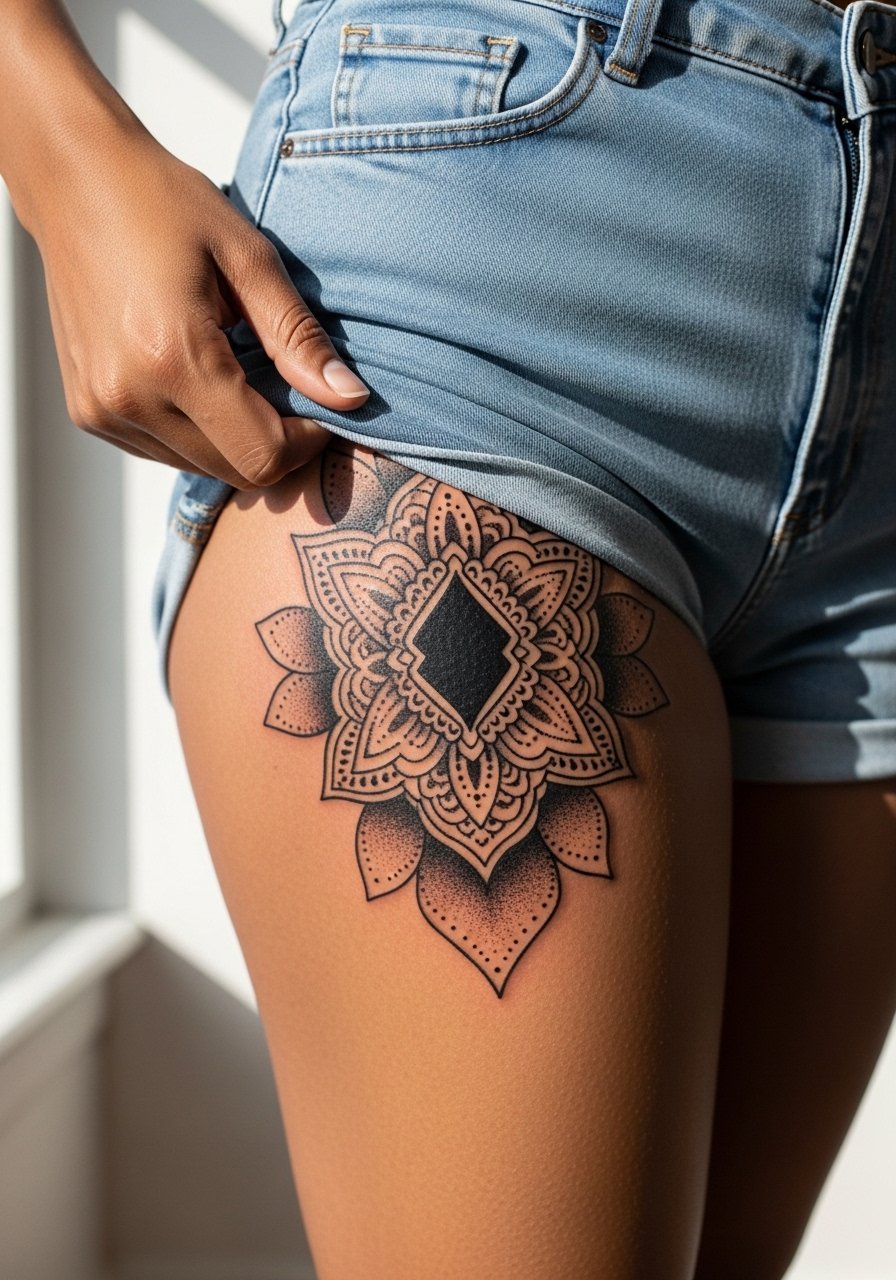
Mistake lead. Thigh skin tolerates saturation and solid black really pops on darker tones, which makes this placement ideal for dotwork violets that need contrast. Expect multi-hour sessions across two or three sittings for a 4-6 inch composition. The main error is undersizing blackwork on wide skin areas; give the artist room to build negative space so the dots read as texture rather than noise. For show-off styling try high waisted shorts or a slit dress that frames the piece without covering it.
8. Fine Line Violet Bouquet with Leaves on the Ankle
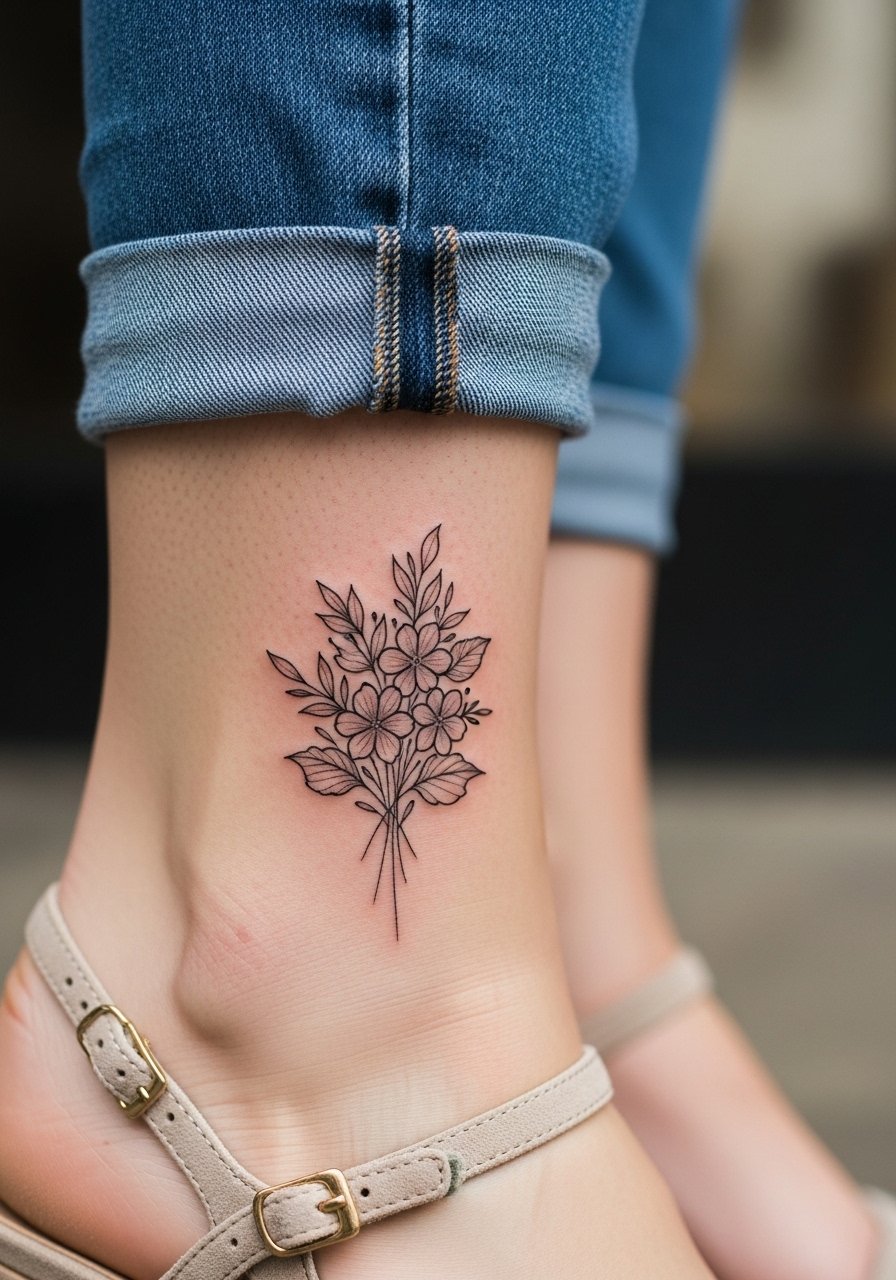
Styling lead. Ankles are charming for 1-3 inch botanical bouquets but summer sweat and shoe friction are real factors in early healing. The design should avoid ultra-fine contour near areas that rub against sandals. Sessions are short, under an hour, but expect the possibility of touch-up after seasonal wear. For summer showing, pair it with strappy heeled sandals and cropped pants so the linework sits clean against skin without competition from heavy jewelry on the same ankle.
9. Ignorant Style Violet Explosion on the Shoulder Blade
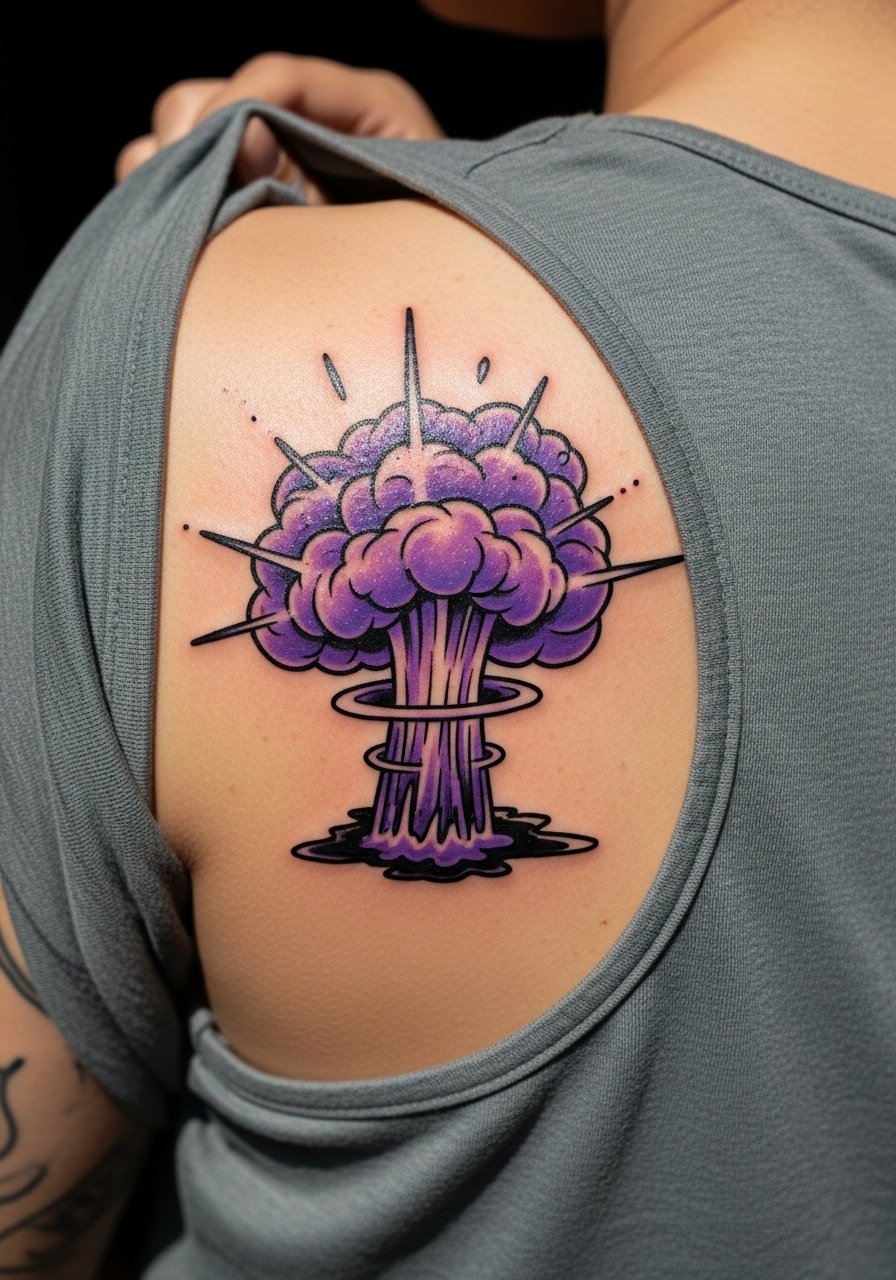
Personal observation lead. Ignorant-style violets celebrate imperfect lines and bold marks, which age into a raw, graphic statement. The shoulder blade is forgiving because movement is limited there and the artist can go freer with composition. Sessions tend to be medium length and many clients split work into two sittings to let the larger strokes settle. A common mistake is asking for perfect symmetry in a style built on expressive imperfection. For display, a loose tank or off-shoulder layering works well, and the piece plays nicely with thin strap tops.
10. Traditional Violet Flash with Hearts on the Outer Forearm
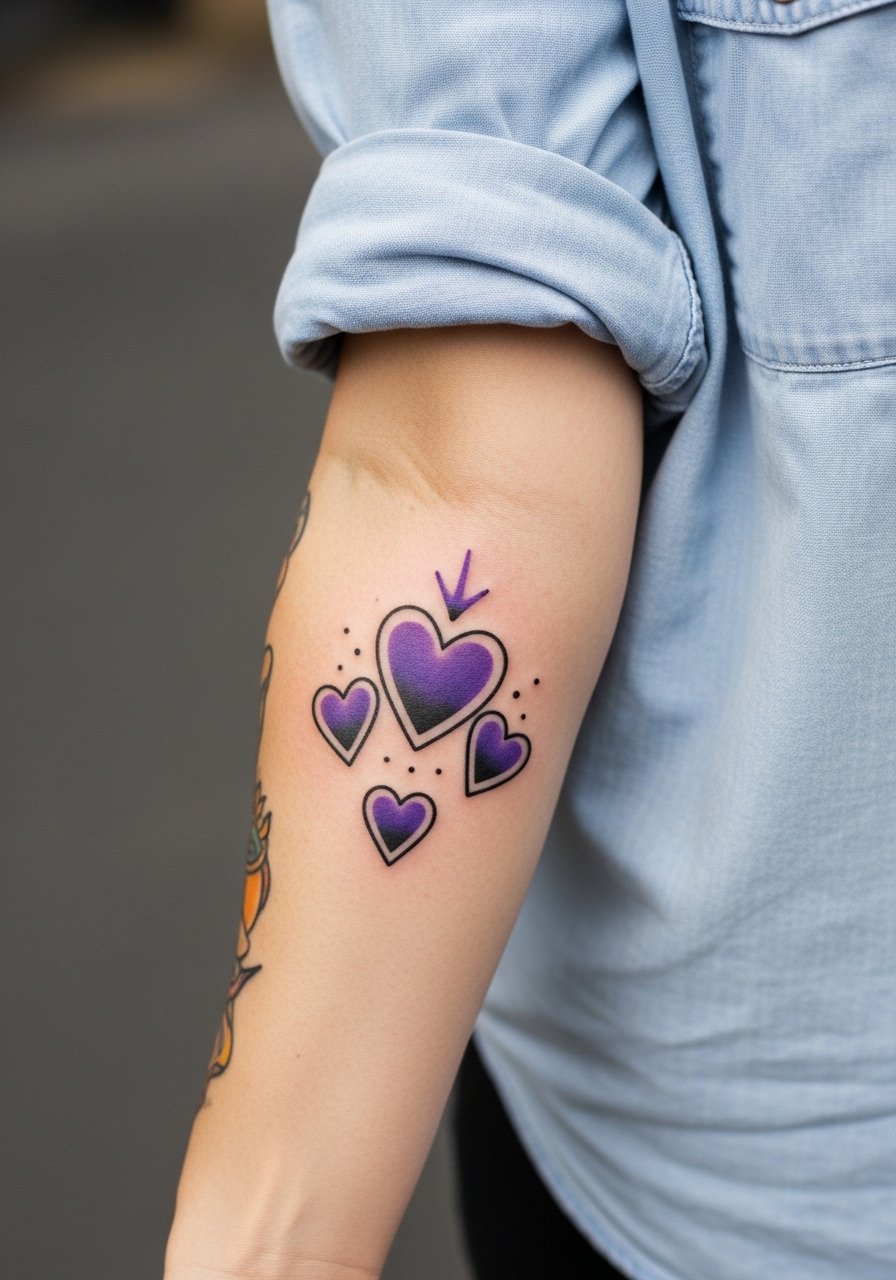
Visual impact lead. Traditional work uses bold outlines and strong saturation, which helps violet pigments age into a stable, readable piece. Expect a 2-3 hour session for a 4-5 inch forearm flash with shading and color packing. The common error is shrinking traditional flash down too small so the solid areas lose definition later. For appointment day wear a loose button-down shirt that you can roll to expose the forearm without tugging the fresh ink.
11. Tiny Violet Finger Tattoo
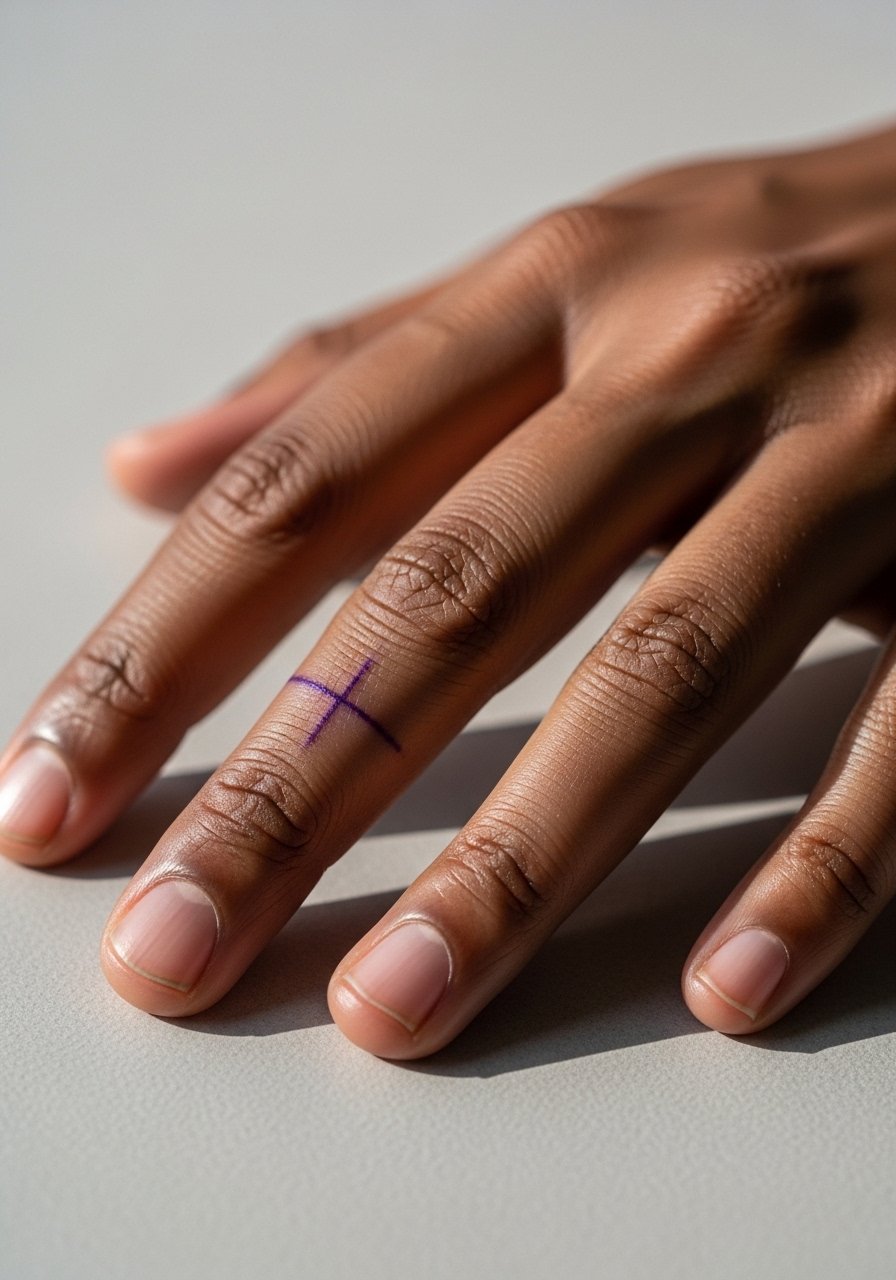
Mistake lead. Fingers are high touch and see heavy fading, so most tiny finger violets require frequent touch-ups. The skin and oil glands there make color retention unpredictable. If you want a finger piece, plan the design as a simple outline with some negative space and accept a likely touch-up within the first year. Session time is short but aftercare is demanding because of hand washing and wear. Consider placing a similar small motif on the dorsal hand or wrist if frequent touch-ups are a concern.
12. Lower Back Violet Mandala Accent
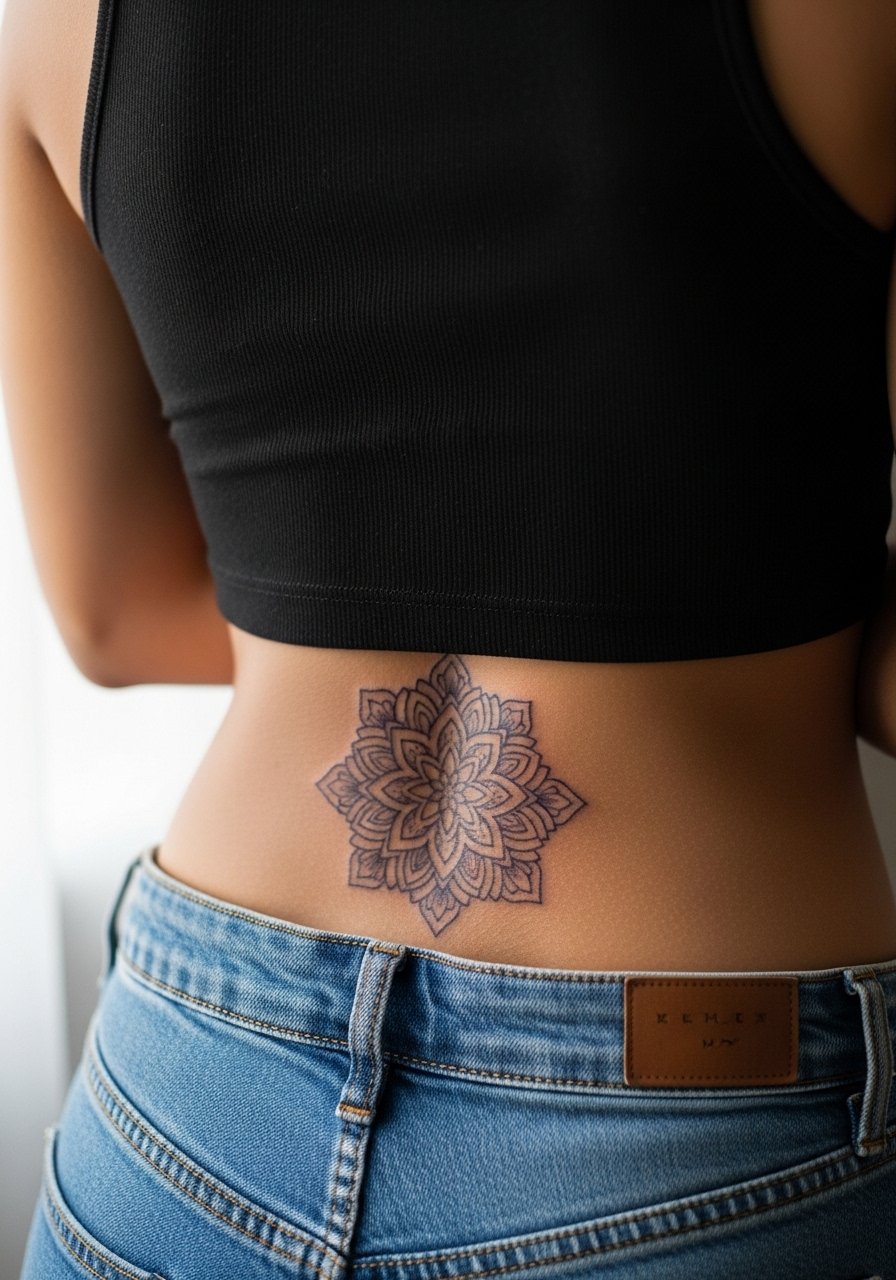
Visual impact lead. Lower back pieces give space for symmetry and larger mandala elements. Pain is low to moderate and sessions can be completed over two long sittings for a detailed 5 inch composition. One common mistake is crowding the center with too many micro dots, which can blur into a solid tone over time. For outfits choose cropped tops or low-waist bottoms that reveal the design in a controlled way rather than full exposure. This placement also benefits from clear framing lines so the pattern keeps its shape through body movement.
13. Stipple Shaded Violet Cuff on the Upper Arm
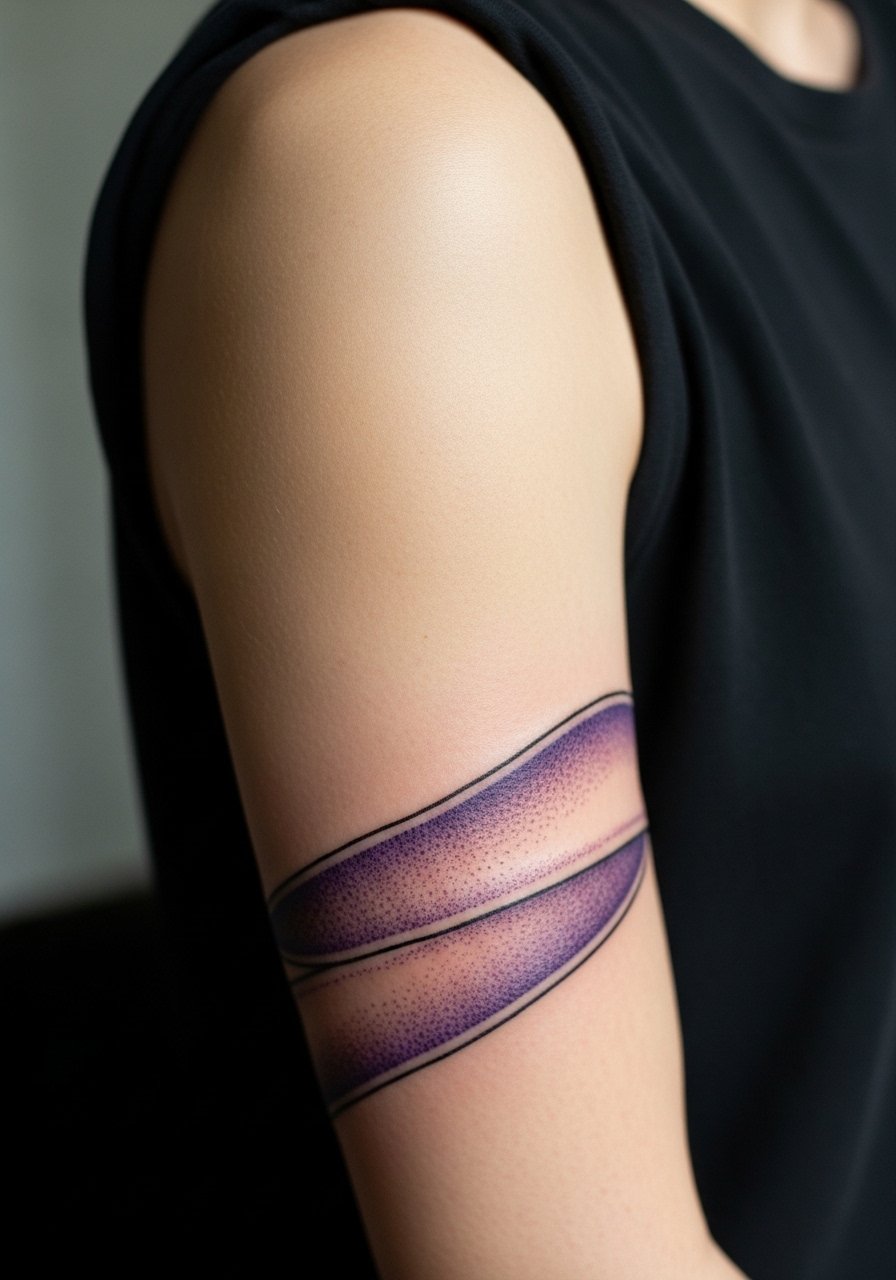
Consultation lead. Cuff pieces let stipple shading breathe around the arm and age predictably if given enough spacing. Ask the artist for a transition zone with fewer dots near the edges to avoid early merging. Sessions are usually one to two hours for a 3-4 inch wrap. The session wear tip is to bring a loose button-down or tank so the arm can be accessed without strain. For nights out the cuff reads well under sleeveless layers and keeps the floral motif continuous.
14. Vine-Wrap Violet on the Inner Forearm
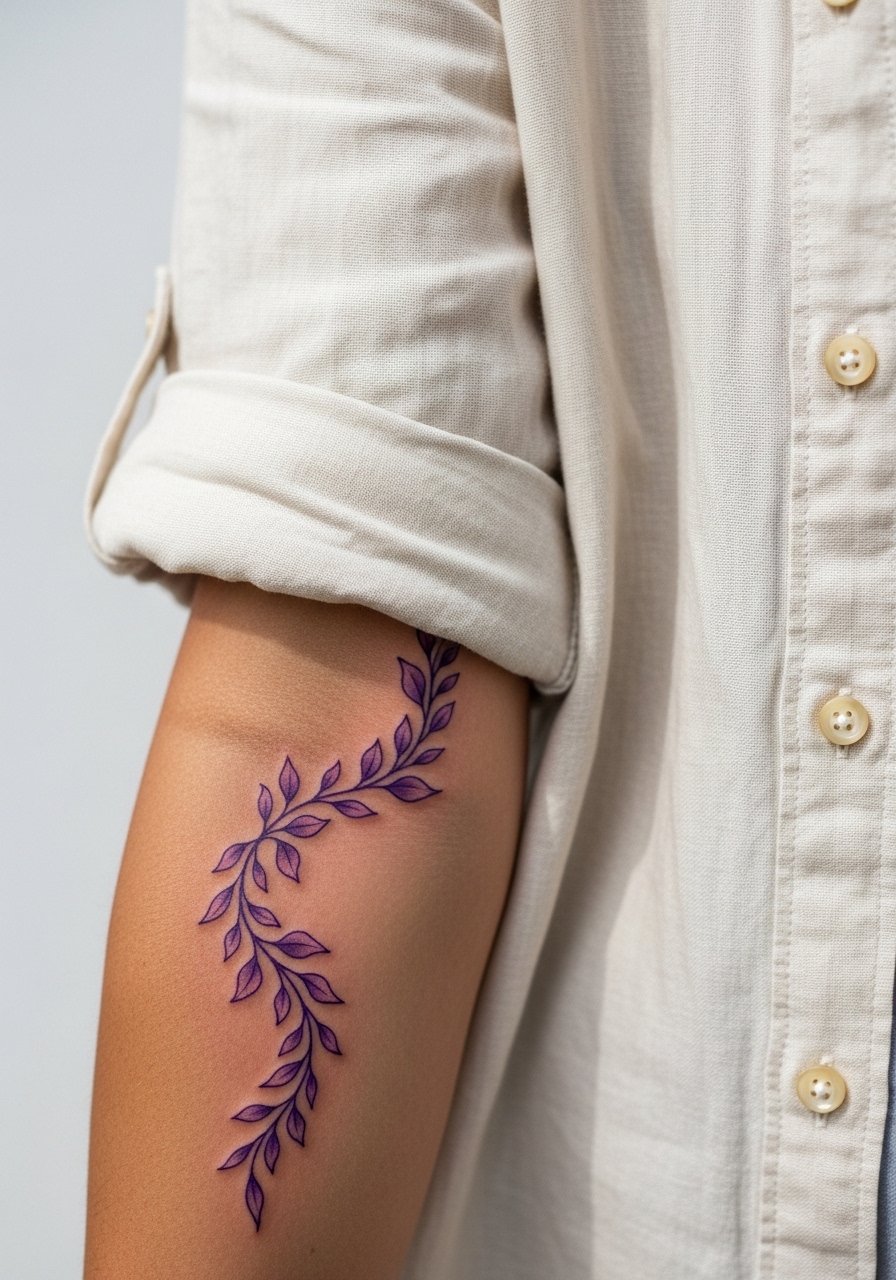
Aging lead. A vine wrap plays with negative space and looks great when the linework has breathing room. Inner forearm movement is gentle so fine details last better there than on the wrist. Ask for slightly increased spacing between leaves and petals so the negative space remains visible at six months, one year, and beyond. Sessions can be one to two hours. For the session wear a linen button down you can roll to the elbow to avoid rubbing the fresh ink.
15. Minimalist Outline Violet on the Ankle
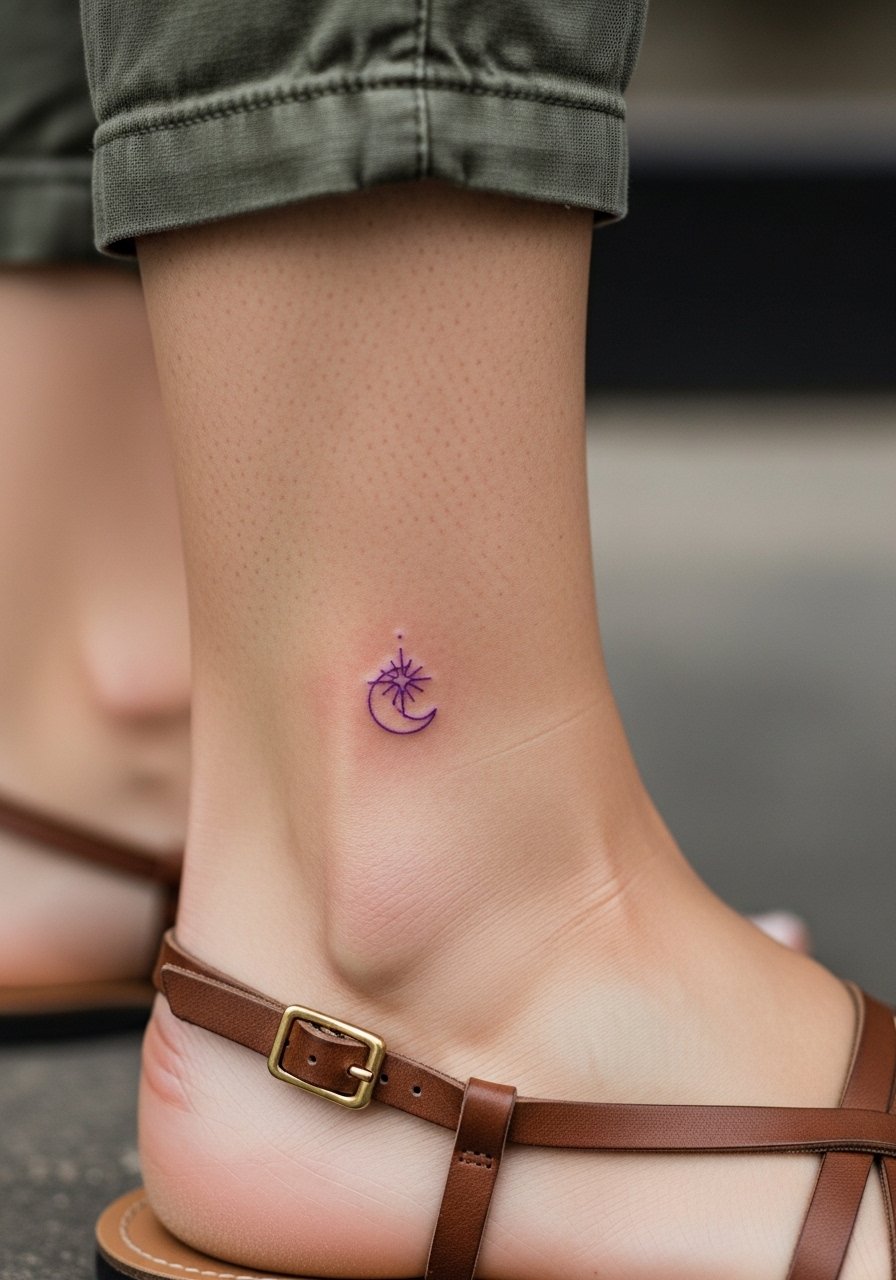
Decision-pressure lead. The ankle is tempting for tiny outlines but it sits at a high-friction site with shoes and socks. Keep the design small and slightly bolder than your reference so the outline does not spread into a smudge. Expect low to moderate pain and a short session. For showing it off, cropped ankle pants and delicate sandals frame the piece nicely. On appointment day wear loose pants you can roll up without tugging on the fresh tattoo.
16. Sternum Violet Cluster
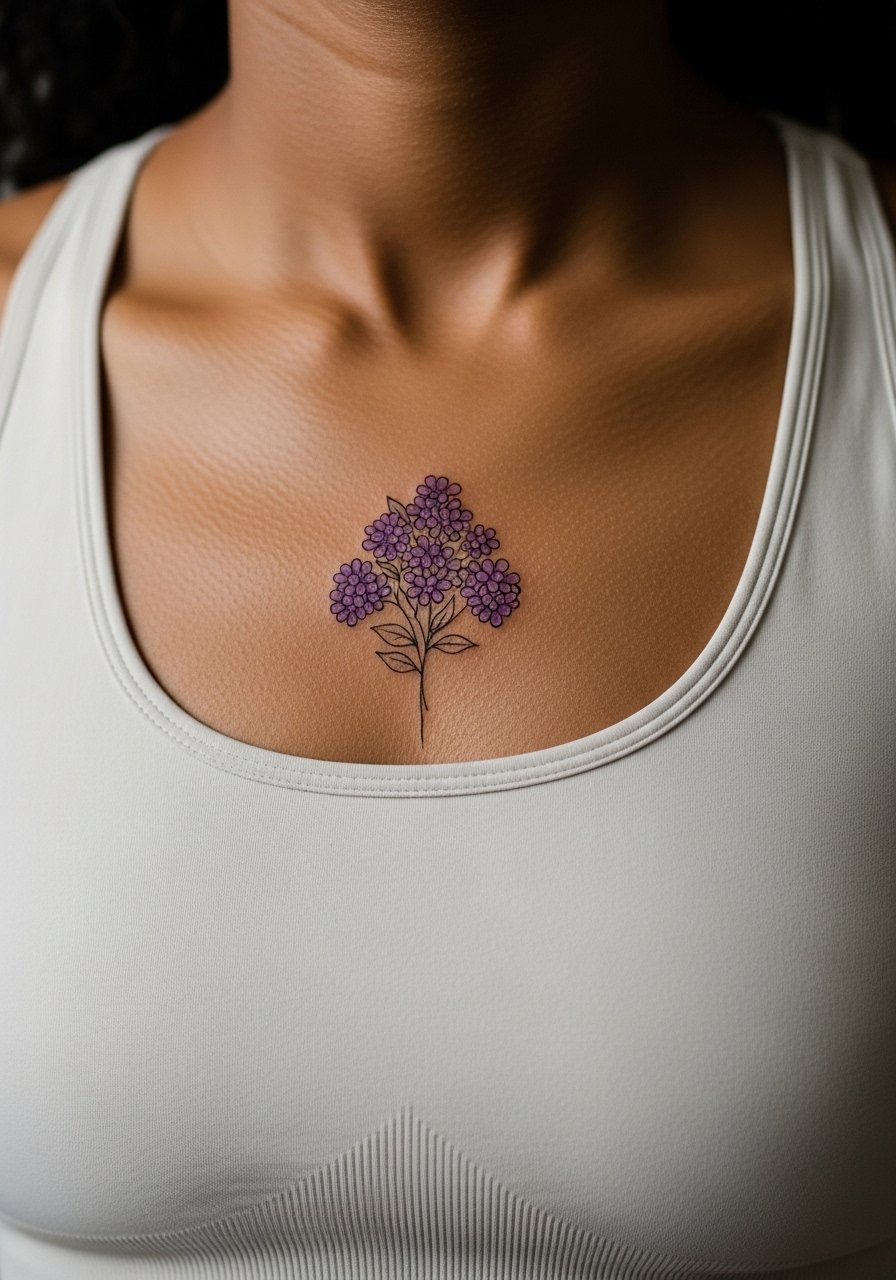
Pain-warning lead. Sternum work is intimate and can be higher on the pain scale, but the central chest area holds detail well when spaced correctly. Keep script or extra elements minimal because the skin there moves with breathing and can warp tiny details. Expect a 1.5 to 2 hour session and plan for a supportive bra instead of underwire on the ride home. Consider how this placement will interact with clothing and necklaces, because some styles will graze the piece during healing.
17. Hip Violet Accent with High-Waisted Styling
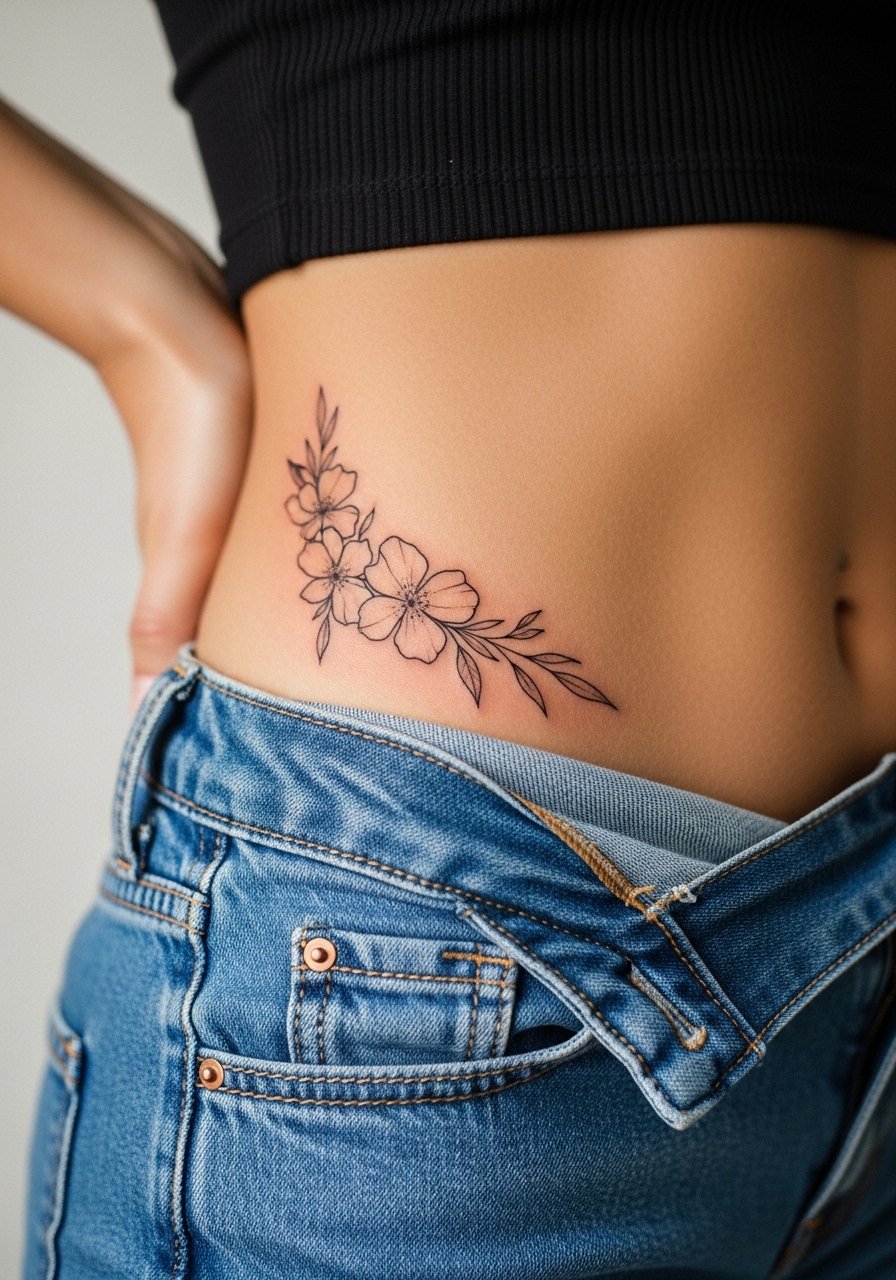
Styling lead. Hips are excellent for pieces that peek out from waistlines. The skin is flexible so ask for slightly larger negative space in petal edges to keep clarity after weight changes. Sessions are short to moderate and often split if the piece curves more than expected. For showing it off pick high waisted shorts or a cropped top that reveals just enough to frame the motif. On appointment day wear bottoms you can lower slightly without exposing the rest of the torso.
18. Inner Bicep Micro-Realism Violet
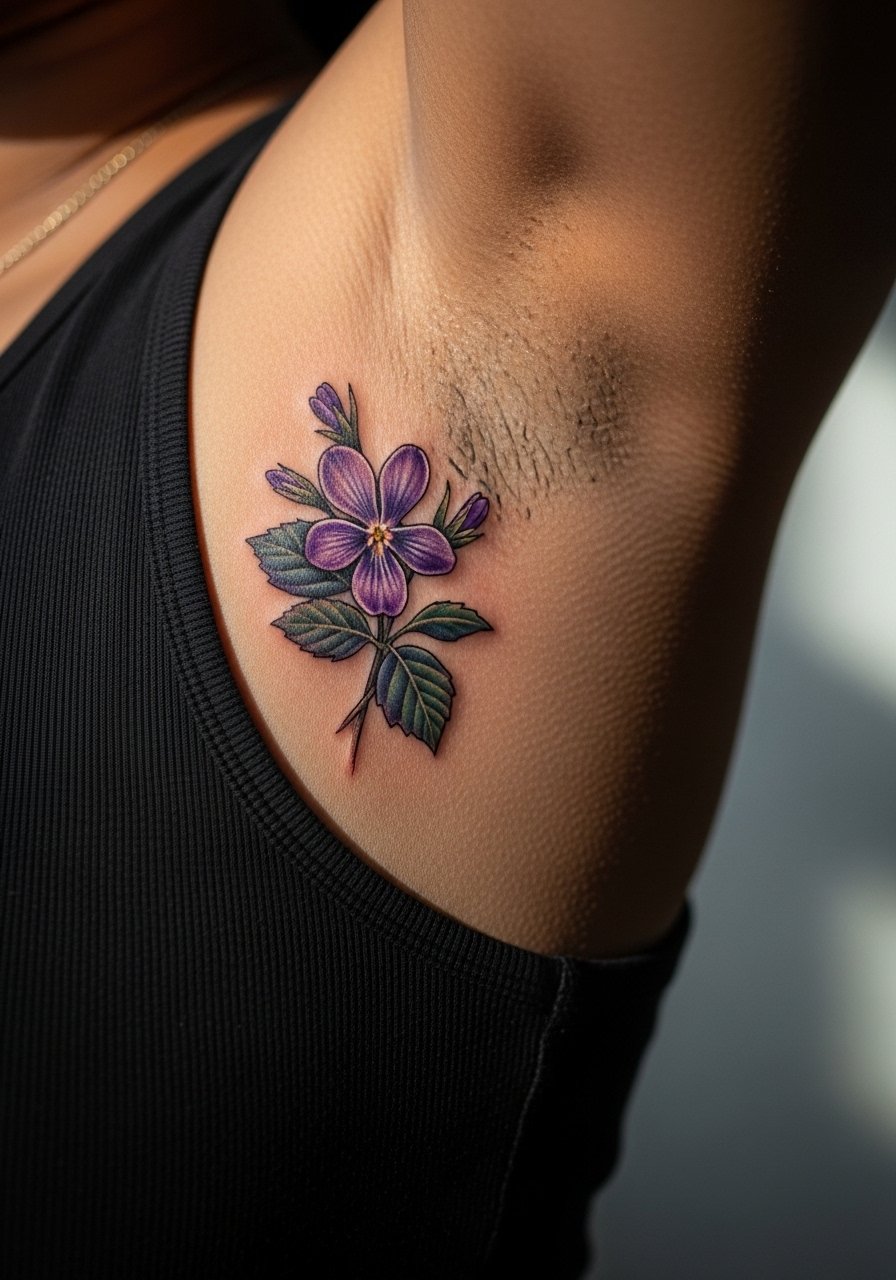
Pain-warning lead. The inner bicep is tender but makes a private canvas for micro-real detail. Expect higher pain and plan for a 1.5 to 2 hour appointment for fine petal texture. Artists vary on line depth here. If you want crisp micro shading, ask for a slightly deeper pass in the first session so the dots settle without losing definition. The inner bicep also benefits from a test patch for topical sensitivity. For session wear pick a tank top that allows an arm raise to give clean access without stretching the skin.
19. Tiny Back of Neck Violet Sprig
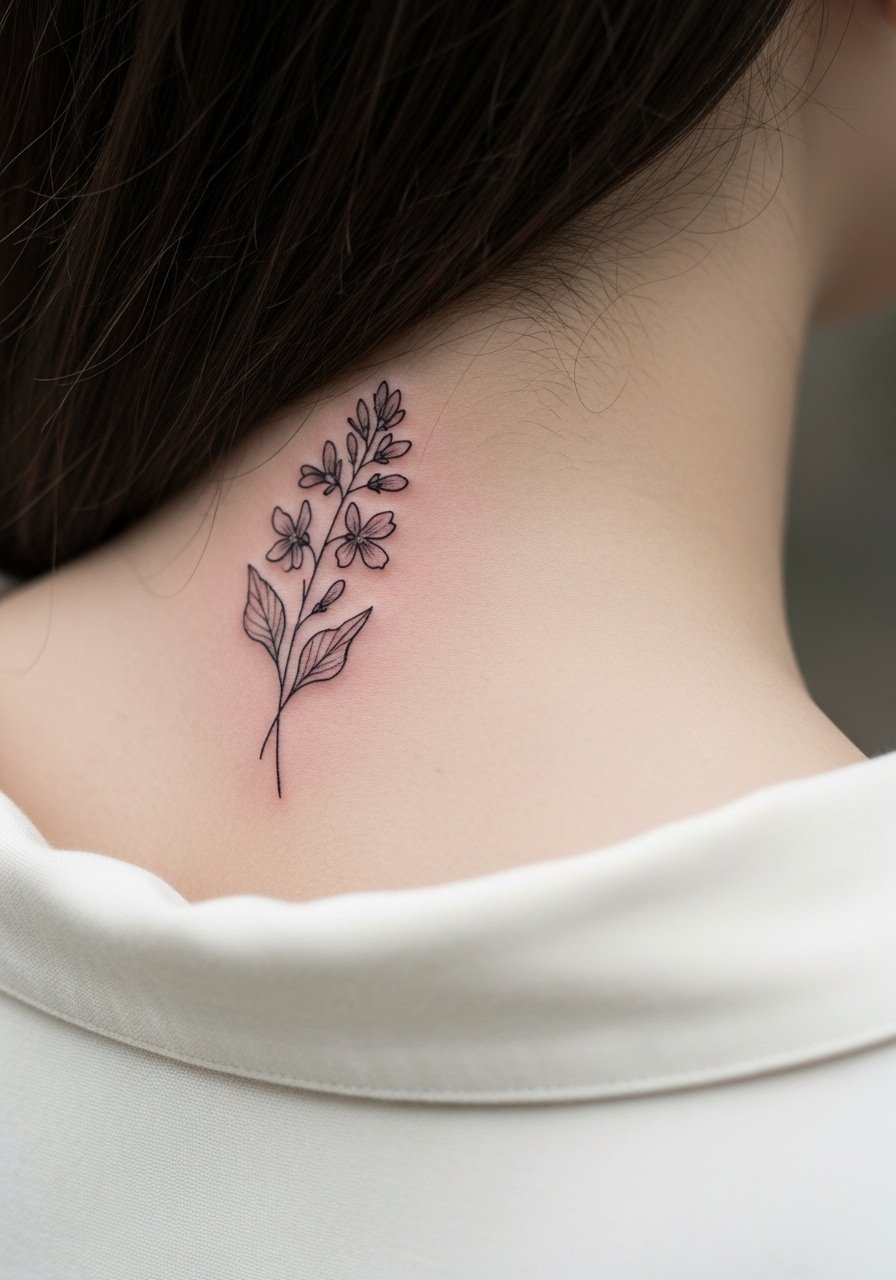
Personal observation lead. Neck tattoos are visible and can conflict with conservative workplaces, so think through career and hair choices first. The back of the neck tolerates small sprigs well but needs simple shapes and slightly bolder linework for long-term readability. Sessions are quick. If you wear collars often, plan garment choices that avoid constant rubbing during the first two weeks.
20. Constellation Violet on the Ankle Side
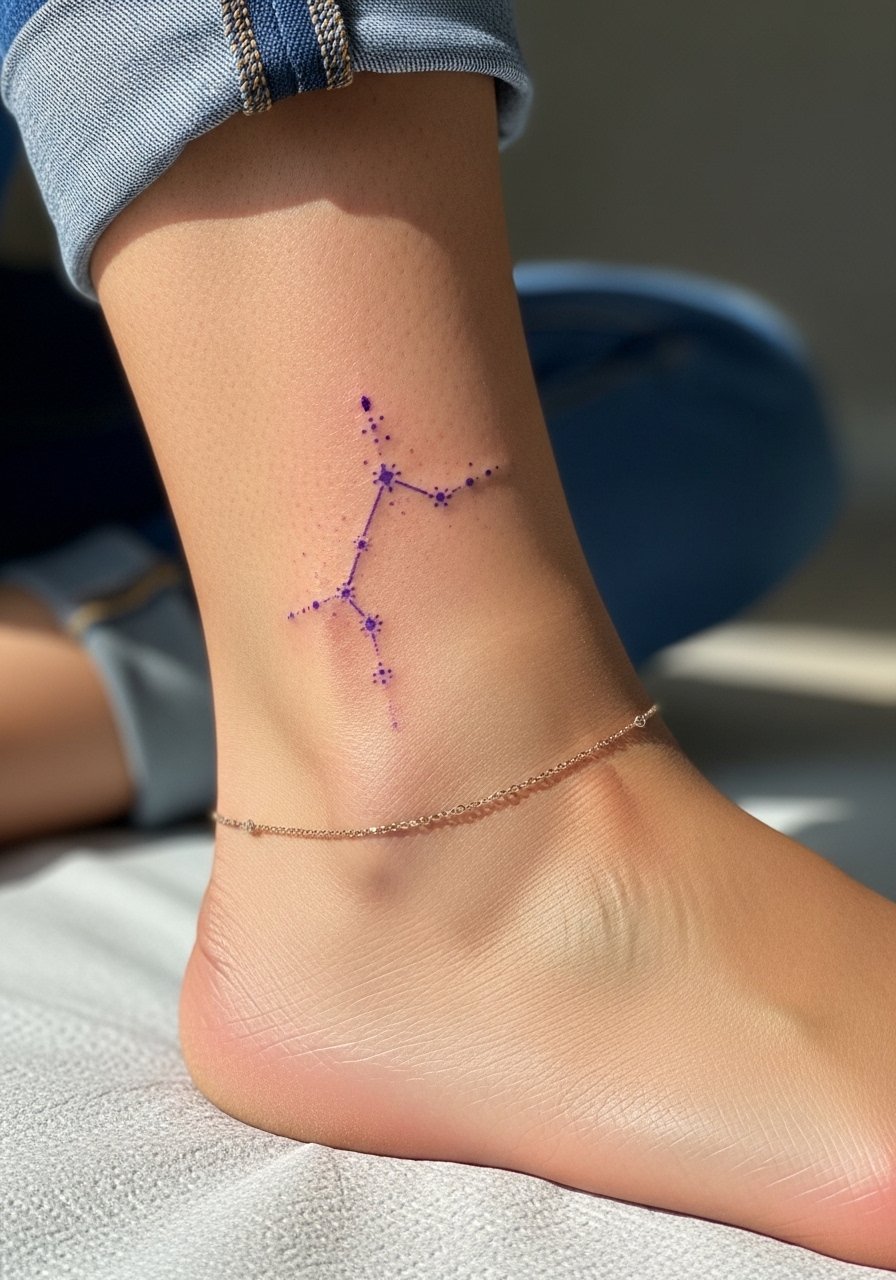
Mistake lead. Tiny dot clusters near the ankle risk fading fast because of shoe contact and bending. Make the dots slightly larger and ask the artist for conservative spacing so the pattern keeps structure at six months. Session time is short but aftercare is key. Pair this motif with a gold anklet chain to create a layered look that keeps attention on the ankle zone.
21. Floral Toe or Foot Violet Accent
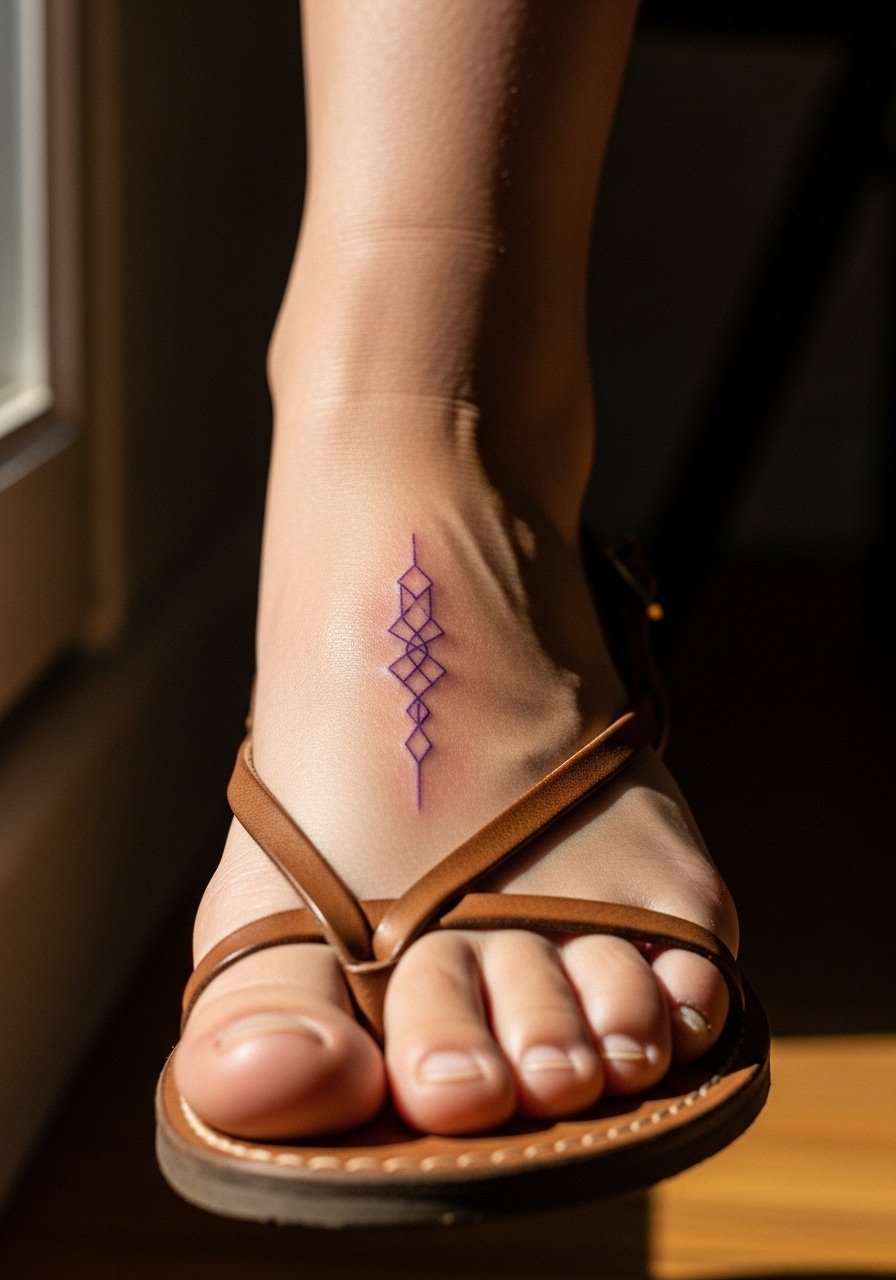
Decision-pressure lead. Foot placements are notoriously fussy in early healing because of shoes and walking. If you want a toe or foot accent, expect that the first two weeks are high maintenance and touch-ups are common. Keep the design small and slightly bolder than reference. For the session, wear sandals so the artist can work without pressure on the area and you can move home without rubbing the fresh ink.
Frequently Asked Questions
Q: Will fine line violet tattoos on my wrist blur faster than on my inner forearm?
A: They often do because the wrist sees more motion, sun exposure, and wash friction. I recommend slightly stronger lineweight for wrist pieces and ask your artist about touch-up timelines. Inner forearm placements usually keep fine detail longer with fewer early touch-ups.
Q: Do watercolor violet tattoos need different aftercare than blackwork violets?
A: Watercolor pieces can benefit from slightly more careful sun protection and lighter moisturization to preserve color washes. Blackwork relies on saturation, so initial packing matters more than frequent color maintenance. Either way, follow your artist's method and confirm whether they favor protective film or dry healing for your skin type.
Q: How do I find an artist who can do micro-realism on medium or dark skin tones?
A: Search hashtags like #finelineviolet and look for portfolios that show healed work on similar skin tones. Use local app filters and Reddit threads that ask for style recs by city. When you consult, ask to see healed photos, not just fresh work, and ask how they adjust contrast and dot density for darker tones.
Q: What should I wear to a collarbone or ribcage session so the artist has access?
A: For collarbone choose a strapless bra or button-front top you can pull aside. For ribcage bring a cropped bralette or a loose crop top you can lift without stress. Comfortable layers on the ride home help manage sweating and movement after a long session.
Q: Are there real differences between Saniderm and dry healing I should know before booking?
A: Yes. Some artists prefer protective films to keep the area moist and reduce scabbing. Other experienced healers favor dry healing because they believe it reduces infection risk. The right choice depends on your skin sensitivity and the artist's method, so ask them why they use one or the other and follow their protocol.
Q: What is a realistic touch-up timeline for small violet work like ankle or finger pieces?
A: Plan on a possible touch-up within the first year for high-friction spots like fingers and ankles. Wrist and inner forearm pieces often hold longer but may still need a refresh at year two or three depending on sun exposure and skin type.
Q: Where can I find guest spots or conventions to save on custom violet work?
A: Look for local tattoo conventions and search short-form video for "violet tattoo [city]" to spot guest artists. Apps that list shop availability and Reddit recommendation threads are also good for finding short-term guest spots that sometimes run lower rates.
