
Fine line looks flawless on a saved board and can feel fragile in the chair. The reality is the lines that hold up are rarely the thinnest ones people pinch from Pinterest. Placement, spacing, and honest consultation matter more than an Instagram-ready photo. Read through these options with that in mind and you will find specific directions to give your artist, what to wear for your session, and how each style typically settles over time.
1. Minimalist Linear Floral on the Inner Forearm
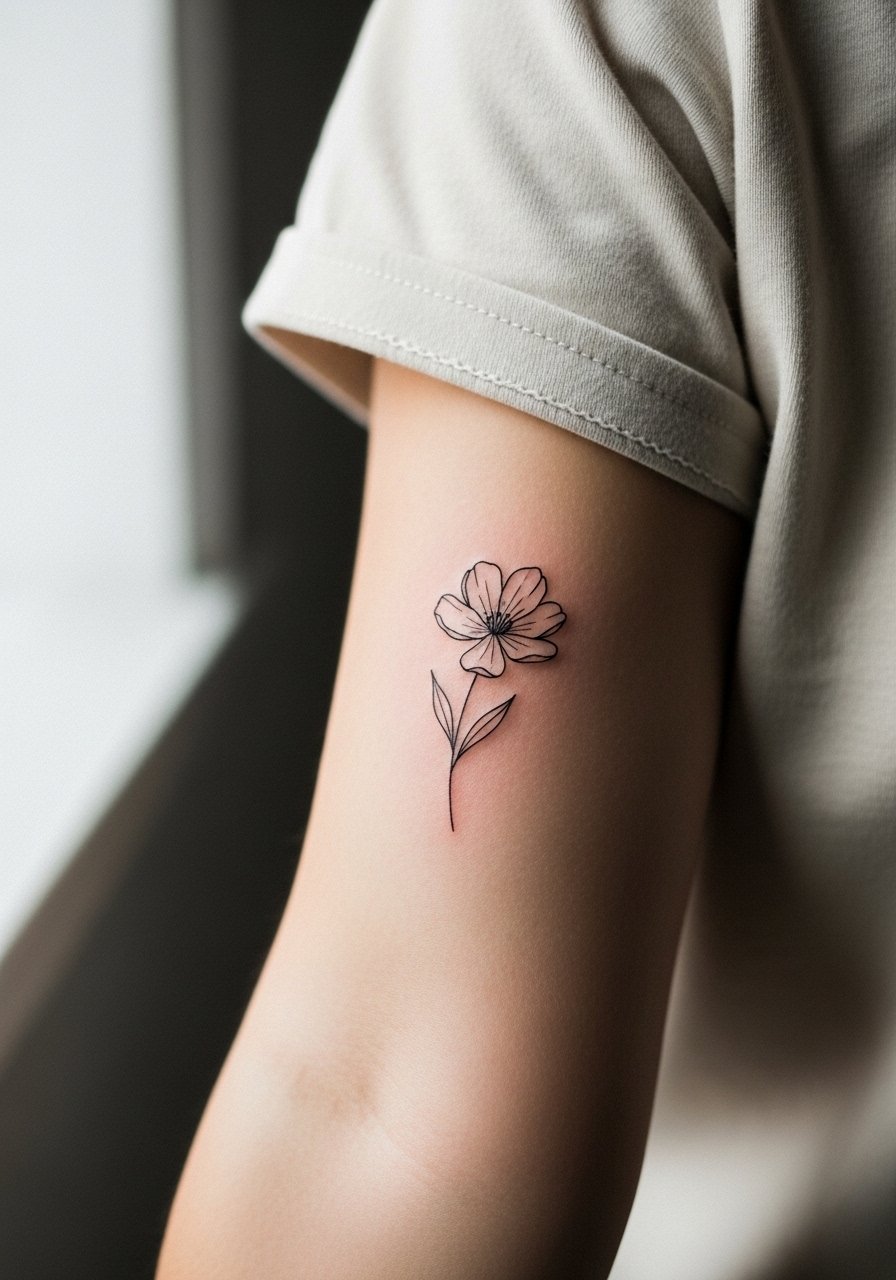
I recommend this when you want a delicate sleeve that reads refined up close rather than loud from across the room. Say "single-needle, even lineweight, avoid heavy fill" during the consultation so the artist spaces stems to prevent merging. Expect a forearm session to be moderate on the pain chart and 1.5 to 3 hours depending on coverage. Common mistake is asking for lines too close together. Over time the linework thins at six months and softens by year two, with touch-ups likely around year three. For showing it off, pair with a rolled cuff linen shirt that frames the inner forearm while keeping the look effortless.
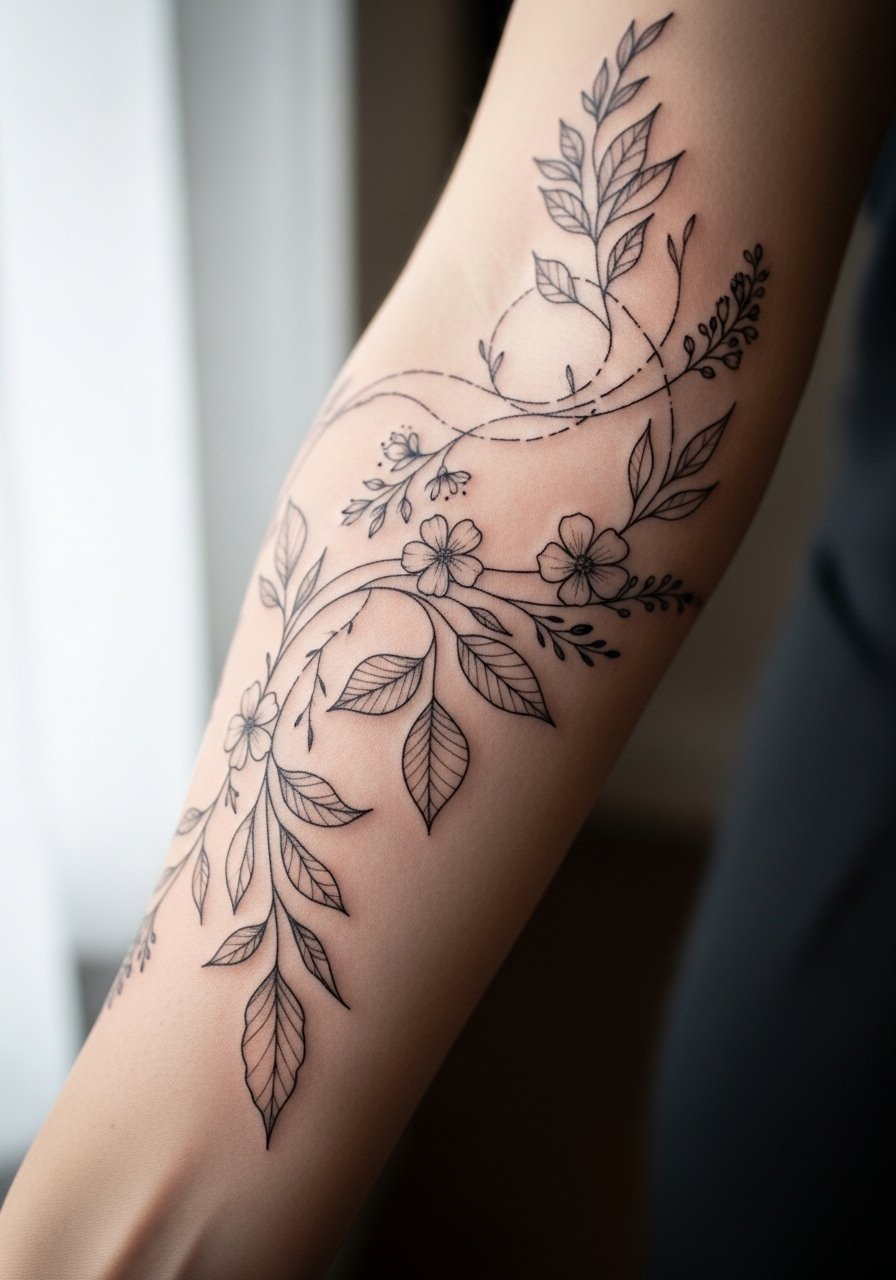
2. Neo-Traditional Floral Wrap on the Outer Arm
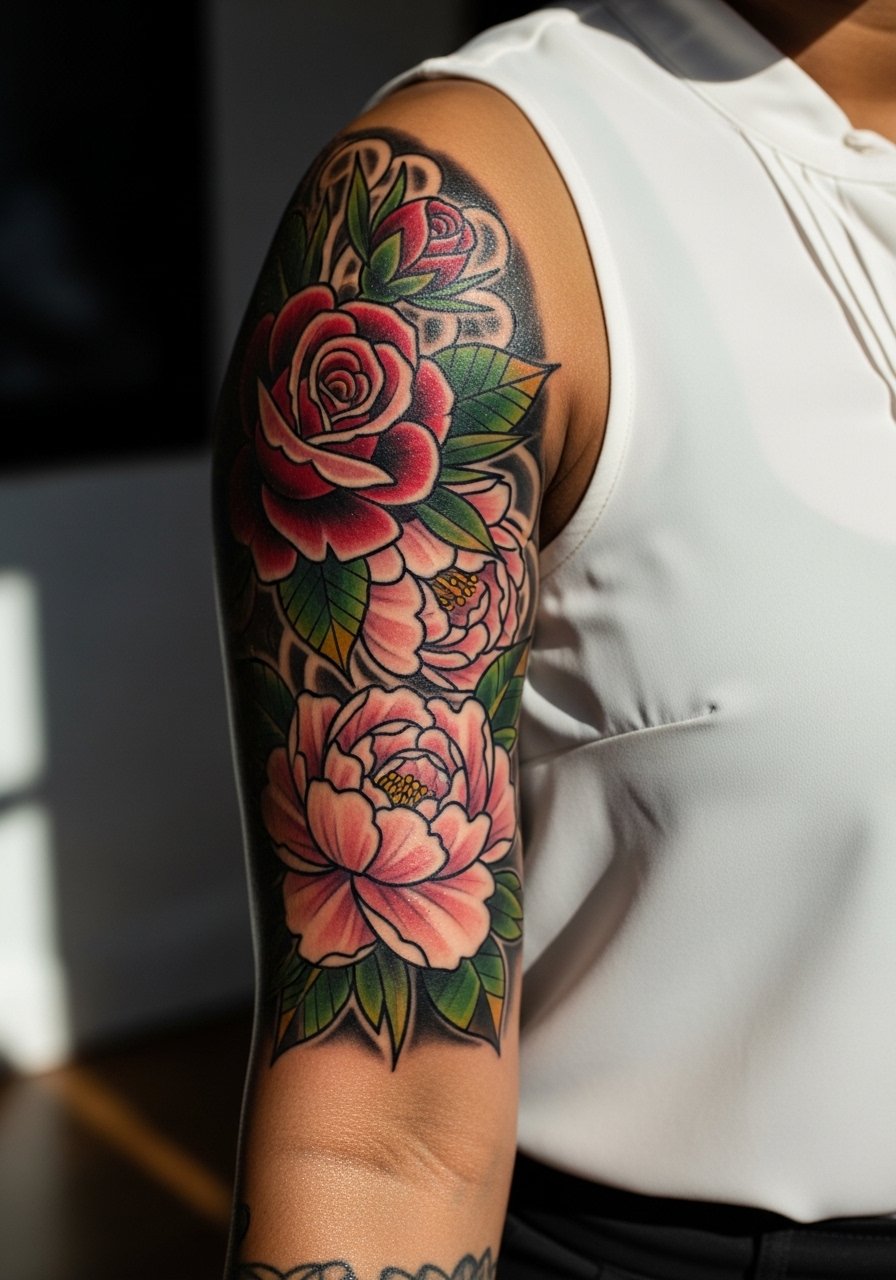
There is something about bold contour linework with saturated petals that reads like jewelry on the arm. I push this for people who want longevity without constant touch-ups. Tell your artist you want bold outlines, strong saturation, and color accents on a black and gray base to keep contrast over years. Sessions usually run 3 to 5 hours per sitting and the outer arm tolerates deeper saturation well. A common version that ages poorly is washed-out pastel only with thin outlines. When showing this off, a flowy off-shoulder blouse in soft pastel tones and a thin chain necklace keep attention on the flowers without competing.
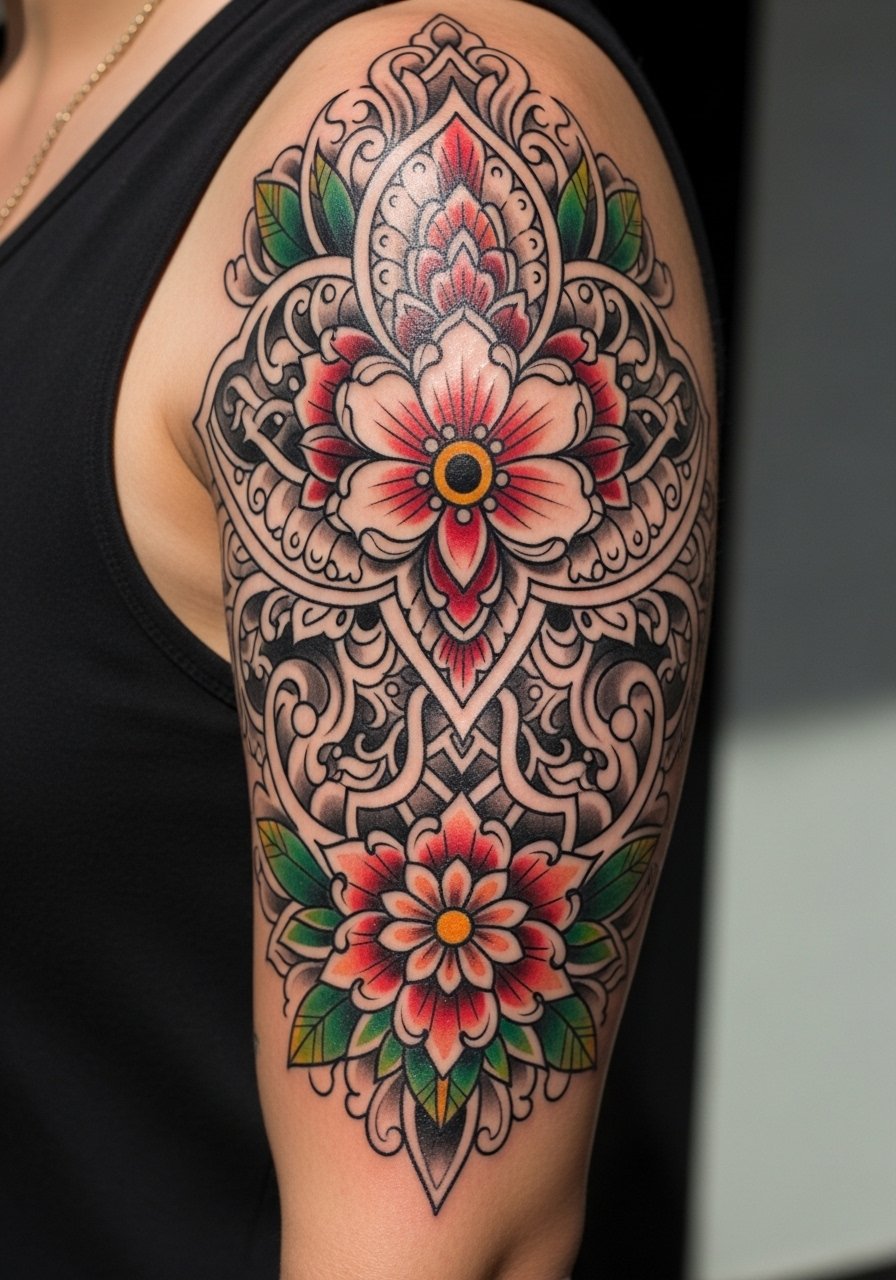
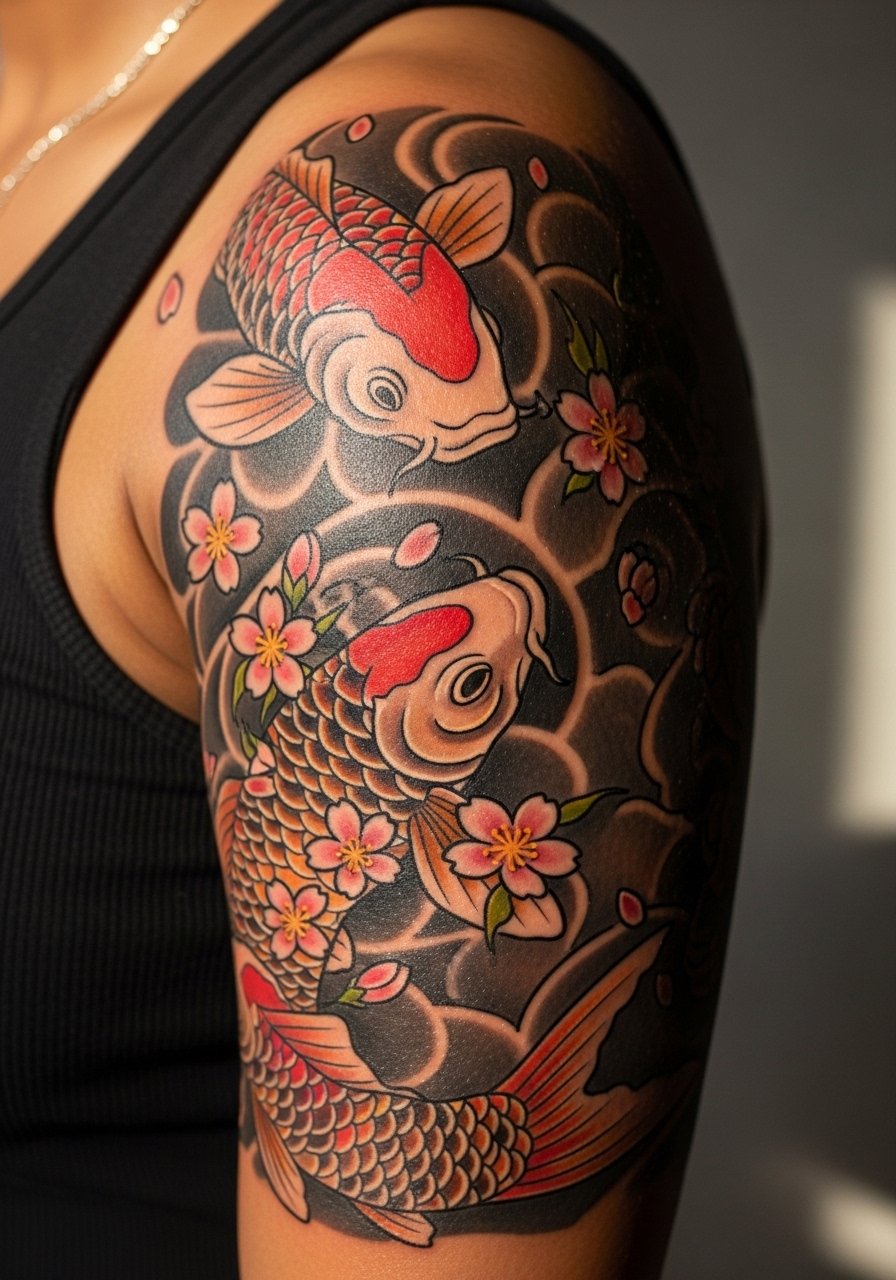
3. Japanese Koi and Sakura Story Sleeve, Shoulder to Elbow
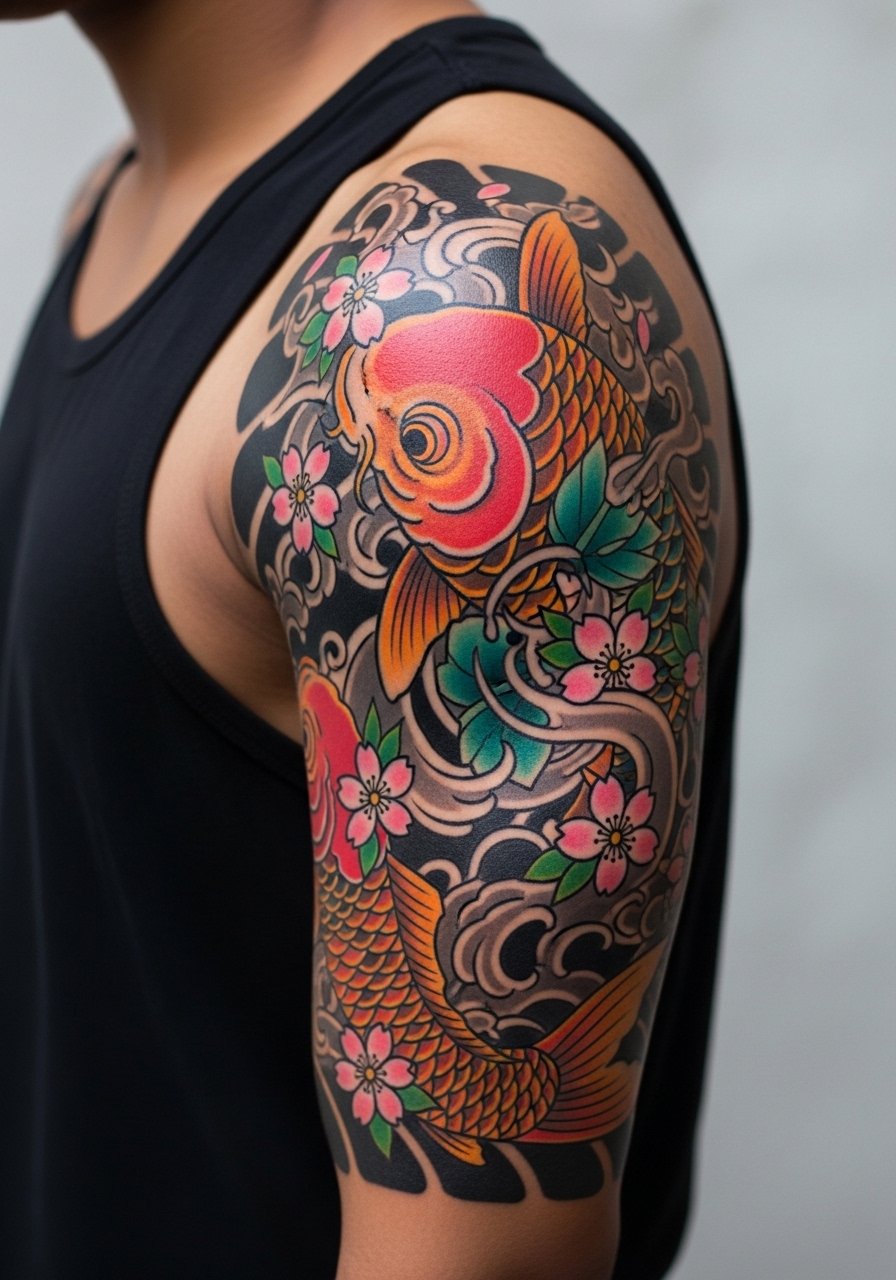
When you want a narrative sleeve that reads from a distance, this is the pick. Tell your artist the story beats you want a koi to carry across panels with sakura as negative-space filler. Expect multiple long sessions, five to eight, and plan for full shoulder mobility during appointments. The visual impact lead applies here because the heavy black outlines with saturated color age into a strong silhouette that lasts. A practical mistake is trying to scale down intricate motifs so much they lose detail. Pair the shoulder-to-elbow work with sleeveless crop tops in solid black to make the colors pop without pattern clashing.
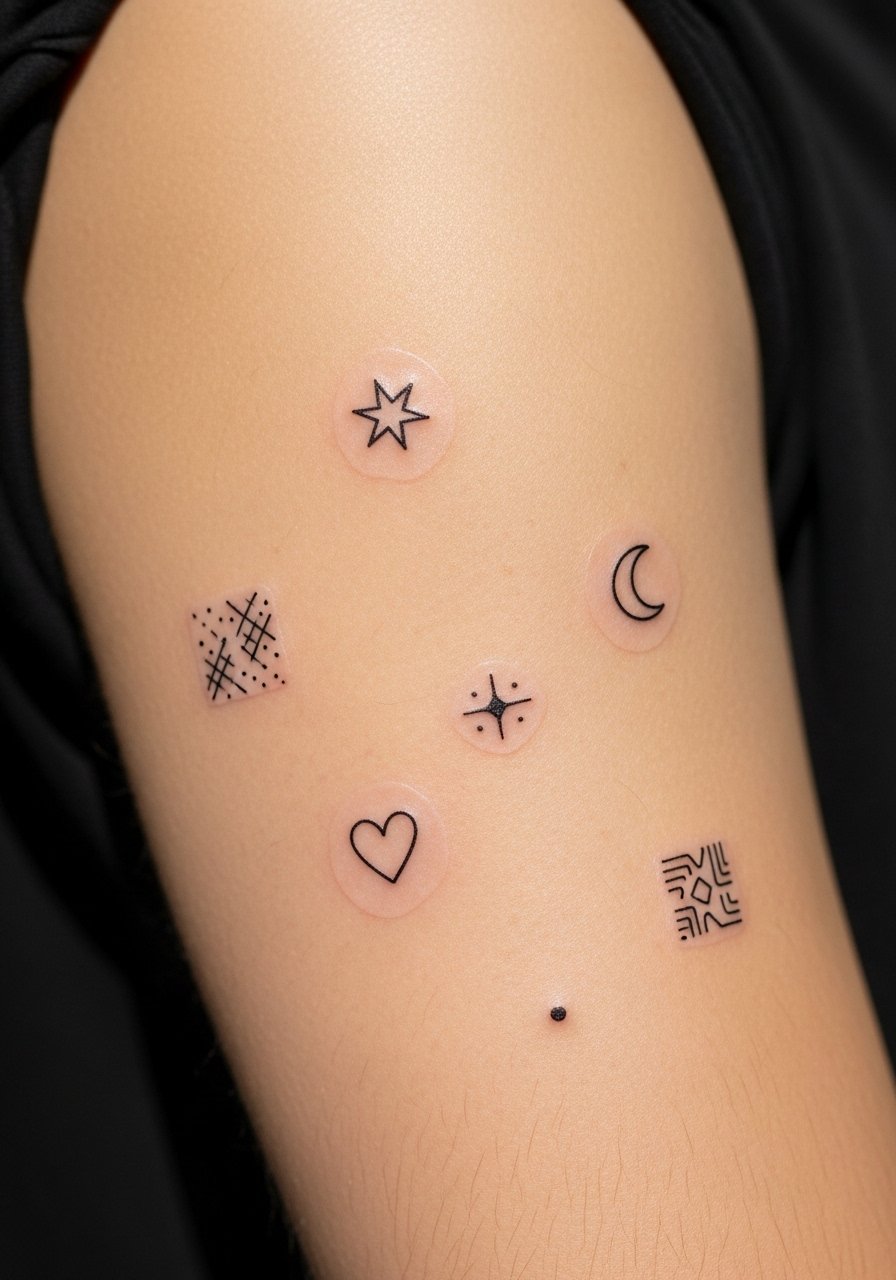
4. Sticker Patchwork on the Upper Arm
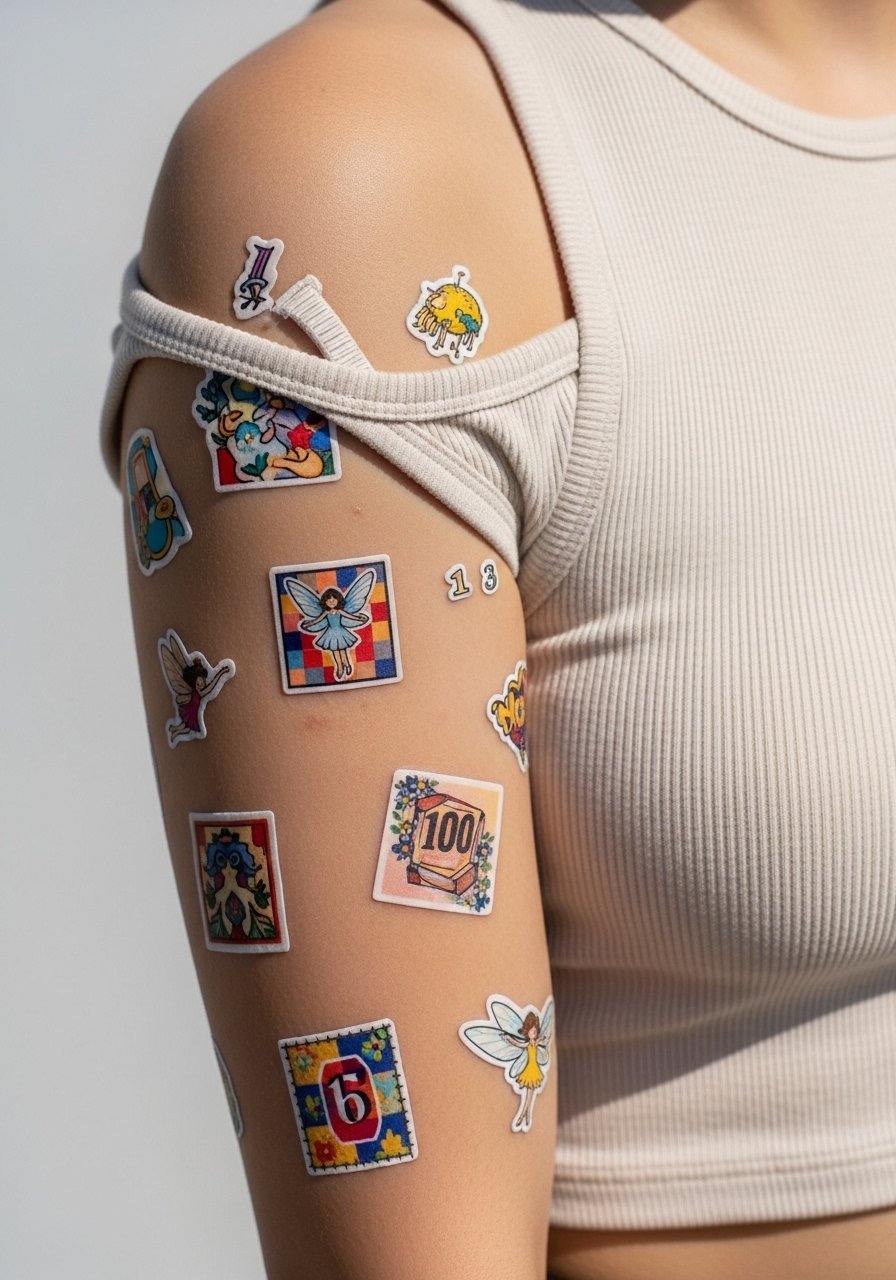
This format is for people who want to collect small badges over time rather than commit to one big composition. In consultation say you want spaced motifs with light connecting elements so each sticker has breathing room. Sessions are short and build over months or years. A common mistake is packing motifs too tightly, which defeats the collectible feel and can create a crowded patchwork. For appointments wear a fitted tank with arm cutouts in cream so the artist can reach the bicep easily without fabric dragging across fresh ink.
5. Watercolor Flower Splash from Wrist to Forearm
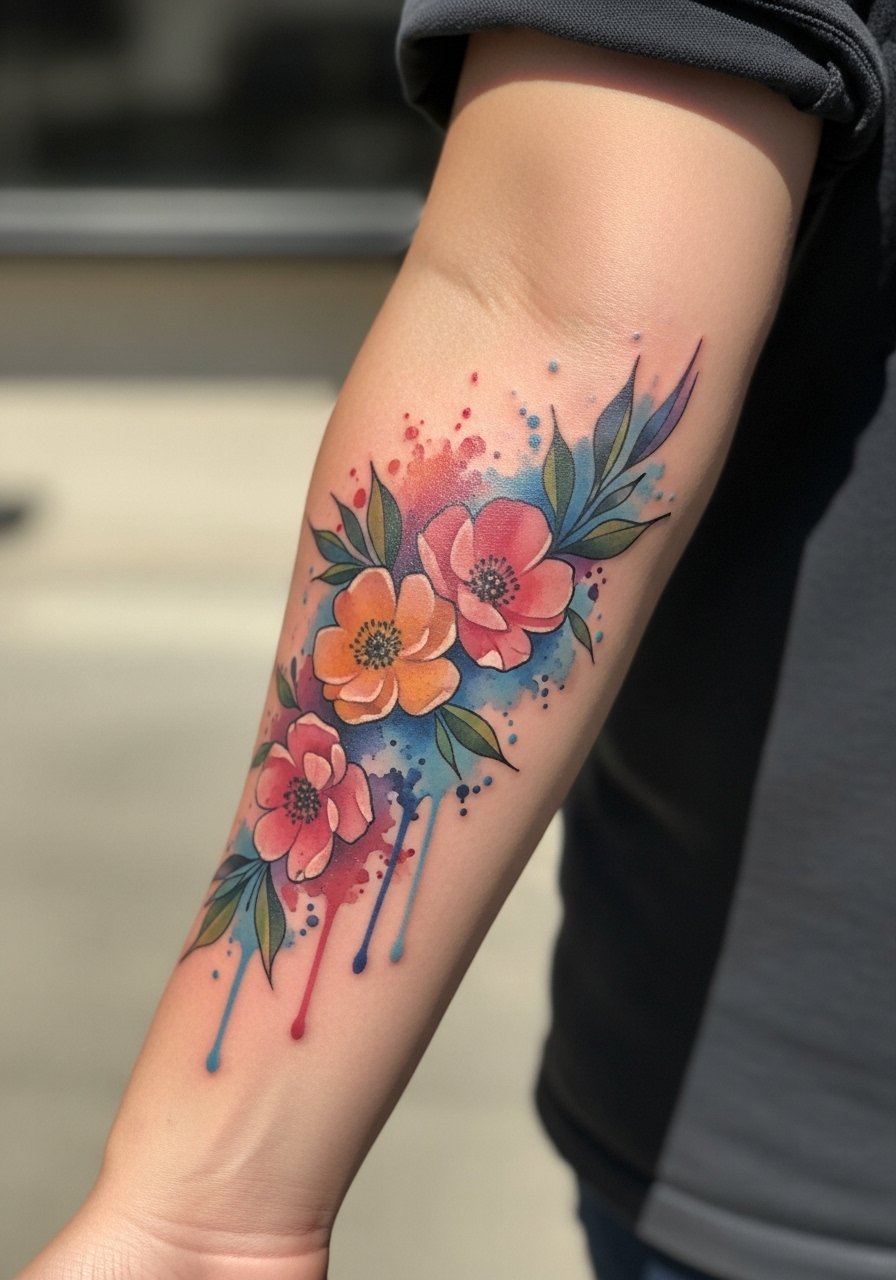
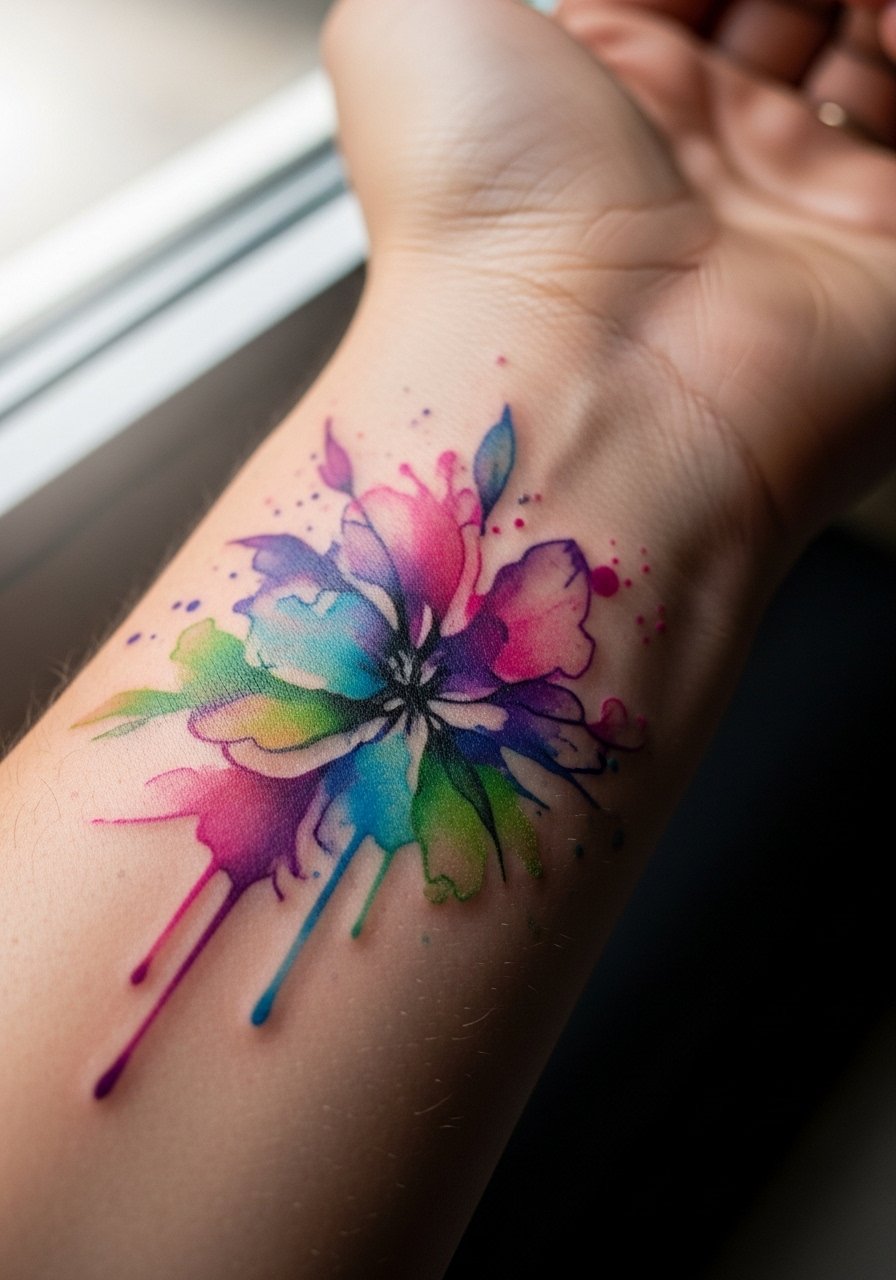
Watercolor works when you accept softer edges and an impressionistic look that can fade differently than solid color. Ask for layered color saturation with a subtle black outline for longevity if you want more definition. The wrist-to-forearm area is mobile and sees friction, so sessions should be broken into 1.5 to 3 hour stints. The aging lead matters because watercolor can look like a bruise if placed on high-friction zones without enough contrast. For show-off wear a wide cuff bracelet on the opposite wrist and sheer long-sleeve tops rolled up to accentuate the blurred palettes.
6. Mandala Ornamental Wrap for Bicep to Wrist
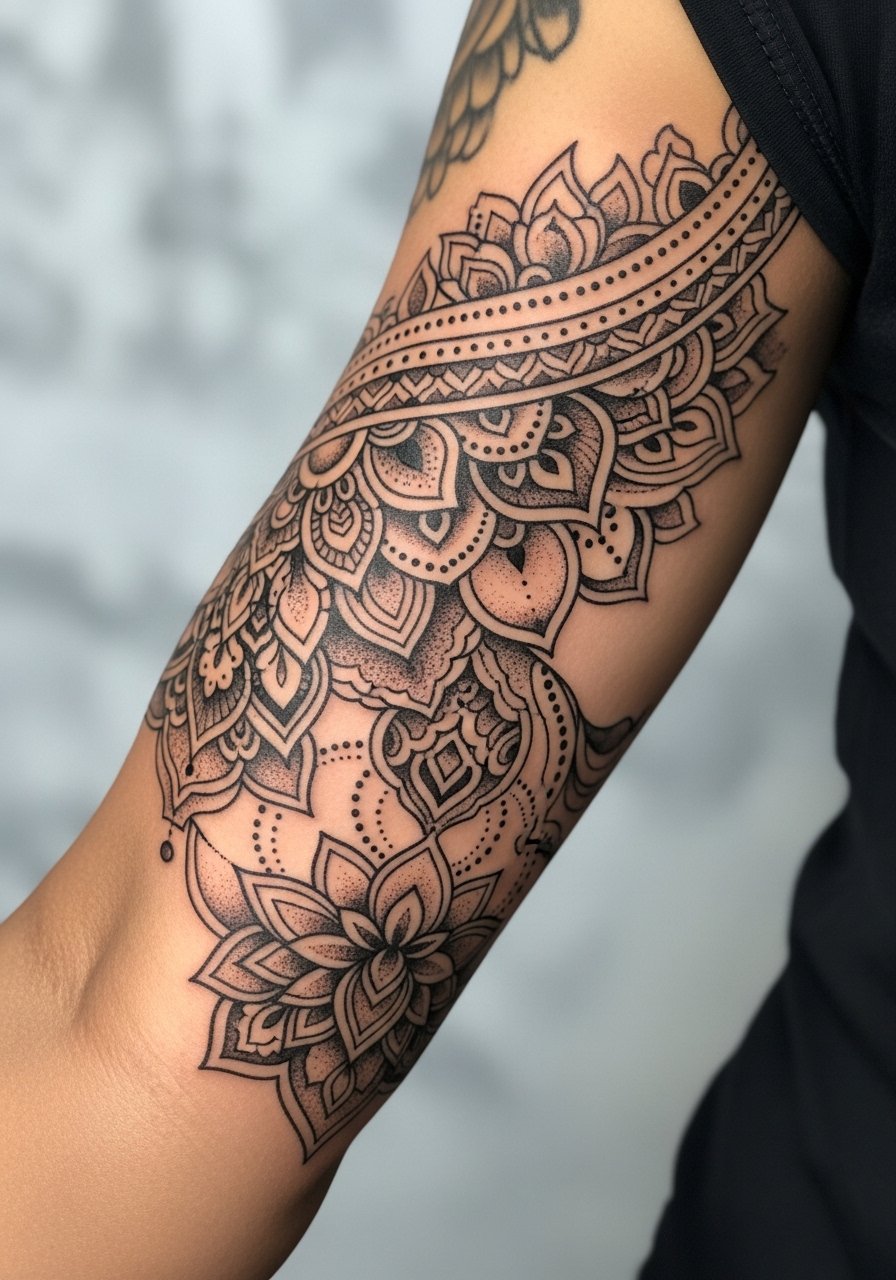
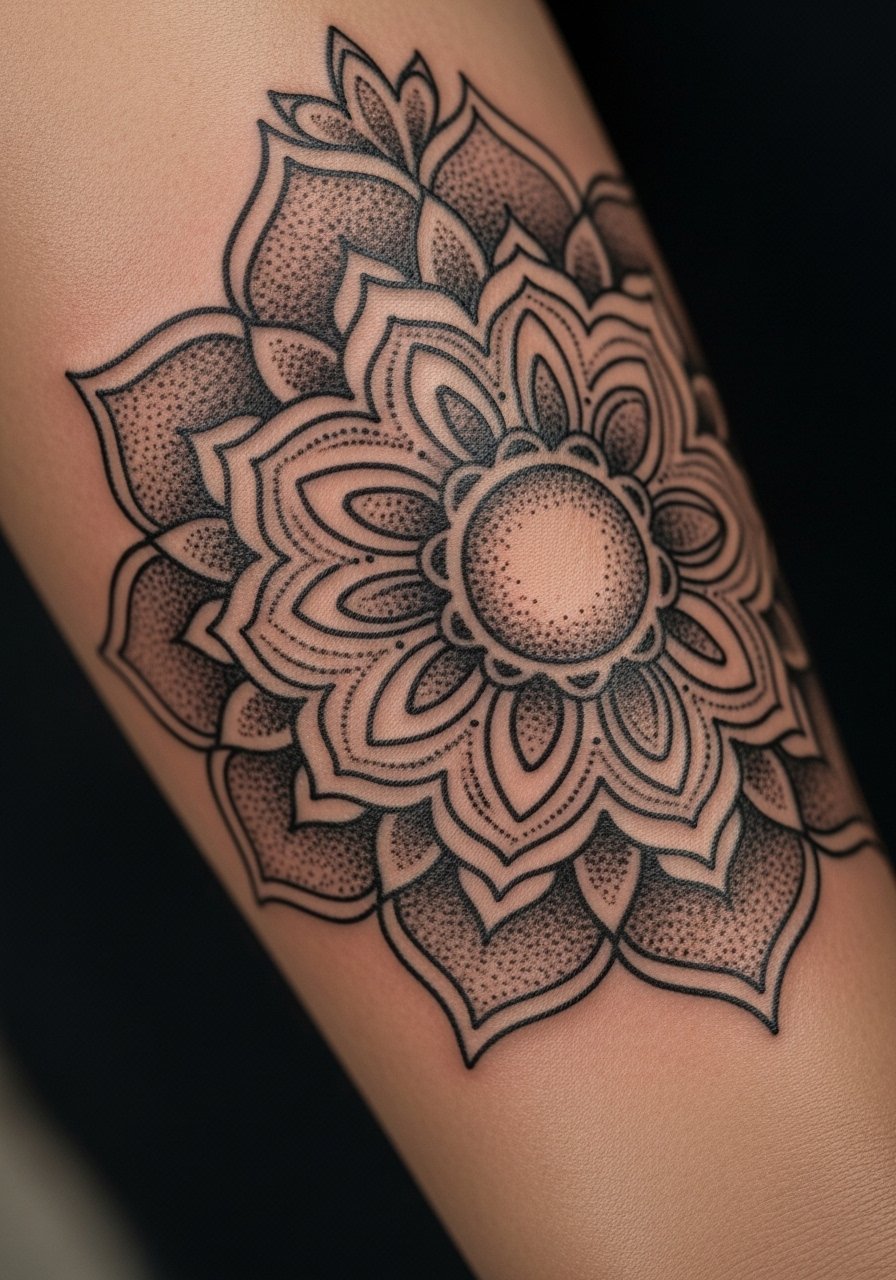
This one is for symmetry lovers who want meditative geometry across the arm. Tell your artist you want spacing in the dense areas and stipple shading to avoid saturated blobs. Expect multiple sessions of three to five hours each. A mistake that ages poorly is compressing too many concentric rings into a small zone. The blowout risk increases with very tight dot work on softer skin. For a polished look pair with open-back midi dresses or a simple racerback tank when you want the mandala to act like a statement accessory.
Studio Day Picks
The arm pieces above include delicate forearm linework and saturated upper arm color, so a few studio-day items make the session smoother and the first week easier.
- Stencil transfer paper kit. Lets you preview placement on the skin for delicate inner forearm or sticker-style pieces before the needle hits.
- Topical numbing cream. Applied before wrist or inner arm sessions can ease the sting without obscuring linework.
- Thin protective film roll. Useful for wrist and hand areas that face constant rubbing during the first days.
- Fragrance-free gentle body wash. Cleans delicate linework zones without added irritants while you heal.
- Aquaphor healing ointment. A thin layer in the initial days helps retain moisture in fine line and watercolor areas.
7. Botanical Birth-Flower Fillers for Patchwork Sleeves
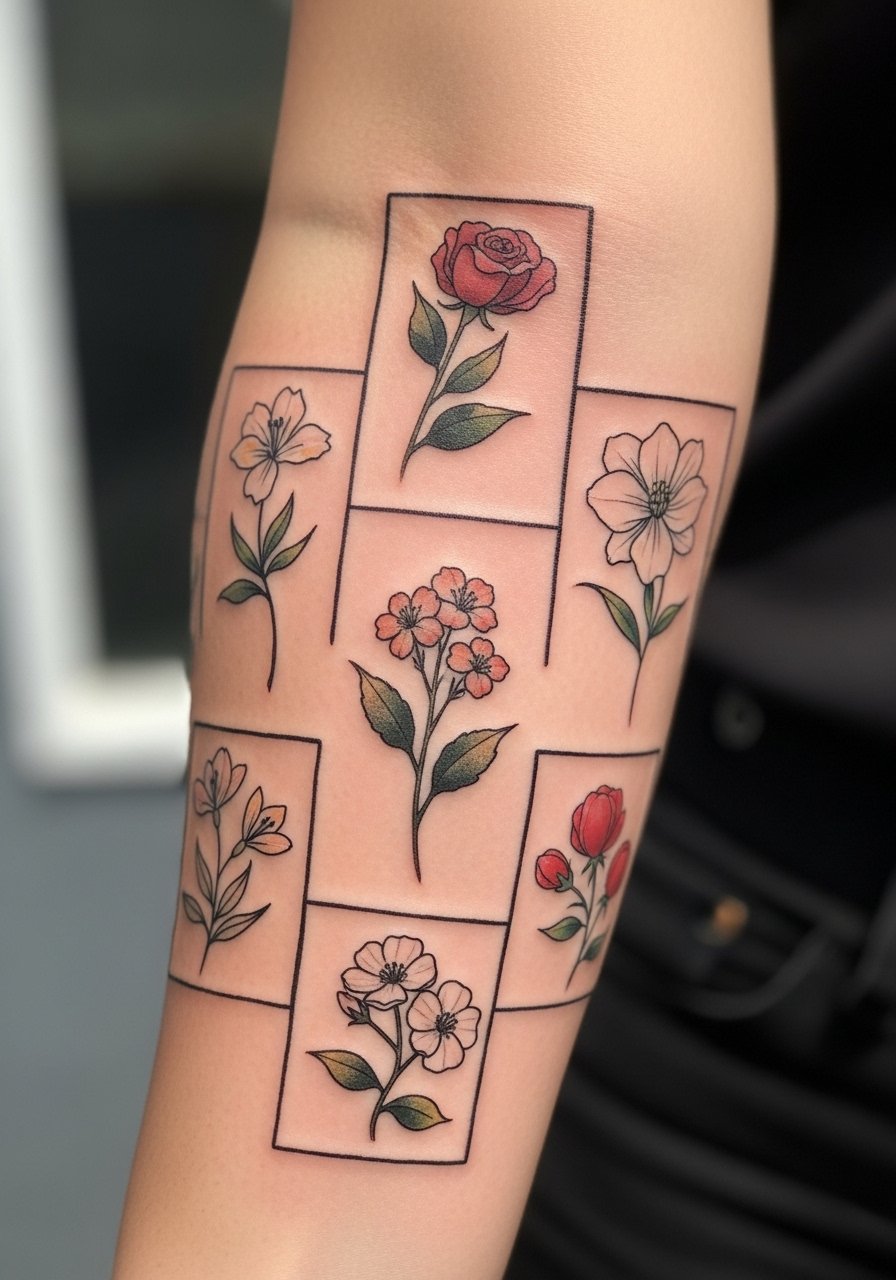
Use birth flowers to anchor a patchwork sleeve over time. Say during consultation that you want each flower distinct, with negative space between stems so the composition can expand. These sit well on the outer forearm and forearm sessions tend to be moderate and quick. A common mistake is adding too many tiny leaves that blur together after a year. For showing this off opt for a sheer overlay cardigan in earth tones that lets the floral details peek through without covering them entirely.
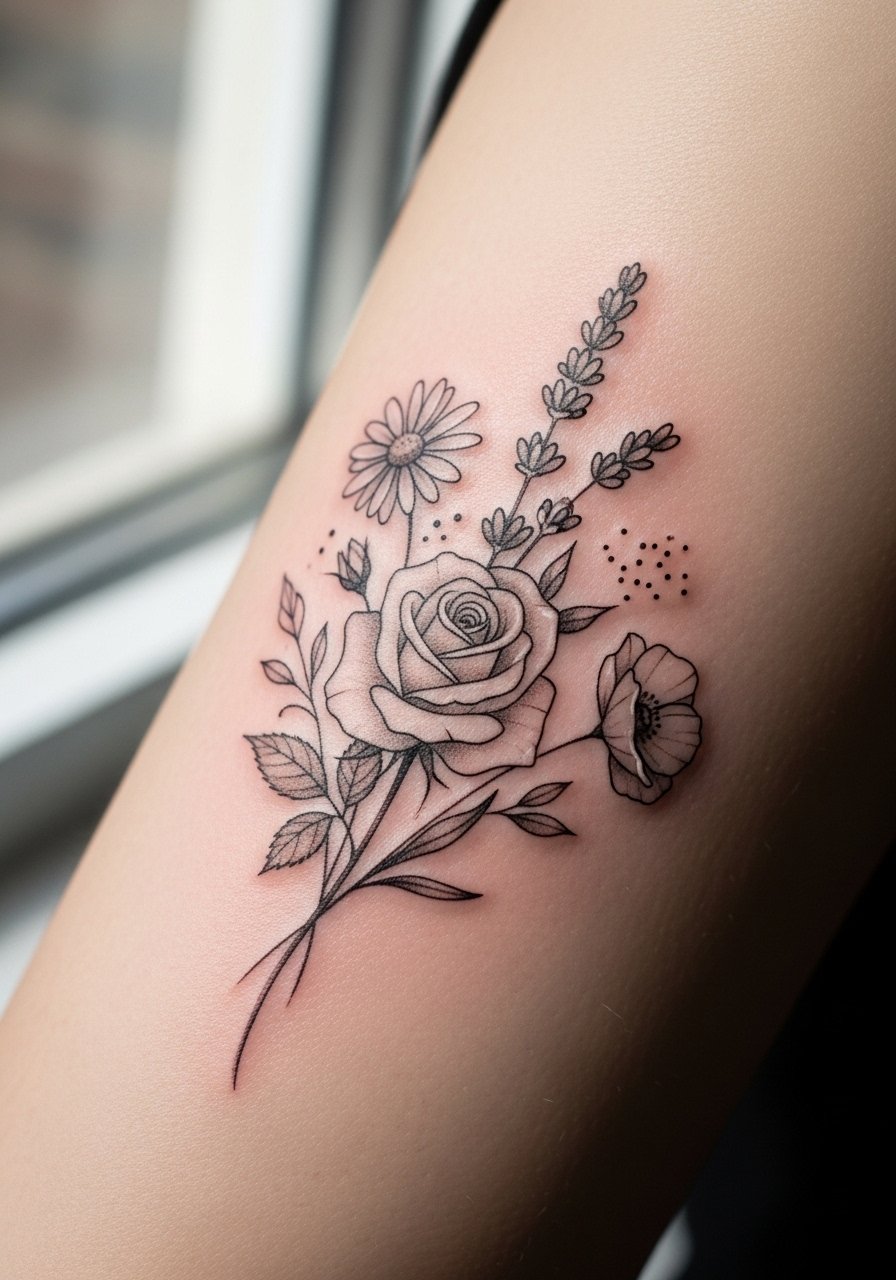
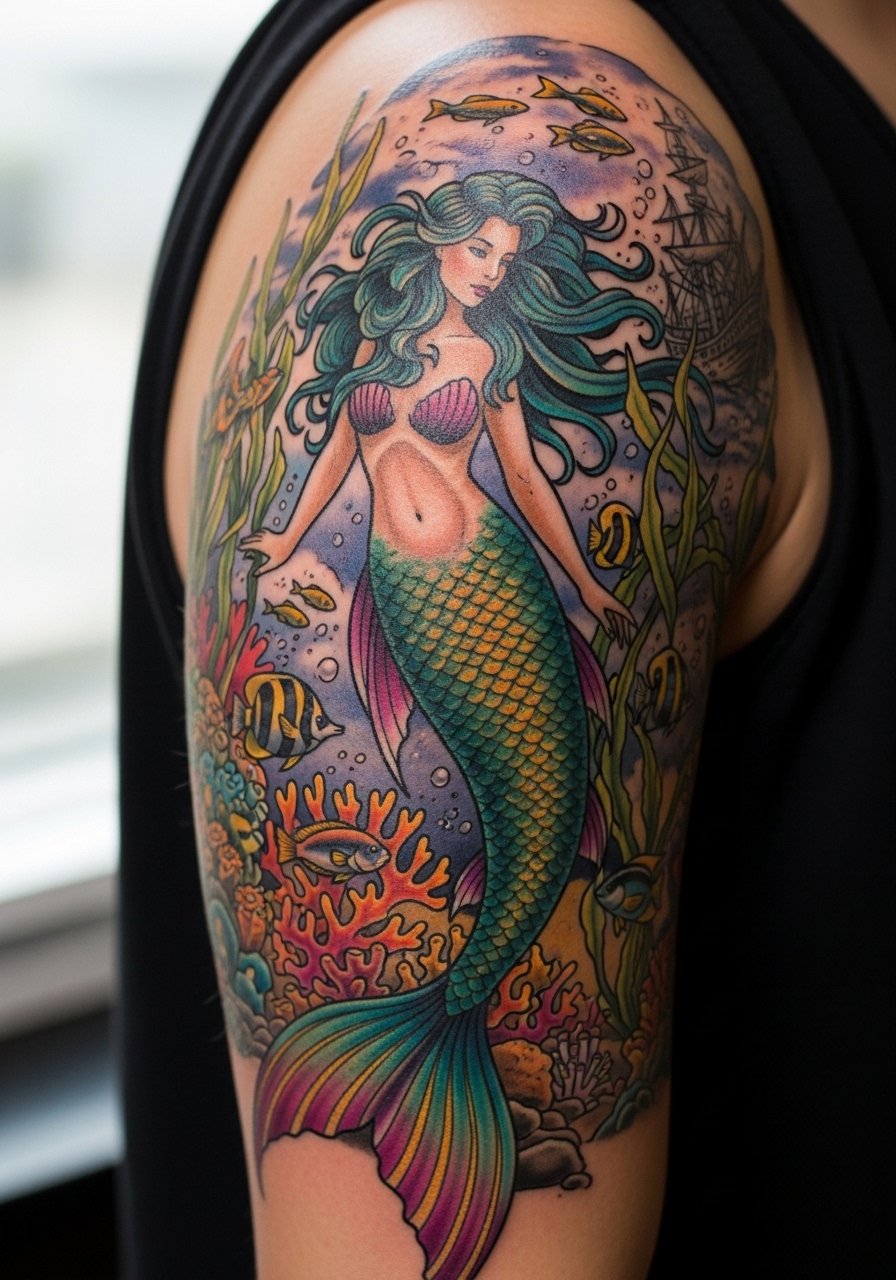
8. Mythical Mermaids and Fantasy Panels, Shoulder-to-Elbow
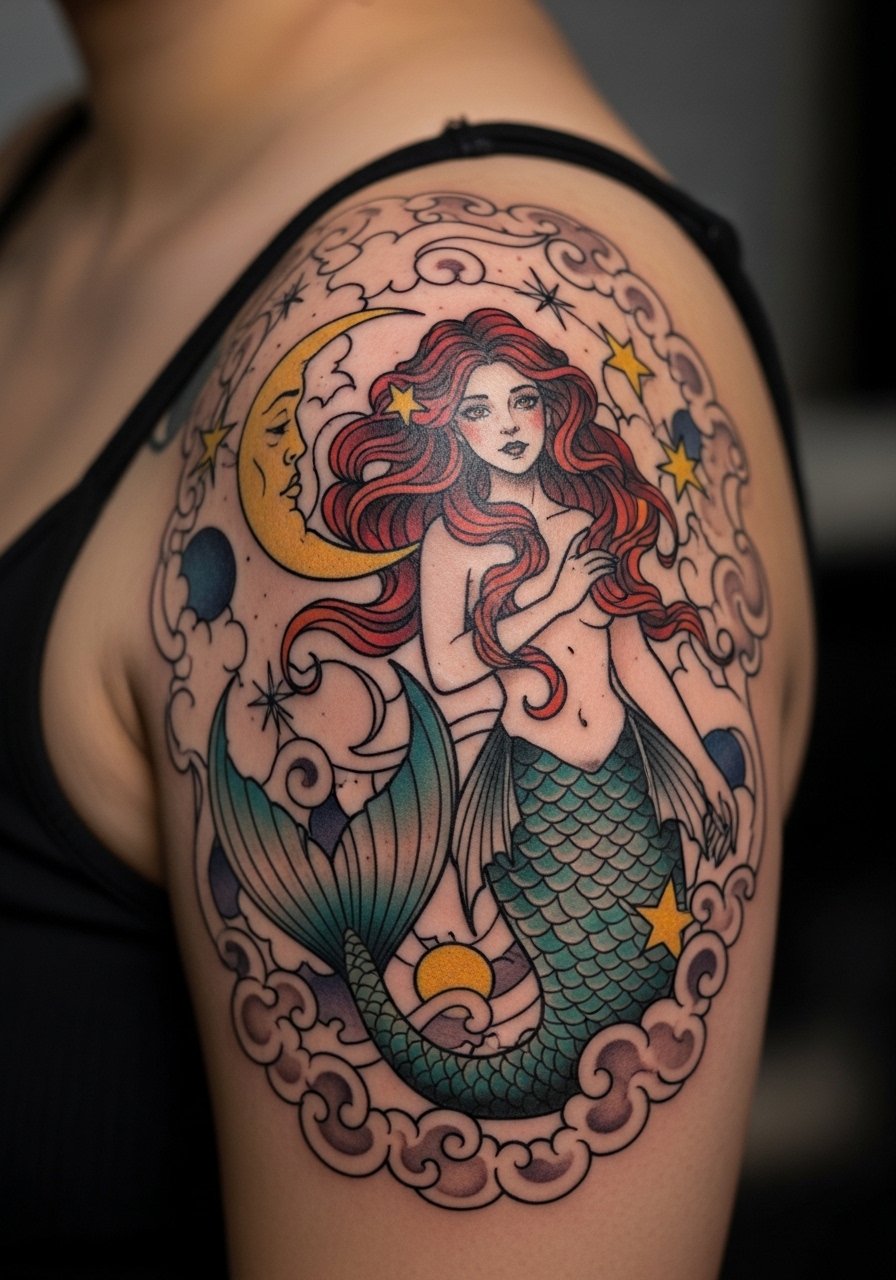
Choose this if you want whimsical panels that read like a storybook across the shoulder. Tell the artist you want soft color gradients and clear focal points so the mermaid does not get lost among fillers. Sessions will be shoulder-accessible and can be longer if hairline detail is included. A mistake is layering too many tiny scales without contrast, which ages into muddled texture. For sessions wear a loose kimono robe or strapless top so the shoulder area is accessible without straps pressing on fresh ink.
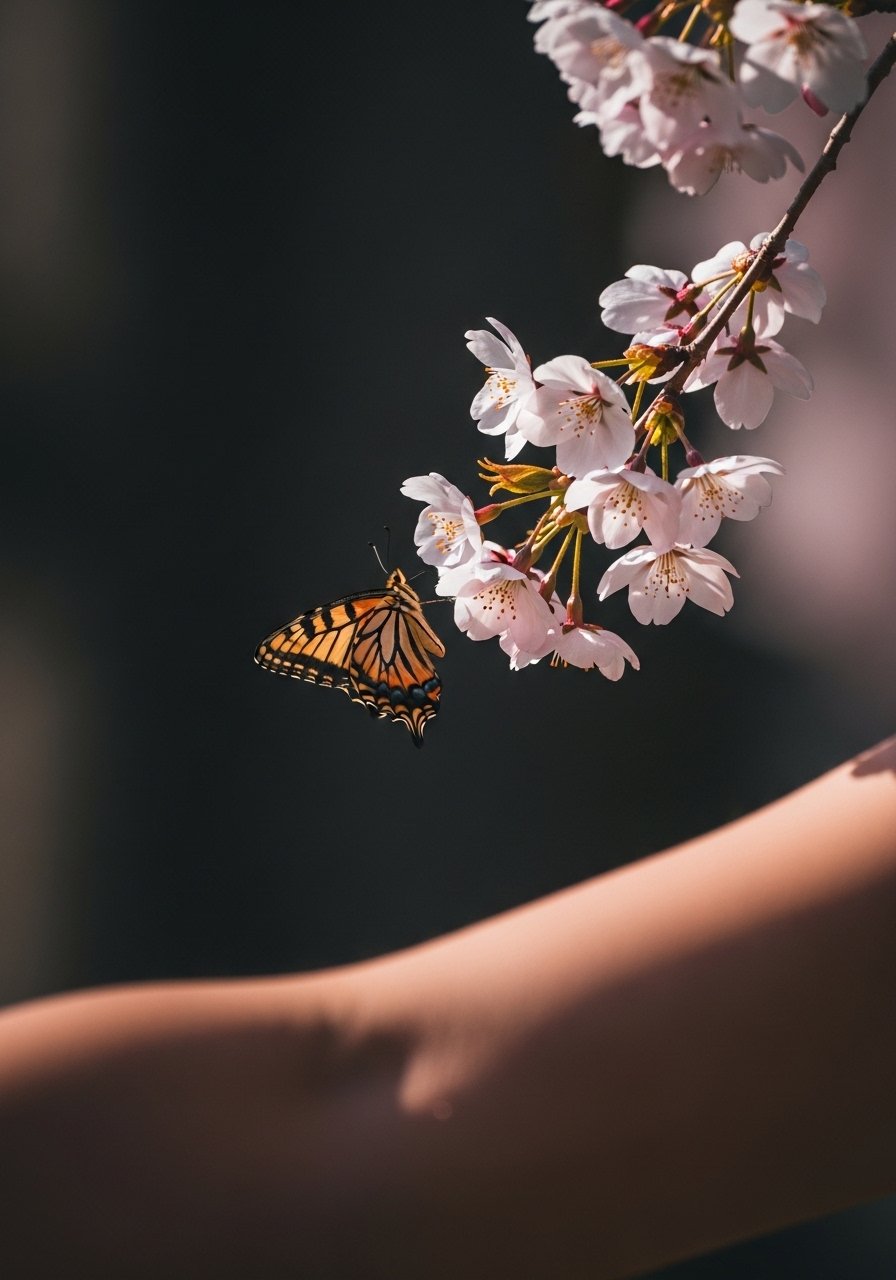
9. Cherry Blossom and Butterfly Fillers for Evolving Sleeves
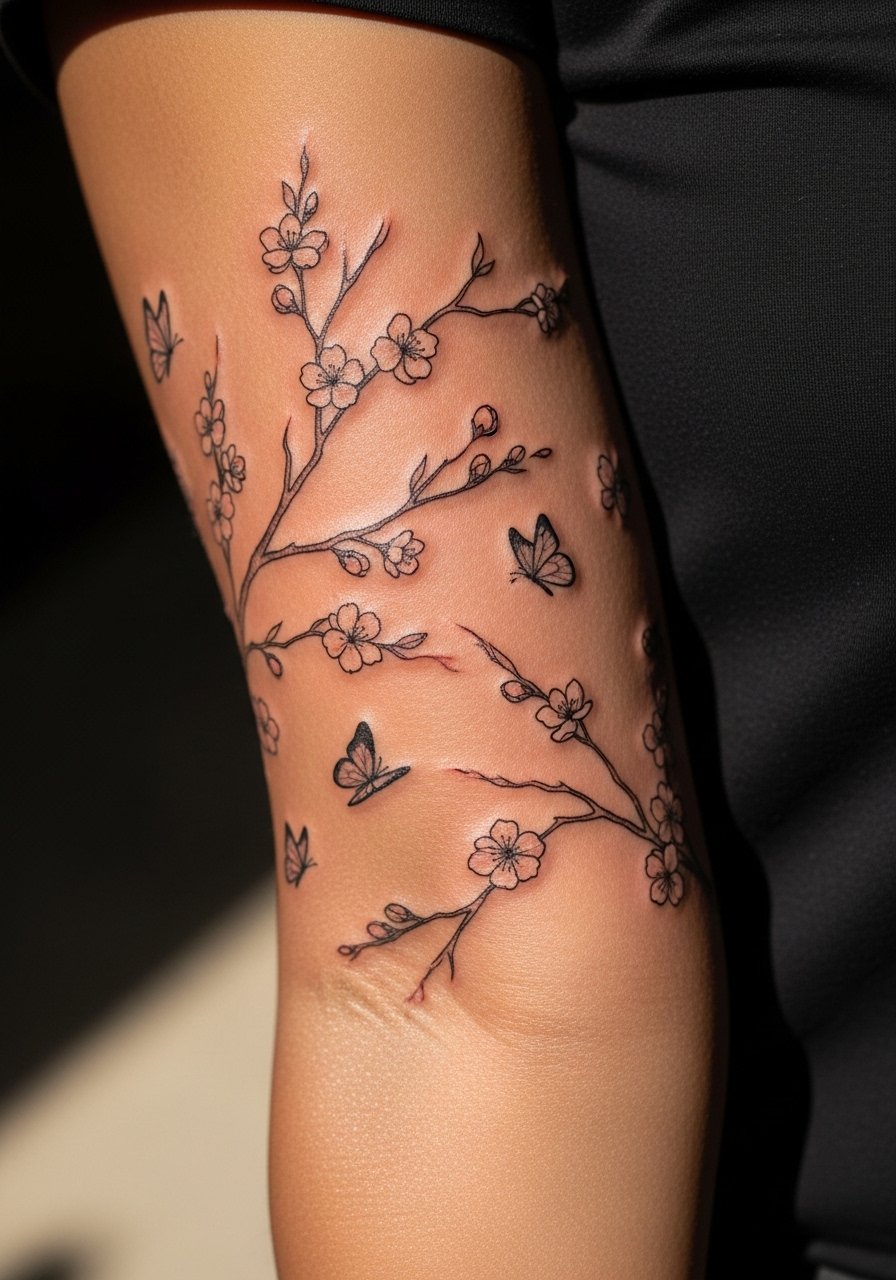
This is perfect for people building toward a larger arm piece over time. Specify ribbon-like negative space so new motifs slot in later. The sessions are quick and discrete, which helps when budgetting. At six months expect crisp edges and by year two smaller wing details might need a touch-up. A common error is requesting tiny butterfly veins too close to the edge. When showing these off, rolled-up sleeves or a racerback tank keeps the arm visible while staying casual.
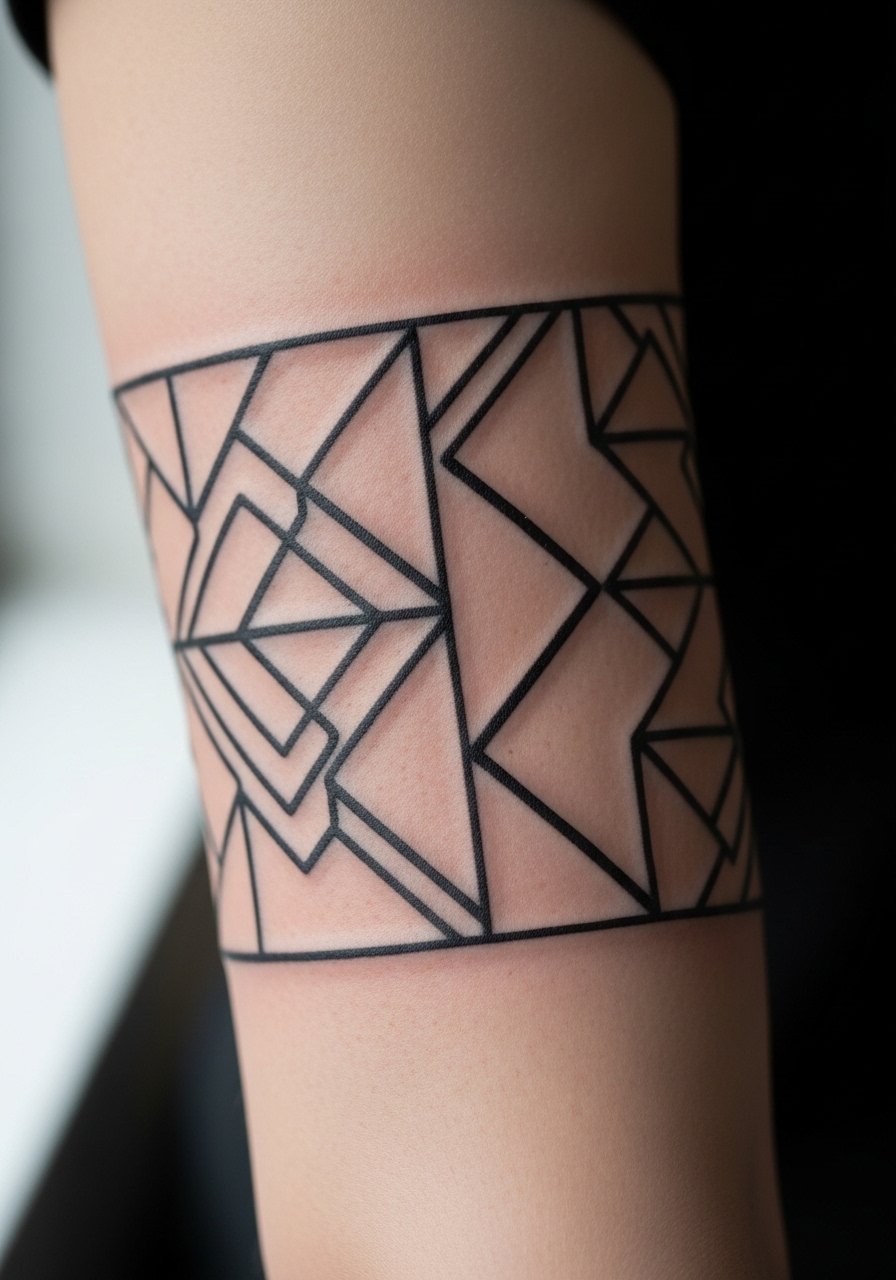
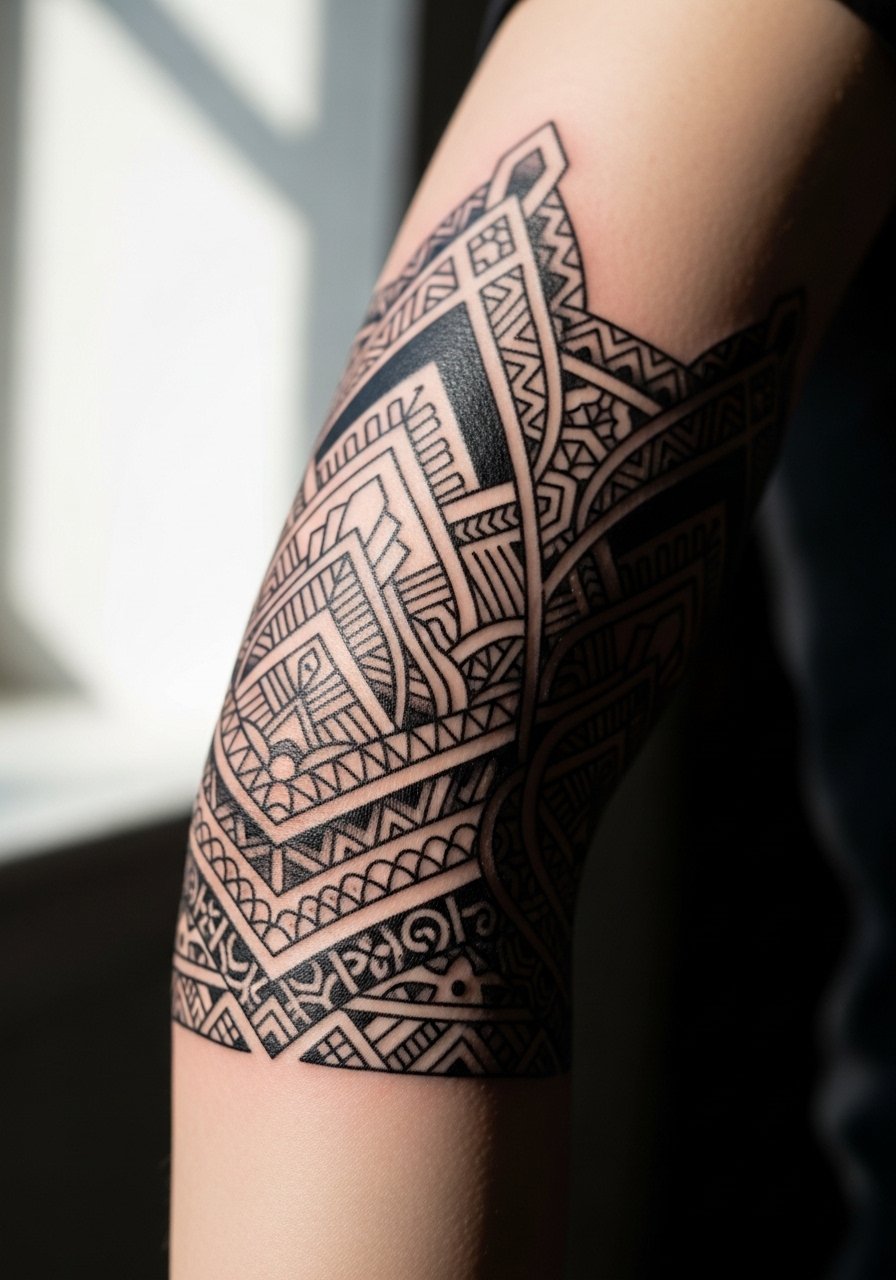
10. Geometric Abstract Band, Outer Bicep to Wrist
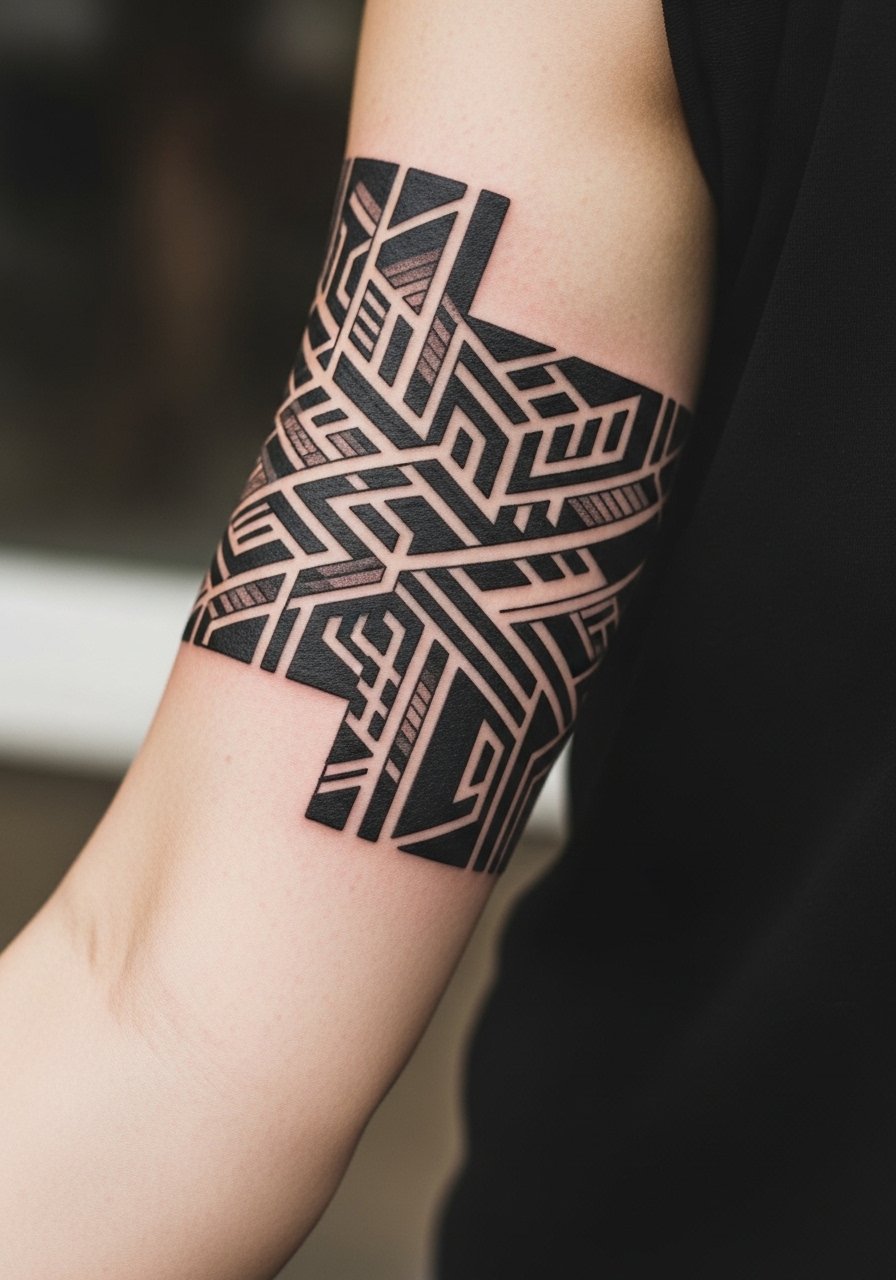
Geometric sleeves age well when given breathing room, so request clear spacing and slightly thicker lineweight in dense sections. The outer bicep tolerates strong blackwork and the sessions can be 2 to 4 hours. The biggest mistake is shrinking complex geometry to a tiny area where lines will merge over time. For the session wear a loose button-down shirt you can pull aside so the artist has clean access and your clothing does not rub on fresh ink.
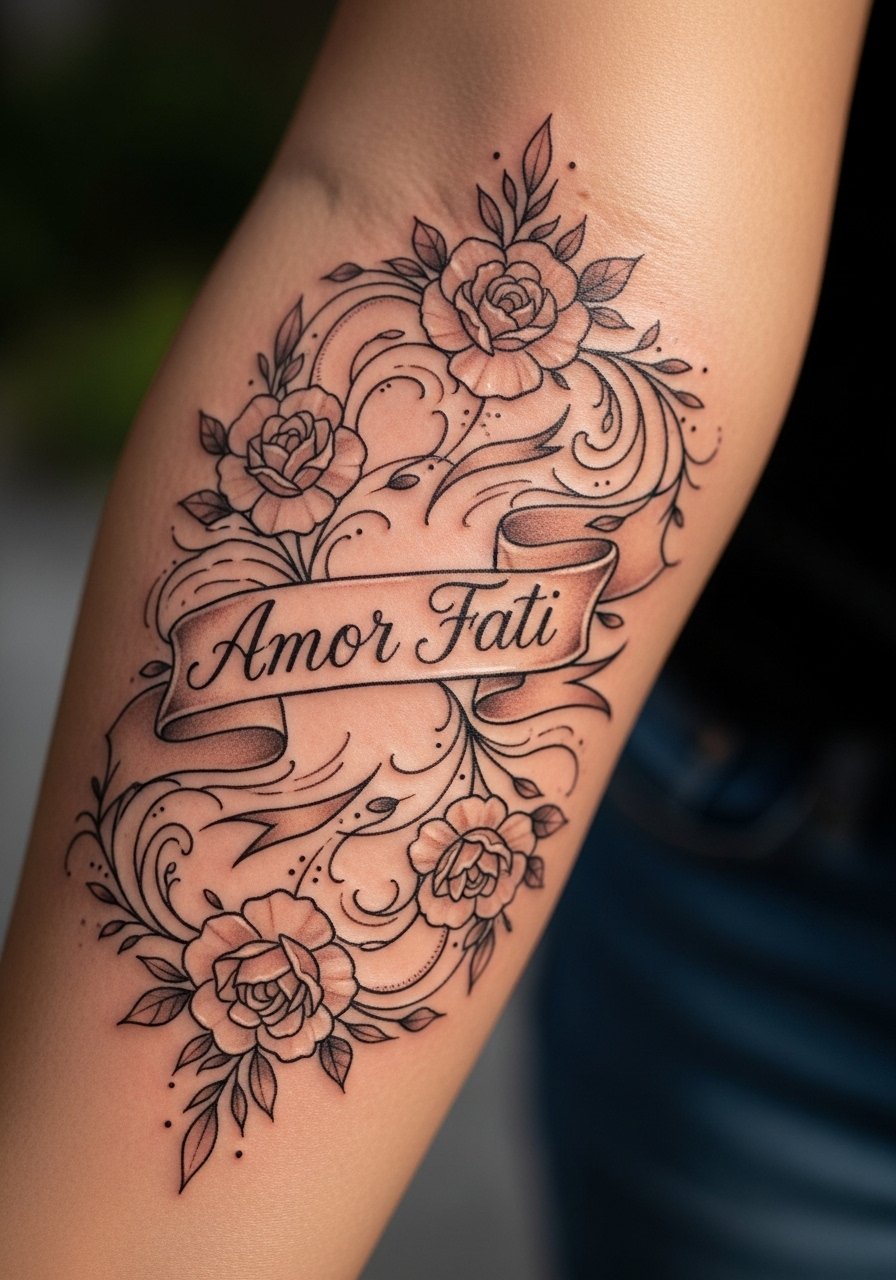
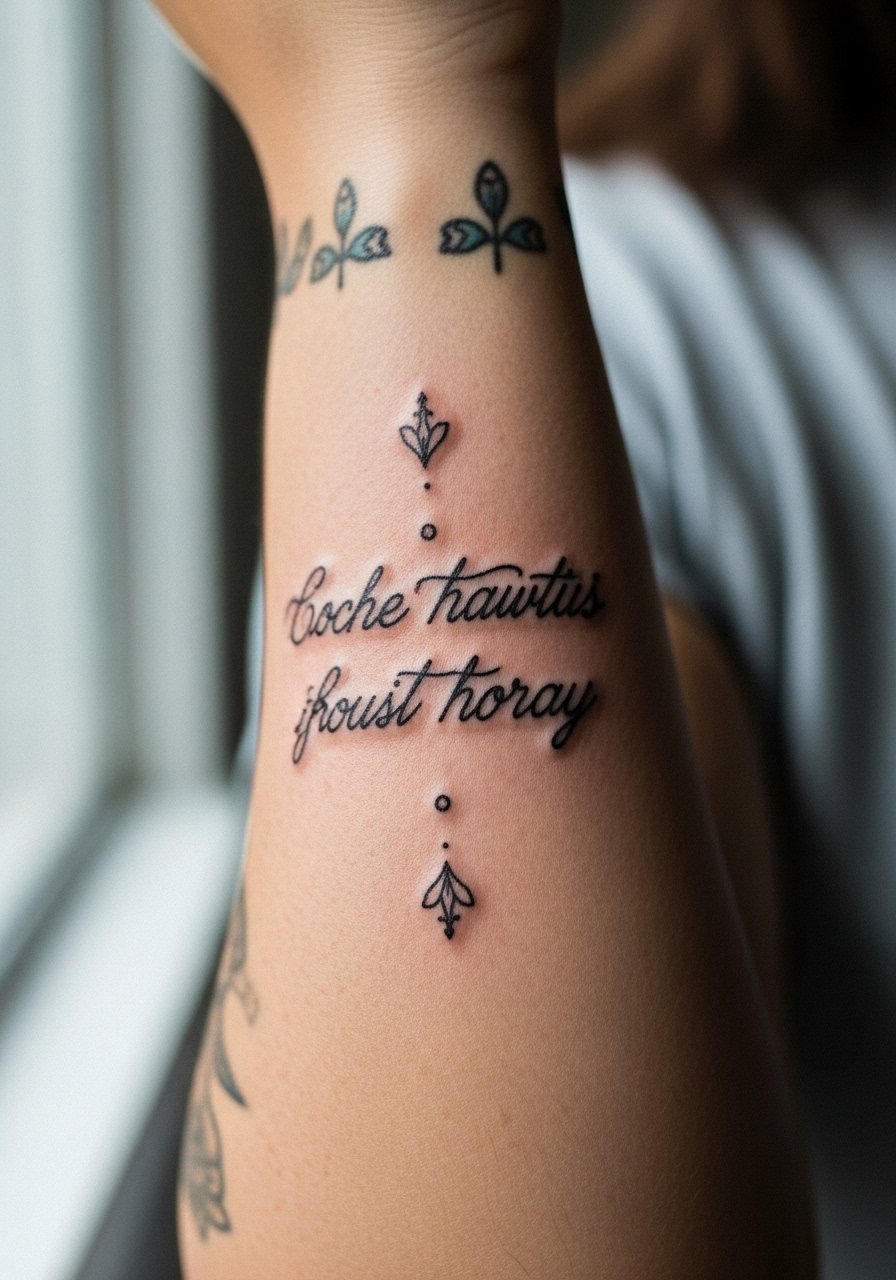
11. Script Ribbon and Quote Integrated Into Florals
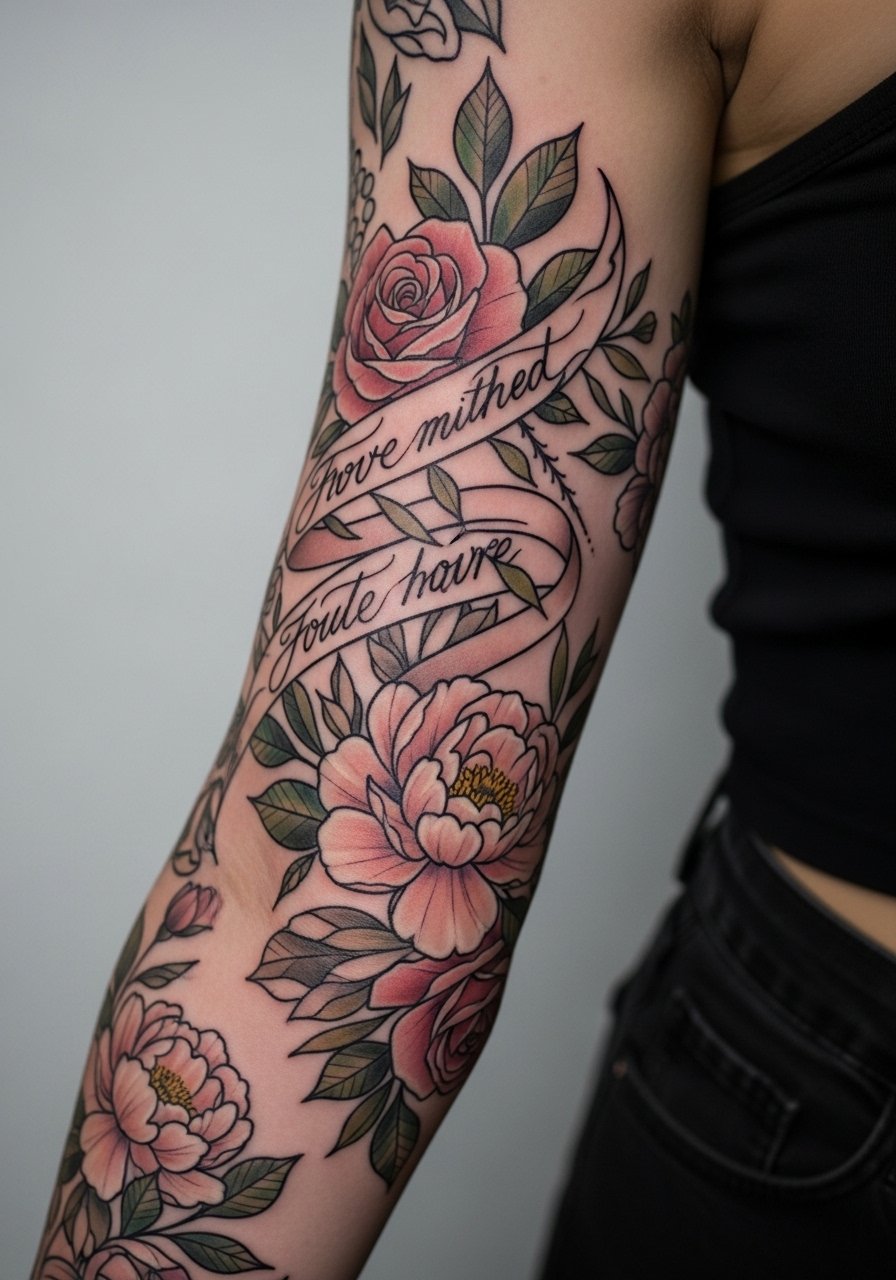
When you want words woven through imagery, specify font size, baseline, and contrast during the consult. Inner arm script is more prone to blur if too fine. Tell the artist to test lineweight so letters remain legible at year two. Expect inner arm sessions to be more sensitive and plan shorter sittings. A frequent mistake is requesting tiny cursive text that fills with ink over time. For session comfort choose a short-sleeve button-up that exposes the inner arm without tight fabric.
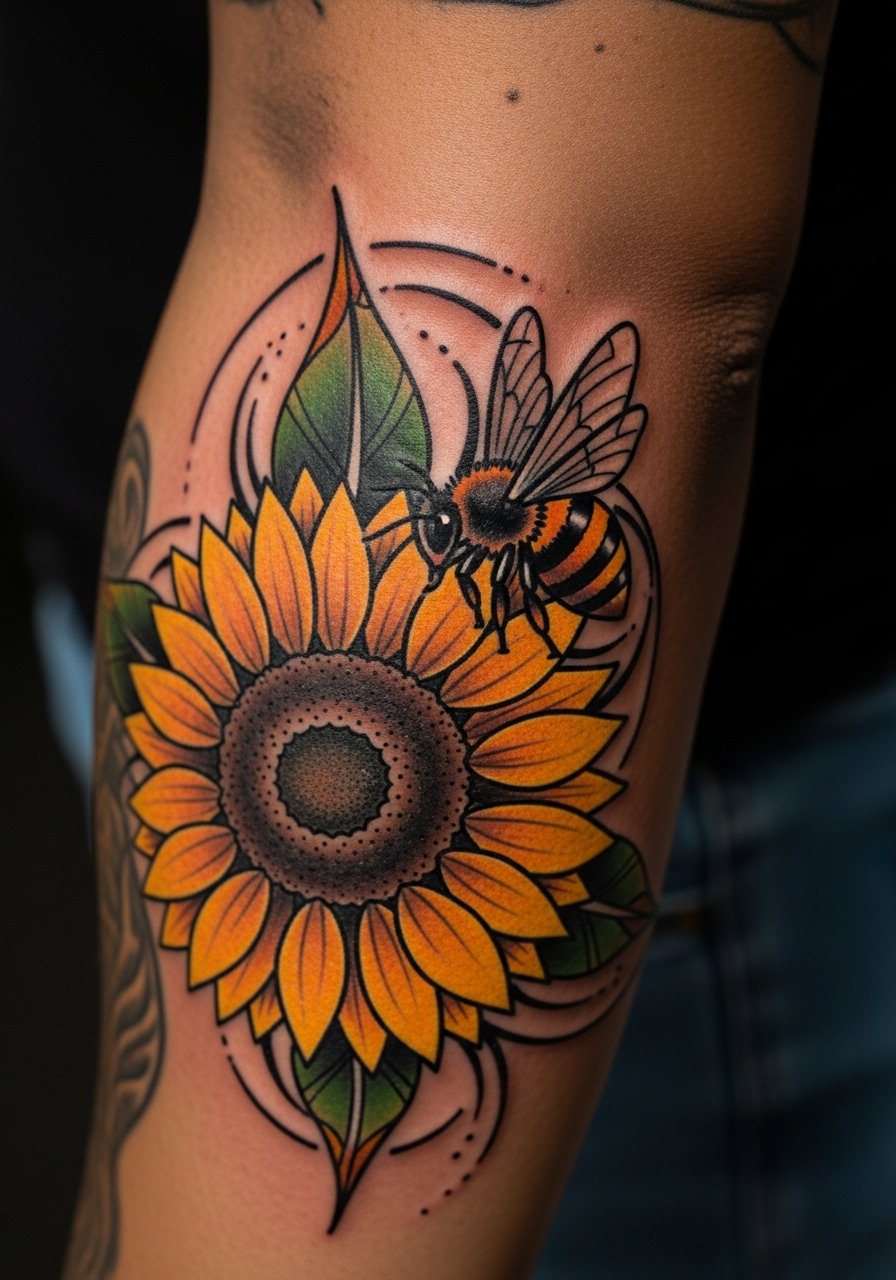
12. Sunflower and Bee Neo-Traditional Full Arm Section
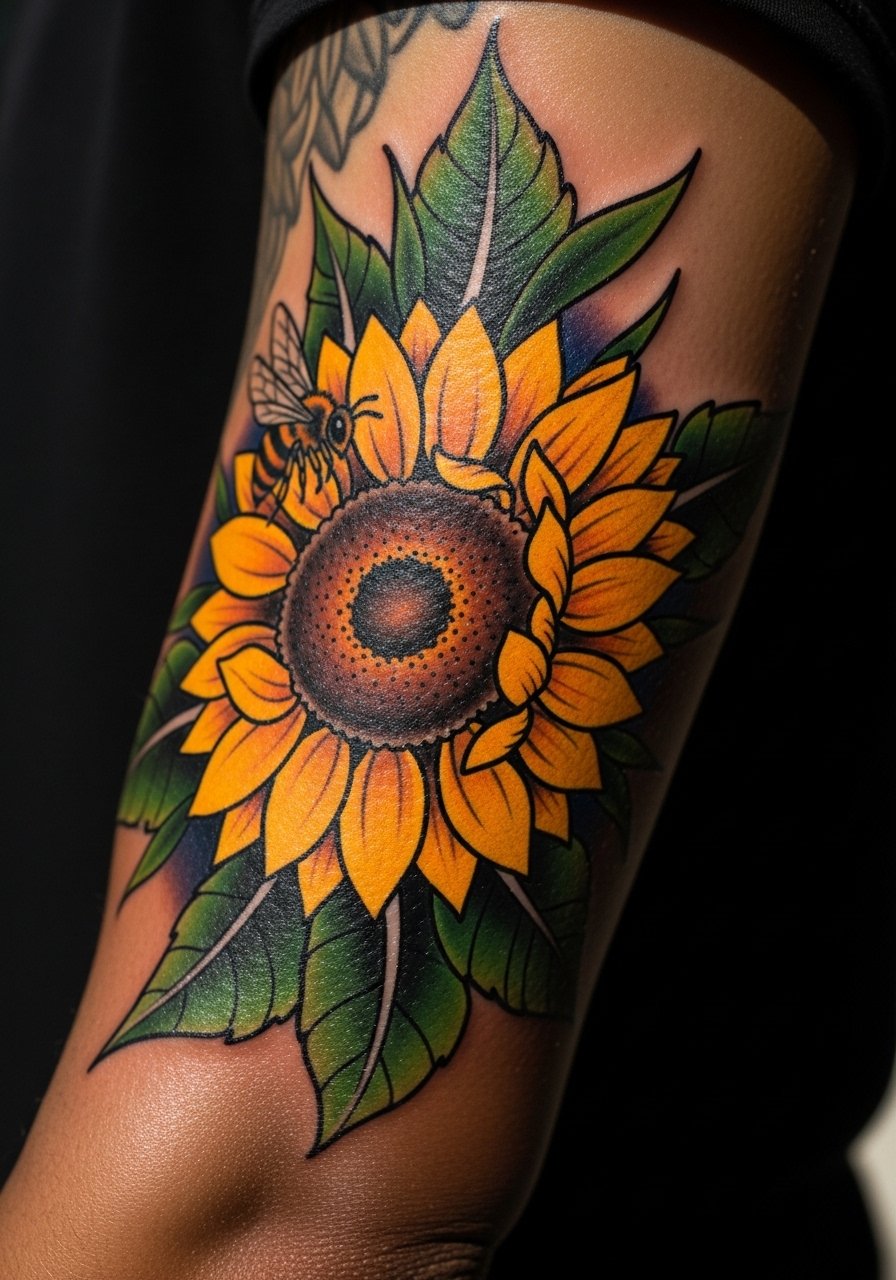
Sunflower motifs with bold black accents read sunny and robust across the arm. Request high saturation in the yellow petals and a strong black outline so the motif keeps contrast as it ages. Sessions usually require multiple sittings depending on coverage. A common mistake is using too much pale yellow without contrast which fades into the skin over time. Show this off with neutral creams or a fitted tank that leaves the arm visible and complements the yellow-black palette.
13. Micro-Realism Portrait Panel on the Upper Arm
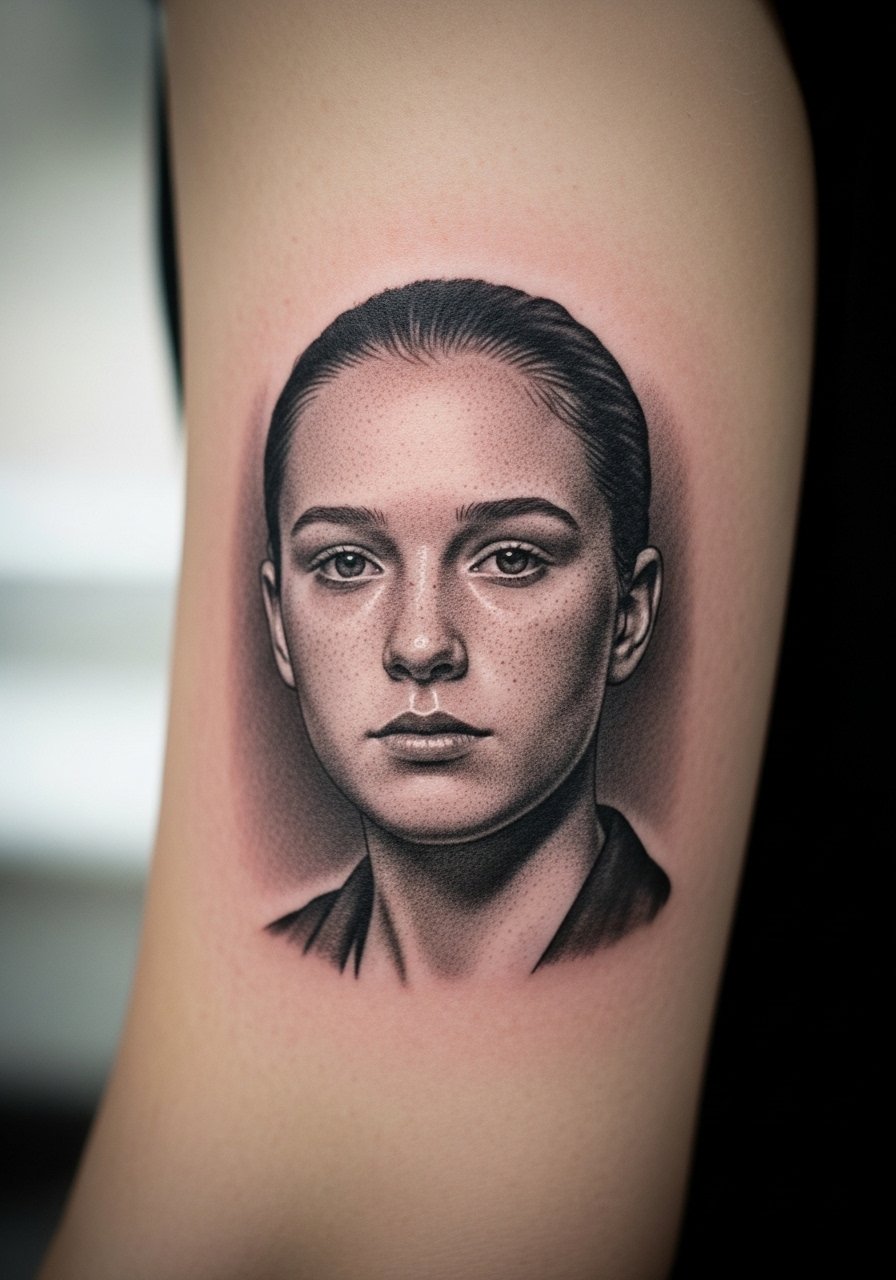
Micro-realism needs crisp contrast and skilled shading, so ask for healed reference work in the artist's portfolio before booking. This style feels more intense in the chair because of long, precise passes. The mistake is scaling a portrait too small where details will blur at year two. For placement, upper arm gives good surface area and moderate pain. You might pair this with minimal accessories so the portrait reads clearly without distraction.
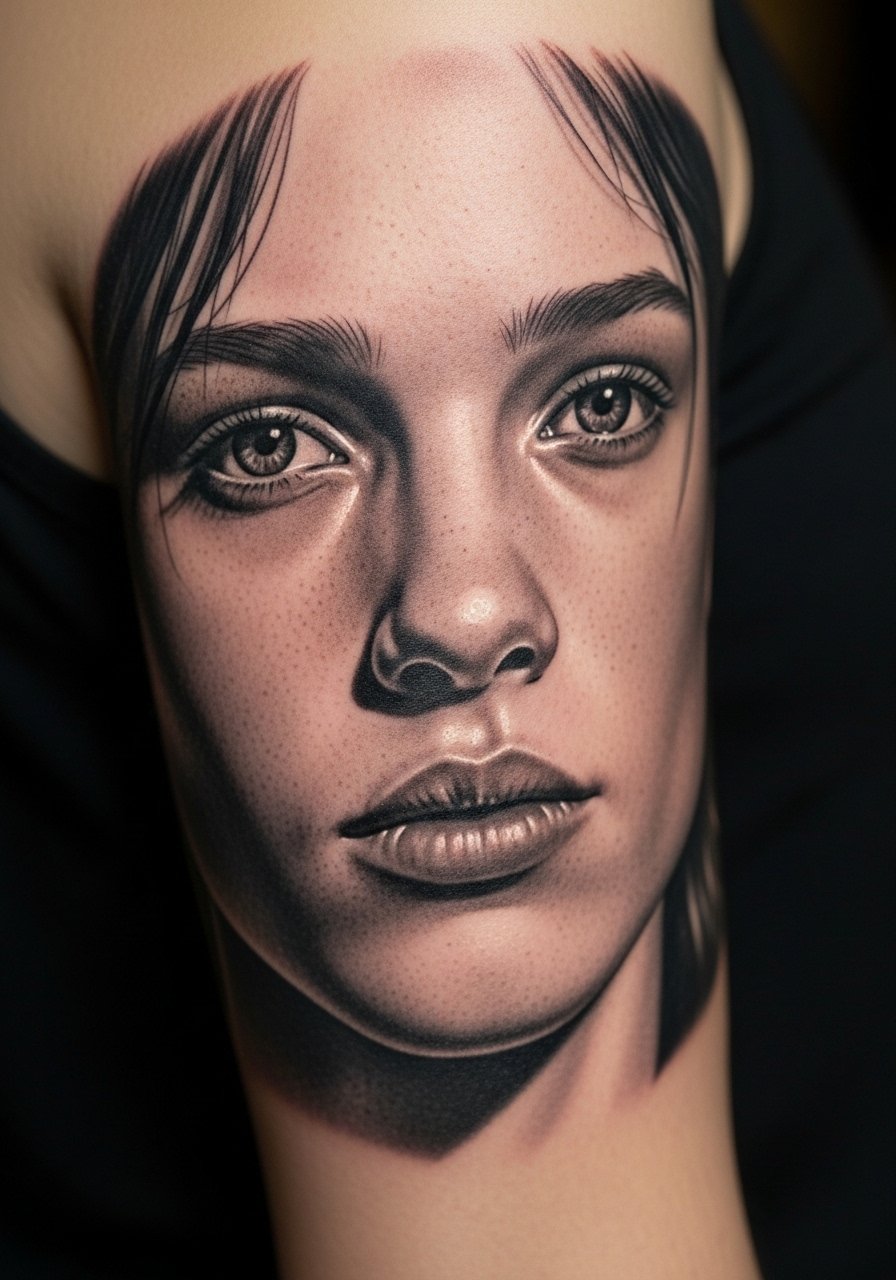
14. Forearm Constellation Line Cluster
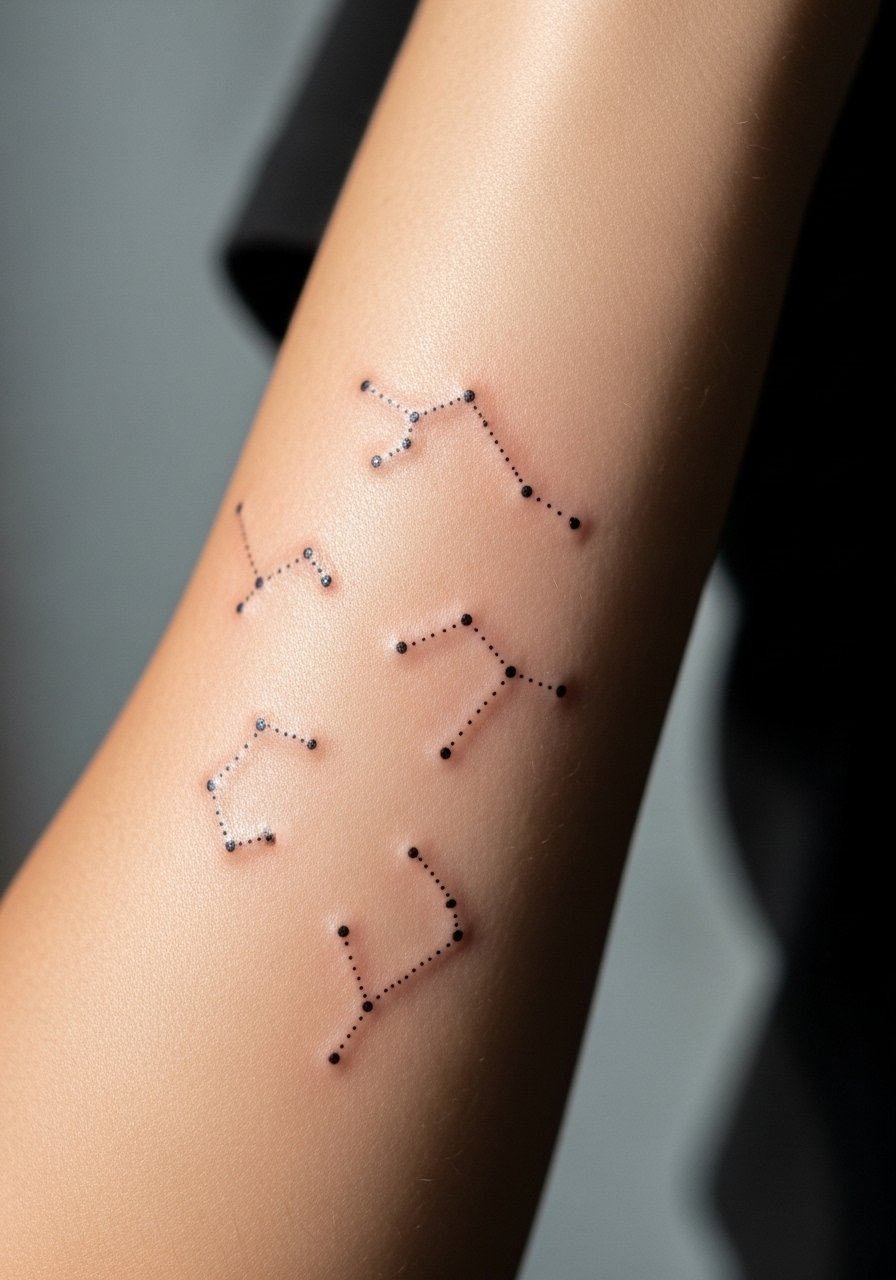
Constellation line clusters are low-profile and age reasonably well if spacing is generous. Tell your artist you want micro-dot stars with deliberate spacing and to avoid extremely thin connector lines. This placement experiences daily friction but forearm skin is forgiving with single-needle work. A common issue is placing tiny dots too close, which can blur. For showing off consider a stacked bangle bracelet on the opposite wrist to balance the visual weight.
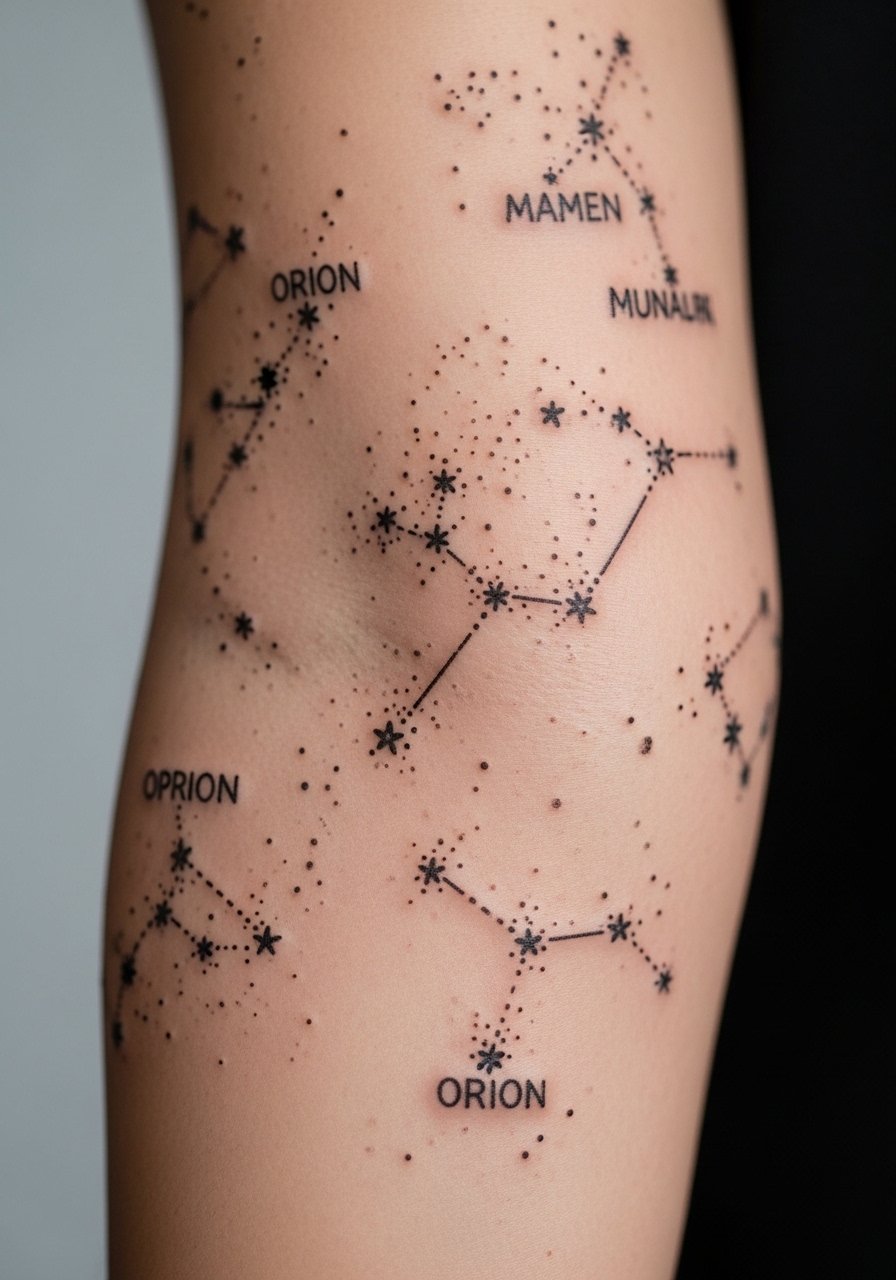
15. Elbow Wrap Geometric Accent
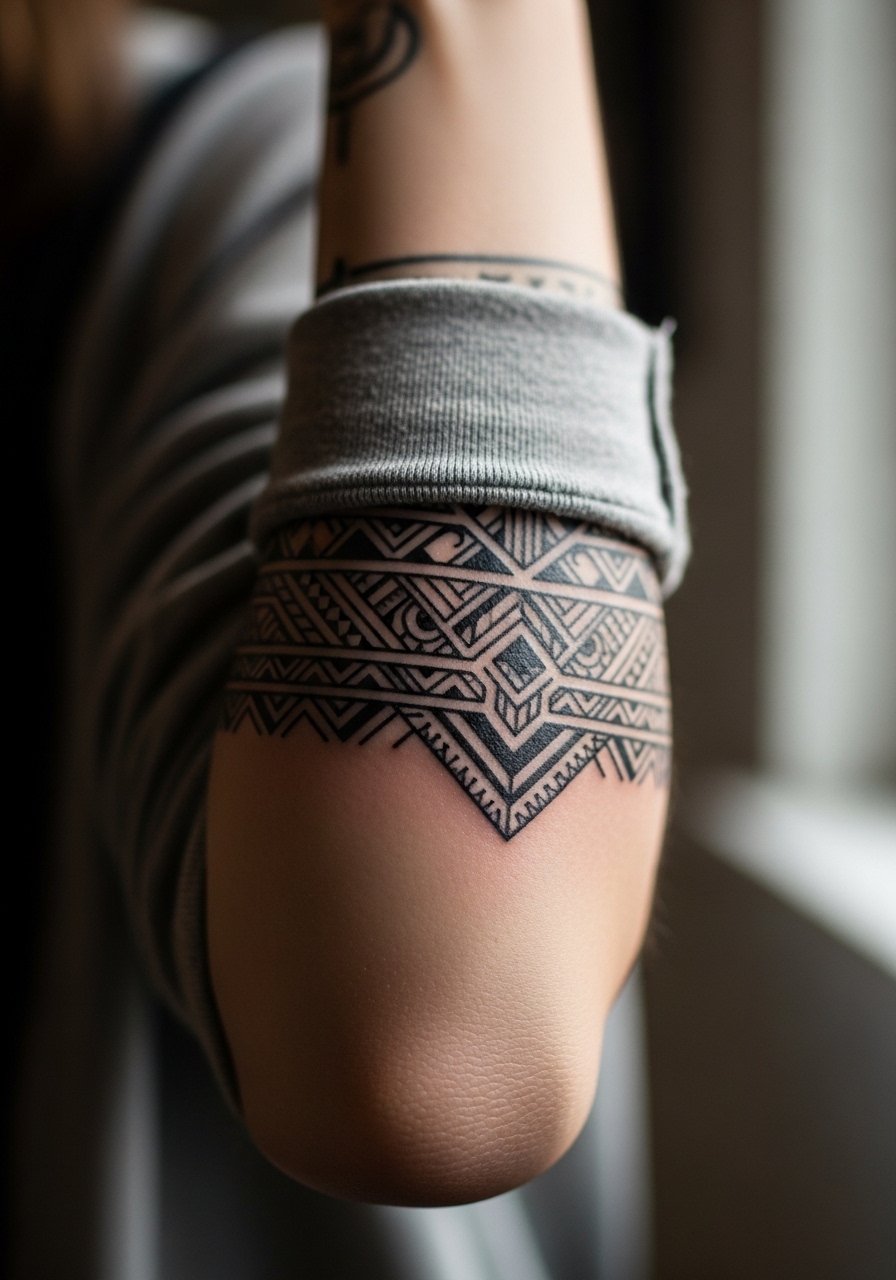
Elbow wraps demand movement-friendly layout. Expect more discomfort because the elbow area moves and sits close to bone. Artists debate whether very tight lines should cross the joint, so ask how they handle motion areas. One camp avoids dense geometry over joints citing early blurring. The other camp says proper needle depth and spacing hold. The practical route is slightly larger shapes and ample negative space. For session comfort pick a structured blazer with easy roll-up sleeves so you can expose and cover the area without rubbing fresh ink.
16. Inner Bicep Script and Small Motifs
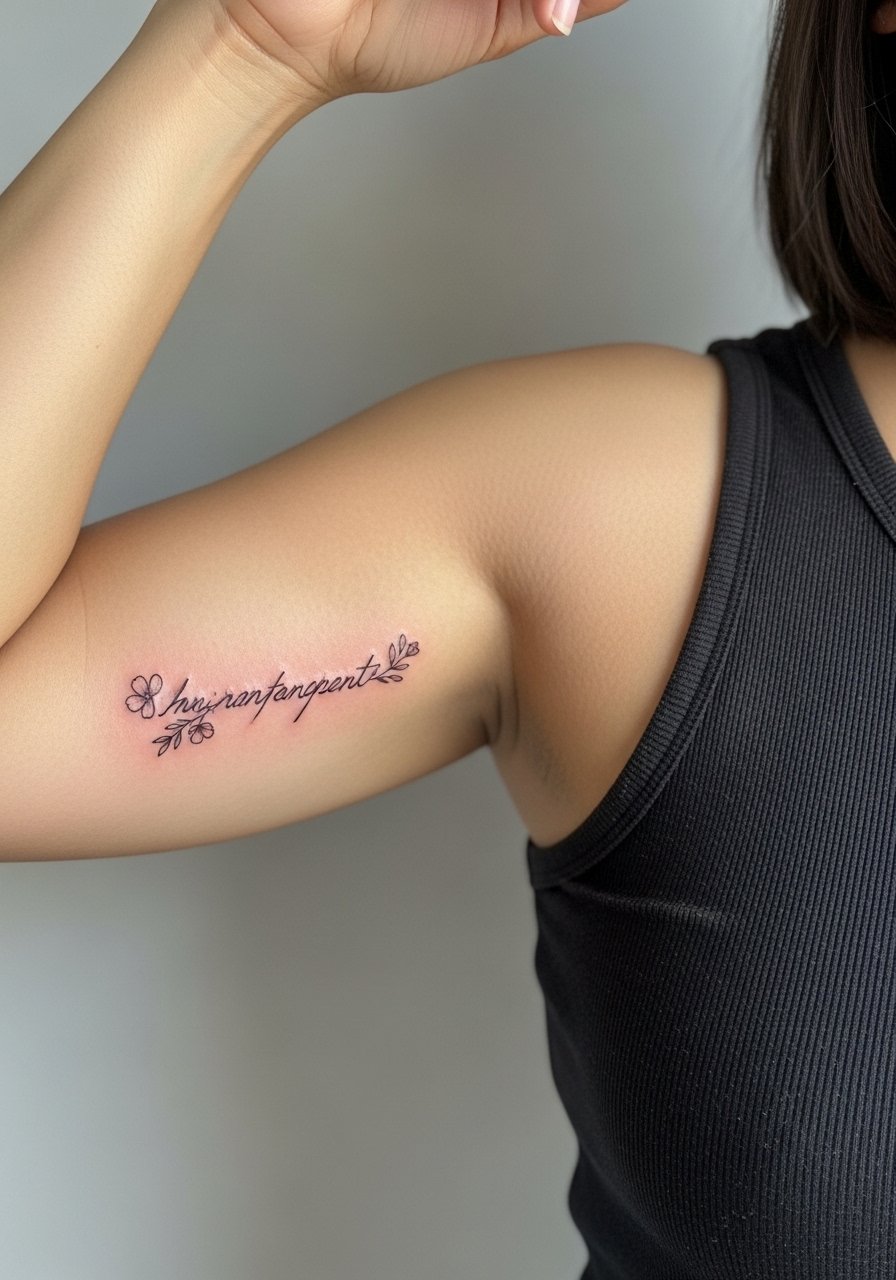
Inner bicep pieces are intimate and can age differently due to skin stretch. Be clear with your artist about lineweight and placement so the script remains legible. Sessions here are sensitive and often shorter. A common mistake is choosing ultra-fine script for a zone prone to skin movement. For session wear, a loose tank top gives the artist clean access while keeping you comfortable.
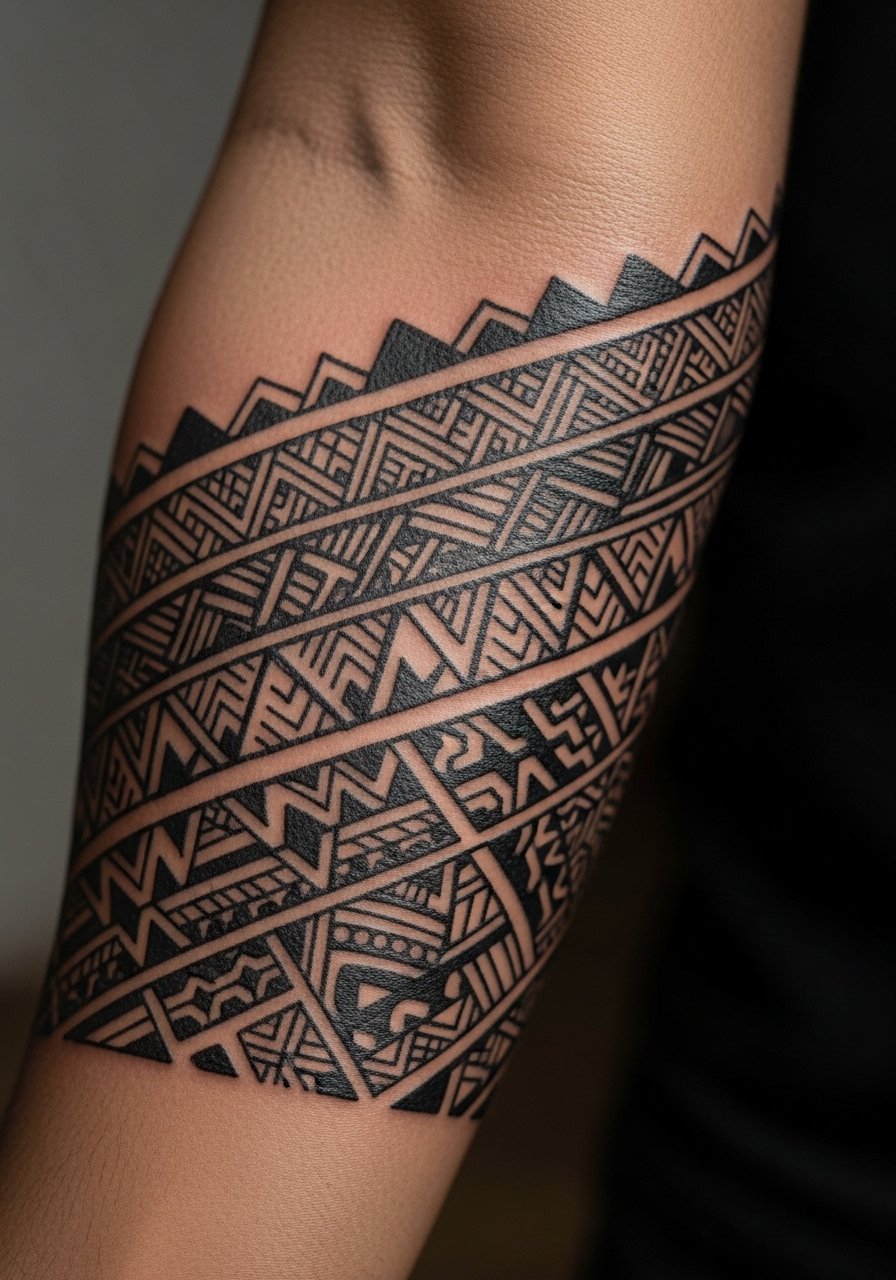
17. Blackwork Tribal Forearm Sleeve
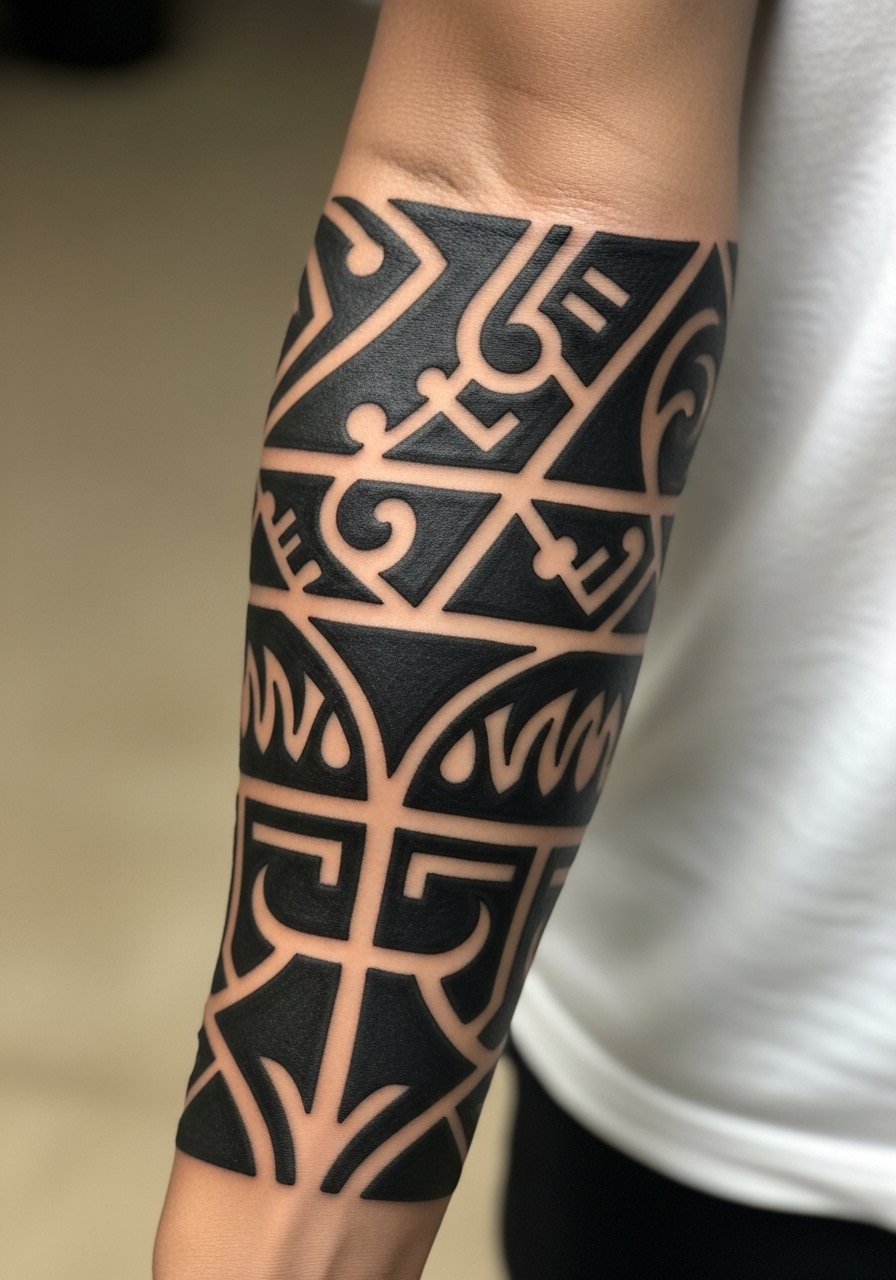
This is a go-to if you want high contrast and graphic presence. Ask for clean edges and consistent saturation to avoid patchiness later. Forearm blackwork sessions can be long and require endurance. A mistake is inconsistent fill that reveals patchy saturation after a year. Expect touch-ups to maintain even black coverage. For visual balance, pair with minimal rings rather than chunky bracelets so the blackwork remains the focal point.
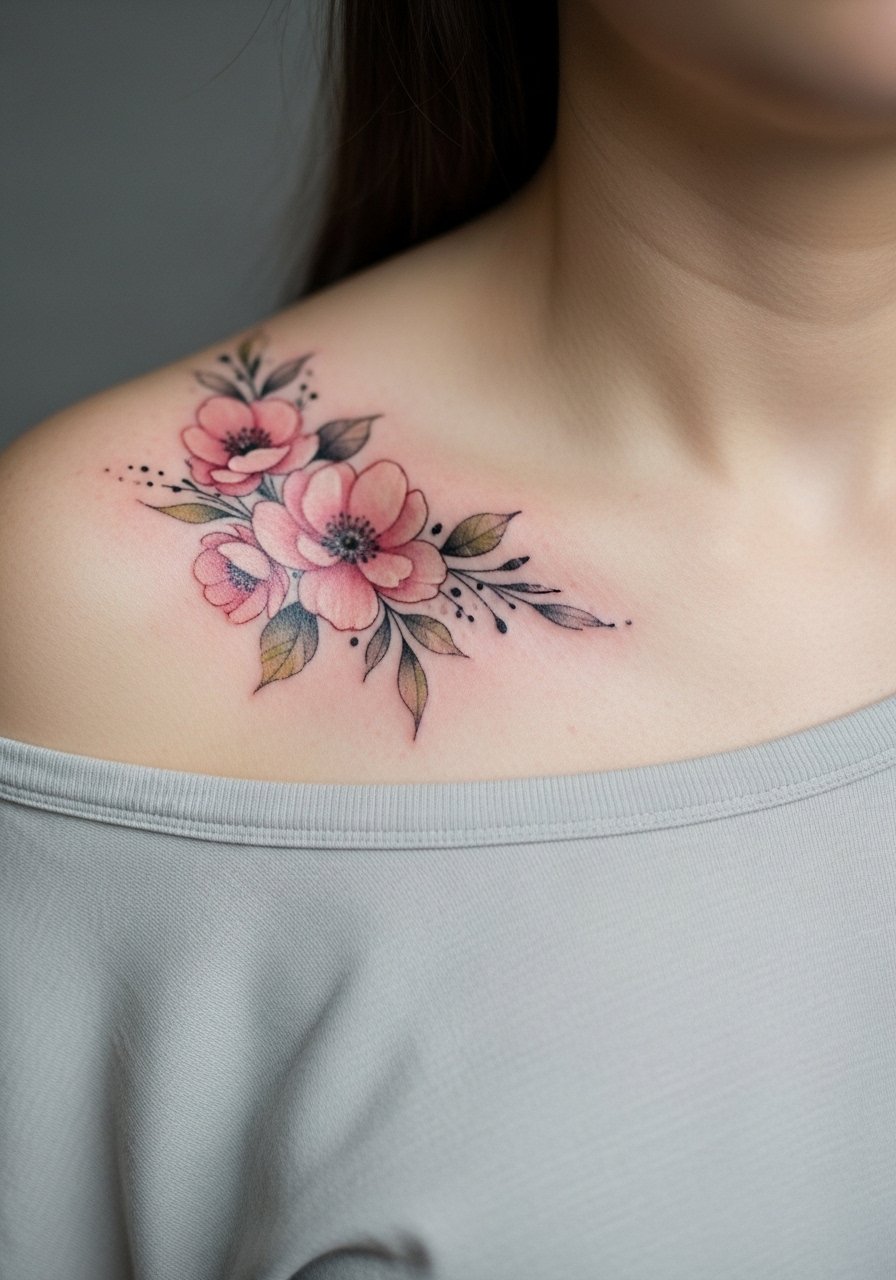
18. Watercolor Neckline Accents Near the Collarbone
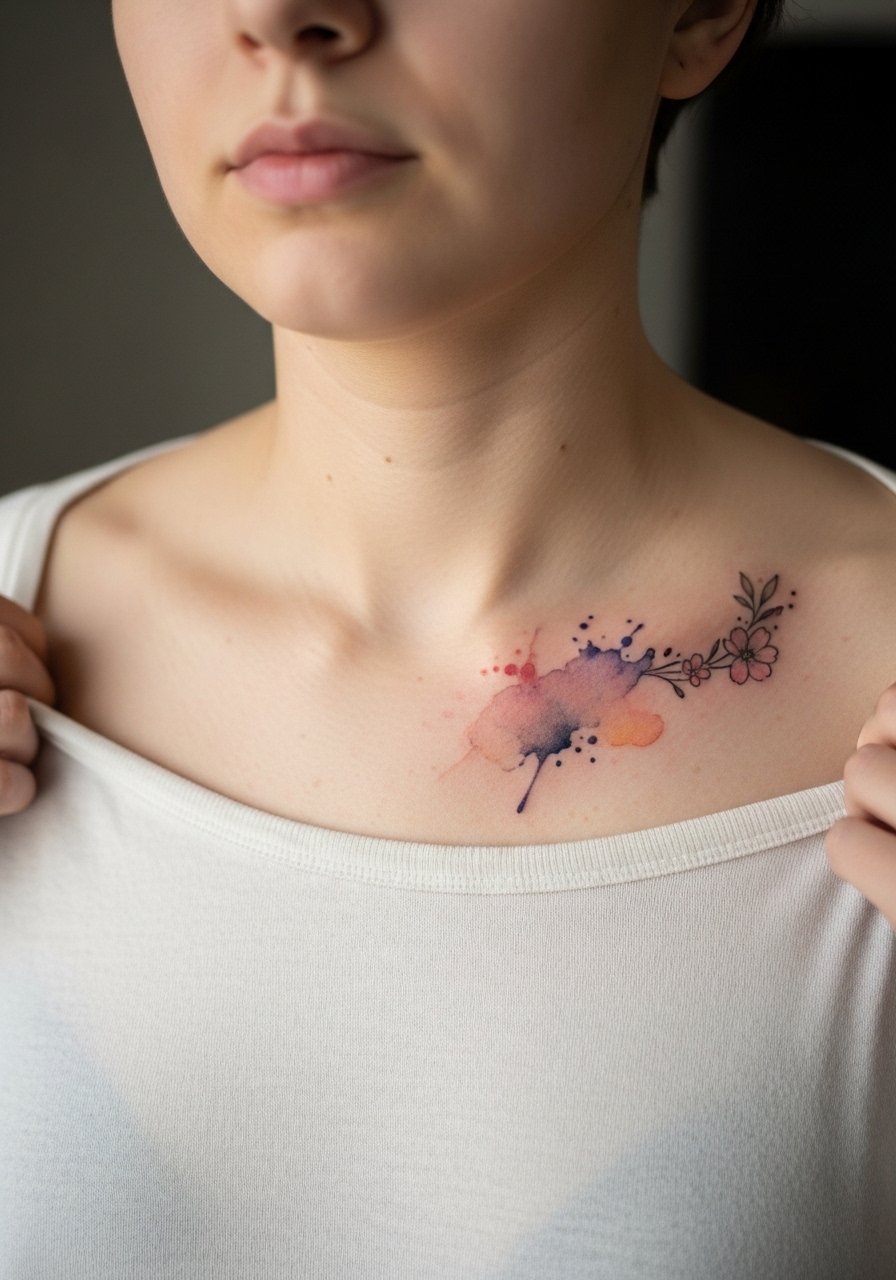
Upper chest watercolor accents can be delicate and demand careful contrast against skin tone. Specify that you want the pigment layered and not fully washed out. This placement is delicate on pain and visibility, so sessions may be split. A mistake is asking for too many pale washes on exposed collarbone skin which speeds visible fading. For showing it off, try an open-back midi dress or a wide-neck top pulled aside to frame the piece.
19. Calf-to-Ankle Botanical Wrap
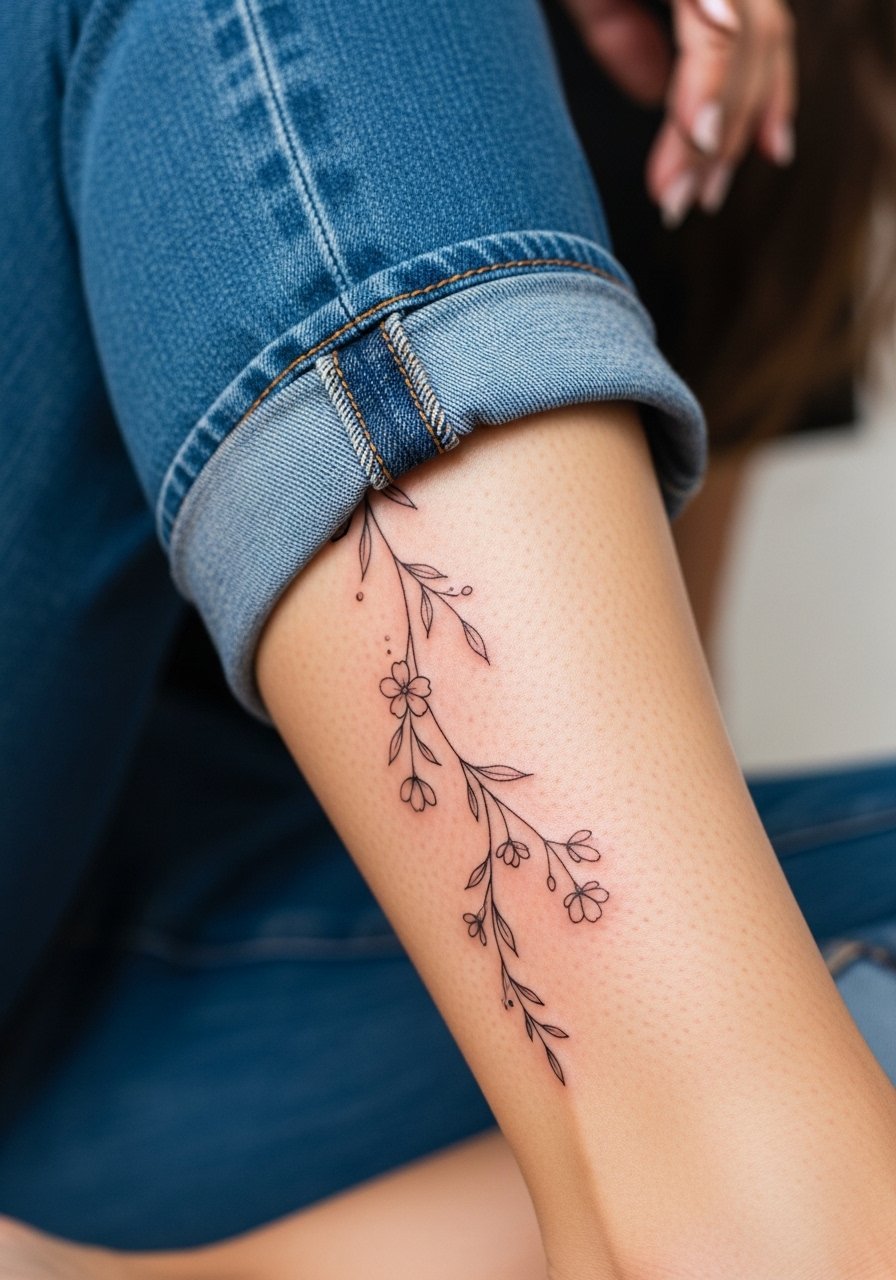
Lower leg botanical wraps age well when spaced to account for clothing friction. Tell the artist to plan around calf musculature so vines flow with natural movement. Sessions are longer and you should wear loose bottoms on the day of the appointment. A common mistake is crowding delicate vines into the ankle where shoe friction accelerates fading. For showing this off consider rolled jeans or a long skirt lifted slightly to reveal the tattooed zone.
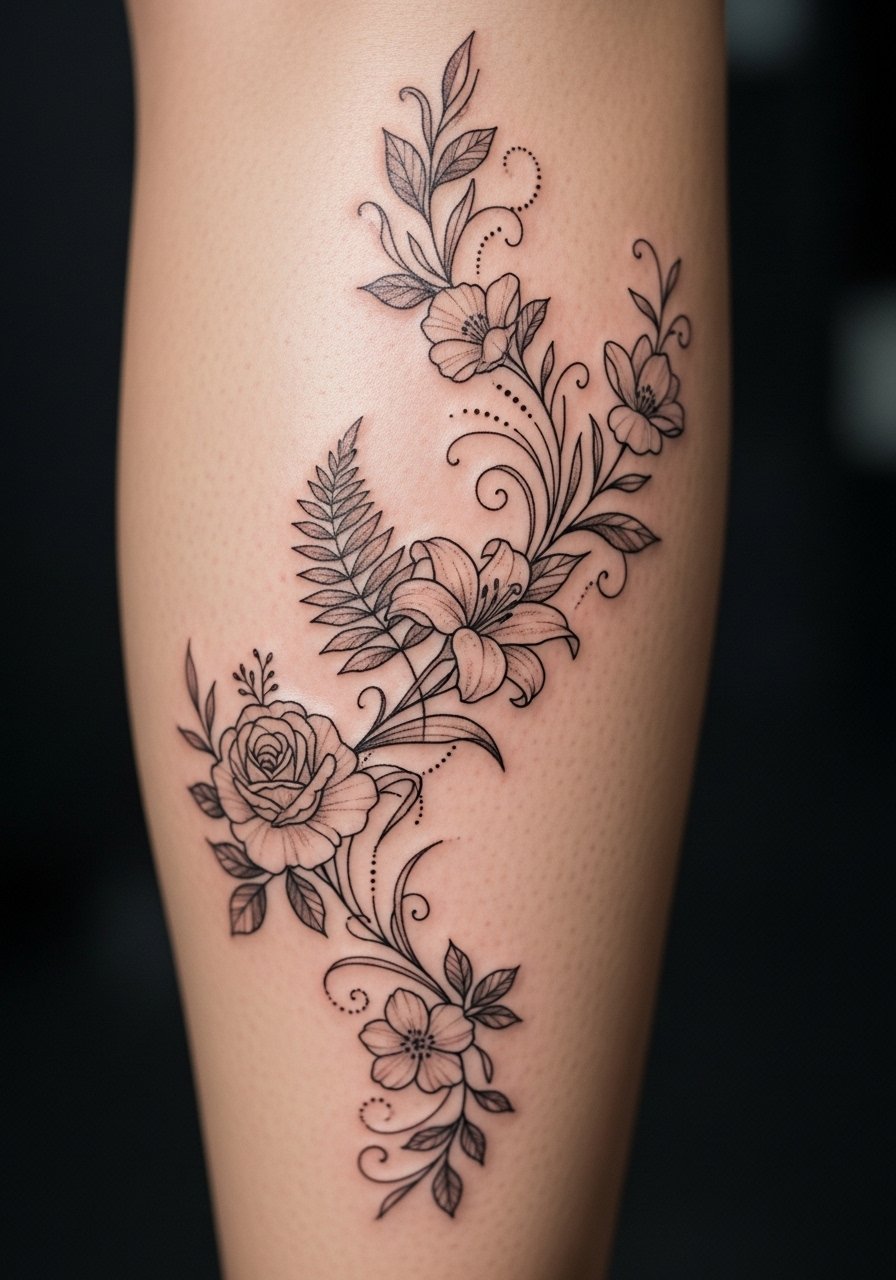
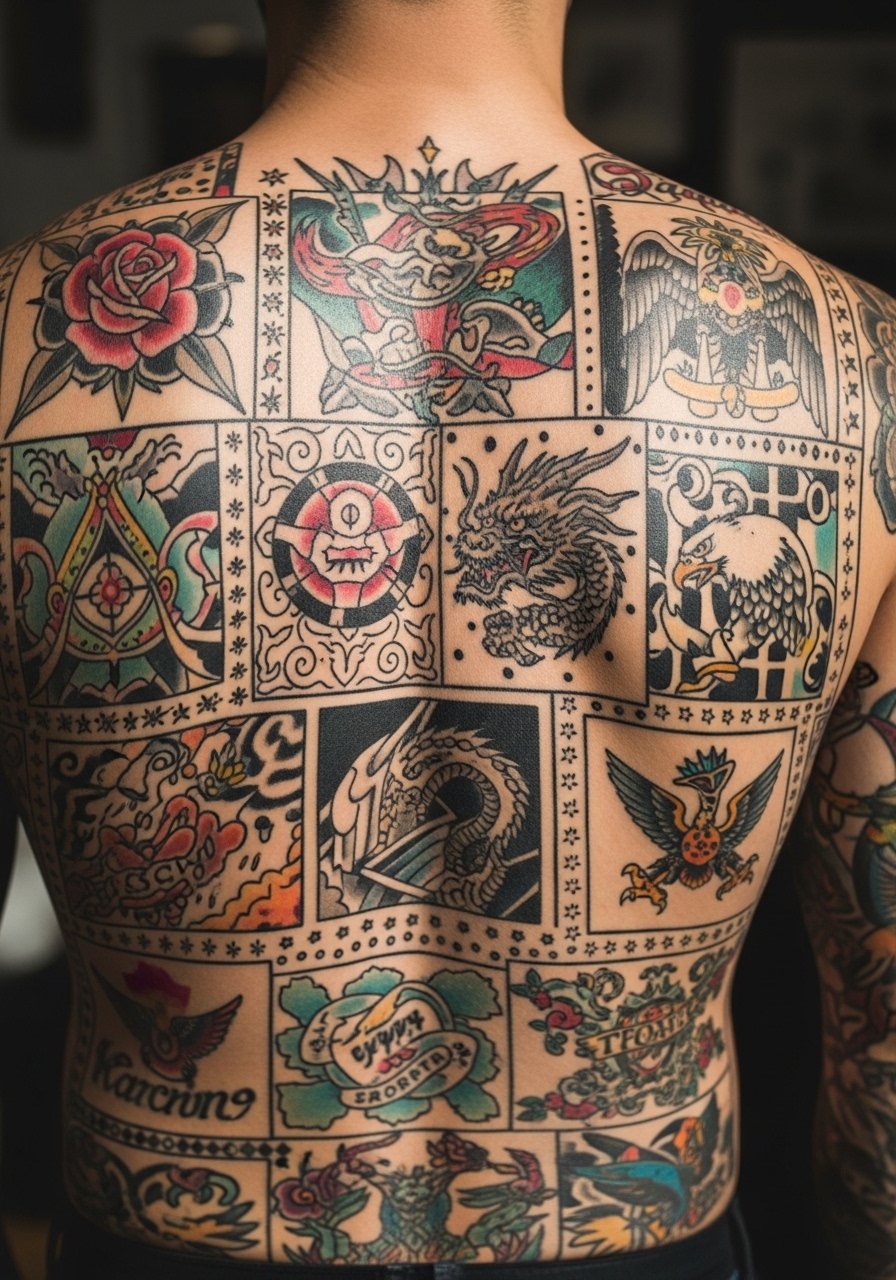
20. Sticker-Style Smalls Across the Back
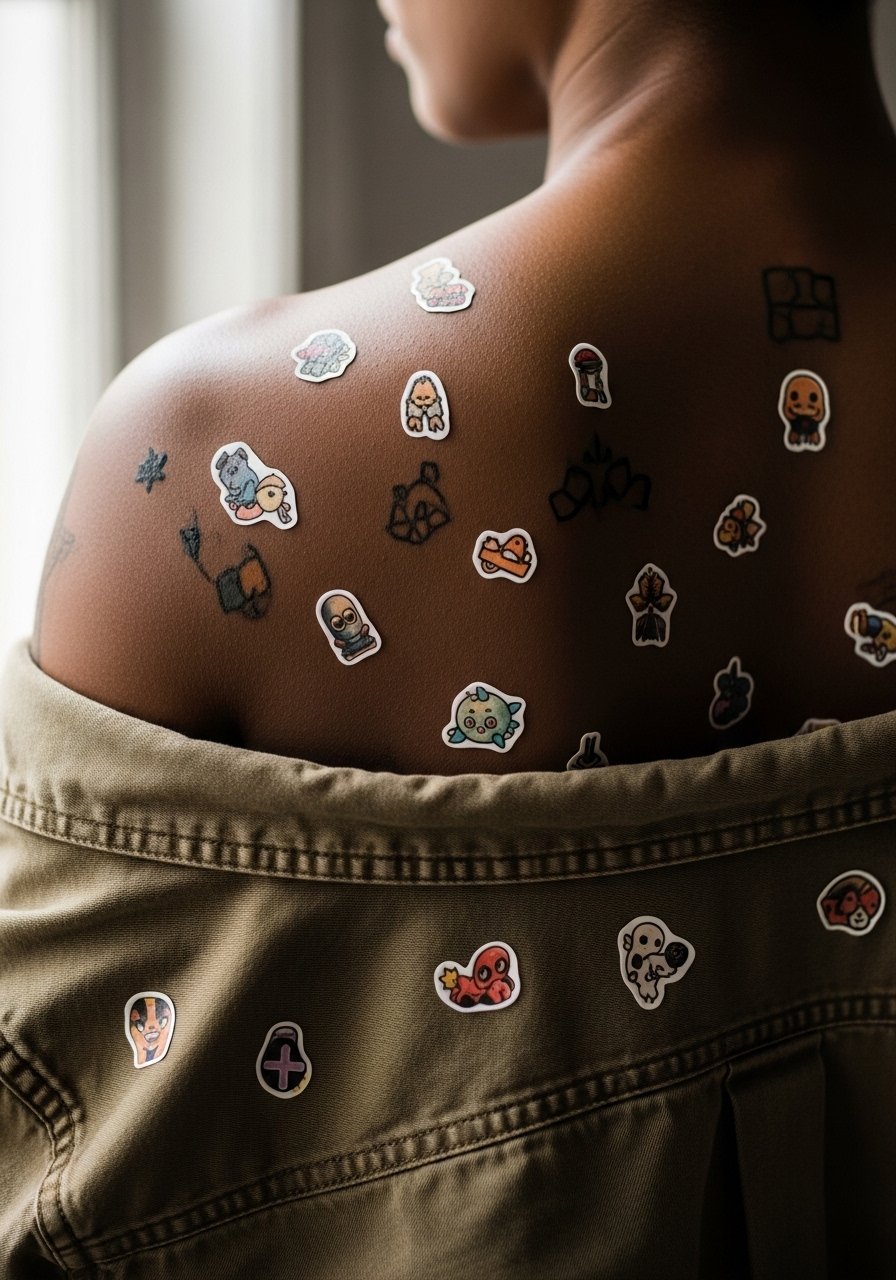
Using the back as a canvas lets you collect larger sticker motifs over time and avoid crowding the arm. During consults request spacing and a visual map so additions slot in nicely. Back sessions are longer and require clothing you can remove or shift, like a button-down worn backwards. A mistake is overlapping motifs too soon. For showing new panels, a button-down shirt worn backwards gives the same visual of the upper back without exposing the whole torso.
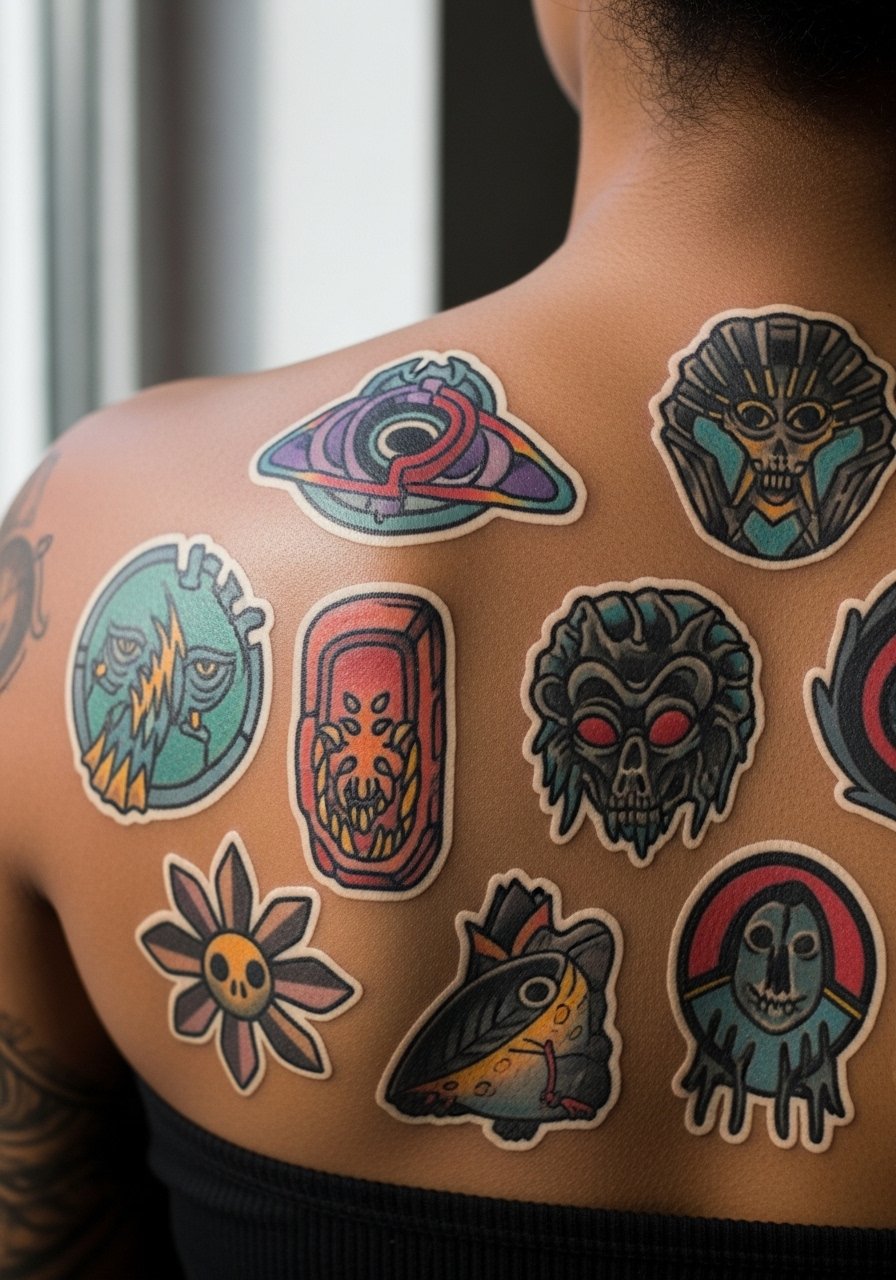
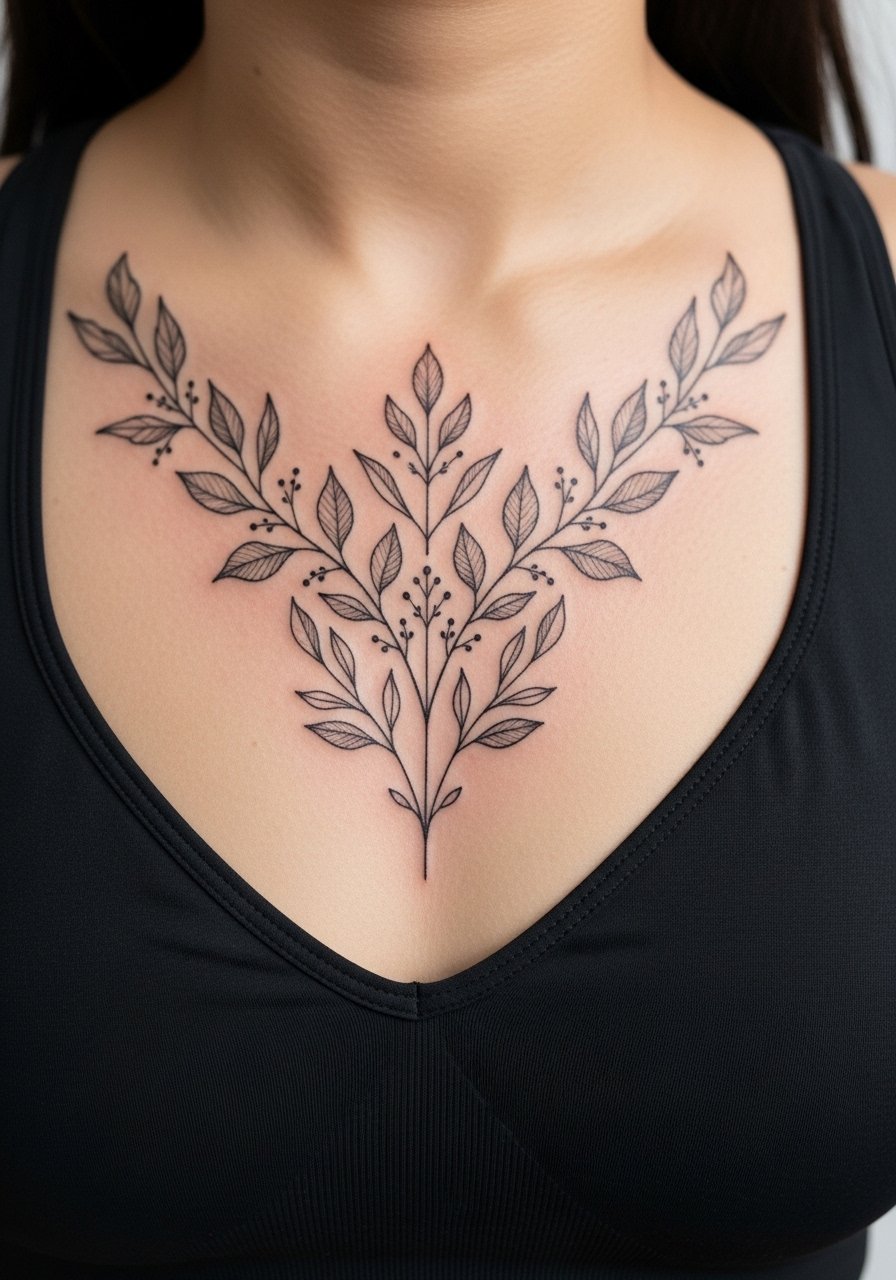
21. Sternum Fine Line Botanical
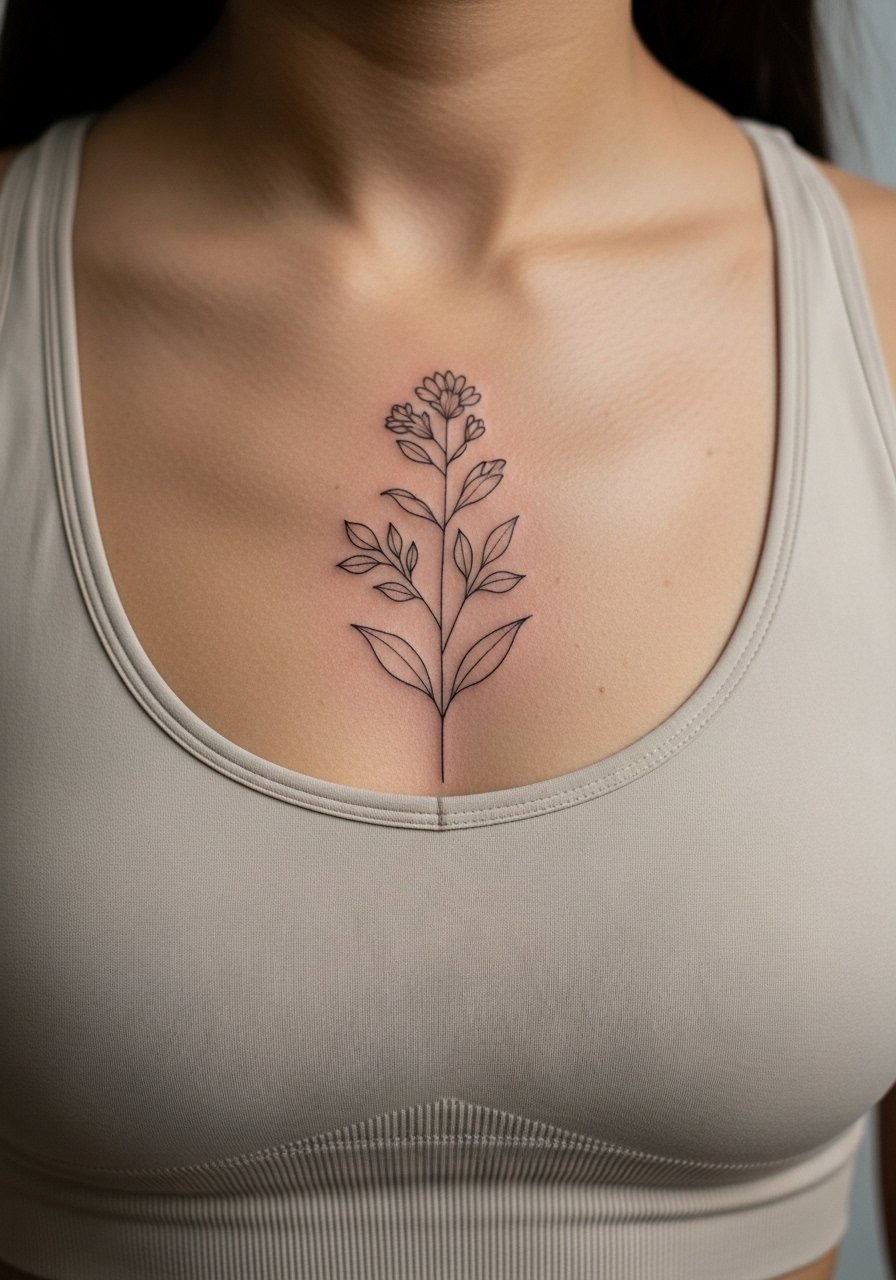
Sternum placements need careful design to avoid distortion and to account for breathing motion. The controversy about fine line on chest touches this area; one camp warns that stretch and movement blur ultra-fine work quickly. The other camp argues that with the right depth and spacing, fine line can hold up. Ask your artist which approach they favor and request slightly bolder spacing if longevity is the priority. Sessions are sensitive and often split. For appointments wear a fitted sports bra so the area is visible without exposing the rest of your torso.
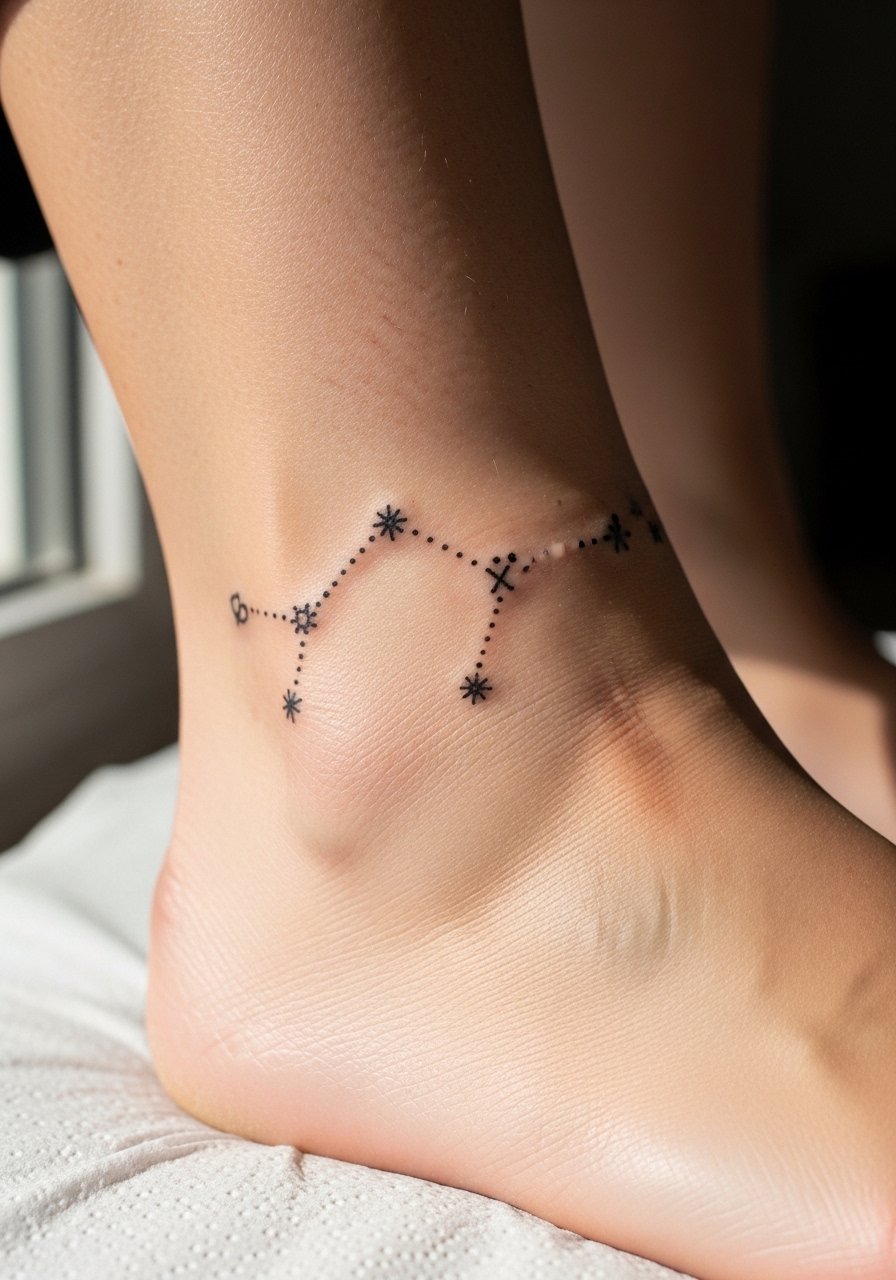
22. Ankle Constellation and Tiny Symbols
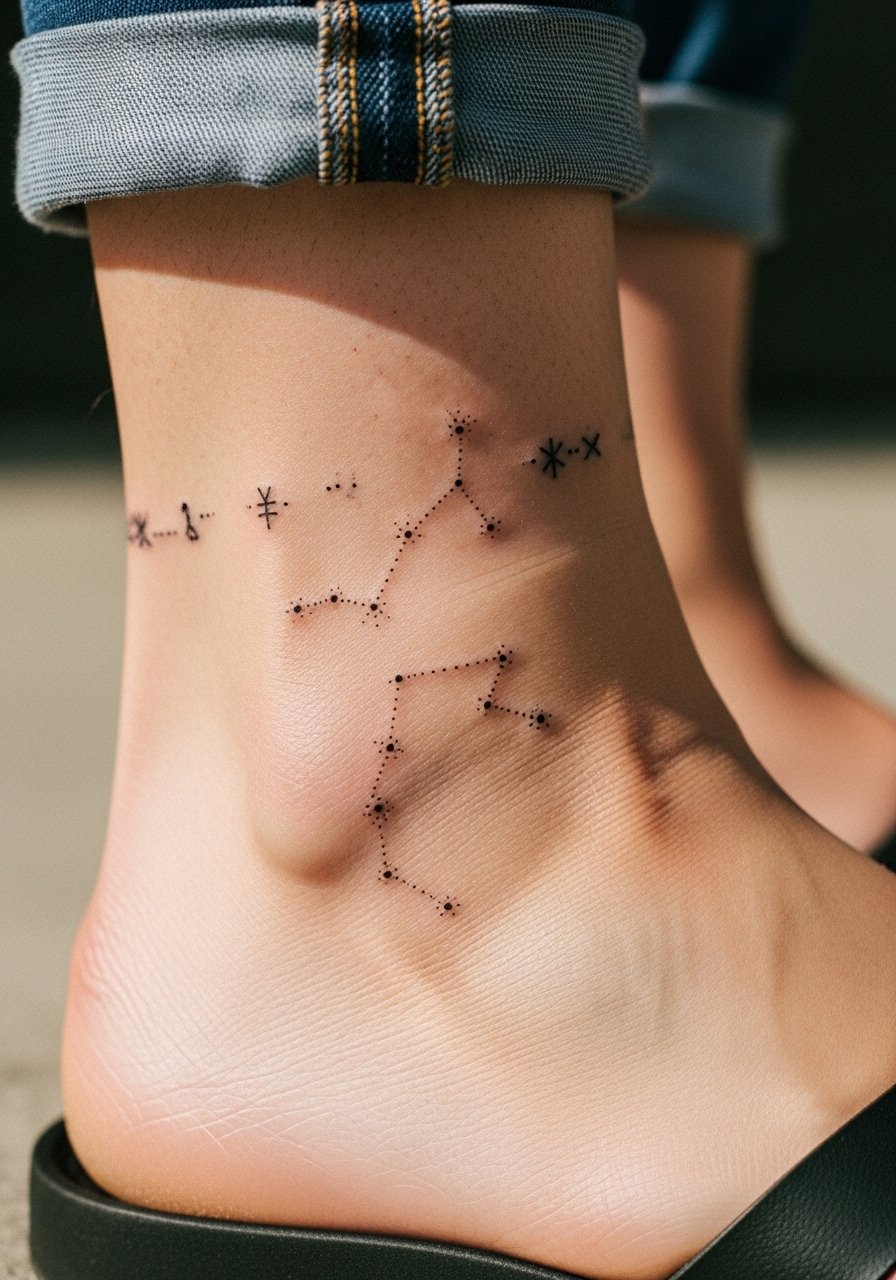
Ankle tattoos face constant rubbing from shoes and socks so ask for slightly stronger contrast than you might pick for a forearm piece. Sessions are short but expect touch-ups earlier than arm work. A common error is choosing ultra-fine dots that fade within a year. For showing off, roll your jeans and wear sandals to keep the ankle visible, or add a minimalist anklet to frame the art.
23. Inner Wrist Minimal Script and Tiny Motifs
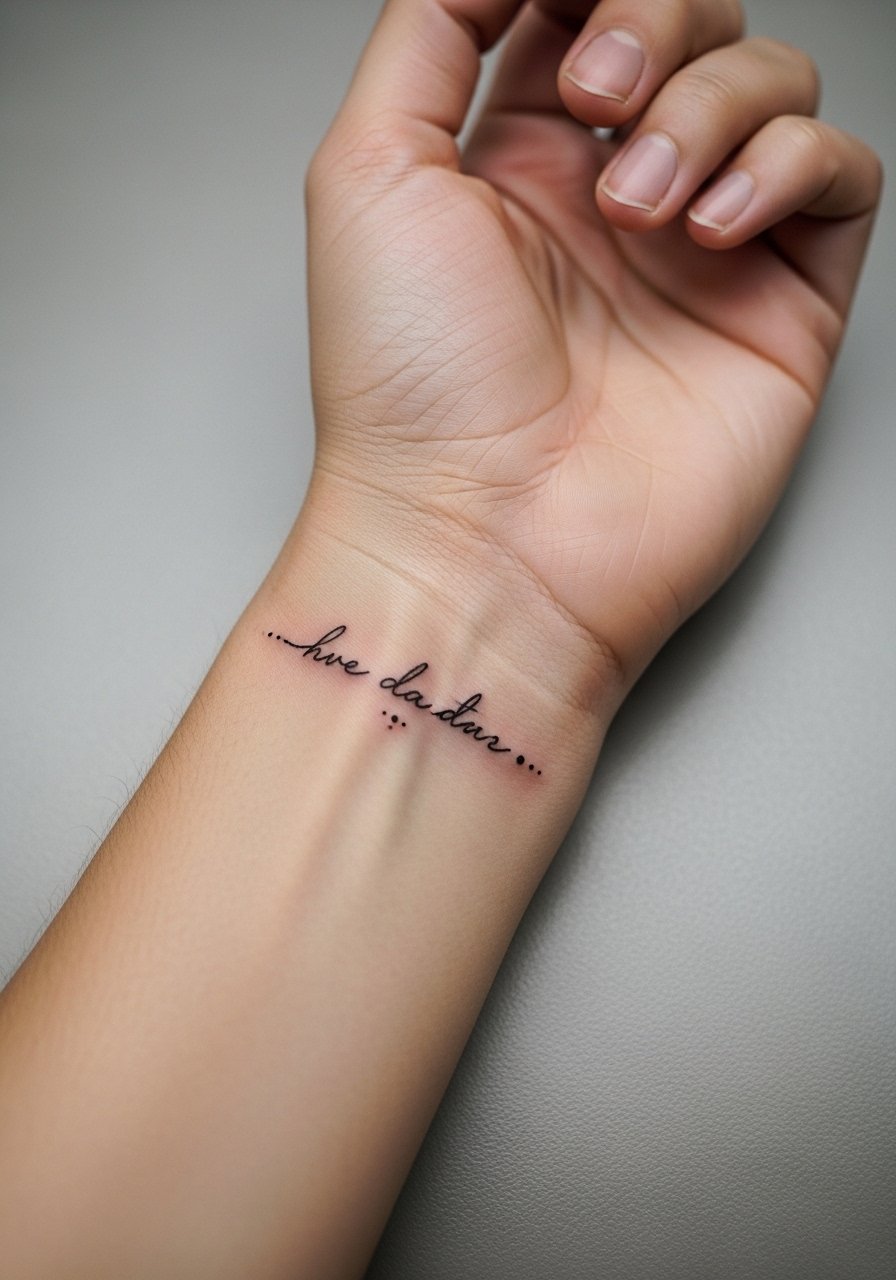
Wrist pieces are visible and prone to friction from watches and bracelets. Ask for slightly bolder script than you think you need to maintain legibility. Sessions are short but sensitive. A common mistake is choosing very narrow cursive that fills in quickly. For the appointment wear a short-sleeve tee and consider a thin chain pendant necklace to balance the wrist without crowding it.
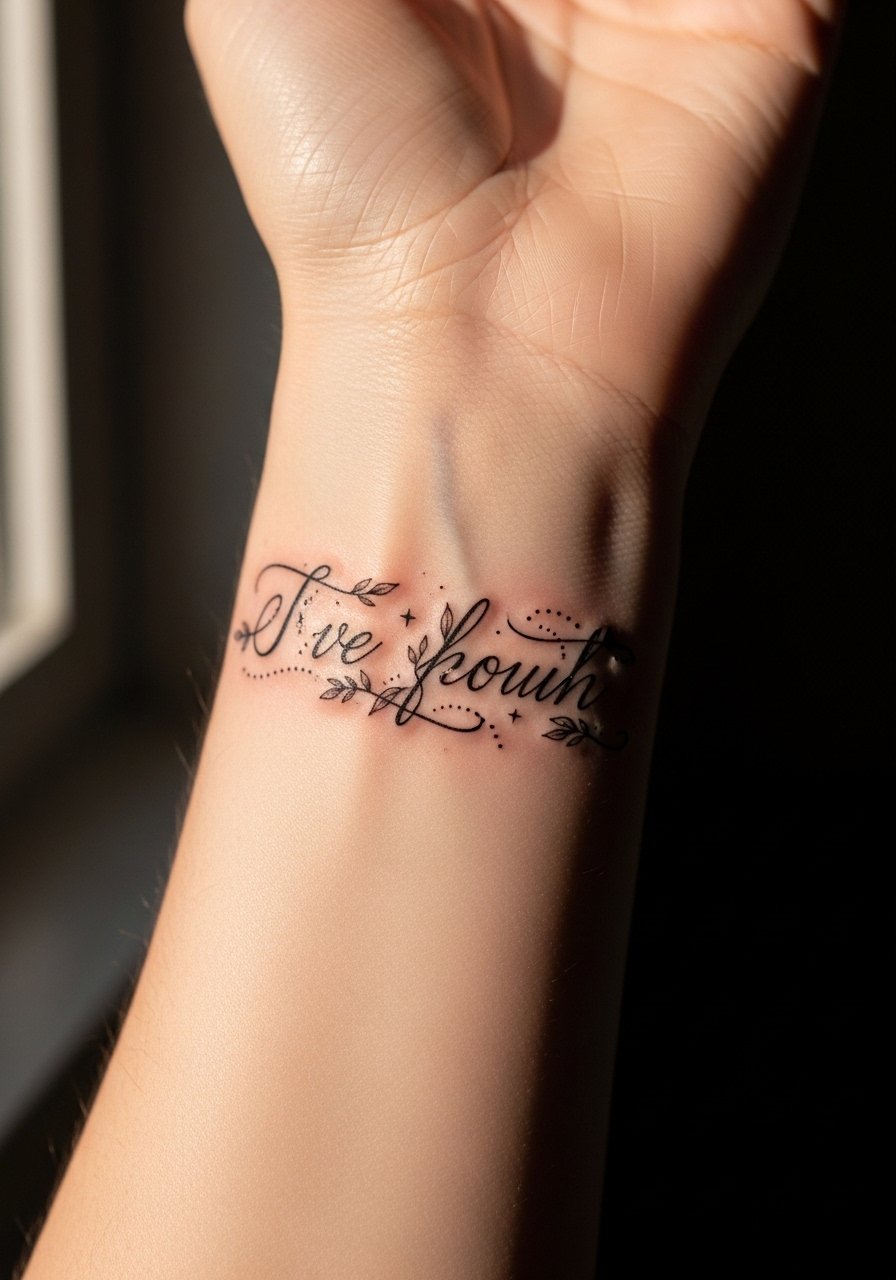
24. Upper Thigh Illustrated Panel
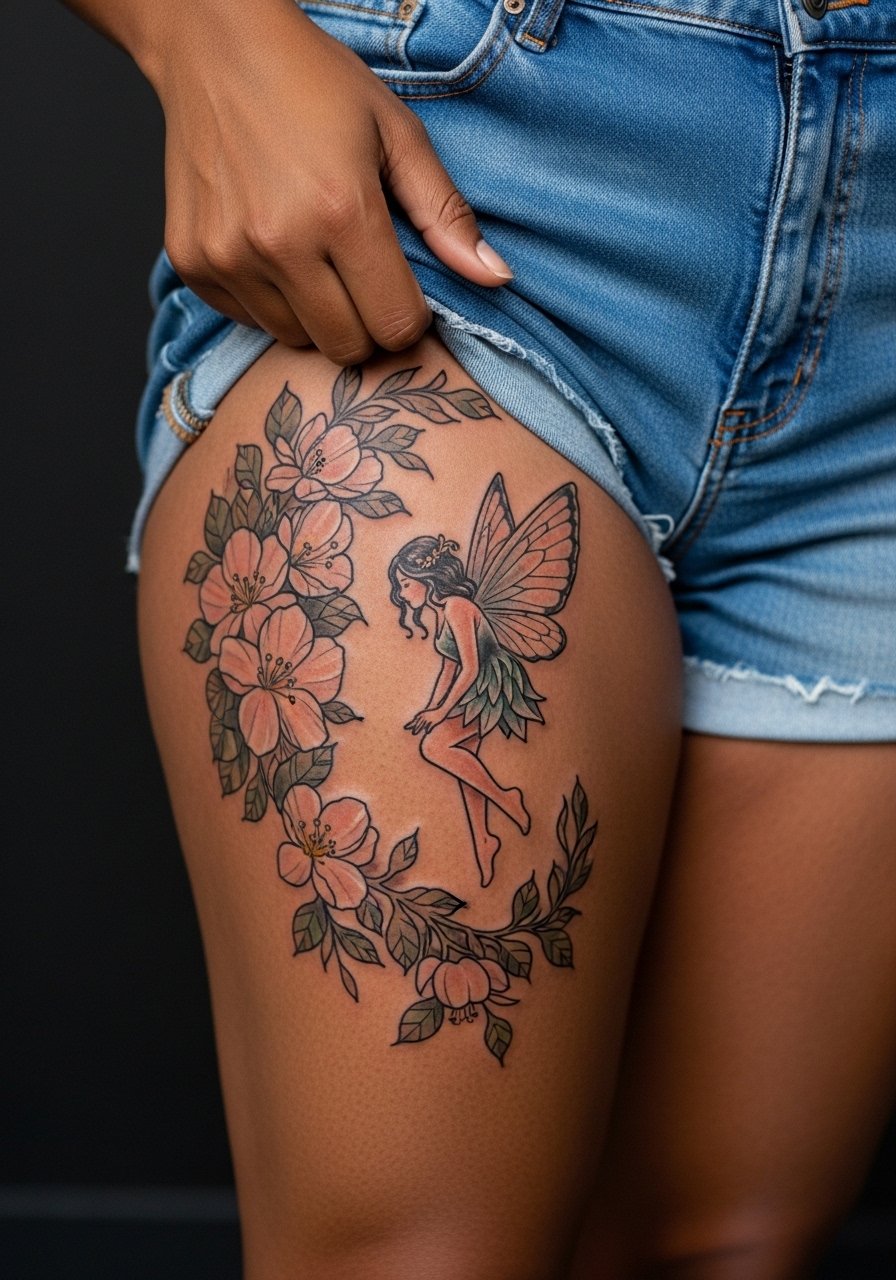
The upper thigh is a forgiving canvas that lets you include more detail than smaller limb placements. Specify the scale so tiny elements do not blur in a few years. Sessions can be long and you should wear loose bottoms that can shift without pressure. A mistake is crowding the panel with tiny textures that age poorly with stretch. For the session pick high-waisted shorts or a wrap so your artist can access the thigh comfortably.
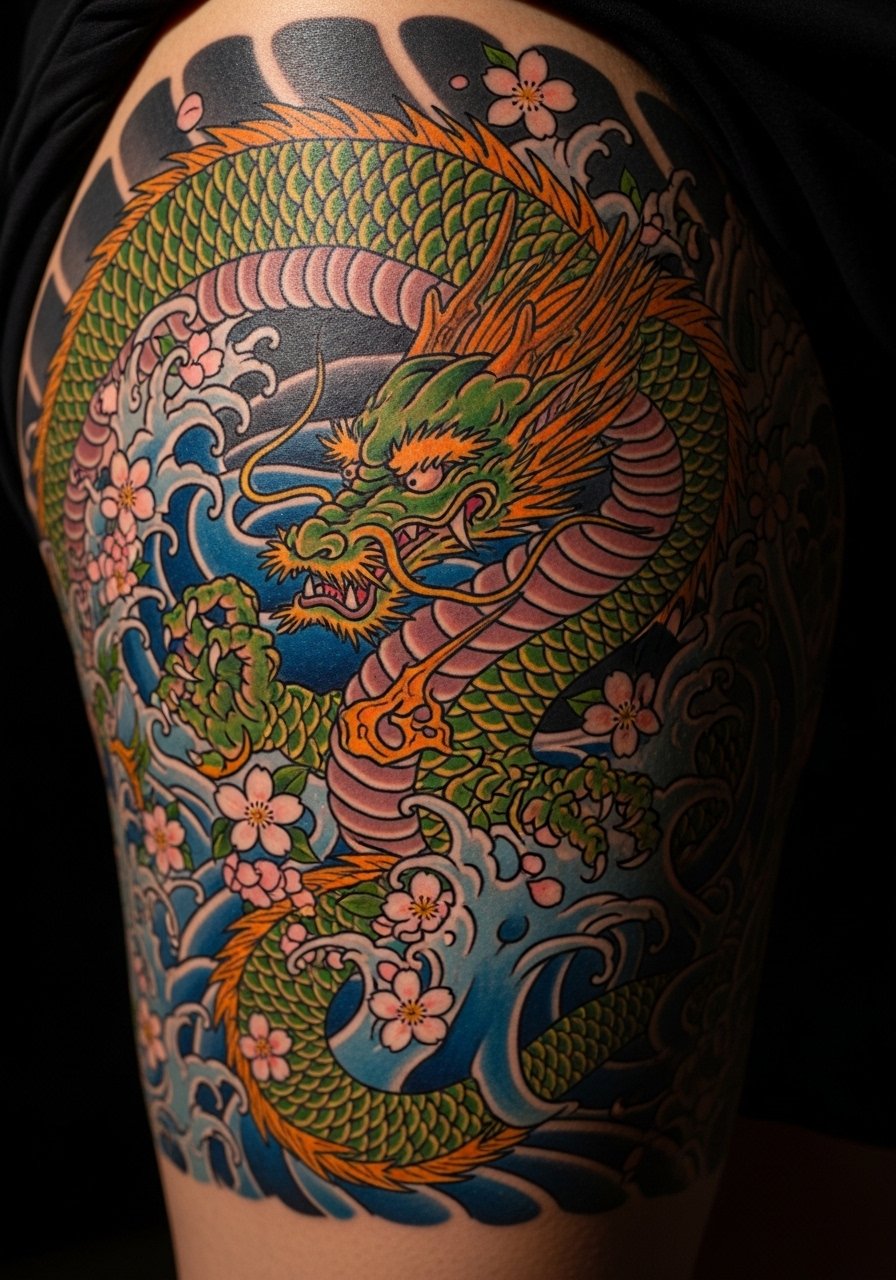
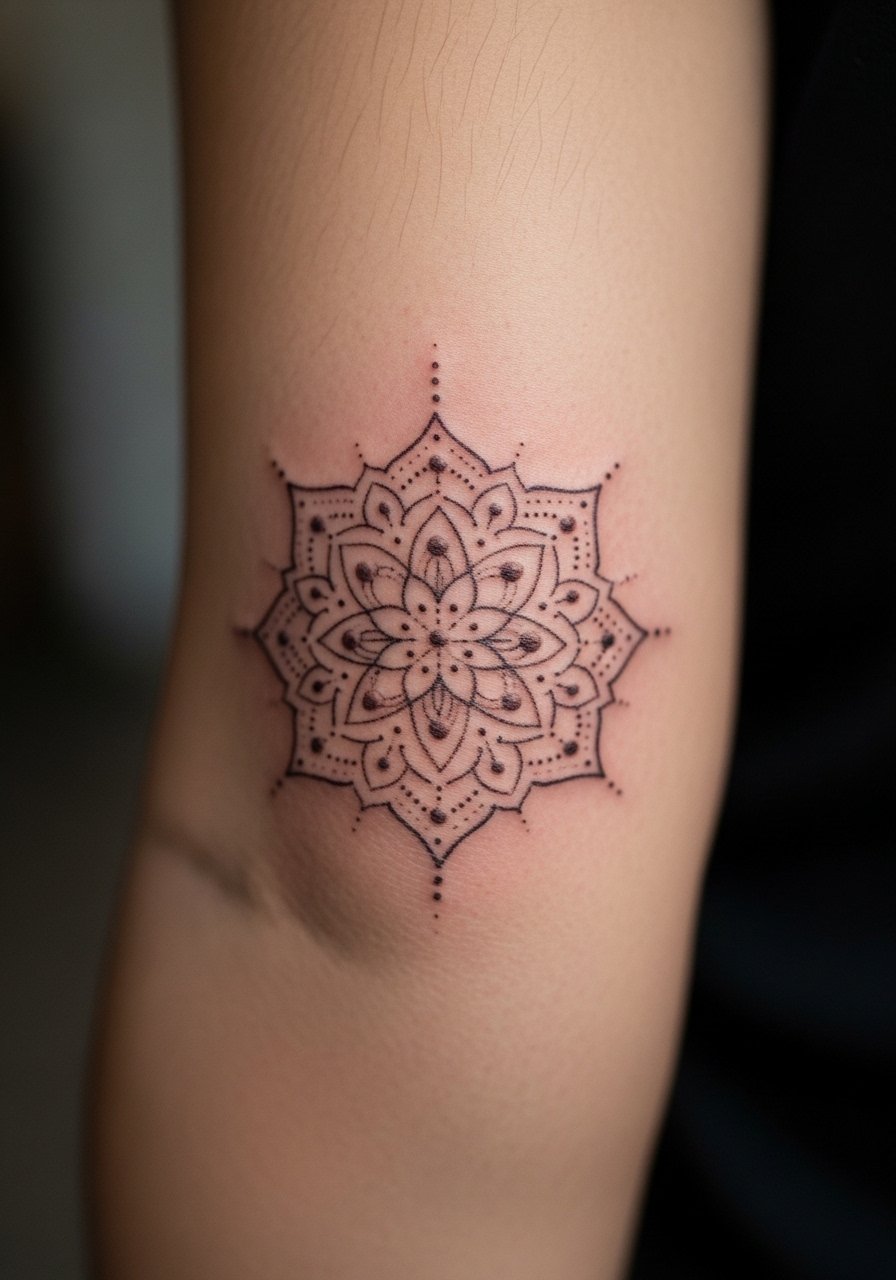
25. Geometric Mandala Sleeve Accent Near the Elbow
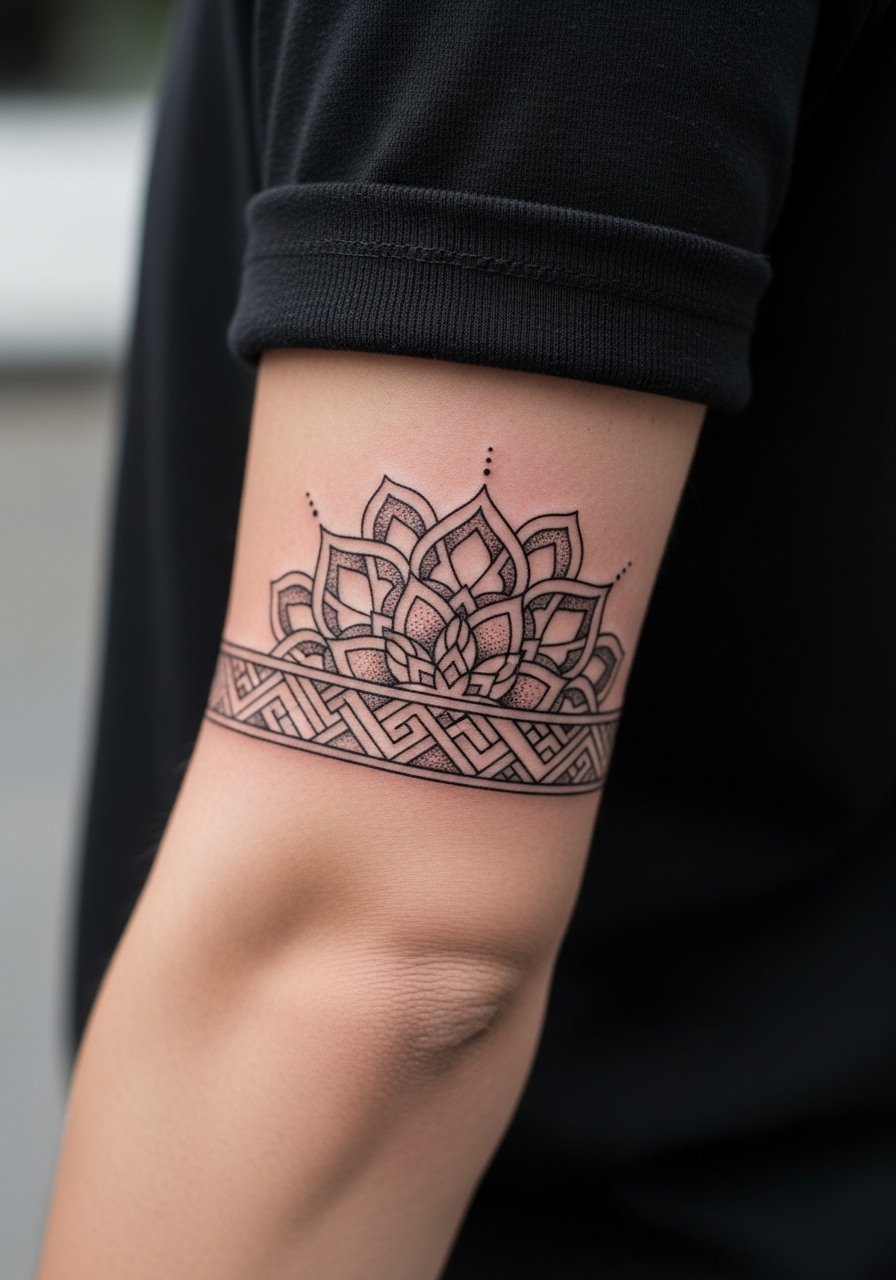
Place mandala elements slightly away from the crease to reduce distortion when the arm bends. During consultation request the mandala sit on flatter skin and use stipple shading for gradual tone. A common error is centering the mandala right on a joint where movement breaks dense linework. For sessions wear a shirt you can roll up easily so the artist has stable access without the fabric rubbing over new ink.
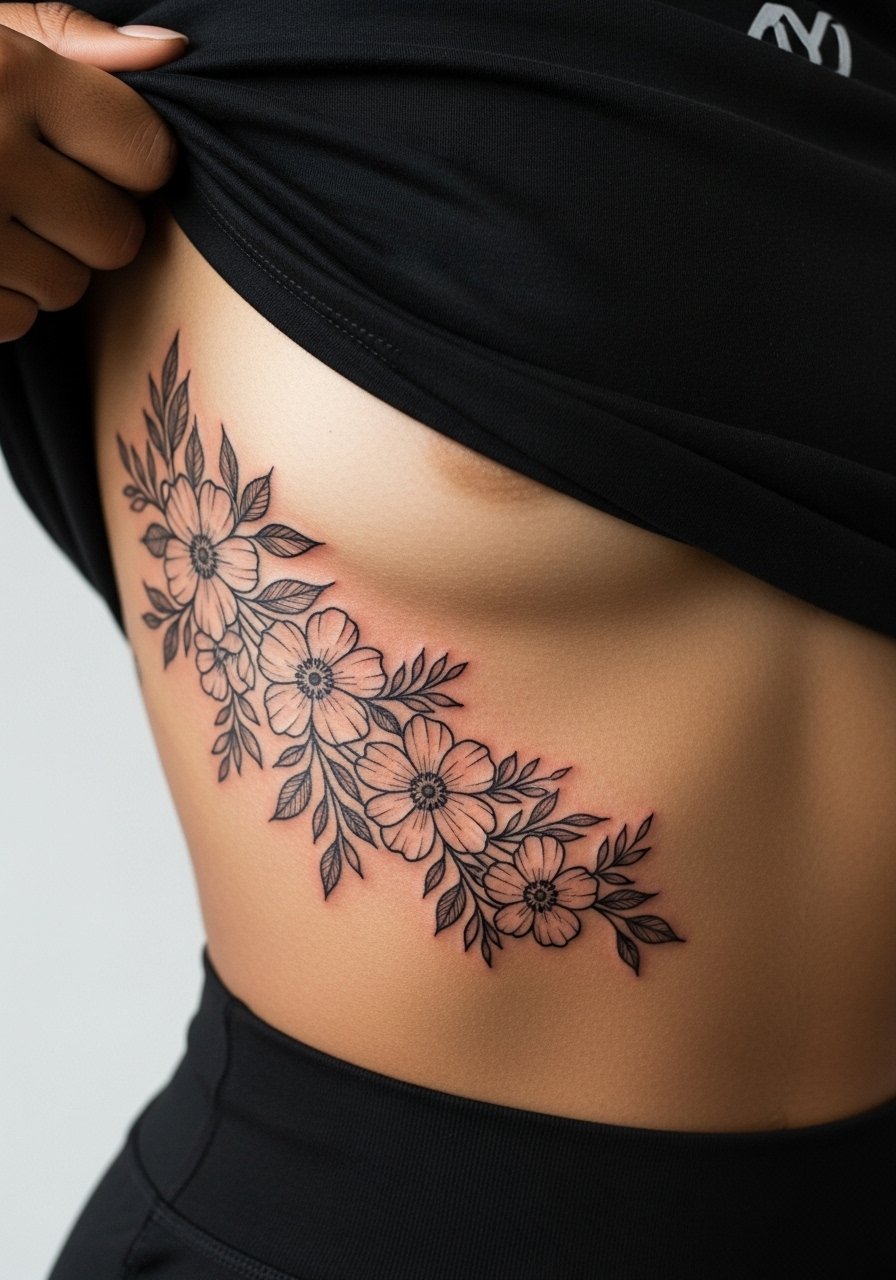
26. Ribcage Large Floral Panel
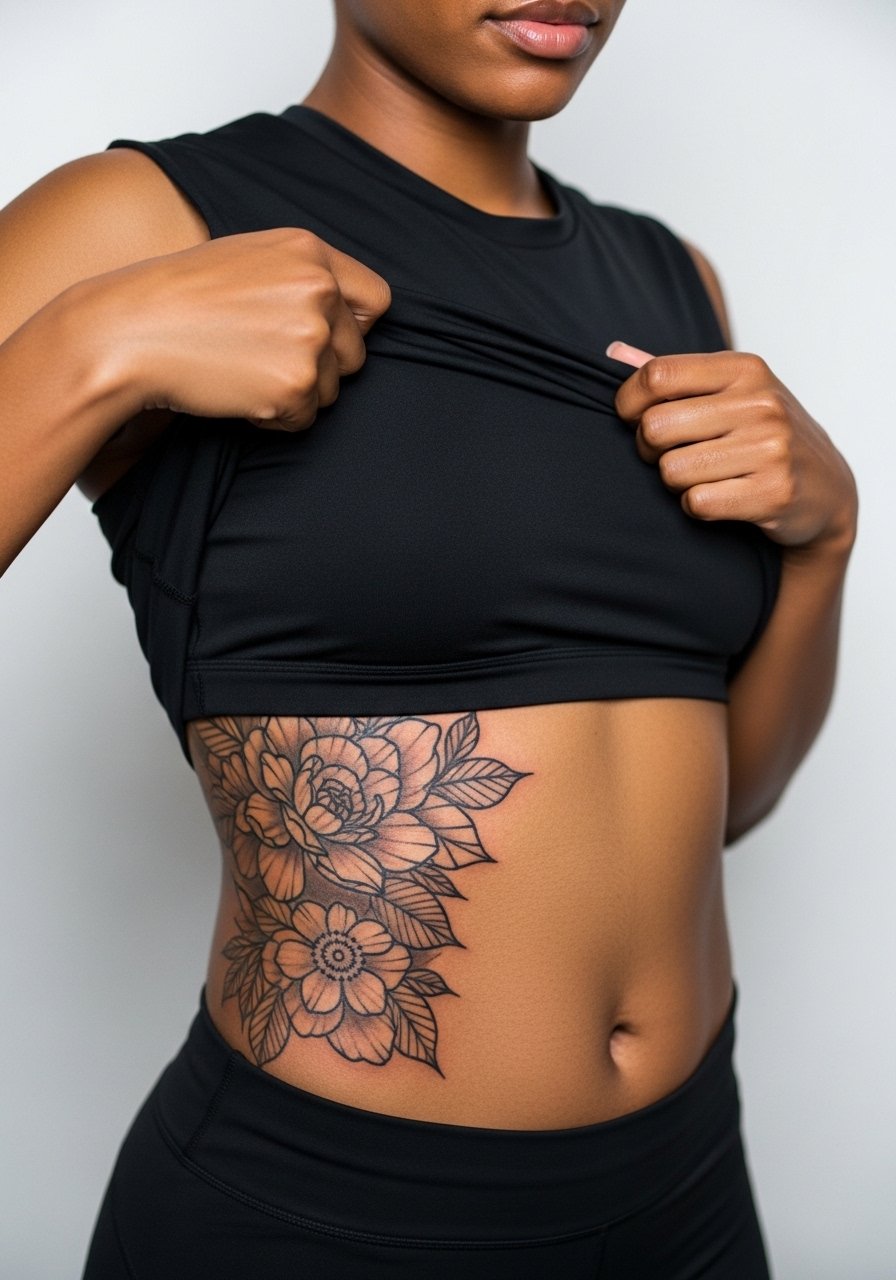
Ribcage tattoos are known for their higher pain and for how the design moves with breathing. Artists split on fine line here. One group says the stretch blurs ultra-fine lines within two years. The other group contends that with careful needle depth and spacing fine line can settle well. My practical advice is to size motifs up slightly and request bold contour in shadowed areas so the flowers read clearly if you opt for this placement. Wear a cropped top you can lift without discomfort during the session.
27. Sleeve Idea: Patchwork Backpiece Evolves Into Arm Work
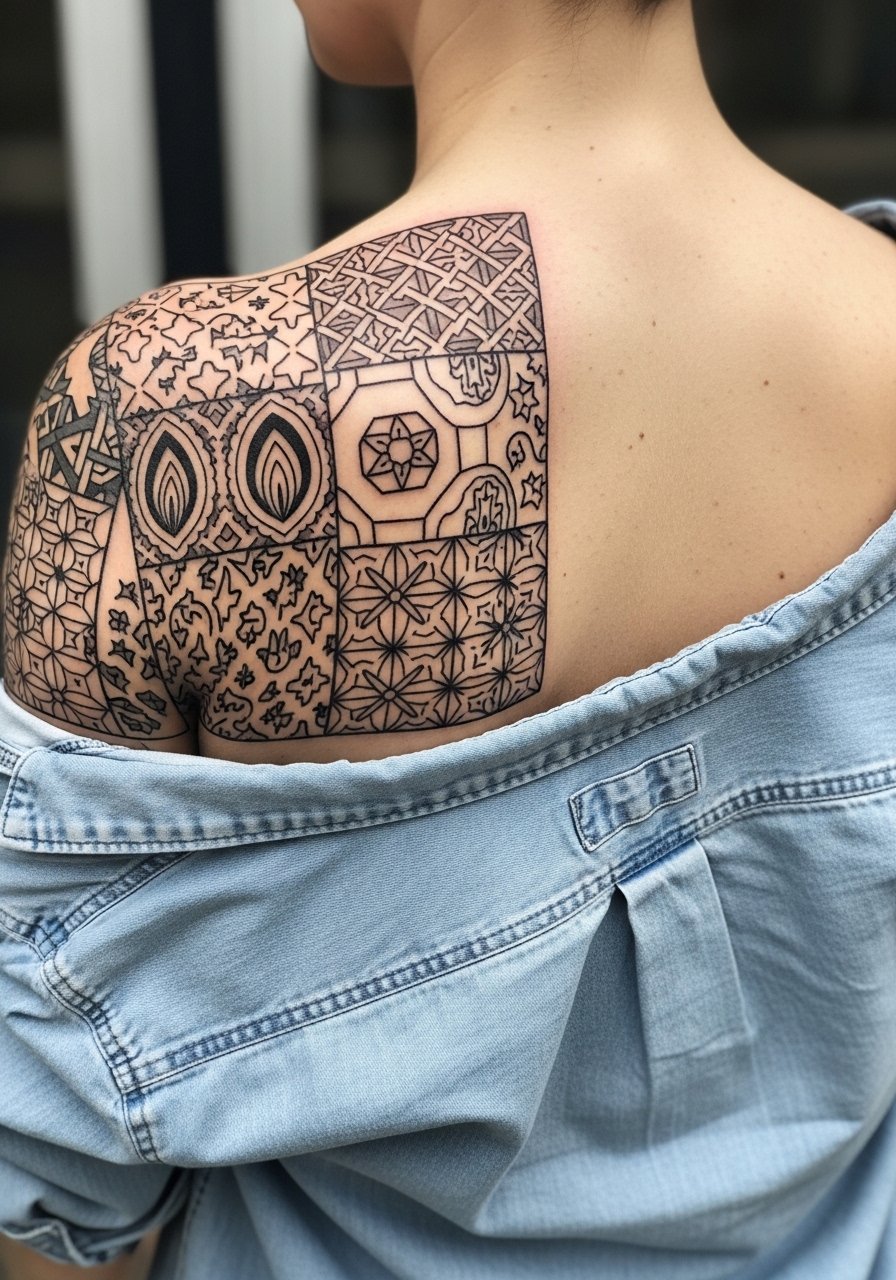
This is the long game approach. Start with spaced back motifs and add upper arm panels over time so the composition can flow into a sleeve later. Tell your artist you want anchor pieces now and connectors later so you do not force cohesion after the fact. Sessions vary widely and the back allows larger motifs that age more gracefully. A mistake is starting with filler pieces that are too small to link later. For appointment comfort choose a button-down you can wear backwards or pull aside so the artist has clear access to the shoulder and upper back transition.
Frequently Asked Questions
Q: Will fine line sleeves blur faster than bold blackwork on the forearm?
A: Fine line can soften sooner than dense blackwork because the pigment sits in narrower channels. On forearms the difference shows up around year two to three depending on sun exposure and touch-ups. Ask your artist for slightly thicker lineweight or strategic contrast in high-motion zones if longevity is a priority.
Q: Do watercolor-style sleeves need different touch-up timelines than neo-traditional color?
A: Yes. Watercolor relies on soft washes and less black contrast so it typically needs touch-ups sooner than heavily outlined neo-traditional work. Expect maintenance around year two to five for watercolor tones, while saturated outlines can hold longer with fewer adjustments.
Q: How should I dress for a shoulder-to-elbow koi session to make the artist's job easiest?
A: Wear a strapless top, loose kimono robe, or a tube top you can remove without tugging over the head. That gives the artist full shoulder access while keeping the rest of you comfortable during multi-hour sittings.
Q: Are there placements I should avoid if I want minimal touch-ups?
A: High-friction zones like ankles, fingers, and areas that see frequent stretching like the ribcage often need more frequent touch-ups. Choosing bolder lineweight or placements with less constant abrasion reduces the need for repeated work.
Q: How do I find artists and references without naming specific shops?
A: Use style-specific hashtags on social platforms and search location tags like "Japanese sleeve studio [city]" or "floral sleeve tattoo [city]" to see portfolios. Tattoo directories and community boards also filter by style so you can compare healed work before booking.
