
Fine line postage stamp tattoos look fragile on a screen and hold up very differently on skin. Trends push tiny, ultra-detailed stamps that read brilliant fresh and then soften over time. If you want an edgy postage stamp tattoo that still reads like art after a few years, think about spacing, bold border choices, and placement that avoids heavy friction. Below are 17 sharply considered ideas that pair how they age with what to ask your artist.
1. Fine Line Arrow on Inner Forearm
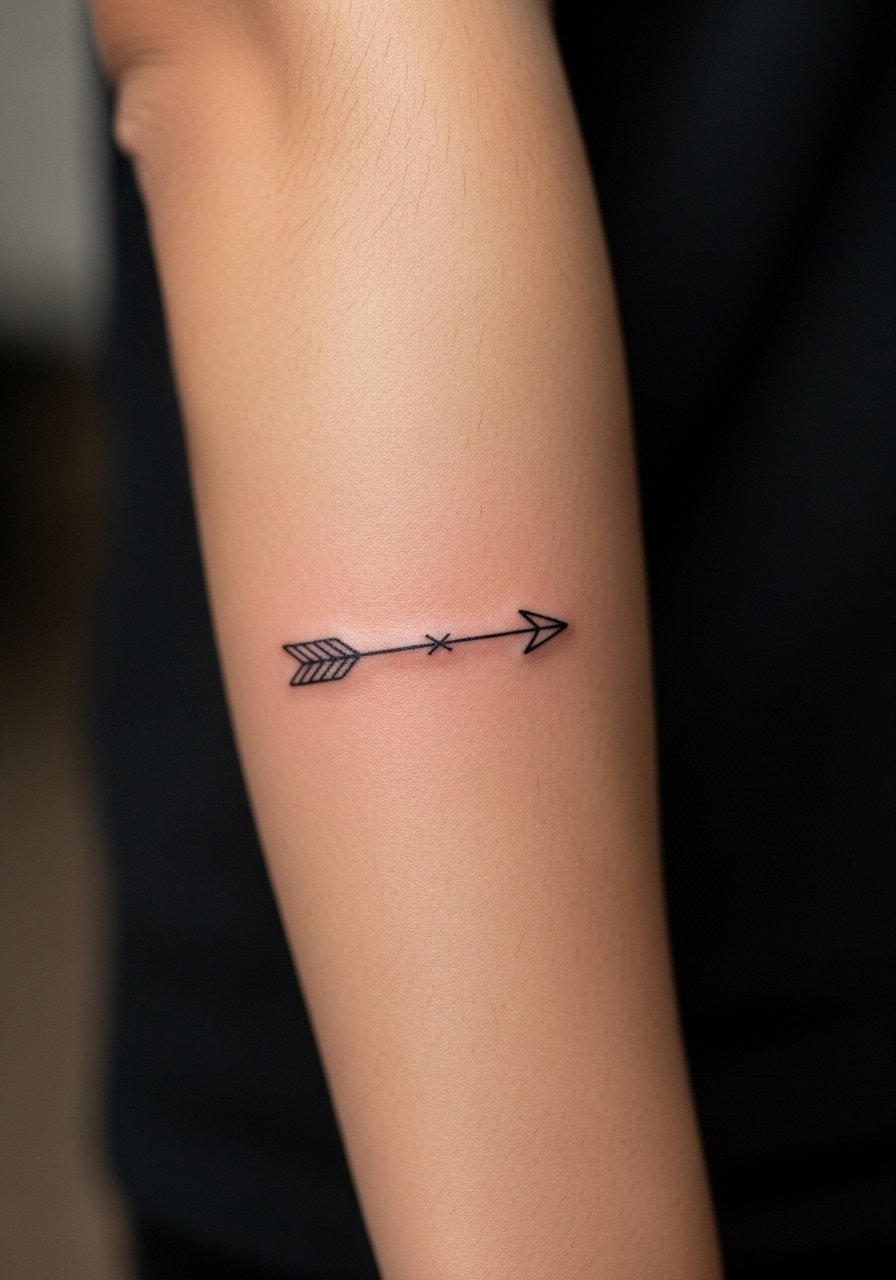
This classic works when the border is treated as part of the composition rather than a thin frame that will blur. Tell your artist you want a slightly bolder outer border and feathered internal hatching so the arrow reads in low light. Expect the inner forearm to feel like a 3 to 4 on most pain scales, and plan a single short session. The common mistake is requesting ultra-thin borders that merge at year two. For showing it off, roll up sleeves and wear a linen short-sleeve shirt that keeps attention on the piece.
2. Micro-Realism Portrait in a Stamp Frame on Upper Arm
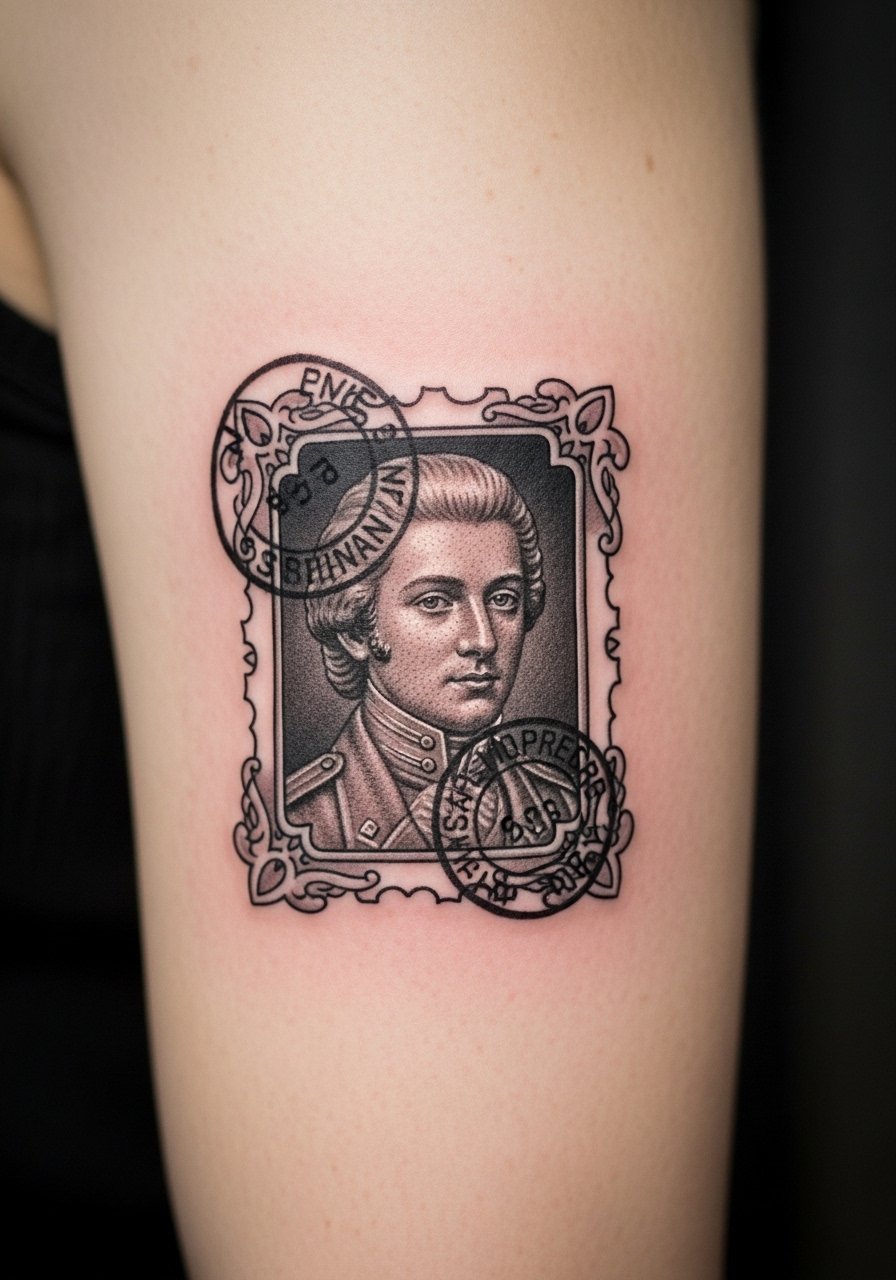
Micro-realism needs space inside the stamp to prevent tiny highlights from filling in. Ask for simplified contrast rather than added micro dots, and request a slightly larger stamp size than your phone screen suggests. The upper arm tolerates saturation well and ages gracefully because the area gets less daily abrasion. A common error is squeezing portrait detail into a thumbnail-sized stamp. Session feeling is steady pressure with occasional buzzing. For casual wear pair it with a sleeveless tee that frames the outer arm.
3. Blackwork Geometric Stamp on Calf
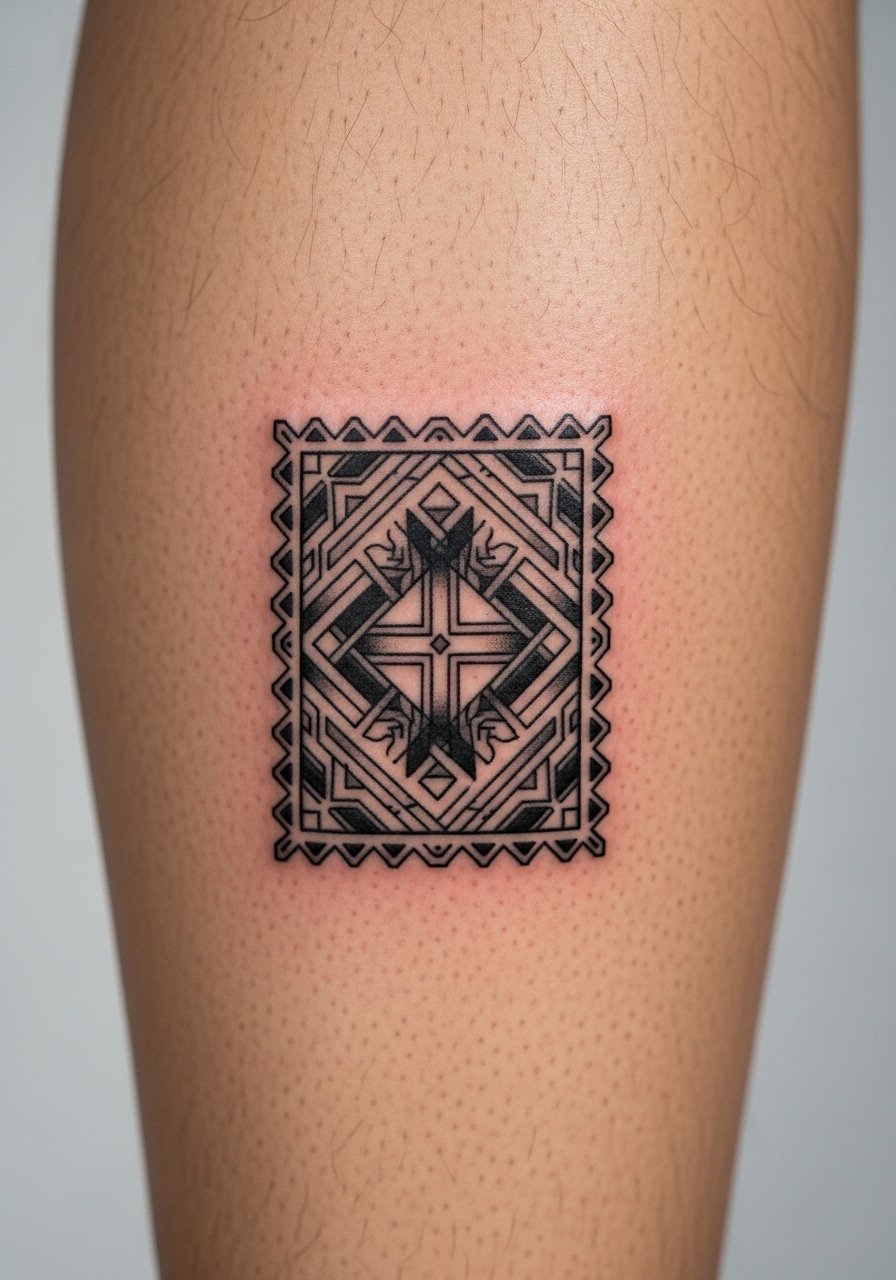
This is a bold choice for anyone who wants contrast and longevity. Blackwork inside a stamp resists fading and keeps structure as skin shifts. Tell your artist you want solid blocks with crisp negative space so lines do not compete. Calf sessions are moderate for pain and often done seated. The mistake is introducing too many thin lines inside dense black, which creates muddiness over time. For evenings out, show it with rolled hem pants or a midi skirt with side slit that lets the calf peek.
4. Floral Postage Stamp on Ribcage
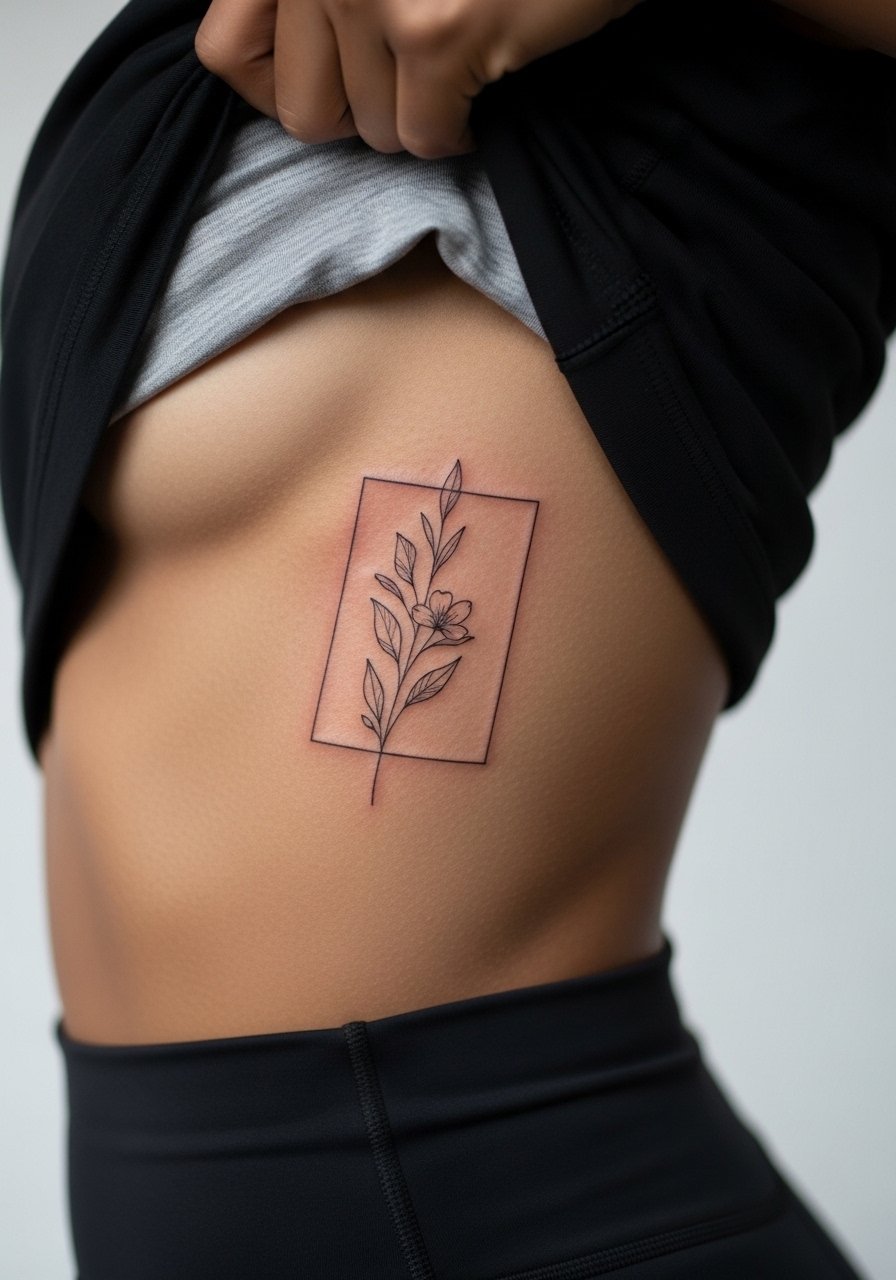
This placement looks intimate and dramatic. Artists split on fine line on ribs. One camp warns that the skin stretch and breathing motion blur fine lines within a couple of years. The other camp says with proper depth, spacing, and a slightly bolder outer border, the work settles just fine. Bring that debate into the consultation and ask how they handle ribs. Pain is higher here, often an 8 out of 10, and sessions are slower. For the appointment wear a sports bra you can lift so only the ribcage shows during work.
5. Tiny Postage Stamp Script on Wrist
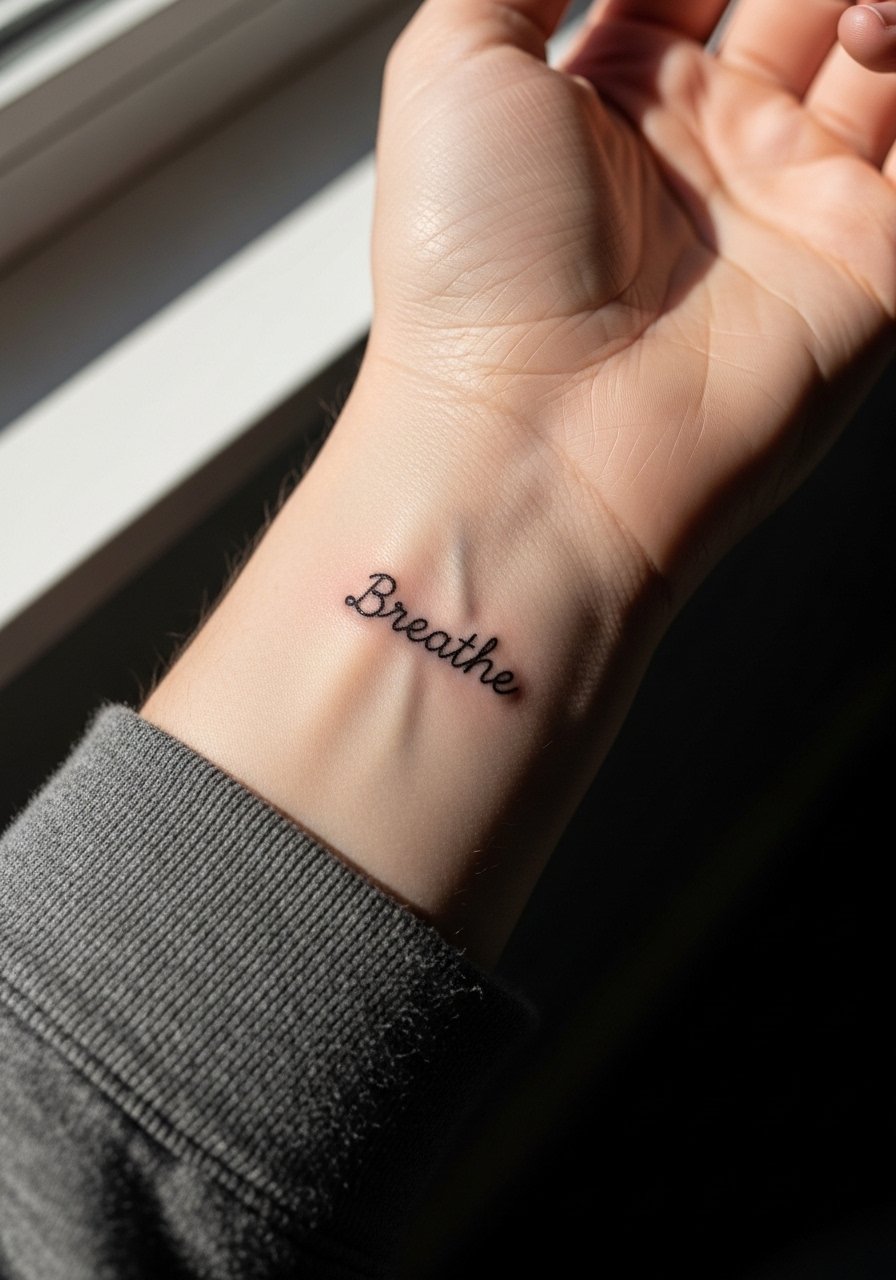
Wrist stamps need clear spacing between letters and a strong outer border so script does not soften into a smudge. Tell your artist to space letterforms and not to compress them to fit the stamp edge. The wrist is prone to touch-ups because of frequent washing and movement. Session time is short but the area is sensitive. For showing it off, a thin chain bracelet complements the size without crowding the script.
6. Postage Stamp Moth on Shoulder Blade
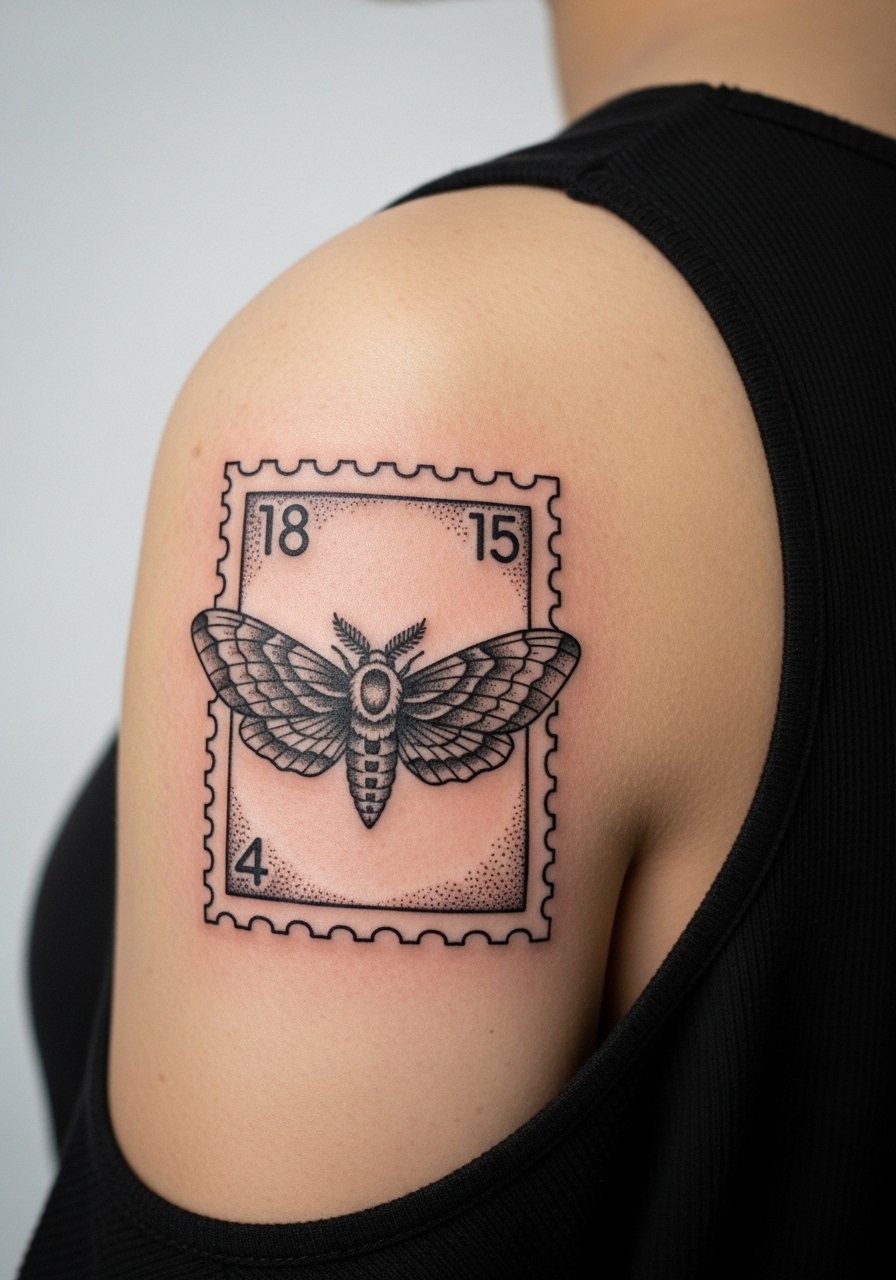
Shoulder blade placement is forgiving because it gets less friction than inner limbs. For a moth design, ask for stipple shading that creates texture without tiny fine lines that blur. A common mistake is packing too much micro-detail in the wings. The session feels like intermittent pressure with good breaks. For the session wear a loose tank top you can pull slightly aside so the artist has clear access and you remain comfortable.
Studio Day Picks
Those wrist, forearm, and shoulder pieces above all respond well to a little prep and the right small items in your bag. The next five things smooth the chair day and the first week.
-
Stencil transfer paper kit. Lets you preview placement and border thickness on skin before the needles start, especially useful for wrist and stamp edges.
-
Topical numbing cream. Applied per directions about 45 minutes before can ease sensitivity on ribs or inner arm without affecting linework.
-
Thin protective film roll. Useful for small ankle and finger stamps where friction from shoes or typing is a concern in week one.
-
Fragrance free gentle body wash. Cleans the area without stripping healing ink, which helps fine line pieces hold their contrast.
-
Aquaphor healing ointment. Thin layers in the first days keep moisture balanced for delicate postage stamp linework.
7. Postage Stamp Constellation on Ankle
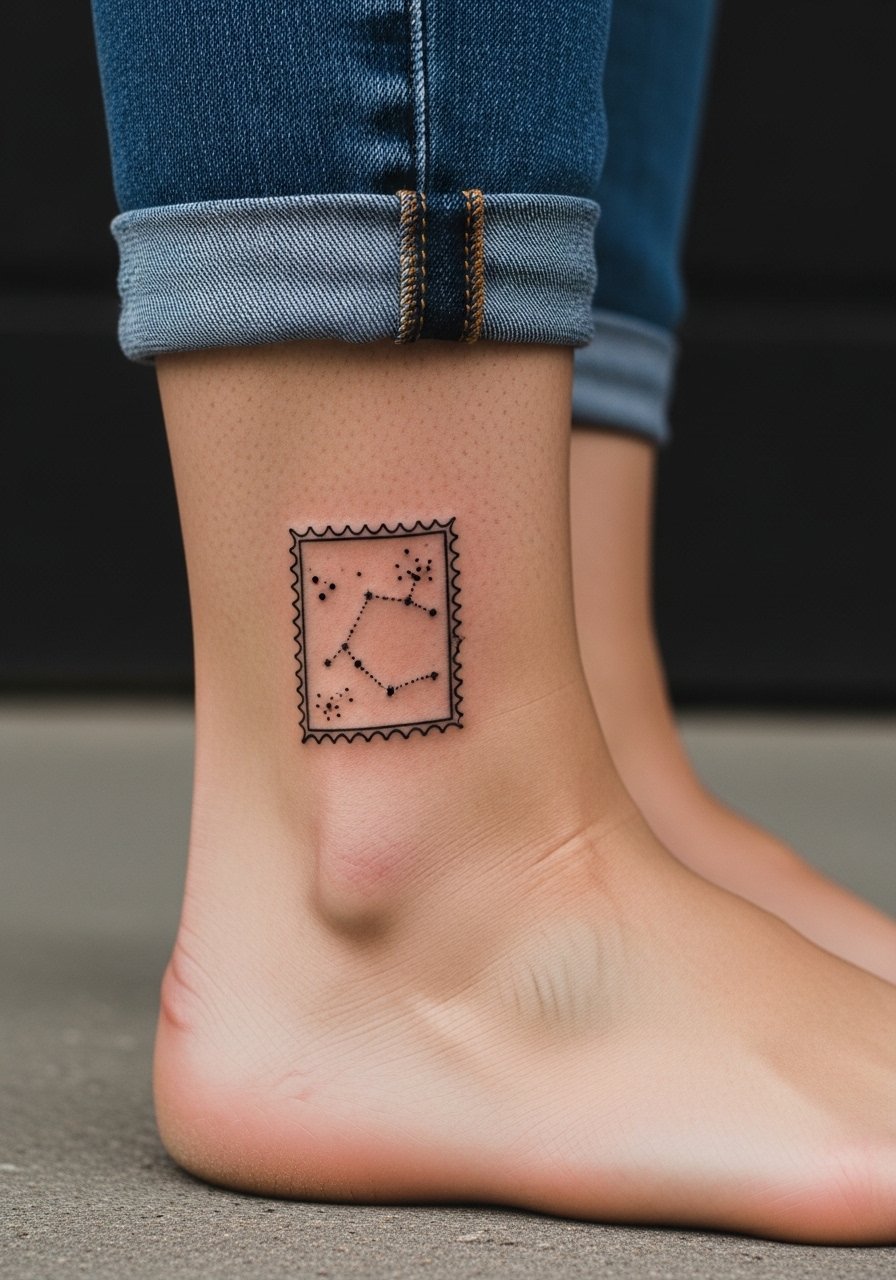
Ankle stamps face constant rubbing from footwear and socks. For constellations, ask for slightly thicker connecting dots and a framed border to protect the tiny star points. The ankle is a sharp pain spot and sessions are quick. The biggest error is requesting pin-thin stars that disappear under friction. For showing it off, wear jeans rolled up or sandals and pair with a delicate ankle chain to draw the eye without covering the stamp.
8. Postage Stamp Skull on Back of Neck
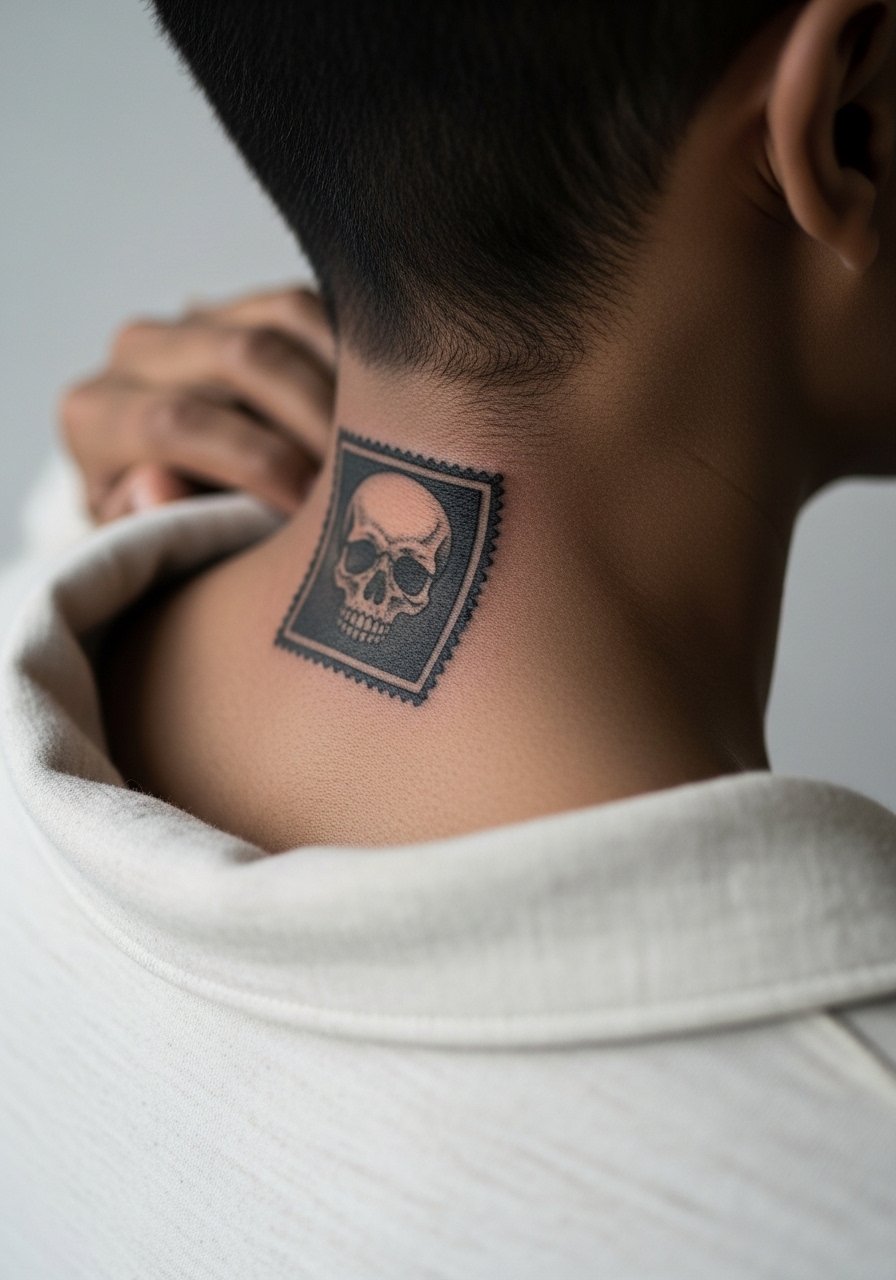
Neck stamps are visible and bold by design. Ask for a crisp border and solid fills so the skull keeps its silhouette with minimal touch-ups. The back of neck gets sun and clothing friction so expect some fading faster than on the torso. Placement feels like brief stinging and quick passes during the session. For career-sensitive readers note that neck work remains highly visible in many industries so consider placement carefully. Pair this with a high-collar jacket on commute days.
9. Minimalist Landscape Stamp on Sternum
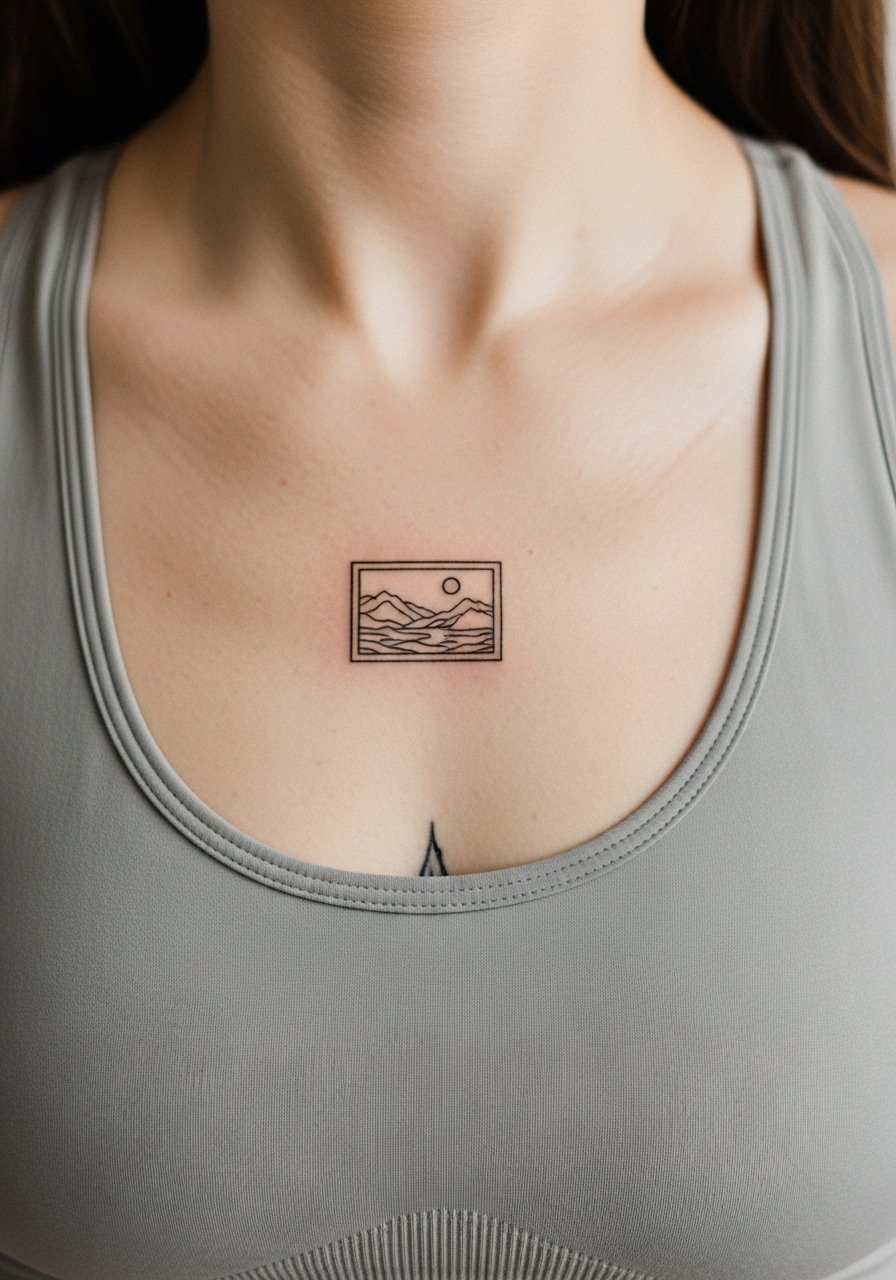
Sternum stamps are striking but contentious for fine line. One group of artists says the area moves too much and tight linework softens quickly. Another group argues that slightly bolder lines and careful depth prevent major blur. Name both camps when you consult the artist and ask which approach they use. Sessions can be painful and require shorter passes. For the appointment wear a fitted sports bra you can lift so the artist works without disrupting coverage.
10. Tiny Botanical Stamp Behind the Ear
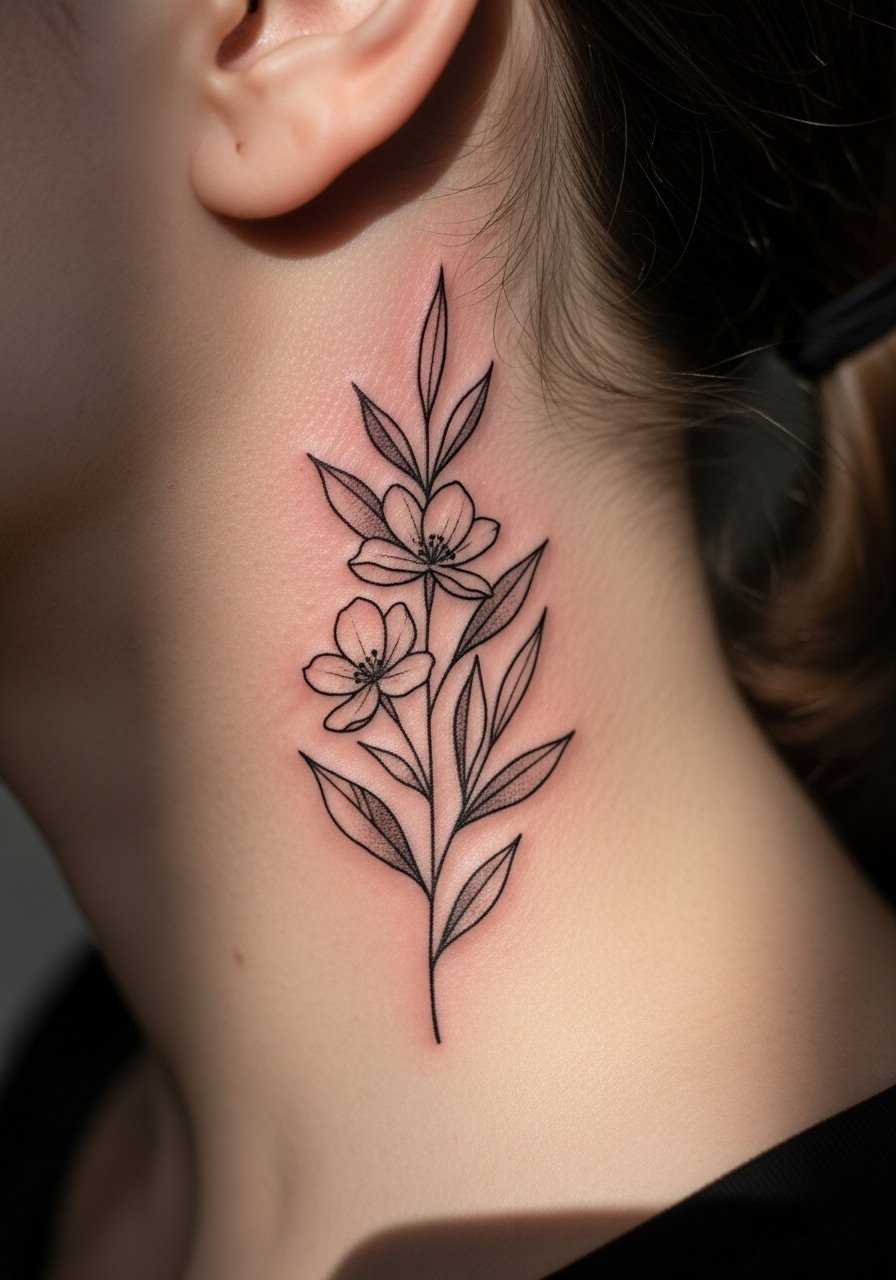
Behind-ear pieces read intimate because hair can hide or reveal them. Use a slightly larger stamp frame so leaf veins do not merge. The area is sensitive but sessions are very short. The common mistake is insisting on extreme miniaturization that loses definition when hair grows back. For the session plan to wear hair up and bring a soft hair clip so the artist has a clear field.
11. Postage Stamp Mandala on Upper Thigh
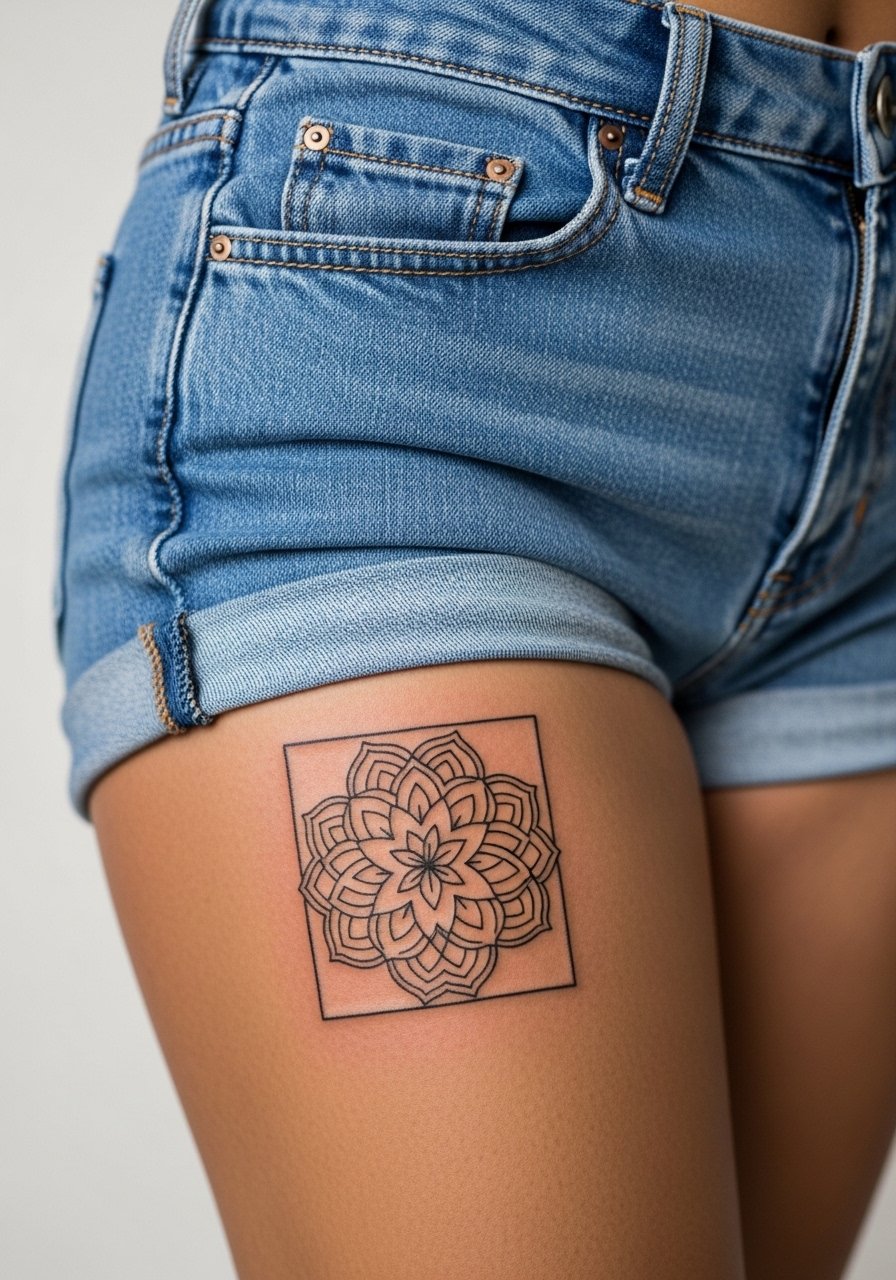
Upper thigh stamps let you go denser with dot work and stipple shading. Ask for spacing that keeps the mandala's negative areas clear so the pattern ages without merging. Thigh skin tolerates saturation well and touch-ups are less frequent. Sessions here feel like steady pressure and are comfortable for longer sittings. For showing it off pick skirts or shorts and consider a high-waisted denim short that reveals the piece tastefully.
12. Postage Stamp Anchor on Outer Wrist
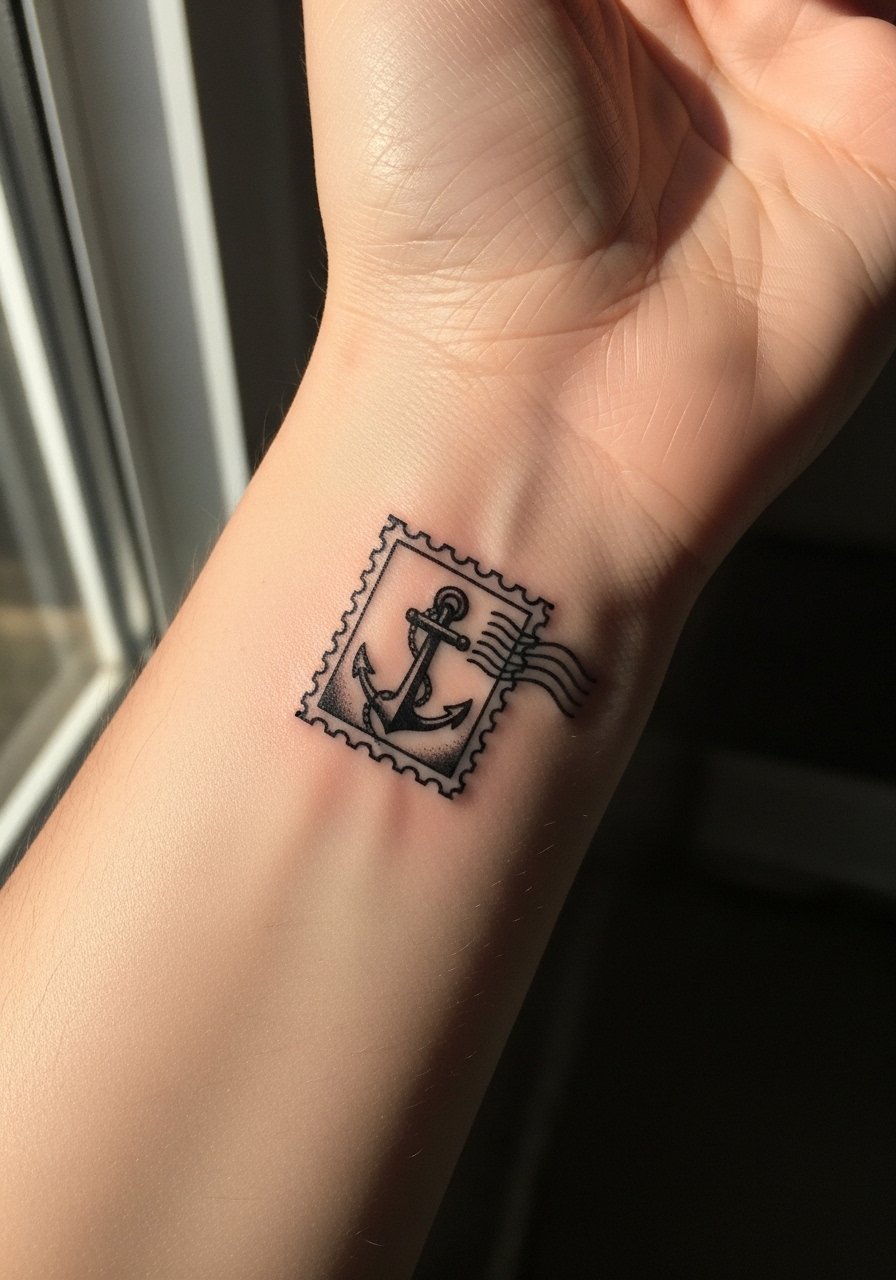
Outer wrist stamps are exposed to sun and hand movement. Ask for a reinforced border and uncomplicated fills that can take a little fading without losing form. This placement is sensitive and usually quick to ink. The common mistake is squeezing complex shading into a stamp that will not hold micro gradients. For a simple, everyday look pair with a minimal leather strap watch that complements rather than competes with the stamp.
13. Postage Stamp Animal Silhouette on Upper Back
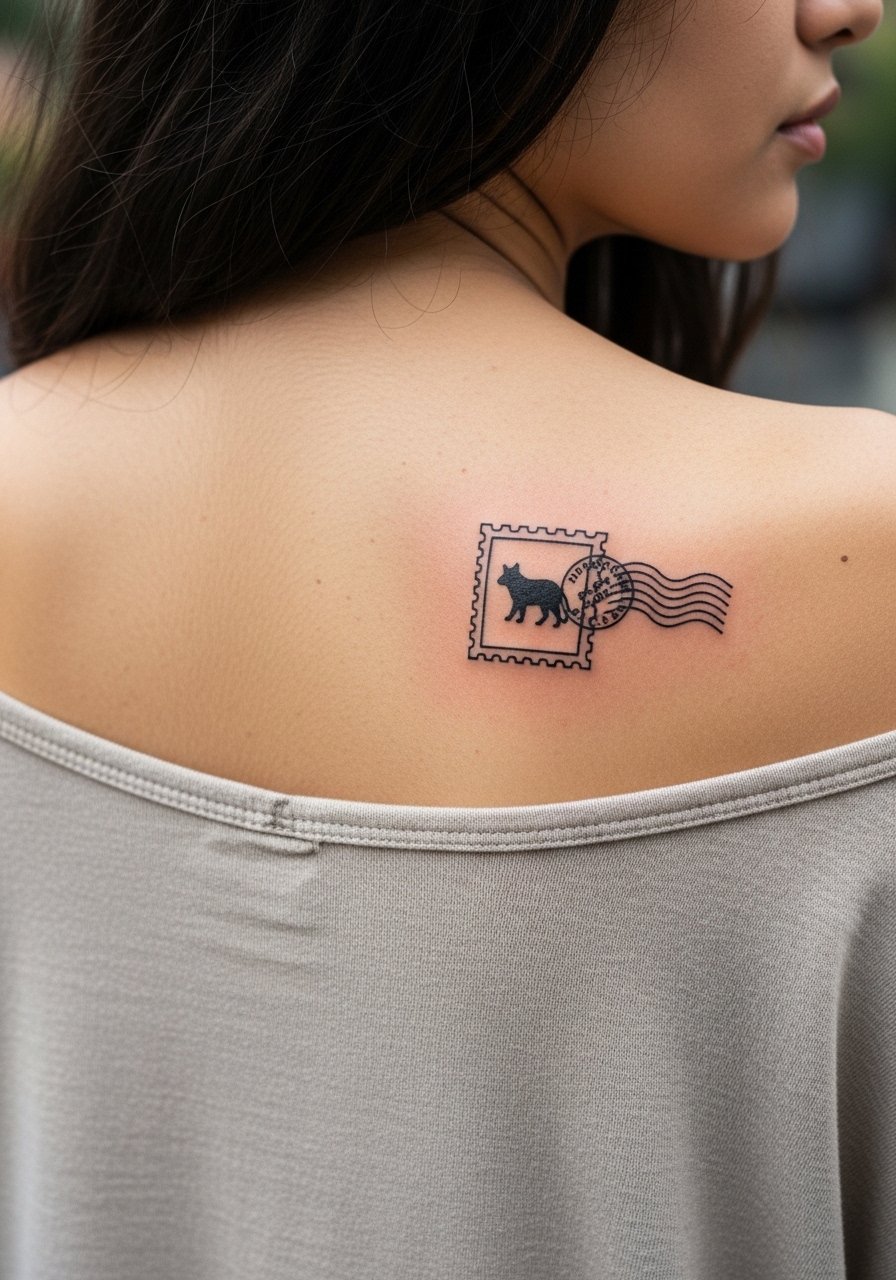
Upper back stamps are classic for pieces you may show on occasion. Tell the artist you want a solid silhouette with a bold stamp edge and minimal interior detail to resist softening. The area is low-friction which helps longevity. Sessions are comfortable and allow for slightly larger stamp sizing. A typical mistake is over-detailing interior textures which can disappear. For show-off moments choose an open-back dress or a wide-neck sweater that reveals the stamp when you want it visible.
14. Postage Stamp Compass on Middle Finger
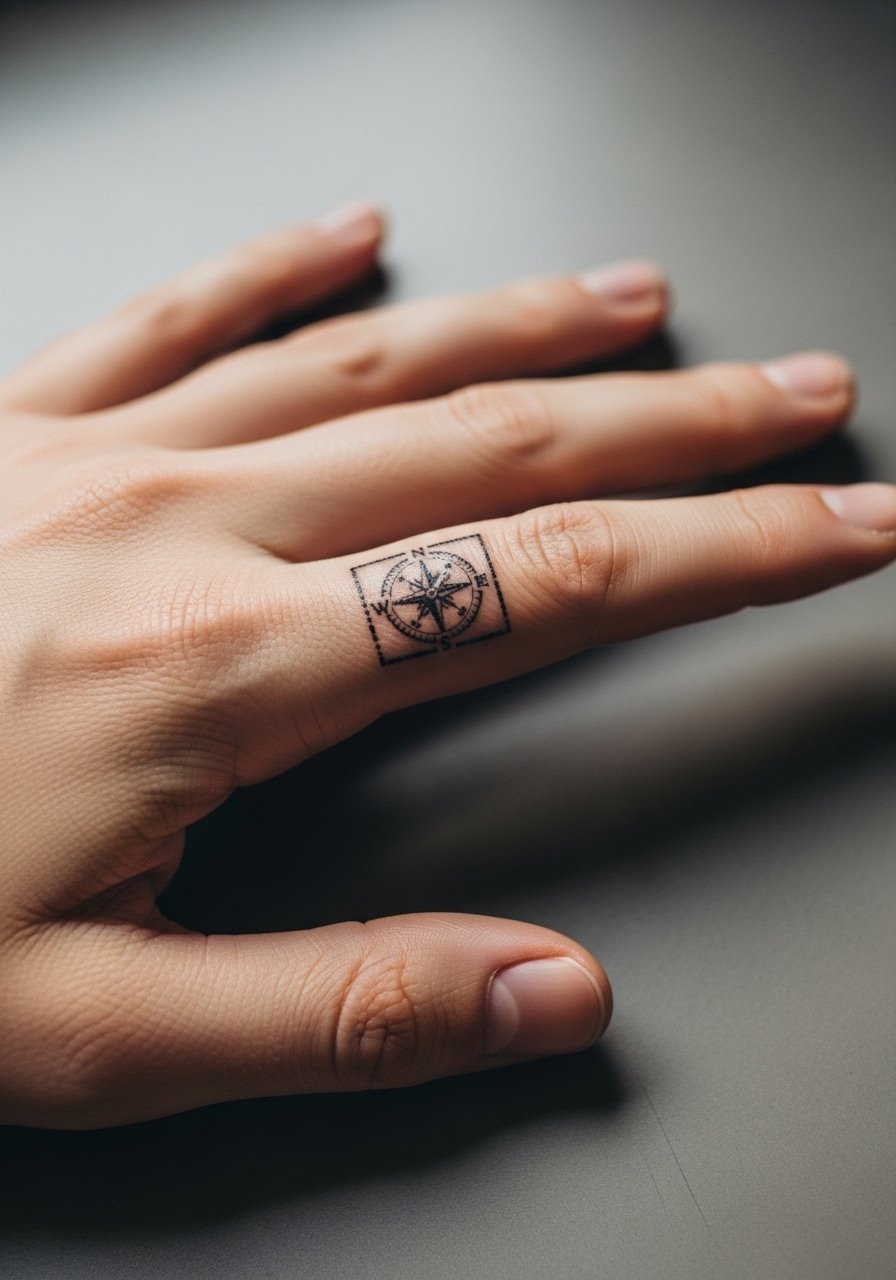
Finger stamps fade faster thanks to constant washing and skin renewal. For a compass, insist on a bold outer frame and simplified internal geometry rather than extended tiny hatching. Expect touch-ups early, often around the one-year mark. The session is brief but sensitive. The most common mistake is insisting on extremes of tiny detail that cannot hold on the finger. To accessorize, wear thin stacking rings that sit above the stamp so the finger remains the focal point.
15. Postage Stamp Botanical on Collarbone
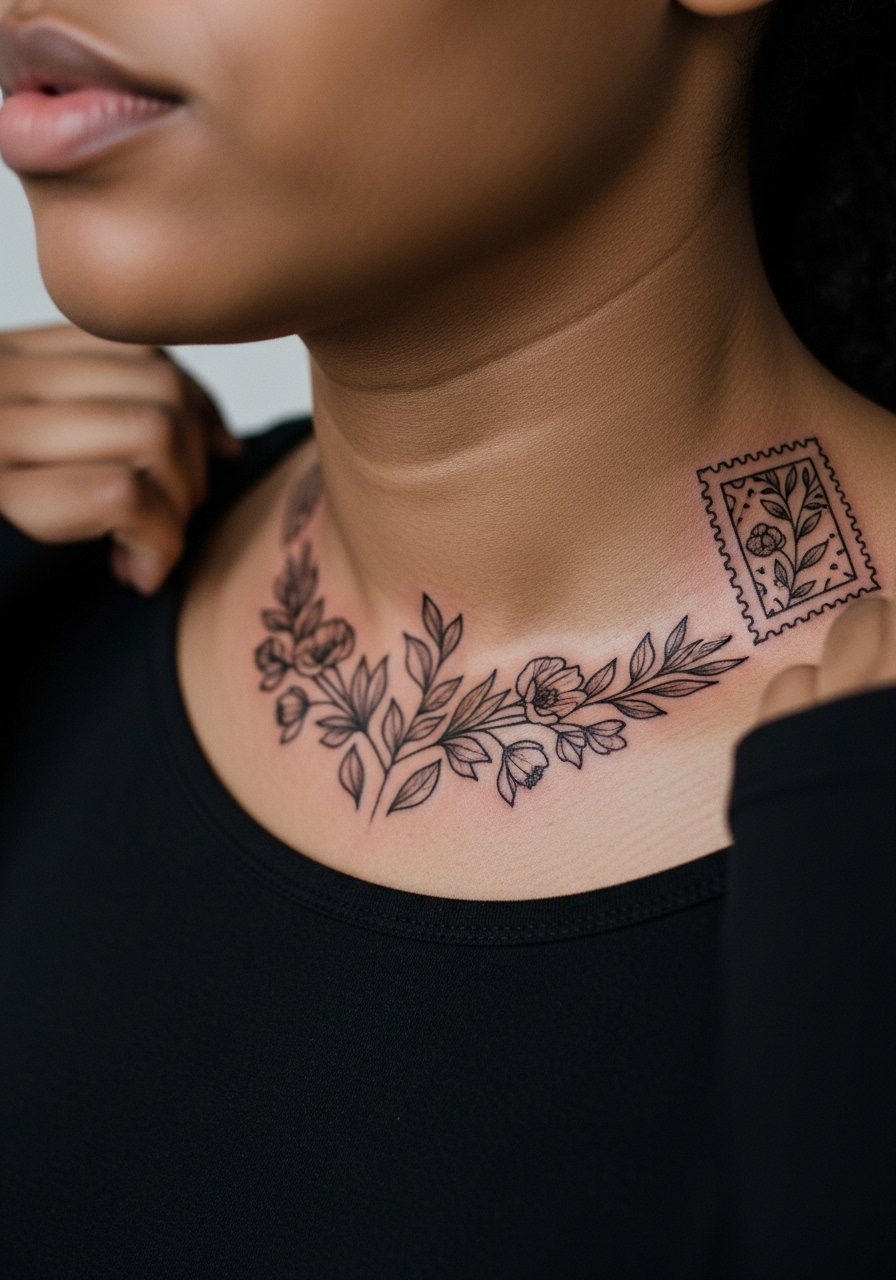
Collarbone stamps sit where clothing and seat belts can rub, so request a border with enough negative space between the design and the frame. The area can be sensitive if the bone is prominent. A common error is compressing elements toward the bone which creates pain without structural benefit. Sessions are manageable in short bursts. For showing the piece off, pair it with a thin chain pendant necklace that sits just above the stamp without crowding.
16. Postage Stamp Eye Motif on Hand Back
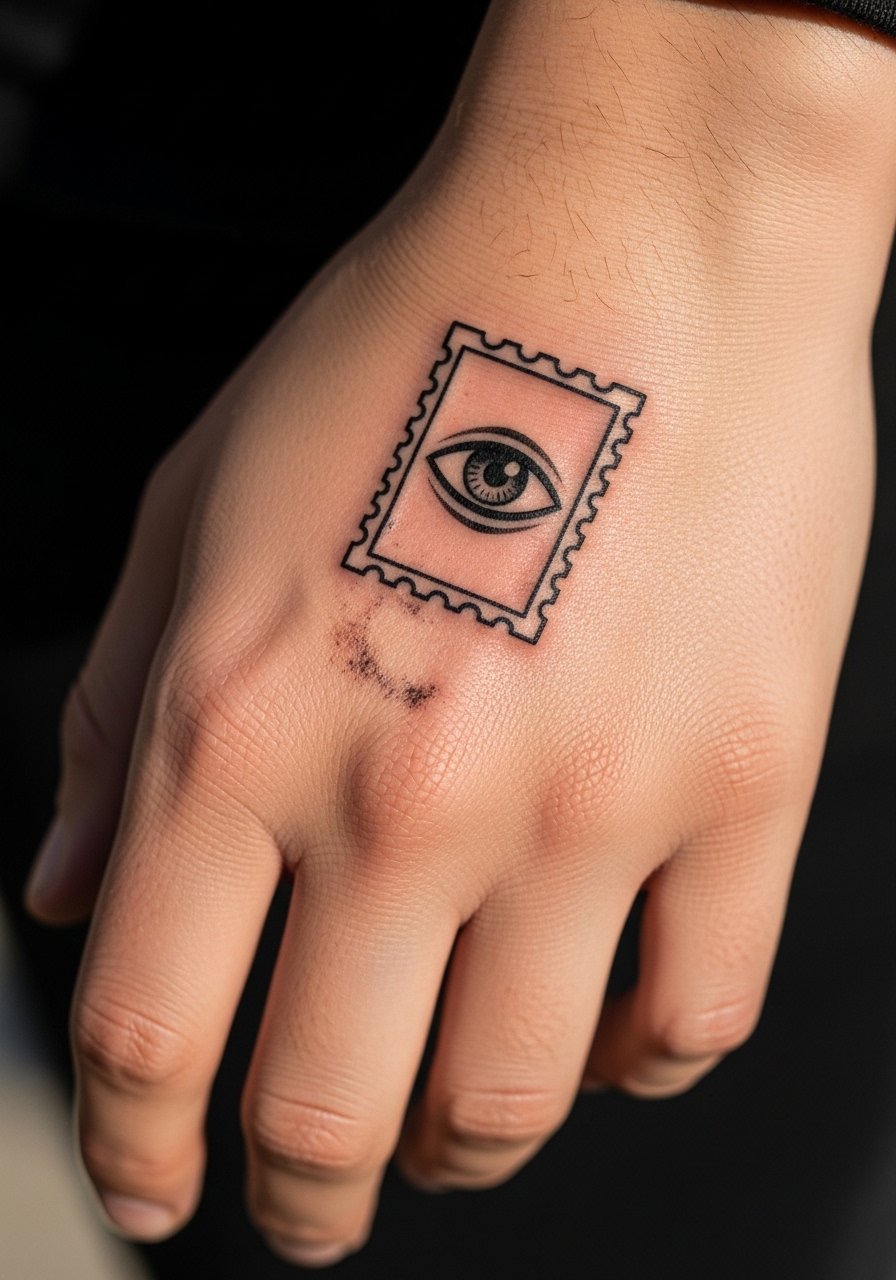
Hand stamps age quickly because of exposure and frequent use. Ask for solid fills and a thick border that keeps the eye’s silhouette readable as small fade occurs. The session can be sharp and requires precision. Artists debate hand work because of longevity versus visibility, so ask about realistic touch-up expectations. The error is too many micro details on an area that faces heavy wear. When wearing accessories, choose items that do not rub the back of your hand.
17. Postage Stamp Mountain Range on Side Torso
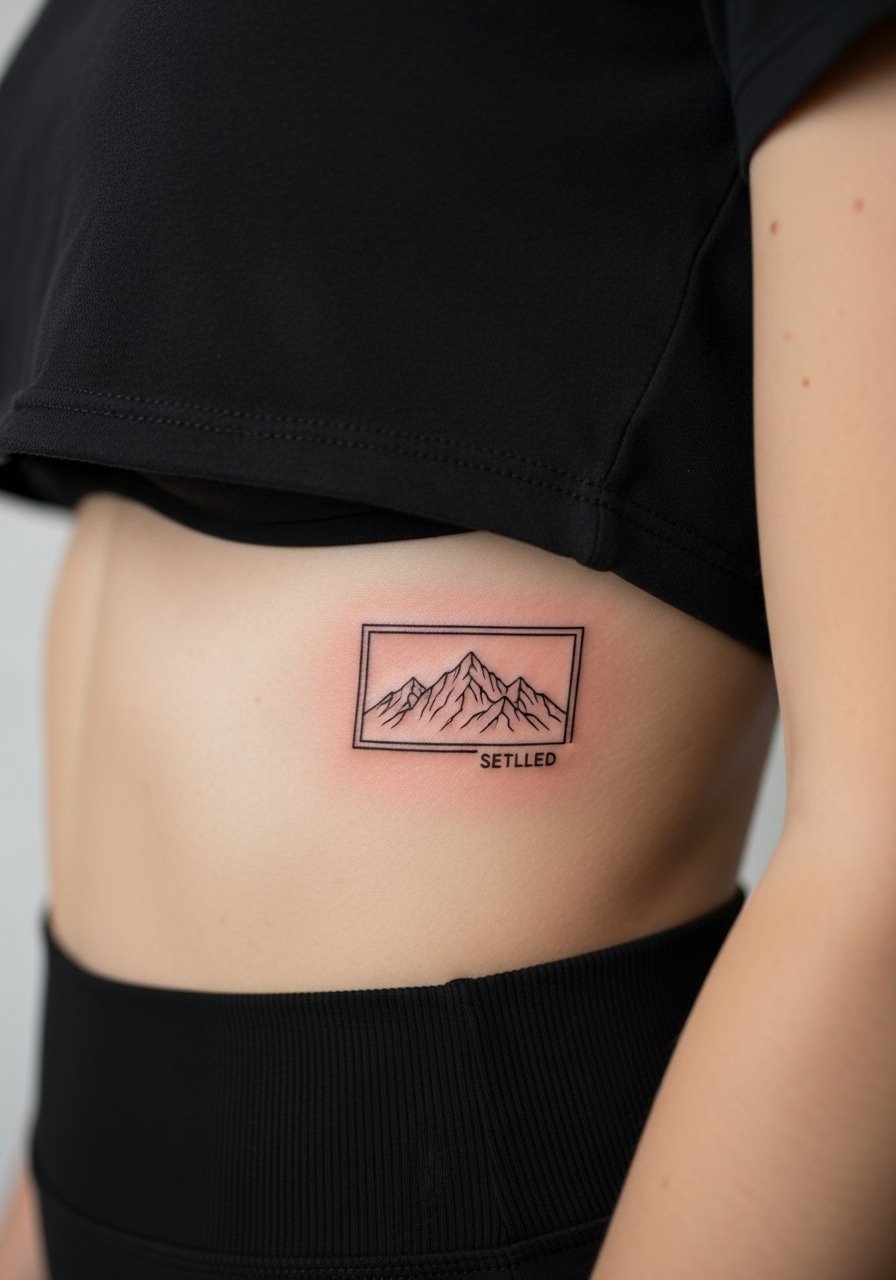
Side torso stamps are dramatic and sit where body movement can alter line spacing. Ask for a slightly larger frame and negative space between mountain ridges so the silhouette stays distinct as the skin shifts. Sessions may require shifting positions and short breaks so expect a medium pain level. The common mistake is making the stamp too small for the area, which wastes its potential. For the session wear a cropped tee and comfortable bottoms to give the artist clean access.
Frequently Asked Questions
Q: Will tiny postage stamp tattoos blur faster than larger designs on the same placement?
A: Tiny stamps generally show blur sooner because the needle paths are closer together. A slightly larger frame with a bolder outer line gives the tattoo room to breathe and preserves definition. Placement and daily friction matter more than size alone.
Q: How often should I expect touch-ups for a fine line stamp on the wrist or fingers?
A: Plan on touch-ups around year one to three for fingers and wrists, depending on lifestyle. Fingers usually need earlier attention because of constant washing. Ask your artist about realistic timelines during consultation.
Q: Are there placements here that you would avoid if I want the tattoo to look the same in five years?
A: Fingers, palms, and high-friction spots tend to change fastest. Ribs and sternum can also soften if ultra-fine detail is forced. For longevity pick outer arm, calf, or upper back and ask for a slightly sturdier border.
Q: What should I bring to my consultation for a custom stamp design?
A: Bring clear reference images, note the exact text if any, and describe how visible you want the piece to be. Use discovery pathways like portfol io directories or event guest lists to vet artists rather than relying solely on a single social post.
Q: Any wardrobe tips for the healing week after a sternum or rib stamp?
A: Choose clothing that does not press on the area, such as a loose button-down or a fitted sports bra that you can adjust. A long-sleeve button shirt you can open is helpful for chest and rib work.
Q: How should I search for artists who specialize in postage stamp work without naming specific accounts?
A: Use community discovery routes like local shop portfolios on directory listings, tattoo convention guest lists, and targeted hashtags that include the phrase "postage stamp" so you can view healed work and ask about touch-up history.
