
Fine line work and saturated color are both trending for Dragon Ball fans, but they do not age the same. Neo-traditional and blackwork pieces tend to hold contrast longer, while tiny script and watercolor details often need touch-ups sooner. Read on for twenty-seven concept-ready ideas with placement notes, what to ask your artist, and wardrobe tips that actually help show off the healed result.
1. Neo‑Traditional Goku Super Saiyan on Outer Forearm
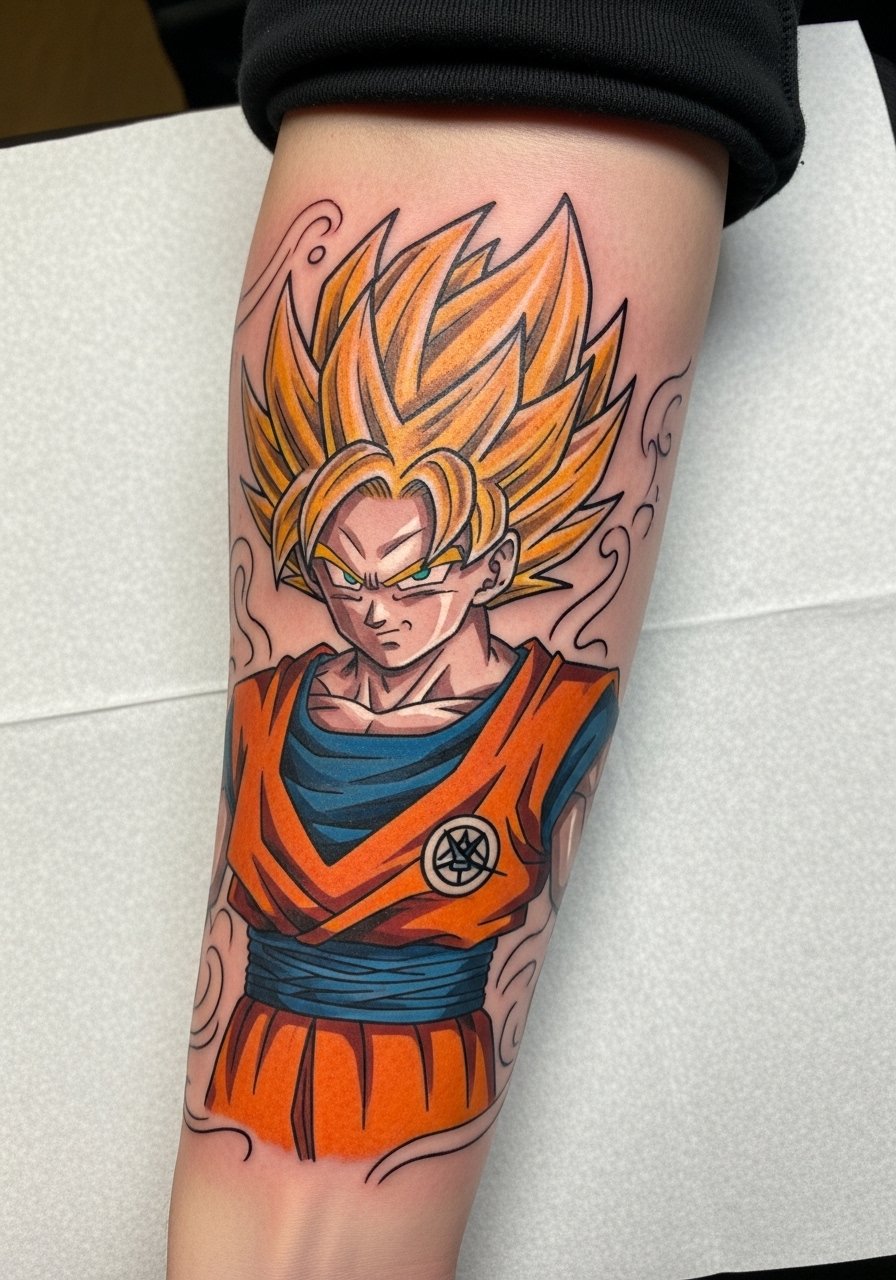
Most people pick the forearm for the Goku power-up because it reads in motion and on camera. I recommend neo-traditional line weight here, not tiny strokes, so the hair spikes retain shape as the skin settles. Tell your artist you want heavier outlines around the hair and lighter shading inside the aura for depth without muddiness. Fair warning, forearm designs can distort with large muscle changes, so if you plan big weight shifts consider slightly larger spacing between elements. For session wear, bring a loose tank top you can roll sleeves out of the way.
2. Blackwork Vegeta Final Flash Upper Arm Sleeve
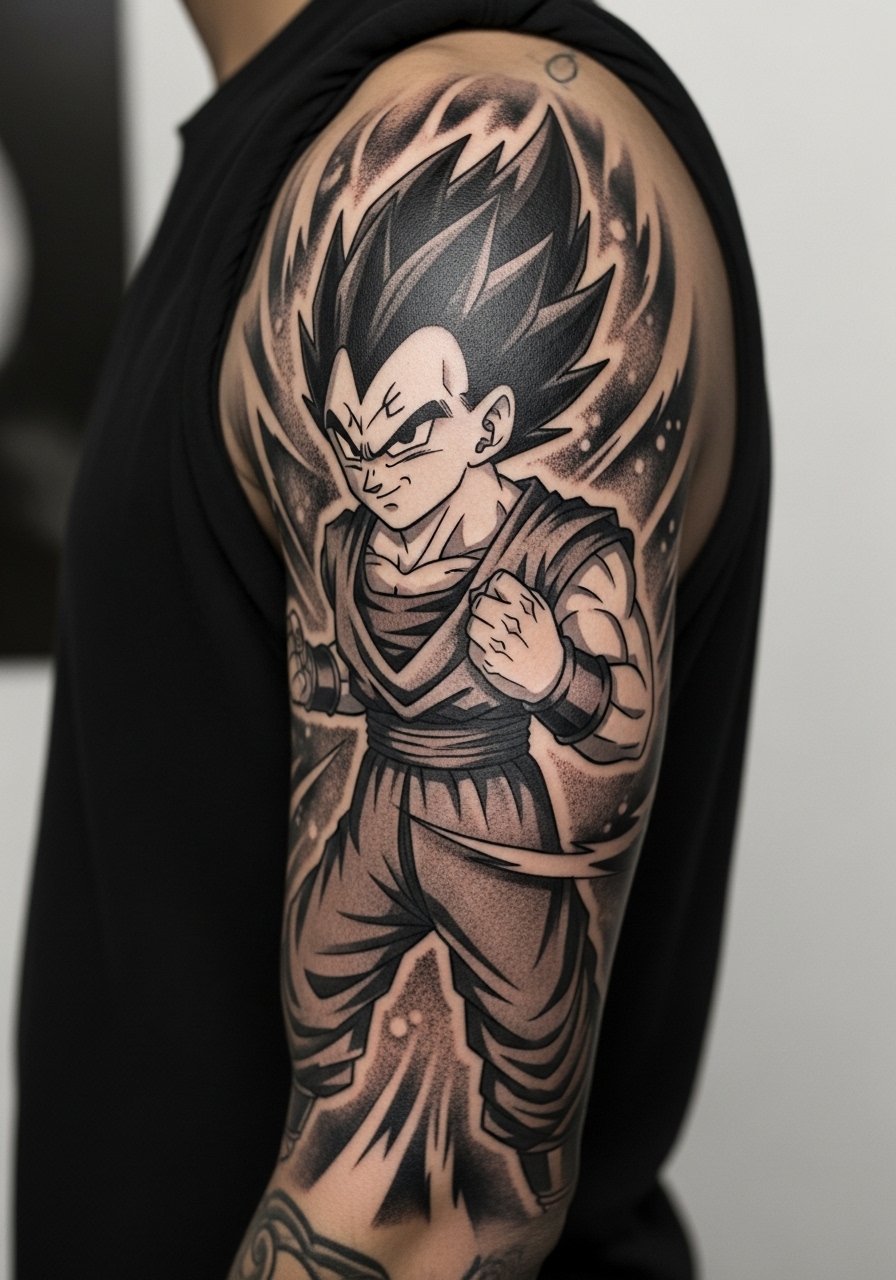
I've seen blackwork sleeves age exceptionally well on darker skin when saturation is high. For a Final Flash sleeve, ask for negative-space lightning bolts instead of thin colored streaks so the contrast keeps reading from a distance. The session feels long, expect multiple sittings and heavy vibrating sensation where the needle stays over the deltoid. Artists clash on watercolor vs blackwork for big sleeves. One camp says blackwork is the longevity win. The other prefers color for visual impact. If you want dress flexibility, pair the sleeve with short-sleeve button-ups and a loose button-down shirt you can wear post-session.
3. Minimalist Dragon Ball Symbol on Inner Wrist
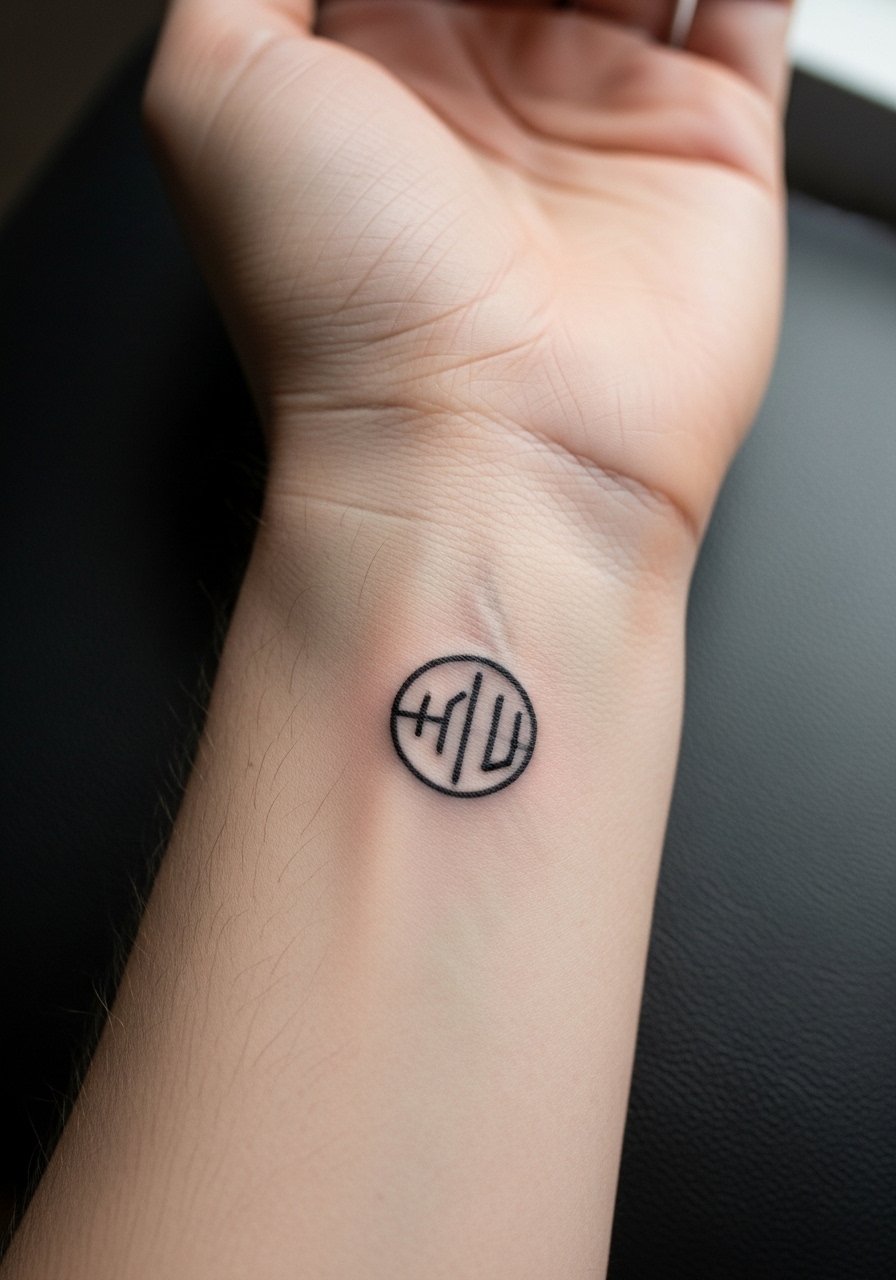
Wrist pieces are great for subtle fandom but they hurt more than people expect. Keep the symbol around two inches and request a slightly thicker line than the thinnest flash you like. The common mistake is asking for hairline script or micro strokes which will blur in two years. If visibility at interviews is a concern, this placement still works because you can cover it with a watch. For session access, wear a sleeveless shirt and remove jewelry.
4. Shenron Coiled on Outer Thigh
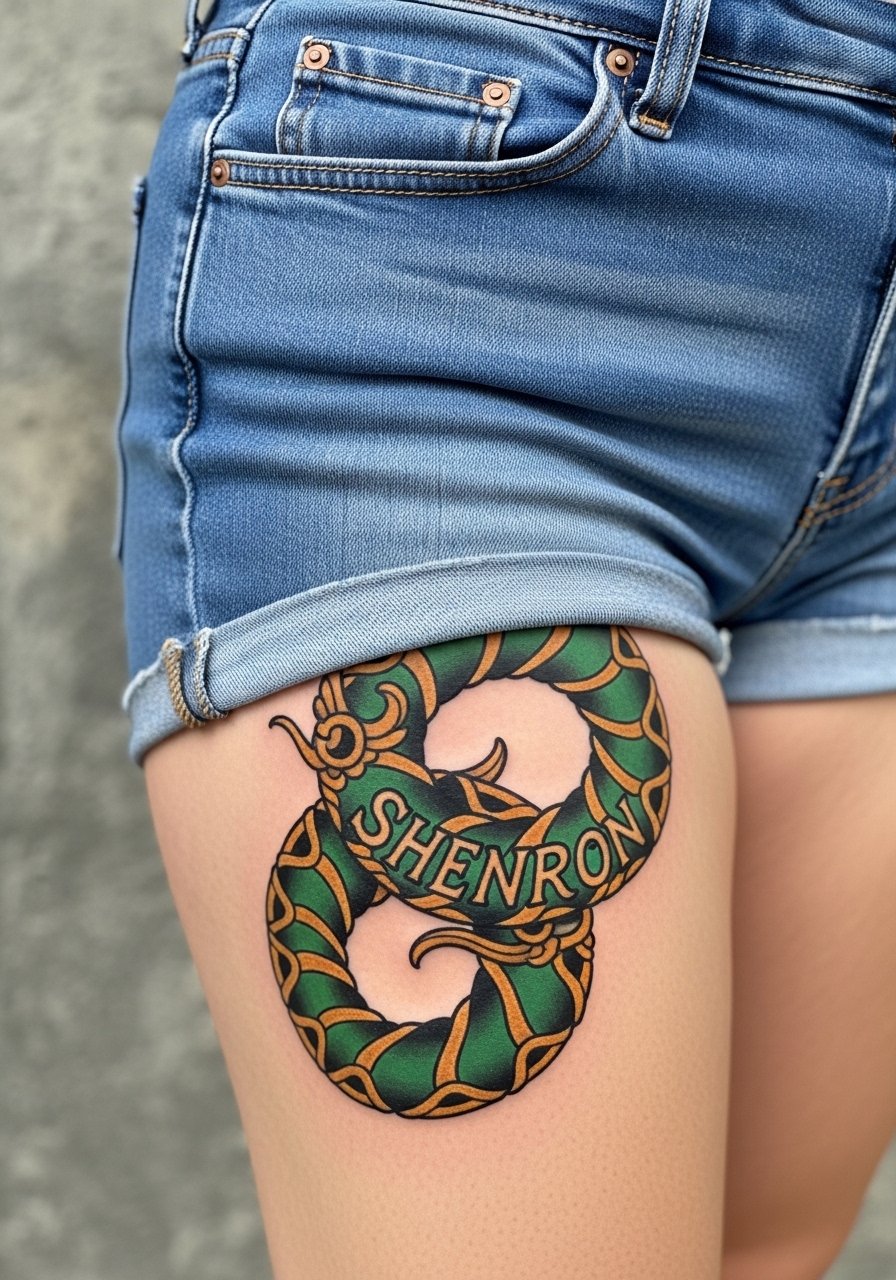
Thigh placements are forgiving and let detailed dragons breathe without blowout. Ask your artist for layered scales with stipple shading for texture rather than tiny cross-hatching that flattens with time. The biggest aging win here is avoiding super thin script along the dragon curve. For show-off outfits, high-waisted denim shorts complement the coil, and for the session wear loose gym shorts so the artist has clear access. Consider booking multi-session blocks because large thigh color pieces heal easier when spaced correctly.
5. Goku vs Frieza Micro‑Realism Chest Panel

Chest pieces carry a lot of drama but the skin flex around the pec can blur tiny realism if done too small. For a Goku vs Frieza clash, aim for an 8-inch width and ask the artist to keep high-contrast focal points at the center where the portrait detail matters most. Pain on the chest varies with body composition, expect more sensitivity near the sternum. Note that chest sessions can be unforgiving in humid months because sweat affects pigment saturation. For after-session comfort, wear a loose wide-neck shirt you can pull aside.
6. Spirit Bomb Black and Gray Orb on Outer Calf
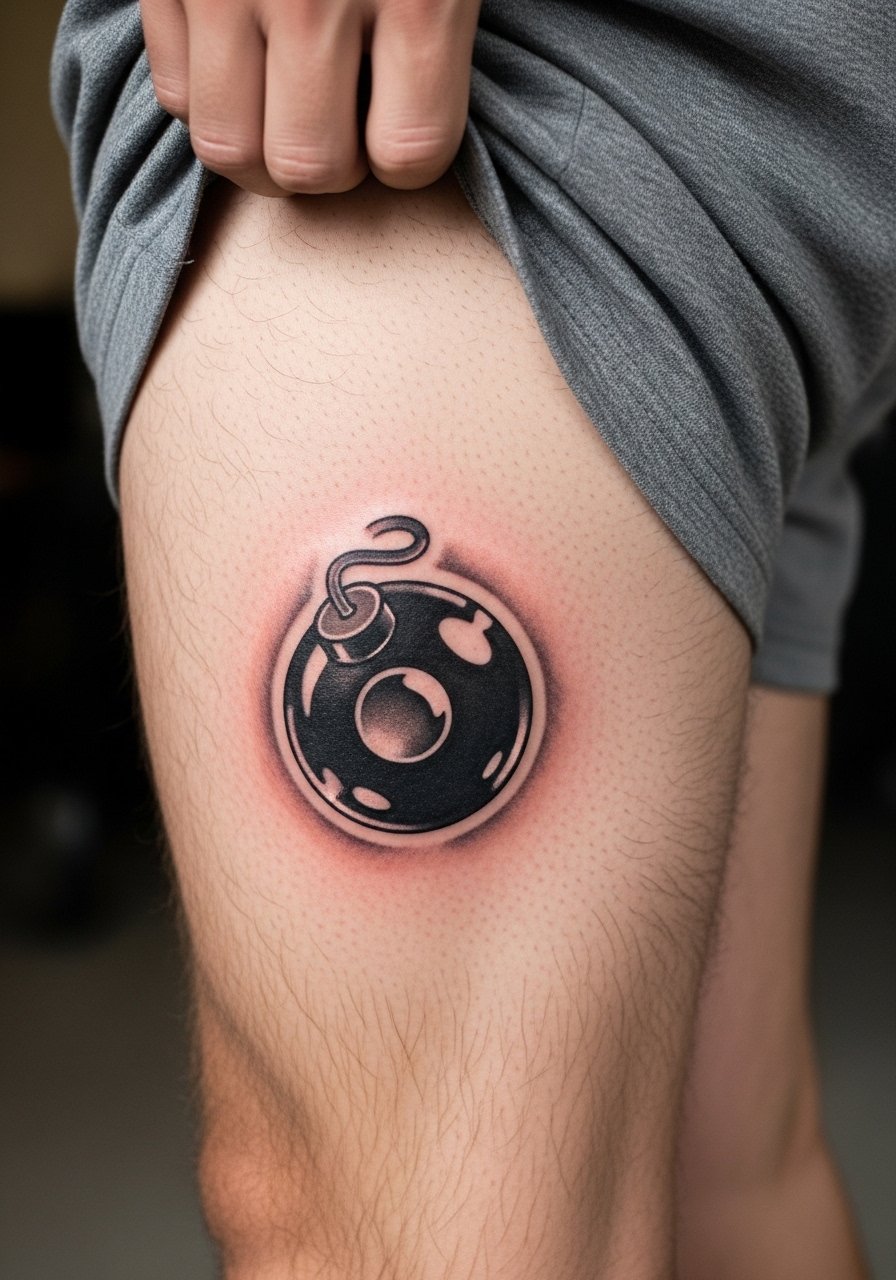
Calf work is a good middle ground for visibility and low irritation during sessions. This Spirit Bomb design looks striking in blackwork rings that fade outward with whip and stipple shading. A common mistake is tiny dot clusters that read like noise when healed. Expect two sessions and moderate soreness after. For summer showing, roll-up bootcut jeans or athletic shorts pair well and a simple athletic shorts makes the reveal easy.
Studio Day Picks
The forearm, chest, and wrist projects above all ask for different prep, so a small kit tailored to those placements keeps the session running smoothly.
-
Ink-Oil tattoo balm. A lighter-feeling balm many people prefer during the first week on oily or sweaty skin, which helps forearm color keep saturation without the greasy residue.
-
Australian tea tree tattoo salve. For larger color pieces like thigh Shenron this salve can reduce inflammation without a sticky film.
-
Rescue remedy tattoo spray. Handy for chest sessions where breath control matters, a quick spritz soothes surface itch during early healing.
-
Hada Labo moisturizing lotion. Lightweight hydration that works for fine line areas like wrist pieces without leaving residue that smears tiny lines.
-
Hustle Butter Deluxe. Thinner than heavy ointments and preferred by many for color pieces in sweaty climates, which helps maintain saturation in forearm and thigh work.
7. Piccolo Ornamental Armband on Upper Arm

This armband benefits from muscle-aware flow, so ask for a repeating motif that follows the biceps curve rather than a rigid circle. I've seen armbands that look great initially but gap when placed across the joint. The upper arm is lower on the pain chart and usually takes one to two sessions. Pair the finished armband with short sleeves or an off-shoulder top and bring a sleeveless shirt to the appointment.
8. Kamehameha Wave Script Wrapping Inner Forearm
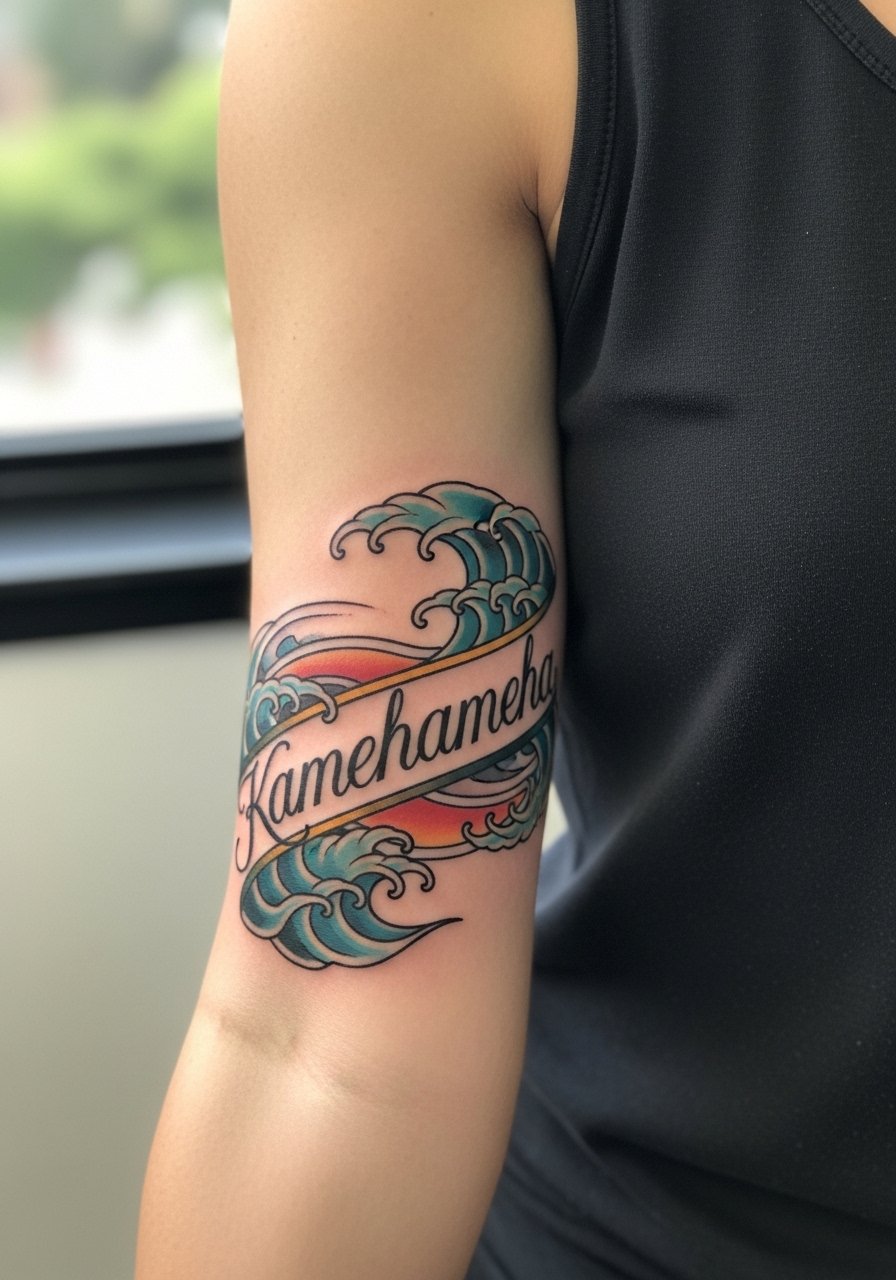
Inner forearm work reads very personal. For a Kamehameha script, request integrated wave art instead of floating kanji to help the composition age. The inner forearm tolerates finer work better than the wrist, but tiny thin script still softens. A common mistake is asking for white highlights in thin areas that vanish. Expect two sessions if you want saturated color. For the session, wear a loose tank top so the arm is fully accessible.
9. Trunks Sword Upper Back Outline
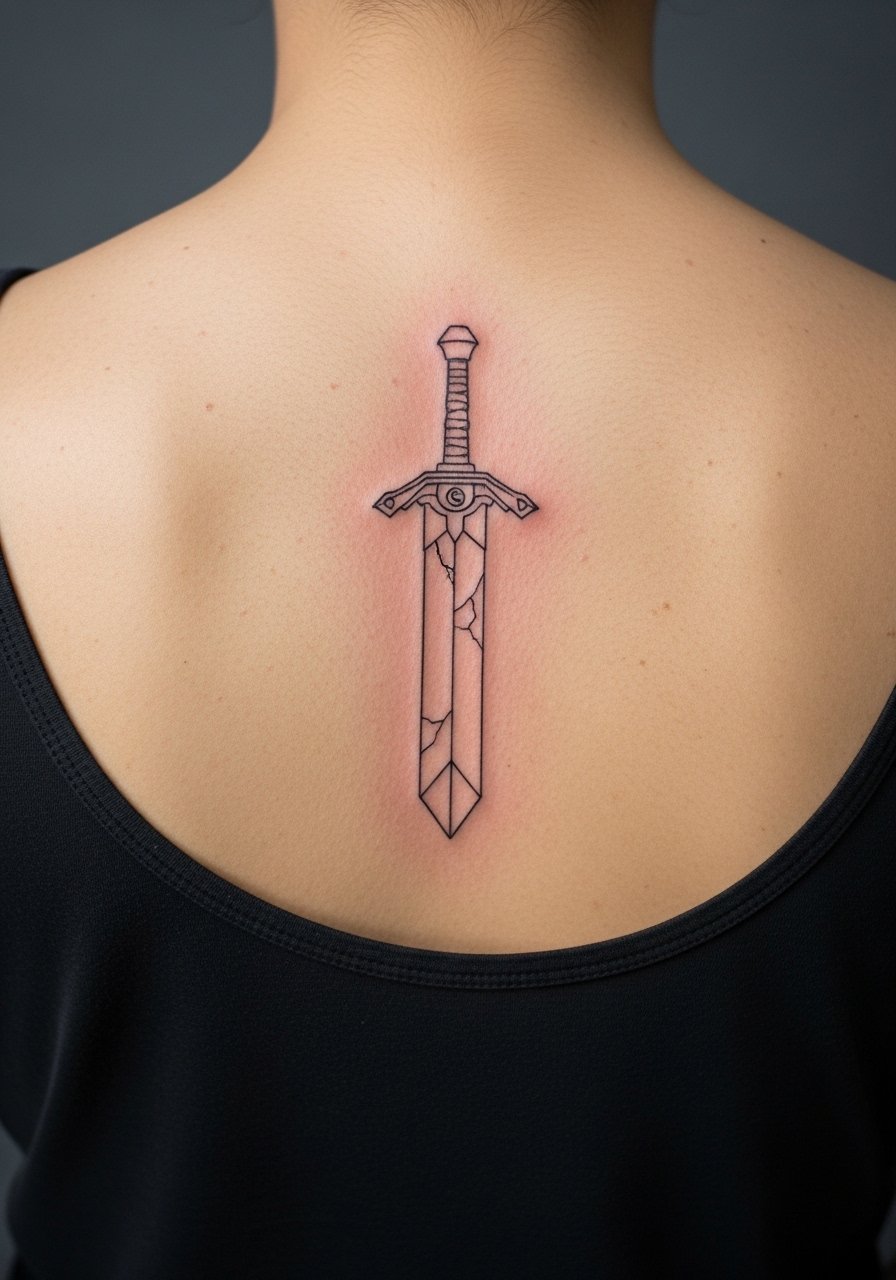
Upper back gives room for tall silhouettes like Trunks' sword silhouette. Fine line works if the piece is scaled up so lines do not crowd. There is debate about fine line on larger areas. One camp warns the back's movement can blur thin lines. The other says with proper spacing it holds well. Ask your artist their stance and request a slightly bolder primary outline. For show-off outfits, backless tanks or halters are ideal and plan for a three-hour block with breaks.
10. Bulma Capsule Corp Logo on Ankle

Ankle pieces are discreet and playful. Keep logos compact and solid color to avoid feathering from too many tiny gradients. The ankle sees abrasion from socks and shoes so expect some early scab friction. For showing off, boots or sandals and a rolled pant hem work best. For appointment comfort, bring rolled ankle jeans you can easily pull up.
11. Cell Perfect Form Shoulder Portrait
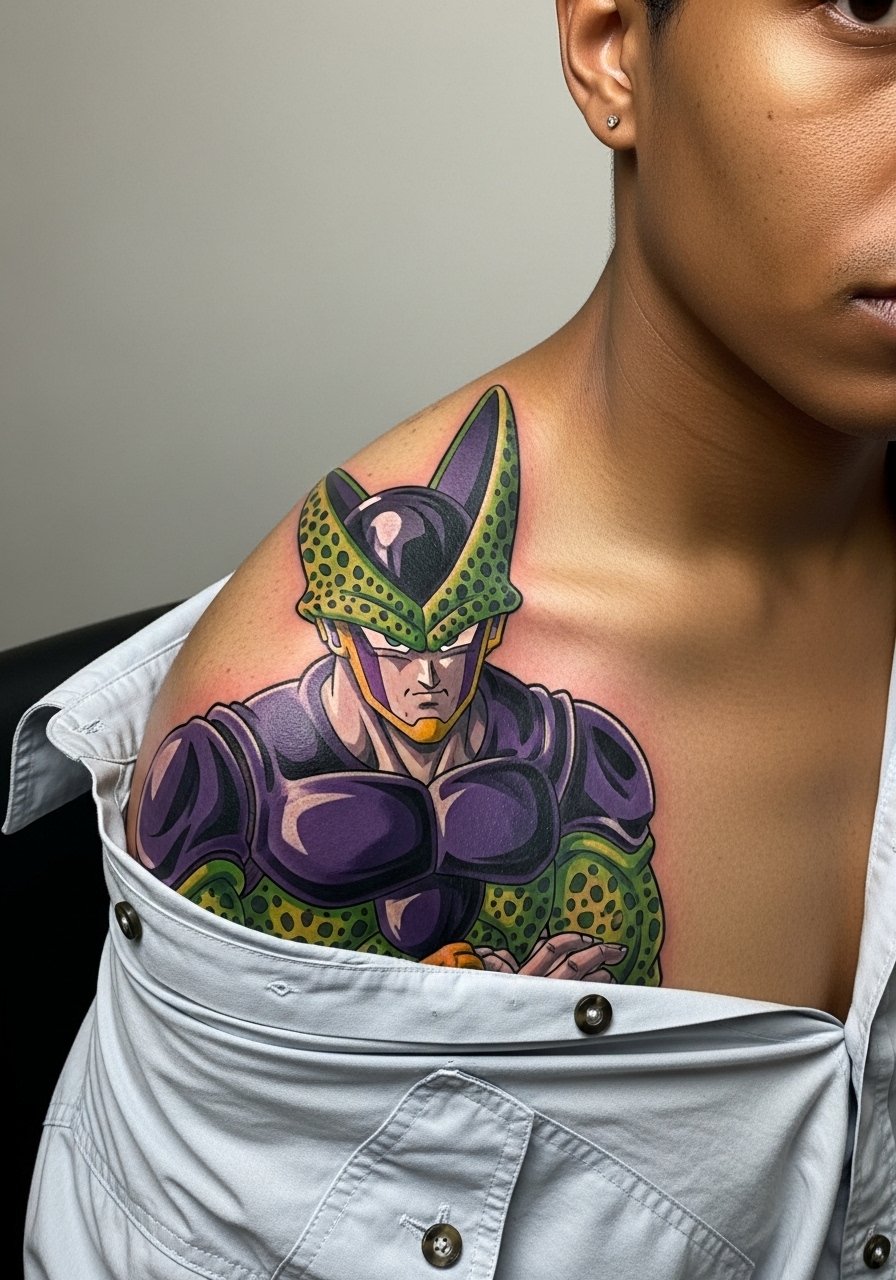
Shoulder portraits read as high-impact pieces and are forgiving for realism because of the larger canvas. Ask the artist to plan focal contrast away from the edge so blowout at the shoulder seam does not wash out detail. Sessions can be long and the upper arm will ache after. For show-off, an off-shoulder top in neutral tones frames the portrait, and bring a loose button-down shirt to the session for easy access.
12. Super Saiyan God Hair Flame on Side Neck
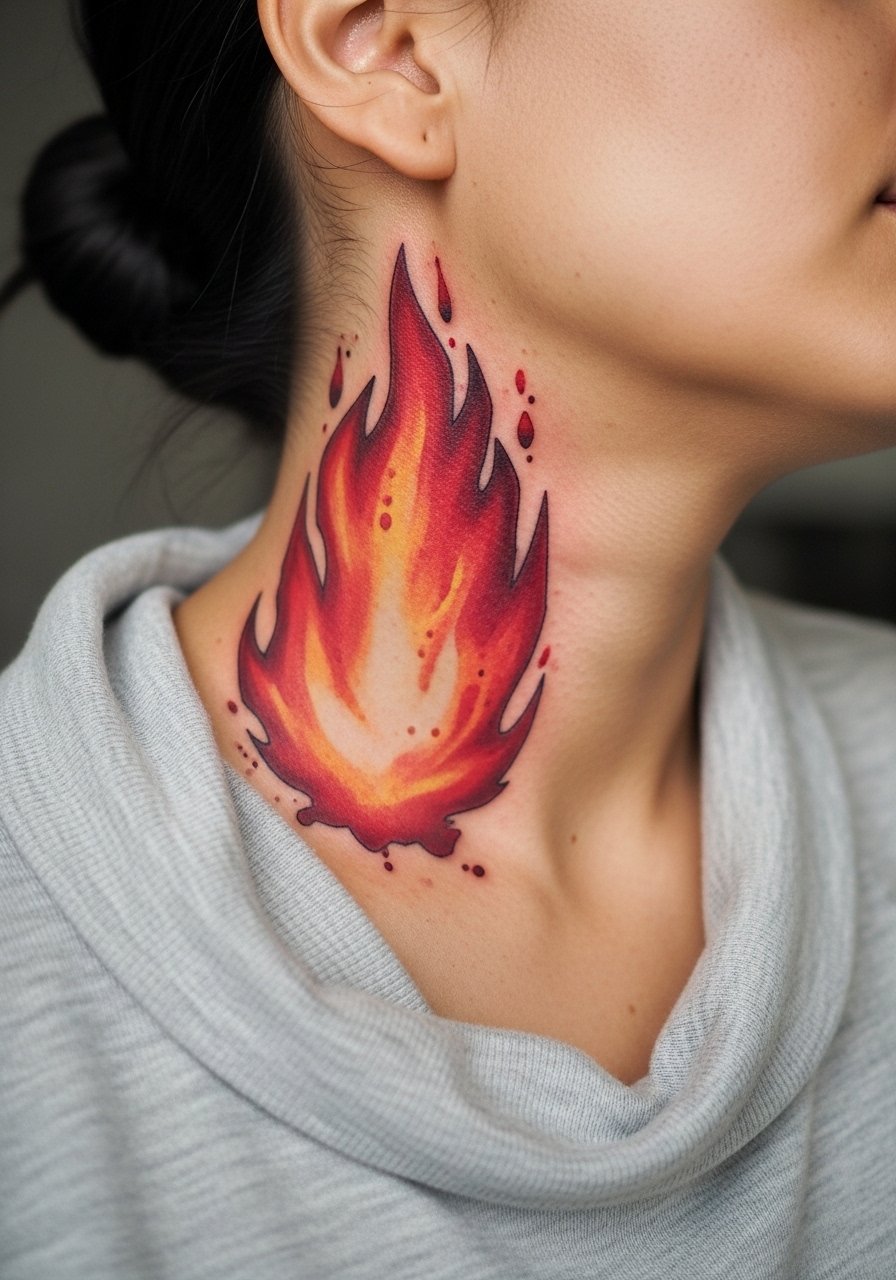
Neck tattoos read edgy but they are highly visible and sensitive. The watercolor flame looks striking but watercolor ages faster in high-exposure zones. If you want flame tones on the neck, ask the artist for anchored black line nodes to protect the color fields. Note that some studios restrict neck watercolor due to touch-up needs. For session wear, a wide-neck shirt that can shift is essential and pain will be higher than shoulder spots.
13. Genki Dama Dotwork on Side Ribcage
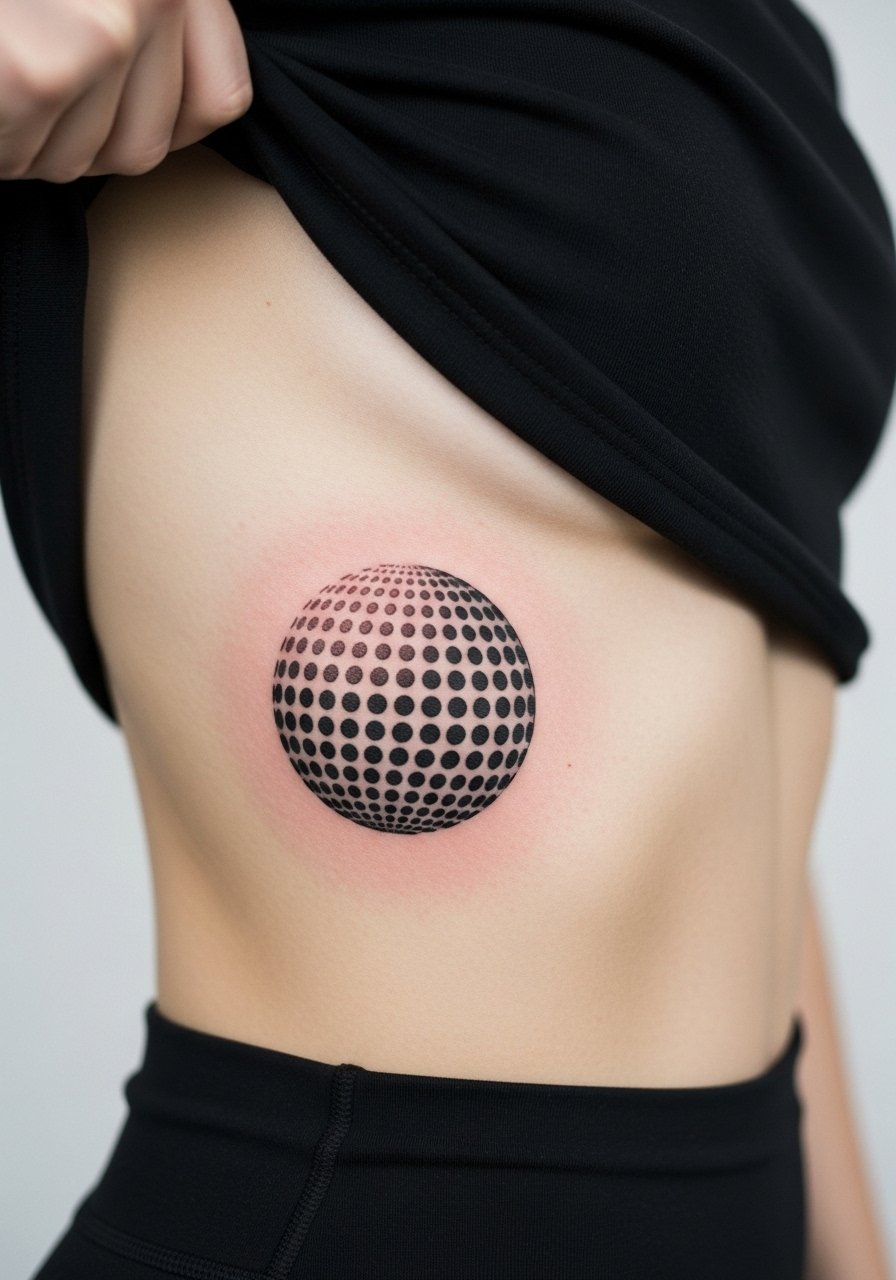
Ribcage is a high-pain placement but excellent for intimate designs like a Genki Dama. Dotwork reads beautifully there because the density can be scaled to minimize blowout. The downside is movement and stretch from breathing. Artists split on fine line ribs. One camp warns of early blurring. The other says precise depth avoids this. Expect touch-ups at year two for dense dot fields. For the session, wear a sports bra you can lift and breathe through slow, steady breaths.
14. Micro‑Realism Frieza Torso Panel
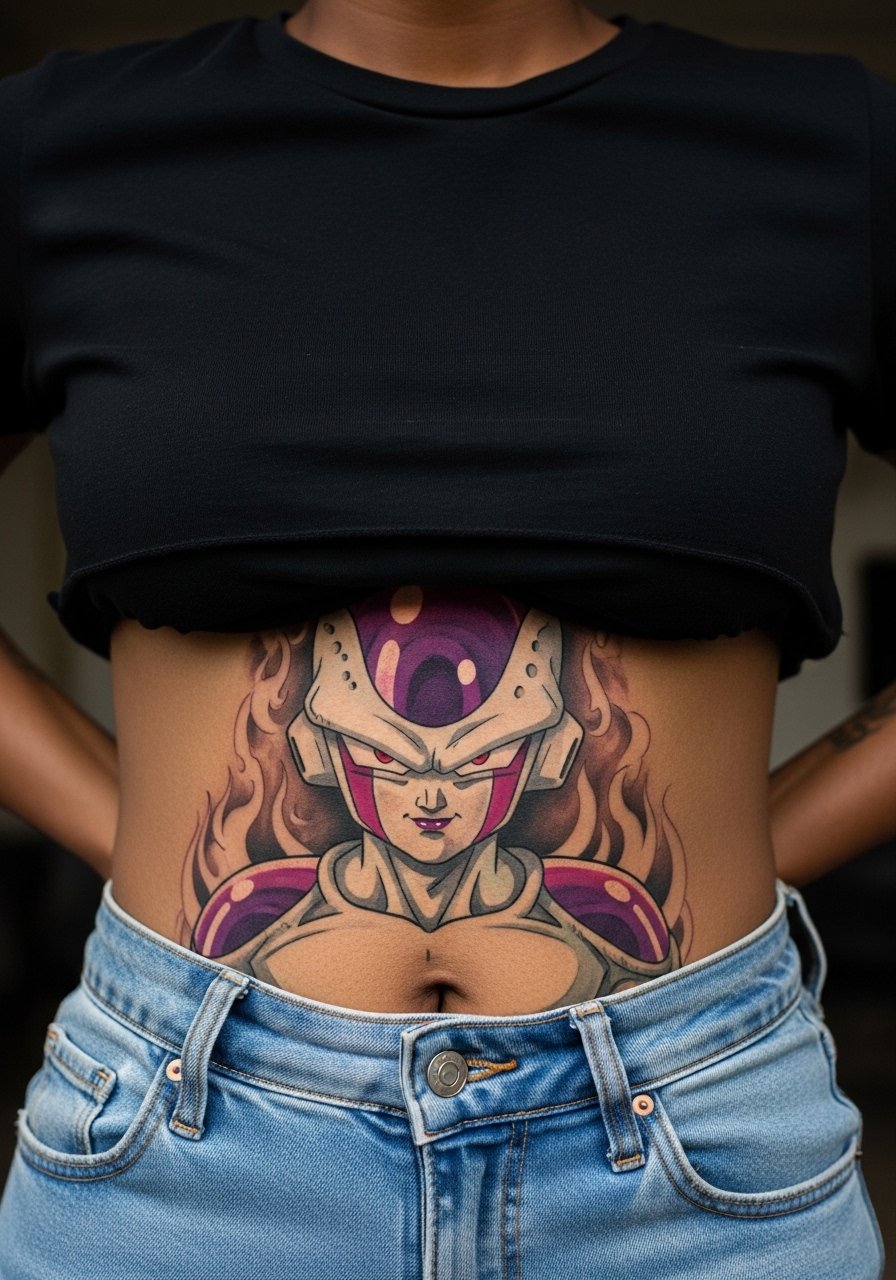
Stomach placements move with weight changes and digestion, so realistic portraits need robust spacing and higher contrast. A common mistake is compressing facial detail into a small area. If you want realism, plan for a larger panel and discuss touch-up policies. Expect more sensitivity and slower healing than the arm. For the session wear a cropped tee that gives the artist access without full exposure.
15. Dragon Balls Cluster on Shoulder Blade
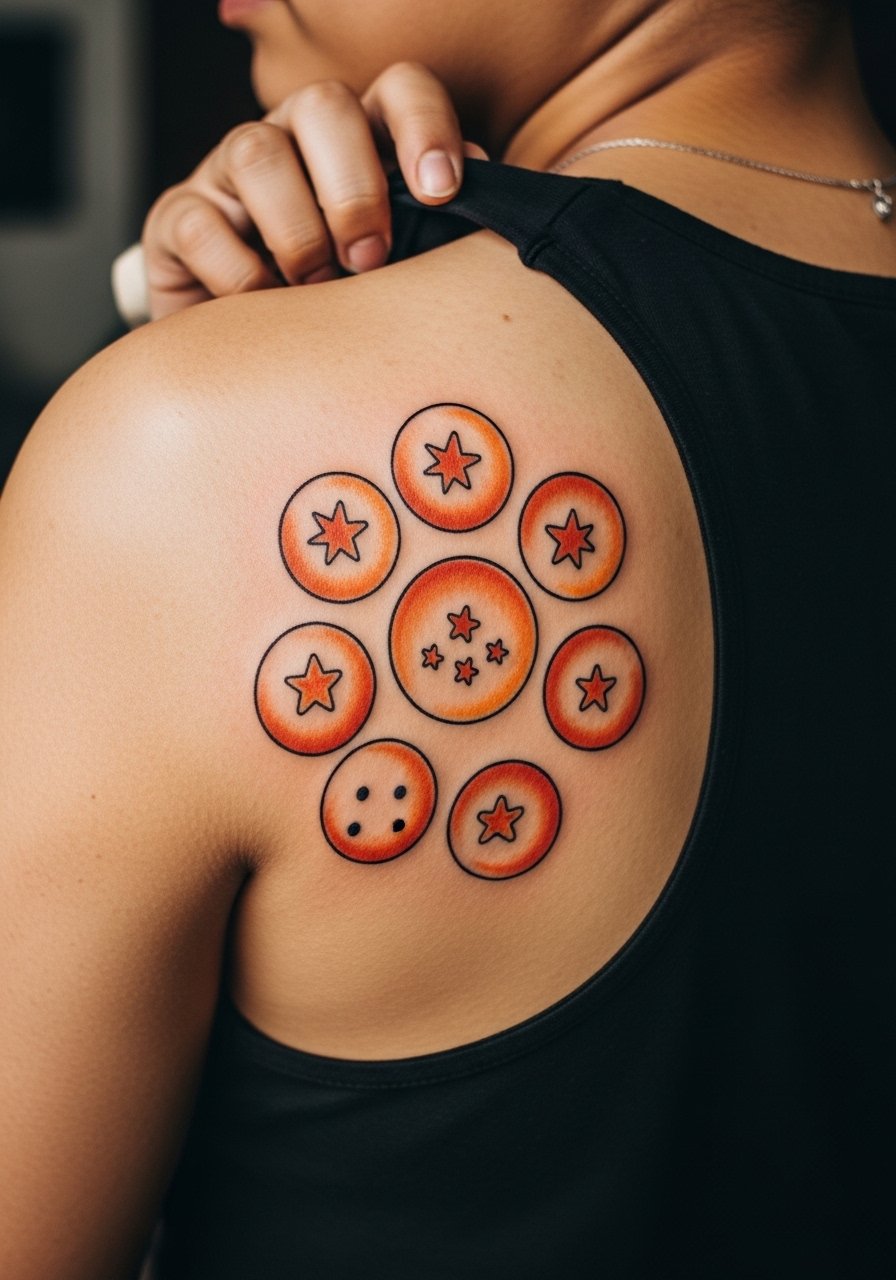
A shoulder blade cluster lets each orb sit without crowding, which helps maintain roundness as it heals. Ask for gradual highlights inside each orb and a subtle shadow to keep separation. Mistake to avoid is placing the orbs too close so lines merge in a year. This placement pairs well with backless tops, and session wear that allows easy access without straining the shoulder.
16. Capsule Corp Collarbone Circuit Motif
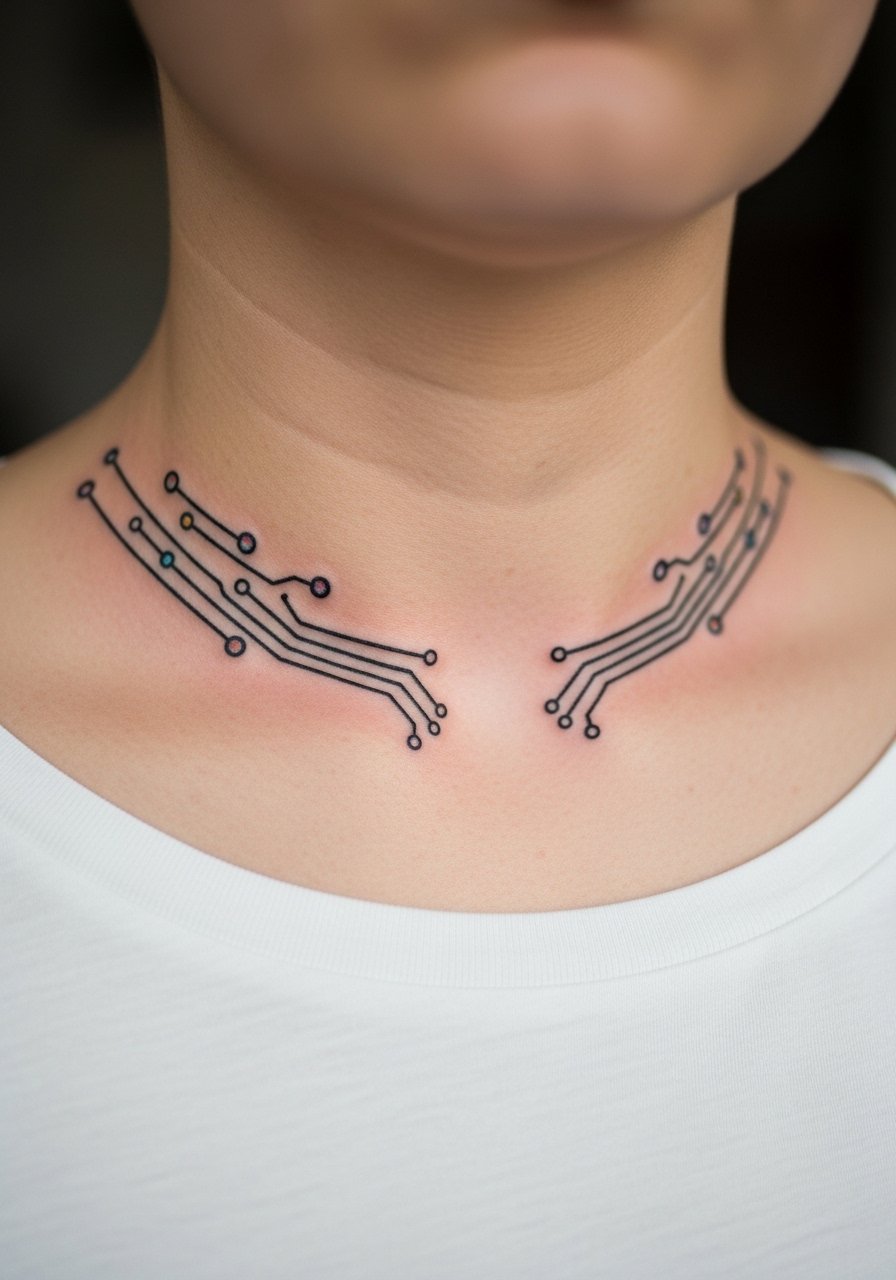
Collarbones show small tech motifs beautifully because the straight plane highlights linear elements. Keep linework slightly heavier than the very thinnest flash to prevent blurring against the bone. A common mistake is attempting dense circuitry too close to the clavicle which can look cramped. Pair the healed piece with V-neck tees or chokers and wear a v neck tee black to show it off.
17. Frieza Tail Wrap Around Calf

A tail wrap works on cylindrical areas like the calf where the curve enhances motion. Ask for tapered line thickness so the tail does not read like a flat band when healed. The calf tolerates solid black well but watch for skin that scars easily. For showing off, roll jeans or wear shorts and consider a bootcut jeans rolled at ankle style that reveals the lower wrap.
18. Fusion Dance Silhouette on Sternum
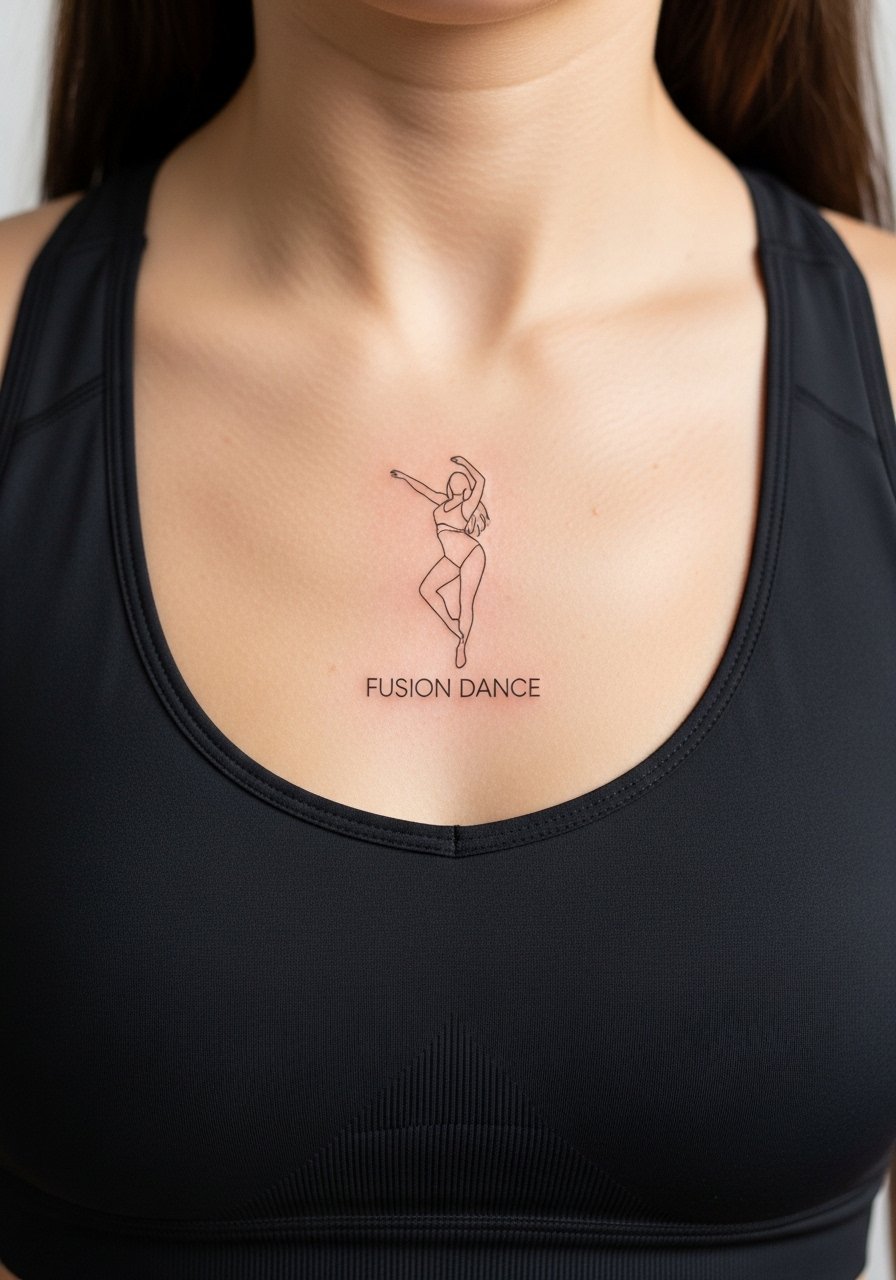
Sternum pieces are intimate and demand careful placement relative to the breast line. Fine silhouettes can work if the negative space is generous. The sternum area is sensitive and moves with breathing, which can widen lines if done too small. For session wear, a fitted sports bra helps the artist position the stencil and reduces shifting. Ask about long-term touch-up plans before booking.
19. Android 18 Portrait on Inner Bicep
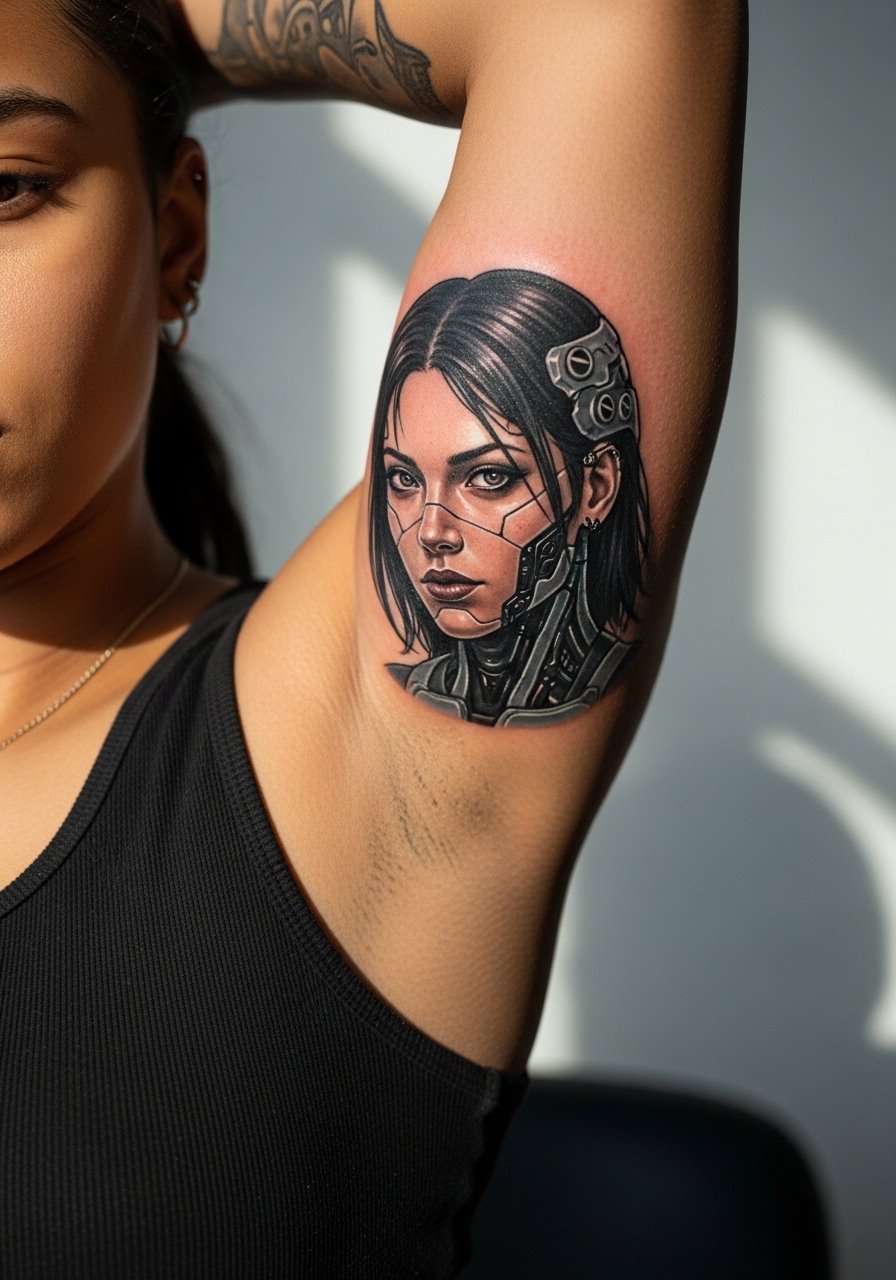
Inner bicep is a forgiving spot for portraits because it sees less sun exposure than outer areas. The trade-off is that the skin can be softer, so ask the artist for slightly stronger outlines in key areas. Sessions here feel tender because the area stretches with arm movement. For the session wear a tank top you can lift and have breaks for the arm to rest.
20. Senzu Bean Tiny Ankle Dot
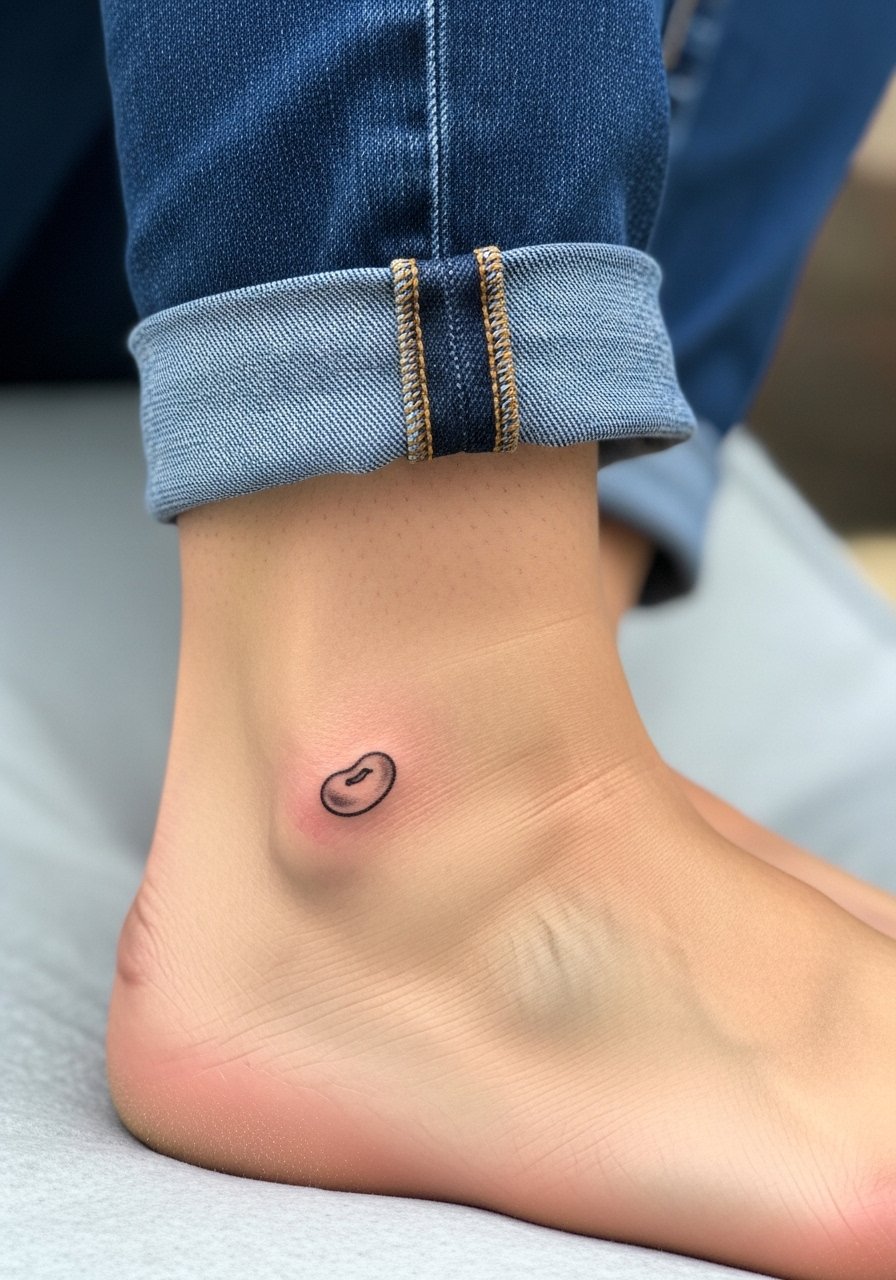
Micro tattoos on ankles are cute but face heavy abrasion from shoes and socks. Keep the bean simple and slightly larger than your instinct to prevent early fading. A common mistake is over-detailing a pea-sized design. For session wear, bring shoes you can slip off and consider sandals for the first week to reduce friction.
21. Majin Symbol Navel Accent
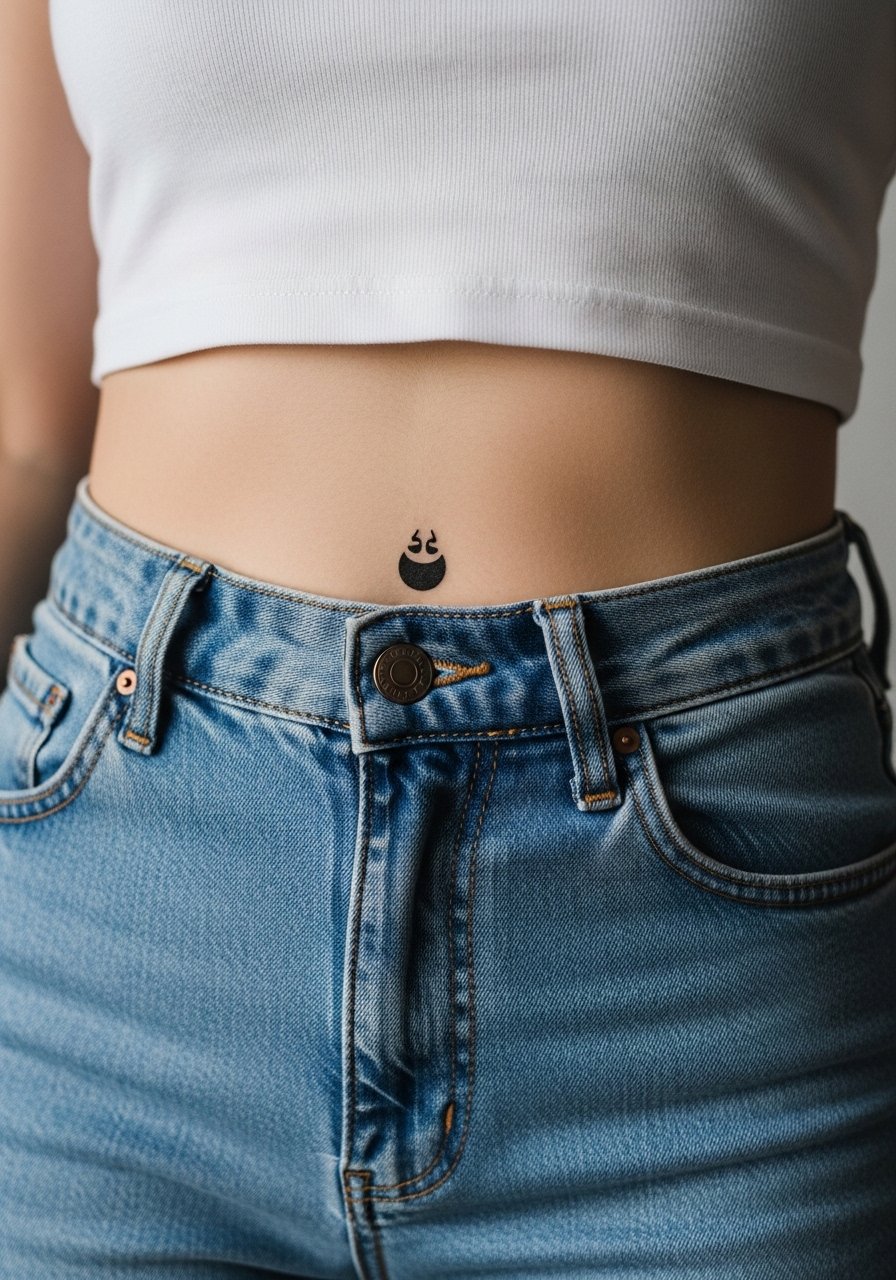
Lower abdomen work can be playful with symbols like the Majin M. The skin here shifts with weight and pregnancy, so size it conservatively. Ask the artist to place the mark where it sits naturally with your proportions. Session comfort is moderate but plan for a longer heal due to clothing friction. For showing off, high-waisted cuts frame the symbol well.
22. Beerus Minimal Temple Outline
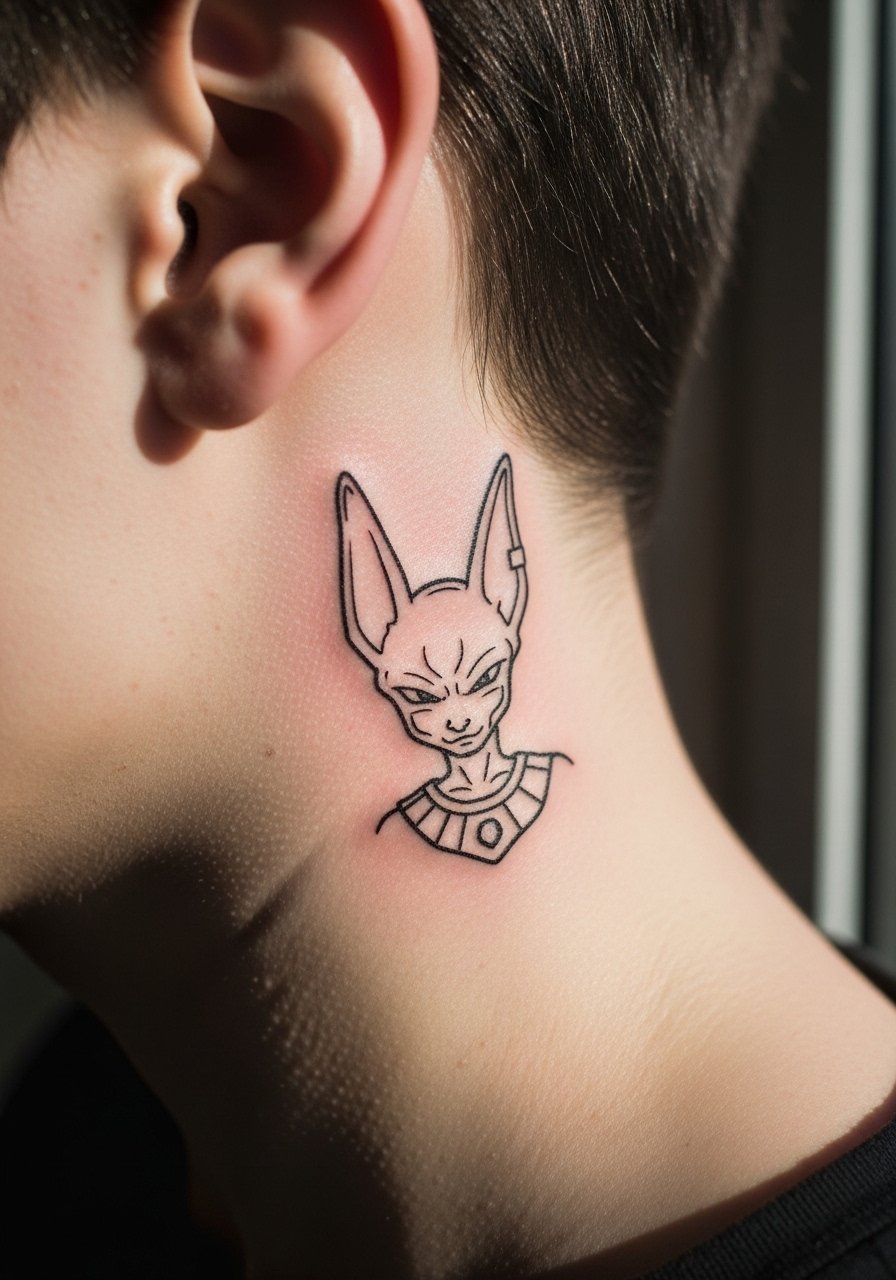
Behind-ear and temple-adjacent placements require subtlety. Use the phrasing "on the skin just behind the ear, below the hairline" during consultation so the artist frames the stencil correctly. The area heals quickly but is visible in most hairstyles, so plan accordingly. Short sessions and quick touch-ups are common. Ask about salon norms for this placement.
23. Namek Landscape Full Back Panel
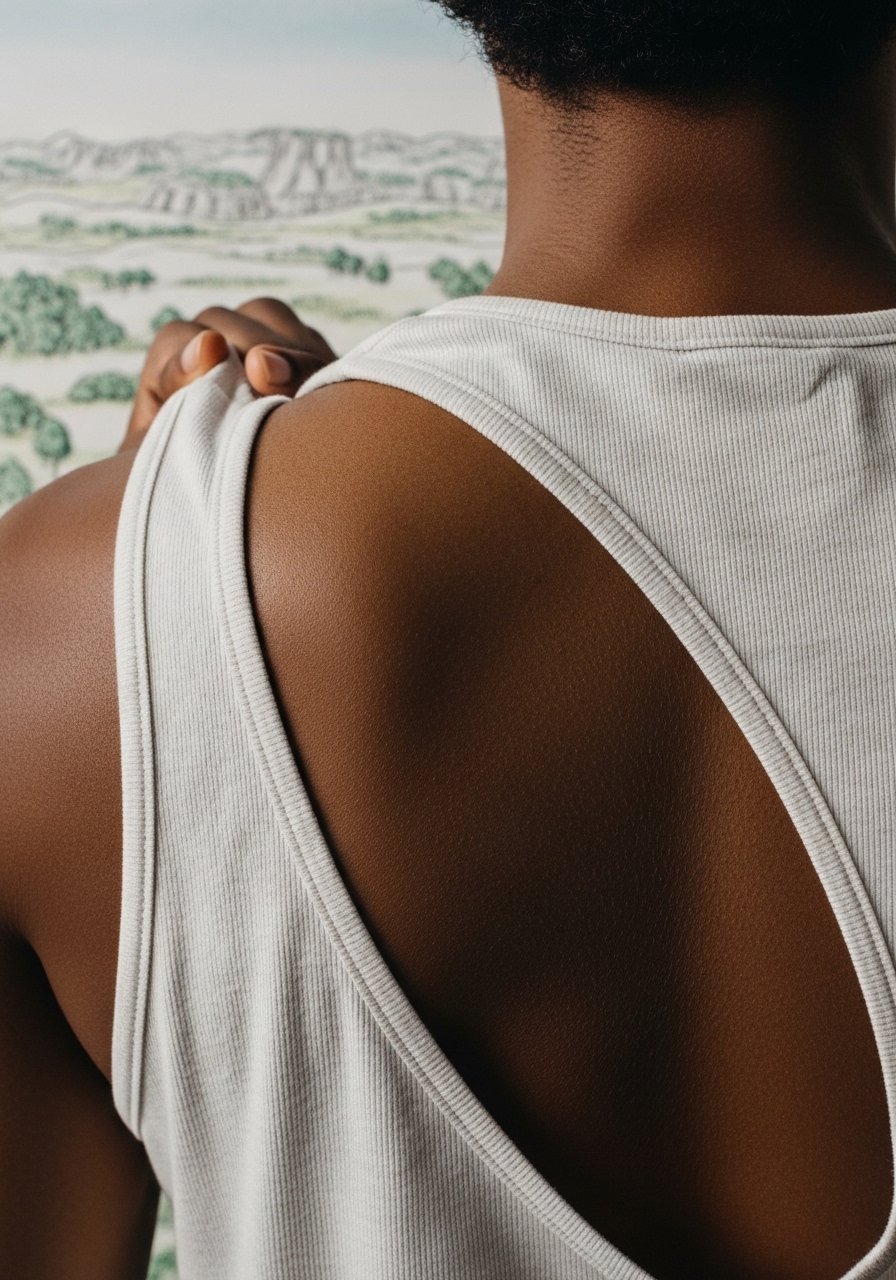
Full back landscapes let you tell scenery-based stories with breathing room. For Namek, combine distant micro-realism with foreground linework for longevity. The big risk is compressing too much detail into a small section. Expect multiple long sessions and coordinate your schedule with the artist. For photo-ready evenings, open-back garments frame the scene elegantly.
24. Ginyu Force Matchstick Minis on Fingers
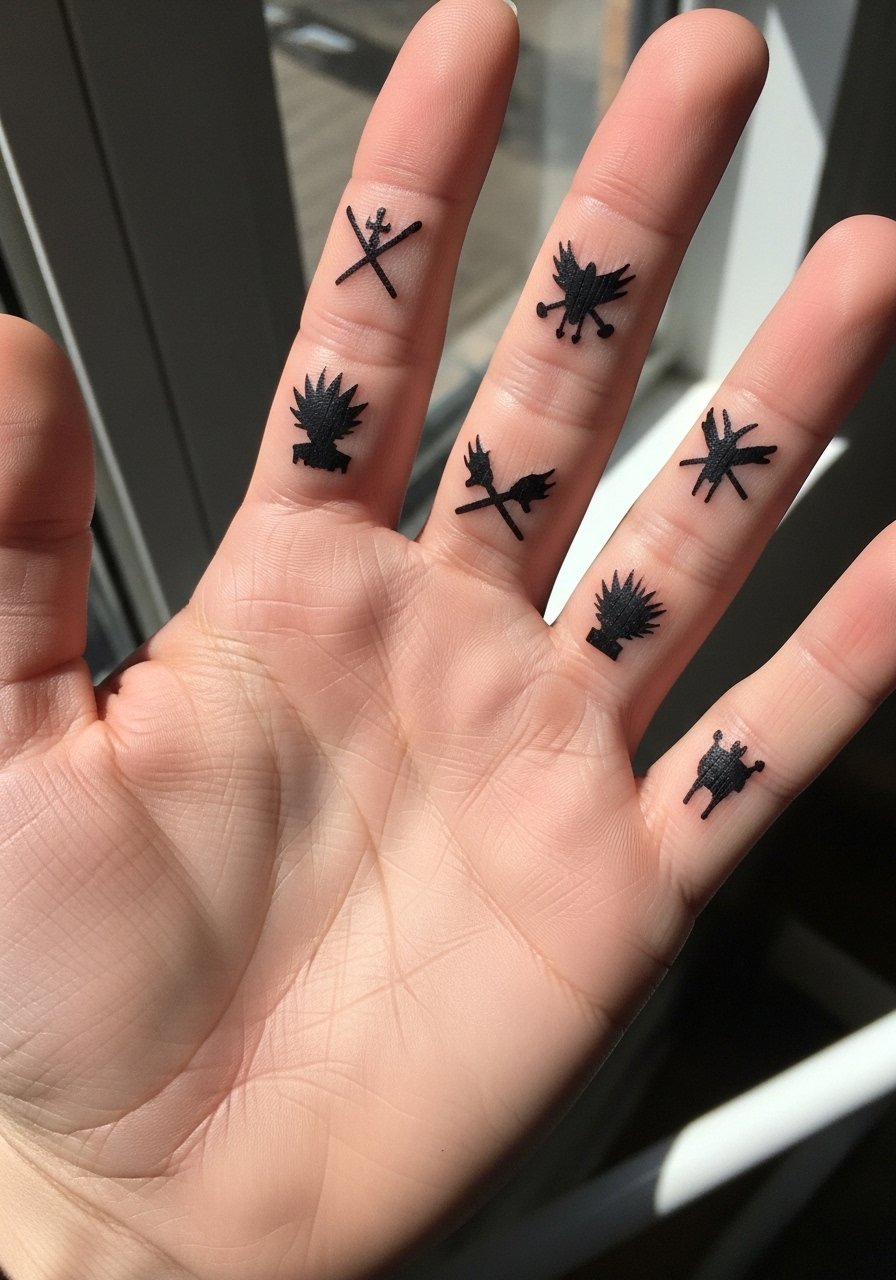
Finger tattoos are high-maintenance and typically need periodic touch-ups. Use simplified silhouettes rather than faces to keep lines readable. Wear-wise they suffer from frequent washing and sun. If you want themed finger marks, plan a maintenance budget and accept that eight- to eighteen-month refreshes are likely.
25. Whis Staff Spine Accent
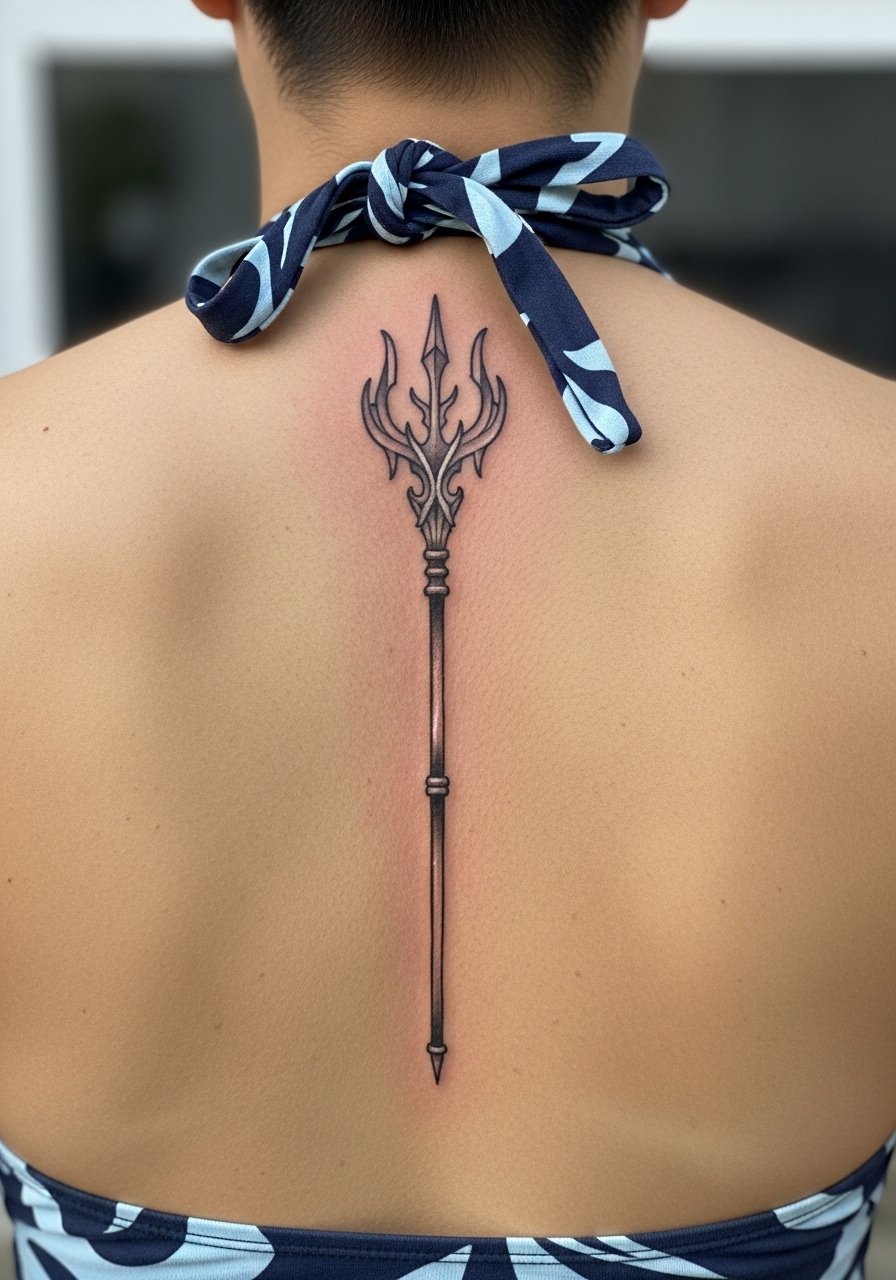
A spine accent benefits from symmetry and central placement. Ask the artist to mark alignment with your vertebrae so the piece reads straight even if you stand at an angle. The spine can be painful and touch-ups are common if your posture shifts. For showing off, backless halter tops give editorial framing and make the vertical line pop.
26. Finger-Aging Saiyan Hair Spikes
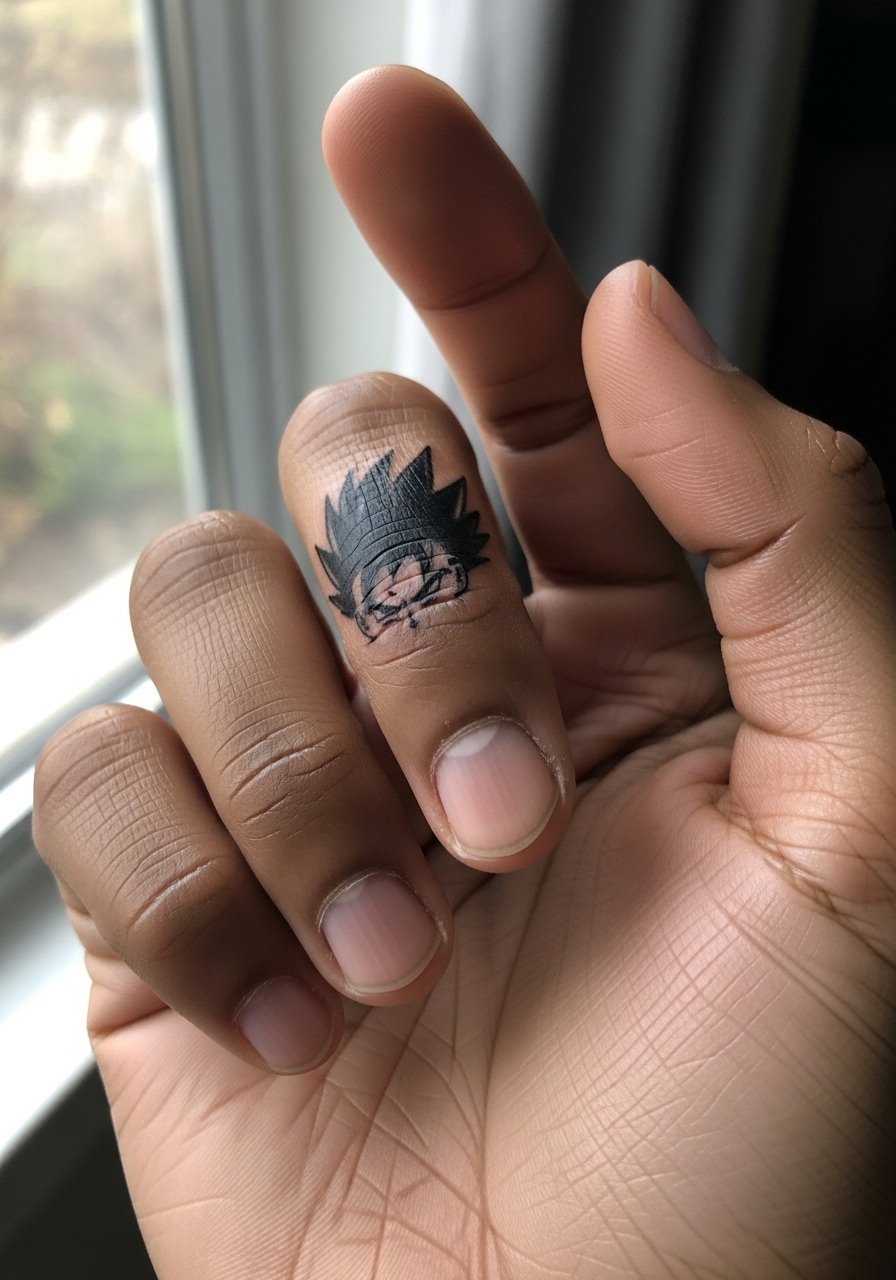
Fingers age tattoos fast because of constant use and washing. If you want hair spikes here, keep them bold and simple. One community tip I often hear is to accept touch-ups every 18 months for finger work. The session is quick but the long-term plan should include maintenance. Consider pairing with a thin leather cuff on the opposite wrist for balance and a thin leather cuff bracelet to frame the look.
27. Thigh Hidden Fusion Tattoo for Seasonal Reveal
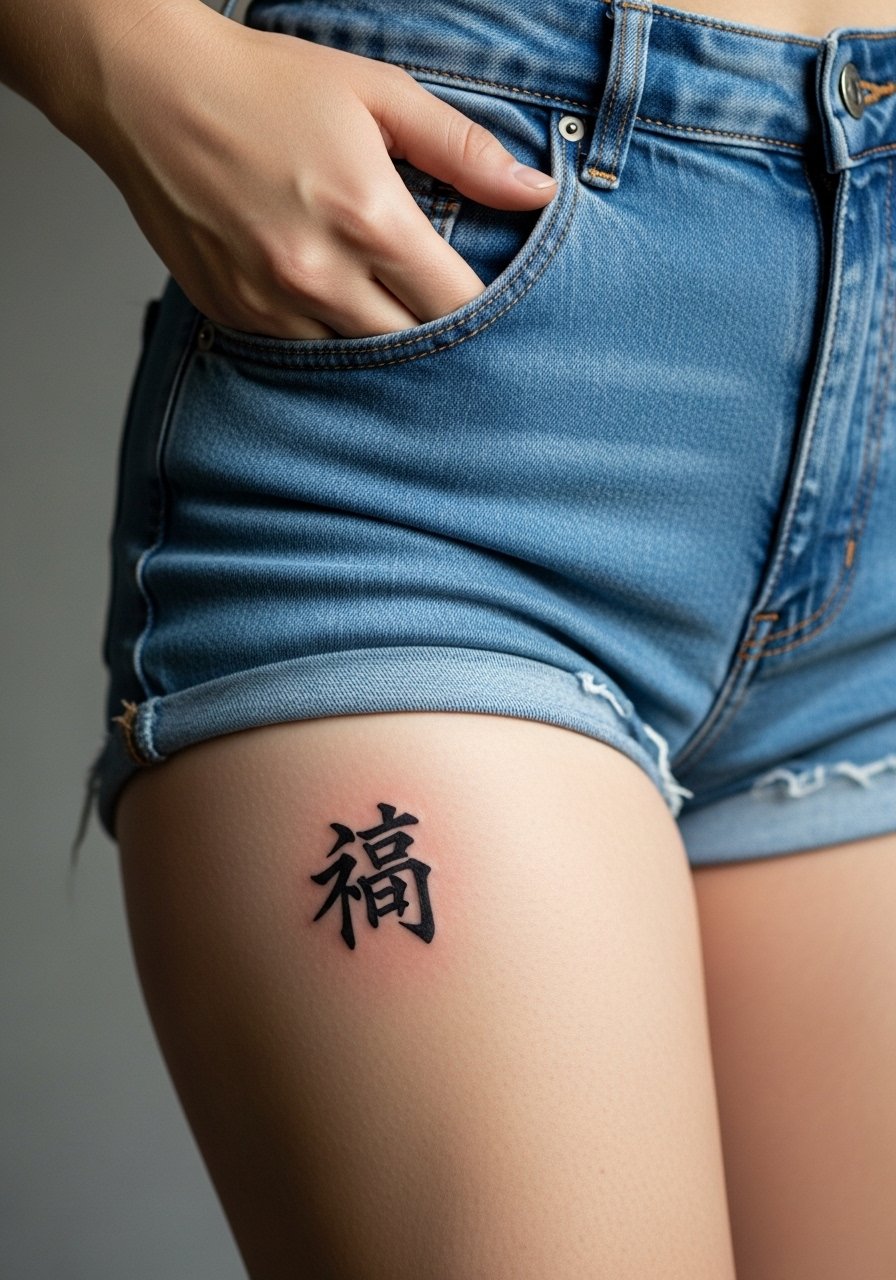
Thigh pieces are ideal for designs you want to reveal selectively. Fusion silhouettes work well as slightly larger, low-contrast blackwork so they peek out when you want them to. A common mistake is making hidden thigh designs too small which loses detail when covered. For session wear, a pair of loose gym shorts or a skirt makes access easy. Plan sessions across multiple weeks for denser fill.
Frequently Asked Questions
Q: Will a fine line Dragon Ball tattoo on the forearm blur faster than a neo-traditional piece?
A: Fine line on the forearm does tend to soften sooner than larger neo-traditional work because the lines are close together and the area gets sun exposure. If longevity matters, ask your artist to slightly increase line weight and spacing. Also plan a touch-up timeline around year two to three for maintenance.
Q: How should I pick a placement if I worry about job visibility and healing?
A: If discreetness is essential, choose thigh, calf, or upper back placements where clothing covers the area easily. Wrist and neck are more visible and can complicate interviews. For the session, wear clothing that gives the artist clean access like a loose tank top for arm work or a backless tank for upper back pieces.
Q: Artists disagree on dry healing versus protective film. Which is better for color Dragon Ball pieces?
A: Both camps make good points. Some artists prefer protective film for cleaner early healing and less scab, while others favor dry healing to preserve saturation. The right choice often depends on your artist's experience with the specific product and with color pieces in your climate. Ask their recommended protocol and follow it closely for the first two weeks.
Q: Do darker skin tones need different styles for Dragon Ball portraits?
A: On melanin-rich skin, bold linework and solid blackwork usually hold contrast better than tiny delicate shading. Realism can work well when artists use higher contrast and saturated midtones. Request healed examples on similar skin tones during consultation and plan for a slightly different palette than on lighter skin.
Q: How often should I expect touch-ups for high-friction placements like fingers and ankles?
A: Fingers and ankles see the most wear from washing and friction, so expect touch-ups roughly every 12 to 24 months. The exact interval depends on your lifestyle and sun exposure. If you want less maintenance, scale up line weight and avoid tiny details in these zones.
