
Fine line dotwork looks like it belongs in a gallery, not on a fandom board, but for Jujutsu Kaisen fans that contrast is the point. Some people want near-photographic portraits of characters while others prefer symbolic dotwork that reads cleaner on skin over time. Both camps make valid points about longevity and copyright. Below are 27 dotwork ideas that nod to the anime while prioritizing how the piece will actually age.
1. Sukuna Half-Eye Micro Dotwork on Inner Forearm
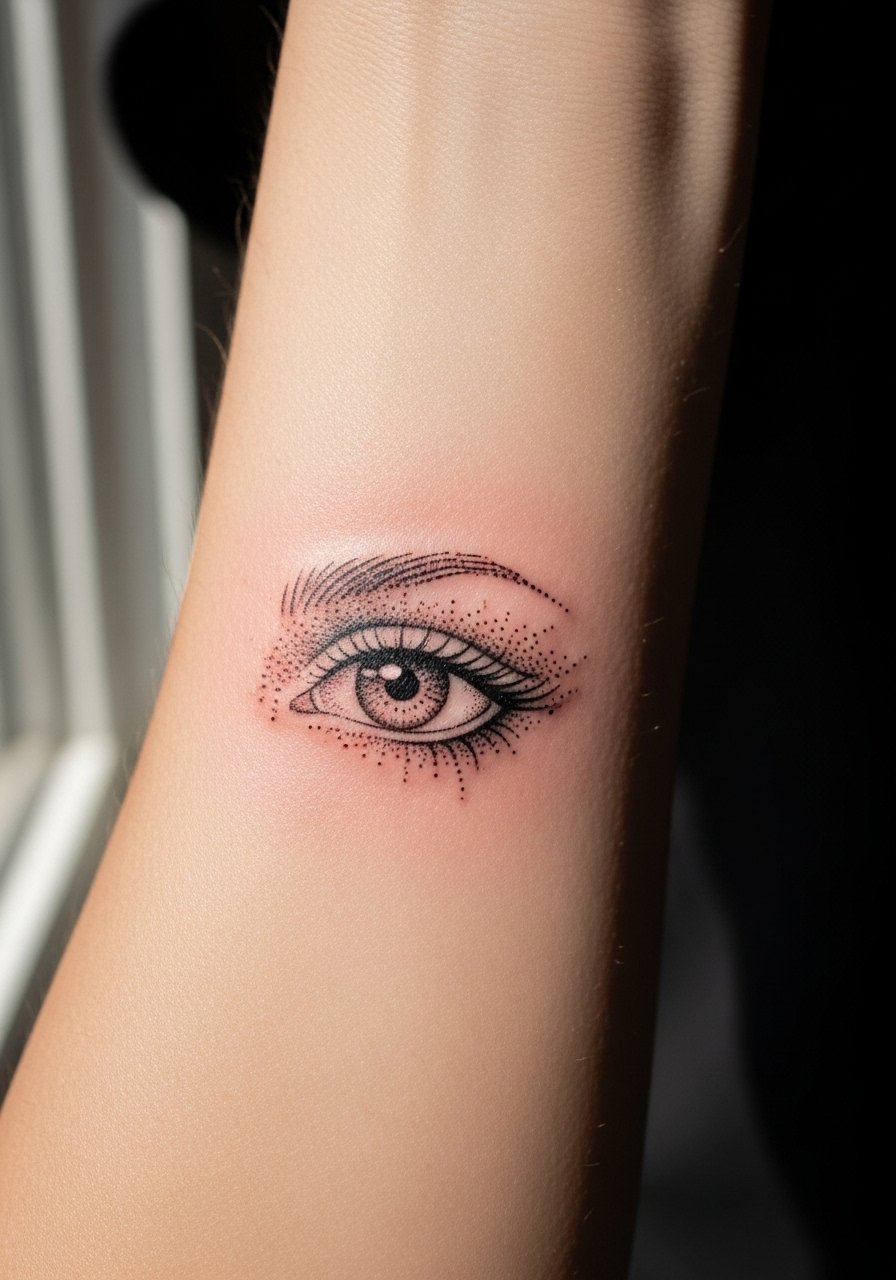
I recommend this when you want a bold symbol without a full portrait. The inner forearm takes dotwork well because the skin is flat and the artist can control depth. Expect moderate pain and a 1.5 to 3 hour session depending on size and stippling density. A common mistake is crowds of tiny dots packed too close together. Ask your artist for spacing that preserves negative space so the piece reads at six months and at two years. For showing it off, roll sleeves up and wear a loose linen shirt that keeps attention on the forearm.
2. Curse Mark Wrist Band in Stipple Shading
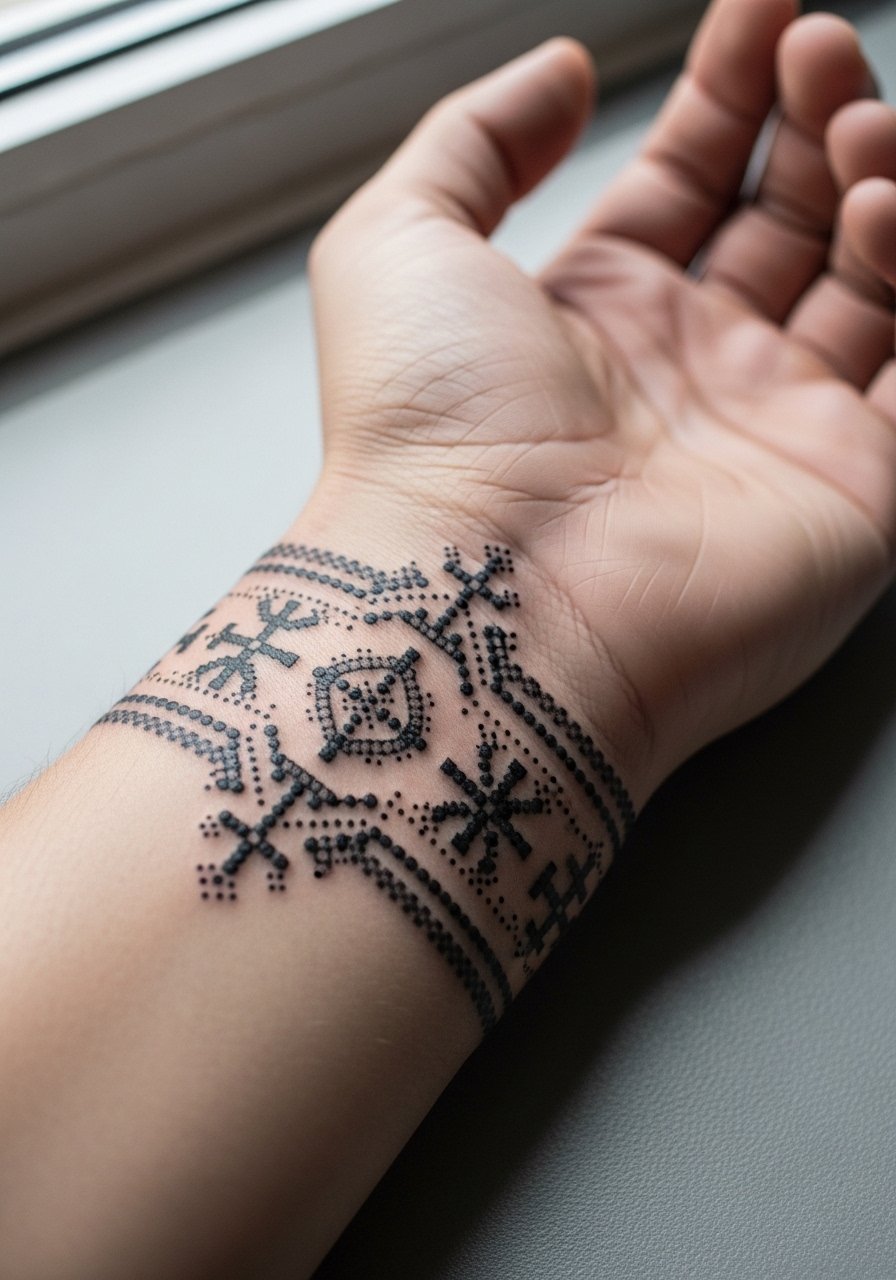
Wrist bands are quick sessions but they age differently than arm work. Expect a short 45 to 90 minute appointment and higher visibility for friction and washing. The biggest mistake is going too thin with the band. Lines that look delicate fresh can blur into a soft line within two years. Tell your artist you want slightly stronger linework with dense dot shading inside the band. For nights out pair this with a thin chain bracelet that frames the band without competing.
3. Gojo Minimal Portrait on Outer Bicep
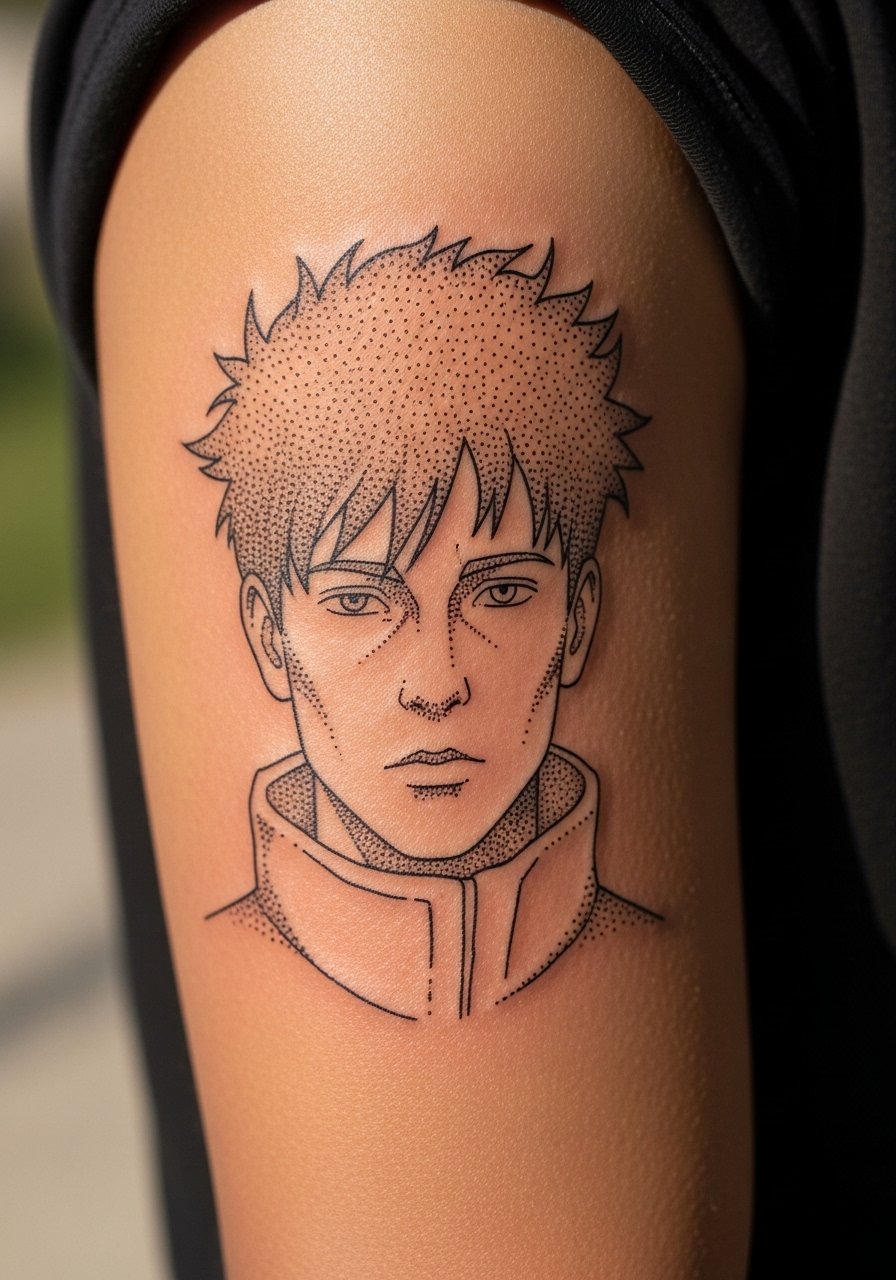
Outer bicep is forgiving for detail and handles stipple shading well. Pain is mild to moderate and the session can be two to four hours. The common error with character portraits is demanding photo realism at a scale that will not hold up. If you want facial detail, scale the piece up and keep shading in dot clusters rather than continuous shading. This helps maintain contrast at year three. During consultation bring reference images that show the exact facial angle you like so your artist can design a composition that works with the bicep curve.
4. Itadori Finger Micro Sigil
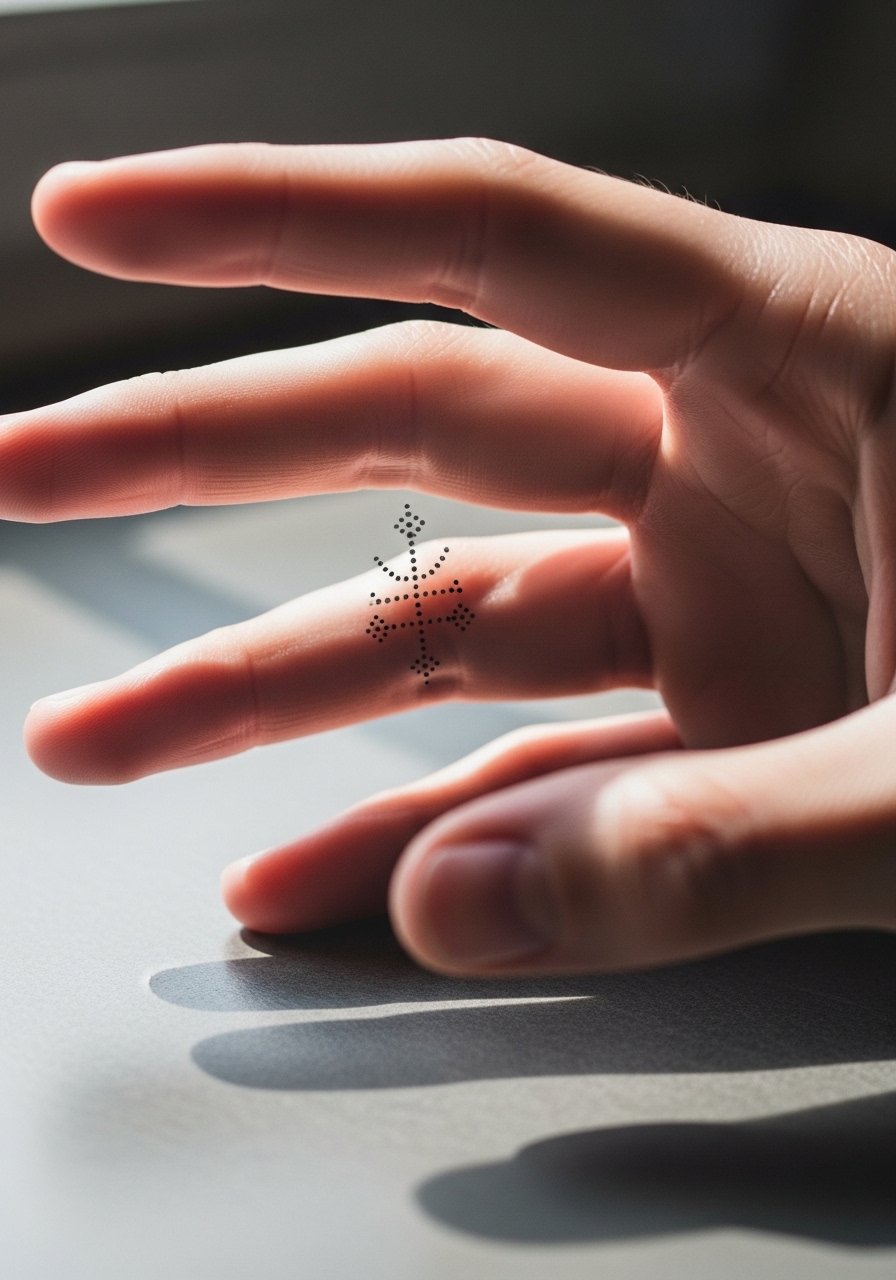
Finger tattoos are a commitment because they face constant wear. The pain is sharp and the session is usually under 30 minutes for a micro sigil. Expect an earlier touch-up timeline, commonly around year one, due to constant hand use and washing. A frequent mistake is requesting fine detail that will vanish with everyday friction. Ask for less tiny negative spaces and stronger dot clusters. Pair this with a minimalist ring stack when you want the finger artwork to read as a piece rather than a smudge.
5. Tsumiki Constellation Ankle Cluster
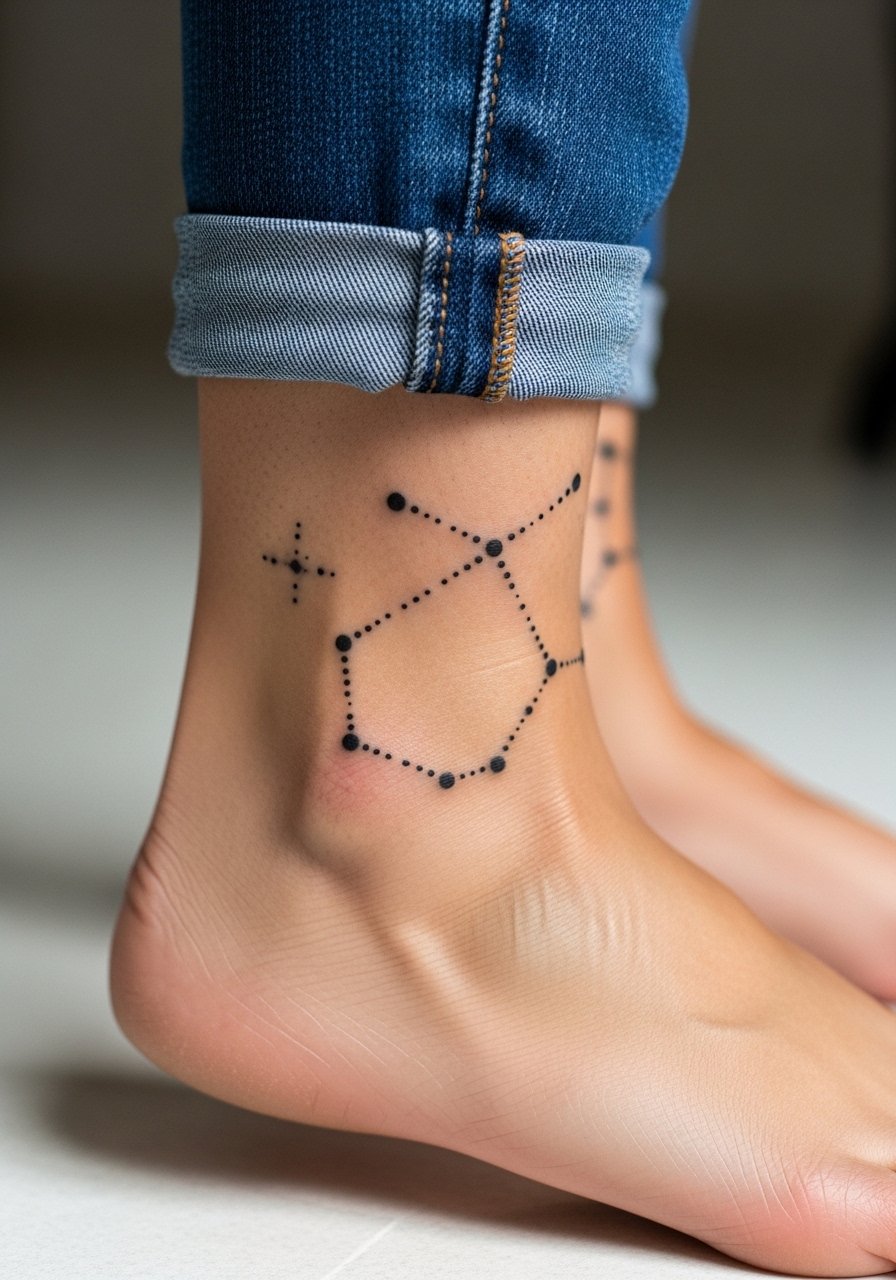
Ankle is a popular spot for small dotwork clusters because the area moves less in daily life. Pain ranges from moderate to high depending on bony contact and the session time is usually under two hours. Watch out for over-detailing near the ankle bone. Tiny dots near bone can flatten into a blur as skin shifts. For the session wear something you can pull up like rolled jeans so the artist has clean access without discomfort. The piece shows well with low-top sneakers and cropped trousers.
6. Sukuna Sigil Behind-the-Ear Dotwork
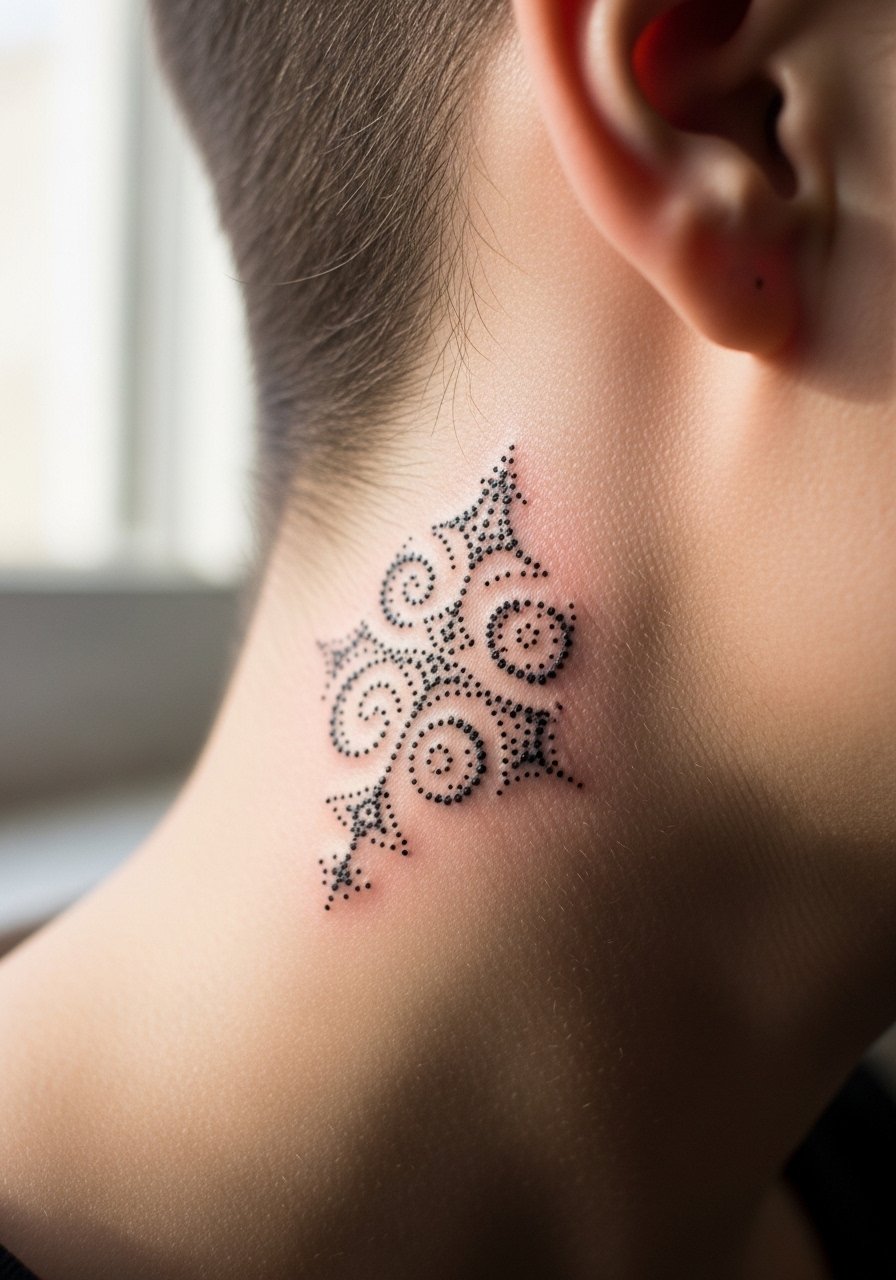
Tiny placements behind the ear read discreetly but require an artist comfortable with awkward angles. Expect sharp pain because of proximity to cartilage and a 30 to 60 minute session for a small sigil. Artists split on whether micro detail sits well in this spot. One camp says the shallow skin will blur quickly. The other camp argues that with precise dot depth and spacing it holds. Ask about the artist's specific experience with behind-the-ear dotwork before booking. For appointment day pin your hair up so the stencil sits flat.
Studio Day Picks
The wrist and finger pieces above heal differently from larger arm work, so a few targeted items smooth the session and the first week.
-
Stencil transfer paper kit. Lets you check placement on skin before the needle touches the area, which helps for wrist and behind-the-ear pieces.
-
Topical numbing cream. Applied as directed it reduces sharp pain on fingers and ribs while still letting the artist work precise dot depth.
-
Thin protective film roll. Useful for finger and wrist pieces to cut down on friction from clothing in the first days.
-
Fragrance free gentle body wash. Cleans the area without added perfumes that can irritate fresh dotwork near wrists and ankles.
-
Aquaphor healing ointment. A thin layer during the initial days keeps small dot channels moist and reduces scabbing that can pull out fine stipple texture.
7. Megumi Stipple Cuff Around Upper Forearm
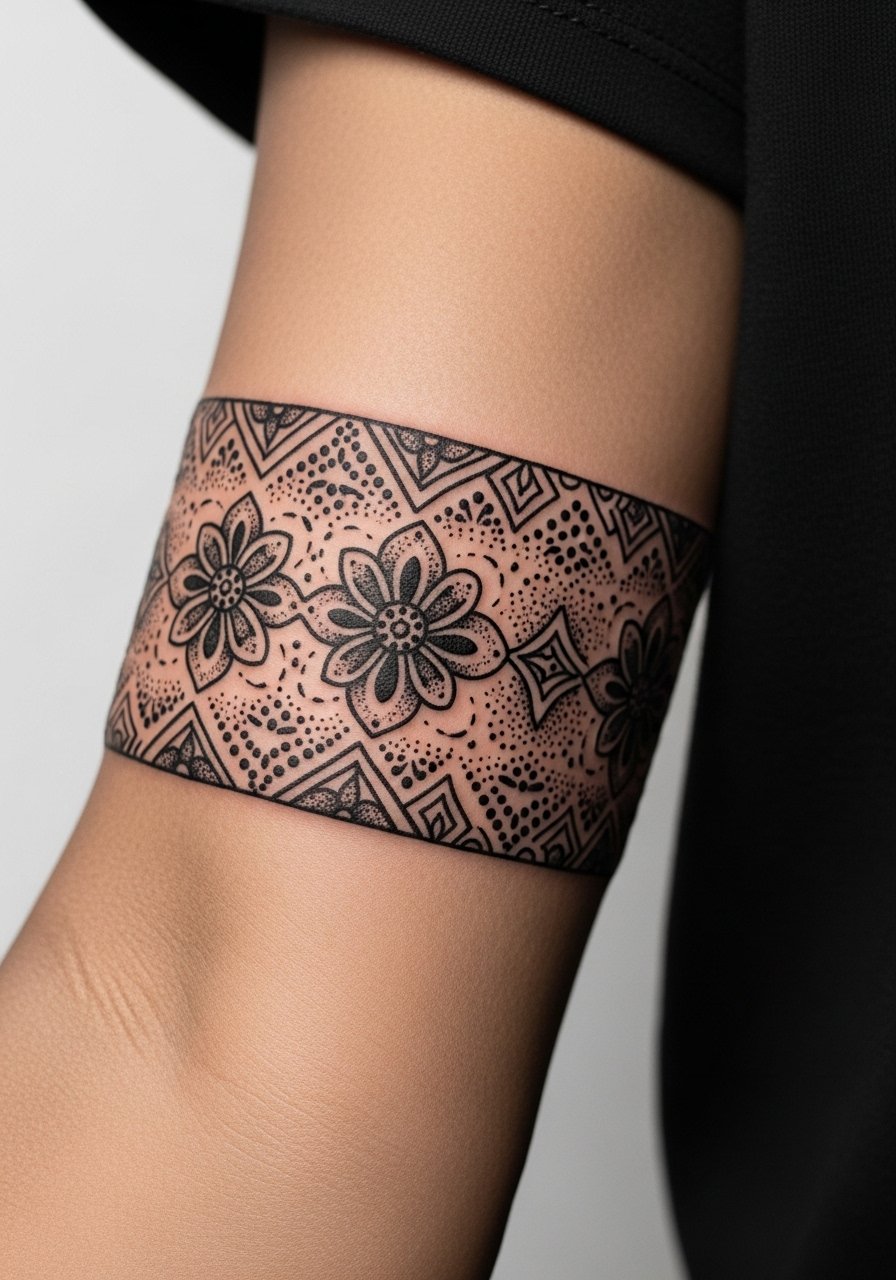
A cuff reads like jewelry and foregrounds dotwork texture. Upper forearm sessions are comfortable for most people and often run one to two hours. The main mistake is making the cuff too tight or too thin. Tight bands lose definition quickly. Request a modest gap between motifs so the stipple shading has breathing room. For showing off, roll sleeves or wear a short-sleeve linen tee that keeps the cuff visible without competing patterns.
8. Character Silhouette with Dot Halo on Sternum
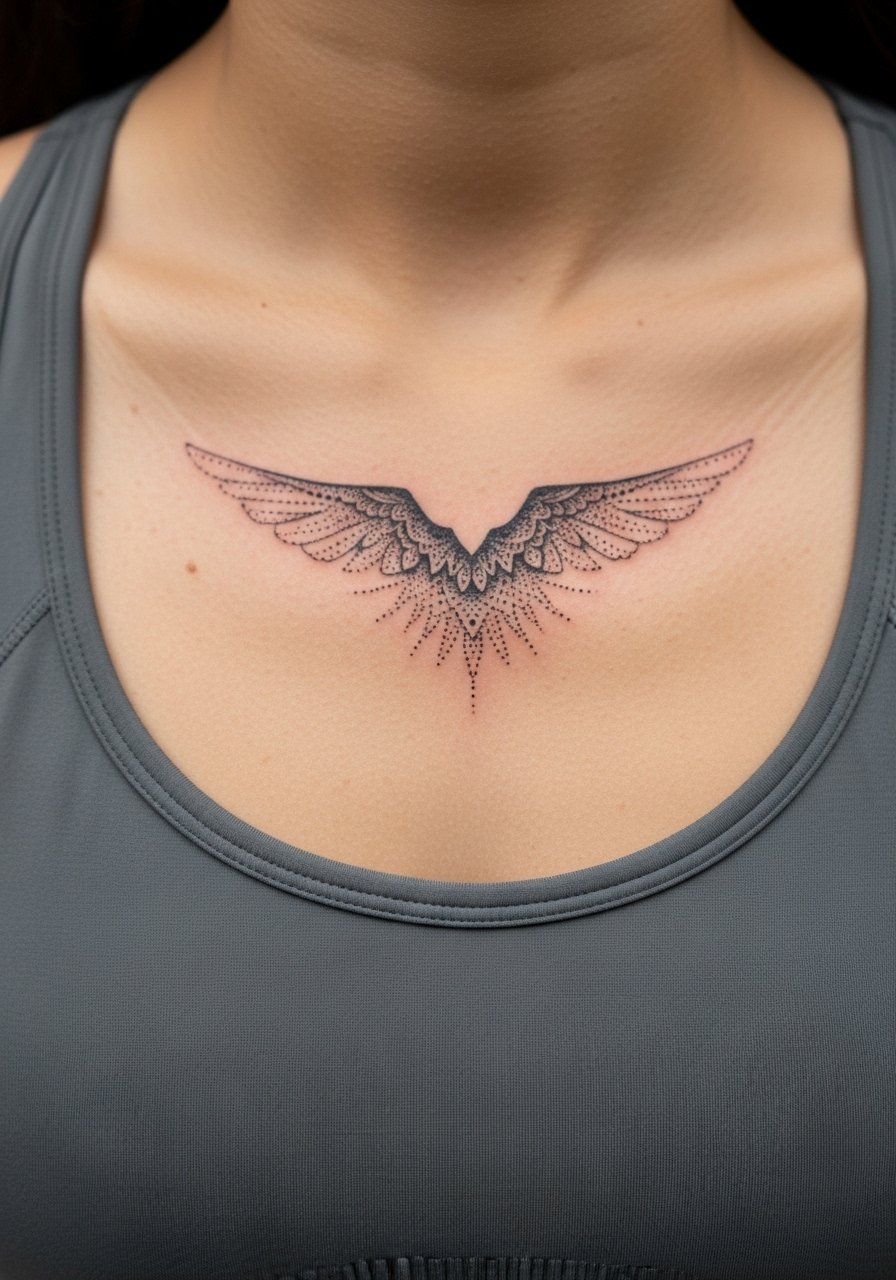
Sternum pieces are dramatic and age differently than limb tattoos. Pain is high and sessions can stretch three to five hours depending on scale. There is a debate among fans about literal character depictions versus abstract silhouettes in this spot. One camp wants full likeness and visible features. The other camp prefers a symbolic silhouette to avoid trademark issues and to keep healing simpler. Both approaches work but a silhouette with a dot halo resists blurring and reads clearly at year three. For the appointment wear a strapless or fitted sports bra so the artist has unobstructed access.
9. Black Flash Curse Seal on Nape of Neck
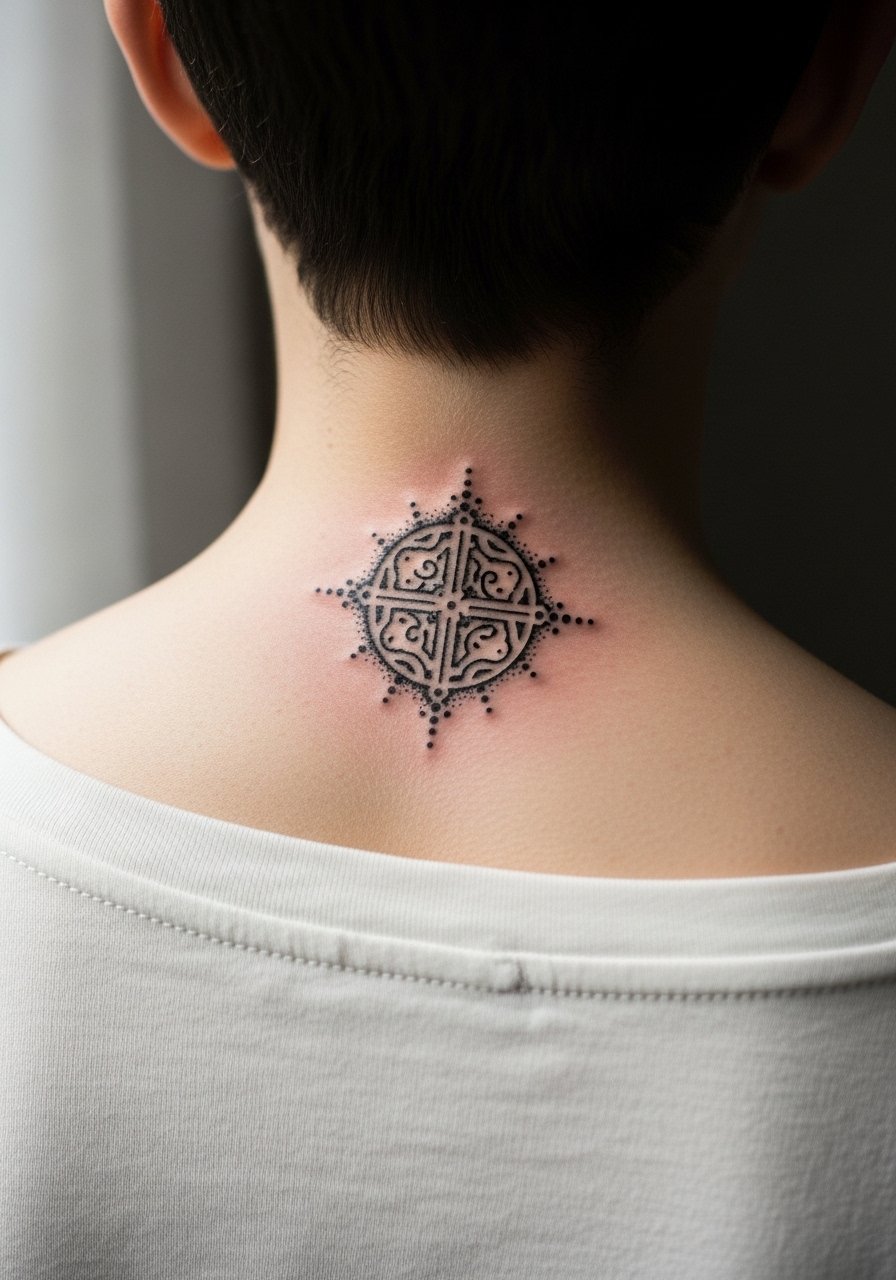
Back of neck pieces are visible with hair up and they age based on sun exposure and friction from collars. Pain is moderate and sessions are typically under two hours for a single seal. A common error is placing heavy saturation too close to hairline which creates a patchy fade. Ask for a thin outline with stipple infill so the pattern softens evenly over time. Pair this tattoo with easy hair styles and a wide-neck sweater that shows the nape when you want it on display.
10. Cursed Tool Minimal Dotwork on Ribcage
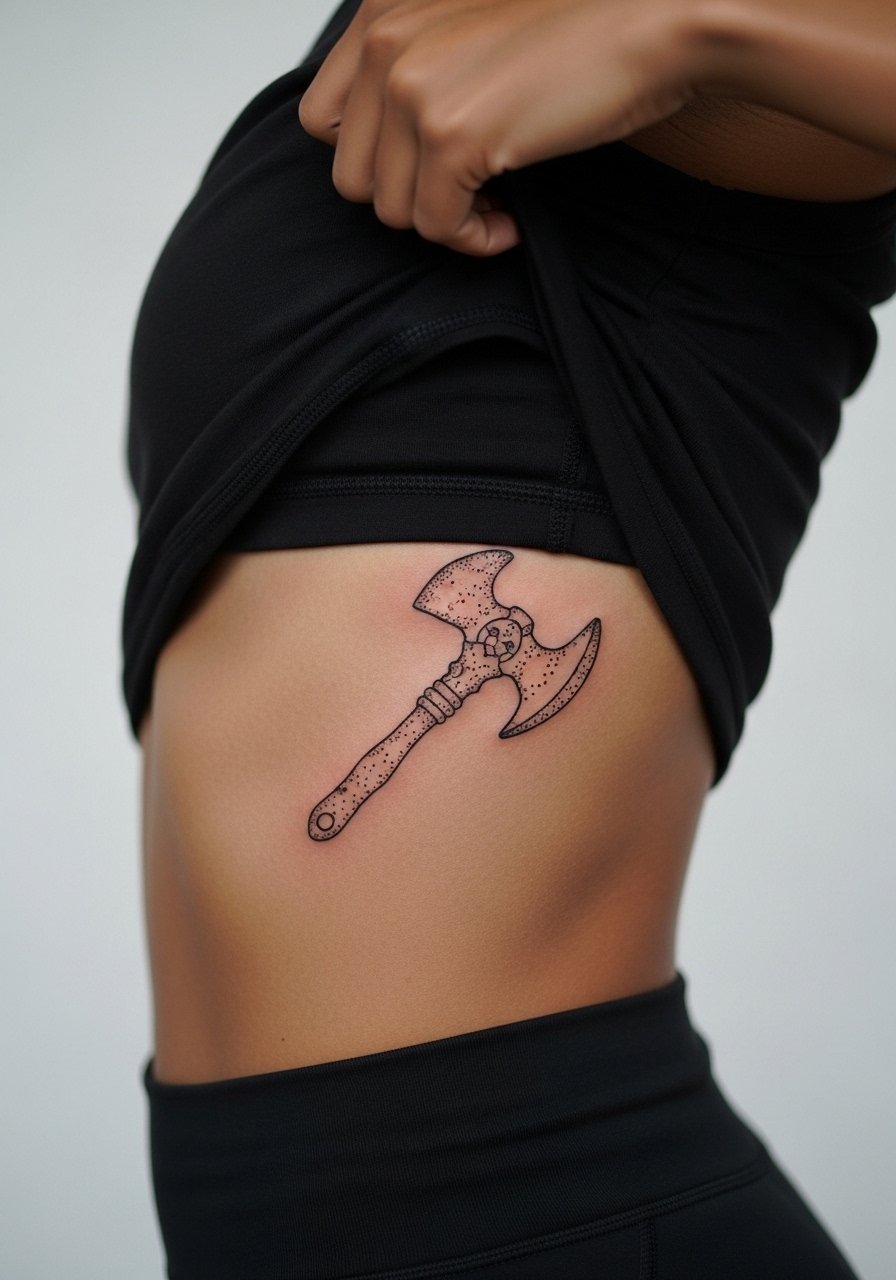
Ribcage is a high-pain area and the skin there moves a lot when breathing. Sessions can be short for tiny pieces or long for larger compositions. The key mistake is asking for very fine lines without spacing. Dense dotwork at a small scale often blurs into a darker block after two years. Opt for slightly larger dots and intentional negative space. For the appointment wear a cropped top you can lift so the artist can work without you feeling exposed.
11. Nanami Tie Knot Micro Pattern on Inner Bicep
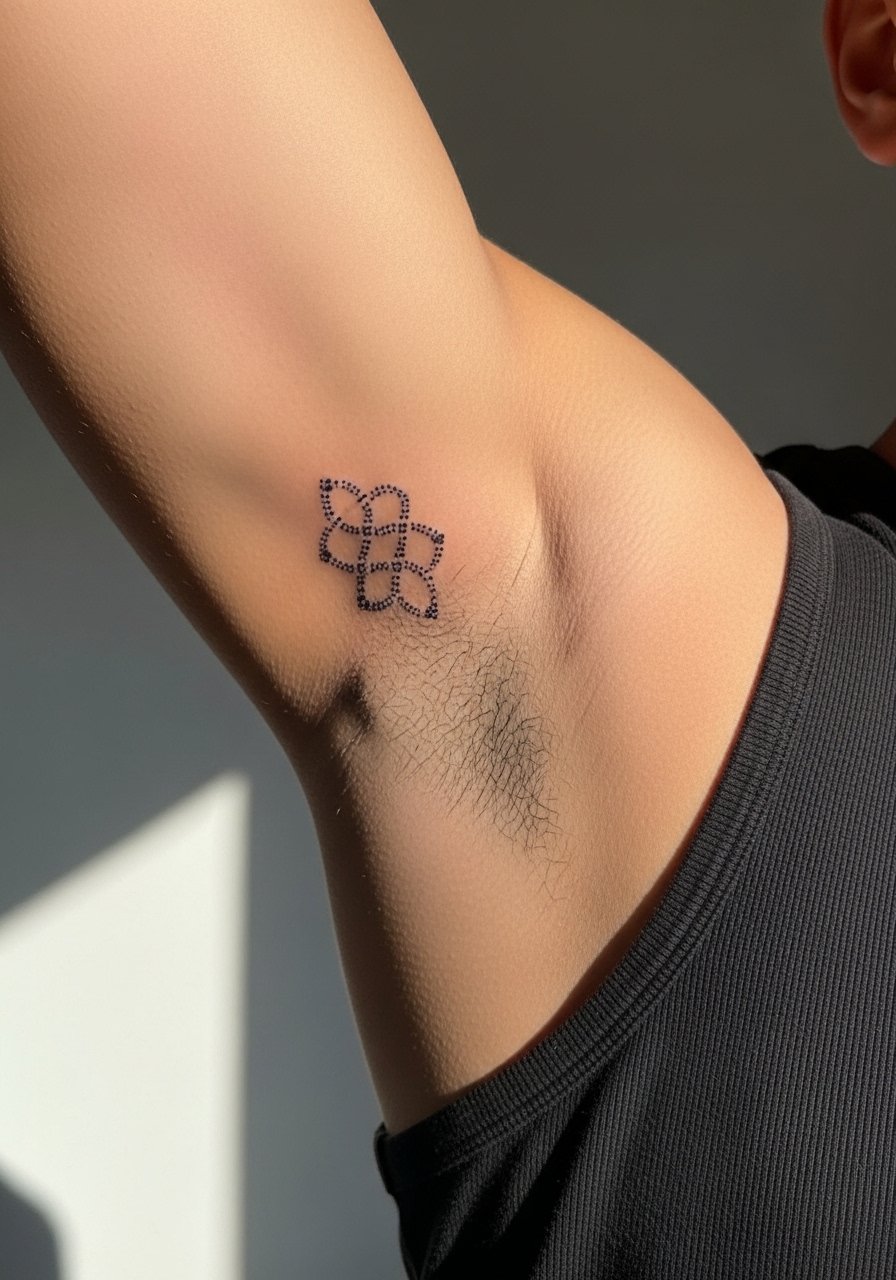
Inner bicep holds detail but is tender. Expect a moderate to high pain level and a session that can reach two hours for intricate dot patterns. People often request dense stippling there which leads to muddy shading as the skin stretches. Ask for staggered dots and an outline rhythm to preserve the knot shape as it heals. For the session wear a loose tank top so you can lower your sleeve without pressure on the area.
12. Finger-Edge Script with Stipple Accents
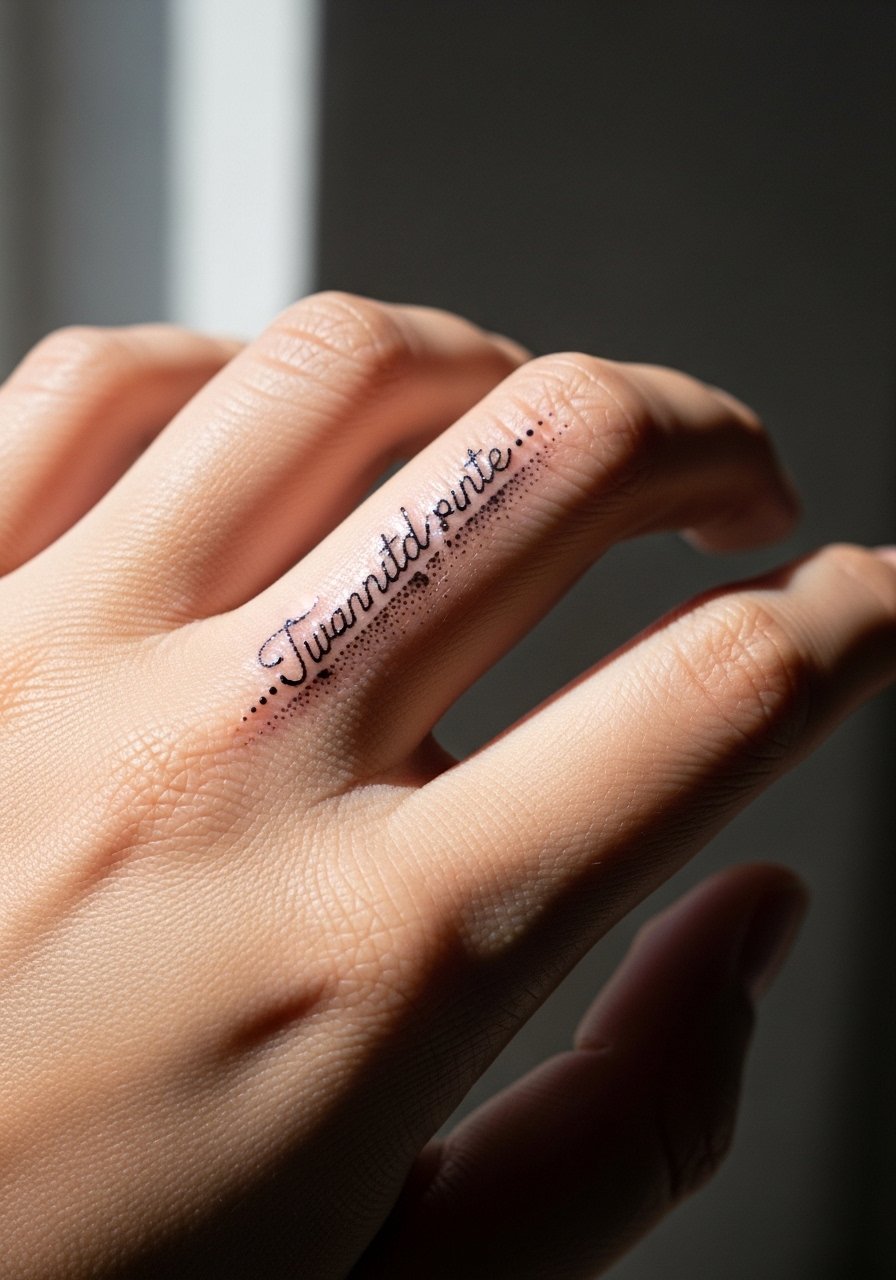
Script on the finger can look delicate but it fights daily abrasion. Sessions are short and pain is sharp. The typical mistake is tiny lettering with thin strokes. Replace thin strokes with dot clusters that form letters. That approach lasts longer and keeps legibility at year two. Plan for an earlier touch-up and avoid placing letters on the knuckle where joint movement causes more wear. Wear simple rings during show-off moments to frame the script.
13. Domain Circle Dotwork on Upper Back
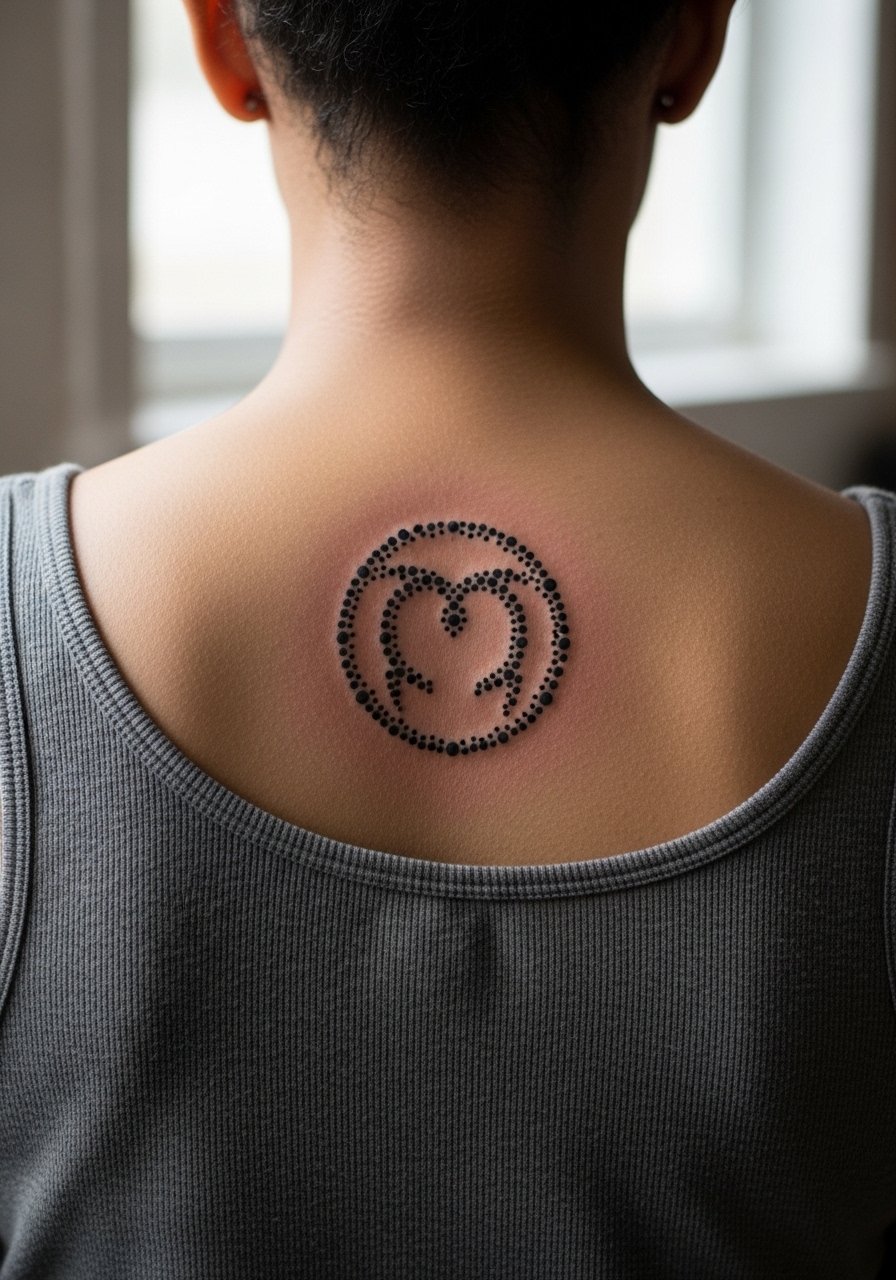
Upper back pieces scale well and tolerate heavy dot saturation. Pain is low to moderate and sessions can be long if the design is large. A common error is making circular details too small which causes the center to fill in over time. Ask for radial spacing that keeps the circle readable at distance and close up. For showing off consider open-back dresses or a bow-back top that frames the central symbol.
14. Character Line Silhouette on Calf with Dot Gradient
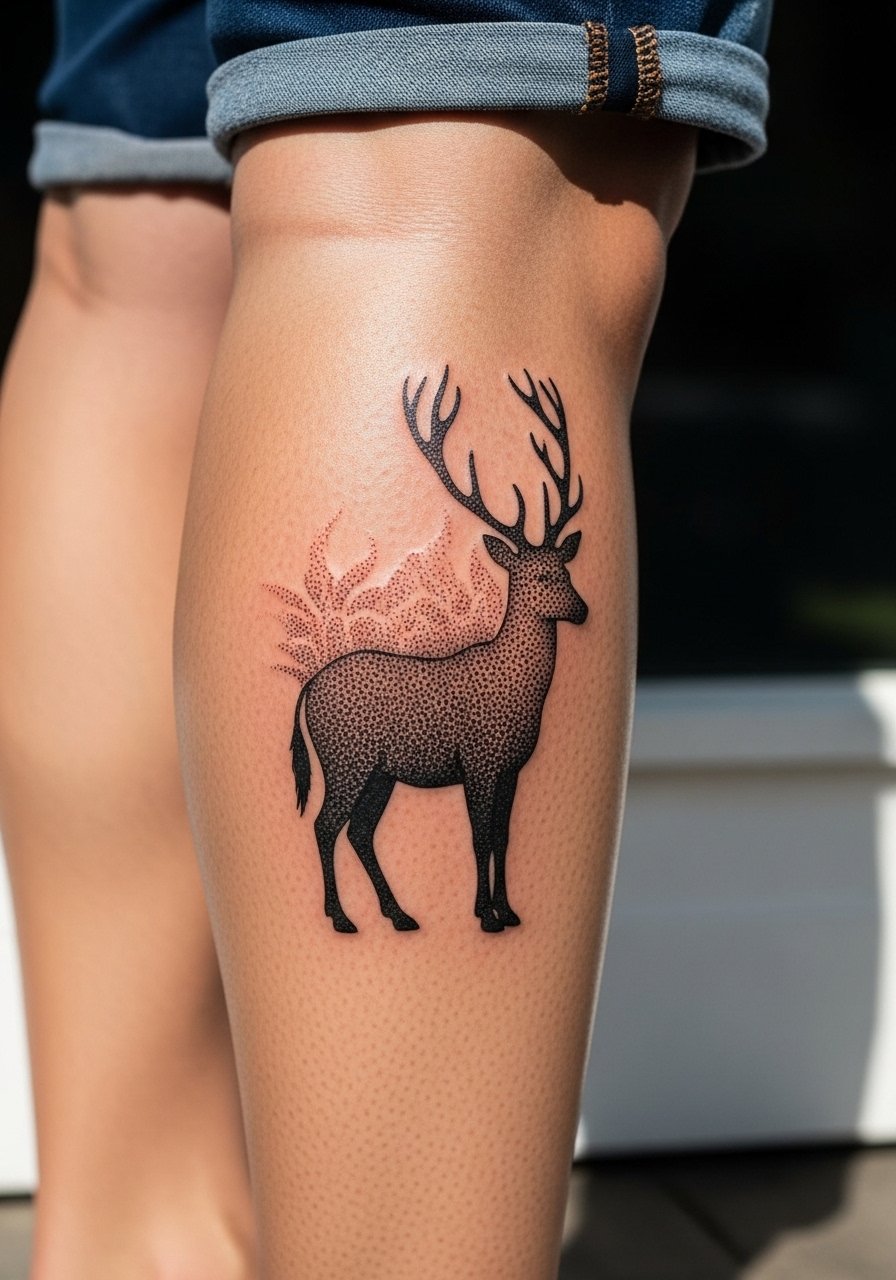
Calf tattoos handle gradation well and are lower on the friction scale. Pain is usually mild and sessions last one to three hours. There is a fan debate about direct character renderings versus stylized silhouettes on limbs. One position pushes for screen-accurate faces. The other favors abstraction to avoid legal gray areas and to reduce detail that will blur. A silhouette with a stipple gradient gives nods to the character while resisting early blurring. For display wear mid-length shorts or a skirt that leaves the calf visible.
15. Anime Eye Cluster over Collarbone
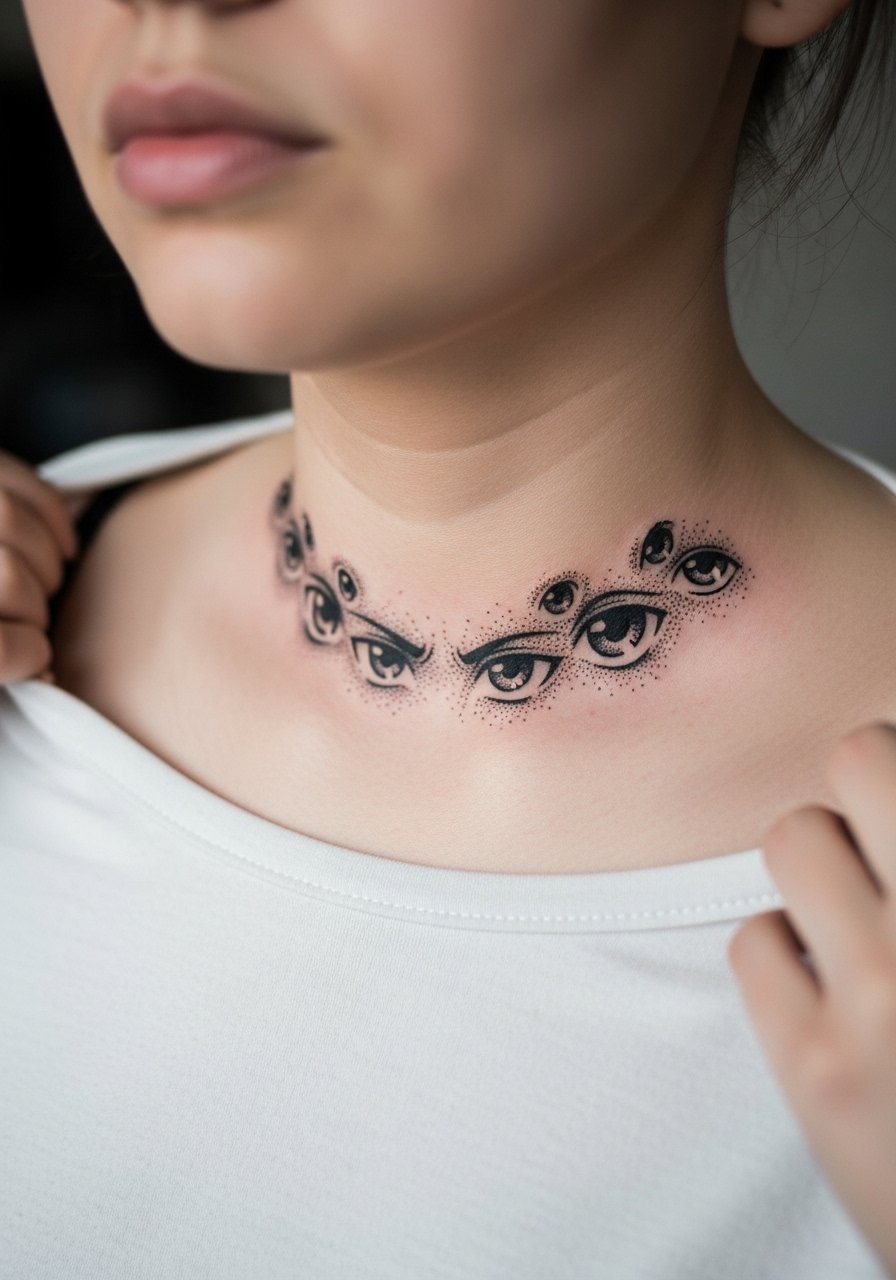
Collarbone is a high-visibility spot that reacts to sun and clothing friction. Pain can be sharp near bone and sessions are usually under two hours for clustered motifs. The mistake is packing too many tiny eyes into a narrow strip. Spread them so each motif has negative space. Ask the artist to map the cluster to the bone contours so the design moves naturally when you shift posture. Pair this with a delicate pendant necklace that sits above the cluster without covering it.
16. Black Flash Minimalist Back of Hand Mark
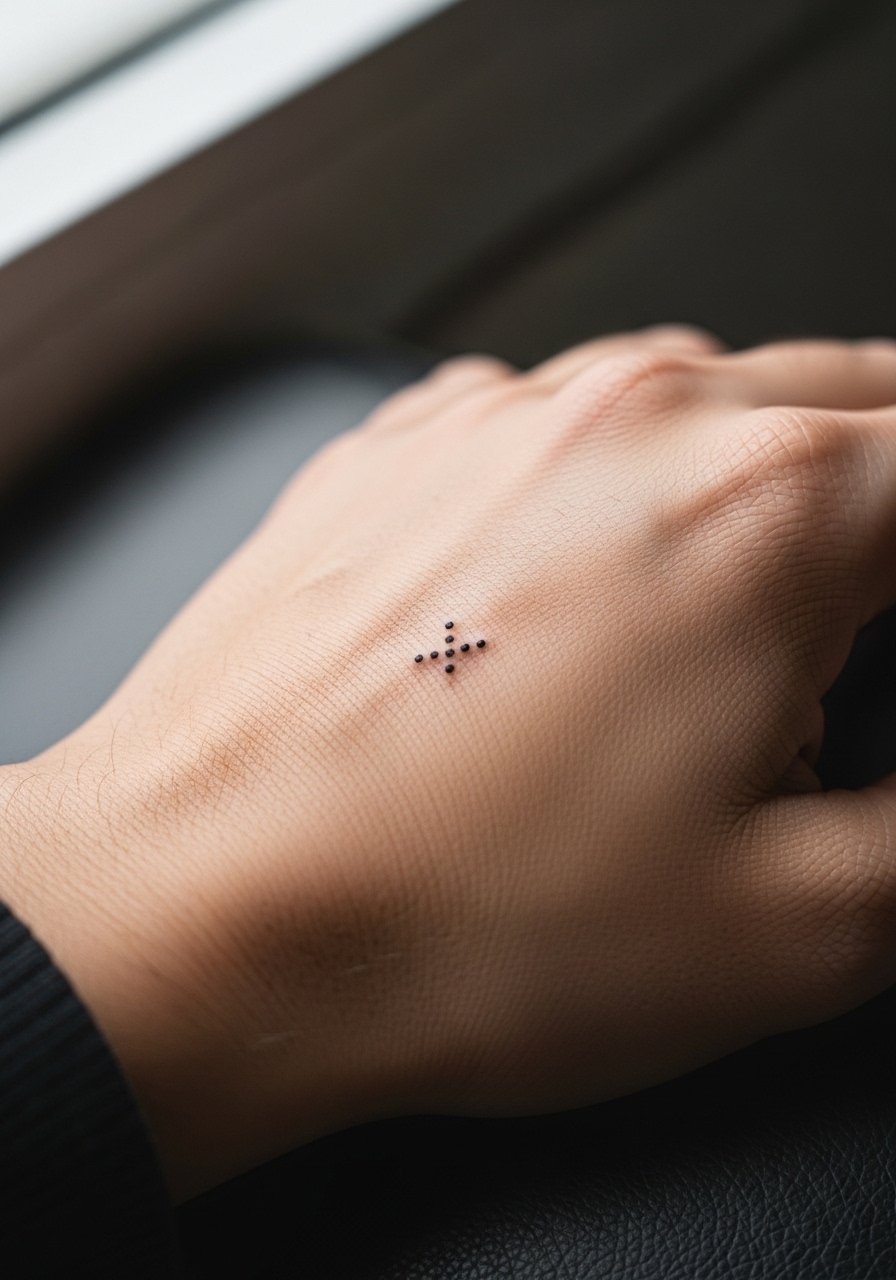
Hand tattoos often demand exact intent because of wear and professional visibility consequences. Pain is high and touch-ups are common within the first two years. A frequent error is assuming small detail will persist without maintenance. Choose bold dot clusters rather than tiny precision. Also consider your job prospects because some workplaces still react to visible hand ink.
17. Shikigami Line Dotwork Along Rib Curve
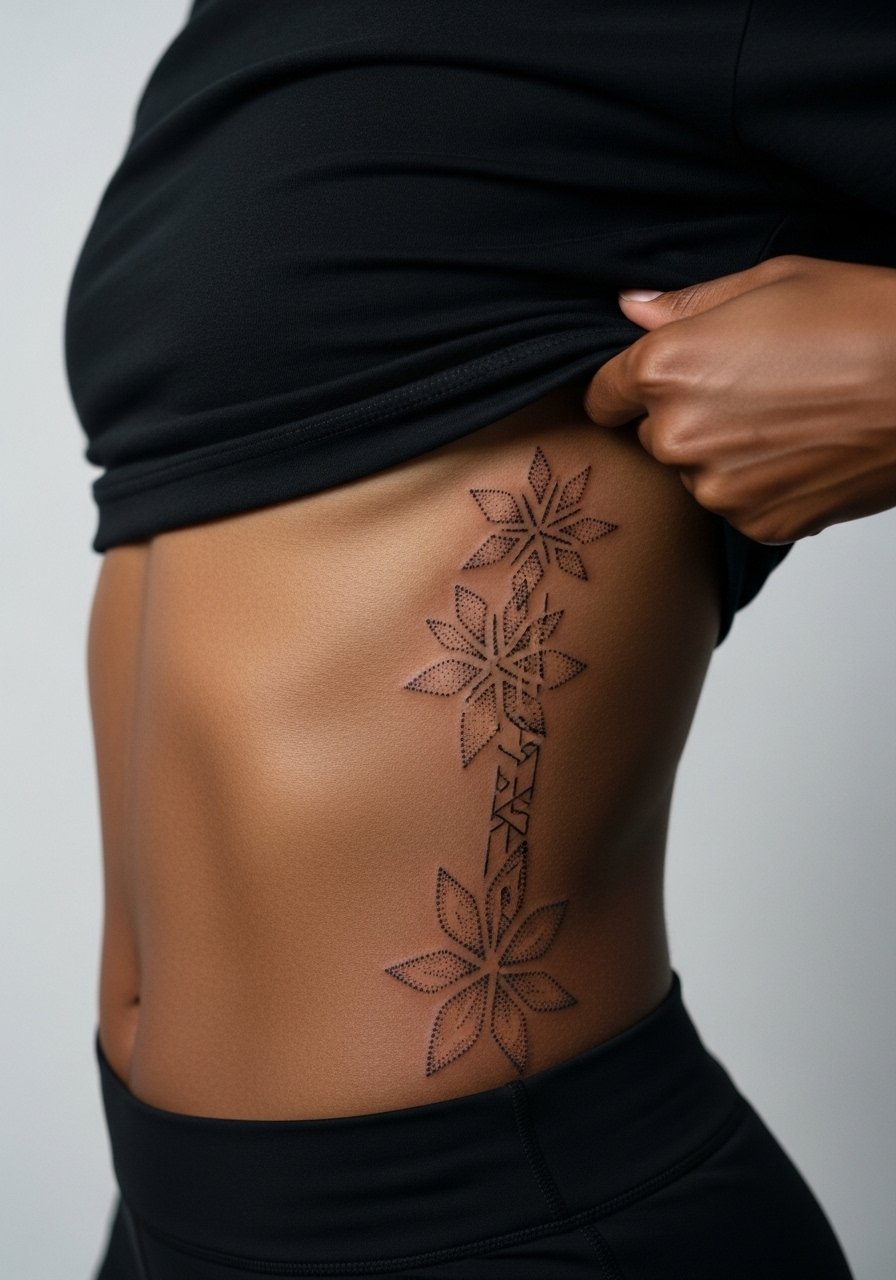
Rib work looks beautiful but ages with the body's movement. Pain is high and sessions can be broken into multiple sittings. The biggest mistake is over-detailing near the ribs without spacing. Ask for larger dots and flow that follows the rib curve. For the appointment wear a cropped athletic top so you can lift fabric without disrobing. Expect a touch-up sooner than for arm pieces.
18. Finger Banded Curse Script with Dot Fill
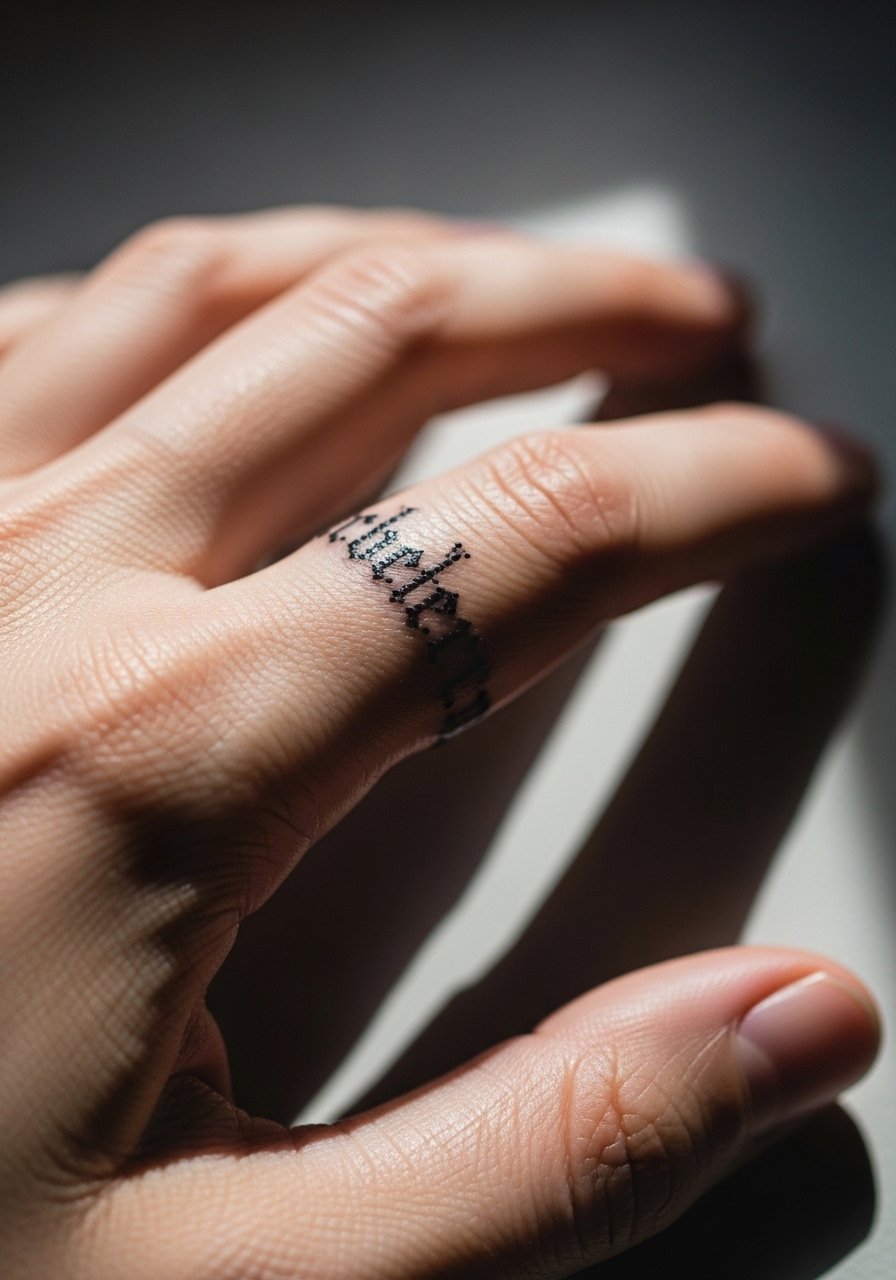
A banded script offers a statement that reads like jewelry. The issue is constant abrasion from rings and hand washing. Pain is sharp and touch-ups are often needed. Ask for dot shading inside the band to maintain texture rather than thin continuous strokes. Avoid knuckle placement for better longevity. When showing it off pair with slim rings that do not sit directly over the ink.
19. Reverse Portrait Negative Space on Thigh
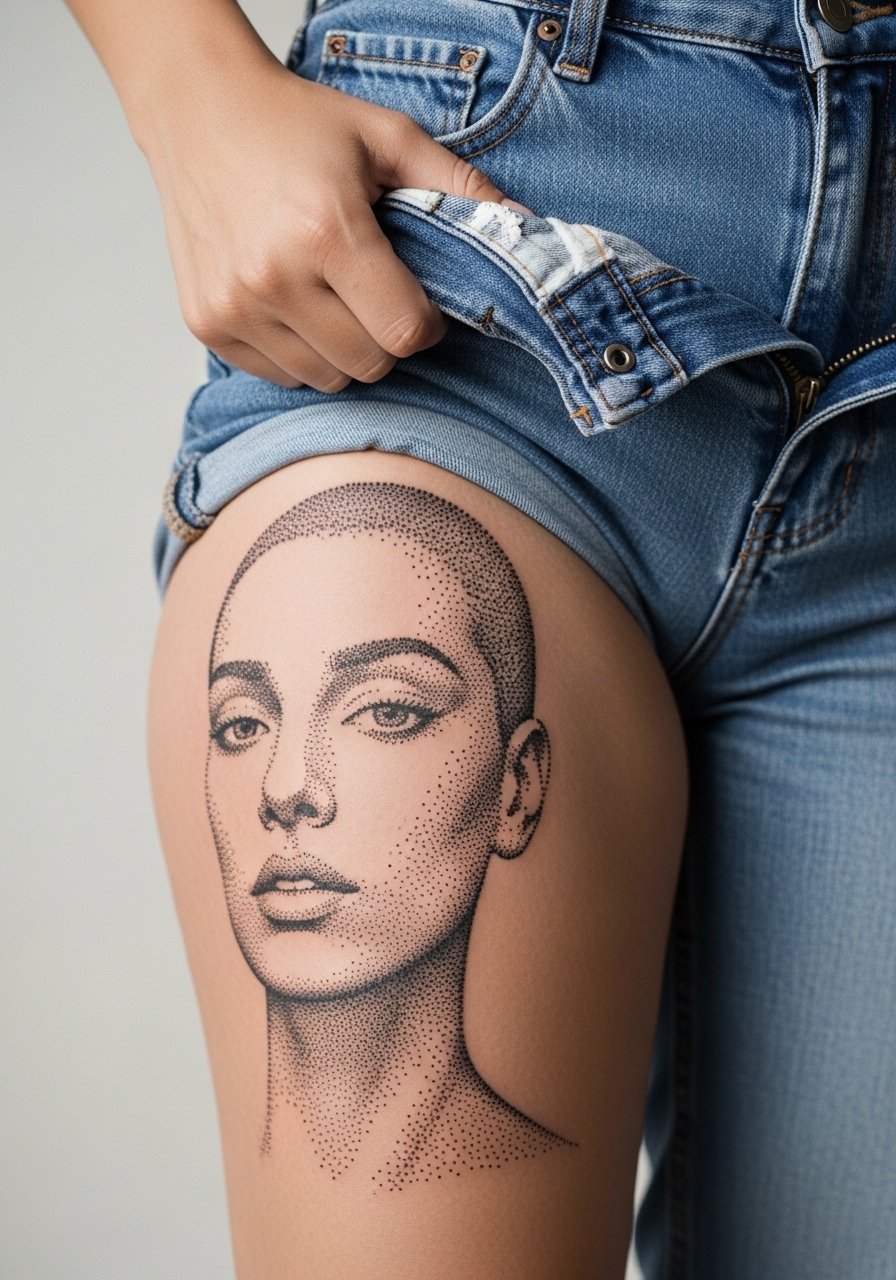
The thigh is forgiving for larger dotwork portraits and handles ambitious negative space designs. Pain is low to moderate and sessions can be long. A common error is packing facial detail too small. Negative space portraits work better because they preserve contrast as ink naturally spreads slightly. For the session wear high-waisted denim you can lower just enough to expose the area without shifting the rest of your clothing.
20. Cursed Seal Around Ankle Bone
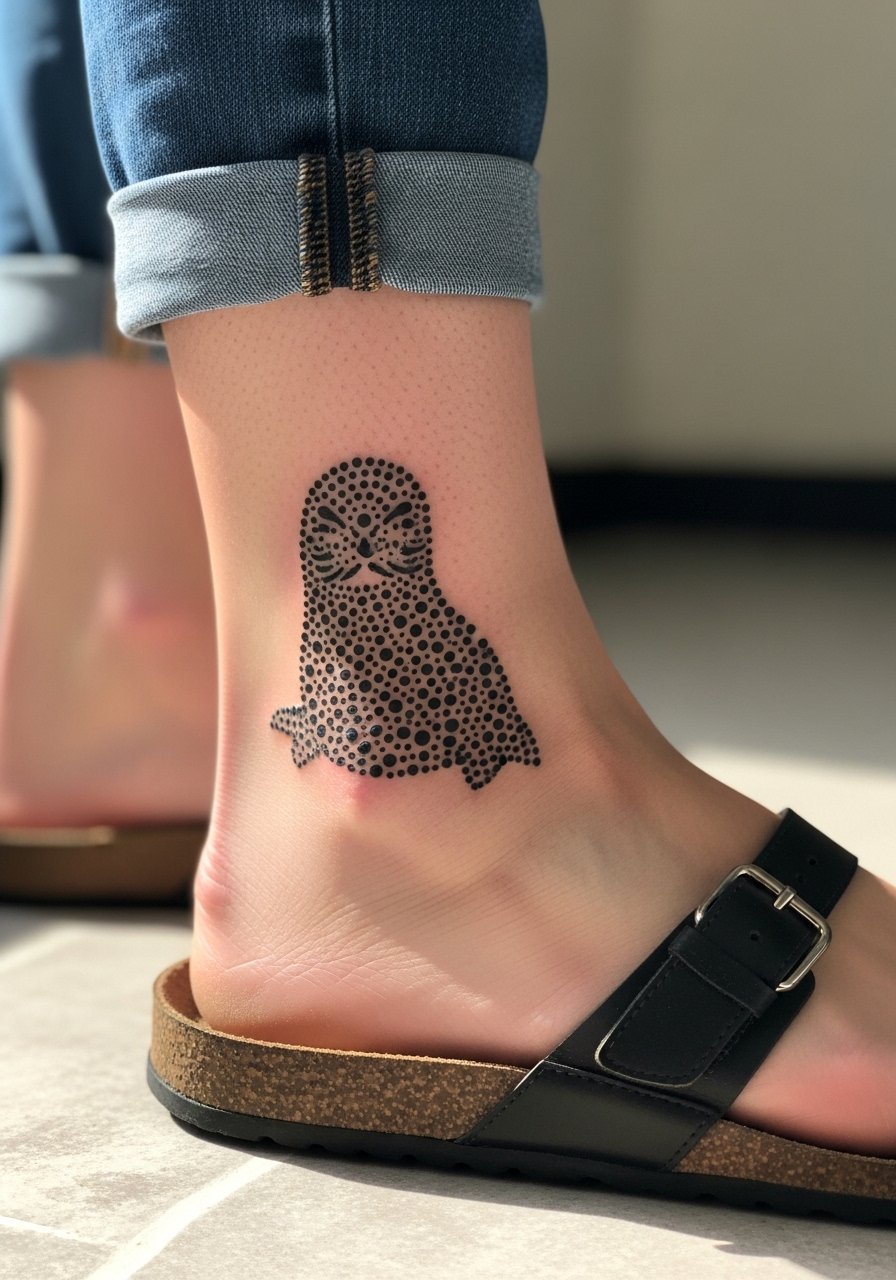
An ankle seal reads like a motif that is always visible with low socks or bare ankles. Pain level is moderate and sessions are usually under 90 minutes. The mistake is making the seal too dense over bone which loses crispness with time. Ask for a thin outer outline and stipple fill that avoids over-saturation near the joint. Pair with low socks or strappy sandals when you want it on display.
21. Manga Panel Dotwork Sleeve Accent
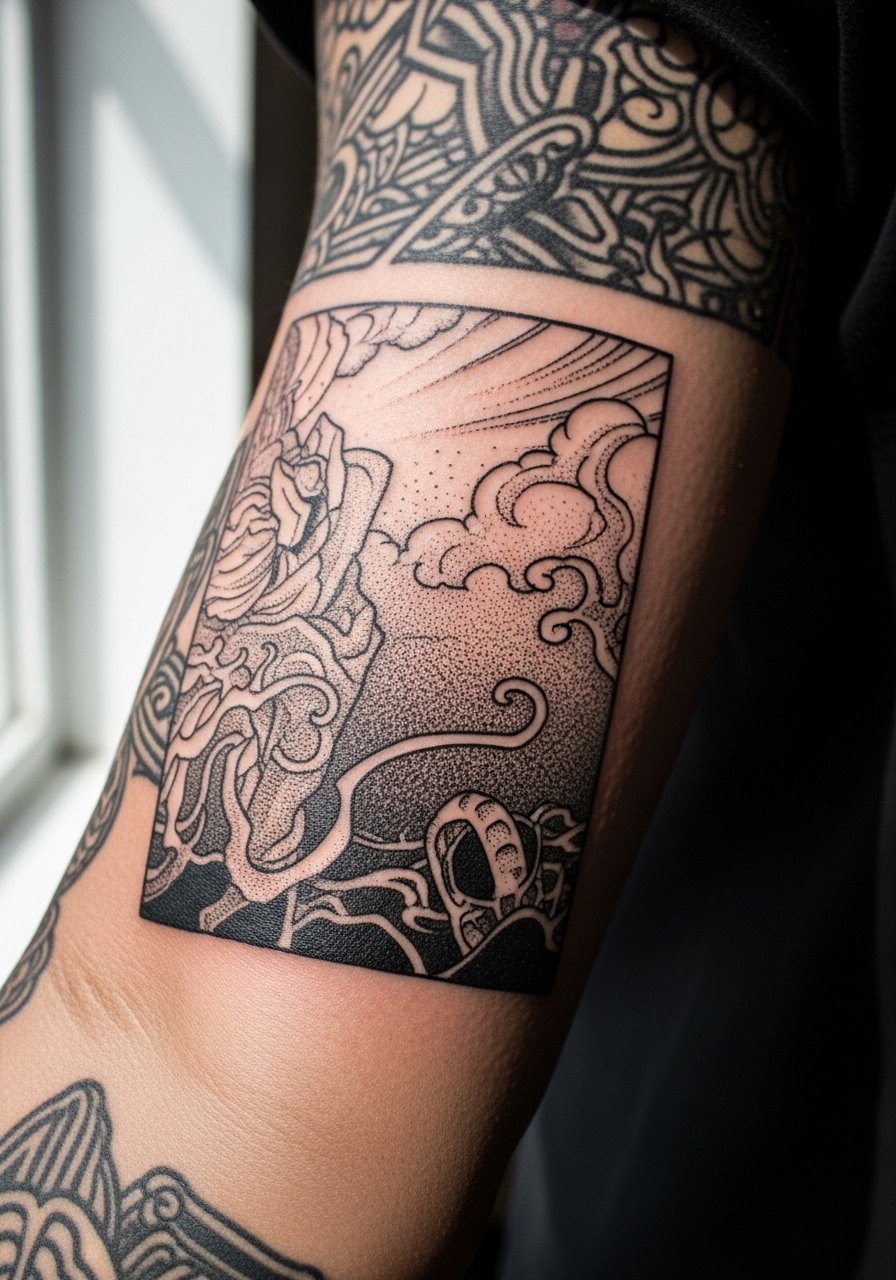
Panel work translates well into sleeves because the box frames give the eye breathing room. Forearm sleeves tend to be moderate in pain and require multiple sessions. The error is compressing too many panels into a narrow area. Ask the artist to vary panel sizes and to use heavier dot contrast on key panels so the composition reads at arm's length. Wear a rolled-sleeve denim jacket to show off a sleeve accent without covering it.
22. Minimal Jujutsu Script Along Collar Edge
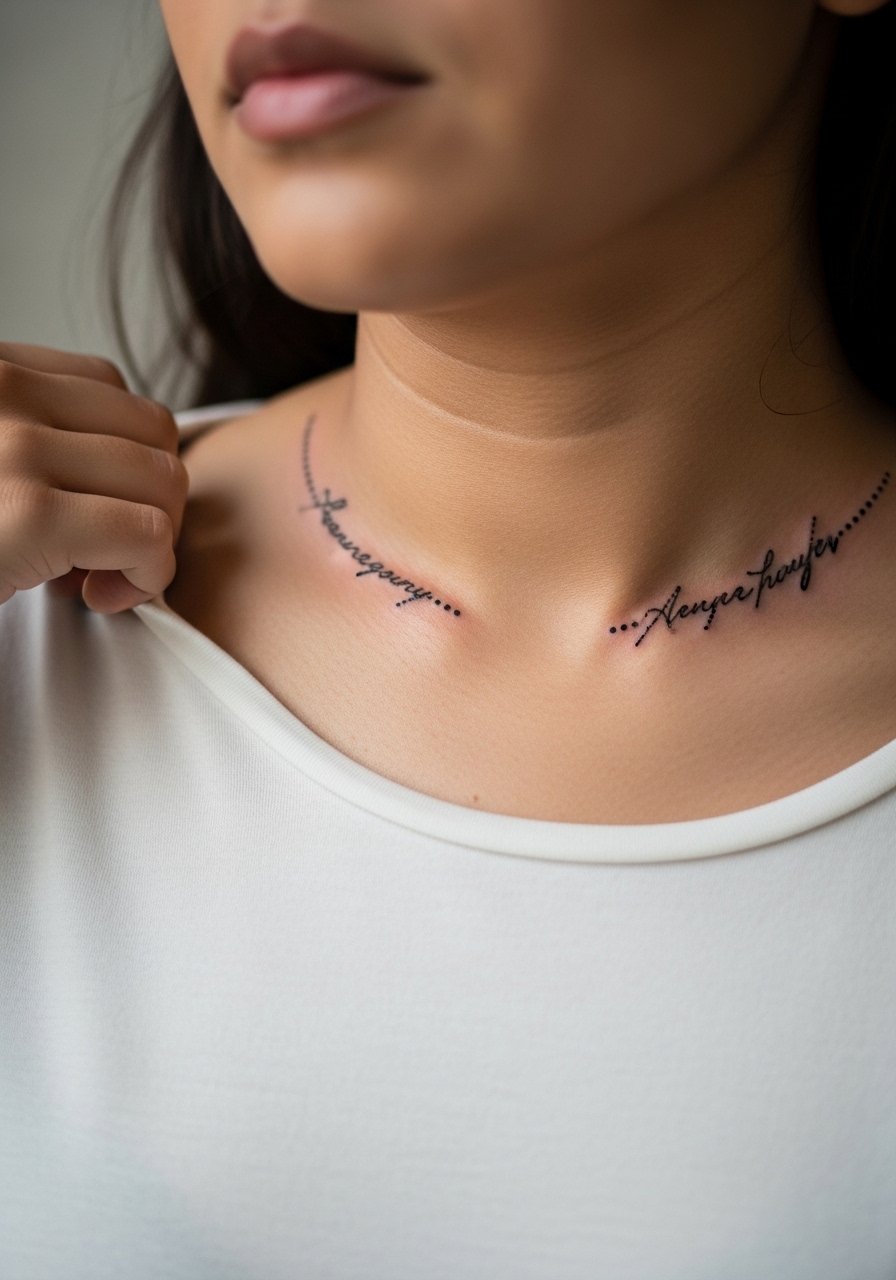
Script at collarbone is visible and interacts with necklaces. Pain can be sharp near bone and sessions are usually brief. The common mistake is requesting very fine single-stroke letters. Dot clusters that form the lettering last cleaner and resist early blurring. Keep the phrase short and ask how it sits with jewelry. A thin pendant works well with collar scripts.
23. Finger-Tip Tiny Cursed Glyph Trio
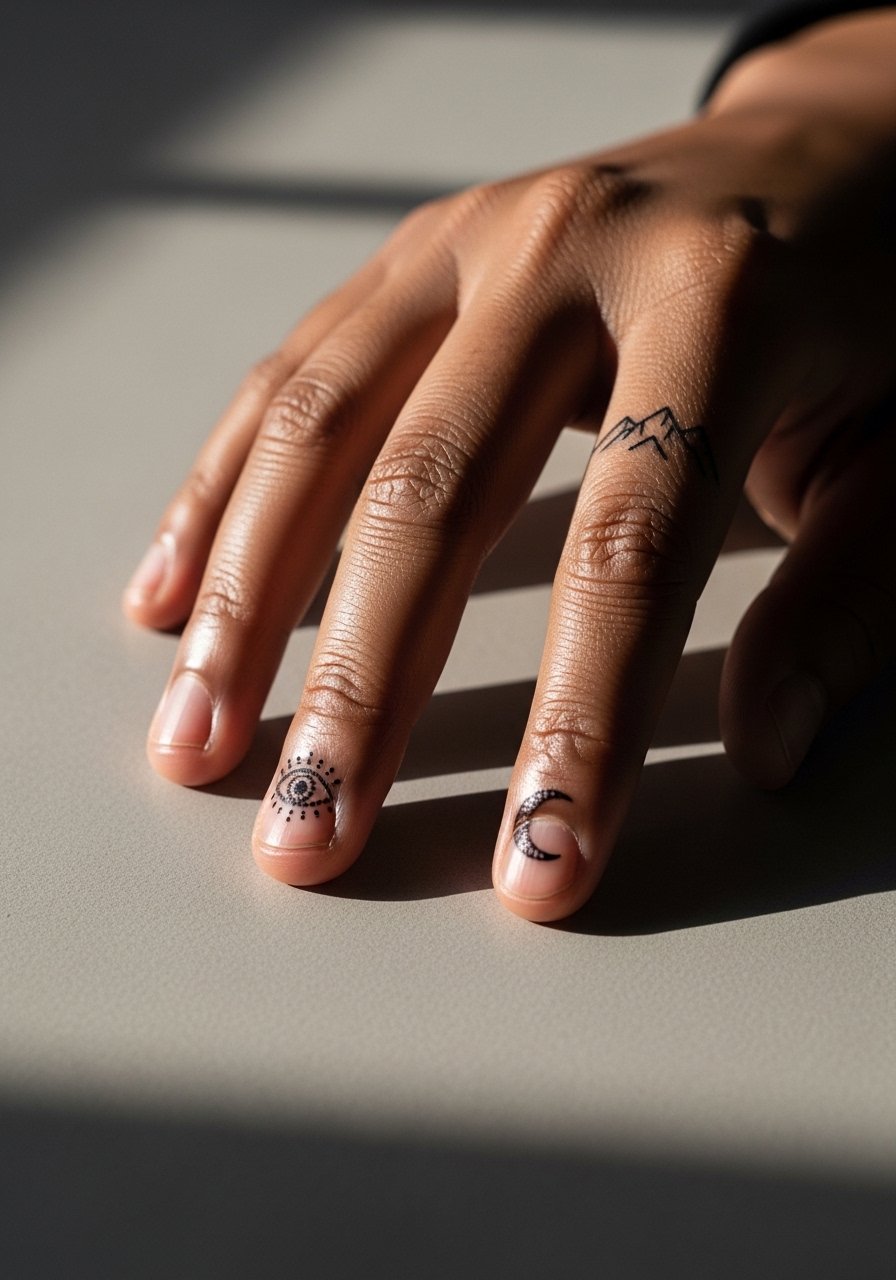
Tips of fingers are high-wear zones and heal quickly yet fade fast. Pain is sharp and sessions are short. Expect frequent touch-ups and possibly migration. The best approach is to accept maintenance and design small bold clusters rather than fine detail. Avoid lines across the nail bed. Rings and daily hand tasks will affect longevity, so plan accordingly.
24. Pagoda Linework with Dot Clouds on Upper Arm
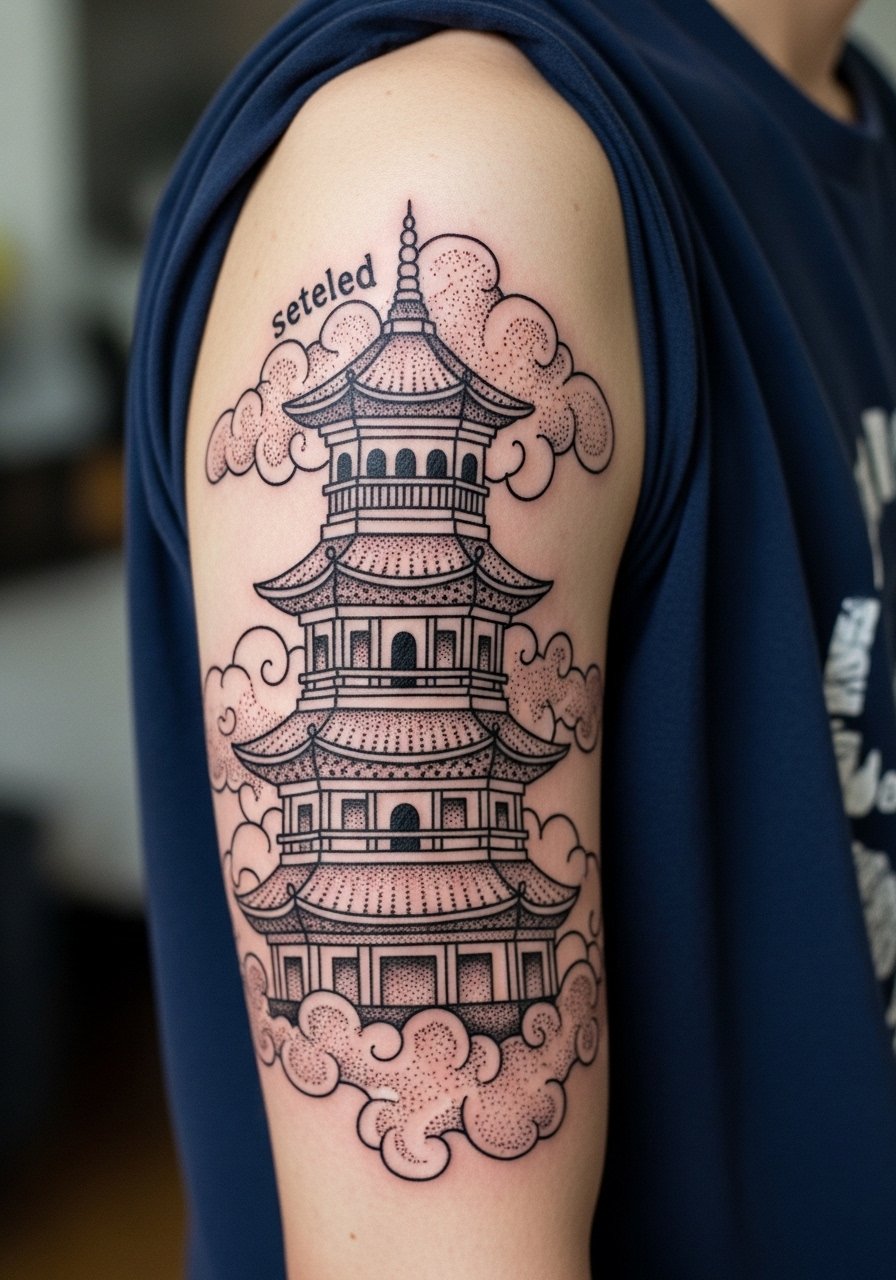
Upper arm placements are consistent performers for dot gradients. Pain is usually mild and sessions can be longer for detailed pagoda architecture. A mistake is compressing tiny roof tiles into a small area. Use dot clusters to suggest texture instead of literal tile detail. For show-off wear a short sleeve cotton tee that frames the upper arm without hiding the design.
25. Chain of Command Spine Accent
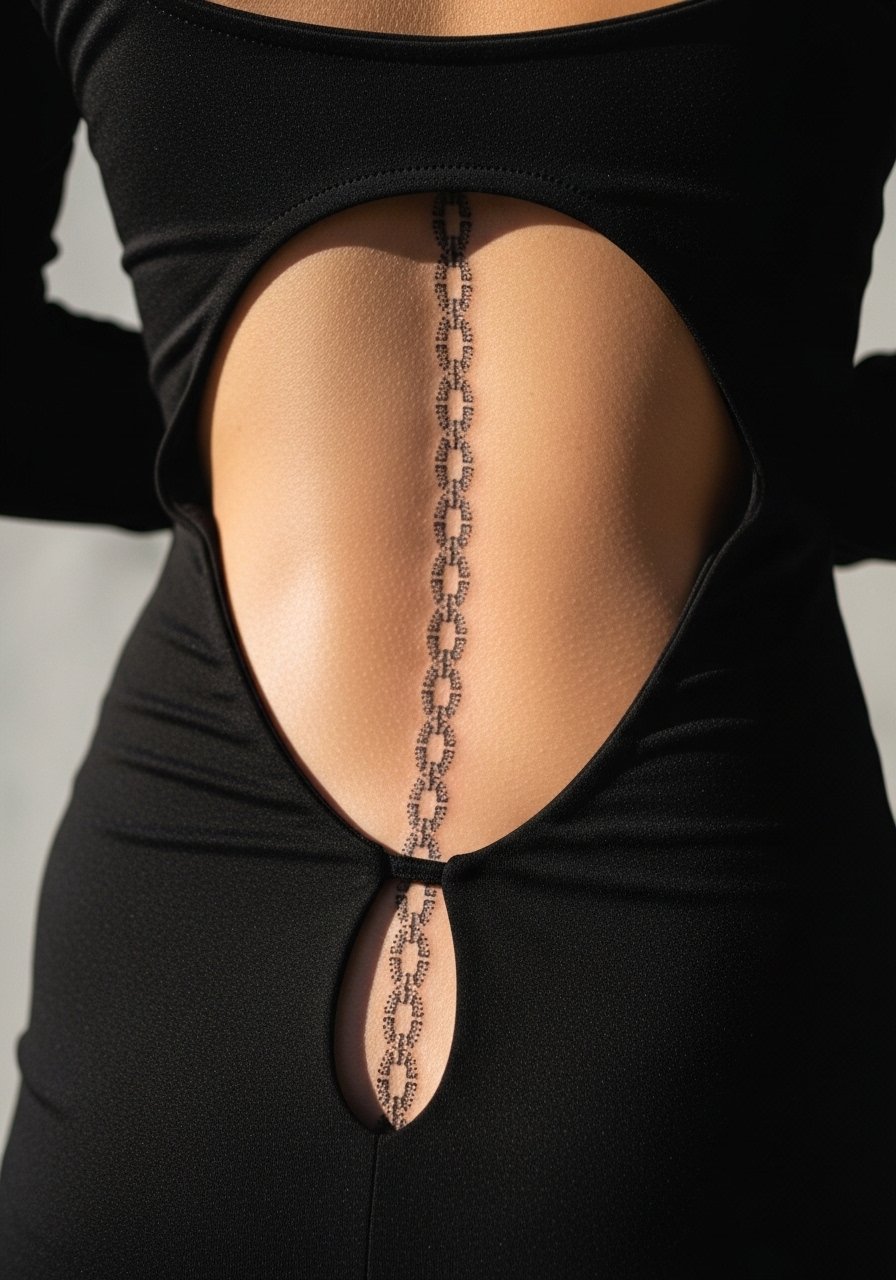
Spine accents are striking but require an artist used to straight central compositions. Pain varies by location and is higher near vertebrae. Sessions can be split into short sittings. The error is running very fine detail along the spine that will lose clarity with movement. Ask for slightly larger dot elements and defined negative space between links. For show-off moments consider open-back garments like a back-slit dress that reveals the vertical motif.
26. Double Iris Dotwork on Shoulder Blade
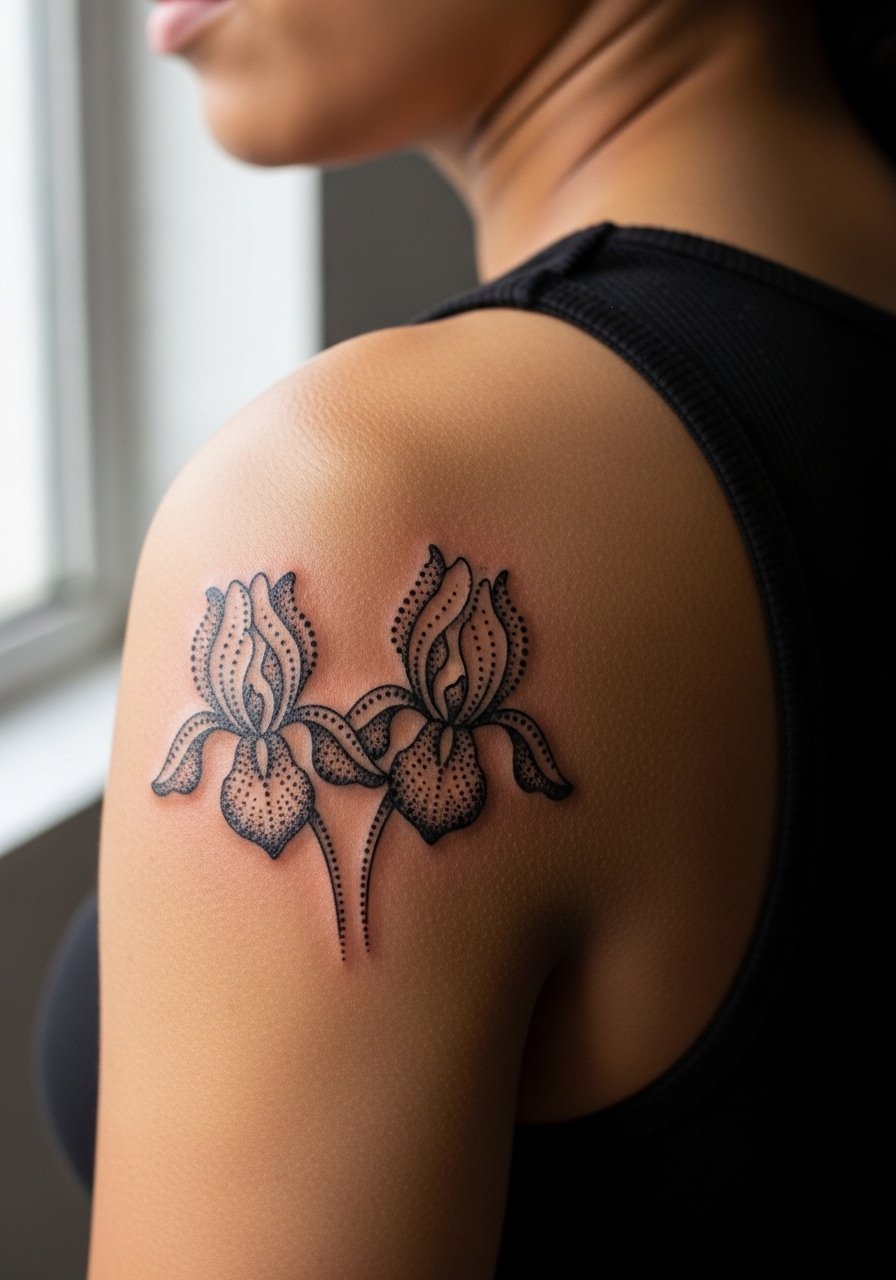
Shoulder blade placements are lower-friction and accept heavy dot saturation. Pain is mild and sessions are comfortable. The slip-up people make is centering a motif without accounting for shoulder movement which distorts shapes. Ask your artist to map the design with arm movement so the irises sit correctly when you stand naturally. Open-back tops work well to show this area.
27. Symbol Cluster over Heart in Fine Dotwork
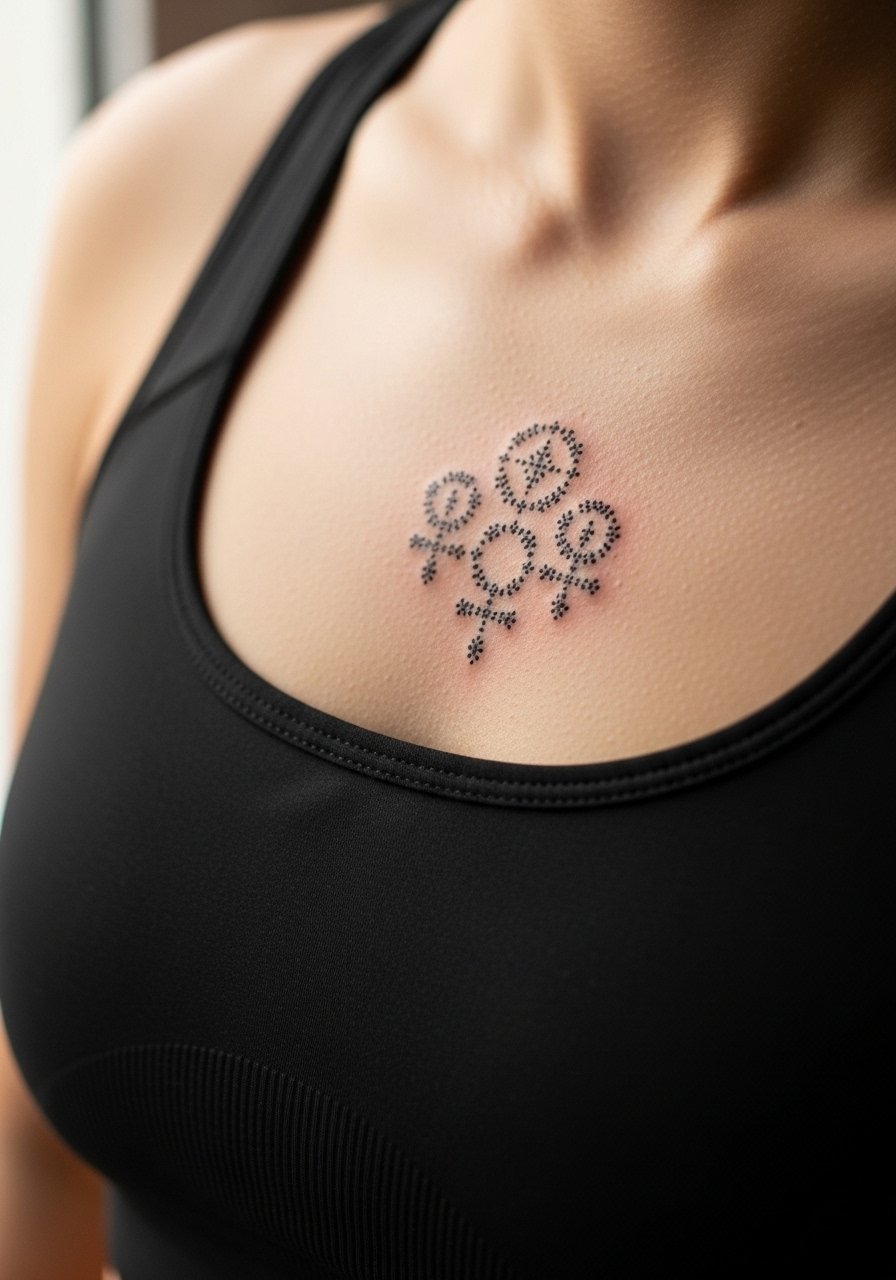
Near-heart placements feel personal and are high-visibility under certain clothing. Pain is moderate to high and sessions are typically under two hours for a compact cluster. The mistake is cramming too many tiny symbols into the same zone. Spread them and use dot density to create a focus point. For the appointment wear a fitted sports bra or a top you can lift slightly so the artist can stencil and tattoo without full exposure. Consider long-term sun protection since chest area gets a lot of UV exposure.
Frequently Asked Questions
Q: How does dotwork compare to fine line for character portraits from Jujutsu Kaisen in terms of longevity?
A: From what I have seen, dotwork holds contrast better over time because it relies on textured clusters rather than single long strokes. Fine line portraits can look incredibly crisp fresh but often require touch-ups sooner when used for complex faces. If you want a character feel that ages well choose dot clusters for shading and keep facial detail slightly stylized.
Q: Will a sternum or ribcage dotwork piece need more touch-ups than a forearm design?
A: Yes it depends on movement and skin stretch. Ribs and sternum move a lot during breathing so dotwork there usually needs touch-ups earlier than forearm work. Splitting sessions and asking for slightly larger dot spacing helps preserve the design. For the session wear a fitted sports bra so your artist has clean access.
Q: Are there copyright or trademark issues with tattooing exact anime faces, and how do people navigate that?
A: There are two camps on this. One camp sees exact likenesses as direct fan homage and proceeds without concern. The other camp prefers stylized or symbolic renditions to avoid public reuse of official character art and to create a more personal piece. Stylizing with dotwork or silhouettes gives you the fan reference while reducing the chance the image is treated as a replica.
Q: How should I prepare clothing-wise for a forearm sleeve day versus a ribcage session?
A: For a forearm sleeve wear a shirt with sleeves you can roll up like a loose button-down so the artist has room to work without you feeling cold. For ribs bring a cropped top or sports bra that you can lift slightly. Comfortable layers you can remove quickly are always helpful.
Q: Do I need a special artist for tiny behind-the-ear or sternum dotwork?
A: Yes. Tiny and sensitive placements split artists into those comfortable with awkward angles and those who avoid them. Ask about specific experience with the placement and view healed photos from similar zones. Trust your artist when they explain how they handle dot spacing for those small areas.
