
Fine line tattoos are everywhere online, and the look is easy to love at first glance. The reality is that delicate single-needle work asks for thoughtful placement and tiny design choices if you want it to age well. Read these compact ideas with what to ask at your consultation and what to wear to the session, and you will leave the chair with something that reads like you years from now.
1. Minimal Botanical on the Inner Forearm
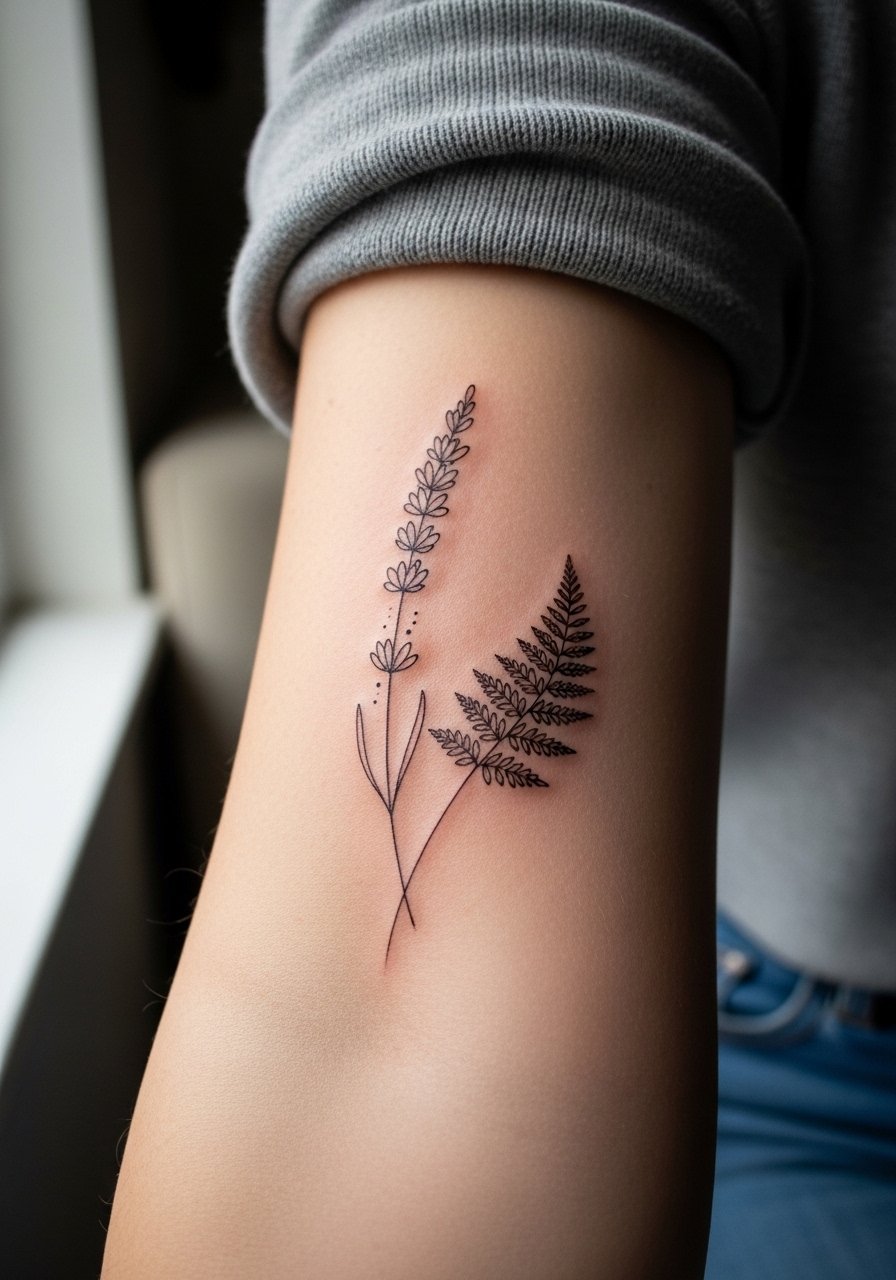
I recommend this when you want a piece that grows with your sleeve ideas later. Tell your artist you want lighter spacing between branches and slightly thicker main stems so the tiny leaf tips do not blur together over time. Most mistakes come from compressing too many tiny leaves into a two-inch panel. Expect mild sting during a 45 to 90 minute session and a touch-up around year two or three if you are outdoors a lot. Pair it with rolled sleeves like a linen button shirt to show off the length of the piece and keep the skin protected while it heals.
2. Tiny Constellation on the Wrist
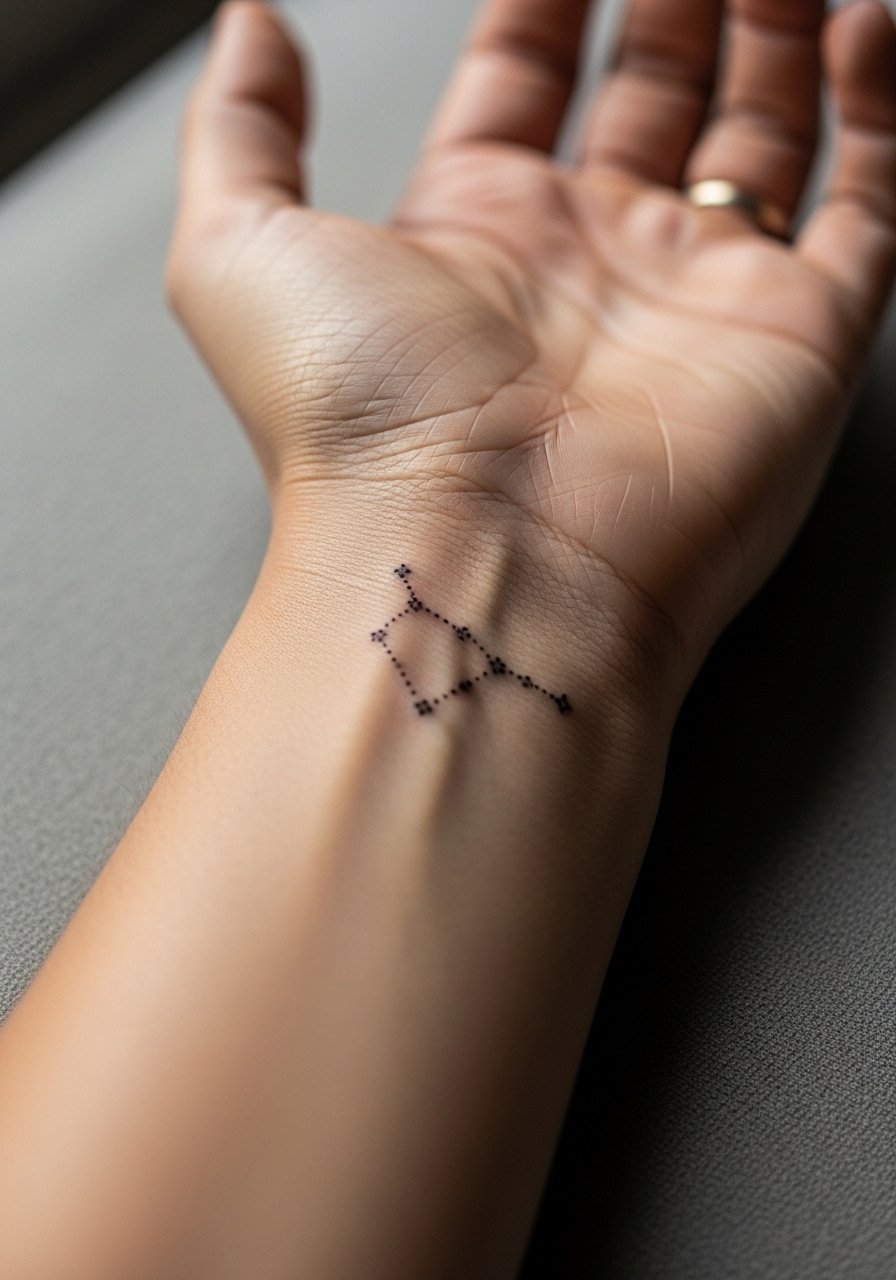
Wrist constellations read as jewelry more than art, so treat placement like a bracelet. In consultation, ask the artist for a faint connecting line or tiny gaps between stars so the piece does not look like a smudge after frequent washing. Wrist work is a higher touch-up risk because of sunlight and friction from watches. The session is short and sharp, around 30 to 60 minutes, and pain is modest. For showing it off, stack it with a thin gold chain bracelet or a minimalist watch band to frame the design without crowding the linework.
3. Micro Script Along the Ribcage
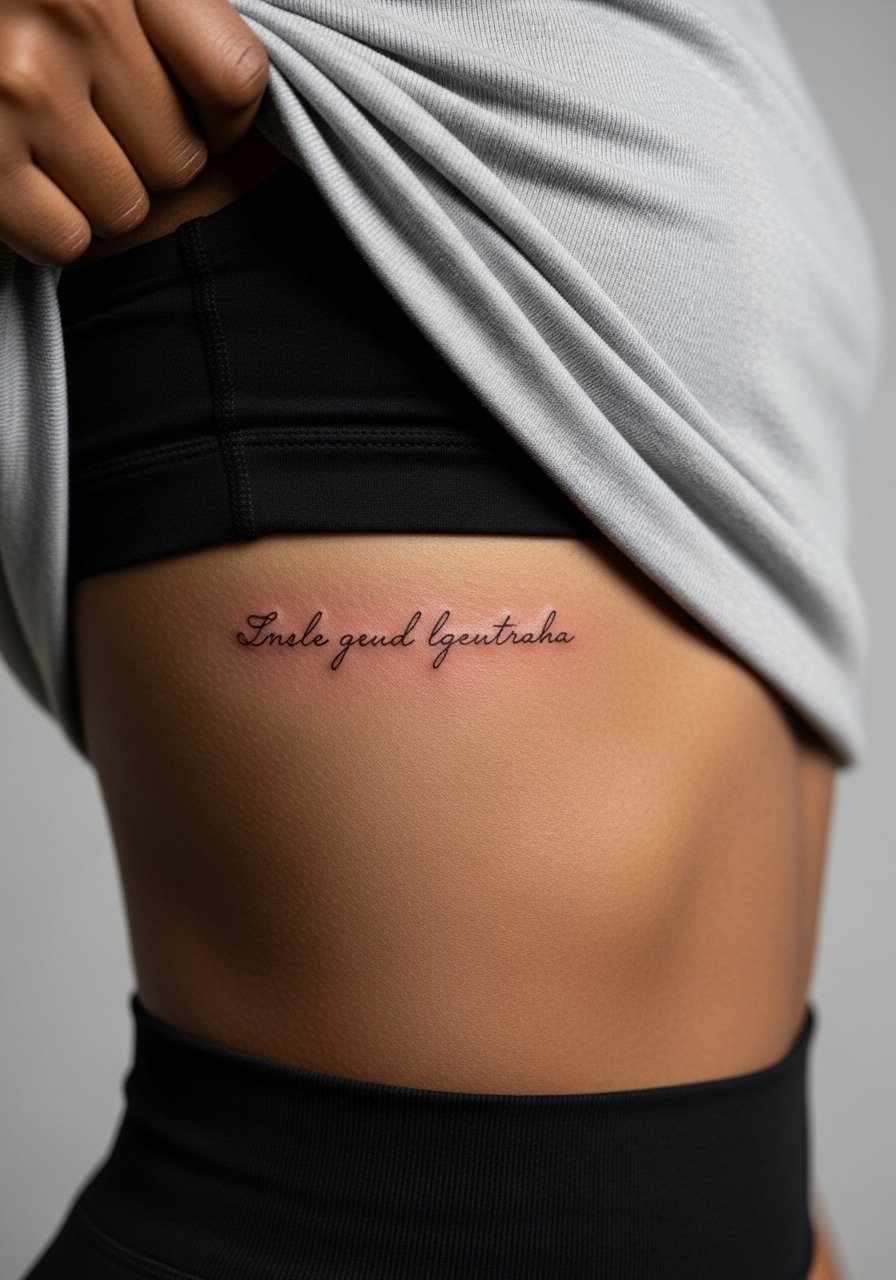
Fine script on the ribs looks intimate and reads best when scaled slightly larger than you think. The biggest error is keeping letters too thin in dense passages, which lets natural skin stretch merge strokes. Expect the session to be in the 60 to 120 minute range and to feel more intense than arm work. Artists split on whether fine line holds up on ribs. One camp says the constant flex and thin skin blur lines within a couple of years. The other camp says with correct depth and spacing it can settle beautifully. Ask where your chosen artist stands before booking. For privacy and comfort during the appointment, wear a supportive sports bra you can shift as needed.
4. Single-Needle Symbol on the Ankle
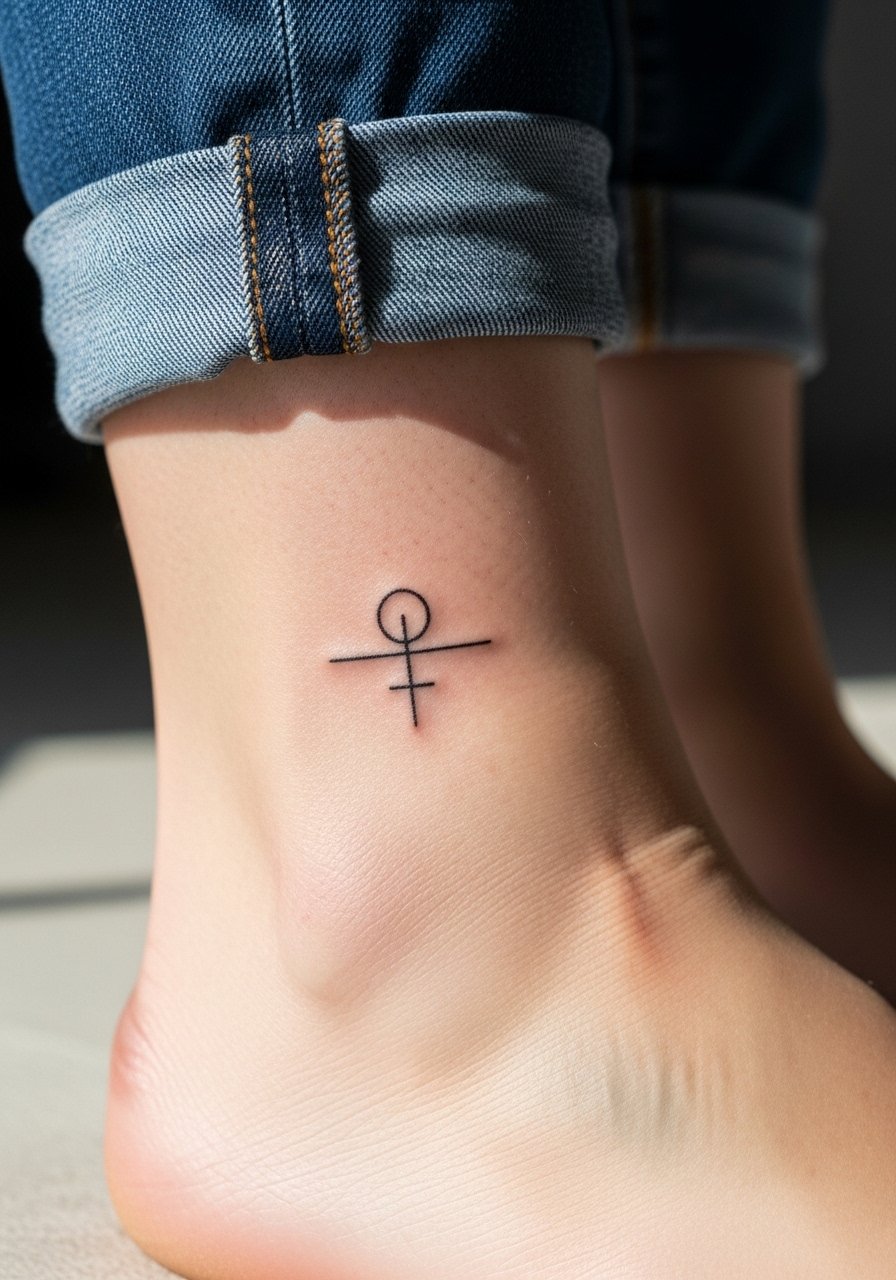
Ankle tattoos get rubbed by socks and shoes, so place the ink on the bony edge where skin moves less. Tell your artist you want slightly bolder anchor points in small symbols so the outline keeps its shape with regular wear. The session is brief and tends toward sharp localized pain. A common long-term issue is early fading from footwear friction, which pushes people to repair thin outlines at year two. For showing it off in warm months, a simple pair of strappy sandals or cropped trousers do the job while protecting the area during healing.
5. Thin Geometric Band on the Finger
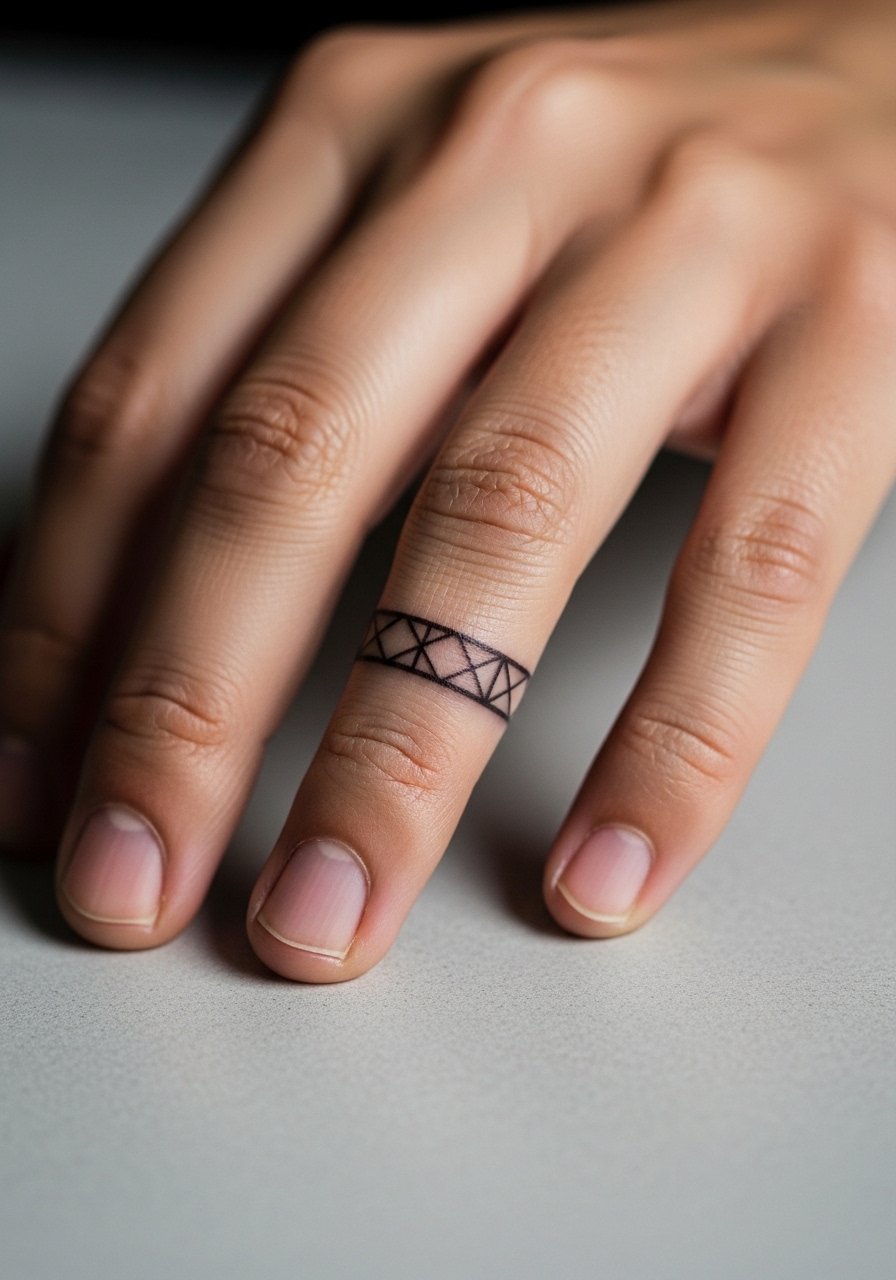
Finger bands read like jewelry but carry high risk for fading and blowout. The common mistake is asking for extremely thin parallel lines that the skin on fingers cannot hold. For better longevity, ask for slightly thicker band edges and more negative space in the middle. Sessions are fast and painful because the area is thin and bony. Expect yearly touch-ups if you use your hands a lot. Also consider career visibility, since hand tattoos can still affect certain professional settings. If you proceed, plan lighter inks and accept that maintenance is likely.
6. Mini Moon Phases Behind the Ear
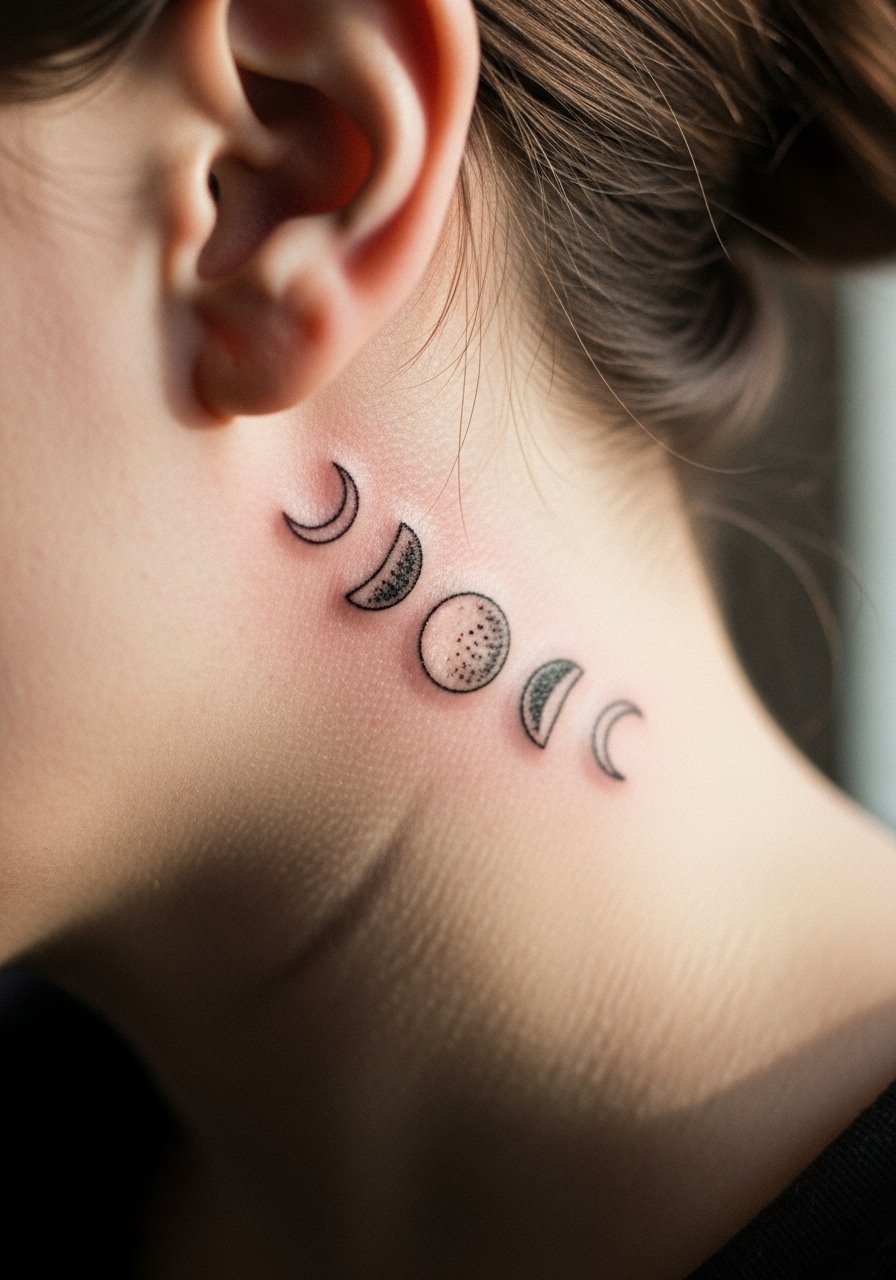
Behind-ear placement works when you want something subtle and often hidden by hair. The main mistake is placing dense detail too close to the hairline, which makes stencil transfer tricky. Keep designs simple and spaced. The session is quick and mildly uncomfortable because of the thin skin, and touch-ups are common once hair growth catches pigment. If you have a job that prefers low visibility, this is an easy spot to conceal. Mention during consultation that you want the stencil applied and checked in two positions so you know how it looks with hair up and down.
Studio Day Picks
The small wrist, finger, ankle, and ribcage pieces above share similar session and healing needs, so a few targeted items smooth the appointment and the first week.
-
Stencil transfer paper kit. Lets you preview the exact placement on skin before the needle goes in, especially useful for wrist and rib placements.
-
Topical numbing cream. Applied under a wrap about 30 to 45 minutes before eases the edge on ankle and rib sessions without obscuring linework.
-
Thin protective film roll. Keeps delicate wrist and finger pieces clean during the first days of heavy handwashing.
-
Fragrance-free gentle body wash. Cleanses healing areas without irritating the tiny channels that single-needle work depends on.
-
Aquaphor healing ointment. A thin layer in the first 48 hours helps maintain moisture for fine line work and reduces hard scab formation.
7. Vine Along the Collarbone
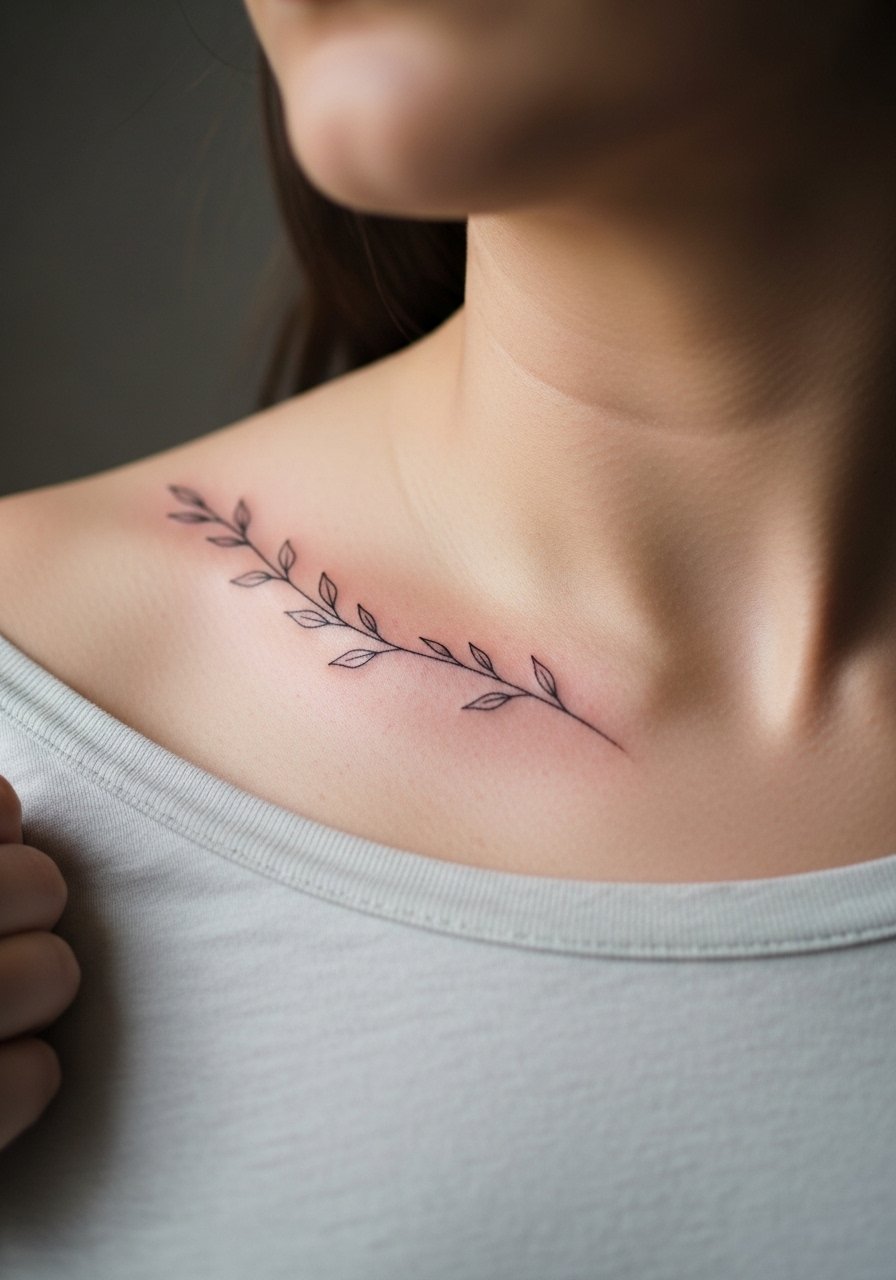
Collarbone pieces photograph well and age predictably when given breathing room. Ask your artist to anchor the vine with slightly thicker nodes and to avoid packing tiny leaves into a narrow strip. The area stings less than ribs but more than the outer arm, and sessions run 45 to 90 minutes. For show-off outfits, a low or wide-neck top flatters the piece, and I like it with an open-back midi dress or a thin chain pendant that sits above the vine without competing.
8. Micro-Realism Bird on the Upper Arm
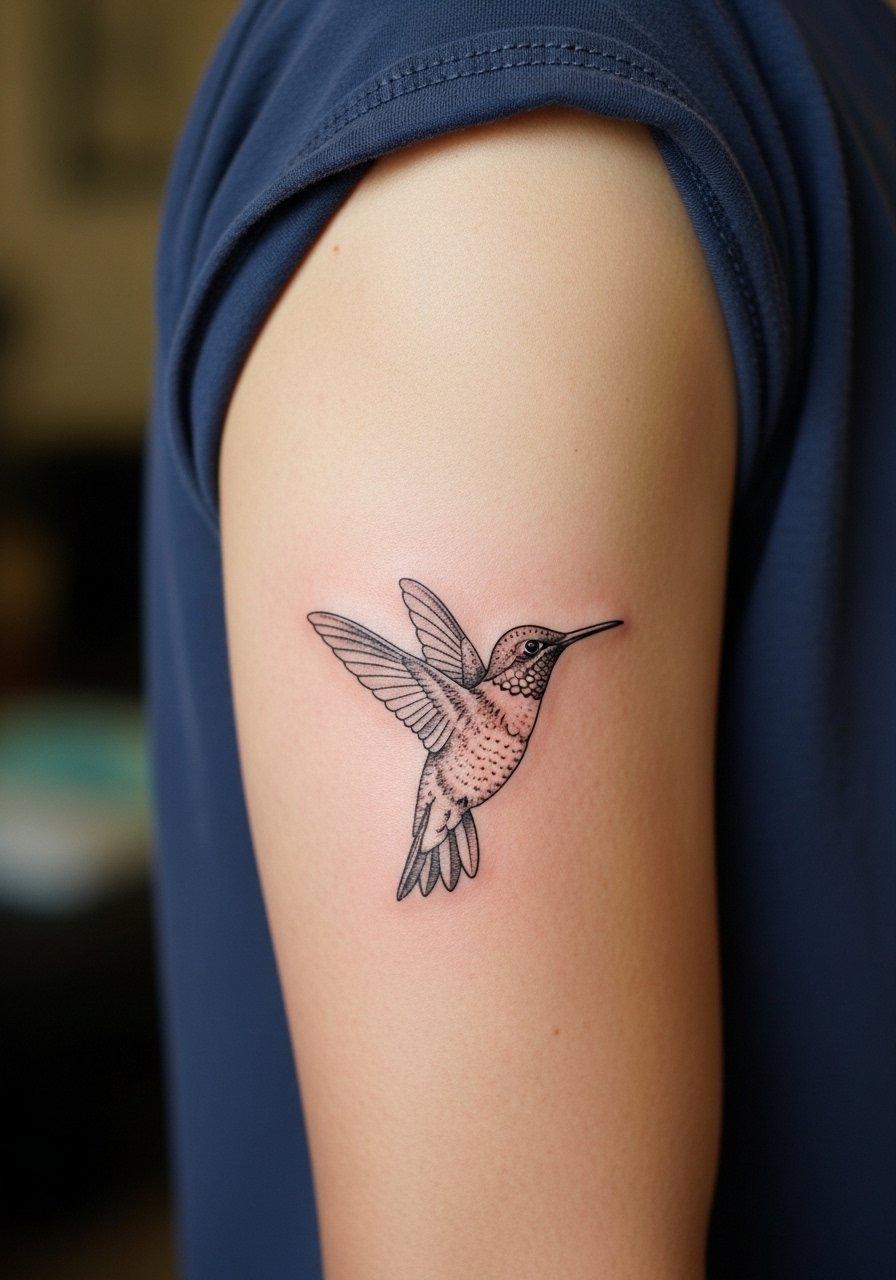
Micro-realism in single-needle work reads best on thicker-skinned placements like the outer upper arm. Tell the artist you want mid-tone stipple shading with clear contrast so the silhouette holds as the tiny details soften. The session can run 90 to 150 minutes depending on subject size and is more comfortable than chest or ribs. Expect touch-ups at year three if you spend a lot of time in direct sun. For those building a larger piece later, this placement allows expansion without the compression problems small-wrist pieces face.
9. Delicate Botanical on the Inner Thigh
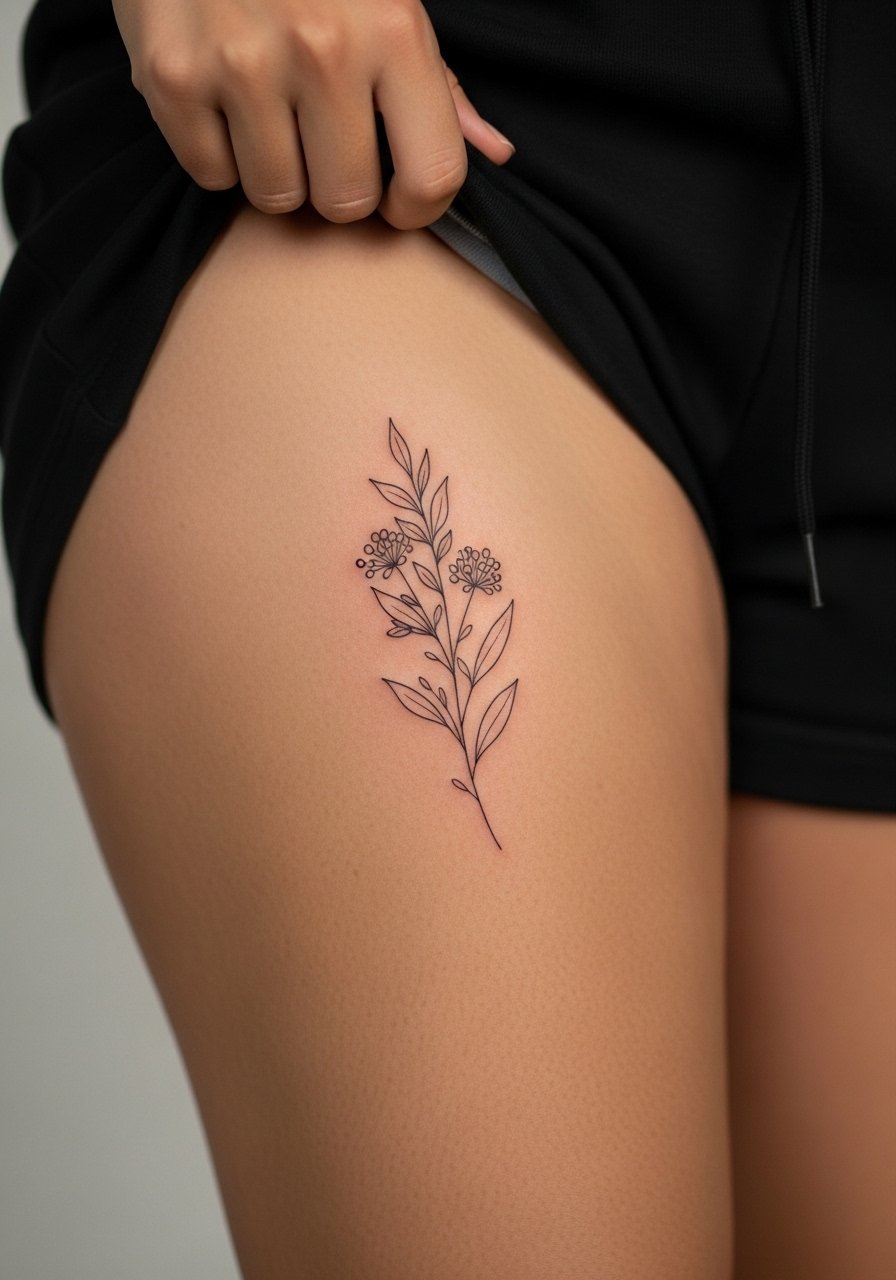
Inner thigh pieces are intimate and sit on skin that moves a lot. The common error is packing too much detail into a small patch, which the skin will blur after movement and weight changes. Ask for slightly larger leaf shapes and an airy layout so the design ages with you. Sessions are in the 60 to 120 minute range and can feel tender because of friction during healing. For comfort during the appointment, wear loose shorts you can shift, and plan for a few weeks before wearing tight bottoms again.
10. Minimal Spine Line Between the Shoulder Blades
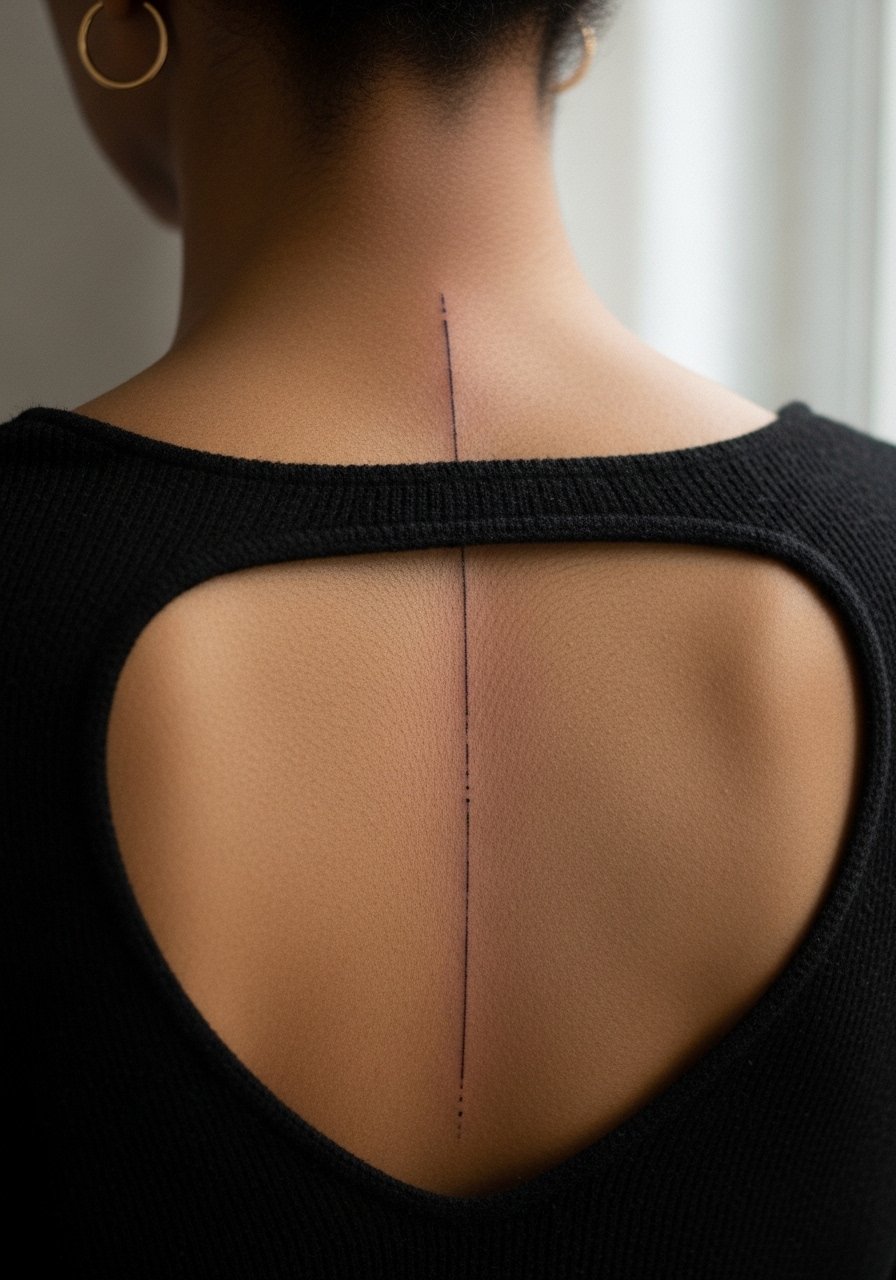
A spine line reads dramatically when paired with clothing that reveals the back. The main technical risk is placing the line so it follows natural spinal curvature rather than a strict straight ruler line, which can look off after movement. The session is moderate in discomfort and usually performed in a single 60 to 120 minute block. For showing it off, open-back tops or a halter pair exceptionally well. Try an open-back evening top when the piece is fully healed.
11. Stipple Mandala on the Shoulder Cap
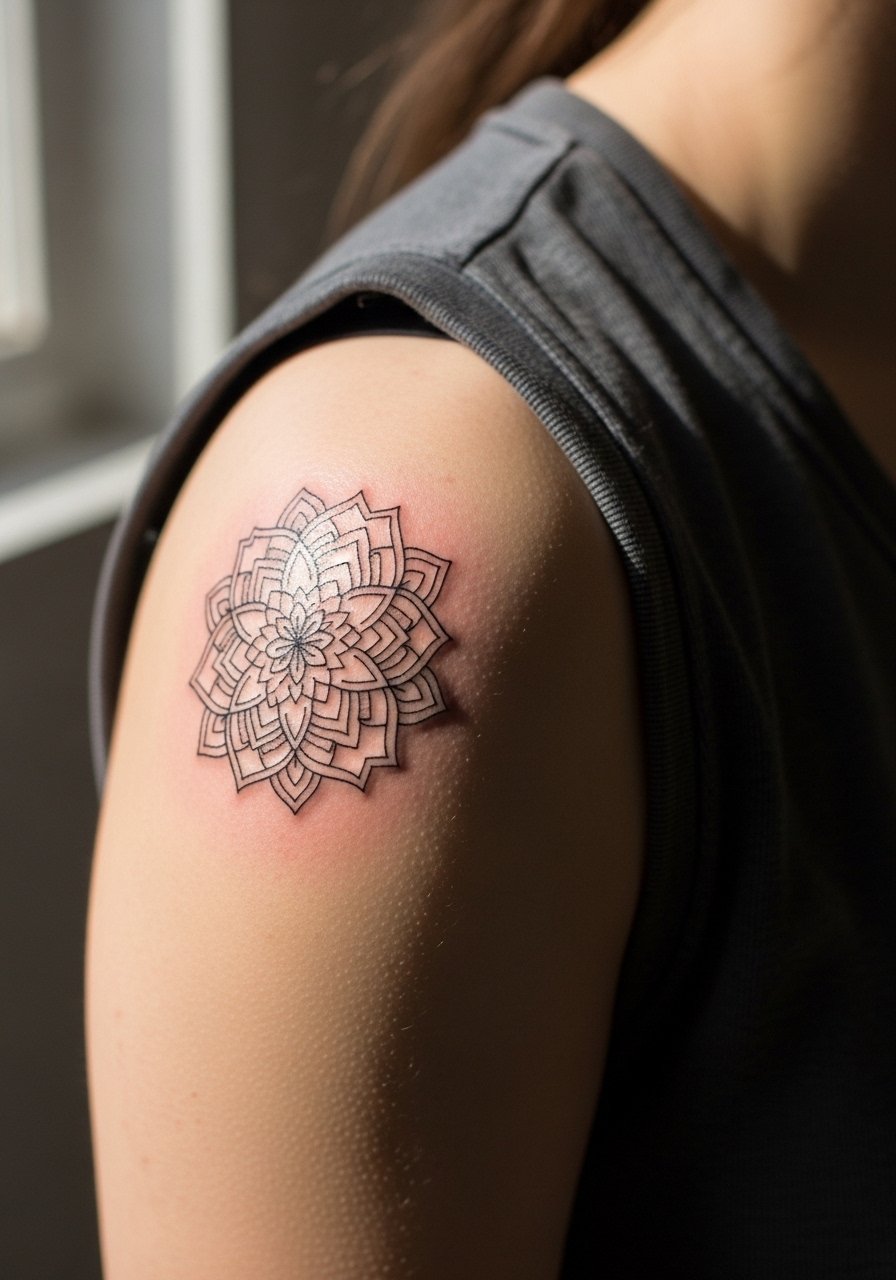
Mandala detail holds better on the broader shoulder cap than on wrists or ribs because the skin is more stable. Ask for stipple shading with negative space pacing so dense dots do not merge into a gray block over time. Sessions can be 90 to 180 minutes depending on scale. For session access, wear a loose tank top you can pull to the side. After healing, short sleeve tees and racerback tops frame the mandala nicely, and a crisp loose tank top keeps the area breathable.
12. Tiny Eye on the Nape of the Neck
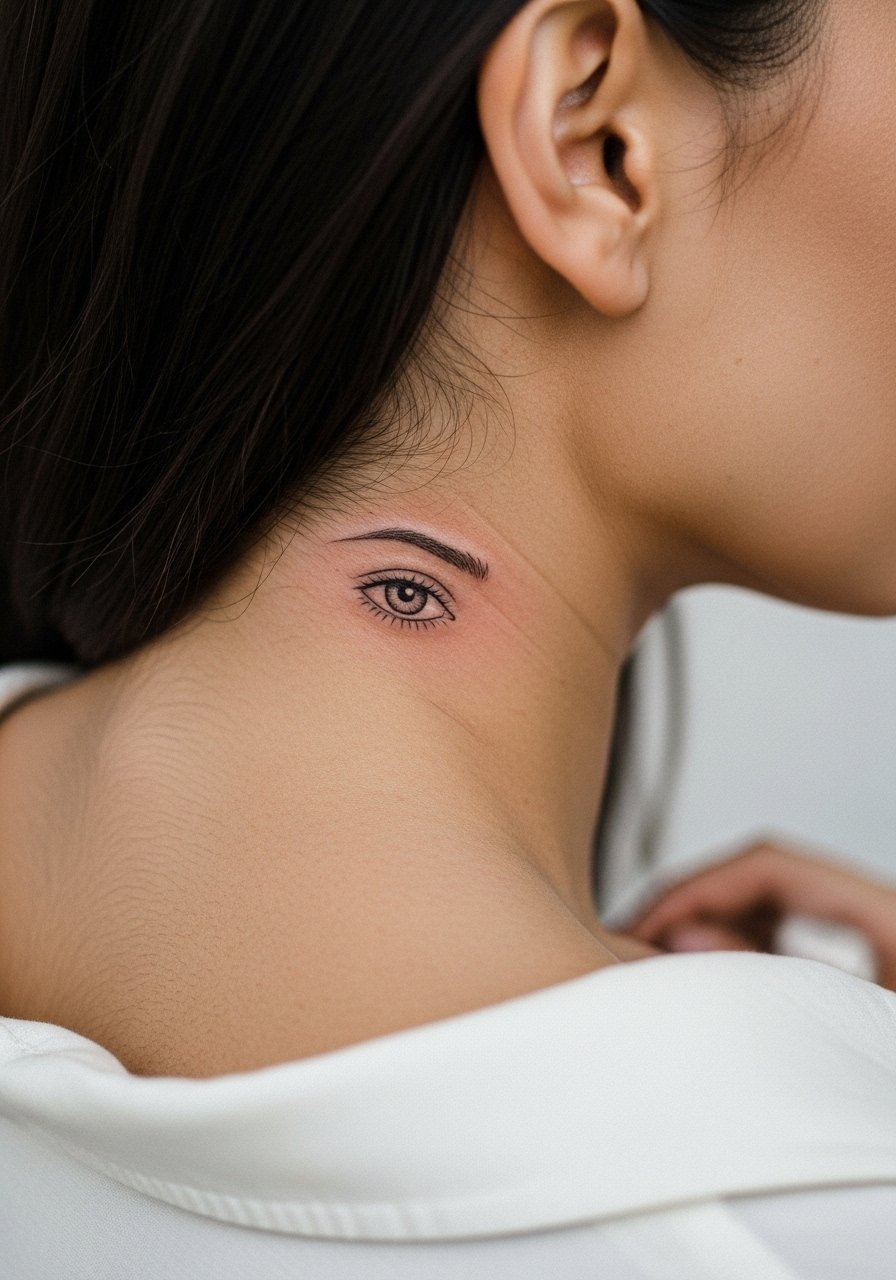
Nape pieces can be easy to hide with hair and are great for a discreet symbol. The stenciling needs care because the skin in that area can sit at an angle that distorts small curves. Sessions are short and mildly sensitive. Because neck skin is thin, touch-ups are common after the first year. If you plan larger series up the neck, discuss spacing so subsequent pieces do not crowd the initial work.
13. Micro Arrow Along the Side of the Foot
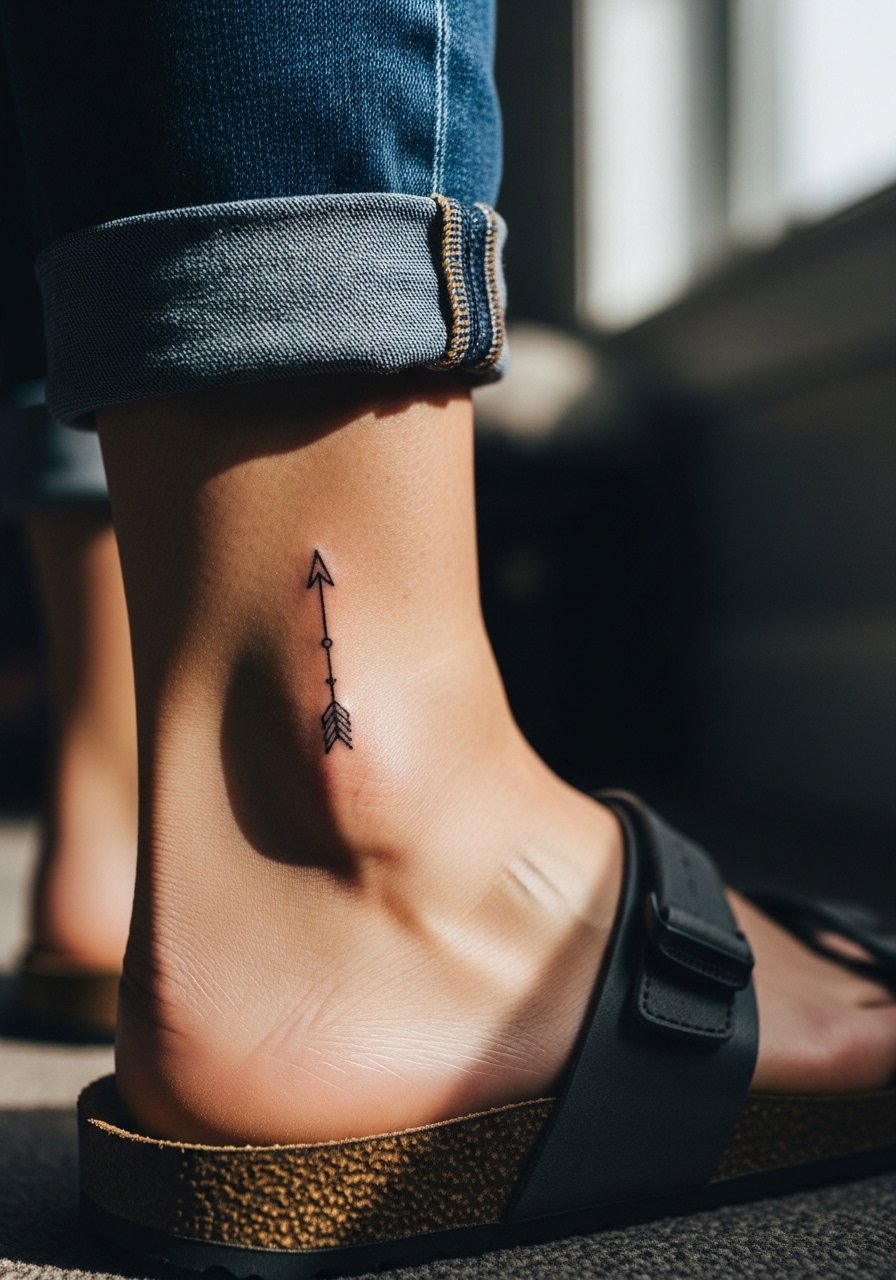
Foot tattoos face constant rubbing from shoes and frequent moisture, which accelerates fading. Place the arrow slightly higher on the lateral foot bone where shoes compress less. Sessions are short but sharp, with higher chance of early pigment loss. Plan seasonal timing so the initial healing avoids closed shoes for at least a week. For warm weather, sandals help keep pressure off the area during those early days.
14. Stippled Micro Flower on the Calf
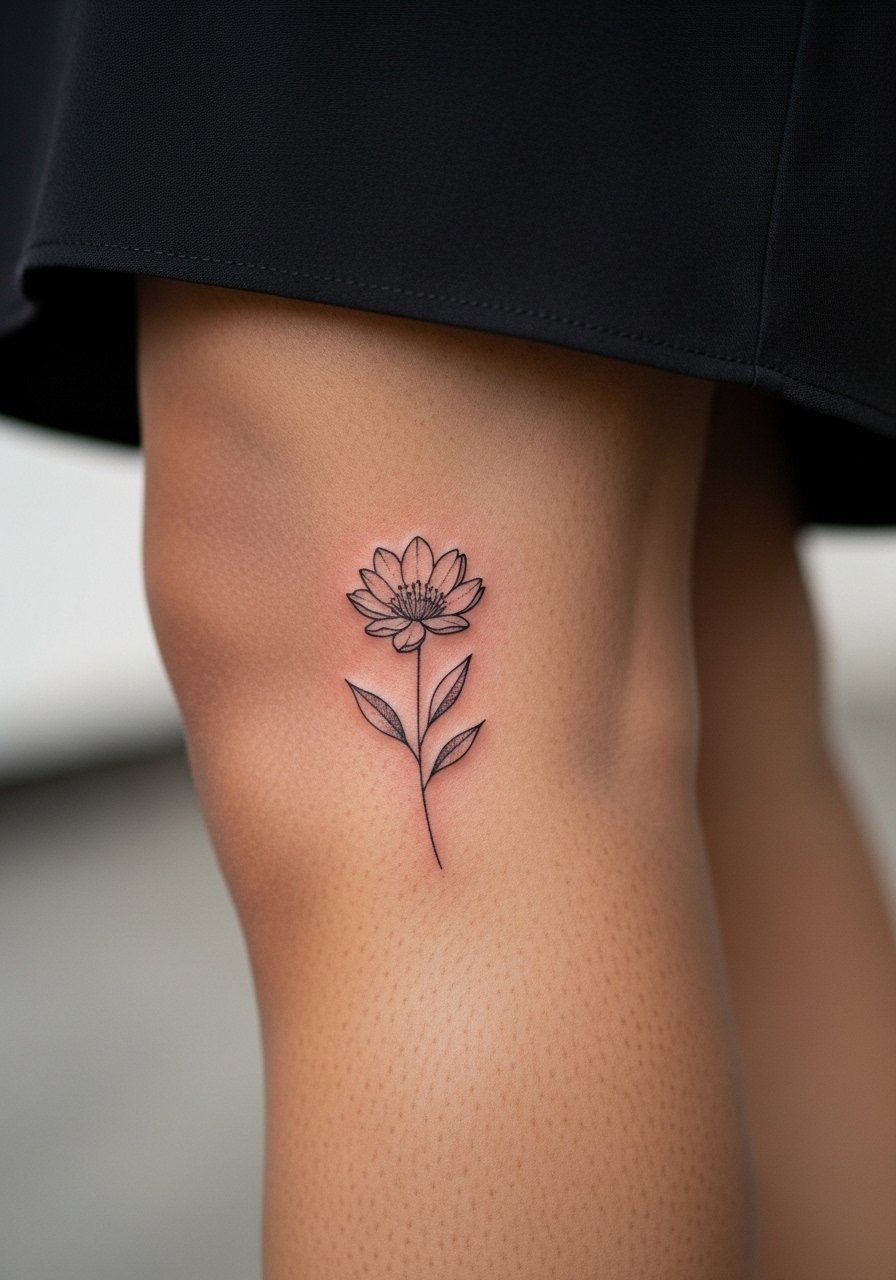
Calf skin sits well for fine stipple shading because the area moves less than the inner thigh. Ask your artist for graduated dot density to preserve petal edges rather than filling solid blocks of tone. The session is usually comfortable and can fit into a 60 to 120 minute slot. For showing the piece, skirts or cropped pants frame the design, and a flowing midi skirt keeps attention on the lower leg without friction from boots.
15. Celestial Cluster on the Sternum
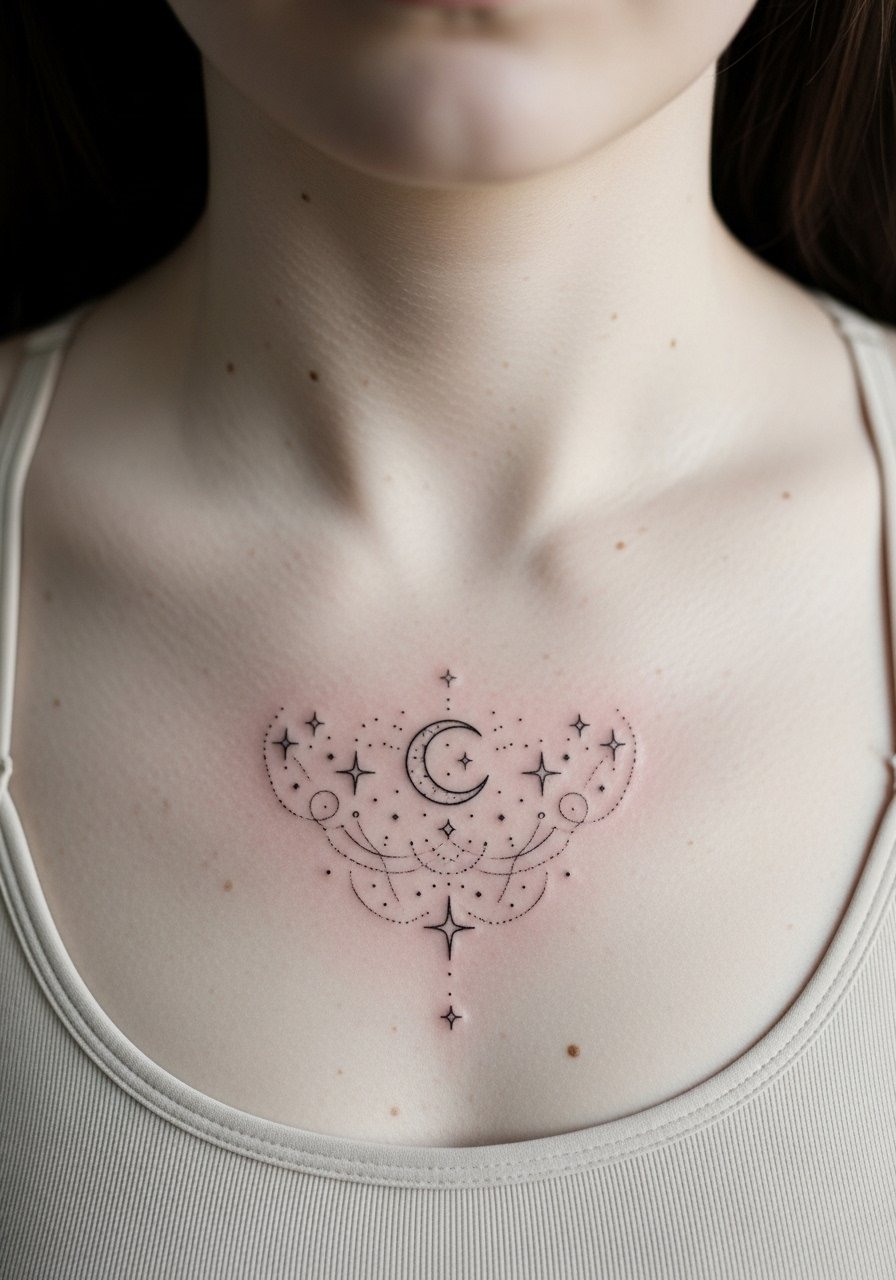
Sternum placements are intimate and demand clear conversation about symmetry because a tiny off-center starts to bother you. The common error is compressing too many tiny stars into a narrow region, which blurs as skin stretches. Sessions are more uncomfortable and may require short breaks. Because this area is close to clothing, plan soft, breathable tops for the first week. Some people prefer a slightly larger scale here so the negative space helps the shapes stay crisp over time.
16. Petite Botanical Above the Knee
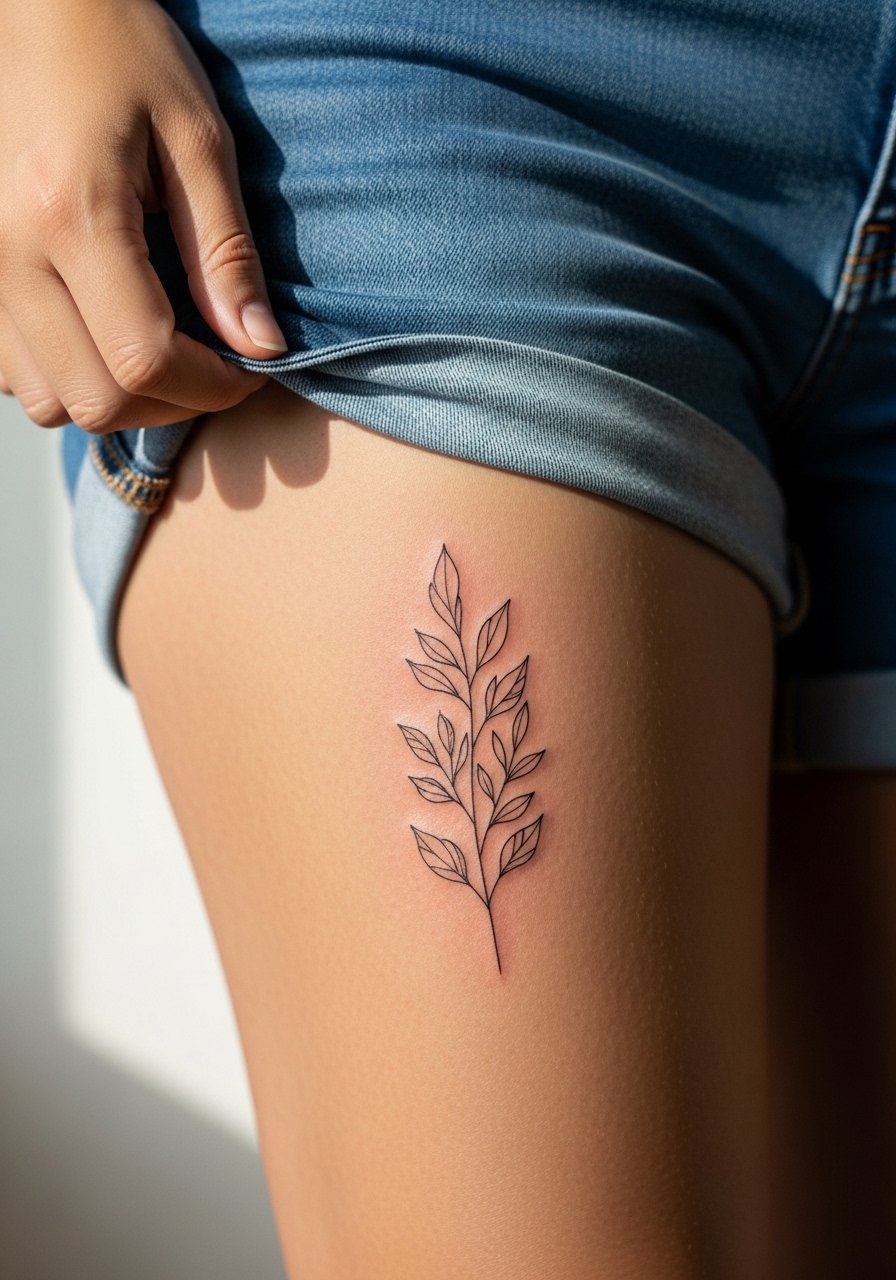
Above-knee placements sit on skin that flexes but not as much as the inner thigh, which helps delicate stems keep their spacing. The usual mistake is making stems too thin across the joint line, where movement can distort them. Sessions are moderately uncomfortable and often need repositioning to keep the stencil aligned. For the session, wear loose shorts that you can adjust so the artist has clear access but you stay comfortable. Post-healing, cropped skirts and shorts show the art without constant abrasion.
17. Tiny Laurel Bracelet on the Ankle Bone
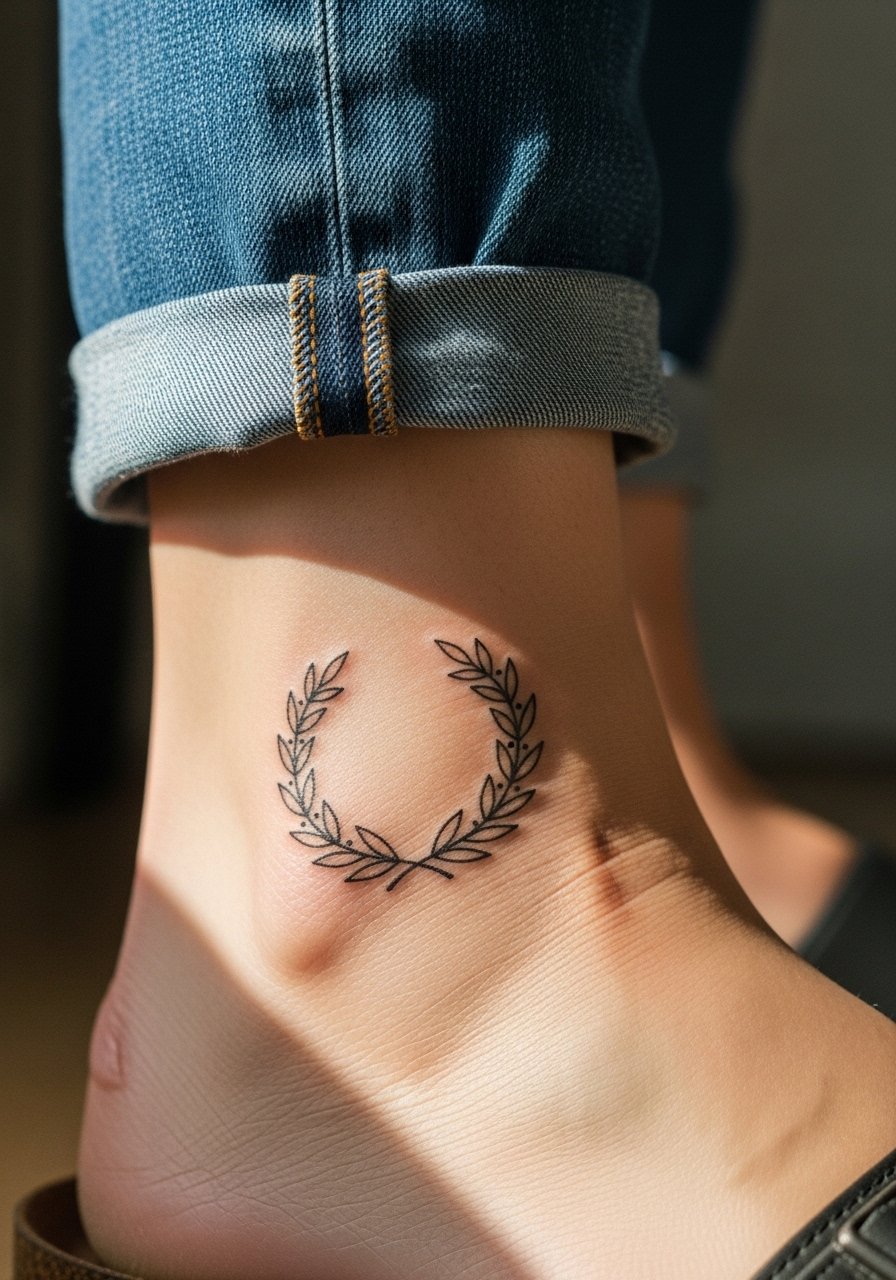
A laurel bracelet reads like delicate jewelry and is forgiving when you allow slightly wider leaf spacing. The mistake people make is trying to cram highly detailed leaves into a thin circular band. Ask for clear spaces between leaves and for slightly rounded leaf tips so the form ages without merging. The session is short but the ankle is sensitive. For showing it off, sandals and cropped pants highlight the ring without rubbing, and a simple pair of strappy sandals complements the look.
Frequently Asked Questions
Q: Will my fine line wrist and finger tattoos need touch-ups more often than arm tattoos?
A: Yes, wrist and finger work normally touch up more often because those areas see constant movement, friction, and sun exposure. If you pick slightly bolder lines and leave more negative space, you can reduce the frequency, but plan on checking in with your artist around year one to see if a small refresh is needed.
Q: Is fine line safe on the ribs and sternum given the debate about longevity?
A: There are two clear camps. One says ribs and sternum stretch and blur delicate lines quickly. The other says careful depth and spacing let fine line settle fine on those areas. The right answer depends on the artist and your skin. Ask the artist for examples of healed work on ribs and a realistic touch-up timeline before booking.
Q: How should I dress for a collarbone or shoulder session to make stencil placement easy?
A: Wear a wide-neck shirt or a loose tank you can pull slightly to the side so the artist has clear access without full exposure. A loose button-down shirt works well for collarbone sessions and keeps you comfortable between breaks.
Q: Do stipple shaded micro pieces hold up on darker skin tones?
A: Stipple shading can work beautifully on darker skin tones, but dot density and contrast need adjusting. Artists who frequently tattoo darker skin will space dots differently and focus on silhouette. Request healed photos on similar tones during consultation to set expectations.
Q: How painful is a mini ribcage script compared with an upper arm piece?
A: Ribcage script is usually more intense than upper arm work because the skin is thinner and closer to bone. Sessions often require short breaks and sometimes staged appointments. Pain varies by person, but planning for a 60 to 120 minute ribcage window is realistic.
Q: Can I expand a small fine line tattoo into a sleeve later without losing detail?
A: You can, but expansion needs strategic spacing so the new work does not crowd existing lines. Artists will thicken anchor lines and add negative space as transition zones. When you plan expansion, bring it up in the first consultation so the initial piece is built with future growth in mind.
