
Fine line tattoos dominate feeds right now, and the ones that still look sharp after a few years are not always the pieces that looked most impressive fresh. Placement, spacing, and color saturation decide longevity more than the initial wow. Read these ideas with an eye toward how they heal in the long run and what to ask your artist before the stencil hits skin.
1. Fine Line Arrow on Inner Forearm
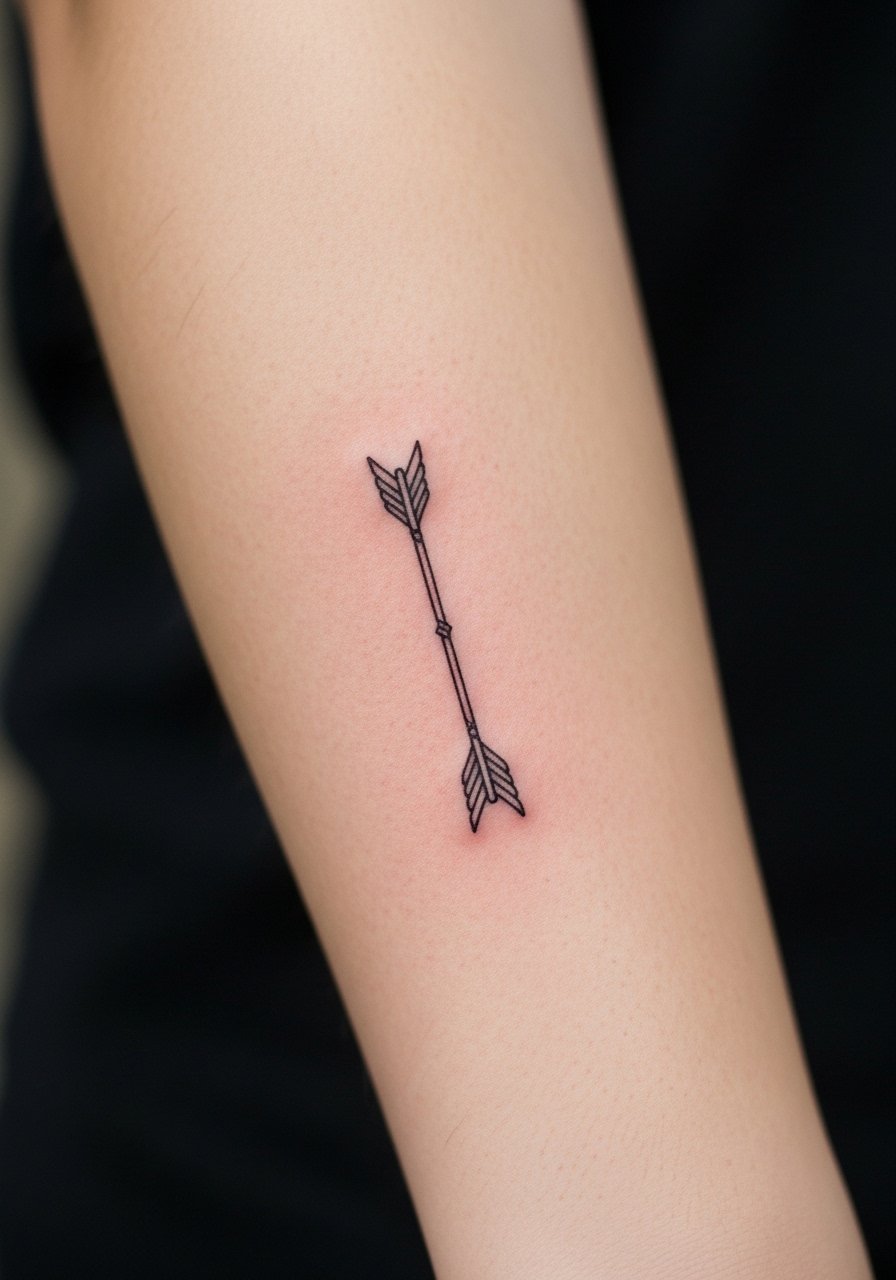
I've seen clean fine line arrows age gracefully on inner forearms when artists leave space and use a firmer line weight. Tell your artist you want a slightly bolder primary shaft and lighter feather detail so the main shape holds up. Common mistake is asking for the thinnest possible lines across the whole design, which can blur by year two. Expect a mild session sting that feels like steady scratching. For touch-ups plan a check at year two if you notice softening. Pair this with rolled sleeves and a loose button-down shirt to show the forearm without rubbing the fresh ink.
2. Micro-Realism Wolf Head on Upper Bicep
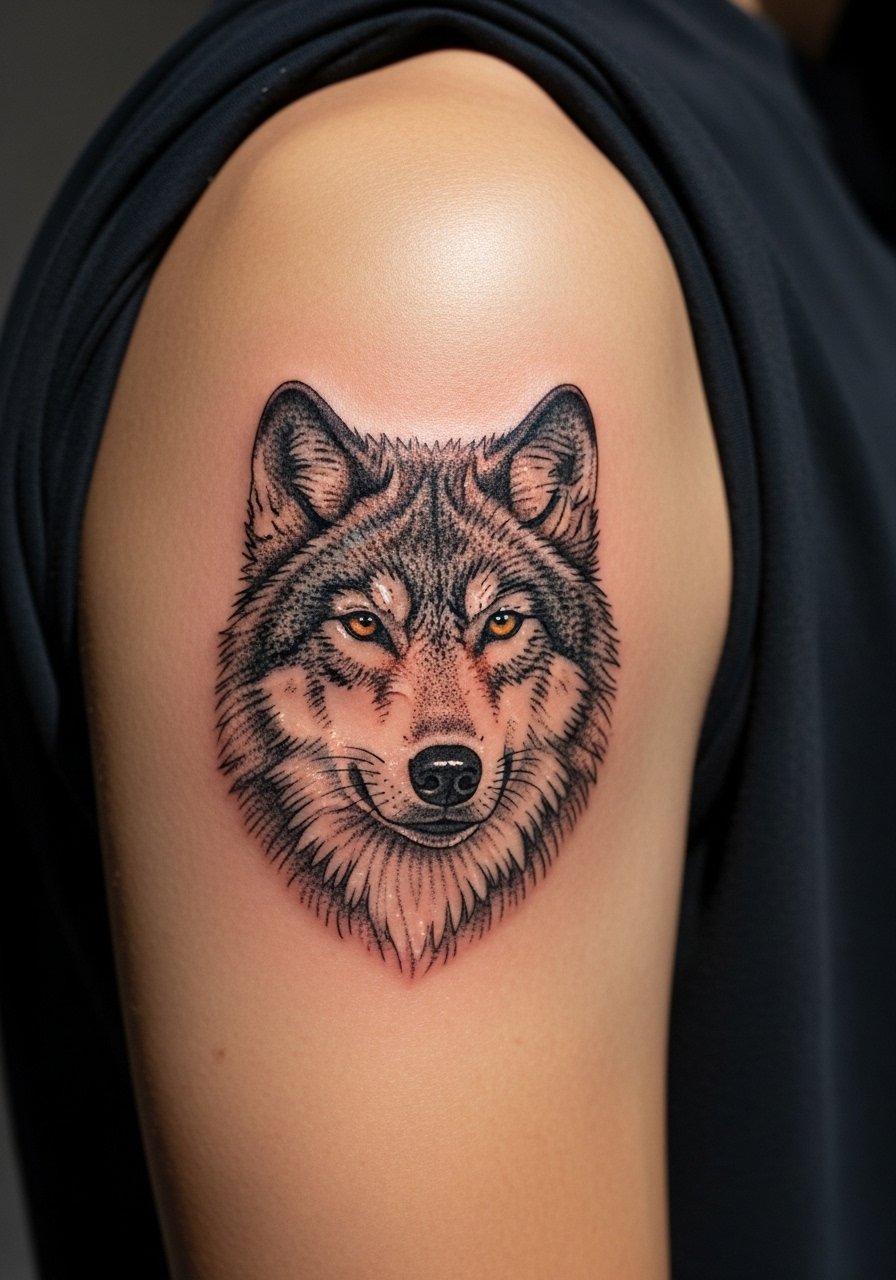
Micro-realism looks like a tiny painting on the bicep when done right. I recommend photos that show the exact expression and the lighting you want reproduced. Tell your artist to favor stipple shading over dense saturation to avoid muddying in three to five years. A common mistake is asking for hairlike strokes too small for the placement. The bicep takes the needle well and the session feels like steady vibration rather than sharp pain. Expect a one to two hour session and a possible touch-up at year three for color saturation. This works for guys who want a statement that tucks under a sleeve when needed.
3. Traditional Matchstick with Flame on the Wrist
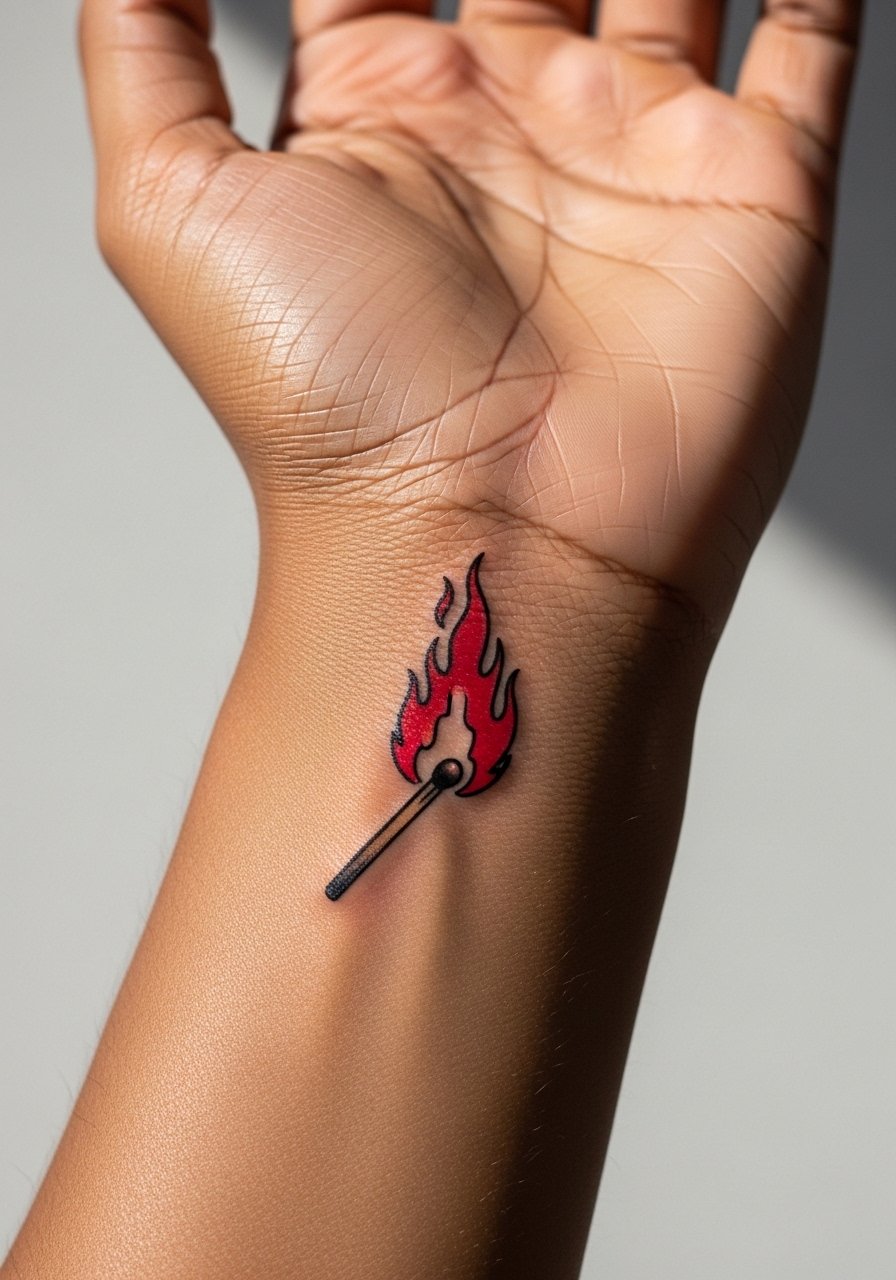
There is something about bold outlines with saturated color that reads clearly on the wrist from across a room. For a small traditional matchstick request clear bold black outlines and tight color saturation inside the flame so the silhouette stays distinct. Mistakes often come from soft outlines or colors left too sparse, which let the flame lose definition after washing and typing. Wrist skin is thin so expect sharper sensation during the session. Plan to return for a micro touch-up at year two if the flame loses contrast. Show it off with a minimalist watch or thin bracelets that frame the piece without rubbing it.
4. Watercolor Koi on Calf
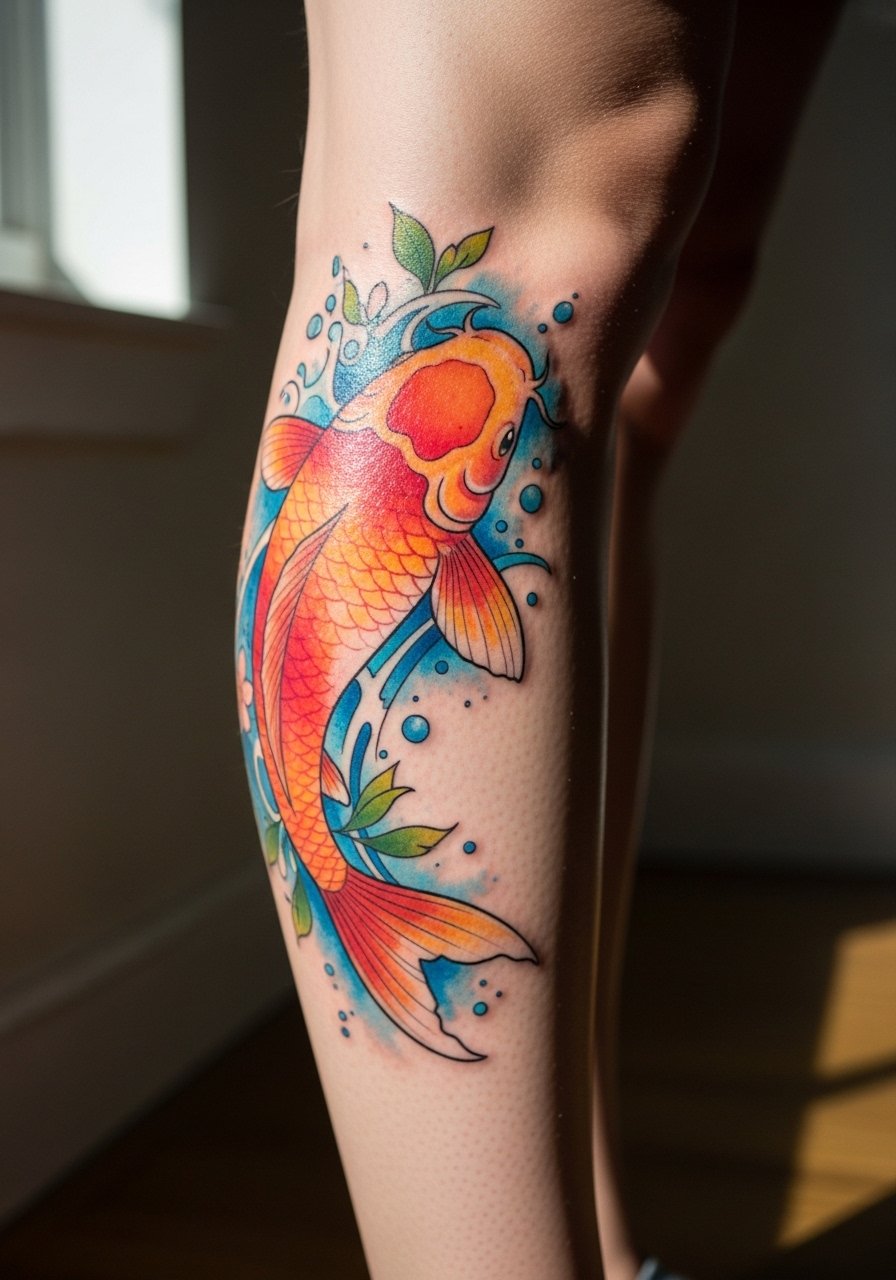
Watercolor fills give the illusion of brushwork, and the calf is forgiving for this approach because it gets less daily friction than hands. Tell your artist you want color fields that breathe rather than dense blobs. A frequent error is packing watercolor areas too heavily. That makes them look muddy once healed. Calf sessions usually feel like medium discomfort with some sensitive spots over the muscle belly. Expect a two to three hour session for a small colorful koi and a possible touch-up in two years to refresh lighter tones. Wear jeans rolled up at the hem or sandals while showing it off.
5. Tiny Geometric Mandala Behind the Ear
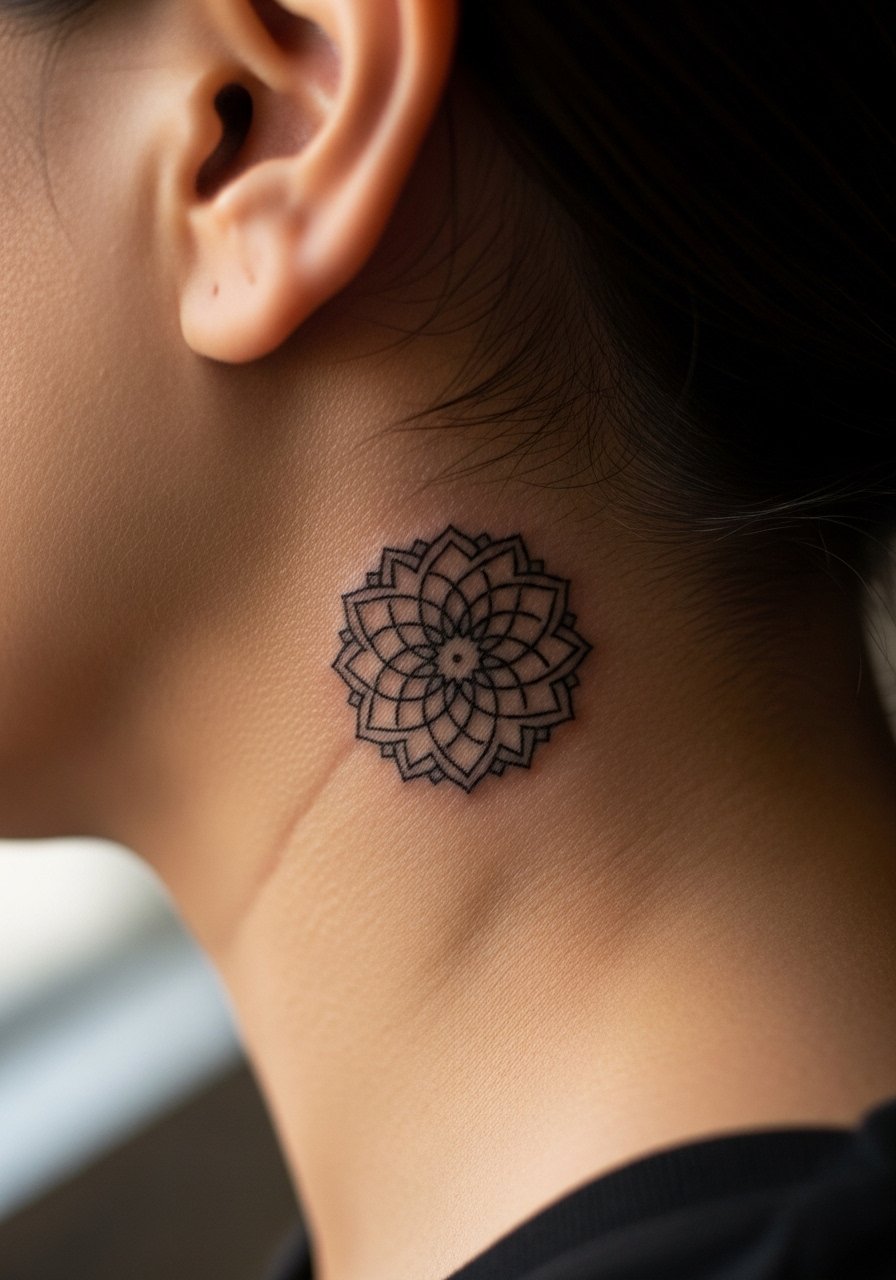
Behind-the-ear placements read intimate because of scale. Keep the mandala minimal so the lines do not collapse as skin shifts. During consultation, ask the artist to map the piece so that concentric lines have breathing room. A common mistake is compressing too many radial details into a two-centimeter circle. Sessions here are quick but the skin is thin and sensitive. If you plan to show it at work, remember hair can conceal it. For the appointment put hair up and bring a large hair claw so the artist has a clear area to work on.
6. Minimalist Mountain Range on Ankle
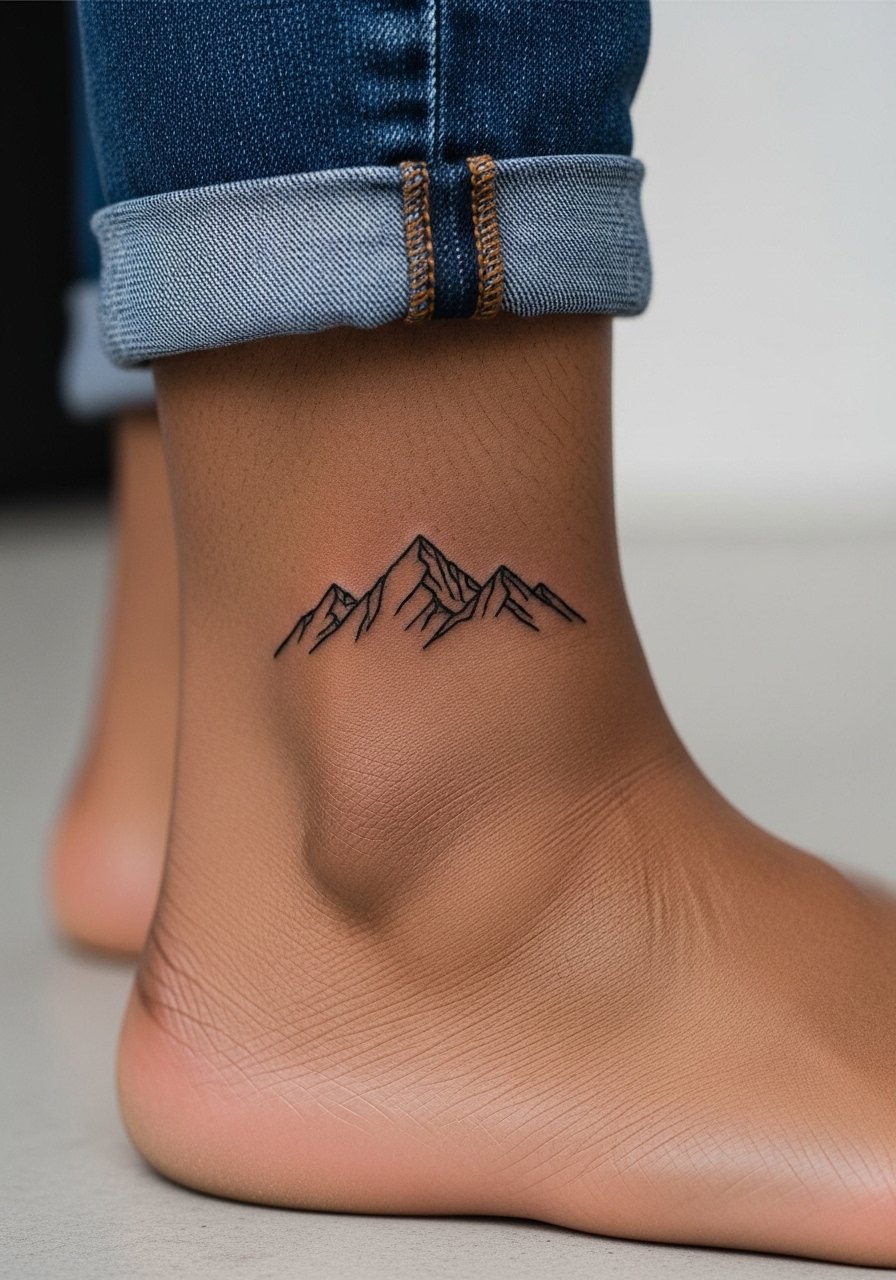
Ankle lines can stay crisp when given room and slightly heavier primary lines. Tell your artist you want the peaks bold enough to retain silhouette while keeping inner detail light. A frequent mistake is packing tiny texture lines into that narrow band, which disappear under friction from socks and shoes. The ankle is a sensitive spot so expect a sharp, brief sting during the session. I usually recommend a one-hour session and a touch-up at year two if edges soften. Show this off with low-cut sneakers or sandals so the piece sits in plain sight.
Studio Day Picks
The forearm, wrist, and ankle pieces above all face friction from clothing and frequent washing, so a few targeted items make the session and first week easier.
-
Stencil transfer paper kit. Lets you preview placement and scale on skin, which matters for fine line arrows and mandalas.
-
Topical numbing cream. Applied per product instructions it helps with sensitive ankles and wrists without changing how the artist works.
-
Thin protective film roll. Useful for small wrist and finger tattoos that meet a lot of water and friction during the first week.
-
Fragrance-free gentle body wash. Keeps healing areas clean without irritating delicate linework like fine arrows or micro-realism shading.
-
Aquaphor healing ointment. Thin application in the first days protects small color fields and keeps fine lines from scabbing thickly.
7. Micro-Realism Color Portrait on Upper Chest
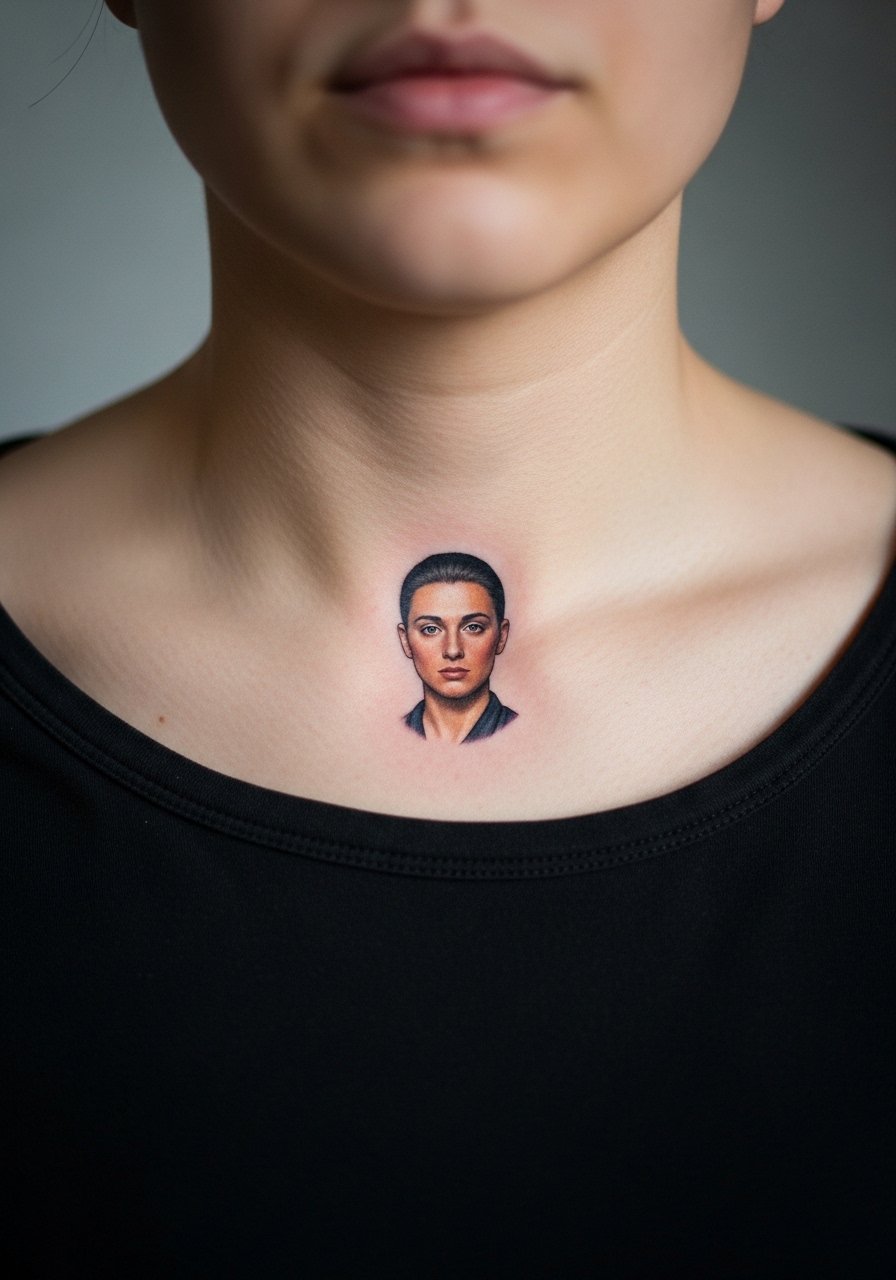
Upper chest portraits in color can look like a pin-sized keepsake when placed just above the collarbone. Ask your artist for reference photos with similar lighting and skin tone so the color balance fits the area. The chest moves as you breathe so the artist should compensate by simplifying tiny details. A mistake is packing too much micro detail in a spot that shifts, which softens faster. Sessions feel stinging along the bone and may need short breaks. For showing it, a wide-neck shirt or v-neck tank frames the piece without exposing more than intended.
8. Tiny Sunflower on the Side of a Finger

Finger tattoos are a commitment because the skin there sheds and rubs constantly. For a sunflower choose a simple silhouette with tight blackline and two or three saturated petal colors that can be refreshed later. Tell the artist you prefer the center slightly larger so it holds as the skin moves. The common error is asking for intricate shading that disappears in months. Expect a sharp, brief sting and a higher chance of needing touch-ups at year one or two. Style it with simple bands or a thin chain ring set to draw attention without rubbing the area.
9. Neo-Traditional Dagger on Outer Upper Arm
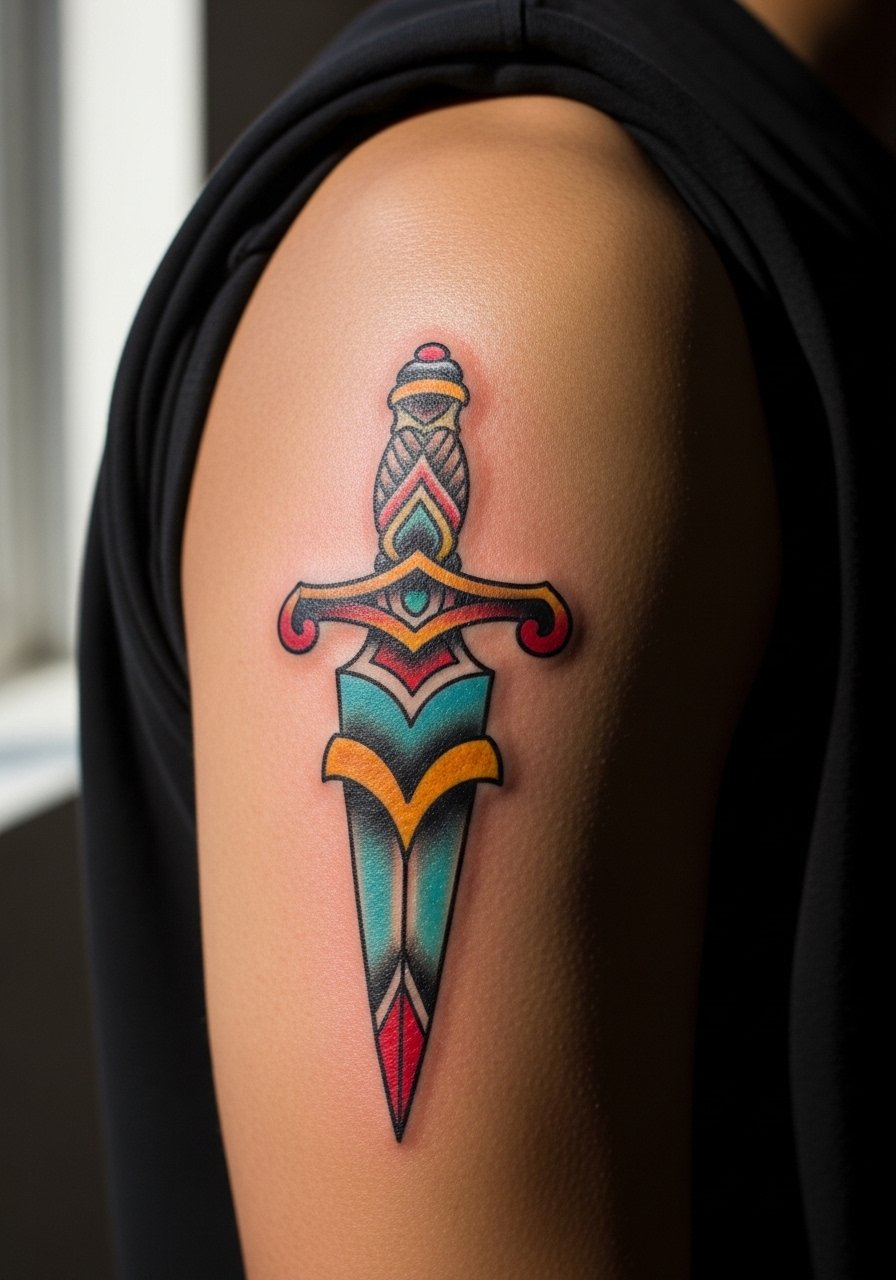
Neo-traditional pieces live well on the outer arm because the skin there tolerates saturation without too much distortion. Ask for solid black outlines and medium saturation inside color fields to keep contrast over time. A common mistake is glazing the colors too thin, which can leave the piece washed out after sun exposure. Outer arm sessions feel manageable with low to moderate pain. Expect a two-hour session for a small dagger and an optional touch-up at year three to refresh the color. This placement wears short sleeves well and ages predictably.
10. Script Line on the Ribcage
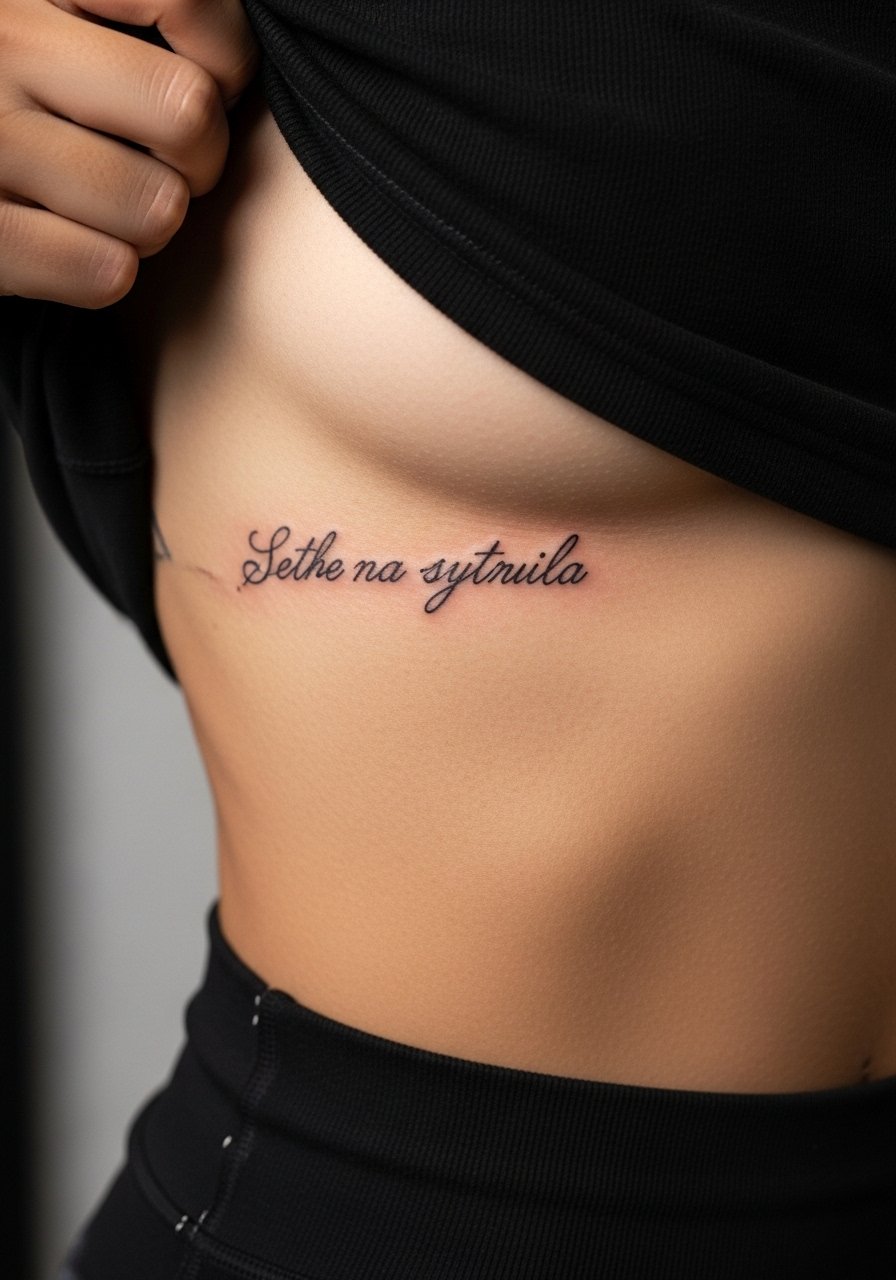
Fine script on the ribs is a divisive topic among artists. One camp says the stretch and movement of ribcage skin cause thin scripts to blur within two years. The other camp argues that with correct depth, spacing, and slightly heavier initial linework, script can settle cleanly on the ribs. When you consult, ask your artist which approach they use and why. A frequent mistake is requesting ultra-fine cursive without allowing extra spacing between letters. Rib sessions are among the more painful ones so plan for breaks and wear a lifted cropped top to the appointment. Expect a touch-up option at year two if letters soften.
11. Micro Watercolor Planet on the Shoulder Blade
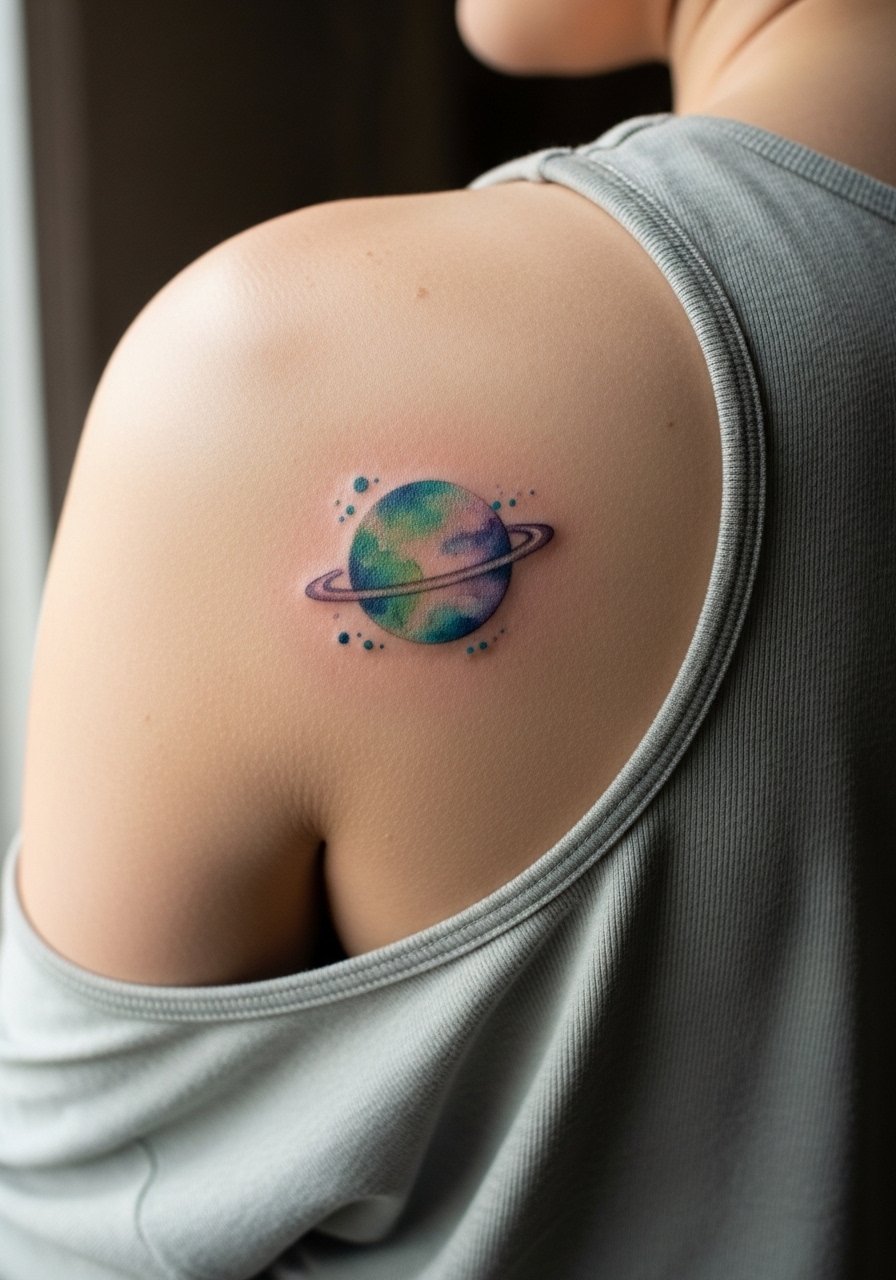
Shoulder blade pieces take color beautifully because the area sees little daily abrasion. For a tiny watercolor planet request soft edge transitions and a clear primary orbit line to anchor the color fields. The mistake is asking for too many small color spots without a unifying outline, which can read messy as the ink settles. Sessions are more comfortable than ribs and usually end in under two hours. For showing the piece, choose a loose tank or an open-back shirt. A racerback tank works well to reveal the tattoo without rubbing it.
12. Tiny Koi on the Inside of the Wrist

Inside wrist tattoos are visible and intimate, so composition matters. For a tiny koi, ask for a bold silhouette with internal color suggestion rather than tiny detailed scales. A common mistake is requesting intricate texture that disappears with daily washing. The wrist is sensitive and can feel sharper than forearm work. Expect a short session under an hour and plan for a touch-up at year two if colors shift. Style it with a thin chain bracelet that sits above the design to avoid constant friction.
13. Minimalist Seascape on the Outer Ankle
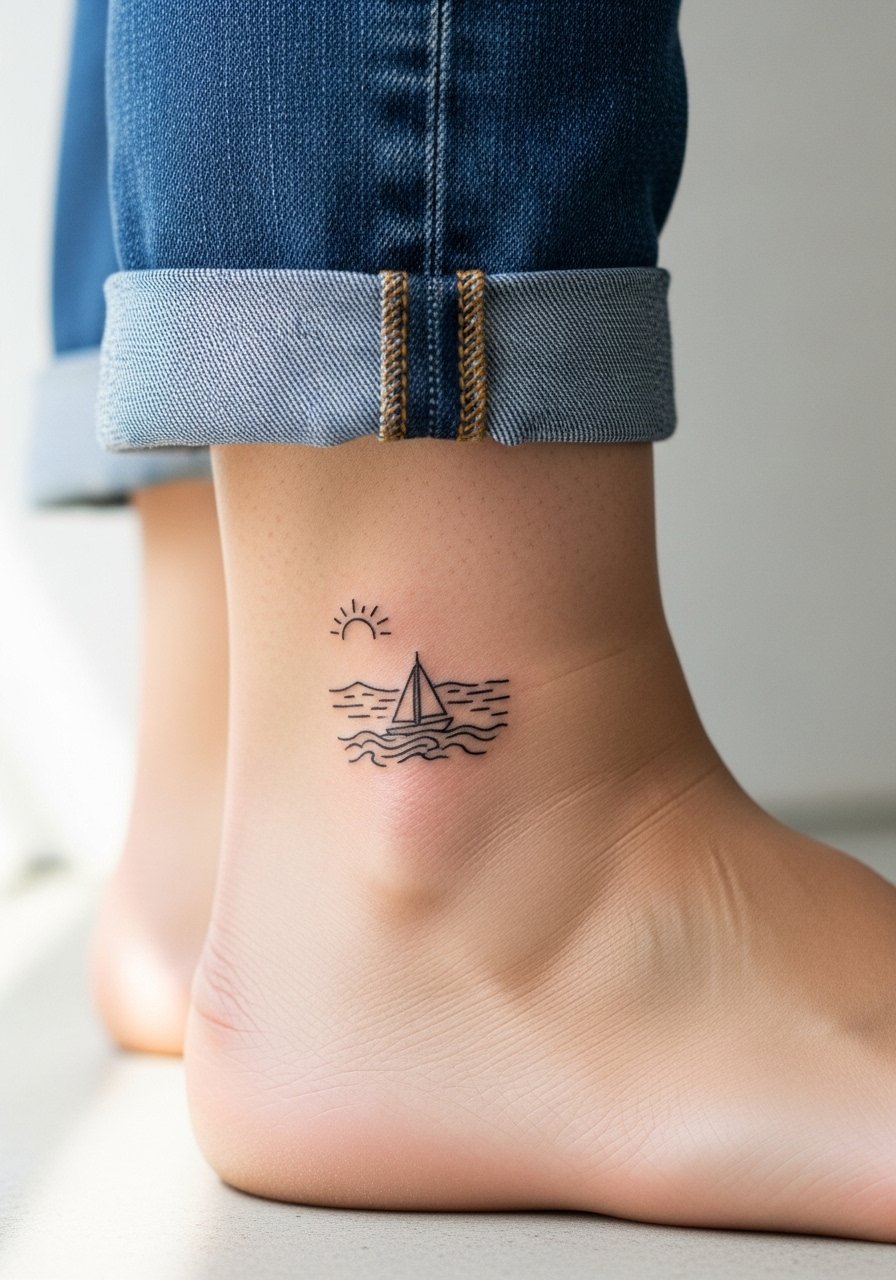
Minimal seascapes work on ankles when the horizon line is bold and open. For consultation ask for a single uninterrupted horizon and two or three accent lines for waves. Common mistakes involve compressing too many wave details into a narrow band, which merge after healing. Ankle sessions sting but are brief. Expect under an hour and a likely touch-up if you wear tight shoes that rub the area a lot during the first month. Show it off with rolled hems and low shoes once healed.
14. Stained-Glass Triangle on the Forearm
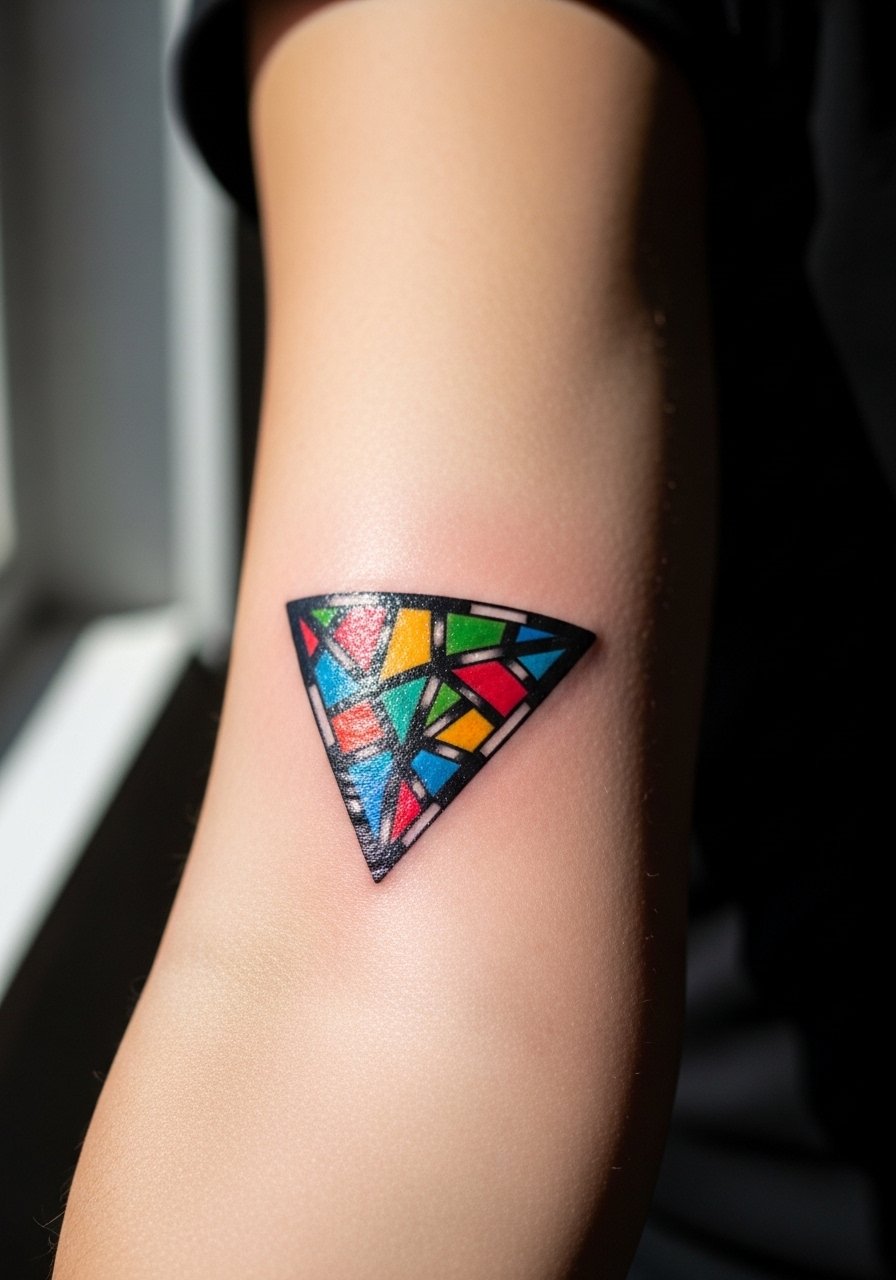
A stained-glass triangle reads like a tiny window on the forearm when the lead lines are decisive. Tell the artist to prioritize thicker lead lines and slightly larger color fields so the panels stay distinct over time. The error people make is asking for micro mosaic detail inside each pane, which blurs. Forearm sessions are tolerable and often finish in an hour. Expect a touch-up at year three if panel edges soften. Pair this with rolled sleeves or a loose linen shirt when you want the piece visible.
15. Tiny Compass Near the Collarbone

Compass tattoos near the collarbone look classic when kept compact and with a hint of color on the cardinal points. Request clear cardinal markers and avoid micro filigree that the collarbone movement will distort. A typical mistake is asking for tiny arrows and stars that fade into a blur. The area is moderately sensitive along the bone so expect more discomfort than on the shoulder. For evenings out choose a wide-neck shirt that frames the piece like jewelry.
16. Miniature Comic Panel on the Outer Upper Arm
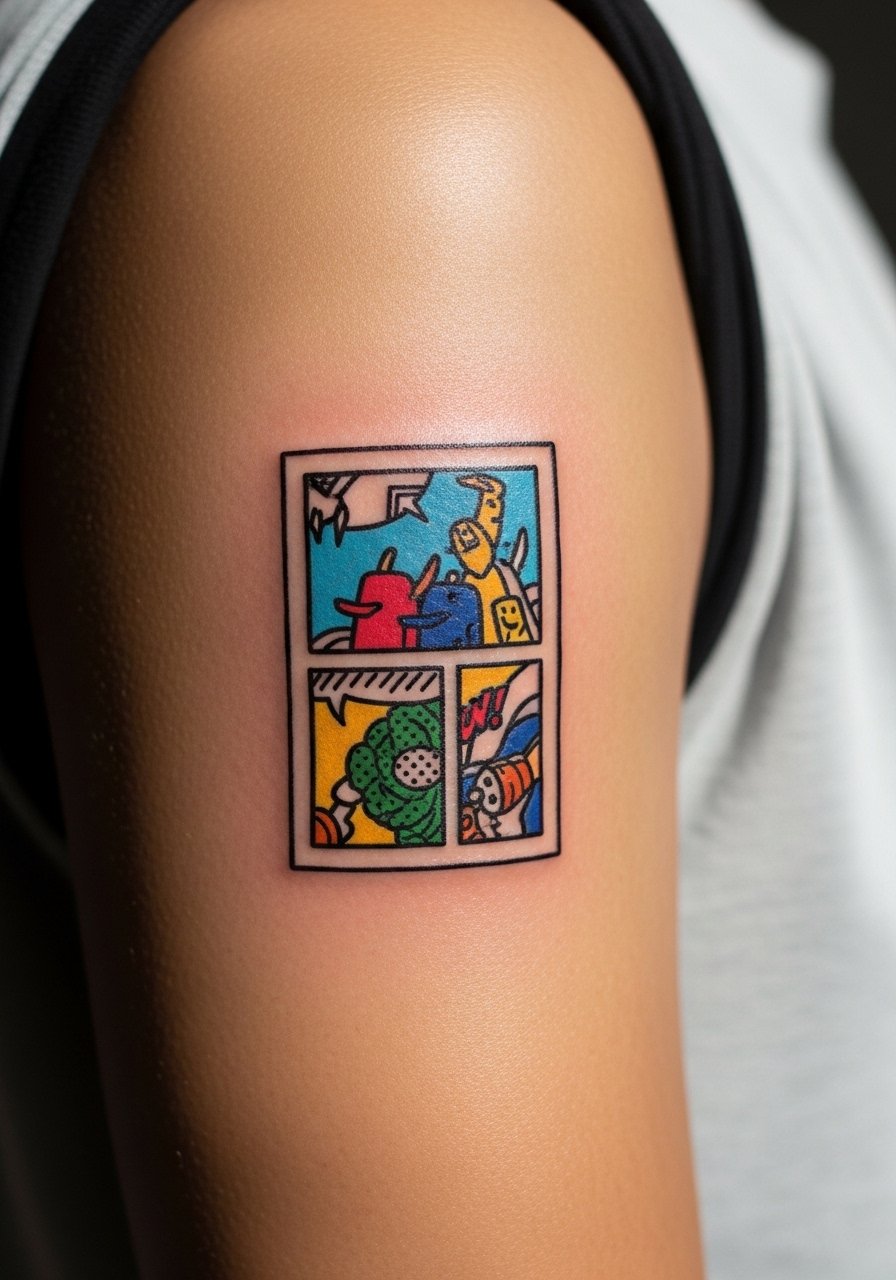
Tiny comic panels make a playful small piece that tells a micro-story. Bring the exact panel crop and ask your artist to simplify speech bubbles to a single word if needed. The mistake is pushing too much text into a tiny design which becomes unreadable. Outer arm sessions tolerate color saturation well and feel moderate in pain. Expect a two-hour session for a detailed mini panel and plan for a color refresh after a few years if you want the palette to stay bold. Keep the panel visible with short sleeves.
17. Tiny Botanical on the Inner Bicep
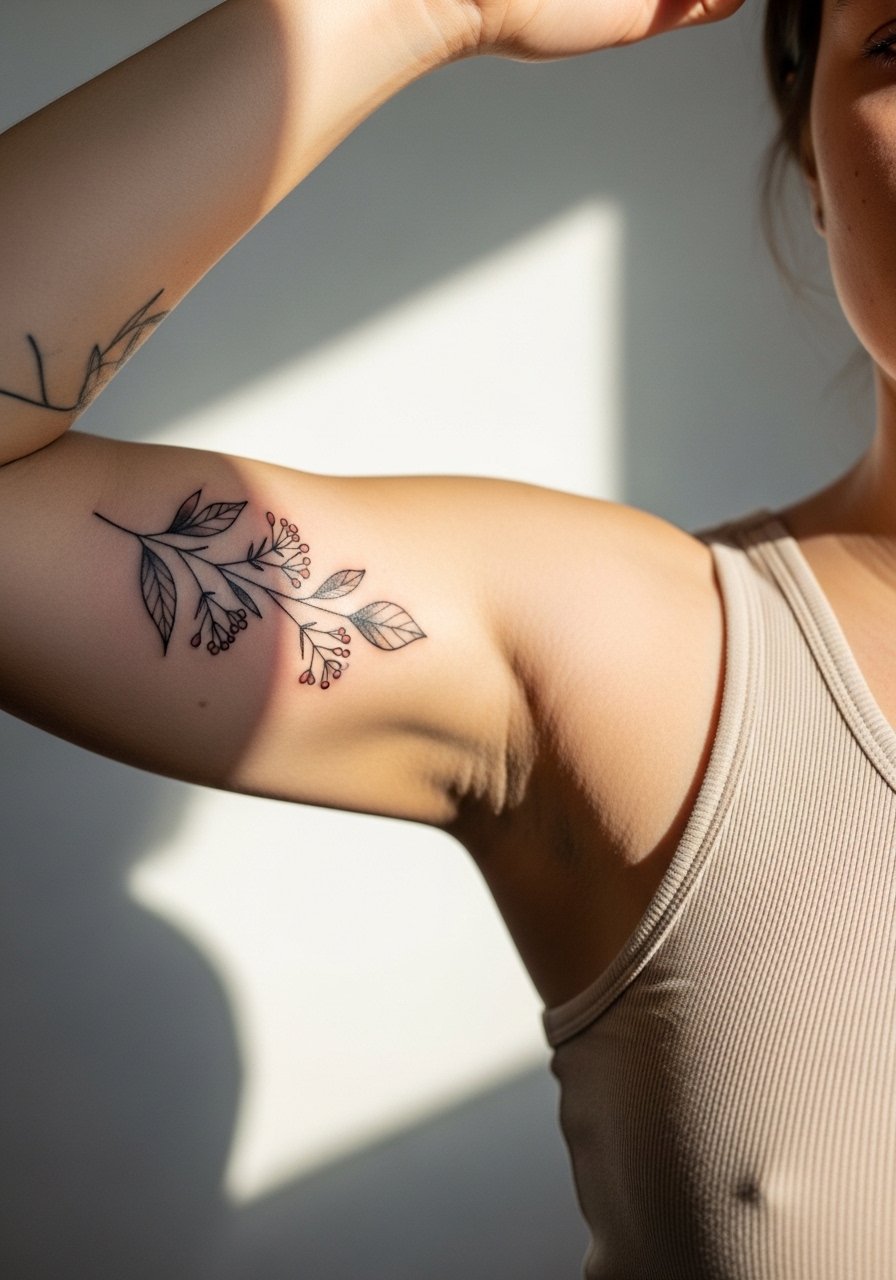
Inner bicep tattoos are intimate and can hold delicate detail because the skin is softer. Ask the artist to use stipple shading for subtle depth rather than heavy saturation which can look blotchy later. A common error is over-detailing leaves and stems that merge as the ink settles. Sessions here feel tender and you may need to take breaks. For the appointment wear a loose tank so the artist has clear access. After healing you can reveal it when you lift your sleeve.
18. Colorful Swallow on the Upper Chest
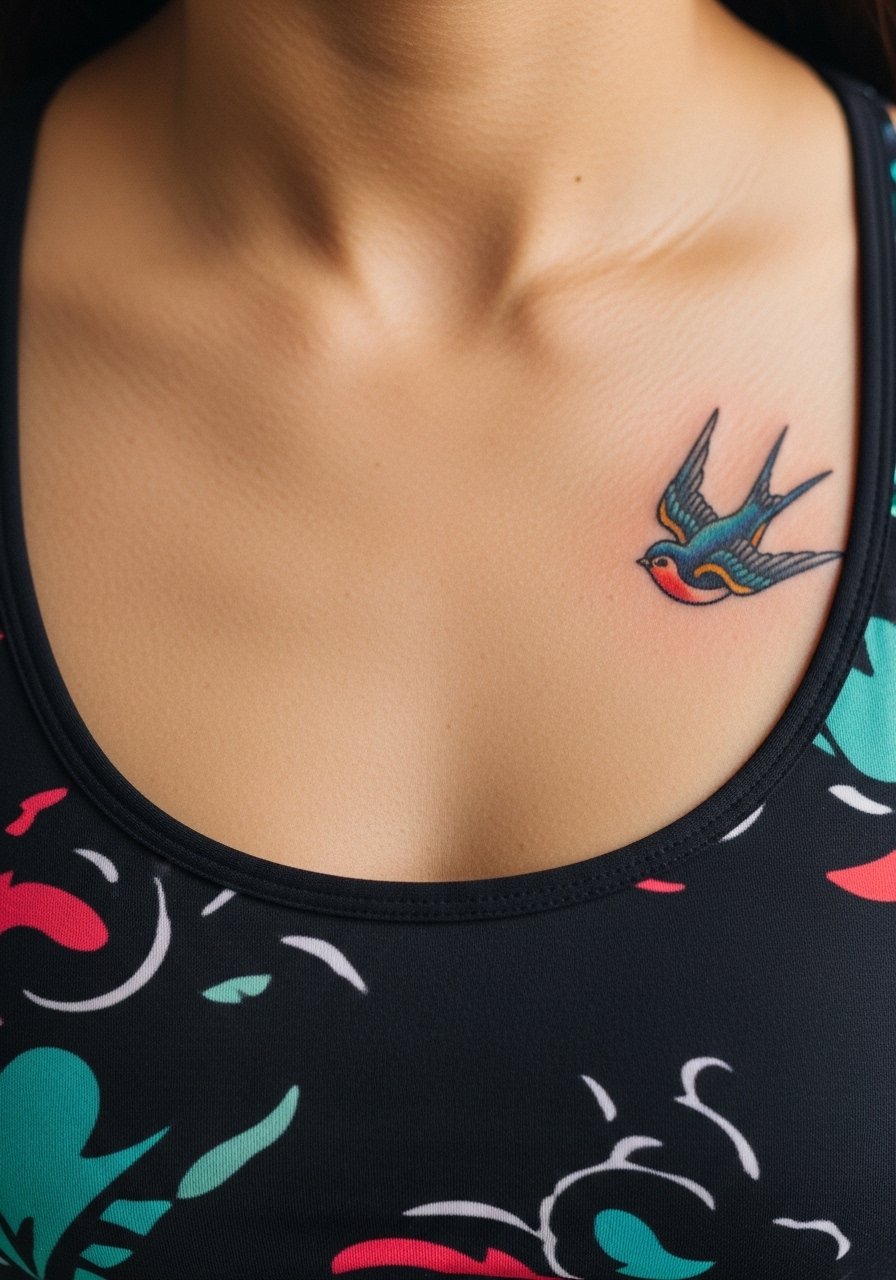
A swallow near the clavicle reads classic when color is applied in clean blocks and the outline is confident. Ask for mid-weight outlines and color fields that sit away from the bone edge so the piece does not distort with movement. The mistake is placing details too close to the clavicle where motion dulls clarity. Chest sessions vary in sensitivity. For the studio, wear a fitted sports bra so the artist can work without full exposure. For evenings out show it with open collars that highlight the bird.
19. Tiny Geometric Arrow on the Side of the Finger
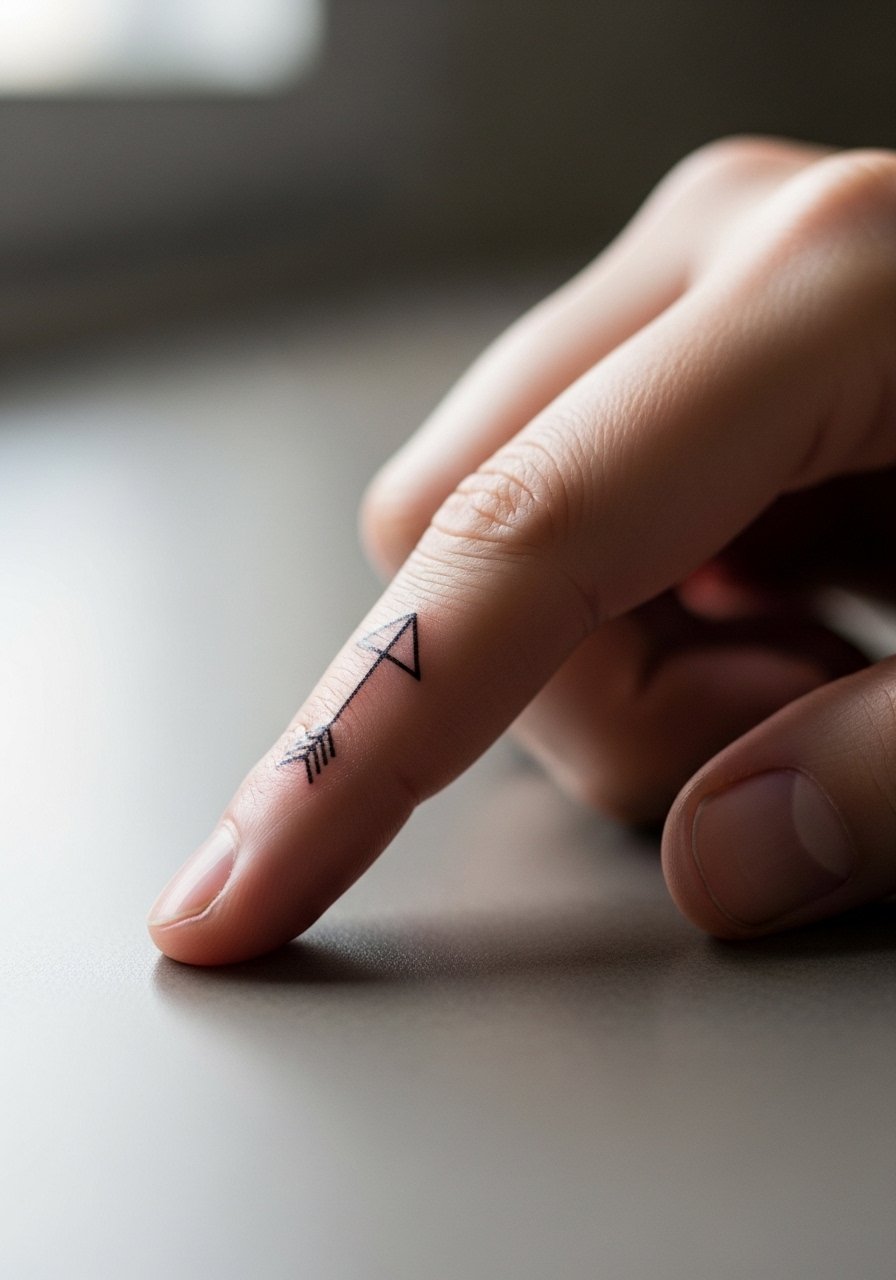
Side-of-finger geometric work needs bold primary lines to survive constant hand use. Ask for simplified geometry and a thicker anchor line for longevity. People often ask for ultra-thin detail there and regret it when it fades. Expect a very sharp sting during the session and a high chance of early touch-ups. Keep rings light and avoid stacking them directly over the tattoo while healing.
20. Tiny Floral Hip Accent
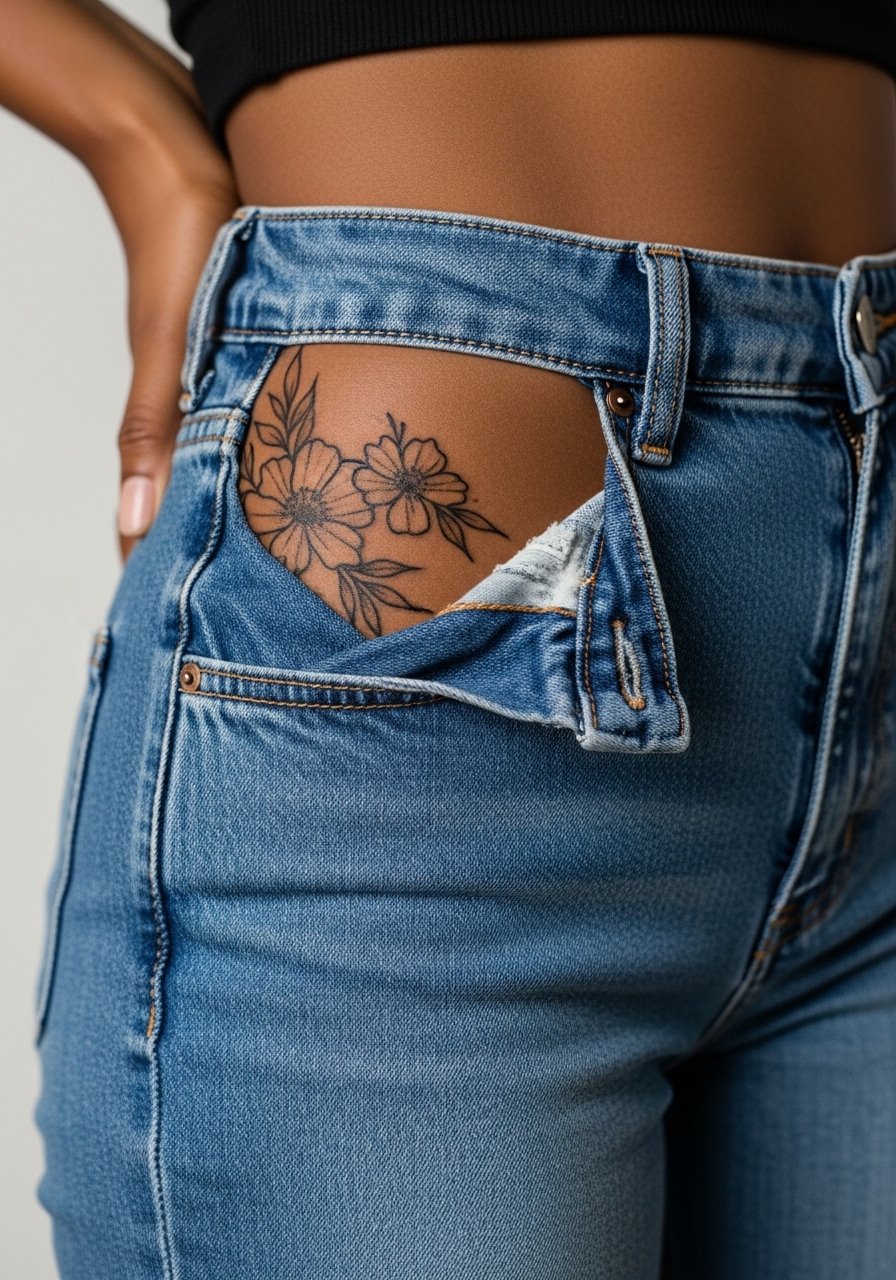
Hip accents read private and elegant when petals are slightly spaced and color is gentle. In consultation ask for negative space between petals so the design breathes as the body moves. A common mistake is compressing too many tiny buds into the area which smudges after healing. Hip sessions are moderate in discomfort and you should wear high-waisted bottoms to the appointment so access is easy. After healing this piece sits nicely above swimwear and can be shown or hidden at will. Consider wearing high-waisted jeans to frame the area.
21. Tiny Stippled Crescent on the Side Neck
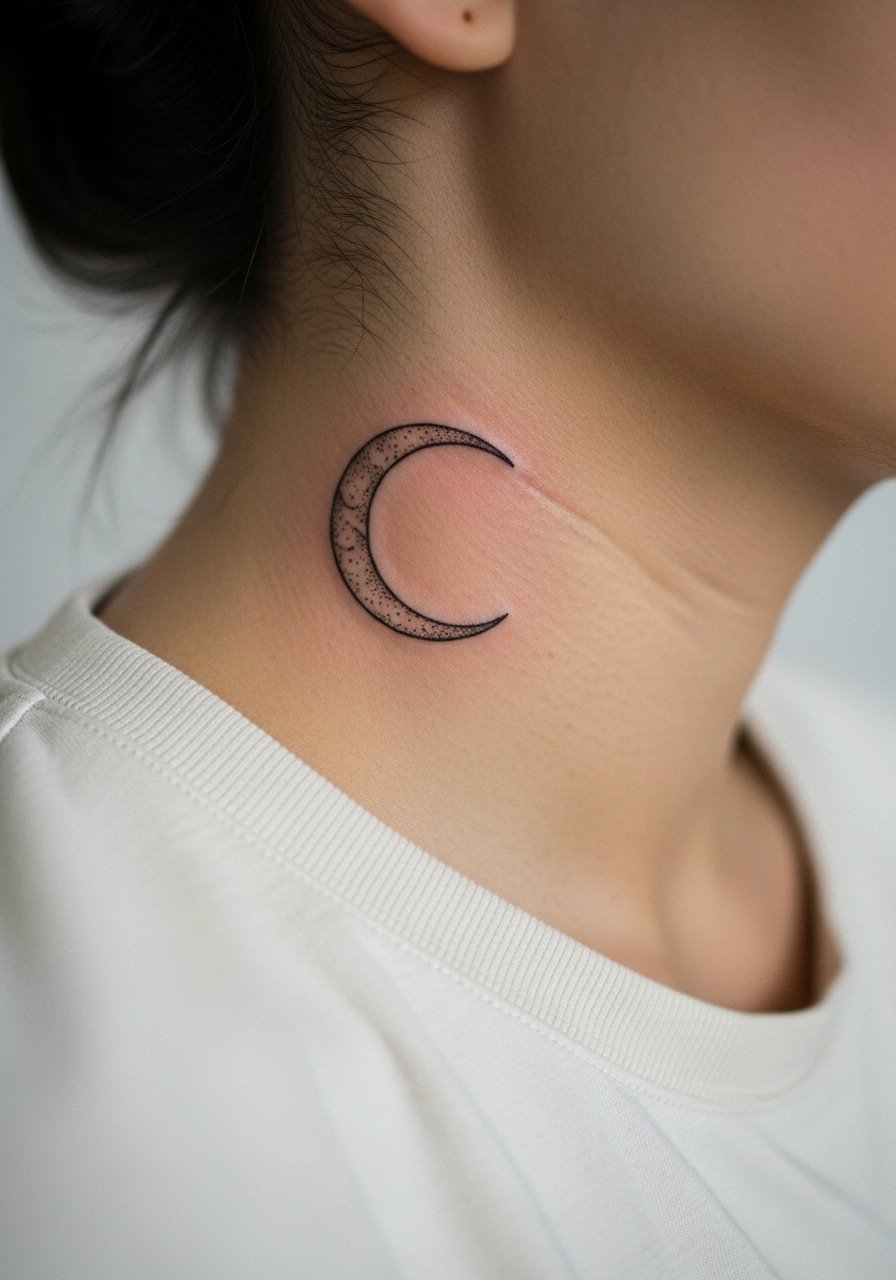
Neck tattoos are visible choices that require careful placement and discreet scale. For a stippled crescent ask for spacing between dots that reads cleanly at small scale and for the dot work to have a slightly heavier outer edge. The common error is packing dots too closely which create a gray blob over time. The session feels sharp and proximity to the throat can be unnerving for some people. Think about career visibility before booking. To the appointment wear a wide-neck shirt you can shift aside without full exposure.
Frequently Asked Questions
Q: How long do colorful fine line tattoos usually hold color before needing a touch-up on forearms or wrists?
A: It depends on placement and daily friction. Forearms generally hold color longer than wrists because wrists meet so much washing and rubbing. Plan for a possible touch-up around year two to three for fine line color pieces, and expect more frequent refreshes for finger and wrist tattoos.
Q: Are watercolor tattoos a bad idea for calves compared with shoulders?
A: Not necessarily. Calves can be good for watercolor because they avoid constant abrasion. Shoulders also age well if the artist keeps color fields clear. The key is asking for intentional color separation and not tiny blended dots that collapse.
Q: Should I avoid fine script on ribs because of the controversy?
A: Artists fall into two camps on ribs. One group says the stretch and movement blur delicate script quickly. The other group says properly spaced letters and slightly heavier initial linework solve that. Ask the artist which method they use and request a test stencil to check spacing before booking.
Q: How do I find artists who specialize in tiny colorful micro-realism without naming studios?
A: Search local studio directories and use hashtags like #microrealism and #minimaltattoo to gather portfolios. Visit conventions or browse community threads where artists post healed shots. That way you see real healed examples rather than just fresh photos.
Q: What should I wear to a sternum or upper chest session to make the appointment easier?
A: Wear a fitted sports bra or a wide-neck top you can slide slightly aside. That gives the artist access while keeping exposure minimal. A fitted sports bra is easy to adjust and keeps you comfortable during the session.
Q: Do hand and finger tattoos affect work prospects more than chest or calf pieces?
A: In many industries visible hand tattoos still prompt conversations, while chest or calf pieces are easier to conceal. Think about your day job and the visibility of the placement when choosing small colorful work.
