
Fine line tattoos look amazing on a screen but on the neck they often soften into blur within a few years. Visible neck ink can complicate interviews and the bone and thin skin around the nape make sessions noticeably painful. Below are 17 neck designs that favor longevity, how they actually feel in the chair, and the wardrobe and prep moves that make them age better.
1. Geometric Mandala on Side Neck
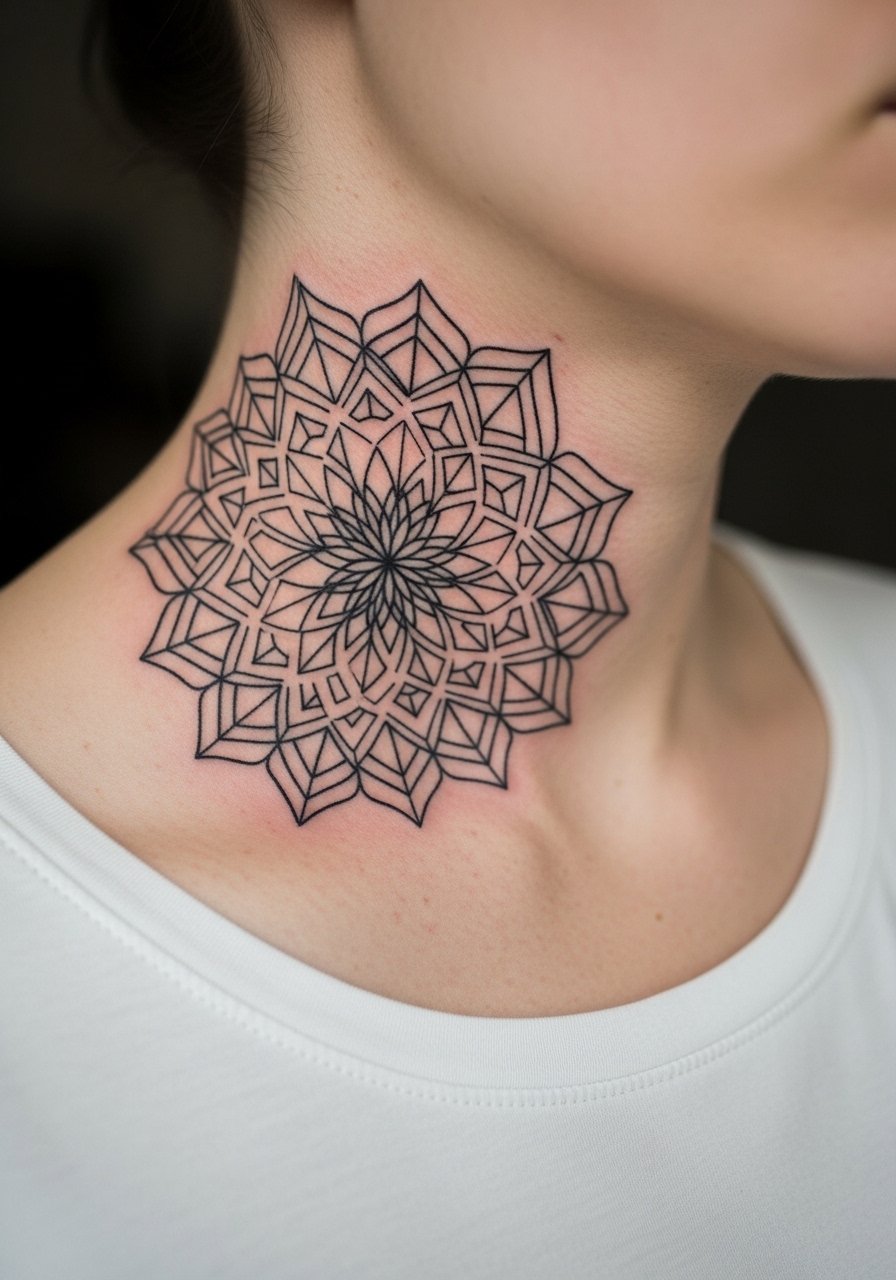
A mandala works on the side neck when you scale it big enough to let the lines breathe. Ask for thicker linework around the outer rings and slightly more negative space in the center so stipple shading does not collapse over time. The worst version is a dense, tiny mandala that looks sculptural fresh and then turns into shaded blur by year two. Expect one to two sessions and a touch-up by the 6 to 12 month mark if you live outdoors a lot. Session pain sits around a six for the side neck because the needle rides over thin tissue. For showing it off, pair with an open collar henley so the mandala peeks without looking like a reveal trick.
2. Lion Head Side Neck
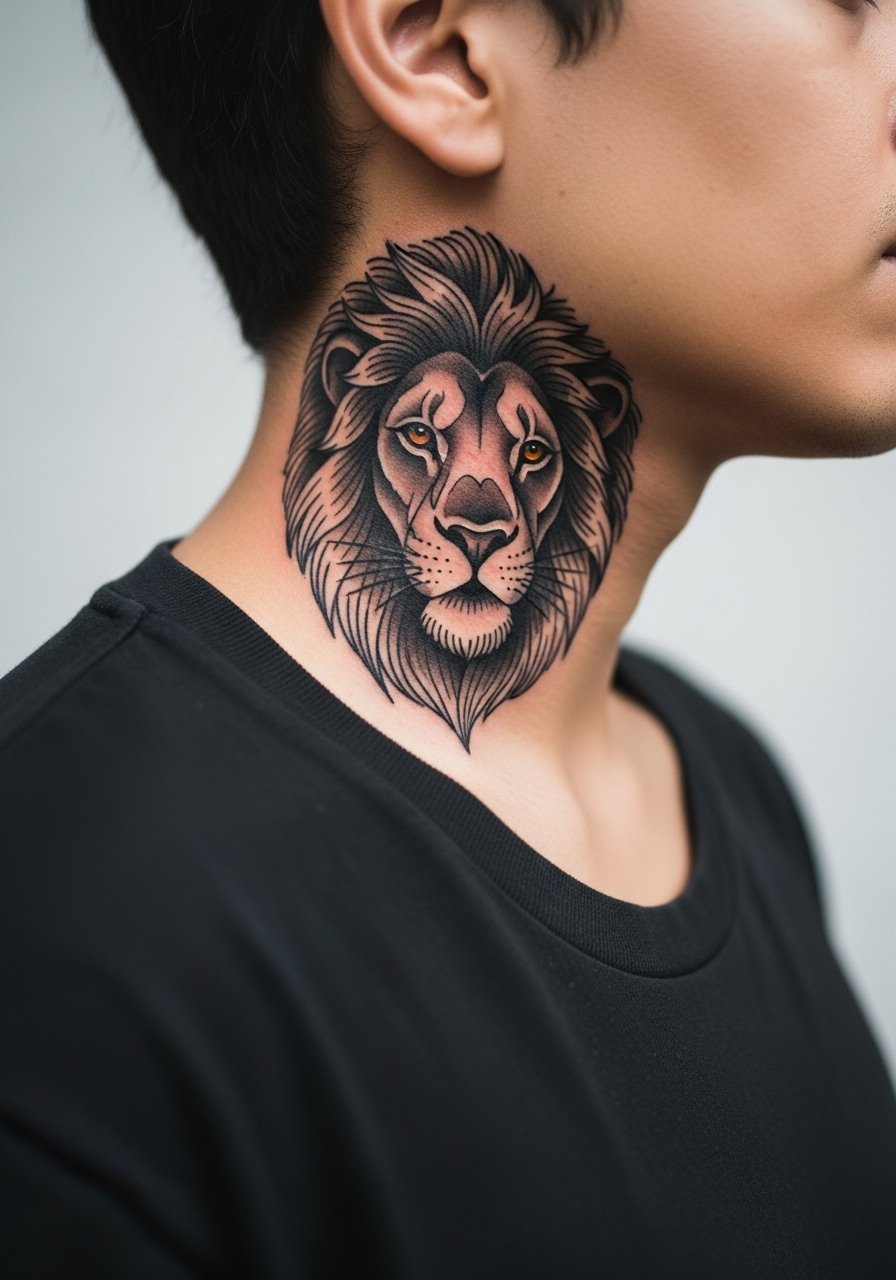
This neo-traditional lion follows the jawline well and reads bold if the mane uses saturated black outlines with measured color accents. Tell your artist you want the jawline silhouette crisp and the mane accents sparing so the piece does not age into muddied color. Common mistake is asking for tiny facial detail inside the lion, which softens first. Expect two sessions if you want color highlights and plan a touch-up at year one for saturation. Pain is higher under the ear and near the bone. For after the heal, an open collar henley or a simple black tee frames the jawline and keeps attention on the linework.
3. Front Neck Hourglass
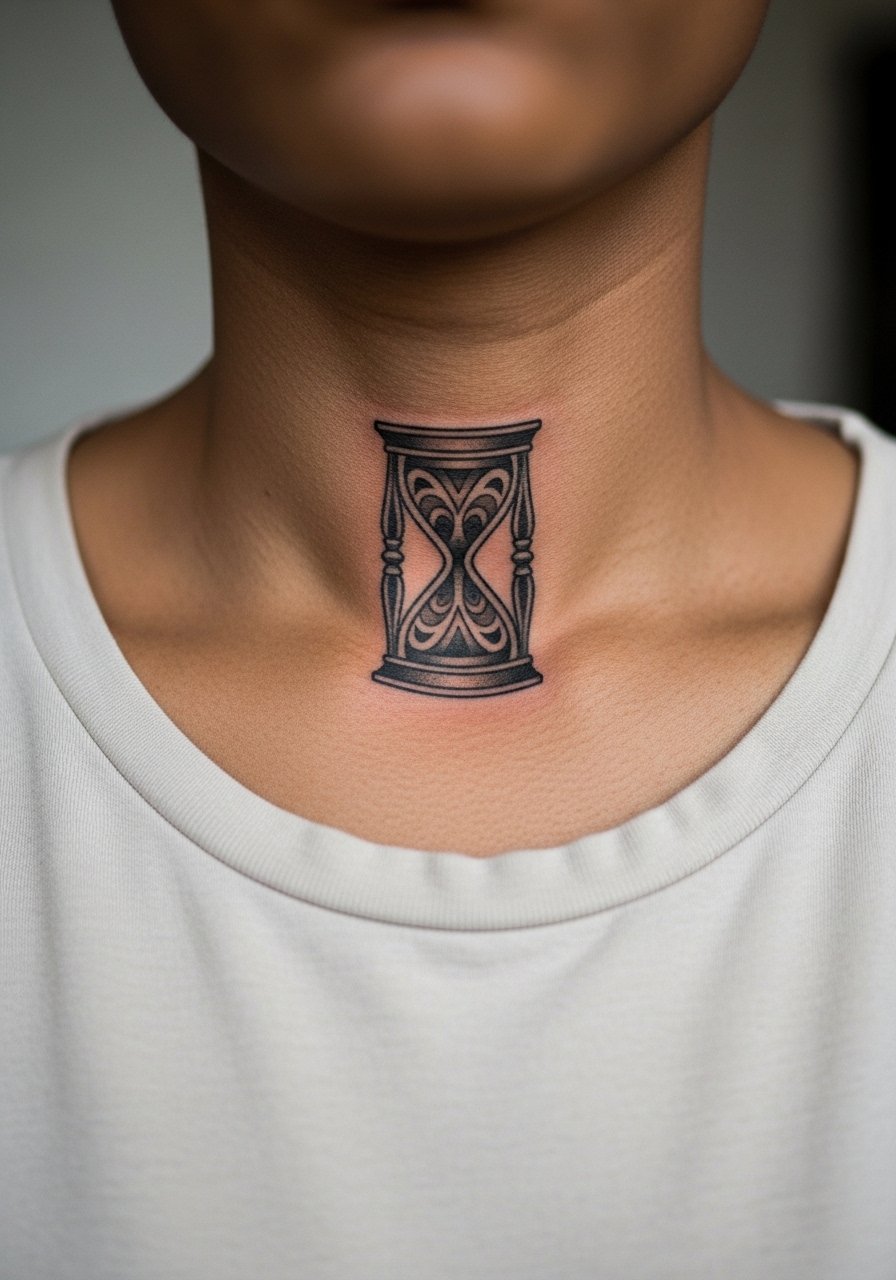
An hourglass on the front neck reads graphic and ages visibly because the front of the neck gets constant sun and friction. Ask for heavy outer contours and minimal inside micro-detail so the silhouette holds at two and five years. The common error is tight dot shading inside the glass that becomes a patch of grey. Session time is usually under an hour for a compact design, but pain spikes when the needle hits the sternocleidomastoid tendon. Touch-up at six to twelve months is normal. Wear a cropped crewneck tee to show the piece while keeping the chest covered on commute days.
4. Rose Thorn Collar Wrap
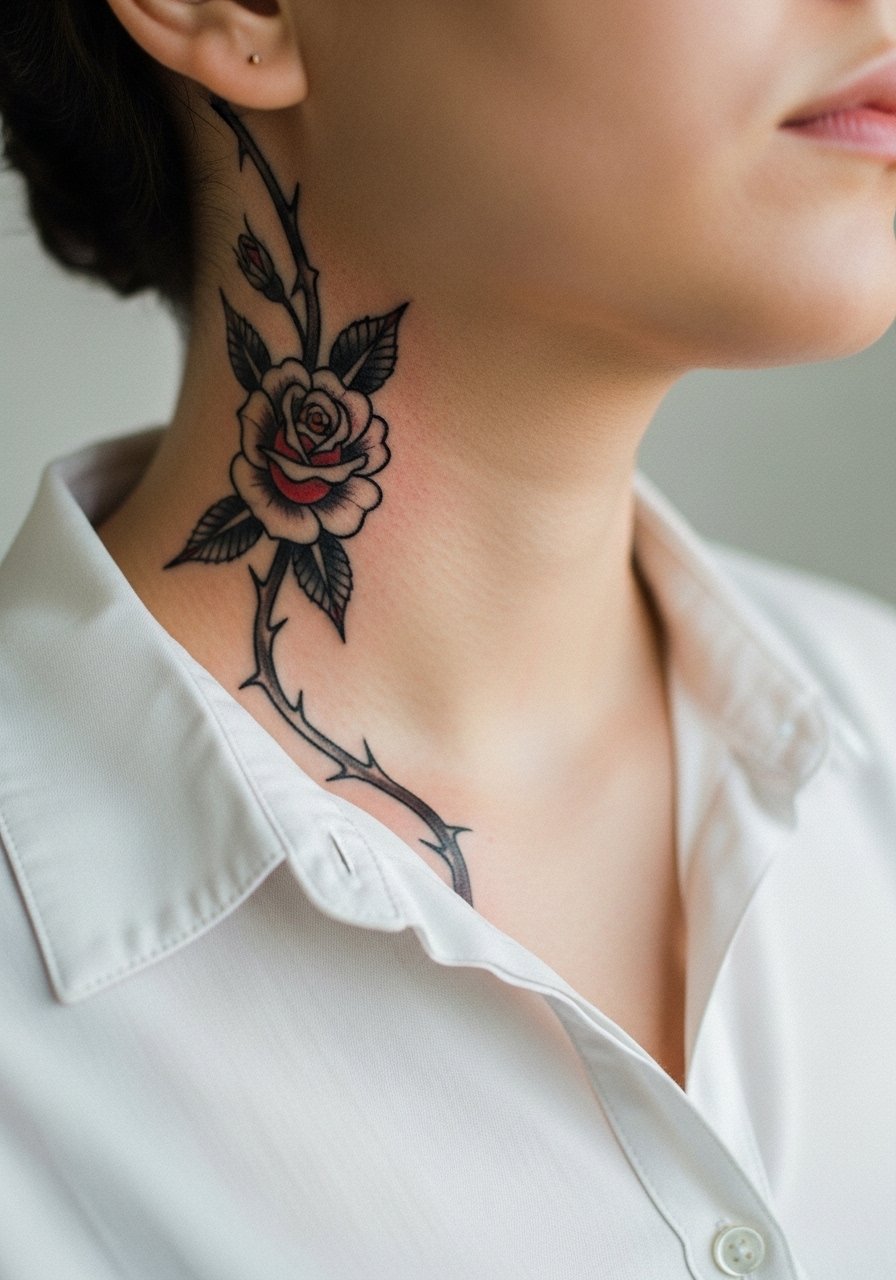
A rose thorn coil that crosses the collarbone into the neck looks intentionally raw when the thorns are simplified and the stems use negative space. During consultation, specify no tiny leaves and request stipple shading for the shadows instead of soft gradients that fade into a grey mush. The common mistake is making the vine too thin where it crosses the bone, which leads to blowout and spreading. Plan for two sessions and a touch-up at the six to twelve month mark if you wear collared shirts often. For showing it off, button the top two buttons of a slim fit button down shirt so the vine sits in the open gap and reads intentional.
5. Anchor Chain Side Neck to Collarbone
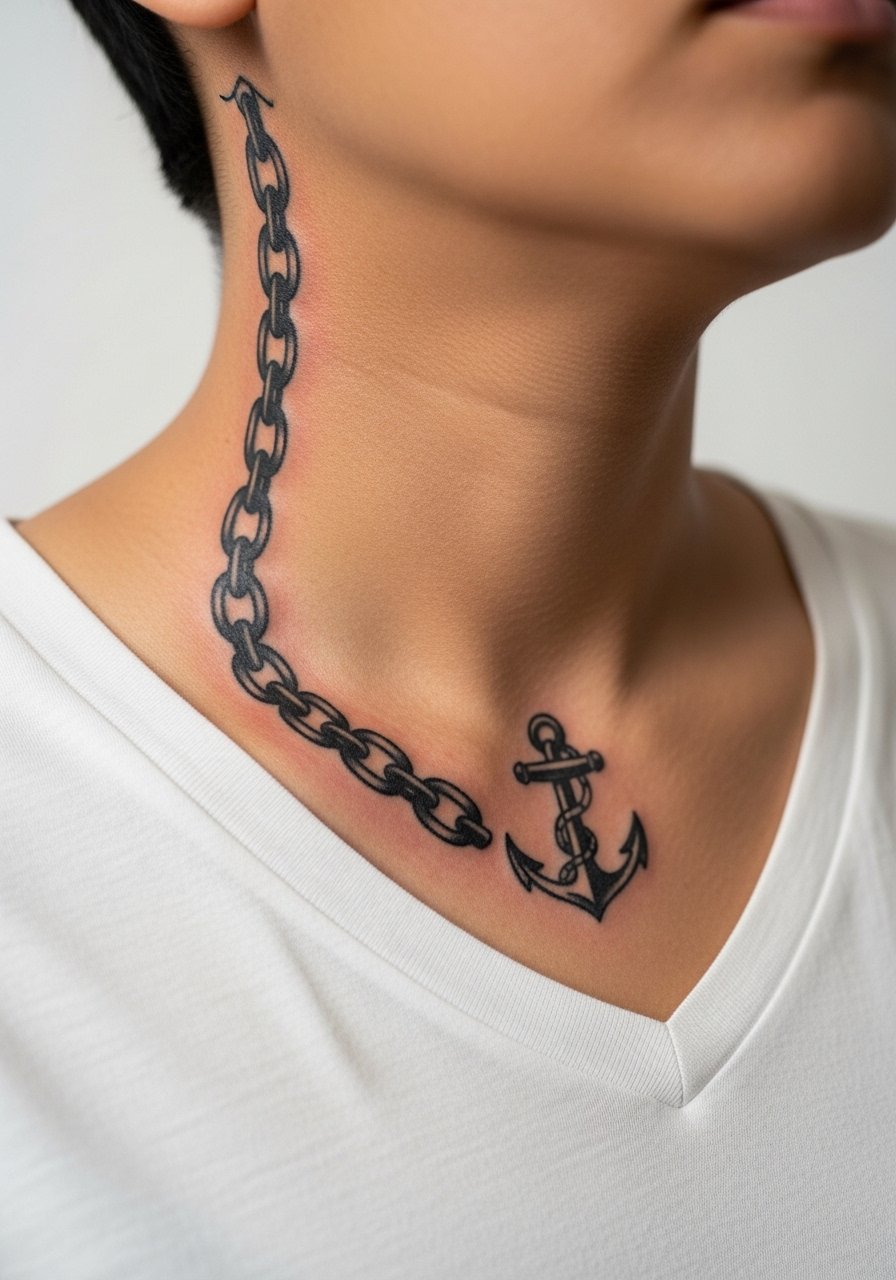
An anchor chain plays to clean lines and bold blackwork, which helps longevity on skin that moves. Tell your artist you want chain links larger than you think, and ask for solid black fills rather than tiny interior texture. People who ask for thin, delicate links regret it when the joins blur. Session time runs moderate because of the wrap, and pain is intermittent as it passes over the collarbone. Expect the first touch-up within 6 to 18 months depending on friction from shirts. For the appointment wear a loose v-neck tee so the artist can shave the area easily and avoid collar rub during healing.
6. Under-Ear Crown Accent
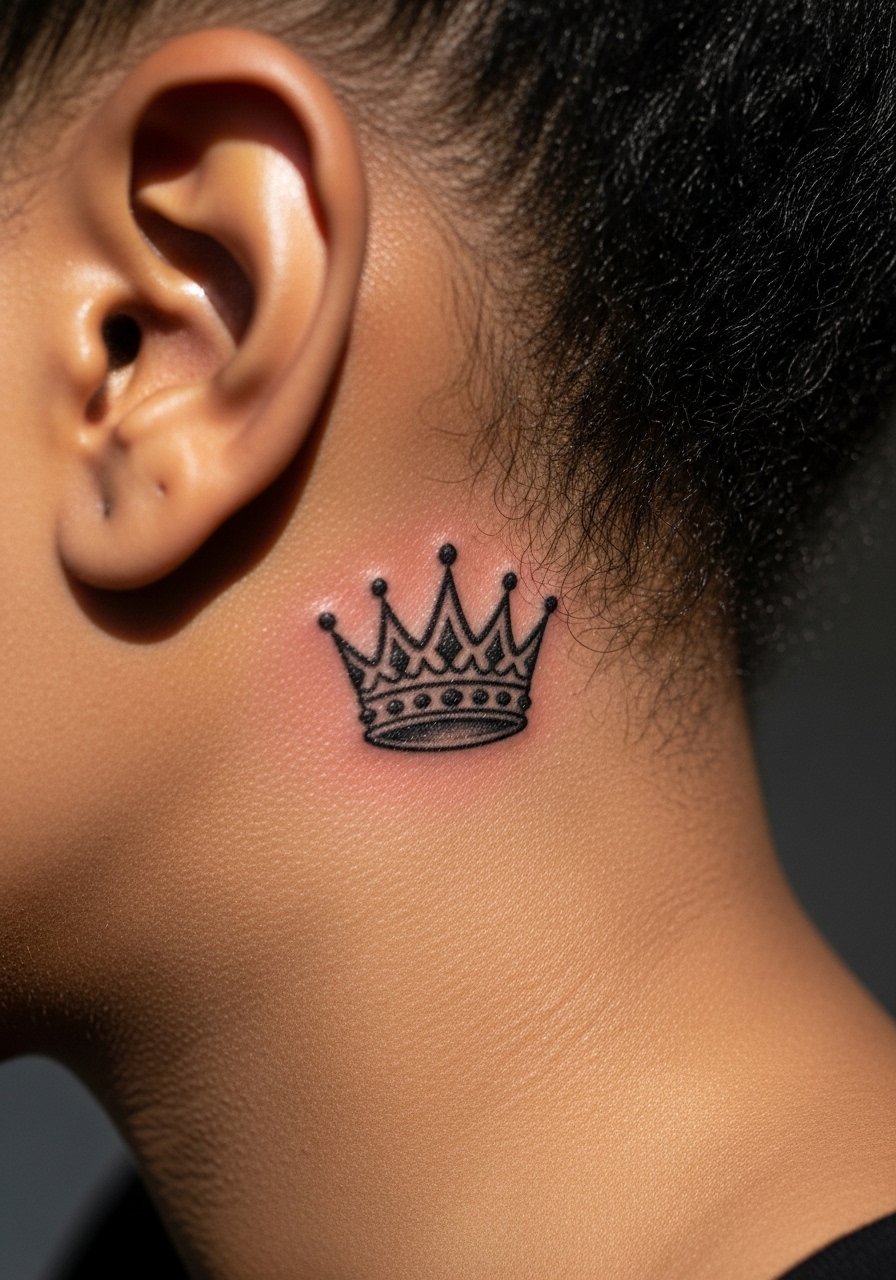
The tiny crown tucked under the ear benefits from solid black fills and minimal ornamentation so it stays legible. During consult ask for slightly thicker prongs than you think you need and request a shallow stencil test to see how it sits when you tilt your head. The mistake is over-detailing the crown interior which disappears first. Expect a short session and moderate pain because the area is thin. If you want to hide it for interviews, a beanie or tilted flat bill cap covers that zone on commute days.
Heal Smart
Those six side, front, and collarbone pieces above see a lot of movement and friction, so a few specific products smooth the session and the first week.
-
Hustle Butter Deluxe. A lighter, less greasy balm that many people prefer for beard-adjacent neck work because it soaks in and does not leave heavy shine against facial hair.
-
Unkut Balm. Fast-absorbing and matte, useful when solid blackwork needs a non-shiny finish during the first two weeks.
-
Frida Skin Barrier. Thin barrier layers help with friction on open-collar shirts and active days when a sticky film would be annoying.
-
Canna Butter Salve. A calming CBD salve some people use for itch control during the peak peel phase without numbing sensation.
-
Saniderm protective film. For neck work the film reduces rubbing and keeps the area clean in the first 48 to 72 hours, especially useful on wraps and collarbone crossings.
7. Wolf Profile Along the Jawline
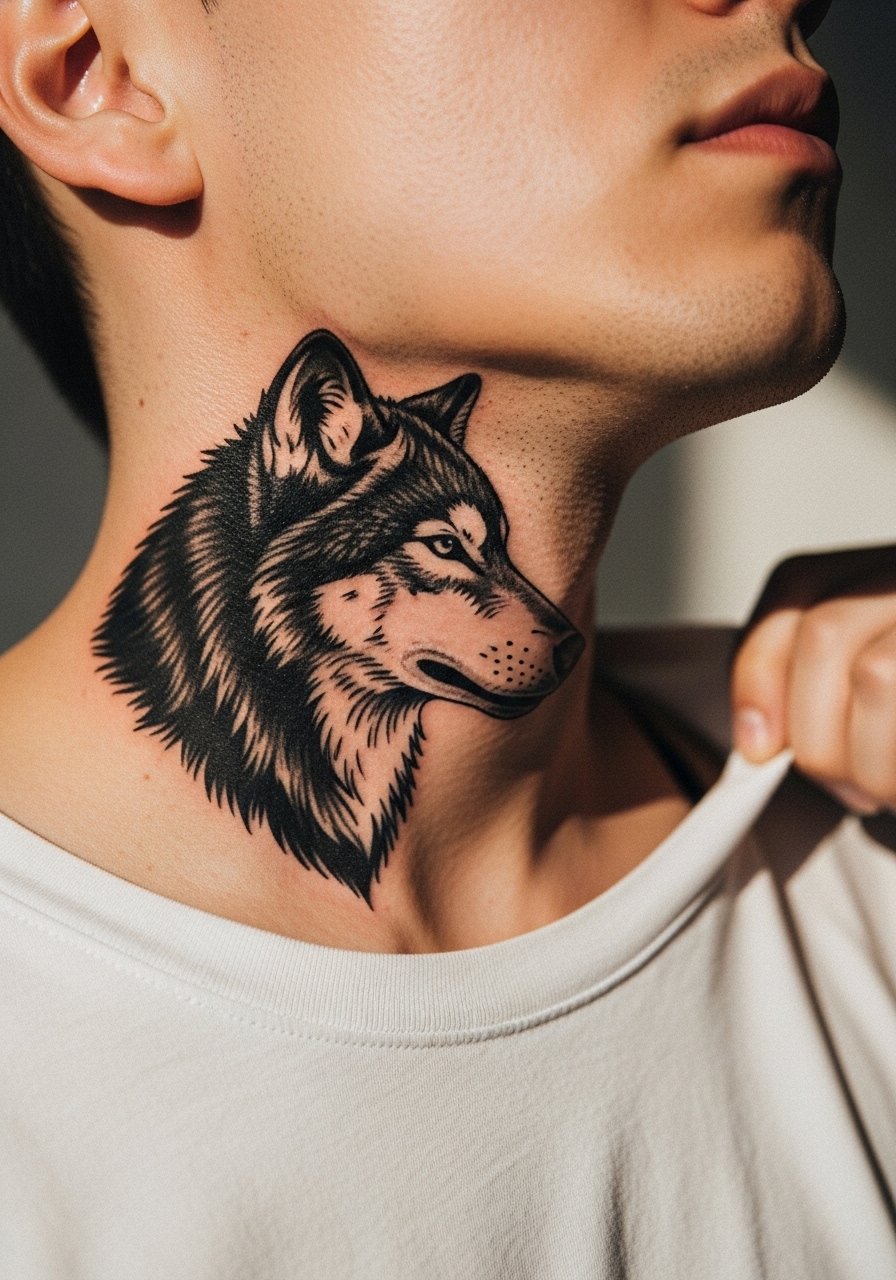
A wolf in profile benefits from strong silhouette contrast so it follows the jaw instead of fighting it. Tell the artist to lock in the jaw silhouette and avoid tiny fur lines on the cheek which disappear first. The frequent mistake is overworked facial detail instead of a bold head shape. Expect one to two sessions depending on size and a likely touch-up at year one for saturation. Pain is higher near the angle of the jaw and under the earlobe. For sessions, a loose v-neck tee gives full access and avoids collar pressure while healing.
8. Diamond With Eyes, Side Neck
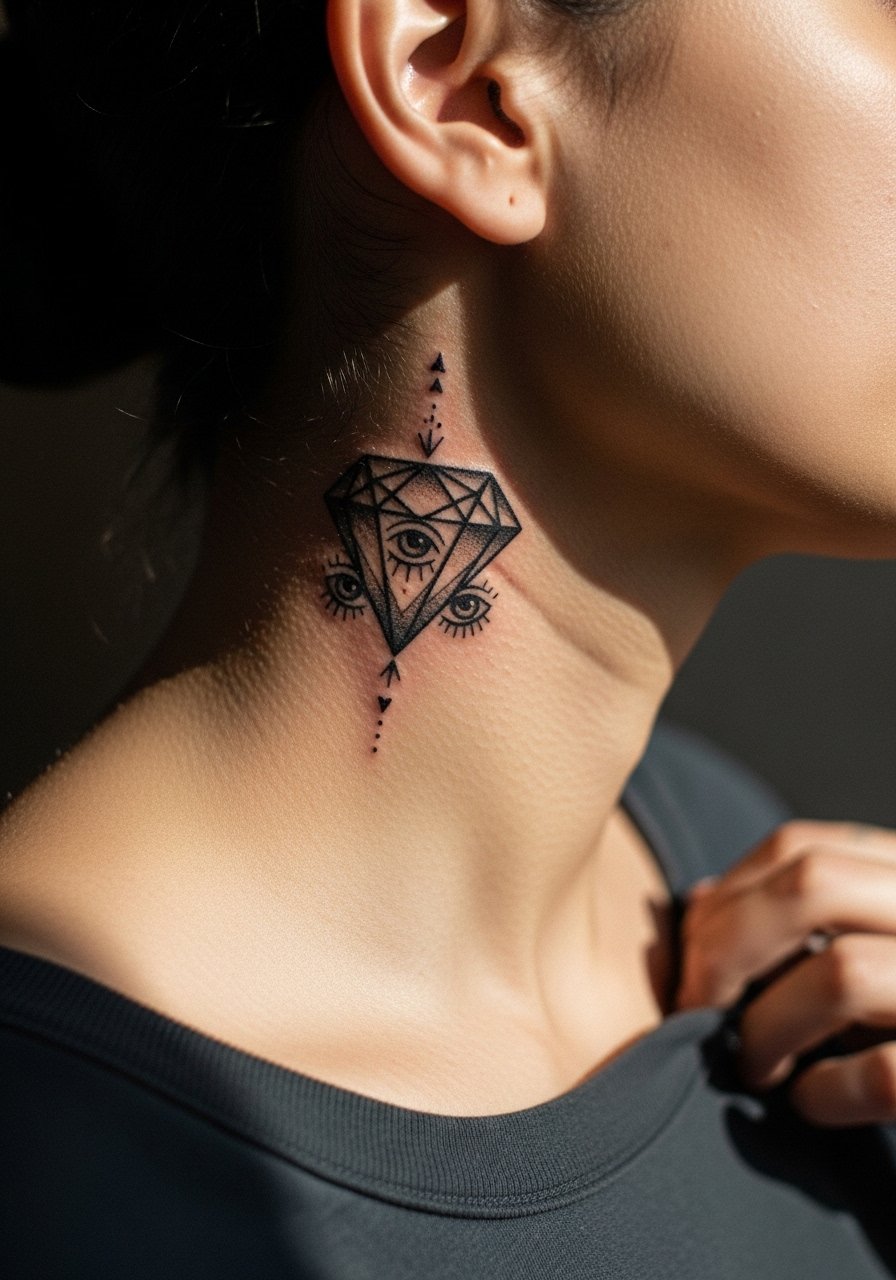
Geometric shapes with small eye details can read hypnotic if the negative space balances the black fill. Ask for thicker outlines for the diamond and reserved white highlights around the eyes so they do not sink into grey later. The version that ages poorly is tight, micro-detailed eyes that lose definition. Plan for a single, focused session and a touch-up at six to twelve months if sunlight exposure is high. Pain is moderate on the side neck. To show it off without overexposing, use an open collar henley so the geometry sits neatly at shoulder level.
9. Snake Coiling from Side to Back Neck
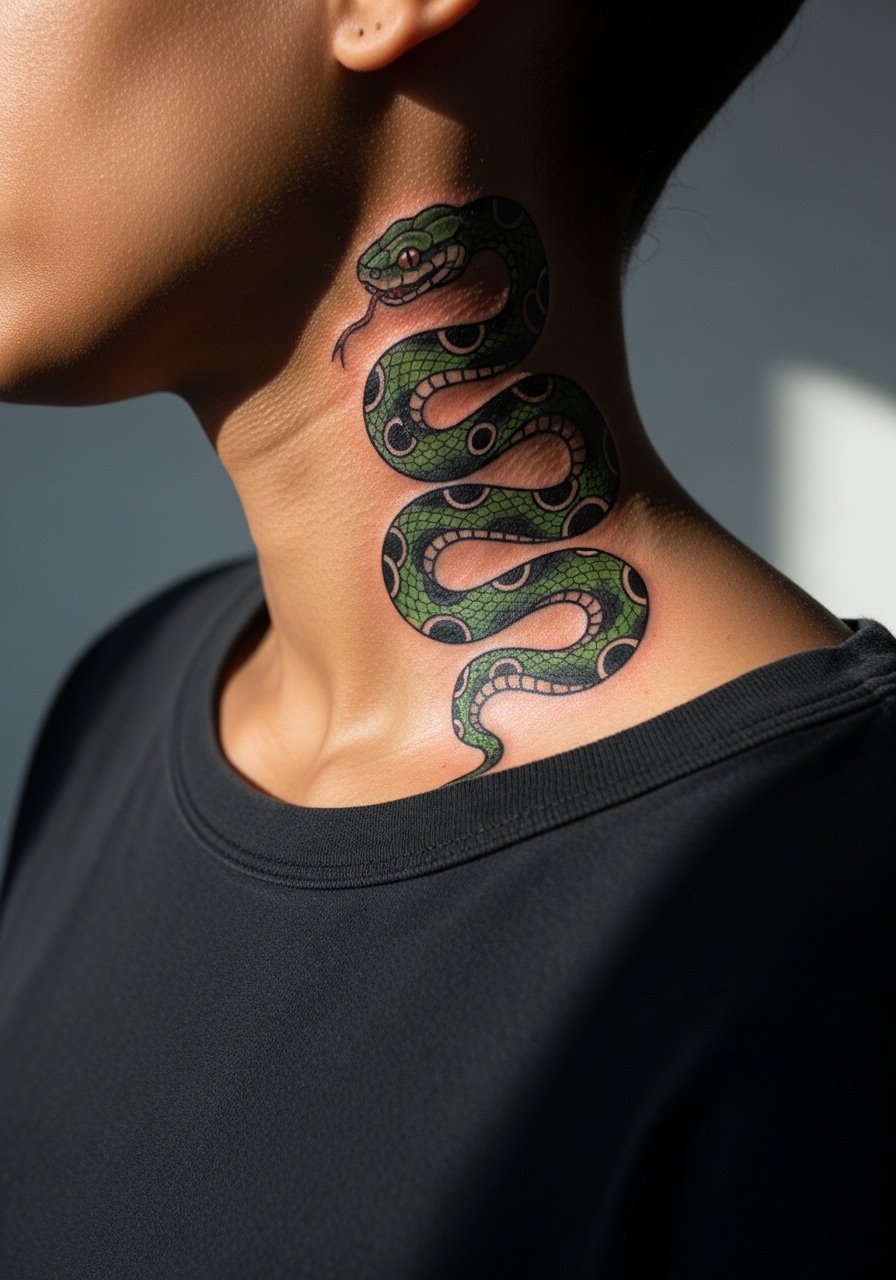
Wrapping snakes are dramatic but demand strong contrasts to avoid blending when the coil narrows around the spine. Ask your artist to prioritize bold outlines and limited color gradients so scales read from a distance. A frequent mistake is too much tiny scale work in narrow areas which turns into mottled shading. Expect two to three sessions for a full wrap and a touch-up at the 6 to 18 month window. Pain is patchy and peaks where the neck meets the shoulder. For showing it off, an off-shoulder muscle tee or sleeveless hoodie keeps the shoulder free and the wrap visible.
10. Blackwork Crown Below the Ear
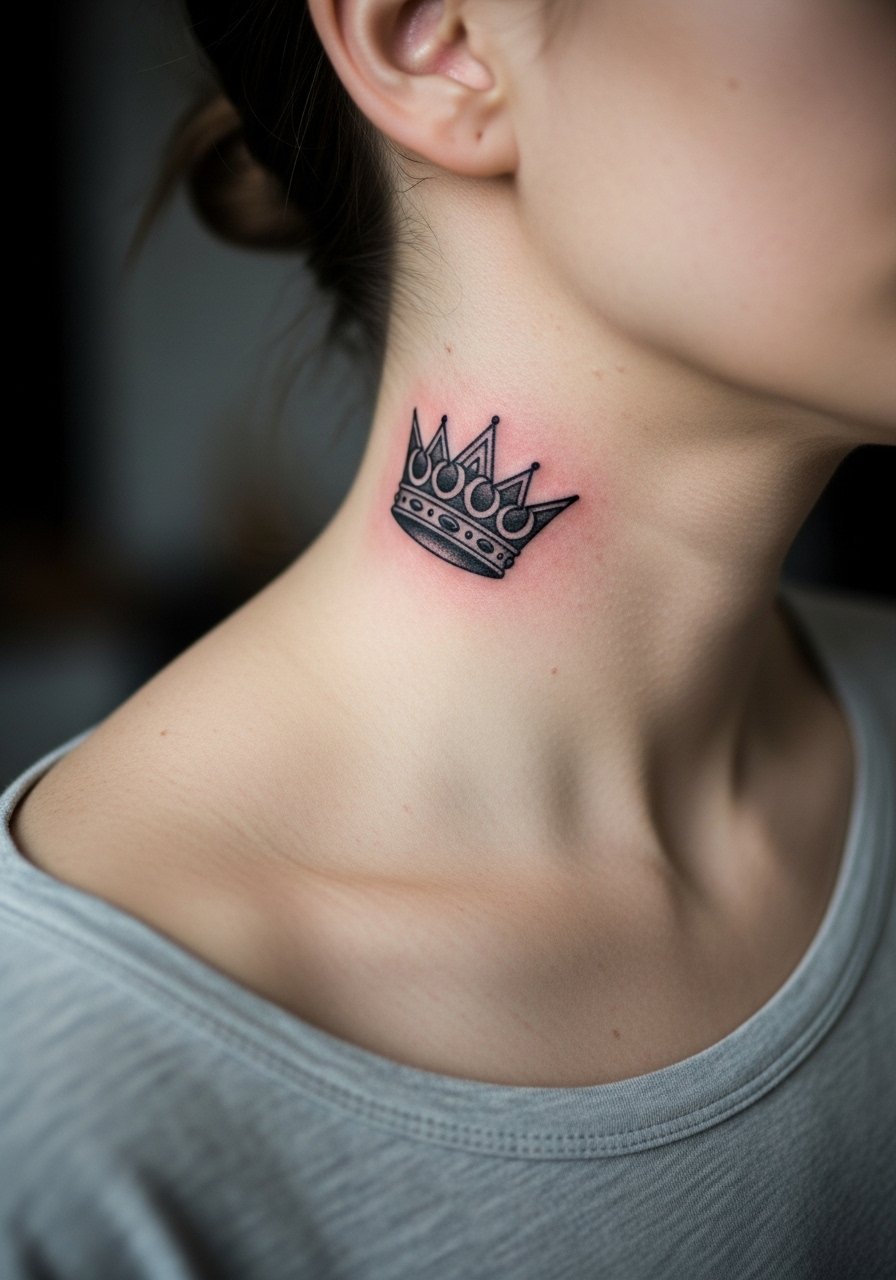
A compact crown reads strong when filled solid and kept simple. During consult ask for a small, bold silhouette with negative space between prongs to preserve legibility. The common error is tiny jeweled detail that disappears quickly. Session is short and pain sits below the ear tender spot. Touch-ups are rarely needed if fills are saturated. For daily wear, a flat bill cap or beanie covers it when you need discretion.
11. Ornamental Masonic Style on Back Neck
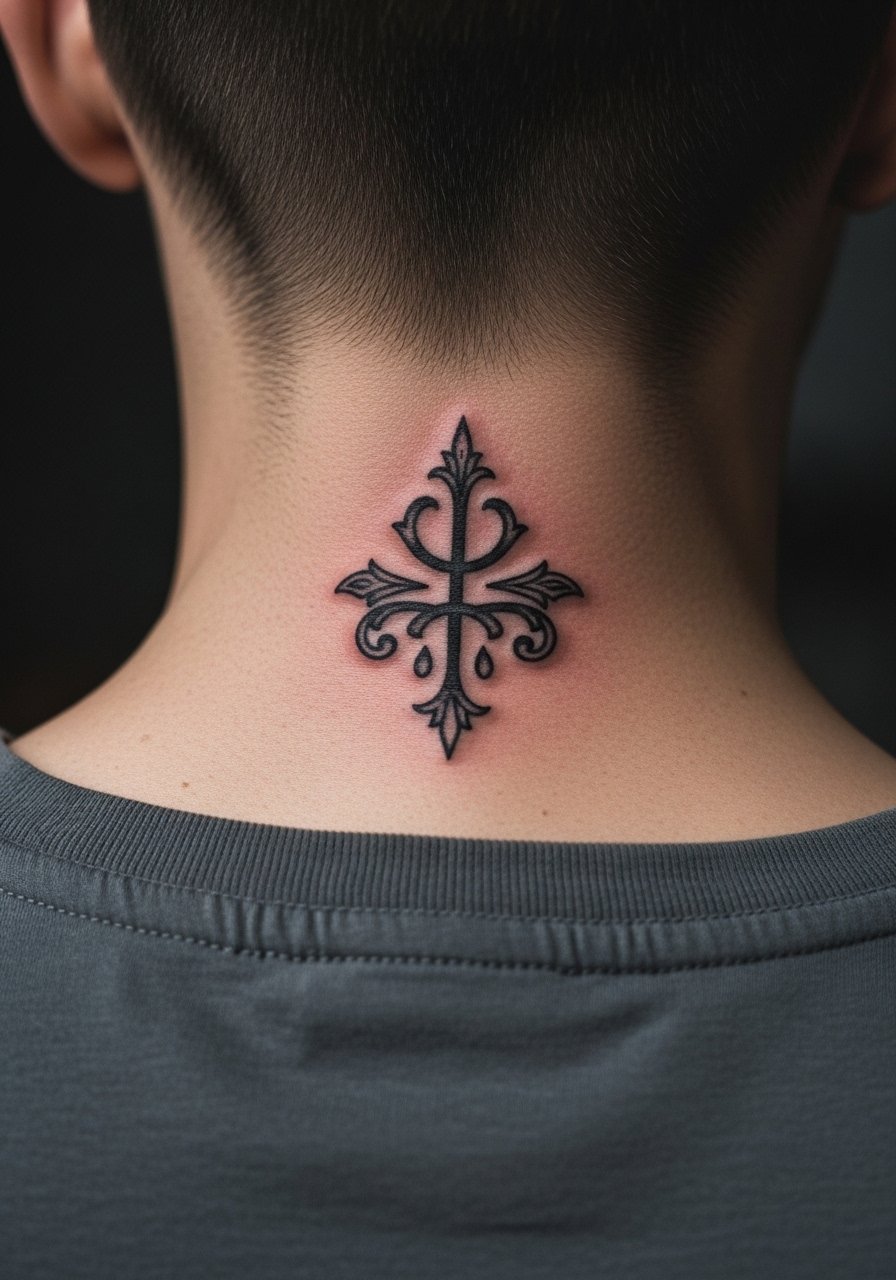
Intricate ornamental pieces at the nape look best when artists space the linework intentionally so details do not pool during healing. Tell your artist you want a slightly scaled-up version of the motif and a stencil check while you tilt your head. A common mistake is cramming tiny geometry into four inches of skin. Expect one to two sessions and plan a touch-up around the 6 to 12 month mark if you bike or wear high-collar jackets often. Pain is variable at the nape but can spike on the vertebrae. For discreet evenings throw on a leather jacket with the collar open so the nape design peeks without exposing the whole neck.
12. Small Script Under the Jaw
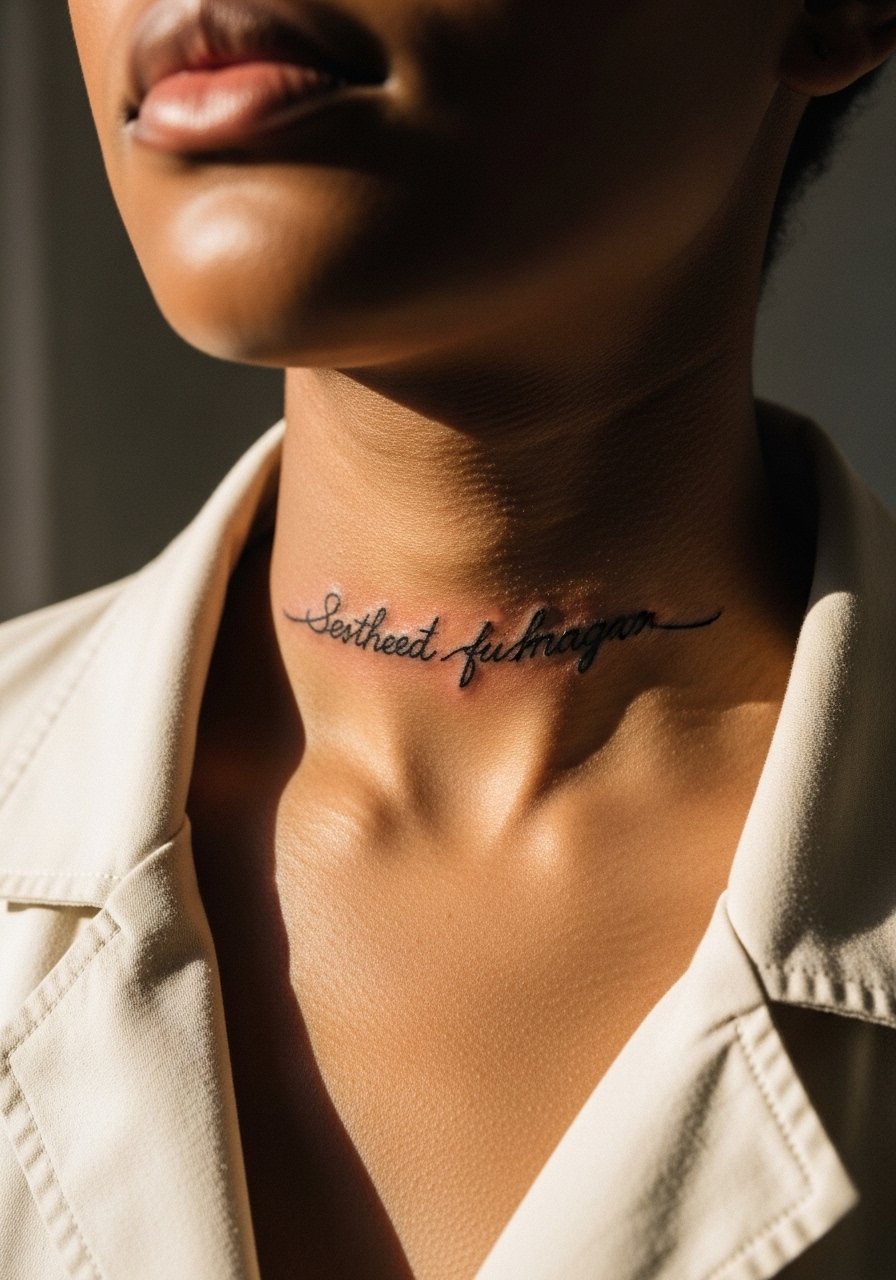
Text under the jaw can hold if you pick a slightly bolder script and ask for letter spacing that breathes. The usual mistake is choosing ultra-fine handwriting script that merges after a year. Ask for a stencil to see how the letters sit when you move your head. Session time is short but pain is real near the angle of the jaw. Touch-up is often needed at the 6 to 12 month point. If you want to hide it on first impressions, a rolled beanie or a tucked collar does the job without fuss.
13. Hourglass With Negative Space Front Neck
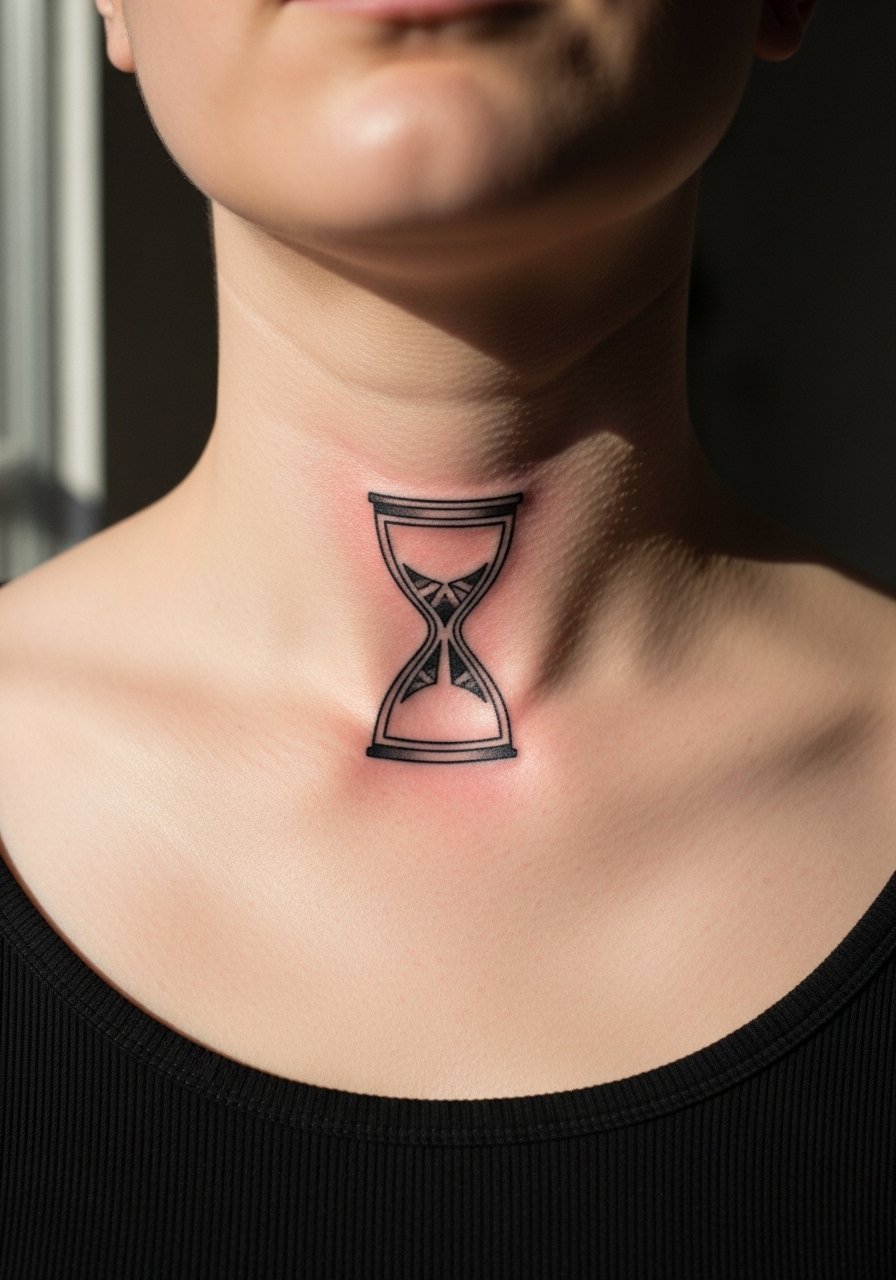
Using negative space inside an hourglass keeps the visual rhythm without tiny internal detail that fades. Tell the artist you want only two or three interior elements and no micro-dot texture. The mistake is filling the glass with heavy stipple which merges over time. A touch-up at the one-year mark keeps the silhouette crisp. Pain is higher on the front center and the area needs diligent sun protection while healed. For showing it off, a zip hoodie worn halfway open lets the hourglass peak without full exposure.
14. Chain Ring Around the Throat
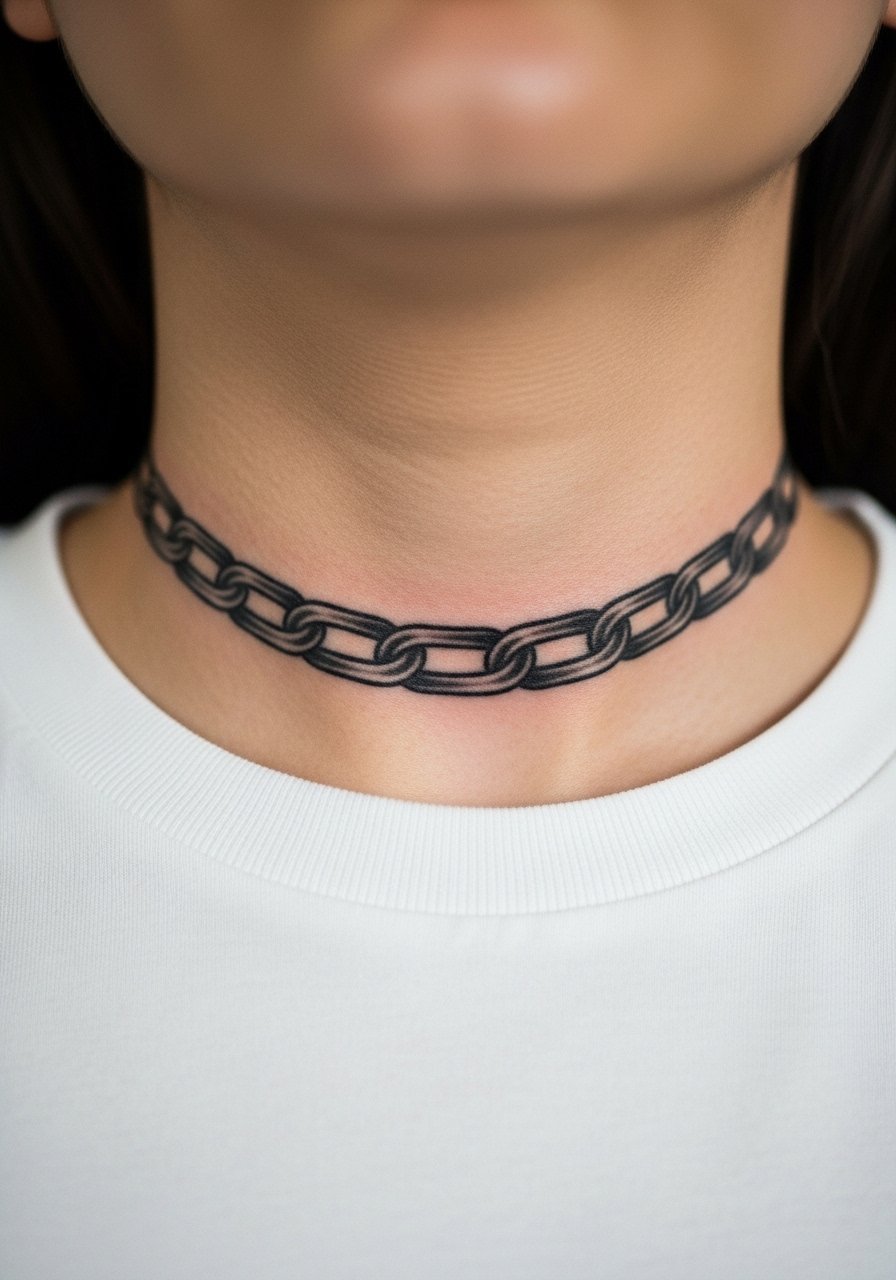
A full ring around the throat works when the links are generous and the design avoids tiny interior shading. Tell the artist you want clear negative space between links and ask how it sits when you tilt your head. The common error is tight links that blur into a single band. Session time depends on precision and pain can be sharp on the front. Expect a touch-up within a year if clothing rubs the area. Keep collars soft during healing and avoid stiff shirts for two to three weeks.
15. Diamond Eyes Center Back Neck
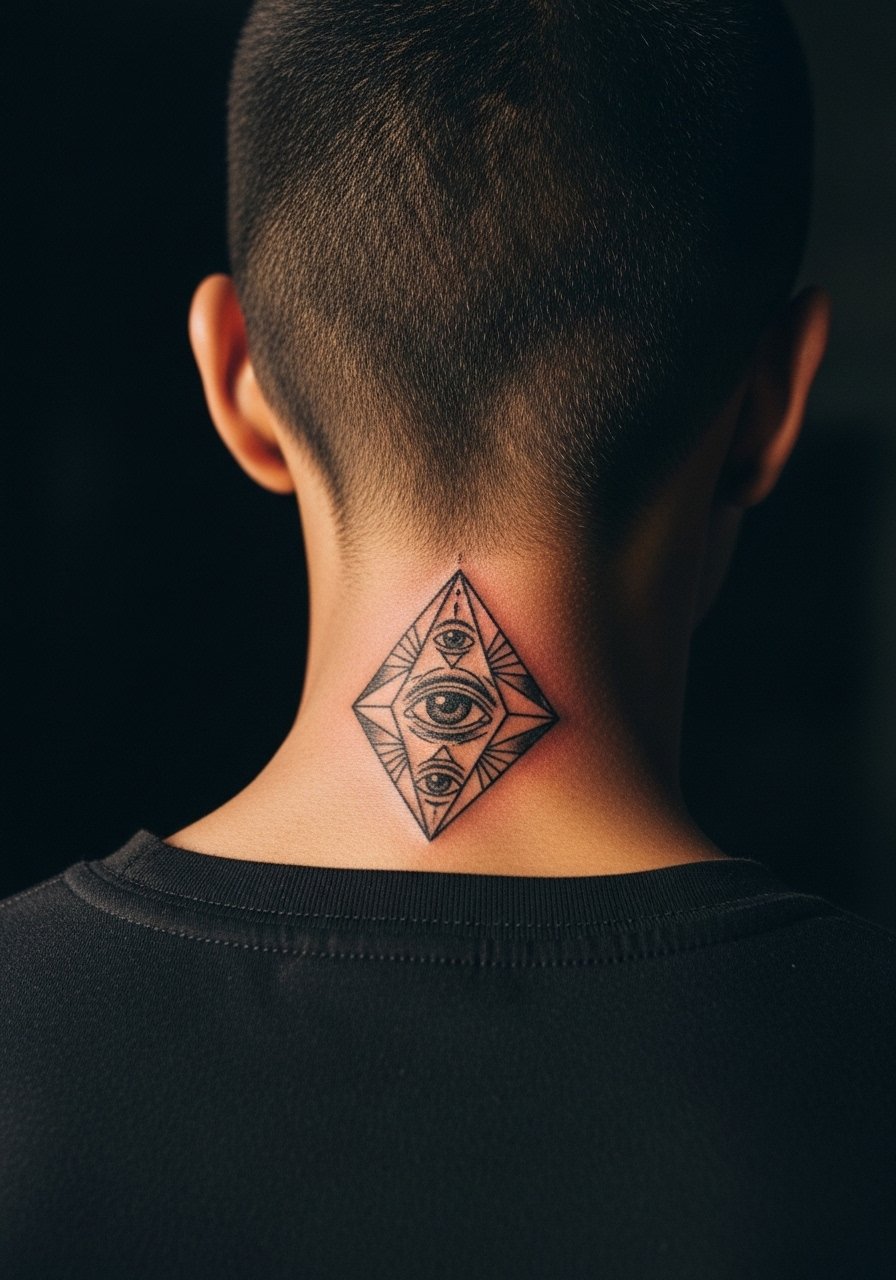
A centered diamond motif reads clean when the eyes are rendered as simple hollow shapes and the outer diamond outline is slightly thicker. A frequent mistake is overcomplicating the interior eyes which smudge into empty space. Session time is short and pain is moderate. Plan for a small touch-up at six to twelve months depending on sun exposure. For a subtle reveal, wear a high-neck jacket left open at the nape so the diamond becomes a peek rather than a full reveal.
16. Snake Wrap to Collarbone
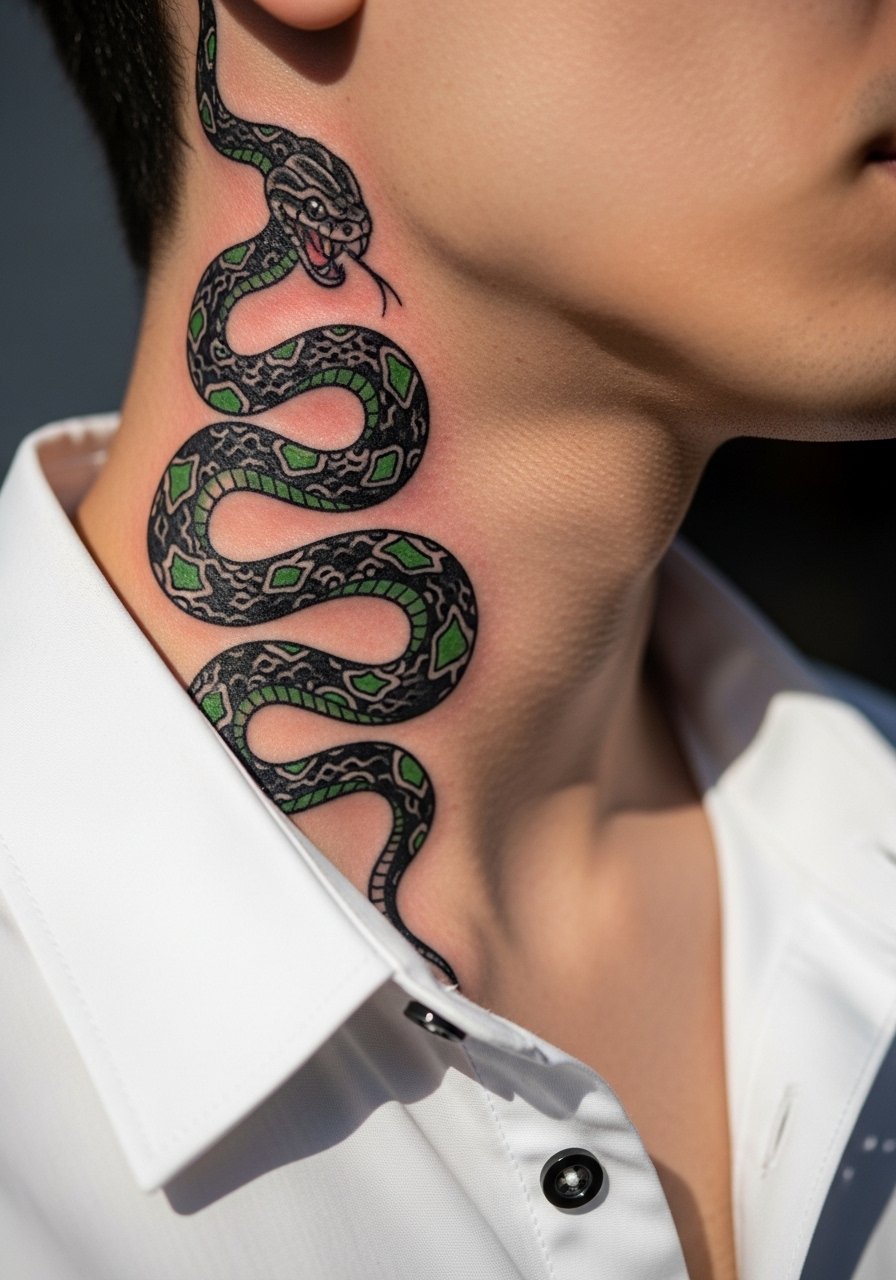
When a snake crosses the collarbone you need bold outlines where it contacts the bone and softer internal shading on flatter skin. Tell the artist to overline the contact points and limit thin scale details in narrow stretches. Mistakes include too many tiny scales and gradient fills that smear over time. Expect two sessions and a touch-up at six to eighteen months for any color settling. Pain varies from seven to nine where the bone is thin. For sessions, a slim fit button down shirt you can unbutton makes access easier and keeps fabric off the collarbone while healing.
17. Masonic Ornamental Back-Nape Panel
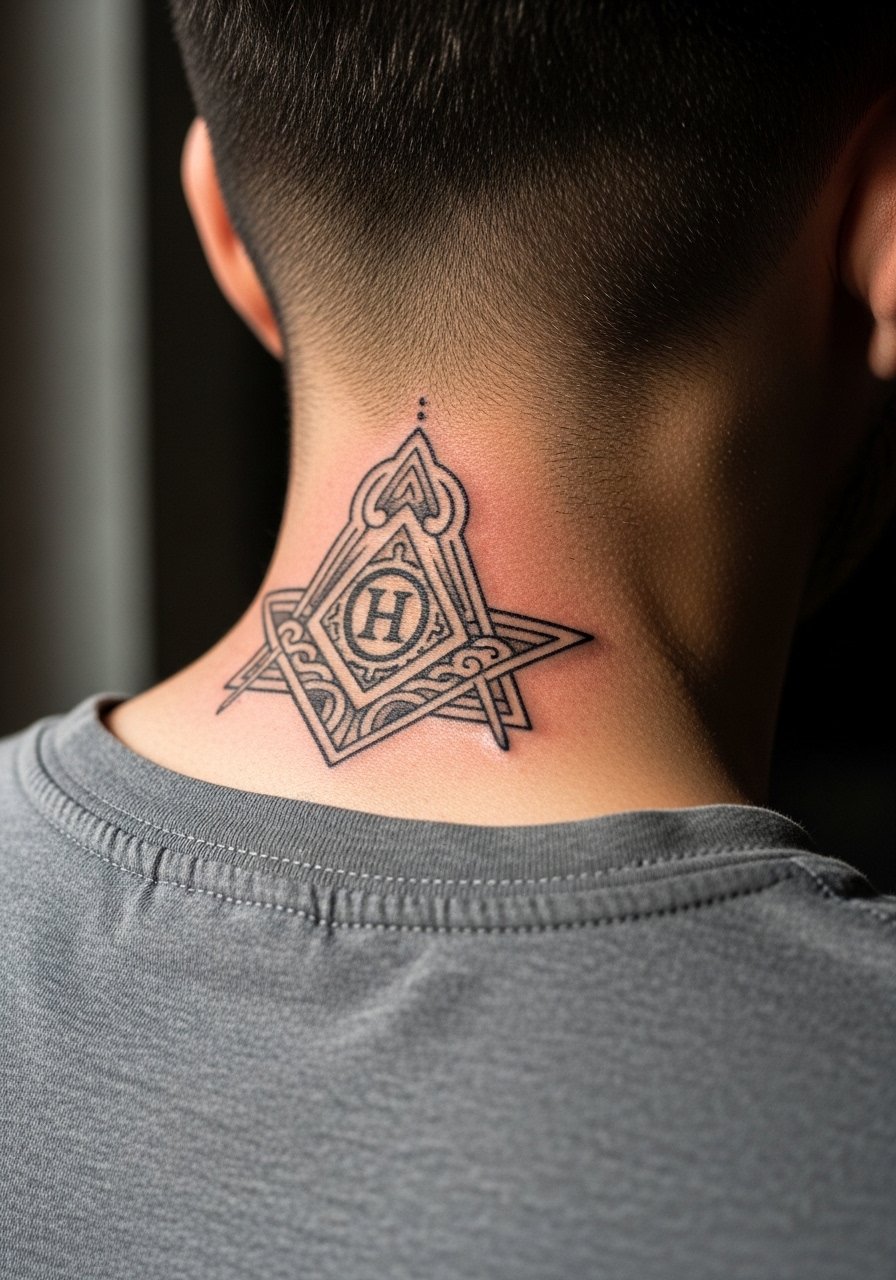
An ornamental panel at the nape should favor readable geometry and deliberate spacing. Ask for a stencil check while you move your neck so the pattern does not bend in problematic ways. A common mistake is pushing symmetry too tight which looks perfect fresh and then warps with neck movement. Session time depends on complexity and a touch-up at the six to twelve month mark is common. Pain at the upper nape can be sharp along the spine. Since motifs like this have cultural roots, consider subtle variations rather than direct replicas to respect origin and context.
Frequently Asked Questions
Q: Will a neck tattoo hurt more than an arm or chest piece?
A: Yes, neck sessions generally score higher on most pain charts because skin is thin and there are more nerves near the cervical spine and jaw. Short sessions under two hours reduce fatigue and make numbing options worth discussing with your artist.
Q: Do fine line neck tattoos fade faster than bold blackwork?
A: From what I have seen, fine line pieces on the neck tend to soften sooner than thicker blackwork. Two camps disagree publicly. One camp argues fine line can hold with expert needle depth and spacing. The other camp says the neck’s motion and sun exposure make bold lines the safer choice. Ask where the artist stands and plan a touch-up schedule accordingly.
Q: How do I hide neck ink for job interviews or conservative workplaces?
A: Side neck placements under the jaw are easier to mask with collars and hair styles than front-of-neck pieces. Wear a loose button down shirt with the collar up or choose placements that sit below the collarbone if you need discretion.
Q: What healing approach is better for necks, protective film or dry healing?
A: Artists and clients split on this. Some prefer protective film for high-movement areas because it reduces friction and infection risk. Others prefer dry healing because they believe it produces better saturation over time. Your choice should factor in skin sensitivity, activity level, and whether you sweat heavily during the day.
Q: My artist ghosted me after a deposit. How do I avoid that for a neck session?
A: Book through reputable platforms that have cancellation policies or confirm appointments with a clear written agreement. Limit deposits to a percentage you are comfortable with and get a clear reschedule policy in writing so you are not left in limbo if plans change.
Q: When should I plan a touch-up for blackwork neck tattoos?
A: Plan to evaluate at six months and again at twelve months. Many bold neck pieces need a touch-up in that window to restore edge saturation after the initial settling. If you spend a lot of time outdoors, check earlier and keep SPF on the area once healed.
Q: Are there special considerations for dark skin and blackwork neck pieces?
A: On darker skin tones, strong saturation and well-defined negative space help blackwork pop. Artists sometimes use white highlights or wider gaps to add contrast. A small stencil patch test can show how saturation will read before committing to a full session.
