
Bold black fills age into something solid more often than the dainty pieces that get the most saves. Heavy saturation and clear spacing keep detail readable across skin tones, while poorly spaced fine line work softens into blobs after a few years. If you want designs that still read sharp after touch-ups, start here with ideas that balance visual punch, placement realities, and a few wardrobe moves that actually help you show the ink off.
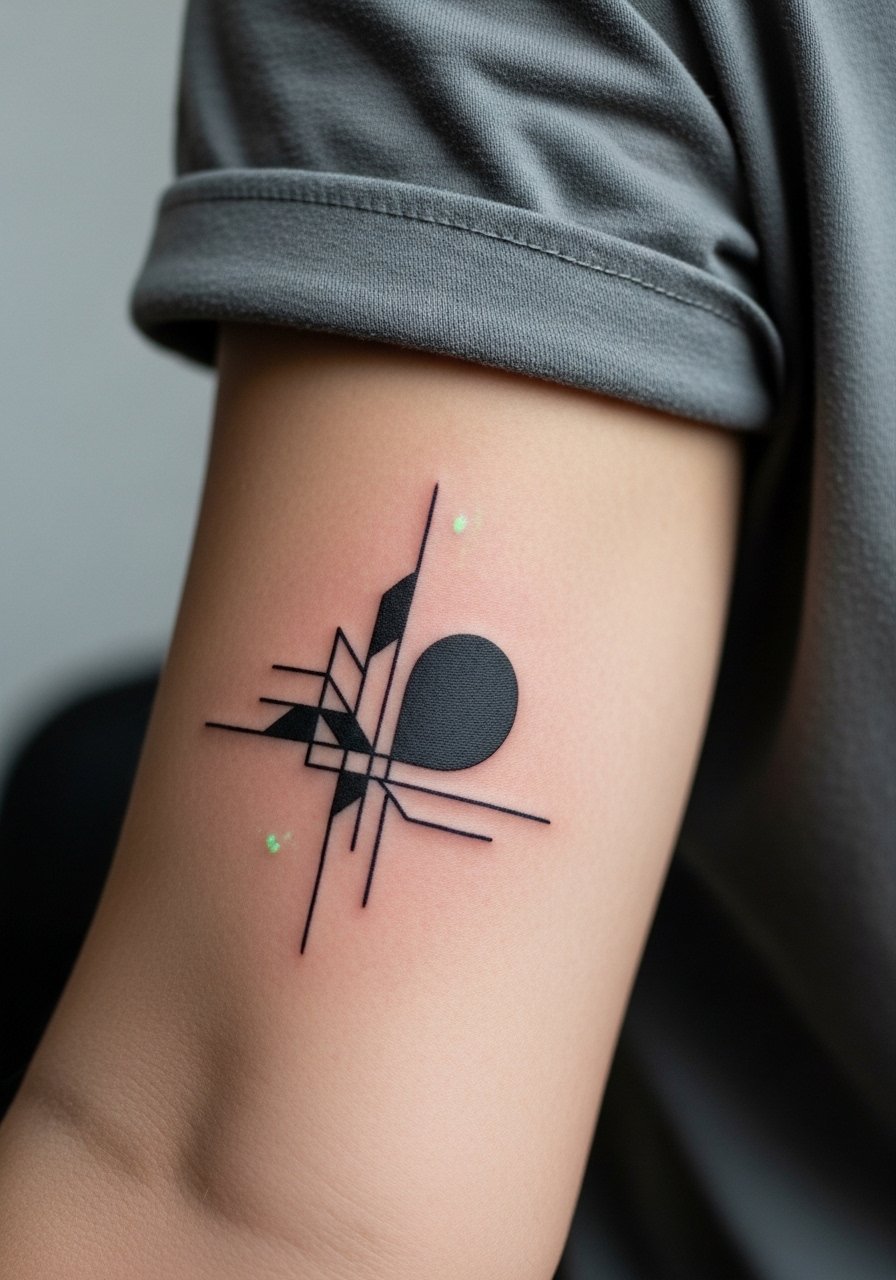
1. Tribal dog paw with geometric accents on the forearm
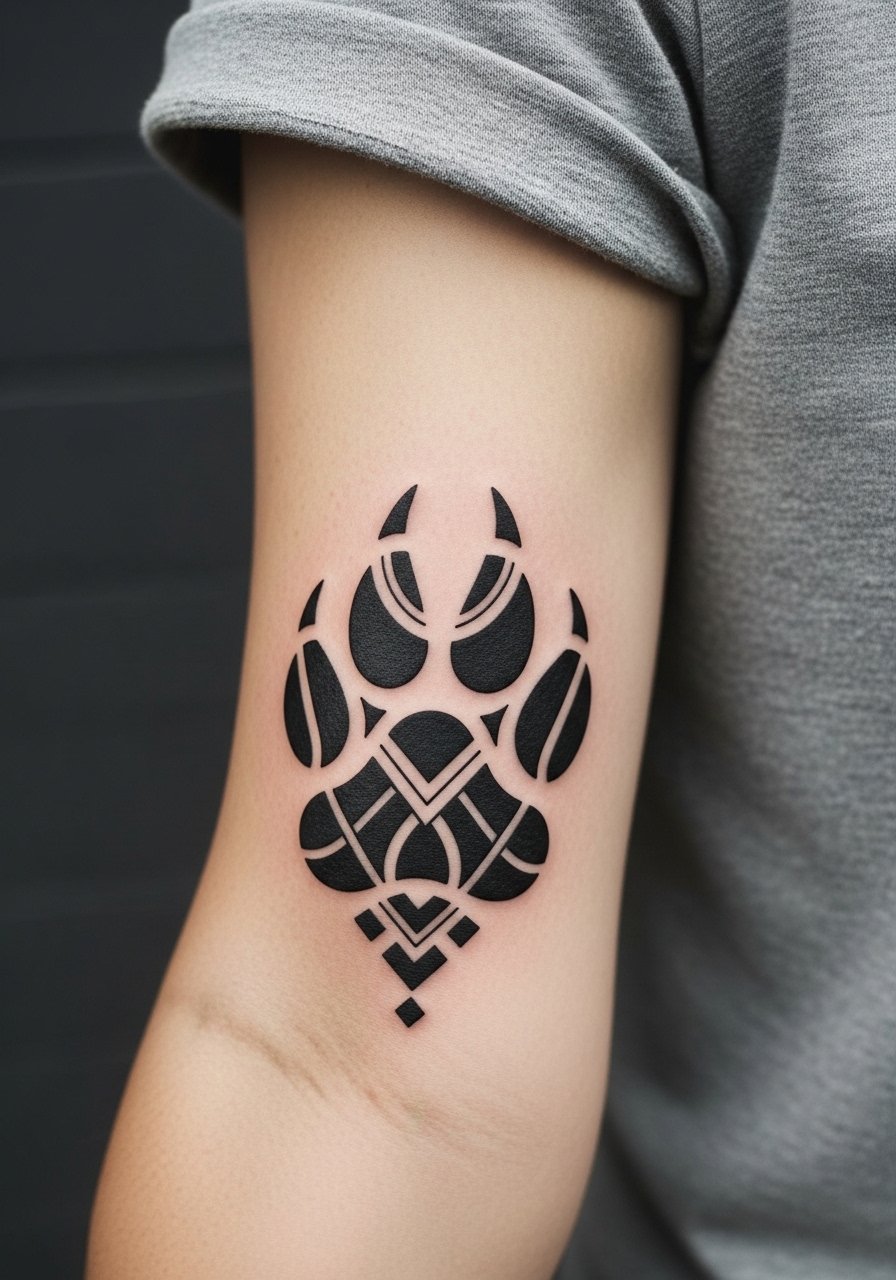
I see this one in consults because forearm placement reads strong from a distance and still photographs well. Ask your artist for crisp negative-space geometry inside the pad so the shape reads on medium to darker skin. Fair warning, forearm work can swell into the sleeve if the geometric elements are too tight, so request 2 to 4 millimeters of breathing room between lines. Session time is typically one to two hours depending on size. For the appointment wear a loose fit tank top so the artist has full access and nothing bunches on the table.
2. Minimalist stacked paw marks on the wrist

Wrist pieces are deceptively visible and tend to need bolder line weight than they look like on a screen. I recommend the stacked approach when you want multiple pet references without clutter. Tell your artist to thicken outer linework and to avoid micro hairline detail that will fade fast. Expect a 45 to 75 minute session and a touch-up at six to twelve months if you live in sunlight-heavy climates. For showing it off, pair with a thin leather cuff bracelet on the opposite wrist so the hand still reads intentional.
3. Heart-shaped paw outline near the collarbone
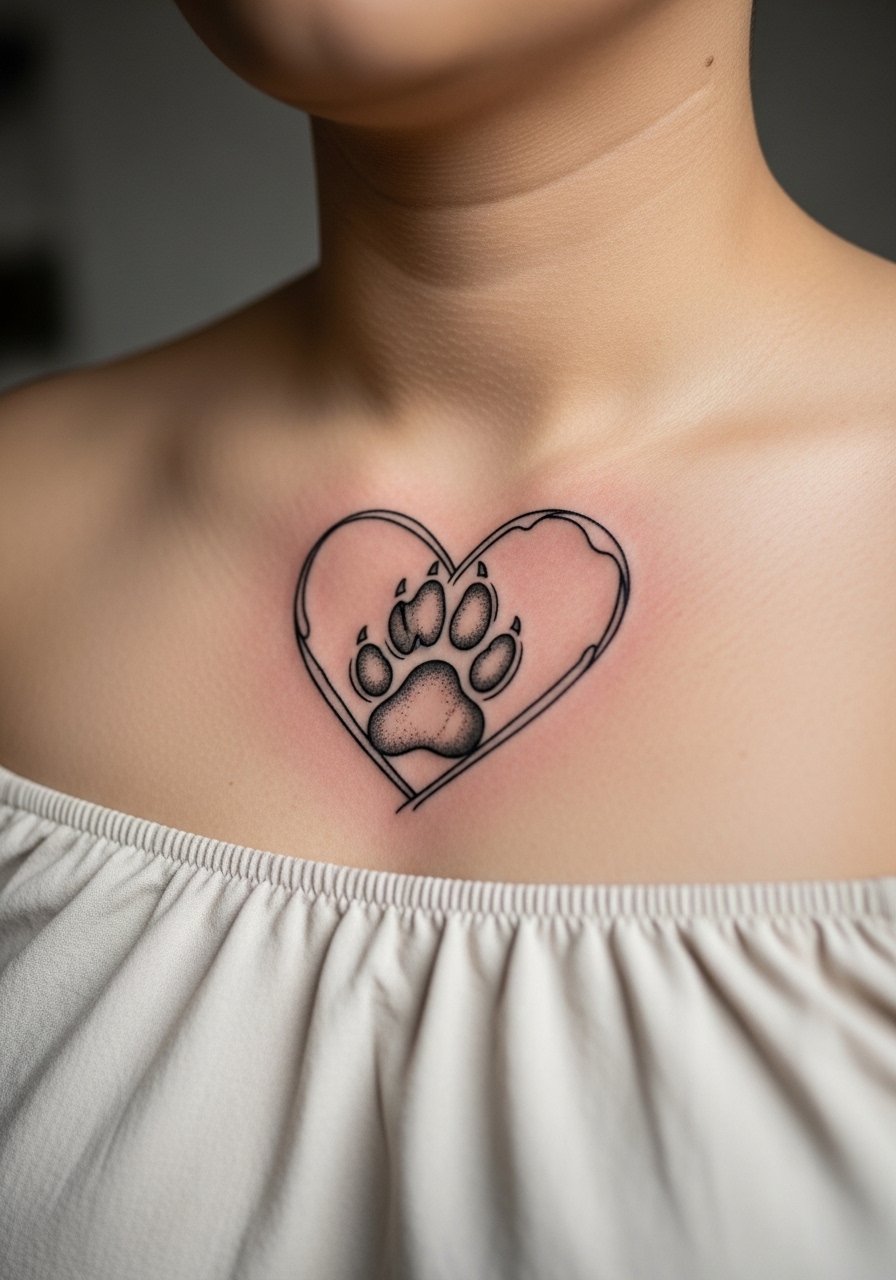
Collarbone pieces look delicate but they need confident line weight to age well against shoulder movement. Ask for a three inch scale so the heart pad keeps its silhouette as the skin settles. Expect a single session under 90 minutes and plan to avoid heavy necklaces during the first two weeks. If you prefer a low profile reveal, wear an off shoulder blouse or a deep V neck tee to frame the lines without hiding them. A common mistake is asking for ultra-thin lines that blur into the collar shadow over time.
4. Micro-realism cat paw with claw detail on the ankle

Ankle skin moves and rubs against socks and shoes, so dense saturation and simple claw suggestion are what hold up. This style suits people who want texture in a compact design. Session time is usually under an hour, and dry healing during autumn or winter reduces chafing risk. A common error is requesting fine stipple at the edge where shoes rub, which eats detail quickly. For summer show-off, pair the ankle with cuffed ankle jeans or sandals so the piece reads clean in motion.
5. Trail of pads leading into a name banner on the calf
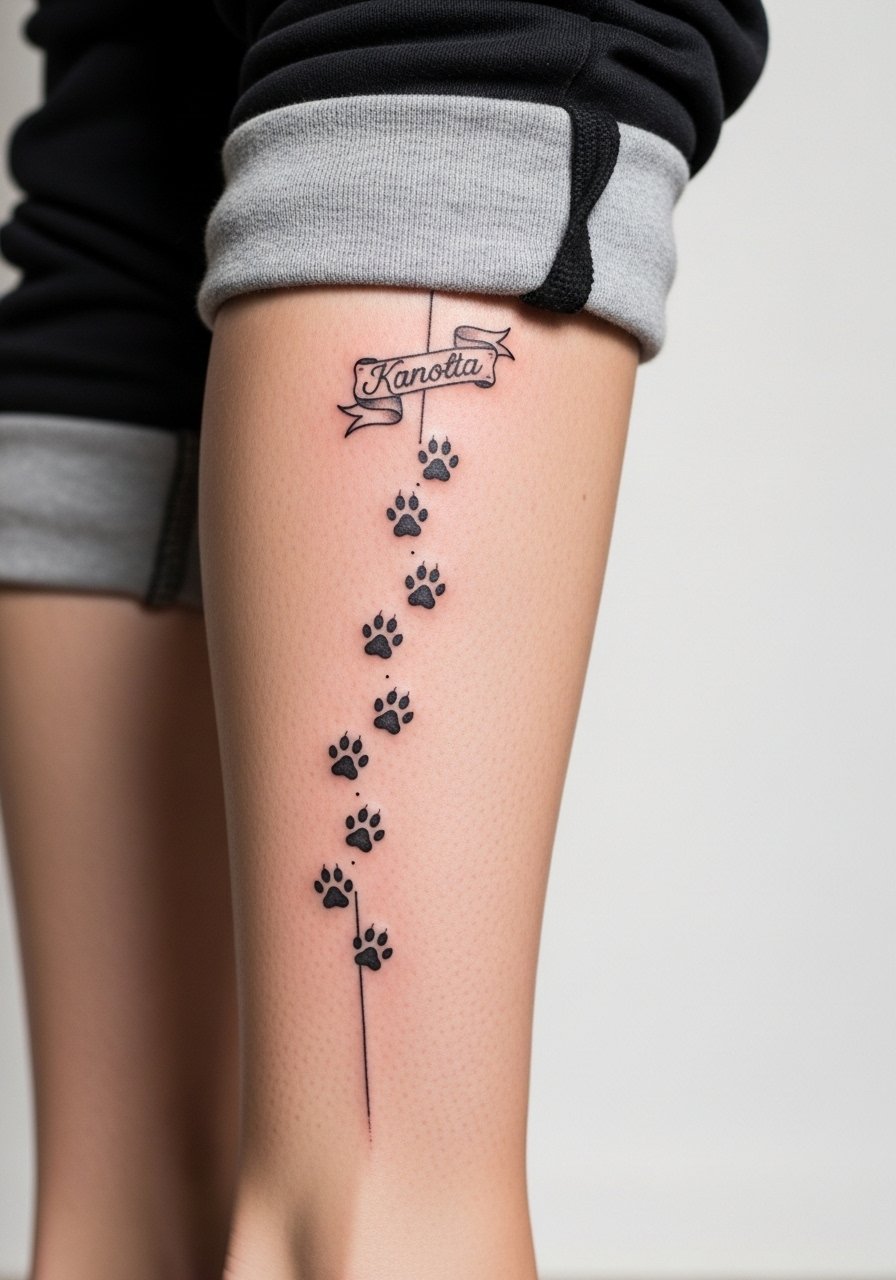
Calf work is forgiving for motion and scale, which makes it ideal for a narrative trail that ends in a name or date. Ask for slight spacing between each pad to preserve the trail over years, and advise the artist you want the banner in a bold clear type to prevent letter blurring. This piece can take one to two sessions if the banner is long. For session comfort bring loose joggers and be ready to flex your calf minimally. Showing it off pairs nicely with rolled cuff joggers that sit just below the trail.
6. Bold pad with integrated bone motif on the shoulder
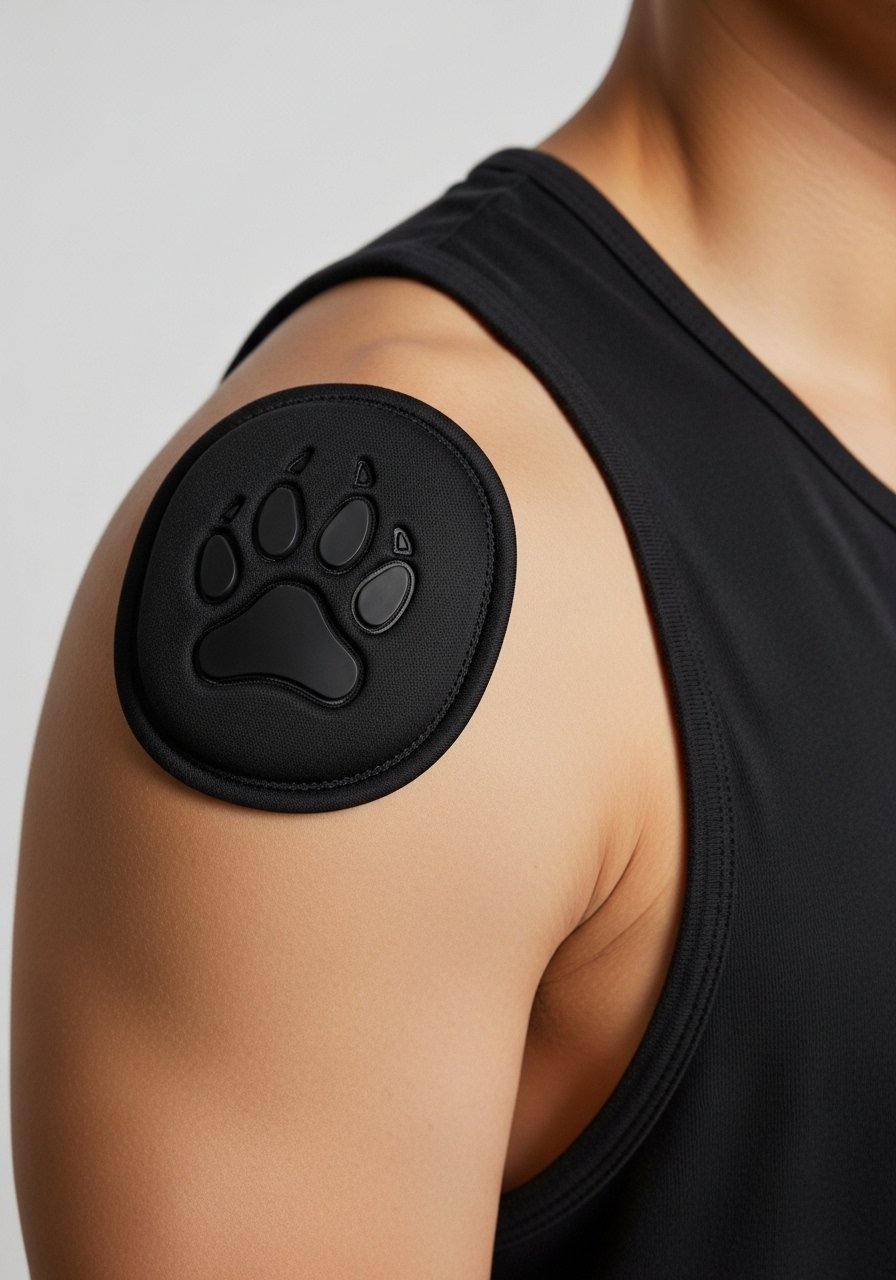
Shoulder pieces tolerate saturated blackwork well and sit clean under tank tops. The bone motif gives an anatomical edge, but ask the artist to separate the bone silhouette from the pad with a negative-space halo to avoid merging as the skin stretches. Sessions are often a single focused hour for a three inch piece. Wear a sleeveless muscle tank to the studio for easy access and minimal fabric interference. A common mistake is too much internal texture that reads muddied after healing.
Studio Day Picks
The forearm, wrist, collarbone, ankle, calf and shoulder designs above each ask for different prep and small kit items to smooth the session and the first week of healing.
-
Tea tree salve from indie brands. Lightweight salves can calm itch without the greasy film that traps moisture, useful for ankle and wrist pieces prone to friction.
-
Australian quick-absorb aftercare gel. Works well in humid climates to reduce the gooey stage on calf and forearm sessions that catch sweat.
-
Rice bran oil balm. A thin balm option that avoids leaving a white cast on medium and dark skin tones during the early healing days.
-
Small-batch manuka balm. Good for spots that see friction like the ankle and shoulder, it soothes without heavy pore clogging.
-
Hustle Butter Deluxe. Thinner than typical ointments, it helps keep dense blackwork saturated in the first week without the thick residue some people complain about.
7. Geometric mandala pad centered on the upper back
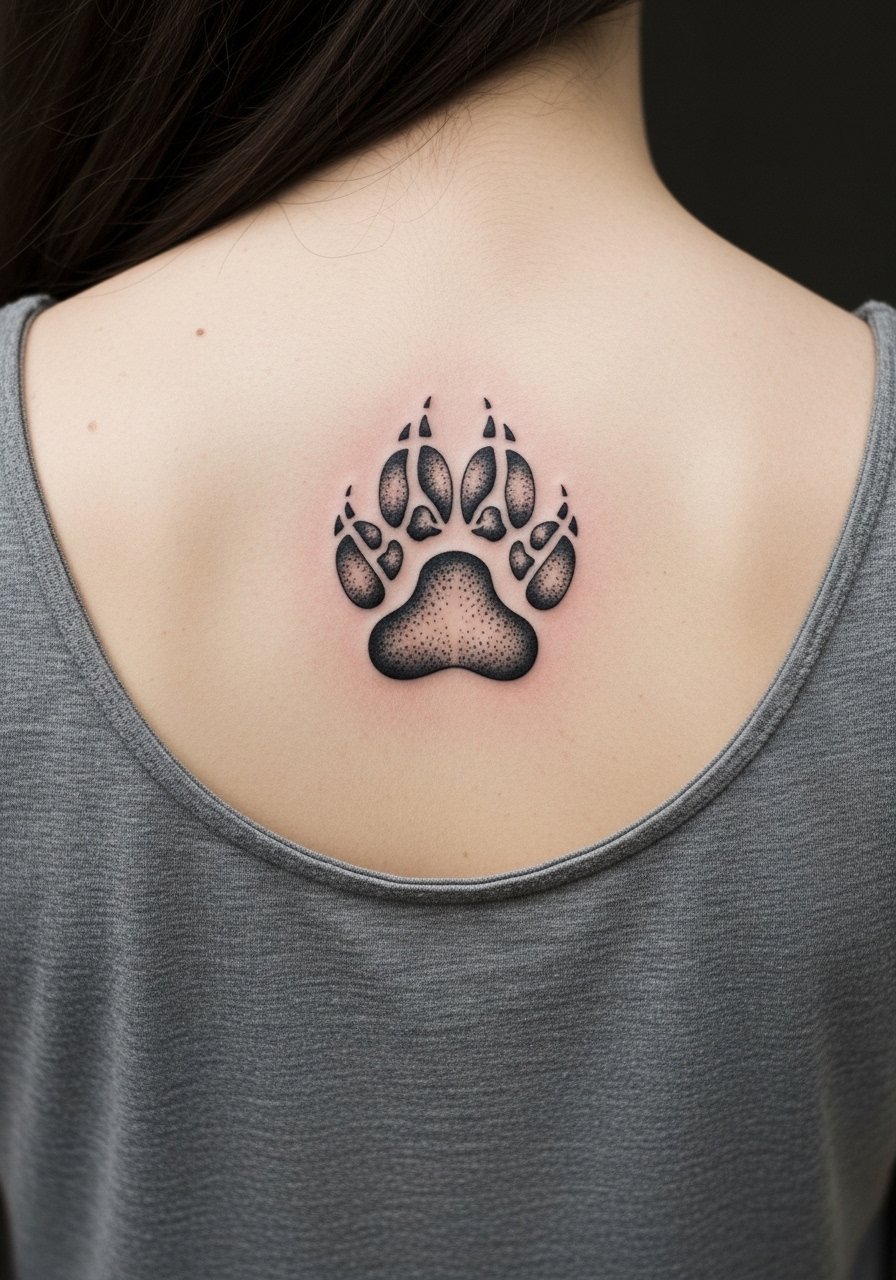
Large back pieces let mandala structures breathe, which is exactly what preserves detail. If you want meditative symmetry, ask for alternating layer widths so the dense zones do not merge as the skin relaxes. This is a two to three hour piece depending on diameter. A common mistake is compressing the mandala into a small area where fine radial lines blur. For session wear bring a button-down you can slip off or pull aside. Also consider that mandala elements can be built over years into a full back composition.
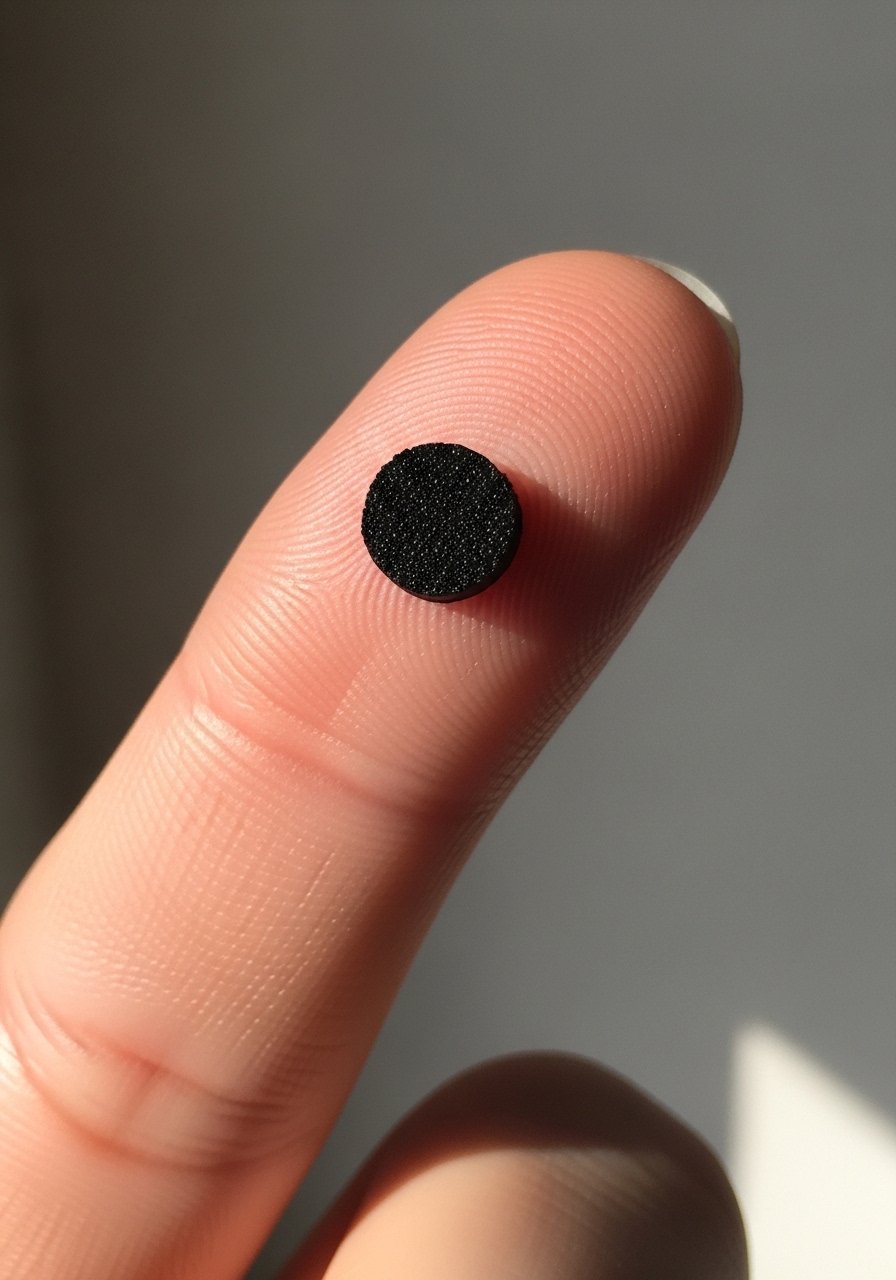
8. Single-line continuous pad on the finger
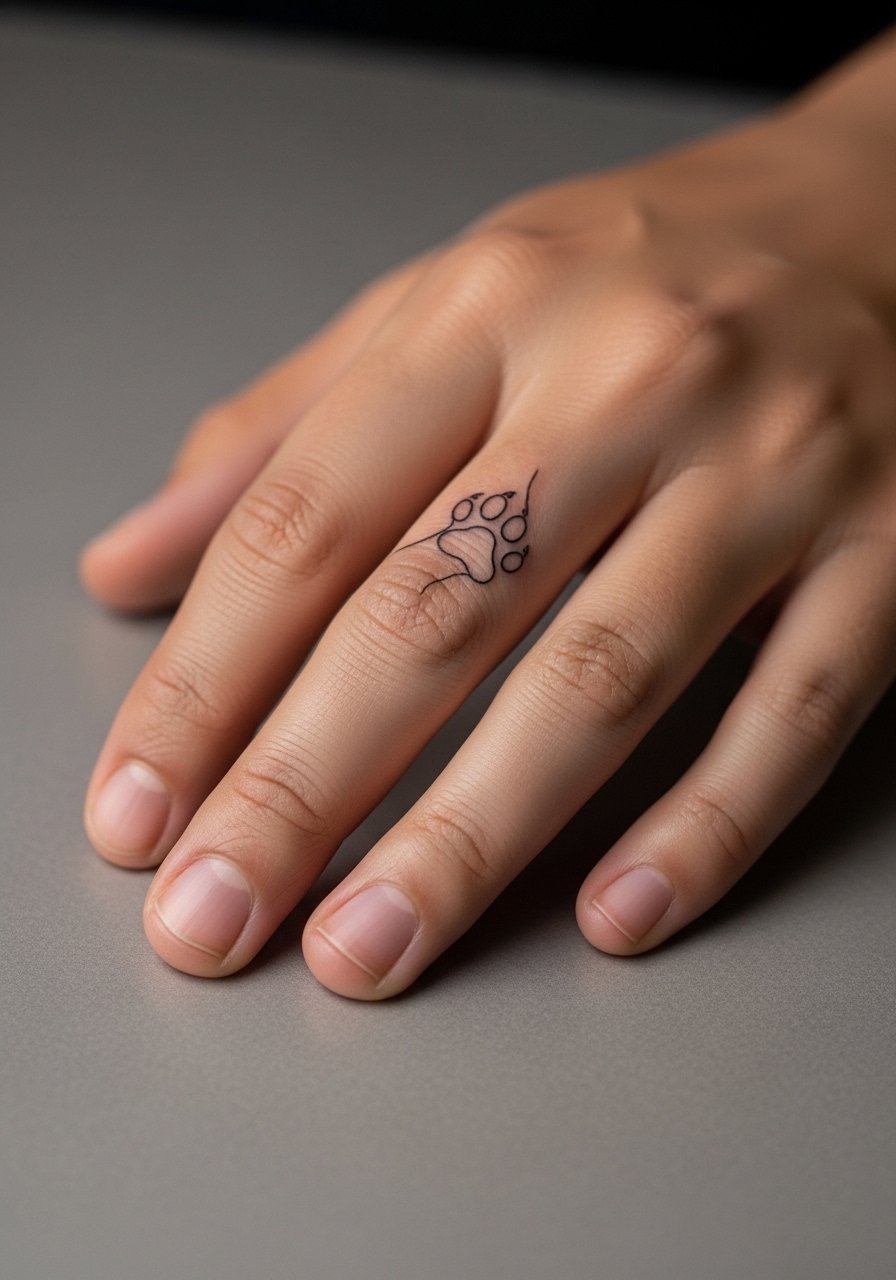
Finger skin is thin and mobile, so single-line designs demand bold execution or they fade fast. I usually recommend a slightly thicker single stroke and expect touch-ups at one year. The session is short but painful, since bone proximity is high. Avoid tiny inner detail that disappears, and plan for a protective routine during handwashing weeks. If you want to style around it, a minimalist wrist cuff on the opposite wrist keeps attention balanced without crowding the finger.
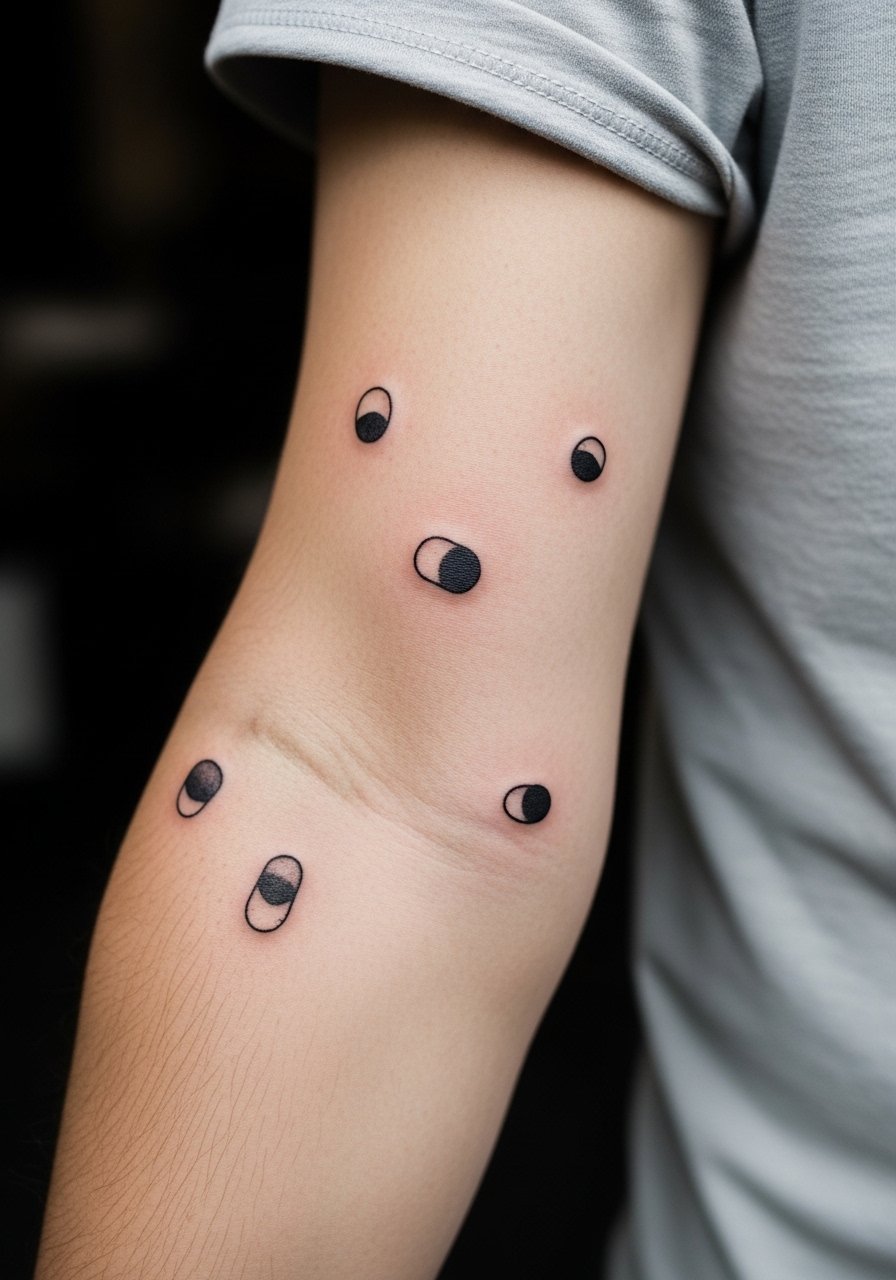
9. Constellation dotwork pad on the inner bicep

Inner bicep provides shelter from sun exposure so dotwork holds better there than on outer limbs. Ask the artist for varied dot size and moderate spacing so the pattern keeps texture at three and five years healed. Pain is moderate and sessions are usually under 90 minutes for a two to three inch design. Artists split on dry healing versus protective film for dotwork. One camp prefers breathable dry healing to avoid trapped moisture, and the other favors protective film for active lifestyles. Ask your artist what they use on dotwork and why.
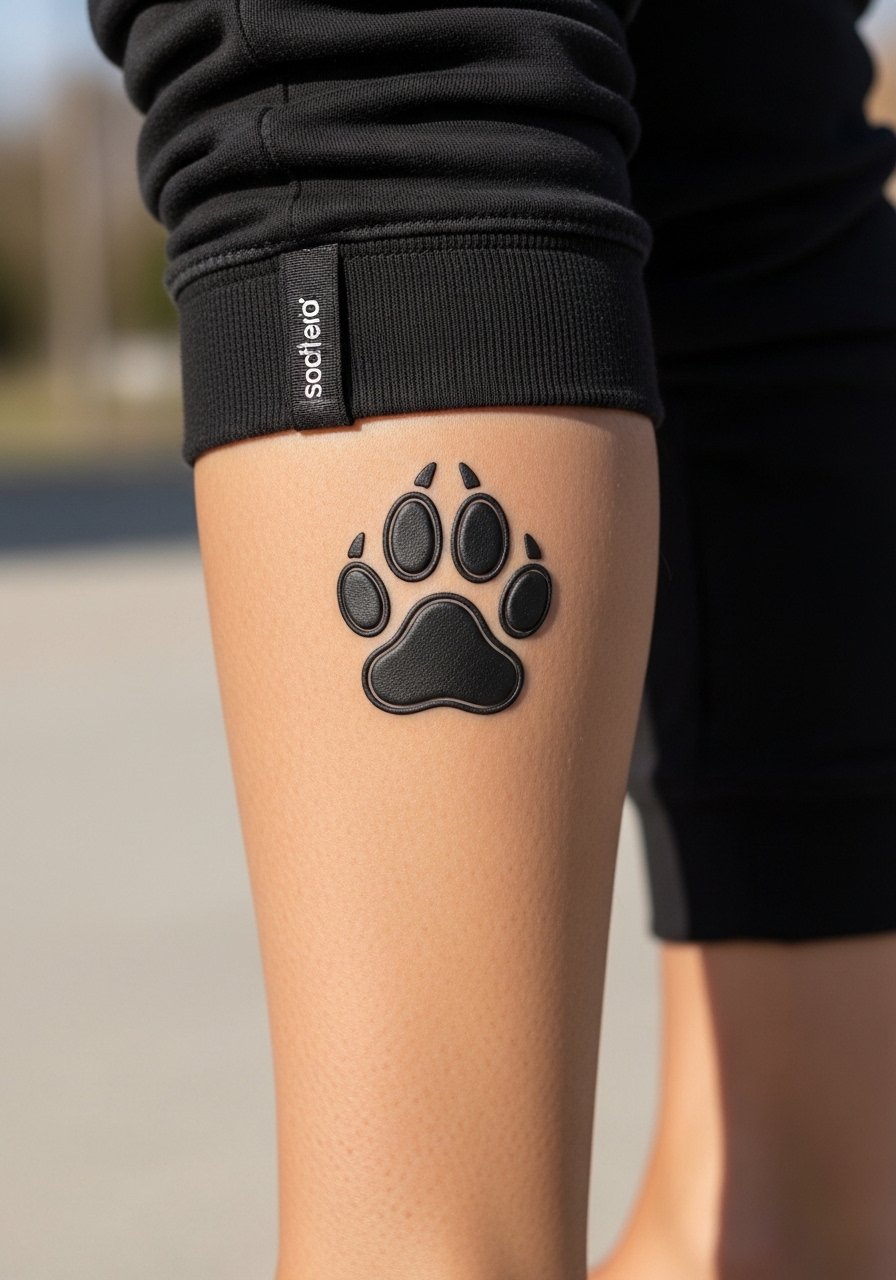
10. Oversized wolf pad for thigh placement
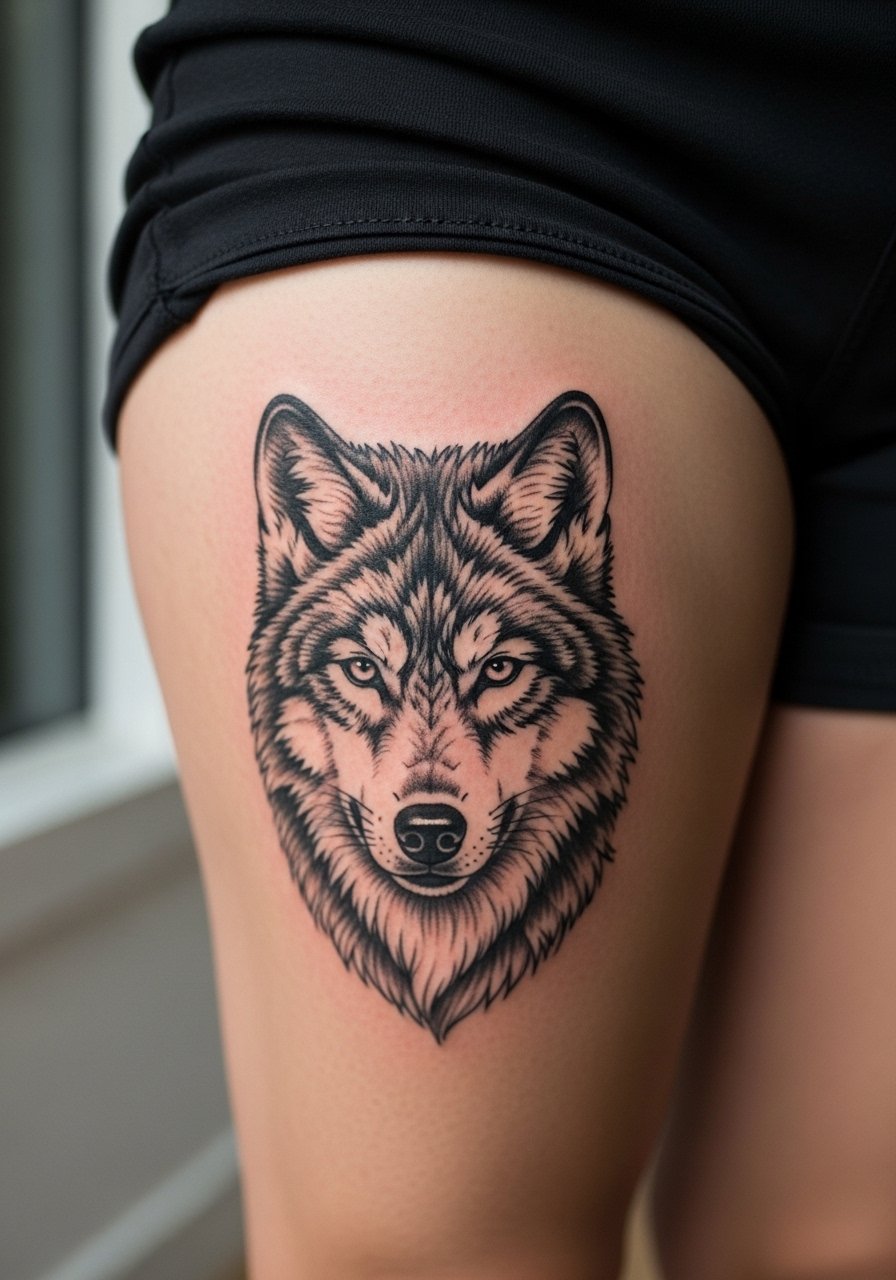
Thigh canvases are forgiving and great for collectors who want dramatic scale. This oversized pad gives primal symbolism while leaving room for later sleeve additions. Thick black fills age well here, but avoid dense interior stippling where the thigh rubs against clothing. Sessions take two to four hours depending on complexity. Wear loose shorts for the session so the artist can adjust leg position easily. If you plan weight fluctuations, discuss placement slightly off the flex lines to reduce distortion over time.
11. Wave-pattern pad along the ribcage
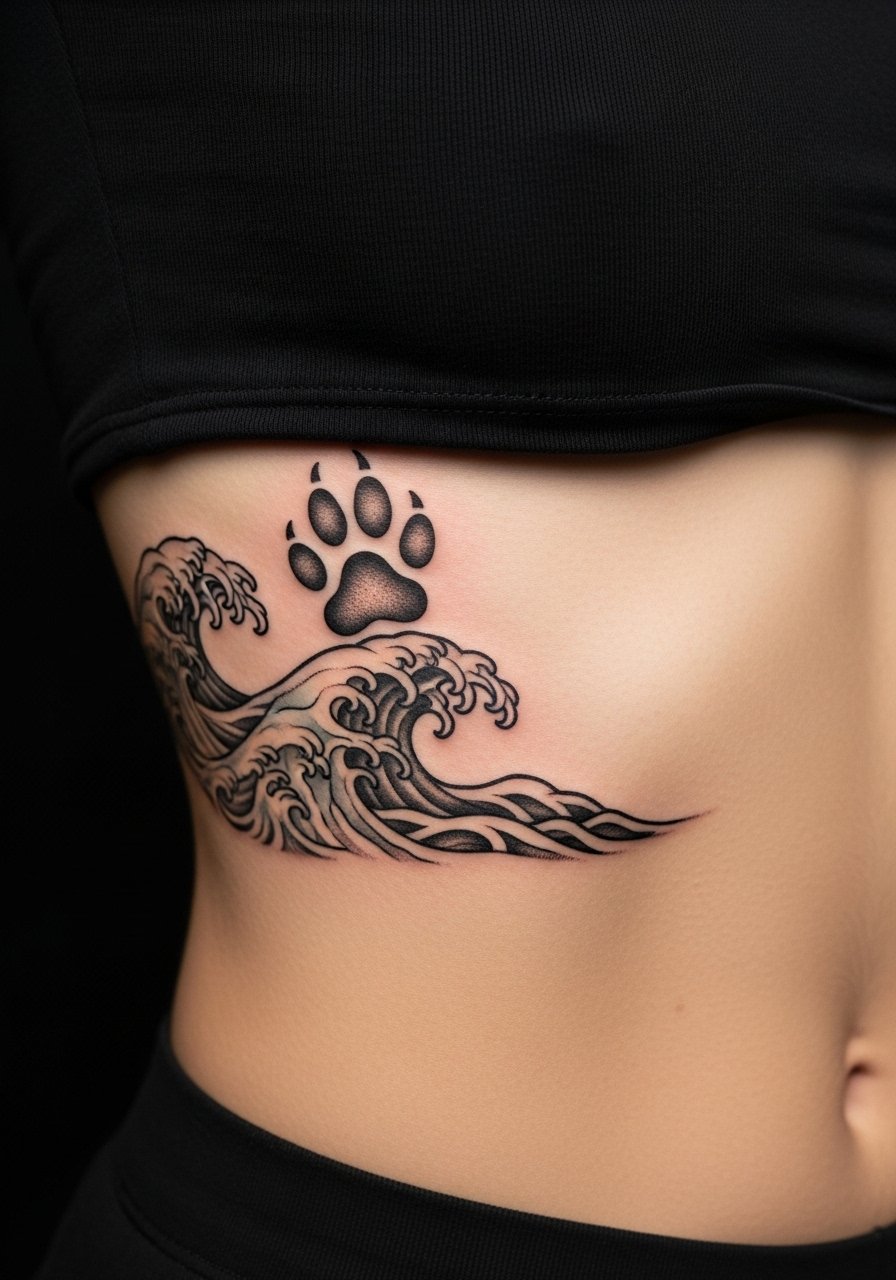
Ribs are high on the pain chart but excellent for elongated motion-based designs. Wave motifs layered inside a pad read beautifully when they have negative space between each crest. Most artists warn that tiny compact details on ribs lose clarity faster. Sessions are commonly split into shorter appointments to manage pain. Many clients choose numbing for rib sessions but opinions differ about that practice. If you need session wear, a fitted sports bra that can be shifted slightly gives access while keeping you comfortable.
12. Tiny black pad cluster behind the ear
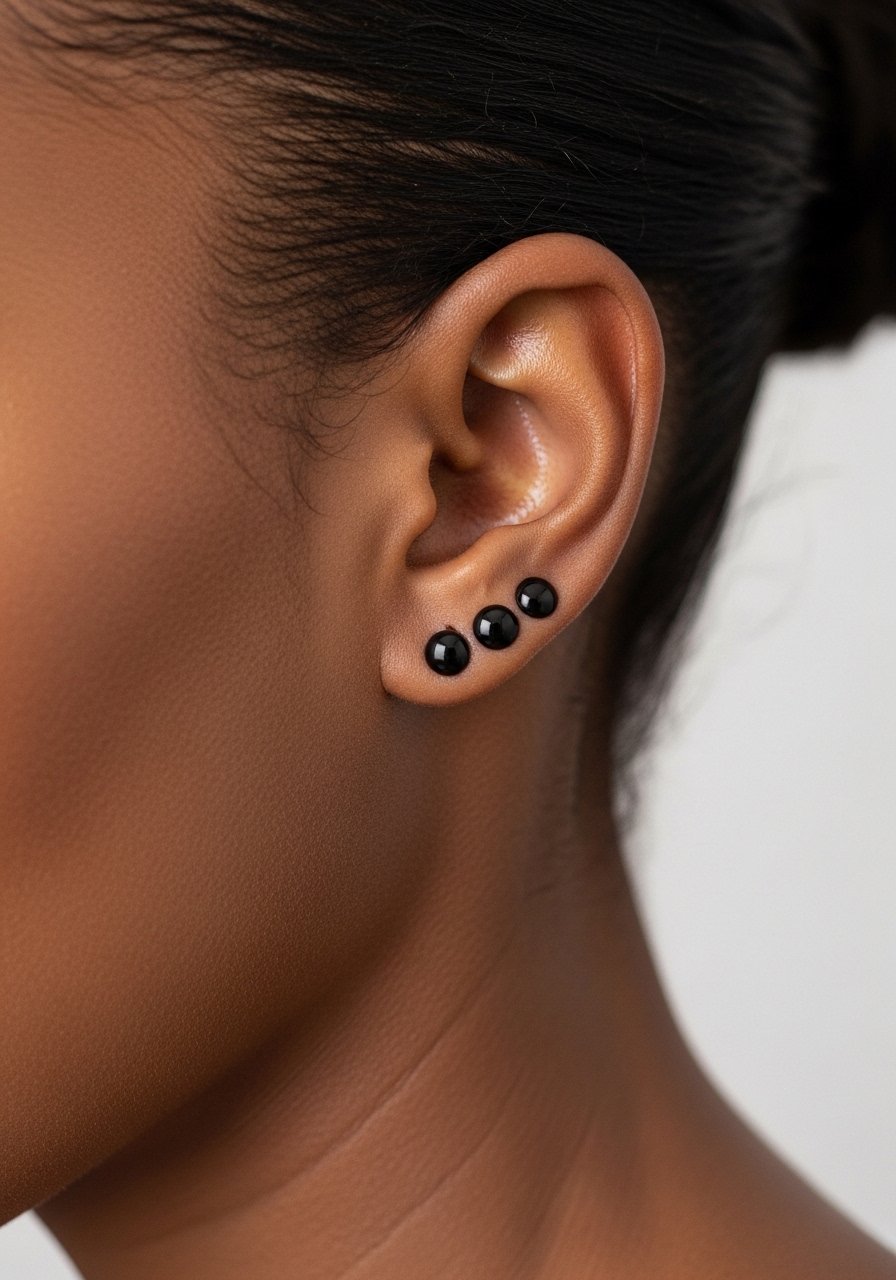
Behind-ear placements are discreet and heal fast due to limited friction, but the skin is thin and detail must be chunky enough to survive. I suggest 0.75 to one inch scale for each pad so they do not vanish after a year. Sessions are quick, under 30 minutes, and often require a single touch-up. Wear hair pinned up during the appointment to let the artist work without snagging. A mistake I see is requesting ultra-fine dot shading there, which fades into an indistinct smudge on many skin types.
13. Arrow-fused pad on the forearm for directional symbolism
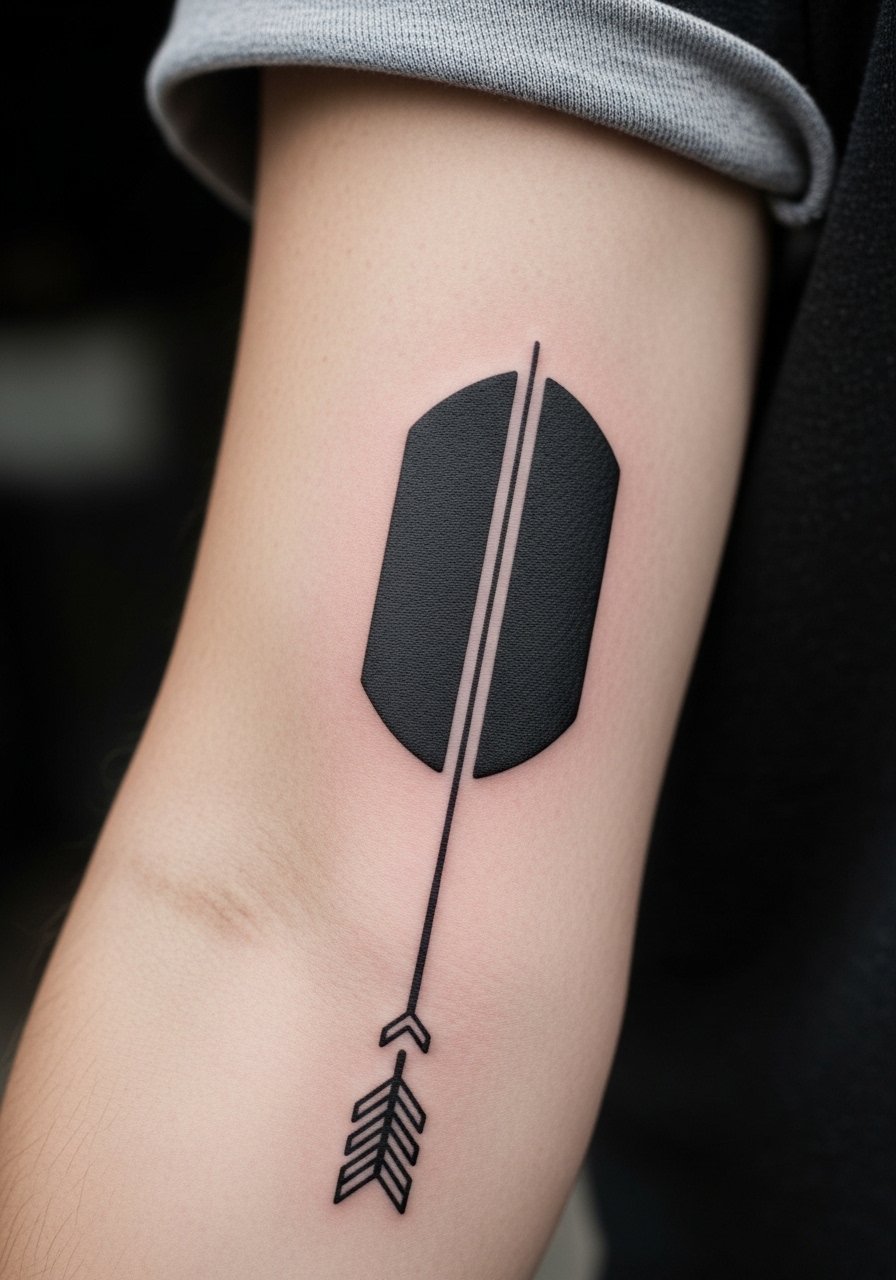
Forearm directional pieces are great when you want movement without a long trail. Tell your artist you want the arrow shaft to be thicker than a hairline so it retains its shape as the arm flexes. Expect a one hour session for a three inch design and a touch-up window at six to twelve months if you wash hands frequently. For showing it off, pair with a loose fit tank top or a short-sleeve button shirt with sleeves rolled to mid-bicep so the arrow reads unbroken.
14. Blackwork pad with constellation and tiny stars on the inner wrist
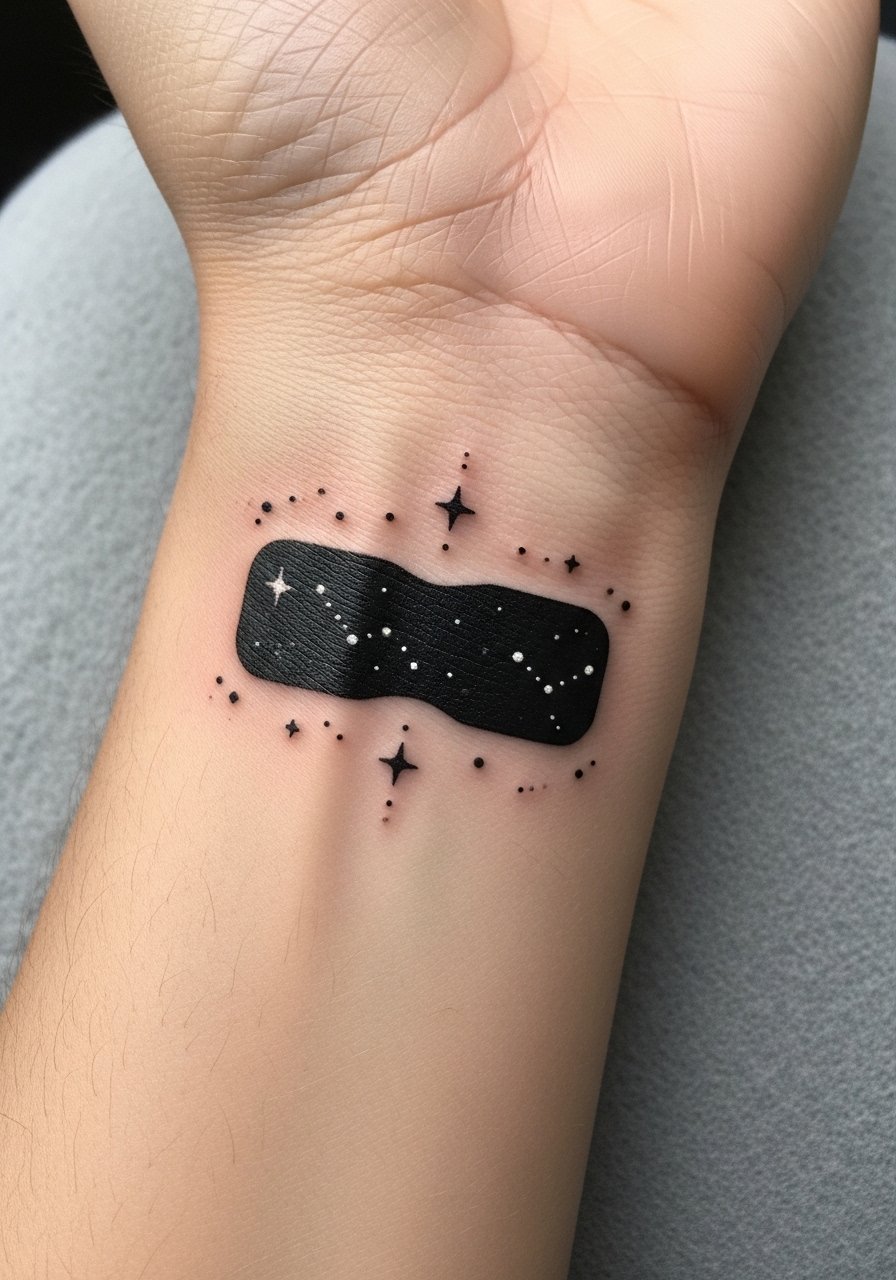
Inner wrist placements are exposed to sun and friction, so constellation dots should be spaced and supported with strong outer linework. Ask for bolder outer contours and micro-dot halos rather than packed stipple. Sessions are short but painful for some because of tendon proximity. A realistic touch-up schedule is one year for wrist designs. Style it with a slim leather watch on the opposite wrist so the inner wrist piece keeps the eye.
15. Layered pads that build into an animal silhouette over time
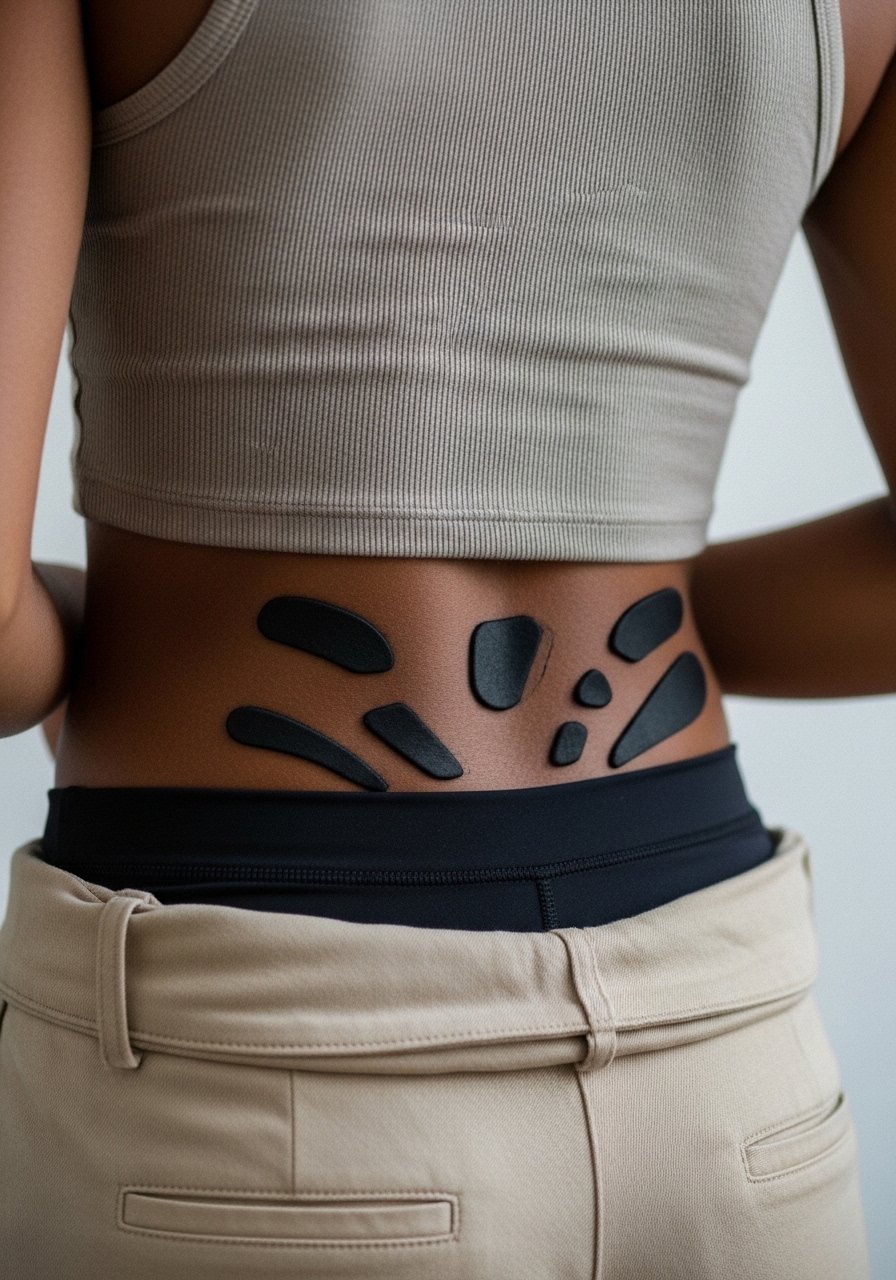
This staged approach is for people who want to grow a piece over years. Start with isolated pads and plan placement so later fills connect cleanly into an outline. Discuss long-term scale with your artist during the first consult, and expect touch-ups as you add components. Session lengths vary with each build stage but initial pads are quick. Be mindful of clothing that might rub the lower back while healing. If you plan to expand, map out three appointments across a two year window.
16. Bold pad with negative-space mandala on the shoulder blade

Shoulder blade pieces sit nicely under sleeveless tops and allow more intricate negative-space work than shoulder caps. Ask for alternating thick and thin bands so the negative space remains readable as the skin ages. This piece often finishes in a single two hour session. Avoid cramming tiny filigree into the center or it will soften. For showing it off choose an open back dress or tank that reveals the pattern without competing fabric.
17. Solid pad with textured stipple around the edge on the calf

Calf work tolerates heavier stippling because there is less daily shear than hands or ankles. Use a stipple halo to give the pad a soft transition to skin without sacrificing the silhouette. Sessions usually run 60 to 90 minutes. The main risk is tightly packed stipple that can blend into solid areas over years, so ask for graduated dot density. For casual wear style with bootcut athletic pants rolled slightly to highlight the halo.
18. Minimal black pad inside the finger crease
Crease placements take heavy wear from hand use and need dense fill to remain visible. Expect a short but uncomfortable session and plan for at least one touch-up in the first year. Tell your artist you accept the maintenance trade-off when choosing this spot. A realistic timeline is six to twelve months for a follow-up. Keep in mind many people switch to adjacent spots like the outer finger where friction is lower if they want less upkeep.
19. Ornamental pad framed in dot work on the sternum
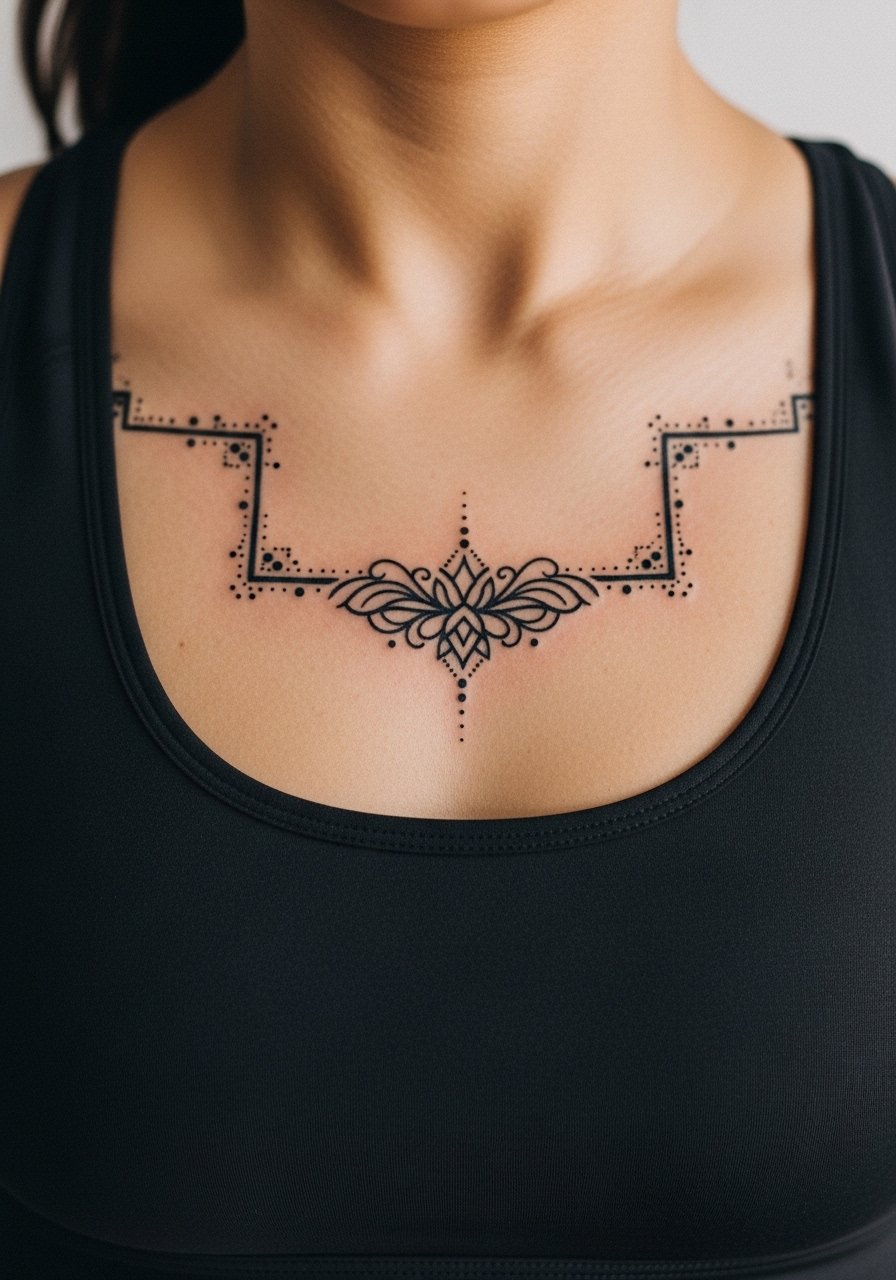
Sternum placements are intimate and hurt more than arm locations, but the central canvas suits ornamental framing that reads well under tops. Ask for clear spacing between the pad and dotwork so the sternum movement does not collapse the pattern. Sessions are often done in shorter passes to manage discomfort. Wear a strapless or fitted sports bra to the studio for access. If you work in an environment with conservative dress codes, think about reveal frequency before booking.
20. Wave-fused pad for coastal or surfer aesthetics on the rib side
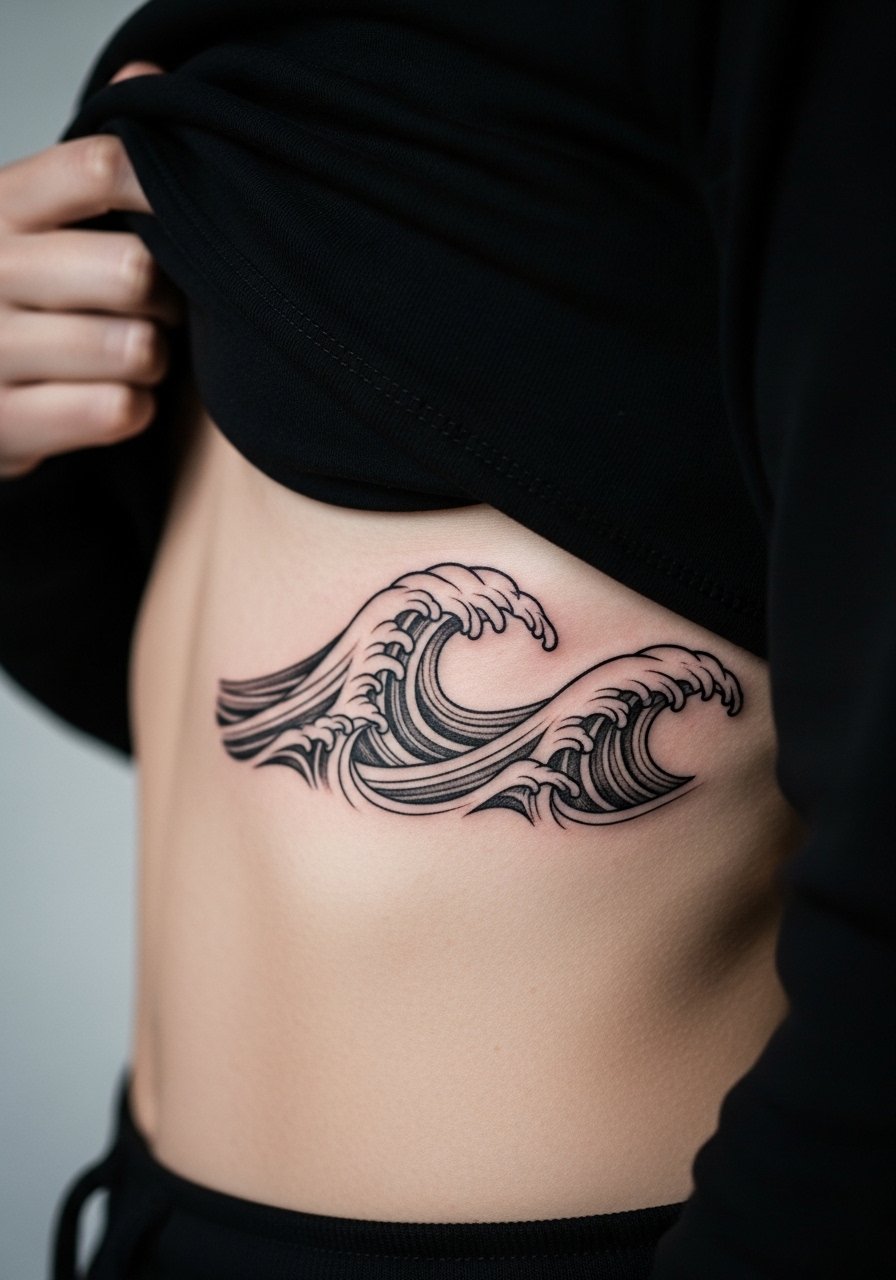
This oceanic fusion works best slightly larger than it looks on a phone screen. Ask for pronounced line weight in the wave peaks so they do not blur into the pad over time. Ribs are a high movement spot, so plan shorter sessions. Artists disagree about wrapping ribs in protective film versus dry healing for wave work. Bring this up during consultation and follow the artist's plan for the best outcome.
21. Neo-traditional pad trail ending with a small banner on the forearm

Neo-traditional line weight helps banners hold letterforms cleanly. For forearm trails keep pads spaced and the banner type simple so aging favors legibility. Sessions may be split if the trail runs long. One mistake is over-stylized script in narrow banners, which blurs into a dark stripe with time. For session wear choose a loose button-down shirt you can pull aside for clean access.
22. Wolf pad with negative space fur texture on the thigh

Negative-space fur texture reads well on fleshy surfaces like the thigh when you leave clear gaps between strokes. This approach avoids dense packing that can steam into blobs. Sessions are medium length and often need one touch-up when the piece is large. Avoid tiny hair strokes in the center where rubbing occurs. Thigh sizing also opens the option to conceal or reveal with high-waisted shorts and skirts.
23. Micro pad with tiny banner under the collar on the neck-side

Neck-side placements are visible and need bold outlines to stay legible. Micro banners here should be very short; long text loses clarity. Sessions are quick and often a bit sharp in sensation. If career considerations matter, factor in visibility. A wide-neck shirt that can be adjusted for photos or events helps balance concealment and reveal.
24. Patchwork micro pads for sleeve fillers
Micro pads make fantastic negative spaces and connection points for patchwork sleeves. They are quick to place and can be built into larger motifs. Tell your artist you want consistent dot density and spacing so each filler ages uniformly. Plan for frequent short sessions to integrate them smoothly. For session wear choose a loose fit tank top so the artist can access the whole sleeve without fabric tugging.
25. UV-reactive highlight inside a black pad for night glow
UV-reactive accents are niche and best used sparingly inside bold black fills. They read nearly invisible in daylight and glow under black light, which makes them a privacy-friendly option. Not all studios offer this ink, so ask about availability and patch testing. Sessions add a little time for placement precision. UV work requires maintenance if you expect bright neon effects long term.
26. Scaled pad to match actual pet paw size on the calf or thigh
Matching pad size to the real animal is a thoughtful personalization that avoids generic miniaturization. Bring a clear photo to consultation and ask the artist to trace key proportions, then scale slightly larger so detail survives. This technique works well on calf and thigh where there is room. Sessions depend on size but start with one appointment for layout and adjustment. A common error is insisting on a tiny exact copy that becomes unrecognizable after healing.
27. Layered pads designed to build into an animal silhouette for a hidden family piece on the thigh

Thigh placements allow hidden family configurations that are easy to conceal or reveal. Start with discrete pads planned along a silhouette path and discuss expansion lanes with your artist so later fills connect cleanly. Sessions are flexible and can be scheduled over months or years. If you want it private, place elements slightly higher on the thigh where clothing offers daily coverage. Keep in mind stretch zones and place outline nodes where fabric contact is minimal.
Frequently Asked Questions
Q: How do blackwork pads age on darker skin compared with lighter skin?
A: From what I've seen, dense black saturation and clear negative space help pads read on darker tones. Ask your artist to test contrast using a temporary transfer and to prioritize clear separations rather than micro shading. Plan for touch-ups if you want crisp edges at year two and beyond.
Q: Is a fine line pad a bad idea for wrist or finger placements?
A: Fine line can be elegant, but on wrists and fingers it often blurs faster than bolder work. If you like the delicate look, ask for slightly increased line weight and expect a touch-up at six to twelve months. For less maintenance choose thicker outlines or a tiny filled pad instead.
Q: Artists disagree on Saniderm versus dry healing. Which approach suits blackwork pads best?
A: Both camps have valid points. Some artists use protective film for active lifestyles to prevent picking, while others prefer dry healing to avoid trapped moisture. Discuss your typical activity level with your artist and follow their process, because consistency during the first week matters more than the product name.
Q: How can I plan a multi-pet trail so it does not merge into a single blob over time?
A: Space is the key. Ask your artist to stagger pad sizes and leave breathing room between elements. Slight variations in scale and orientation make each pad read separately as the skin ages. Mapping the trail across placements with a stencil preview helps you visualize the long-term composition.
Q: What should I wear to a studio for a rib or sternum pad session?
A: Bring a fitted sports bra or a cropped top you can move aside so the artist has clean access while you stay covered. Comfortable, adjustable clothing reduces time spent readjusting and keeps the stencil placement accurate.
