
Fresh blackwork that looks flawless on day one can reveal its true score after months of wear: ink peeking through, packed centers losing contrast on deeper tones, and sessions stalled by flaky scheduling. Those problems are fixable with the right design and a mapped plan that puts the darkest packed areas directly over old lines. Below are 17 blackwork cover up tattoo ideas that actually work, plus what to ask for in the chair.
1. Blackout Sleeve Cover-Up

A blackout sleeve is the blunt instrument that works when a full arm is scarred by color or dense script. I recommend this when the old art is large and layered, because a packed black field buries multiple colors at once. Tell your artist to map the darkest packed areas over the original darkest ink before you start so they know where to sit heavier. Expect multiple long sessions and heavier soreness than a single-session piece. The common mistake is trying to do a blackout in one marathon without breaks, which risks excess swelling and a patchy finish. For showing it off, an off shoulder crop top or a sleeveless muscle tank frames the negative space and keeps the arm visible.
2. Sunflower Center Blackwork Cover
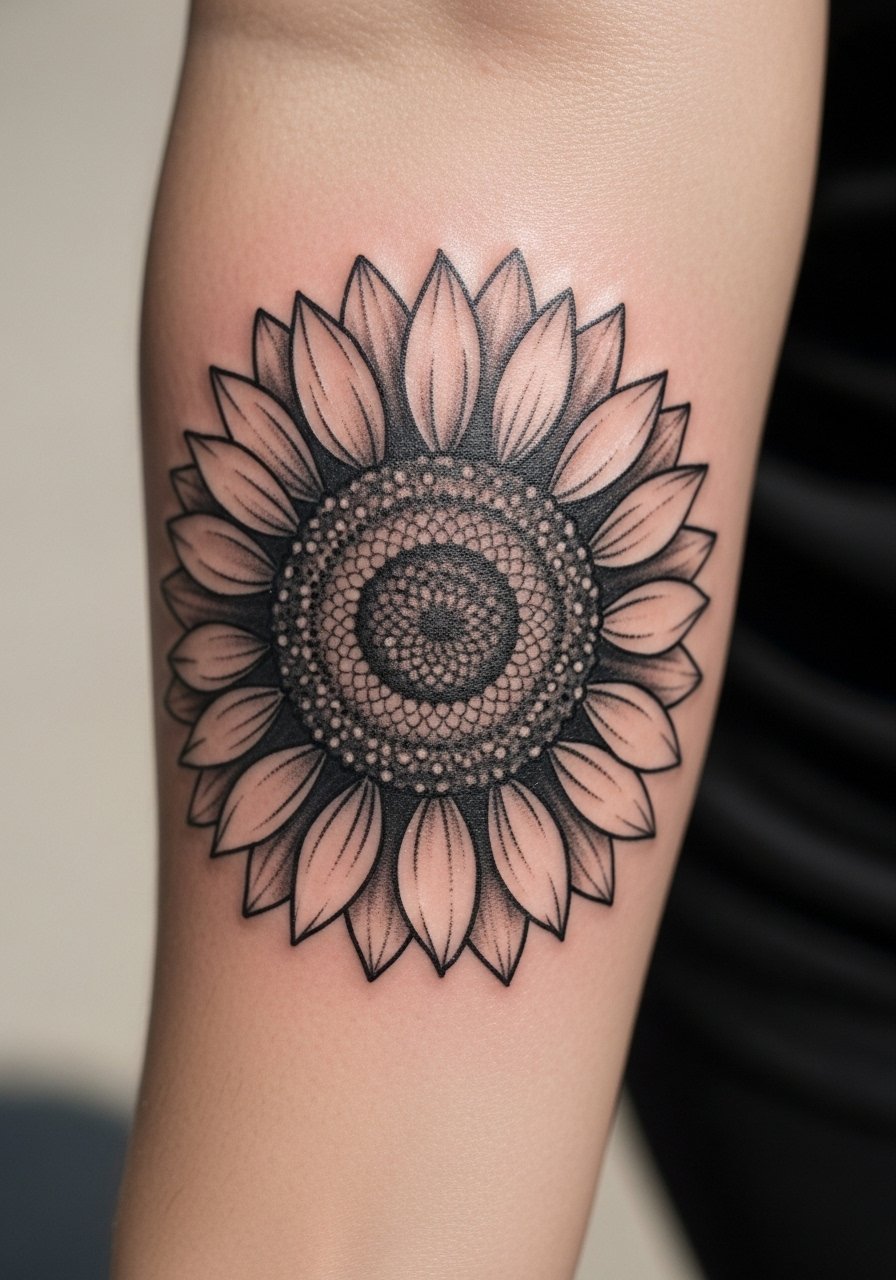
Sunflowers are useful because the dark packed center is an obvious hiding place for old names or small images. Ask for the center to be saturated and for petals to be layered to create density that reads at a distance. Forearm placement is accessible and photographs well, but inner forearm versions can stretch with body changes. A common failure is using light gray washes in the petals over old dark ink, which can reveal the original lines later. The session feels like mid-level pain with short breaks between passes. Pair this with a rolled-sleeve fitted black tee when you want people to see the work, and wear a loose tank top to your appointment so the artist has clean access.
3. Neo-Traditional Animal Cover-Up
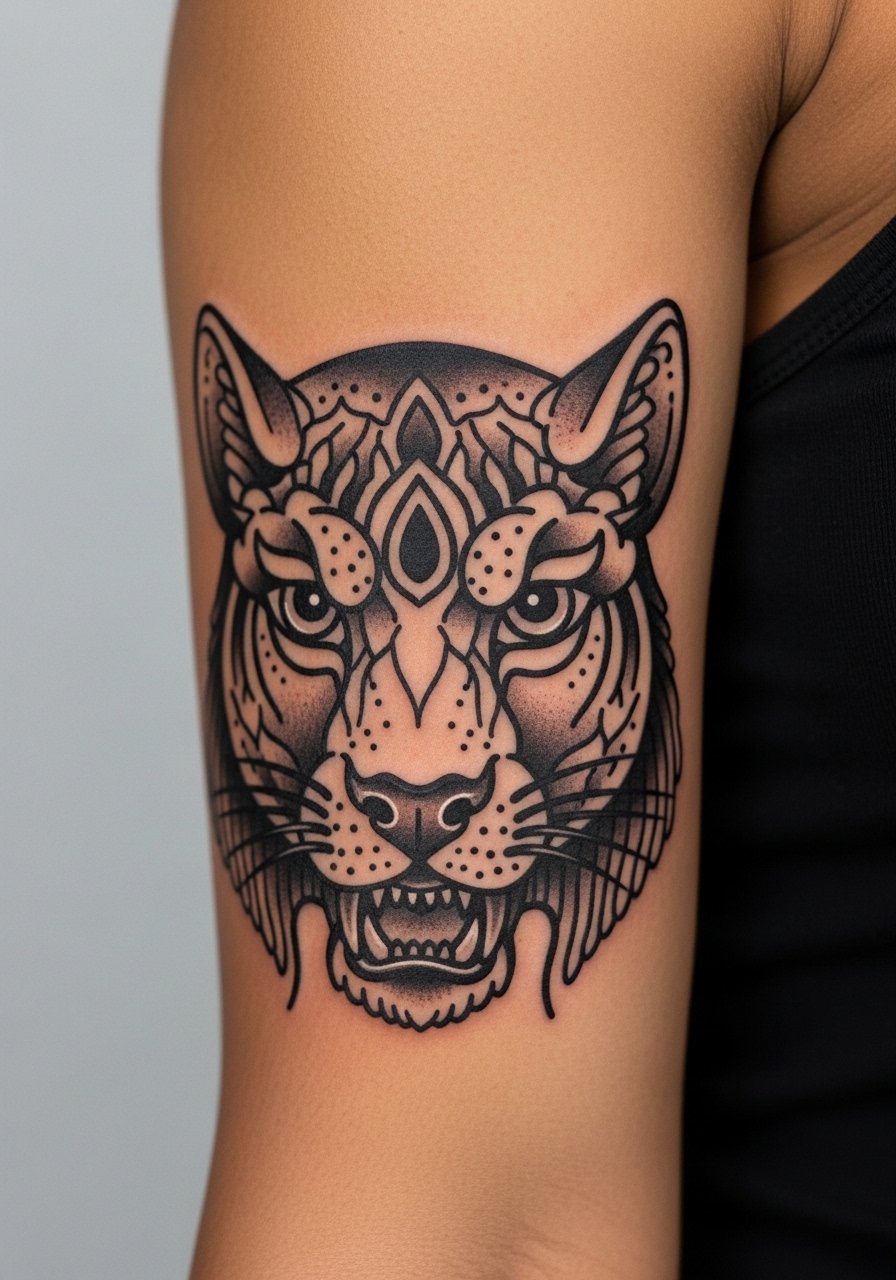
Neo-traditional animals are excellent for mid-sized upper arm cover-ups because heavy outlines and controlled shading mask old forms without looking forced. During consultation, bring photos of the specific snout or fur texture you like and ask the artist to place the darkest saturation over the prior darkest lines. The typical mistake is shrinking the piece to fit the reference exactly, which leaves old lines exposed. Upper arm work tolerates touch-ups well, and most people need a touch-up within two to three years depending on sun exposure. Expect moderate pain and a few sessions for layered shading.
4. Tribal Pattern Forearm Wrap
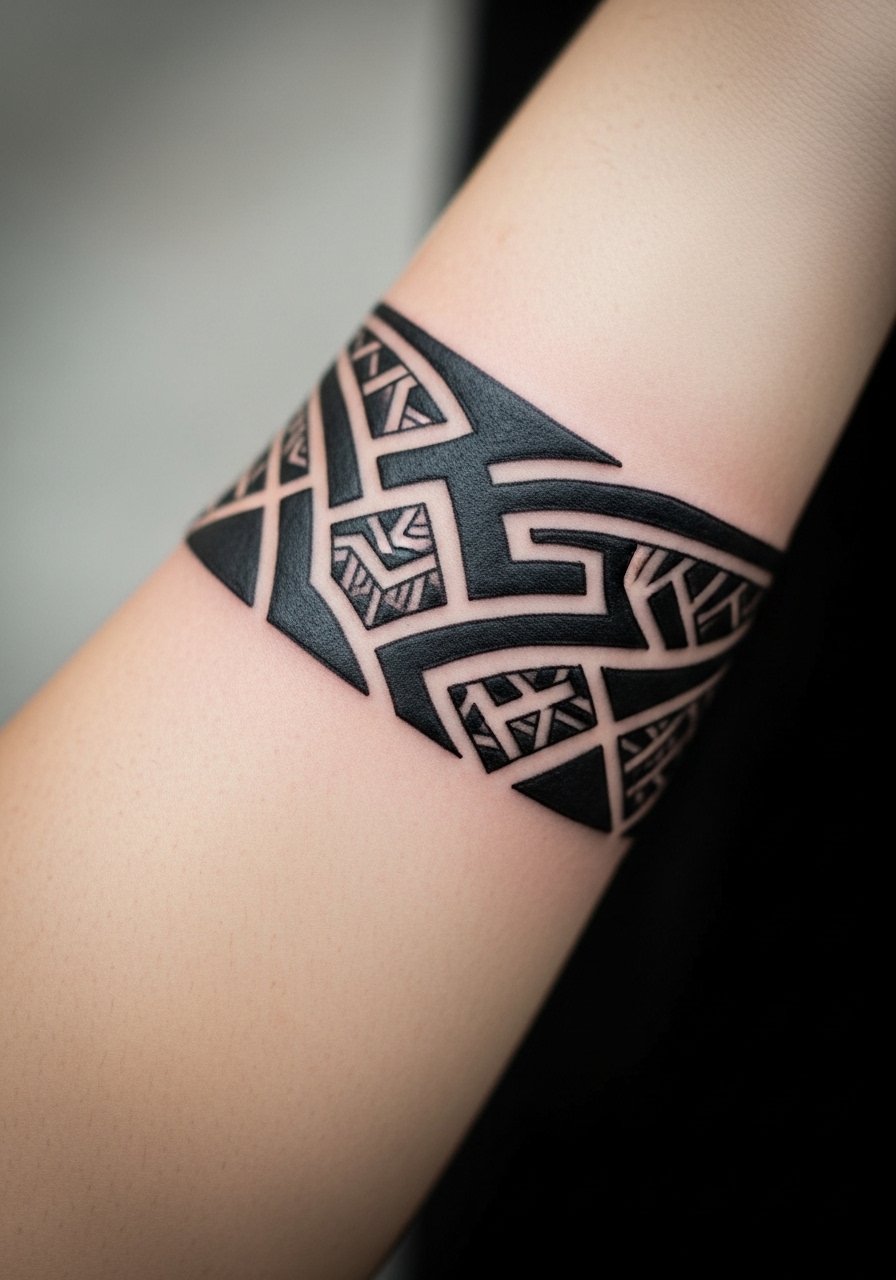
Thick tribal bands are practical when covering long script or linear tattoos along the forearm. The geometry means you can route a thick black over an old name and still maintain flow. In the chair, ask the artist to create a density map so packed lines fall over the darkest portions of the previous ink. Avoid asking for extremely thin tribal lines because they age into fuzz; the strength is in heavier packing. Forearm wraps can distort if you later change muscle mass, so consider the outer forearm for stretch resistance. Show this off with rolled sleeves and a leather cuff bracelet.
5. Ornamental Mandala Chest Cover-Up

Mandala work on the chest reads dense and decorative, which makes it ideal for layered color fade or scattered script across the sternum. Specify that the heaviest black be positioned over the old ink and ask for stipple shading to transition edges. A frequent error is over-detailing too small on the chest, which fills in over years. Chest skin moves with breathing and can shear, so expect a few touch-ups after the first year. For session wear, a wide-neck top you can pull aside keeps coverage modest and access clean.
6. Dark Feather Textured Cover-Up

Feathers are deceptively effective for hiding small symbols or names because texture and whip shading obscure lines while keeping a natural silhouette. Inner bicep placement is tender, so plan for a short session and an artist who spaces passes to limit swelling. Tell the artist to use directional shading that follows muscle grain so the feather sits naturally. The common mistake is using thin feather lines over heavy old ink, which will not conceal. For the appointment, wear a tank top so the artist can raise your arm easily and avoid fabric dragging.
Studio Day Picks
The chest, inner bicep, and forearm pieces above each have different access needs, so a few session essentials smooth the day and the first week.
-
Hustle Butter Deluxe. A non-greasy balm many people prefer for packed black work because it absorbs fast and keeps heavy areas from caking during the first few days.
-
Green Sheep Aftercare Balm. Thinner than standard balms, it helps dense black patches avoid cracking in dry climates while you heal.
-
Tattoo Goo healing ointment. Lightweight and calming for the itching phase that follows heavy shading sessions on the chest and arms.
-
Unscented CeraVe Healing Ointment. A budget-friendly option that dark skin users report does not leave a white cast over healed blackwork.
-
Saniderm protective film. Useful for short-term protection on high-friction forearm or wrist work, but remove on schedule and watch for excess moisture.
7. Skull and Packed Shading Thigh Cover
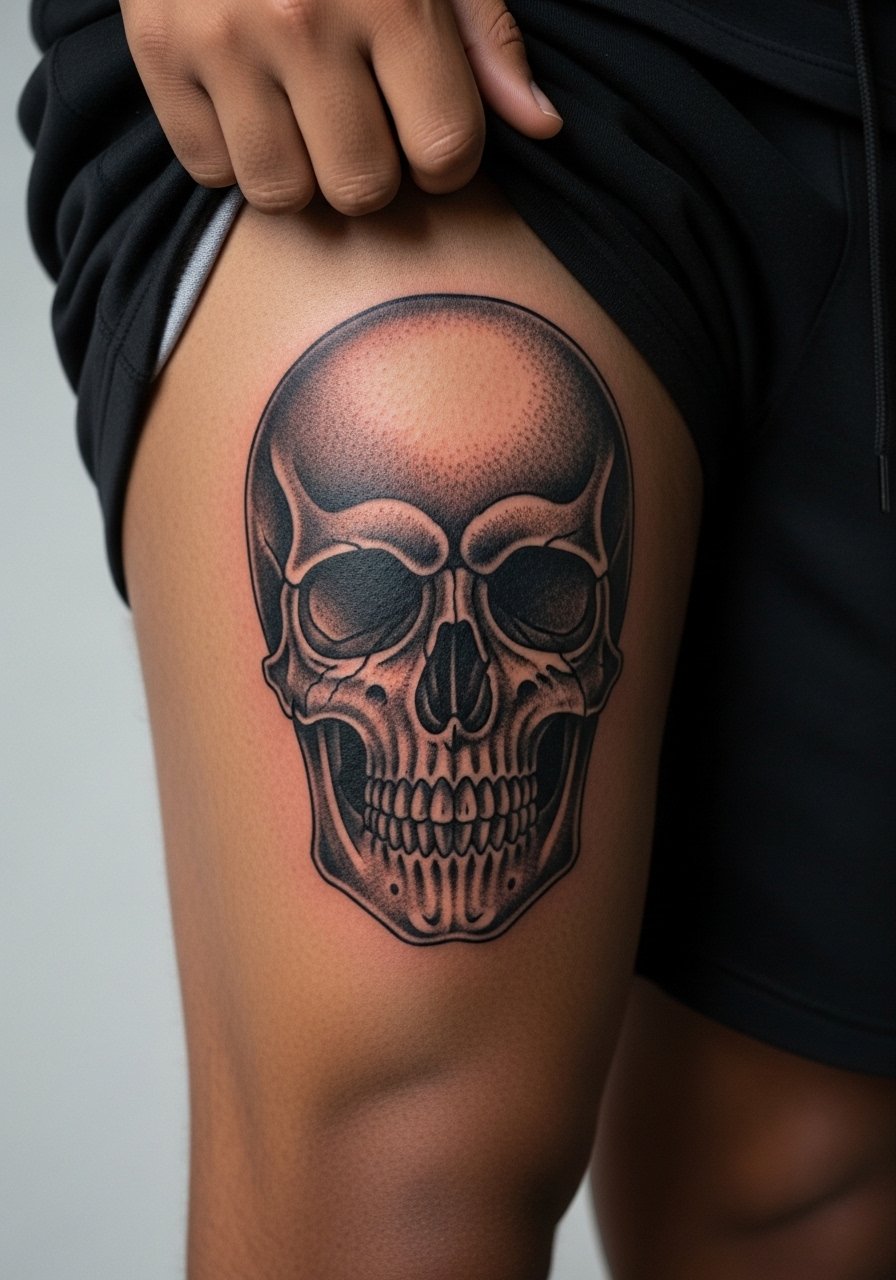
Thighs are forgiving canvases for big cover-ups, and skull motifs let artists use negative space and packed blacks to overpower colorful leg pieces. Outer thigh placement handles larger stencils and ages with less sun exposure than calves. One risk is trying to hide too much with thin washes; packed blacks and clear negative shapes perform better over time. Sessions can be long and sweaty if you heal in summer, so split into two visits for comfort. For show-off outfits, high-waisted shorts or rolled jeans highlight the outer thigh without pulling at the skin.
8. Geometric Blackwork Back Cover-Up

Large back cover-ups are where geometry shines because modular shapes scale to mask old art across the spine and shoulders. Ask for solid blocks mapped over the darkest parts of the previous tattoo and request test patches for heavy packing. A key mistake is trying to cram very fine geometry into too-small areas, which will blur. Back pieces often require five or more sessions for full saturation and will need touch-ups less frequently if you protect them from sun. Pair this design with open-back tops or racerback tanks to show the negative space.
9. Floral Density Armband

Armband florals work when you need to hide a circumferential tattoo like a name band. The trick is layered petals and packed negative pockets so the old ink sits under solid black petals or shaded lobes. During the consult, ask the artist to draft a wrap that orients petals to cover the old lines specifically, rather than overlaying a symmetric band. Wrist-to-elbow wraps must respect veins and movement, and touch-ups at year two are common in high-friction zones. For evening looks, rolled sleeves and a thin silver watch on the opposite wrist keeps attention where you want it.
10. Negative Space Partial Blackout

Partial blackout uses large saturated fields while reserving skin to create shapes, which can cleverly mask old work while still feeling graphic. It is ideal for calf placement where you want a bold visual but not complete erasure. Expect several sessions as artists pack multiple passes to get uniform saturation. A common mistake is leaving tiny skin islands over old heavy color, which can reveal the underlying ink later. Heat and sweat in summer can complicate calf healing, so schedule sessions in cooler months if possible. Pair with cropped joggers or ankle boots to control when it shows.
11. Bear Paw Bold Line Ankle or Hand Cover

Small but intense, a packed bear paw can bury fine-line regrets on ankles and even some hand areas. Hands fade faster, so treat hand versions as needing a realistic touch-up plan and expect more frequent visits. The typical mistake is assuming small equals easy; small cover-ups on hands require expert packing or they wash out quickly. For ankle visibility, high-waisted shorts or rolled jeans spotlight the area. Keep in mind workplace considerations if you need to hide hand work.
12. Shaded Wave Oceanic Ribcage Cover

Ribcage pieces are painful but rewarding for covering script because fluid dark gradients can sweep across the old lines and create movement. Fair warning, ribs are a high-pain placement and artists split on technique. One camp says fine line on ribs blurs quickly because of skin stretch. The other camp says with correct depth and spacing it can hold. Ask your artist which camp they fall into and how they plan for depth and session spacing. Expect layered sessions and a probable touch-up in two to three years.
13. Geometric Mandala Throat of the Back
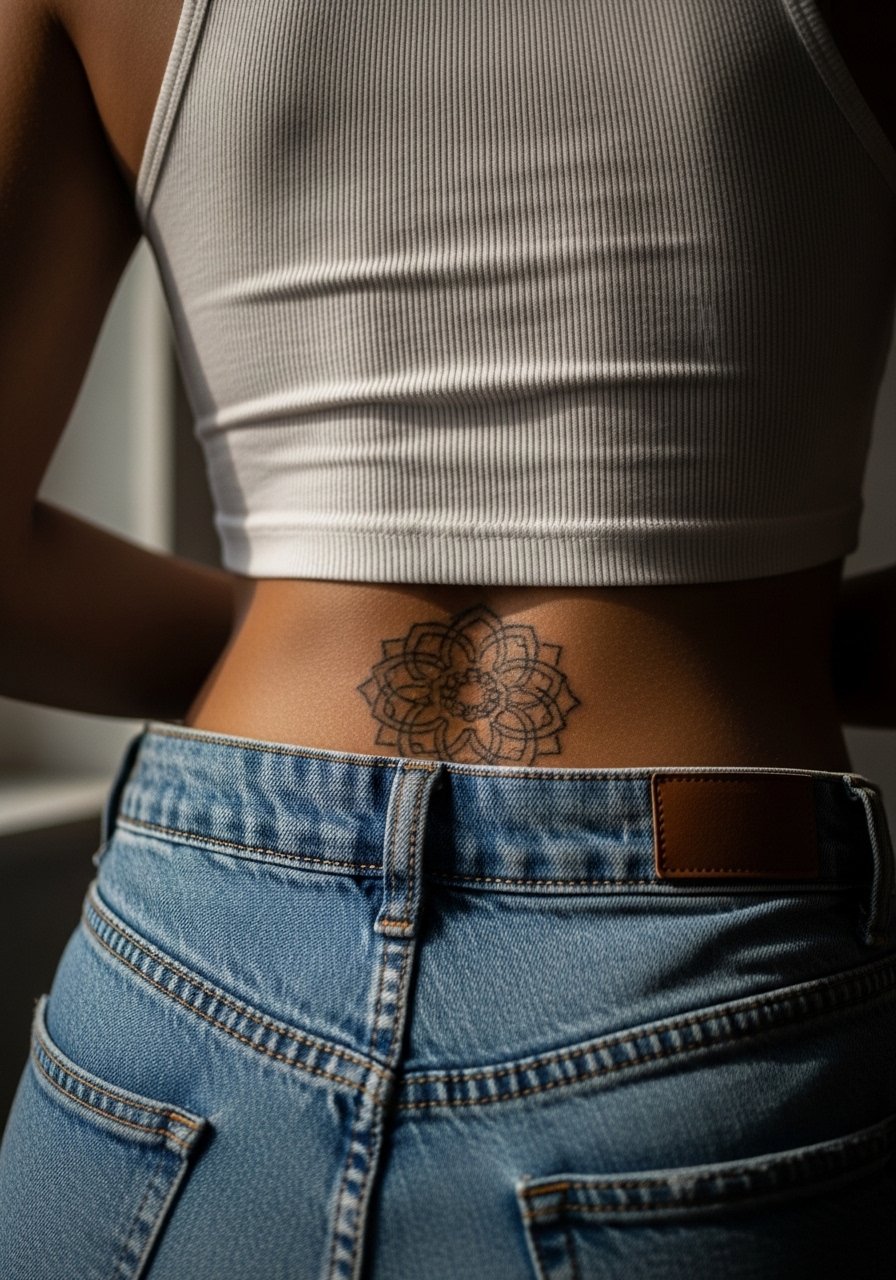
Lower back geometry lets you build large dense blocks that swallow old low-back pieces or faded color. Because the area gets clothing friction, tell your artist to avoid extremely fine filigree near the waistband and instead use bolder packing where the old ink is heaviest. The mistake is over-detailing at the edge that rubs against waistbands, leading to early fading. For outfits, a low-back dress or tank shows the negative space without tugging at the skin.
14. Bold Line Bear Paw for Small Ankles

This compact animal motif works again here for very localized cover-ups, especially when the old piece is a thin script around that ankle. Keep the lines thick and the pads packed to avoid early loss of contrast. Small ankle work is low on session time but high on friction from shoes and socks. For healing, choose low-profile footwear for the first two weeks as much as your wardrobe allows. Style it with cropped trousers or sandals to call attention without crowding.
15. Knuckle and Finger Dotwork Cover-Up

Covering tiny script on knuckles or fingers requires texture more than solid black. Dot work can build opacity while keeping the small zone legible and wearable. Hands are a controversial canvas because of rapid fade. Artists fall into two camps on hand work. One camp warns against hands for longevity and suggests heavier packing. The other accepts the service but warns clients about frequent touch-ups. If you proceed, plan touch-ups as part of the design. A thin minimalist ring or no jewelry during healing keeps pressure off the area.
16. Partial Blackout Hybrid with Skin Gaps
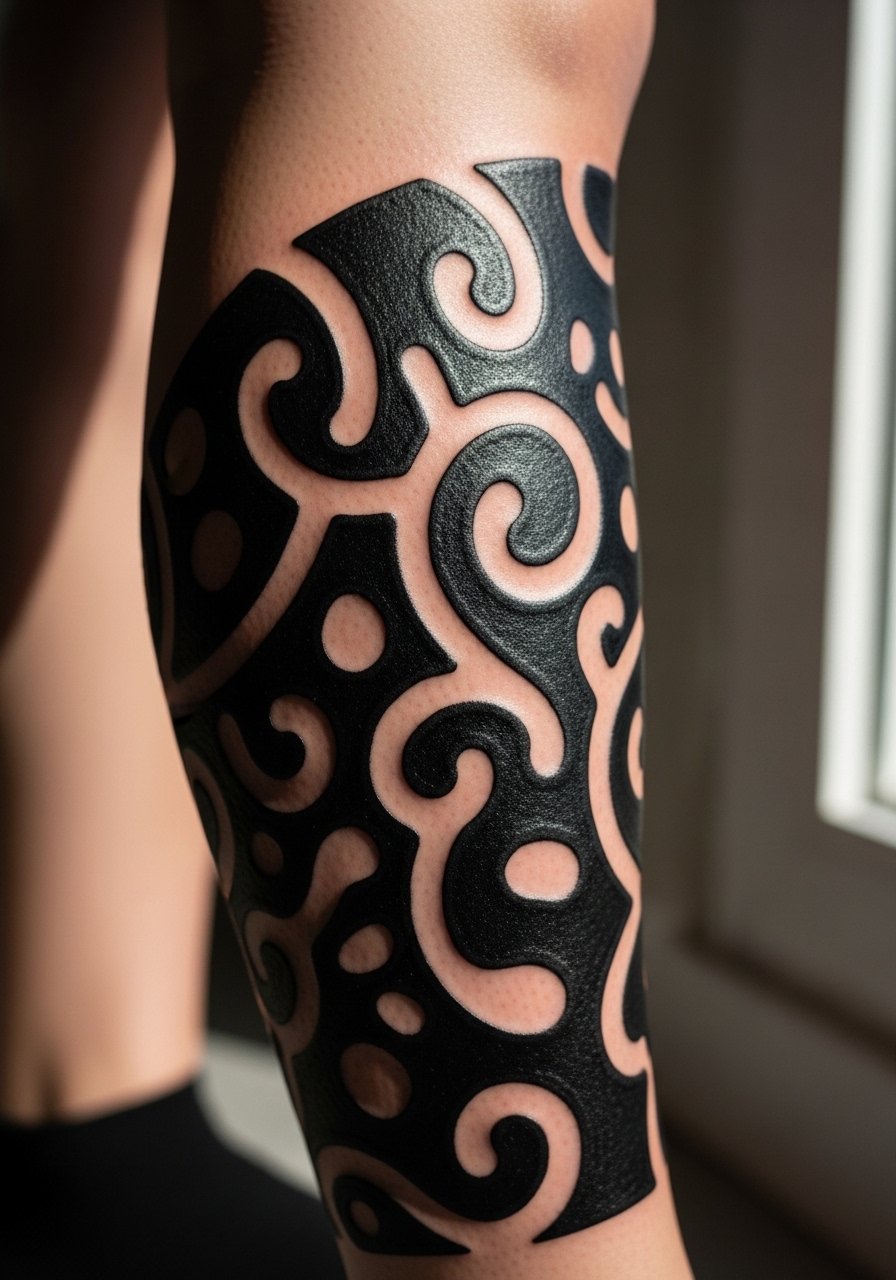
One underused move is a partial blackout that leaves deliberate skin gaps as design elements. This lets you make a bold cover-up while keeping visible negative shapes that play with the old ink rather than erasing it outright. Ask for a layout sketch showing exactly where skin gaps will fall relative to the original lines. The frequent mistake is placing gaps too close to old saturated lines, which can betray the cover. Calf placement tolerates large fields and holds saturation well over time.
17. Shaded Wave Thigh to Hip Flow
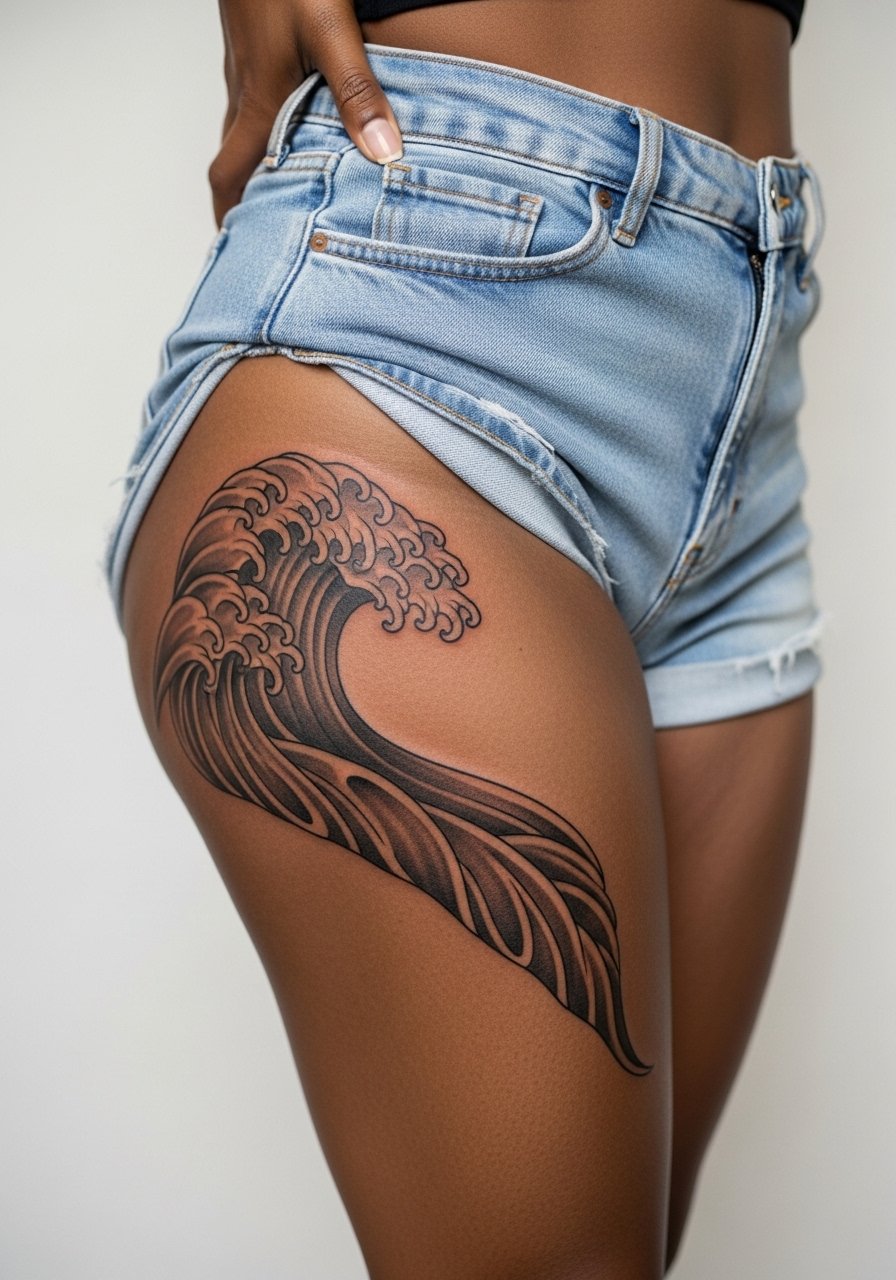
When a leg tattoo is heavily colored, a shaded wave that travels from thigh to hip can cloak the old palette with sweeping dark gradients and negative space. The hip junction needs careful planning because skin curvature changes the stencil. Tell the artist to test the stencil standing and seated so the wave reads in both positions. A mistake I see is ignoring how underwear or waistlines press on the area during healing. For session wear, loose gym shorts or a skirt that can be shifted works best.
Frequently Asked Questions
Q: My old tattoo started showing through a cover-up after six months. What went wrong?
A: Often the issue is insufficient packed black over the darkest old lines or using light gray washes over saturated color. Ask your artist to mark the darkest old ink on the sketch and place the heaviest packing there. In some cases the artist under-pitched the needle depth or rushed the number of passes. Expect to book a touch-up if any original lines remain visible after full healing.
Q: Does blackwork on darker skin tones really look muddy in photos, and can that be avoided?
A: It can look less contrasty on camera if the saturation is shallow or the photographer uses heavy filters. The fix is to test a small patch of packed black and pick an artist experienced in high-contrast packing for deeper tones. Also consider lighting and wardrobe when showing off the piece because clean neutral fabrics help the black read crisp.
Q: Is Saniderm okay for dense black cover-ups or does it risk blowouts?
A: Artists and clients split into two camps. One side uses Saniderm for a short protective window and says it controls moisture and scabbing. The other side worries that leaving an occlusive bandage too long on freshly packed black can trap excess ink and increase blowout risk. If you choose protective film, follow the timing the artist recommends and watch for excess fluid under the bandage.
Q: How many sessions will a blackout sleeve usually take and how should I budget time?
A: Expect multiple sessions, often four to eight depending on size and how much old color needs to be saturated. Sessions are typically long and you will need recovery days after each. Breaking the work into staged appointments reduces swelling and gives the artist time to push saturation safely.
Q: What should I wear to a ribcage or chest session to keep the area accessible?
A: For chest or rib work, wear a strapless bralette or a wide-neck tee you can pull aside. The goal is to reveal only the area the artist needs and avoid fabric rubbing against fresh ink while you enter and leave the chair.
