
Fine line October flowers in black and grey read like private notes on skin, and the pieces that still look intentional after five years were planned with aging in mind. Trends push ultra-fine stems and tiny shading, but how a design lives on your wrist, rib, or collarbone depends on spacing, needle depth, and where you show it off. Read the first idea for a forearm layout that balances detail with longevity.
1. Delicate Rose Cluster on Inner Forearm

I recommend the inner forearm when you want readable detail without constant sun exposure. Tell your artist you want single-needle linework with modest stipple shading and slightly increased spacing between petals so the lines do not merge over time. A common mistake is asking for every tiny vein in the petals, which looks busy at six months and blurs by year three. Expect a three to four out of ten pain level and a single two-hour session for a small cluster. For showing it off, roll sleeves or wear a loose button-down shirt that you can pull aside to frame the design.
2. Tiny Marigold on the Side of the Wrist
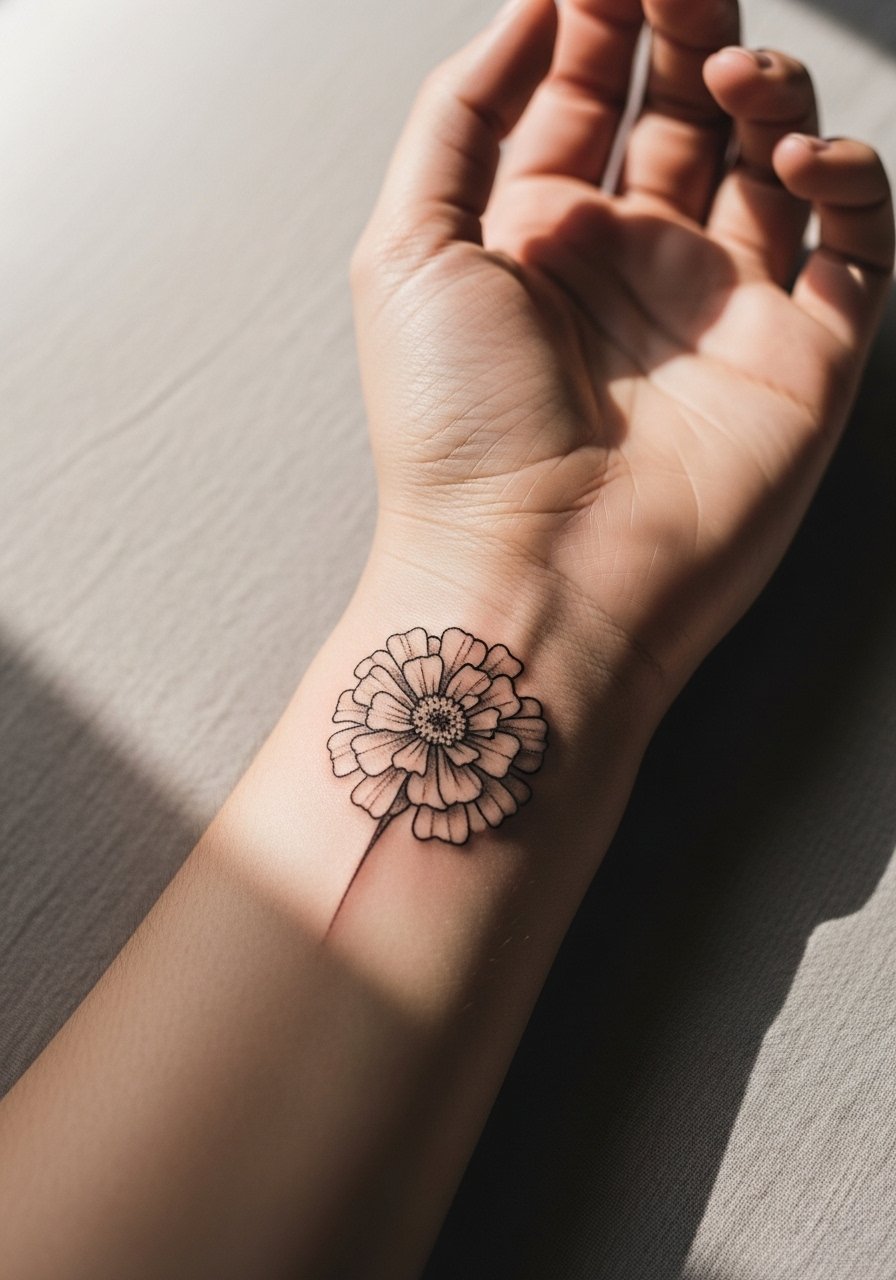
Wrist work reads small and intimate, and the skin there sees a lot of washing and friction. Ask for slightly bolder linework than you think you need, and request shallow stipple instead of dense grey washes. The most common error is going too thin, which forces a touch-up sooner than expected. Plan for a quick 30 to 45 minute session and a touch-up around year two for most people. For daily outfits, a thin chain bracelet or a minimalist watch pairs cleanly with wrist florals without covering the linework.
3. Single Stem Chrysanthemum on the Side Ankle
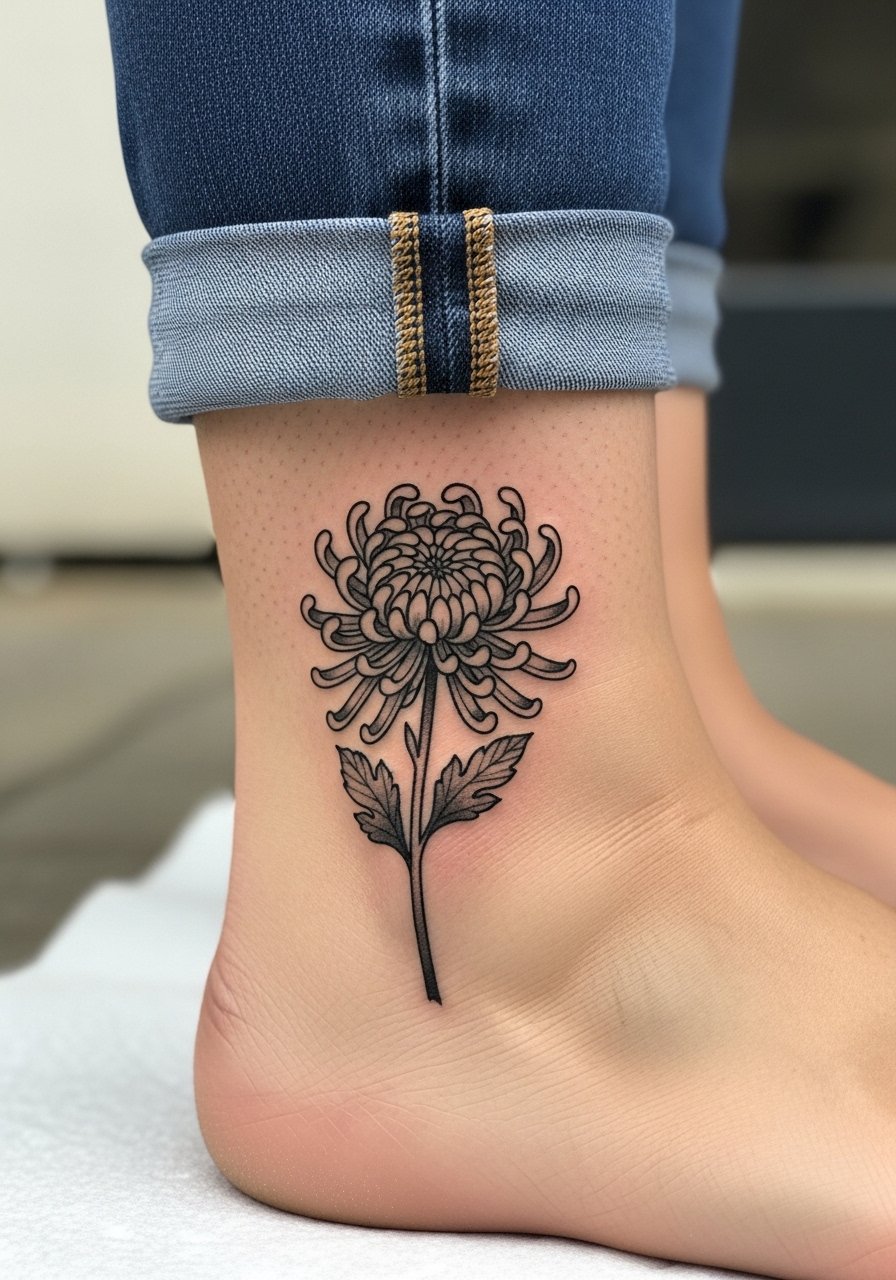
Ankle tattoos handle movement differently because of footwear and socks rubbing the area. Ask your artist to keep the stem slightly thicker near the base to avoid a fragile point that can fade fast. The session feels like light scraping with occasional sharp pin pricks, so expect a five out of ten pain rating and a single-hour appointment. A common aging issue is loss of contrast from constant friction, so plan touch-ups at year two to three if you want the crisp darks maintained. For evenings you want to show it, try pairing the piece with sandals or low-profile ankle boots that expose the area.
4. October Aster at the Collarbone

Collarbone pieces sit between visibility and sun exposure, so plan placement slightly above or below the bone based on movement. Tell your artist you want crisp linework with soft whip shading for depth and avoid dense grey fills that can pool around the bone. The skin there can be unforgiving for micro detail, and some versions look great fresh but soften into a patchy grey after a couple of years. Expect a six out of ten pain level and a one to two hour session. For outfits, an open-back midi dress or wide-neck sweater highlights collarbone work without competing visually.
5. Clustered Bouquet Along the Outer Bicep
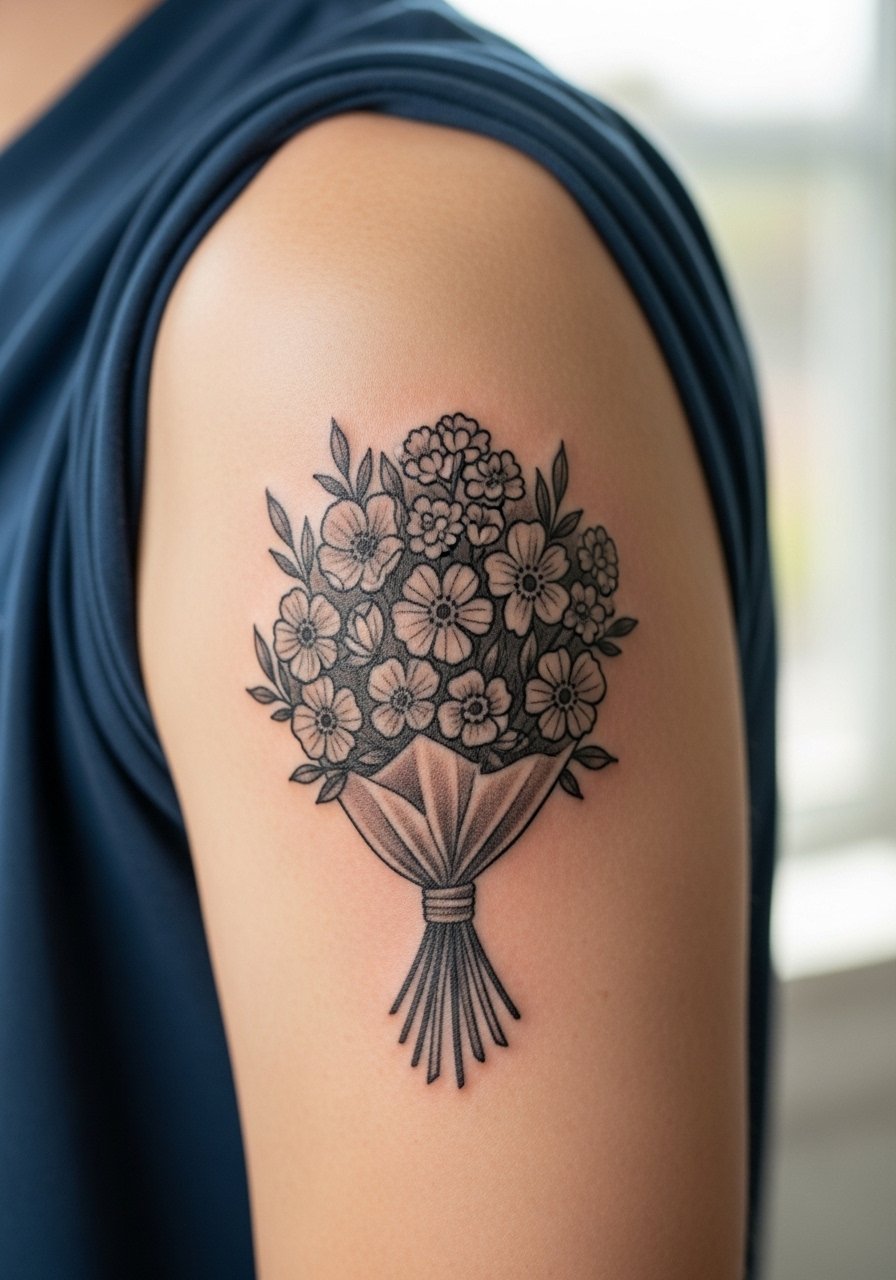
Outer bicep is forgiving for detail and ages well because it avoids constant sun and friction. During the consultation, ask for separated negative space between each bloom so the bouquet keeps legibility as the years pass. A common mistake is squishing many small flowers into a tiny area, which flattens into a muddied patch by year five. Sessions run one to three hours depending on size, and pain is a four out of ten for most people. To show it off, cuff a sleeve or wear a rolled-up linen shirt that frames the bouquet.
6. Subtle Peony Under the Sternum
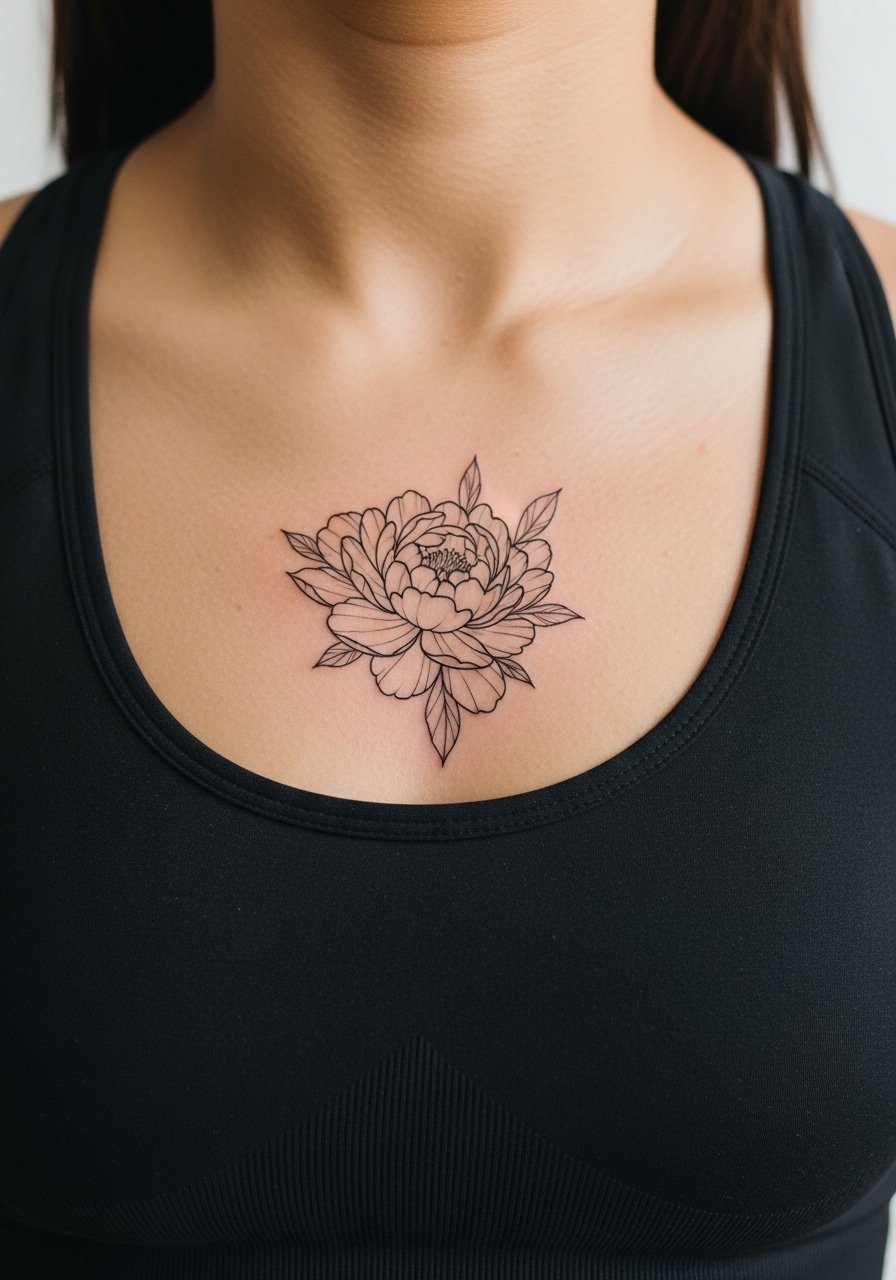
Sternum work has real controversy around it. One camp says the central chest expands and contracts too much and lines blur within a few years. The other camp argues that with proper spacing and needle depth the lines can stay crisp. Ask your artist where they stand and whether they recommend slightly larger outlines for longevity. Expect one of the higher pain ratings, often seven or eight out of ten, and plan for a longer single session. This area benefits from session wear like a zip-up hoodie you can drop, but it is less visible daily so many people skip styling advice.
Studio Day Picks
The first six ideas include visible wrist, forearm, ankle, collarbone, bicep, and sternum placements, so these items smooth the session and the first week of healing.
-
Stencil transfer paper kit. Lets you preview linework on skin before committing, which helps with the forearm and collarbone placements above.
-
Topical numbing cream. Applied as directed about 45 minutes before the session eases pain on sensitive spots like the sternum and ankle.
-
Thin protective film roll. Helps keep wrist and finger pieces clean during the first week of daily washing and friction.
-
Fragrance-free body wash. Gentle cleansing avoids irritation for freshly tattooed areas like the bicep and collarbone where soap can pool.
-
Aquaphor healing ointment. A thin layer in the initial days keeps fine line work from drying into flaky scabs that pull at the ink.
7. Micro-Realism Two-Flower Wrist Band
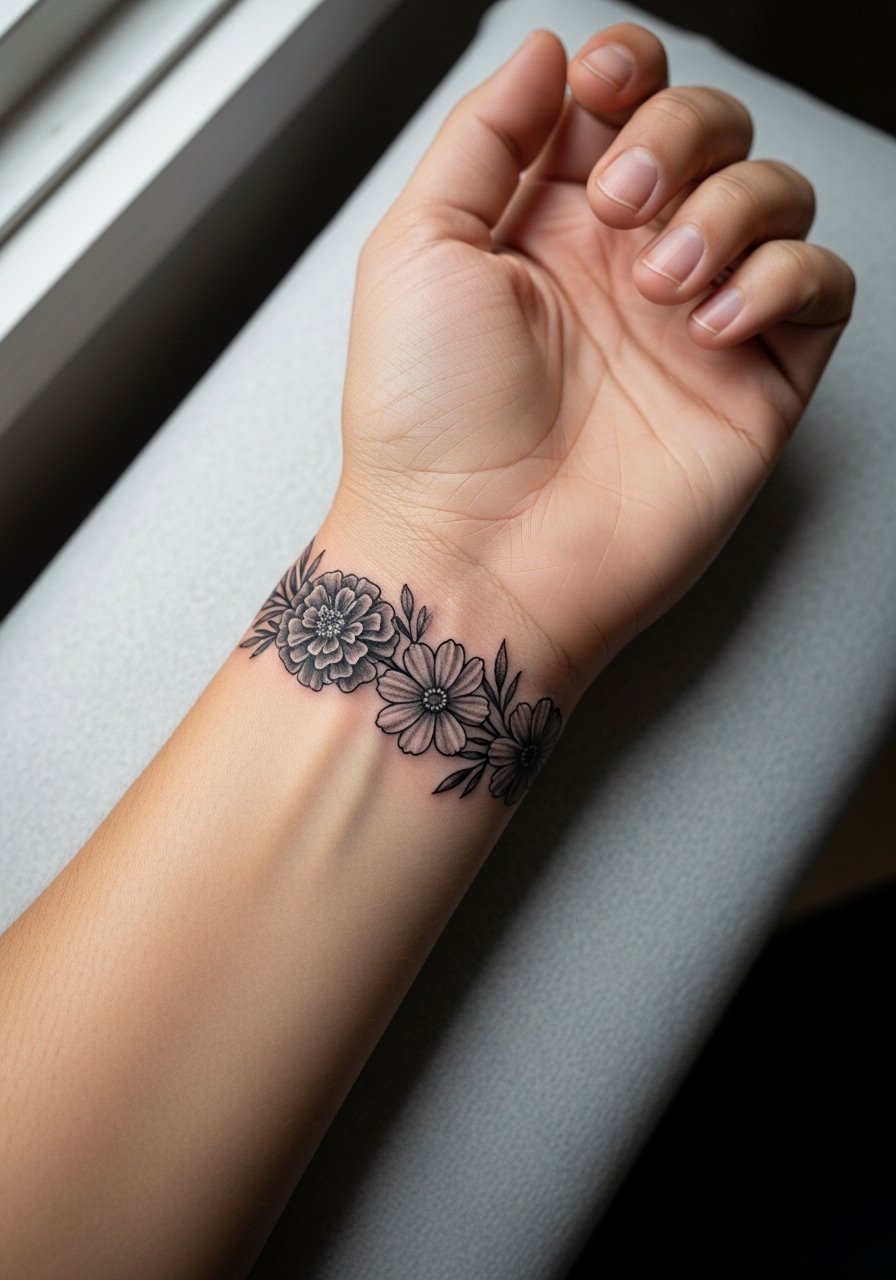
A thin wrap-around band reads delicate and modern, but close bands can lose separation if lines are too fine. Tell your artist you want slightly reinforced joins between blooms and light stipple instead of solid grey fills. The main aging problem is lines merging where the skin flexes. Sessions are often under an hour, and pain is mild to moderate. For showing this band, stacked dainty bracelets or a minimalist watch highlight the circle without covering the linework.
8. Black and Grey Ranunculus on the Upper Thigh
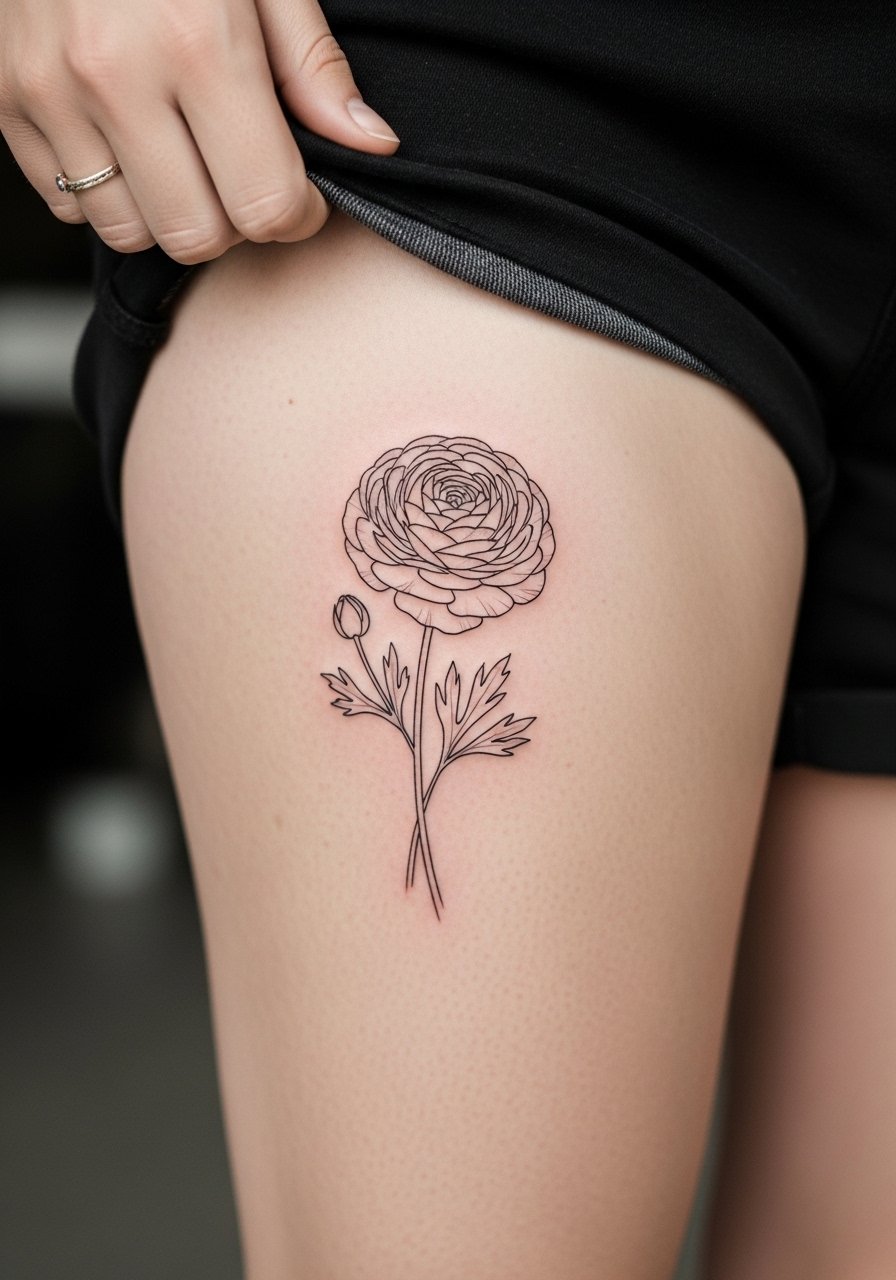
Upper thigh tattoos get protection from clothing and tend to age slowly, which makes them good for denser shading. Ask for a balance of stipple and muted grey saturation so the petals keep depth without turning solid grey. The session can be a relaxed two to three hours and pain is often a three to five out of ten depending on placement. A common mistake is too much contrast that then fades unevenly. For the session, wear loose drawstring shorts so the artist can access the area without you feeling exposed.
9. Lush Blackwork Dahlia on the Calf
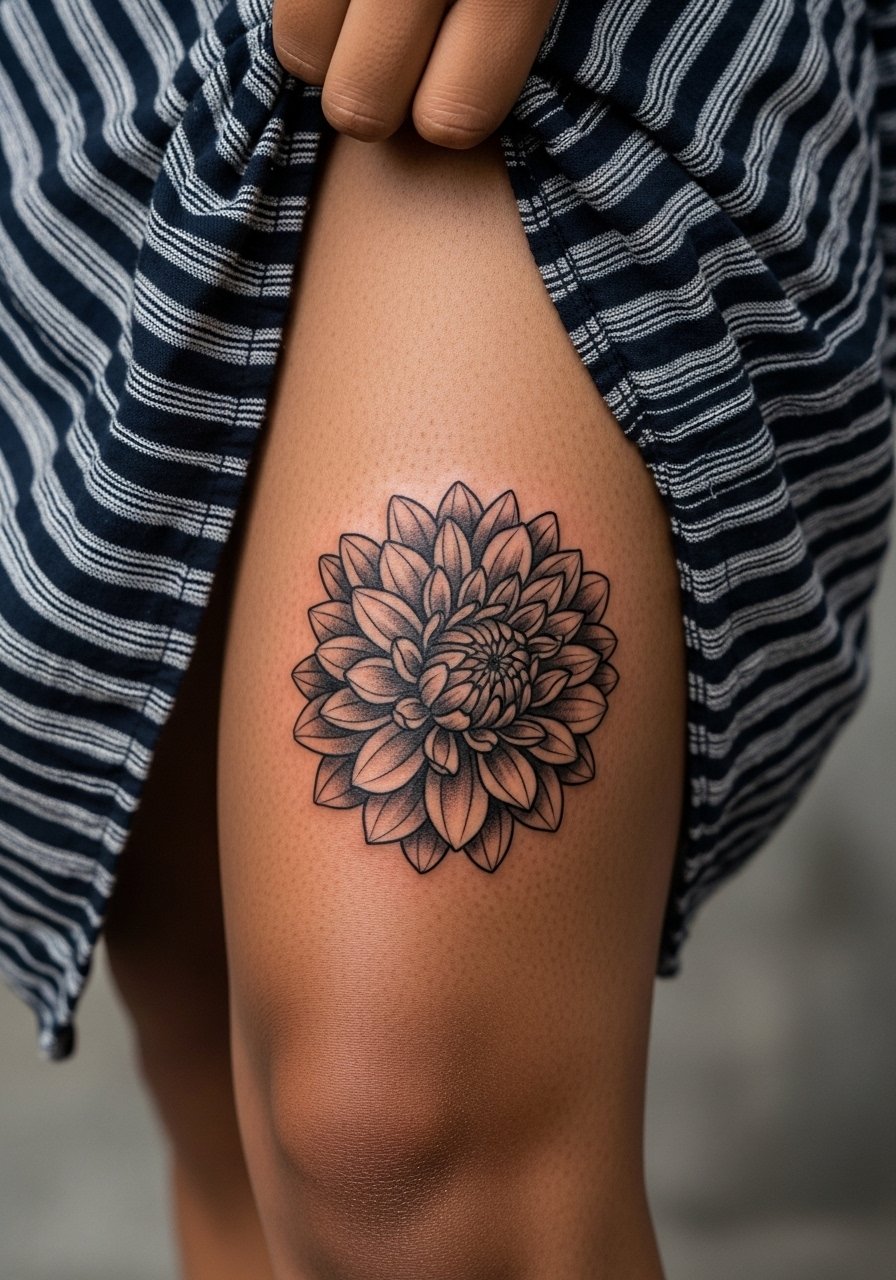
Calf pieces age well because the skin there does not stretch much and is easy to shield from sun. For black and grey saturation choose solid linework with even shading blocks and avoid tiny dot fills that thin out over time. Sessions vary from one to three hours. The main mistake is over-detailing small petals which makes touch-ups inevitable. For show-off looks, pair this calf work with open-toed sandals or cropped trousers to keep the tattoo visible.
10. Spine-Aligned October Wildflower Column
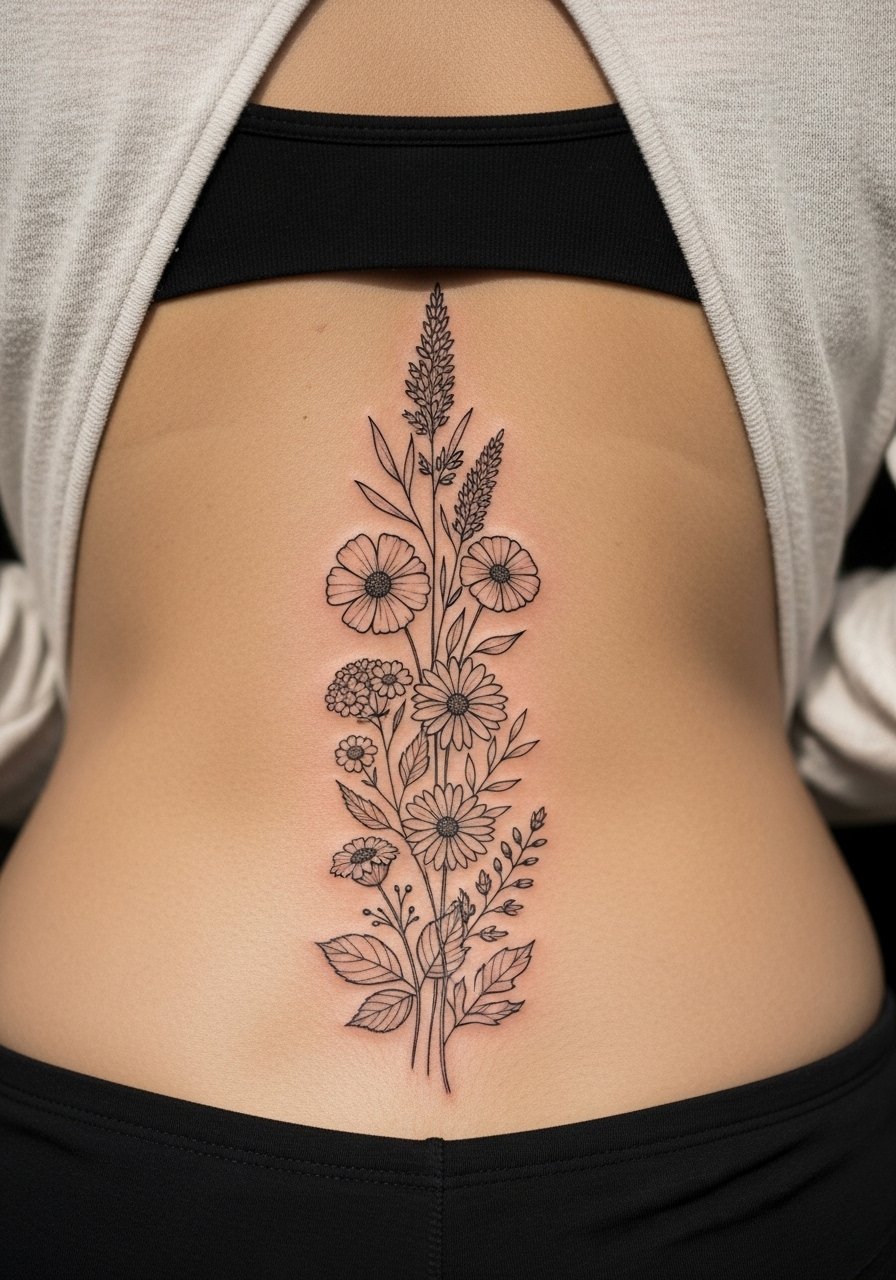
A vertical spine piece benefits from spacing and slightly bolder stems where the skin compresses. Ask your artist to keep negative space between blooms so the column reads clearly from a distance. Pain varies along the spine, commonly a seven out of ten near the tailbone and milder higher up. The controversy here is about detail density. Some artists say dense stacks along the spine blur with time, and others say if you size up the spacing it holds. If you plan to show it off for events, an open-back top frames the column without exposing more than needed.
11. Minimalist October Flower Behind the Ear
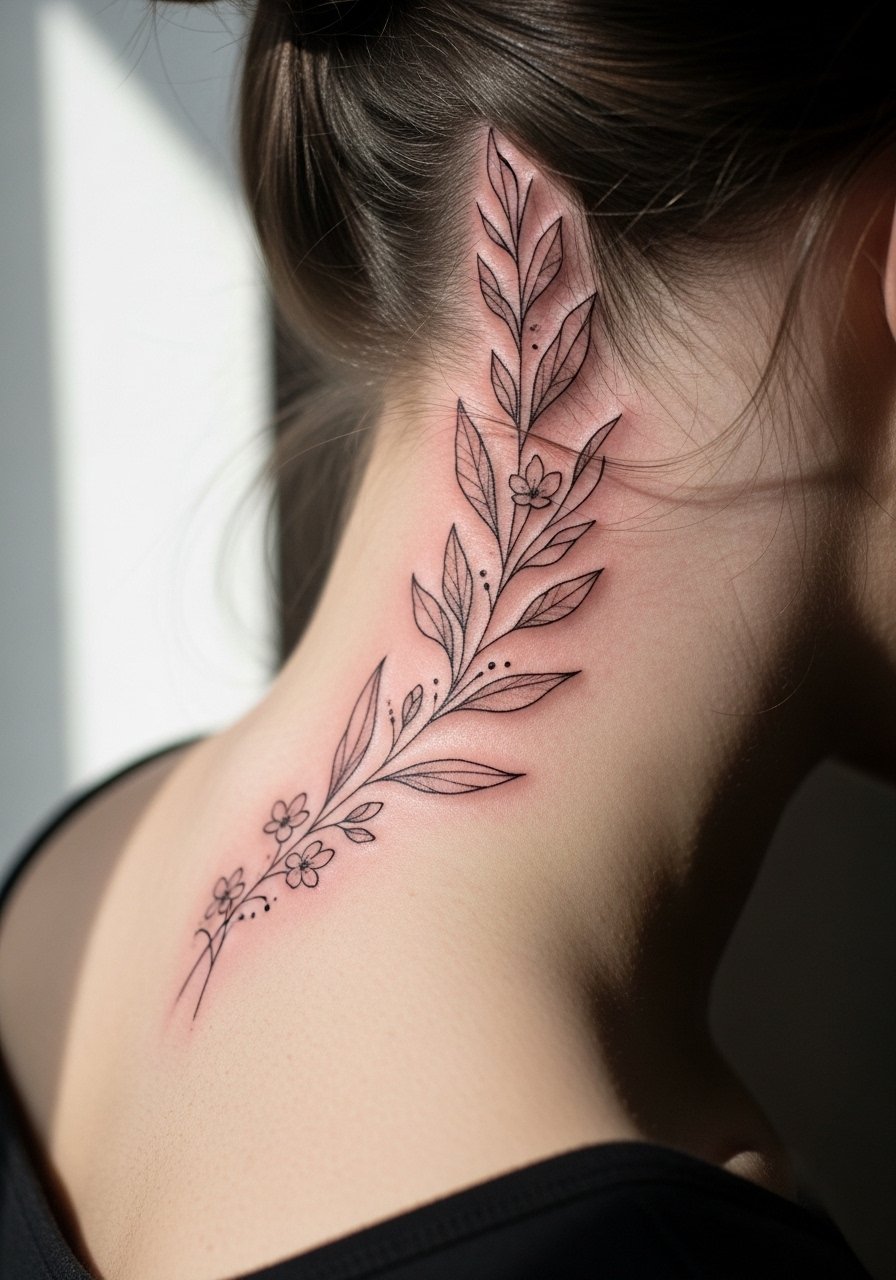
Behind-ear pieces need careful placement below the hairline so they do not look like ear tattoos. Ask for a one- to two-stitch line weight and modest shading that stands up to hair oils. The session is quick and the pain is low to moderate. A common mistake is requesting ultra-fine detail that the area cannot hold because of the skin texture. For subtle styling, tuck hair behind the ear or use a thin chain pendant that sits nearby without covering the spot.
12. Octagonal Blackwork Chrysanthemum on the Shoulder Blade

Shoulder blade work supports heavier blackwork because the area avoids daily abrasion. During consultation ask for a clear margin between the petals and any geometric frame so the flower breathes. A common mistake is adding too much black in the center which can age into a flat spot. Sessions can be two to four hours and pain is usually a four out of ten. For session wear, a loose tank top gives the artist access while keeping you comfortable.
13. Botanical Ribcage Sweep
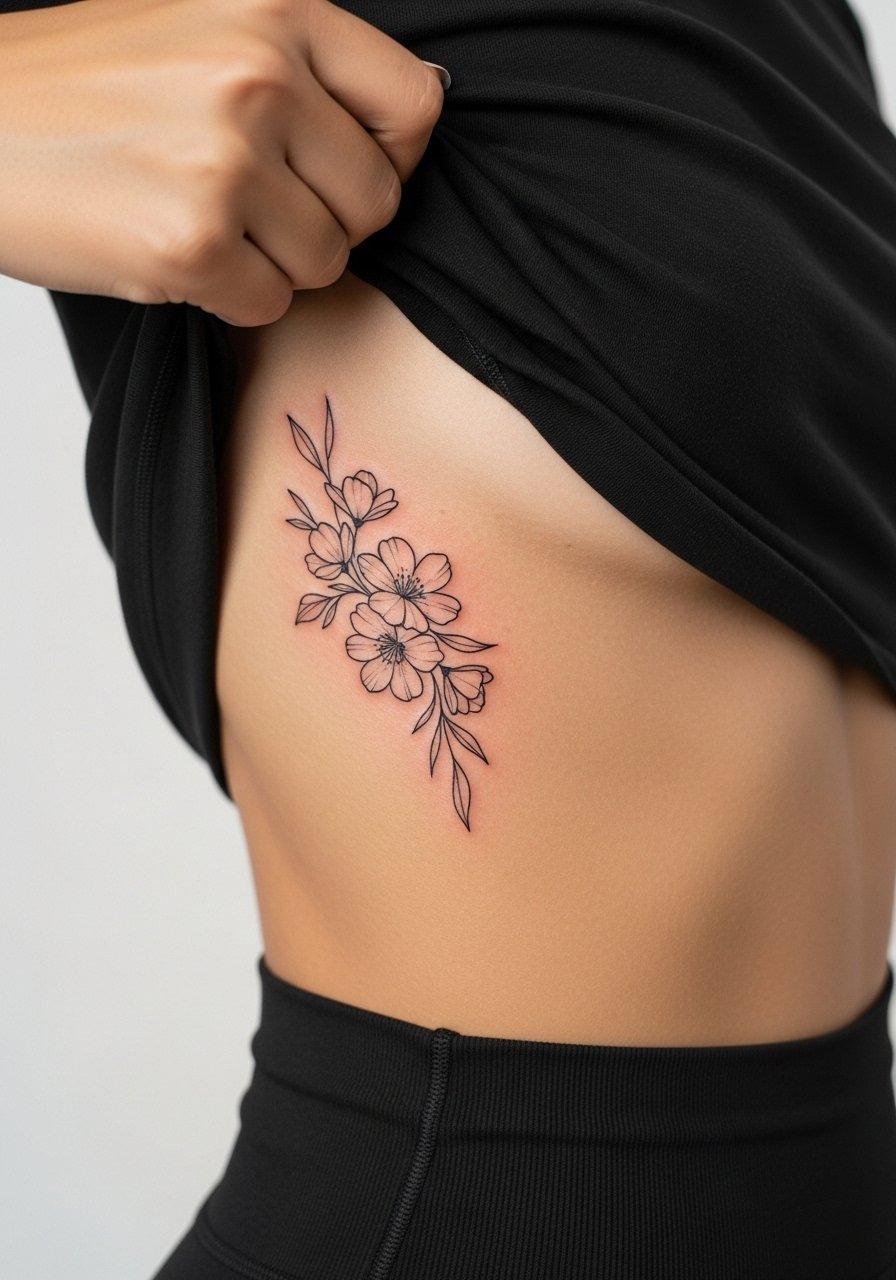
Ribcage tattoos spark a real split in opinion. One camp says the skin stretches and fine line blurs within a couple of years. The other camp says with correct needle depth and spacing fine line can settle well. Be explicit in your consultation about which side the artist sits on and whether they recommend slightly thicker outlines for that area. Pain is high, normally an eight out of ten, and sessions take longer since breaks are needed. Because ribs are intimate, this is not a high-visibility styling placement but a cropped top works for occasional showing.
14. Micro-Scroll Script with a Small Bloom on the Collar Edge
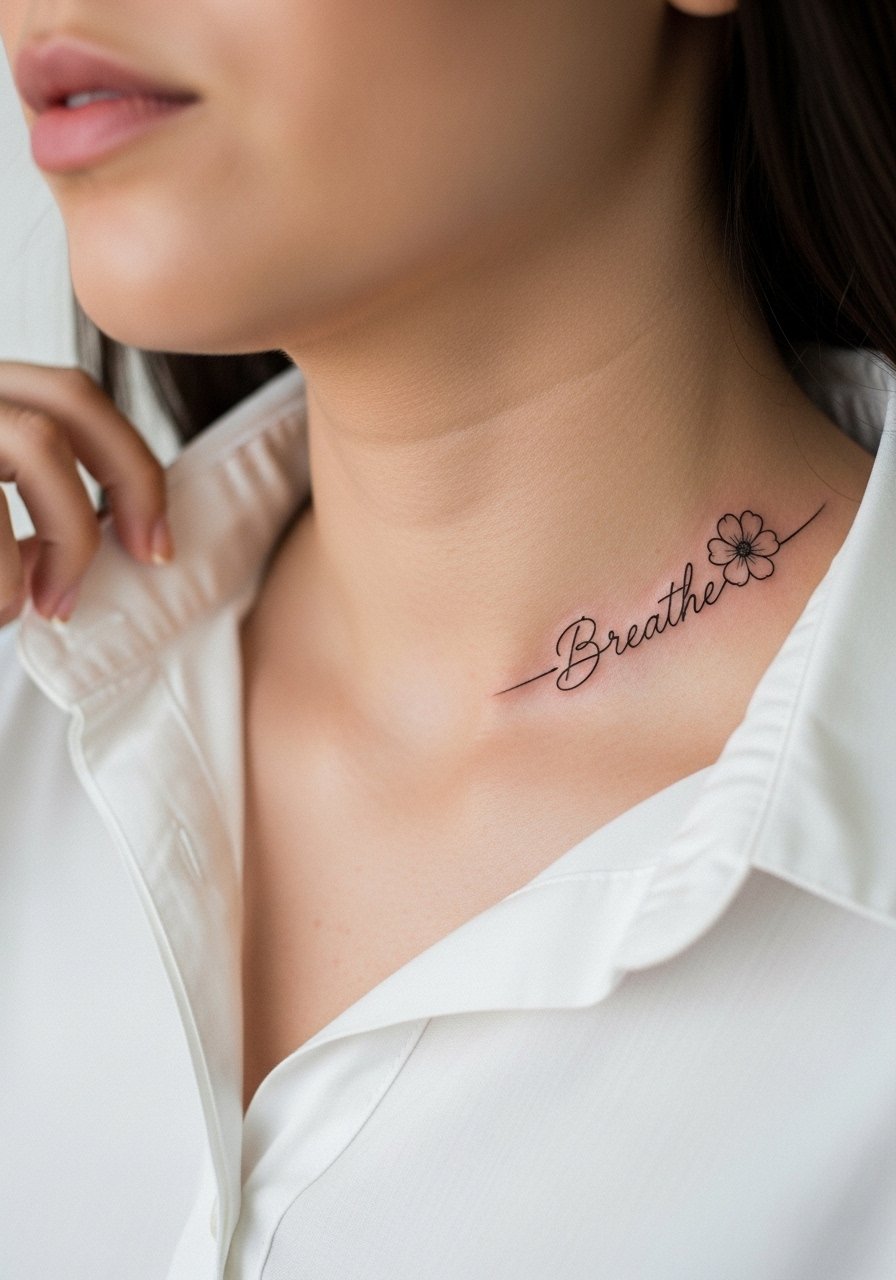
When text is present keep the lettering simple and size it for long-term legibility. Specify the exact word you want because image prompts and stencils need exact text. The main mistake is choosing script that is too ornate for a small scale. Sessions are short for tiny script and pain is mild. For showing this placement, a thin chain pendant necklace sits above the mark and balances the composition without covering the script.
15. Ankle-Wrapped Ivy with Tiny October Blooms

Ivy and wrap designs on the ankle must consider how shoes and socks will hit the longest stem. Ask for reinforced joins where the vine meets a bloom to prevent a break point that fades faster. Sessions are typically under two hours and the pain is moderate. A common long-term issue is uneven fading at the underside of the ankle from shoe pressure. For footwear that lets the piece breathe try low-cut canvas sneakers or sandals.
16. Small Bouquet on the Back of the Hand
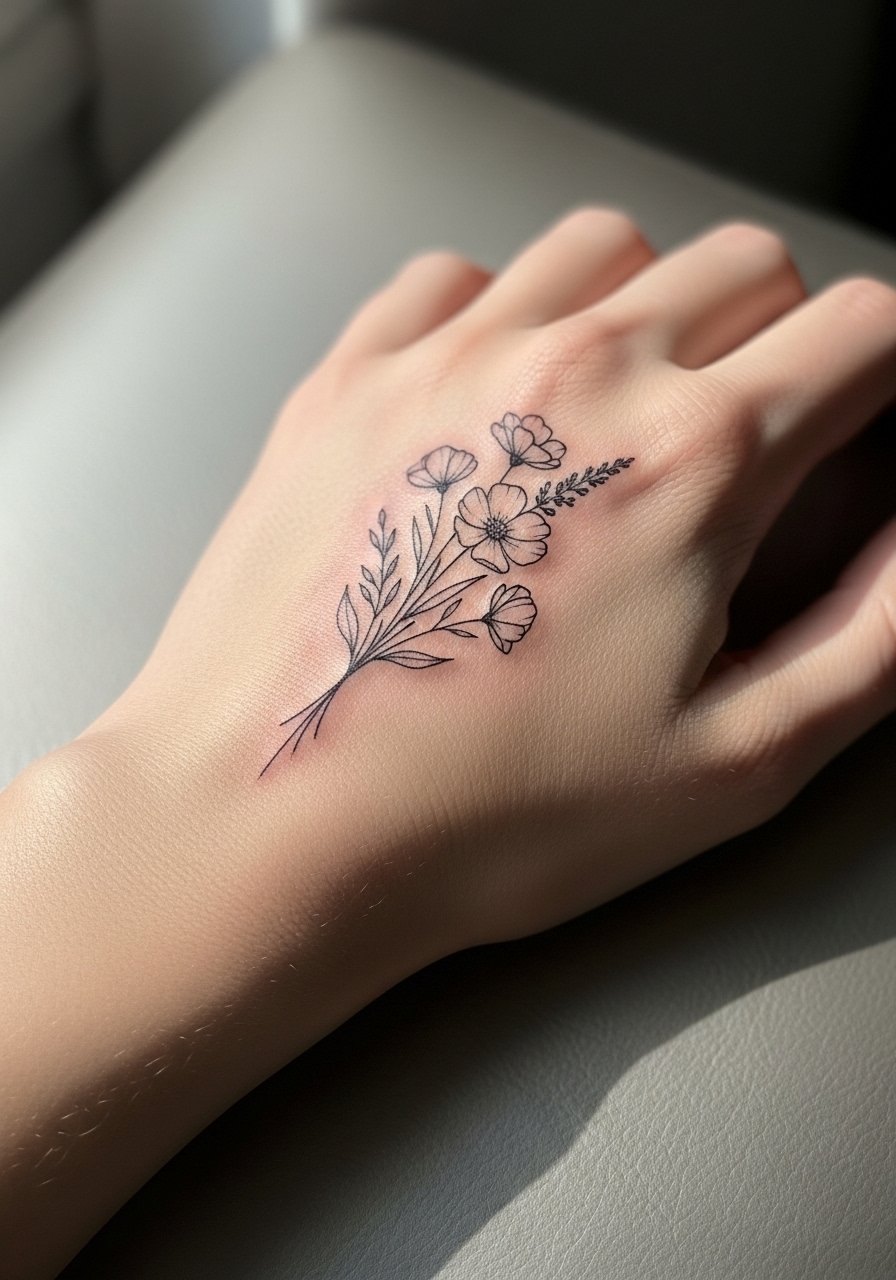
Hand tattoos are highly visible and often face social and professional scrutiny, so consider career implications before committing. The skin on the hand moves and sees constant washing, which means detail will blur faster than on an arm. Ask for slightly bolder outlines and minimal internal shading to help longevity. Sessions are short but often require touch-ups within one to three years. If you move forward, plan for less intricate designs and be prepared for the possibility of visible softening over time.
17. Single-Needle October Flower Near the Wrist Crease
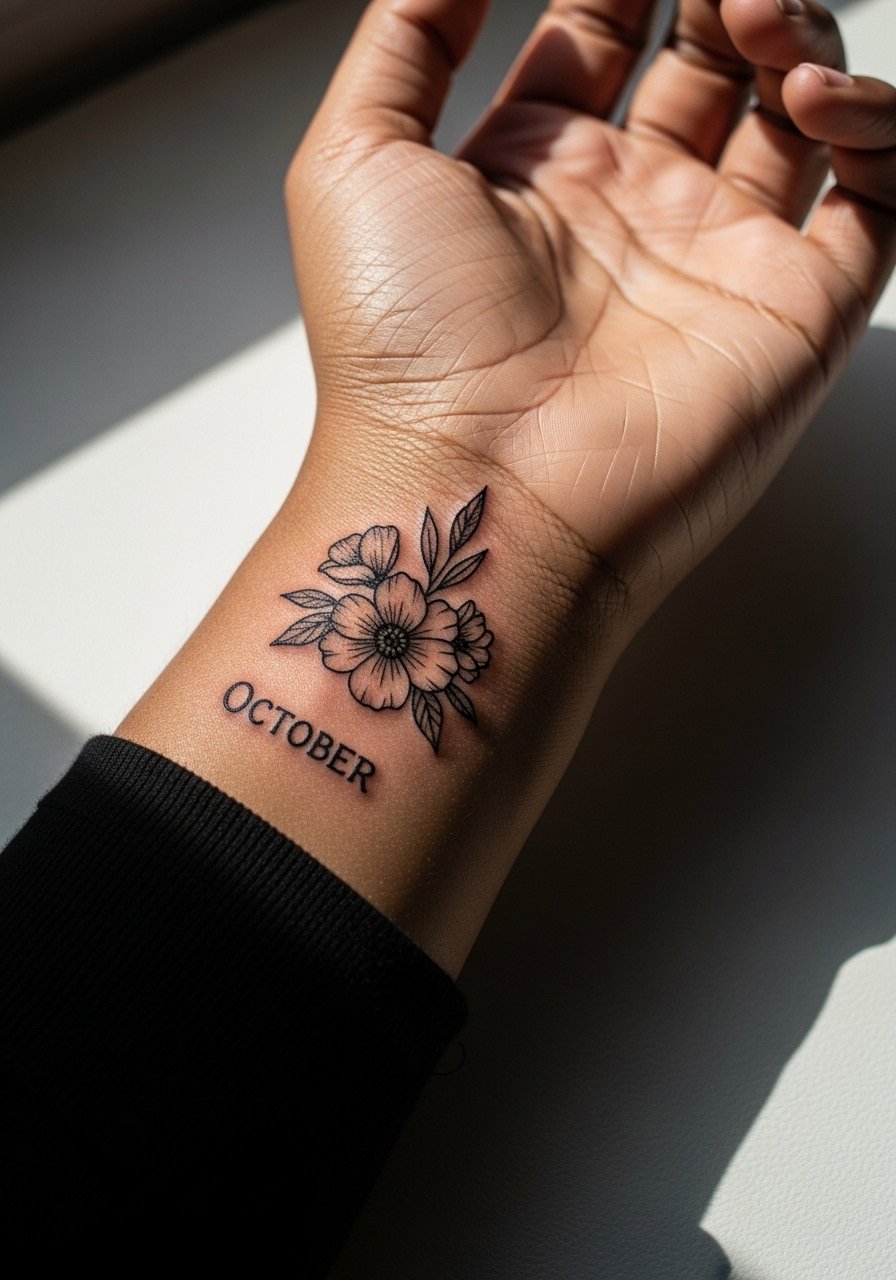
A piece that sits right on the wrist crease needs extra planning because skin folds can distort linework. Ask your artist to place the main blossom away from the fold or to use slightly reinforced stems so the design keeps its shape. The session is brief and pain is moderate. The most common mistake is centering important details on the crease itself. For showing the piece without stress, short sleeves and rolled cuffs work well and keep the tattoo visible without constant rubbing from long sleeves.
Frequently Asked Questions
Q: Will fine line black and grey flowers blur faster on the ribcage than on the forearm?
A: It depends. The ribcage experiences more stretch and movement, which can cause fine details to blur if the spacing is too tight. Some artists say slightly larger line weights and more negative space solve this. Ask your artist whether they prefer to size up detail for ribs or recommend a different placement.
Q: How soon should I expect a touch-up for wrist and finger florals?
A: From what I've seen, wrist and finger pieces often need touch-ups sooner than arm or back work, commonly around year two to three. Frequent washing and friction speed the fading. Planning for a small touch-up appointment gives you realistic expectations.
Q: What should I wear to a sternum or ribcage session to make the appointment easier?
A: Wear a fitted sports bra or a cropped top you can pull down slightly so the artist has clear access without you feeling exposed. A zip-up hoodie is also useful for later when you want coverage. Session comfort matters for longer pieces.
Q: Are hand and face placements still likely to affect hiring in some industries?
A: Yes, hand and visible face tattoos continue to affect hiring in certain workplaces. Consider your career plans and the visibility of the placement before committing. If you want the aesthetic but less risk, choose a nearby placement like the wrist or forearm that can be covered more easily.
Q: Can I get a detailed micro-realism bloom on dark skin tones without losing contrast?
A: You can, but it requires deliberate planning. Request slightly heavier linework and stronger contrast in the shading while keeping highlights open. A portfolio review of healed work on similar skin tones helps you set realistic expectations.
Q: Where should I start looking for an artist who understands black and grey floral aging?
A: Use local shop directories, tattoo convention booths, hashtag searches, and community forums to find artists who showcase healed pieces similar to what you want. Ask to see healed photos, not only fresh shots, and discuss touch-up policies during the consultation.
