
The stencil came off the inner bicep and the client sat up to check it in the mirror. The arm reads narrower in real life than on the phone. That small surprise changes line weight and spacing decisions on the spot. Getting the inner bicep right means thinking about curvature, touch-up likelihood, and what you will wear when it heels. The sections below jump straight into designs that work with the anatomy, not against it.
1. Fine-Line Botanical Sprig on the Inner Bicep
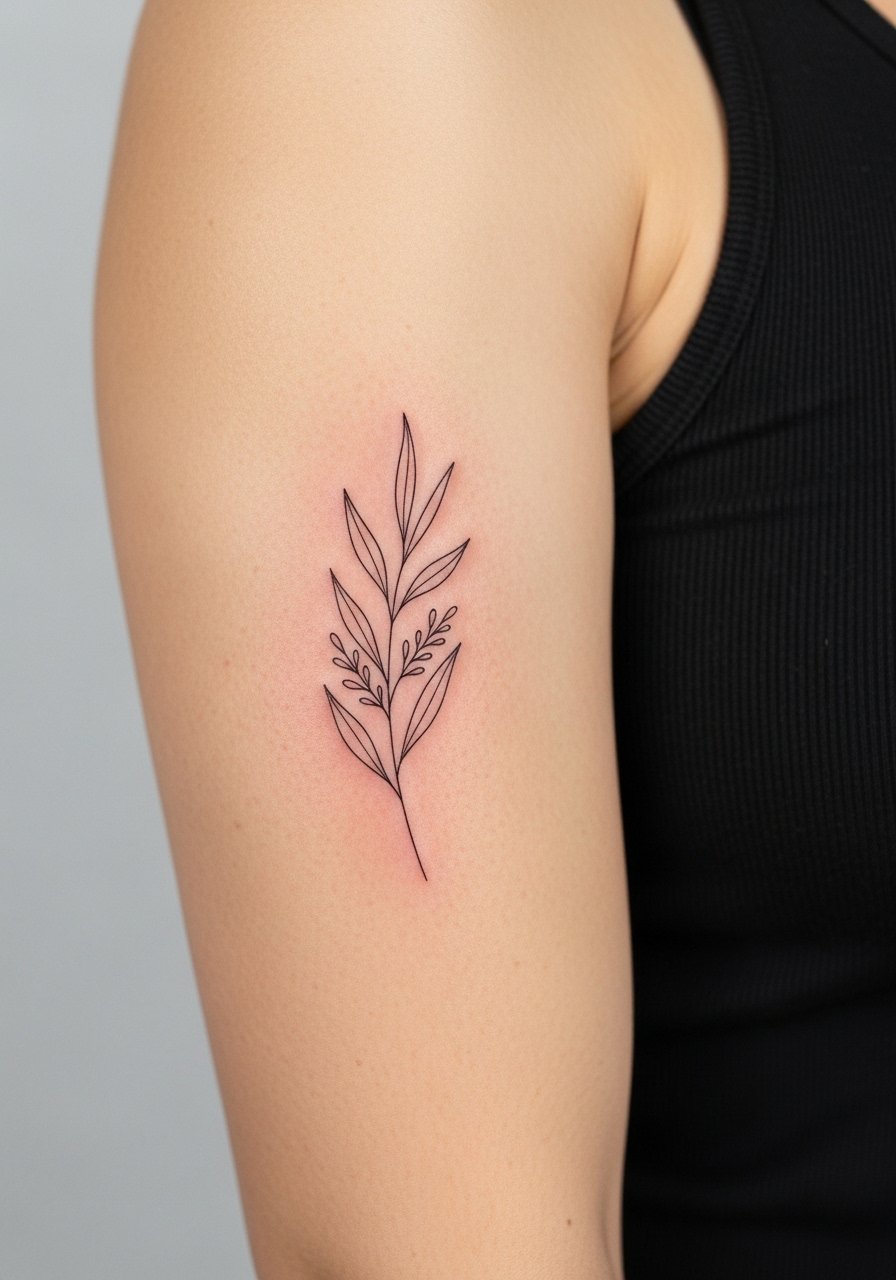
I recommend this for someone who wants delicate linework without crowding the curved plane. Tell your artist you want slightly wider spacing between stems so negative space stays clear as the piece ages. Common mistakes are shrinking the details too small and asking for ultra-fine hairlines that merge after a few years. Expect a medium pain level for the inner bicep and a possible touch-up at year two or three if you push the hairline thin. For showing it off, pair with a racerback tank so the arm can sit naturally during photos.
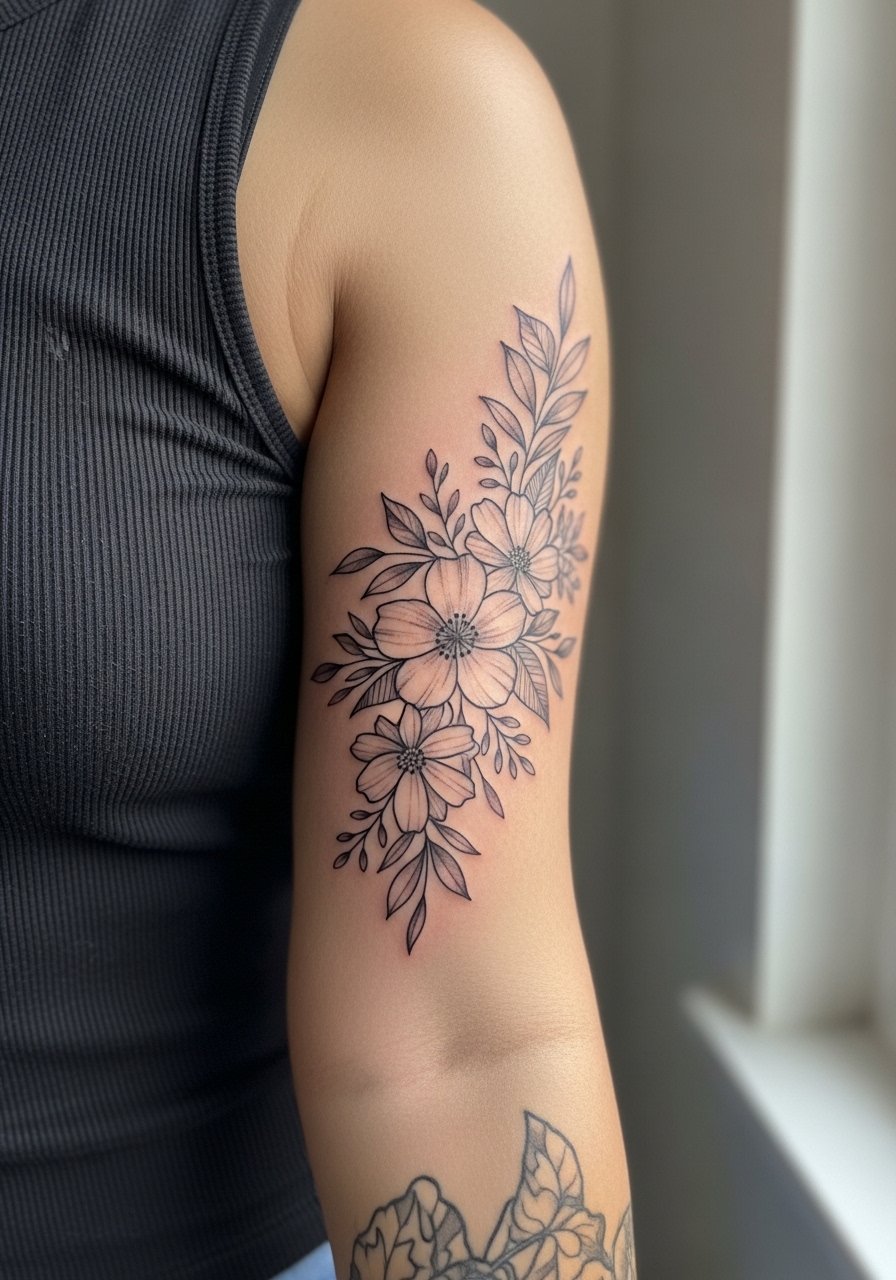
2. Black And Grey Micro-Realism Flower Cluster
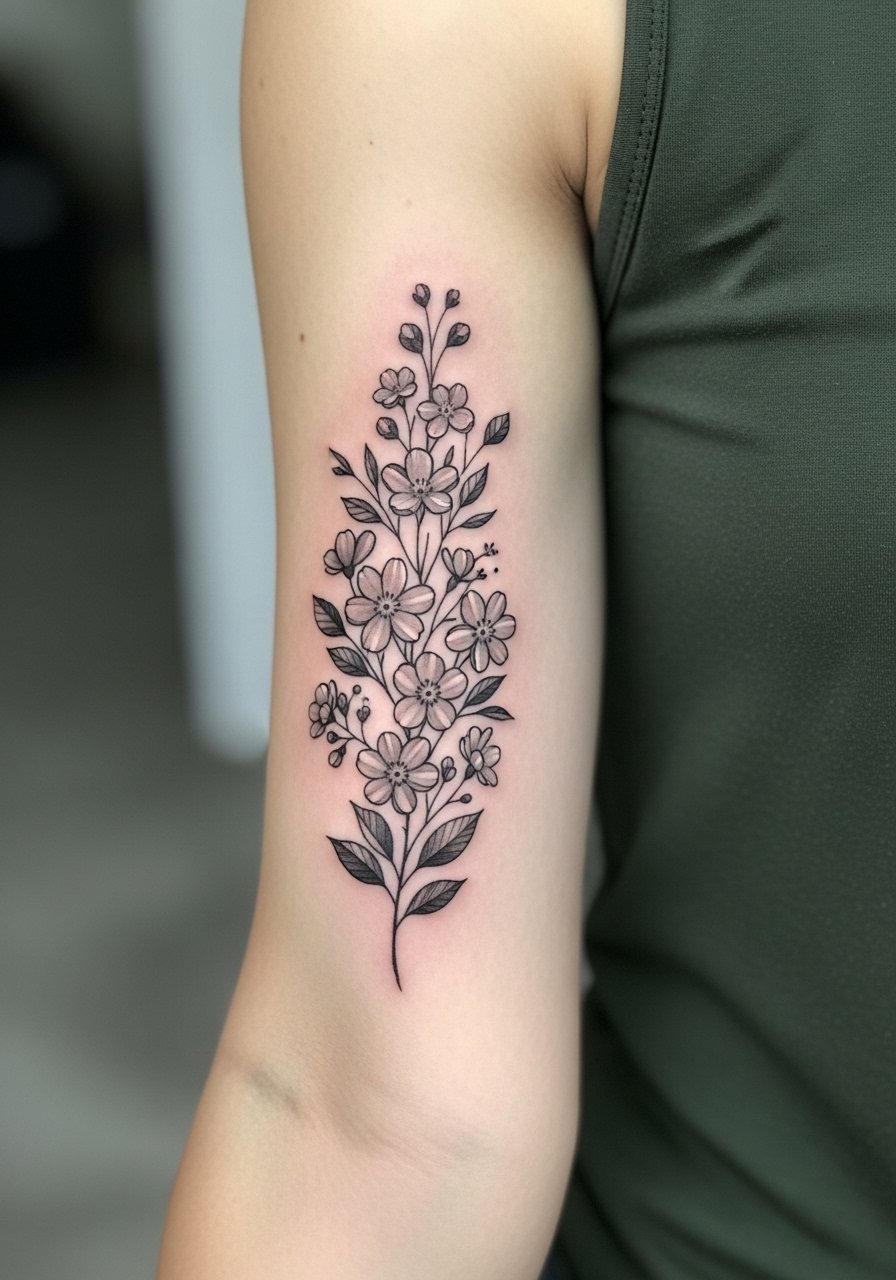
I've seen micro-realism age differently depending on saturation and spacing. For inner bicep florals, ask for slightly bolder cores with stipple shading in the petals so the form reads even as saturation softens. Pain is moderate because the skin is thin and sensitive there. One camp argues micro-realism should be avoided on inner arms due to blurring. The other camp says targeted saturation and stipple work make it hold. Bring reference photos that show the exact shadow placement and tell the artist you'd rather increase saturation than rely on hairline detail. For the session, a loose button-down shirt you can pull aside helps the artist reach the area without tugging.
3. Script Phrase Following the Arm Curve
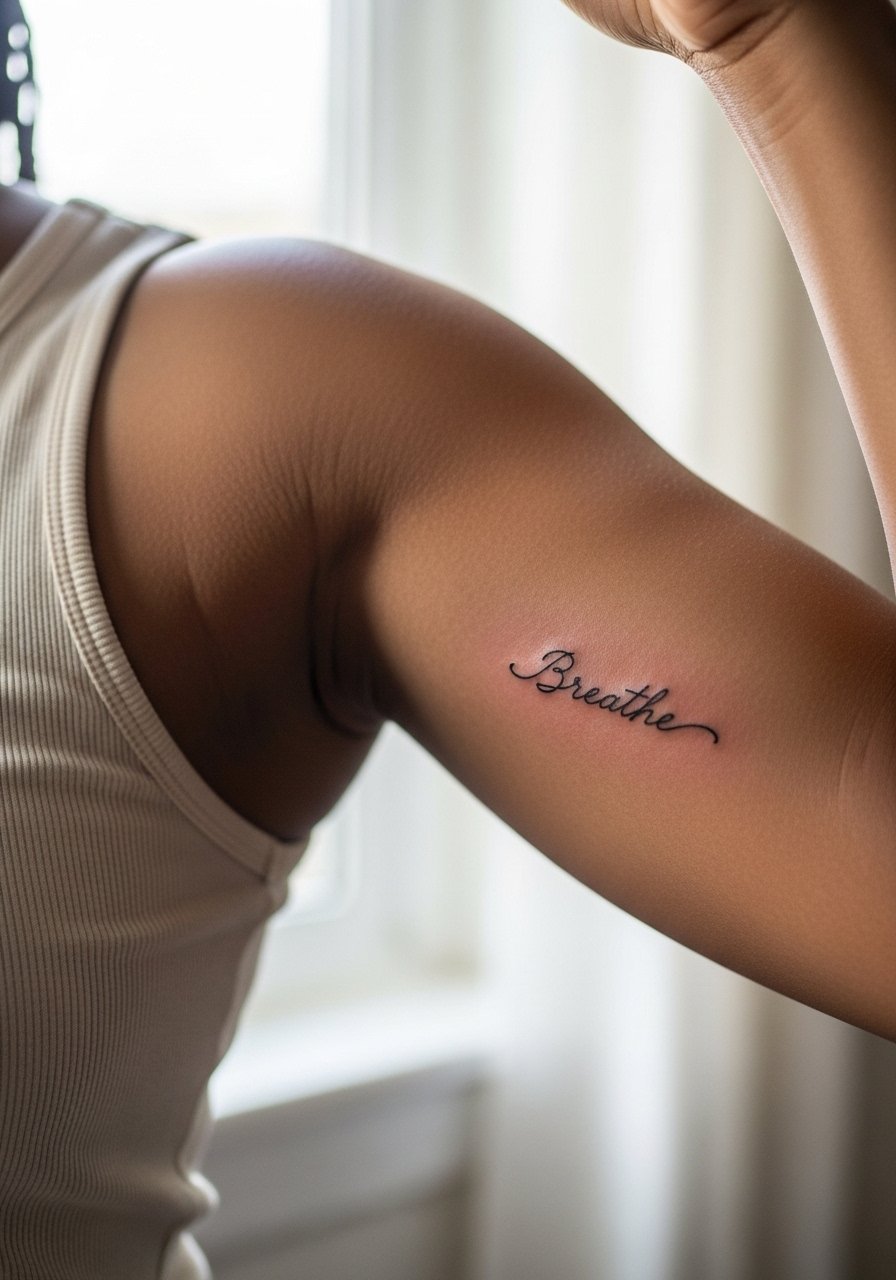
A curved script follows the anatomy well and reads like it belongs to the body instead of sitting on top of it. When consulting, show how the phrase sits when your arm is relaxed and when flexed. The biggest mistake is placing text that is too small or asking for overly condensed letterforms. Expect a prickly session but short overall time. At six months the letters should look crisp, at two years thin strokes may require a touch-up if you live in a high-friction area. For photos, a thin chain pendant necklace can frame the script without covering it.
4. Minimal Geometric Band That Wraps Slightly
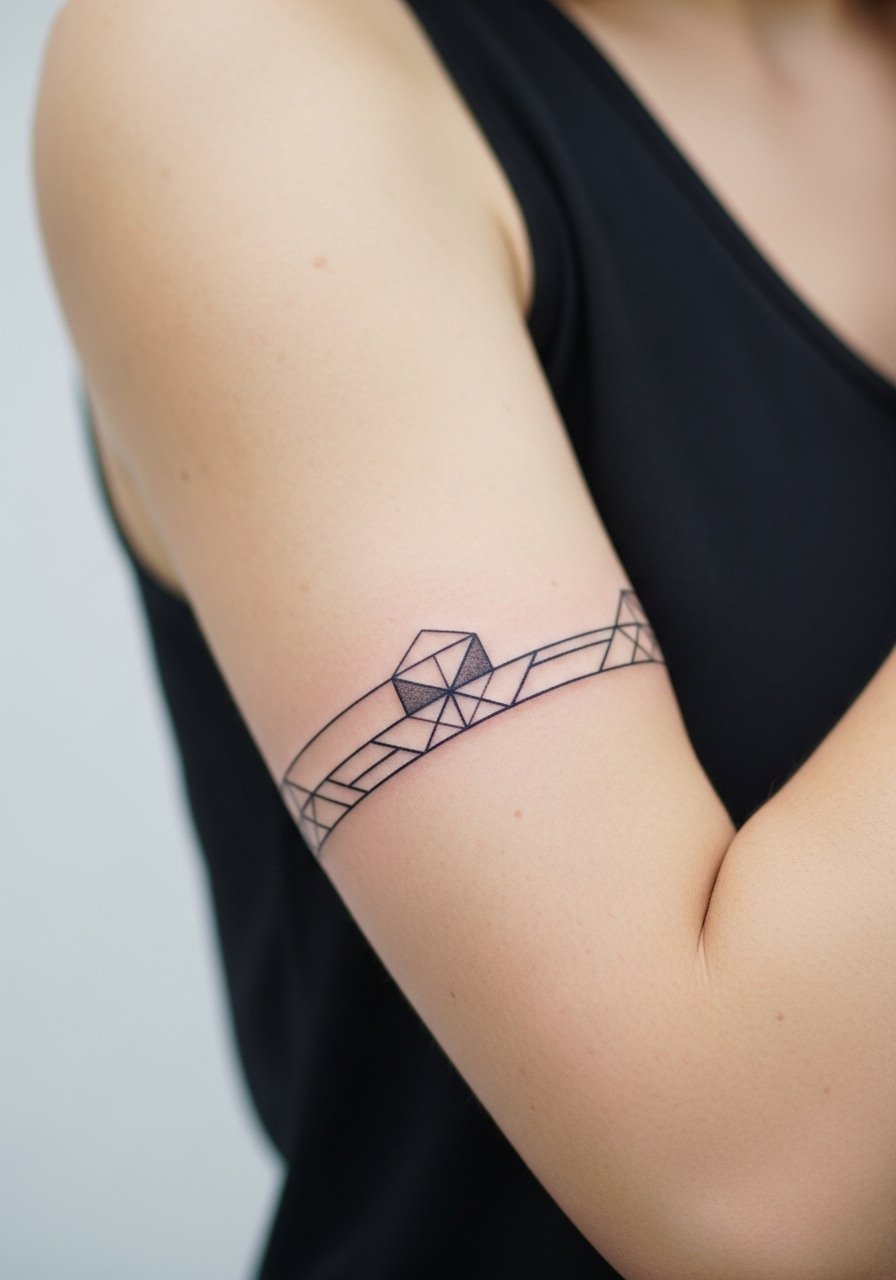
This is a modern take on a cuff that looks intentional on narrower arms. Ask your artist to space the negative areas wider than you think they need, so lines do not merge as the skin shifts. A common error is compressing the geometry too tight to mimic bracelet widths. Pain is tolerable but the session may chatter as the needle crosses the curve repeatedly. For daytime wear, rolled-up short sleeves or a loose linen shirt keeps the band visible and balanced.
5. Stipple-Shaded Moth Landing on the Inner Arm
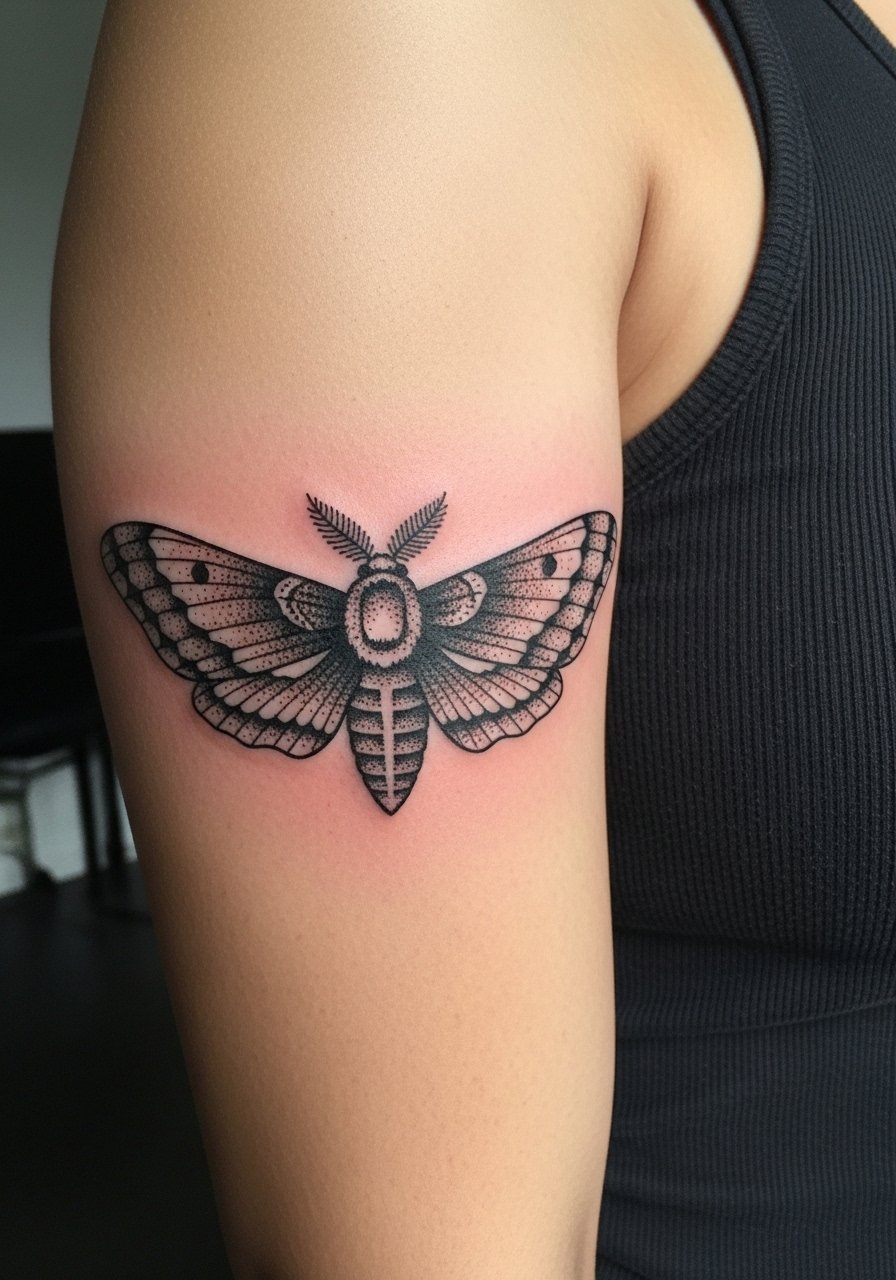
Stipple shading gives depth without relying on heavy saturation, which suits the inner bicep's sensitivity. Tell your artist you want concentrated dots for shadow under the thorax and lighter scatter toward the wing tips. The mistake is asking for heavy black fills rather than dot work, which leads to faster saturation loss in thin skin. Expect a medium pain level and a session that rewards patience. For styling, the moth pairs well with layered rings and a stacked dainty bracelets look when your arm is visible.
6. Small Portrait Silhouette in Low Contrast
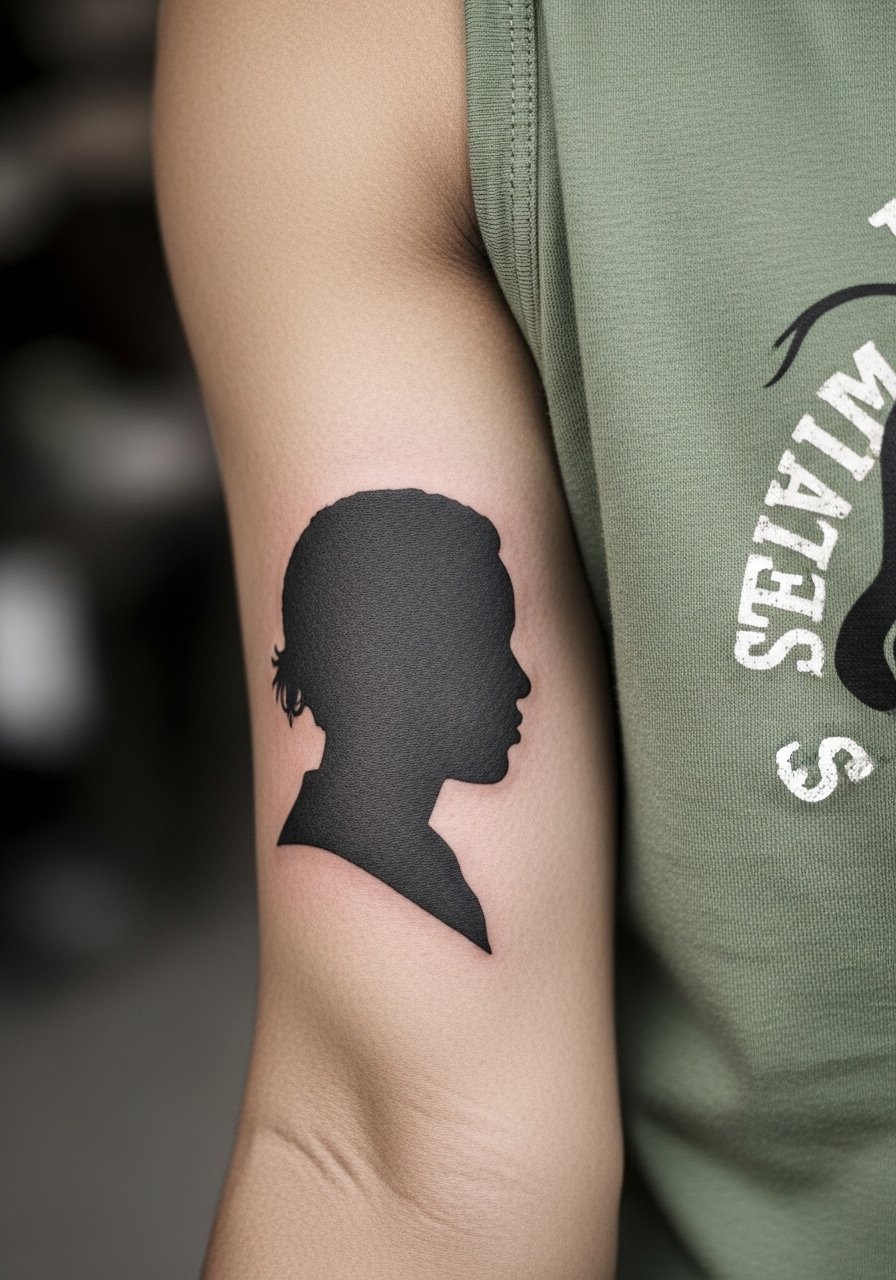
Portrait silhouettes on the inner bicep need simplified planes so they read at arm length. Ask for fewer tiny facial details and more clear contrast blocks. The common mistake is overworking tiny features, which melt together as the skin settles. Pain is moderate and sessions are short if the design is kept minimal. Plan a touch-up at around year three for contouring. For chair day wear, choose a loose drawstring linen pant so you stay comfortable through the session.
Pre-Session Essentials
The inner bicep pieces above vary between short single-needle sessions and longer stipple or micro-realism work, so a few targeted items smooth the appointment and the first week.
-
Stencil transfer paper kit. Helps preview linework placement on the curved inner arm before the needle starts, useful for script and band designs from ideas above.
-
Silicone adhesive pads. Keeps the inner bicep protected from friction during sleep when you have fresh single-needle or stipple pieces.
-
Fragrance-free gentle body wash. Cleans the area without stripping delicate linework, which is important for the fine-line and script examples above.
-
Thin breathable protective film roll. Useful for short coverage bursts after stipple or micro-realism sessions where moisture control matters.
-
Aquaphor healing ointment. A thin layer for the first few days helps maintain moisture on single-needle and black and grey pieces without suffocating the skin.
7. Blackwork Crescent With Negative Space

Bold blackwork on the inner bicep can age well if the shapes are simple and saturated evenly. My observation is that bigger black masses hold up longer than ultra-fine details in this spot. The main error is adding tiny interior filigree that blurs under compression. Expect a higher soreness level during the session because saturated passes are heavier. For nights out, this cuff reads well against a rolled-up sleeve linen shirt that keeps focus on the arc.
8. Botanical Half-Sleeve Accent Toward Elbow
This design borrows space and gives a longer visual flow down the arm. In consultation, map the exact high and low points so the cluster complements muscle movement. A common mistake is ending the composition abruptly at the crease, which can look awkward in photos. Pain and session time increase with size, and you should plan multiple shorter sittings instead of one long day. For wardrobe, a loose button-down shirt with sleeves you can roll makes it easy to show the progression without tugging the skin.
9. Geometric Mandala Wedge on the Inner Bicep
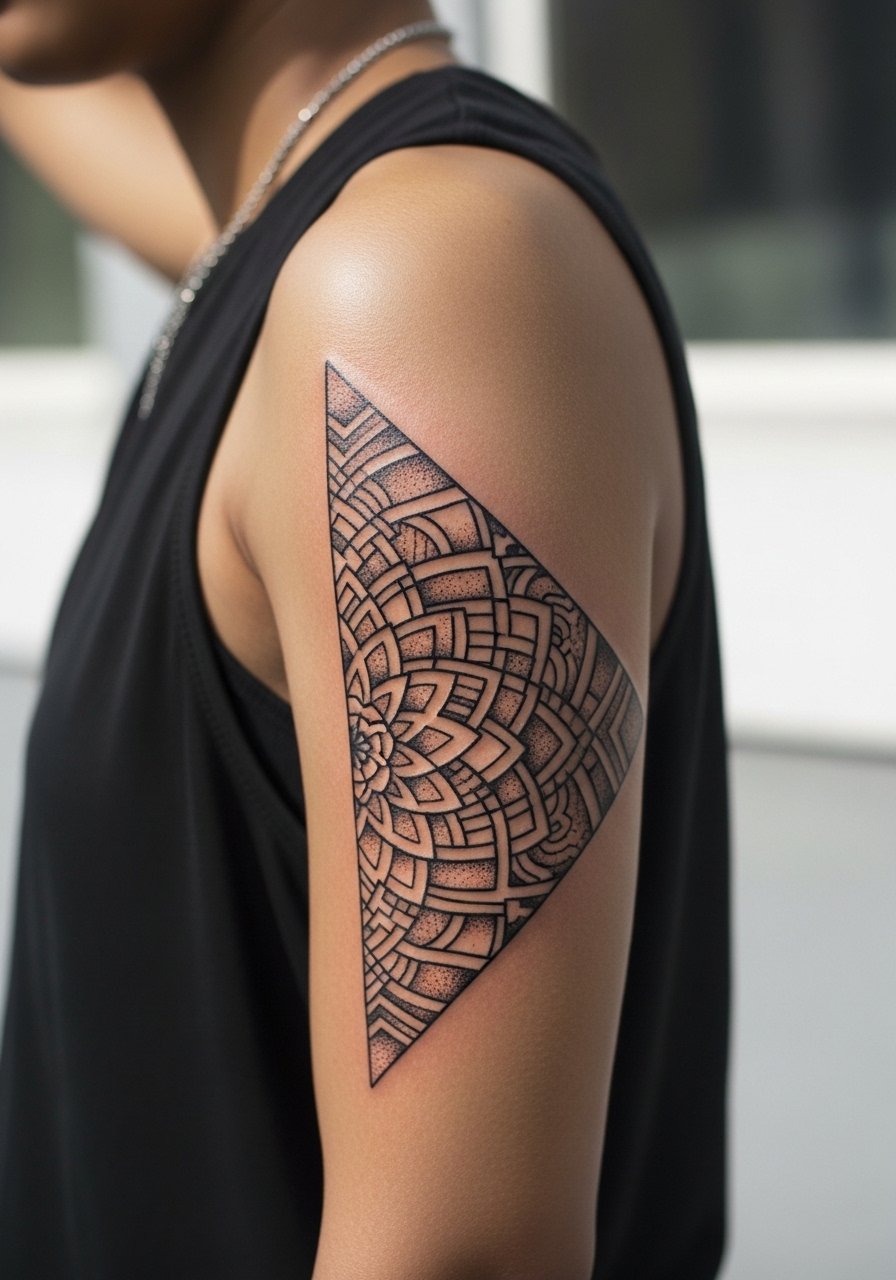
Geometric mandalas on curved areas split artists into two camps. One group says dense mandalas on thin skin blur within two years. The other group argues that with correct spacing and stipulated negative zones, they settle and keep structure. Be explicit in consults about spacing and ask for an artist comfortable with stipple shading and whip shading to maintain crispness. The typical mistake is squeezing too many concentric rings into a small wedge. Expect a medium to high patience requirement for the session. For wearing, a open-back midi dress lets the arm rest naturally while showing the design.
10. Tiny Celestial Cluster Near the Inner Bicep Crease
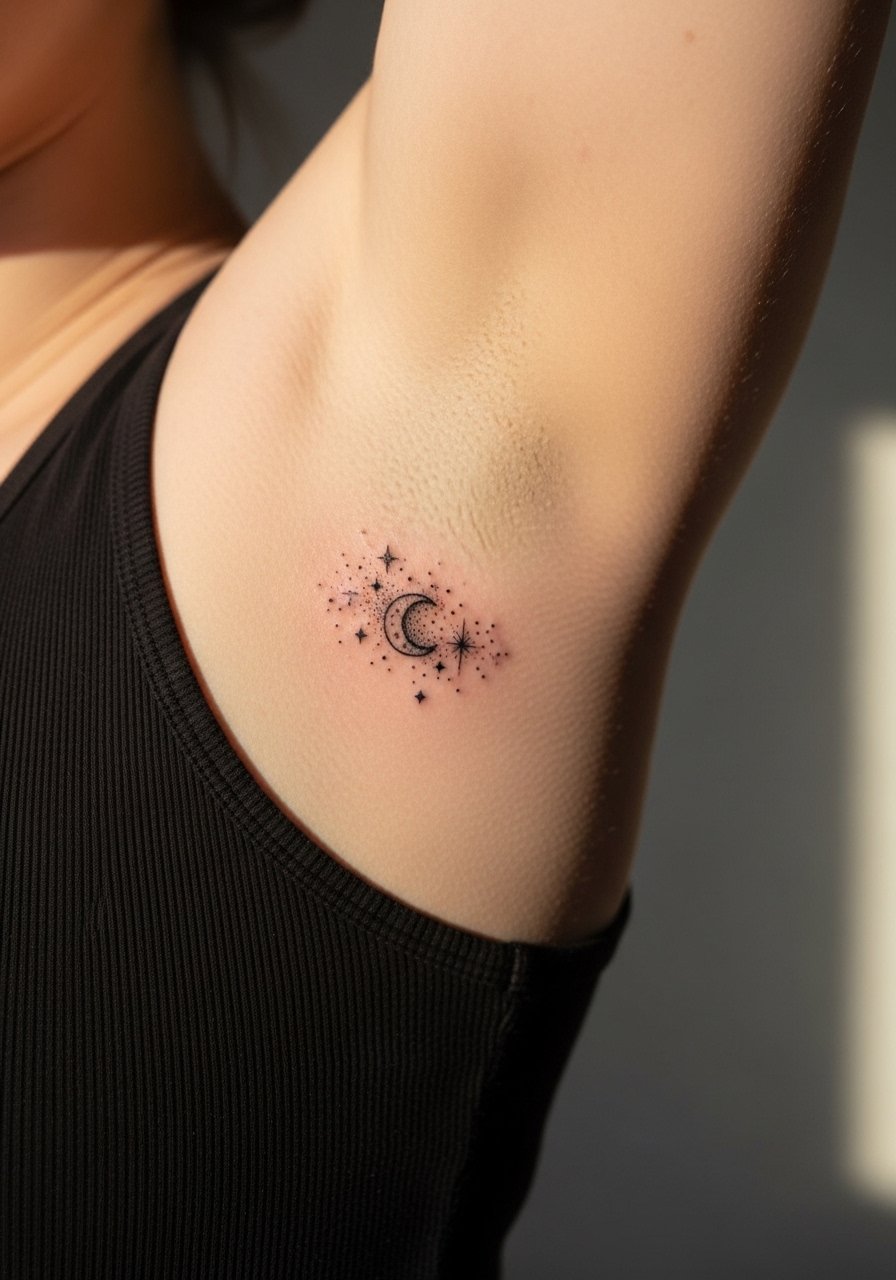
Small celestial clusters read as charming accents when placed just above the crease. Ask for slightly bolder moon edges so the silhouette remains clear after the skin relaxes. A common mistake is making the stars too close together, which leads to merging in a few years. This is a short, punchy session with moderate discomfort for the inner arm. For photos, pair with a thin chain pendant necklace that complements the celestial theme without drawing focus away.
11. Linework Portrait of a Single Leaf
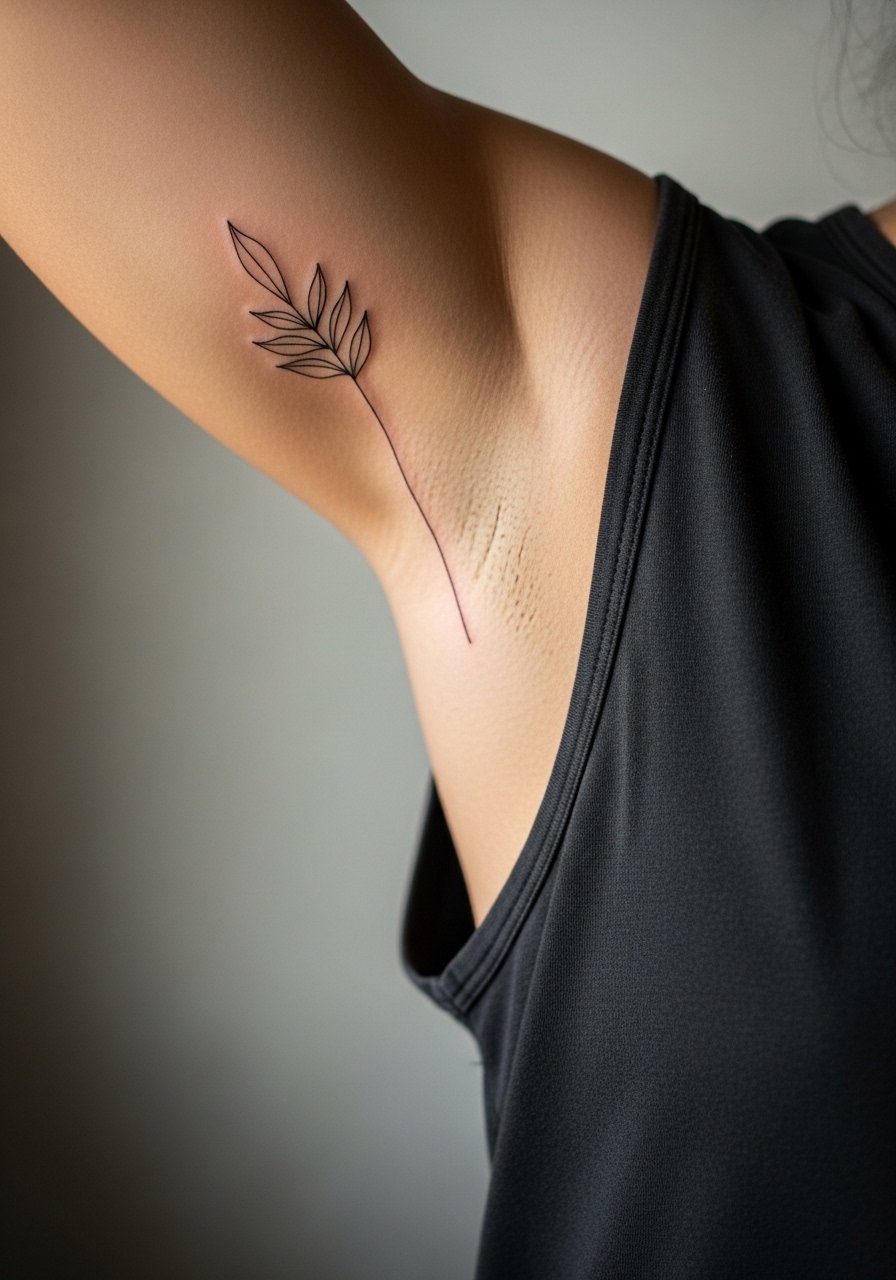
A single-leaf linework piece depends on confident single-needle passes and steady spacing. Tell your artist you prefer slightly stronger stems and a touch of stipple at the base for longevity. The mistake is asking for ultra-fine continuous one-line details that become faint with time. Pain is manageable because it is small, but the session needs steady hands and breaks for accuracy. For everyday wear, this pairs nicely with rolled sleeves and a stacked dainty bracelets arrangement that does not crowd the inner arm.
12. Ornamental Lace Panel With Dot Work
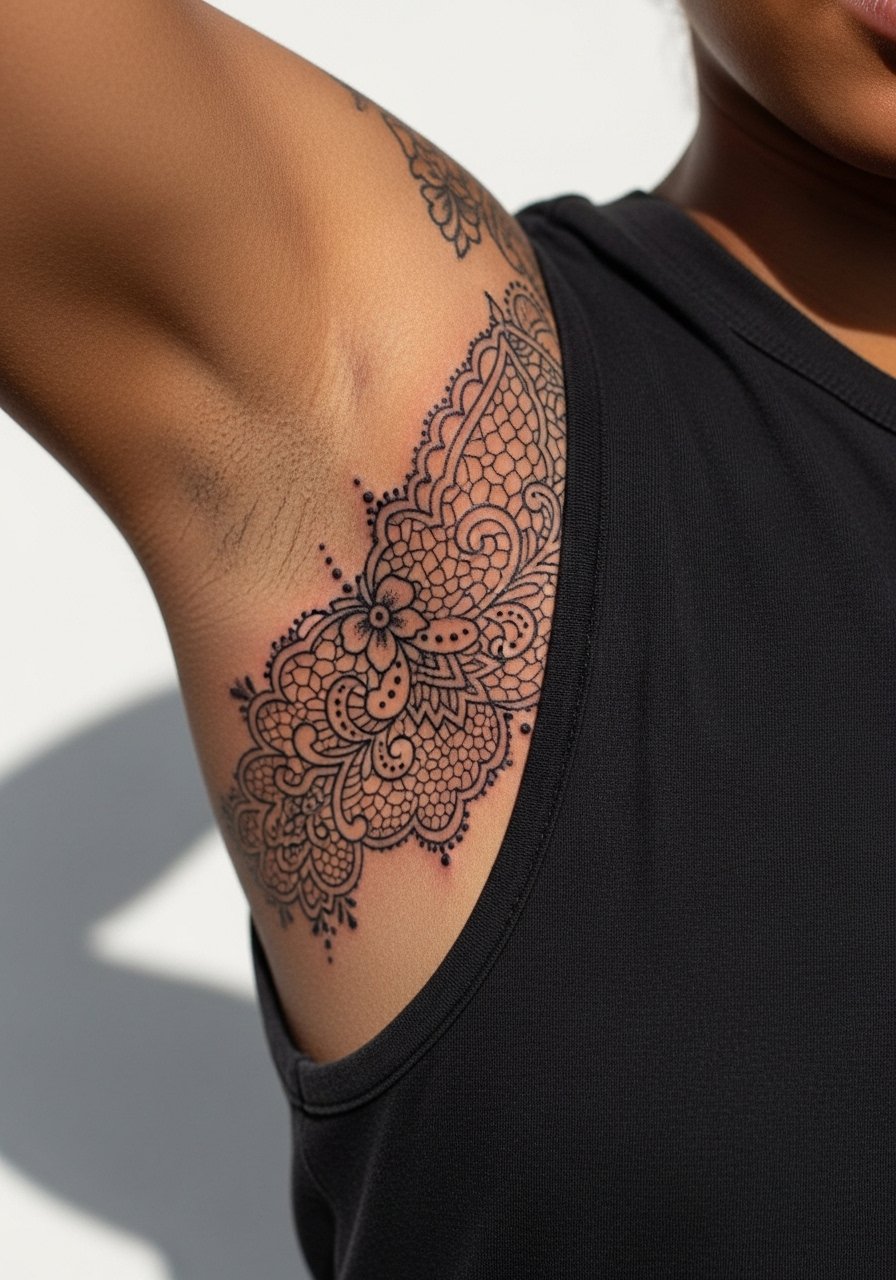
Lace panels look intricate but need breathing room to avoid turning into a blur. When discussing the piece, ask the artist to prioritize larger cutouts within the pattern so the negative space preserves the lace feel. Common mistakes are cramming tiny filigree too close together and expecting that to read forever. Sessions can be longer given the detail, and touch-ups at year two are common. For styling, an open-back top or strap detail keeps the inner bicep visible without distraction.
13. Anchor Dot Work With Subtle Shading
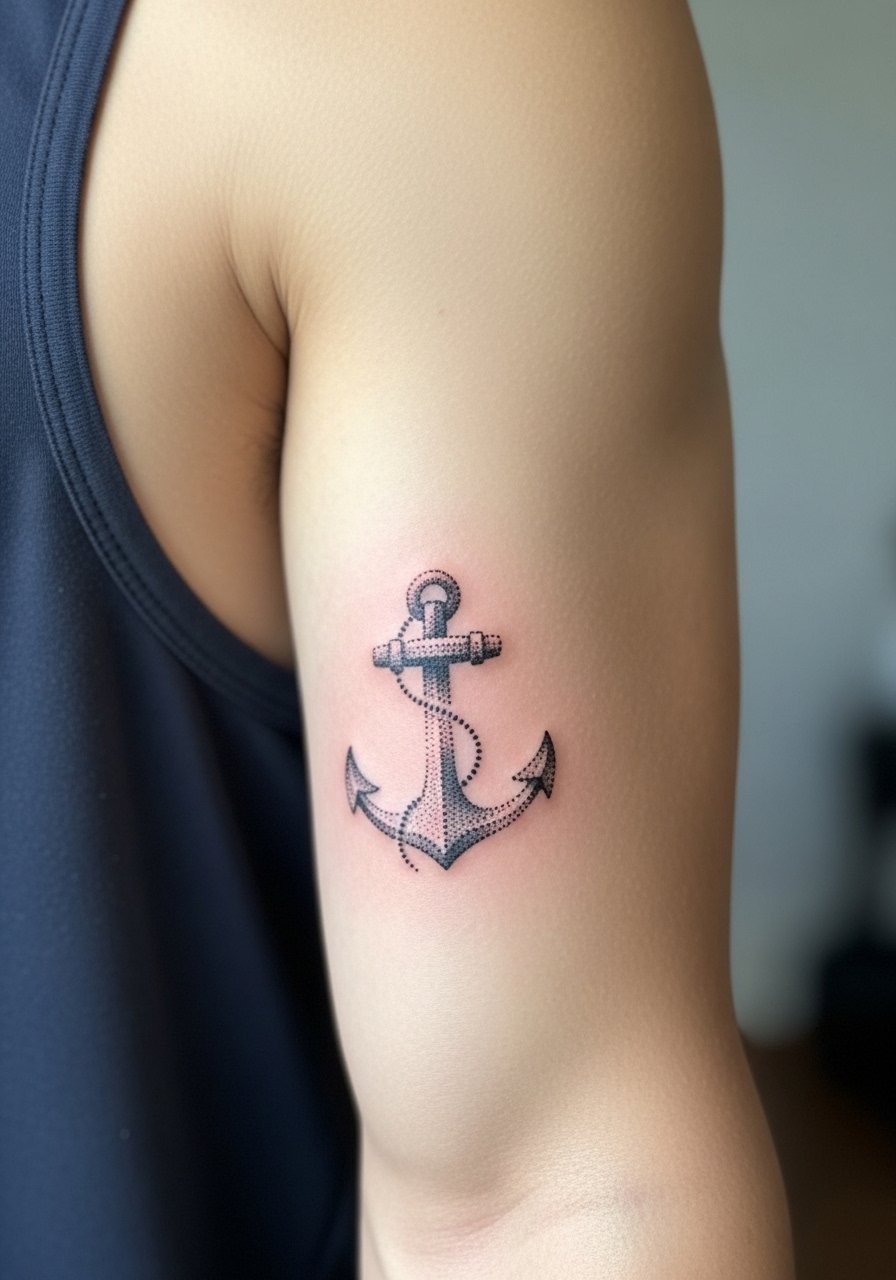
This nautical mini fits someone who wants symbolic work without a full sleeve commitment. Ask for concentrated stippling around the anchor base to keep the silhouette defined as saturation softens. The biggest misstep is asking for too many tiny surrounding motifs that compete with the main form. Pain is brief and manageable. This design photographs well with a rolled sleeve and a racerback tank for casual looks.
14. Curved Wave Line That Moves With the Muscle
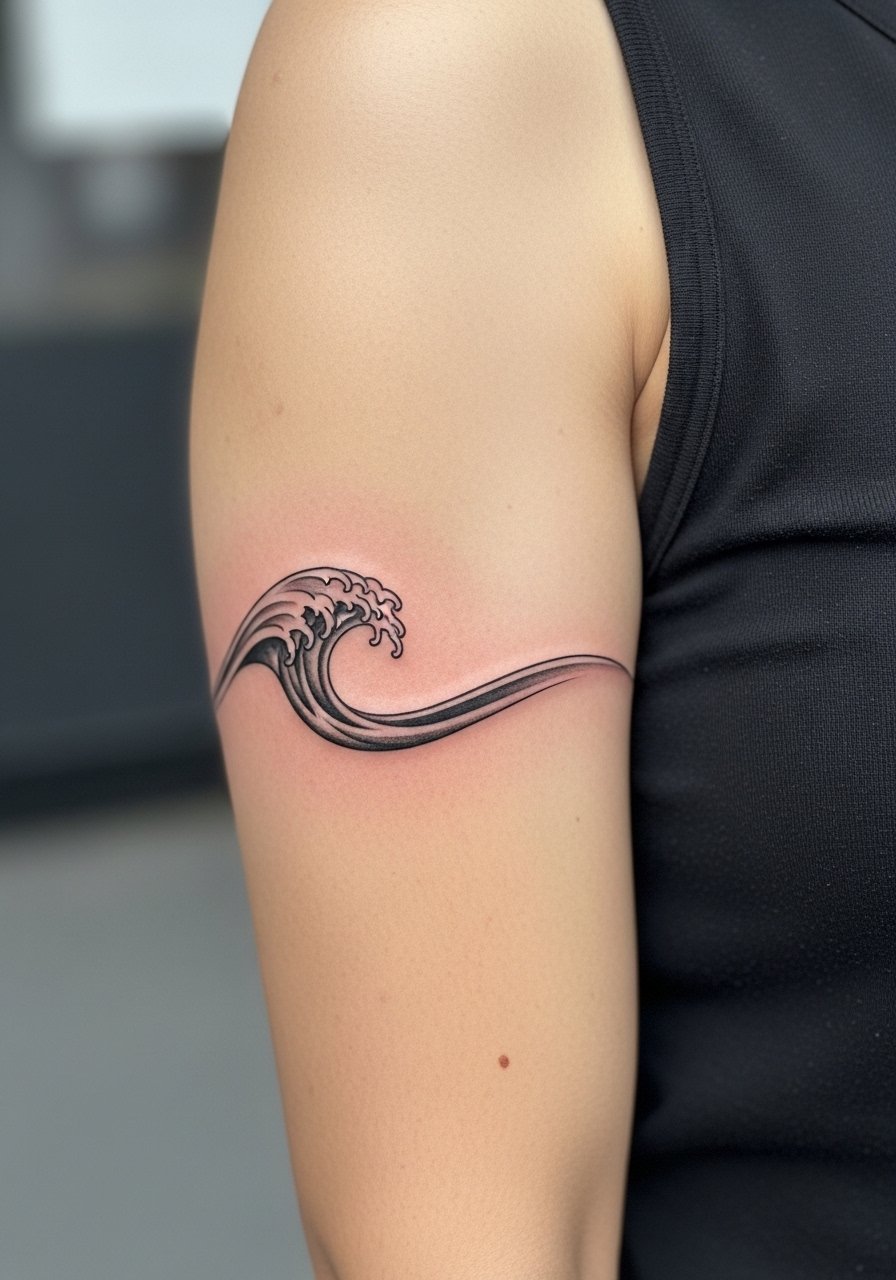
Lines that follow muscle curvature look intentional and dynamic. During consult, test the stencil under different arm positions so the wave reads correctly at rest and in motion. A common error is placing a straight design on a curved plane, which warps when the arm moves. Pain is low to moderate and session time is short. For styling, short sleeves or cuffed shirts frame the flow without concealing it.
15. Small Animal Silhouette in Low Saturation
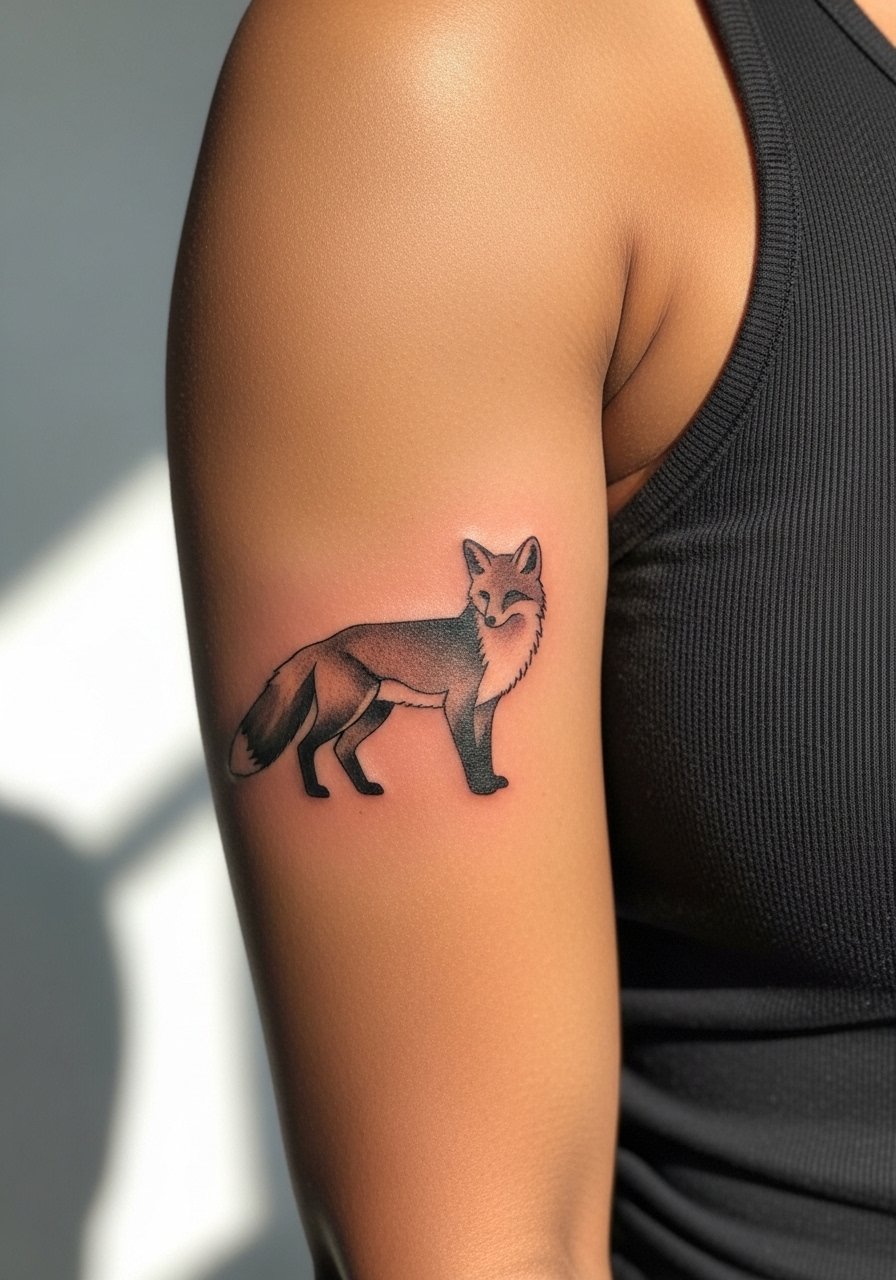
Animal silhouettes work well when simplified into bold shapes rather than detailed faces. Tell the artist to focus on a clean outer contour and save interior detail for a possible later touch-up. The mistake is crowding internal features that disappear as the skin settles. Expect a short session with concentrated passes and a likely touch-up at around year three. For showing it off, combine with minimalist rings rather than heavy bracelets that could distract.
16. Asymmetric Floral With Negative Background
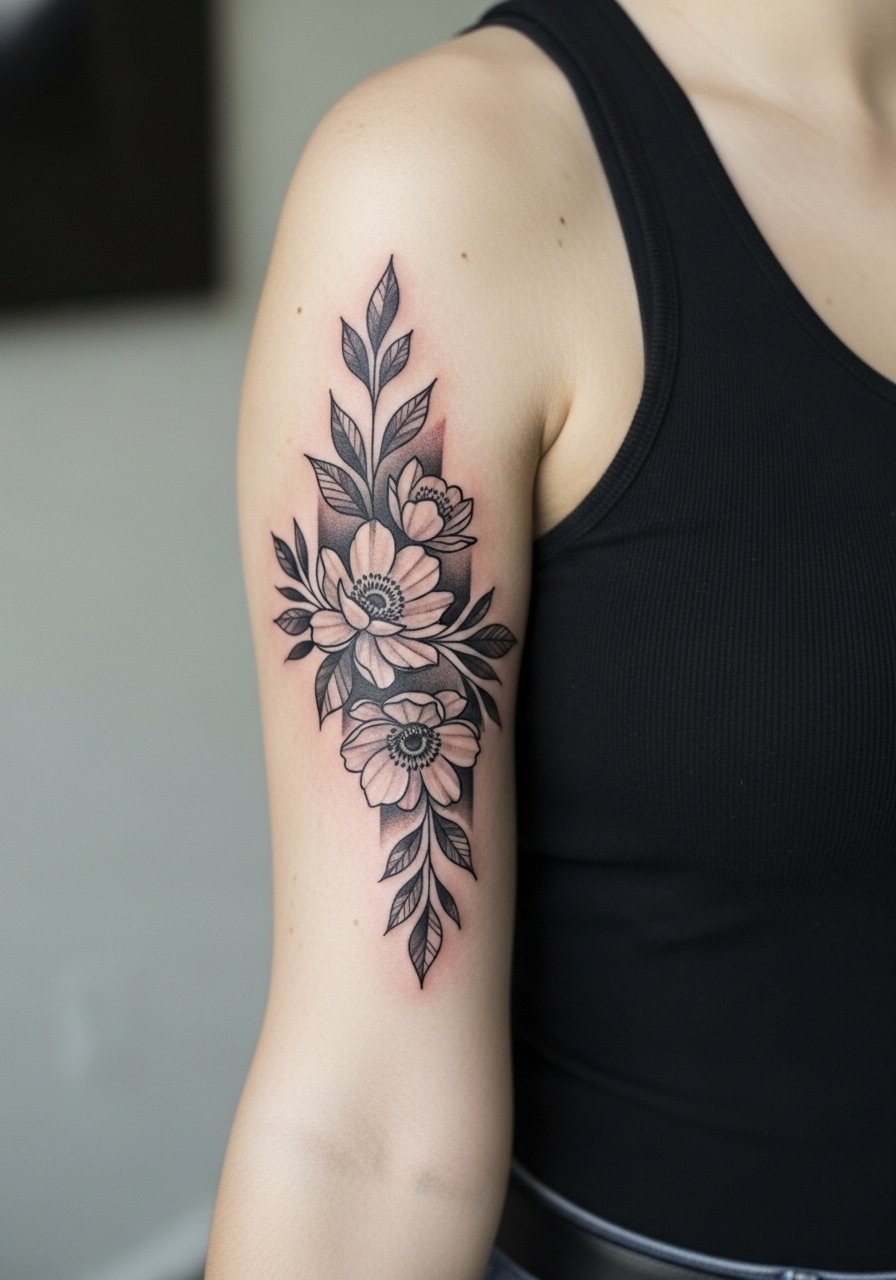
Asymmetric compositions let the design breathe on the inner arm while playing with negative space. During consultation, mark the negative zones so the artist knows which areas to leave untouched. A frequent mistake is filling those gaps too early in the process. Sessions can be staged, adding layers after the first healing to maintain clarity. For an evening look, a open-back midi dress keeps the arm visible while letting the piece read with contrast.
17. Tiny Coordinate Numbers in Monospace

Coordinates are simple but precise. Specify the exact characters and spacing in the consult so the stencil matches what you expect. The mistake is asking for extremely small type that becomes uneven once healed. Pain is minimal and the session is quick, but expect a touch-up if you want the lines razor-thin. For pictures, a thin chain pendant necklace sits above the numbers without competing.
Frequently Asked Questions
Q: Will fine-line inner bicep tattoos blur faster than bolder black and grey pieces?
A: From what I've seen, fine-line work generally requires more touch-ups than bold black and grey because the skin on the inner arm is thin and moves a lot. If you want longevity, discuss slightly increased line weight and spacing with your artist so negative space has room as the tattoo settles.
Q: How should I dress for an inner bicep session to keep the area accessible and comfortable?
A: Wear a tank top or a loose button-down shirt you can pull aside without tugging. That lets the artist access the inner upper arm without awkward repositioning and keeps you comfortable throughout the session.
Q: Are there placements or designs you would avoid on the inner bicep because of blowout risk?
A: Tiny dense script and extremely tight geometric patterns increase blowout risk in this spot. For those designs one camp of artists suggests avoiding the area entirely while another camp will accept the challenge with modified spacing. Ask the artist where they stand and review healed portfolio pieces on similar skin tones.
Q: How does healing differ for stipple shading versus solid black on the inner arm?
A: Stipple and dot work often scab finer and can retain texture better because they rely less on solid saturation. Solid black can look great but needs even passes to avoid early patchiness. Either way, expect flaky skin in days three to seven and keep the area protected from heavy friction.
Q: If I want a portrait or detailed micro-realism, what should I ask the artist for in the consultation?
A: Ask to see healed micro-realism on inner arms and request simplified shadow blocks rather than tiny facial detail. Plan for multiple short sessions and budget for a touch-up at one to three years depending on how dense the shading is.
Q: Do cultural designs like mandalas need special consideration on the inner bicep?
A: Yes. These motifs have lineage and meaning for many communities, so consider seeking a version that honors the pattern without copying sacred or ceremonial pieces directly. Subtle variation and a conversation about intent with your artist helps avoid unintentional appropriation.
