
Fine line cheetah spots look incredible online, but they do not always age the way the staged photos suggest. Tiny clusters that read delicate at first often blur, while well-spaced blackwork keeps its rhythm for years. Read these 21 cheetah print tattoo directions that balance fresh impact with realistic healing, plus practical wardrobe notes so your new spots look intentional from day one.
1. Neo-Traditional Cheetah Forearm Band
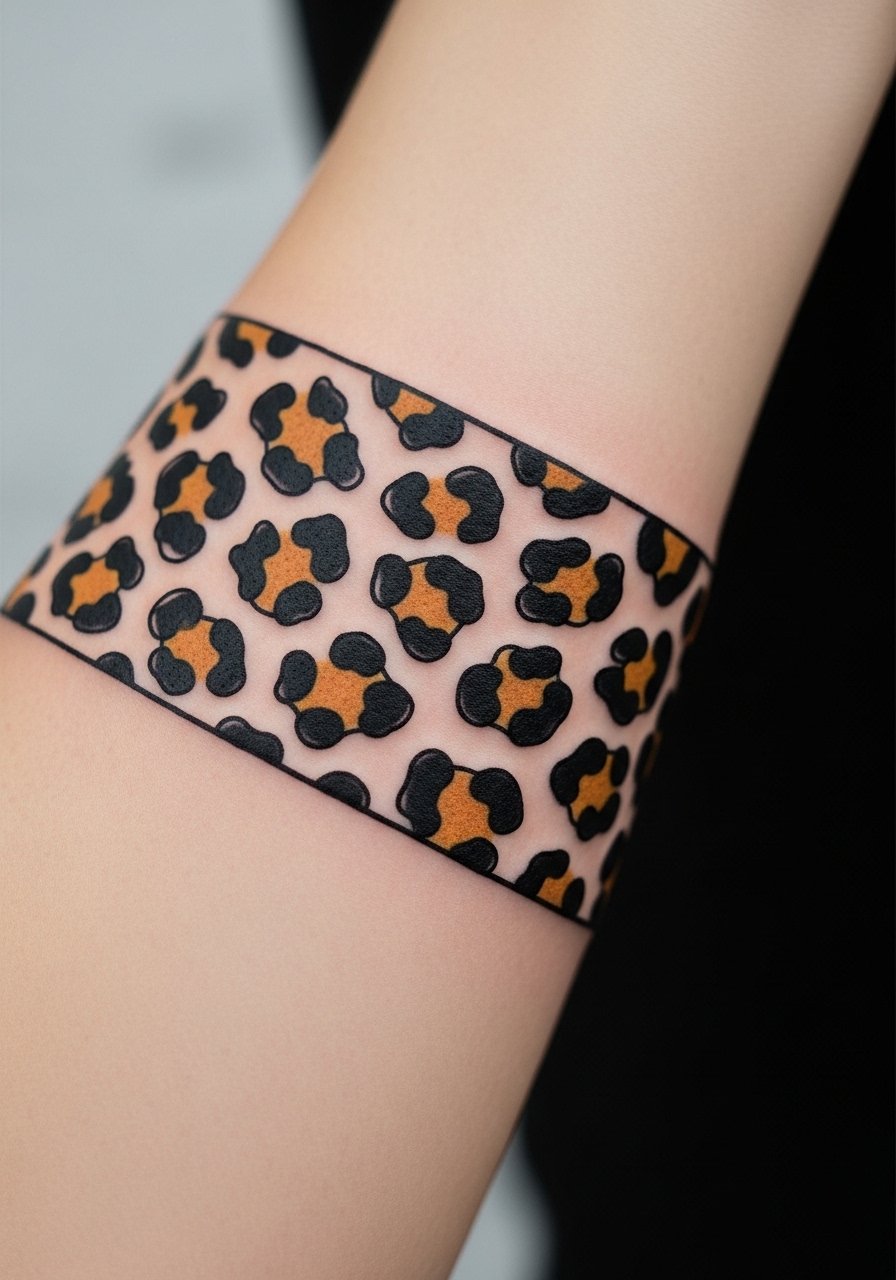
I see this one on repeat in consults because the forearm band reads like fashion without committing to a sleeve. Tell your artist you want strong outer outlines and room between spots so the pattern breathes when your arm flexes. Pain is mild and sessions are short, usually one to two hours. Common mistake is asking for overly tiny spots that blur into a patch; ask for 4–6 inch band width and medium spot spacing. For showing it off, pair with a fitted black tank top or a leather cuff bracelet to frame the color.
2. Minimalist Wrist Spot Cluster
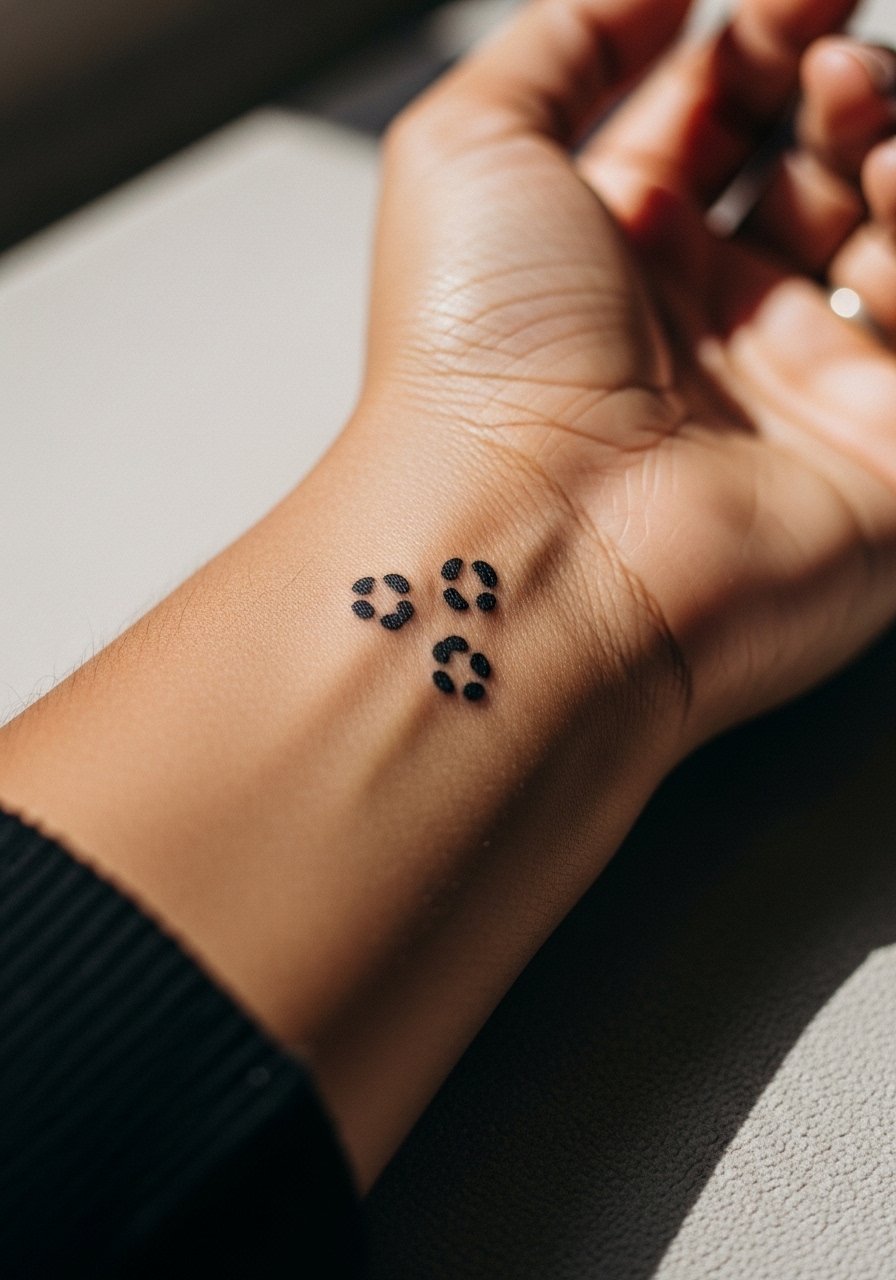
Wrist spots are one of the friendliest first tattoos but demand a specific plan. Ask for thicker single-needle outlines rather than whisper-thin lines so the spots keep shape on frequent-wash areas. Expect low to moderate pain and a single short session. There is a clear debate about fine line longevity here. One camp says fine line on wrists fades fast and needs touch-ups at year two. The other camp says with correct depth and spacing fine line can hold up. Ask your artist where they stand and for healed examples on similar skin tones before booking. For accessorizing, stack a thin gold bangle set on the opposite wrist so the spots peek when you move.
3. Realistic Thigh Wrap That Hugs Curves
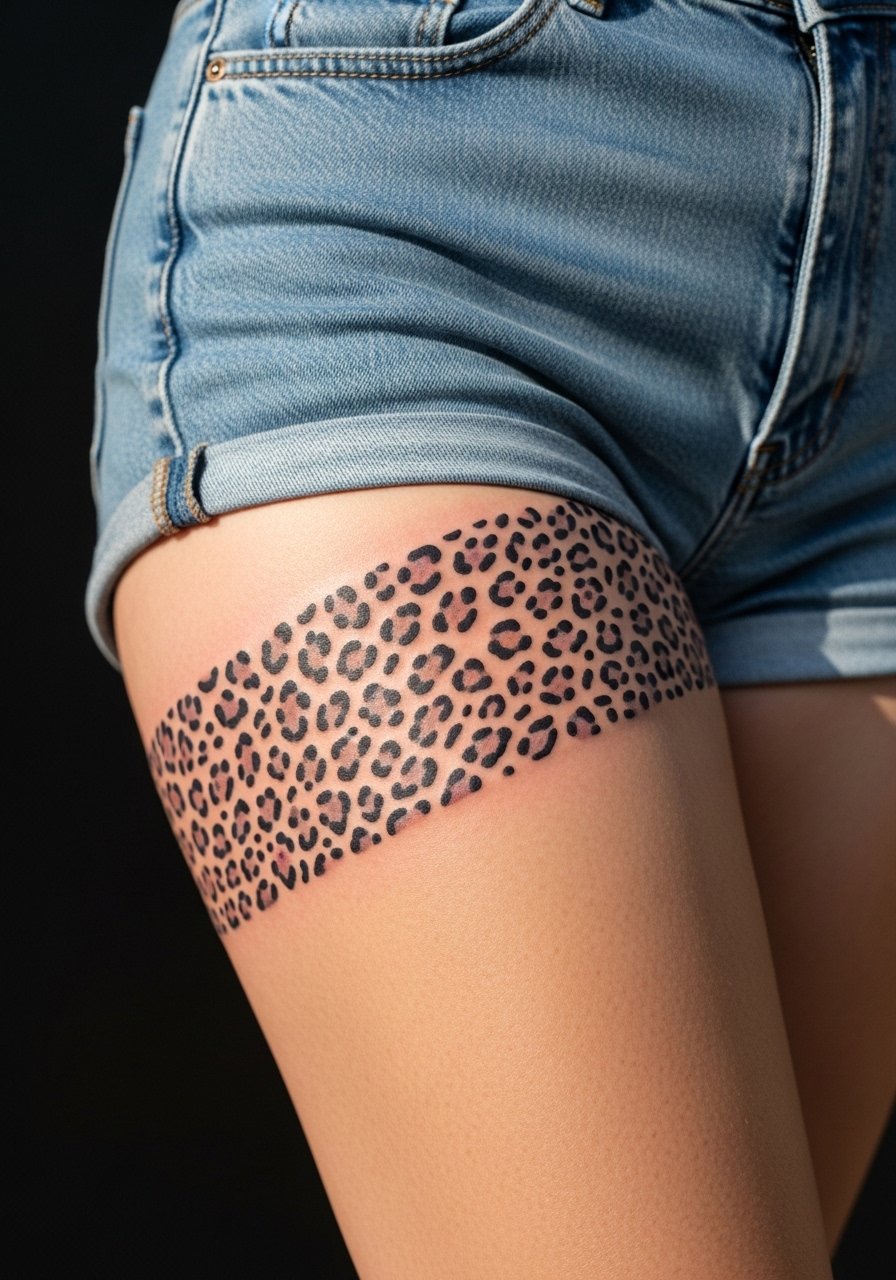
Thigh wraps play with body curves and look sensual when the spots follow the muscle lines. Tell your artist you want the pattern to elongate with the thigh, not sit in rigid rows. Expect moderate pain, two sessions for color gradients, and better longevity because thigh skin sees less sun. A common regret is wrapping too tight around the widest point, which can distort with weight change. For nights out, pair the wrap with high waisted denim shorts or a neutral mini skirt to show the arc.
4. Neo-Traditional Cheetah Head on the Shoulder
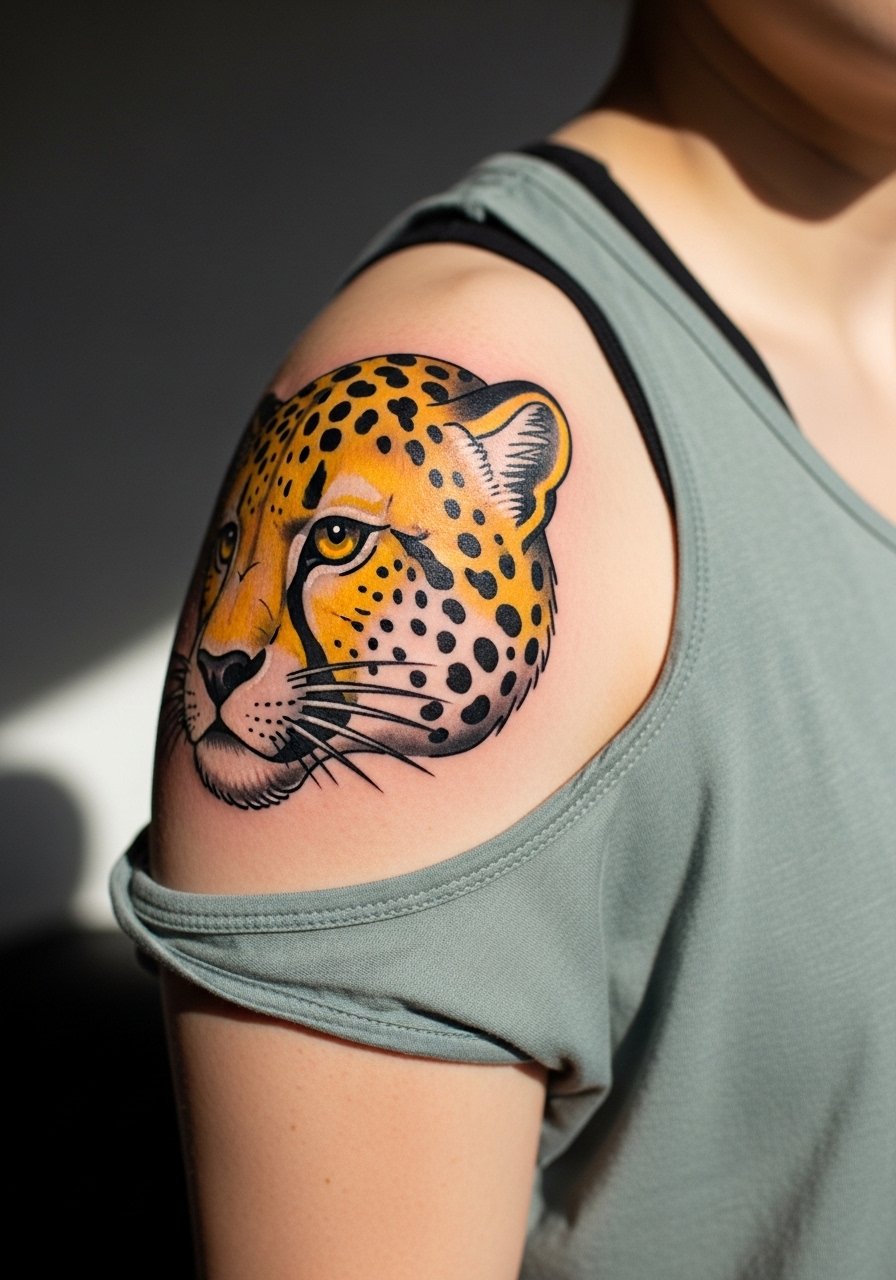
A cheetah head gives symbolic speed and grace through stylized linework and saturation. For this shoulder piece, ask for solid color saturation and slightly thicker linework so the shapes do not wash out in two years. Session time is generally one long sitting or two short sessions depending on color. Mistakes to avoid are over-detailing the fur; neo-traditional reads best with confident shapes, not tiny hairlines. For the session wear, pull on a loose button-down shirt or a tank so the artist has clean access and you stay comfortable.
5. Blackwork Cheetah Ribcage Panel
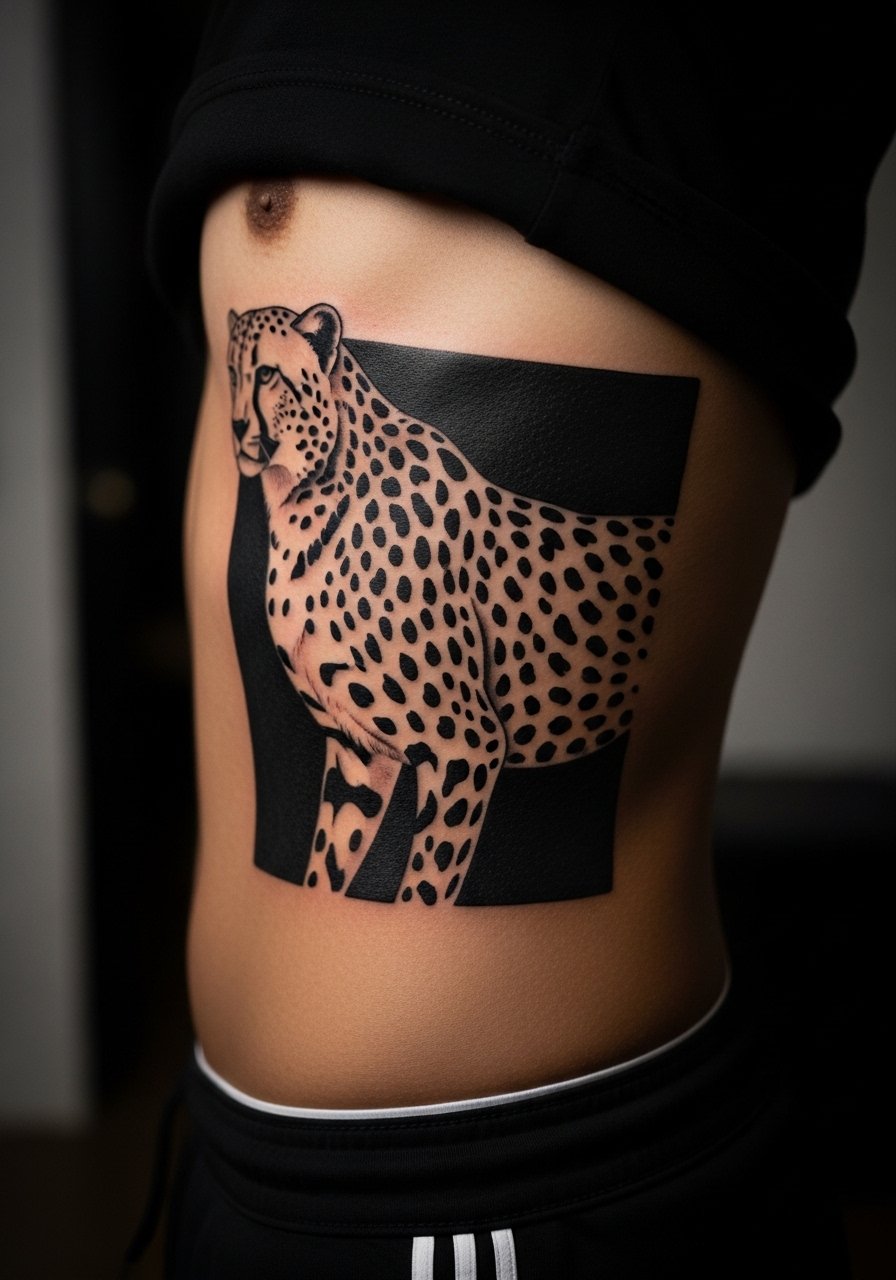
Rib panels read dramatic and hide easily under clothing, but ribs are among the more painful placements. Expect multi-session work and periods of soreness when breathing deeply. There is a split on healing methods. One group swears by sealed films for cleaner heals while another says dry healing avoids trapped moisture under film. Name both camps with your artist and ask which method they use on patterned work. The biggest technical error is packing too many solid areas without clean negative space, which makes the pattern read muddy on motion. For the session, wear a loose tank top you can pull up so only the rib zone is exposed.
6. Watercolor Ankle Wrap with Soft Bleed
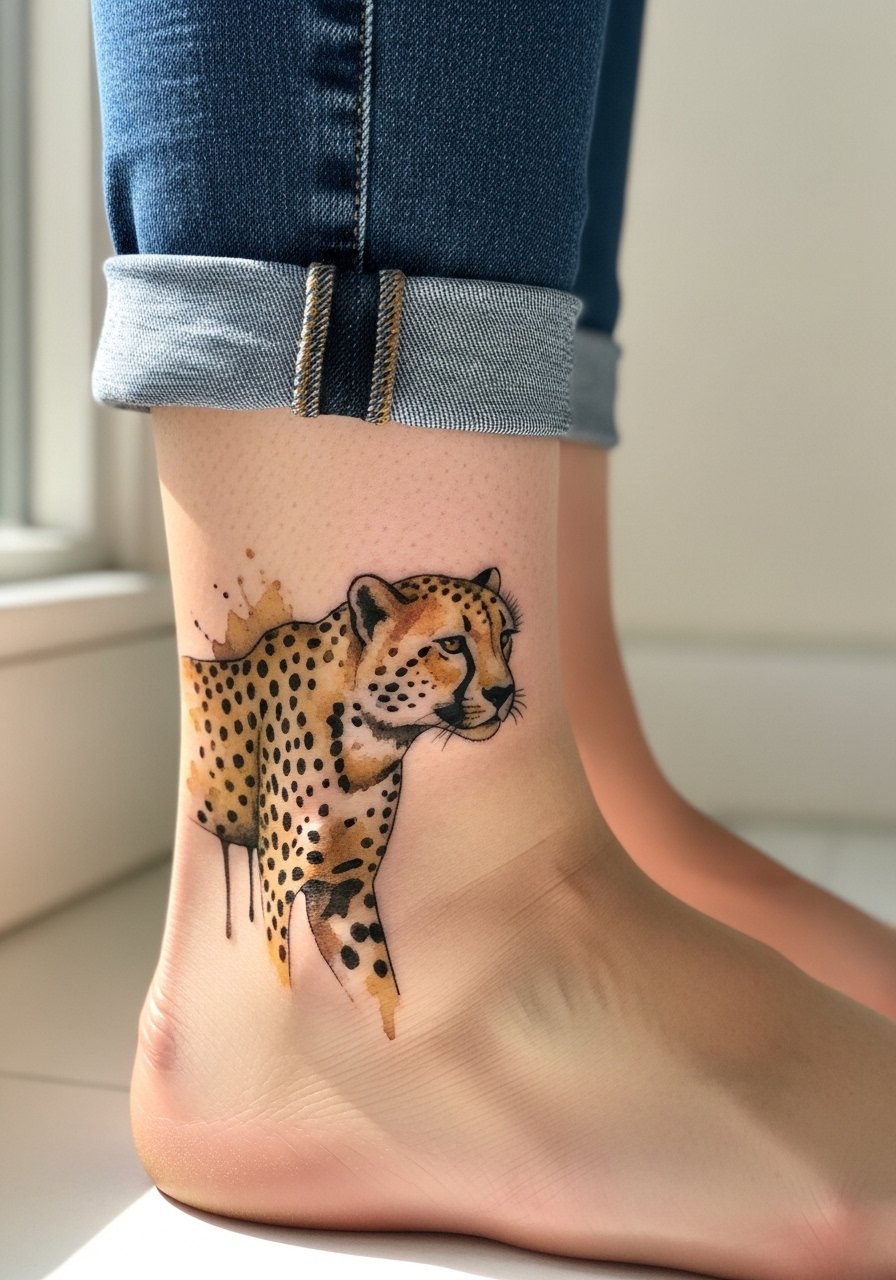
Ankle wraps feel playful and heal faster because they are small, but they are exposed to boots and socks enough to need attention during healing. Ask for softer edges and diluted washes rather than dense fills so the design keeps that painterly look without turning into a dark blob. Pain is low to moderate and most artists finish this in a single session. A common issue is wearing tight socks too soon, which rubs scabs. For summer show-off looks pair with strappy heeled sandals or cropped jeans so the wrap is visible.
7. Ornamental Spine Cascade
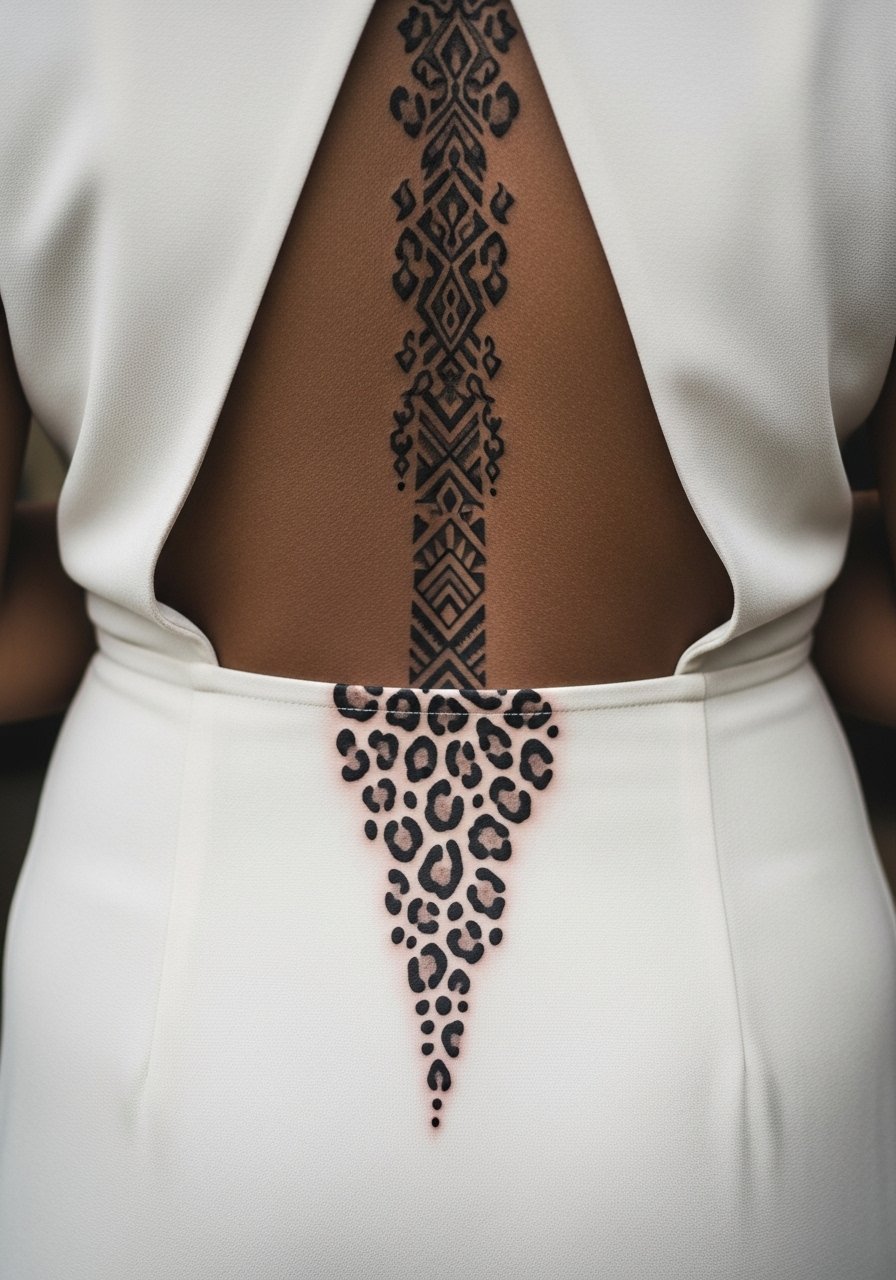
A spine cascade uses negative space and geometry to elongate the back and flatter posture. These take several sessions and require precise symmetry. Pain is variable along the spine, with the vertebrae zones being more sensitive. The common mistake is underestimating vertical spacing, which leads to a cramped cascade after healing. If you want a long-term look, discuss touch-up timing at six months and plan for three sessions. Pairing this design with open-back dresses or halter tops makes the flow intentional.
8. Ignorant-Style Cheetah Claws on the Hand
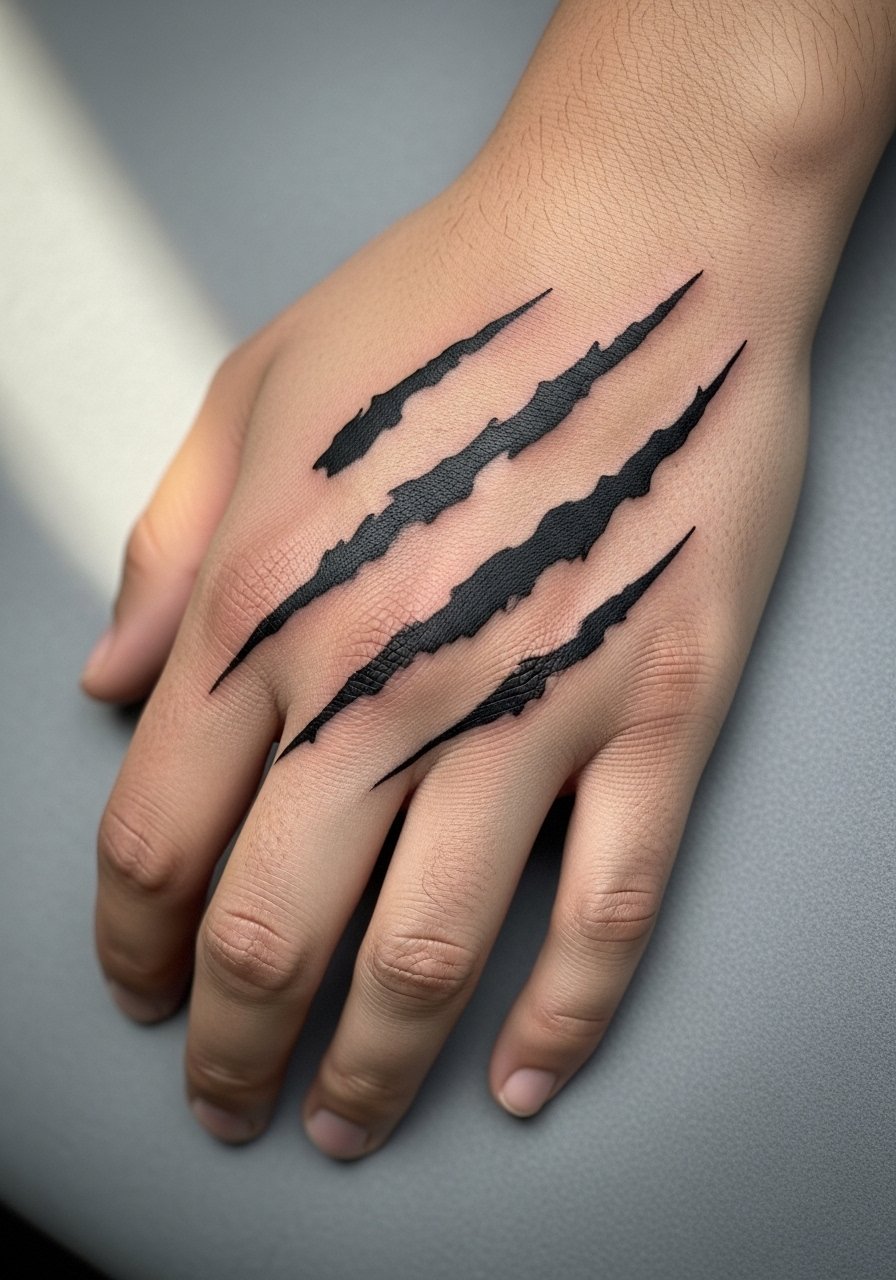
Hand tattoos are edgy and visible, which means they tolerate less subtlety and demand bold linework to survive daily washing. Expect high visibility and moderate to high pain with faster wear over time. A typical error is asking for fine details on the hand; thick confident marks age better. Keep in mind some employers still have conservative views on hand ink, so consider the career impact. Schedule touch-ups more often for hands than for limbs.
9. Fine Line Cheetah Silhouette on the Calf
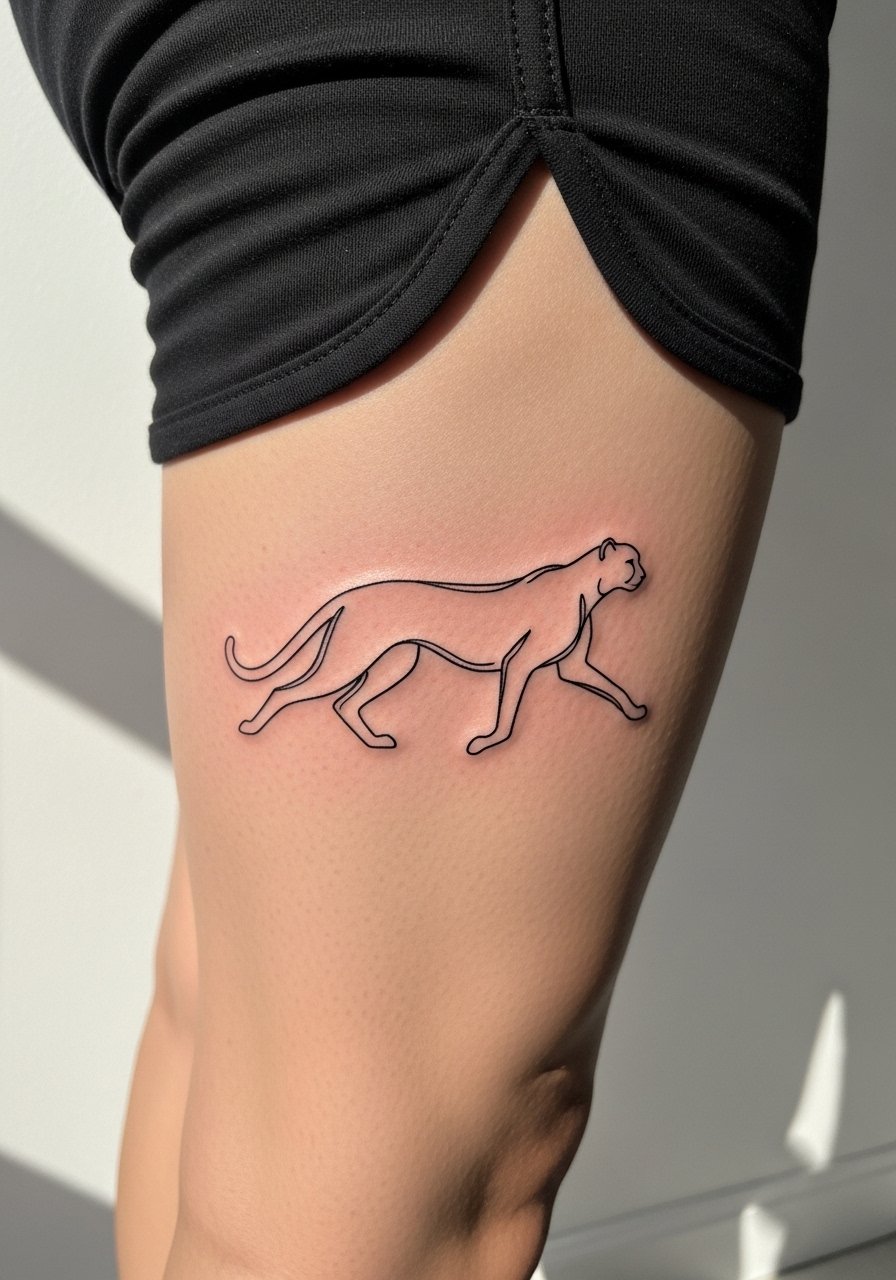
Calf placements are forgiving for fine line because they see less daily abrasion and sun. Request slightly heavier single-needle work and ask your artist for a healed-on-similar-skin-tone sample to avoid muddying. Pain is low to moderate and sessions are quick. The most common mistake is cramming too many tiny spots into a compact vertical space. For casual wear roll up bootcut jeans or throw on athletic shorts so the silhouette stays visible.
10. Patchwork Upper Arm Sleeve Start
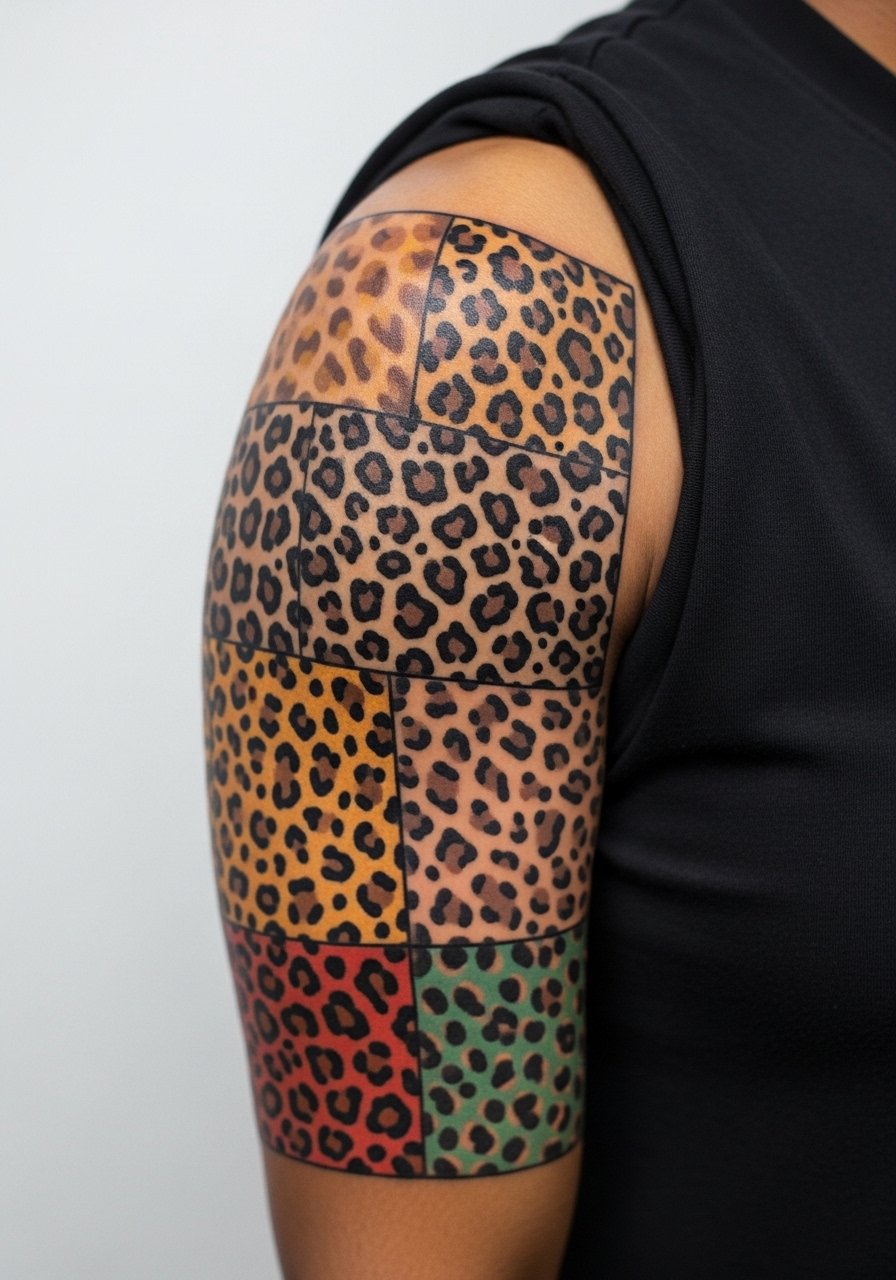
Patchwork sleeves are built over time and work well if you want modular additions. Plan each panel to interact with the next, and tell your artist the future pieces you may want so scale and spacing match. Sessions are spread across multiple bookings so schedule deposits and backups in case a guest artist cancels. A common mistake is not planning negative space, which makes later additions fight existing work. For early show-off wear roll sleeves up and layer with a khaki muscle tee to keep panels readable.
11. Traditional Cheetah Heart on the Chest

Chest pieces read classic and pair with vintage pin-up energy without being literal. Session-wise you can expect two shorter sittings for crisp color saturation. The big mistake is placing the heart too low where it interferes with shirt lines, which can hide the design unintentionally. If you plan to show this off, an off-shoulder top or a wide-neck shirt works well. Remember chest work stretches slightly with body changes, so discuss sizing for 10–20 percent fluctuation.
12. Black and Gray Realism Collarbone Spots
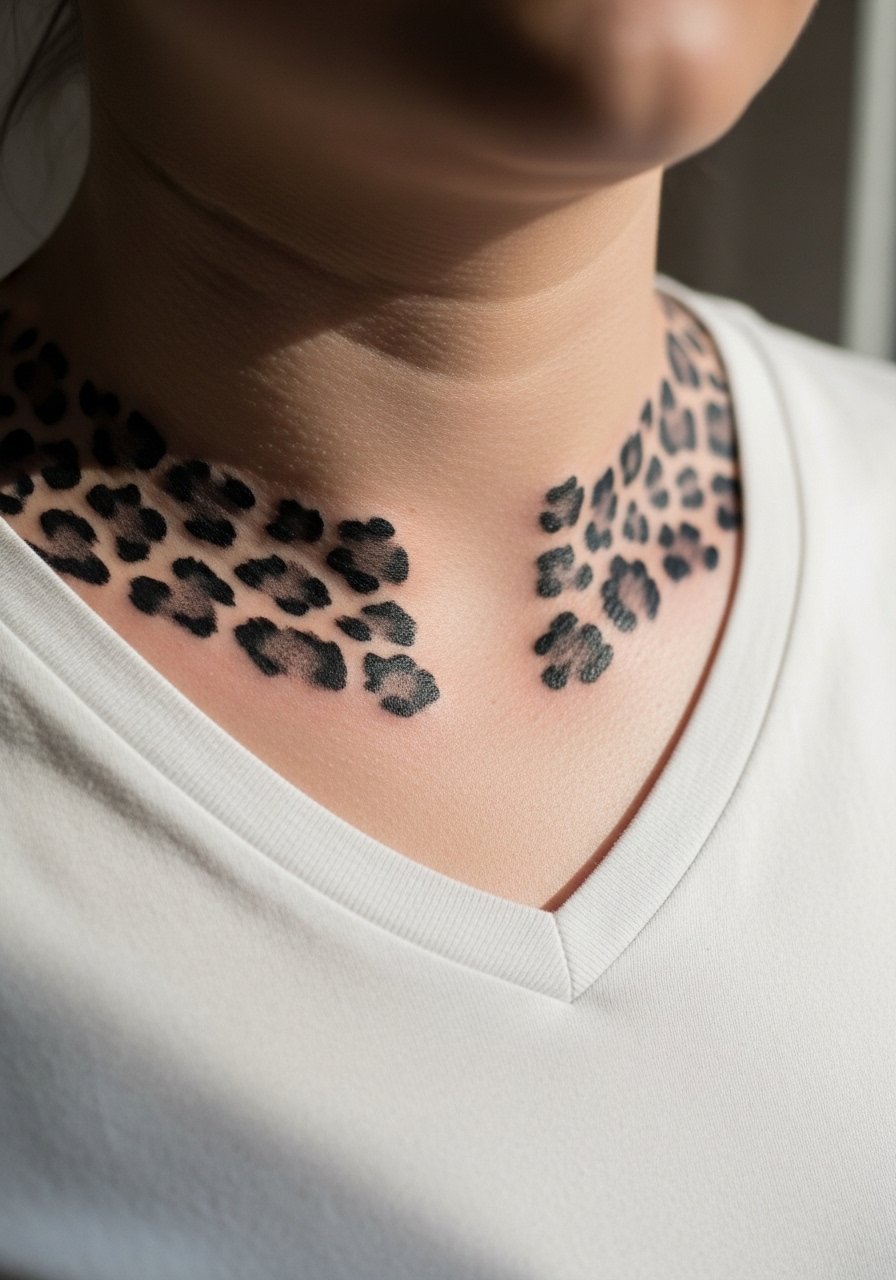
Collarbone pieces age elegantly when kept simple with shaded gradients rather than tiny color washes. Ask for smooth saturation and slightly larger spot edges so the negative space reads after healing. Expect moderate discomfort near the bone and a single to two sessions. A styling trick is to wear a v neck halter top or layered necklaces that sit below the design to frame it without crowding. Avoid over-detailing small spots that risk blurring into gray at year two.
13. Patch of Negative-Space "Ghost Print"
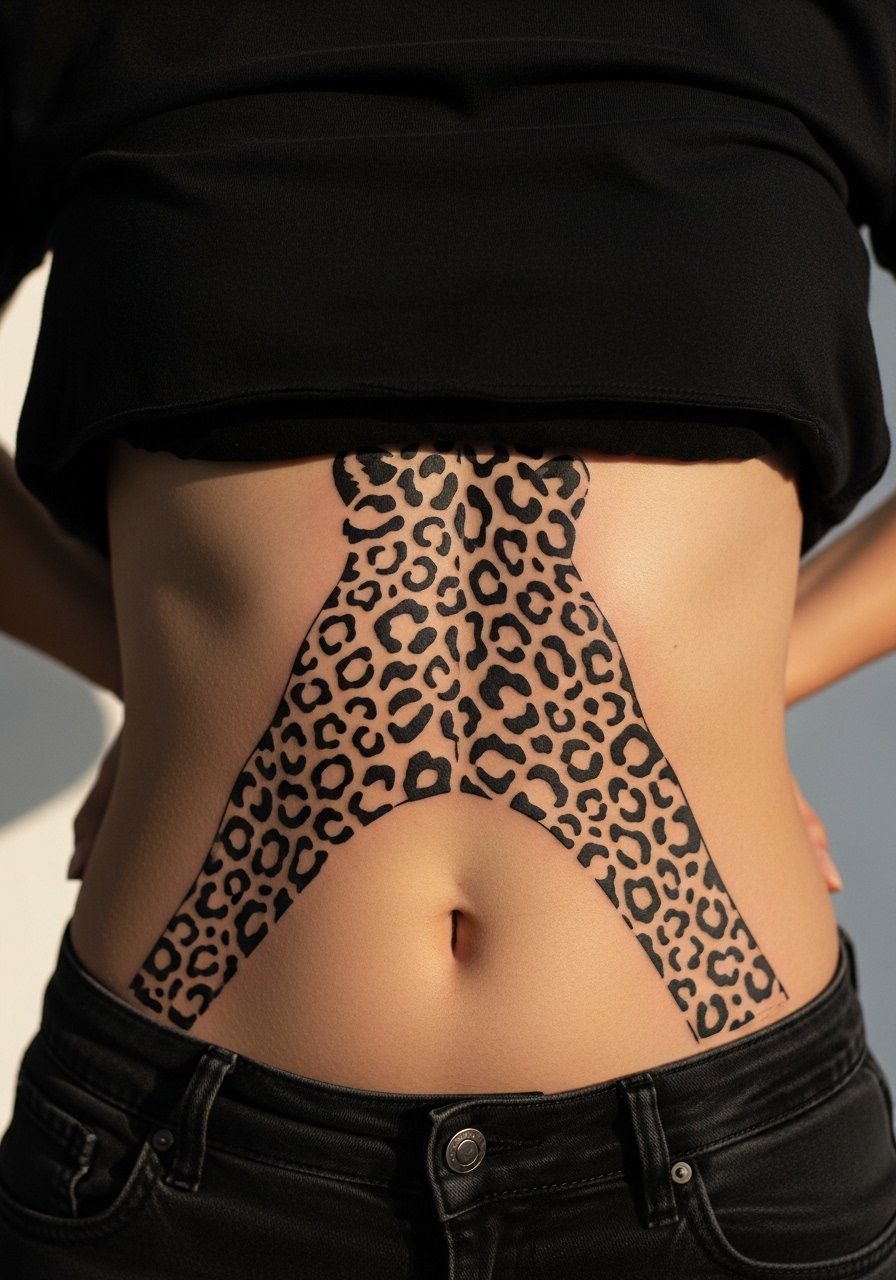
The ghost-print approach uses negative space so the spots appear as pale islands within darker fills. It works especially well on lighter tones where inverted spots still read clean. Consult your artist about how much contrast you need for the effect to survive fading. The common mistake is using too much subtle gradient, which makes the negative spots vanish in a year. Plan for a touch-up at six to twelve months for crisp contrast.
14. Optical-Illusion Elbow Cheetah

This one plays with anatomy by letting spots stretch over the elbow so the pattern appears three-dimensional when you bend. Tell the artist you want the warp aligned with the crease to avoid odd folds when your arm moves. Pain spikes at the elbow because of bone proximity and vibration, so short passes work best. People sometimes ask for mirror-symmetric spots across the joint which looks forced; embrace organic warping for longevity. For session comfort wear a loose short-sleeve tee so the artist can shift fabric out of the way.
15. Micro-Realism Inner Bicep Cluster
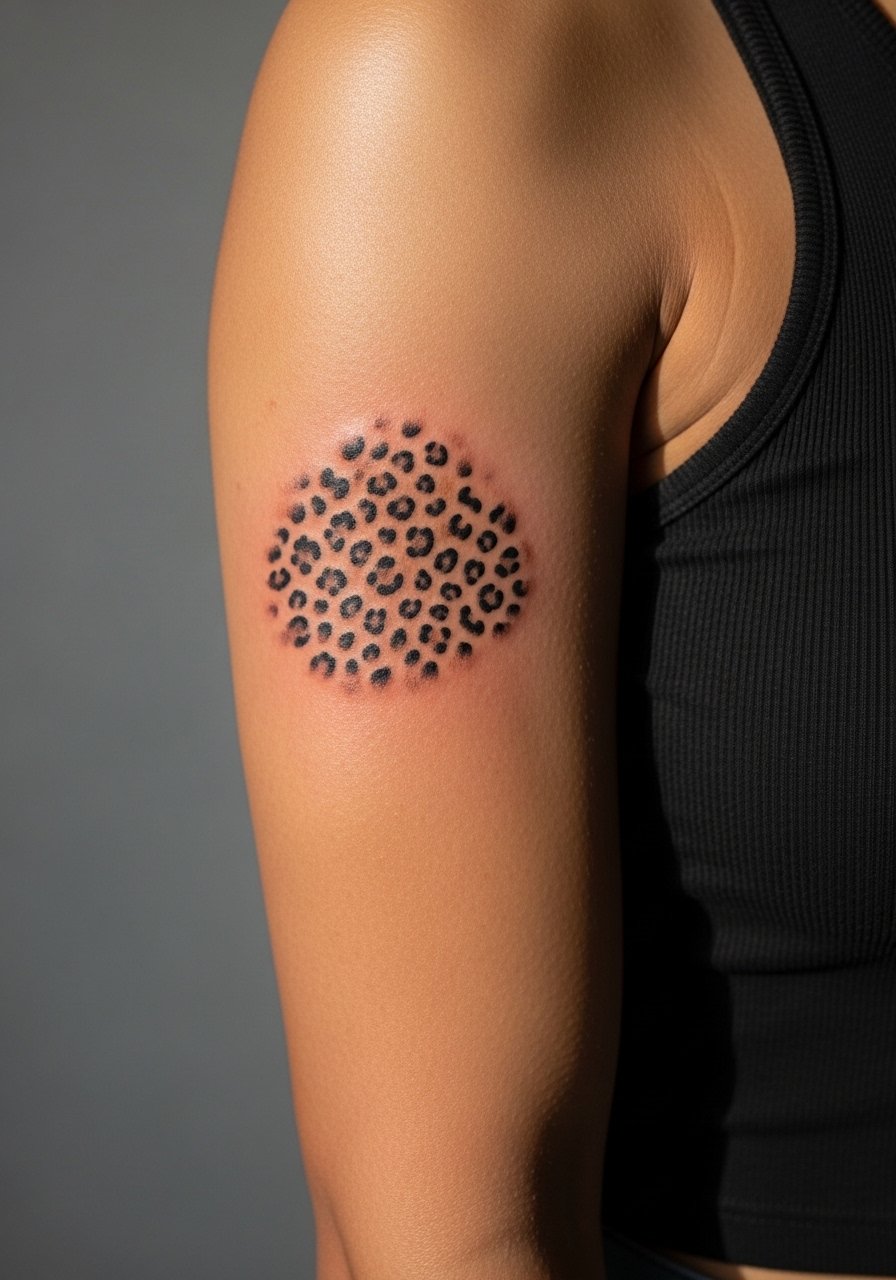
The inner bicep gives a private placement that peeks when you lift your arm. It heals well because it is less exposed to sun, but the skin is softer so plan for slightly heavier outlines. Expect moderate pain when the arm is raised and one short session. A mistake is placing too many tiny spots close together which leads to merging during healing. For the session pick a tank top you do not mind getting ink on and that allows easy arm movement.
16. UV-Reactive Blacklight-Ready Spots

This is one of the under-covered ideas that pops in nightlife settings. UV inks can add a secret glow but require a specialist and extra aftercare attention. If you choose this, ask for healed examples under blacklight and confirm the ink brand for safety. The main mistake is assuming UV will look obvious in daylight; it is subtle outside of blacklight. Expect a slightly longer session for careful layering and a touch-up plan because some UV pigments shift faster than standard inks.
17. Thigh Chain Hybrid with Temporary Jewelry
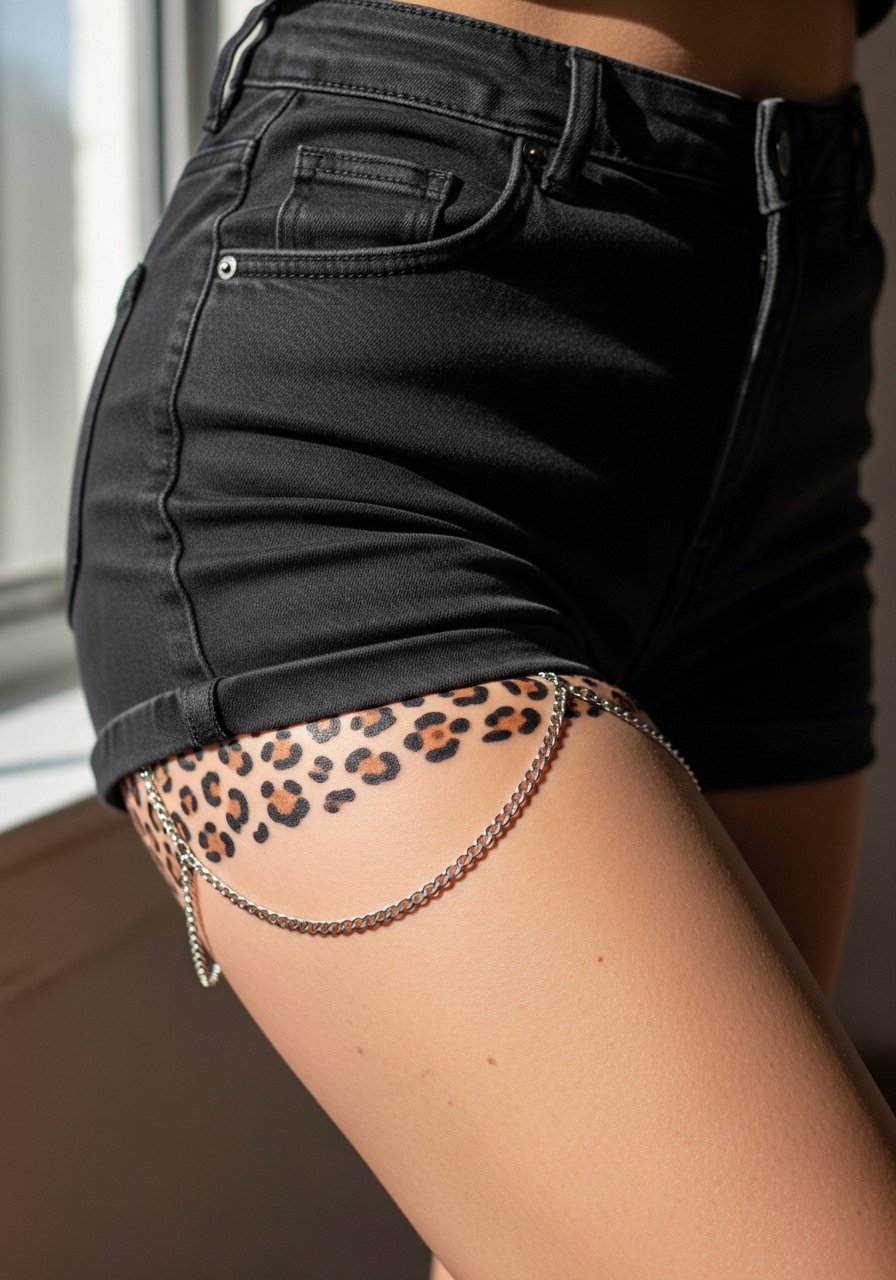
Pairing a thigh cheetah wrap with temporary jewelry chains creates a hybrid look that reads tattoo plus accessory. Discuss attachment points and spacing with your artist so the tattoo does not get hidden by the chain. Thigh healing is forgiving, but avoid tight bands during the first two weeks. Mistakes include placing the chain line over a high-motion zone which irritates scabs. For showing it off, high-waisted shorts or a mini skirt keeps the jewelry and ink visible.
18. Calf Silhouette That Elongates the Leg
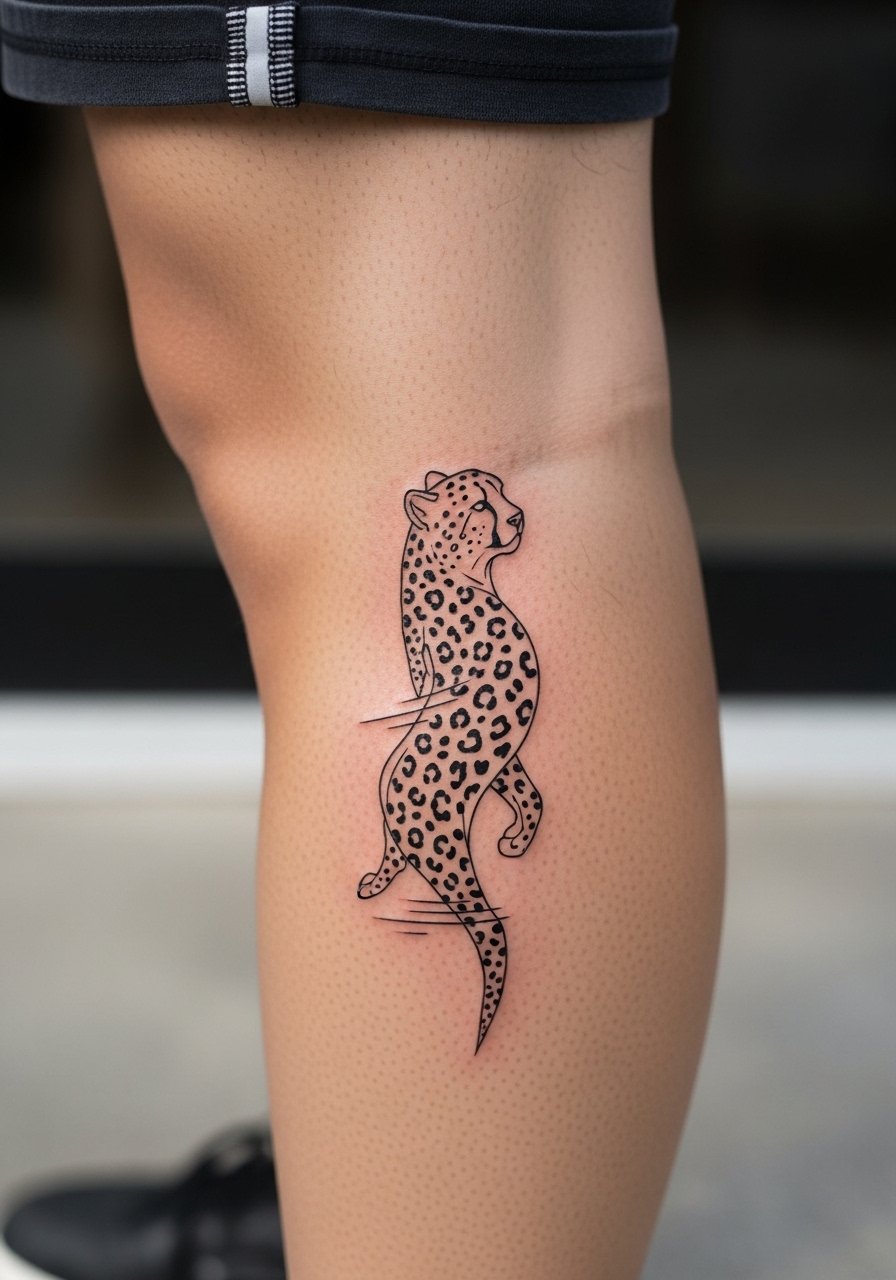
A vertical silhouette on the calf visually lengthens the leg and is low-maintenance. Ask for slightly bolder single-needle outlines and a soft shadow to avoid a flat sticker look. Pain is low and most artists finish this in one sitting. A typical error is making the silhouette too narrow which reads thin from a distance. When styling, roll up bootcut jeans or pick summer sandals to let the flow show.
19. Hand-Facing Knuckle Spots
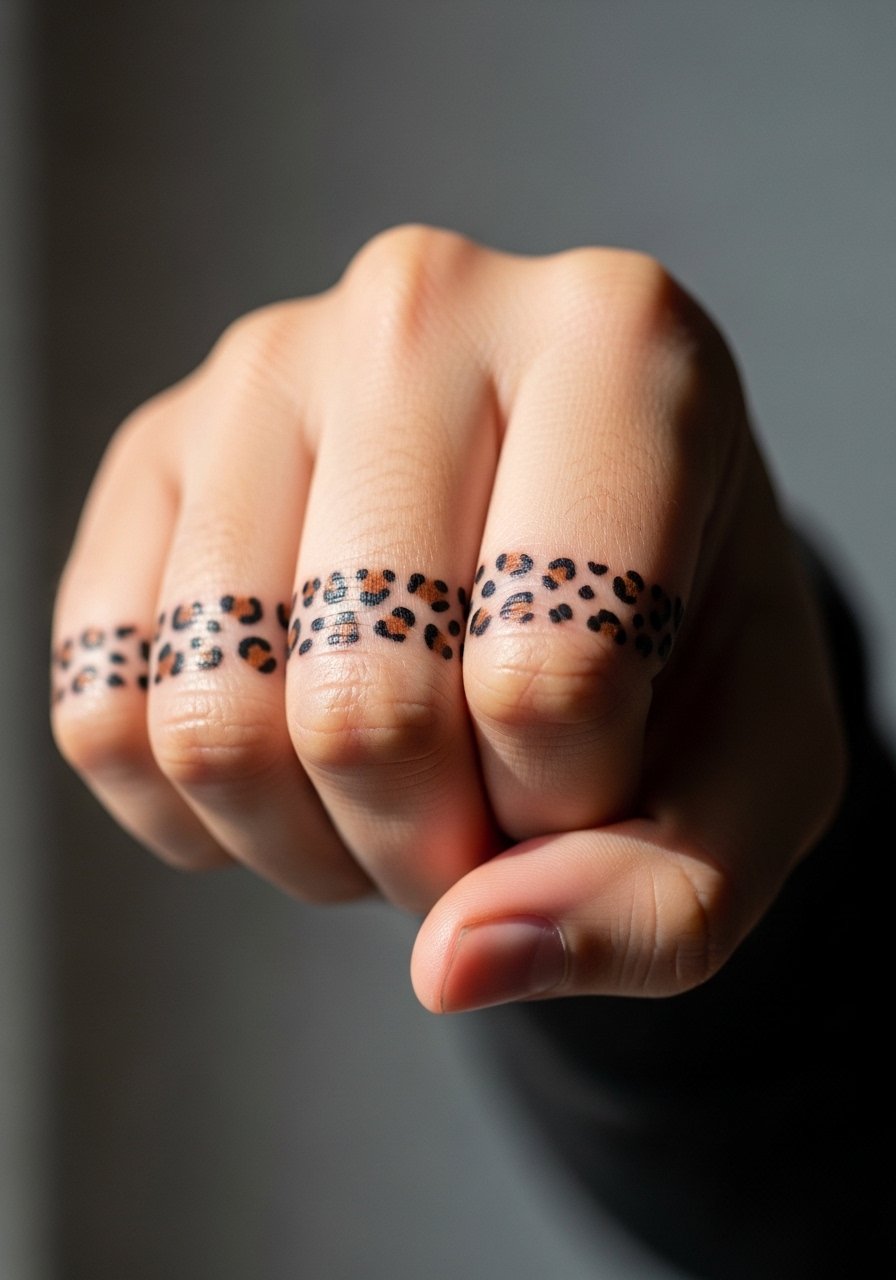
Knuckle spots are high-visibility and high-wear, so they must be bold to last. Expect sharper touch-ups over time and plan a thicker outline. The common mistake is asking for fine dot work across knuckles which washes out quickly. Pain is moderate and the session is short. Think about career or social situations when you pick hand placements because they remain visible during most interactions.
20. Rib-to-Sternum Cascading Spots
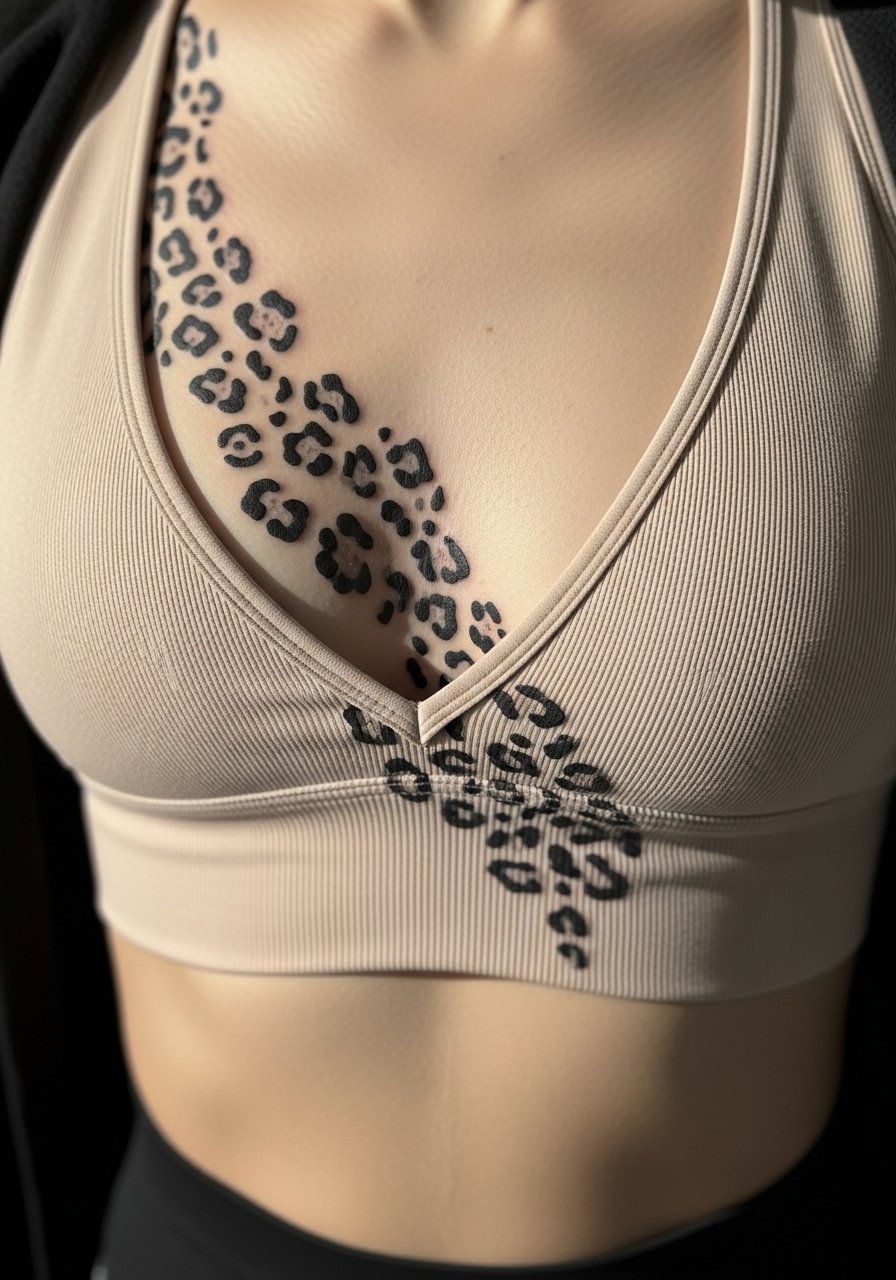
A rib-to-sternum cascade bridges two sensitive zones and creates a dramatic vertical flow. Pain is above average and sessions should be limited to two hours for comfort. The big mistake here is asking for dense detail near the sternum where skin moves with breathing; leave more negative space near joints. For the session wear a fitted sports bra you do not mind lifting slightly so the artist can work cleanly.
21. Collarbone-to-Shoulder Patch with Layered Spots
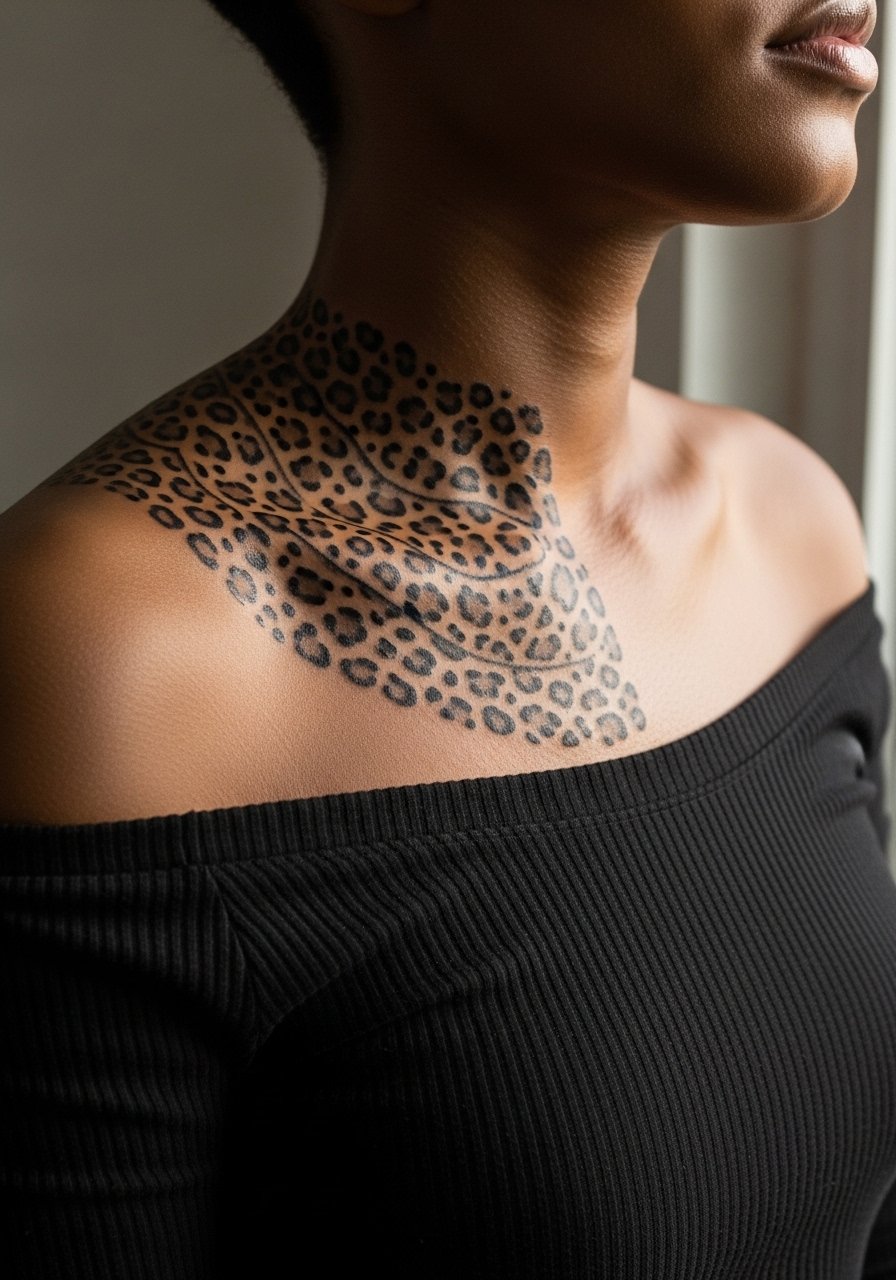
This cross-area patch ties the collarbone and shoulder into one flowing piece. Ask for graduated spot sizes so the pattern reads natural across the transition. Expect moderate pain near the collarbone and quicker work on the shoulder cap. A mistake is forcing identical spots across both planes, which flattens the flow. For showing it off pick an off shoulder blouse to let the design peek without full exposure.
Studio Day Picks
The forearm band, wrist cluster and the ribcage panel above all ask for different prep, so a small kit tuned to placement smooths the day and first week.
-
CeraVe Healing Ointment. Lightweight and less greasy than some gels, it absorbs quickly on calves and forearms where humidity is low and helps prevent pore-clogging on patterned spots.
-
Australian Gold Antimicrobial Tattoo Ointment. Breathable formula that can help high-friction areas like thighs and ankles during the first few days of movement.
-
InkSafe Balm matte finish. Praised for a low-shine finish that keeps blackwork panels on darker skin looking crisp without an oily sheen.
-
Hada Labo super hydrating lotion. Good for post-scab hydration without oils, especially useful on forearms where light moisture maintains saturation.
-
Hustle Butter Deluxe. A thinner balm many people prefer over heavier gels for the first few days, which helps patterned work avoid clogged-looking spots.
Frequently Asked Questions
Q: Will fine line cheetah spots blur faster than blackwork?
A: Fine line often loses crispness sooner because the needle channel is smaller and spreads with sun and abrasion. For wrists and hands expect touch-ups sooner than on thicker blackwork. If longevity matters, choose slightly bolder single-needle outlines or plan a six-month touch-up.
Q: How should I dress to the studio for a thigh or ribcage cheetah piece?
A: For thigh sessions wear loose shorts or a skirt that allows bottomless access without chafing. For ribs pick a loose tank or a cropped top you can lift slightly. Both choices keep the artist’s access clean and help you stay comfortable.
Q: Do cheetah prints need different aftercare depending on color?
A: Yes. Color gradients need strict sun avoidance for at least four weeks and lighter hydration so pigments settle, while blackwork tolerates more sun once healed. Follow your artist’s timeline and plan clothing to shield the area during early healing.
Q: What should I ask an artist in consultation for spots that look good on dark skin?
A: Ask to see healed examples on skin tones similar to yours and request bolder outlines with less subtle gradient shading. Say you want contrast preserved in photographs and ask how they adjust saturation for melanin-rich skin.
Q: Can a cheetah pattern be covered up or expanded later if I regret it?
A: Yes, but planning ahead helps. Leave negative space and avoid overly dense tiny spots if you might want patchwork or geometric overlays later. Discuss cover-up paths with your artist before booking so future sessions can blend seamlessly.
