
Bold black bird work often outlives the feather-fine trends that flood feeds, and that matters when you want something that still reads strong after a few summers of sun and sleeves. Pick saturated outlines and clear negative space, and you get an image that ages into presence rather than patchy detail. Below are 27 bold bird references geared toward men, with placement notes, what to ask for at the consult, and wardrobe tips to show them off.
1. Bold Eagle on Upper Chest
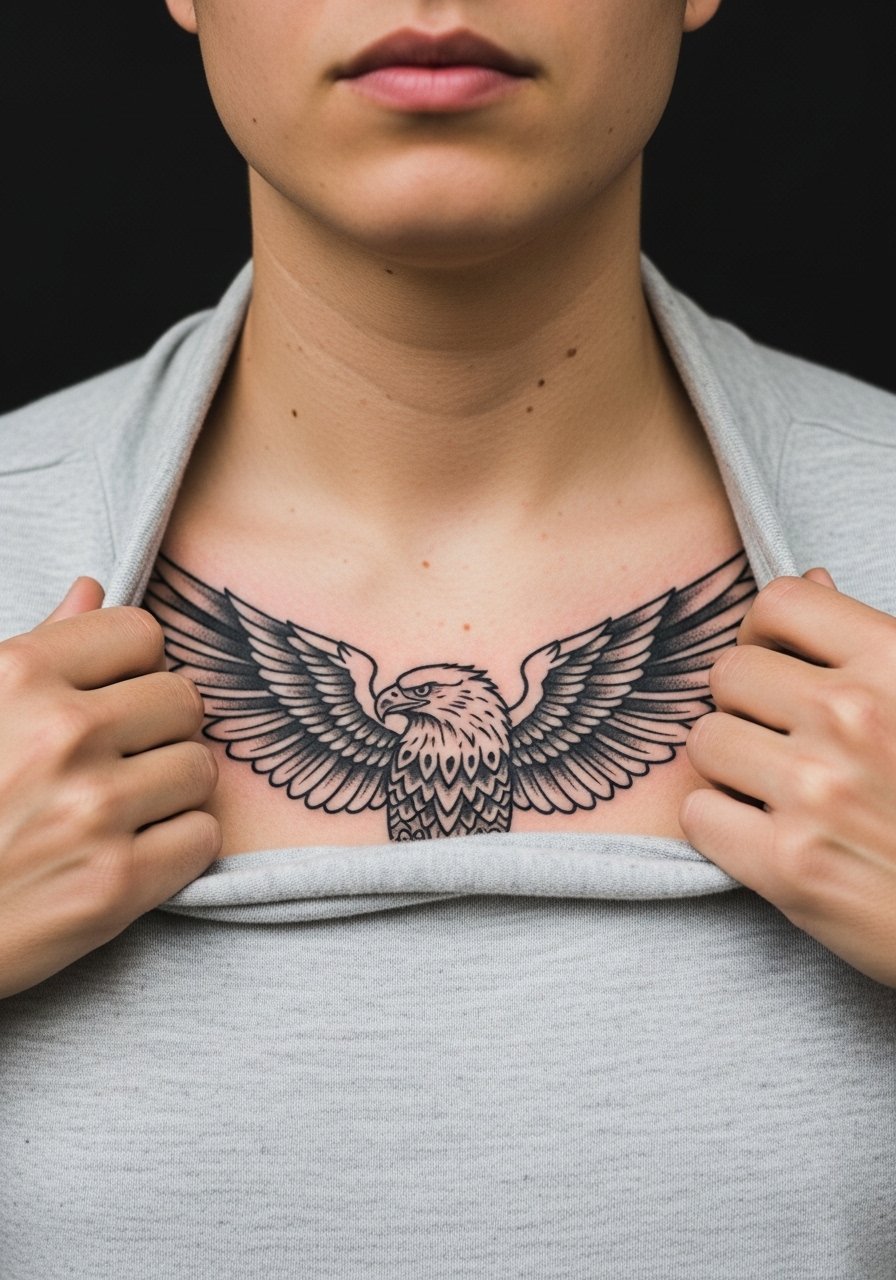
I've seen chest eagles hold presence for years because the body there supports saturation and contrast. For this, ask your artist for heavier outer linework and open interior negative space so feathers read as shapes rather than tiny lines. Fair warning, the chest can sting on a scale of pain, but sessions can be split into two so you leave with a clean outline on day one. Avoid asking for extreme micro-feathers across the sternum because that shrinks into a blur faster than bold fills. For the session wear, pull on a wide-neck shirt so the artist has clear access.
2. Traditional Swallow Wrapped Around Wrist
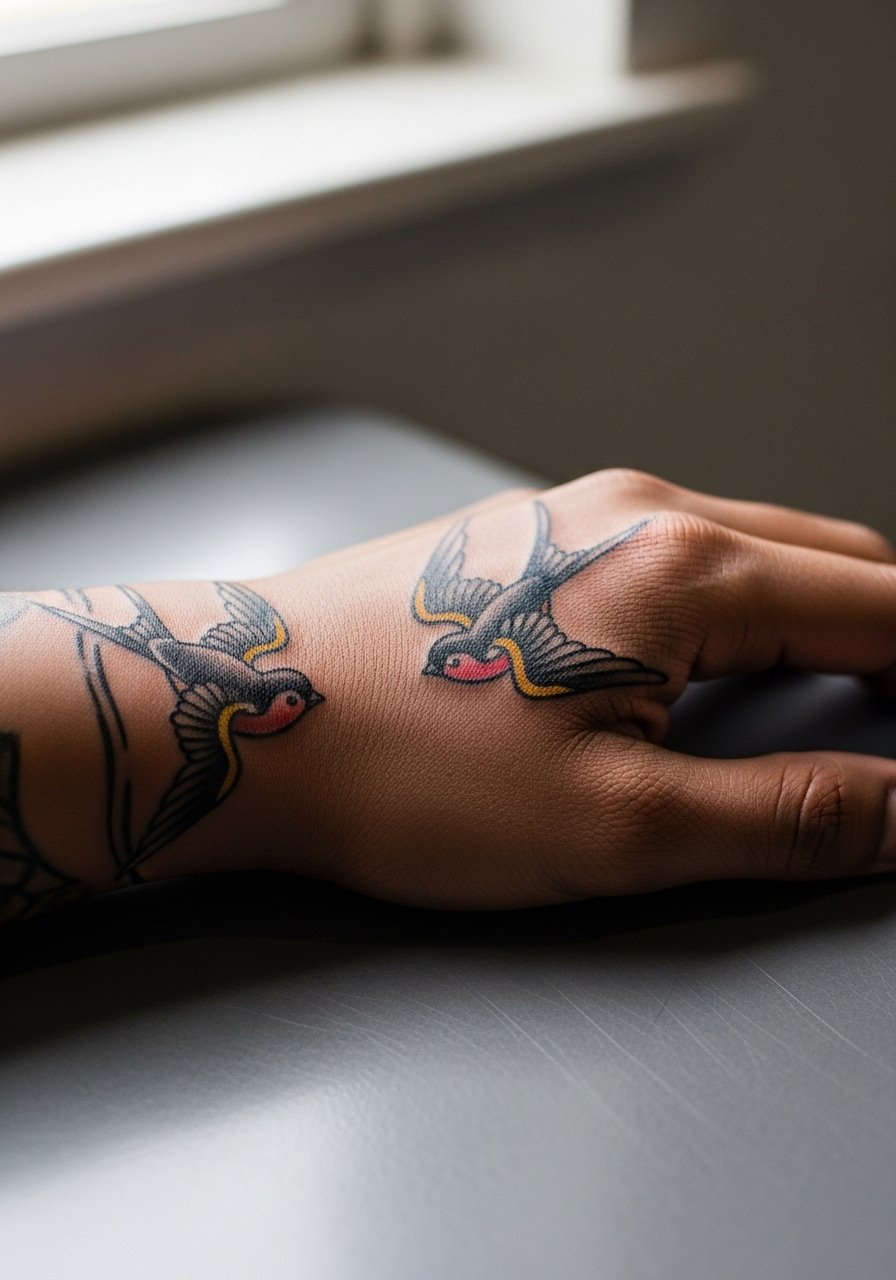
Personal observation: wrist wraps look like small badges of movement when done with thick outlines and solid color fields. The biggest mistake is making the swallow too small so it loses wing clarity after a year. Tell your artist you want the wing spans comfortable at two to three centimeters so they survive daily washing and friction. Expect a one to two hour session. Hands and wrists take more touch-ups than forearms because of constant motion. Pair this with a minimalist watch that sits just above the design so the bird remains the focal point.
3. Black Raven on Upper Arm, Negative Space Feathers
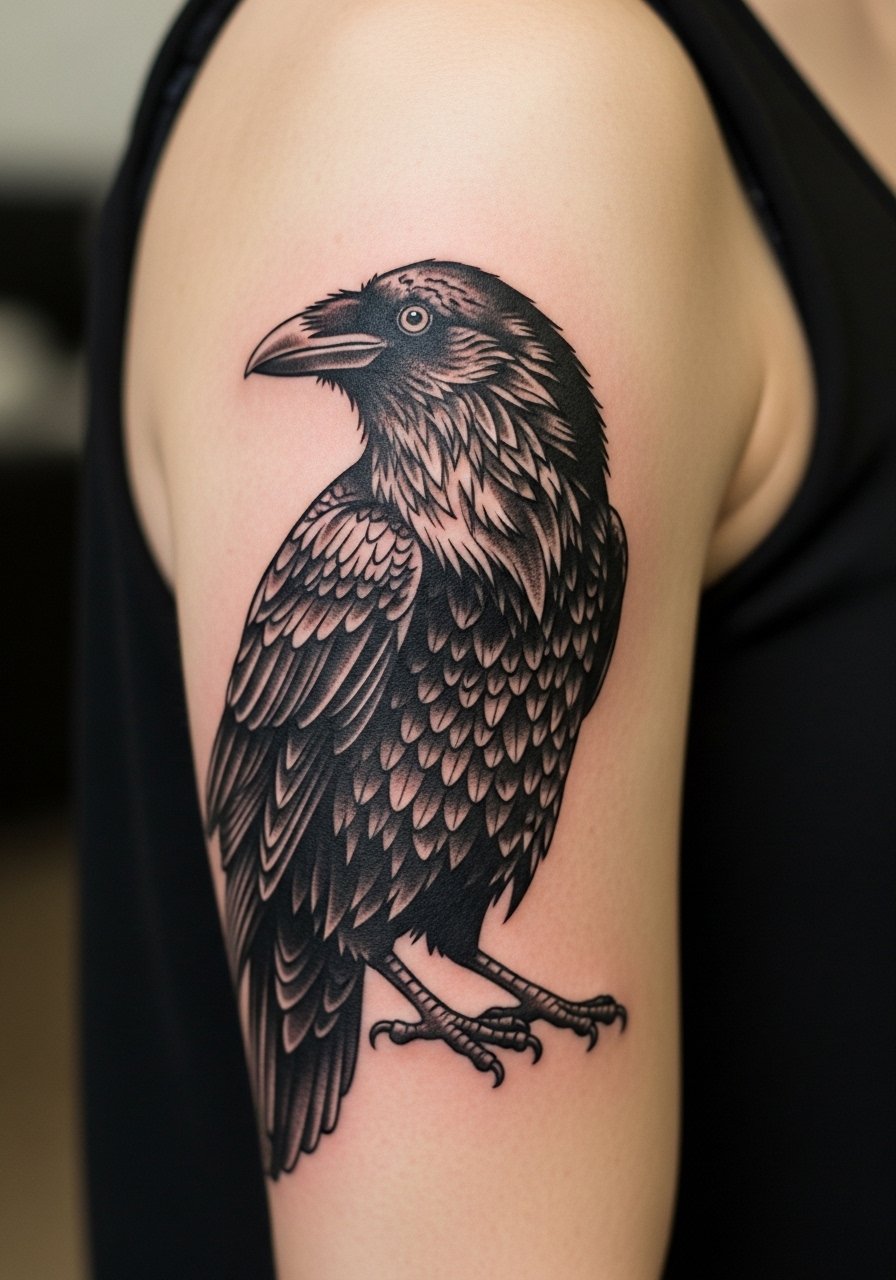
There is a visual impact to a blocky raven with carved-out feathers. When you sit with your artist, request solid saturation and intentional skin breaks where feathers read as cutouts. A common version that ages poorly is the micro-feather silhouette filled with tiny lines. That style softens into a muddy patch by year three. Upper arm sessions are friendlier on pain and often finish in a single three-hour block. For showing off, roll a sleeve up or wear a loose button-down you can pull aside to frame the wing.
4. Bold Hawk Shoulder Blade Cluster
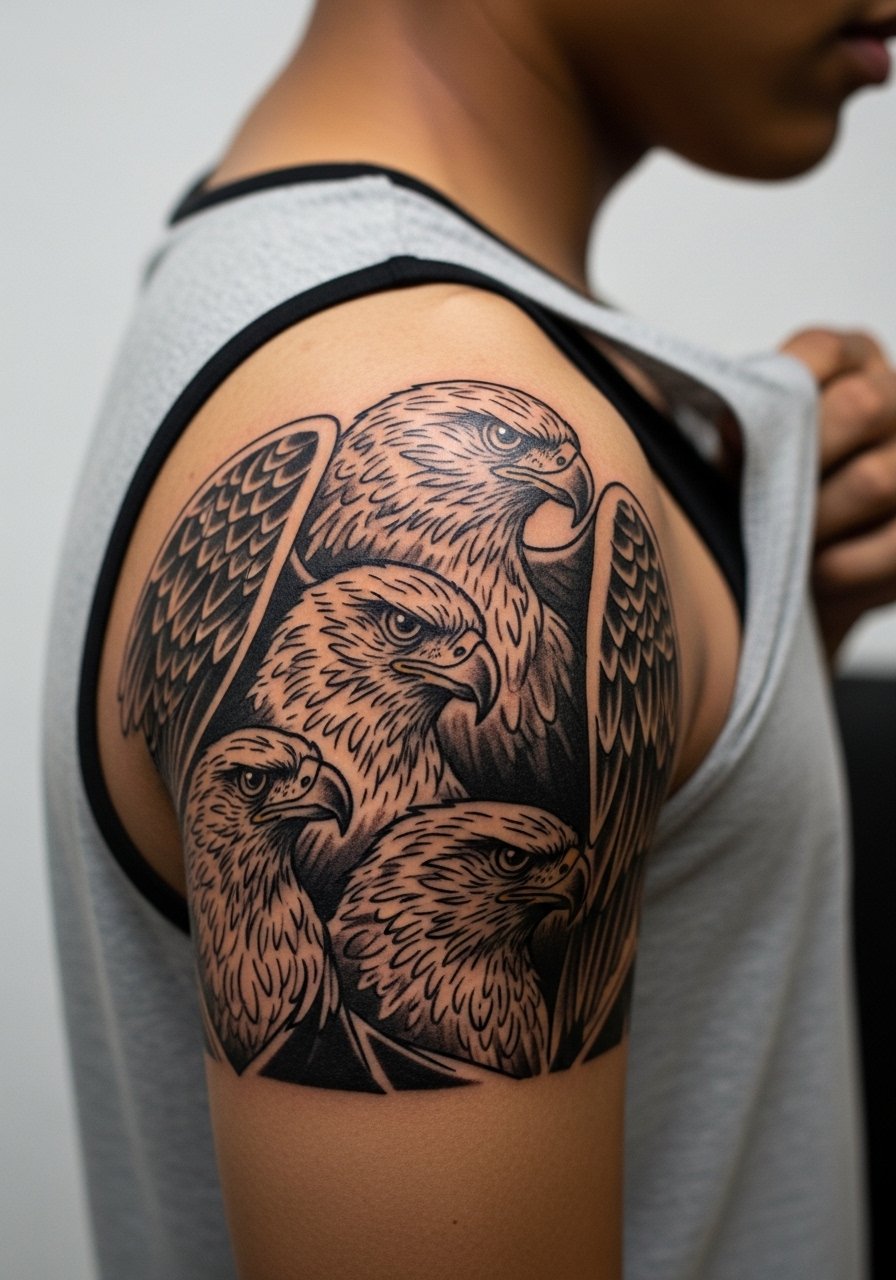
Visual impact lead works here because shoulder blades give the hawk room to flow with muscle movement. The consultation note is to scale the head and beak slightly larger so facial detail still reads from a distance. Blowout risk on the shoulder blade is lower than on the forearm because the skin is thicker. Plan for a two to three hour session for a medium cluster. For session comfort, wear a tank top so your back is reachable without fuss.
5. Giant Back Spread, Two Birds in Flight
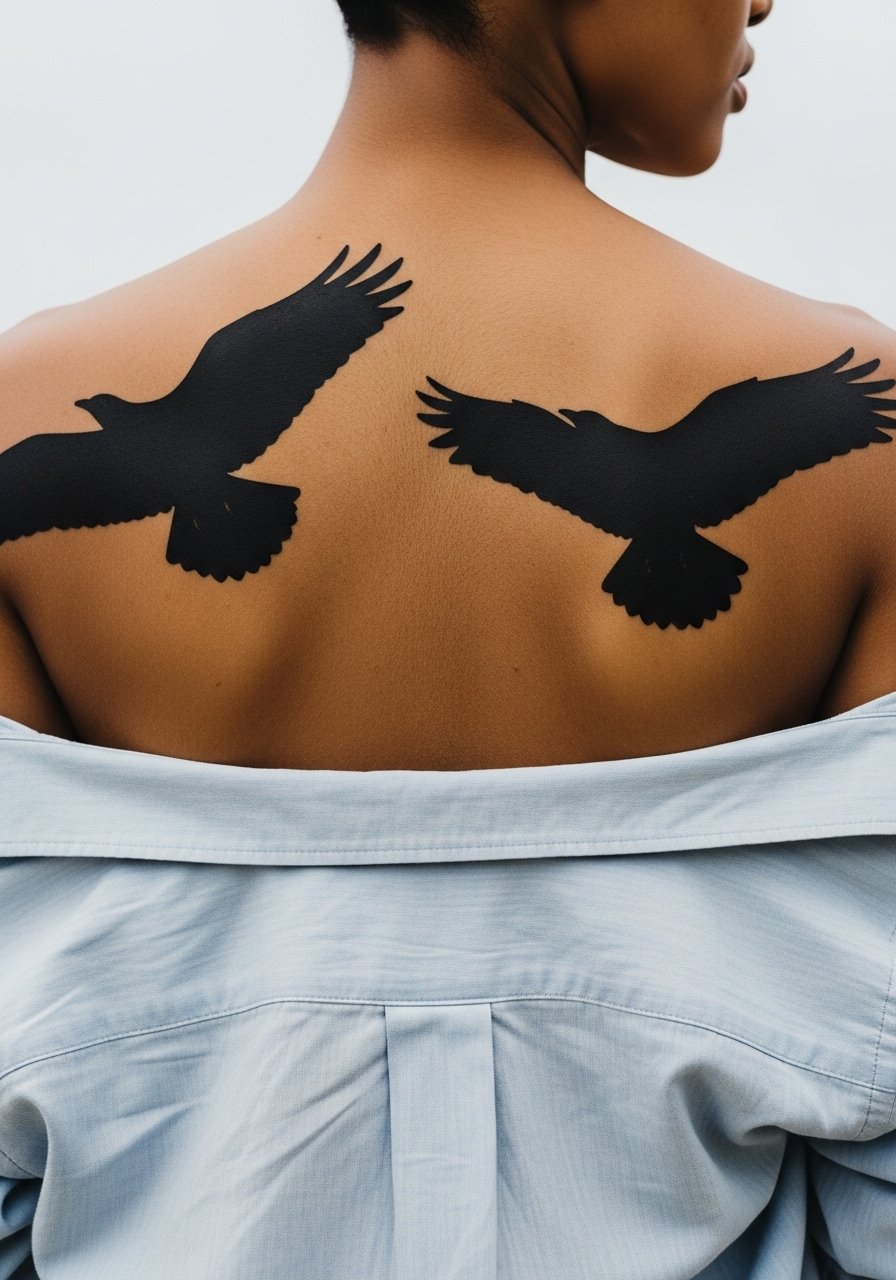
A back spread is about composition and negative space. The common mistake is packing too many small feathers into the spread. That detail flattens as the skin moves. I usually suggest big wing planes and varied angles so the two birds read separately at a glance. Expect multiple sessions, each three to five hours, and plan clothing that is easy to remove. This placement is visible in open-back shirts, so it's worth thinking about how often you will show it.
6. Blackwork Crow on Forearm with Geometric Background
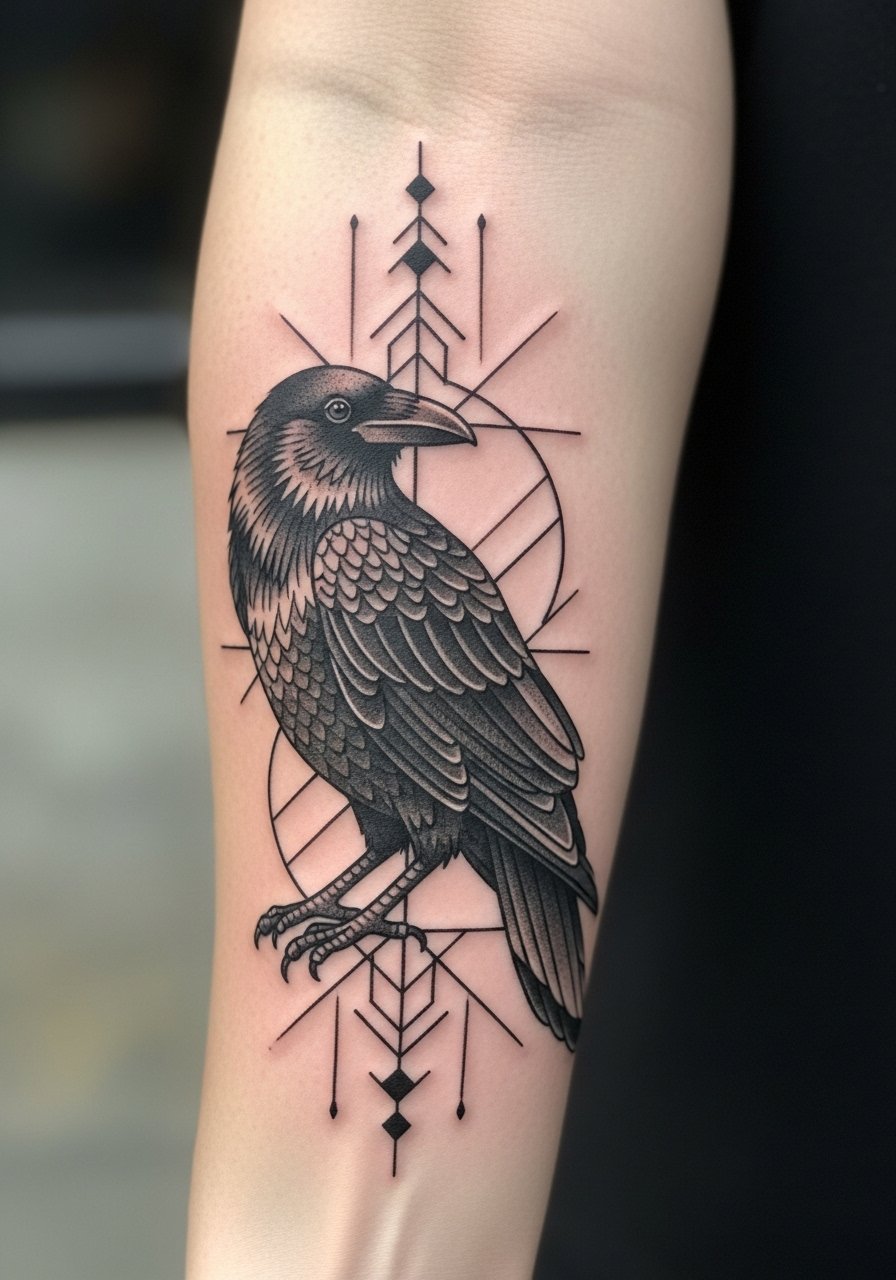
Most artists split on whether to add tight geometry behind organic bird forms. One camp says geometry frames the bird and creates contrast. The other camp warns that overworked geometry competes with the bird and ages into soft gray. Both views matter. If you want longevity, ask for moderate geometry with clear spacing between lines and the bird. Forearm sessions often finish in two to four hours. For show-off pairing try a rolled-sleeve linen shirt so the crow sits centered when you push the cuff up.
Studio Day Picks
The wrist and forearm pieces above heal differently from chest and back spreads, so a few studio-ready items smooth the session and the first week.
-
Stencil transfer paper kit. Lets you preview exactly where the wing and body will sit, important for pieces that wrap the arm.
-
Topical numbing cream. Applied about 45 minutes before takes edge off sensitive wrist and rib sessions without changing saturation.
-
Thin protective film roll. Useful for finger and wrist work that gets daily friction from typing and washing.
-
Fragrance-free body wash. Gentle cleansing supports fine line clarity in the first weeks for smaller bird tattoos.
-
Aquaphor healing ointment. Thin layers help lock moisture for tight blackwork without clogging channels during the initial healing window.
7. Minimalist Kingfisher on Ankle
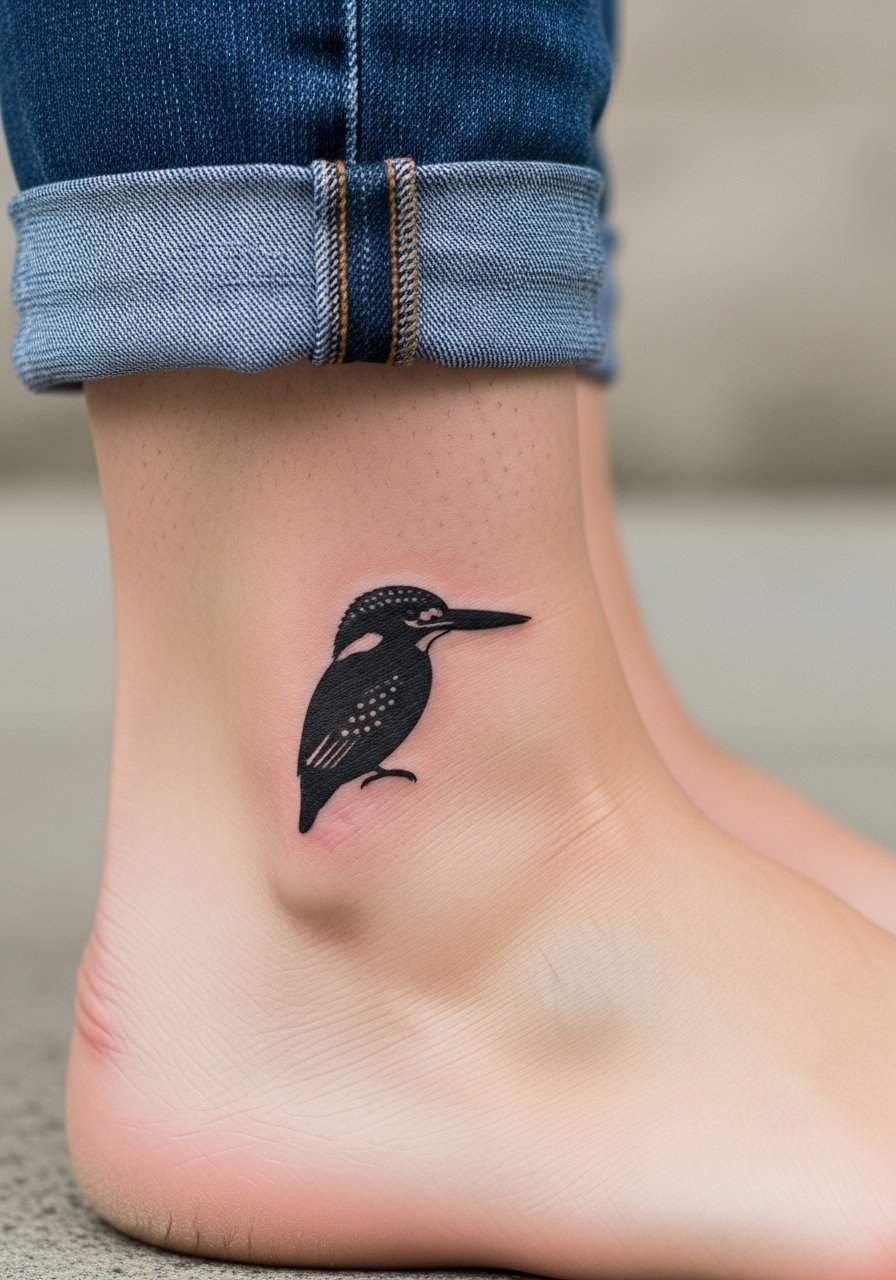
Personal observation: a small bold kingfisher reads like a deliberate mark on the ankle when contrast is clean. The mistake is adding tiny feather lines that the ankle skin cannot hold. Ask for a crisp silhouette and slightly thicker barbs on the beak. Ankle work can be sensitive because of bone proximity, but sessions are short. For showing it off, roll jeans or pick canvas sneakers that stop just above the marking so the bird sits in the visible gap.
8. Chest Falcon in Black and Gray with Subtle Highlights
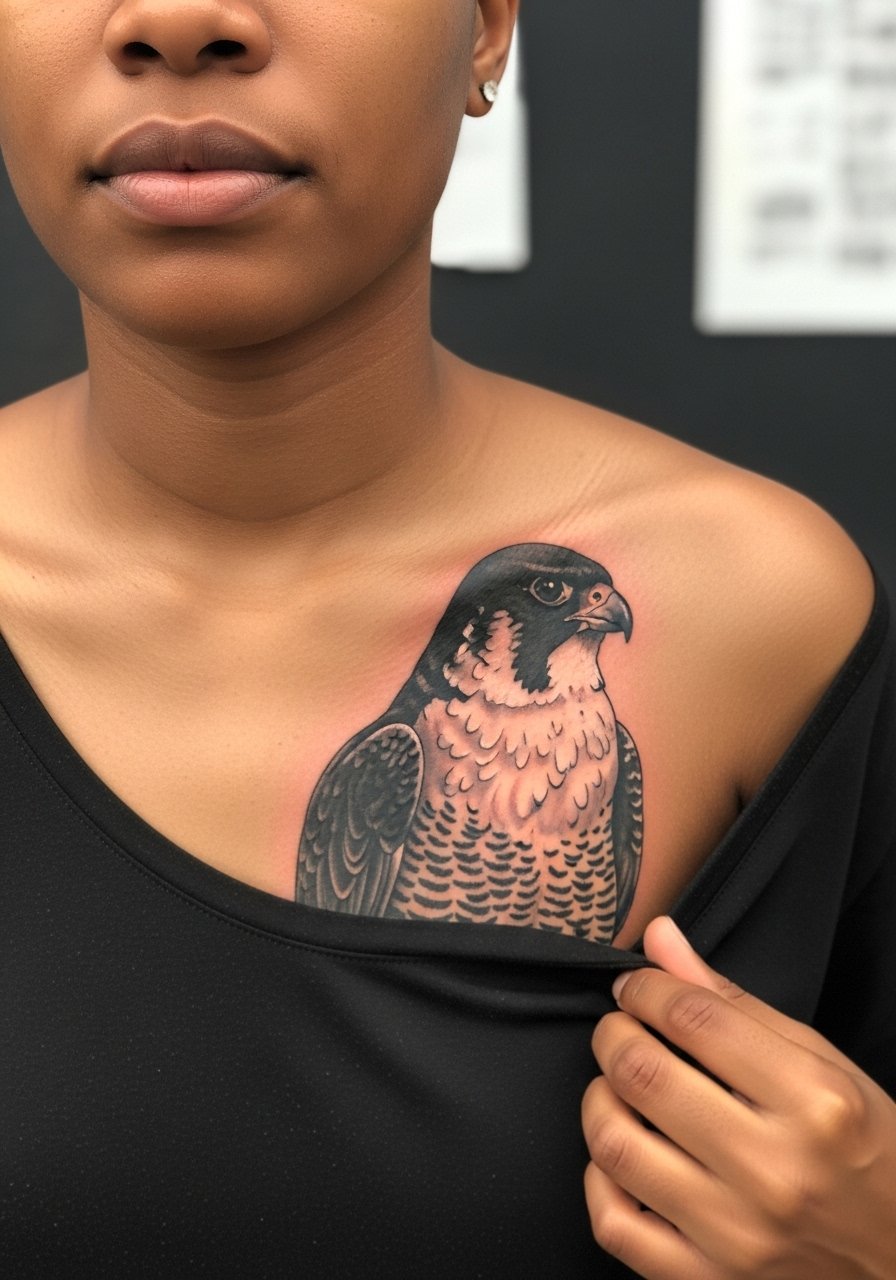
Aging lead: heavy black and gray work on the chest holds better than tiny contrast lines. Ask for high saturation and a few white highlights so the falcon reads at different angles. The most common mistake is over-detailing the plumage in tight bands. That detail tends to fill in over time. Chest pieces often need touch-ups at year three or later if you spend a lot of time in direct sun. For session comfort, bring a zip-up hoodie to stay warm between passes.
9. Micro-Realism Hummingbird Near Collarbone
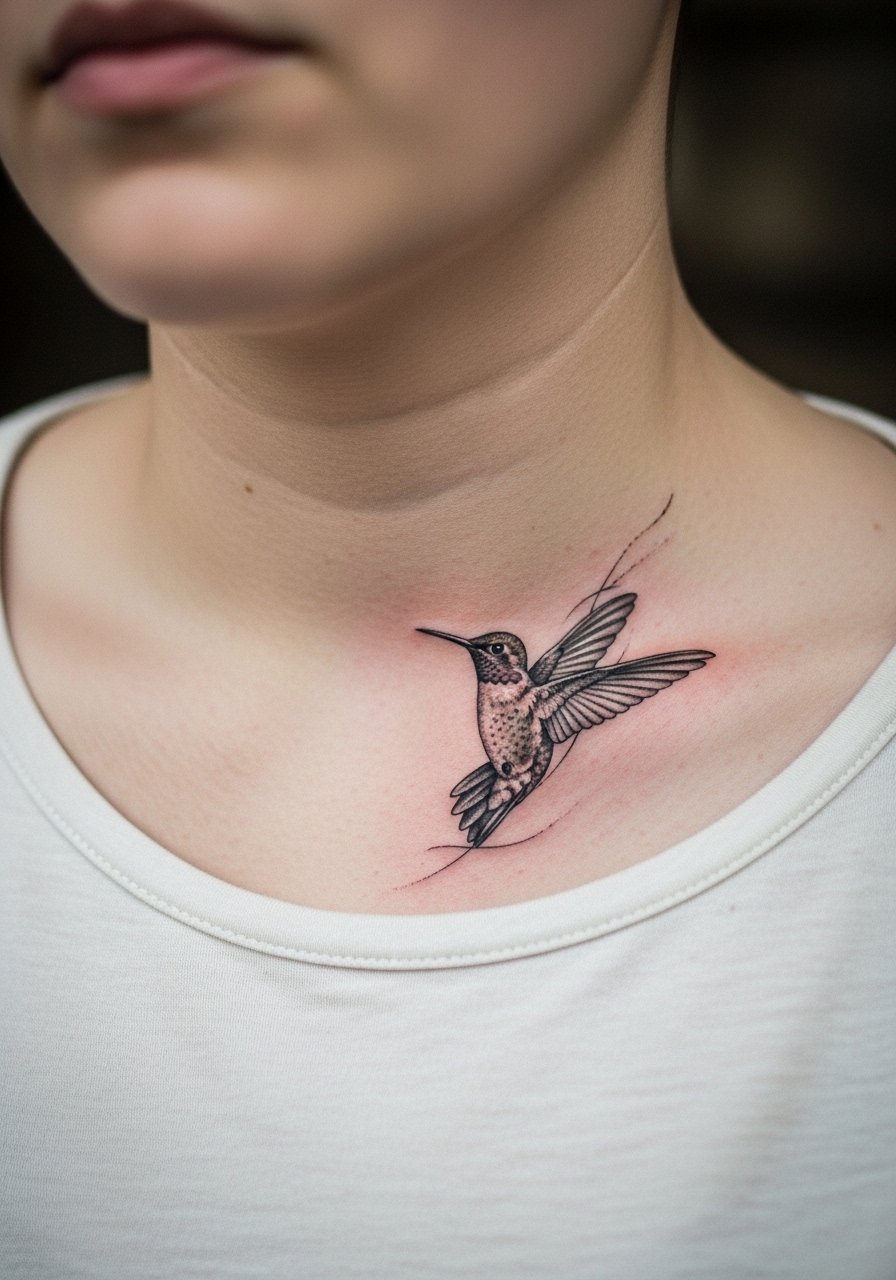
Mistake lead: micro-realism looks beautiful fresh but needs careful placement. The collarbone moves and the skin there can cause fine detail to blur, so scale up the focal points and avoid micro lines across the wing edges. Short sessions and a conservative palette help. Because this is near the collarbone, show-off advice is to use a thin chain pendant necklace that sits above the bird and does not shadow the work.
10. Sleeve Anchor Bird with Traditional Fill
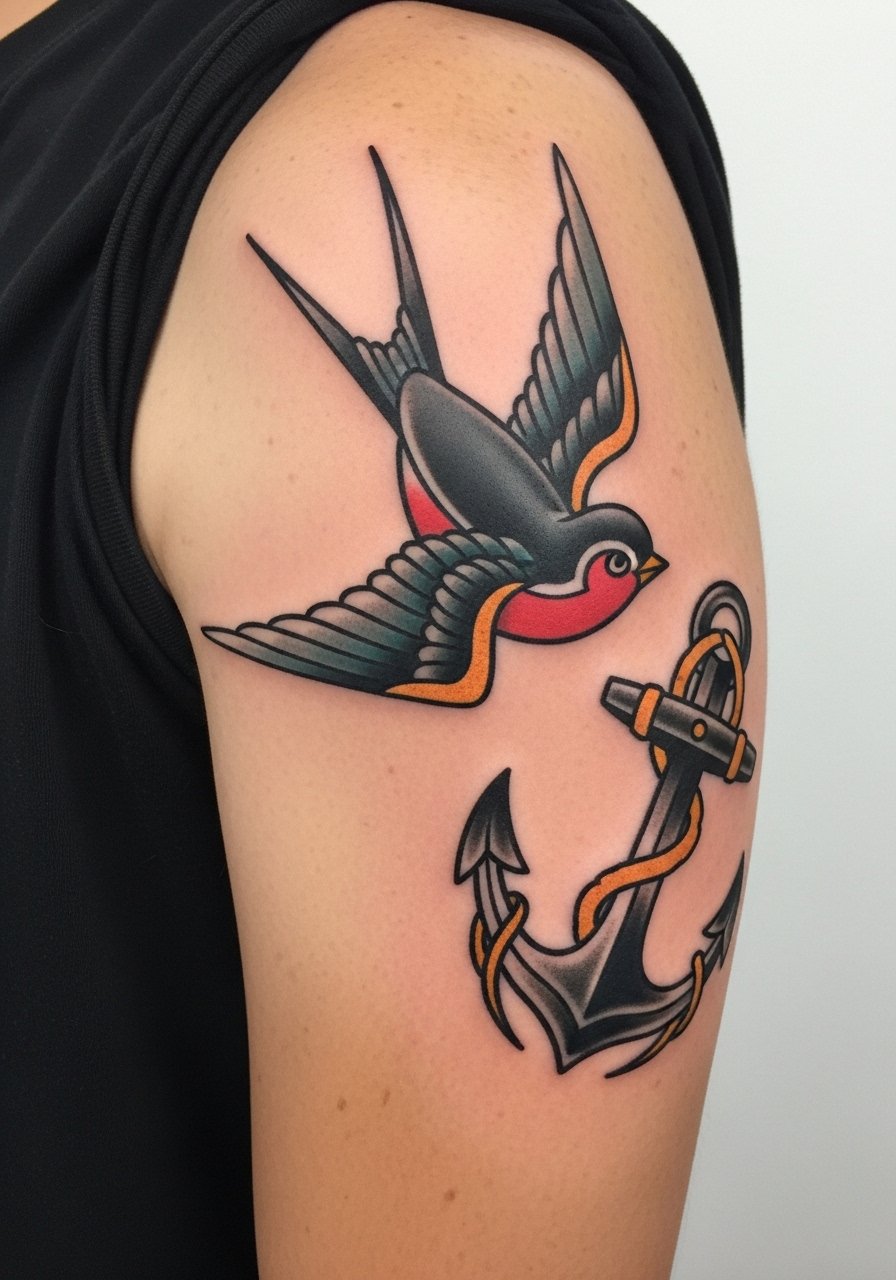
Consultation lead: when building a sleeve with a bold bird anchor, tell your artist which elements stay bold and which can be background shading. The mistake is making every element compete for attention. For longevity, prioritize solid outlines around the bird and softer shading behind. Sleeve sessions are multiple and can feel like endurance, but you get defined progress each appointment. Wear a loose button-down shirt you can pull aside so the arm is exposed without rubbing.
11. Owl on the Back of the Neck
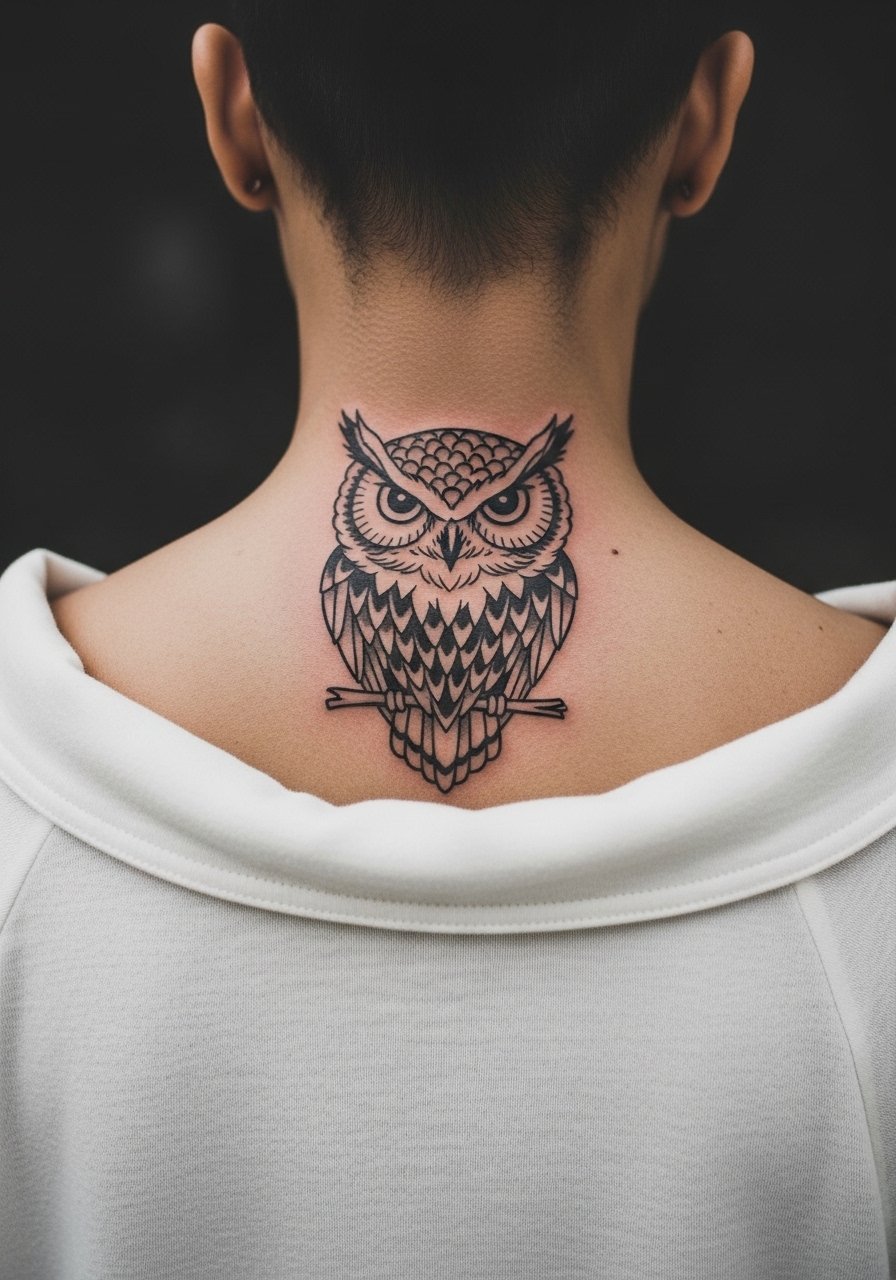
Pain warning lead: the back of the neck is bony and sensitive, so sessions are brisk and focused. Artists split into two camps about neck detail. One camp prefers simpler silhouettes to prevent early blurring. The other camp is comfortable packing in facial detail. Both camps are valid. Ask what they recommend for your skin type and daily exposure. Keep in mind that neck tattoos are visible in many workplaces, so think through career implications.
12. Abstract Bird with Stipple Shading on Inner Bicep
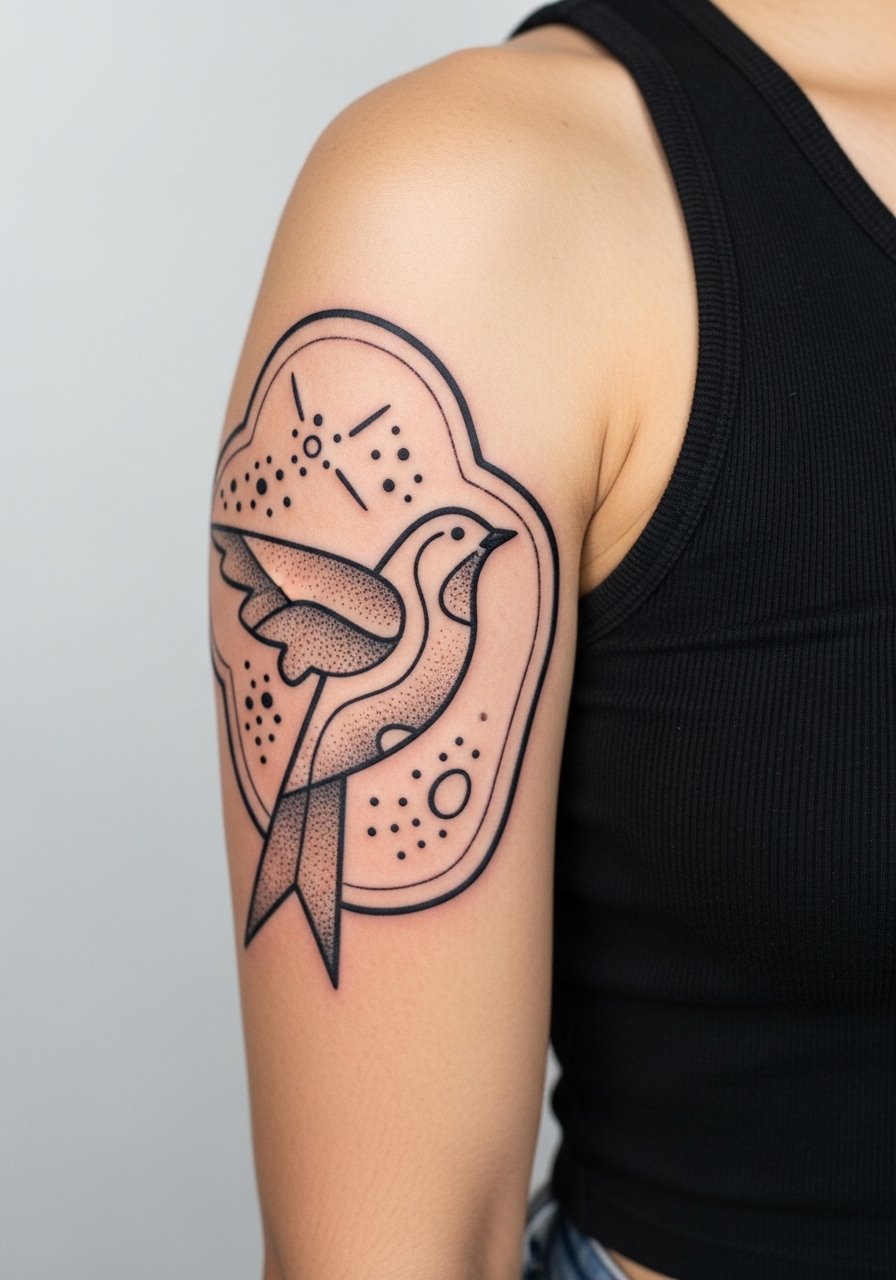
Consultation lead: inner biceps are soft skin so stipple shading can settle nicely if the dots are spaced. The main mistake is overdensity. Ask for breathing room in the stipple fields so the piece ages into texture rather than a gray patch. Expect medium pain and a one to two hour session. For the appointment, wear a tank top so your arm lifts easily.
13. Small Sparrow on Finger with Bold Outline
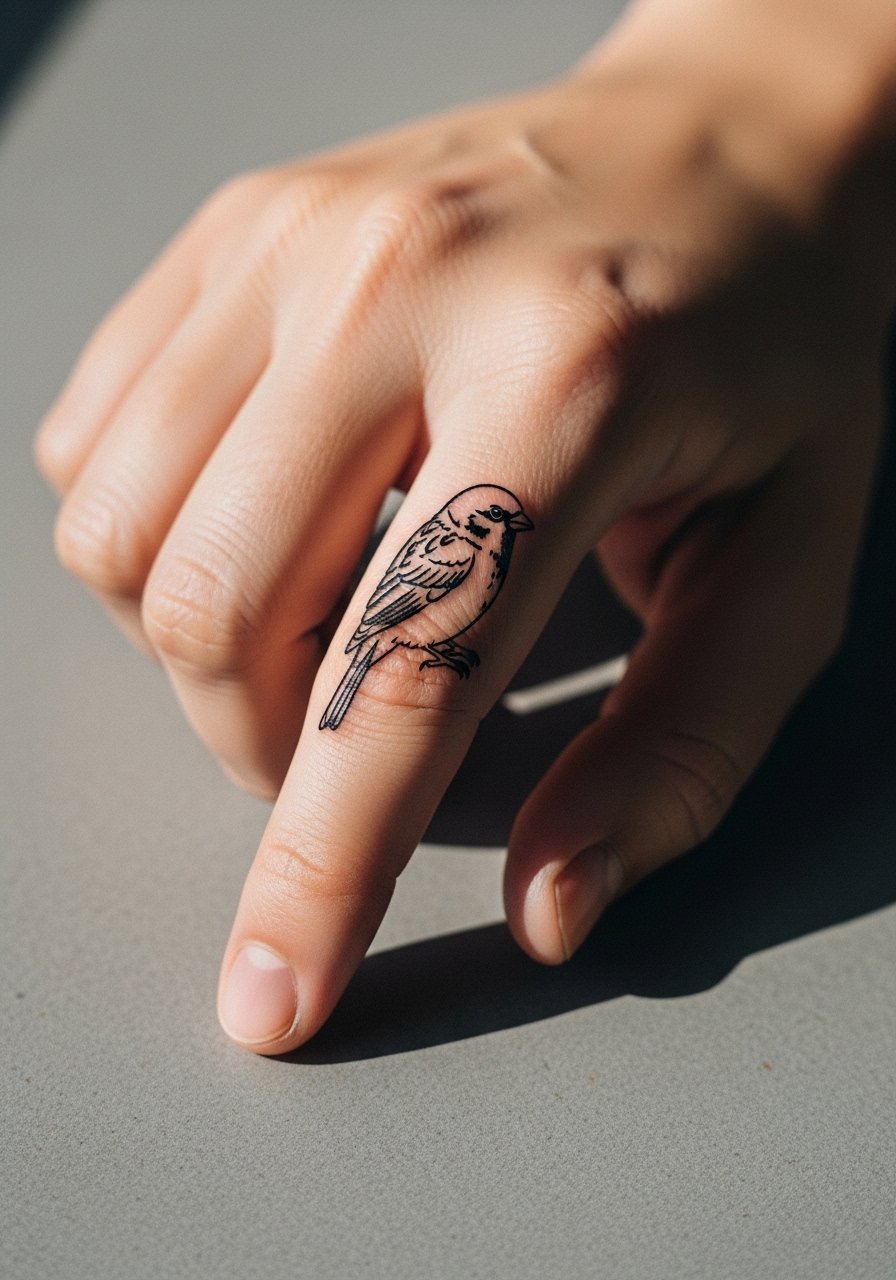
Mistake lead: finger tattoos often lose clarity because of thin skin and constant use. The right approach is a bold outline with minimal interior detail. Touch-ups are common at year one. The session is quick but healing is sensitive because of hand washing. Consider placement on the finger base rather than the tip to reduce abrasion.
14. Stylized Crane on Ribcage with Open Linework
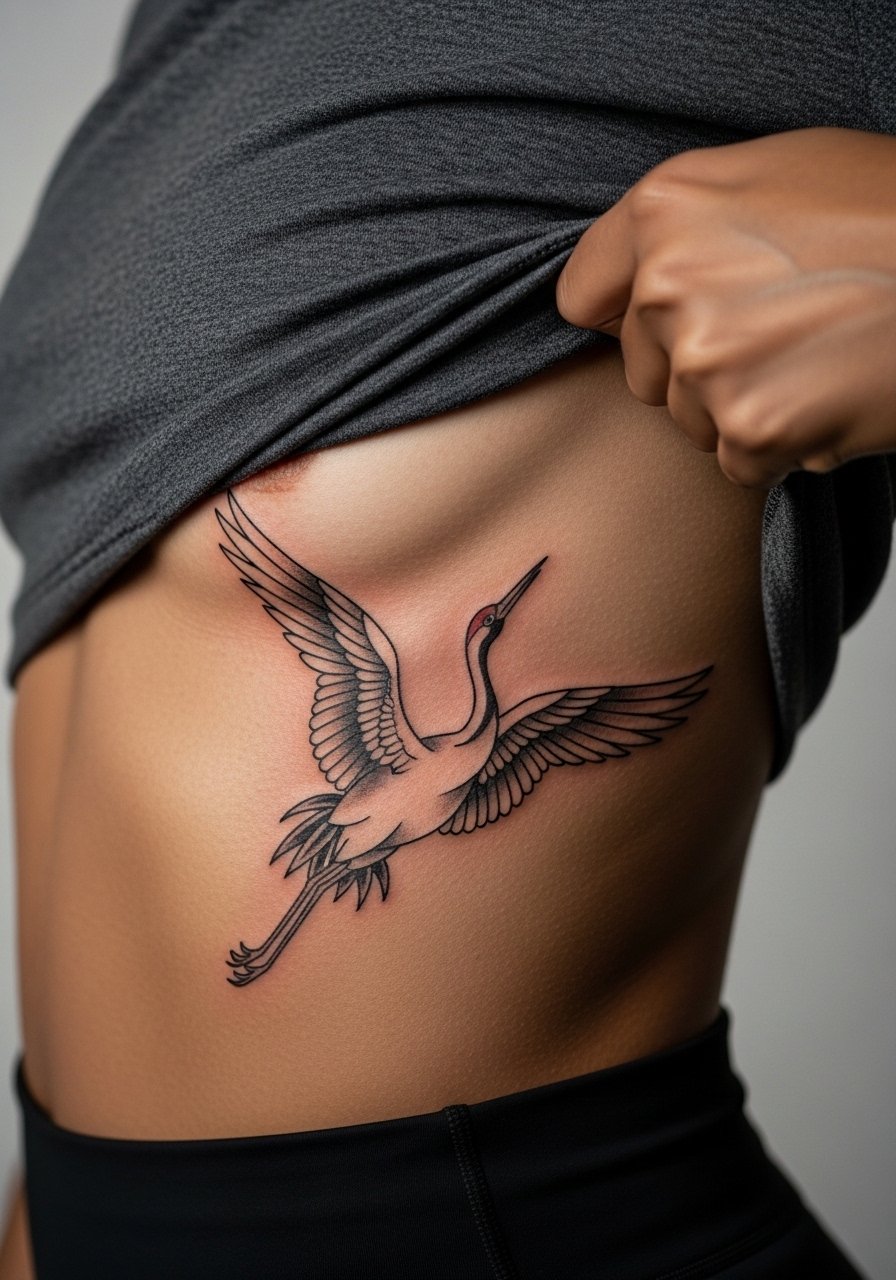
Aging lead: ribs are notorious for shifting detail because of breathing and skin stretching. Artists split on fine line there. One group says the ribs blur fast because of constant movement. The other group says with deeper placement and wider spacing, fine line can survive. Name both camps to your artist and ask which approach they take. Expect high pain and plan multiple short sessions. For the studio, wear a cropped athletic top you can lift slightly.
15. Falcon Talon Piercing a Compass on the Forearm
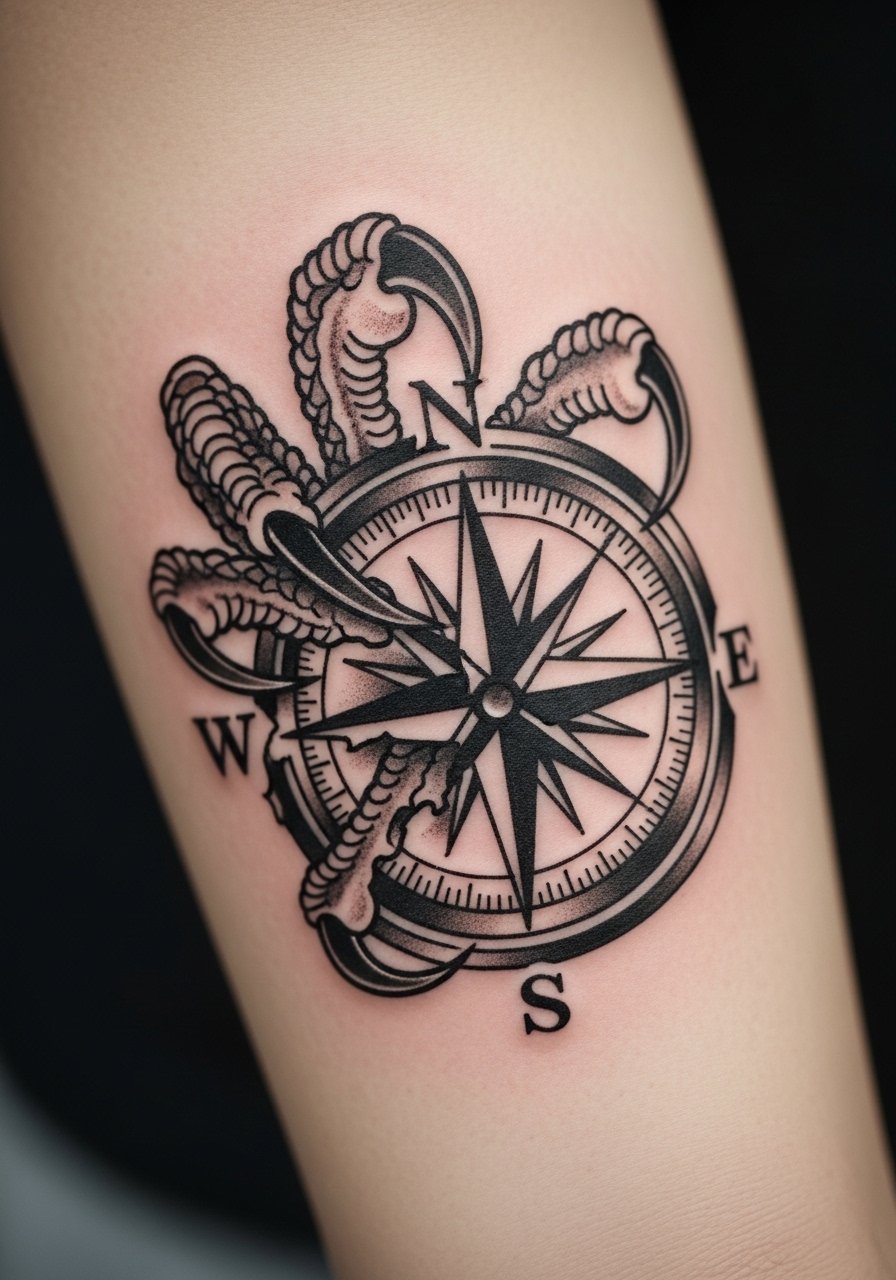
Visual impact lead: pairing a bird with a geometric compass reads strong when the talon anchors the negative space. The common mistake is tiny compass lines that wash out. Tell your artist to prioritize bold cardinal points and to keep the talon saturated. Forearm pieces have medium pain and usually finish in a single session. Show-off pairing works well with a canvas bracelet worn below the design.
16. Geometric Bird Head on Calf with Whip Shading
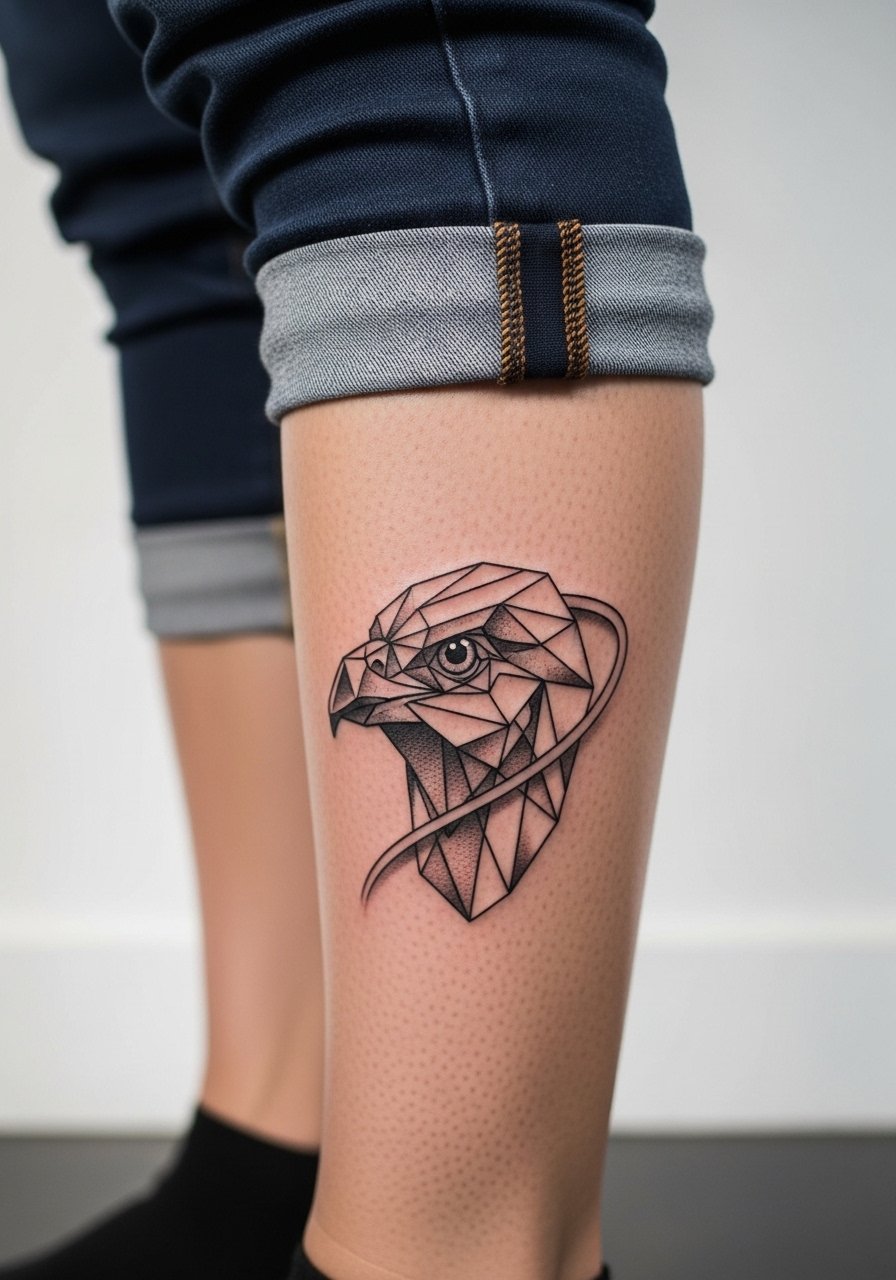
Mistake lead: the calf is forgiving, but tiny angular lines in geometry can merge if packed. Ask for clear spacing between shapes and for whip shading that keeps a textured look without muddying edges. Calf sessions are moderate on pain and allow for slightly larger scale. For evenings out, show it with rolled pants and casual leather boots.
17. Tribal-Influenced Thunderbird on Shoulder
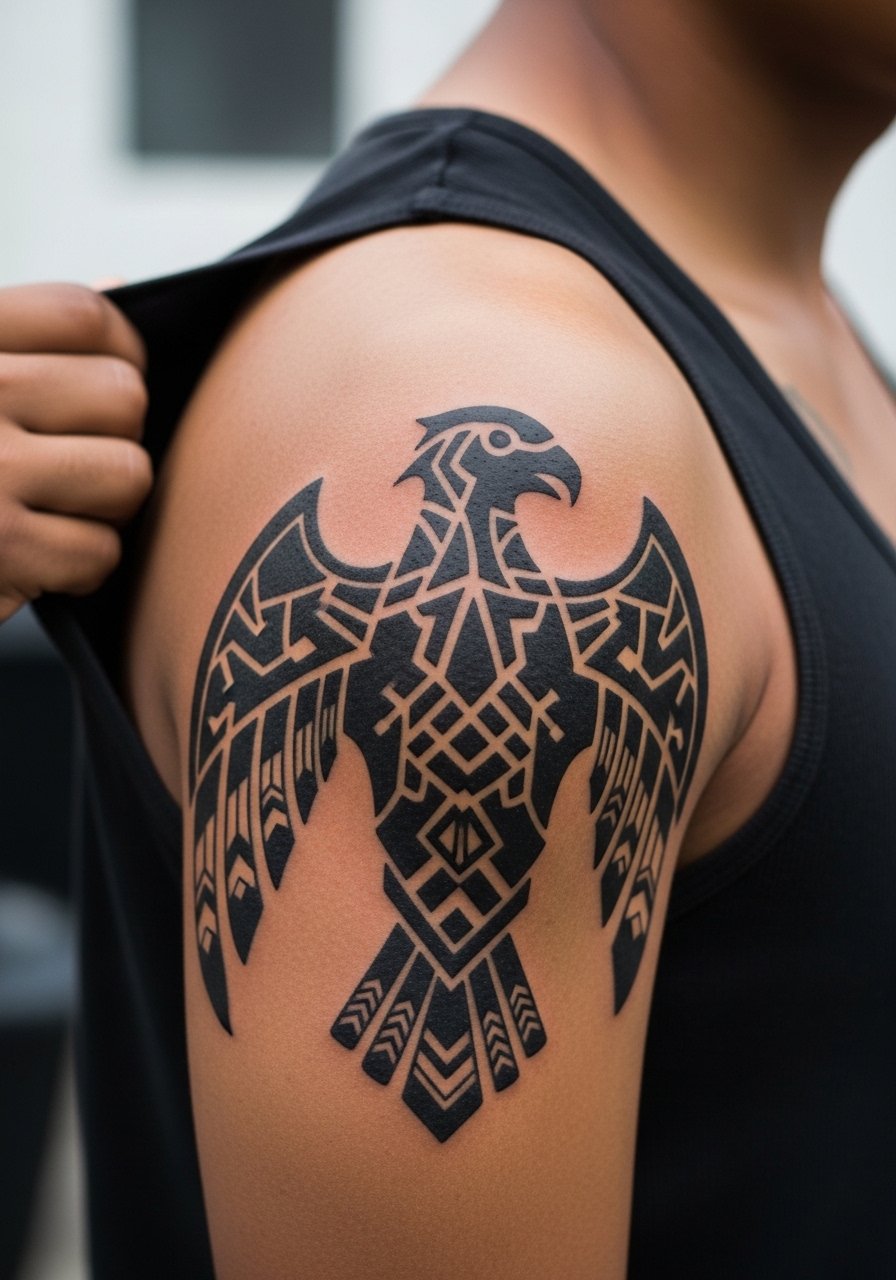
Cultural origin sensitivity applies here. This pattern traces to specific indigenous traditions, so some people opt for respectful reinterpretation rather than direct replication. Two camps exist in conversations. One camp supports inspired work that credits roots and avoids sacred symbols. The other camp favors strict preservation of traditional patterns within community contexts. If you choose this route, ask your artist where their reference came from and be willing to adapt elements respectfully.
18. Small Albatross Behind the Ear
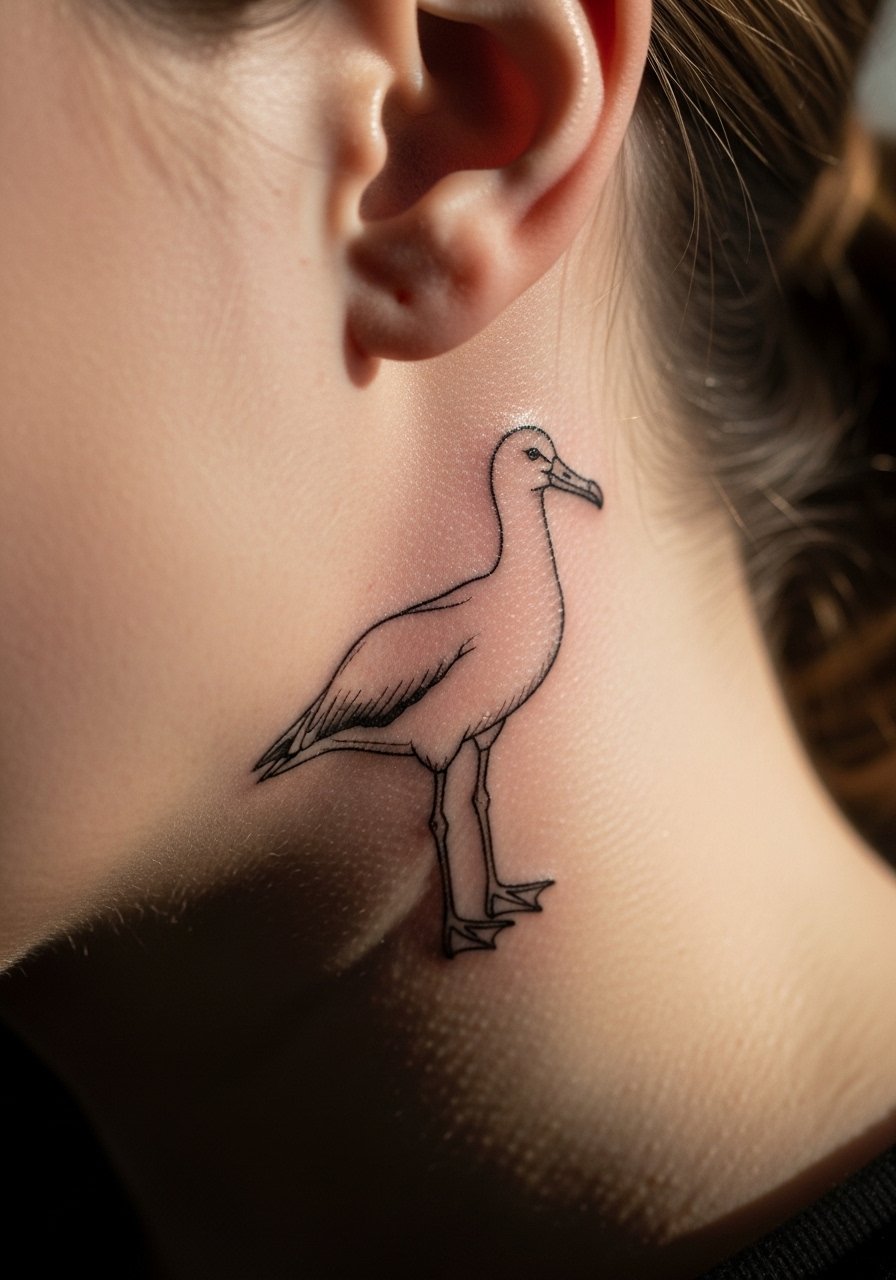
Decision-pressure lead: behind-the-ear pieces are discreet and revealable. The biggest mistake is expecting heavy detail in a tiny zone. Ask for a silhouette with a small wing accent rather than micro-feathers. The session is short and can be done in under an hour. Keep hair length in mind if you want the bird visible, and consider a shorter haircut or undercut if you plan frequent display.
19. Bold Albatross Chest-to-Shoulder Sweep
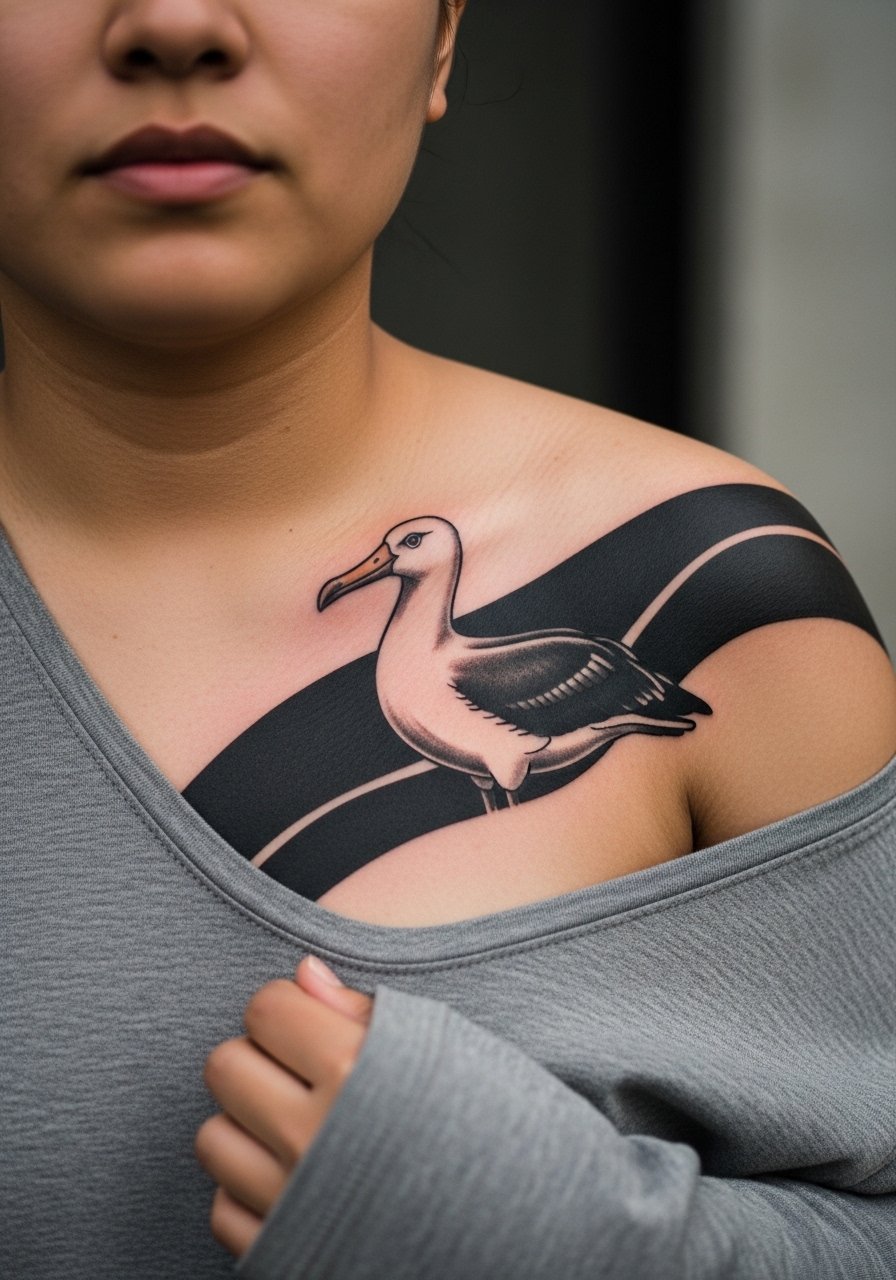
Personal observation: sweeps that cross chest to shoulder benefit from consistent line weight so the bird reads in motion. Ask for matching outlines on both planes and for minimal micro detail. Sessions may require two long sittings. For any chest-shoulder sweep, pack loose tops like a button-down shirt that you can move without rubbing the fresh ink.
20. Black Cardinal on the Rib Arc
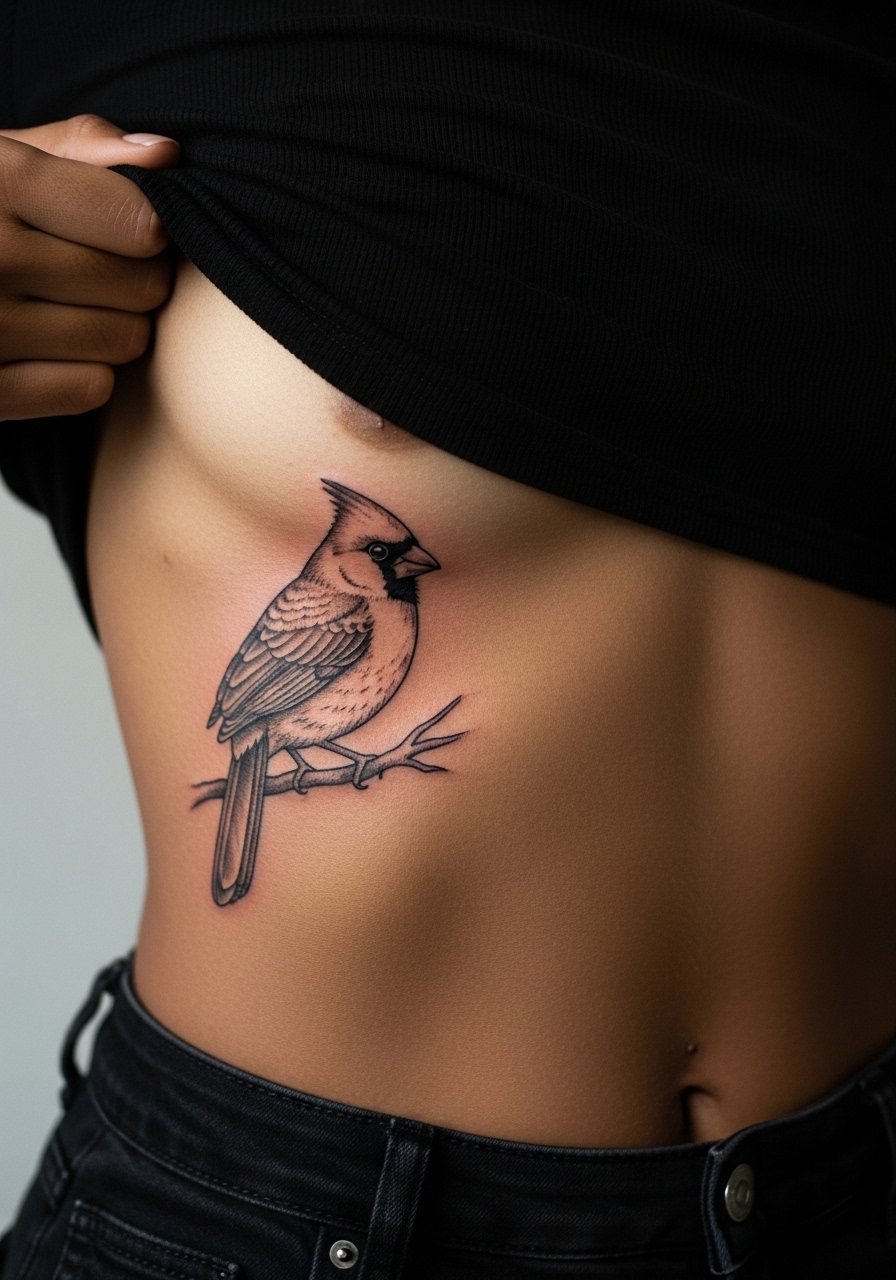
Aging lead: small bold birds on the ribs look striking initially but can suffer from motion-related blurring. The fix is slight scaling up and stronger outlines. The rib is painful, so expect to pause between passes. For session comfort, wear a loose crop top so the artist can work without full disrobing.
21. Minimalist Line Bird Along Collarbone
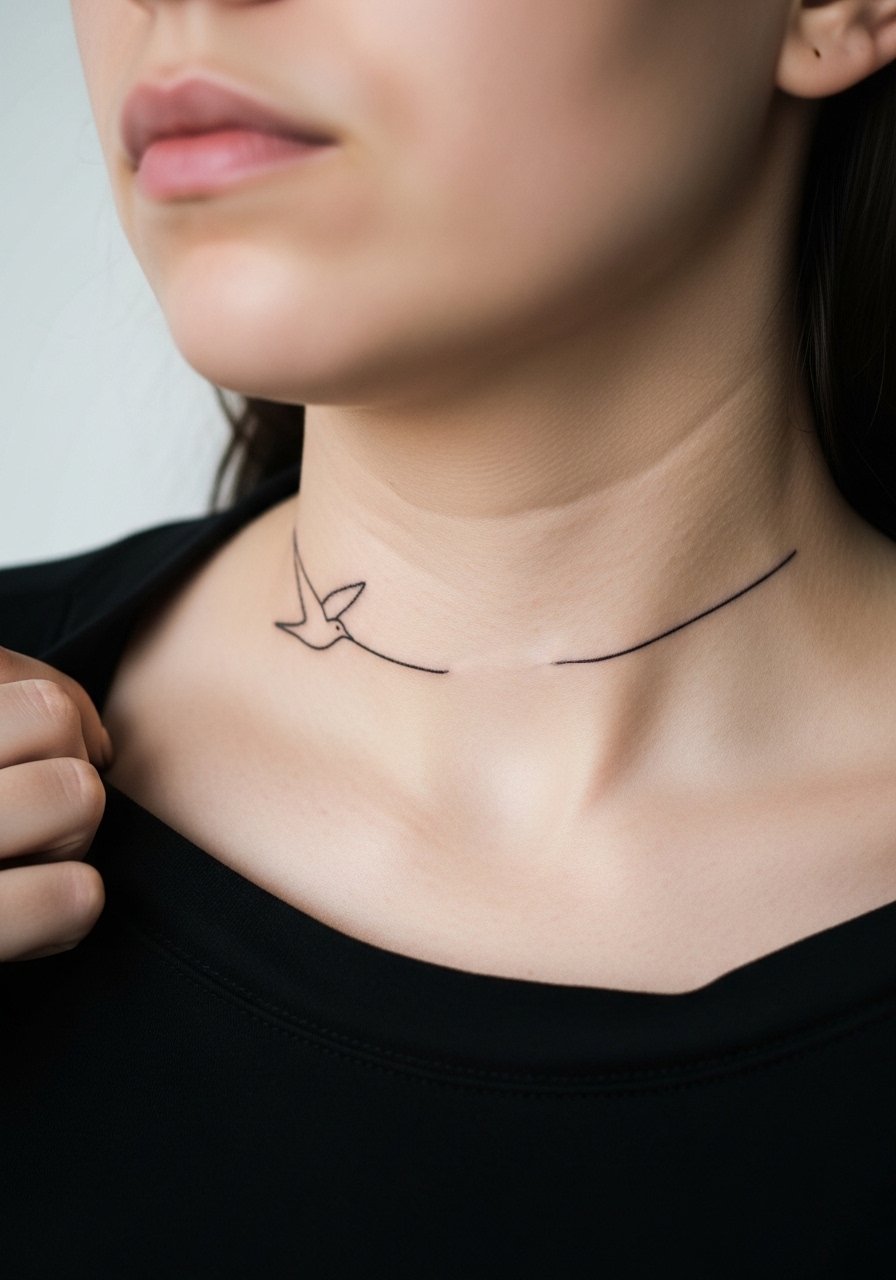
Mistake lead: minimalist lines at the collarbone need breathing room. Too many curves in a short span mean touch-ups sooner than later. Ask for slightly bolder line weight than the pencil-thin look you see online. Healing there is generally straightforward, and a thin chain sits nicely without covering the work.
22. Large Phoenix on Full Back with Bold Flames
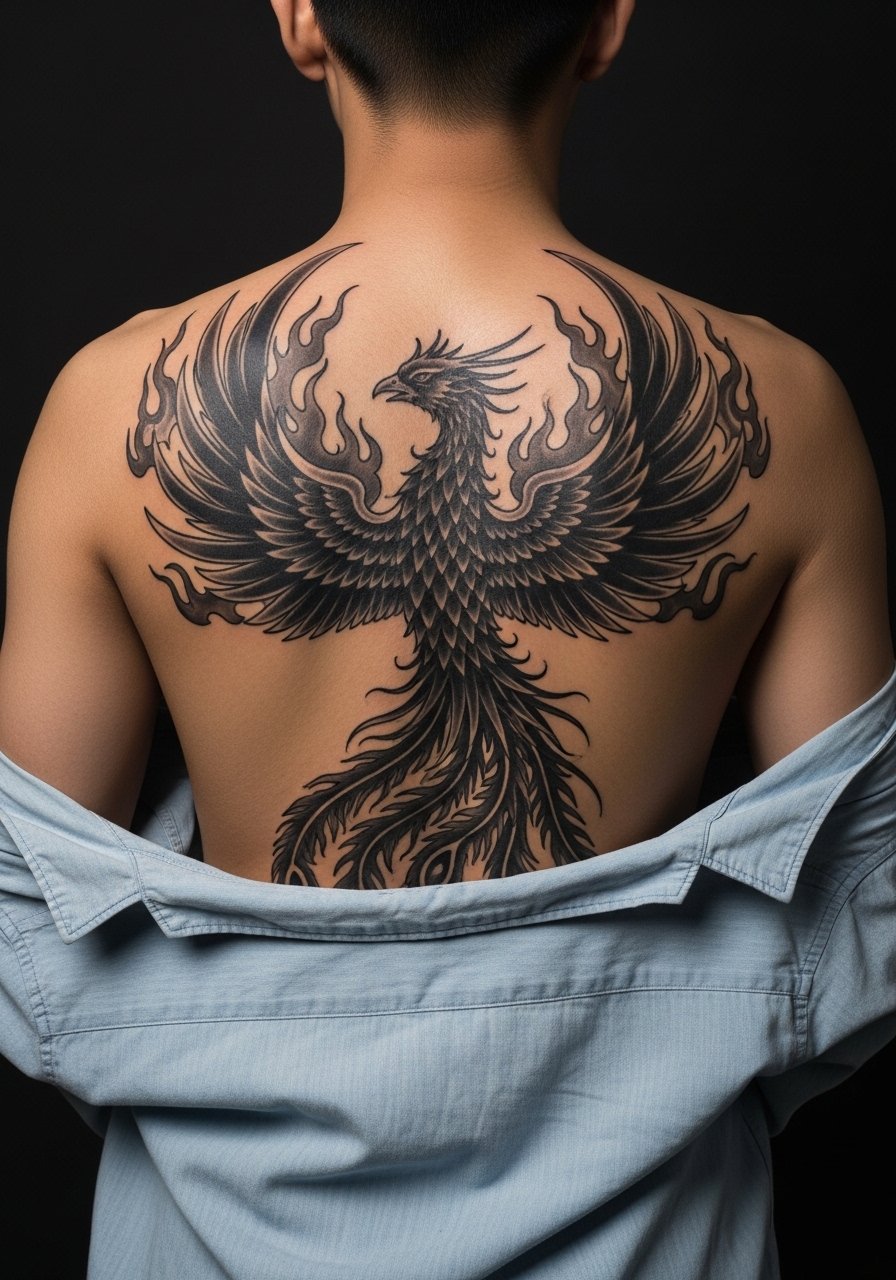
Visual impact lead: back pieces convert drama into silhouette when flame shapes are bold and consistent. The common error is filling flames with tiny gradients that age into gray. Prioritize high-contrast shapes and leave breathing room between elements. Back projects take many sessions over months. For post-session mobility, bring a zip-up hoodie you can slip on gently.
23. Black Woodpecker on the Side of the Hand
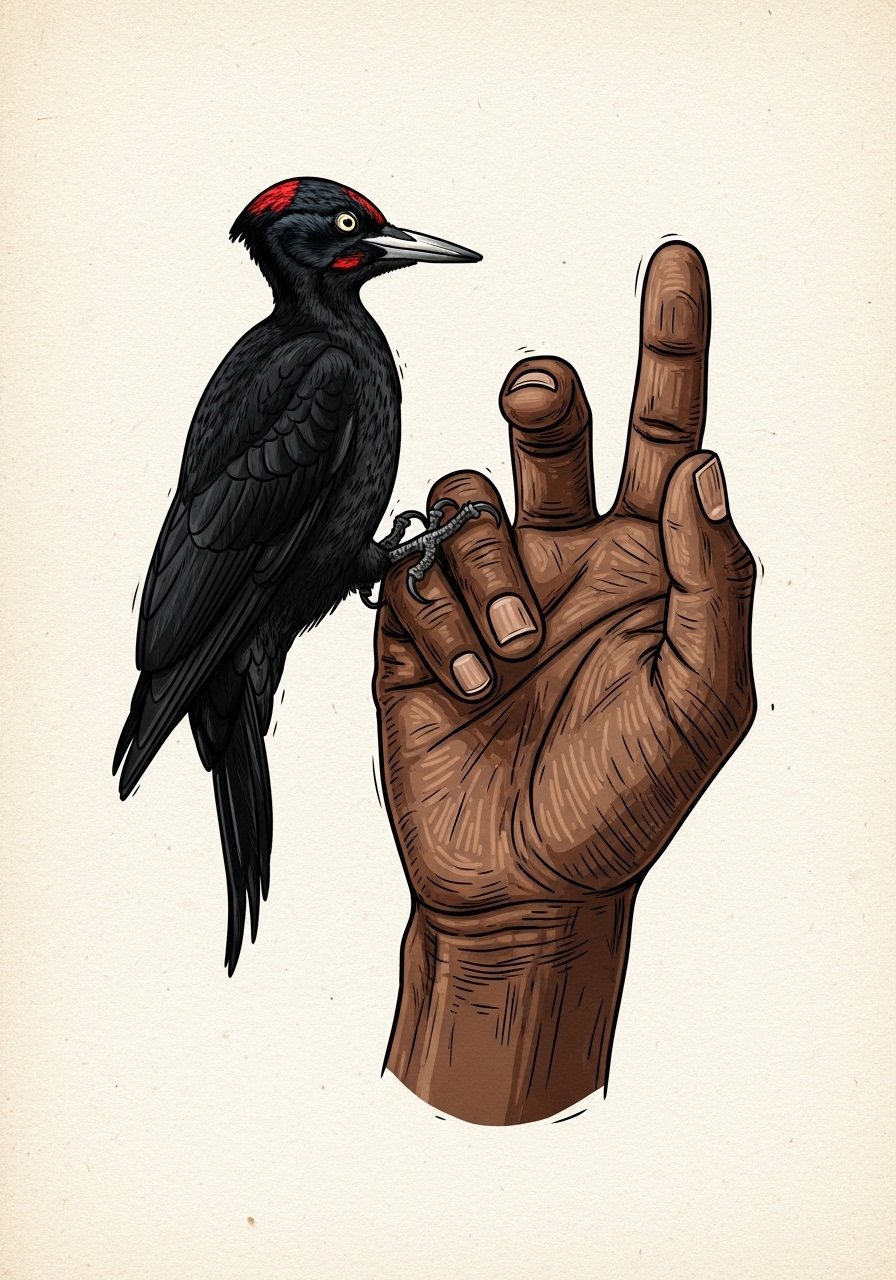
Pain warning lead: hand placements are exposed and touch-ups are likely. The successful versions are bold and small, avoiding fine internal detail. The healing process involves frequent washing, so protective film from the product block is helpful. Consider a slightly set-back placement toward the wrist to reduce abrasion.
24. Stylized Peregrine on Thigh with Dot Work Background
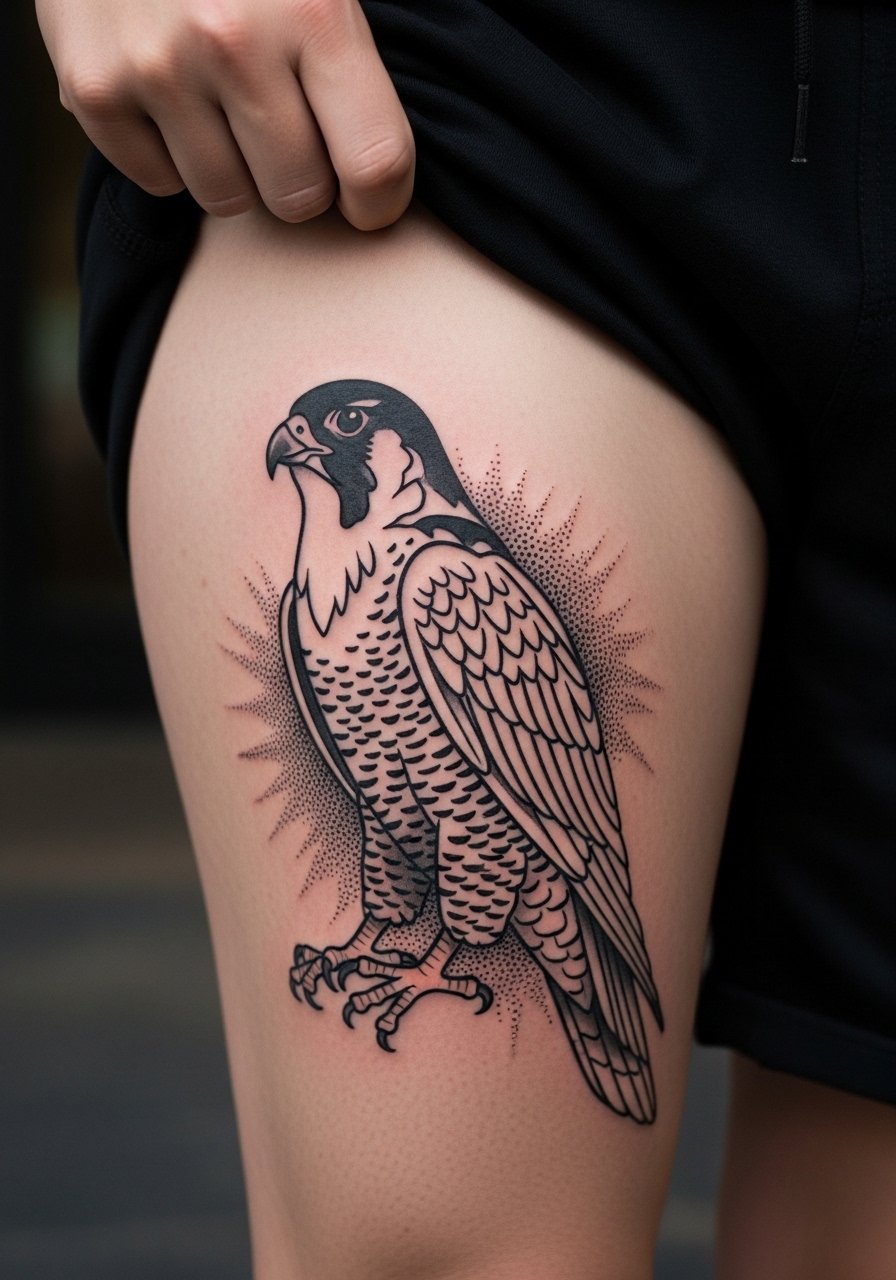
Consultation lead: the thigh gives scale and privacy. Ask for a bold contour with stipple texture behind the bird for depth. A standard mistake is packing too many micro details into the chest area of the bird. Sessions are more comfortable for longer sittings. Wear loose drawstring shorts so you can shift them without friction on the fresh work.
25. Viking Raven Chest Knot Work
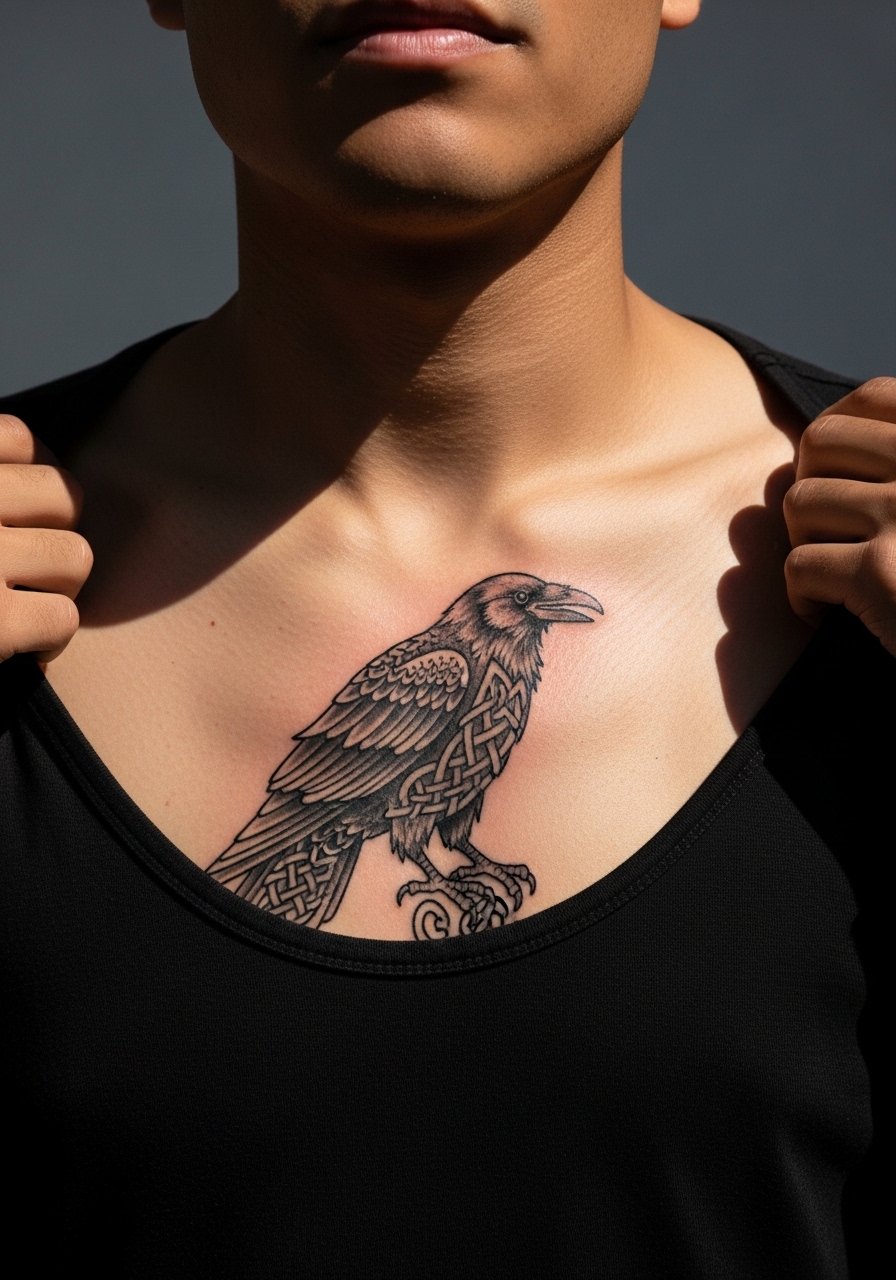
Cultural origin sensitivity: knot work draws from Norse art and some people treat it as a cultural emblem. The common mistake is copying intricate historic knots without adapting them to body flow. Ask your artist to adapt motifs into shapes that follow the chest contours. Expect multiple sessions for clean interlocking lines.
26. Blackwork Pelican on Lower Back
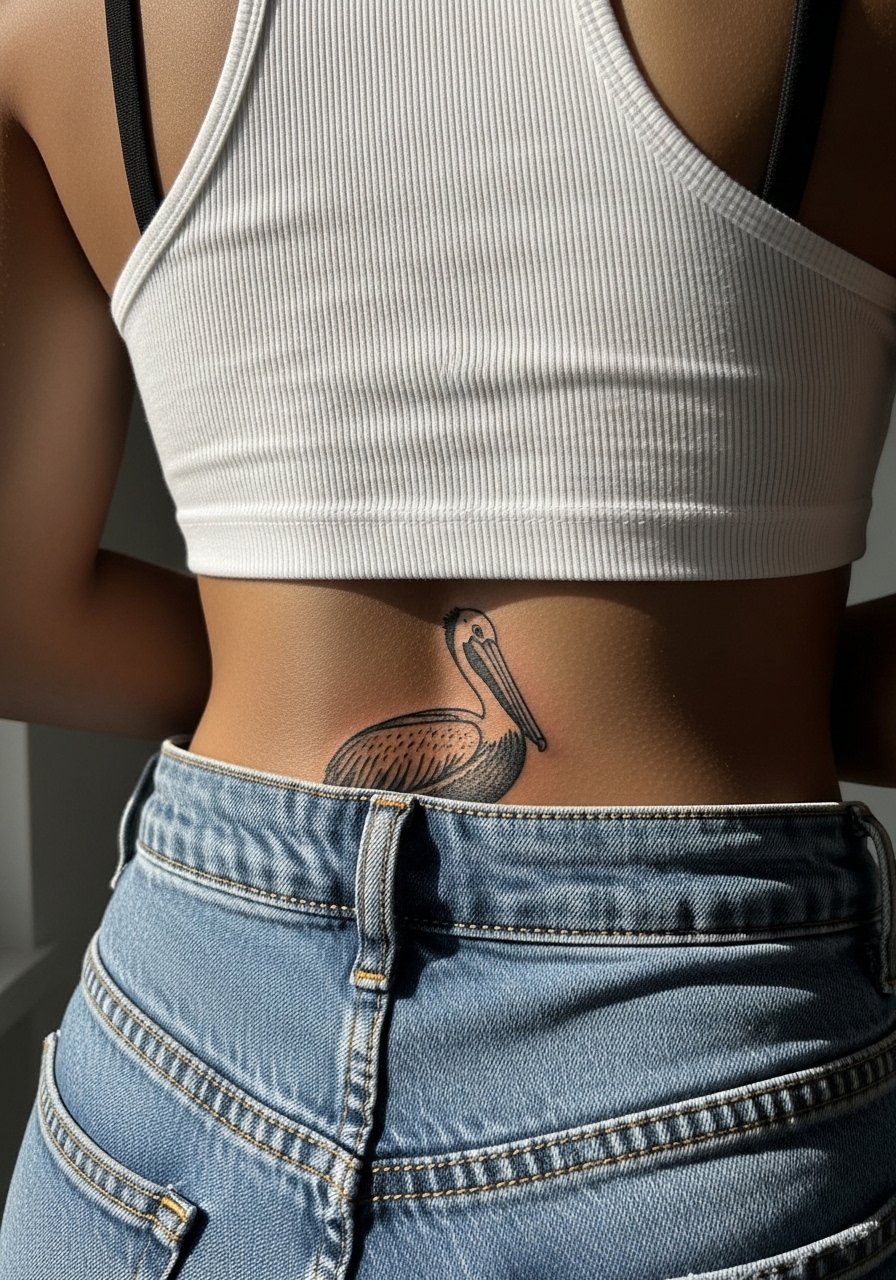
Decision-pressure lead: lower back pieces need scale because the skin stretches. One mistake is tiny detail that distorts when you sit. Ask for bold forms and avoid ultra-fine texturing through the belly feathers. Lower back work is a moderate pain zone and shows nicely with a low-slung waistline, so pick pants you can wear comfortably in the weeks after.
27. Black Sparrow Cluster Along Spine
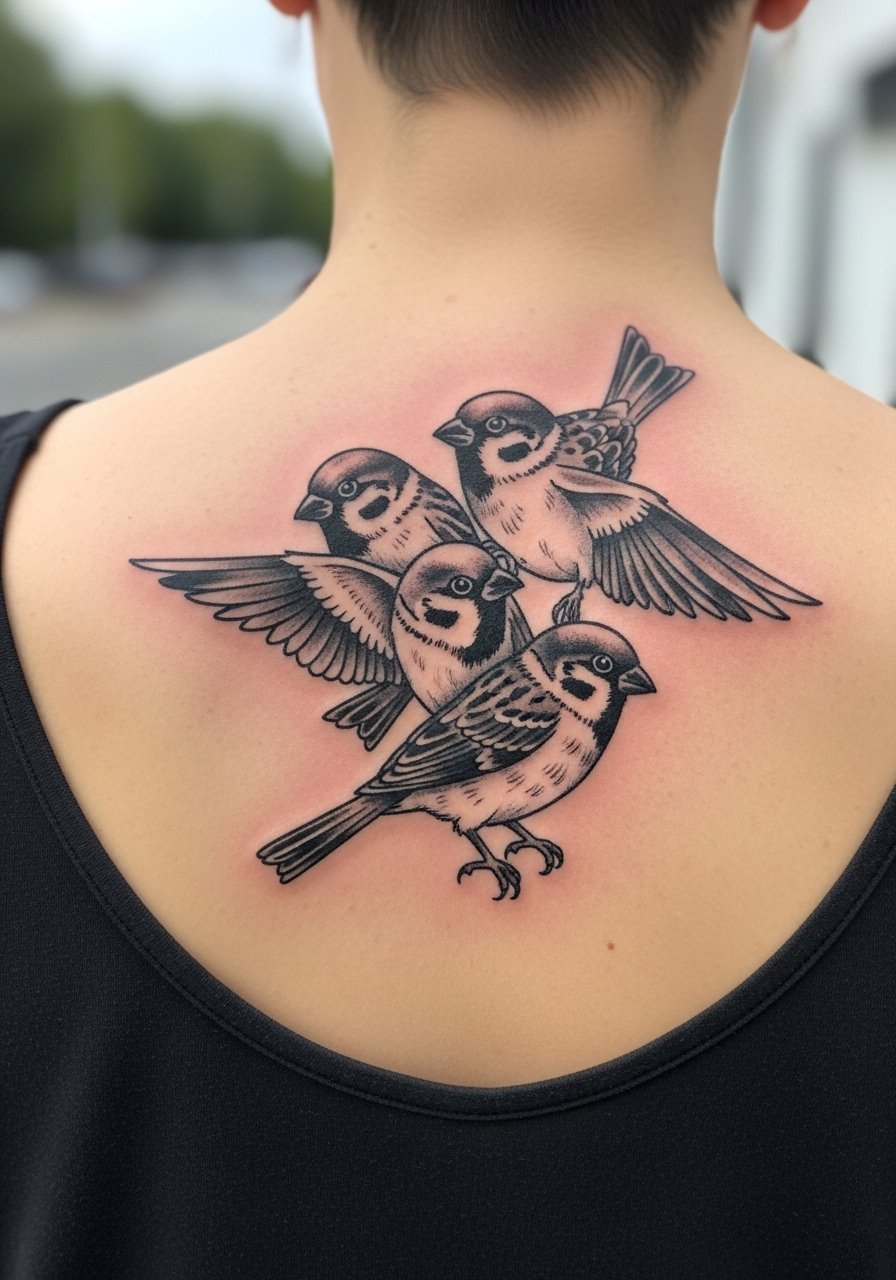
Visual impact lead: spine clusters benefit from vertical rhythm. A typical error is cramming birds too close so detail merges into a bar of gray. Ask for spacing that lets each sparrow sit on its own plane. Spine sessions can be intense, so plan short breaks and a loose tank top that you can lift for the artist without rubbing the area.
Frequently Asked Questions
Q: Do bold black bird tattoos hold up better than fine line bird tattoos on exposed areas like wrists and hands?
A: From what I have seen, bold blackwork tends to survive daily abrasion and sun exposure better than ultra-fine line pieces in high-friction zones. Fine line can look beautiful early on, but expect touch-ups sooner on hands and wrists. If you want the minimalist look with longevity, ask the artist to slightly thicken key contour lines.
Q: How should I prepare clothing-wise for a chest or rib bird session?
A: Wear a wide-neck shirt or a fitted sports bra you can lift just enough to expose the area without full disrobing. Comfort between passes matters, and a zip-up hoodie or loose button-down is practical to stay warm during breaks. Bring a snack and a bottle of water for longer sessions.
Q: Are there bird designs I should avoid due to cultural sensitivity?
A: Yes. Designs that borrow directly from specific indigenous, religious, or culturally sacred motifs can raise issues. Two approaches people take are either to seek permission and credit the source or to work with an artist who adapts motifs into clearly original forms. Ask where the references came from and be open to respectful adaptation.
Q: How often do large black bird back pieces need touch-ups compared with small wrist birds?
A: Large saturated back work usually maintains depth longer because the skin supports heavier ink. Small wrist birds are exposed to sun and friction and therefore often need touch-ups earlier. On balance, expect small exposed pieces to need attention within a few years, while full back pieces might go longer between sessions.
Q: What should I ask an artist during consultation to guarantee the bird reads well from a distance?
A: Ask for clear outer line weight, intentional negative space, and scaled focal points like a slightly larger eye or beak. Request photos of comparable healed work in the artist portfolio so you can see how similar pieces aged. Trust your artist when they explain spacing, but ask for specifics about touch-up timelines.
