
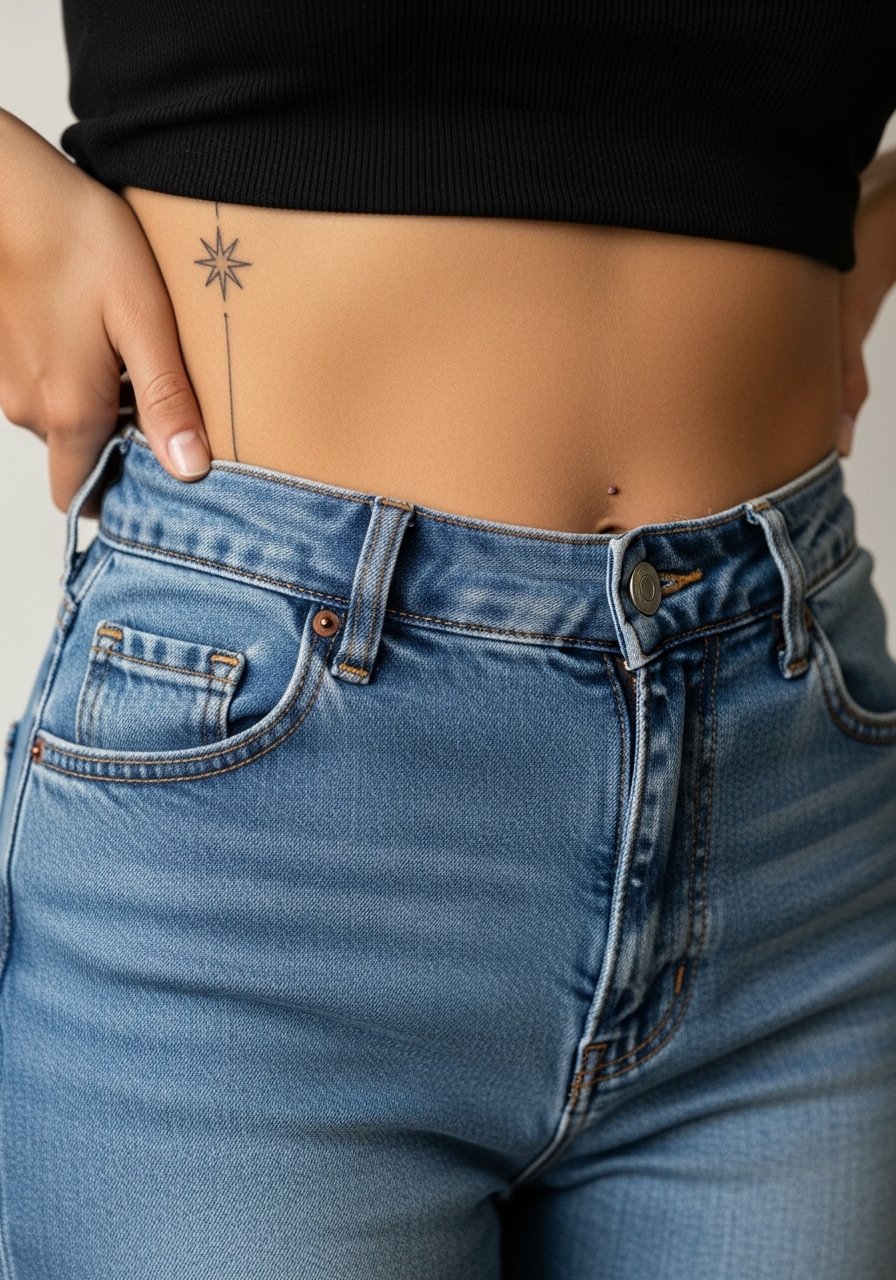
Fine line north star tattoos look delicate online and feel fragile to a lot of guests at my favorite shops. The trend-versus-reality gap matters here because the thin points and tiny rays that look crisp in a photo often need deliberate spacing and placement to stay readable after a few years. These 27 ideas show versions that actually hold up, what to ask your artist in consultation, and how to wear them so they read as intended.
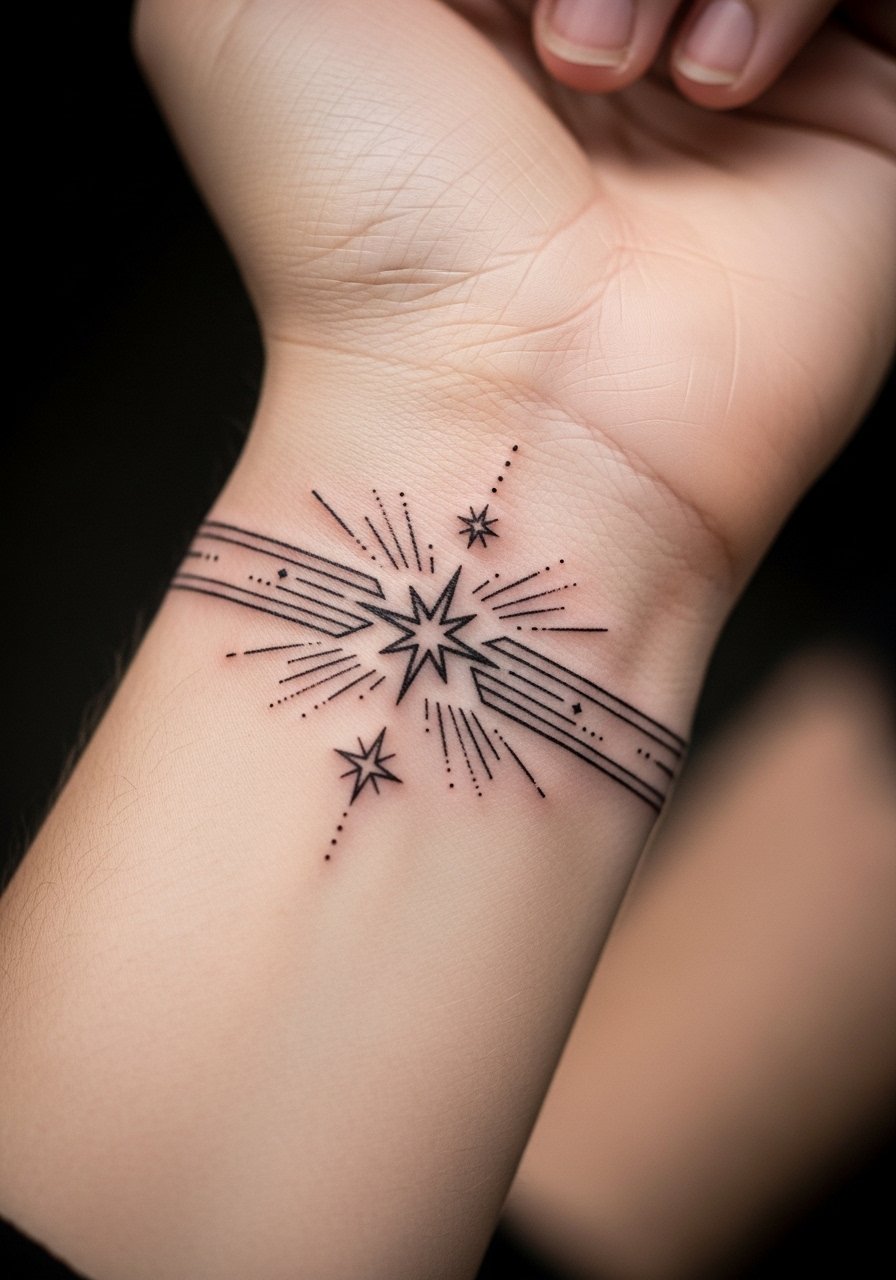
1. Micro North Star on Inner Wrist
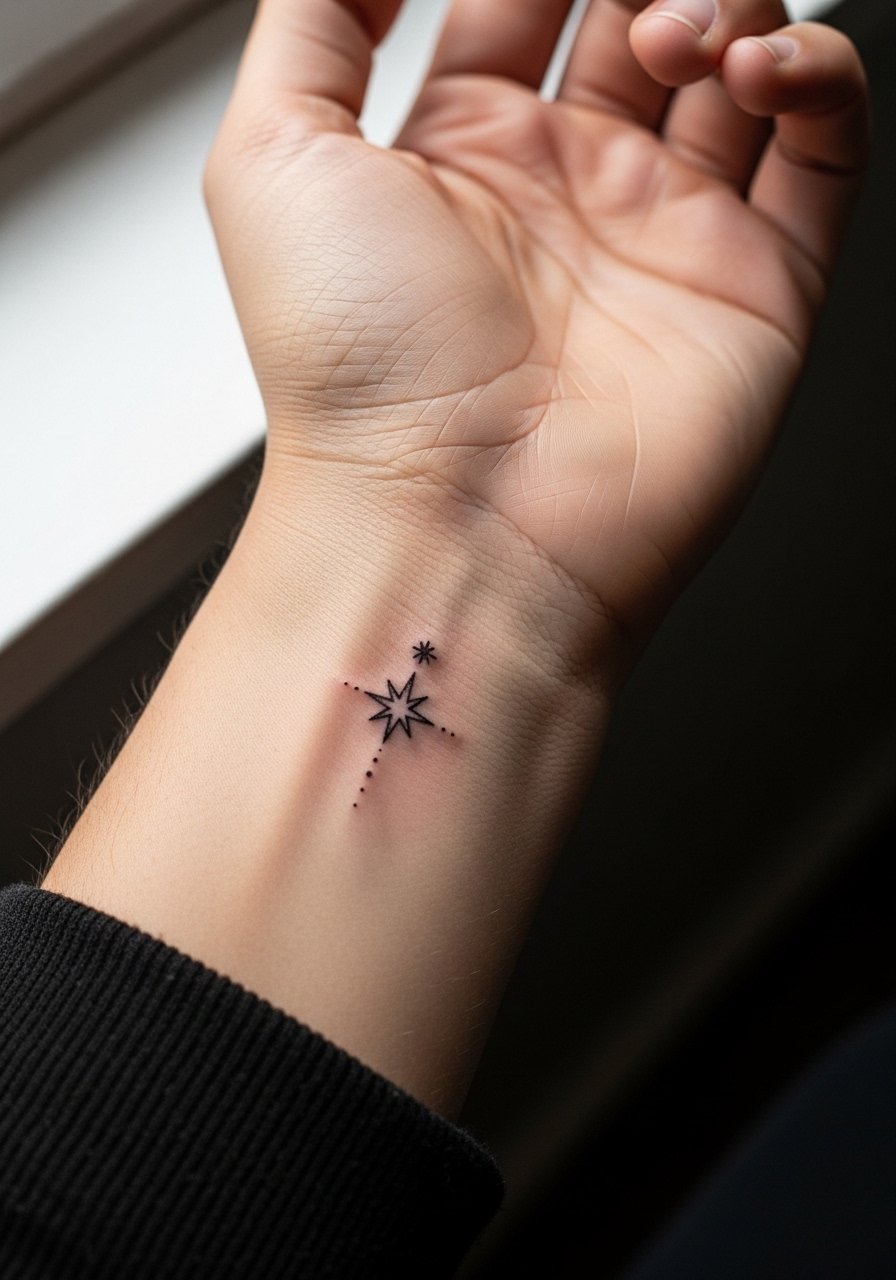
I recommend the inner wrist when you want a daily-visible guide that still reads like a jewel. Fair warning, the wrist takes more sunlight and friction from washing, so expect touch-ups around year two to four depending on your sun exposure. In consultation say you want single-needle linework with an open spacing between the star points so the rays do not merge as the tattoo softens. The session is quick and feels like steady buzzing against the bone, a manageable three to four out of ten on most pain scales. For showing it off, pair the piece with a thin chain bracelet that sits just below the tattoo without rubbing it.
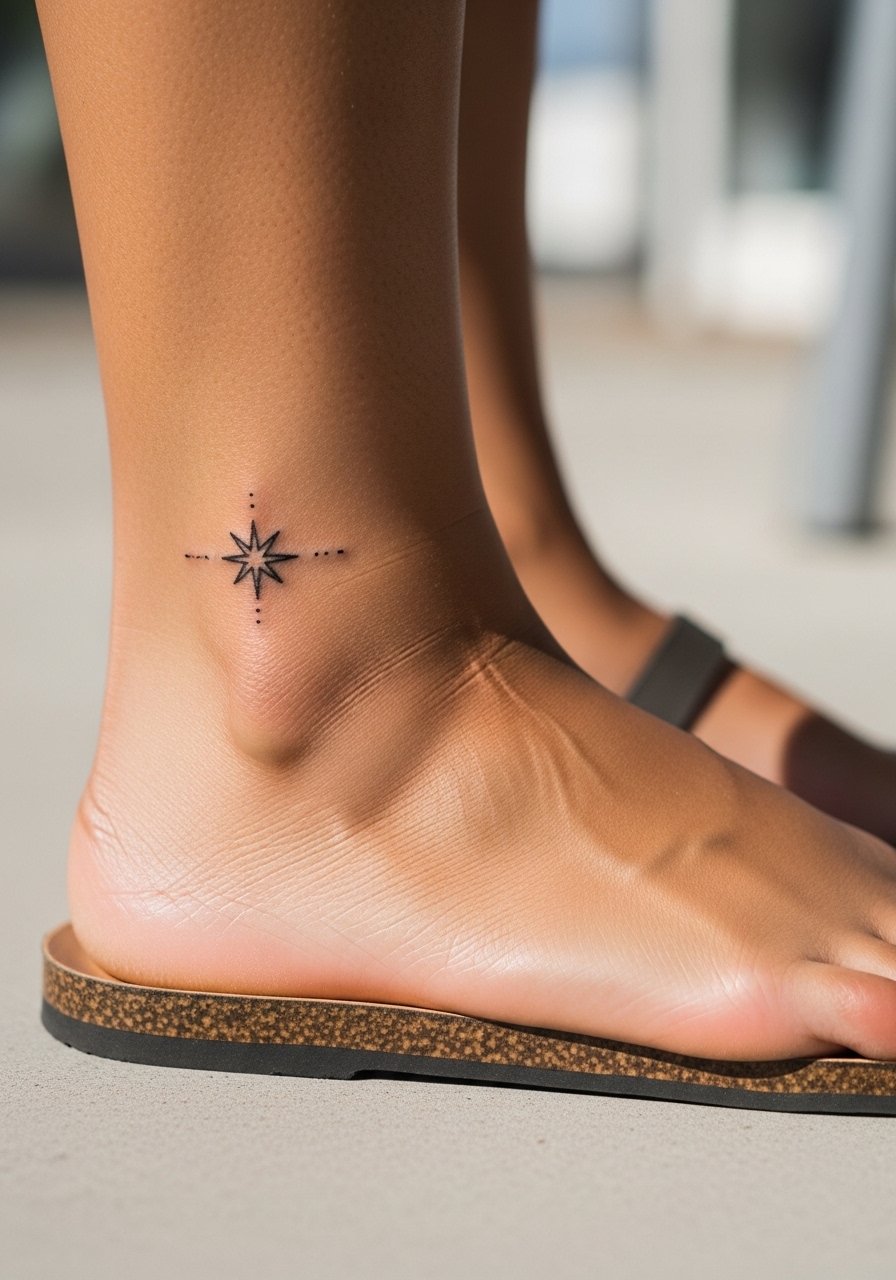
2. Constellation Cluster Above the Ankle
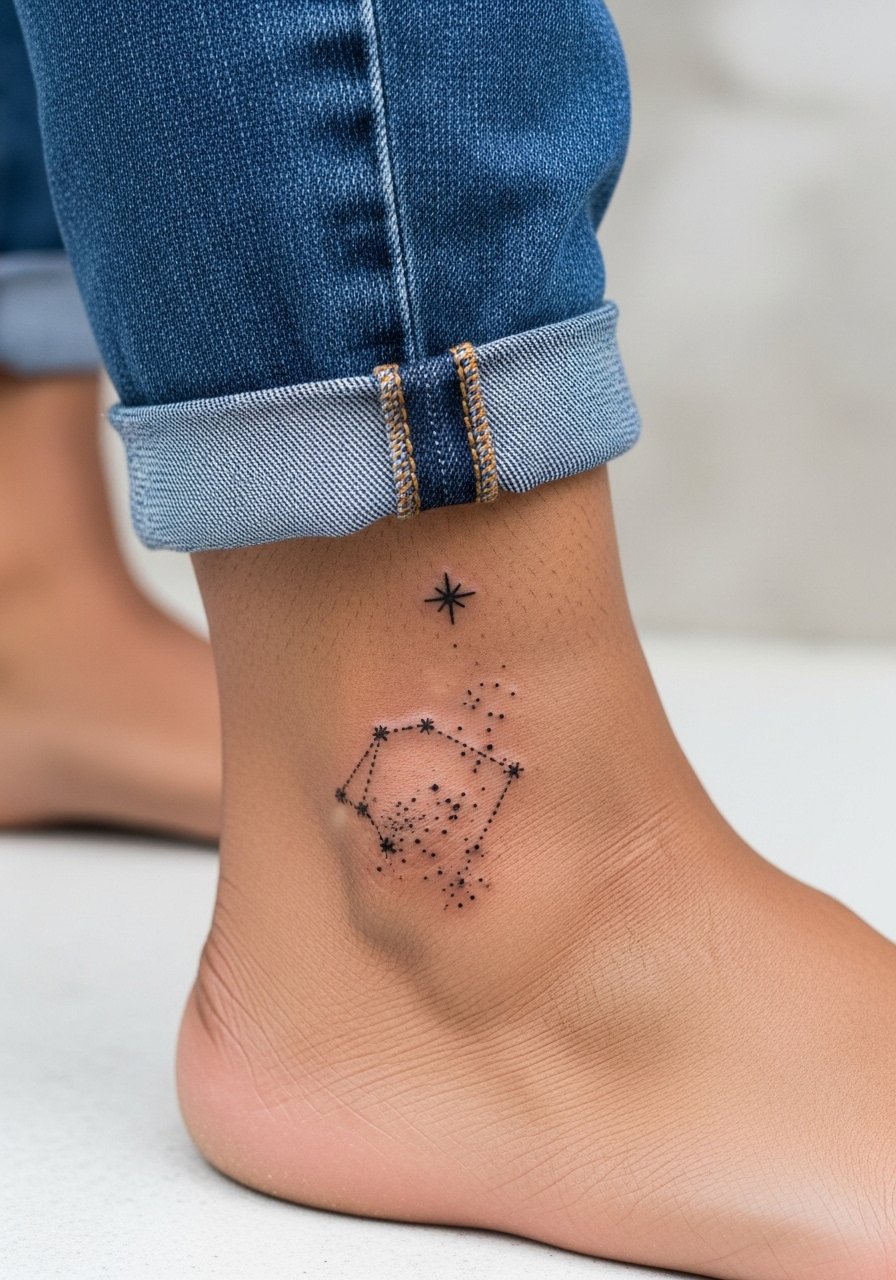
This placement reads delicate in sandals and sneakers, and the ankle's movement gives the tiny stars a subtle life. The common mistake is cramming too many micro-stars into a narrow space, which causes blurring and loss of negative space after a few years. Ask for slightly thicker anchor lines on the primary north star with dot work connecting the smaller stars so the design keeps structure as it heals. Sessions here are short. The ankle can be a five out of ten on pain charts for some, especially near bone. Pair this design with simple ankle strap sandals when you want it visible without distraction.
3. Tiny North Star Behind the Ear, Subtle Glow
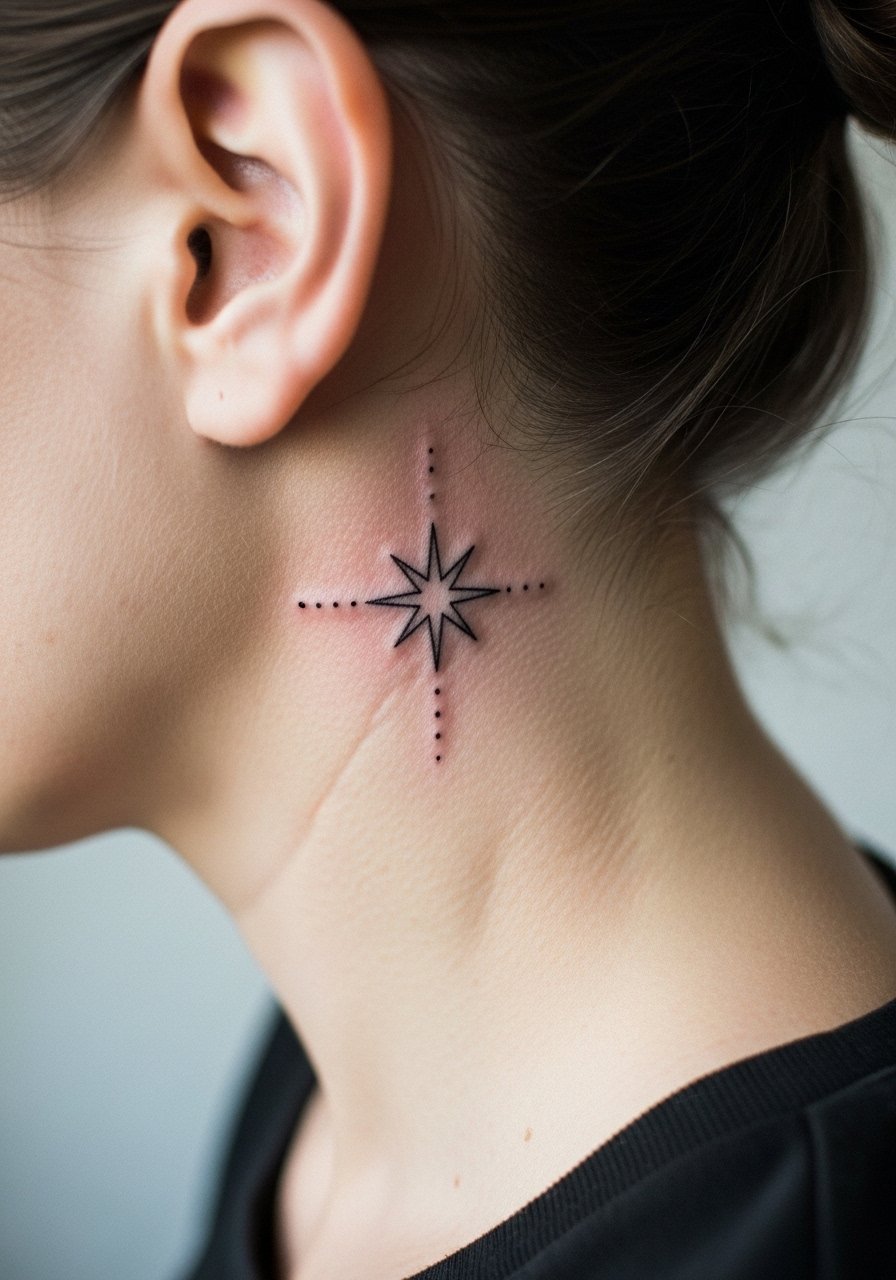
A behind-the-ear north star is a whisper of a tattoo that peeks from hair or updos. Make sure you describe placement as on the skin below the hairline so the artist frames it correctly. The common version that ages poorly is one done too shallow, which fades quickly, or too crowded with rays that blur. The session feels odd because of limited space and awkward access, but it is brief. If career visibility is a concern, this placement is discreet by design. For appointment day wear, bring a hairstyle or headband that exposes the area and keep post-session haircare gentle.
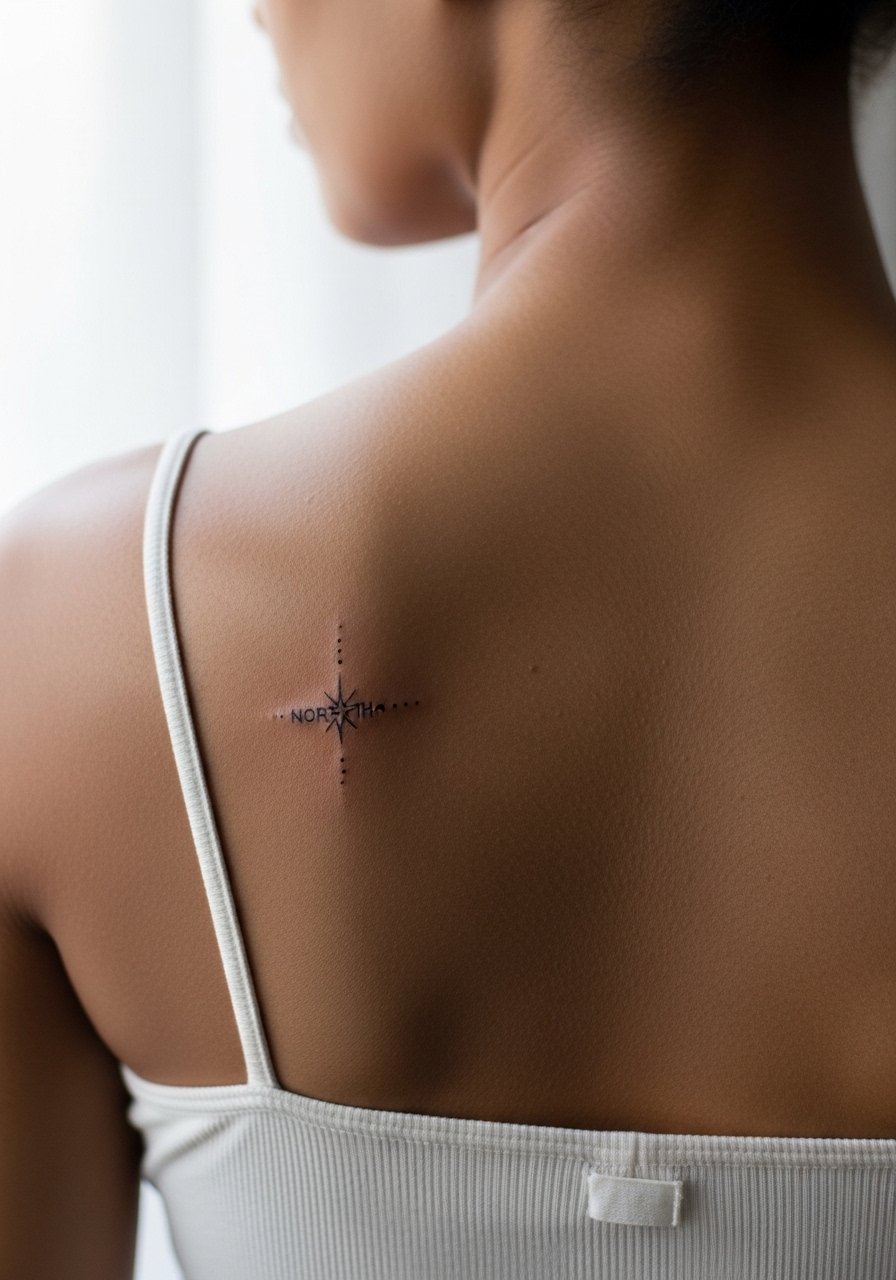
4. North Star and Dot Work on the Side of the Neck
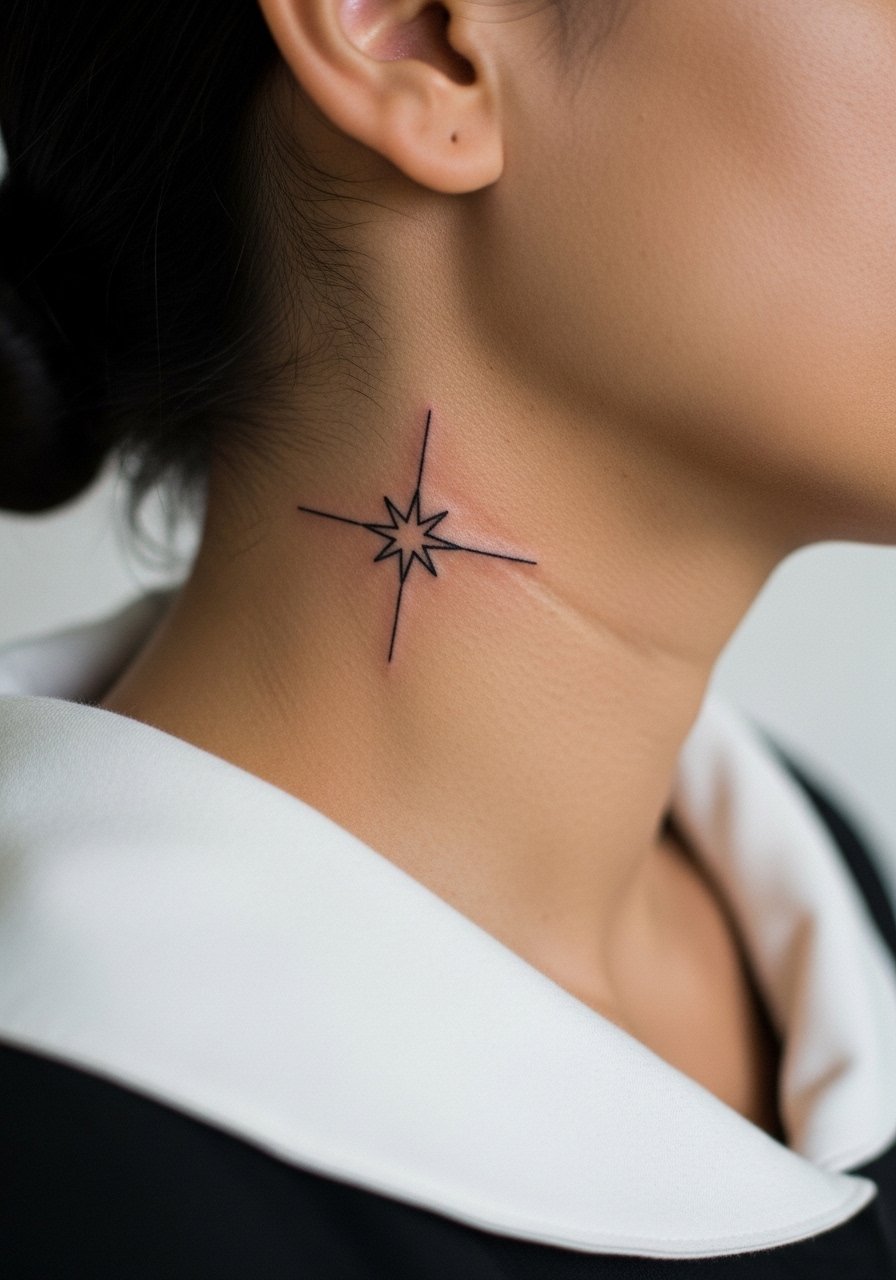
Neck placements read boldly even when the tattoo itself is small. One camp of artists treats fine line on the neck as technically risky because the skin there moves and needs a firmer hand. Another camp says careful depth and slightly heavier anchor lines solve that. Name both camps in your consultation and ask where your artist stands. Expect higher visibility and possible workplace considerations. The session is more awkward because of stretching and breathing with the head turned, and touch-ups are not uncommon after the first year. For showing it off, try a wide-neck shirt that frames the tattoo without covering it.
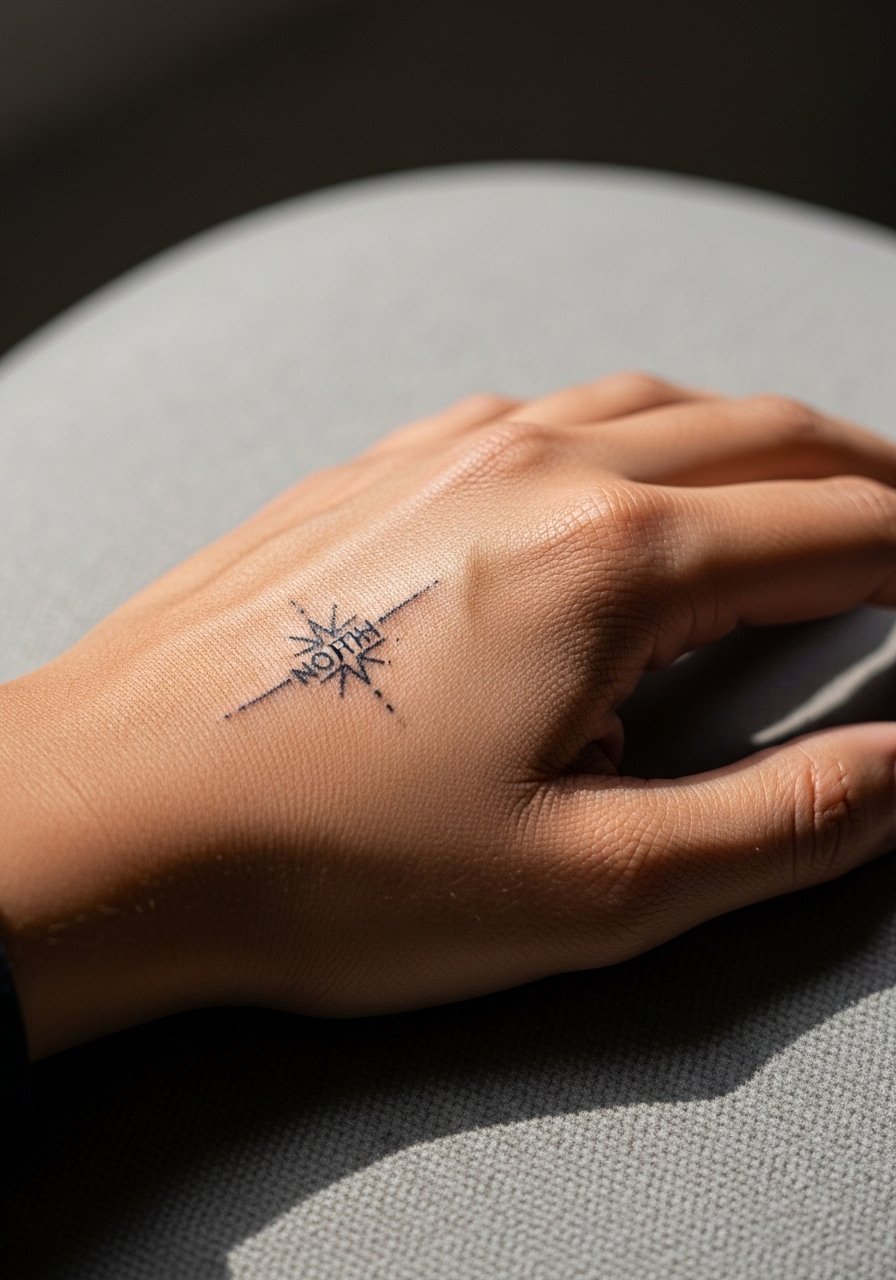
5. Micro North Star on the Side of the Finger
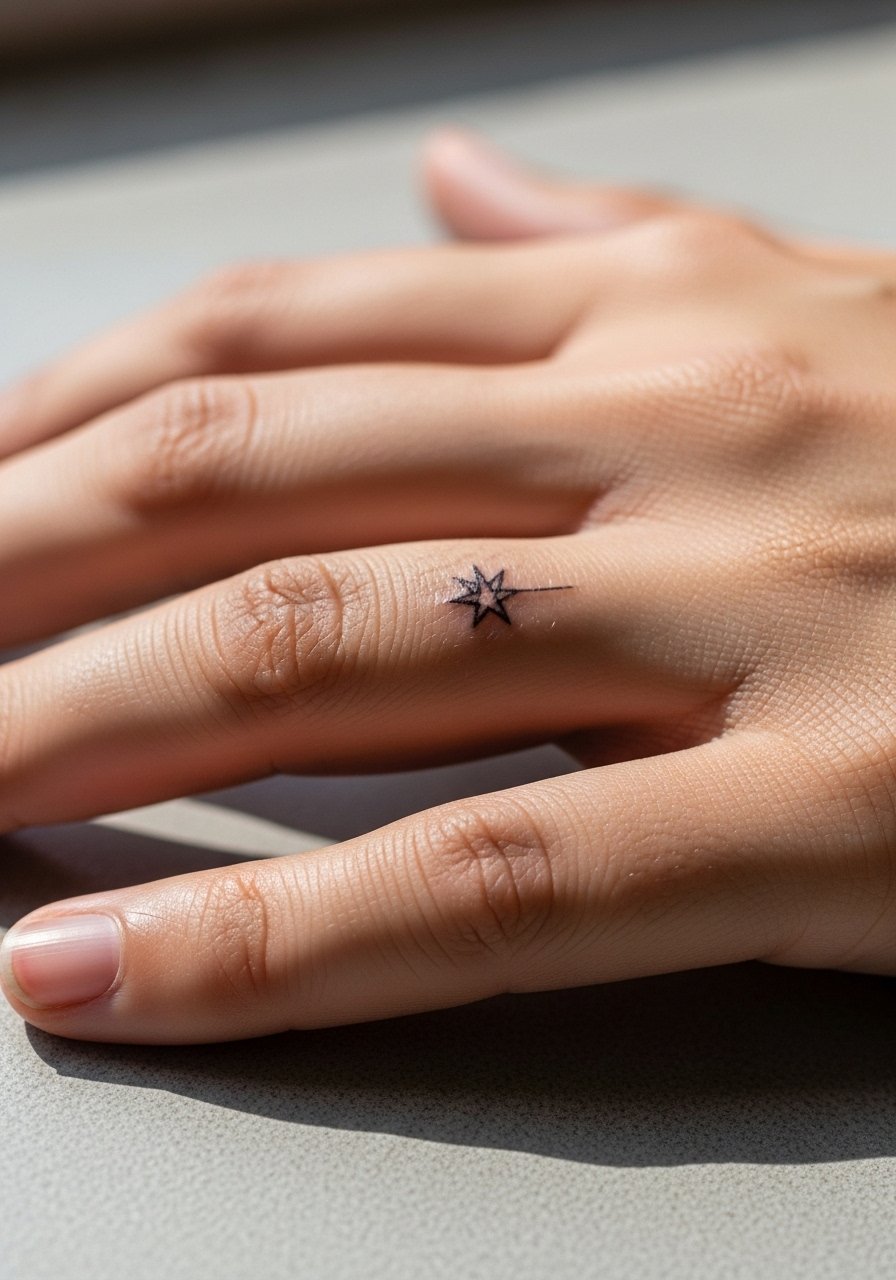
Finger work is visible and vulnerable. The skin there regenerates quickly and the result often fades faster than on other sites. The most common mistake is placing an intricate pattern on the thin lateral finger canvas. Ask for reinforced outer lines on the star and accept a thinner center to preserve detail. Prepare for a possible touch-up at year one or two. The session feels stingy and short. For daily wear, choose minimal rings that do not sit directly over the tattoo during the first six weeks to reduce friction.
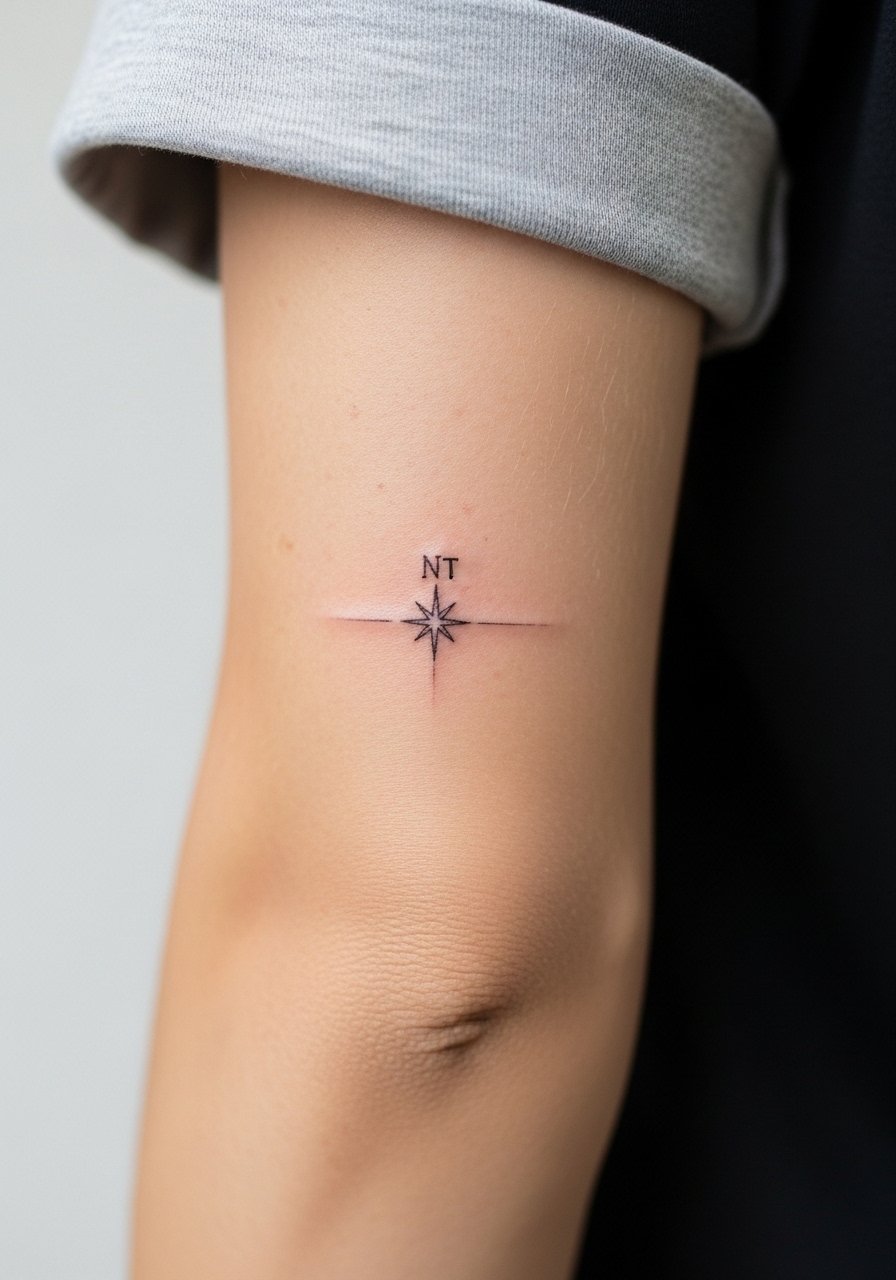
6. North Star with Constellation Band on Inner Forearm
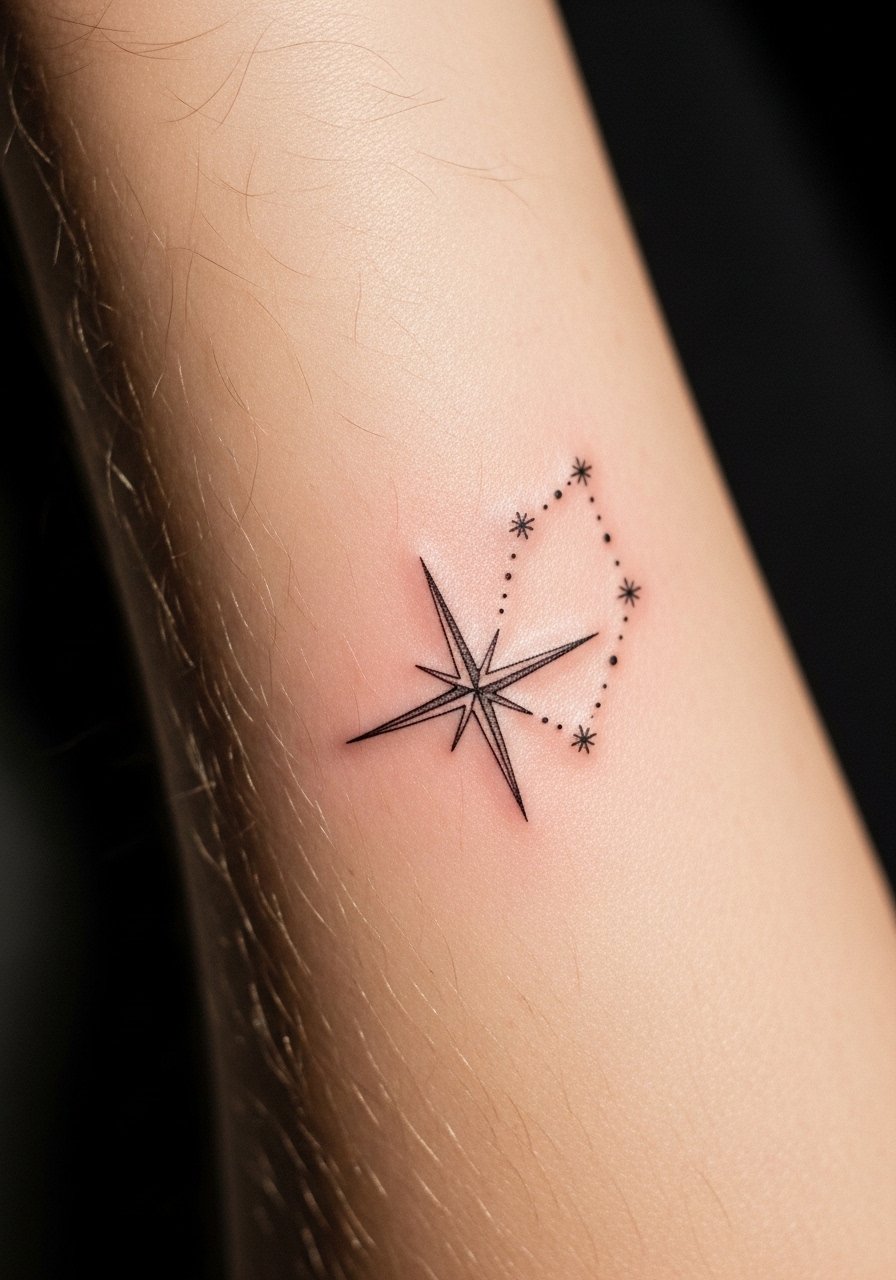
The inner forearm is one of my favorite places for fine line because it offers room and predictable aging. A common error is packing rays too close together, which resolves into muddiness over time. Tell your artist you want spacing between rays and a light stipple connector to avoid dense shading. Expect a two to three hour session depending on the length of the band. Pain is mild. For showing it off, roll up sleeves and pick a loose button-down shirt so the forearm reads cleanly without fabric crowding the piece.
Pack Smart
The wrist and finger pieces above heal differently from larger work, so a few small items smooth out the session and the first week.
-
Stencil transfer paper kit. Lets you preview exact placement on skin, which helps nail that delicate wrist alignment described above.
-
Topical numbing cream. Applied as directed before short sessions eases sensitivity on ankles and fingers without altering the linework.
-
Thin protective film roll. Keeps tiny wrist and finger tattoos clean during the first week where friction from hand use is highest.
-
Fragrance-free gentle body wash. Cleanses the area during showers without stripping delicate lines on forearm or neck work.
-
Aquaphor healing ointment. A thin layer in the first days helps retain moisture for close-line pieces without clogging the needle channels.
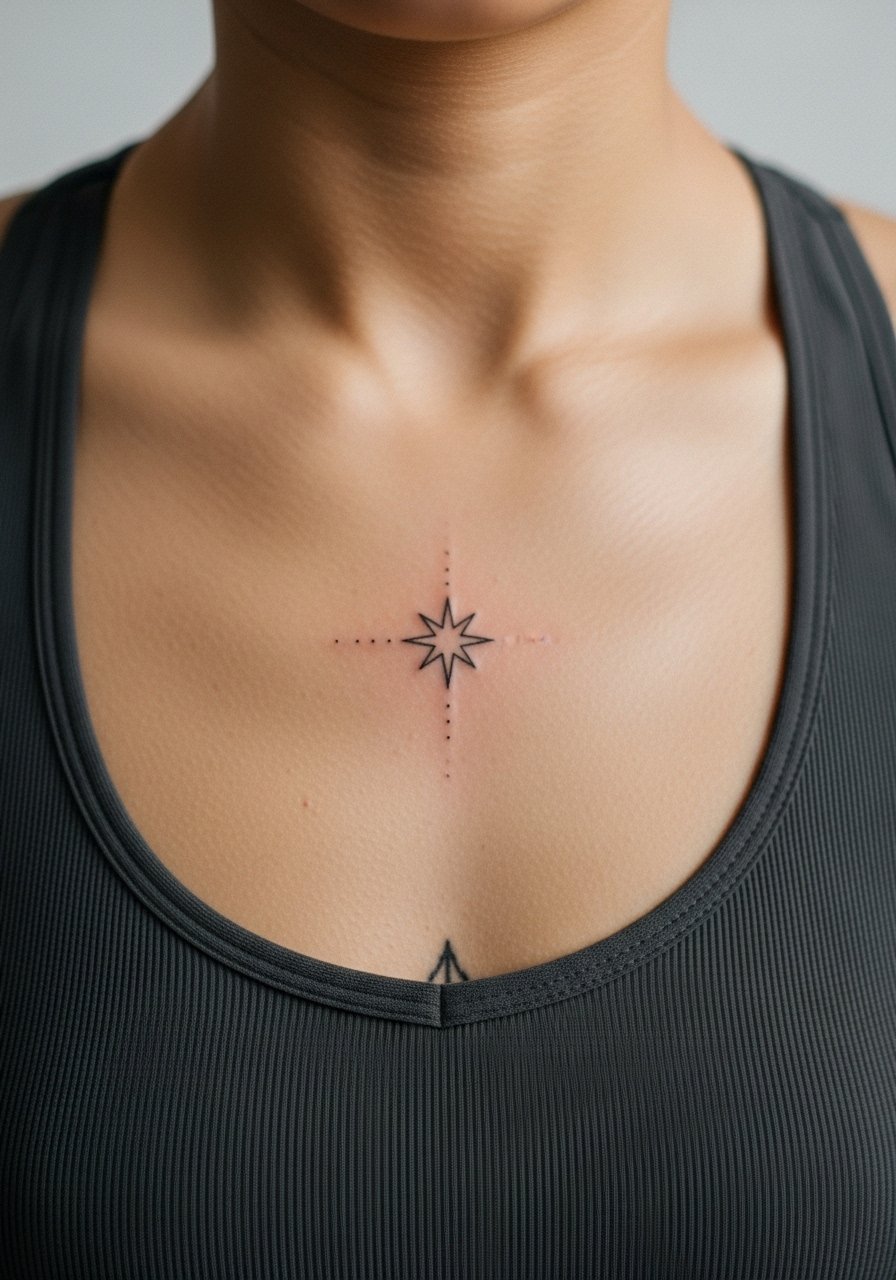
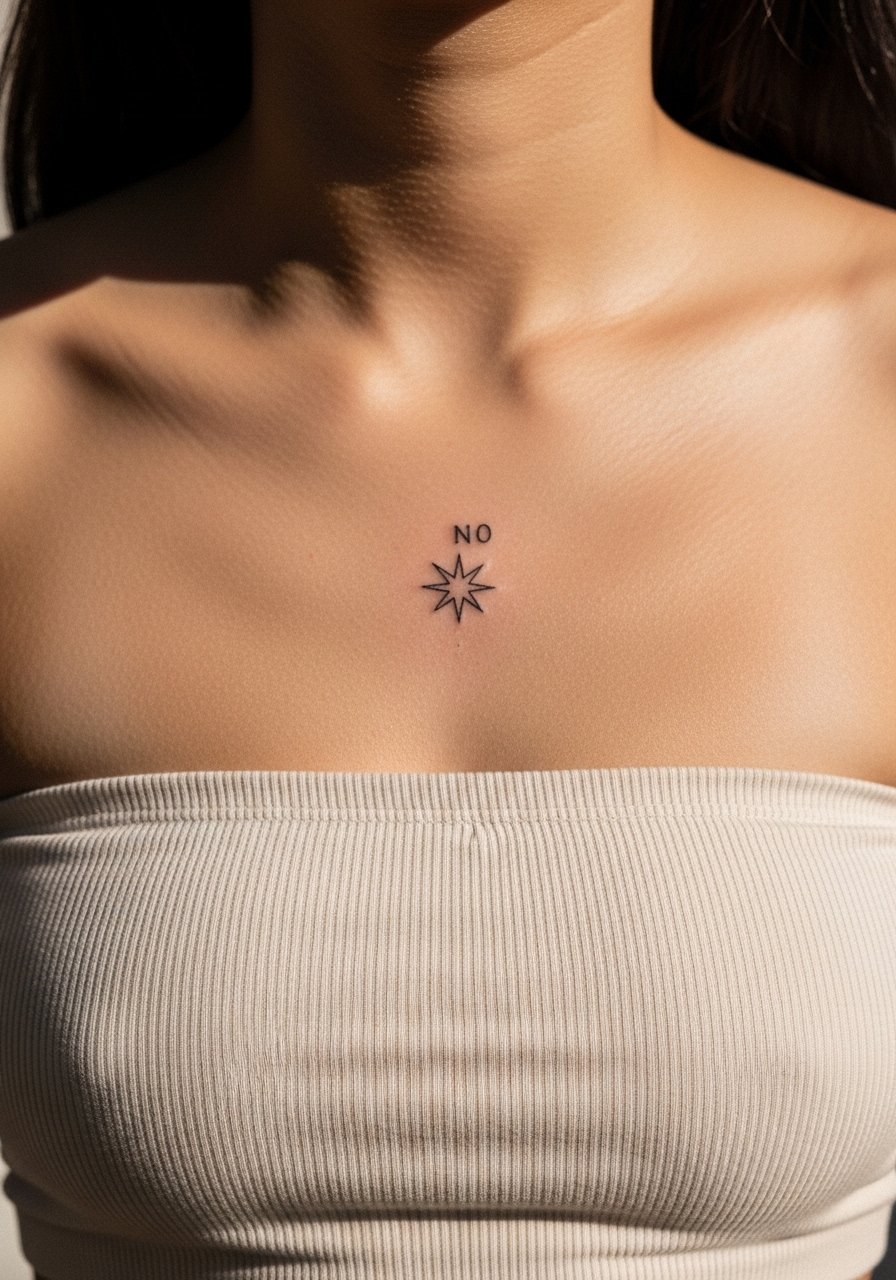
7. Minimal North Star on the Collarbone
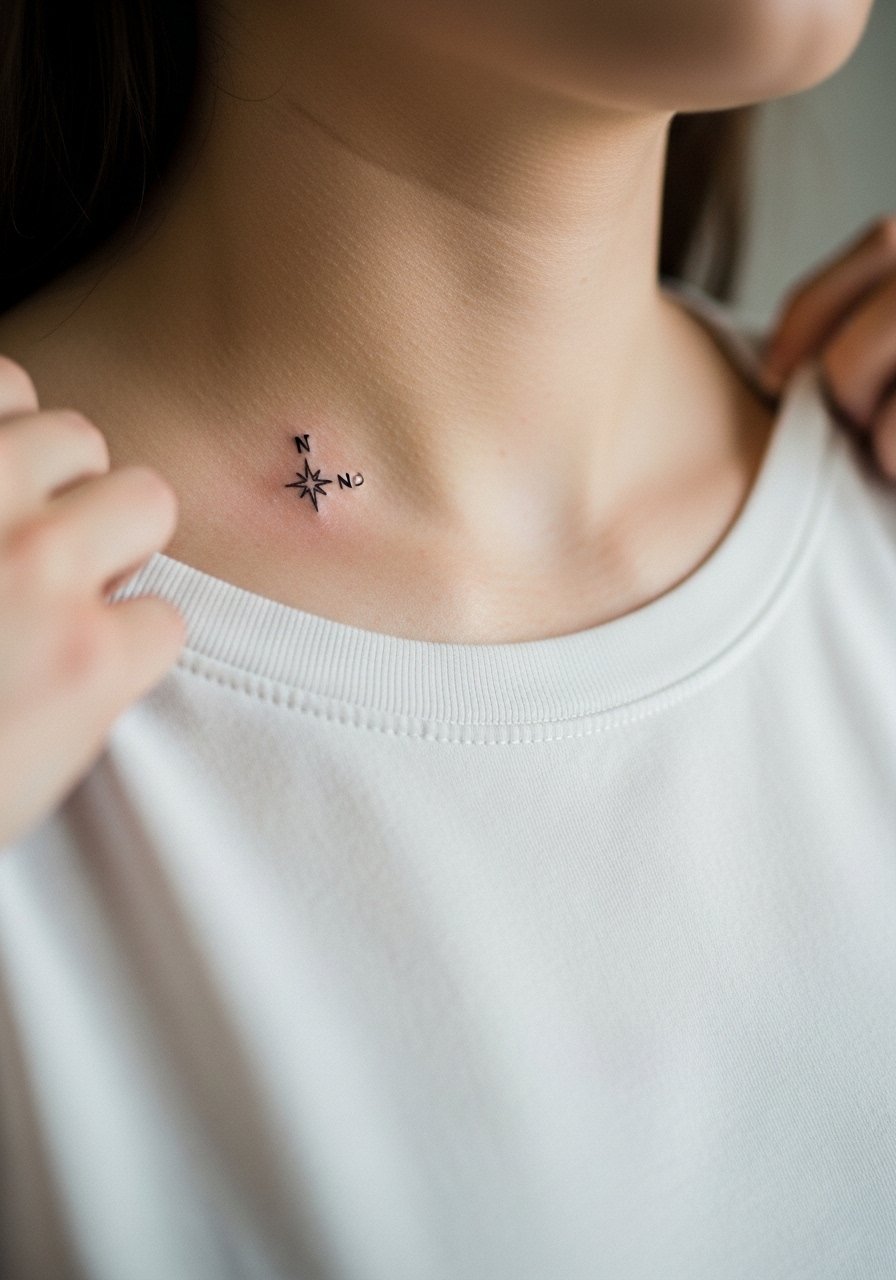
Collarbones are elegant for small north stars that peek above clothing. The typical error is making the star too tiny against the bone, which then fades unevenly. Ask for a slightly larger scale and a clean negative space around the points to keep contrast as the skin moves. Sessions are short and the area can be tender because of proximity to bone. For clothing, choose an open-collar blouse or a scoop neck so the piece reads without competing fabric.
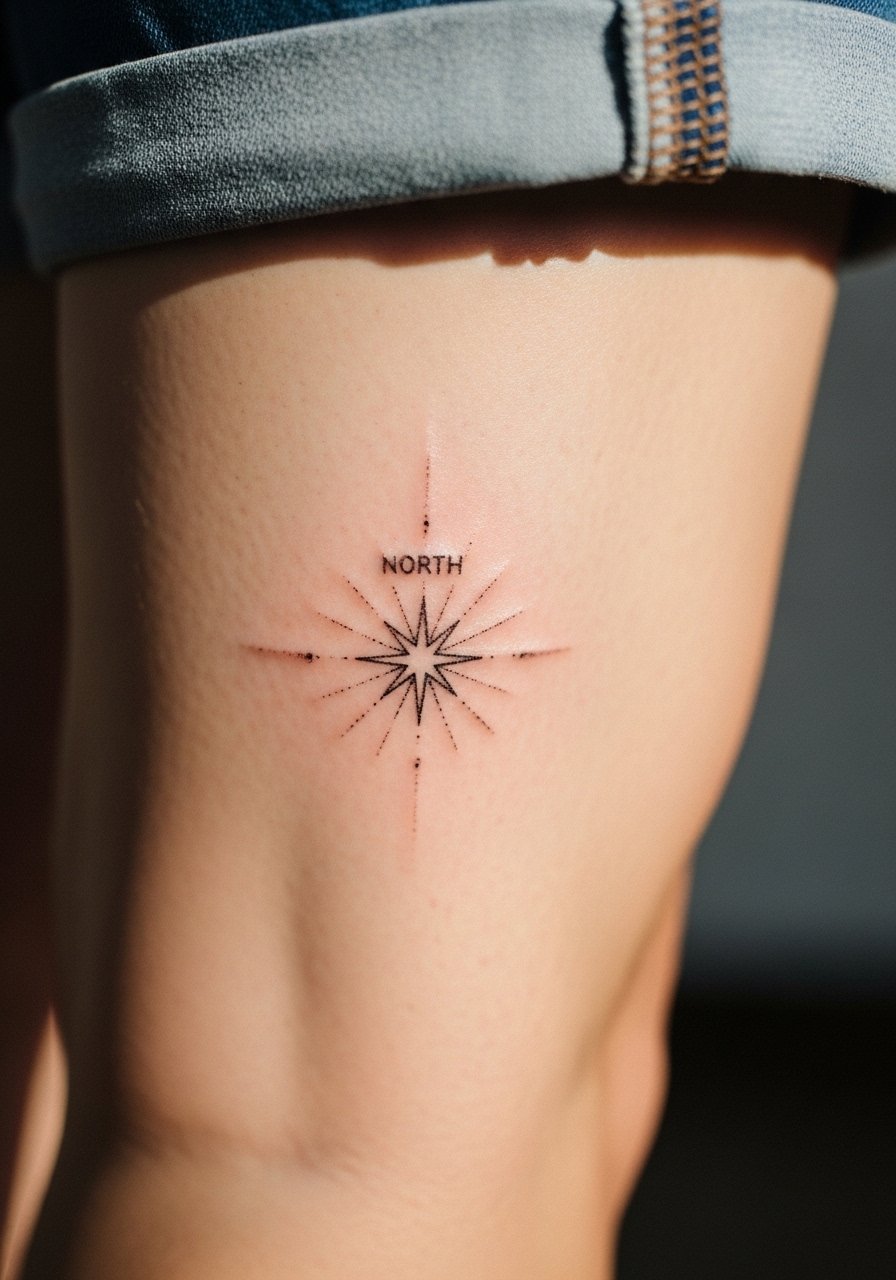
8. Micro North Star with Tiny Script Underneath on Upper Arm
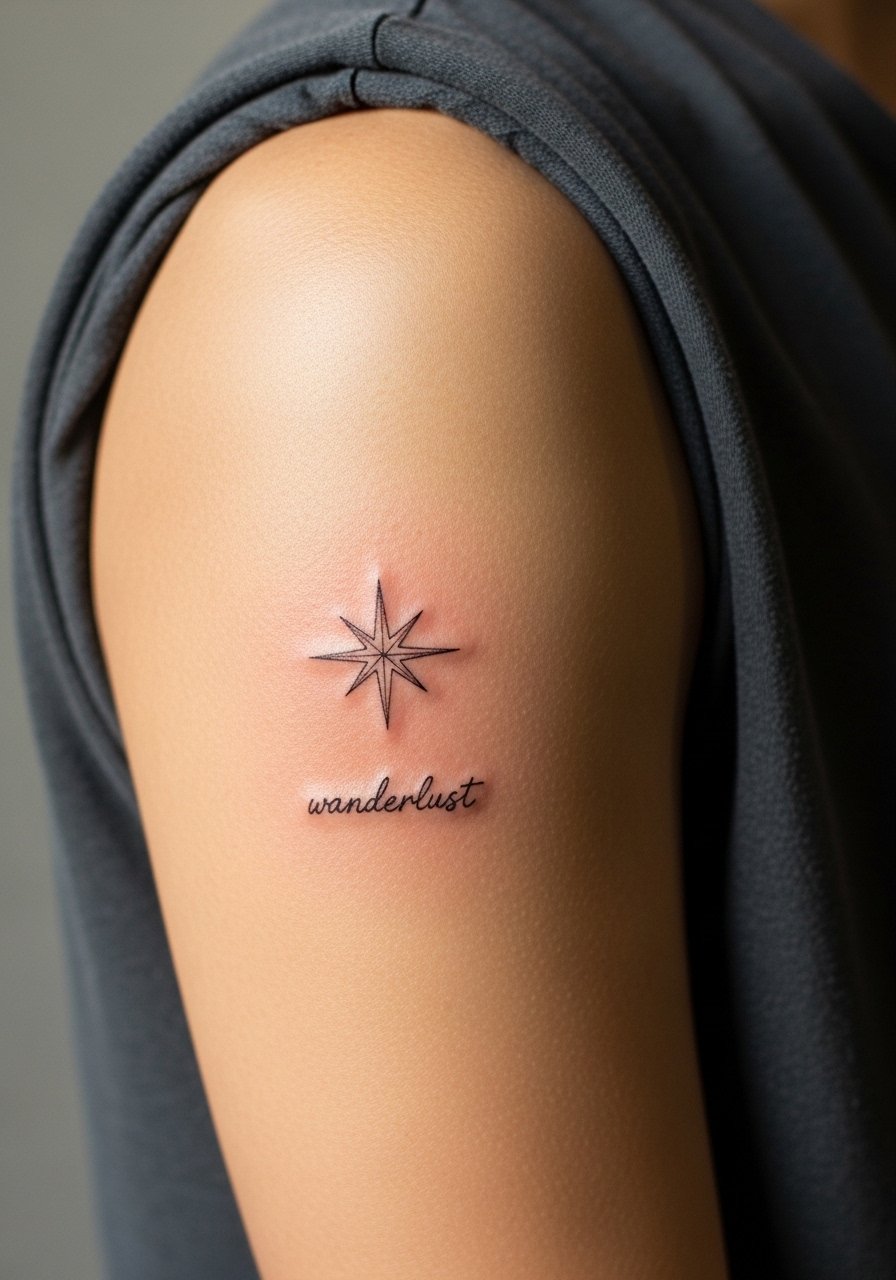
Pairing a north star with a short word makes an intimate statement. The common mistake is lettering that is too fine for its scale, which turns into a smudge after a few years. Ask for clean, slightly heavier minuscule script that matches the star's scale. Upper arm sessions are comfortable and usually one of the less painful spots. Expect low friction while healing if you avoid tight sleeves. For show-off outfits, use a sleeveless linen top that frames the piece.
9. North Star at the Nape, Hidden by Hair

The nape is discreet unless you wear your hair up. A mistake I see often is underestimating how often you will expose the area, which can change career visibility. Be explicit about whether you want it visible when hair is up. The session requires careful neck positioning and can be a four to five out of ten for sensitivity. Touch-ups are common if the area sees frequent sunlight. For appointments, wear a top with an adjustable collar so the artist can work without you removing too many layers.
10. North Star on the Side Rib, Whisper Design
Fine line here splits artists into two camps. One group argues the ribs stretch and blur lines within two years. The other group says with proper needle depth and spacing the star settles fine. Name both camps when you book and ask your artist for examples of healed rib work. The ribcage is a higher pain area often rated eight out of ten. Sessions can be broken into two shorter appointments to manage discomfort. For aftercare and comfort on session day, wear a cropped athletic top you can lift slightly to expose only the area.
11. Tiny North Star on the Top of the Foot
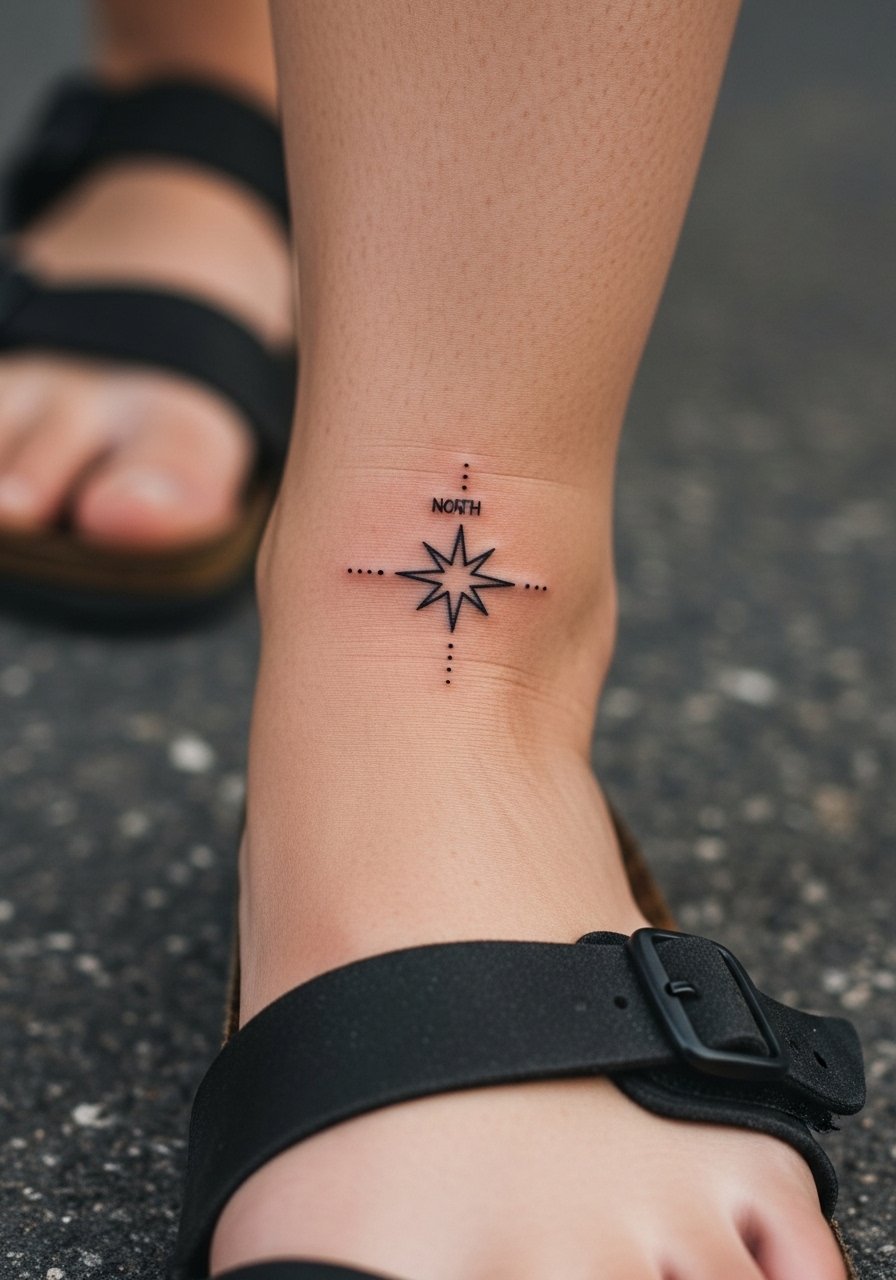
Foot tattoos live in a high-friction zone and often fade faster than limb work. A common error is using ultra-thin rays that disappear under socks and shoes. Ask for a clean outline with slightly thicker outer points to preserve the shape. The session feels sharp near the bone and many people report a six to eight out of ten pain level. Healing requires careful shoe choice for the first weeks. For visibility, wear minimal sandals to show the piece without crowding.
12. North Star with Micro Floral Halo on the Upper Thigh
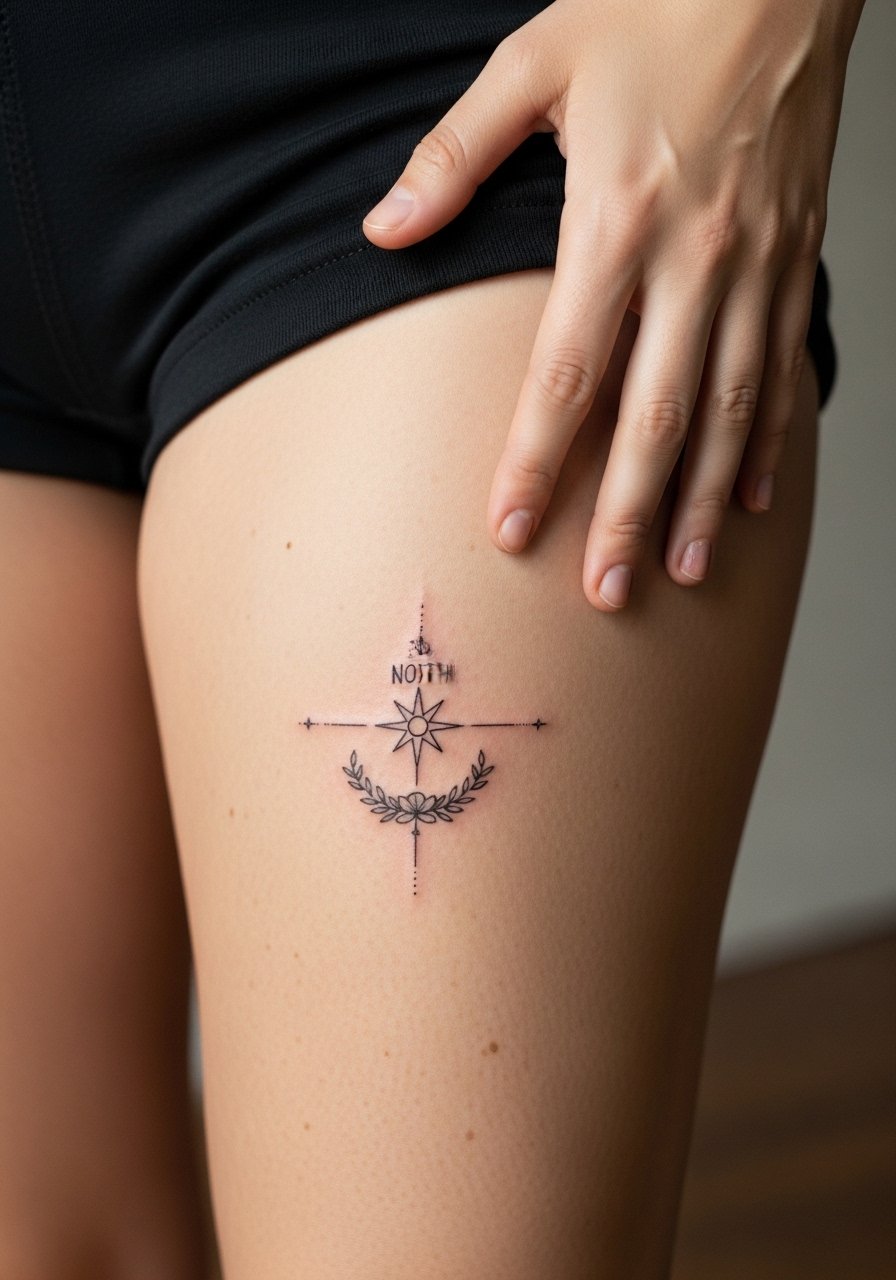
The inner thigh is intimate and excellent for slightly larger compositions that stay hidden under clothes. The common mistake is placing too much detail in a small halo, which can merge during healing. Ask for simplified petals and airy spacing so the floral halo breathes. Sessions can be longer but feel cushioned, often a three to five on pain scales. For the appointment wear loose shorts you can shift to expose the area without discomfort.
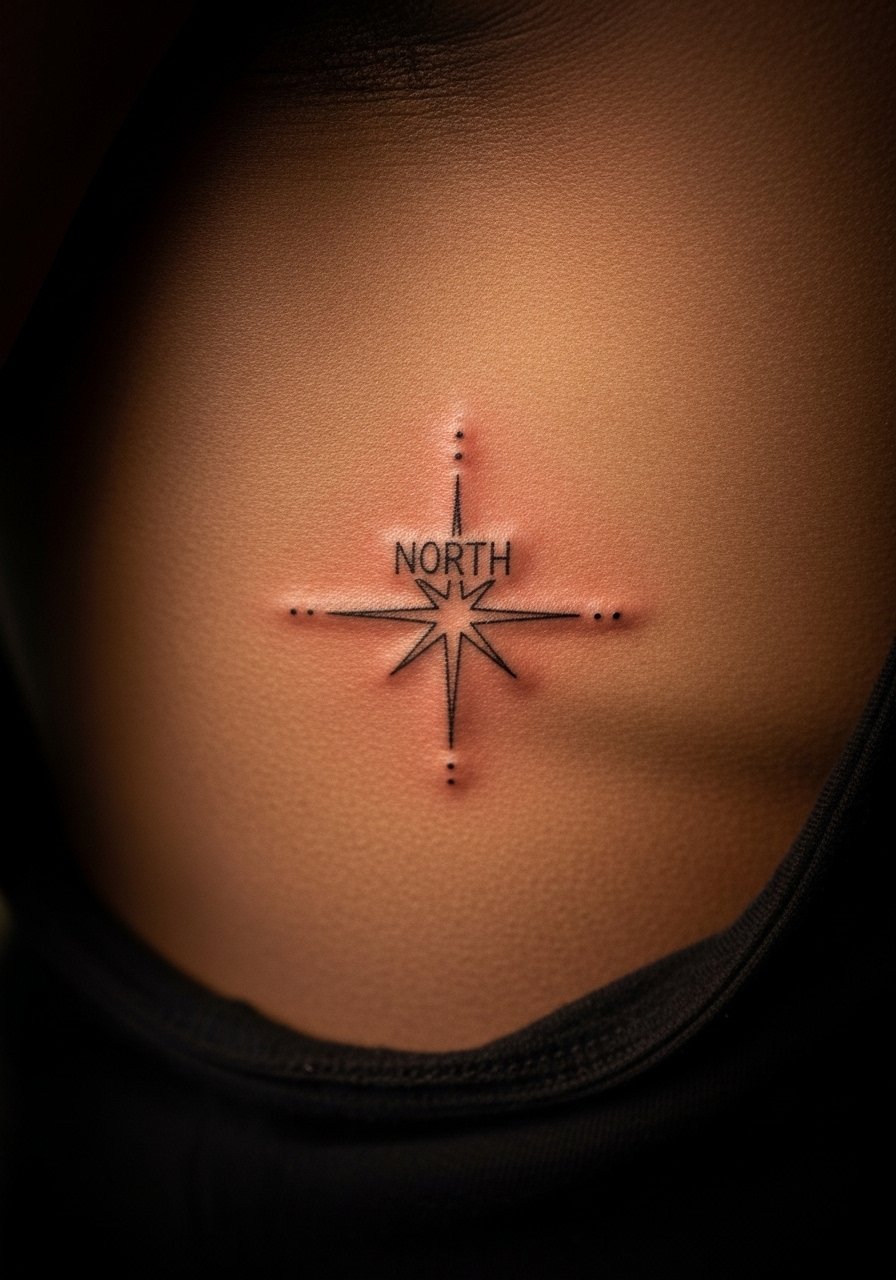
13. Minimal North Star at the Sternum Edge
Sternum placements ask for careful scale because the area moves with breathing and can distort delicate rays. Artists divide on this too, with some avoiding ultra-fine work in that zone. Make clear you want bold anchor lines and minimal inner detailing so the star keeps form. Sessions on the sternum can be intense and warrant short breaks, pain often a seven out of ten. For session wear, a zip-up or sports bra that you can loosen makes access easier.
14. North Star Wrist Wrap with Tiny Dots
A wrap gives movement to the design while keeping scale wearable. The mistake is going too tight with the band, which can look cramped as lines blur. Ask your artist for spacing between knots and for dot work that breaks up the density. Sessions are longer than a single wrist star and can be done in one appointment. For showing it off, stack with a minimal leather bracelet that complements without rubbing the fresh ink.
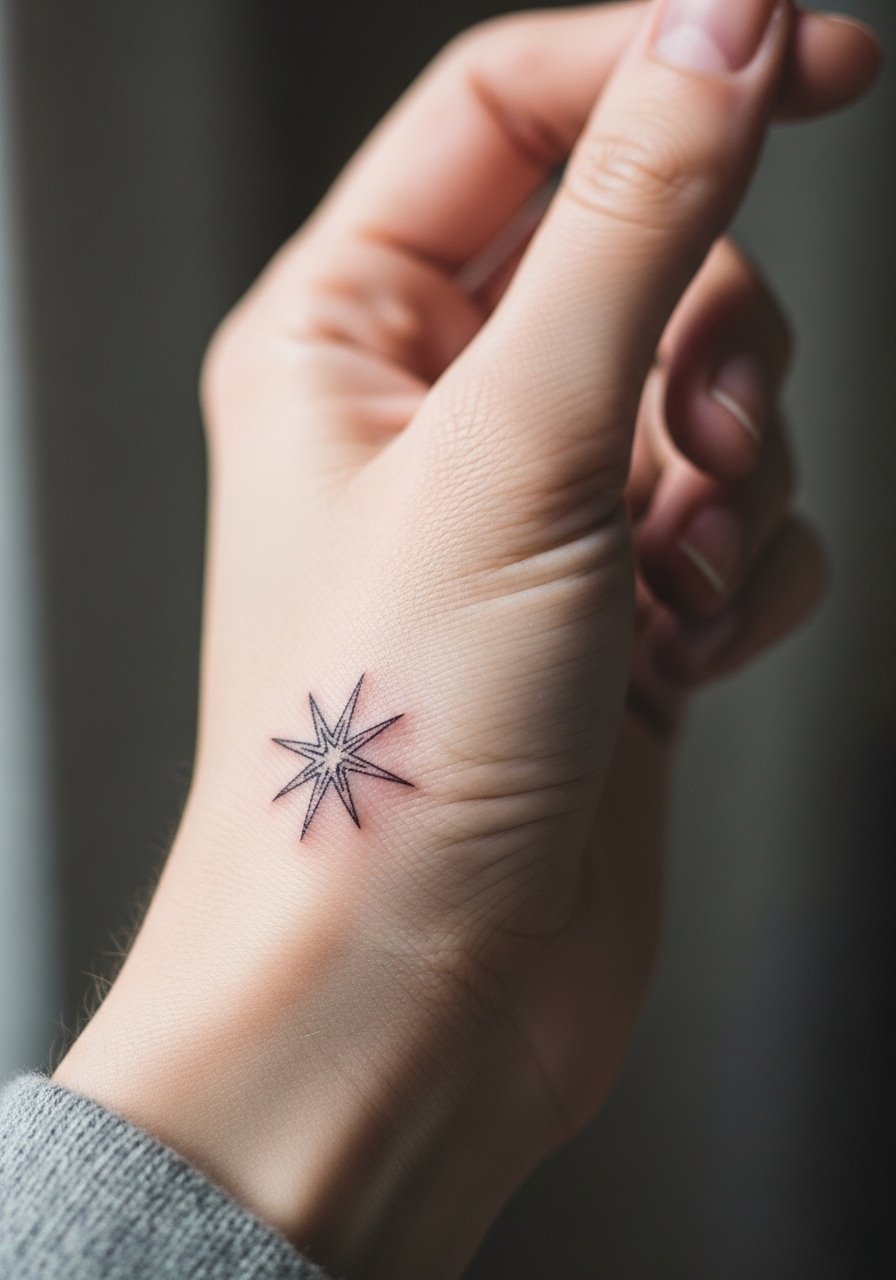
15. Tiny North Star on the Back of the Hand
Hand tattoos alter first impressions because they are constantly visible. A common error is tiny ray work that fades unevenly under daily use. Ask for slightly denser outer points and accept the likelihood of annual touch-ups. The session feels sharp and can be a seven out of ten. If your job or lifestyle requires discretion, consider a nearby placement instead. For accessories, pick rings that avoid direct contact with the tattoo during the first month.
16. North Star with Thin Script on the Collarbone Curve

Curved script beneath a north star looks considered when scaled to the body. The mistake is overly fine lettering that blurs. Request slightly heavier letterform strokes and matching negative space under the star. The session is brief and feels like a light vibration near bone. For show-off looks try an open-back top that frames the collarbone without hiding the piece.
17. Micro North Star on the Thumb Side Near the Wrist
This spot is small and sees a lot of use, which means faster fading. The usual mistake is using complex rays that do not survive constant motion. Ask for a compact star with reinforced outer points and accept a likely touch-up at year one. Sessions are short and can sting. For daily wear avoid tight wristbands that sit right on the tattoo until it is fully healed.
18. North Star with Micro Geometric Frame on the Upper Arm
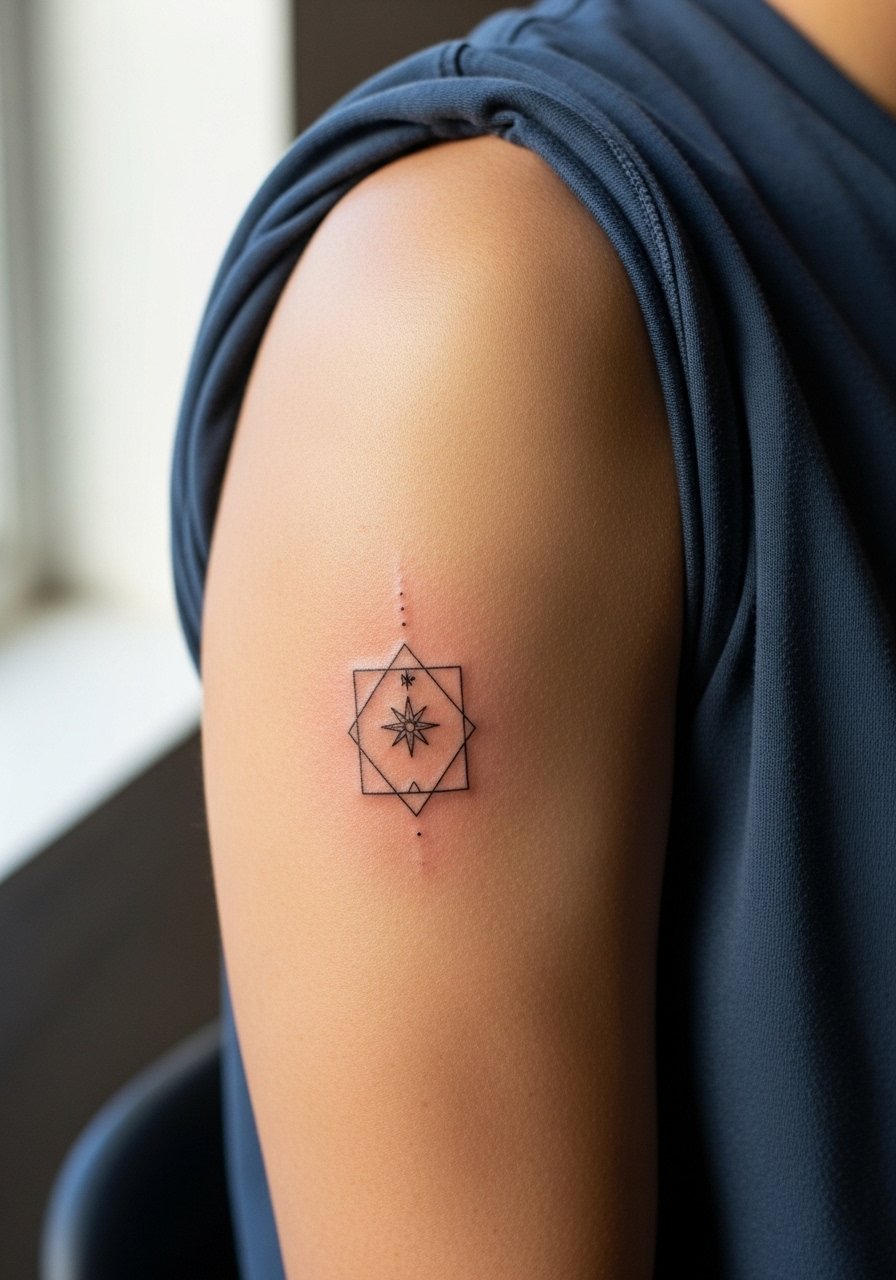
Framing a star gives focus and helps preserve the silhouette as the skin changes. The mistake is making the frame too dense, which competes with the star. Ask for airy negative space inside the frame and subtle stippling around it. Upper arm sessions are comfortable and often done in one sitting. For showing it off, wear a sleeveless cotton top that keeps the arm exposed without tight seams.
19. North Star on the Side Hip, Low Visibility Option
The hip gives privacy and keeps the design from daily wear friction. A common mistake is using too many tiny details that blend during healing. Ask for a simple star with clear separation from any surrounding elements. The session is usually tolerable and the tissue is forgiving. For appointment comfort wear high-waisted jeans that you can lower slightly so only the hip incision is exposed.
20. North Star with Tiny Arrow Extension on the Forearm
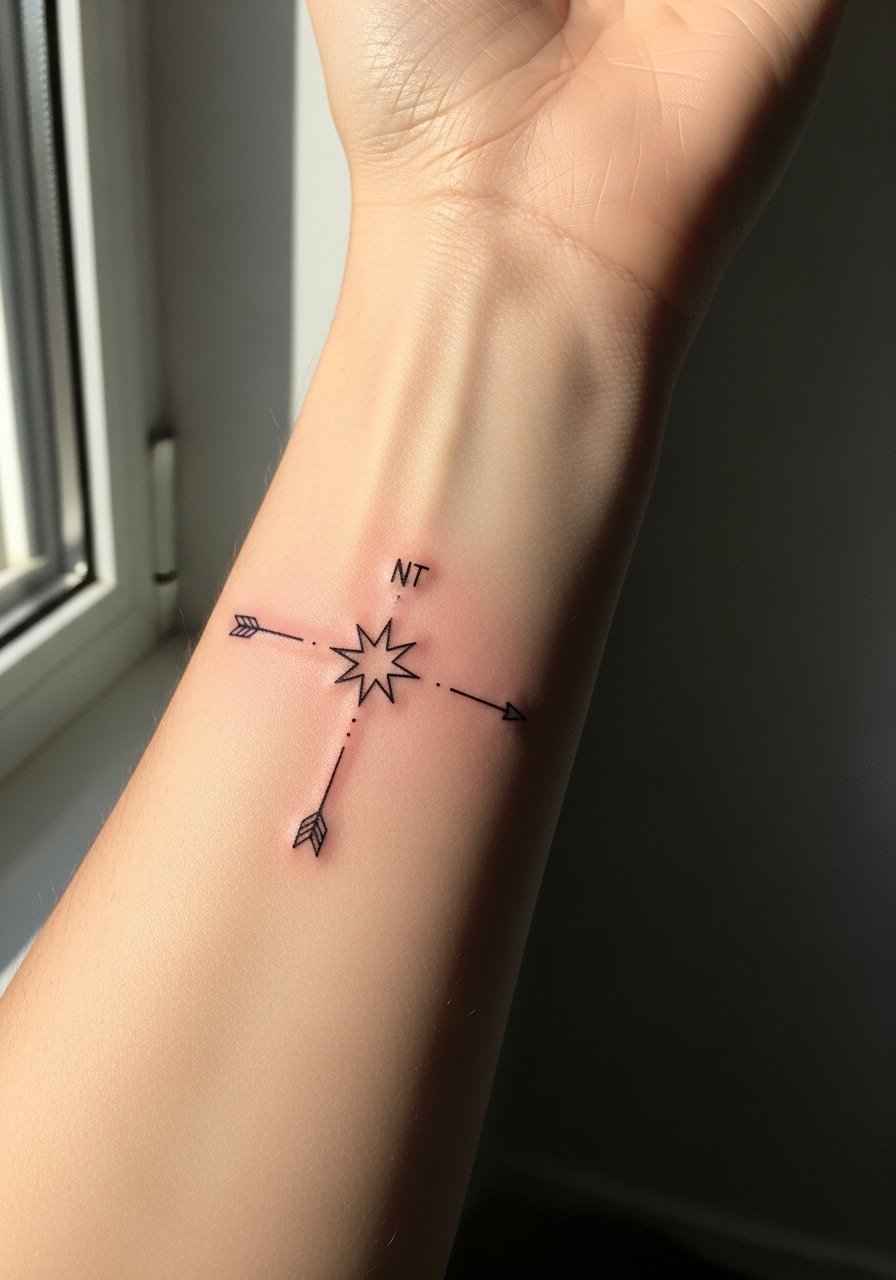
Adding an arrow gives direction and keeps the design linear for sleeves. People often go too thin on the arrow shaft, which disappears over time. Ask for a clear shaft and a spaced arrowhead so the negative space lasts. Sessions are moderate in length and pain is low on the fleshy forearm. For showing it off, roll sleeves and choose a classic linen shirt with cuffs that sit above the design.
21. North Star Paired with a Tiny Moon on the Collarbone

Pairings create a small narrative and benefit from balanced spacing. The mistake is crowding celestial symbols close together, which loses clarity when healed. Ask to space the elements with a linking dot or tiny stipple so each symbol maintains its shape. Sessions are short. For nights out, a delicate pendant necklace sits just above the piece without blocking it.
22. Micro North Star on the Inner Bicep
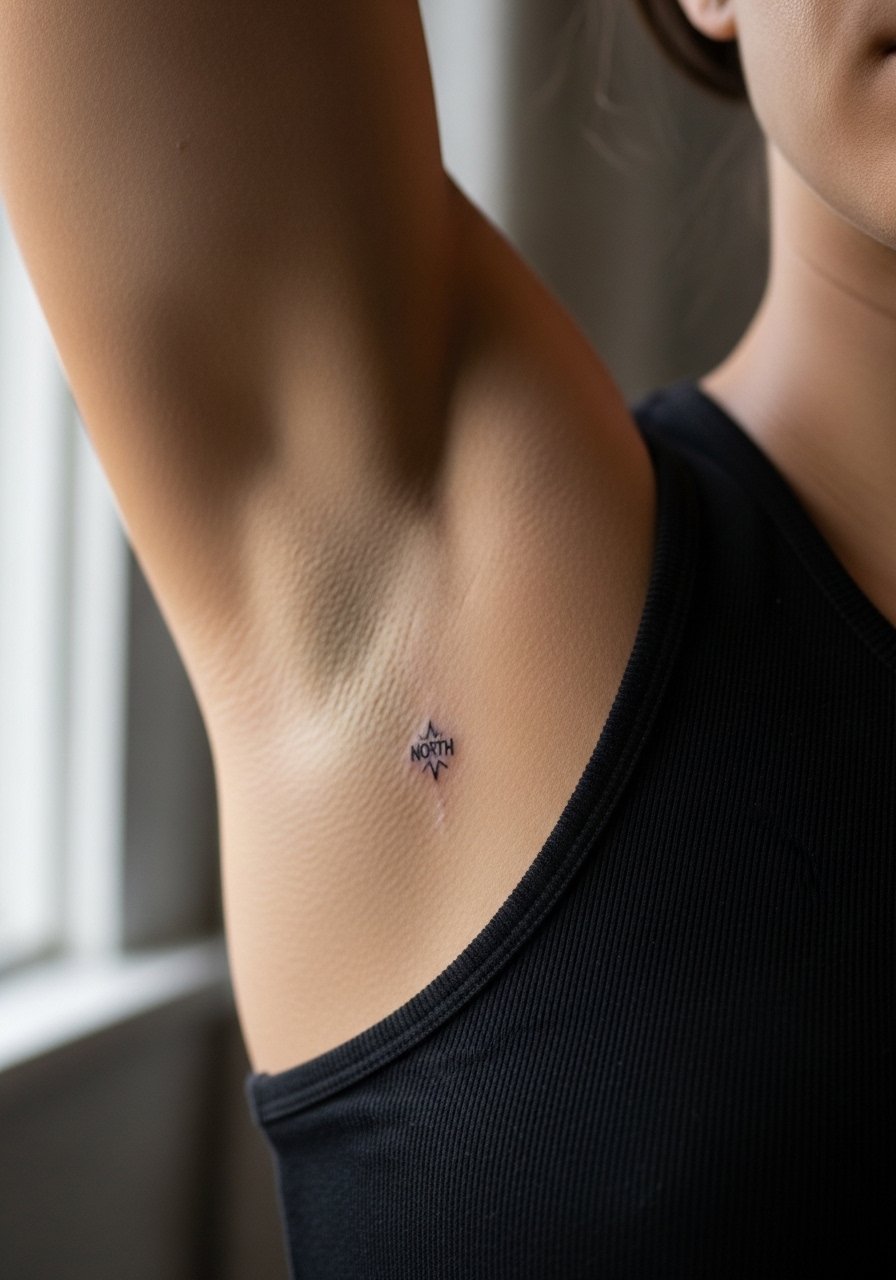
Inner biceps are soft and hold detail well, but the curvature can distort complex rays. A common error is over-detailing the rays so they look uneven when the arm moves. In consultation ask for symmetric points and a single dot at the center for contrast. Sessions feel cushioned and pain is generally lower. For the appointment wear a loose tank top so the artist can access the area without removing clothing.
23. North Star on the Calf with Fine Line Shading
Calf placements are durable and show detail well. The common mistake is over-shading around the star which turns it into a blob over time. Ask for light stipple shading with clear negative space and avoid dense fills. Sessions are comfortable and can be longer if you pair elements. For showing it off pick casual shorts that end above the design.
24. North Star with Tiny Linework Compass on the Upper Back
Upper back work gives room to add a tiny compass without crowding. People sometimes request too-small compass details which blur. Ask for simplified cardinal points and slightly heavier north marking so the star remains dominant. Sessions can be done lying down and are typically a four out of ten for pain. For session day wear a thin strap top you can shift aside for access.
25. Micro North Star Above the Elbow Crease
Placement above the elbow looks delicate but sees constant motion. The usual mistake is placing rays too close to the crease where movement softens edges quickly. Ask for spacing that avoids the crease and for slightly reinforced outer points. Sessions here are short but can sting near joint structures. For comfort wear a short sleeve shirt you can roll up so the artist has easy access.
26. Tiny North Star on the Side of the Foot, Near Ankle Bone
The side foot sees more wear and a lot of shoes. The error is choosing rays that are too thin for that exposed placement. Ask for a compact shape and expect fading with heavy footwear. Sessions can be sharp around bone and healing needs gentle shoe rotation. For visibility, pick open sandals that avoid tight straps across the area.
27. North Star as a Tiny Sternum Accent Near a Bandeau Line
A sternum accent under a bandeau is discreet and sits well with seasonal outfits. The sternum moves with breathing so the mistake is over-detailing rays that the skin cannot hold. Ask for a centered star with minimal inner lines and slightly stronger outer points. Sessions can be intense and some artists prefer short breaks. For session wear bring a bandeau or fitted sports bra that the artist can adjust without exposing anything beyond the work area.
Frequently Asked Questions
Q: How long will a fine line north star stay crisp on my wrist or finger?
A: It depends on sun exposure and friction. From what I have seen, wrist and finger pieces often need a touch-up within two to four years if they get constant sunlight or rub from jewelry. Ask your artist about slight reinforcement in outer points during the initial session to extend clarity.
Q: Is it risky to get a fine line north star on the ribs or sternum?
A: Artists split into two camps on this. Some say ribs and sternum stretch and blur lines faster. Others say careful depth, spacing, and slightly bolder anchor points can keep the design readable. The honest answer is it depends on your skin and the artist's healed examples. Request healed photos of similar placements and plan for possible touch-ups.
Q: What should I wear to a session for a chest, collarbone, or sternum north star?
A: Comfortable, adjustable tops work best. Bring a zip-up or a wide-neck shirt you can pull aside so the artist has access without you getting undressed. A zip-up hoodie or a fitted sports bra usually does the trick for those areas.
Q: Will a north star with tiny script fade faster than the star alone?
A: Generally yes. Tiny script has less tissue to hold pigment and can blur sooner than simple geometry. Ask for slightly heavier letter strokes and expect that lettering may need a touch-up earlier than the star itself.
Q: How soon can I show off a fresh wrist or forearm star with jewelry?
A: Wait until the initial scab has fallen and the skin is fully healed before adding wrist jewelry. For lightweight bracelets I recommend waiting at least four weeks. During the first week keep the area free from rings or watches that rub the linework.
Q: Are there placements you would avoid for ultra-fine rays?
A: I would be cautious with high-motion, high-friction areas like the palm, lateral toes, or very close to joint creases unless you accept the reality of more frequent touch-ups. Talk with your artist about proven healed examples from those zones before booking.
