
Fine line dark angel work looks delicate fresh, but longevity depends on the little choices you make before the needle touches skin. Trends push ever-smaller wings and whisper-thin halos, yet placement and spacing decide whether the halo stays crisp or blurs into a soft gray smudge over years. Read these 17 minimal line dark angel ideas with practical notes on consultation, aging, and how to show them off so your piece keeps mystery without becoming a regret.
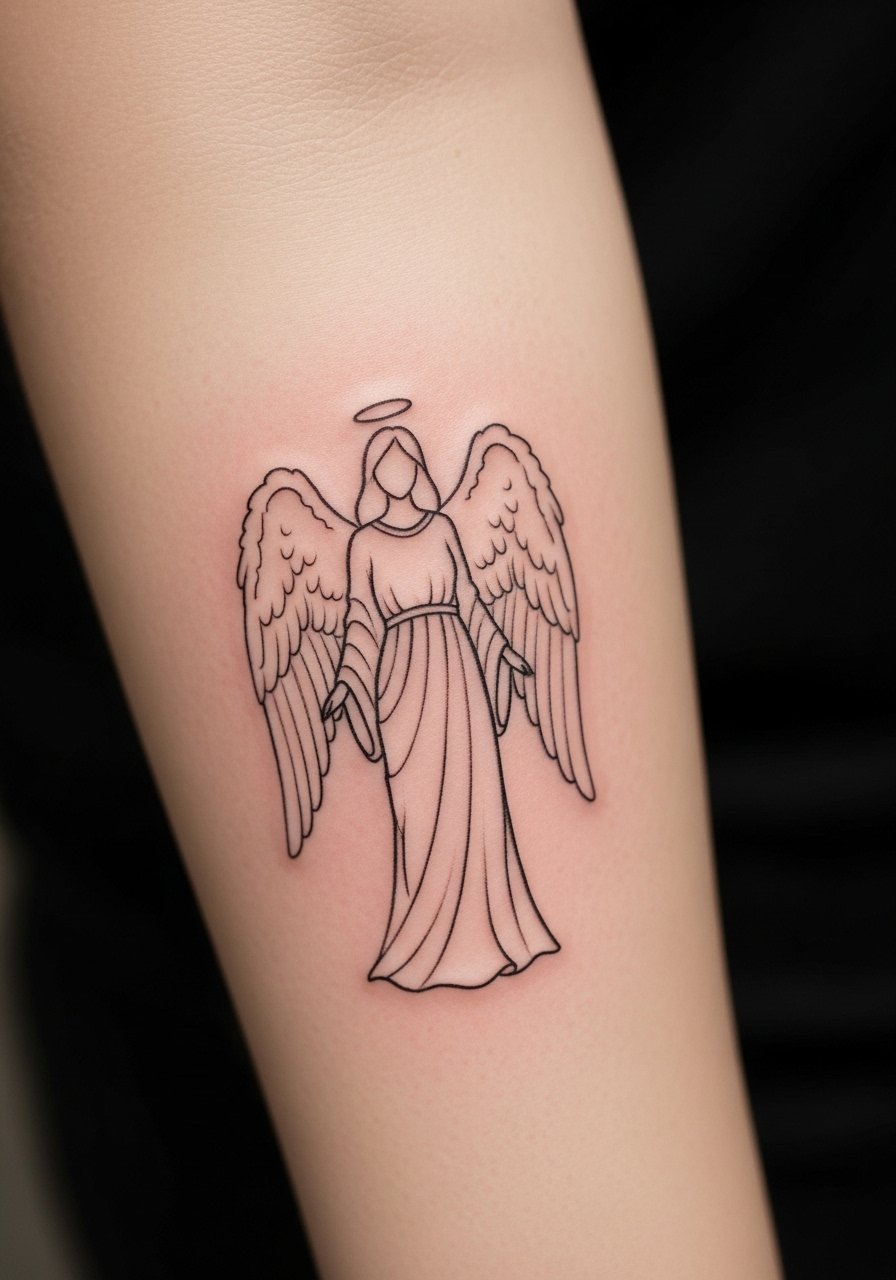
1. Inner Forearm Tiny Dark Angel with Feathered Wings
The inner forearm gives this minimal angel room to breathe and makes the wings visible while wearing short sleeves. Pain is moderate and sessions are quick, usually 30 to 60 minutes. Tell your artist you want slightly increased spacing between feather lines and a light stipple shadow under the wings so the lines do not merge over time. A common mistake is asking for ultra-tight feather lines that look crisp on day one and merge at year three. Expect a touch-up around year two for fine line refresh. For showing it off, rolled sleeves or a rolled linen shirt frames the forearm without covering the linework.
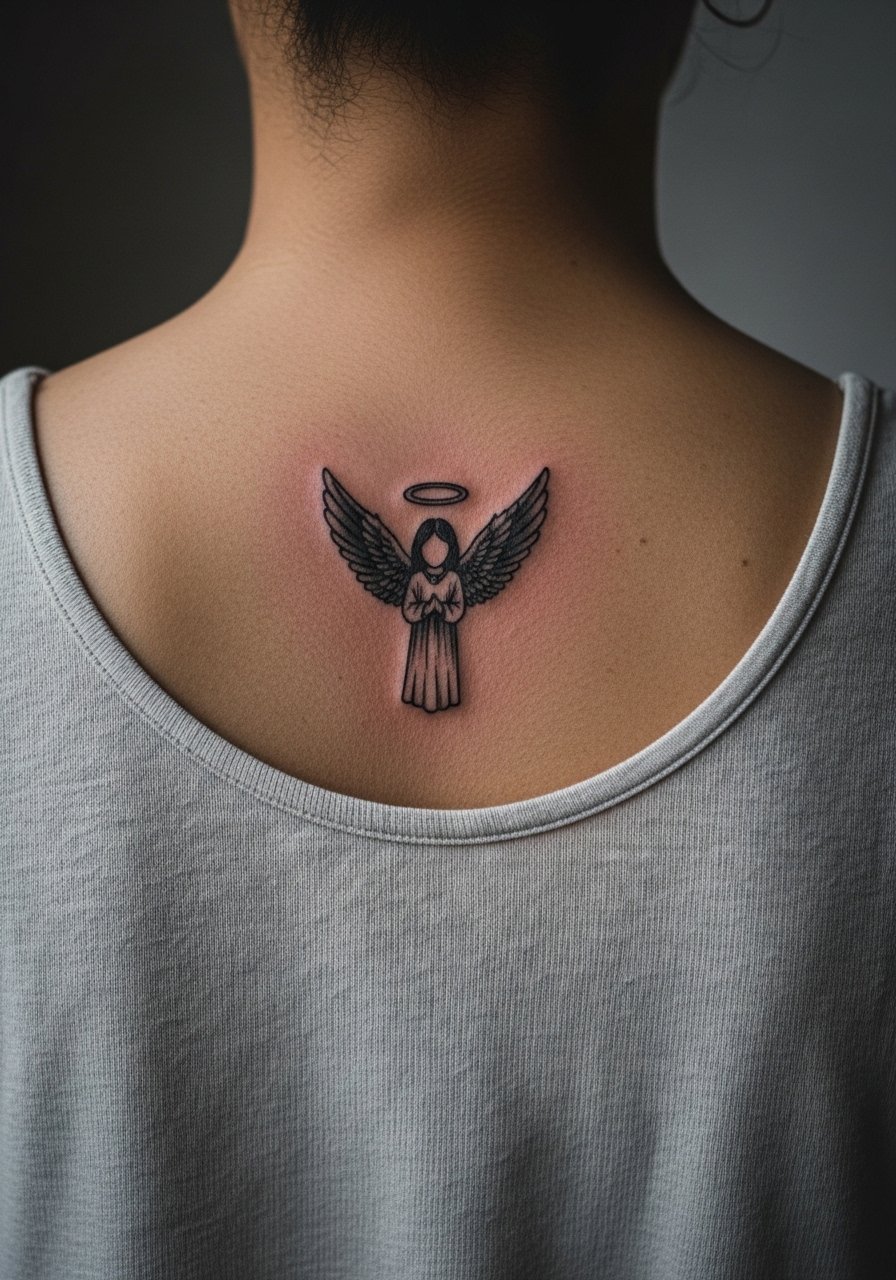
2. Upper Back Micro Dark Angel Halo
Upper back placement holds up well because skin there moves less. Sessions for a small haloed angel run 45 to 90 minutes depending on stipple shading. I recommend a slightly larger halo gap than your reference so the halo keeps its shape as it settles. A real mistake is packing dense stipple too close to the linework, which can read muddy once healed. At six months the stipple looks delicate, by two years the halo softens and may need a targeted touch-up. For this placement, ask for a healed portfolio shot rather than fresh photos to see realistic wear.
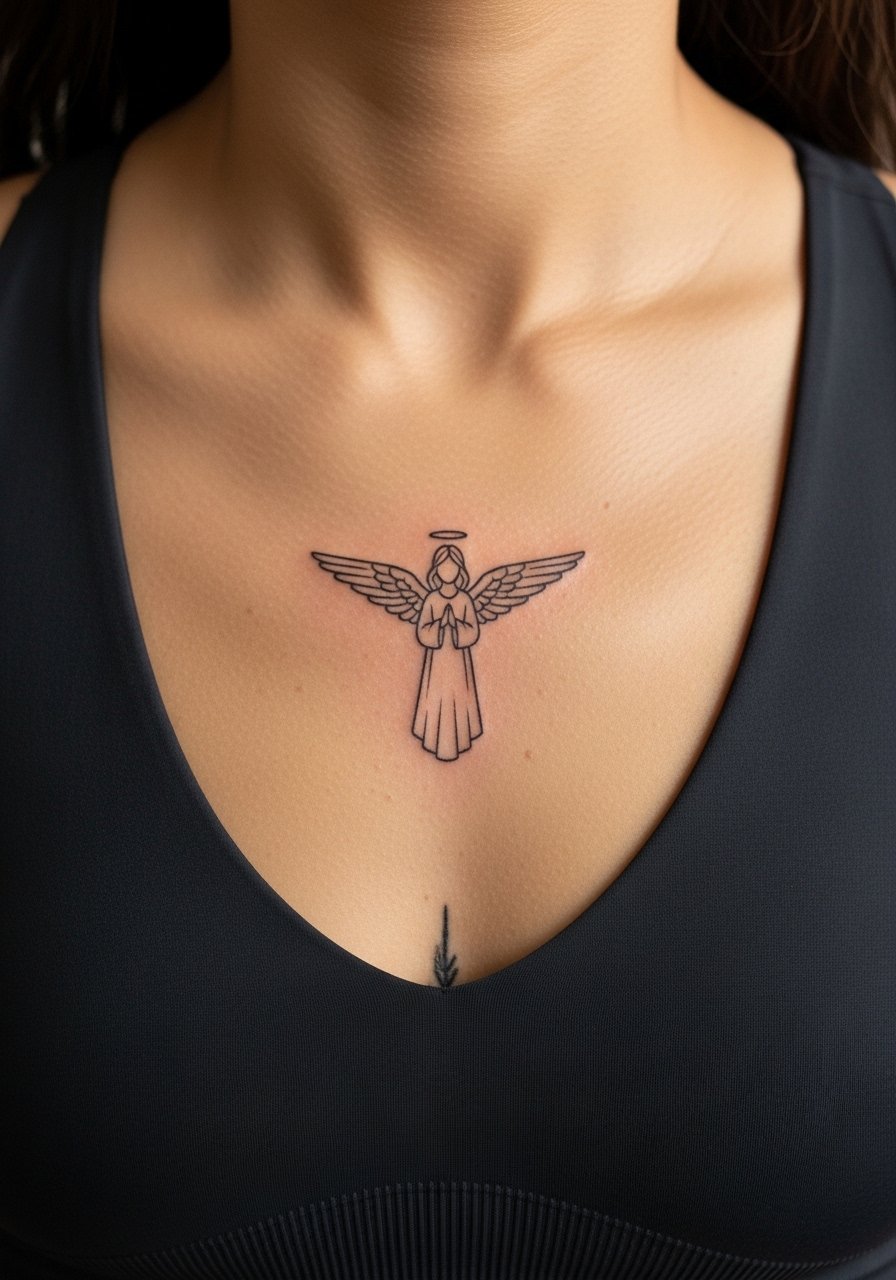
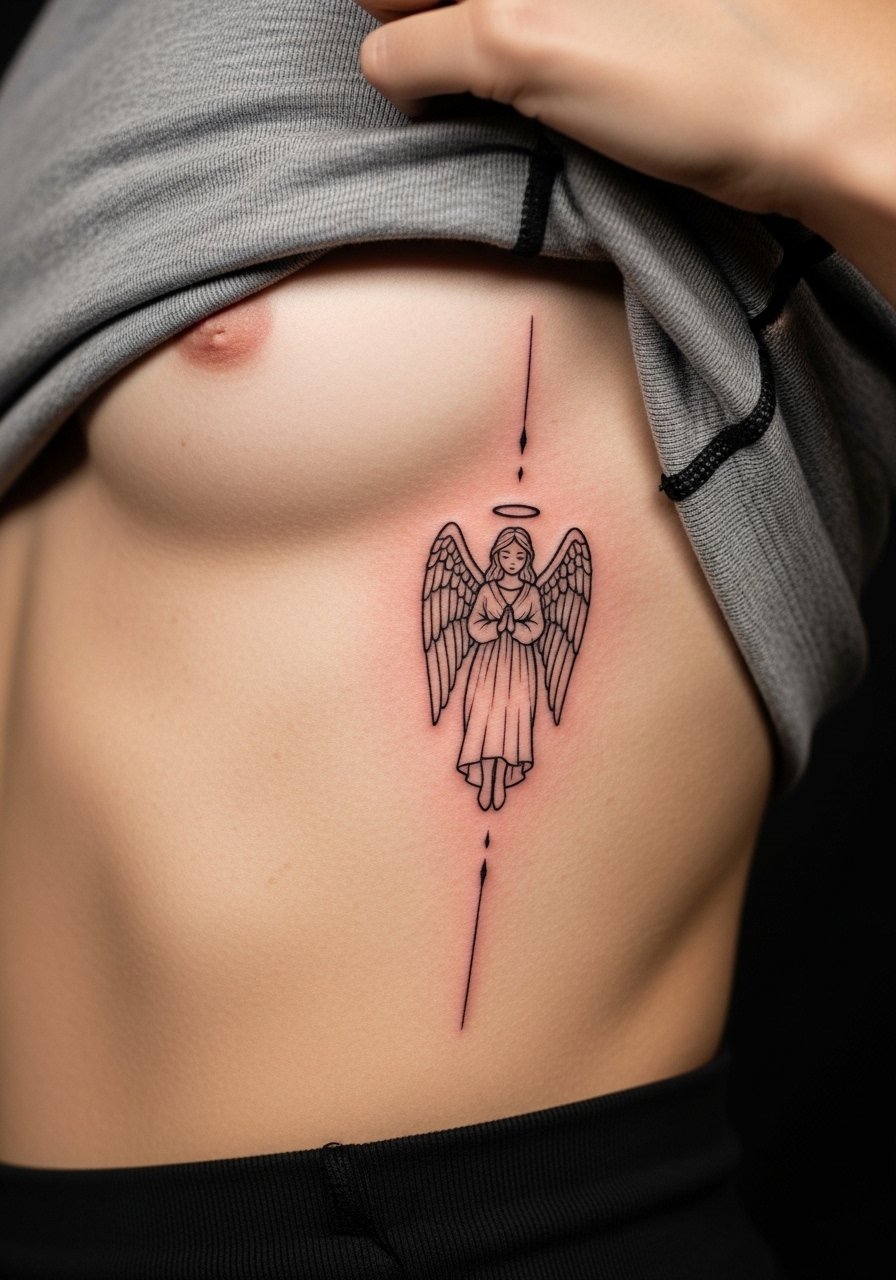
3. Sternum Minimal Angel Accent
Sternum work is intimate and sensitive, and sessions feel sharper than the arm but shorter if the design is small. The biggest consultation tip is to show the artist exactly where your bra or top will sit so the wings or halo align with the fabric line. One camp advises against fine line on the sternum because the skin there shifts with breathing and can cause lines to blur. The other camp says solid needle depth and modest spacing mitigate that risk. I suggest spacing the lines and accepting a light stipple base rather than hairline strokes. For appointment comfort, wear a fitted sports bra you can pull slightly aside.
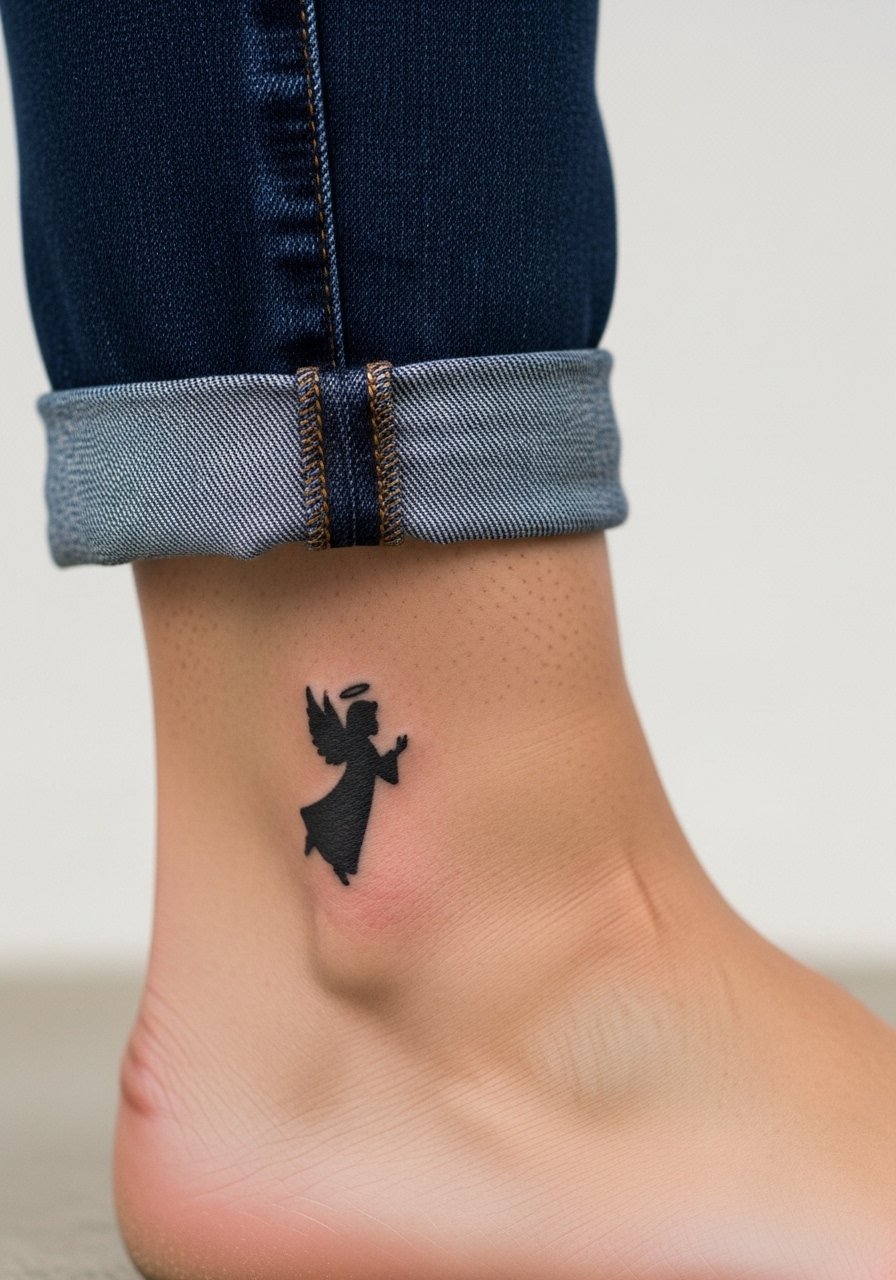
4. Ankle Micro Angel Silhouette
An ankle angel reads like a secret charm when you wear sandals. Pain is low to moderate and most tiny ankle pieces take 20 to 45 minutes. A common aging issue is friction from socks and shoes that dulls crisp linework in the first year. Ask for slightly bolder lineweight than you think you need and a tapered wing tip so the silhouette keeps definition. For the appointment wear jeans you can roll up or a pair of sandals that let the artist work without rubbing, and for showing it off cropped jeans are the simplest frame. Expect a light touch-up at year two if you swim or hike often.
5. Ribcage Vertical Dark Angel Figure
Fair warning, ribs are a high pain area and a place where artists are split. One camp says fine line on ribs blurs quickly because the skin stretches and breathes. The other camp says with correct needle depth and more spacing the lines settle fine. If you want the ribcage, plan for slightly larger line spacing and a session that may be split to manage pain. The biggest mistake is asking for a dense feather pattern that looks lovely fresh and turns to soft shadow in a few years. For aging, expect noticeable softening by year three and a probable touch-up then. Wear a cropped top you can lift slightly so the artist has clean access.
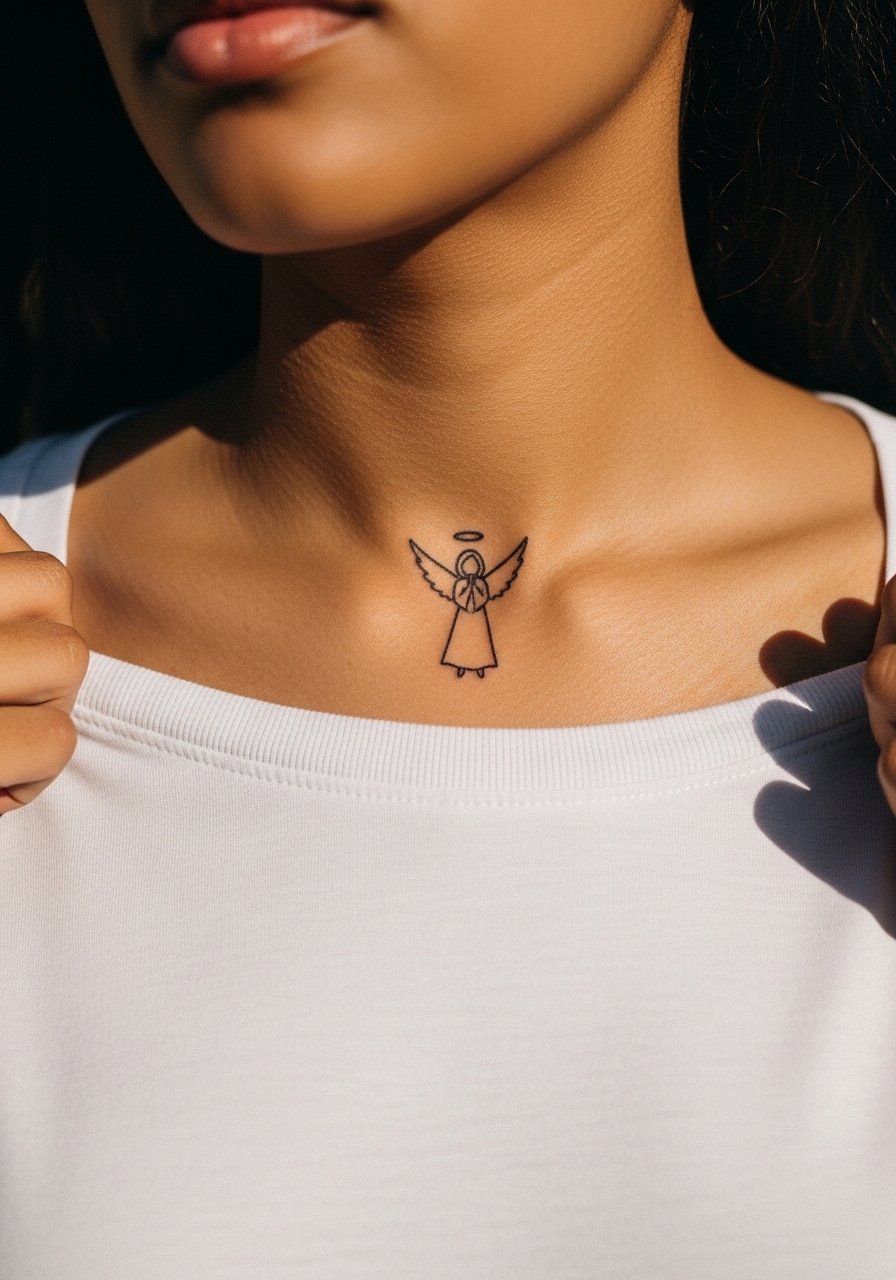
6. Collarbone Single-Line Angel Outline
The collarbone makes linework read like a small permanent necklace, and visibility is high. Sessions are short, often 30 to 50 minutes, but there is less margin for error because the area is flat and prominent. Ask for a design that follows the collarbone curve rather than sitting across it, and request a test stencil to confirm size. A common mistake is choosing textural shading over clean lines, which can age into a blur around the clavicle. For showing this kind of piece, a wide-neck shirt pulled slightly aside keeps attention on the linework. Expect touch-ups in year two if you expose it to a lot of sun.
Studio Day Picks
The first six placements above vary in movement and exposure, so these items smooth the session and the first week of healing for forearm, collarbone, ankle, sternum, ribcage, and upper back pieces.
- Stencil transfer paper kit. Lets you preview the exact placement on skin before the needle, which matters for collarbone and forearm curvature.
- Topical numbing cream. Applied per instructions it can make rib and sternum sessions more manageable without altering linework.
- Thin protective film roll. Keeps ankle and finger pieces clean against socks and daily friction during the first few days.
- Fragrance-free gentle body wash. Useful for rinsing fine line areas without introducing irritating scents that can inflame delicate lines.
- Aquaphor healing ointment. A thin layer during the earliest healing phase helps lock in moisture for fine line work on visible spots like the forearm and collarbone.
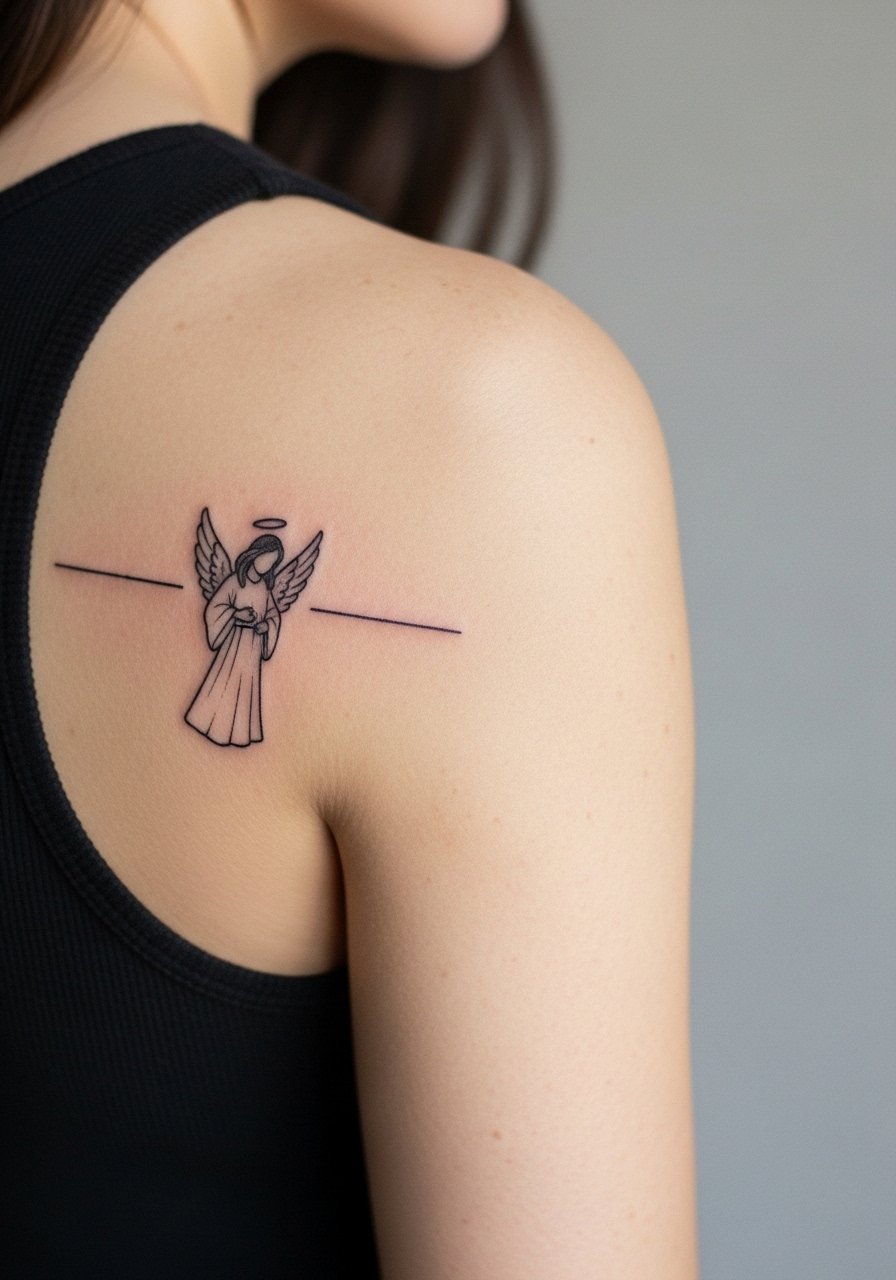
7. Shoulder Blade Minimal Angel with Negative Space
Shoulder blade skin is forgiving and shows off negative space designs well. Sessions are comfortable for most and can run 45 to 90 minutes. Tell your artist you want the angel to sit between the shoulder blade curve and the spine so clothing like straps does not cut through the composition. Avoid cramming tiny feather details into the negative space. Visually, this placement reads well at six months and keeps shape into year five if the linework has deliberate spacing. For posture, a quick stretch break during session helps with comfort.
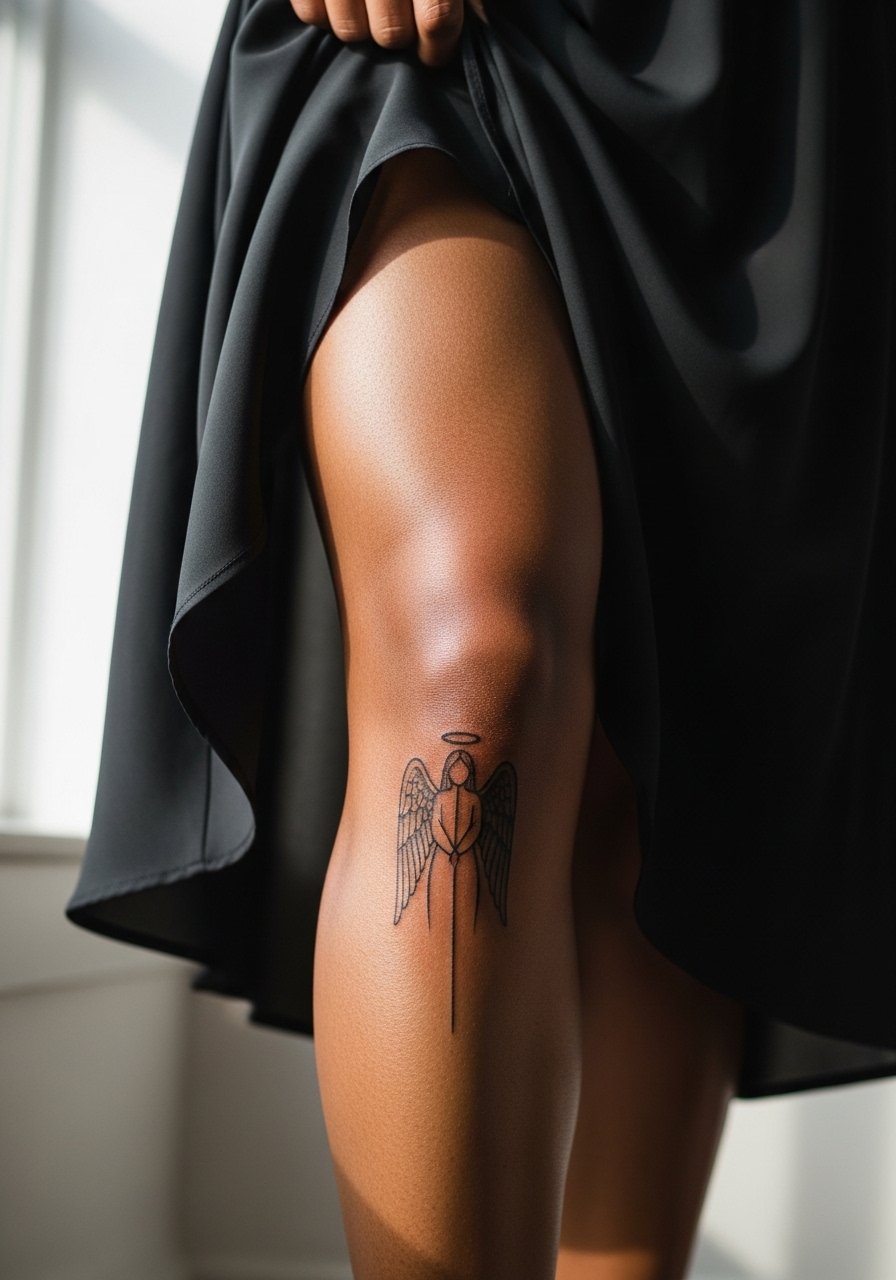
8. Calf Vertical Minimal Angel for Visibility
Calf placement suits elongated angels and the area tolerates fine line that remains visible when wearing skirts or shorts. Sessions are low discomfort and usually under an hour. Ask for slightly bolder line weight at the lower wing tips because lower legs see sun and abrasion from pants hems. A common mistake is making the piece too narrow, so it disappears from a distance. For showing it off pick midi skirts or a pair of cropped trousers that stop above the calf and frame the piece. Expect the linework to remain legible at year three with a small touch-up.
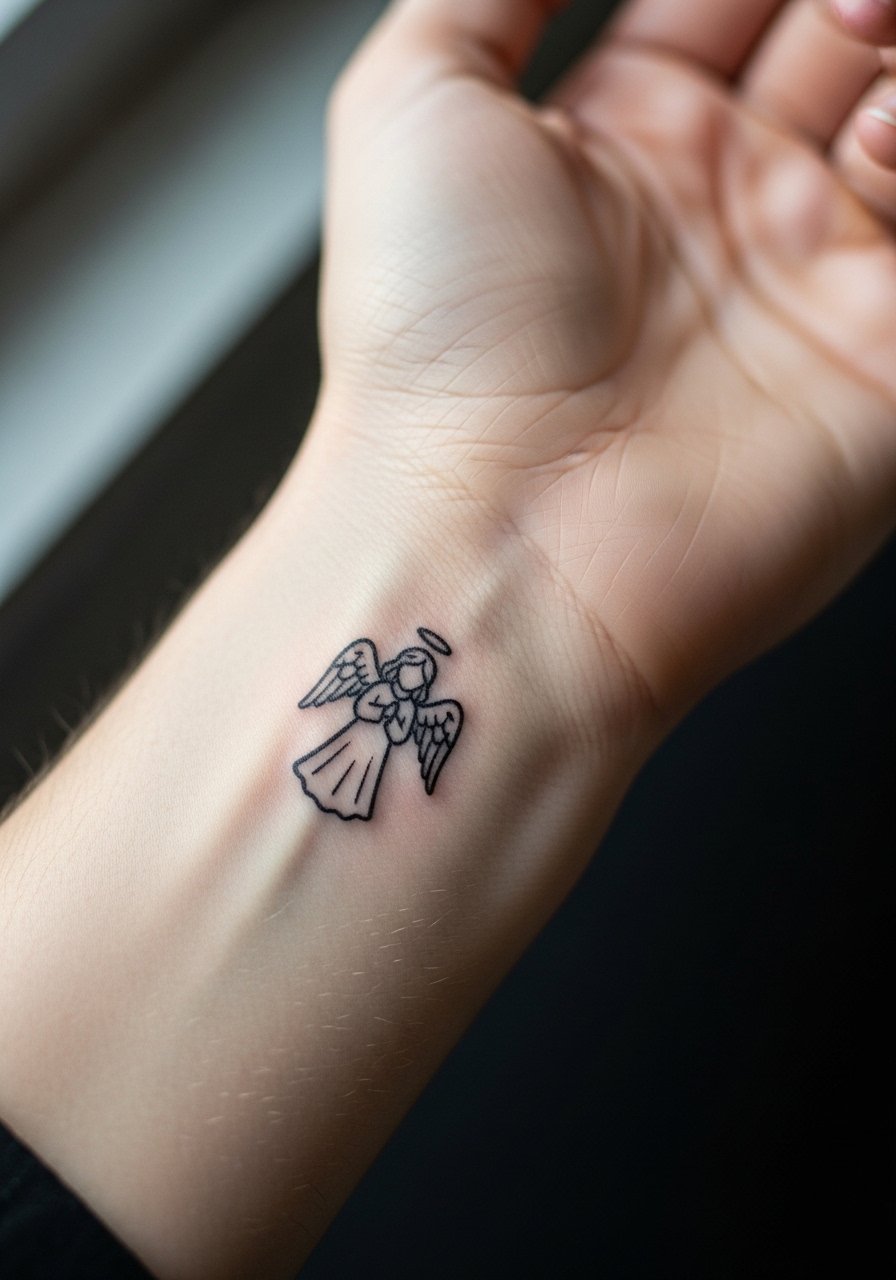
9. Wrist Micro Dark Angel Charm
The wrist is one of the most visible spots and it ages fast because of washing and motion. Keep the angel small and avoid tiny internecine feather lines or dense stippling. I tell people to add a short stippled shadow below the figure instead of filling the wings with fine crosshatching. Sessions are brief, often under 30 minutes, but touch-ups are common at year one for wrist pieces. A real mistake is asking for near-microscopic detail that the wrist cannot hold. For session comfort wear a loose button-down shirt you can pull aside so the artist has unobstructed access.
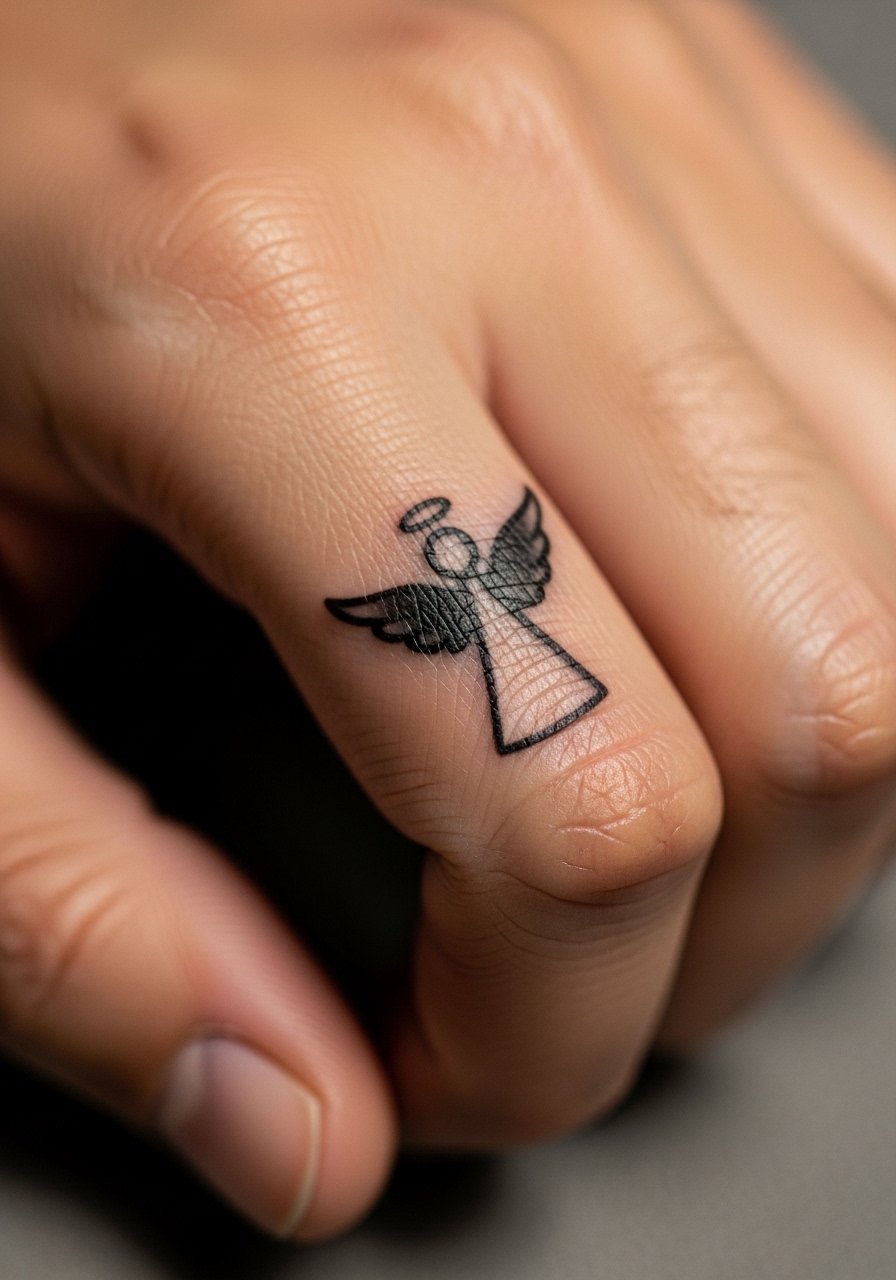
10. Hand or Finger Minimal Angel Accent
Hand and finger tattoos sit in a controversial spot for both longevity and professional perception. One group argues they are eye-catching and acceptable as self-expression. The other group points out that hand ink often fades quickly and faces hiring consequences in some fields. If you proceed, keep the design ultra-simple, accept yearly touch-ups, and ask for deeper lineweight to combat skin regeneration. Session pain is higher on fingers and a tiny finger angel often takes 20 to 40 minutes. Pair a finger accent with a delicate bracelet when you want to frame the piece without covering it.
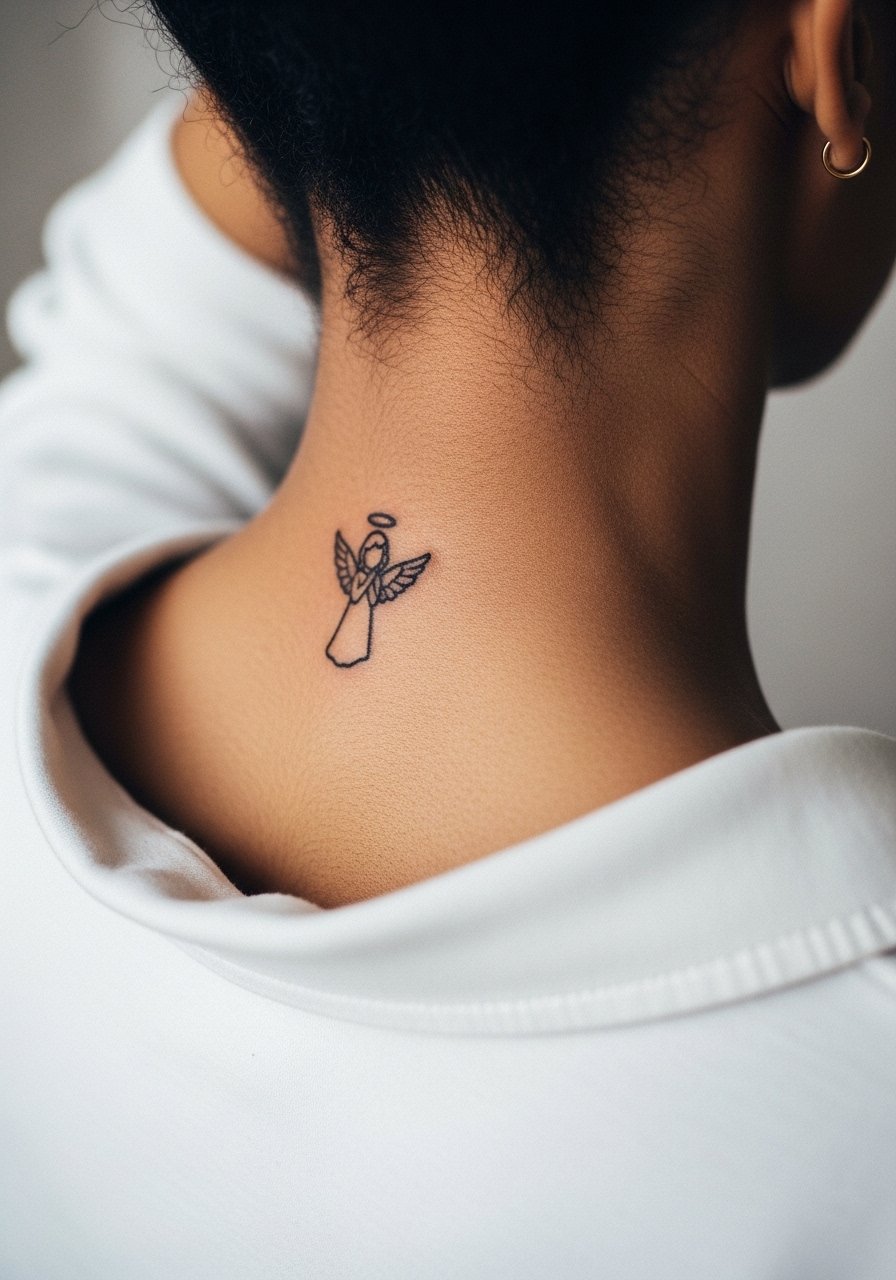
11. Nape-of-Neck Tiny Dark Angel
The nape is subtle and works well when you want mystery that appears with pulled-back hair. Pain is moderate and sessions are quick. Tell your artist to center the wings just below the hairline and to avoid ultra-fine strokes that will blur with hair growth and shampooing. A common mistake is placing it too high where hair and collars rub constantly. For visibility styling, a high bun or a wide-neck blouse keeps the tattoo intentional and framed without overexposure. This area generally ages well if you avoid heavy sun exposure.
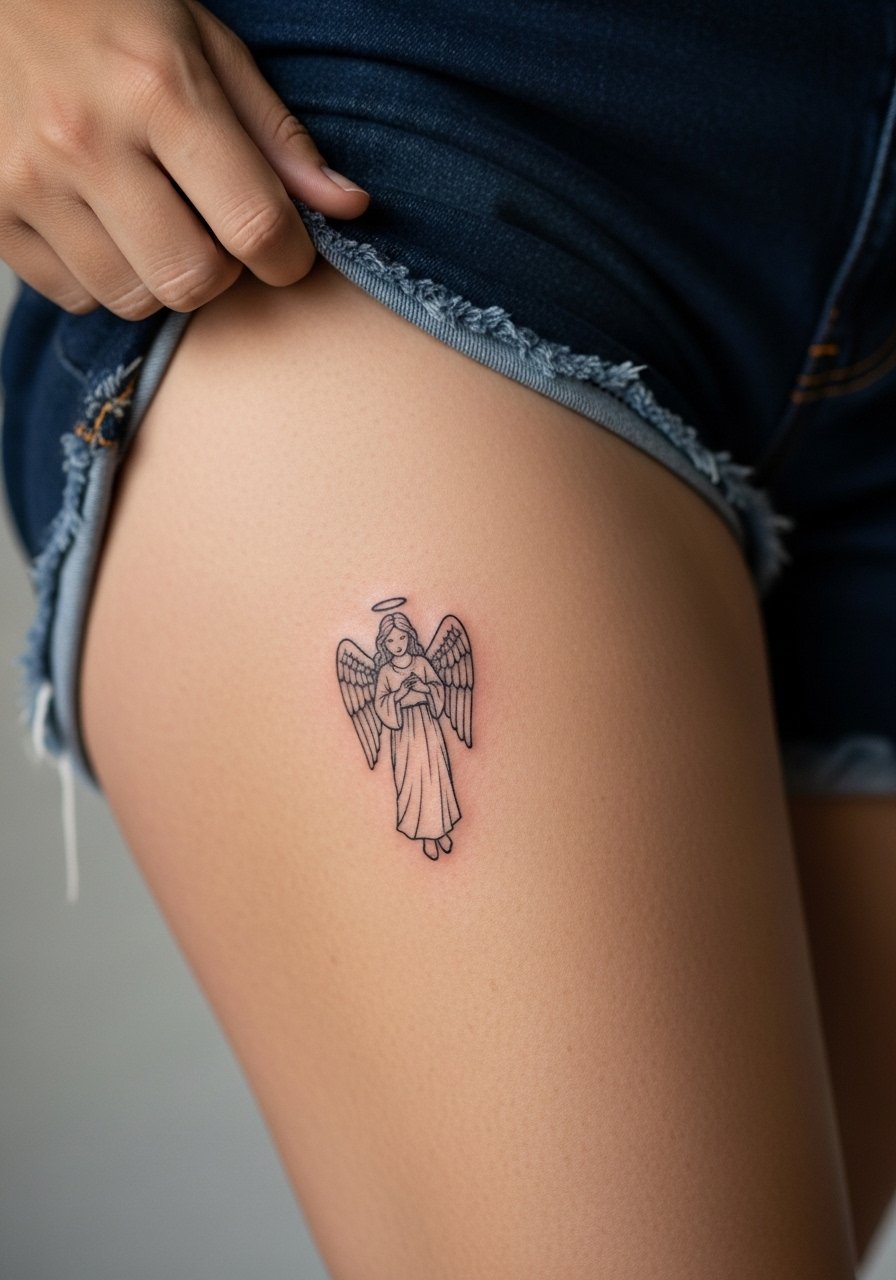
12. Thigh Minimal Angel Facing Inward
An inner or upper thigh placement hides the piece from daily wear and keeps it private. Sessions feel intense for some because the area is softer, but designs can be kept small and detailed without friction. I advise a modest line spacing and a light shaded field under the wings to prevent the lines from merging as skin stretches. For the appointment wear loose shorts you can slide up easily or a high-waisted short so the artist can work without constriction. Thigh work usually keeps its detail longer than hands and wrists because it is less exposed.
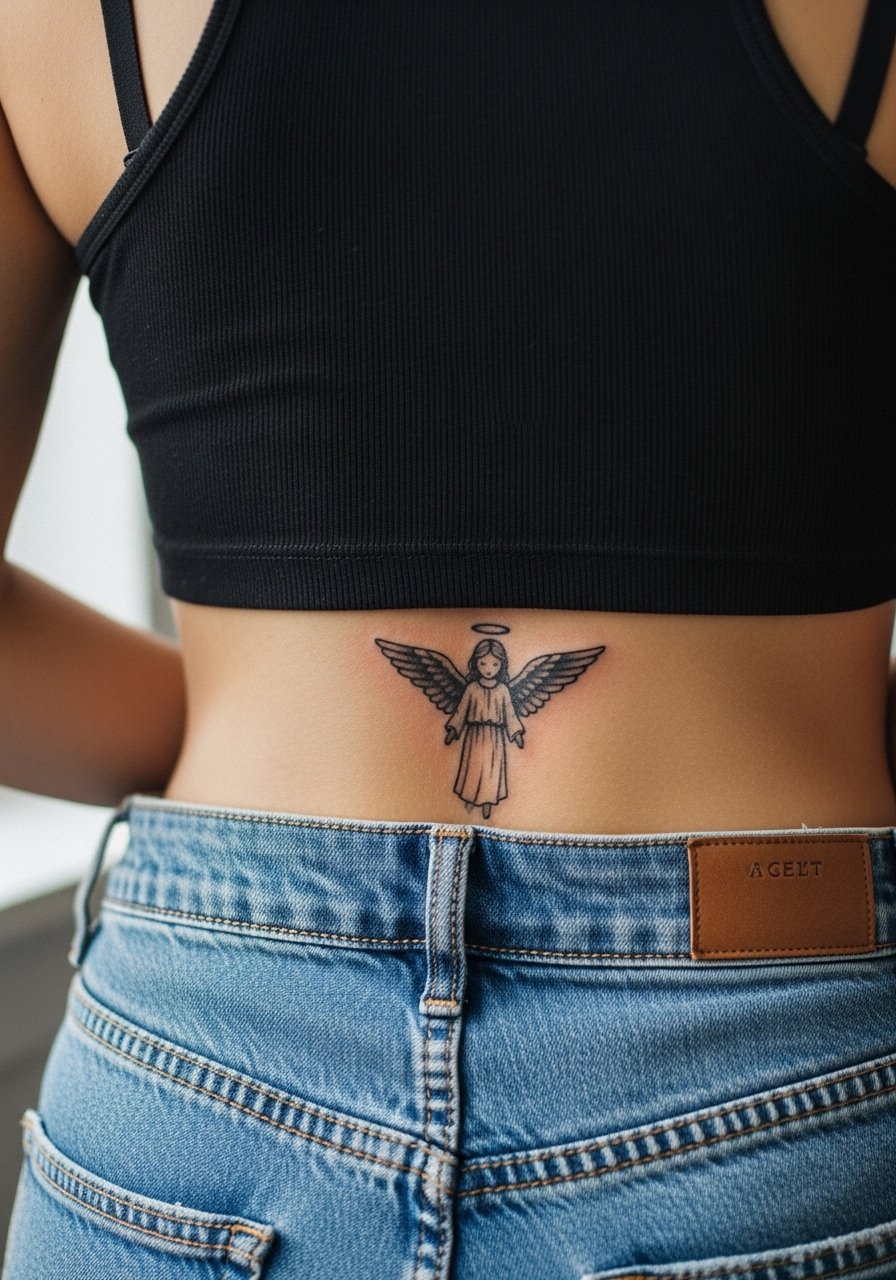
13. Lower Back Subtle Dark Angel Curve
Lower back placement flattens and frames horizontal angels nicely and tends to age predictably if you avoid low-rise waistbands rubbing the area. Sessions are comfortable and often under an hour. The main mistake is placing the wings too low where waistbands abrade the lines. For longevity, ask for slightly thicker outer lines and lighter interior stippling. If you plan to show it off occasionally, wear a tank top or a tank top with high-waisted jeans combination so the tattoo sits above the waistband and stays visible without friction. This spot keeps shape well into year five if cared for.
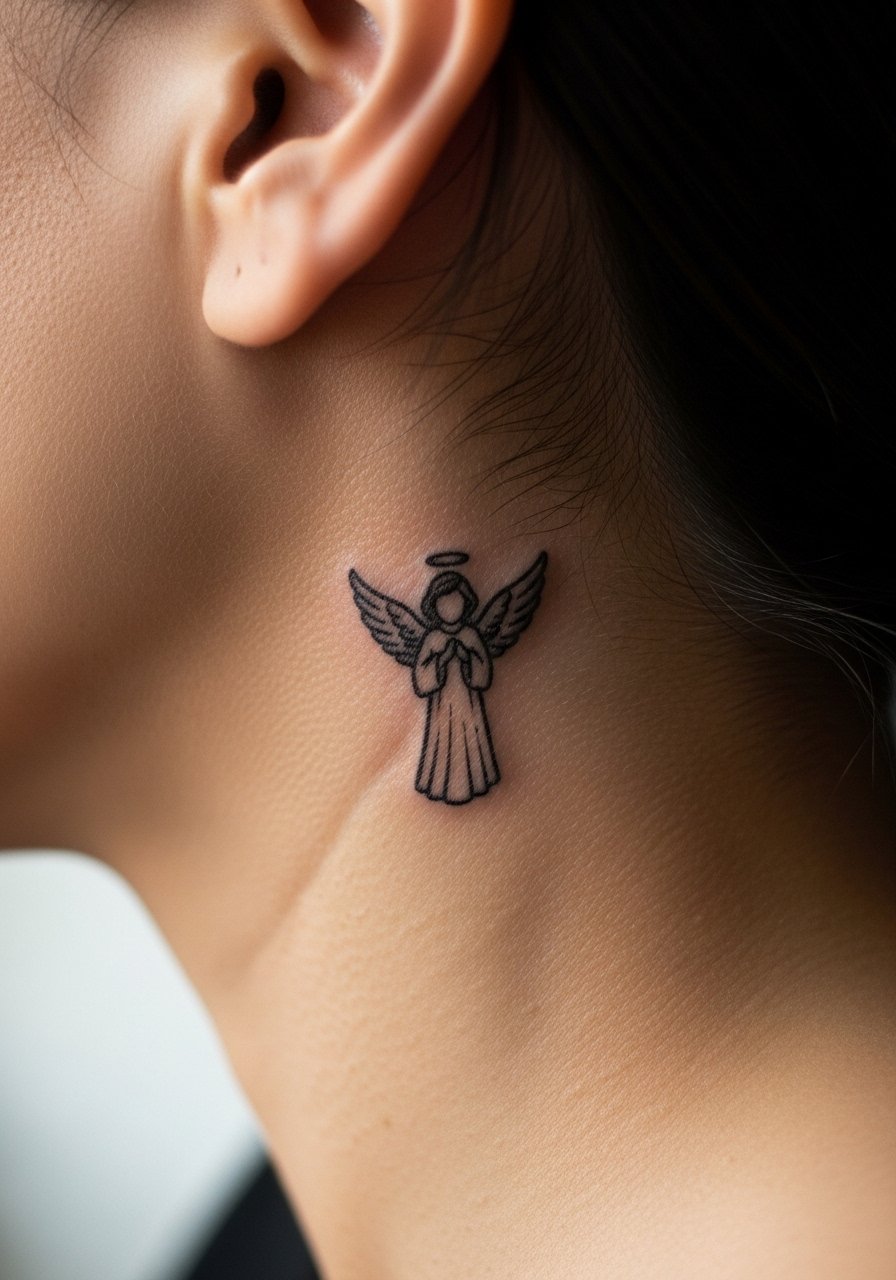
14. Behind-the-Ear Micro Angel Accent
Behind the ear is ultra-private and reveals itself with a tucked hairline. It is sensitive and the area accepts tiny work, but the skin there is thin so ask for bolder anchor lines rather than hairline strokes. For session comfort have your hair tied back and wear a hair clip or small barrette so the area stays exposed without tugging. This placement sees minimal sun and usually keeps crispness longer than wrist or finger work, but expect a touch-up sooner than you would for the back. Frame the piece intentionally with your hairstyle.
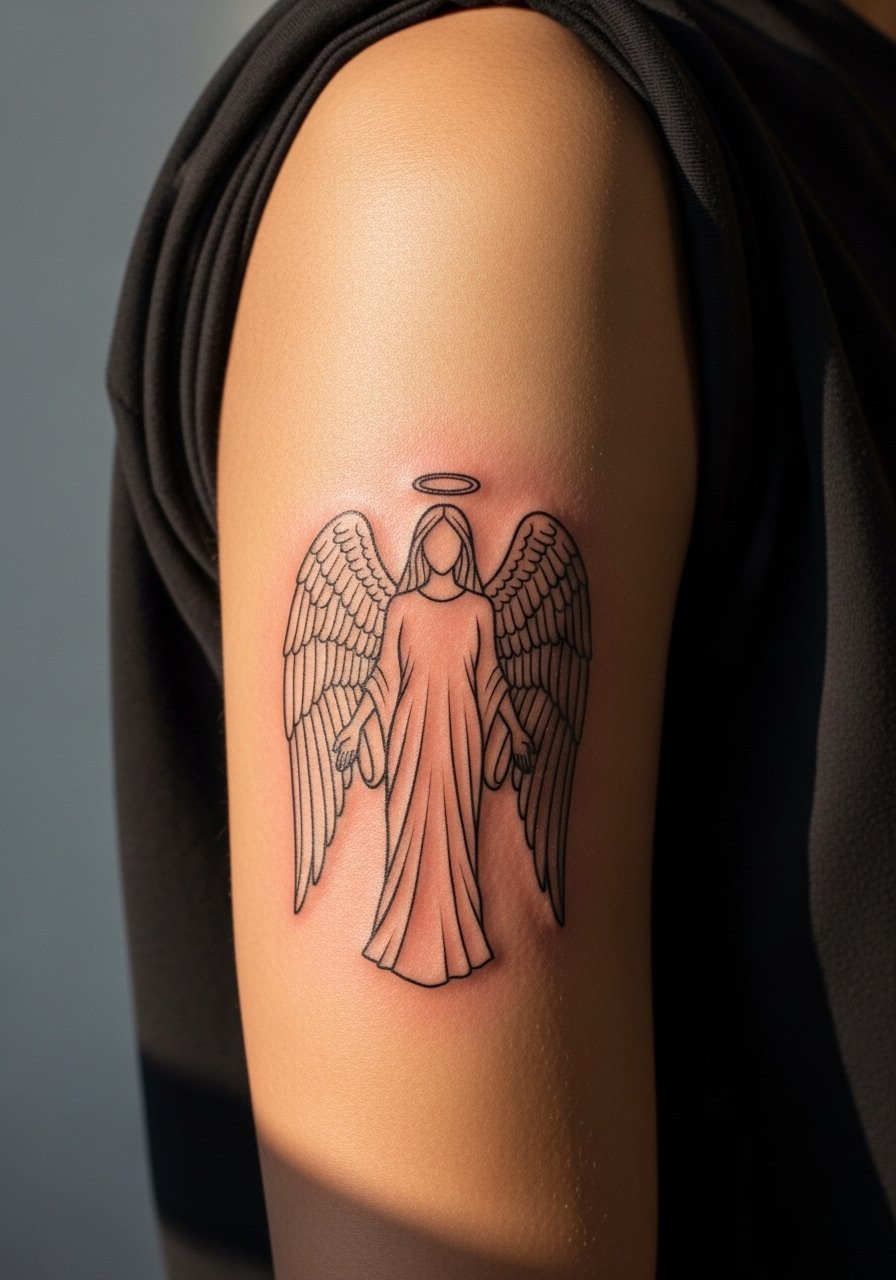
15. Upper Arm Minimal Angel Facing Out
The outer upper arm tolerates fine line without much abrasion and is a forgiving place for slightly more detailed wing textures. Sessions are comfortable and can run up to 90 minutes for larger pieces. A common mistake is choosing ultra-tight feather detail that looks busy on the curve of the arm. Tell your artist to plan for line flow that follows muscle contours and to leave breathing room around the silhouette. For casual visibility roll a sleeve or wear a short-sleeve tee. This piece generally needs the least maintenance of visible placements.
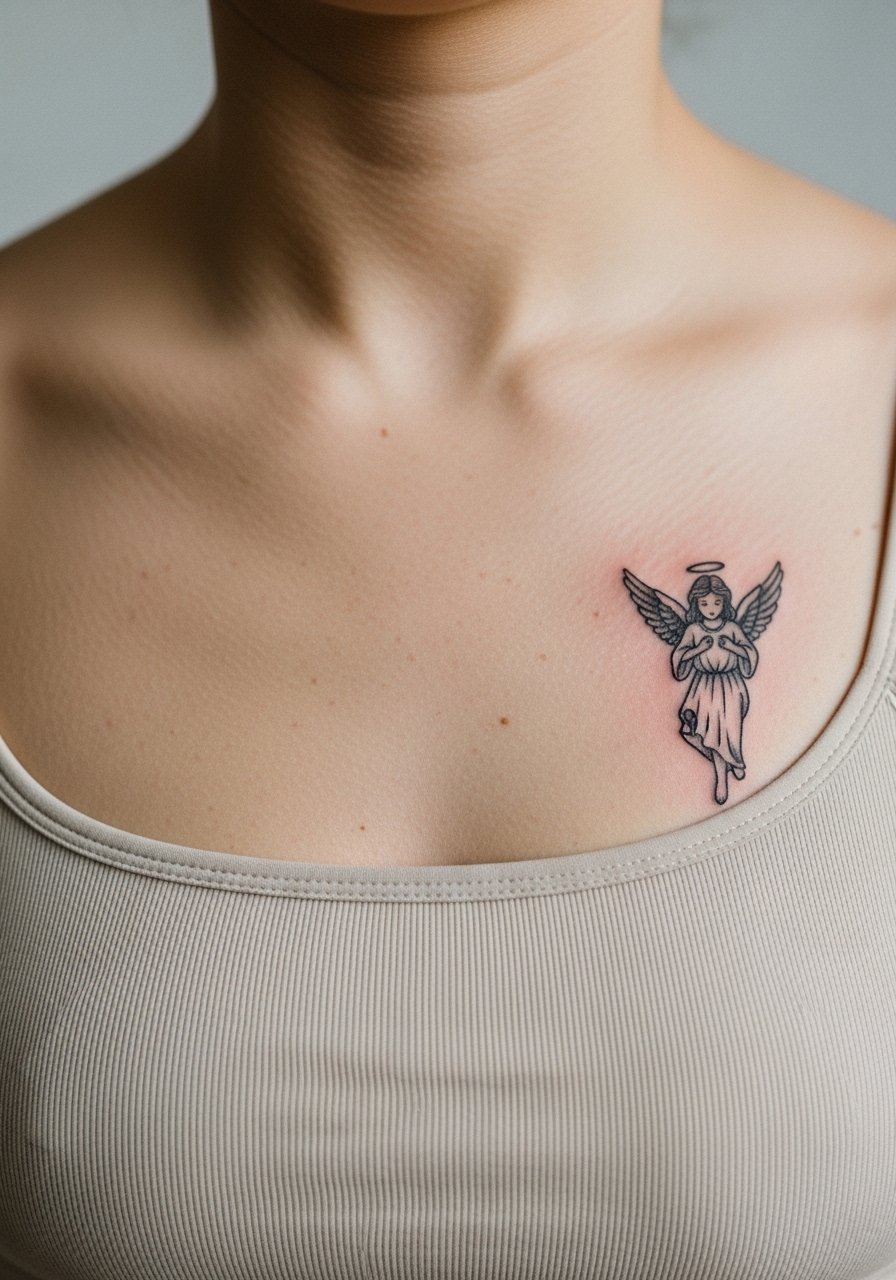
16. Chest Pocket Angel Near the Heart
A small chest angel sits nicely just above the pocket line and carries personal weight when placed close to the heart. Sessions can be tender depending on chest sensitivity and may take 30 to 60 minutes. For longevity request slightly thicker primary contour lines and light internal stippling so the angel keeps its silhouette as skin moves with breathing. Dress for the session in a button-down you can pull aside or a fitted zip hoodie you can open so the artist has clear access. This area ages similarly to collarbone pieces when sun exposure is limited.
17. Minimal Angel Sleeve Accent Along a Line
Rather than a full sleeve, a narrow linear accent of angels along the outer forearm or bicep creates continuity without dense coverage. Sessions can be split into short blocks so you do one or two angels per visit. The benefit is modular touch-ups; if one figure softens you can refresh that spot without revisiting the whole sleeve. A common mistake is crowding the figures too close. Ask for deliberate spacing and matching lineweight across all pieces. For showing off the line, rolled sleeves and a minimalist watch direct attention along the arm. Expect touch-ups staggered across several years rather than one big refresh.

Frequently Asked Questions
Q: Will a fine line dark angel blur faster on ribs than on forearm?
A: It depends on spacing and technique. Ribs move more with breathing which increases the chance of lines closing in. One group of artists prefers wider spacing and stipple shading for ribs. Another group will take extra care with needle depth and still work with fine lines. Ask to see healed ribs work from your artist and expect a possible touch-up at year two to three.
Q: How should I prepare clothing-wise for a sternum or ribcage session?
A: Wear a fitted sports bra or a cropped top you can lift slightly so the artist has clean access and you stay comfortable. A loose button-down is useful for back and shoulder work. If you want a specific option, a fitted sports bra that fastens easily makes adjustments in the chair simpler.
Q: Do hand and finger angel tattoos affect professional opportunities?
A: Opinions split. Some workplaces are relaxed and see hand ink as normal. Other employers still consider visible tattoos unprofessional in client-facing roles. If you have concerns, choose a discreet placement or accept that removal or cover-up may be considered later. Expect higher fade rates on fingers and plan for annual touch-ups if you want longevity.
Q: What should I tell my artist to make sure a collarbone angel ages well?
A: Ask for a design that follows the collarbone curve and for a slightly bolder outer contour with lighter interior stipple. Request a test stencil and a healed portfolio image for similar placements. Small adjustments in spacing are the difference between crisp years and early blur.
Q: How often will minimal line dark angels need touch-ups?
A: Expect variation by placement. Visible, high-friction spots like wrists and fingers often need touch-ups every one to three years. Protected spots like the shoulder blade, calf, and lower back can go longer, sometimes three to five years before a small refresh. Sun protection and avoiding abrasion extend time between touch-ups.
