
Fine line cover-ups can look fragile at first but they often outlast flashier fresh pieces, as long as you start with the right plan. Small illustrative cover-ups are not about hiding ink under a bigger tattoo. They are about rerouting composition, picking the right contrast, and choosing placements that mask old saturation without needing a full sleeve. The ideas below show what works now and what will still read clean after a few years.
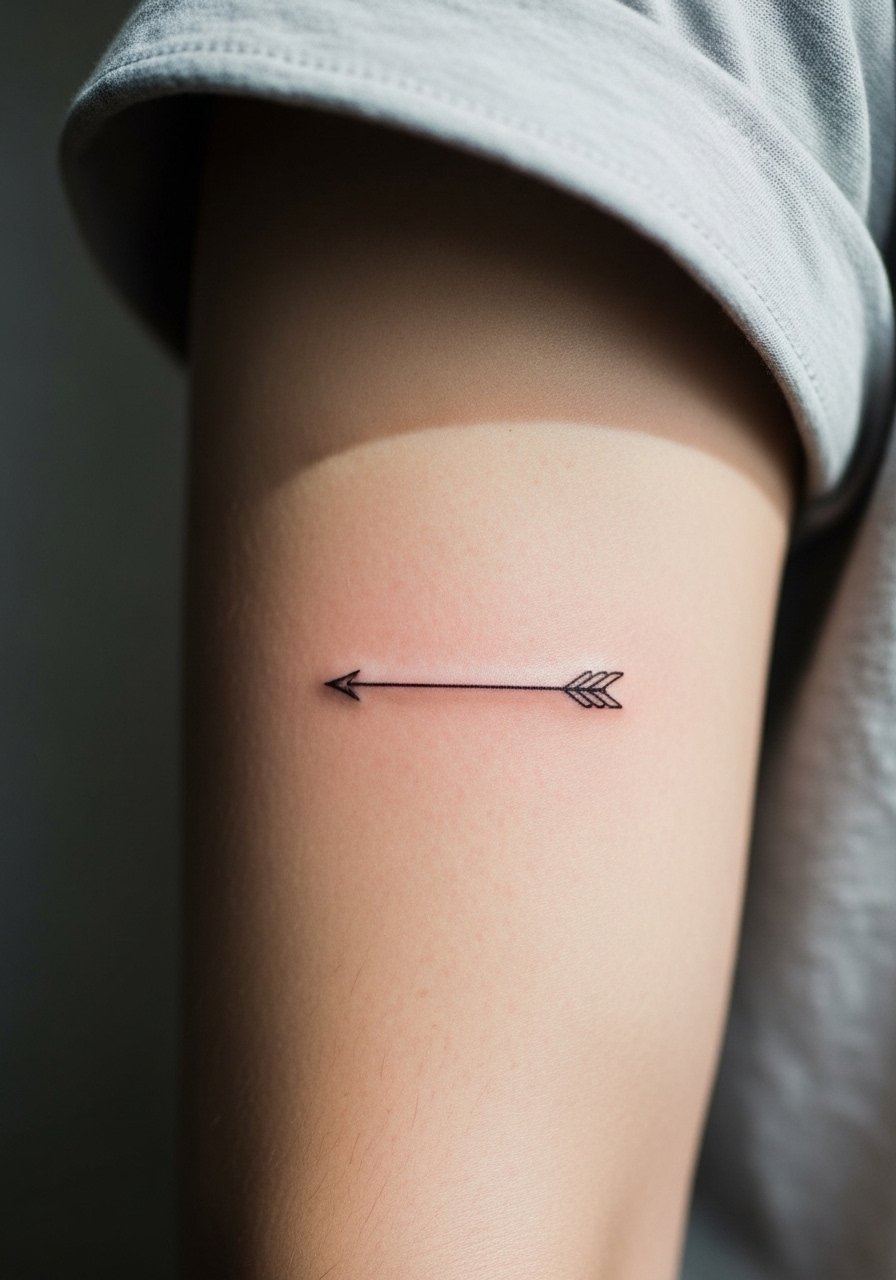
1. Fine Line Arrow on Inner Forearm
I've seen arrow cover-ups on inner forearms patch old smudged script into something slender and readable years later. Ask your artist to use a slightly bolder shaft and negative-space fletching so the old ink sits visually behind the new lines. Pain is mild on the inner forearm and sessions are usually under an hour. A common mistake is making the arrow too thin over dense old ink, which leads to patchy saturation and early touch-ups. This spot shows well with rolled sleeves, so wear a loose button-down shirt for both the appointment and outfits that highlight the finished piece.
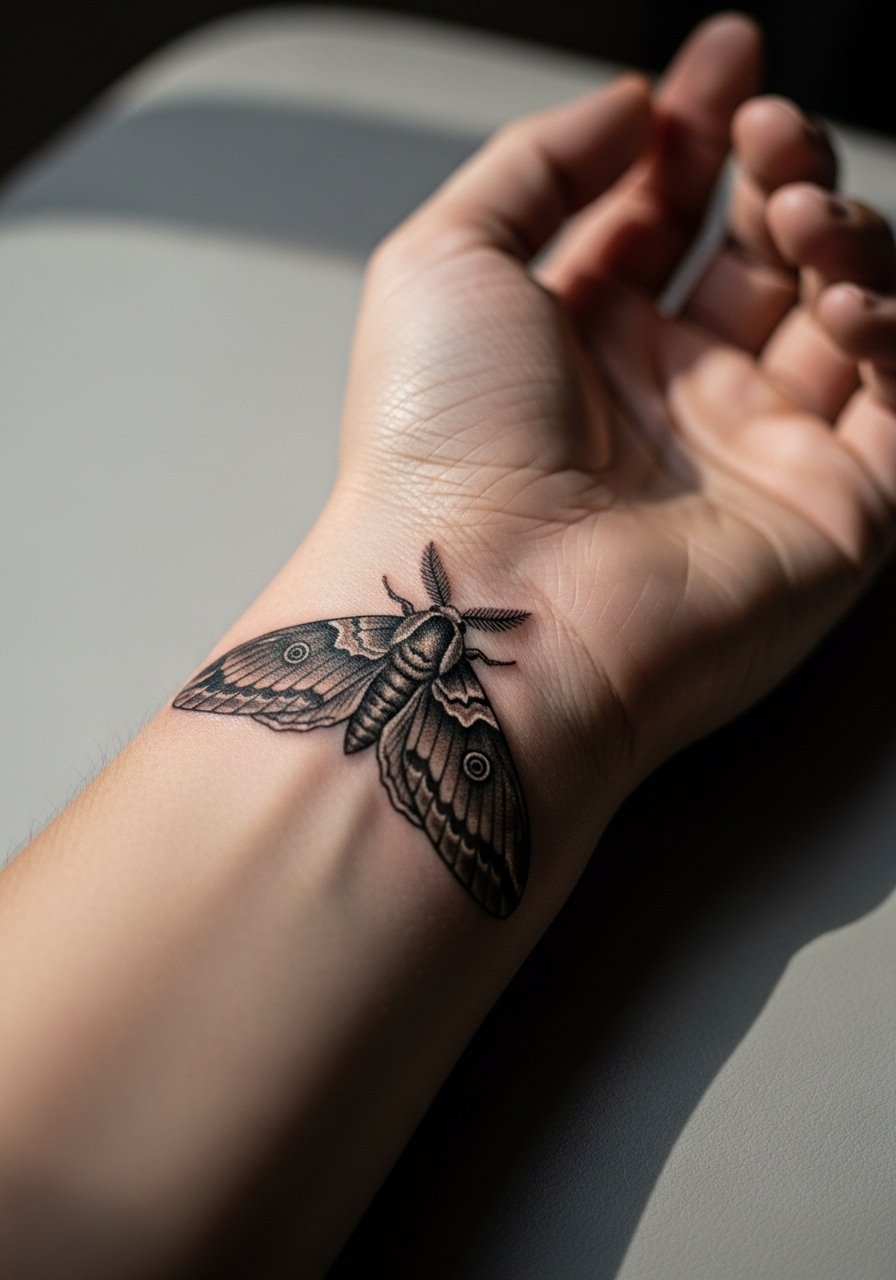
2. Micro-Realism Moth on Inner Wrist
Fair warning: the wrist is a high-motion, high-wash zone, but a tiny micro-realism moth can disguise fuzzy old ink if you use contrast and soft shading. Tell your artist to anchor the thorax over the darkest part of the old mark and build stipple shading outward. Expect a 45- to 75-minute session and a likely touch-up around year two. Wearing a thin chain bracelet to balance the wrist can frame the motif without masking it, and wear a racerback tank to the appointment so the artist has clear access.
3. Stipple Floral on Ribcage
Most floral ribcage cover-ups use stipple shading to blur an older bold blotch into texture that reads like shading, not patchy ink. The rib is a higher pain area, so plan for a longer session split into two if needed. A common mistake is trying to crowd a detailed bloom in too small an area, which makes the piece look muddy after healing. This placement needs an artist experienced with breath timing and layering. Sensitive placement note: ribcage shots must be framed carefully during consultations because stretch and movement change how petals sit.

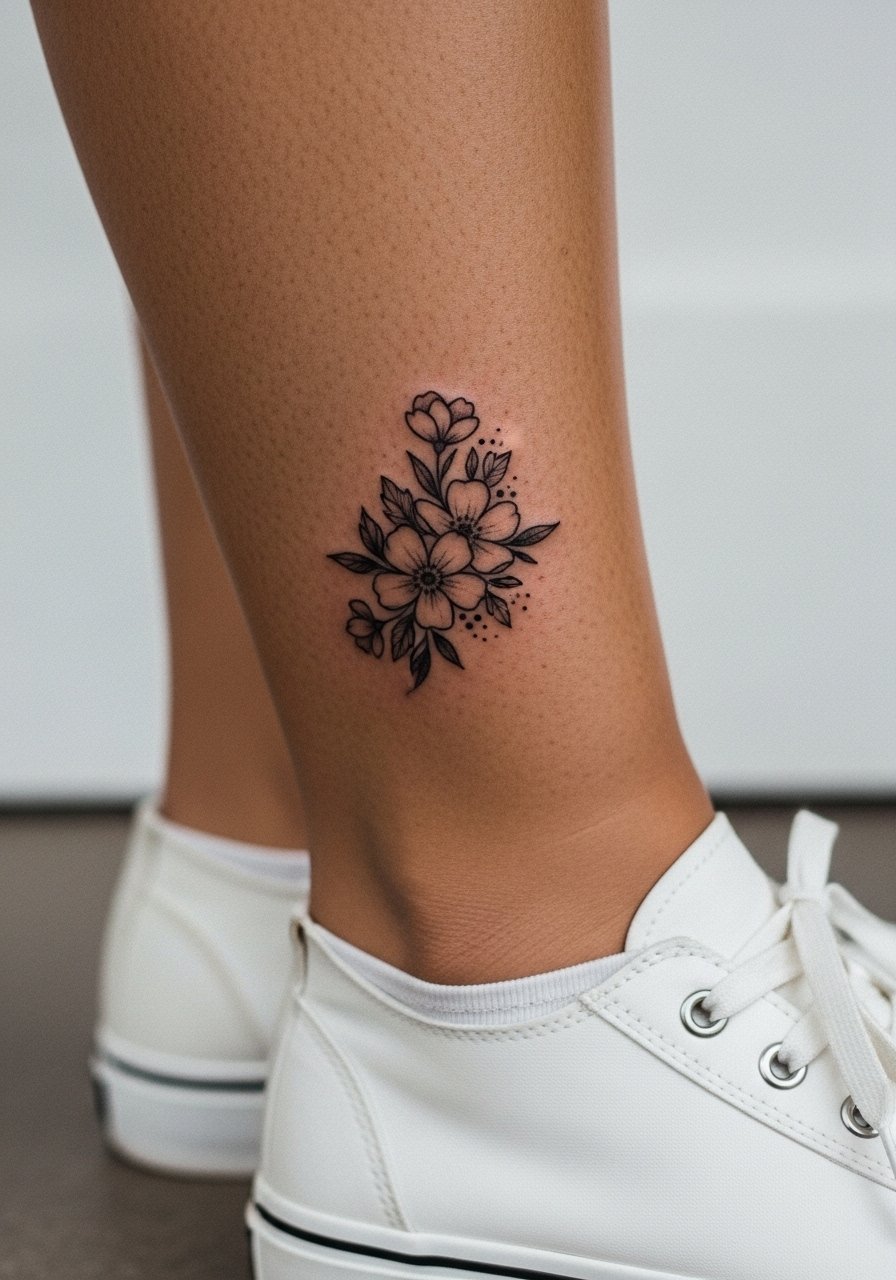
4. Minimalist Constellation on Ankle
There is something elegant about tiny star clusters masking small, blurred symbols near the ankle. The skin here tolerates small dots well if the old mark is broken up into negative-space stars and single-point highlights. Sessions run under an hour and blowout risk is moderate because the ankle skin is thin. For the appointment and to show it off, slide into jeans you can roll up so the artist has access and the piece gets visible wear with sandals.

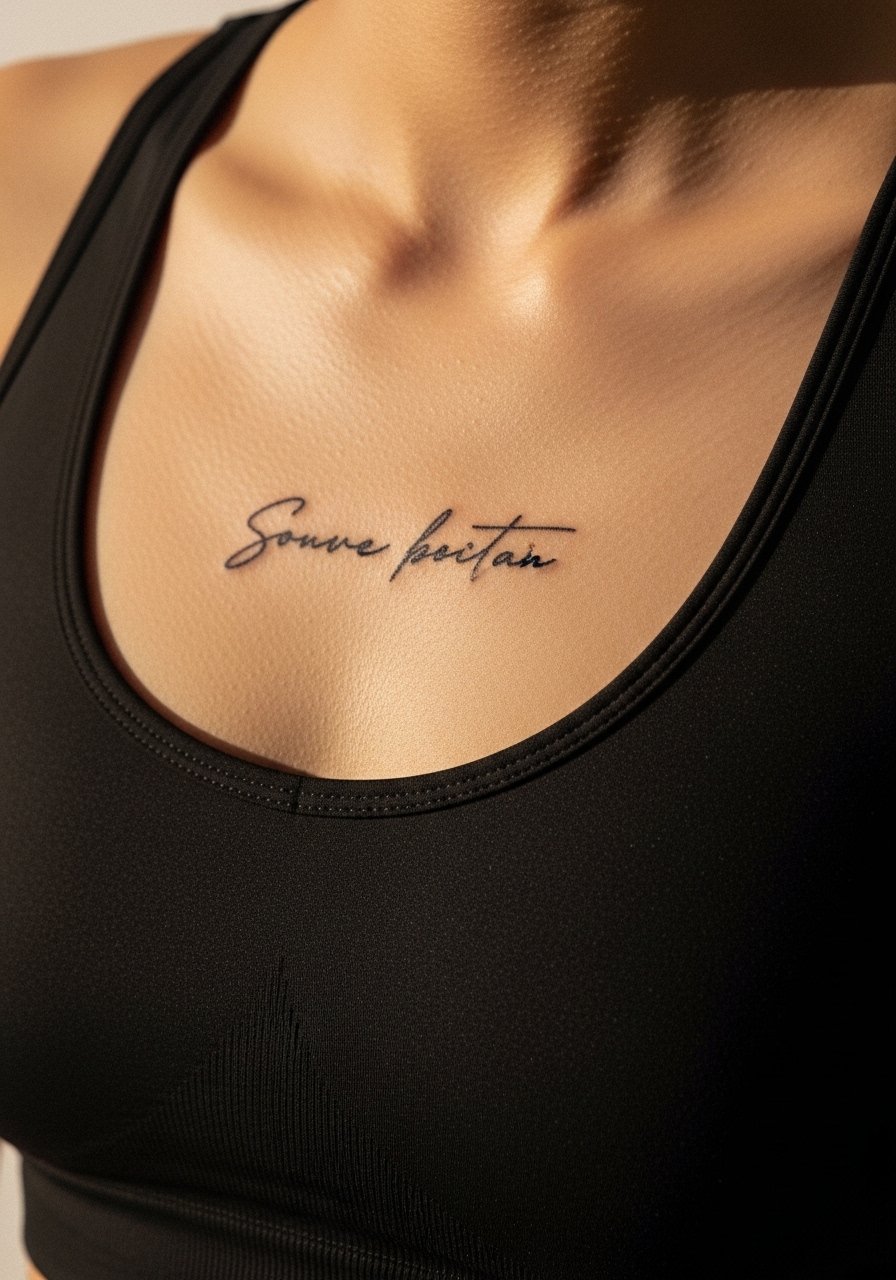
5. Tiny Script Sternum Bar
Sternum script can cleverly sit above or below an old mark and draw attention away from blotchy background ink. Expect a higher sensitivity and plan shorter sessions. The biggest mistake is requesting ultra-thin lettering across dense old ink; instead choose slightly heavier strokes and ask for clean spacing. Sternum rules differ by body type and movement, so discuss stretching and placement with your artist. Sensitive placement note: show only the immediate area during portfolio review to avoid full exposure.
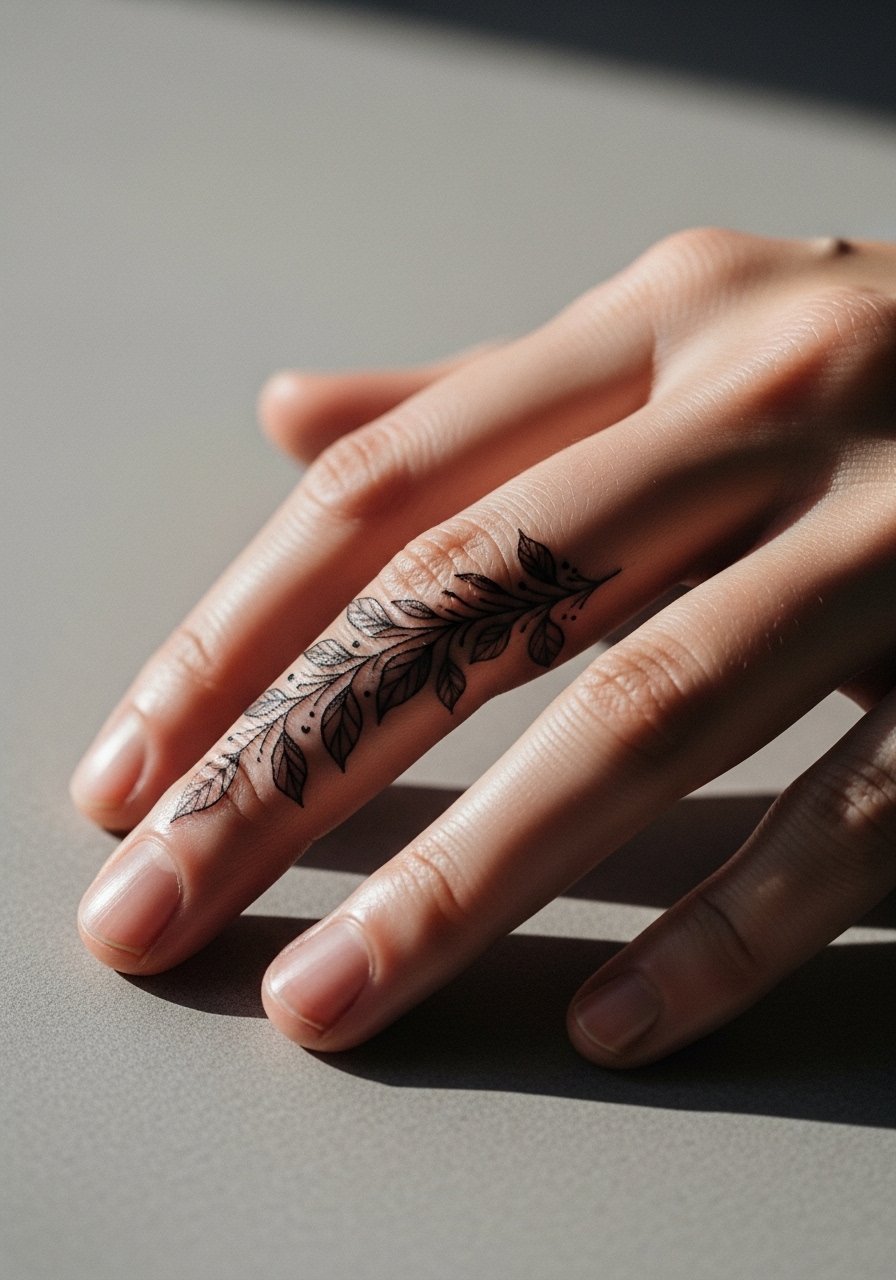
6. Botanical Finger Band
Finger cover-ups are unforgiving, but a botanical wrap with small leaves and strategic dark dots can obscure old single-needle work while keeping the scale tiny. Hands and fingers lose saturation faster, so expect touch-ups sooner than on the arm. A common mistake is trying to use color to hide black ink on fingers. Instead use crisp black linework and plan touch-ups at year one if needed. Showing this off pairs well with a minimalist ring stack that frames the band without crowding the leaves.
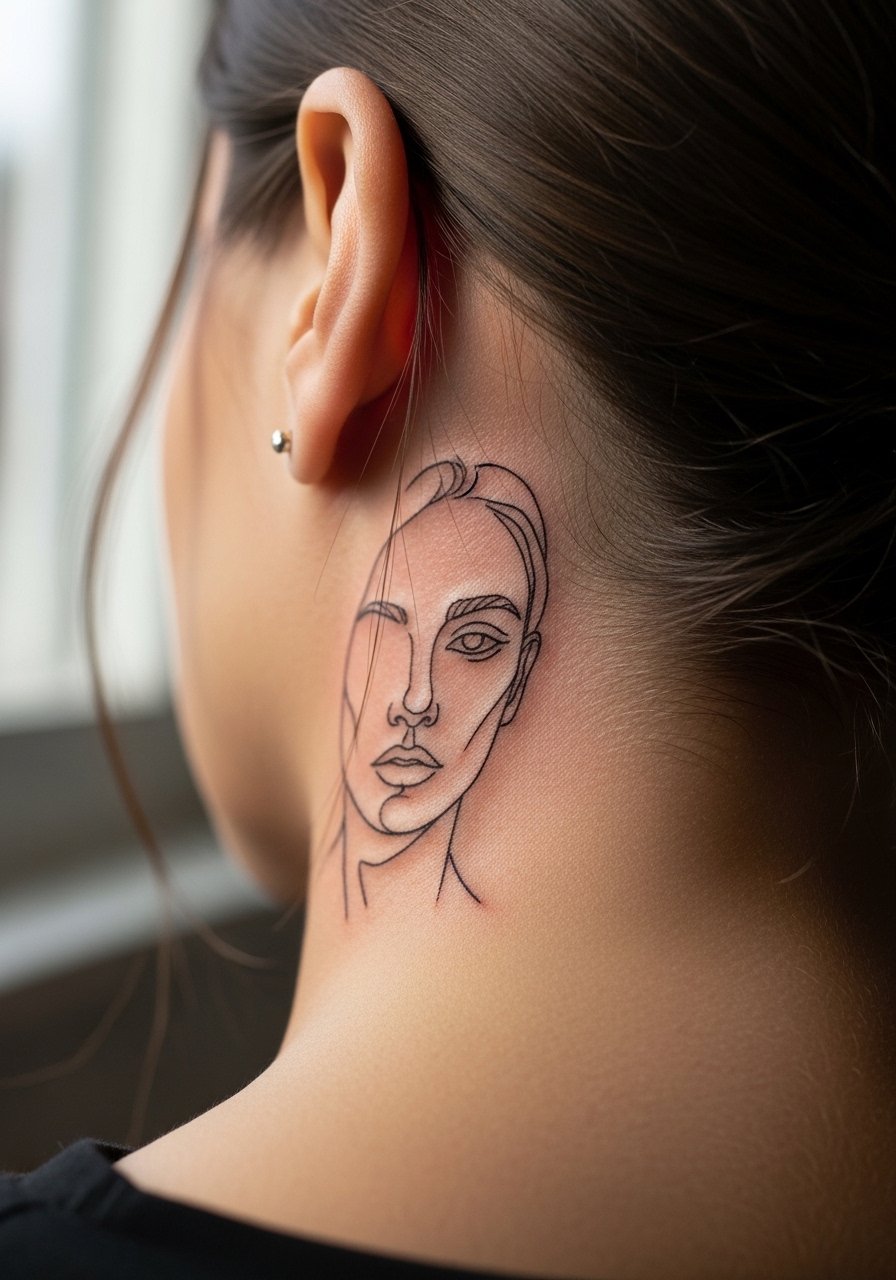
7. Petite Portrait Behind the Ear
Portraits behind the ear make for subtle hideovers when scaled tiny and cropped to a face fragment rather than a full head. Artists debate whether detail survives that area, and the two camps are clear. One camp says the skin and curvature cause rapid blur, especially with tiny portraits. The other camp says careful depth and simplified features last if the piece is kept minimal. If you go for it, plan for a conservative size and understand touch-ups are common. Sensitive placement note: describe the spot as the skin behind the ear, below the hairline on the neck during planning.
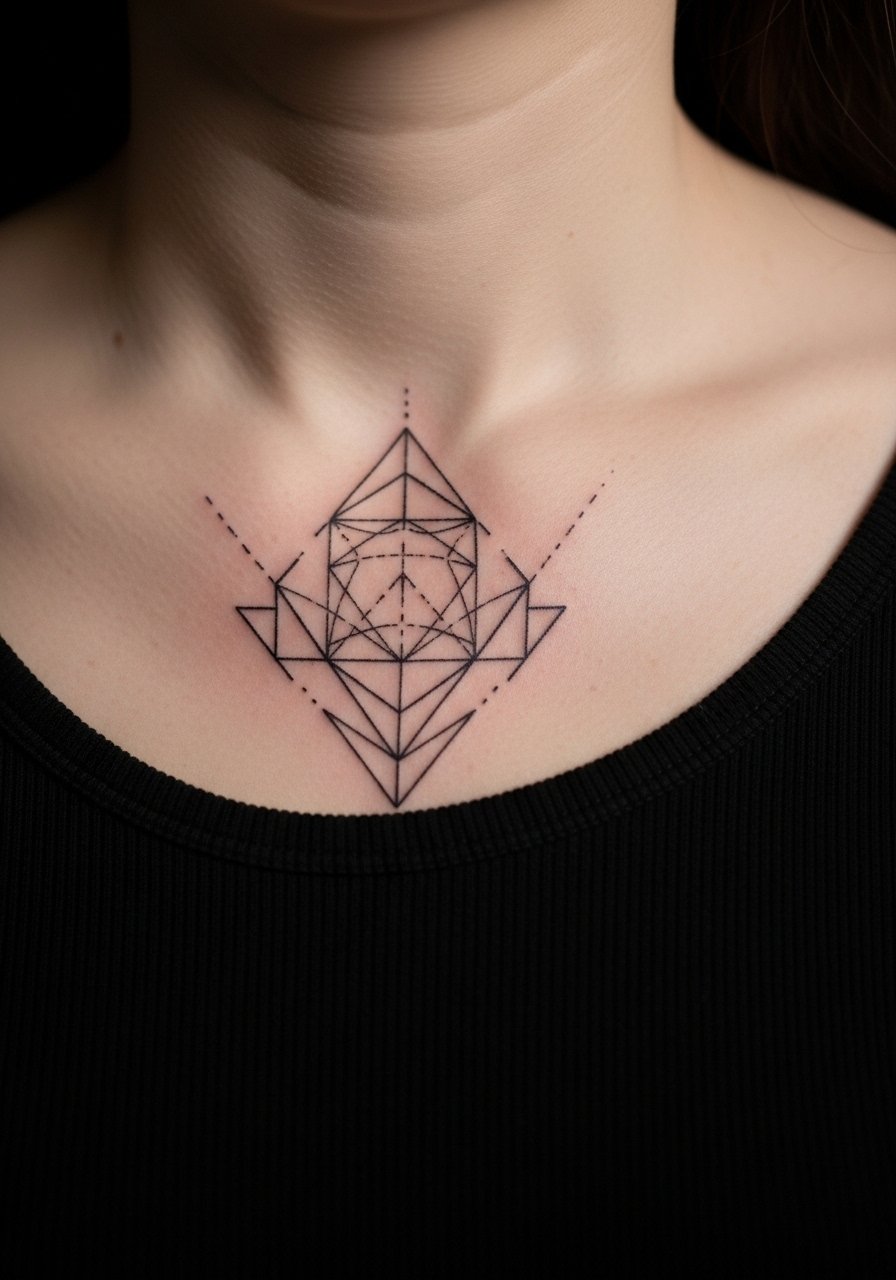
8. Geometric Collarbone Cluster
Collarbone cover-ups read well when geometry breaks up heavy old ink into shapes and negative space. For longevity, tell the artist you want moderate line weight and clear spacing between shapes so dense areas do not merge. Sessions are moderate in length and the area is more sensitive over bone. For outfits, a wide-neck shirt pulled slightly aside will show the geometry without over-exposing the chest at first. Sensitive placement note: avoid "bare-chested" descriptions when sharing images.
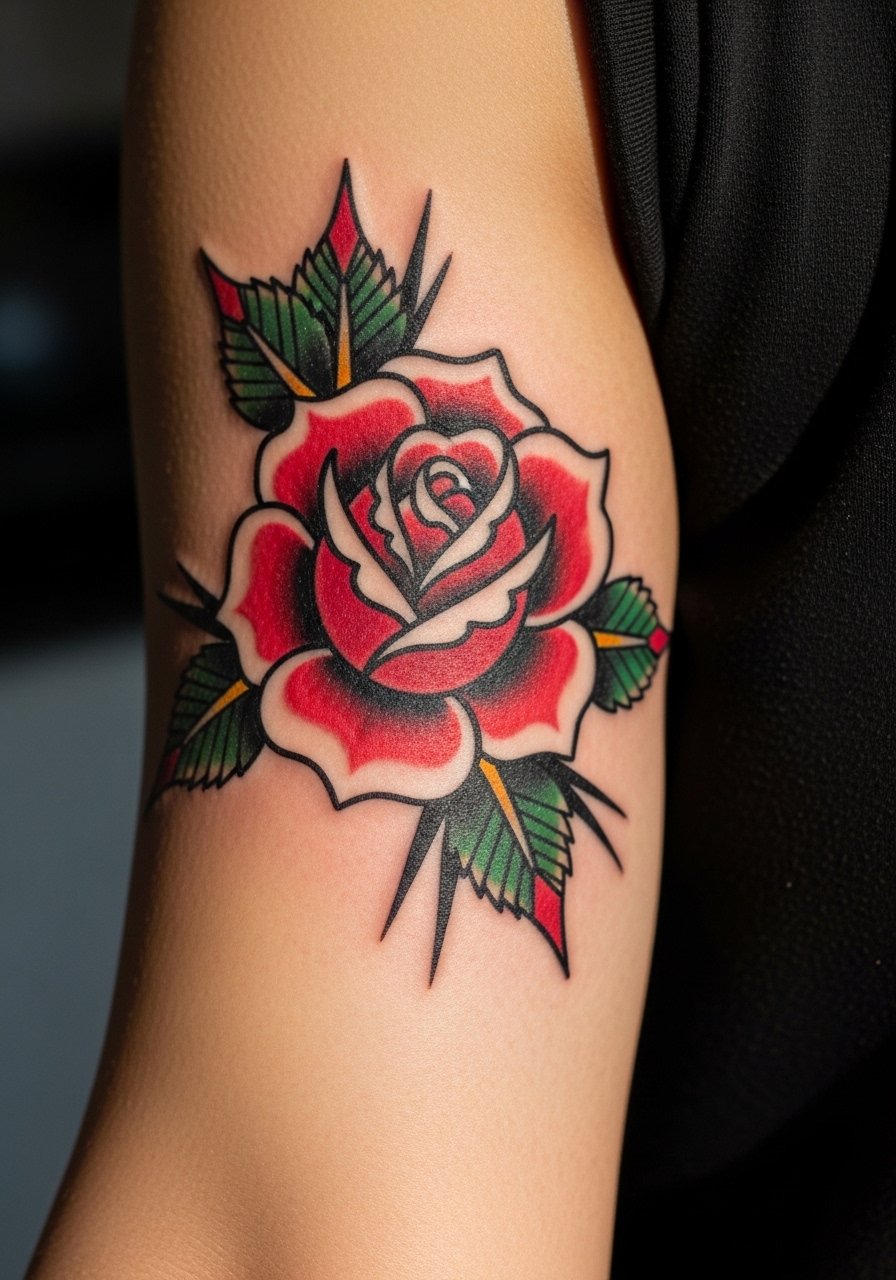
9. Traditional Rose Over Faded Logo on Upper Bicep
Traditional pieces are forgiving for cover-ups because strong outlines and saturation mask older uneven fills. The upper bicep tolerates heavier saturation with moderate pain. A common mistake is trying to match tiny old lettering with equally tiny petals. Instead request solid outlines and full saturation in the petal centers. Sessions can run one to two hours depending on size. This placement ages predictably and looks good with rolled sleeves or short-sleeve tees without competing for attention.
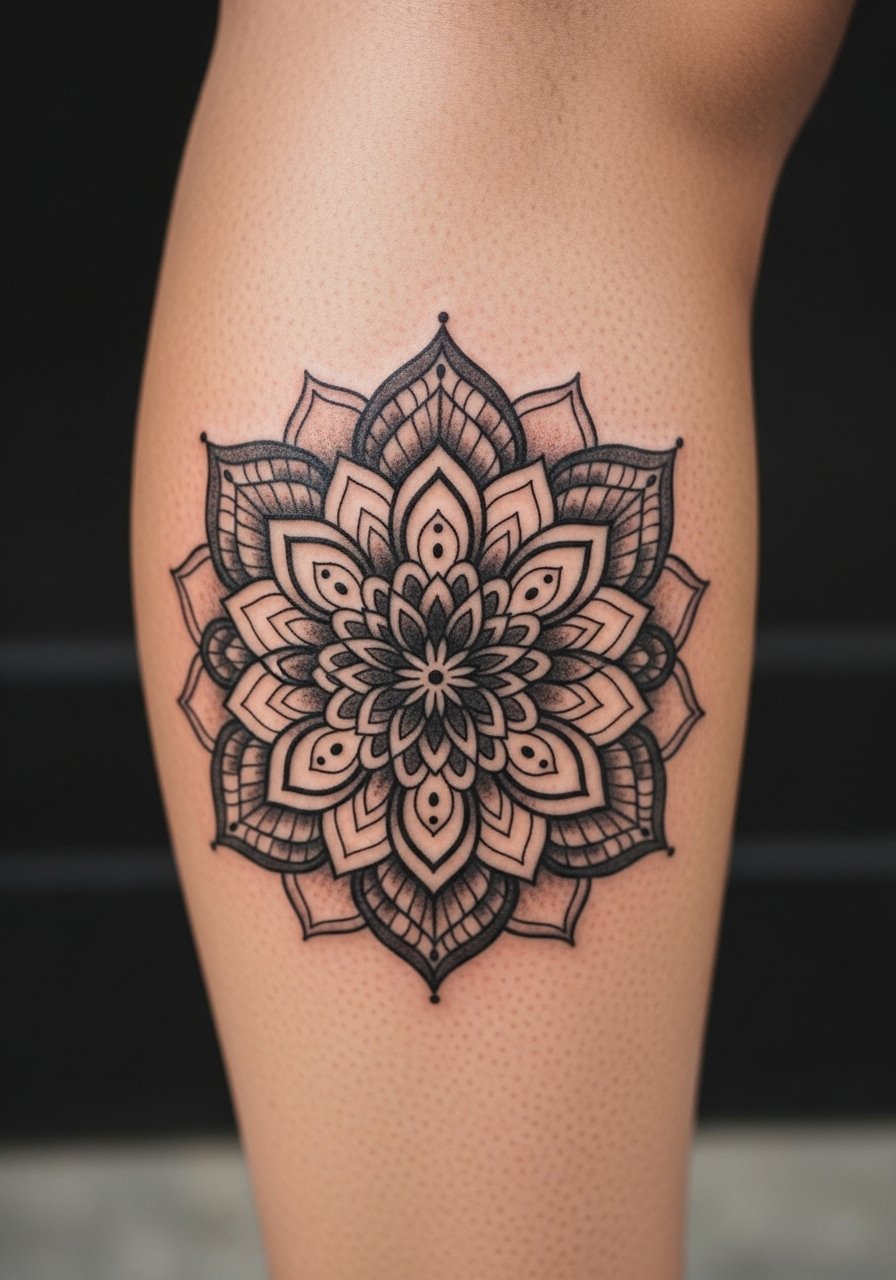
10. Blackwork Calf Mandala
A dense blackwork mandala on the calf can swallow a blotchy old piece when arranged with layered petals and negative-space rings. The calf is a forgiving canvas that handles repeated passes for saturation. Expect a longer session and a realistic chance of needing one follow-up. A mistake is packing too many tiny dots into the center; give the center breathing room so the mandala keeps crisp geometry as it ages. Pair this with mid-calf boots for an outfit that frames the work.
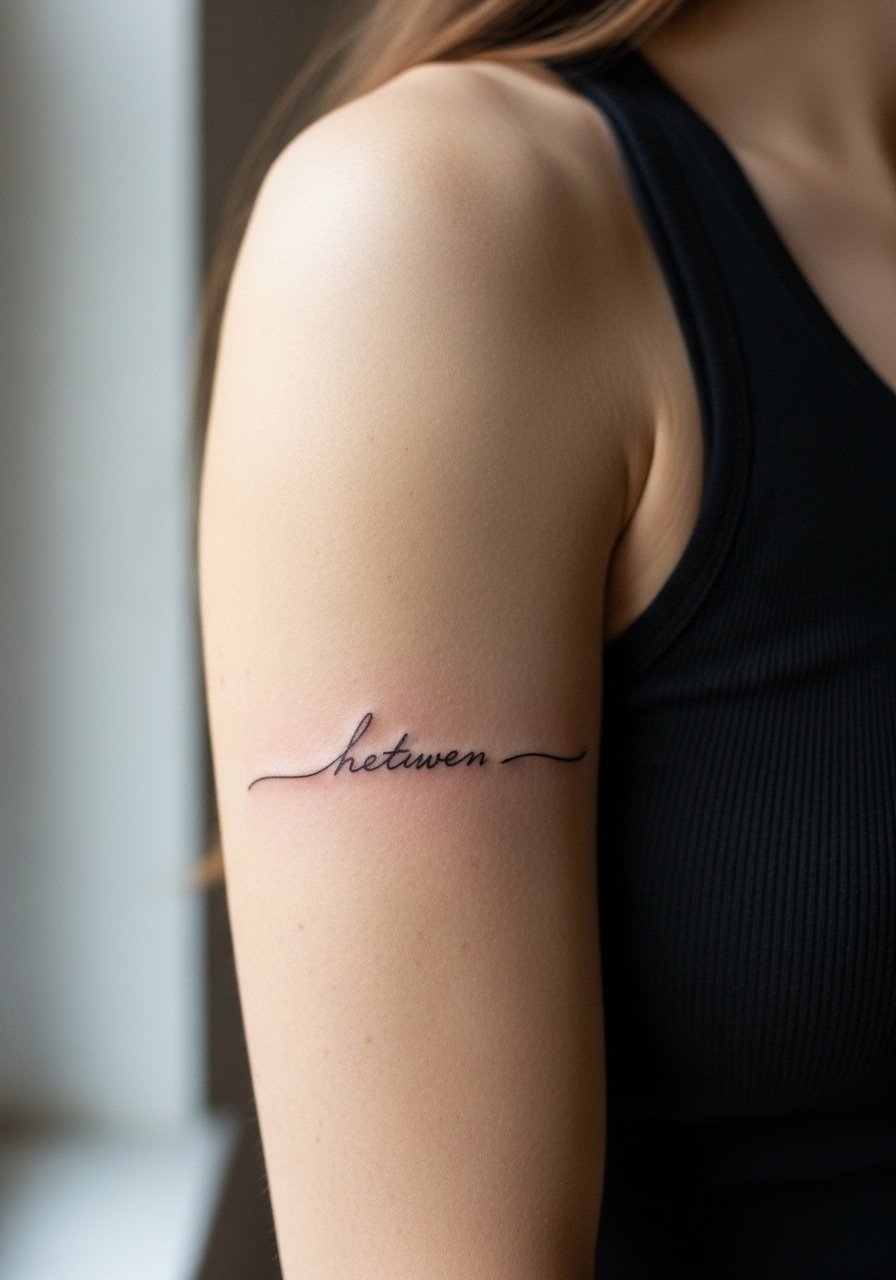
11. Single-Line Inner Bicep Quote
Artists split on tiny script on the inner bicep. One camp argues the skin there shifts enough that single-line script often blurs within a couple of years. The other group says deeper, cleaner needle depth with careful spacing keeps words legible. If you pick this, ask for slightly larger letterforms and a steady baseline. Pain is higher here because the area is soft and sensitive. This is a consultation conversation more than a style call.
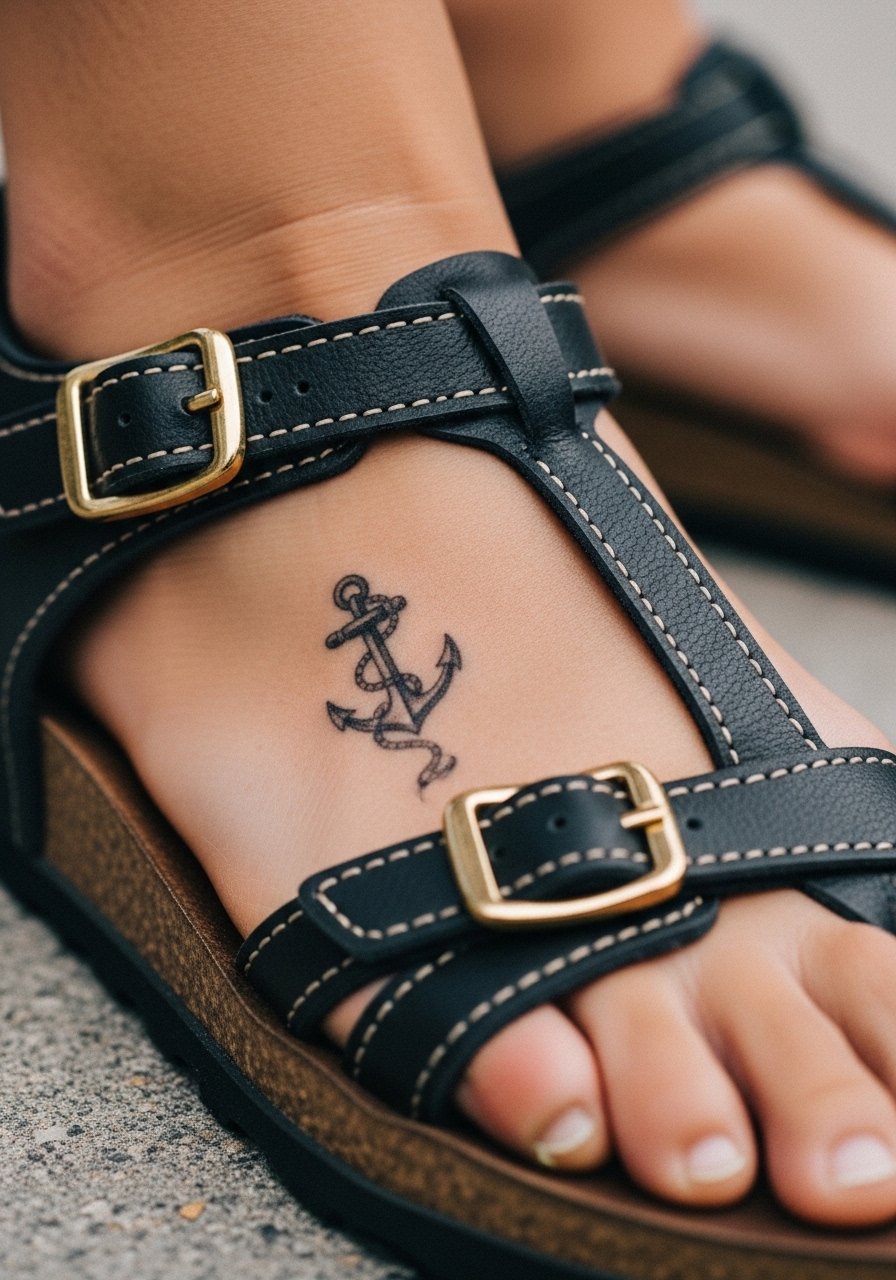
12. Nautical Tiny Anchor on the Foot Arch
Foot cover-ups face friction and fading, but a small anchor placed in the arch can hide a tiny old symbol if the new lines are bold enough. The arch feels different during healing due to pressure from shoes and walking. A common mistake is expecting a foot piece to hold like an arm piece; plan for faster fading and a possible year-one touch-up. For the appointment and to reduce irritation after, wear slip-on sandals or flat sandals you can remove easily.
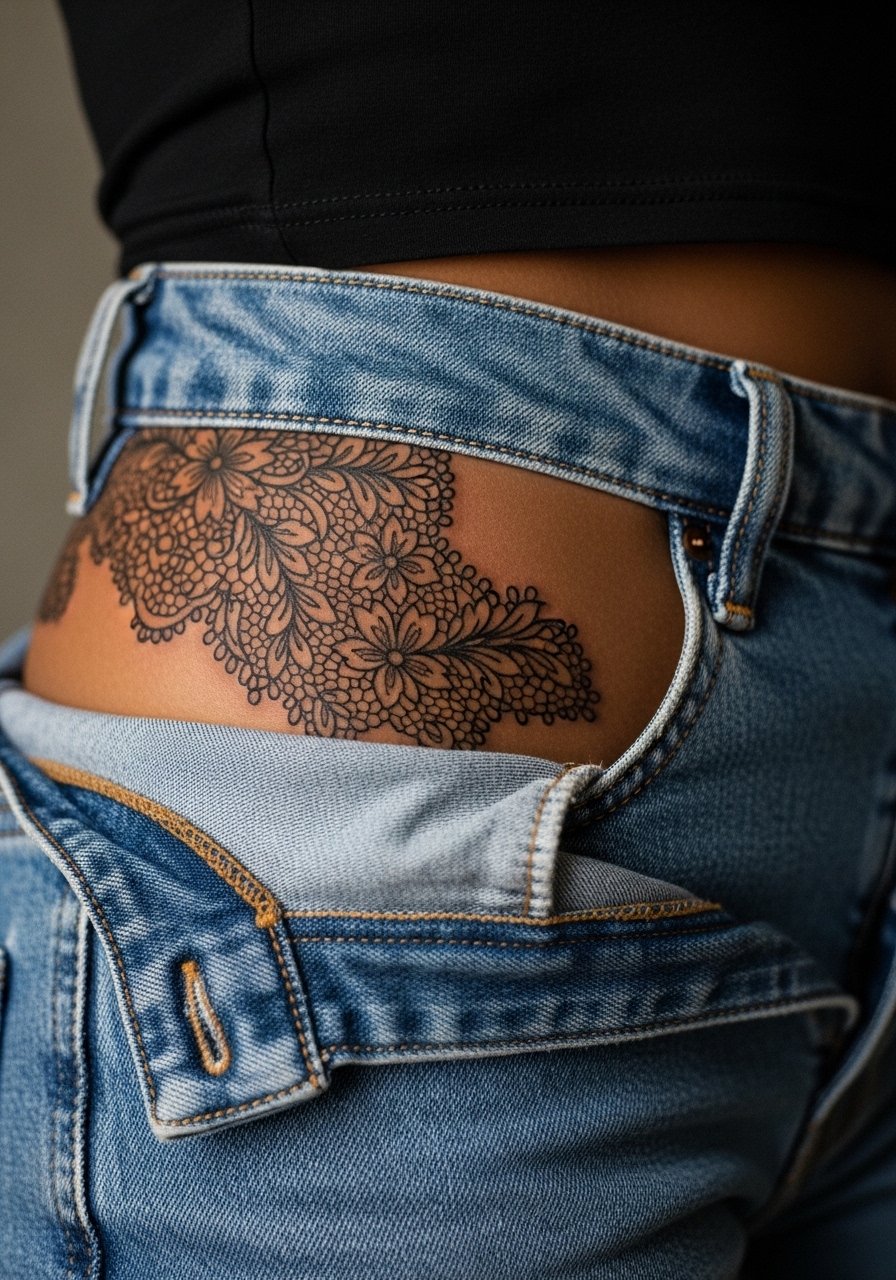
13. Lace Hip Bloom Around an Old Scar
Hip cover-ups work well when the new art incorporates scars or old pigment into the composition. A lace bloom that curves around the scar can visually integrate uneven texture. Sensitive placement note: frame images with high-waisted denim or a swimsuit bottom to show only the hip tattoo zone. The hip is a lower-visibility spot so sessions can be longer and healing is less interrupted by daily wear. Discuss scar texture with your artist so they plan shading that does not rely on hairlines over fibrous tissue.
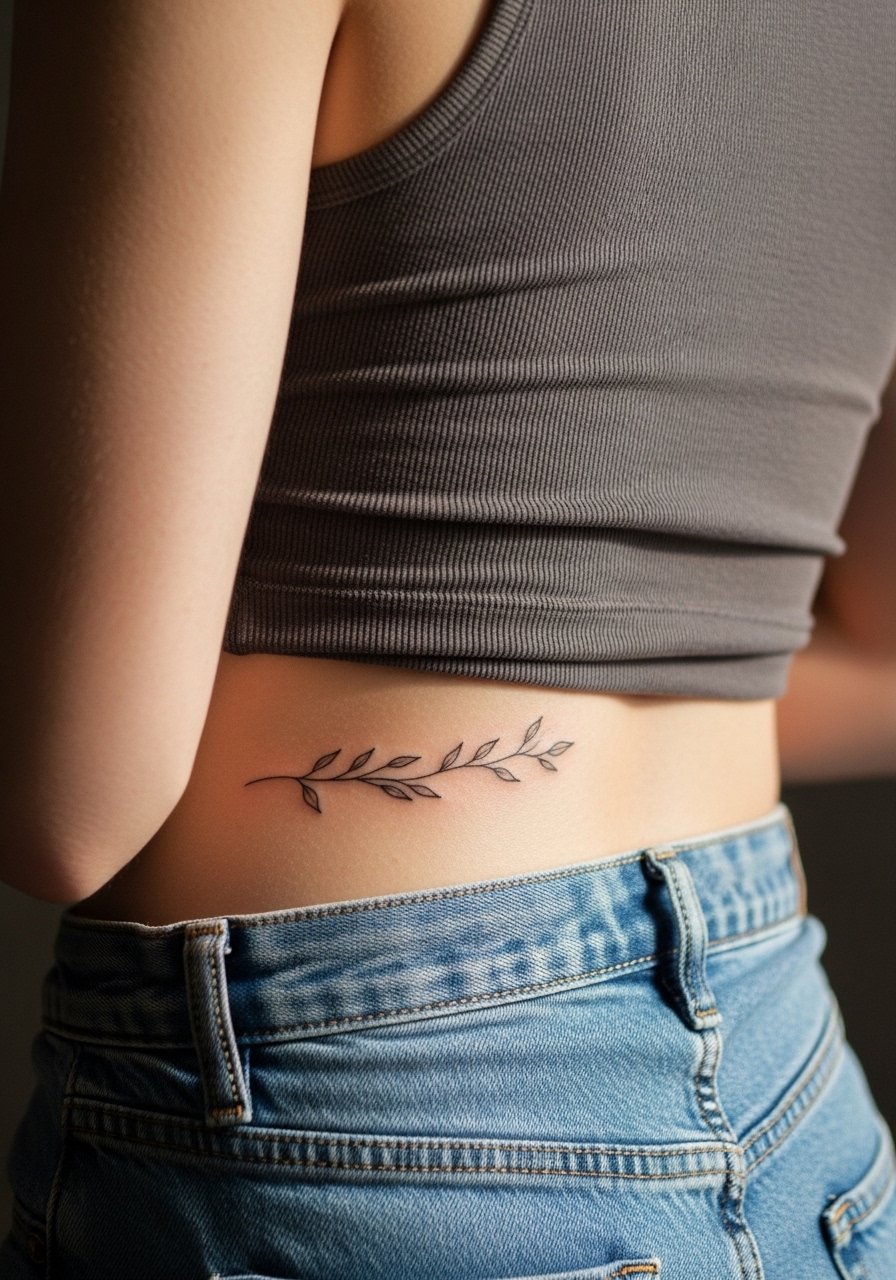
14. Fine Line Lower Back Vine
Lower back pieces can cleverly turn a horizontal blot of old ink into a flowing vine that reads cohesive in clothing. The lower back tolerates bigger shapes and the skin is relatively stable, which helps linework last. For showing the piece, wear a tank top with low back so only the art is visible. Sessions vary by size and touch-ups are moderate. Sensitive placement note: avoid full back exposure in portfolio photos.
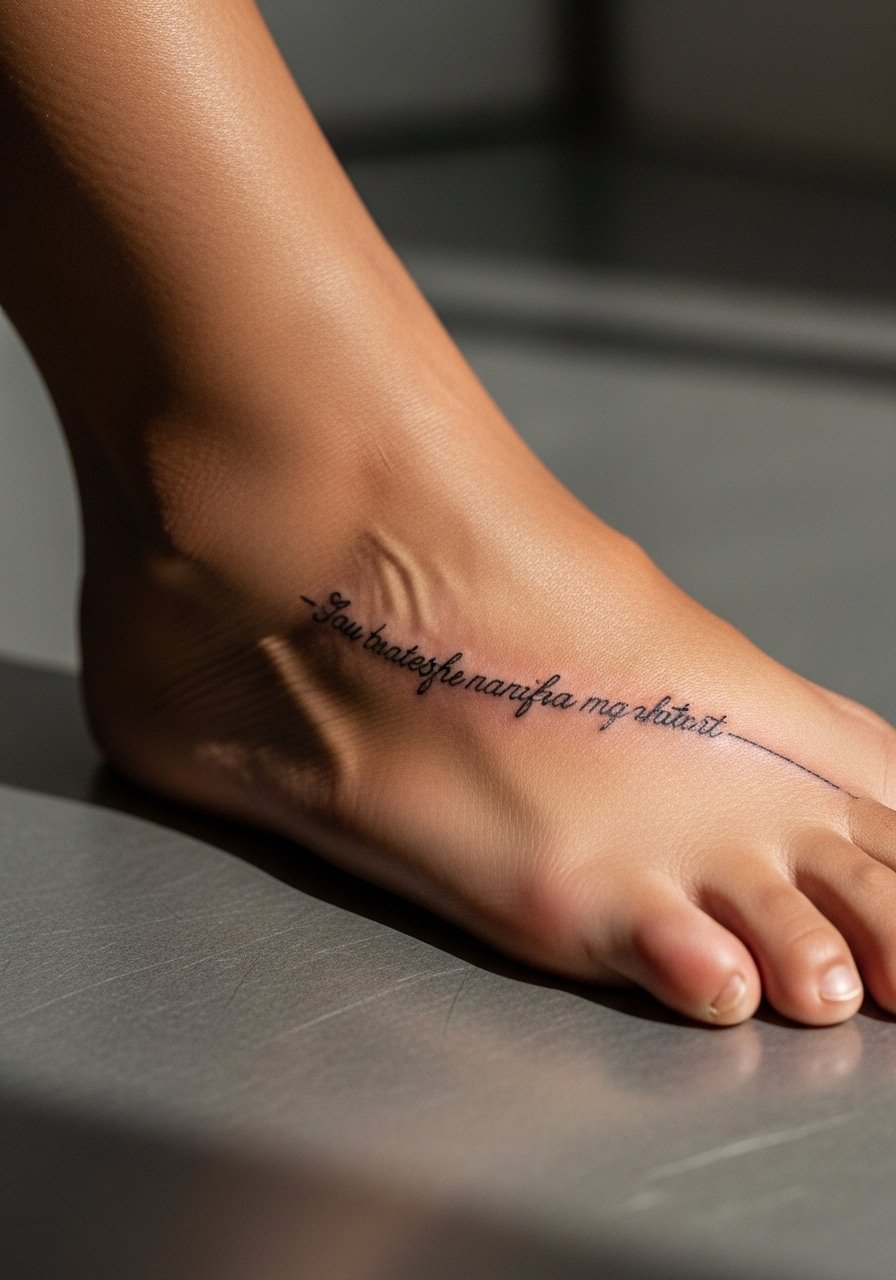
15. Micro Script on the Instep
Micro script on the instep can cover a small faded stamp if the line weight is a touch heavier than a cosmetic micro line. Foot placements blur faster than the forearm, so expect touch-ups and plan for a slightly bolder font than you might pick for the wrist. A common mistake is asking for ultra-tiny cursive over old pigment, which often loses hairlines. For the session, choose shoes that are easy to remove and protect the area during the initial week with slip-ons.
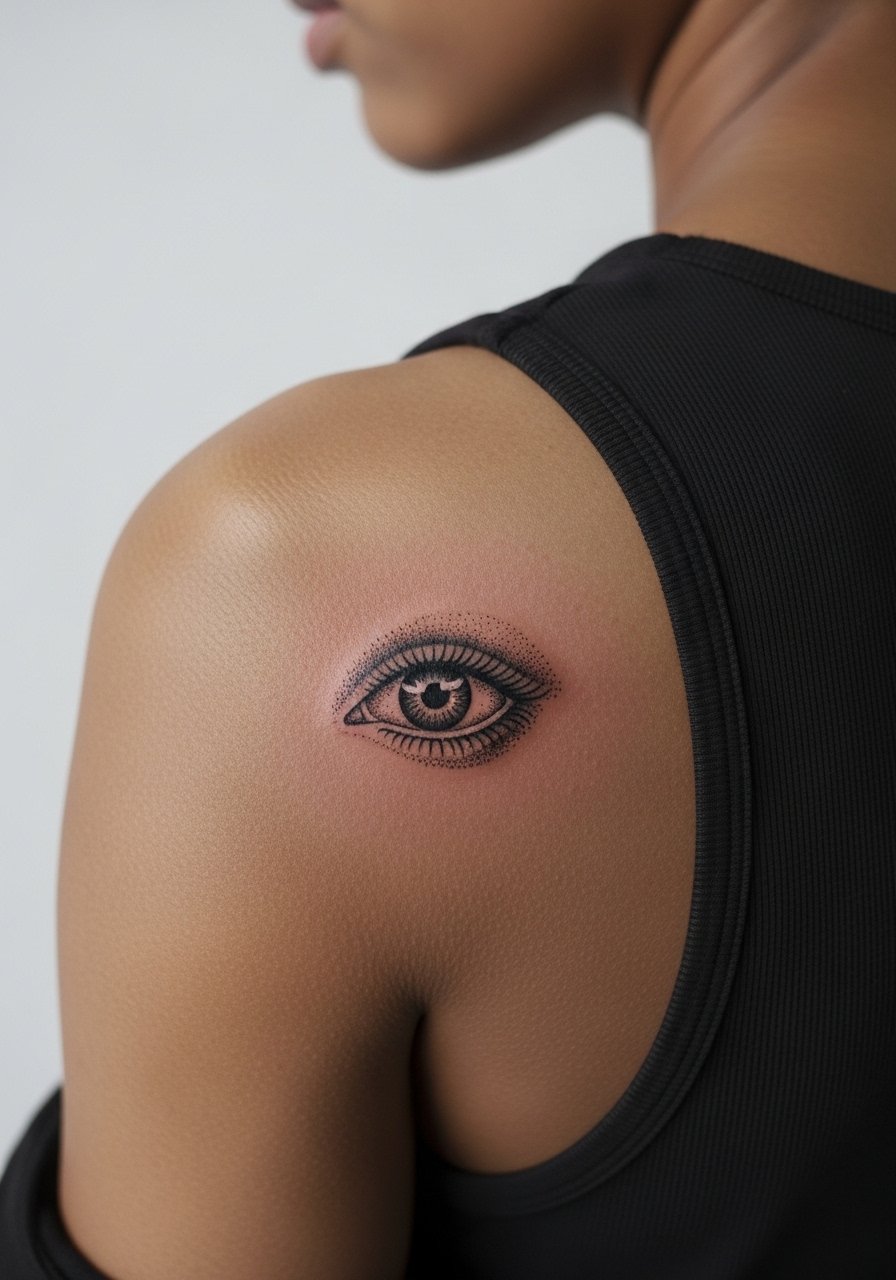
16. Surreal Eye on Back of Shoulder
The back of shoulder is forgiving and visible in summer outfits, which makes it a great place to convert smudged old art into a small surreal eye with stipple shading. Sessions are moderate and the area handles shading well. A common mistake is trying to cram too much facial detail into a compact eye; instead focus on strong eyelid contour and textured lashes. Pair this with a loose tank top during the appointment so the artist can access the area cleanly.
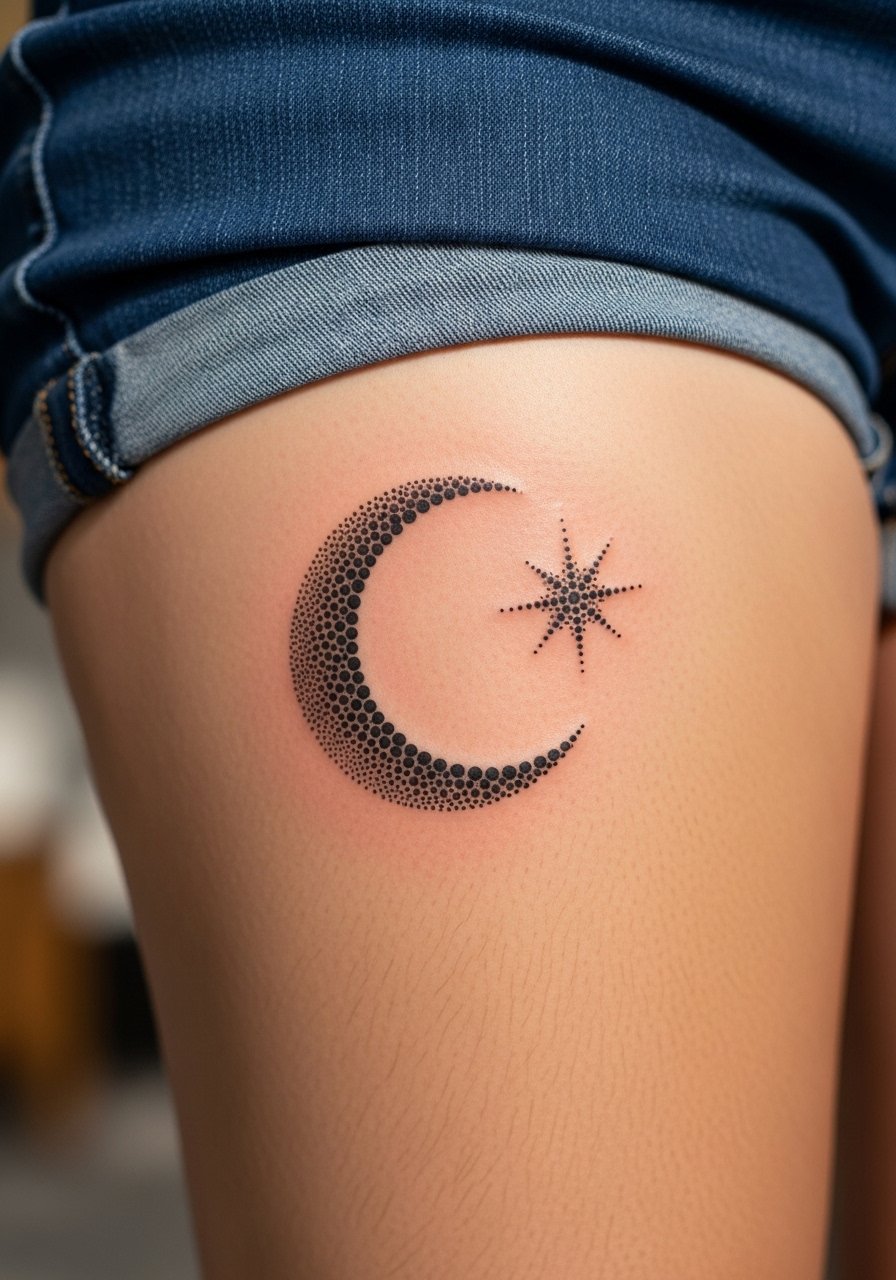
17. Dotwork Inner Thigh Crescent
Inner thigh cover-ups can hide dense old marks by breaking them into dotwork gradients that read like shadow, not patchy ink. This area is more intimate and heals under different friction patterns. Sensitive placement note: wear shorts or a swimsuit bottom during consultation so only the inner thigh zone is shown. The biggest mistake is over-detailing; opt for broader dot transitions so the piece retains contrast after healing.
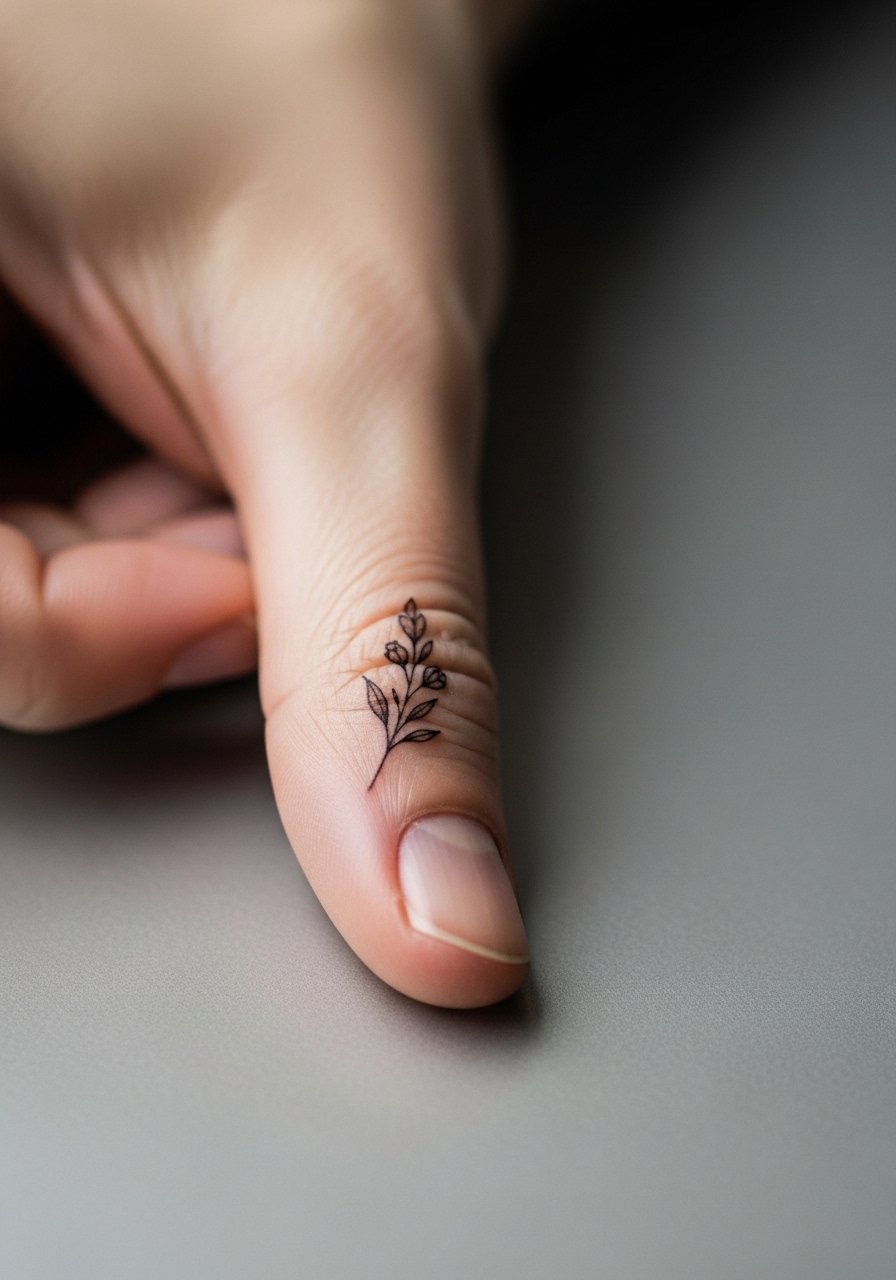
18. Mini Botanical Thumb Tattoo
Thumb tattoos are exposed to daily washing and fast fade, but a tiny botanical sprig can convert an old smudge into a deliberate tiny motif. Expect touch-ups sooner than elsewhere and ask for thicker main stems. A good session tip is to protect the site from soaps for the first week and to wear rings that do not press on the design. Stack this with a minimalist ring to frame the thumbnail bloom.
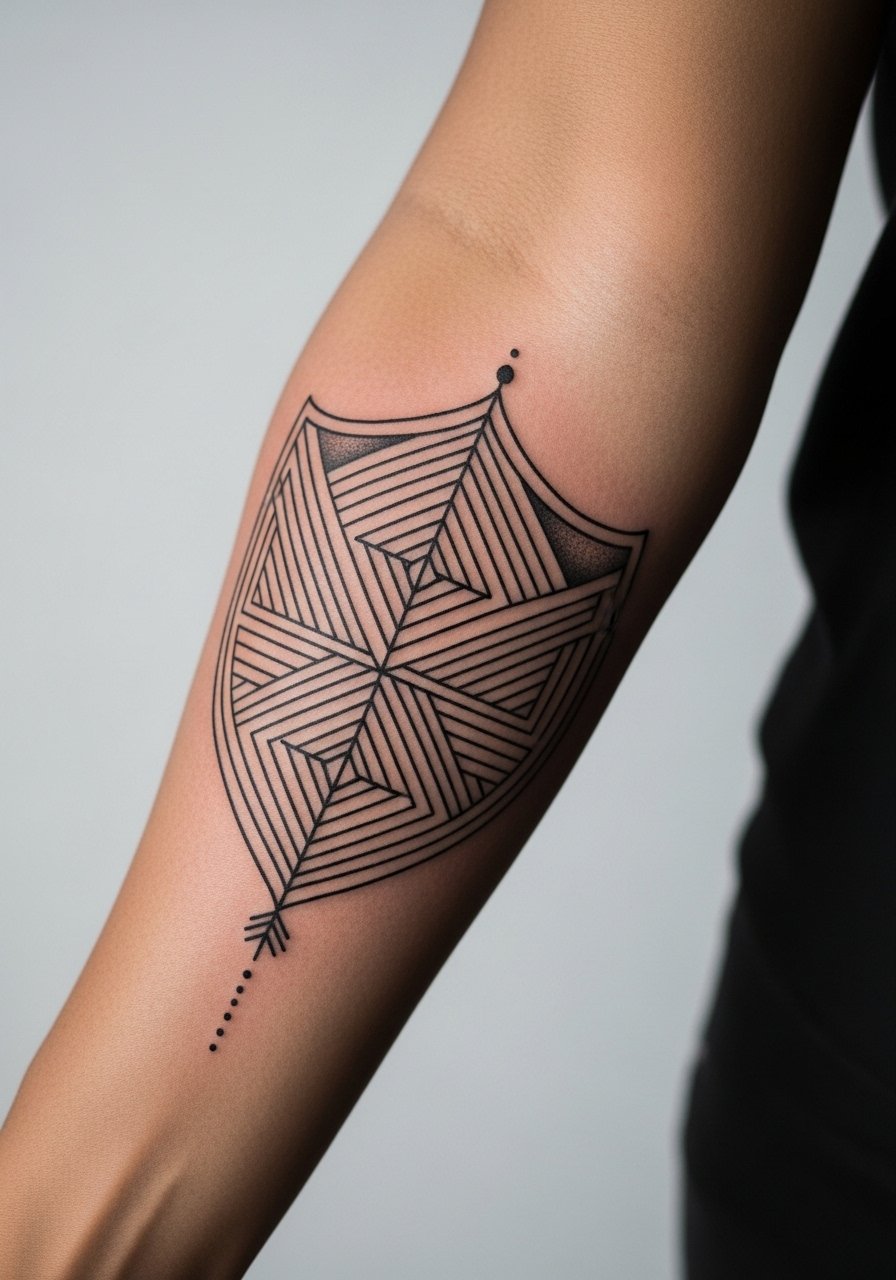
19. Geometric Forearm Shield
Artists split on dense geometry on forearms as a cover solution. One camp insists that tightly packed lines will merge over time on active skin and suggest bolder shapes instead. The other camp argues that with proper spacing and varied line weight, geometric shields keep their structure. For a forearm shield, request alternating thick and thin elements and clear negative-space breaks. Pain is low here and sessions vary by size. This placement looks great with rolled sleeves and pairs with a casual linen shirt when you want it visible.
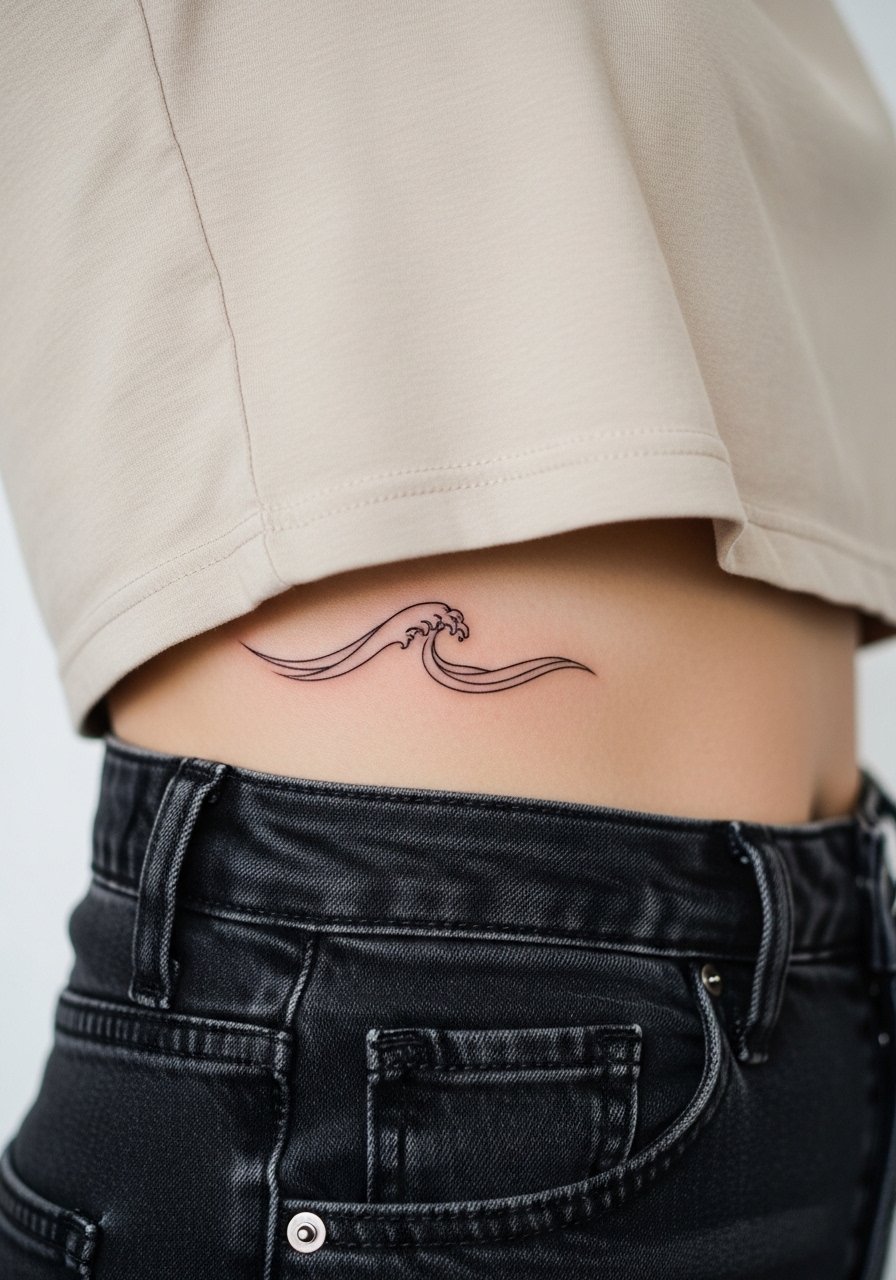
20. Tiny Wave on Side Torso
Side-torso waves can fragment old ink into flowing lines that read as movement rather than blotch. The skin here moves with breathing so placement needs testing with stencils while you stand and breathe. Sessions are more sensitive and may be split. The common error is assuming a static stencil position will look the same after movement. Plan placement with the artist in both relaxed and expanded breath positions.
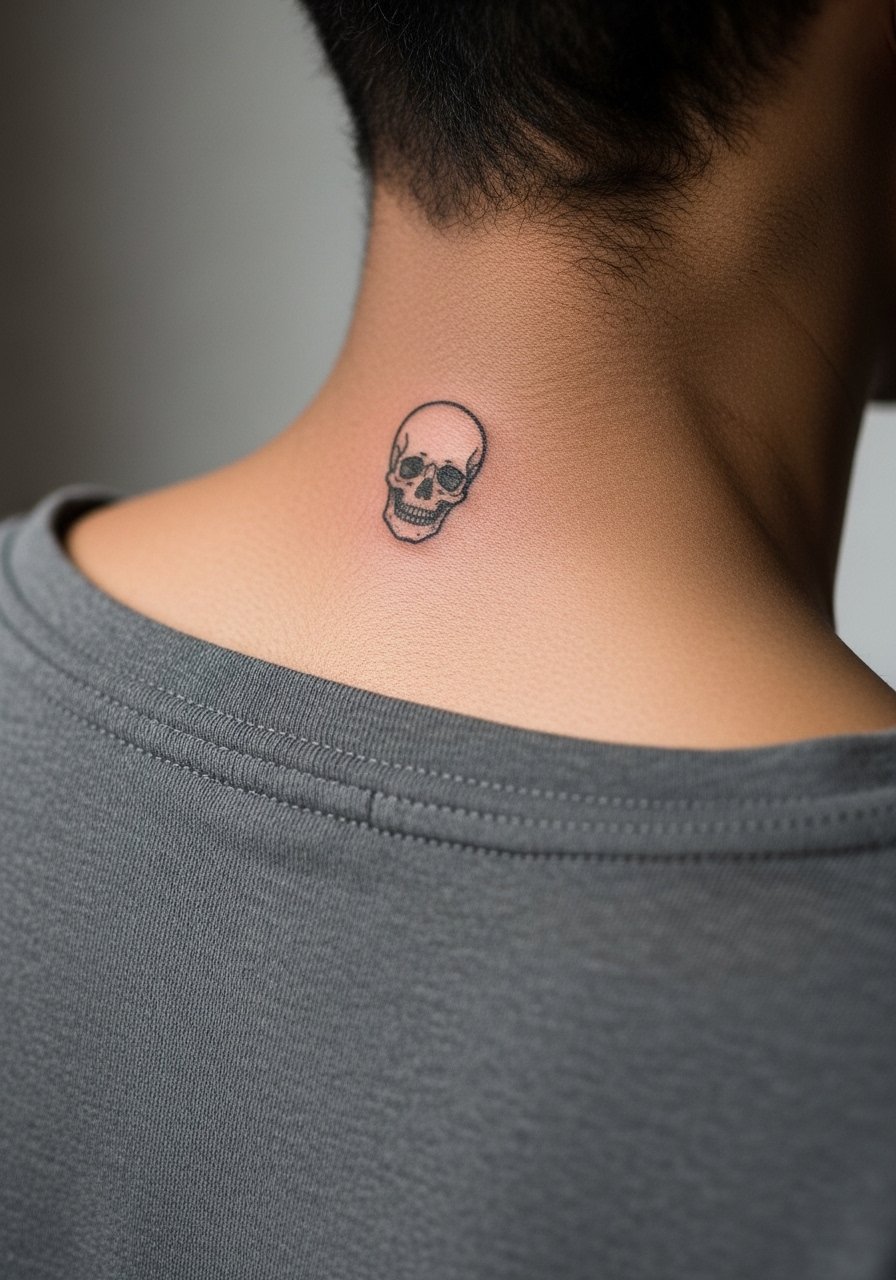
21. Minimal Skull at Nape of Neck
A small nape tattoo can mask an old short script by centering a bold minimal skull that uses dark shapes to camouflage scattered marks. The neck skin is thin and visibility is high, so discuss workplace considerations ahead of time. For showing the piece while staying covered, a wide-neck sweater or a collar pulled to one side works well. Sensitive placement note: keep portfolio photos focused on the nape, not full torso.
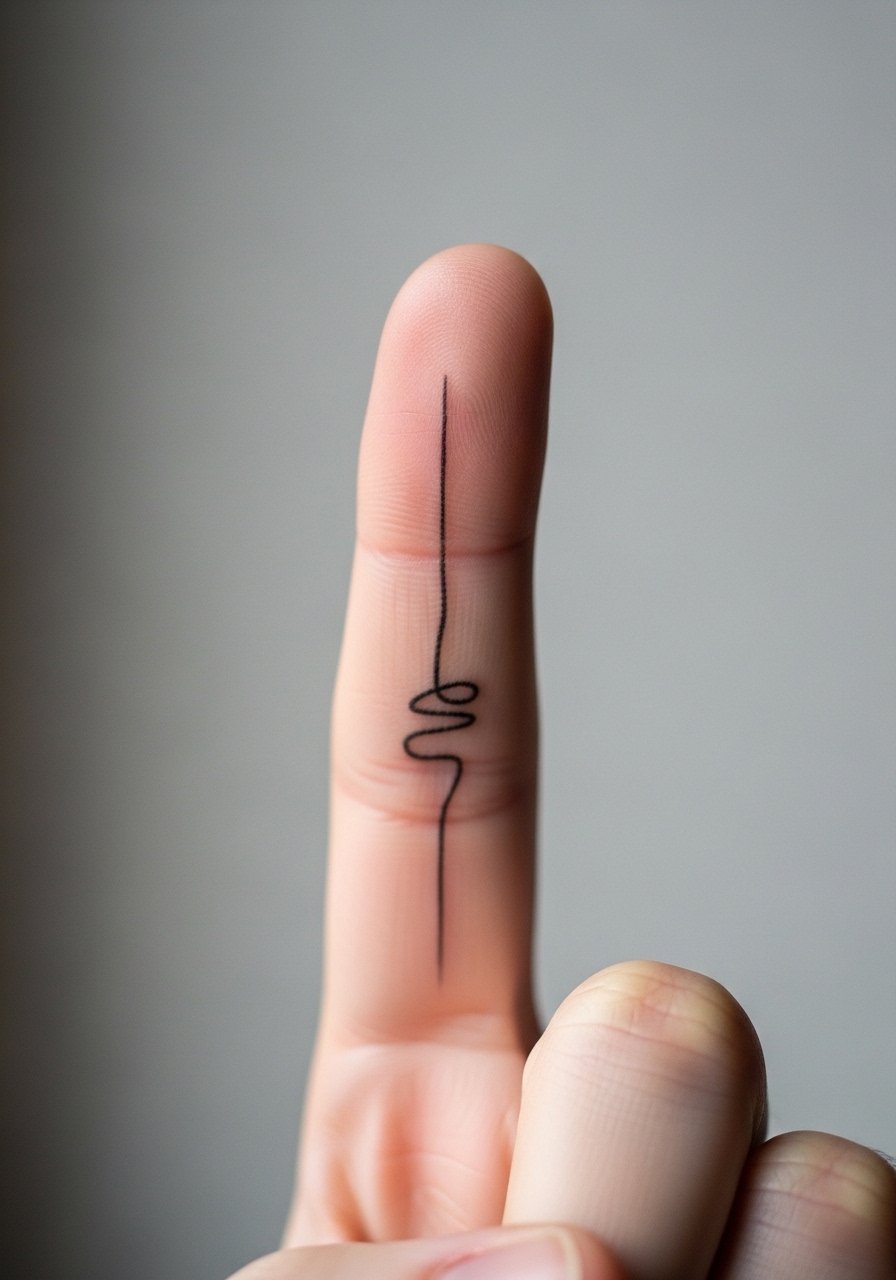
22. Abstract Linework on Index Finger
Index finger cover-ups must be decisive. Abstract single-stroke forms that overlay old lines can read intentional rather than faded. Because finger skin blurs faster, plan for touch-ups and pick a motif that leans on boldness over detail. The session is short but the healing is delicate. For display, avoid crowding the finger with multiple rings for a month so friction does not speed fading.
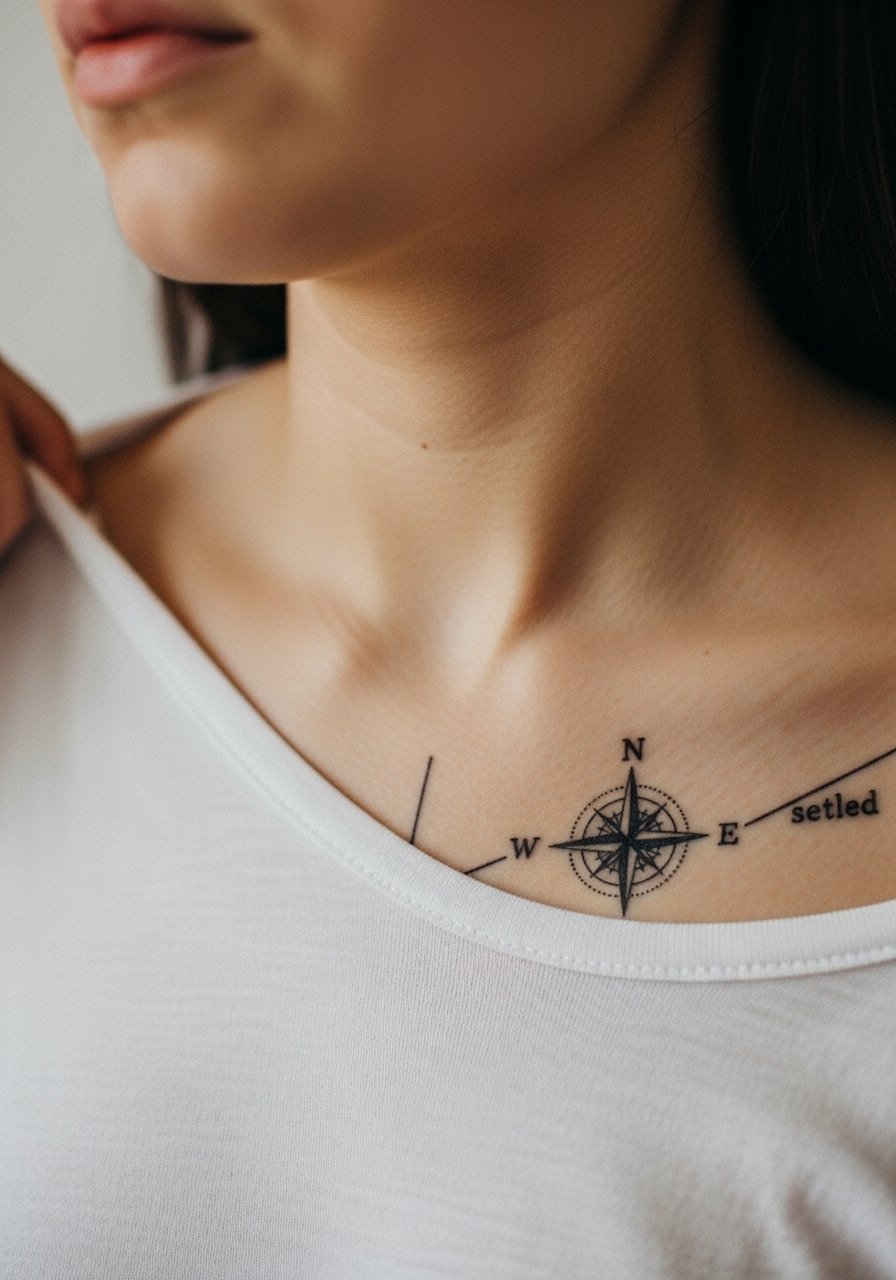
23. Tiny Compass on Upper Chest Near Collarbone
Upper chest cover-ups benefit from small central motifs that redirect the eye away from old marks. A compact compass near the collarbone can cover a faded logo if the main points sit over denser pigment and the compass uses negative space to puncture any residual texture. For outfits, a thin chain pendant necklace sits above the compass without competing. Sensitive placement note: show only the upper chest area with a wide-neck top during consultations.
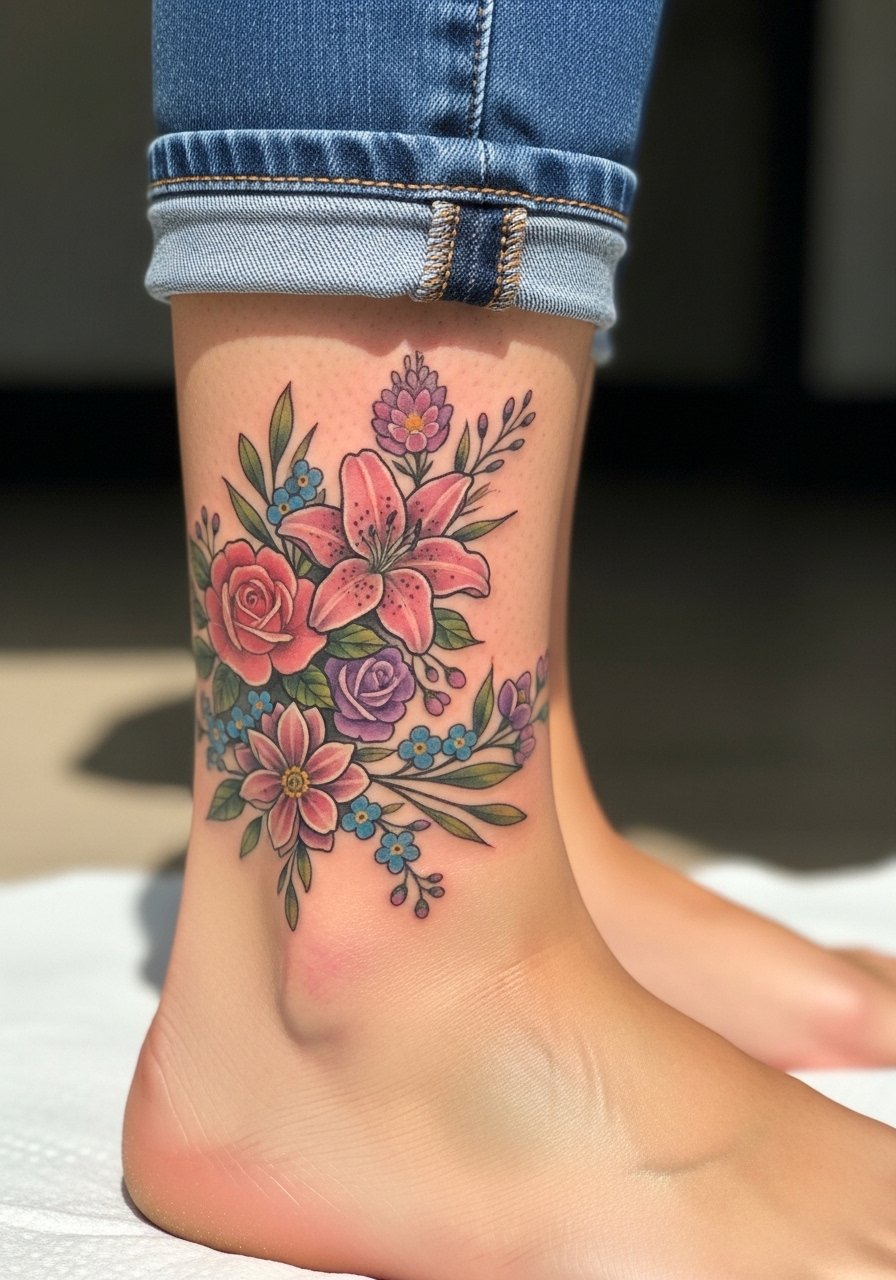
24. Blooming Ankle Wrap
Ankle wraps that spiral upward can mask a linear old mark by distracting with petals and leaves that change direction. The ankle tolerates small curves but watch for blowout near bony edges. For the appointment, slip into canvas sneakers you can remove and that keep the foot clean afterward. The piece reads well with cropped pants and sandals.
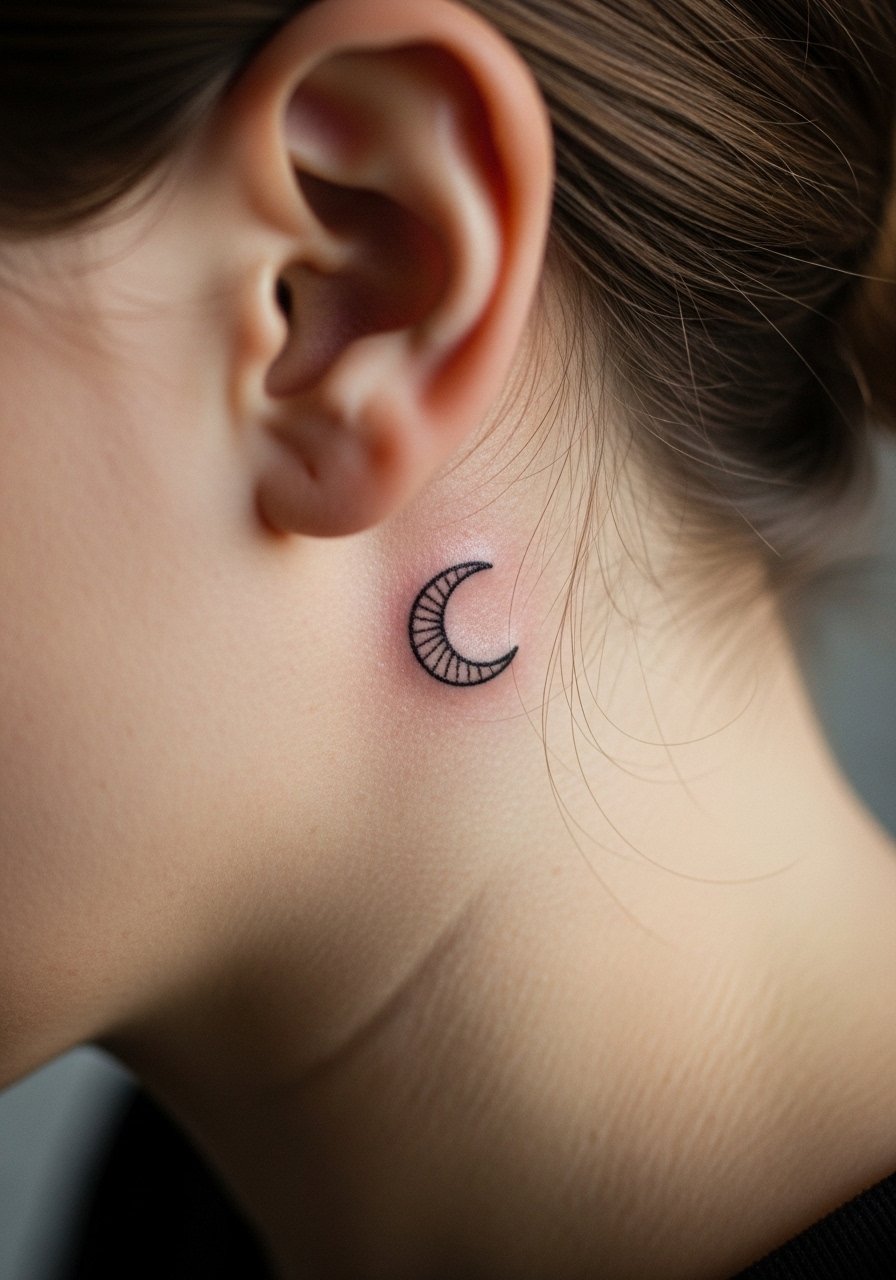
25. Tiny Crescent Behind the Ear
A small crescent moon placed just behind the ear can slide over a worn tiny mark and look deliberate. Artists vary on long-term crispness in that spot, so plan size conservatively and expect possible touch-up. Sensitive placement note: always describe the spot as the skin behind the ear, below the hairline on the neck when booking. For discrete visibility, wear hair up and a thin hoop earring to balance the area without hiding the tattoo.
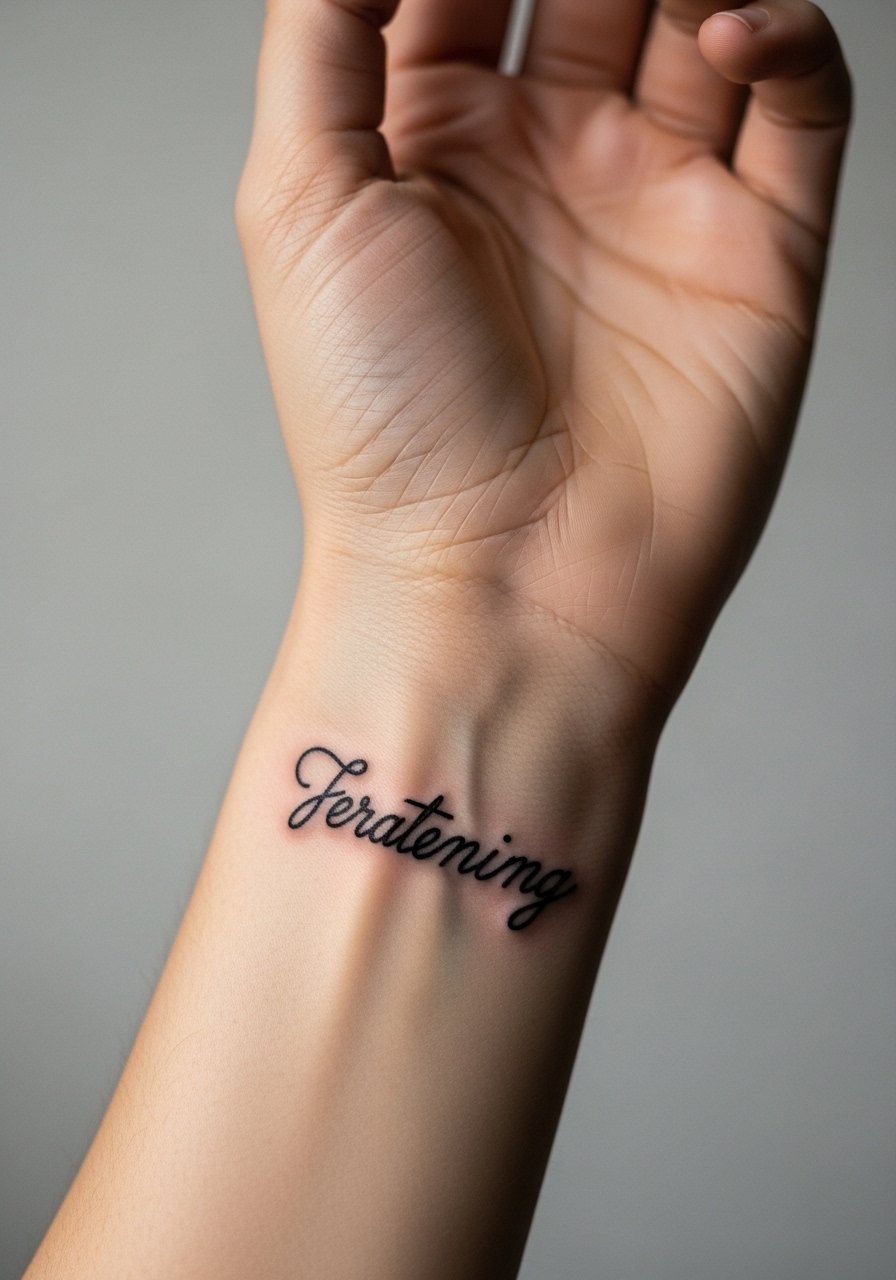
26. Script Band on the Wrist Crease
Wrist crease bands hide old thin marks when the script is laid slightly above the tightest part of the crease and uses heavier stroke weight. A mistake is seating lettering directly in a fold that moves frequently, which accelerates blurring. Sessions are short but healing is active; expect touch-up at year one. For display, pair this with a minimalist watch rather than wide cuffs that rub the ink.
27. Tiny Floral Calf Accent Over Old Bar Work
A small accent bloom on the outer calf can visually dissolve linear old bars by introducing curvature and concentrated dark petals. The calf heals predictably and holds saturation, so this is a reliable small cover strategy. Avoid clustering too many micro elements close together; the best results use one or two bold petals with subtle stipple. For casual display, wear mid-calf socks you can fold down or cropped pants so the accent reads clearly.
Studio Day Picks
The first six ideas above include wrists, sternum, forearm and ankle spots that demand different pre- and post-session prep, so pack items that keep the session smooth and the first week manageable.
-
Stencil transfer paper kit. Lets you preview placement on skin during consults for small cover-ups like the forearm arrow and wrist moth.
-
Topical numbing cream. Useful for sensitive ribs or sternum sessions, applied per instructions before arrival.
-
Thin protective film roll. Protects tiny wrist and finger work from friction and frequent washing in the first week.
-
Fragrance-free gentle body wash. Cleans healing areas without stripping delicate linework on ankles and forearms.
-
Aquaphor healing ointment. Thin application for the first few days locks in moisture on small illustrative pieces without heavy residue.
Frequently Asked Questions
Q: How small can a cover-up be and still hide old ink on fingers or the wrist?
A: Small cover-ups on fingers or wrists need slightly bolder line weight than a decorative micro piece to mask previous pigment. Expect an area at least the size of a dime for effective coverage, and plan for a touch-up within a year because hand and wrist work fades faster.
Q: Will a stipple or dotwork approach last better than solid shading on the ribcage?
A: Stipple spreads visual texture across old blotches and can age more gracefully than dense smooth shading if the dots are spaced properly. Dense solid blocks can look muddy on ribs as they settle. Discuss dot density and layering with the artist during your consult.
Q: Are there workplace considerations for nape and neck cover-ups?
A: Yes, neck and nape tattoos are visible at many angles and may affect professional settings. Choose minimal, discrete pieces or place them where collars can cover them when needed. For showing them off discreetly, a wide-neck shirt works well and you can link a wide-neck sweater for ideas.
Q: Do blackwork cover-ups always require multiple sessions?
A: Not always. Small blackwork accents can finish in one session, but dense black saturation over older dark ink often needs more than one pass for reliable coverage. Expect your artist to advise on layering during consultation.
Q: How should I choose an artist for an illustrative small cover-up?
A: Look for portfolios showing healed cover-ups at similar scale and placement. Use discovery paths like hashtag searches, local shop directories, and convention lists to find artists who publish healed photos. Ask to see examples that match your skin tone and placement when you book.
