
Fine line watercolor pieces look impossibly delicate in photos, but the reality is that placement and spacing decide how long the soft washes stay readable. I've seen bold watercolor washes paired with minimal linework outlast tiny, overly detailed pieces by years. This list focuses on simple watercolor looks that photograph beautifully fresh and still read clearly after multiple touch-ups, with practical notes to say to your artist at the consult.
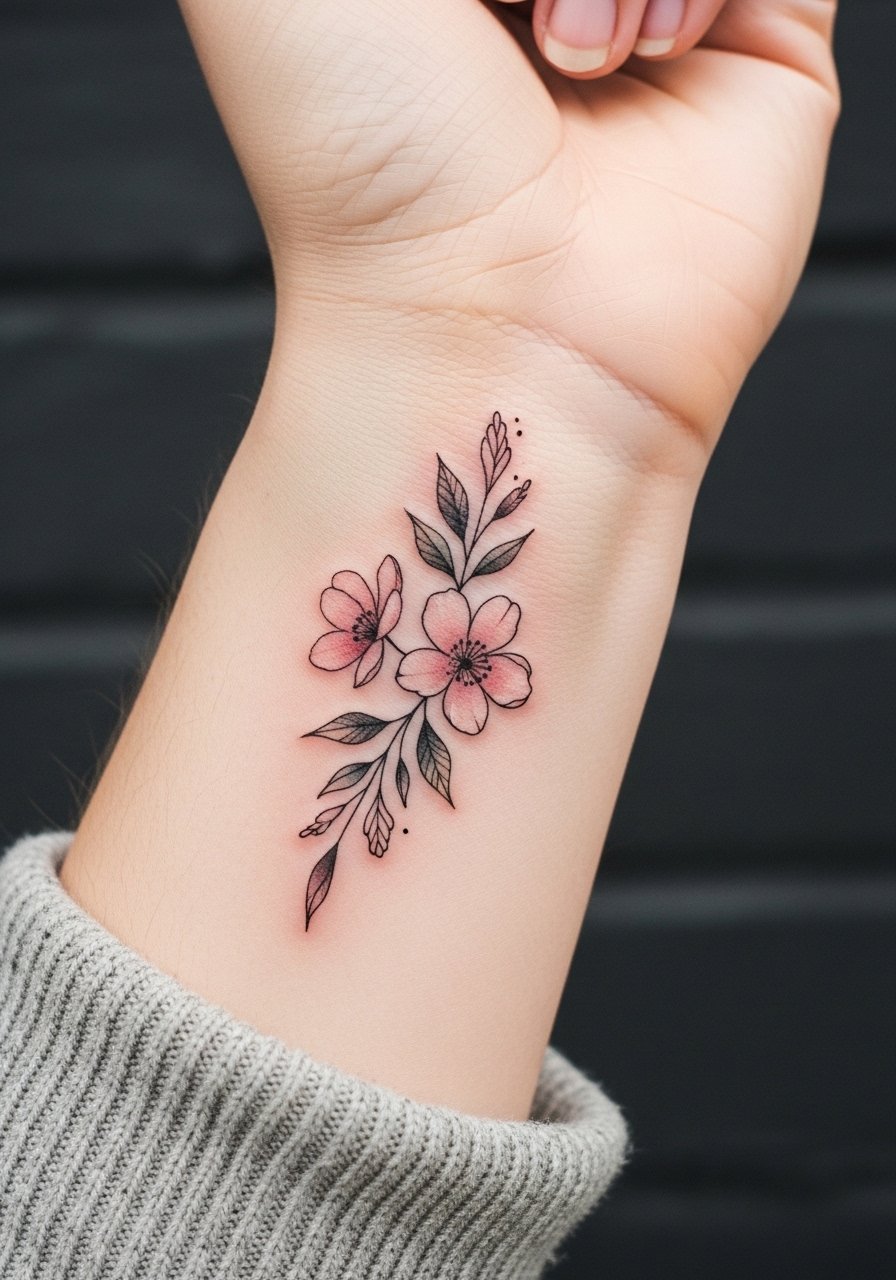
1. Tiny Bloom on the Inner Wrist
A small watercolor petal cluster on the inner wrist reads intimate without crowding the space. I recommend a slightly open composition so the wash has room instead of running into dense linework. Tell your artist you want airy saturation and lighter needles for the color fill to avoid heavy saturation that blurs in high-motion areas. Fair warning, wrist skin sees a lot of friction, so expect a touch-up around year two. For the session wear a loose button-down shirt you can slide your sleeve up comfortably.
2. Watercolor Wave on the Ankle
I've noticed ankle washes show off movement well because shoes and rolled pant legs frame the art. The main mistake is going too dense with color near the foot, which gets scuffed by footwear. Ask for a thin outline around the wash to preserve shape and plan a lighter saturation patch near the heel. Session comfort is simple, but bring a pair of loose pants you can roll up. Pair the piece with a delicate ankle chain when you want to draw attention.

3. Collarbone Watercolor Splash
Most people love collarbone color because it reads across skin without heavy linework. For this placement wear a wide-neck shirt pulled slightly aside to the session so the artist can work comfortably. The common error is placing too many tiny details close to the clavicle where skin moves a lot. Ask for broader washes and a spare fine line to anchor the composition. Expect medium pain, a sit-around 45 minutes, and a likely touch-up window at year three if you want the hues vivid.

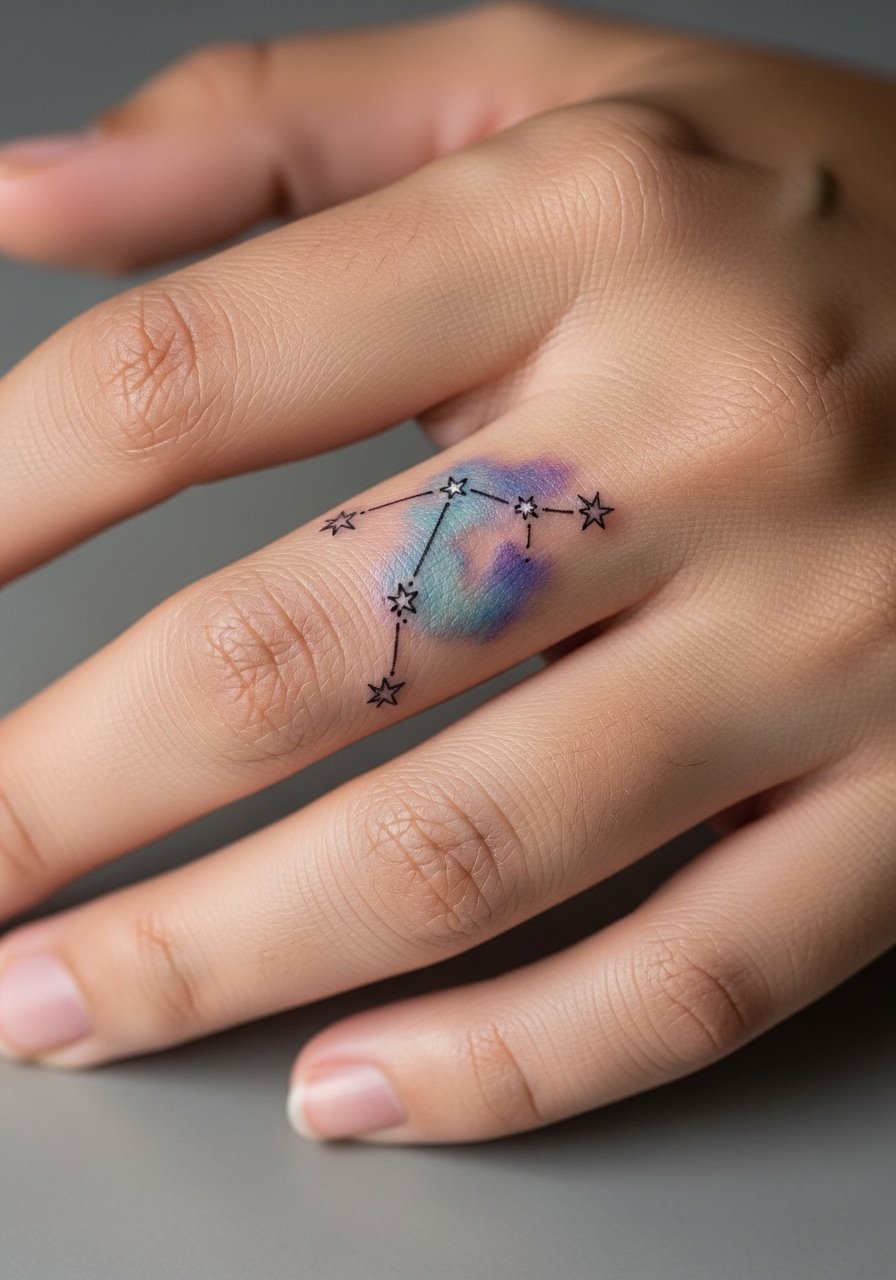
4. Petite Constellation with Blue Wash on the Finger
Finger watercolor is charming but high-risk. I've seen artists split into two camps on tiny finger color. One group says fingers fade fast because of skin turnover and daily washing. The other group argues careful placement and shallow saturation can hold up for a couple of years. Name both when you consult and ask how often they touch up finger color. Wear minimal hand lotion before the session and expect more frequent touch-ups than elsewhere. For showing the design, simple rings help frame the cluster without covering the wash.
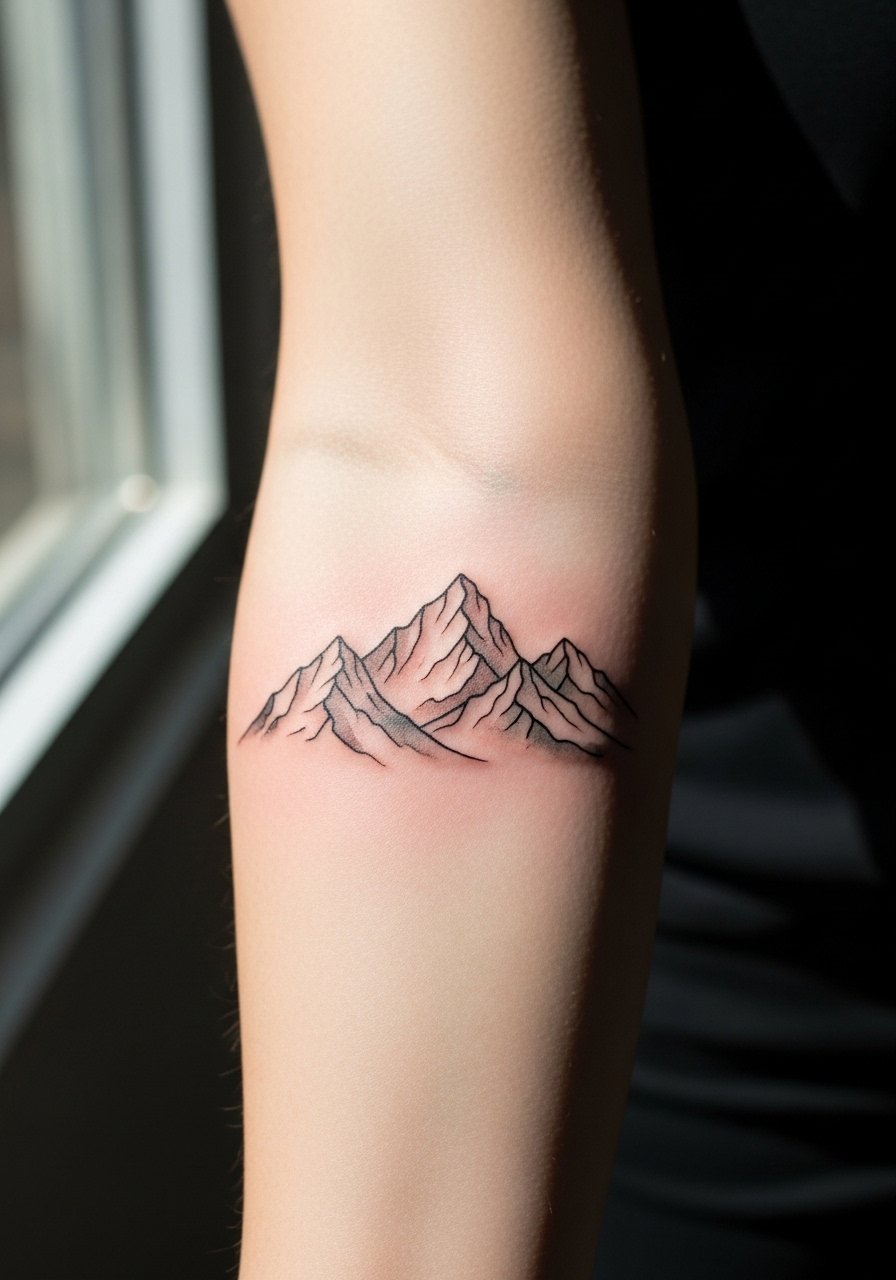
5. Minimalist Mountain Range with Sky Wash on the Forearm
There is a quiet practicality to forearm watercolor. I prefer slightly higher contrast linework at the base of the mountains so the wash keeps shape as it fades. Tell your artist to leave some skin gaps in the color so the mountains read from across a room and do not bleed into a flat patch. Forearm sessions are usually under an hour and hurt mildly. For daily wear, rolled-up sleeves or a rolled linen shirt showcase the piece without competing with patterns. Expect a touch-up at year three if you want crisp edges.
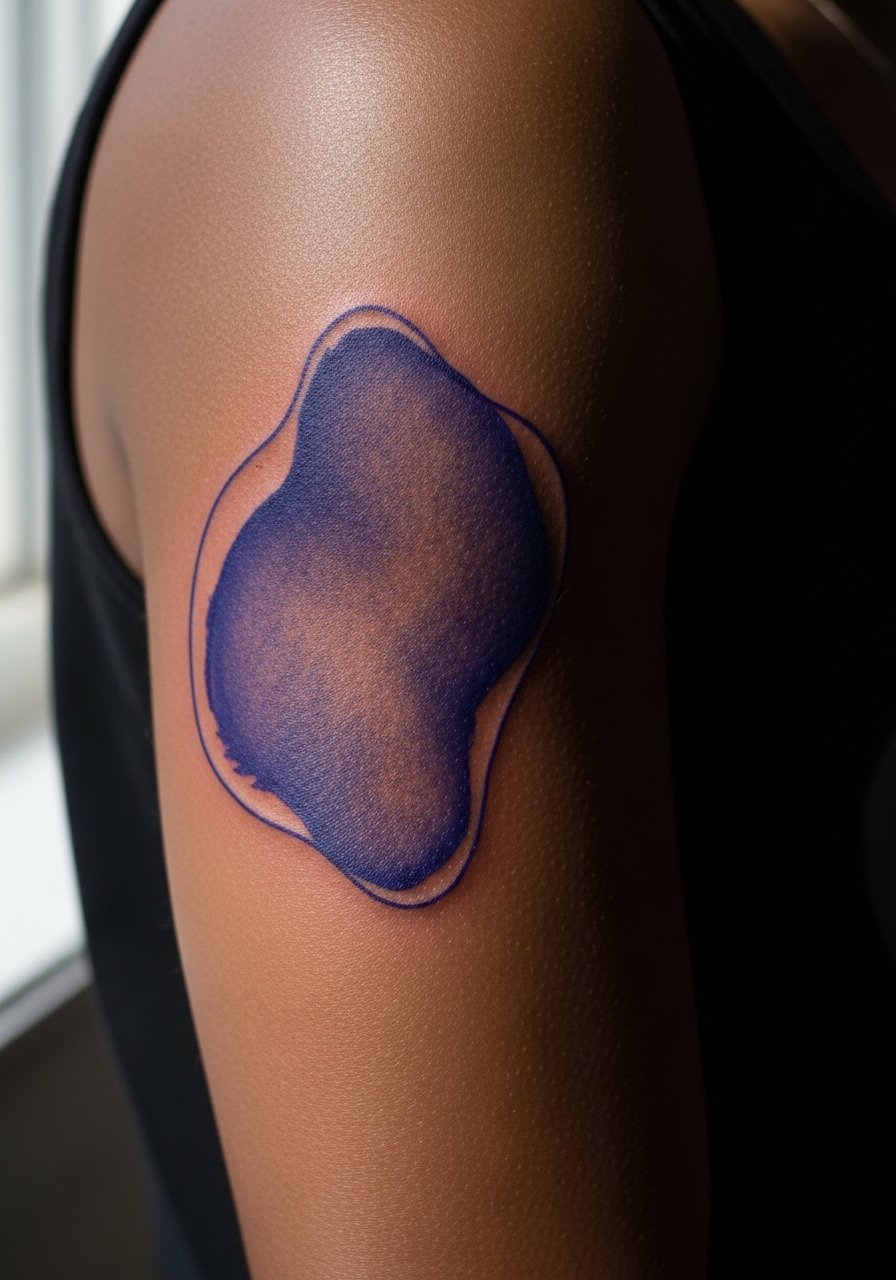
6. Single-Color Abstract on the Upper Arm
Upper arm watercolor is a forgiving spot for a simple wash since it avoids constant abrasion. The common mistake is cramming too many small dots of color into a compact patch. Ask for a single dominant hue with graduated saturation so the piece ages evenly. Pain is low and the session often fits easily into a quick appointment. For show-off pairing try a short-sleeve linen tee that leaves the cap of the arm visible. Touch-ups are usually minor and occasional.
Pre-Session Essentials
Those first six pieces include high-exposure areas like wrist and forearm and more protected spots like the upper arm, so a few session and healing supplies smooth the experience.
- Stencil transfer paper kit. Lets you preview exactly where the linework will sit, which matters for wrist and forearm ink above.
- Topical numbing cream 5% lidocaine. Useful for ankle or collarbone work that tends to spike sensitivity during longer washes.
- Thin protective film roll. Keeps delicate finger and wrist watercolor safe from early friction and shower splashes.
- Fragrance-free gentle body wash. Cleanses healing watercolor areas without stripping pigment from light washes.
- Aquaphor healing ointment. Thin layers in the first days lock in moisture and support even healing on fine washes.
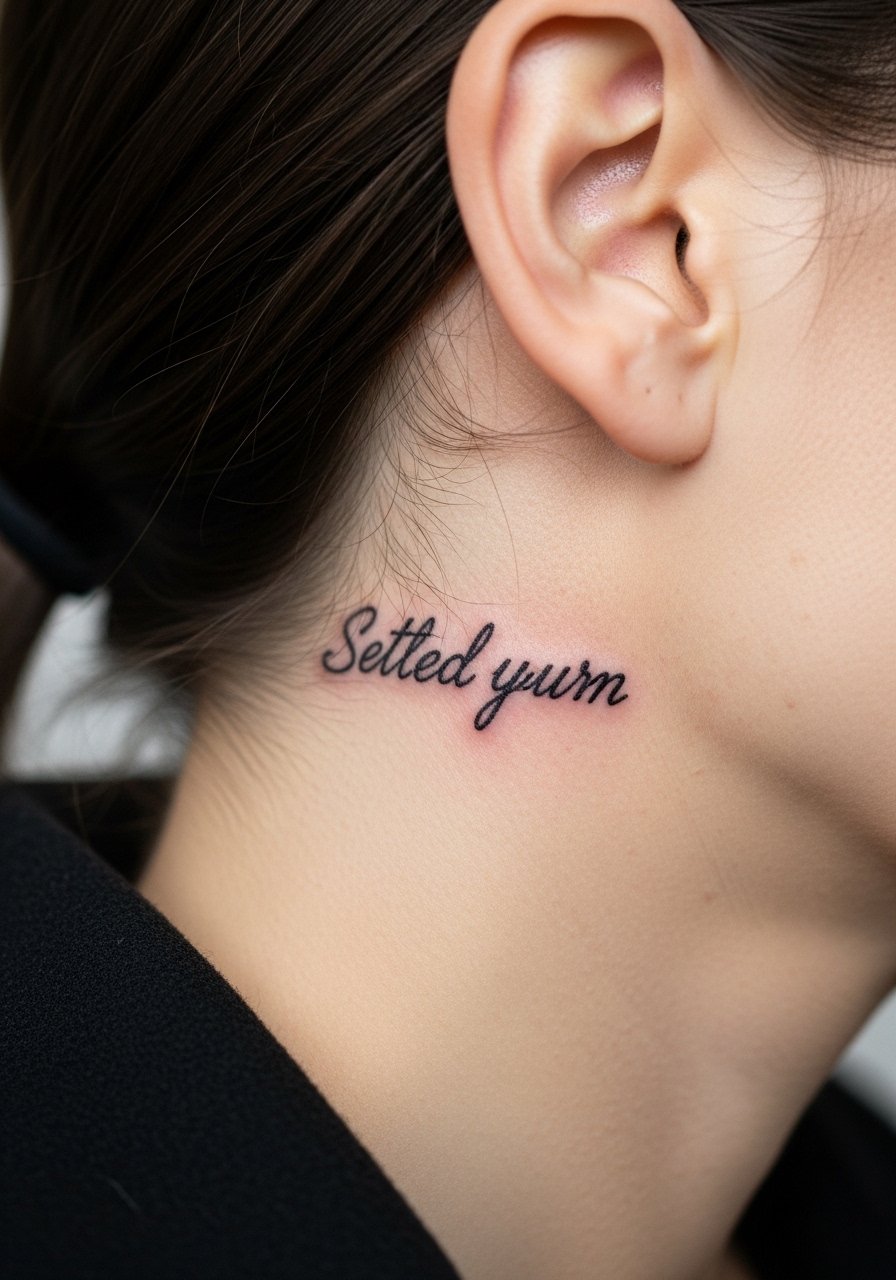
7. Single-Stroke Script with Wash Behind the Ear
Behind-the-ear placements require careful framing. Have the stencil placed just below the hairline on the neck so the wash sits on the skin behind the ear, not on the ear itself. The main consultation note is to keep the color faint and the script slightly bolder in the hairline area to avoid feathering. Session wear is simple, pull hair up in a loose bun. Because this is less visible day to day, plan a touch-up if you want the wash vivid over time.
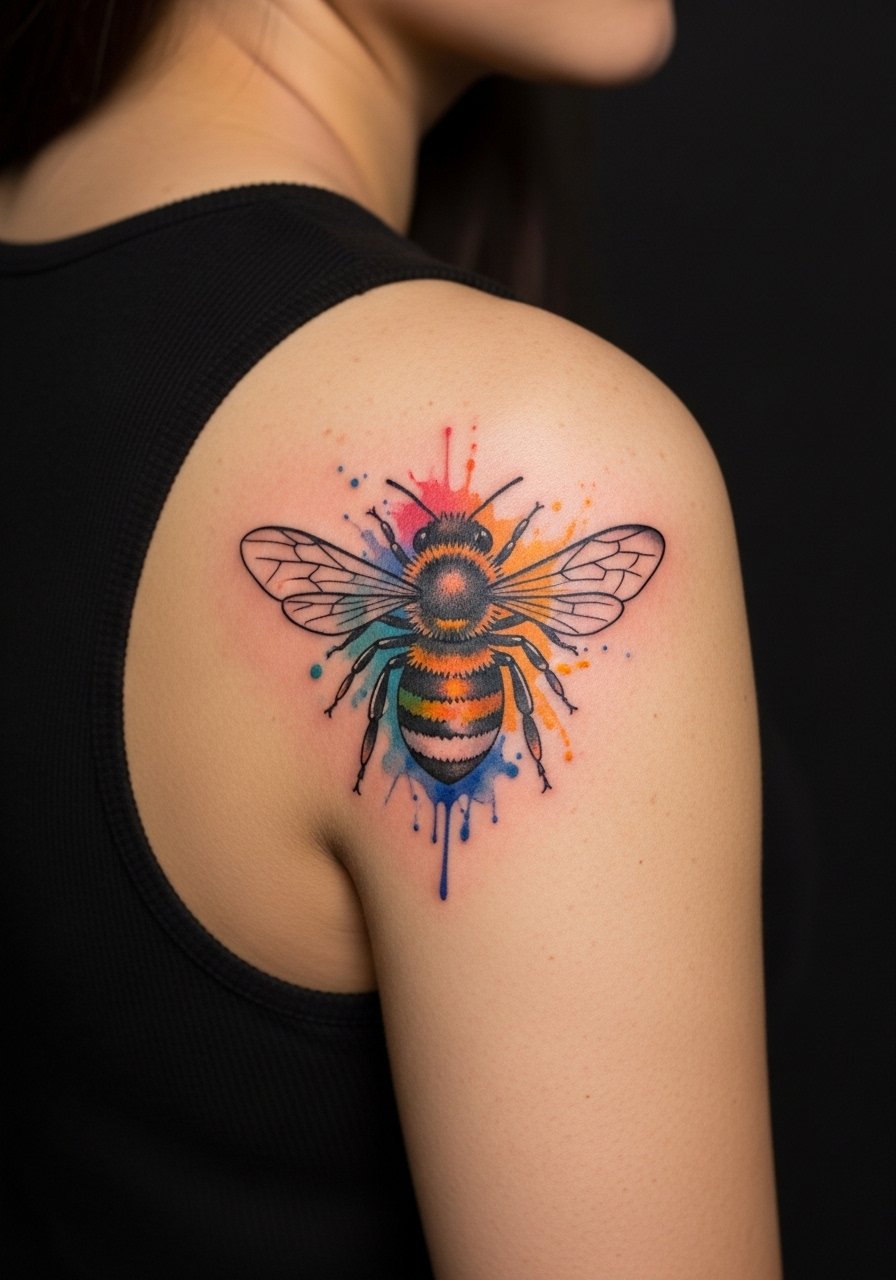
8. Watercolor Bee over the Shoulder Blade
Shoulder blade watercolor reads great with loose clothing because the skin is stable. I recommend a small outline for the bee body and a soft wash around it to avoid the "blobby" look as color spreads. Note that sleeping position can cause early scabbing if you lie on that side, so plan a couple of days of elevated rest. Bring a button-down or loose tank so the artist can access the area without you stepping out of a shirt. Healed color here lasts well with UV care and annual top-ups if desired.
9. Tiny Watercolor Heart on the Sternum
Sternum watercolor needs a specific clothing plan for the appointment. For the session wear a fitted sports bra or bandeau top so the area is exposed only where the artist needs it. The skin there moves a lot, so I suggest keeping the motif simple and the wash light. A common mistake is trying to include too many tiny gradients that merge into a bruise-like patch. This placement can hurt more and may require a short break during the session. Expect touch-ups at two to three years if you want the wash vivid.

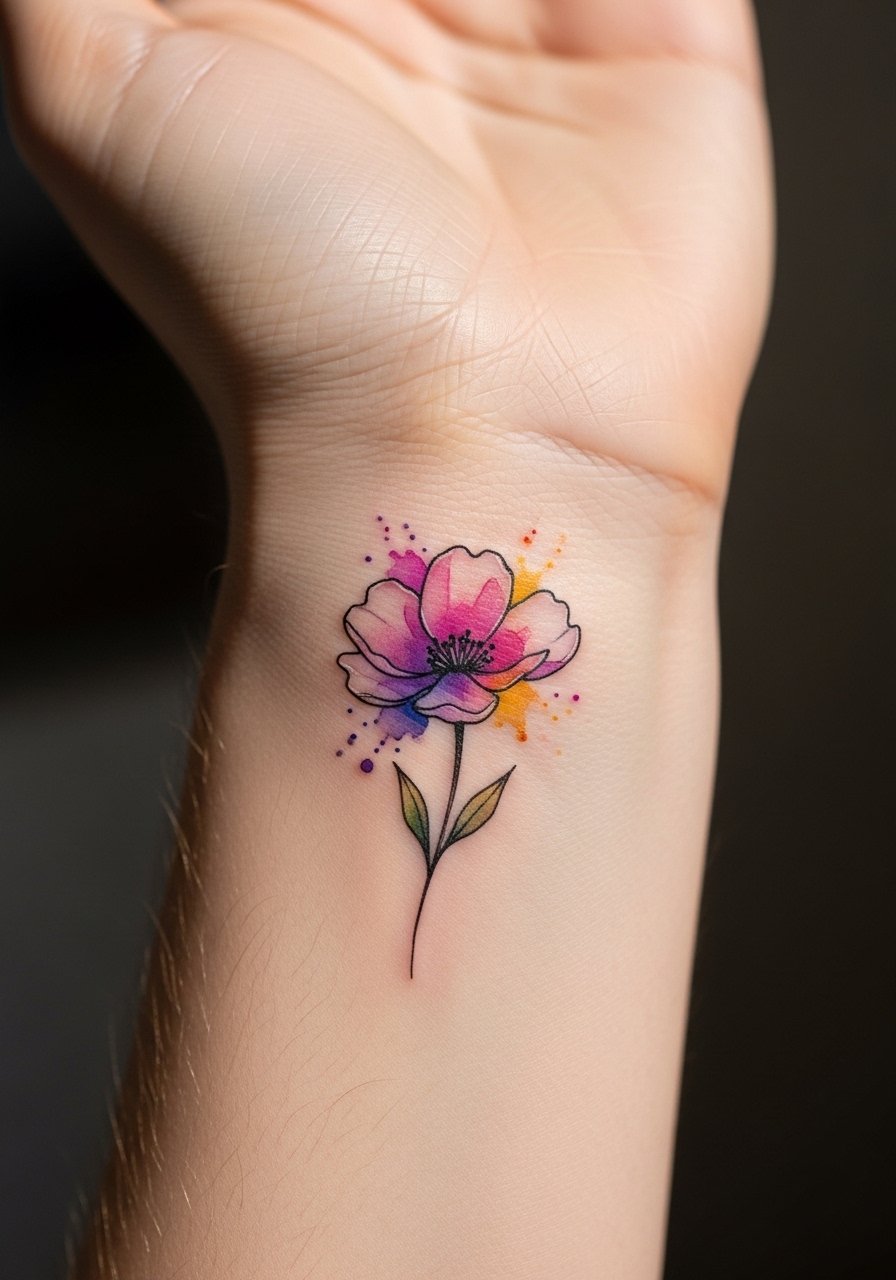
10. Abstract Palm-Side Wrist Bloom
Palms and their sides cause extra wear on watercolor pieces. I advise asking for color positioned slightly onto the inner wrist so the wash avoids the highest-friction skin. The session feels more sensitive because the area is thin. A realistic touch-up timeline is sooner than forearm work. For showing it off wear delicate bracelets or a thin chain pendant necklace if the bloom sits near the wrist bone. Keep in mind workplace considerations for hand-side pieces.
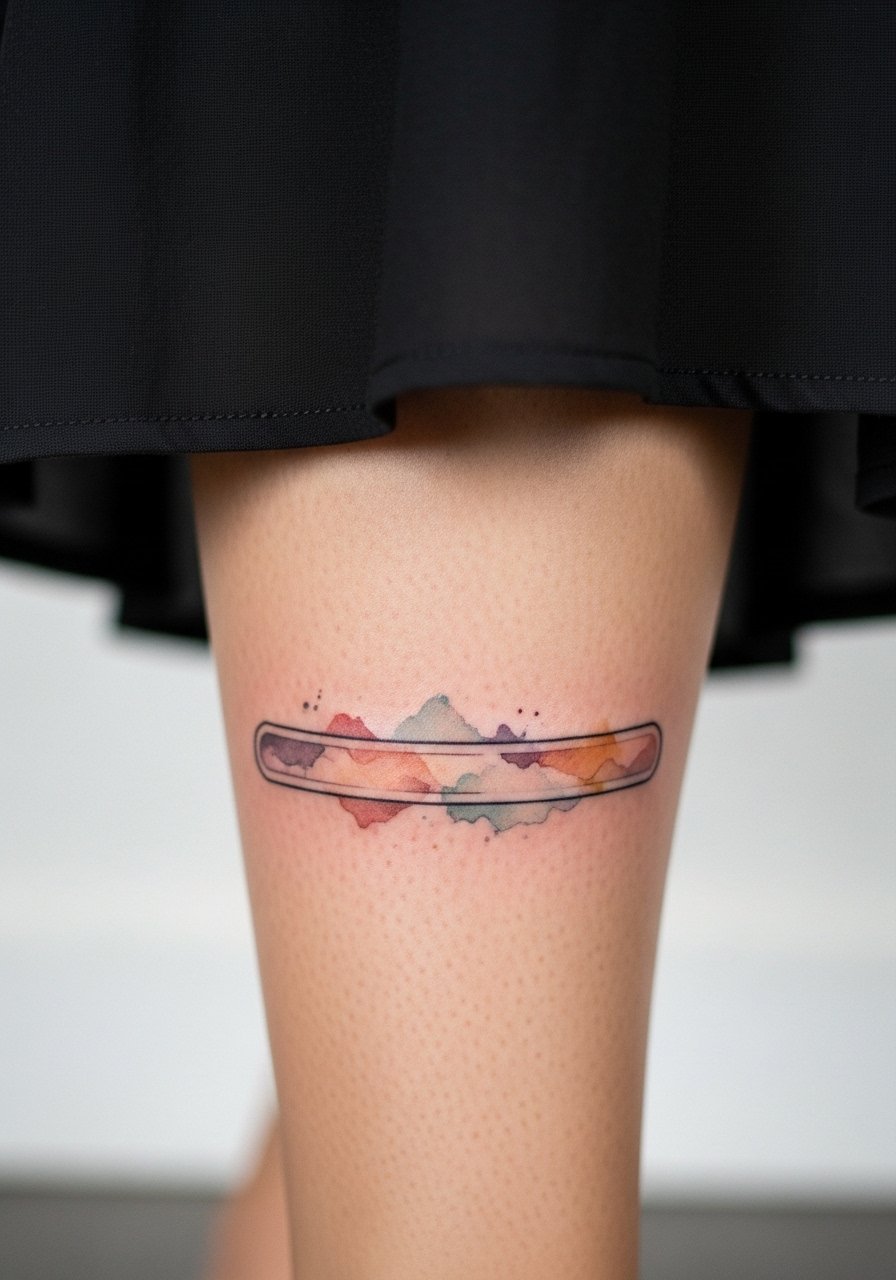
11. Calf Watercolor Band
Calf washes make great first watercolor tattoos because the area is low-friction and easy to hide. Ask for an elongated composition that wraps slightly, rather than a tight circle, to prevent pooling of pigment in one spot. Sessions are comfortable and often take under an hour. For showing the piece, a mid-length skirt or shorts frames the calf without overwhelming the wash. Expect excellent longevity with occasional touch-ups.
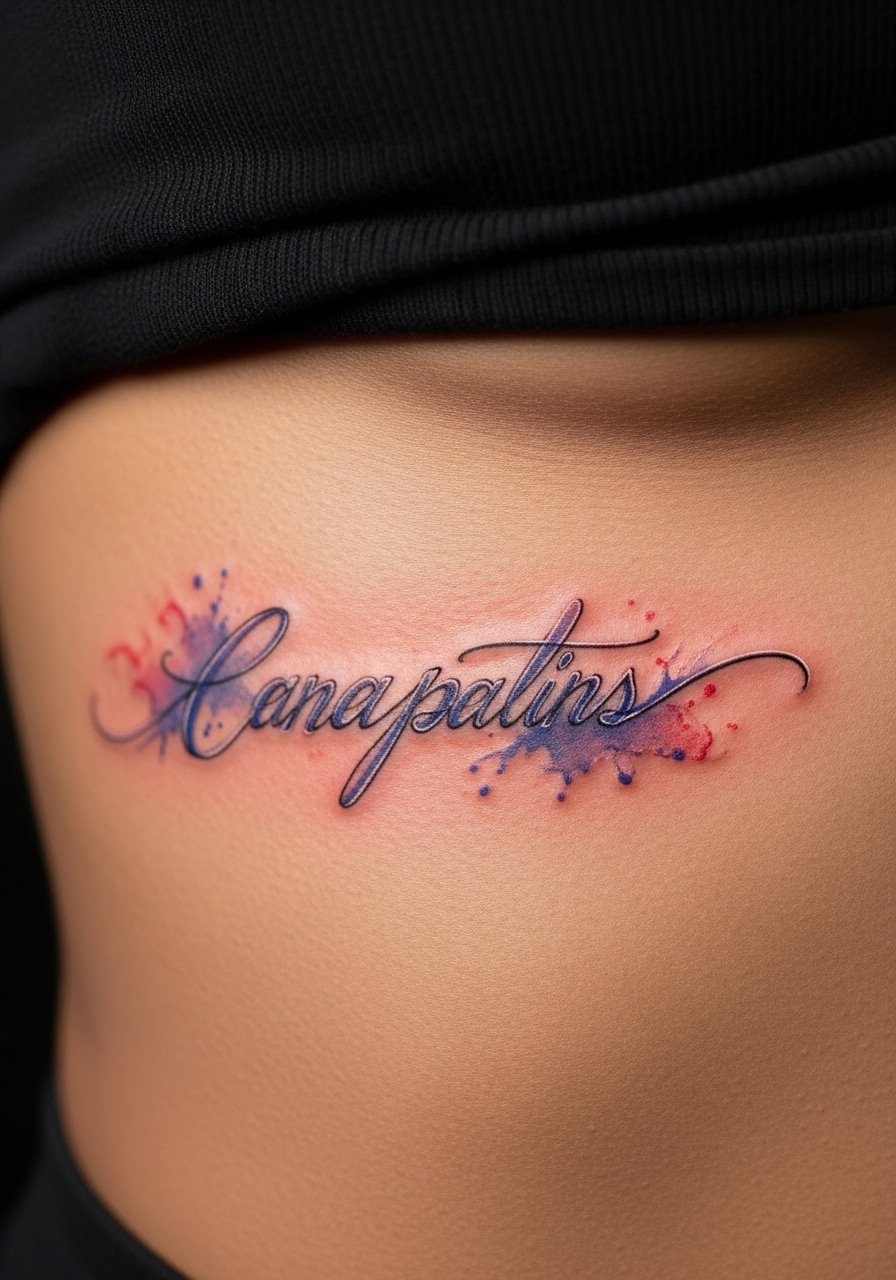
12. Watercolor Script Along the Rib
Ribcage watercolor is one of the places where artists split into two camps. One camp says the constant expansion and compression of the ribs blurs fine washes quickly. The other camp argues that with proper spacing and slightly bolder line anchors, rib work can last well. Name both views at consultation and ask which approach your artist uses. Expect higher pain and a controlled healing process. For session wear bring a cropped top you can lift slightly so only the work area is exposed.
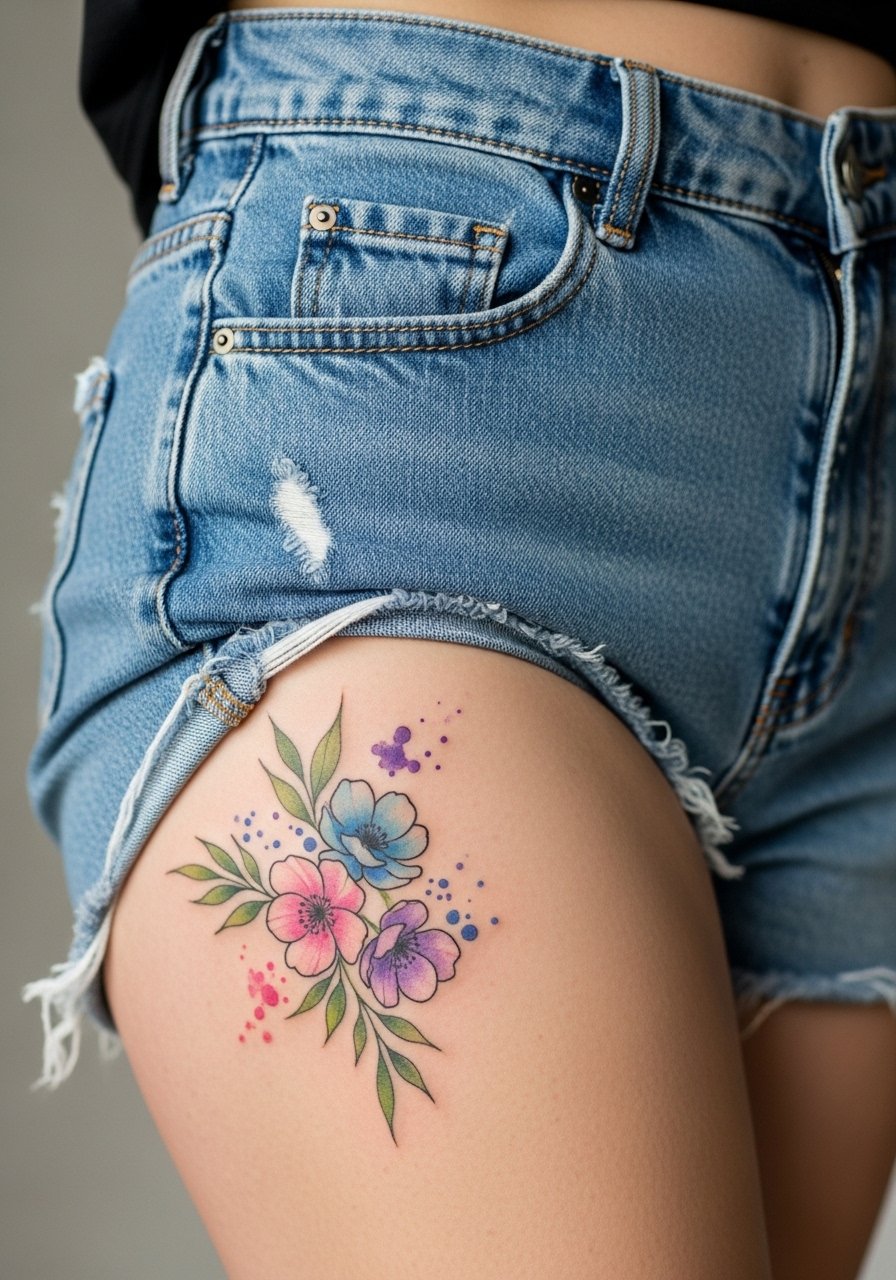
13. Minimalist Floral on the Outer Thigh
Outer thigh watercolor is forgiving because it is rarely rubbed by clothing. I recommend a light wash with small negative-space highlights so the flowers read after years. The usual mistake is packing color into tight spaces near stretch marks or dimples. Mention any skin texture up front so the artist can adapt placement. For the session wear loose shorts you can shift up slightly. To show the tattoo off try high-waisted shorts with a slit or a skirt when you want the area visible.
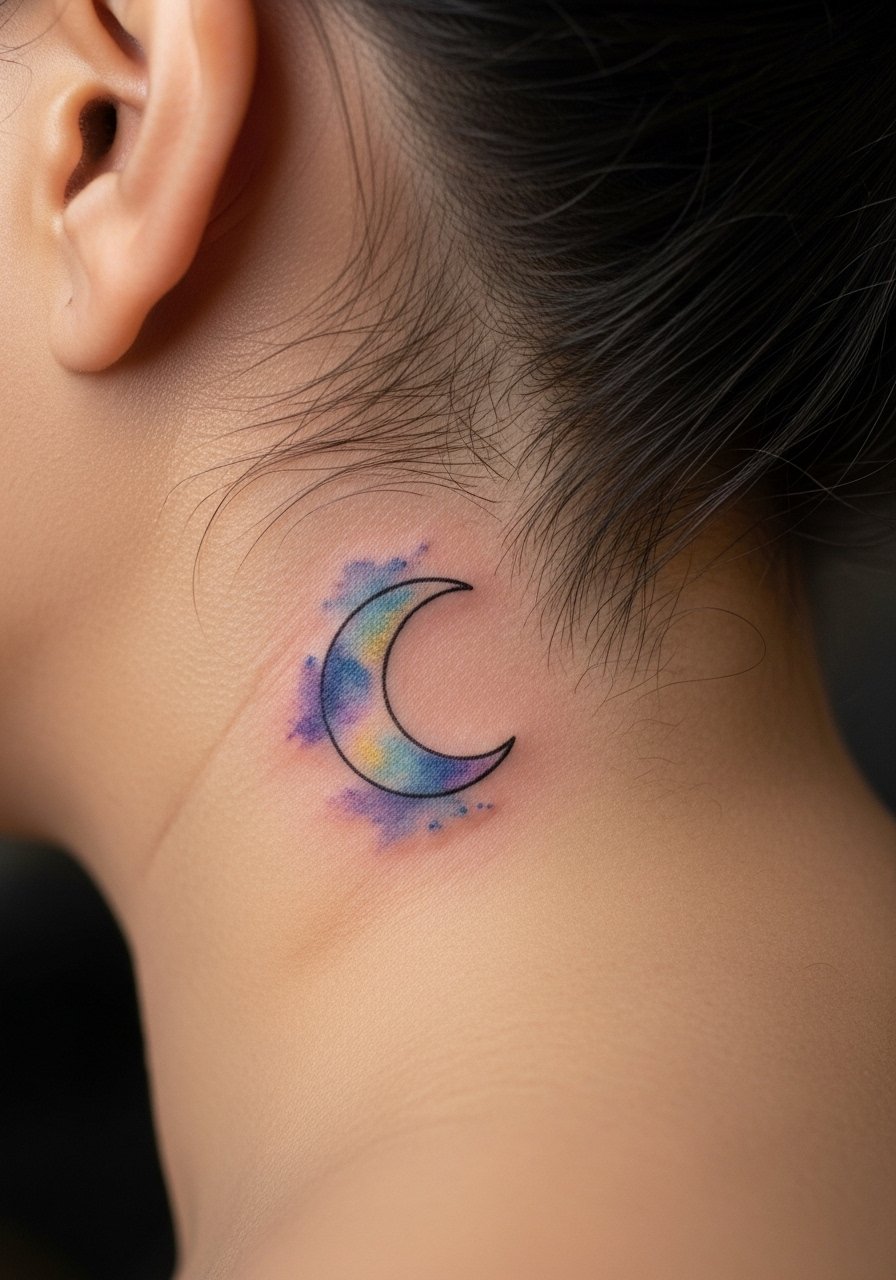
14. Small Watercolor Moon Behind the Ear
Behind-the-ear moons are subtle and suit a tiny wash. Keep the wash minimal and a slightly denser outline to avoid the color disappearing into hair shadow. The procedure is quick and typically low pain. For session prep tie hair up in a loose bun so the artist has clear access. Because visibility is low, expect longer intervals before you feel the need for a touch-up. This placement also avoids professional visibility concerns by default.
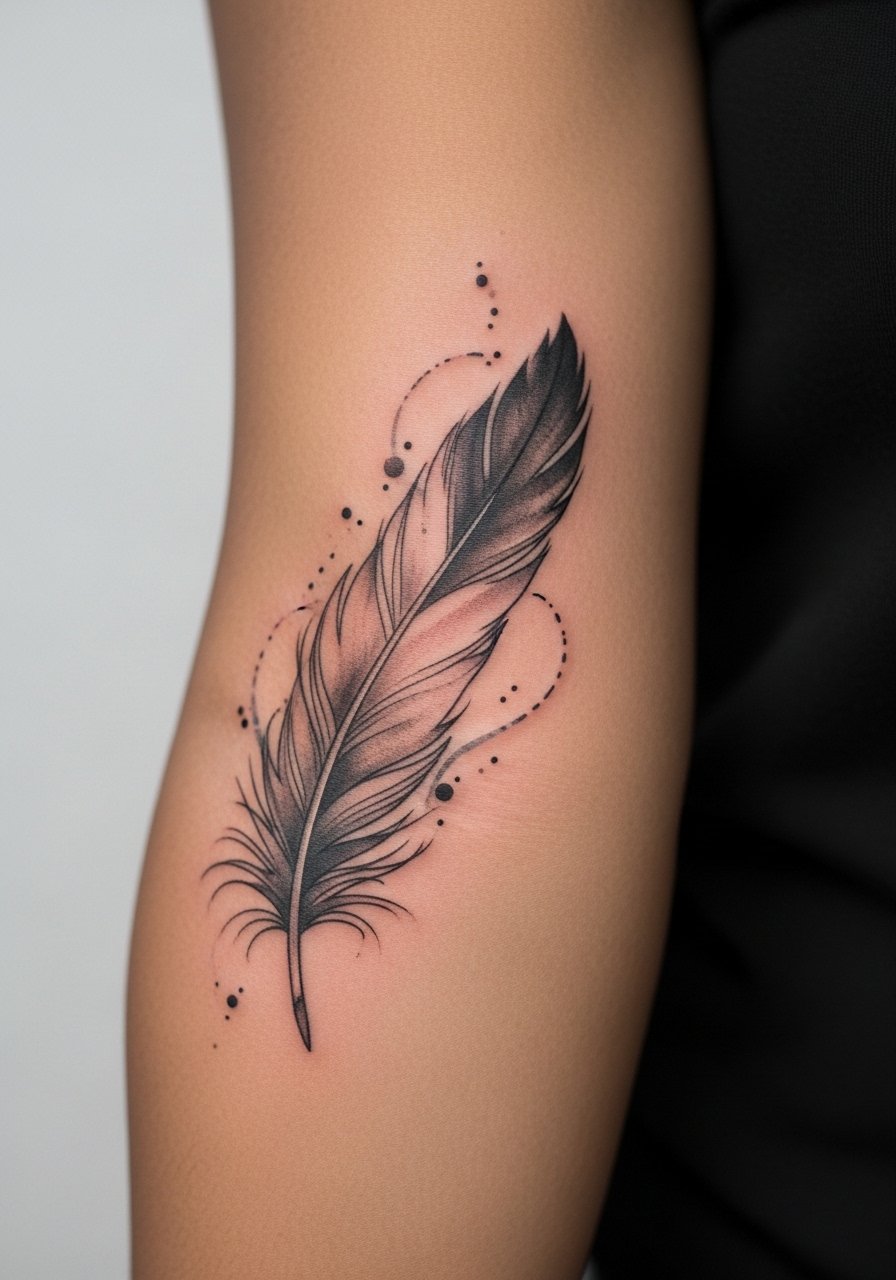
15. Watercolor Feather on the Inner Forearm
Inner forearm washes age well when the artist leaves breathing room between color patches. I usually tell people to opt for light stipple shading at the feather base and a soft wash along the barbs for longevity. During consult ask for negative space so the feather reads when the color slightly fades. Forearm pain is mild and sessions are short. For showing it off rolled sleeves or a short-sleeve linen tee keep attention on the piece without distraction.
16. Small Watercolor Sun on the Back of the Neck
Back-of-neck watercolor is discreet and ages slowly if you avoid heavy saturation right at the hairline. For the session wear a wide-neck shirt with the collar pulled aside so the artist can work without you being shirtless. The pain is moderate and the area heals cleanly with minimal contact. Ask the artist to keep contrast toward the center so the sun still reads if the outer wash softens. Expect touch-ups if you frequently get sun on the area.

17. Splatched Color Dot Behind a Tiny Linework Tree on the Wrist
Combining fine line tree silhouettes with watercolor splashes gives structure to an otherwise amorphous wash. The usual mistake is making the splash too large for the wrist. Ask for proportion notes so the tree retains silhouette as color softens. Session time is short but expect the wrist to need a light touch-up in a couple of years. For show-off pairing add a few thin bracelets or a minimalist watch band that frames the wrist without crowding it.

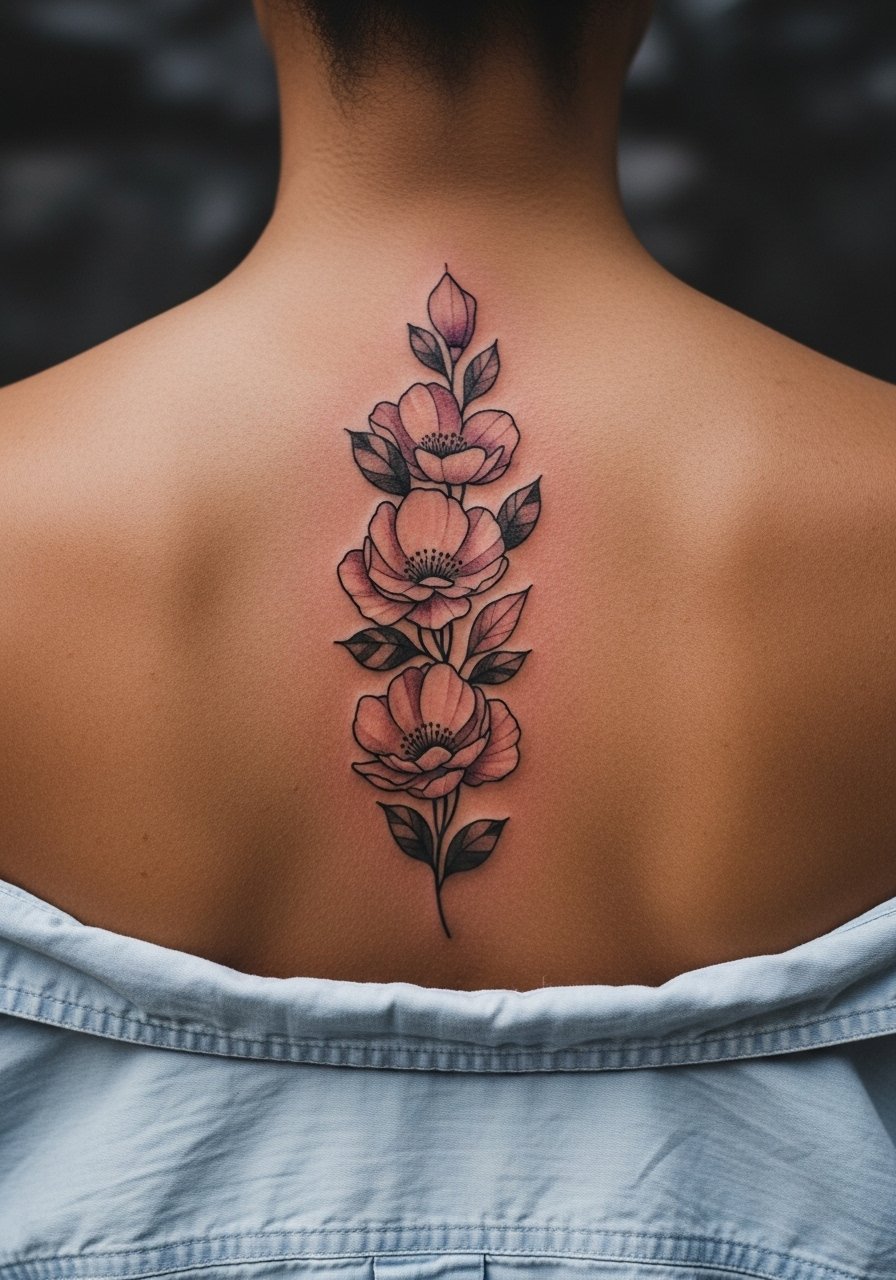
18. Watercolor Petals Along the Spine
Spine watercolor reads beautifully with vertical flow. This placement needs consultation about spacing because the long axis can accentuate merging if color is too dense. For sessions plan breaks and bring a loose button-down that you can pull aside while remaining covered. Pain tends to be higher over vertebrae. For visibility pair the tattoo with open-back dresses when you want to show it. Expect touch-ups in high-motion areas where skin flexes.
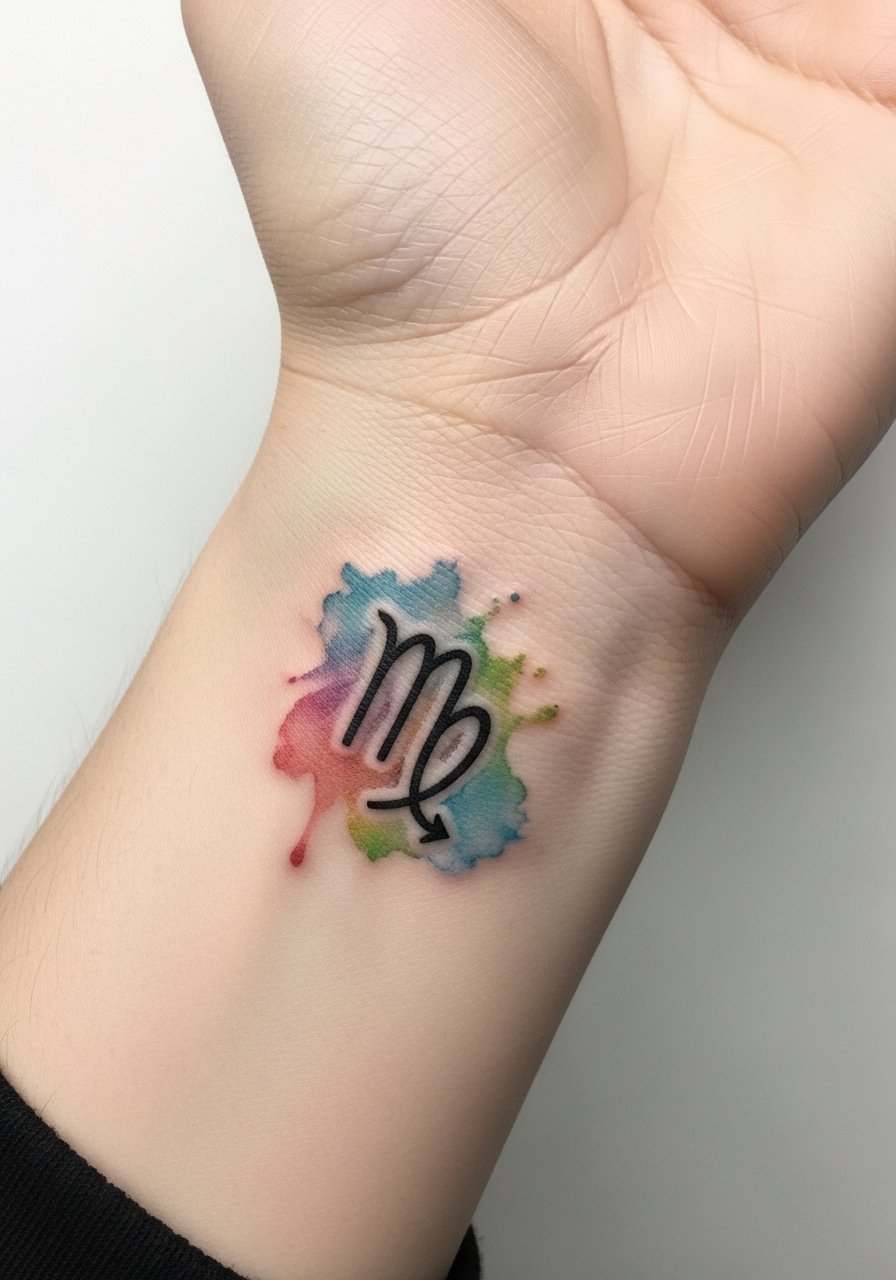
19. Delicate Watercolor Zodiac Glyph on the Wrist
Glyphs with a soft wash are popular because they combine meaning with low visual weight. A common mistake is scaling the glyph too small for the wash. Ask the artist to balance glyph size with surrounding color so the symbol remains legible as the wash fades. For showing it off, stacked bracelets or a thin cuff pair well. Sessions are quick and pain is low, but expect touch-ups sooner than larger pieces. Consider UV protection to keep the color from washing out.
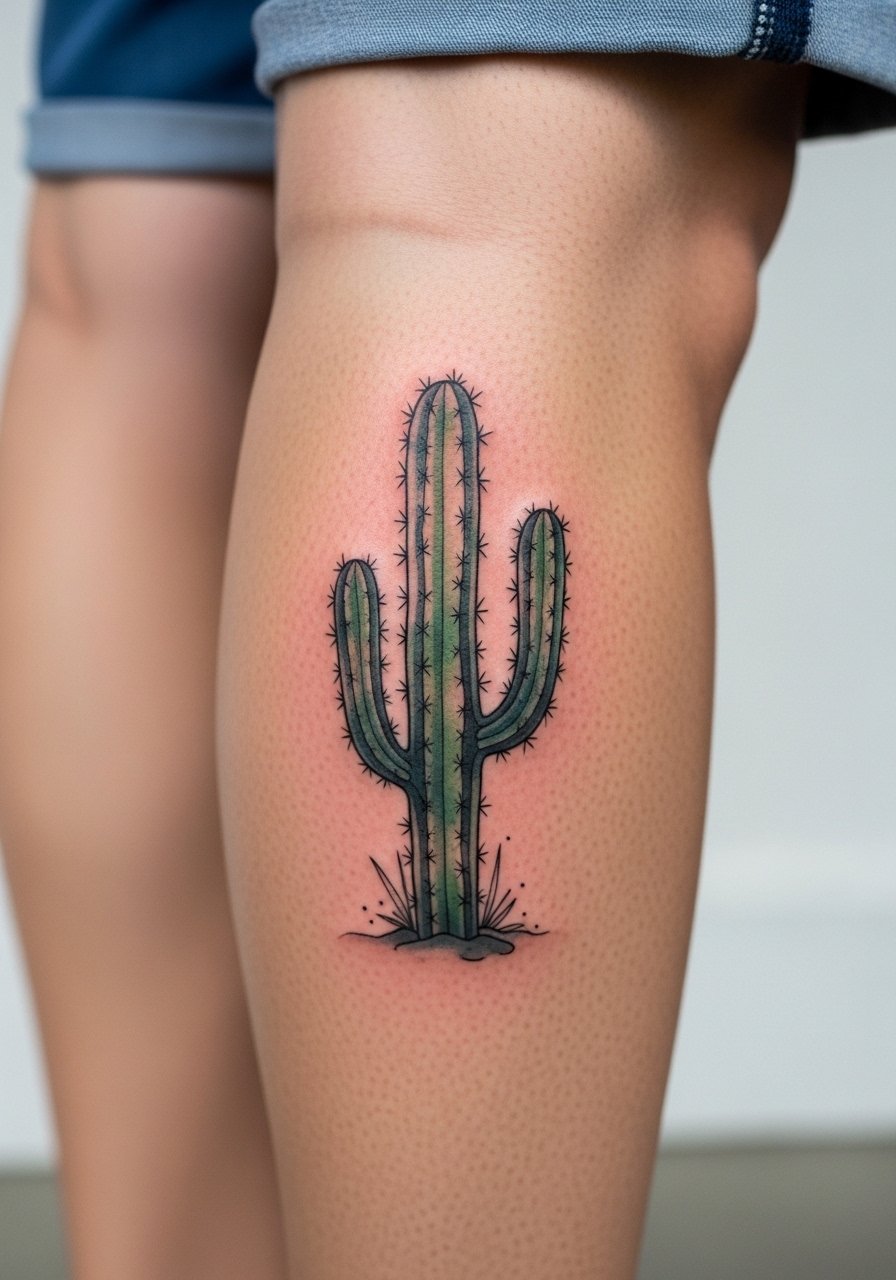
20. Watercolor Cactus on the Calf
Textured watercolor cacti do well on the calf because the skin is stable and usually protected from daily friction. I recommend stipple shading for the cactus base and a soft green wash to keep the piece readable. The typical error is over-detailing the spines inside the wash. Ask for slightly darker edges and sparse interior detail. For show pairing a pair of shorts makes the calf visible in warm months and complements the botanical theme.
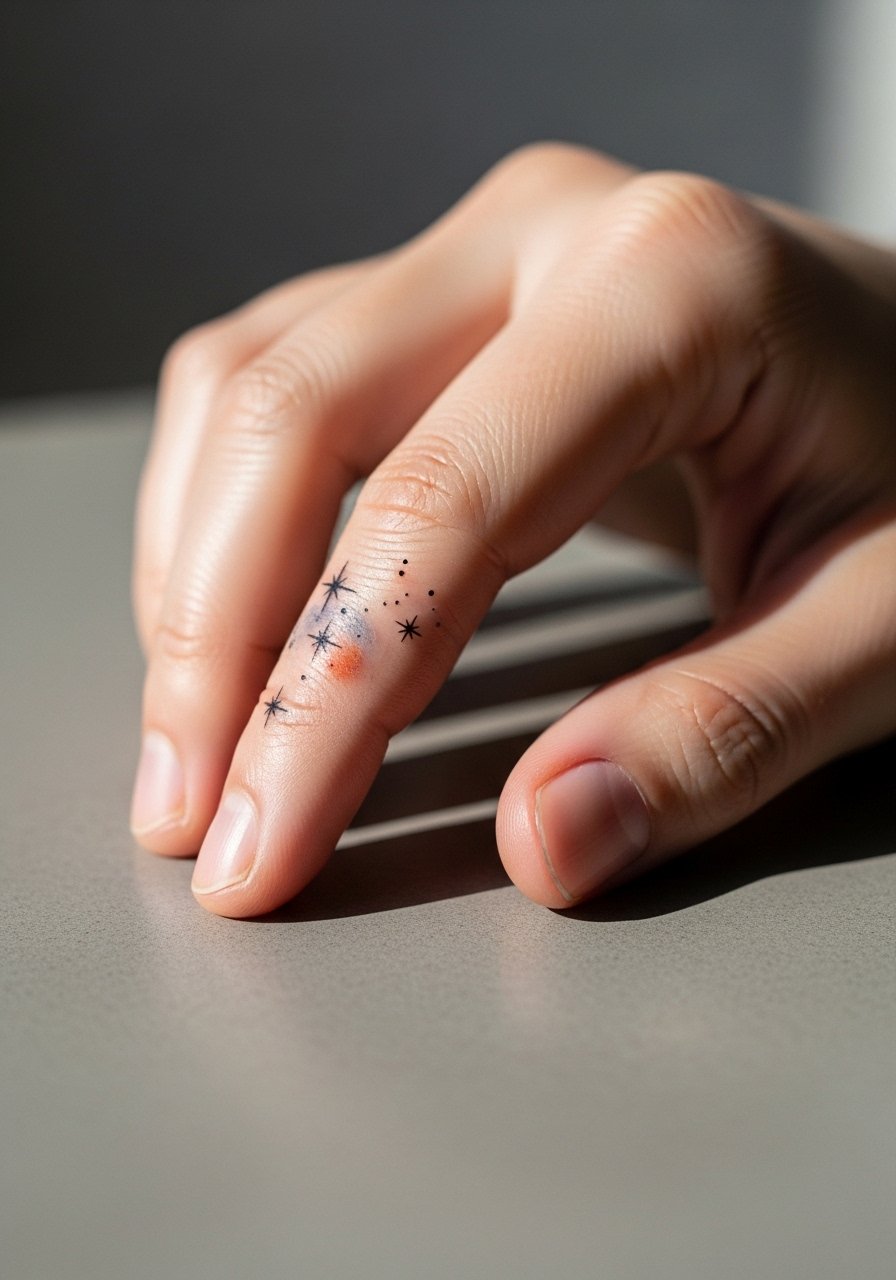
21. Tiny Watercolor Star Cluster on the Finger Side
Side-of-finger clusters fade faster than wrist pieces. I've noticed many people underestimate how often they wash their hands. Ask for slightly bolder anchoring dots in the cluster so the composition keeps reading as the wash lightens. The session is quick but the longevity is short compared with larger placements. When you want to show it off, stack thin rings or choose finger jewelry that avoids rubbing the tattoo directly.
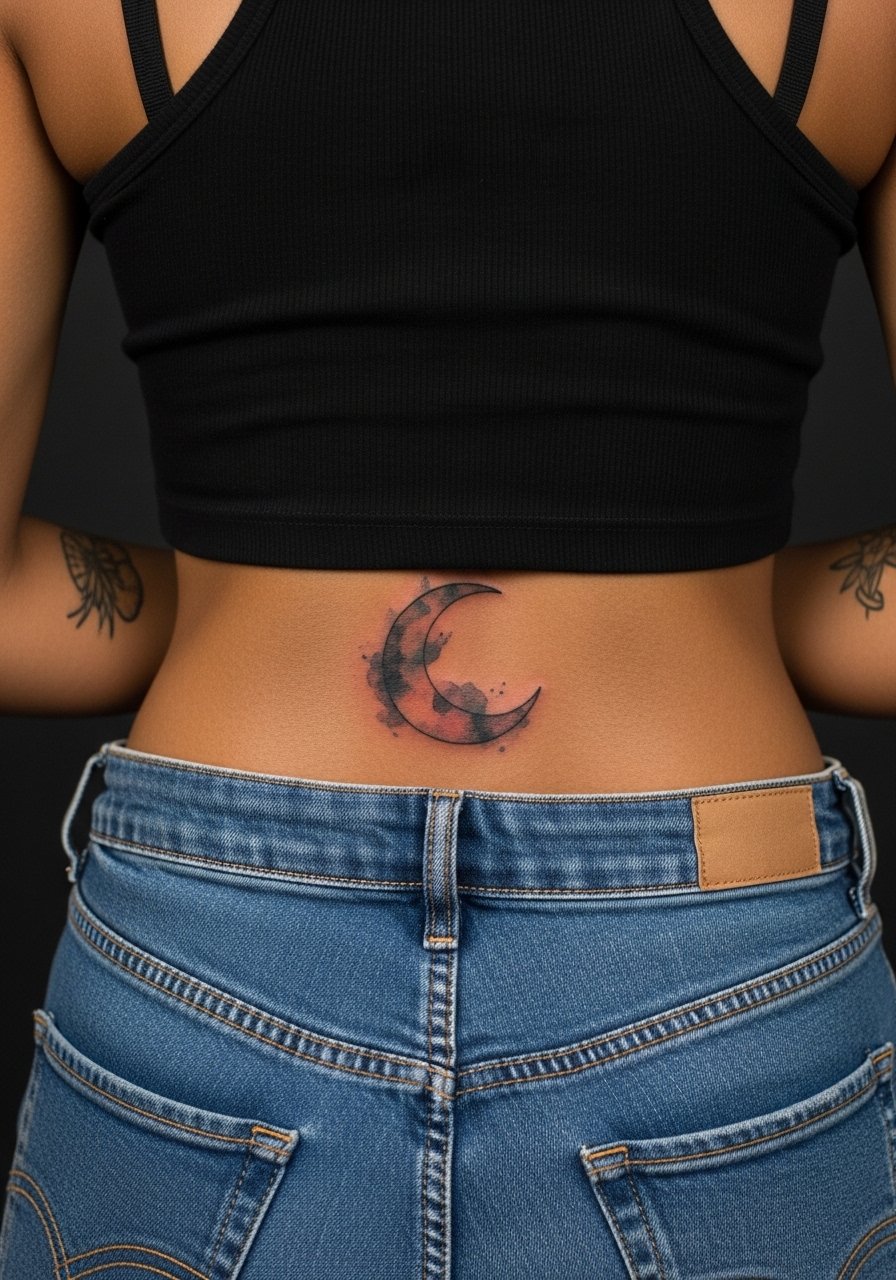
22. Watercolor Crescent on the Lower Back
Lower back washes need a careful clothing plan for the appointment. Wear a tank top with high-waisted bottoms pulled slightly low so only the tattooed area is exposed. The piece heals well if you avoid sleeping directly on the work for the first few nights. The common error is making the wash too wide for low-back curvature. Ask for a narrower arc that follows the natural line of the hips. Expect good longevity with sun protection.
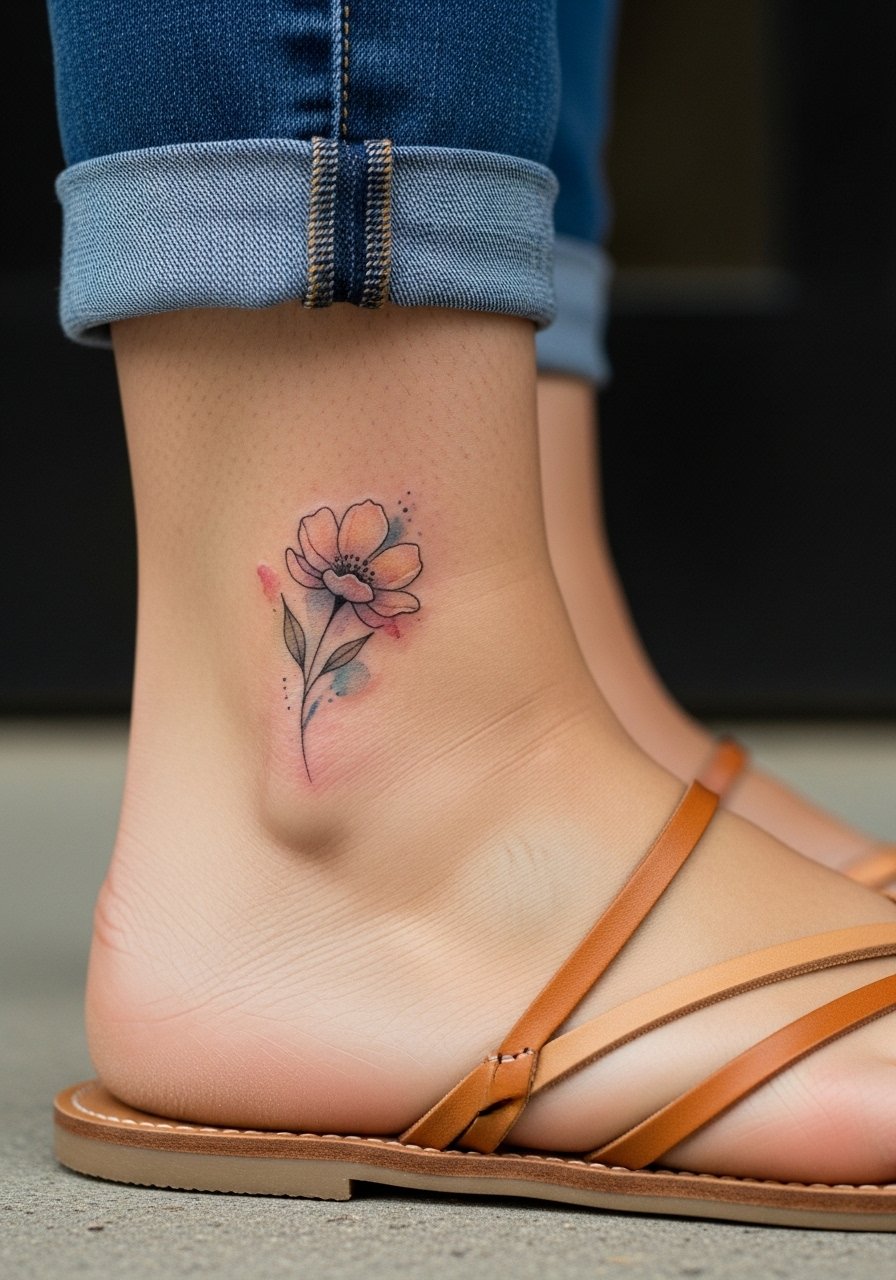
23. Single Bloom Above the Ankle Bone
A bloom placed just above the ankle bone reads like an intentional accent. The key is to avoid heavy saturation at the very front where shoes scrape. Ask for lighter color near the bone and a more saturated patch slightly above it. For showing it off, sandals or rolled pants pair well and draw attention to the area. Consider a thin anklet when you want to highlight the tattoo without covering it.
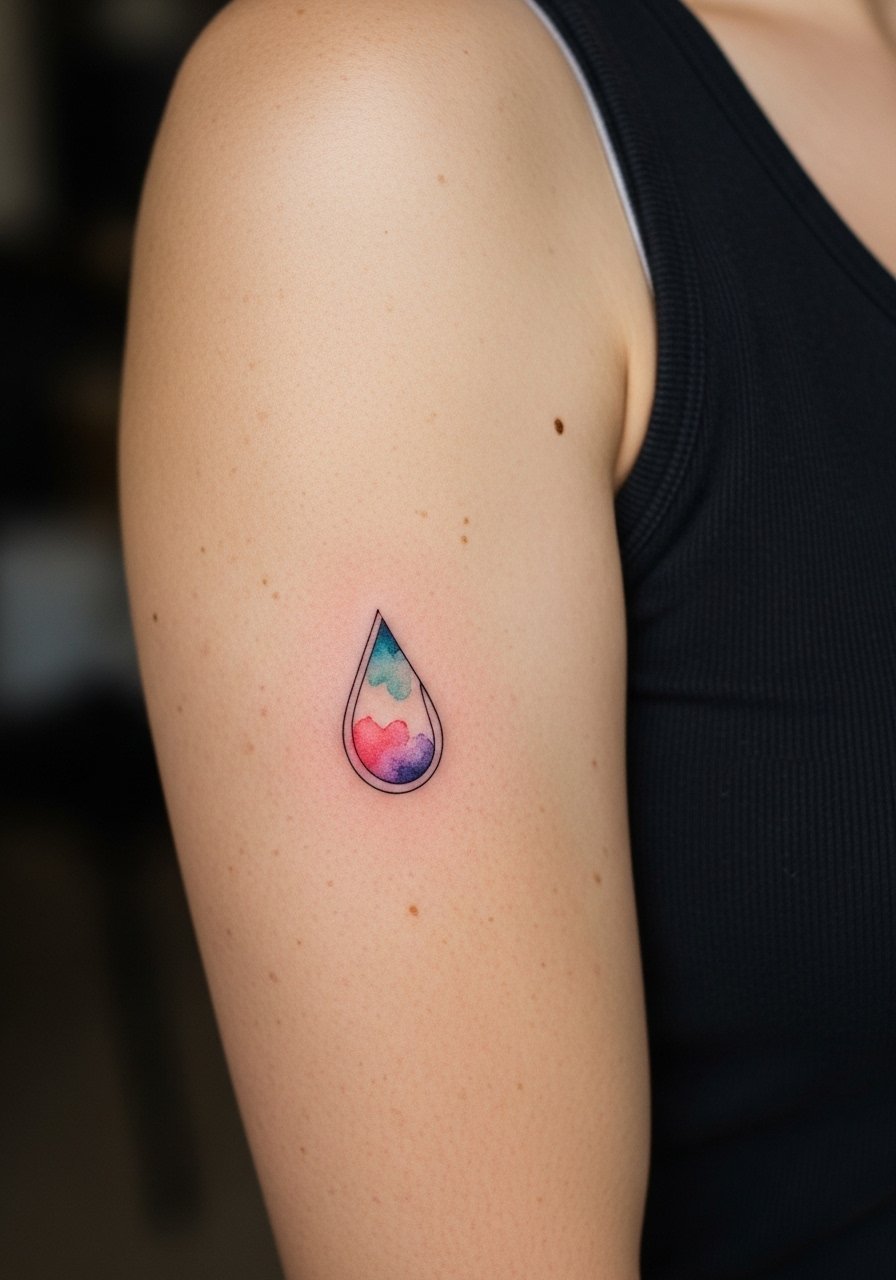
24. Tiny Abstract Drop on the Inner Bicep
Inner bicep watercolor looks intimate and is easy to cover. For the session wear a tank top and raise the arm slightly so the artist can reach the inner bicep without you being uncomfortable. The skin there can hold color nicely, but the space is often forgotten when planning flow to adjoining pieces. Decide if you want the drop to connect with future work. Pain is moderate and healing goes smoothly with minimal friction.
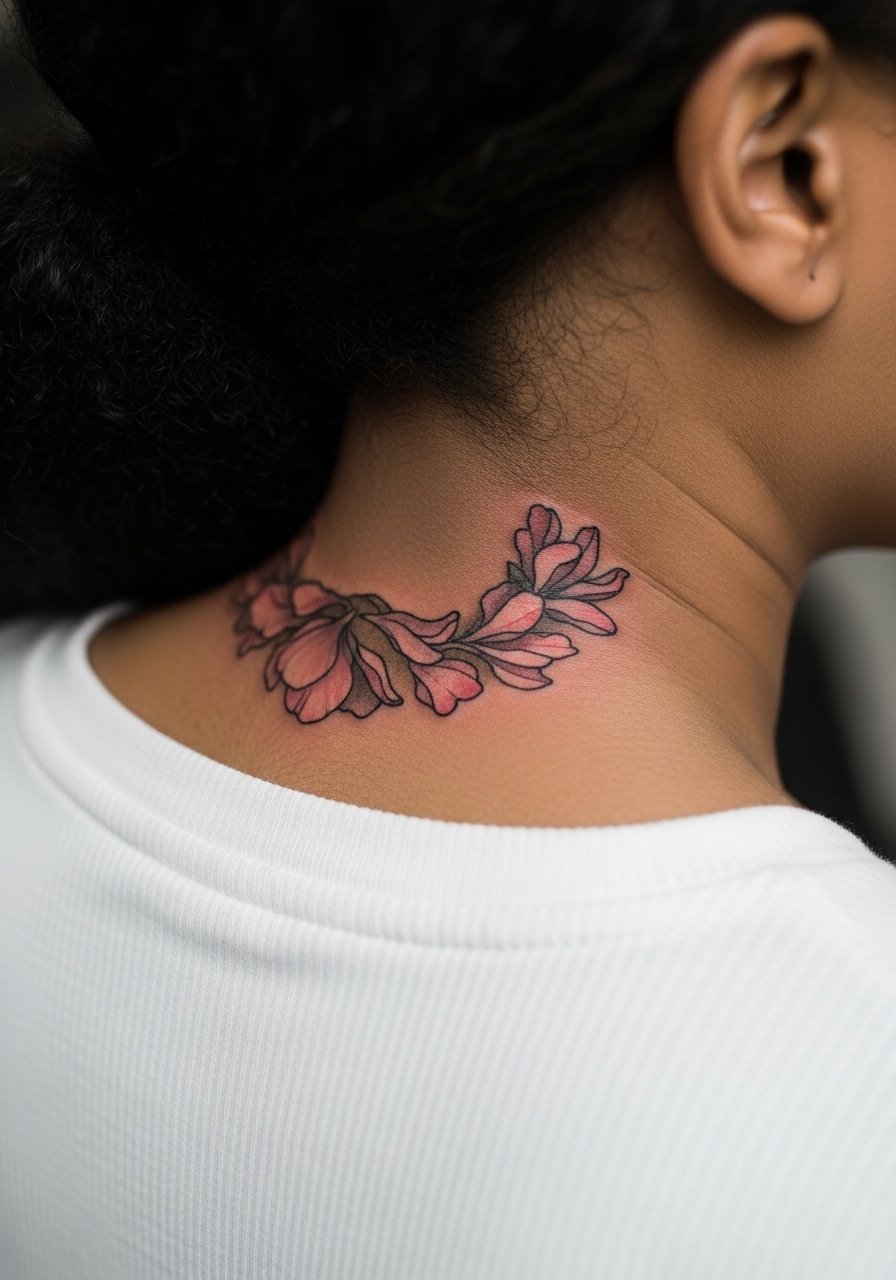
25. Watercolor Petal Halo Around the Nape
A halo at the nape of the neck pairs well with hair updos and open collars. Ask for a soft value gradient outward from the center so the halo does not look patchy as pigments fade. Session prep is easy, wear a wide-neck top you can pull down slightly. For show-off moments a high ponytail or open-back top frames the nape perfectly. Expect touch-ups if you want to keep the halo vivid and defined.
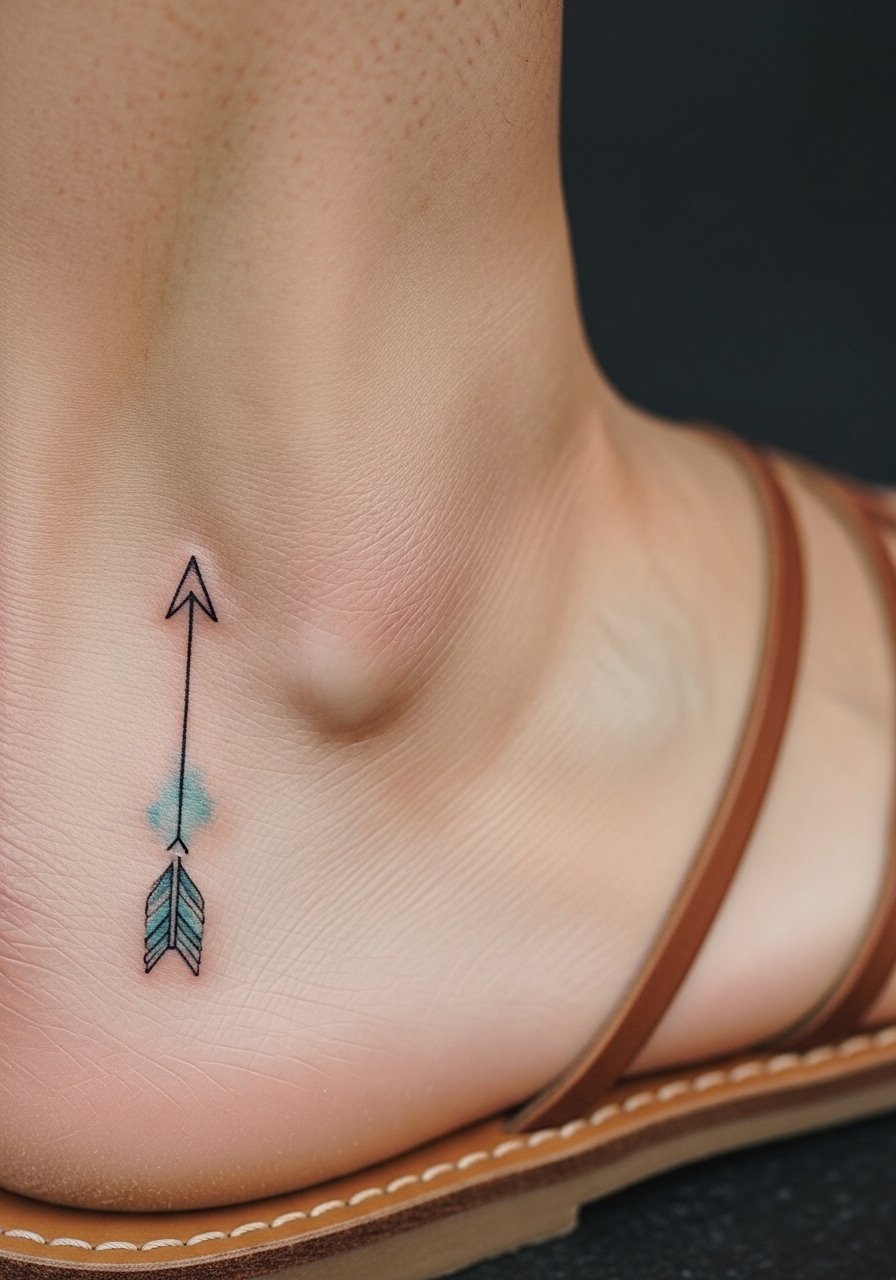
26. Tiny Watercolor Arrow on the Side of the Foot
Foot watercolor needs cautious saturation because shoes and socks cause friction. I advise a lighter wash and a slightly bolder shaft line so the arrow keeps form. For the session wear sandals or shoes you can slip off easily, and bring a small pillow to rest your foot on. Healing on the foot can be slower and may call for touch-ups at year two depending on wear. When you want to show the piece off, simple sandals work best.
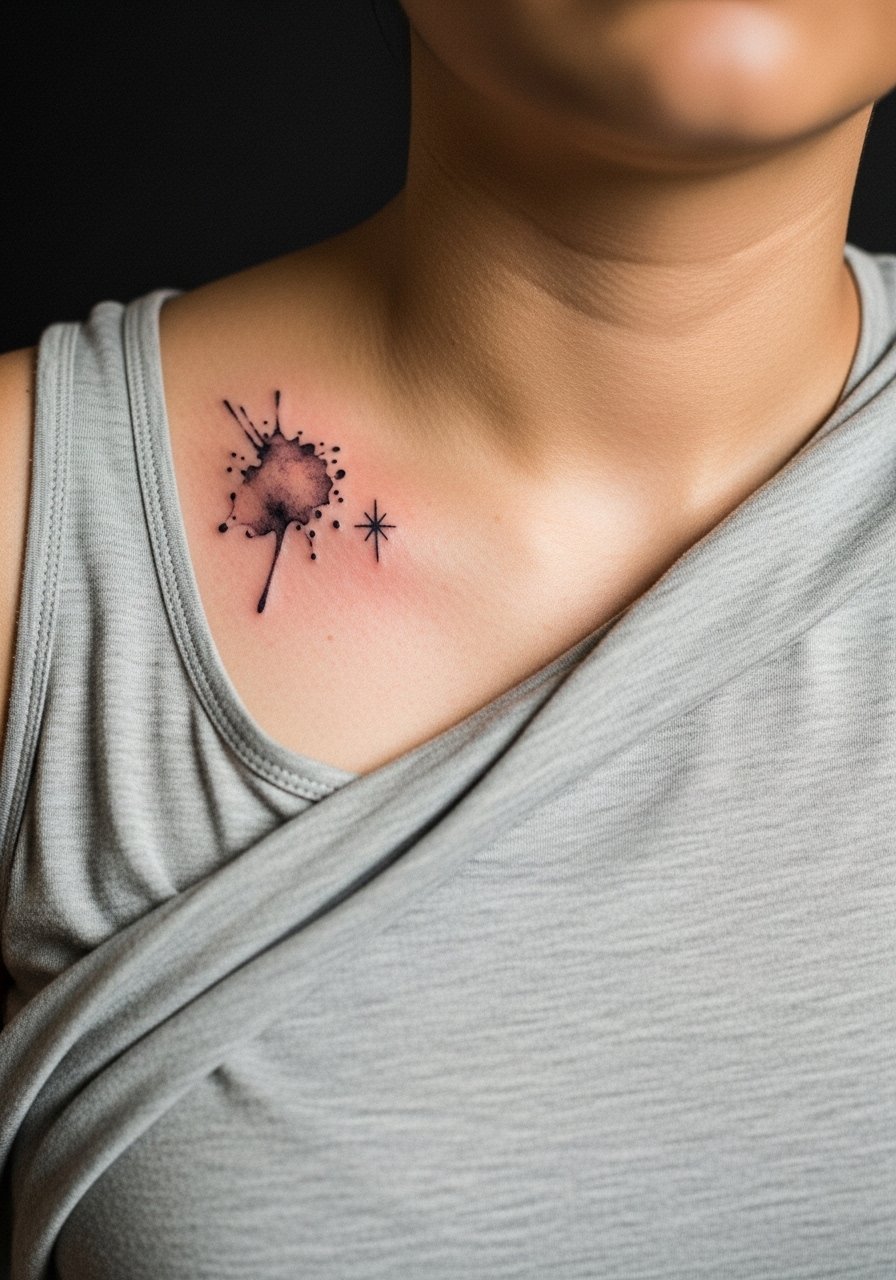
27. Watercolor Splash Behind a Tiny Collarbone Star
This spot is visible and dress-friendly, so plan the wash to sit just beside the collarbone rather than crossing it. I recommend a small anchor star in fine line with the wash radiating outward to maintain readability. For the session bring a loose tank top so the artist can easily access the upper chest without exposure. Expect a mild pain level and occasional touch-ups to keep the color crisp.
Frequently Asked Questions
Q: Do watercolor-style tattoos need different aftercare than traditional ones?
A: In my experience the aftercare steps are mostly the same, but watch how much product you use on watercolor washes. Heavy ointment layers can settle pigment unevenly in very light washes. Clean gently with a fragrance-free wash, pat dry, and follow the studio's timing for thin protective layers. Expect the artist to recommend a touch-up timeline that depends on placement and sun exposure.
Q: Will a small watercolor on a finger or hand blur faster than one on my forearm?
A: Yes, fingers and hands take more abrasion and washing so light washes fade sooner. I tell people to treat finger watercolor as a seasonal aesthetic that may need touch-ups at year one or two. Forearms usually hold softer washes longer. Ask your artist about anchoring the design with tiny fine-line dots or slightly bolder edges to improve legibility.
Q: How should I prepare clothing-wise for a sternum or ribcage watercolor session?
A: Wear a fitted sports bra or bandeau for sternum work and a cropped top you can lift slightly for ribcage work. The key is easy access without full exposure. Comfortable, breathable fabrics make longer sessions easier and reduce early irritation.
Q: Are there cultural considerations with floral or mandala-inspired watercolor pieces?
A: Yes. Some patterns trace to religious or indigenous traditions, and people vary in how they approach direct copies. I advise discussing respectful adaptation with your artist and acknowledging origins rather than reproducing sacred images verbatim.
Q: How often do watercolor tattoos need touch-ups compared with solid-color pieces?
A: From what I've seen, light washes need touch-ups more often than saturated color. Plan on revisiting a few years after your session if you want the hues vivid. Location and sun exposure matter most for longevity.
Q: Can I wear jewelry or accessories right after a wrist watercolor session?
A: Wait until the area is healed enough to avoid irritation. For showing the piece later, thin bracelets, delicate watches, or simple rings frame wrist washes well. If you need an outfit suggestion for reveal moments, a thin chain pendant necklace sits above collarbone watercolor without competing for attention.
