
Fine line tattoos are trending online, but what looks flawless on a phone screen often needs a reality check. Lines that read delicate at first can blur without proper spacing. Small hand-poked pieces also demand skin-stretch technique, and the first week of healing often brings itchy scabs when aftercare is rushed. Read on for 27 sketch-style options, how they age, what to wear to your session, and what to ask during consultation.
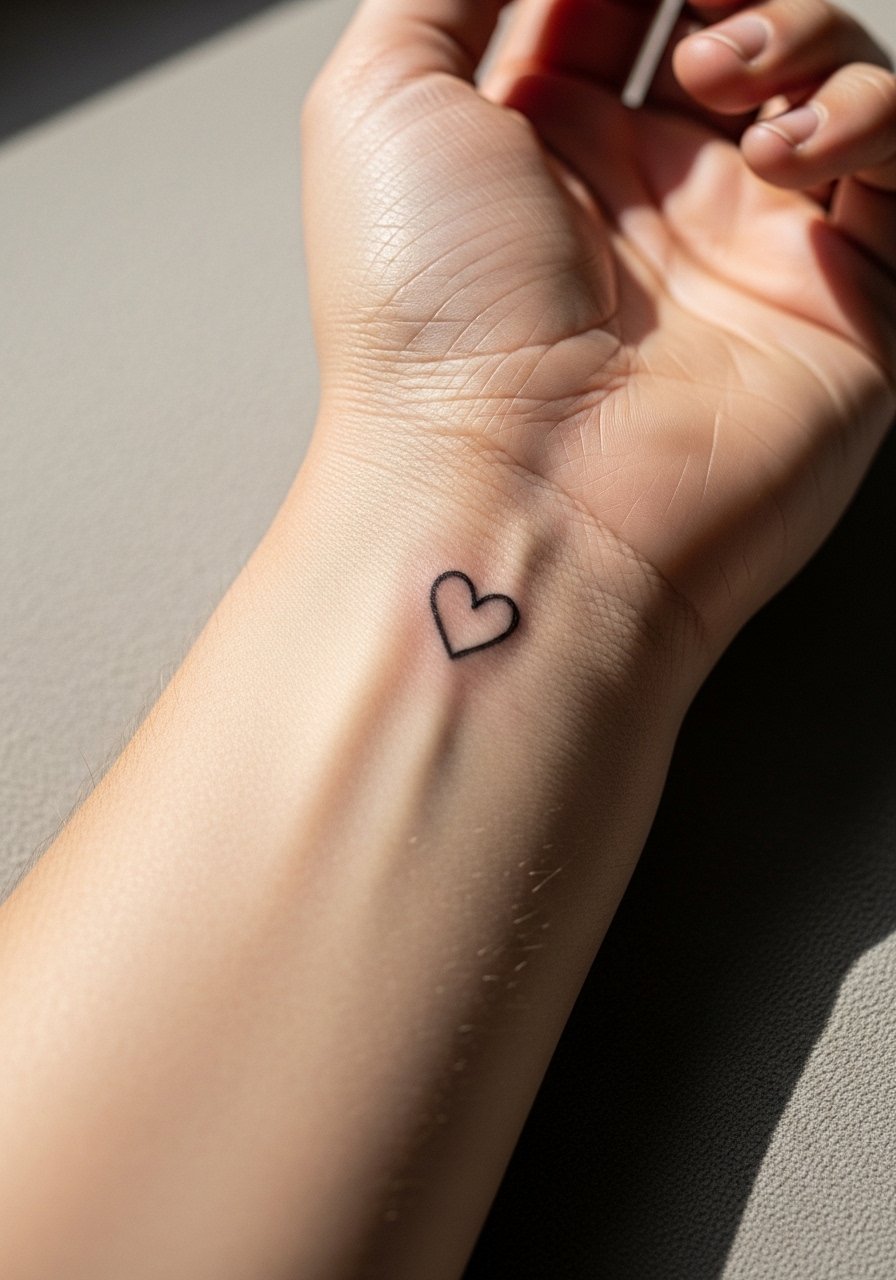
1. Sketchy Heart Outline on the Wrist
I've seen this tiny heart sit on wrists for years and still read clean when placed right. Ask for a single pass of slightly heavier linework so the line holds without turning into a solid blob. Fair warning, the wrist brushes surfaces all day and that friction speeds fading, so expect a light touch-up around year three. For the session wear a sleeveless tank you can roll up easily and keep the area accessible. The poke itself is brief, usually under 20 minutes, and the wrist rates a 3 to 4 on most pain scales. Avoid asking for ultra-thin lines that sit directly over the wrist bone if you want this to last.
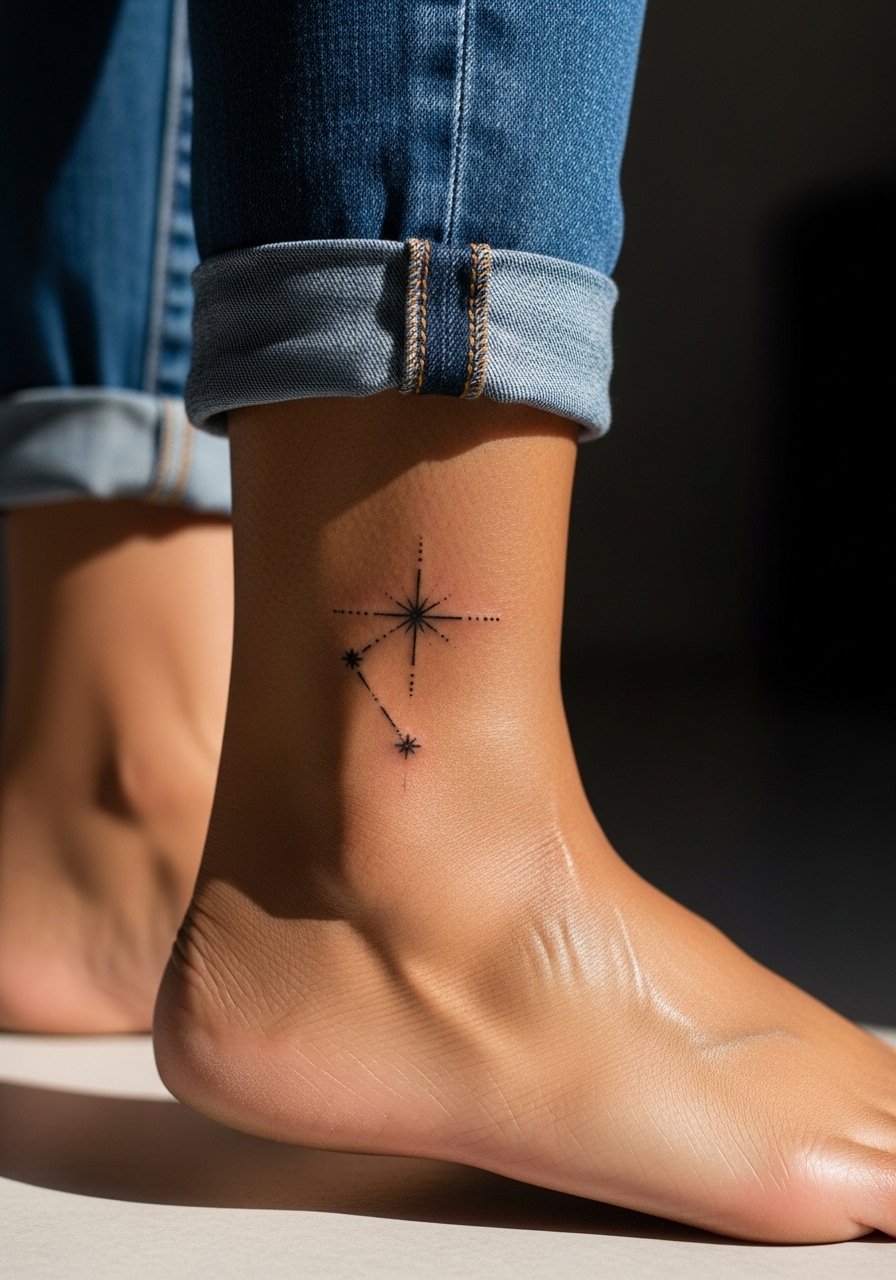
2. Simple Star Constellation Around the Ankle
When done on the ankle the little constellation reads like a scattered story, especially when spaced with tiny dots between stars. A common mistake is compressing too many tiny stars into a small patch, which leads to merge in a few years. For longevity, ask the artist to space the stars and to avoid hairline-only strokes. Ankle work heals differently because shoes and socks can rub the area. Expect a 2-session touch-up window at year two if you want the dots to stay crisp. The session is quick and the ankle pain usually rates a 4 out of 10, mostly during the first pass.
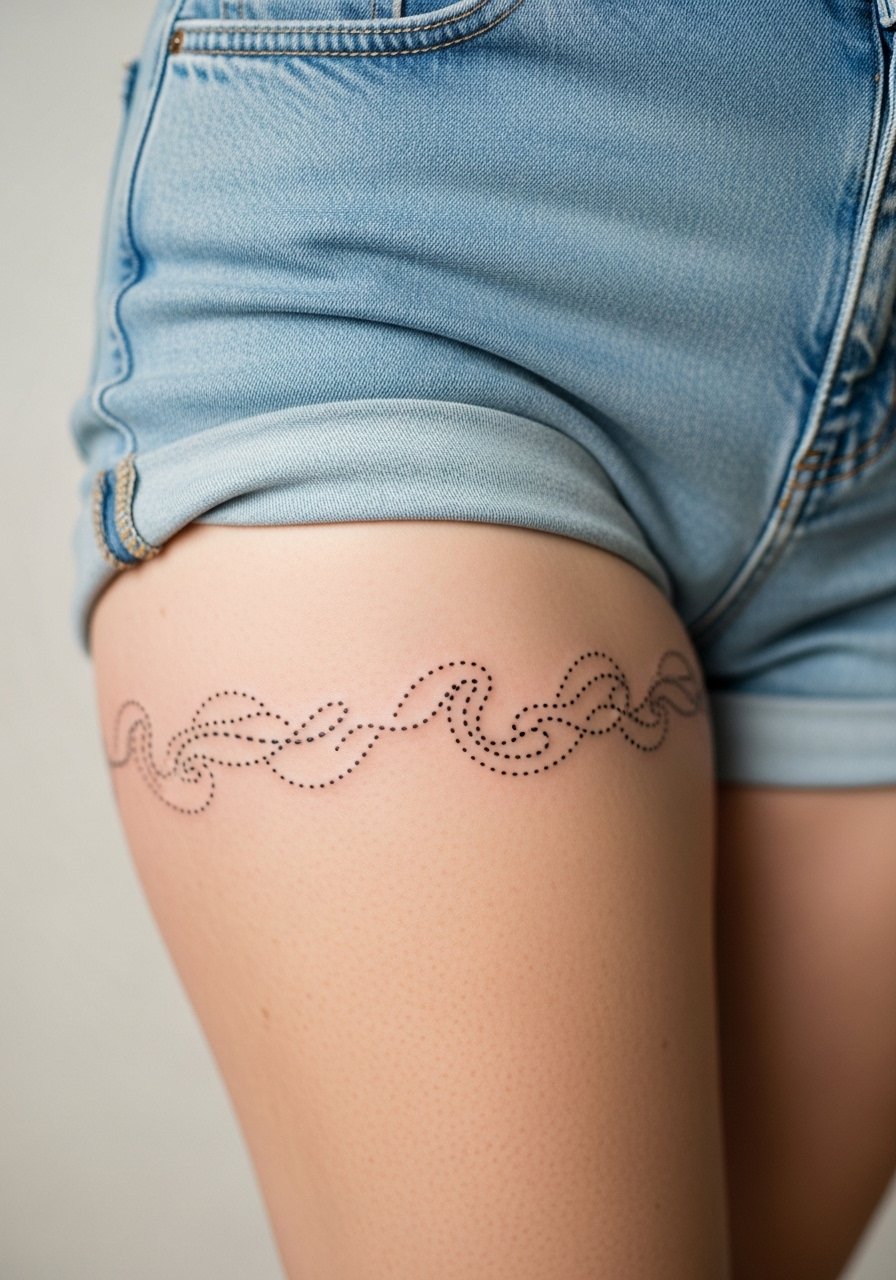
3. Dotted Line Wave Along the Thigh
A dotted wave follows body curves well, which is why the thigh is a forgiving place for sketchy motion. The trick is stretching the skin taut so the dots sit evenly instead of puddling into clusters. If you want a version that ages gracefully, ask for slightly larger dots with a small margin between them. Session wear should be high waist shorts so the artist can roll the hem up without pressure on the area. Expect one session and mild to moderate soreness for 24 to 48 hours. Heavy friction from tight pants is the main cause of early fade here.
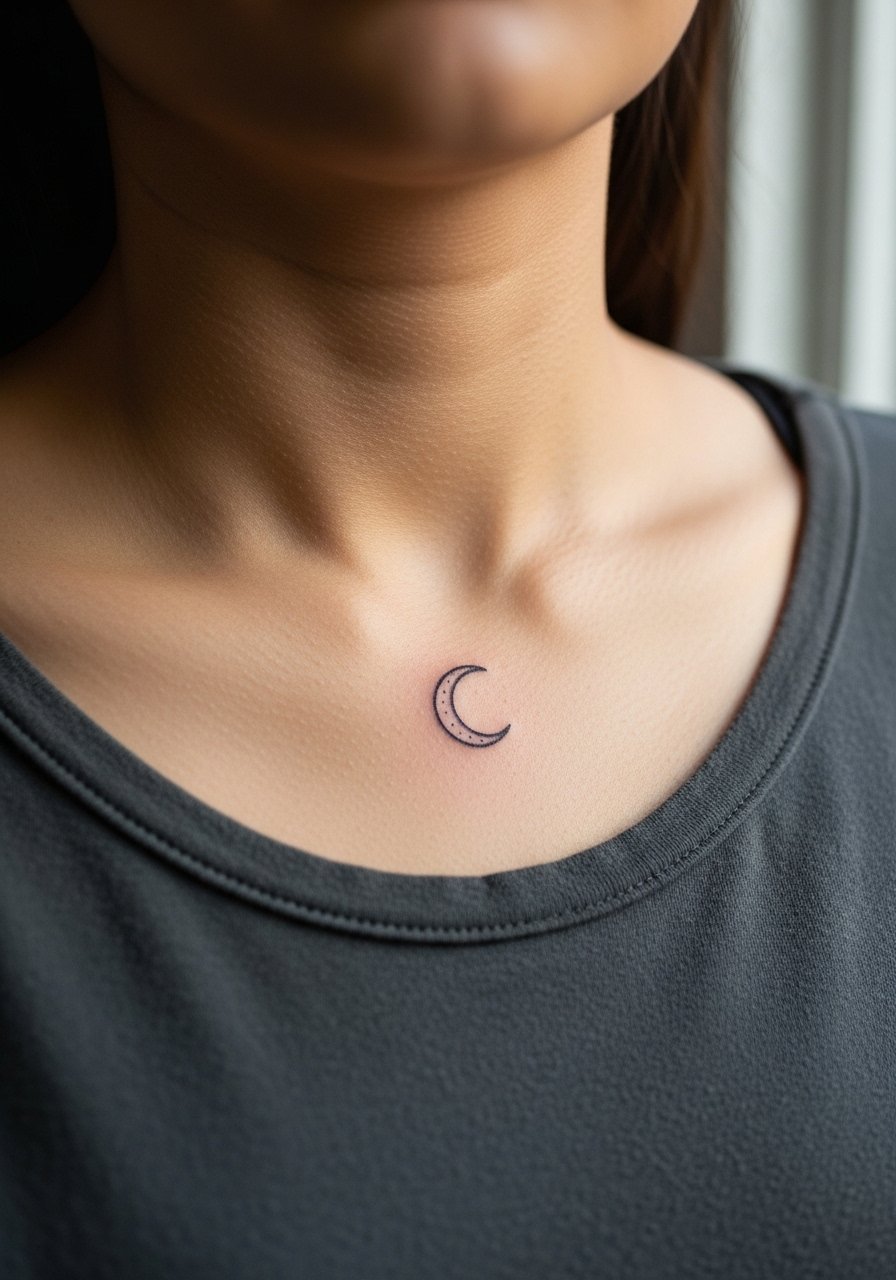
4. Tiny Crescent Moon on the Collarbone
Most people like a crescent tucked along the collarbone because it reads delicate when worn with low necklines. A frequent error is placing it too close to the clavicle where the skin moves and the line softens. Tell the artist you want the curve set just under the collarbone and a touch of negative space around it. For showing this off, a off shoulder top frames the piece without covering it. The collarbone area is one of those spots that looks great fresh but can need a touch-up sooner than thicker-skin areas.
5. Hand-Poked Arrow on the Inner Forearm
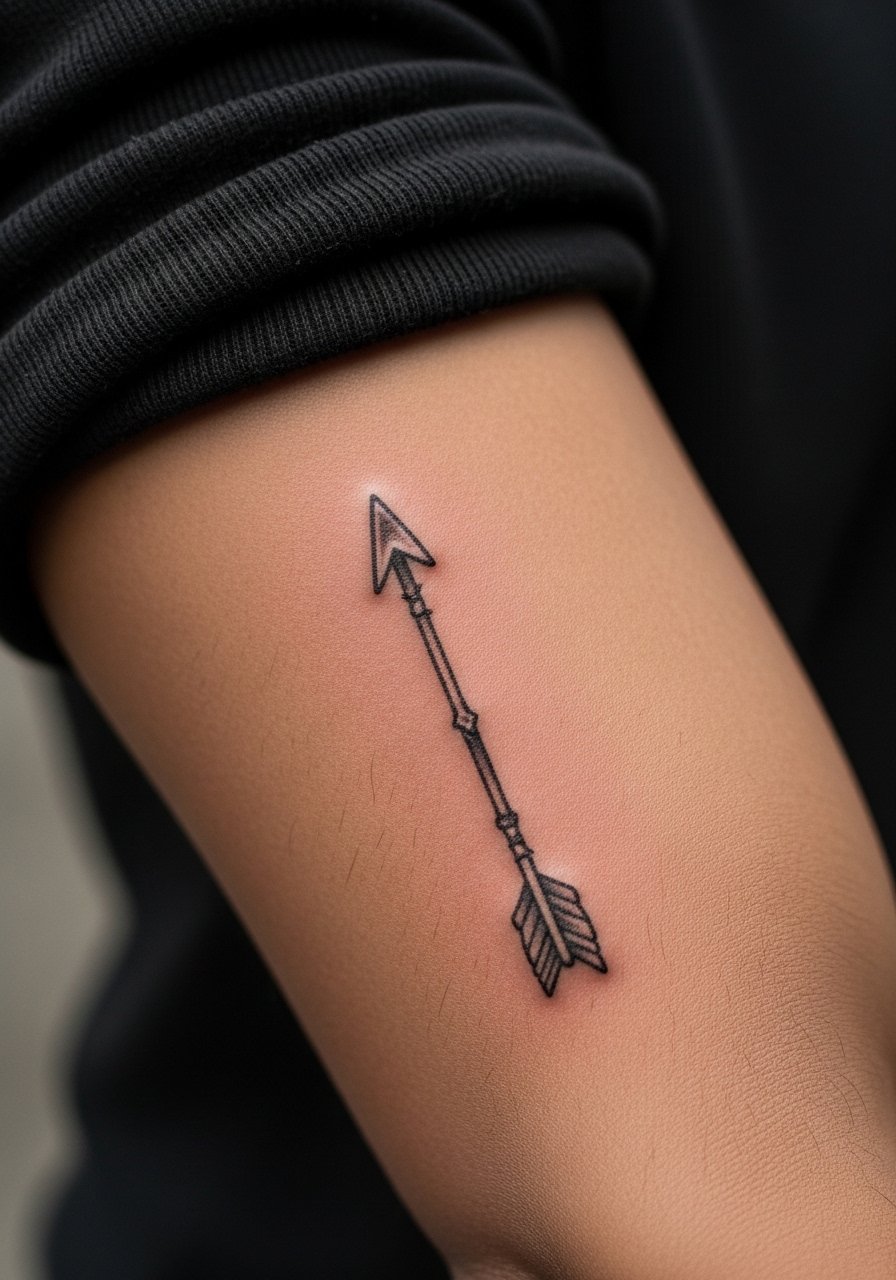
When booking this, bring clear references that show the exact line weight you want and ask the artist how they handle hand-poked depth. Artists split into two camps here. One camp says hand-poked lines carry a certain looseness that looks intentional. The other camp points out that machines lay down more uniform saturation which ages differently. If you prefer the sketchy stick-and-poke look, accept that touch-ups are common and ask about spacing and depth during consultation. For the session wear a linen button down you can roll up so the artist has full access. Inner forearm sessions are comfortable and usually wrap under an hour.
6. Sketchy Botanical Stem on the Ribcage
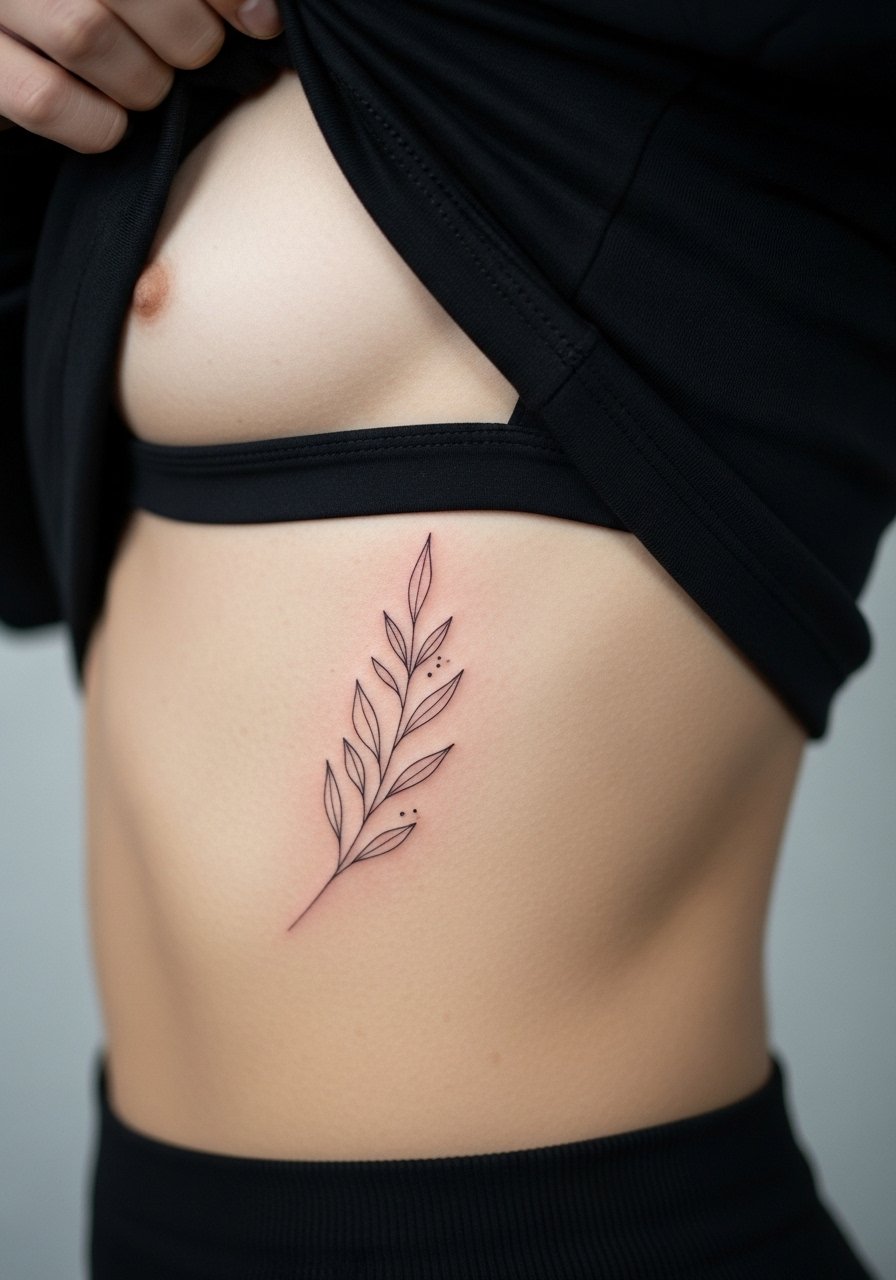
Fair warning, the ribcage rates high on most pain maps but it gives a beautiful, curved canvas for a sketchy stem. The most common mistake is asking for too much fine detail in a single visit, which increases scabbing and uneven healing. Ask for a loose composition that follows breathing lines and consider splitting into two short sessions if you want more detail. For appointment day wear a loose button-up shirt you can lift slightly so only the rib area shows. Because the skin there moves a lot the design should have breathing room to avoid lines merging over time.
Pre-Session Essentials
The wrist and forearm pieces above heal differently from larger thigh and rib work, so a few studio-day items smooth the session and the first week.
-
Stencil transfer paper kit. Lets you preview the sketchy line placement on skin before the first poke, especially helpful for precise wrist and collarbone pieces.
-
Topical numbing cream. Applied about 45 minutes before can soften the edge during ankle or rib sessions without altering the artist's work.
-
Thin protective film roll. Useful for finger and wrist tattoos where daily washing and typing add friction in the first week.
-
Fragrance-free body wash. Gentle cleansing helps the fine line work on forearms and ankles heal without irritation.
-
Aquaphor healing ointment. Applying a thin layer in the first days keeps fine line channels moist while avoiding heavy buildup that can trap irritants.
7. Minimalist Animal Silhouette on the Outer Ankle
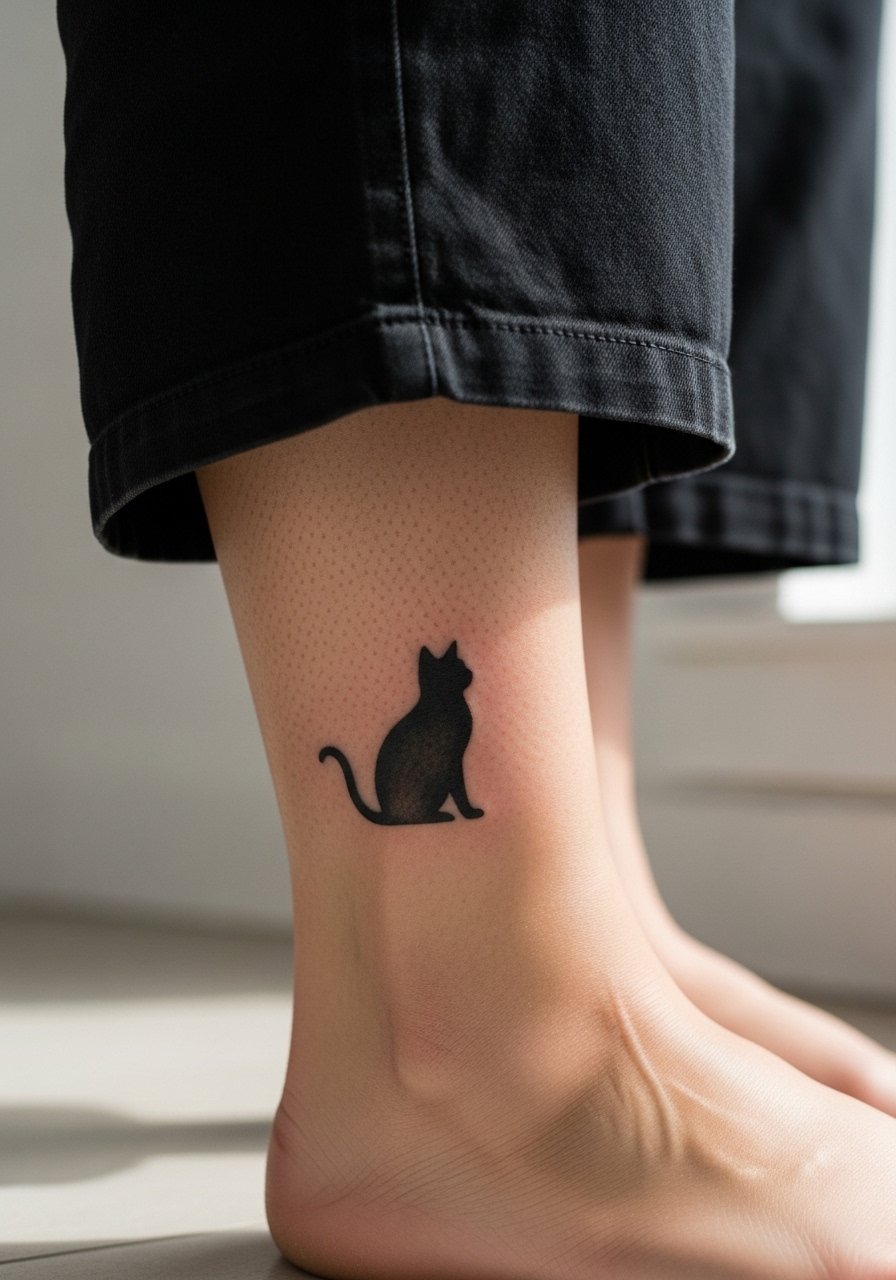
I've noticed small animal outlines age best on the outer ankle when placed with a touch of negative space. If you want the silhouette to stay recognizable, tell the artist to avoid hairline-only strokes and to angle the design so it reads when you are standing. Ankle designs live under pant hems so plan footwear that shows the piece, like cropped wide leg pants or summer sandals. Sessions are short and pain tends to spike only when the needle passes over bony areas. A single touch-up at year two keeps the silhouette crisp.
8. Doodle Lightning Bolt on the Inner Wrist
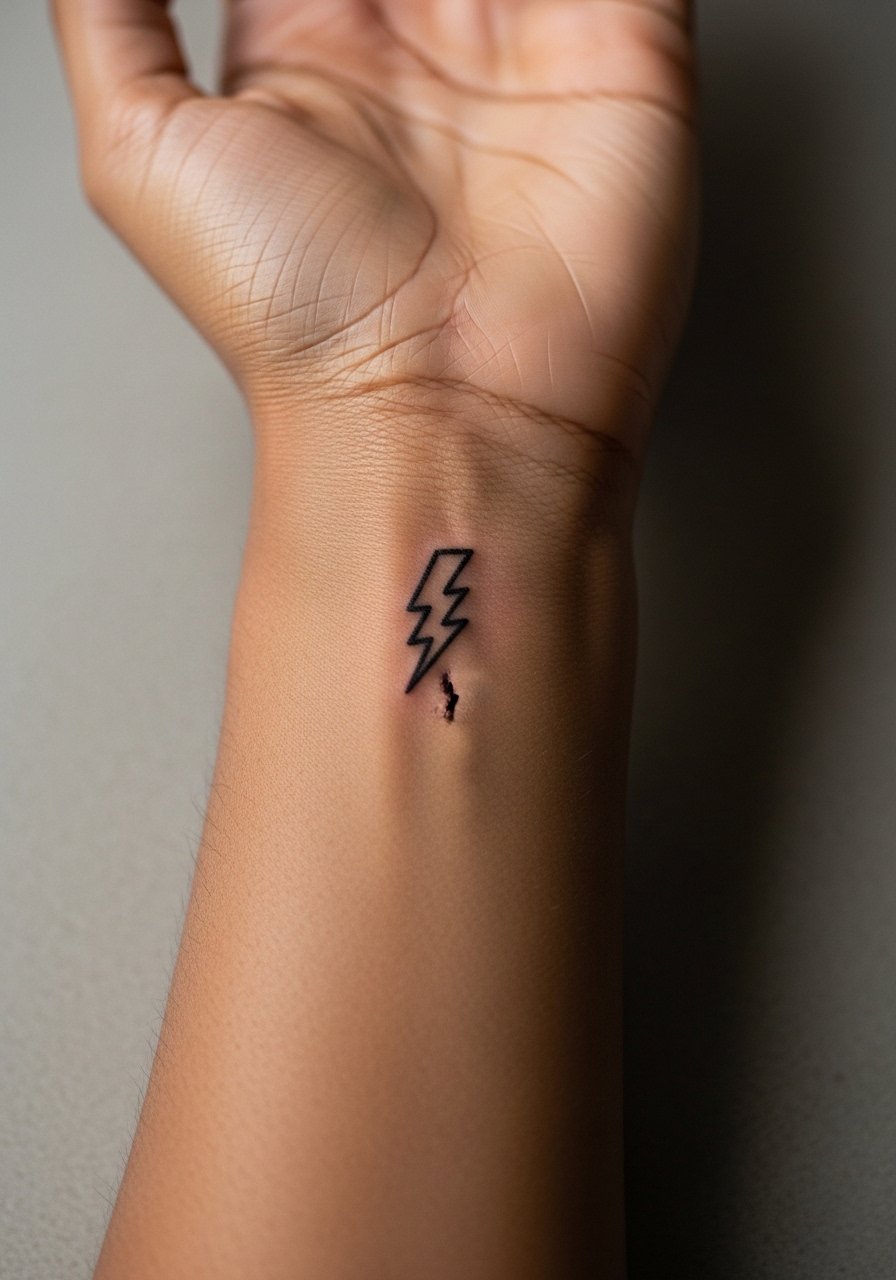
The inner wrist is a quick canvas, so many pick a lightning bolt for its punk feel and short session time. The common regret is asking for ultra-thin strokes that disappear after a year. To avoid that ask for a slightly irregular line with a little weight, which preserves the scribble look while staying visible. The skin here is thin so expect a little more sting than on the forearm. Keep in mind frequent hand washing can speed fading, and a single touch-up often restores the sharp point.
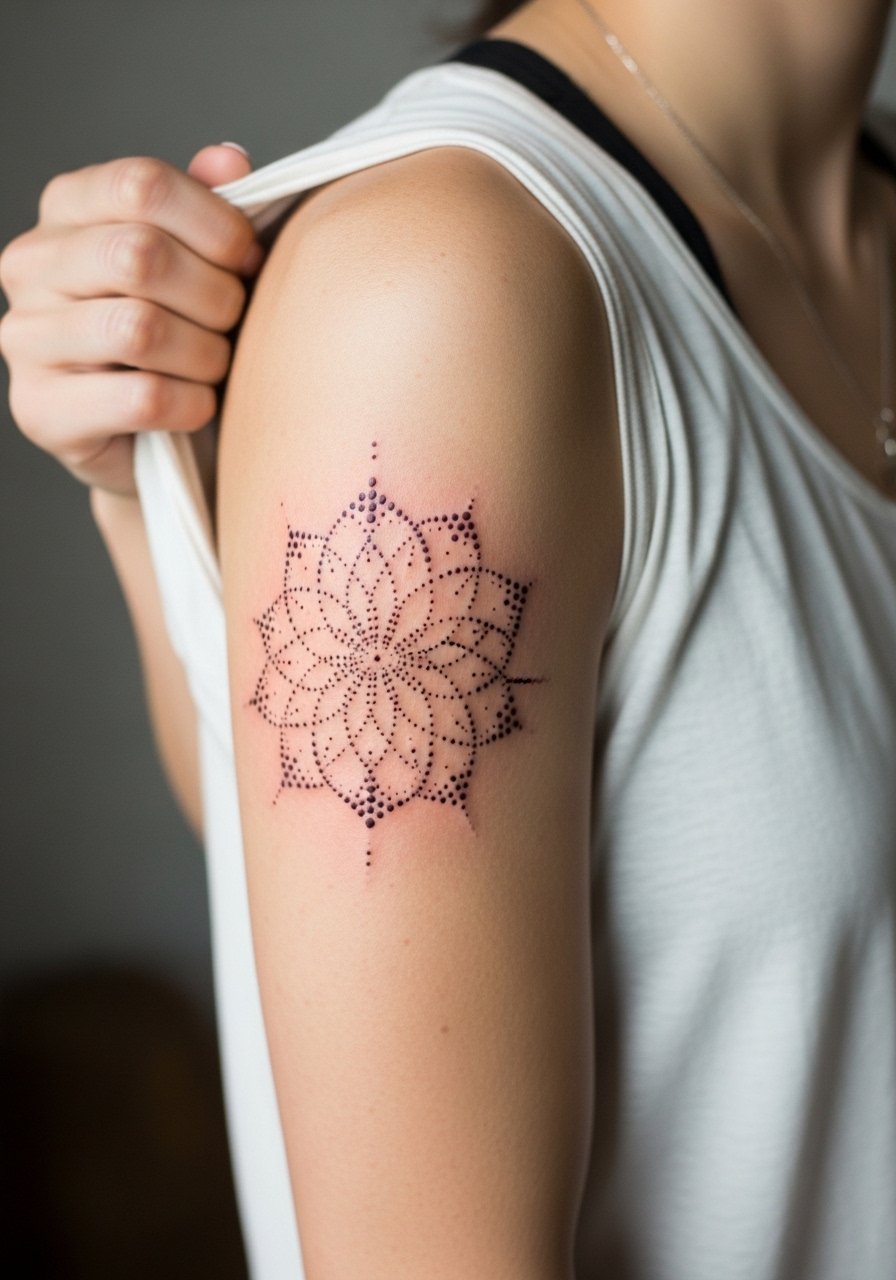
9. Geometric Dot Mandala on the Upper Arm
Most mandalas age well when scaled up slightly, so the dots keep spacing and do not merge. The main mistake is shrinking a dense mandala down into micro size. If you like the ornamental look, ask for open negative space in the center and gradual dot sizing outward. Sleeve-adjacent work likes sleeveless layers, so pair with a sleeveless kimono or tank when you want to show it. Upper arm skin holds saturation better than ribs, and touch-ups every few years keep dot contrast strong. Artists debate machine versus hand-poke here, and both camps have valid points about saturation and texture.
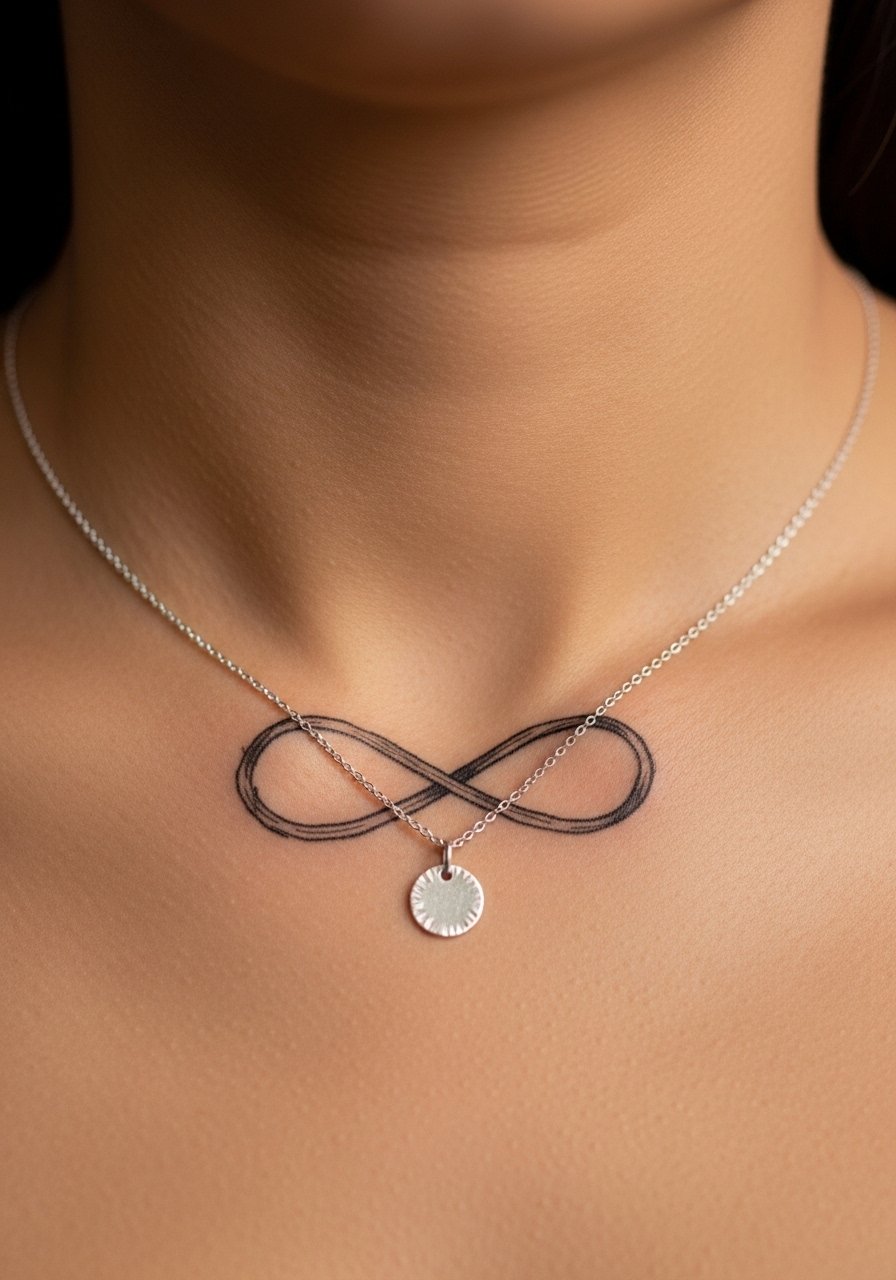
10. Sketchy Infinity Symbol Near the Throat
A small infinity at the collarbone or just below it is versatile. When placed too near the neck fold it can distort with movement. During consultation ask for a low-contrast weight and a soft sketchy finish rather than tight, machine-perfect loops. For showing this off, a thin chain pendant necklace sits just below the mark without competing. Expect minimal downtime and a touch-up at year three if you like the lines to stay sharp. If the piece sits near the throat be explicit about spacing during the stencil stage.
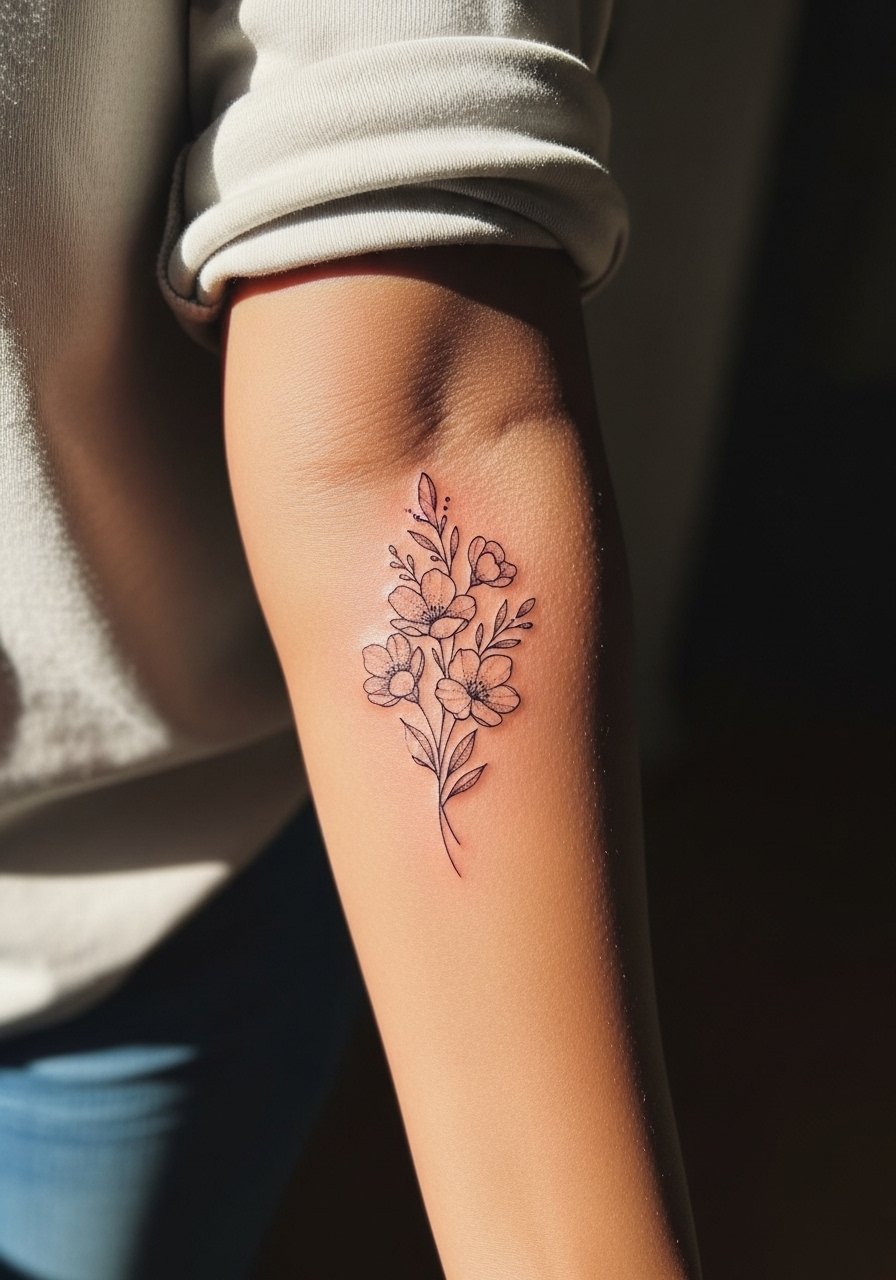
11. Tiny Floral Cluster on the Inner Forearm
I've seen clusters with loose petals age gracefully on the inner forearm when the artist avoids hairline shading in very small petals. Ask for defined petal edges and a touch of stipple shading to suggest depth without heavy fill. This placement pairs beautifully with rolled sleeves and a linen button down you can pull aside during the session. Expect a 30 to 45 minute visit and mild tenderness for a couple of days. Avoid insisting on micro-detail in a single sitting or the scabbing can hide delicate elements.
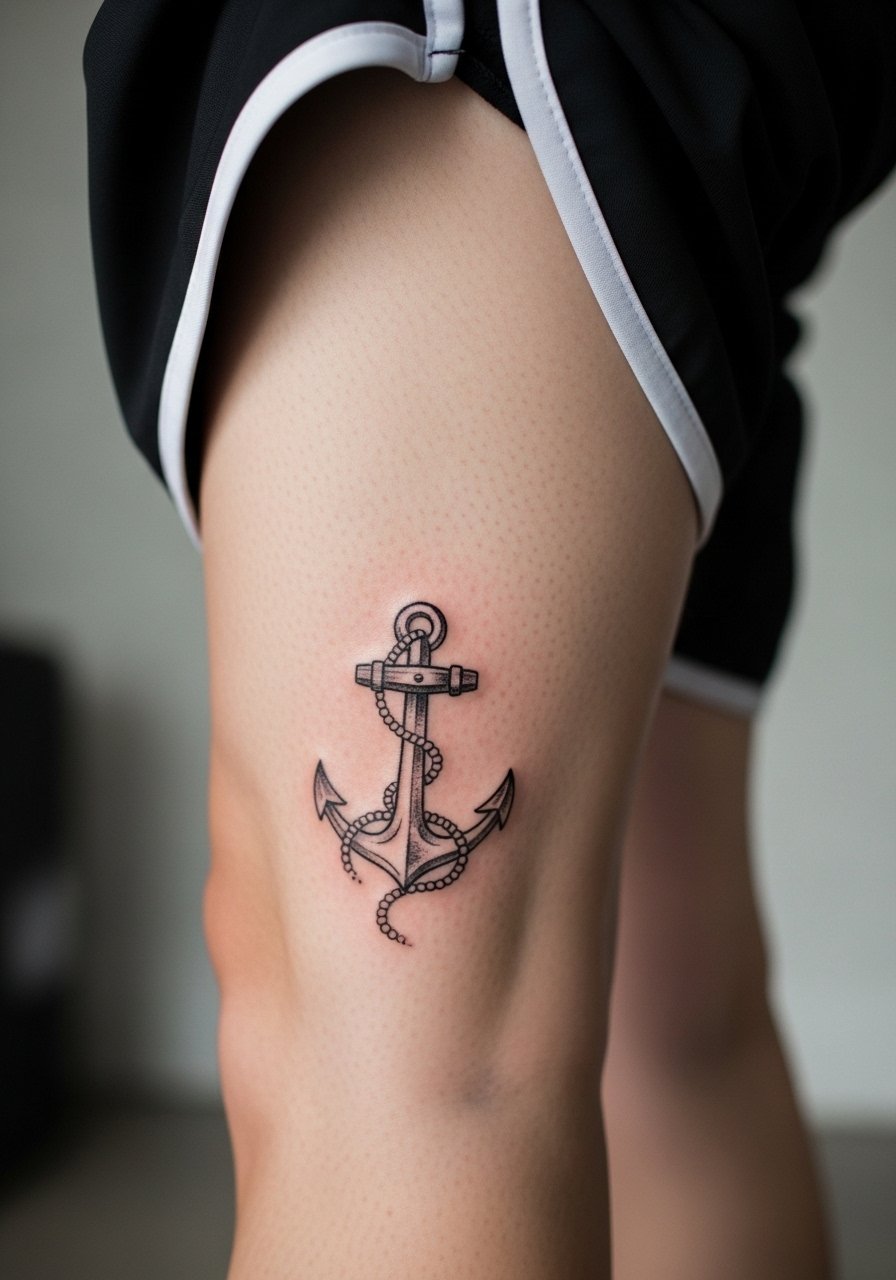
12. Hand-Poked Anchor on the Calf
Calf skin sits well for slightly bolder stick-and-poke shapes because the flesh supports saturation. One mistake is placing the anchor too close to the Achilles where movement and shoe pressure irritate healing. If you want longevity tell the artist to center it on the fuller part of the calf and to use clean, slightly heavier outlines. For casual show-off, pair the piece with athletic shorts so the anchor appears when you are active. Calf sessions are comfortable and often finish in under an hour.
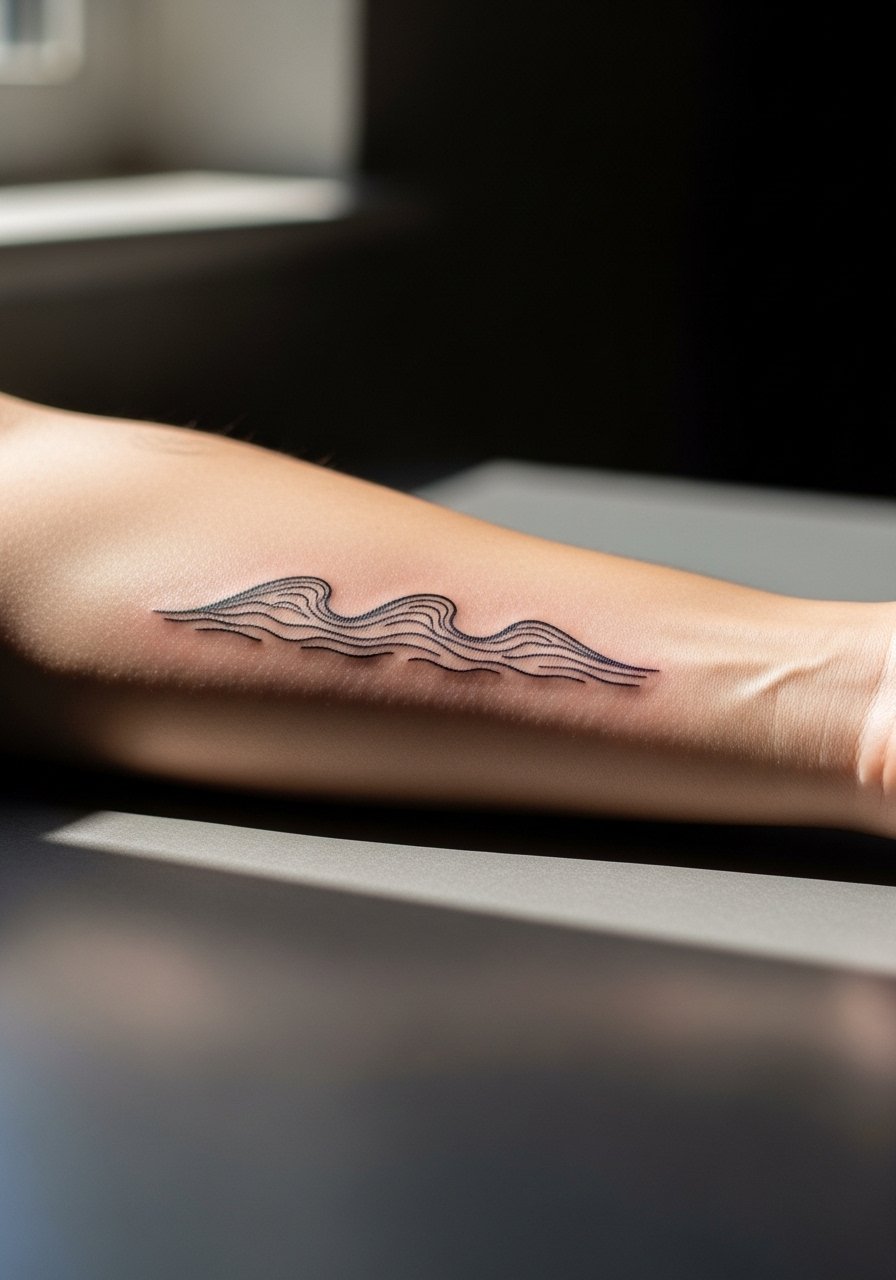
13. Wavy Line Horizon Across the Lower Forearm
Most horizon lines work best with a small amount of spacing to account for future blur. The lower forearm sees sun and friction which both affect black line density. A smart consultation request is to begin with a slightly looser sketch so that natural softening still reads as sky and terrain rather than a thick band. The session is low discomfort and usually finishes under 45 minutes. Expect a light touch-up at the two to three year mark if you want the crisp horizon preserved.
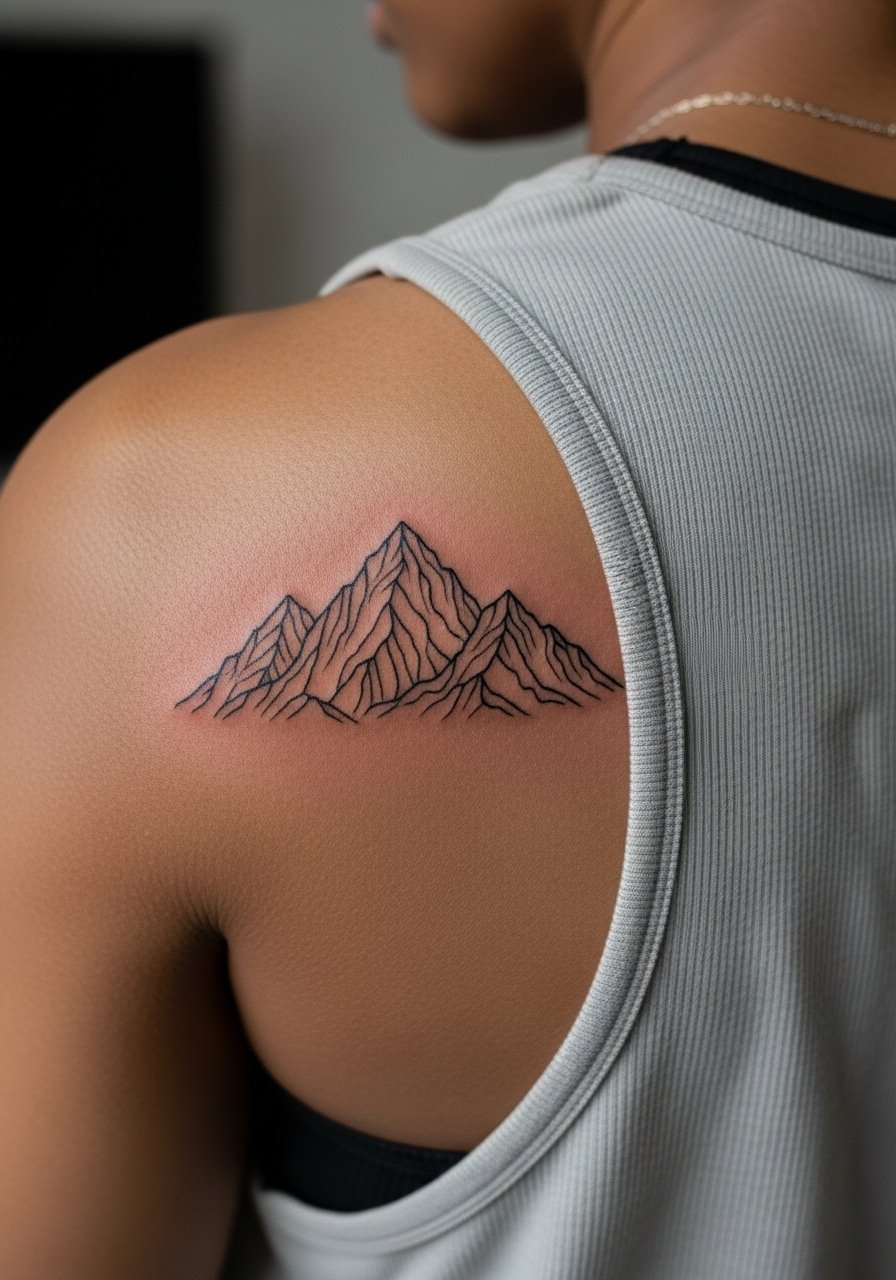
14. Sketchy Mountain Range on the Shoulder Blade
The shoulder blade gives a dynamic canvas for layered sketch lines that suggest peaks. People sometimes ask for too many tiny ridges which compress during healing. Ask for bold primary ridgelines and minimal internal detail, the rest reads from negative space. Session wear should be a loose tank top so you can shift fabric without pressure on the area. Shoulder blade work is moderate on pain and often heals with predictable line migration if the artist uses slight spacing.
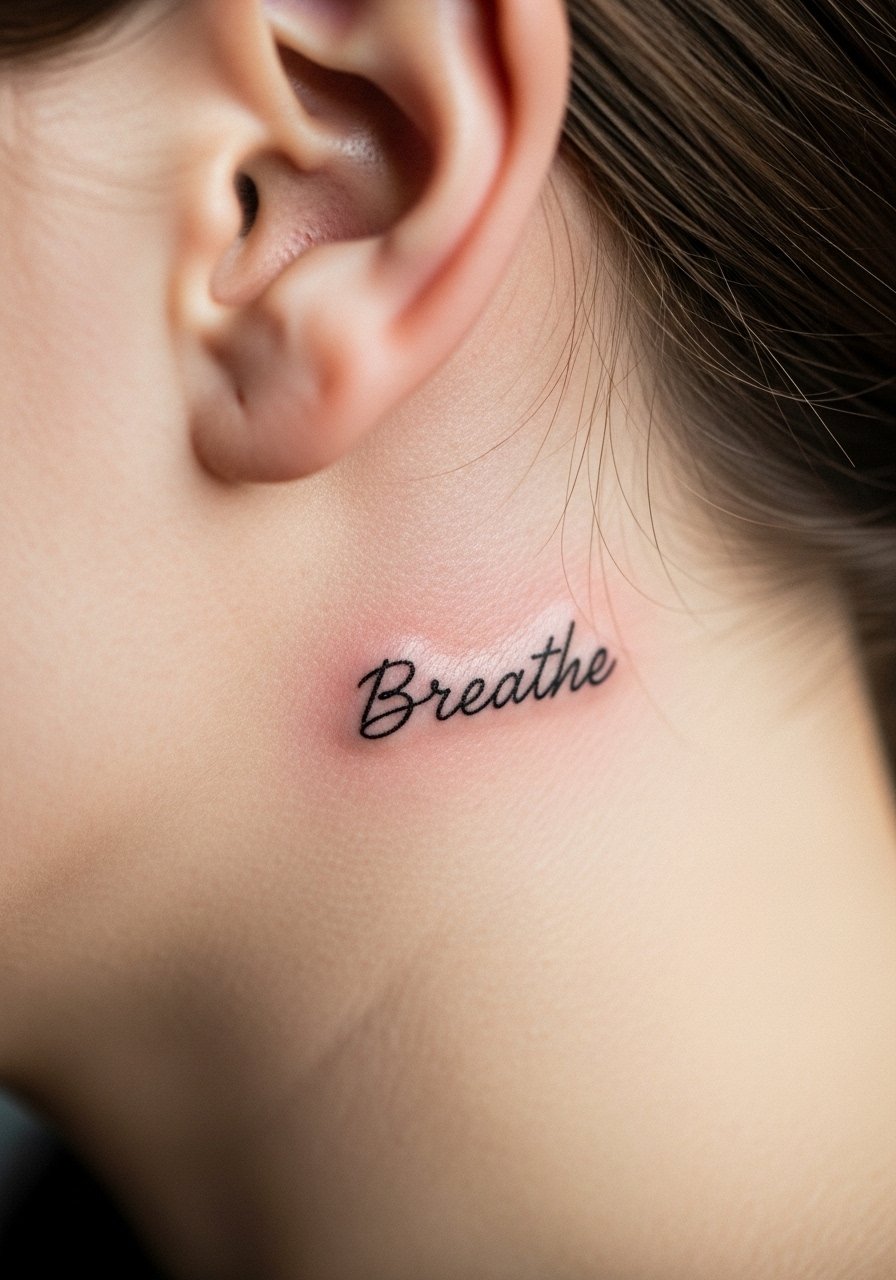
15. Micro Script Word Behind the Ear
Behind-the-ear placements look intimate and tiny script here needs clear spacing. For safety the image should show the area as just below the hairline on the neck, and note that the skin is delicate and moves a lot. A common regret is choosing tiny ornate lettering that becomes illegible. Pick short, bold characters or very thin script that is spaced generously. This area can affect perceived professionalism in some fields, so consider career context before committing. Sessions are short but the spot hums with sensitivity.
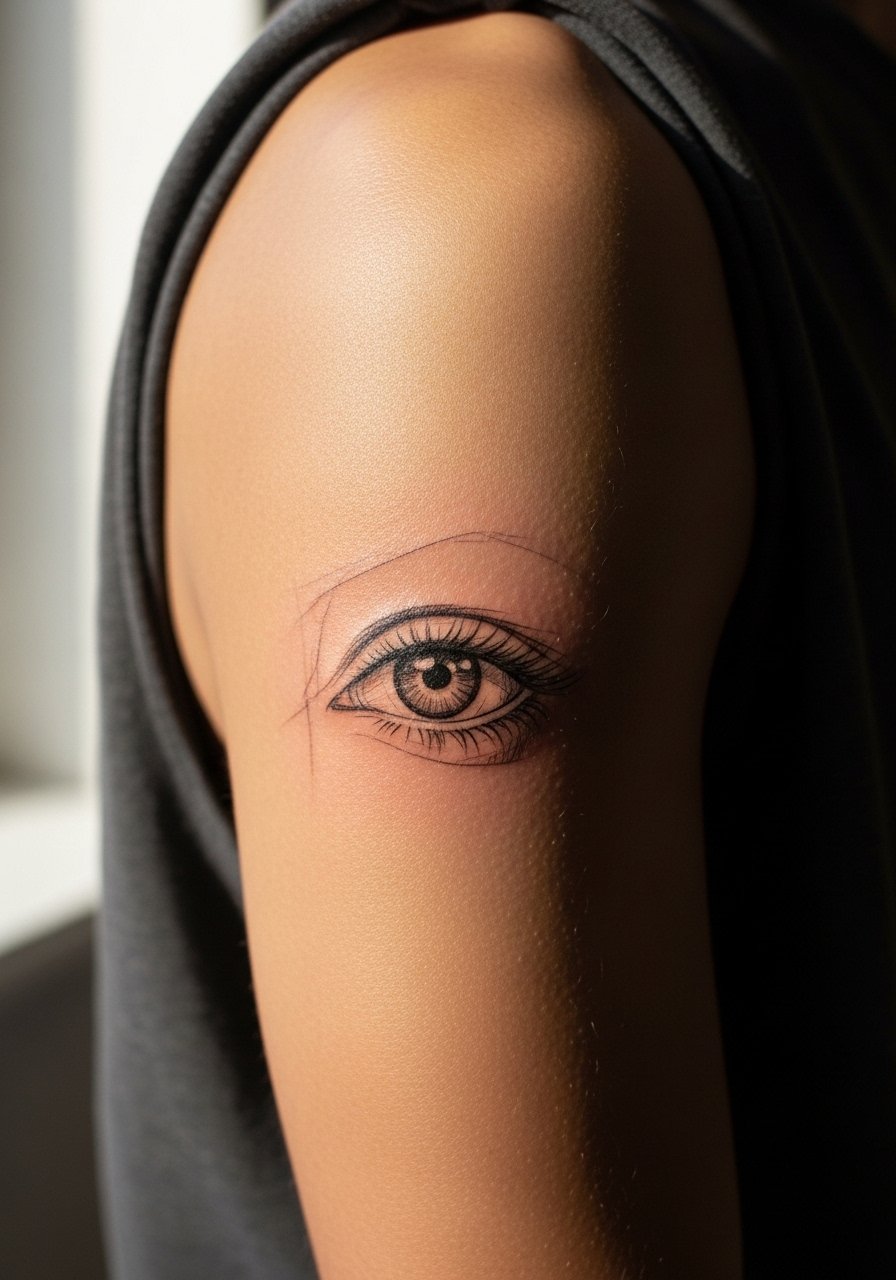
16. Single Line Eye on the Outer Upper Arm
A single-eye sketch reads striking on the outer upper arm when sketched with a hint of stipple for depth. The mistake to avoid is asking for overly dense fill inside the eye which looks like a smudge when healed. Tell the artist you want a single-pass outline and light stipple in the pupil area. For session comfort wear a sleeveless tee so the arm moves easily. Healing is straightforward and touch-ups are usually cosmetic rather than structural.
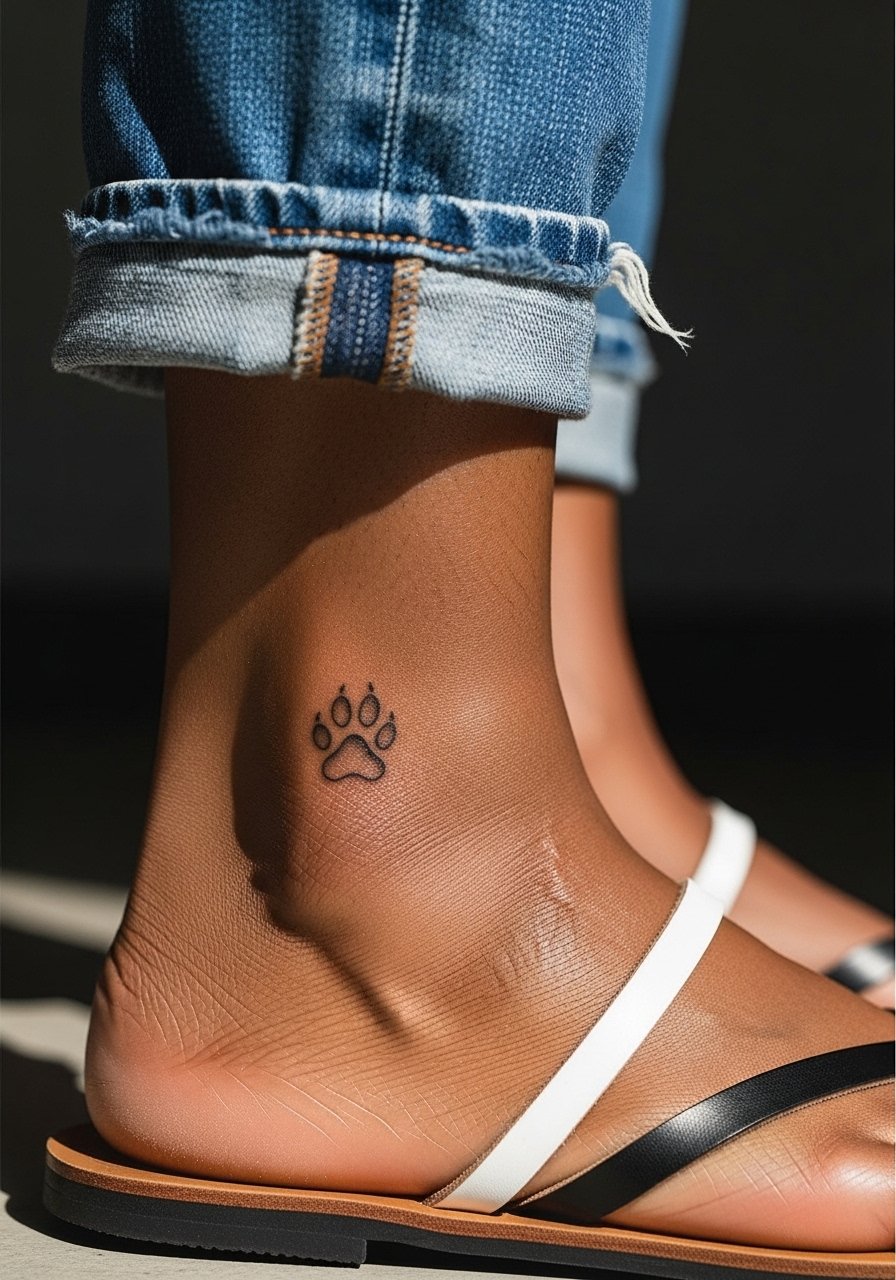
17. Minimalist Pawprint Near the Ankle
Pawprints look honest and simple at the ankle if the pads are spaced with small negative gaps. Tiny pads pressed too closely will blend over time. If the tattoo honors a pet, be explicit about pad size during consultation to keep the paw readable. For visibility wear strappy flat sandals or cropped pants that show the ankle. The session is short and most people report only a sharp twinge when the needle hits the bone edge.
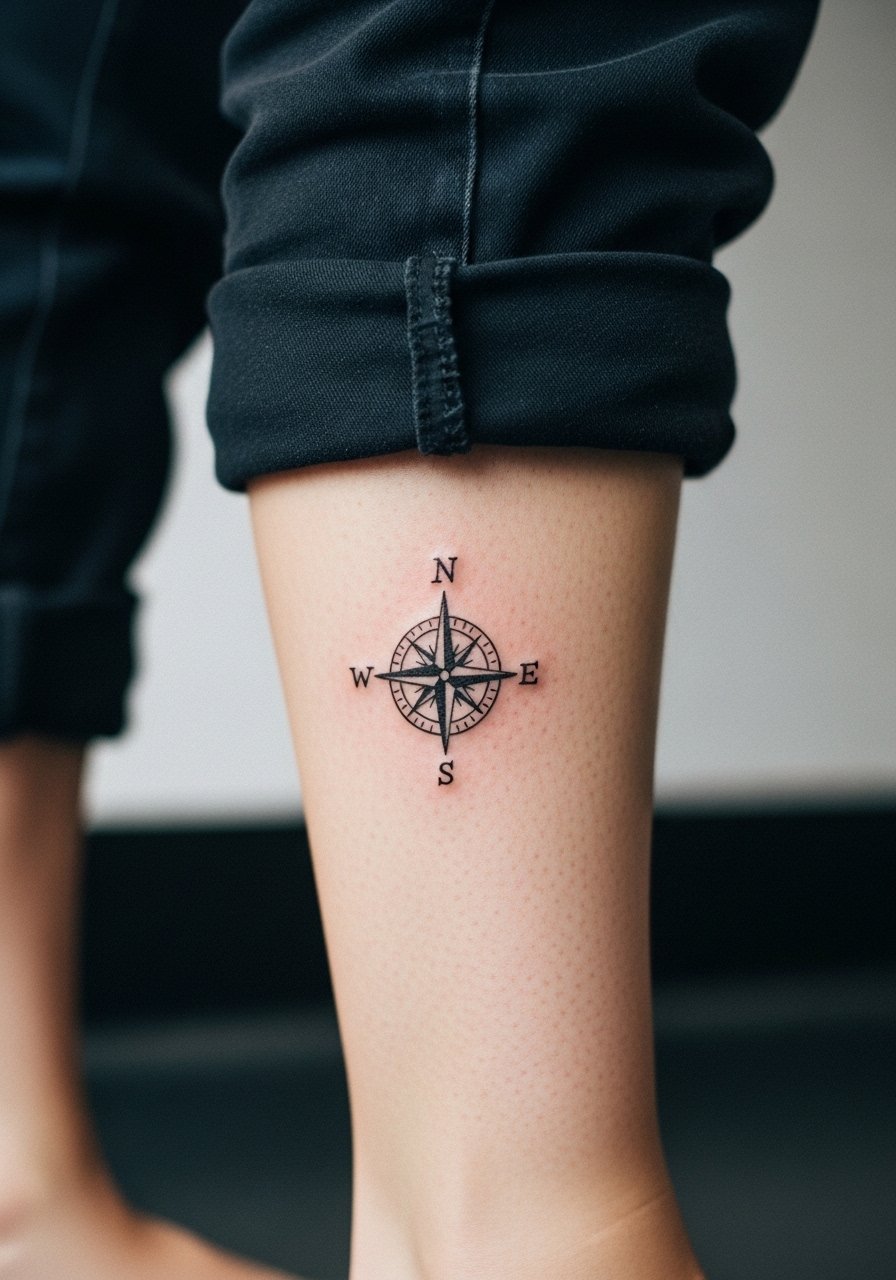
18. Hand-Poked Compass on the Calf Inner Side
A compass benefits from clear cardinal points and slight spacing between detail rings when placed on the inner calf. People sometimes cram tiny symbols into the ring which makes the center murky later. Ask for simple tick marks and a bold north point. Calf skin tolerates the work well and touch-up is straightforward if you want sharper contrast later. Sessions are comfortable and finishing a small compass usually falls under an hour. Keep in mind the inside calf sees friction from pant seams, so wear looser bottoms while healing.
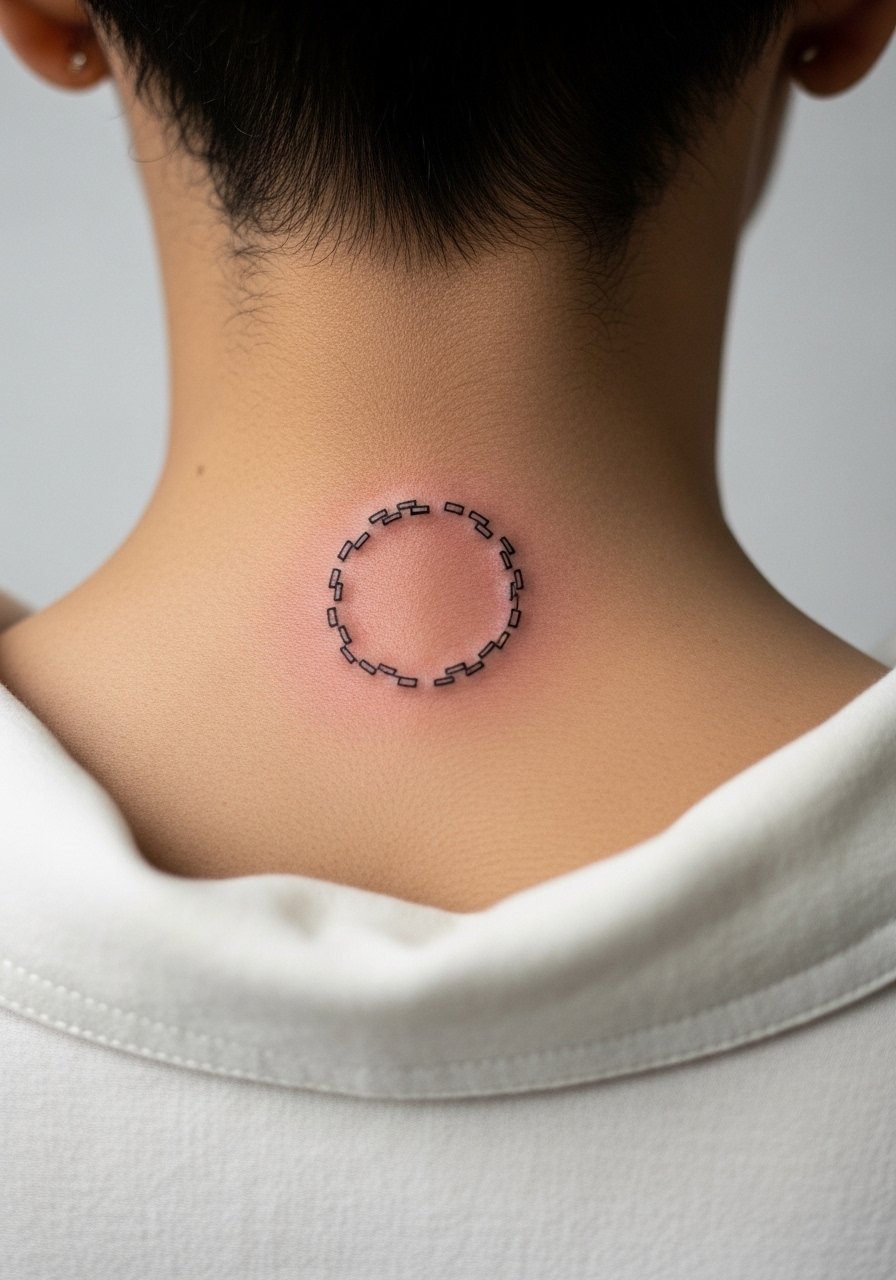
19. Broken Line Circle on the Nape
Neck placements require care and specialized technique because of movement and exposure. For safety the image should show the area framed by a wide-neck shirt pulled slightly aside. A broken line circle can be elegant if the gaps are deliberate rather than accidental. The common mistake is making the gaps too narrow which turns into indistinct splotches over time. Ask the artist to map the gaps with a stencil while you move your head so the rhythm reads in motion. Keep in mind some workplaces still react to visible neck tattoos.
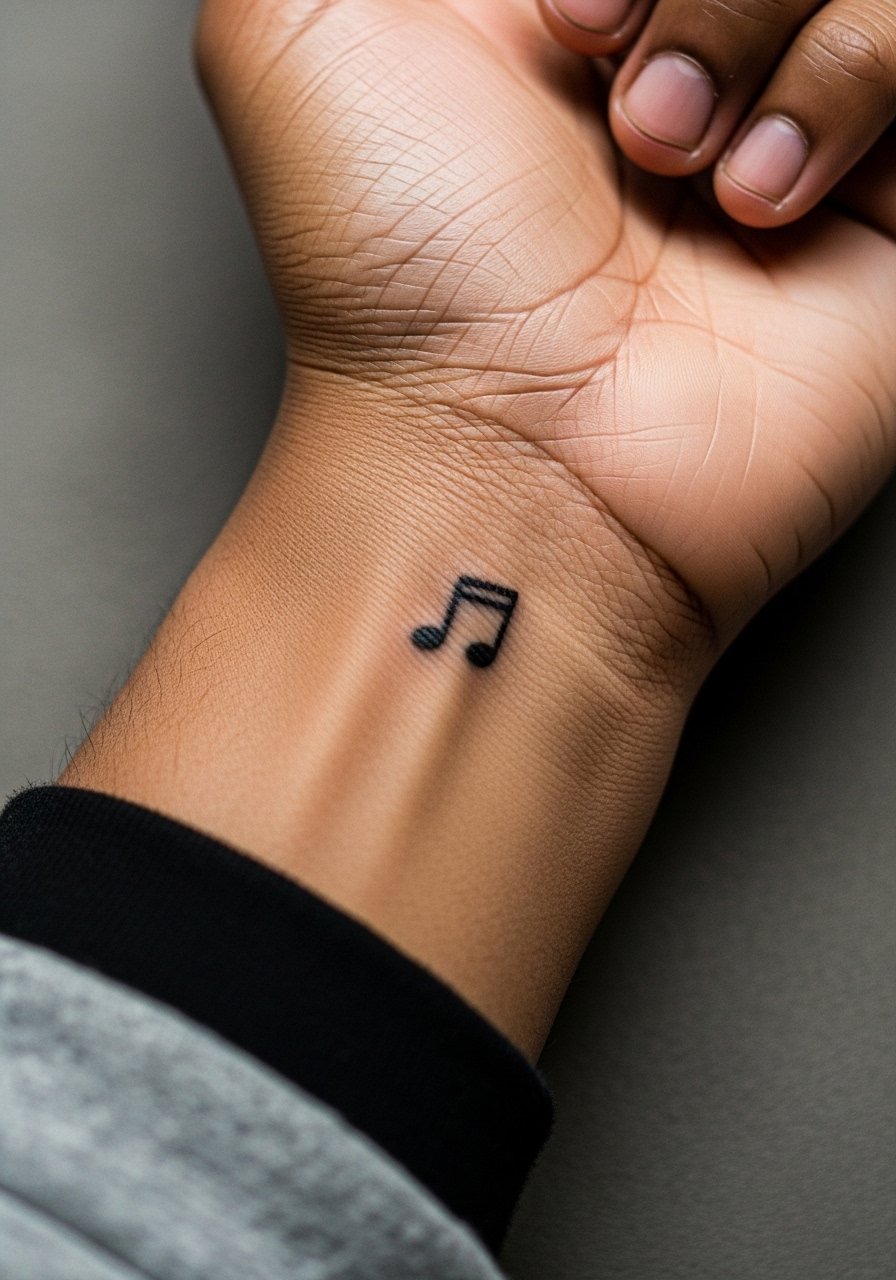
20. Tiny Music Note on the Inner Wrist
The inner wrist is ideal for a single music note because it sits where people glance often. The mistake is placing the stem too close to the wrist crease which can distort with movement. Ask the artist to place the note just above the crease and use a slightly bolder stroke for the flag. The session is very short and healing is predictable although frequent hand washing may dull contrast. Plan for a small touch-up if you want the note to stay as crisp as it is fresh.
21. Simple Key Outline on the Inner Forearm
Clients often pick key outlines for symbolic closure and the inner forearm is forgiving of sketchy contour. A real error is asking for a flurry of internal filigree in a tiny key. Ask for a clean silhouette with a small notch or dot for character. For session convenience wear a linen button down so the sleeve pulls up cleanly. Expect a short session and mild tenderness. Keys benefit from occasional touch-ups to keep the cutouts from filling in.
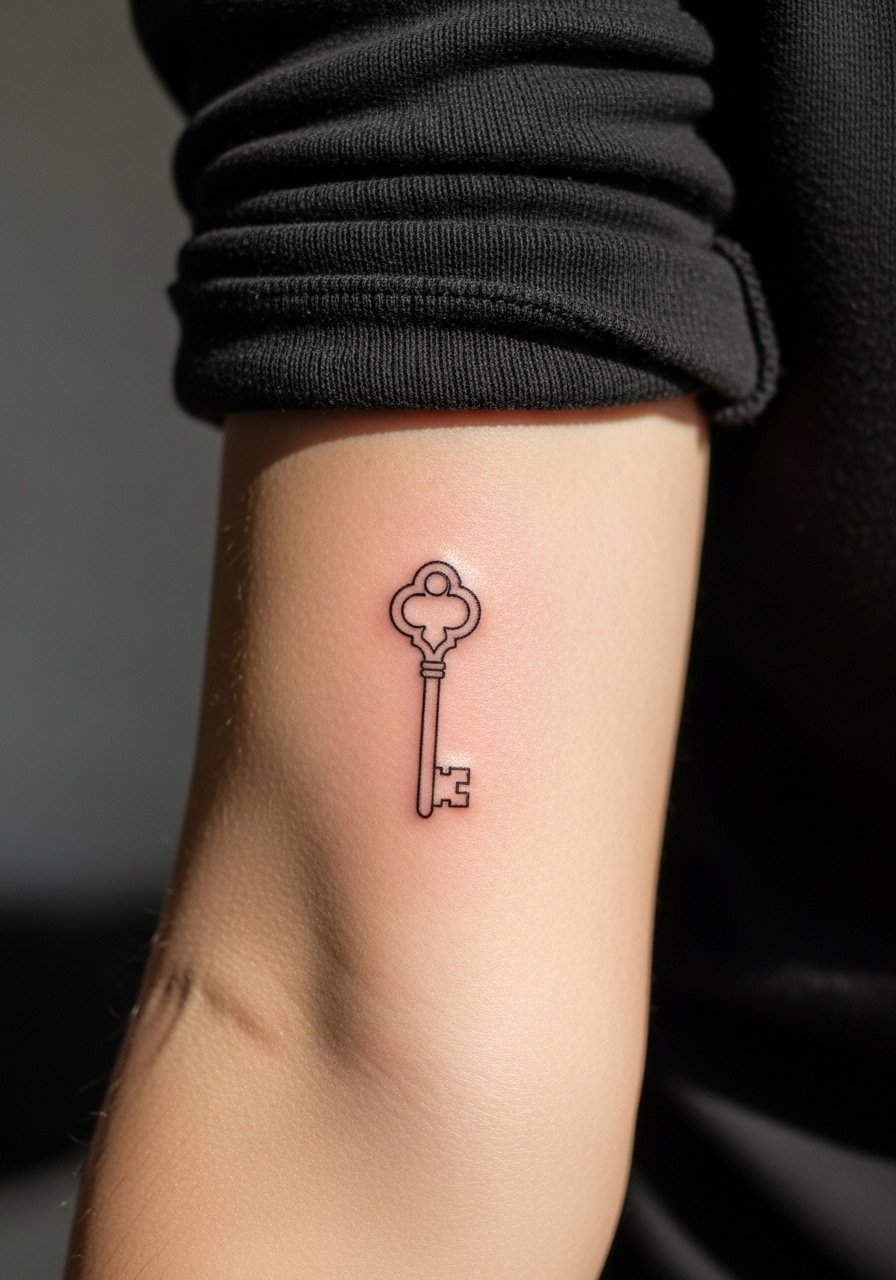
22. Crescent with Dot Cluster Around the Ankle
A crescent with a few well-spaced dots reads like a tiny constellation when wrapped around the ankle bone. The common mistake is stacking too many dots into a narrow band which creates a gray area after healing. Tell your artist to stagger the dots and keep at least a hairline gap between each. For summer wear pair this piece with cropped wide leg pants or sandals so it shows. Sessions finish fast and touch-ups are cosmetic.
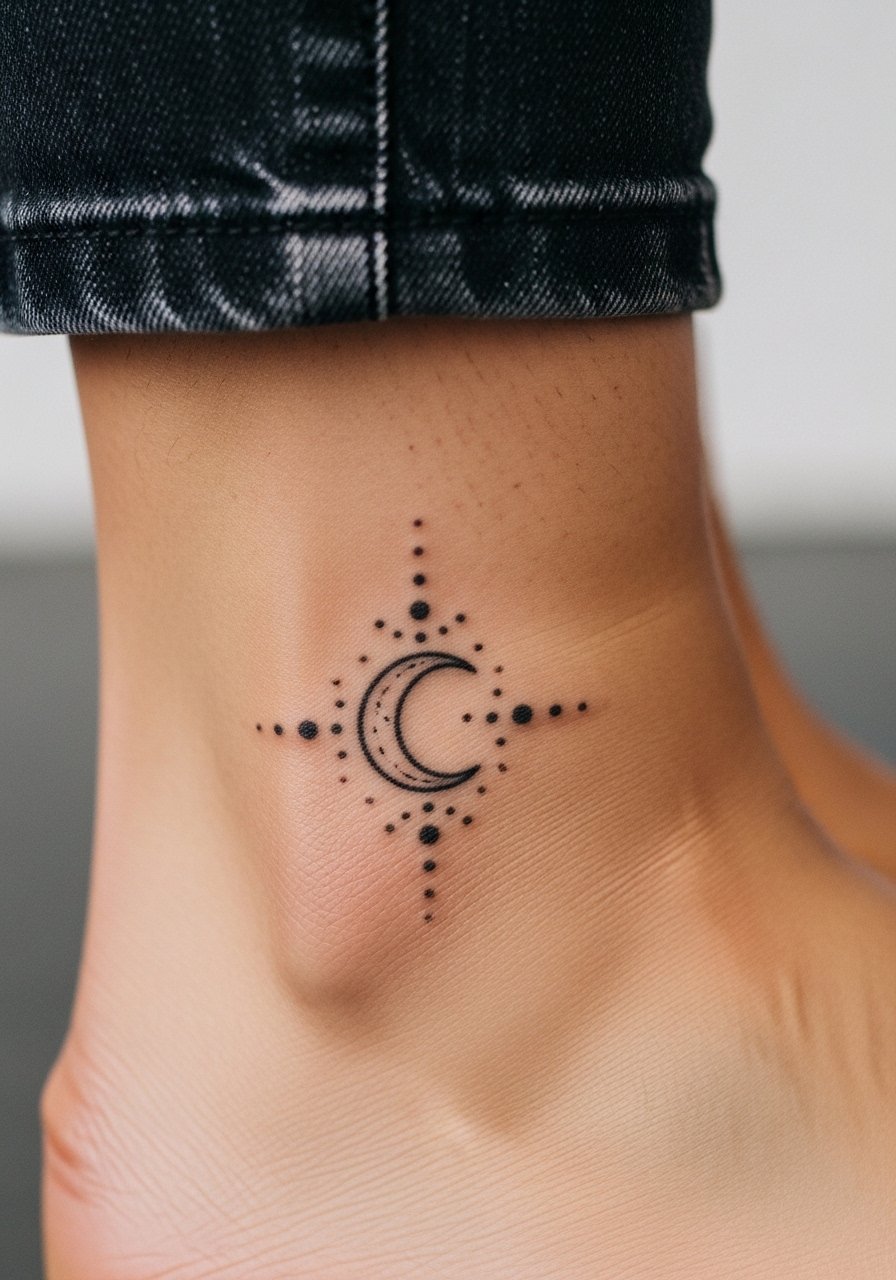
23. Micro Geometric Cube on the Shoulder
A tiny geometric cube sits clean on the shoulder if the faces are spaced to avoid merge. People sometimes want micro cornerwork which blurs, so request slightly larger edges with crisp negative space. Shoulder work tolerates a touch of extra saturation better than thin regions. The session is low discomfort and most of the aging concerns are UV exposure so keep the piece covered in sun-heavy seasons. Frame the area with tops that allow the artist easy access during the appointment.
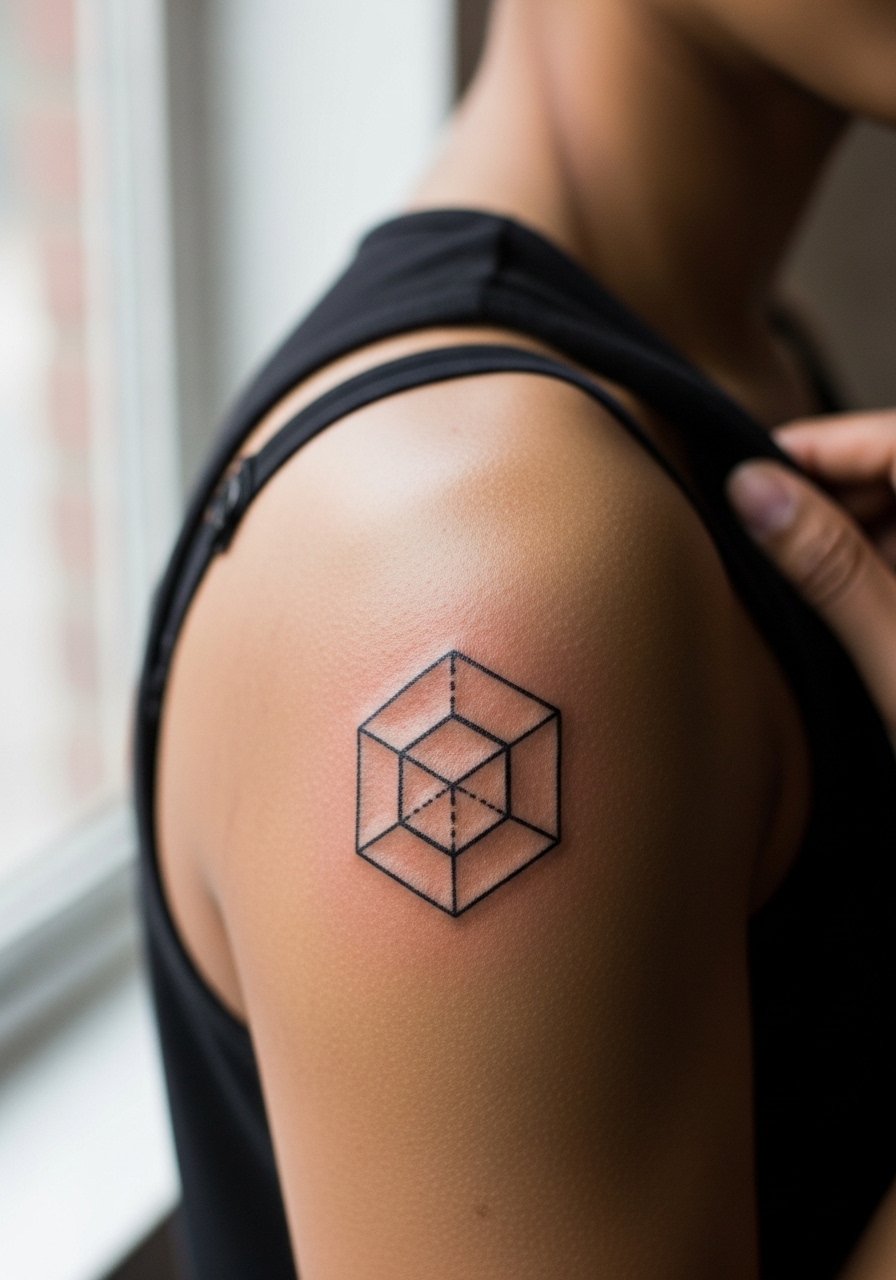
24. Sketchy Paper Plane on the Thigh
Paper planes look playful and travel-friendly on the thigh because the skin gives them room to breathe. The common issue is crowding the plane with motion lines in very small sizes. Ask for a single path of motion and let the negative space do the rest. For session wear choose a flowy midi skirt or loose shorts so the artist can access the area without fabric pressure. Thigh work heals predictably and often requires only minor color or line refreshing.
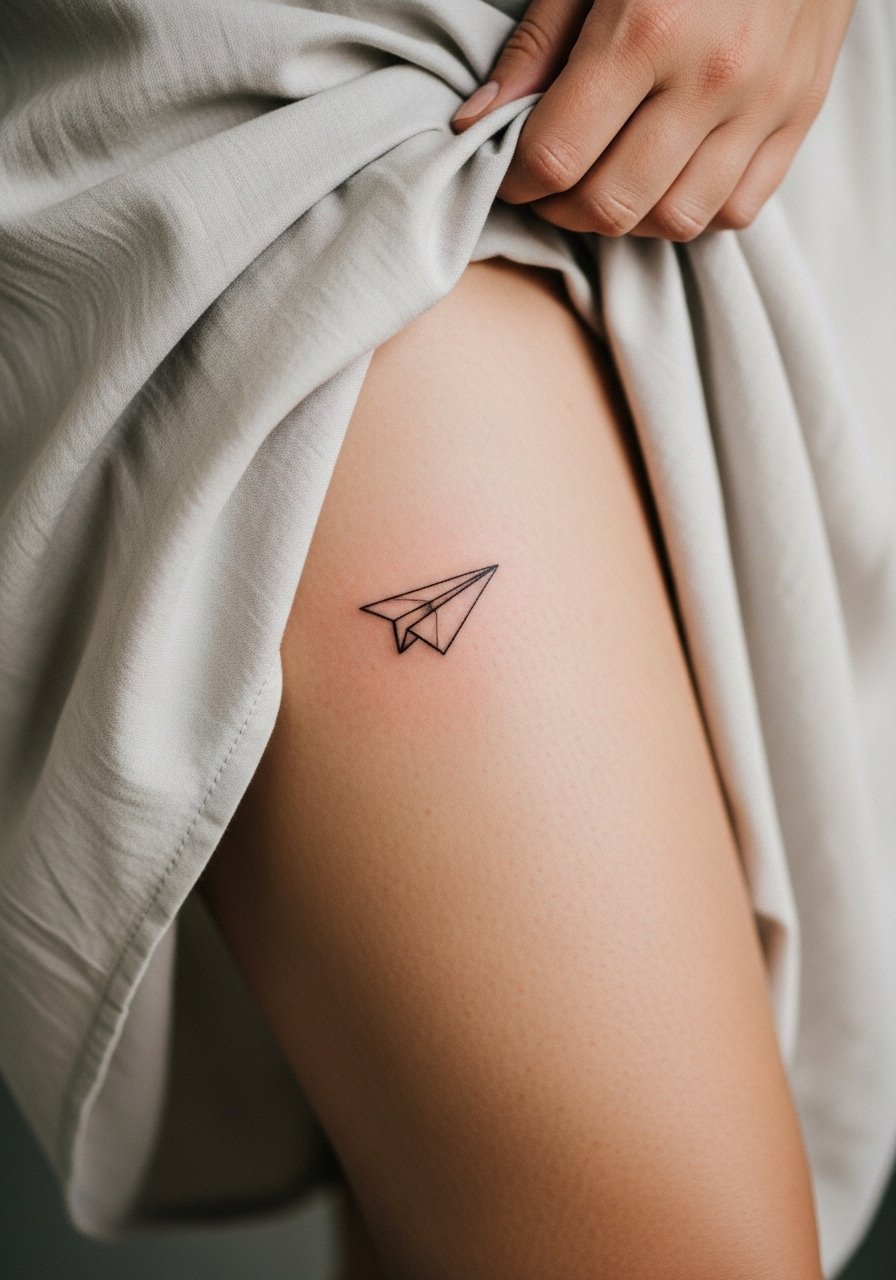
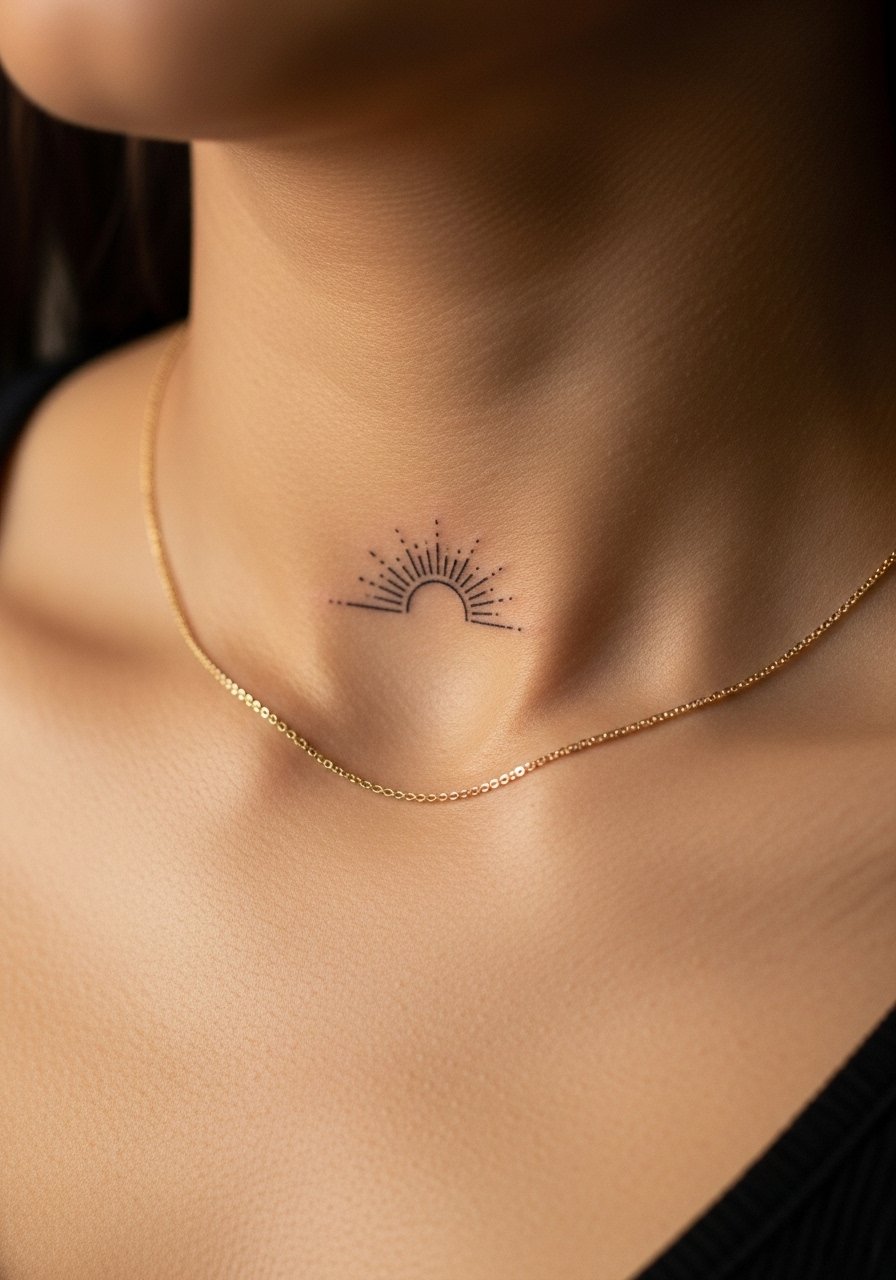
25. Tiny Sunburst Near the Collarbone
A small sunburst above the collarbone makes for a subtle highlight that pairs with layered necklaces. The error is asking for ultra-fine rays that vanish; instead request thicker primary rays and a few faint secondary dashes. For wearing it casually a thin chain necklace sits below the mark and keeps attention balanced. The area tolerates light touch-ups and usually heals in a few days with standard care.
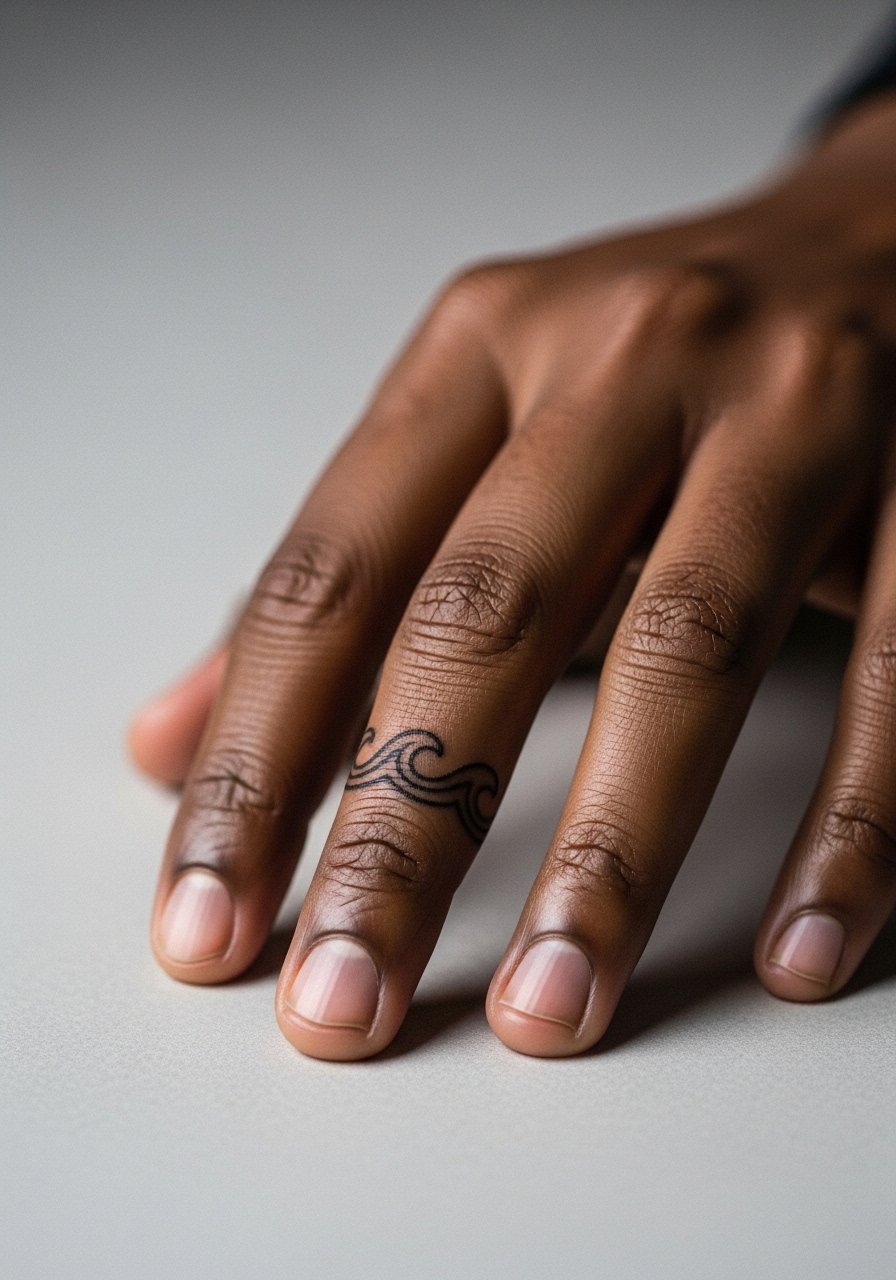
26. Minimalist Wave Band Around the Finger
Finger bands are great for tiny wave motifs but they face rapid friction and frequent touch-up needs. If you want longevity ask for slightly wider linework and expect the piece to require a refresh within a couple of years. The session is sharp and short. Avoid placing the band across a knuckle as movement will distort the lines quickly. Many people treat finger tattoos like semi-permanent jewelry because of the refresh rhythm.
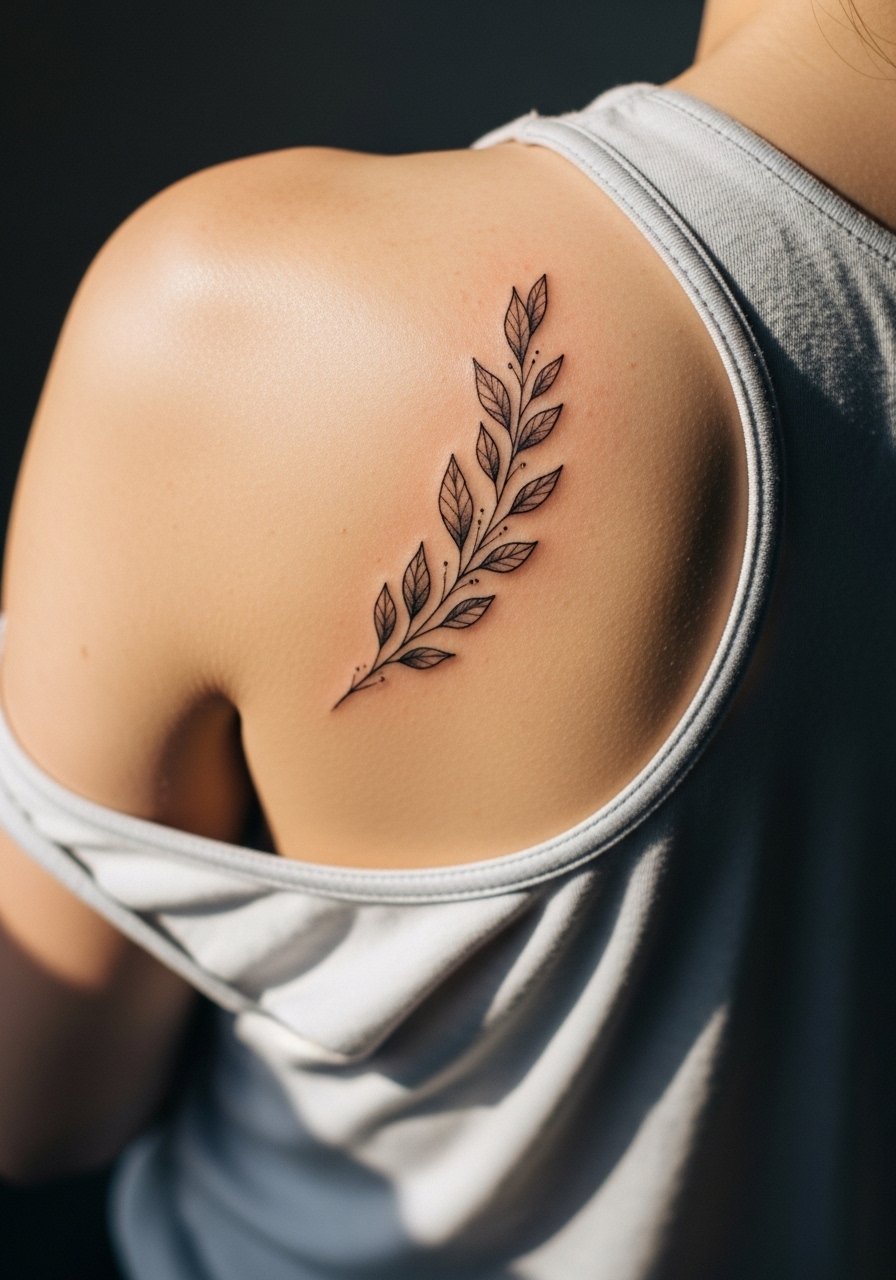
27. Tiny Leaf Sprig on the Shoulder Blade
A sprig on the shoulder blade reads well with a few open leaves and a light stipple stem. The typical mistake is requesting dense veining in small leaves which disappears during healing. Ask for simple leaf shapes and let small stipple marks suggest texture. For the studio wear a loose tank top that you can shift without rubbing the fresh ink. Shoulder blade placements age well if kept out of strong sun and given a small touch-up when lines soften.
Frequently Asked Questions
Q: How do sketchy stick-and-poke lines usually age on wrists and fingers?
A: From what I've seen, wrists hold sketchy lines reasonably well if the artist uses a touch more weight up front and leaves breathing space. Fingers endure the most abrasion so expect faster softening there and plan for touch-ups within two years. Stretching the skin during the session and asking for slightly thicker strokes helps the lines remain readable longer.
Q: Is hand-poked safer than machine for small minimalist designs?
A: Artists and communities split on this. One camp prefers hand-poke for its texture and uneven line character. The other prefers machines for consistent saturation and long-term clarity. Safety depends less on tool and more on sterilization, spacing, and the practitioner's experience. If you lean toward hand-poke, ask how they sterilize and how they stretch skin during the process.
Q: What should I wear to a ribcage or sternum session to make the appointment easier?
A: Wear a fitted sports bra or a cropped top that you can lift slightly so the artist only sees the area they need. A loose button-up can also work if you can lift the side without feeling exposed. For collarbone or shoulder blade work a loose tank top usually does the trick.
Q: Why did my small sketchy tattoo scab heavily and itch so much?
A: Overworking the skin and heavy layering in a single session often cause excess trauma which leads to thicker scabs and itch. Keep the area clean, avoid picking, and follow simple hygiene steps. If you notice unusually red or swollen signs beyond normal healing, check in with a pro.
Q: Where do I find authentic stick-and-poke artists without relying on machine fallback?
A: Try searching hashtags like #stickandpoke and #handpokedtattoo with your city on social platforms, browse dedicated tattoo directories, and check Reddit communities for guest spot recs. Look for portfolios that show consistent healed photos of hand-poked work so you can see real outcomes rather than fresh flash.
Q: Do I need to plan for touch-ups with sketch-style pieces?
A: Yes, plan on touch-ups as part of the process, especially for very fine or high-friction placements. Many people refresh sketchy pieces at year two or three to restore crispness. Talking about realistic touch-up timelines during your consultation will help set expectations.
