
The tattoos that look sharp online often tell a different story in the chair. Fine line scripts and photo-real portraits trend because they photograph well, but their longevity depends on placement more than style. I have sat in consultations at five shops across Brooklyn and watched the same choices lead to small regrets. These ideas start with that reality and aim to give you memorial ink that reads honest for years.
1. Fine Line Name on the Inner Forearm
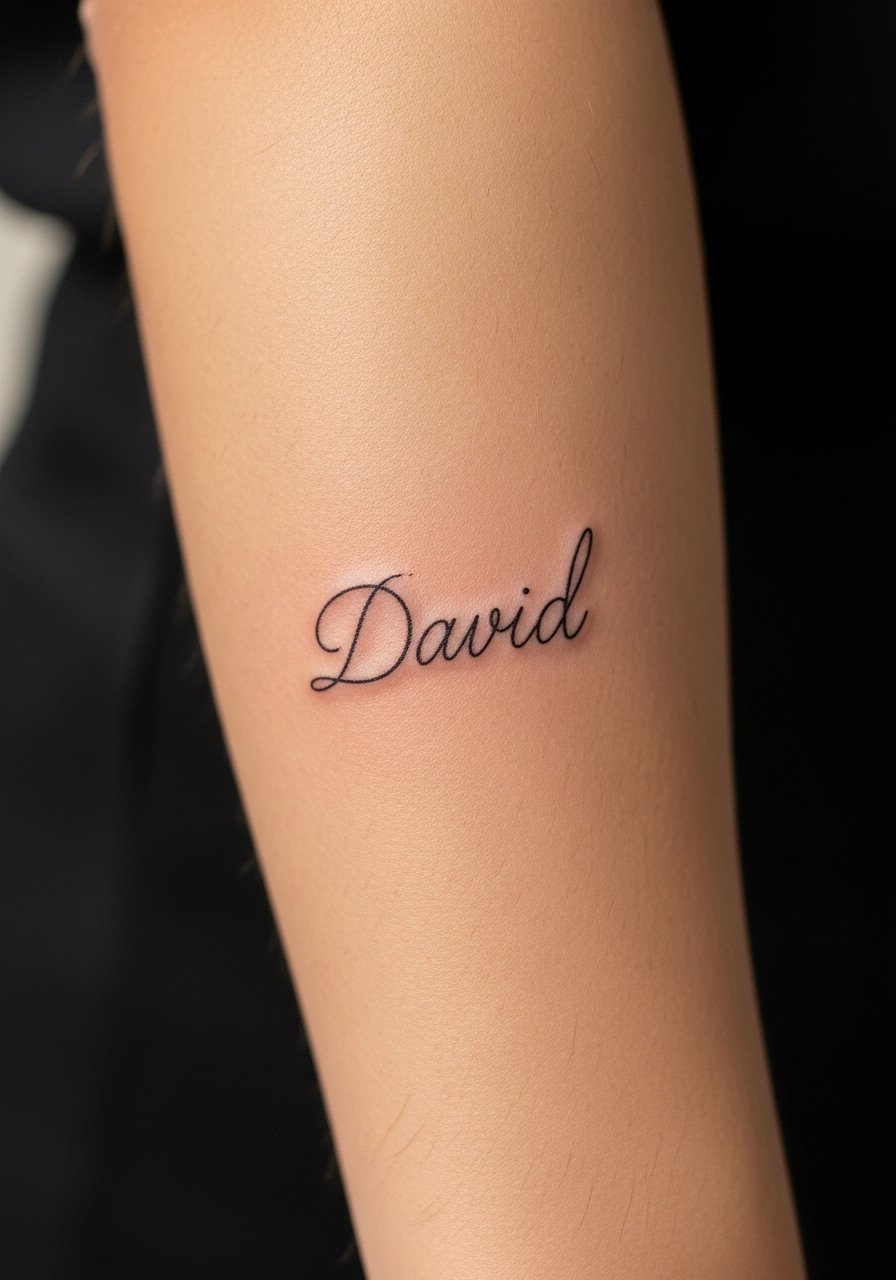
I have seen this one sit on forearms for years and still read clearly when the artist keeps lettering narrow but not paper-thin. Tell your artist the exact height of the letters you want and ask for slightly stronger hairlines near joints. Fair warning, small script too close together will blur faster because the skin on the inner forearm moves a lot. Expect a light touch-up around year three for very fine scripts. For showing it off, roll up a linen shirt sleeve or wear a thin chain bracelet so the script sits in the visual gap.
2. Portrait Micro-Realism Over the Heart
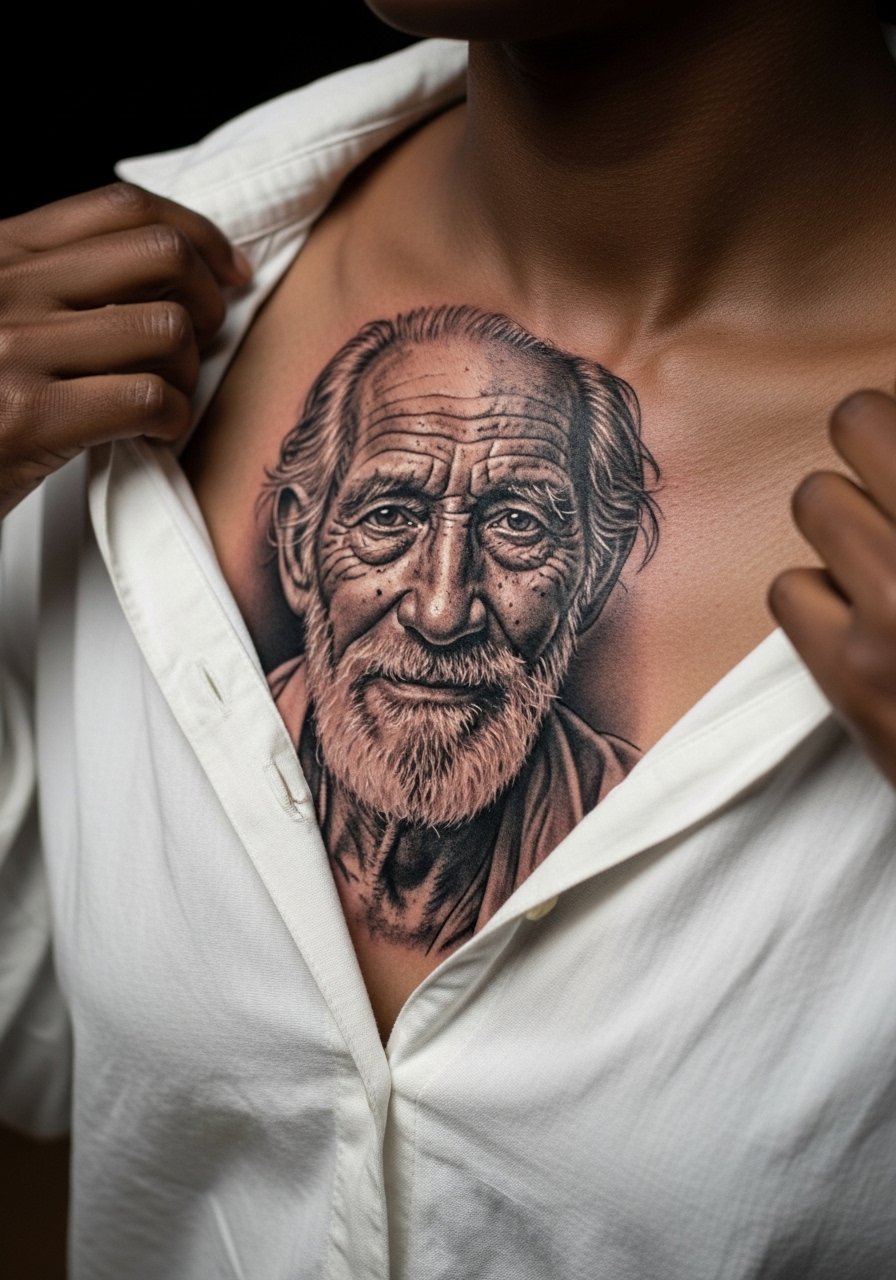
Fair warning, chest skin shifts with breathing and portrait detail can soften faster than you expect. One camp insists hyper-real portraits belong only to very experienced artists because the subtle gradations demand exact needle depth. The other camp argues that with the right stencil placement and a controlled session the portrait can age well. Tell the artist you want slightly bolder midtones in places that will experience movement. Sessions feel like longer sits because artists work slowly to avoid overworking the tissue. Plan on a touch-up at year two or three depending on exposure.
3. Blackwork Father-Child Silhouette on the Shoulder Blade
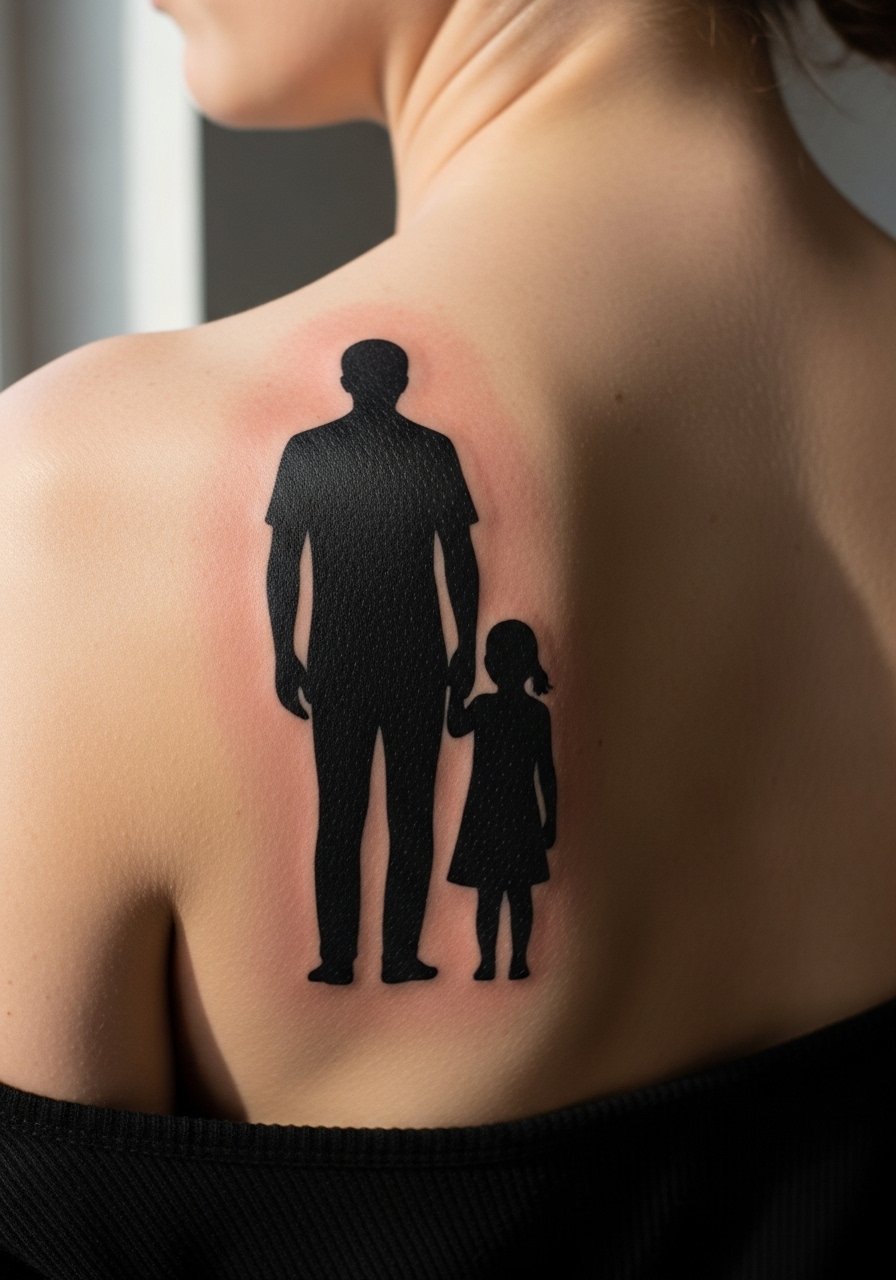
Most shoulder blade silhouettes hold up because the canvas is broad and the skin is stable. When I see silhouettes go wrong the line edges are feathered or the fill is patchy from rushed saturation. During your consultation, ask for even saturation and a small safety margin between silhouette elements. This placement feels like a three to four on the pain scale. For evenings or photos, an open-back top frames the piece without competing with it. If you plan a larger back piece later, discuss how this silhouette will fit into future work.
4. Coordinates on the Ribcage
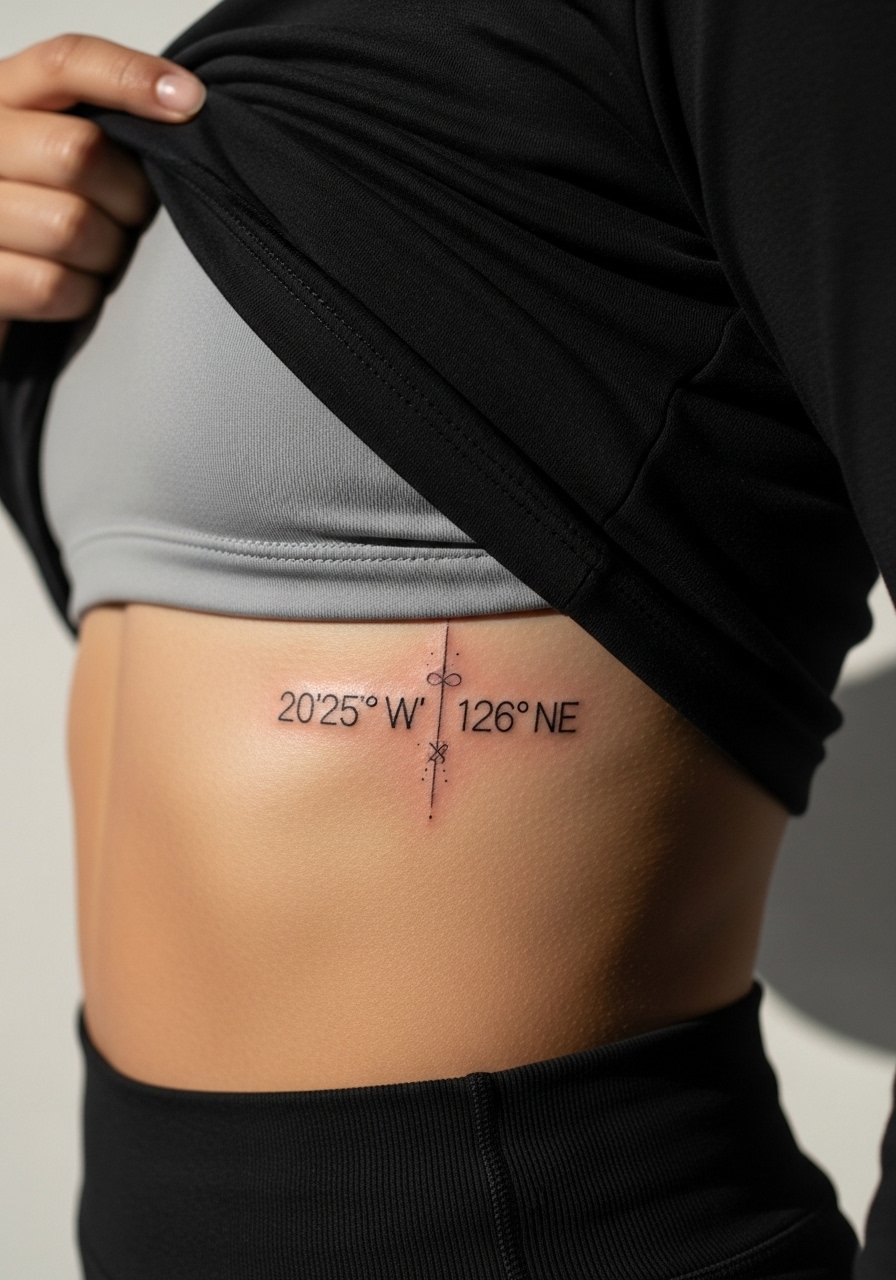
There is real debate over fine line work on ribs. One camp says the constant stretch and thin skin make lines merge into blur within a couple of years. The other camp says careful needle depth and slightly increased spacing solve that risk. If you choose the ribs, ask for a spacing plan and agree on letter height before the stencil goes on. Expect the session to be on the tougher side for pain, and plan short, focused sitting intervals. Coordinates look great small and discrete, but plan on a touch-up sooner than on the forearm if you want the lines to stay crisp.
5. Hobby Icon on the Calf
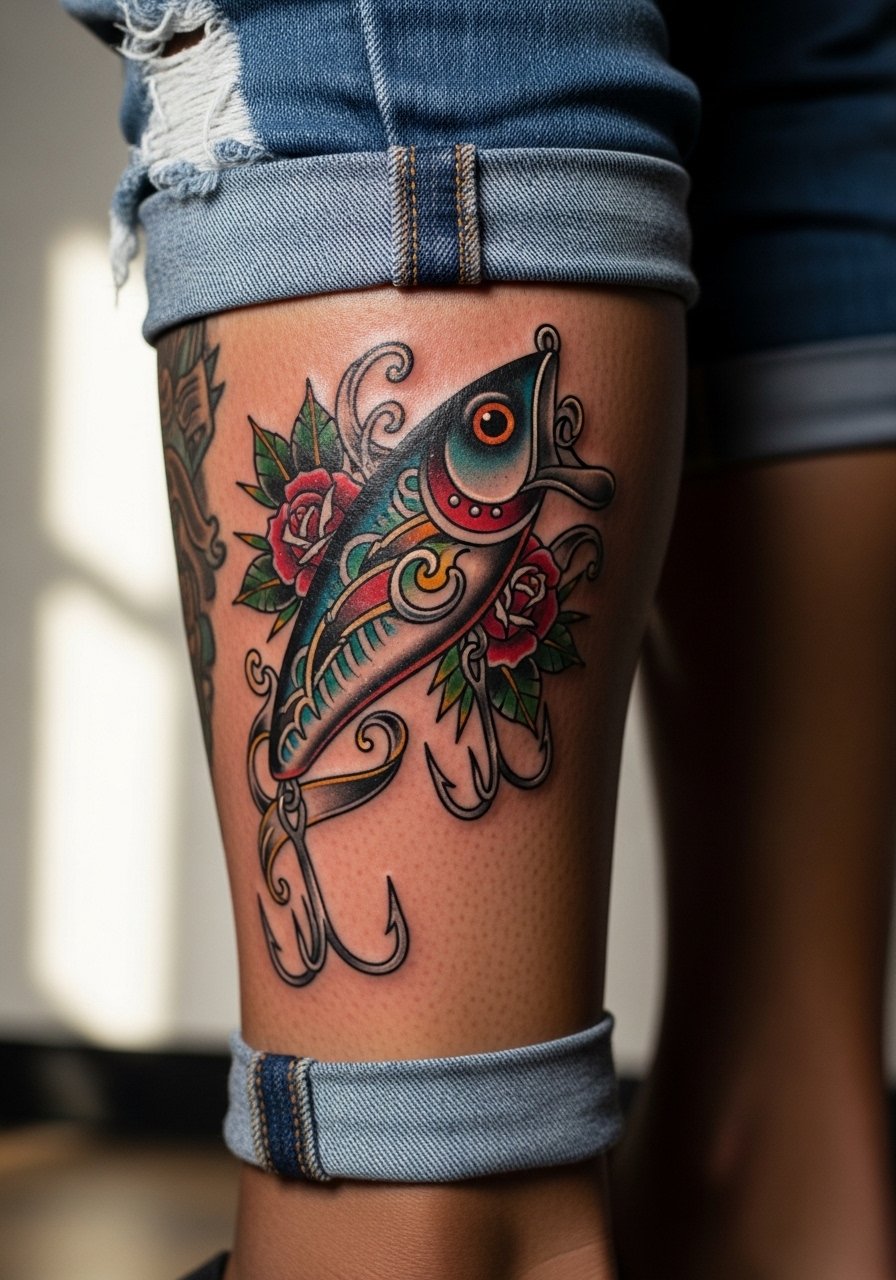
There is something about a small object tied to a memory that keeps the intent clear. For calf placements the skin takes saturation well, so color and bold outlines age into a handsome patina. A common mistake is adding too many tiny details that vanishingly merge as the leg sits against fabric. Ask for simplified key lines and heavier fill where shadow will sit. The session usually feels moderate, and you can sit comfortably for longer stretches. Show it off with rolled jeans or ankle boots that draw attention to the lower leg.
6. Dad’s Handwriting on the Wrist
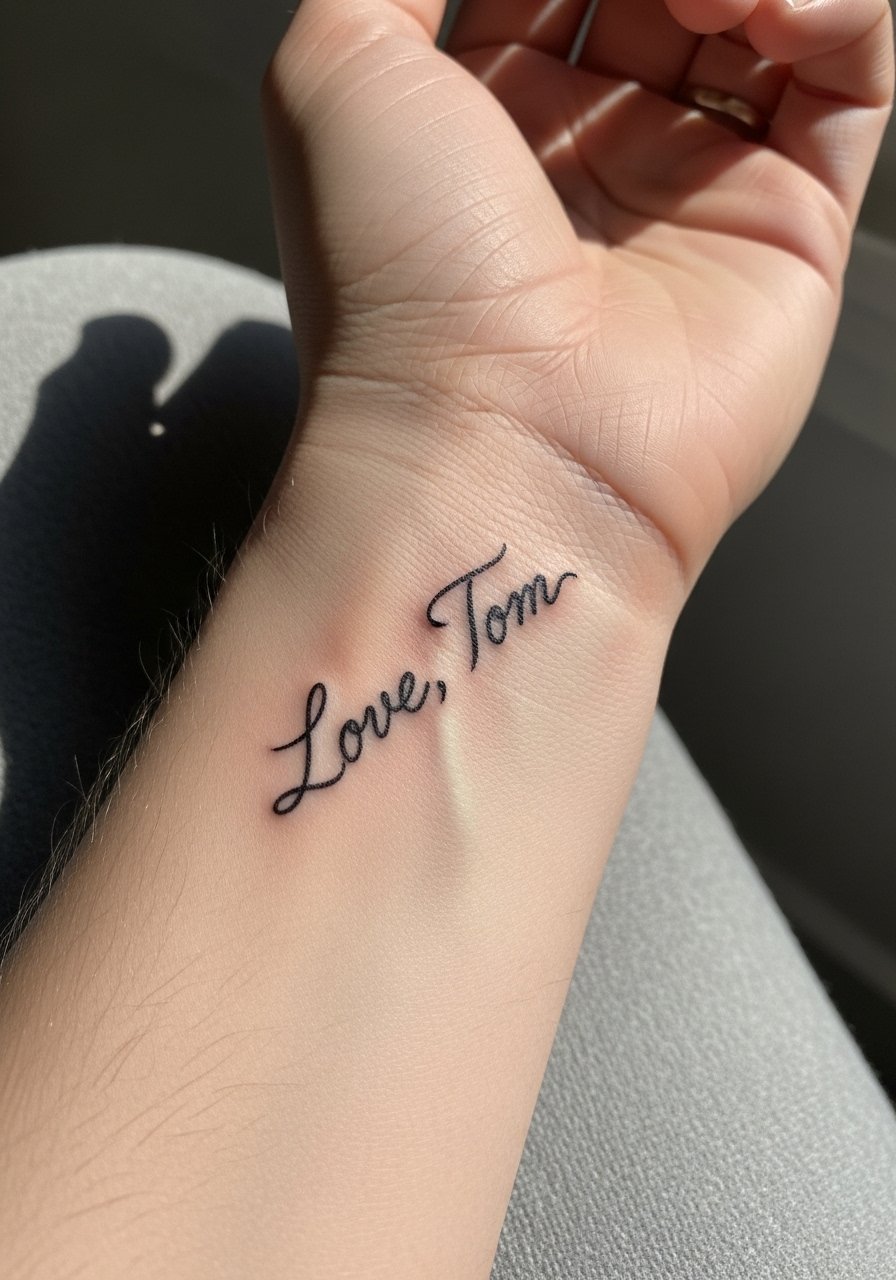
When a note in your dad's own hand is available it reads as an unmistakable personal touch. Bring a clear high-contrast scan and tell the artist which line thickness you want preserved. The most common mistake is shrinking the script too much to fit a narrow space. On the wrist the skin sees a lot of washing and wear, so expect a touch-up around year two for very thin strokes. For everyday styling a thin chain bracelet sits above the script without crowding it. During the session, keep the arm relaxed to stop the wrist from flexing under the needle.
Studio Day Picks
The wrist, calf, and ribcage pieces above have different needs on session day and during the first week of healing.
-
Stencil transfer paper kit. Lets you preview the exact placement on skin before committing, which is useful for scripts and coordinates in ideas 1 and 4.
-
Topical numbing cream. Applied about 45 minutes before the session eases the edge on sensitive areas like ribs and the inner wrist.
-
Thin protective film roll. Keeps wrist and calf pieces protected from friction during the first few days of healing.
-
Fragrance-free gentle body wash. Cleanses without adding perfumes that can irritate fresh ink, helpful for chest and back pieces from ideas 2 and 3.
-
Aquaphor healing ointment. A thin layer helps lock in moisture on small fine line areas while you follow the studio’s aftercare plan.
7. Roman Numeral Date on the Collarbone
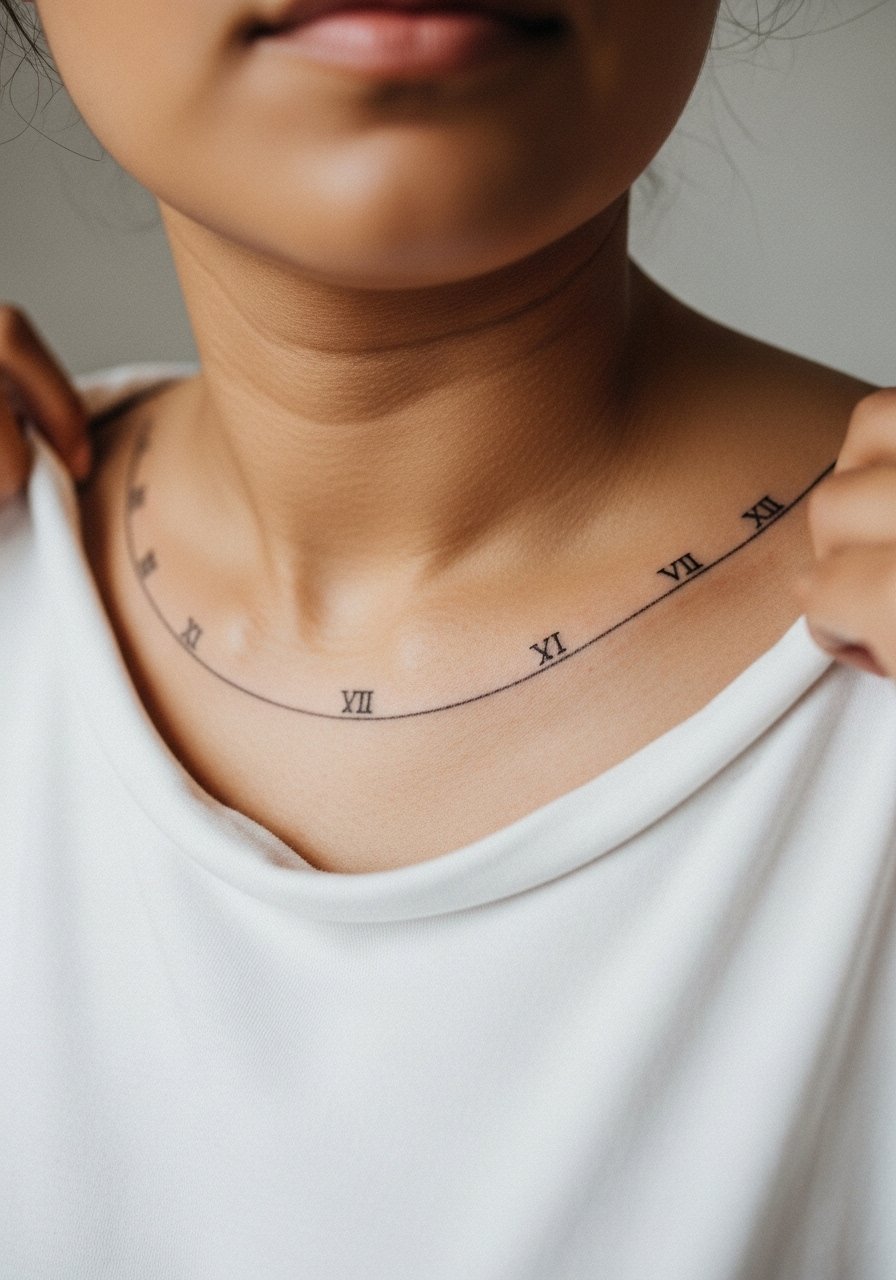
Collarbone lines sit flat and photograph cleanly when spaced properly. One real mistake is running numerals too near the collarbone curve so they appear skewed when the body moves. Ask your artist to step back and view the stencil while you tilt your head and shoulders so they can account for natural movement. This placement is visible in shirts with wider necklines and pairs well with a thin chain pendant that sits just above the script. Pain is sharp but brief near bone, and touch-ups are often needed earlier than on fleshy areas.
8. Tiny Constellation on the Ankle
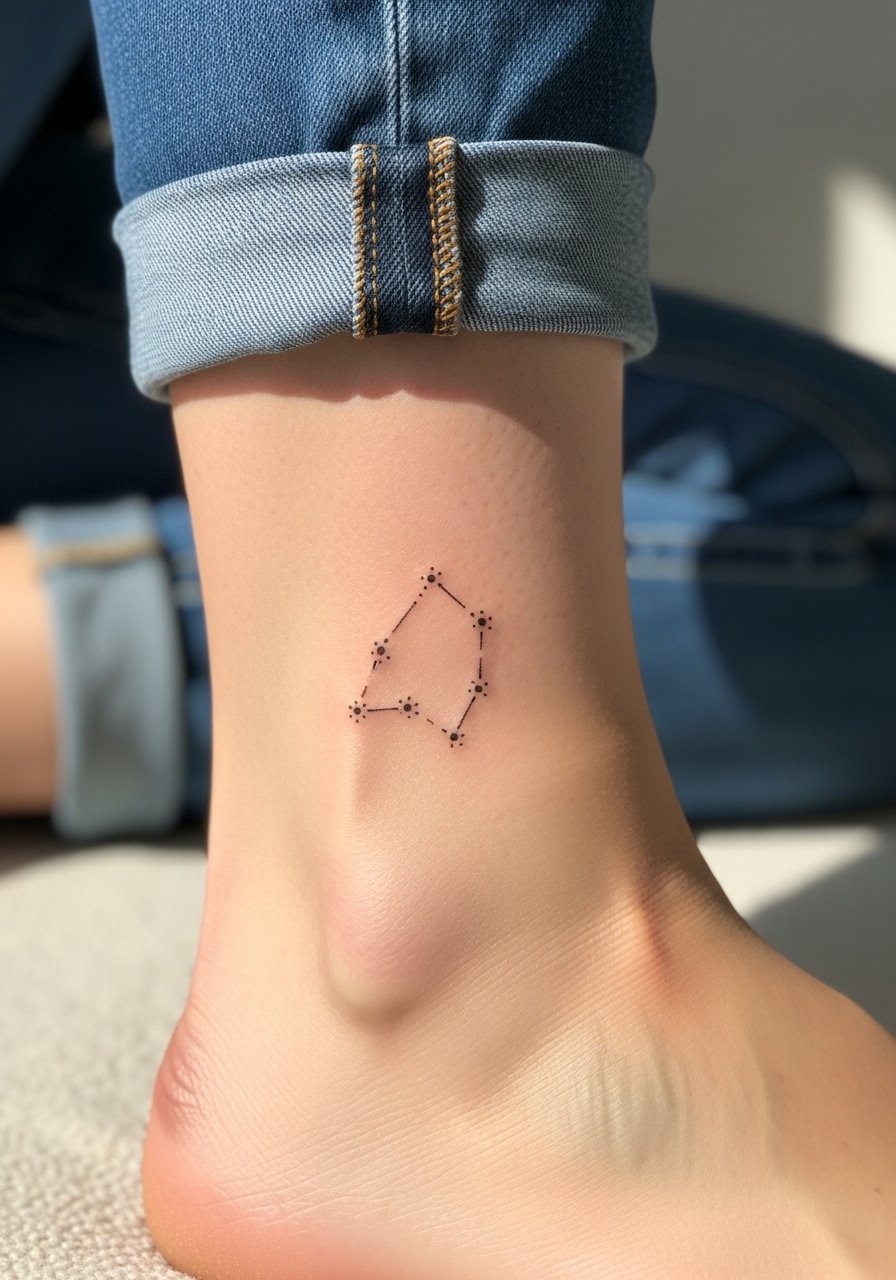
Ankle tattoos are small canvases that still read clearly if you keep dots slightly separated. The most common aging issue is loss of tiny dot clarity because the ankle gets constant friction from socks and shoes. Tell the artist to space the stars and use slightly stronger dots to start. Sessions here are quick and feel sharp for the first minutes. Show it off with strappy sandals or with rolled denim that places the ankle in focus.
9. American Traditional Rose with Banner on the Bicep
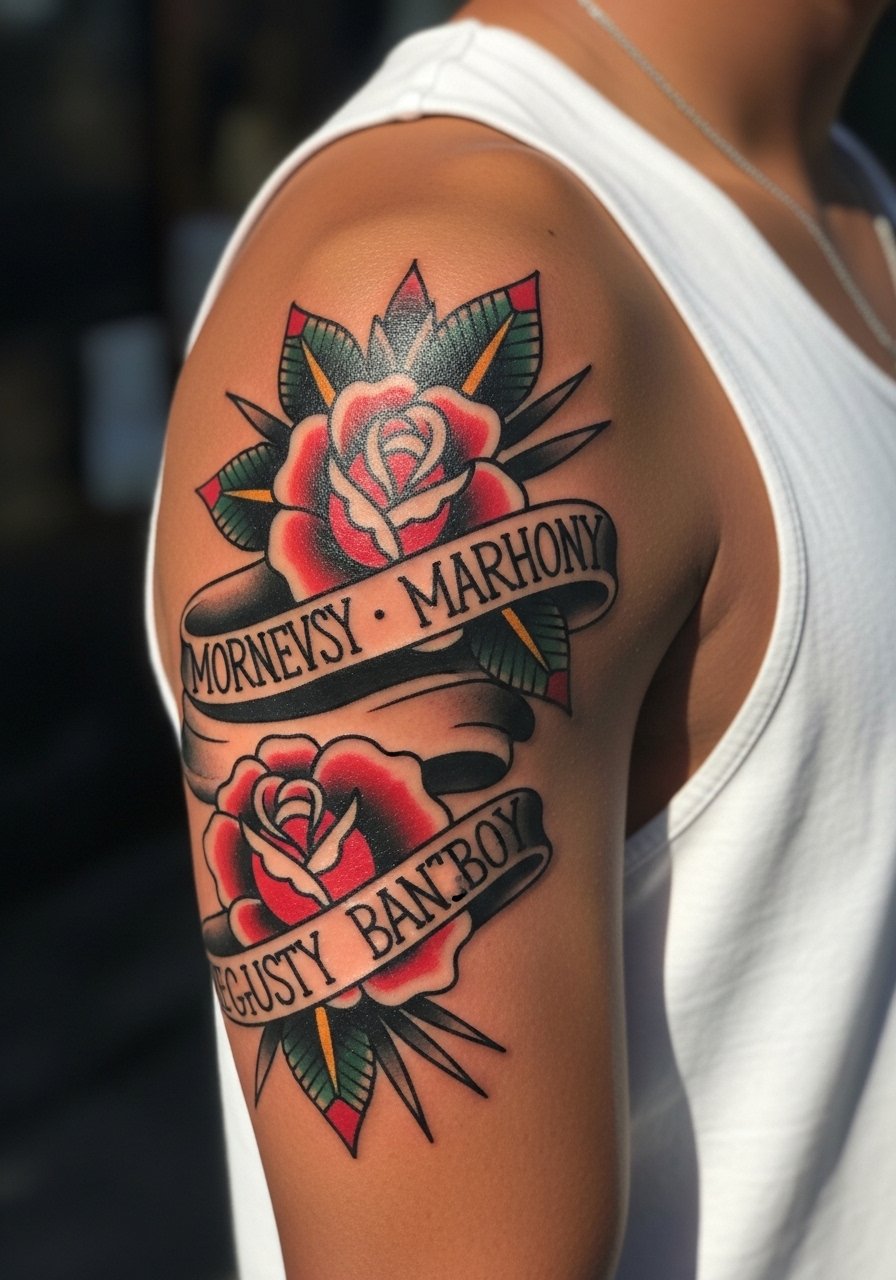
Bold outlines and heavy saturation make American traditional pieces age predictably and stay legible. Discuss banner placement and lettering size in the consultation so the name or date inside reads for years. A common error is overfilling the negative space with tiny elements that compete with the bold rose. The bicep takes saturation well and sessions are often comfortable with short breaks. For casual show-off looks a sleeveless tank top frames the design without distraction.
10. Tiny Dog Tag Replica Behind the Ear
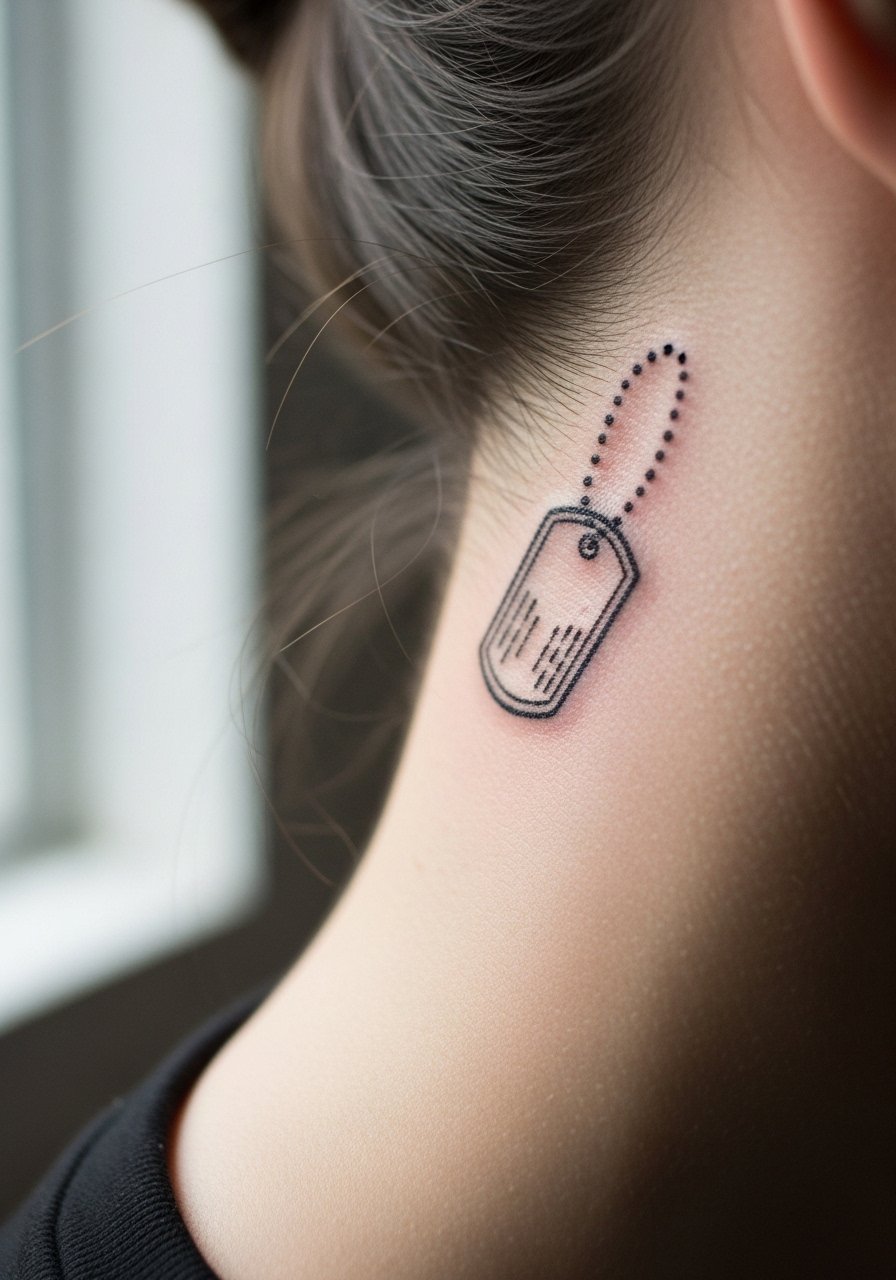
Behind-the-ear tattoos are intimate and need an artist experienced with tiny placements because the skin is thin and contours are tricky. Keep the design simple so shapes do not lose definition as the area ages. Consider career visibility and whether you want it easily covered by hair. The session is short but precise. Ask the artist for a small stencil run to ensure exact placement under the hairline.
11. Pocket Watch Stopped at a Time on the Sternum
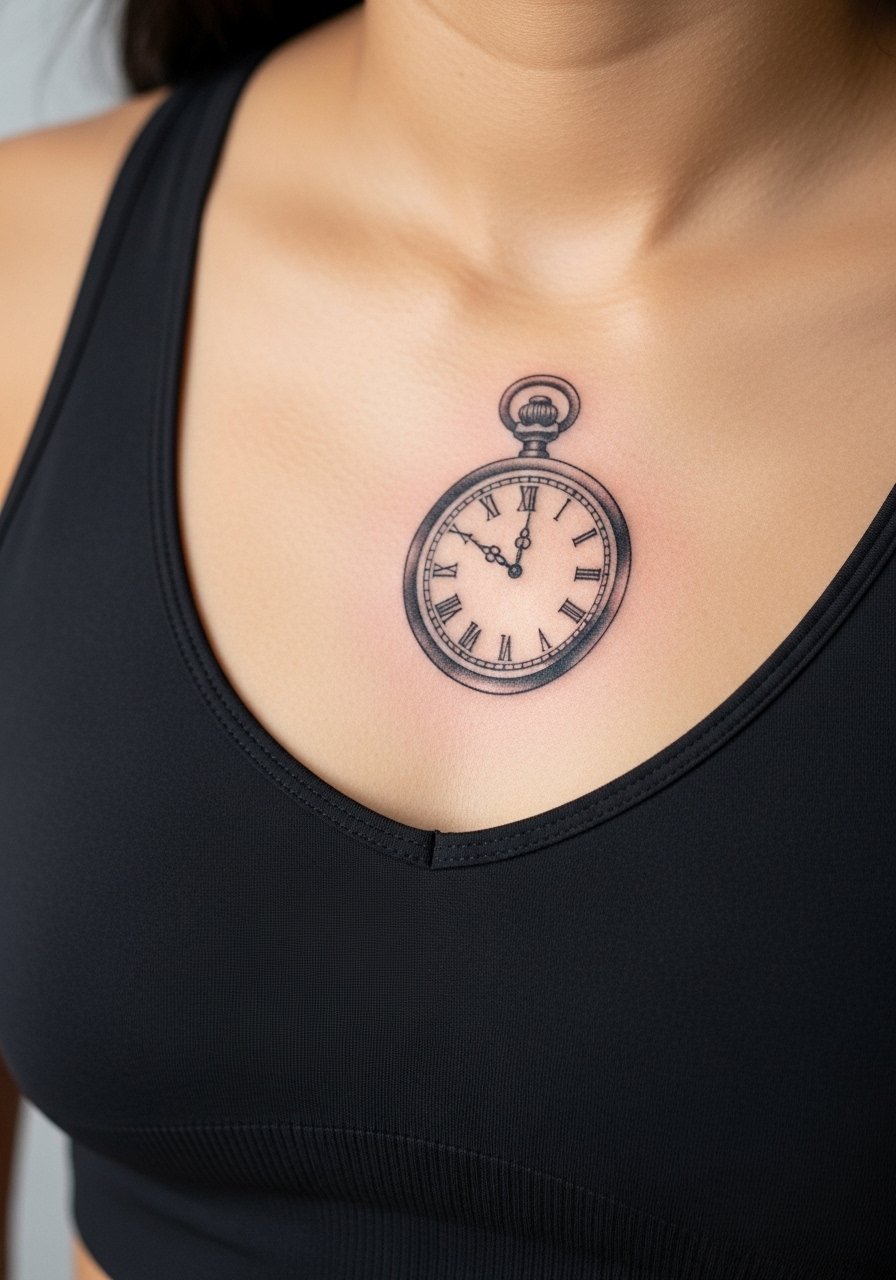
Sternum pieces make a strong central statement but the area is sensitive and can be unreliable for extreme fine detail. A common mistake is packing tiny numerals and ornate filigree that blur with breathing and movement. Ask for simplified numerals and heavier midtones where the skin creases. Session pacing matters here because the sternum is uncomfortable for many people. If you want the watch to remain readable, expect at least one touch-up after the initial healing.
12. Celestial Shoulder Cluster with Tiny Stars
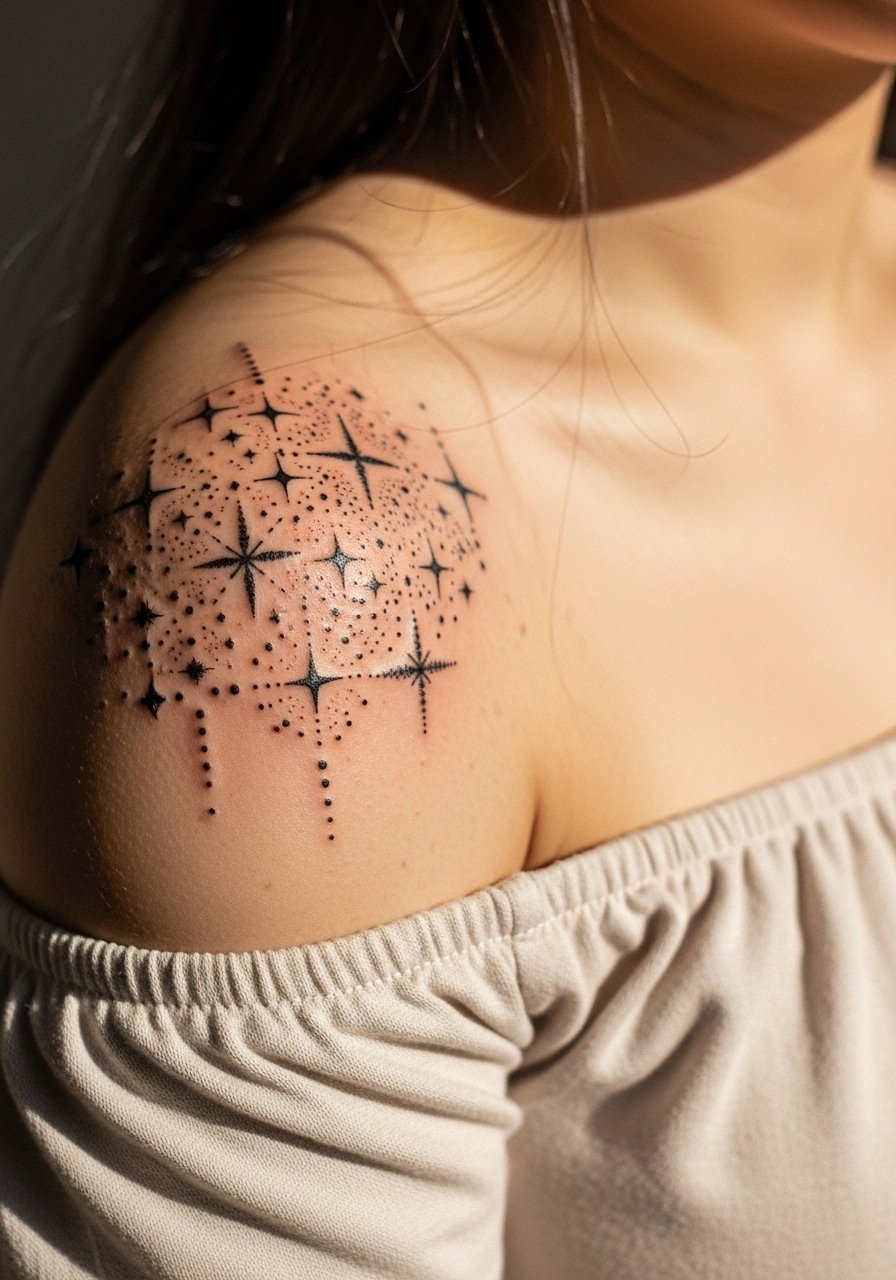
Shoulder clusters age well because the area sees limited friction. When artists use stipple shading and dot work the result keeps texture without muddying. Tell the artist you want spacing that lets each star breathe, and avoid packing too many dots into the same small field. For styling, an off-shoulder top highlights the cluster cleanly. Touch-ups are usually minor and spaced out over several years.
13. Locket Portrait on the Inner Bicep
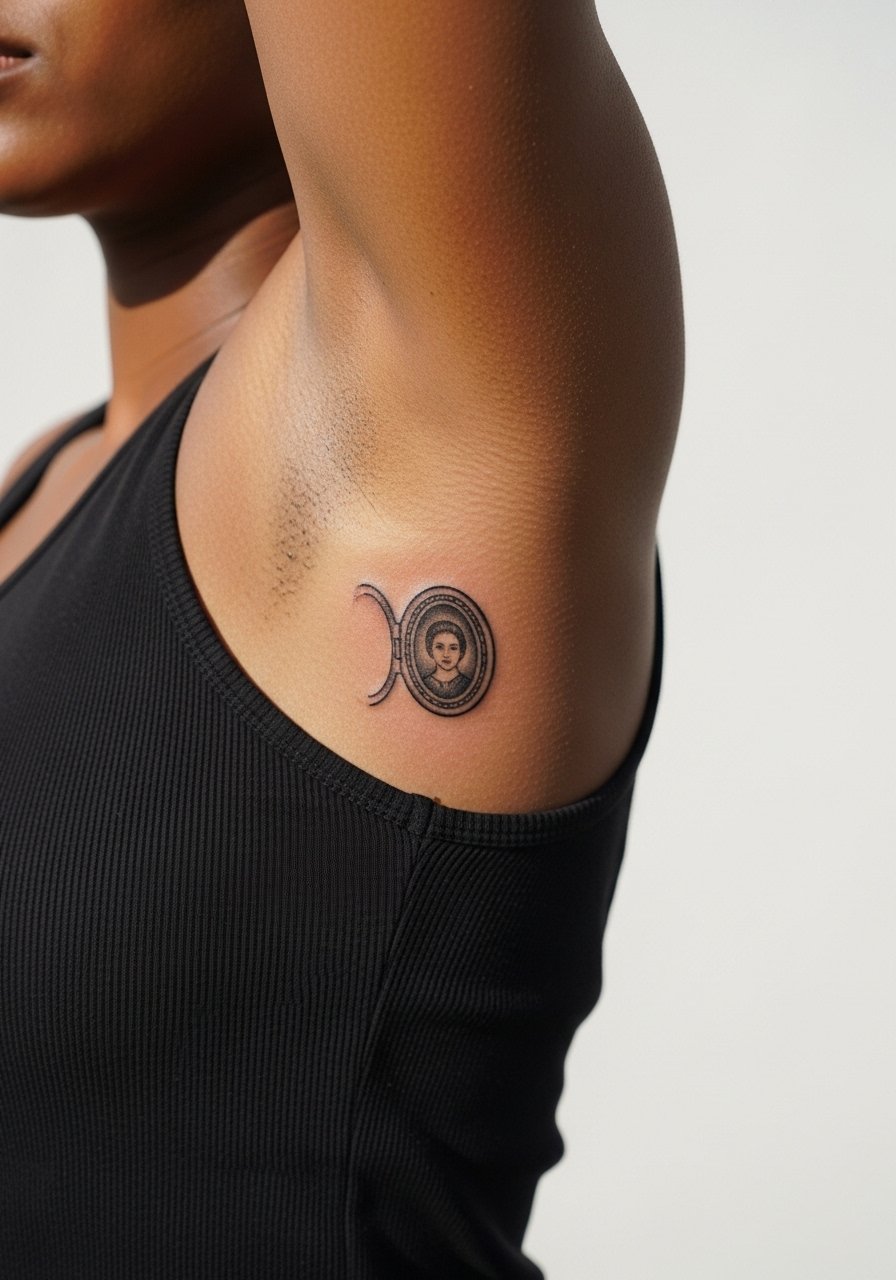
Inner bicep skin is softer and tends to hold shading well, but it is a sensitive place to sit for more than an hour. A common mistake is committing to ultra-fine hairlines inside a tiny locket that will smudge over time. Ask the artist to scale down detail while increasing contrast between the portrait and the locket rim. Sessions may feel tender as the inner arm is thin. For future expansion, discuss how the piece will sit with any sleeve work you plan.
14. Wraparound Fishing Lure on the Forearm
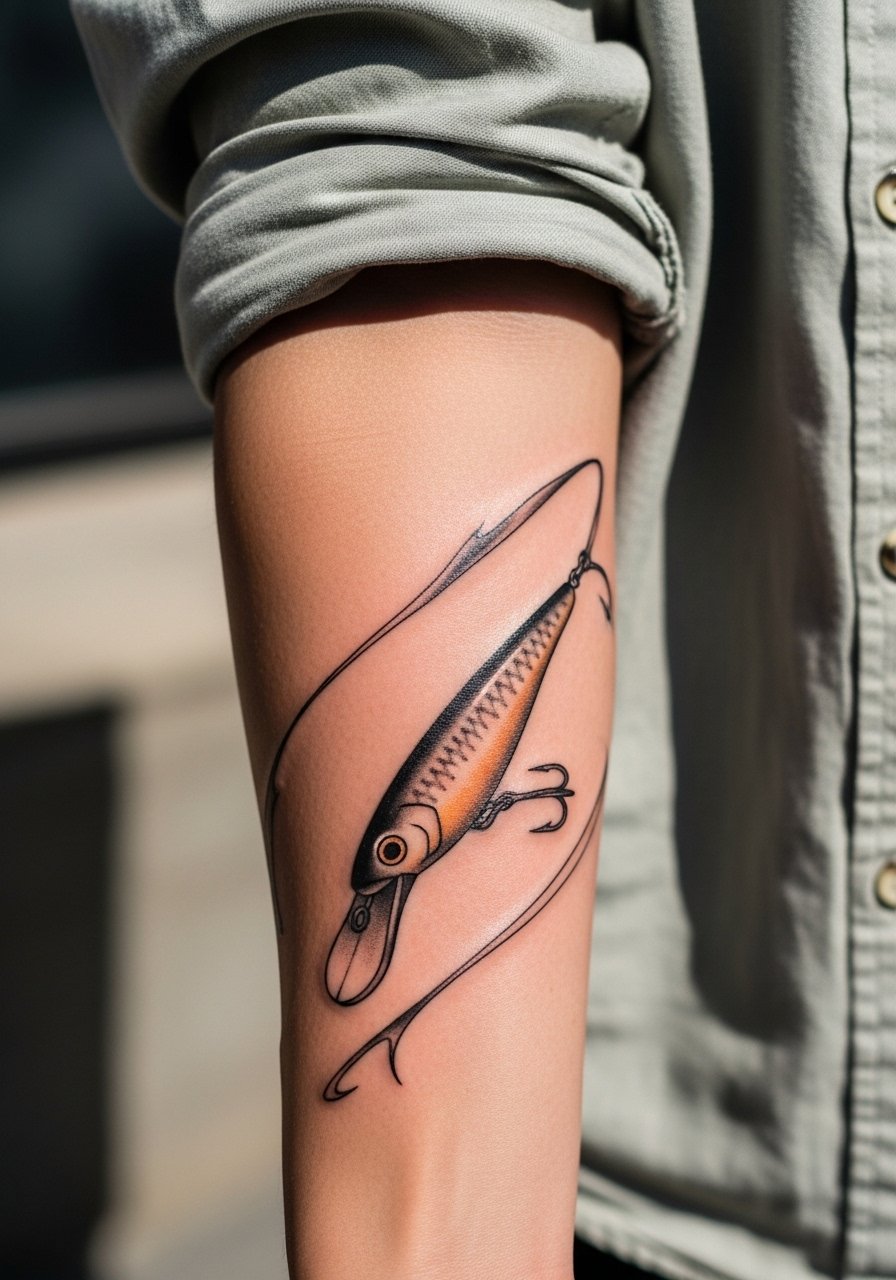
A wraparound forearm design reads dynamically in motion and photographs well from multiple angles. The biggest mistake is making the wrap too tight, which can make the composition fall apart when the arm turns. Request a mock-up that you can rotate during the consultation so the artist can plan flow. Forearm skin is forgiving so saturation lasts. For casual wear a loose button-down shirt with sleeves rolled up gives the piece room to breathe.
15. Map Line with a Tiny Heart on the Hip
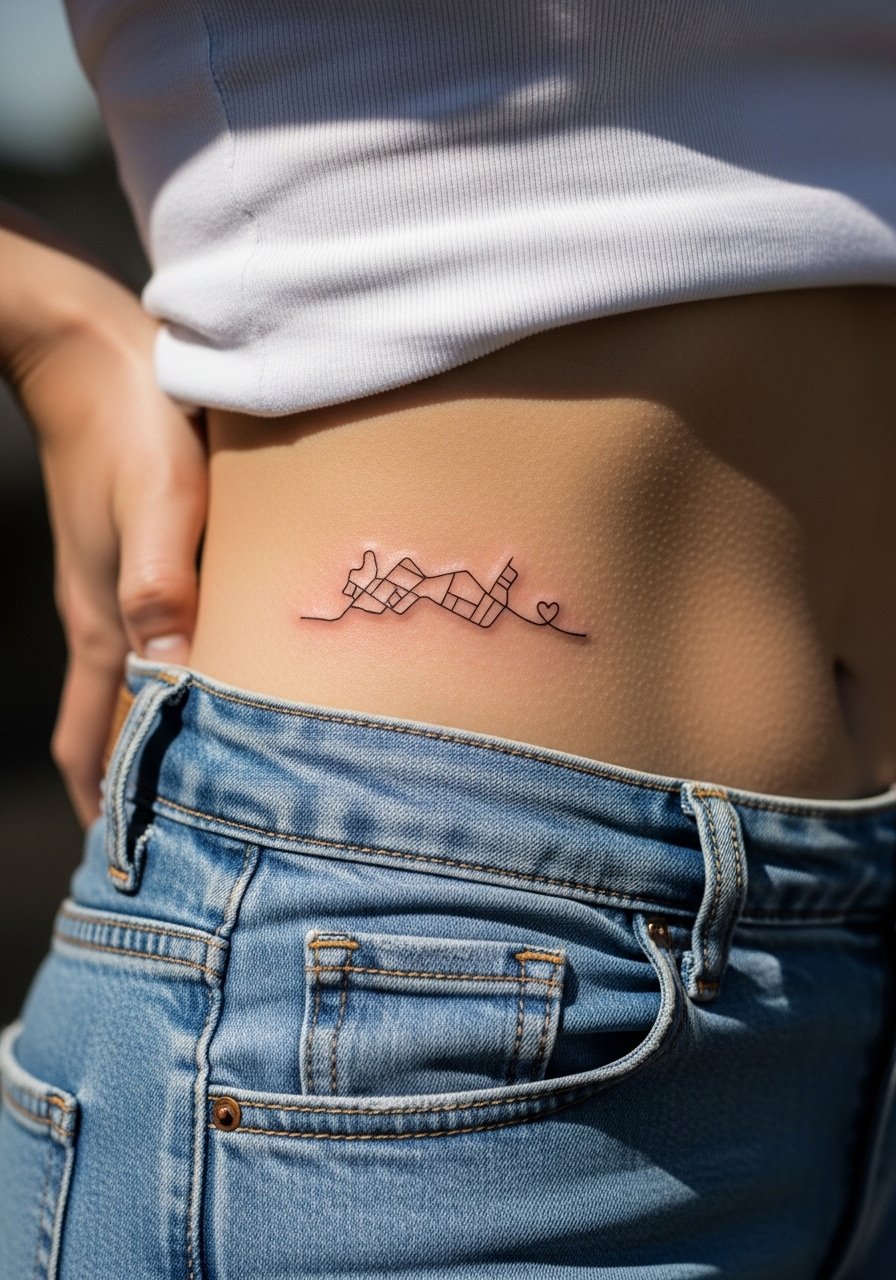
Hip work stays intimate and can be a meaningful spot for a hidden reference to a place. Keep lines simple so they do not fade into a single thin band over time. The session will be discreet and feels moderate. Because this is a more private placement, session wear that provides easy access while staying covered is helpful. Talk with your artist about future cover options if you plan on expanding outward.
16. Mechanic’s Tool Emblem on the Upper Arm
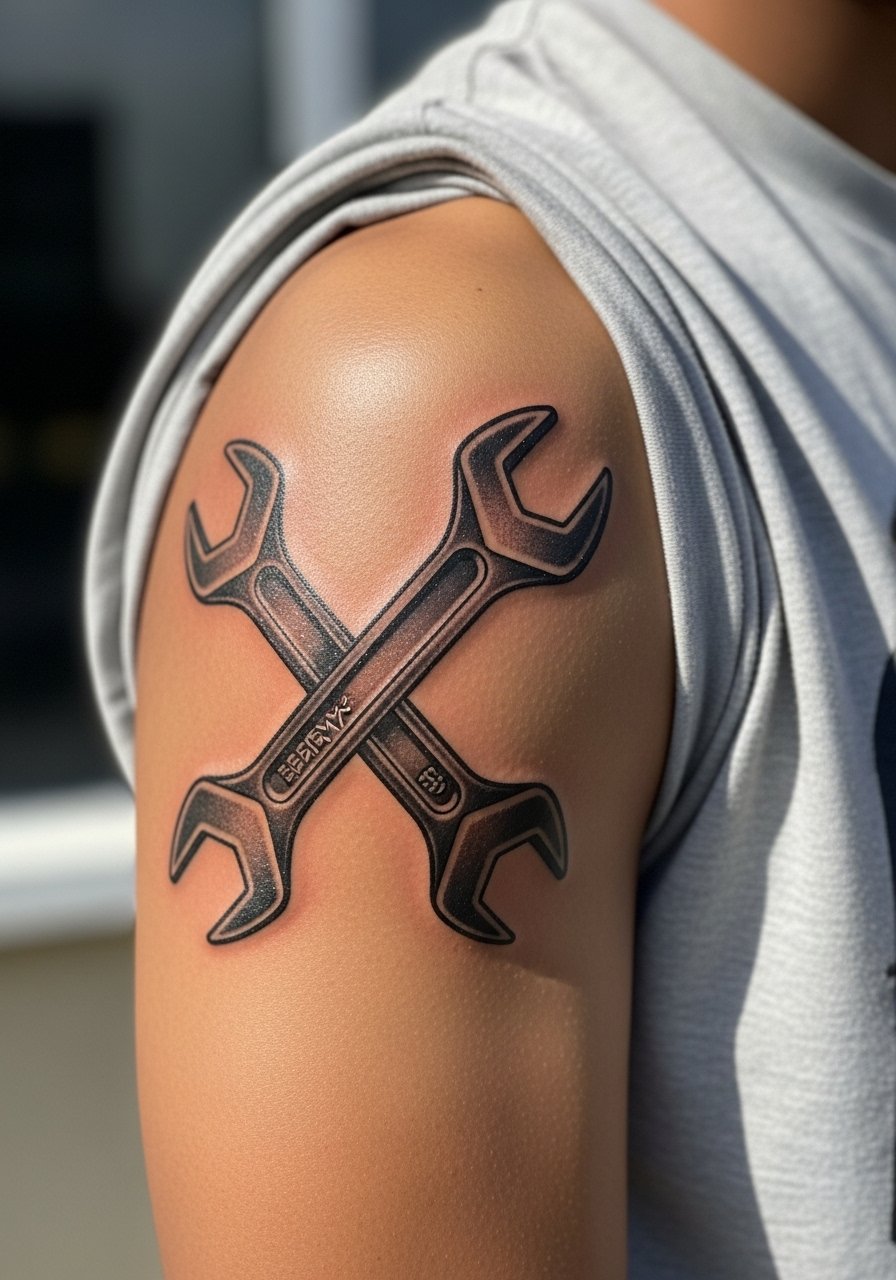
Upper arm emblems hold their shape because the area experiences less daily abrasion. The common mistake is adding small lettering around the emblem that becomes illegible. Ask for a strong outline and decisive negative space so the emblem reads even when seen from a distance. Sessions are comfortable and you can often do multiple elements in one sitting. Pair it with a short sleeve shirt when you want to show off the emblem without exposing too much skin.
17. Fingerprint Heart Over the Lower Ribs
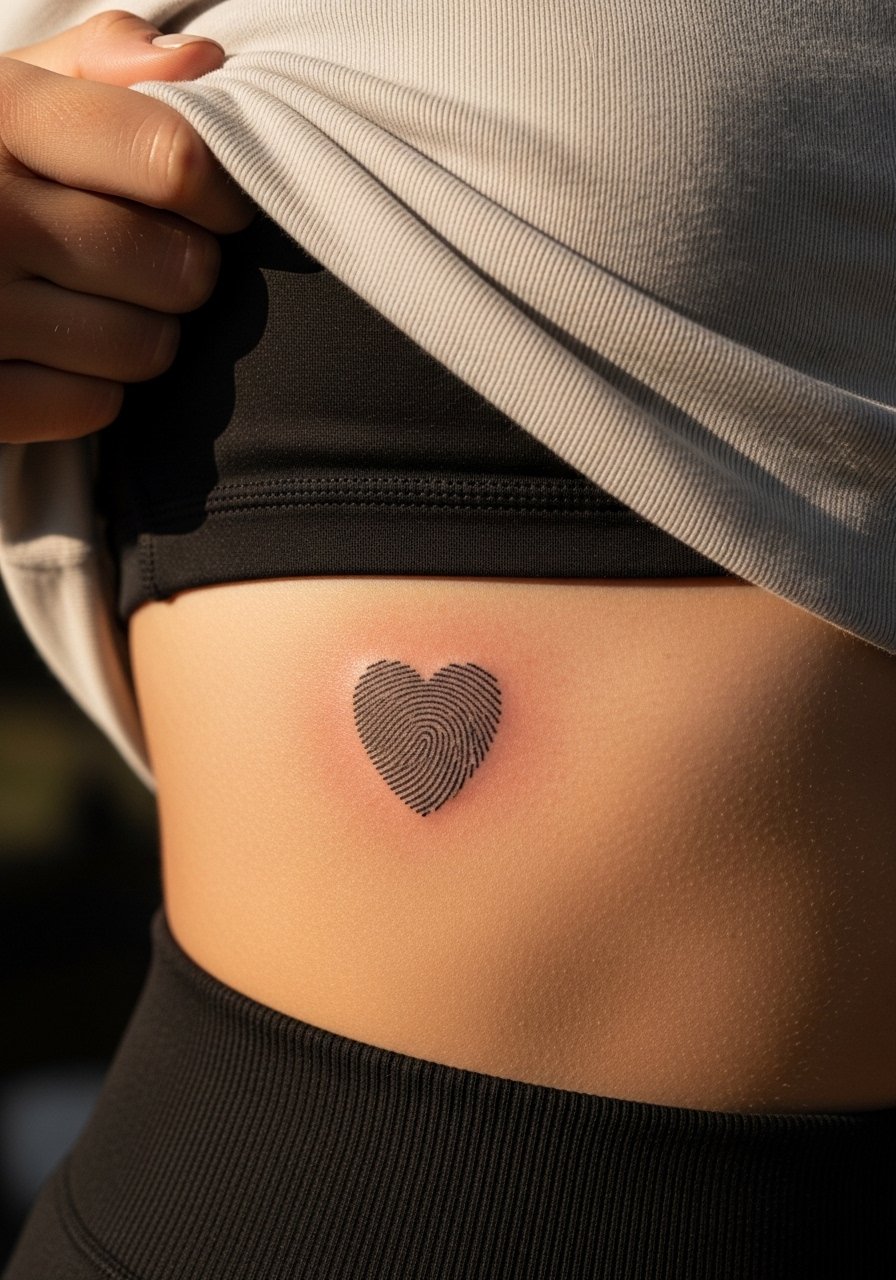
A fingerprint heart reads as unmistakably personal when done large enough to keep ridges distinct. The rib area can blur the tiny whorls if the design is too small or placed where the skin flexes. Ask the artist to scale the print so you can still see the distinctive lines after healing. Expect a sharper pain experience and a likely touch-up to restore any softened ridges. Because ribs move, plan brief sessions and accept that a second pass may be needed.
Frequently Asked Questions
Q: Will fine line script blur faster on the inner forearm than on the chest?
A: In my experience fine line pieces on the forearm often blur sooner because the area gets more friction and sun exposure. The chest has more stable skin, but it depends on how much you expose it and how your skin heals. Ask your artist about slightly increased letter height for forearm scripts if longevity is a concern.
Q: How do portrait tattoos over the heart age compared with outer arm portraits?
A: Portraits over the chest see more movement and sometimes softer detail as the skin stretches. Outer arm portraits usually hold detail longer because the skin is thicker and exposure is more consistent. Discuss midtone strength during your consult so important facial planes remain readable.
Q: Are ribcage coordinates worth the pain and touch-up risk?
A: If the location matters to you emotionally, many people accept the trade-off. The ribs are painful and often need earlier touch-ups if done ultra-fine. A slightly larger scale and discussed spacing will reduce the risk of early blurring.
Q: How should I dress to keep a wrist script protected during the first week?
A: Wear loose, long sleeves that you can roll up when applying aftercare, and avoid tight watches or bracelets directly over the script. For appointments, consider a loose button-down shirt you can slide aside without pulling on the wrist area.
Q: Can I combine a small silhouette with a larger back piece later?
A: Yes. Talk to your artist about how the silhouette will fit into future composition so lines and negative space work for expansion. It often helps to mark potential future borders on the stencil during the consult.