
Fine line Silent Hill motifs age in ways most people do not expect, and the prettiest versions are usually the ones planned with aging in mind. Fading, placement pain, and whether a horror image reads delicate or just smudged later are the three things that trip up first-timers. This list leans on designs that keep the game’s atmosphere but read soft on the skin, and the first idea shows how to do that without losing the mood.
1. Fine Line Pyramid Head Silhouette on Inner Forearm
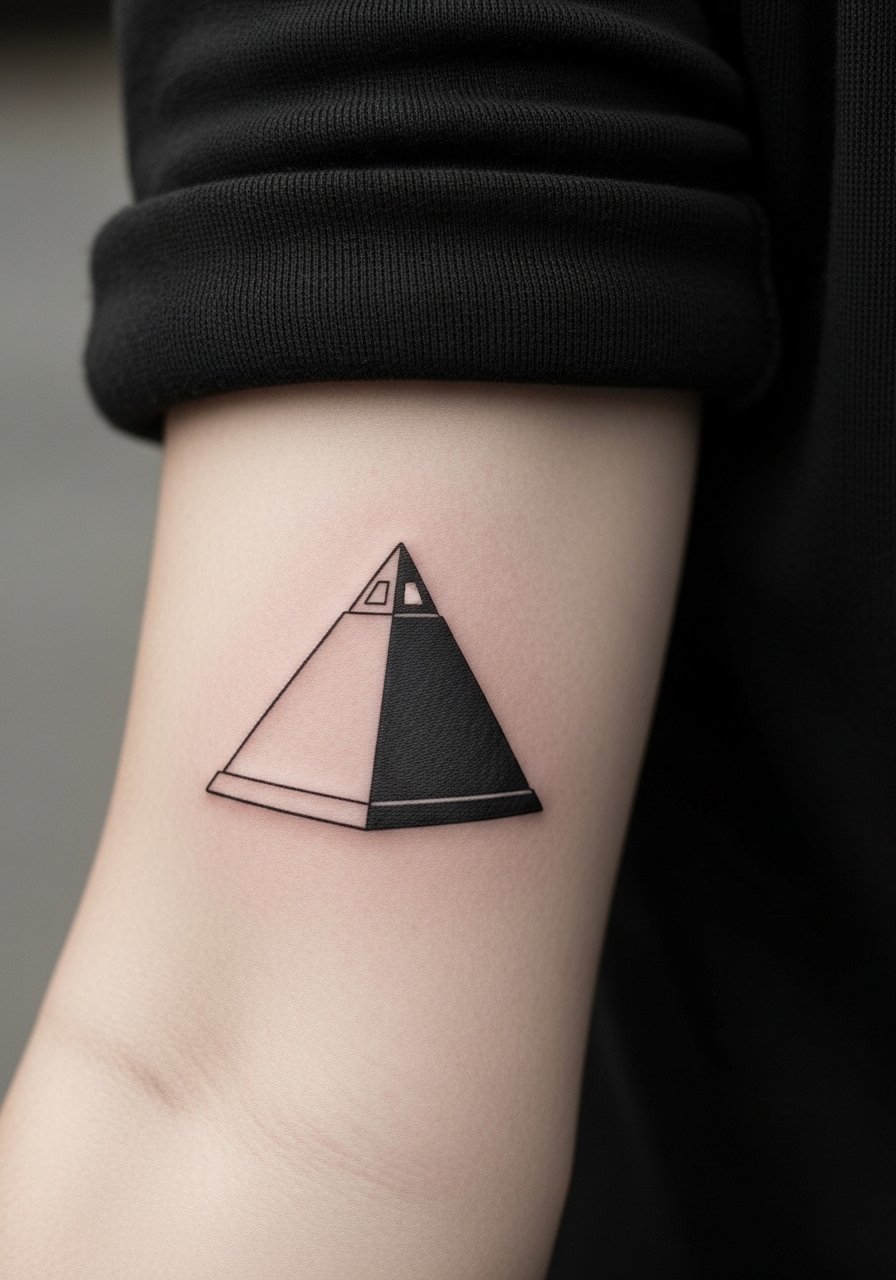
A pared-back Pyramid Head silhouette works on the inner forearm when the goal is atmosphere rather than gore. I recommend asking your artist to keep negative space inside the helmet and use varied lineweight so the shape reads at a distance but avoids dense fill that blurs. Pain is low to moderate and a single session usually runs under two hours. Common mistakes include asking for too many tiny details that merge after a year. For showing this off, roll sleeves and pair it with a loose button-down shirt that frames the forearm without covering it.
2. Micro-Realism Cheryl/Maria Portrait on Upper Arm
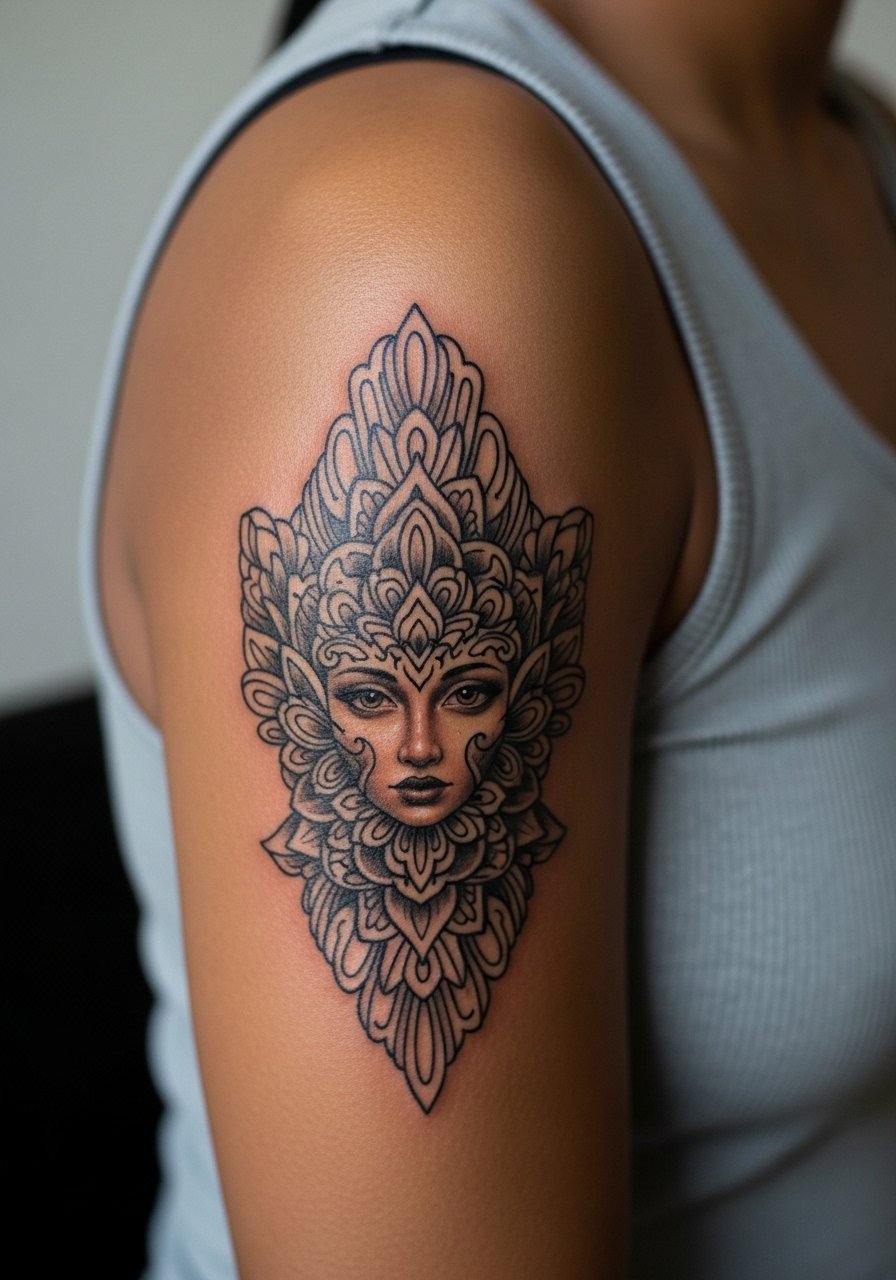
A small, micro-realism portrait of Cheryl or Maria on the outer upper arm reads delicate and personal. Tell the artist you want soft stipple shading, not heavy contrast, so facial features do not turn into a gray block over time. The placement is forgiving for touch-ups and sits under clothing when needed. Expect moderate pain and roughly two to three hours in the chair. Common aging issue is oversaturated shadows. For sessions wear a loose tank top so the artist can access the shoulder cleanly.
3. Fog-Textured Negative Space Sleeve Accent
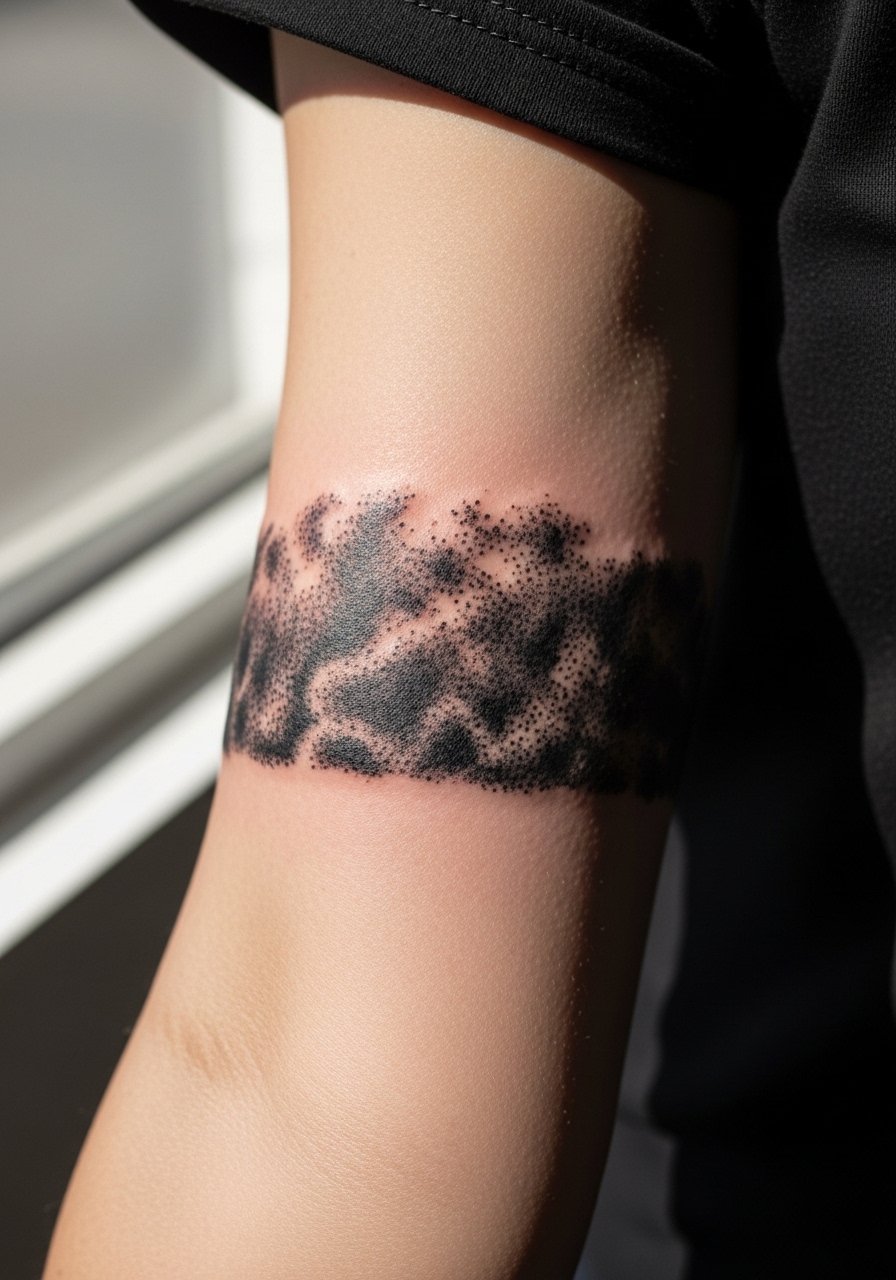
A fog effect that uses negative space can bring Silent Hill’s atmosphere without heavy subject matter. Ask for stipple shading and thin blackout gradients rather than solid fills that age unevenly. This style pairs with existing work when you want a moody sleeve accent that reads from across the room. Expect longer sessions because building foggy texture requires layering. The biggest mistake is asking for uniform gray washes; they compact and look muddy after healing. For showing it off, cuff a rolled sleeve linen shirt to keep the transition between skin and fabric soft.
4. Minimal Nurse Linework on Ribcage
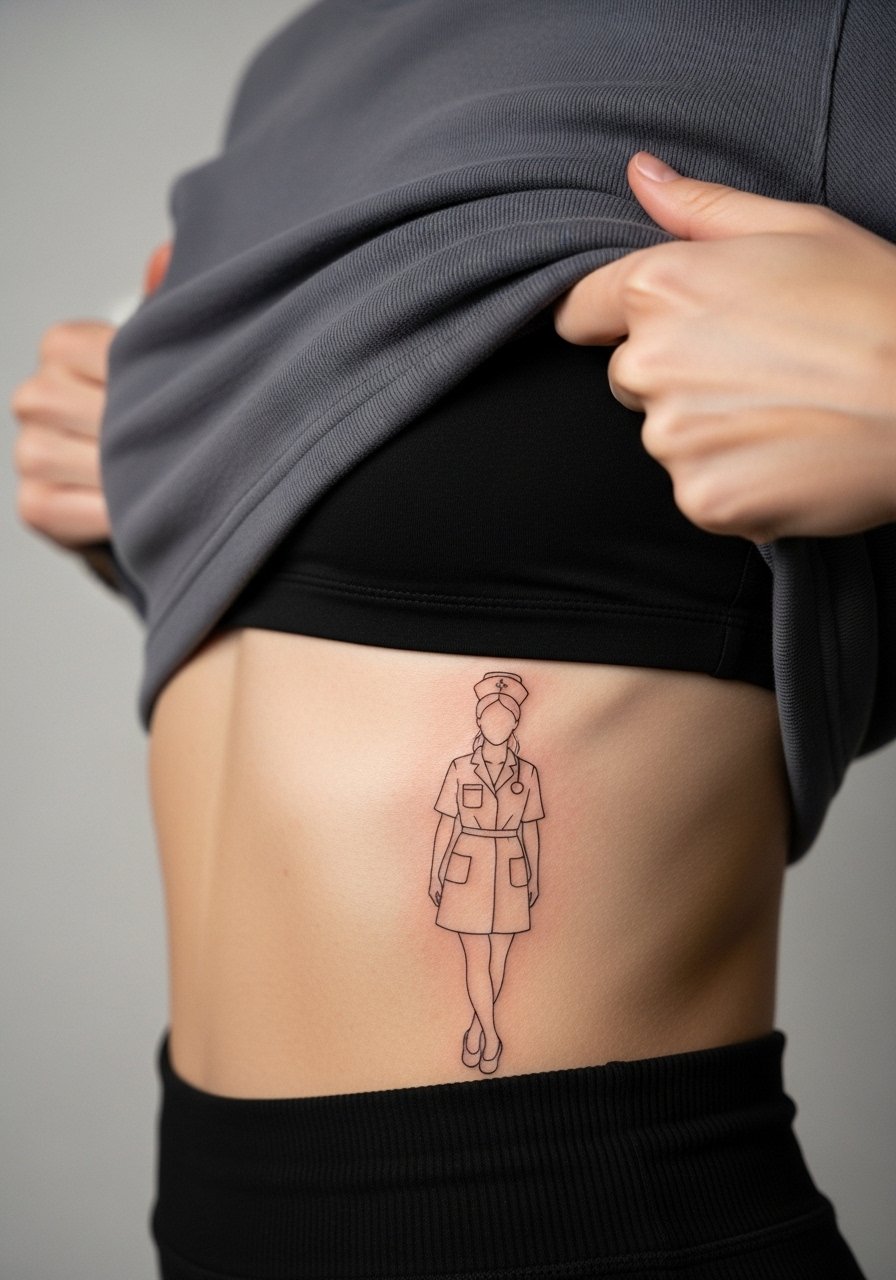
Ribcage work carries a reputation for pain and a higher chance of line migration. Artists split into two camps here. One camp warns that thin lines on ribs blur within two years. The other camp says with correct needle depth and spacing it can hold up well. When you book, discuss spacing and ask for slightly heavier anchor lines rather than ultra-hairline strokes. Pain is higher than arm placements and sessions can take one longer visit or two shorter ones. For the appointment, wear a cropped athletic top so the artist can lift fabric without you going topless.
5. Delicate Radio Static Dot Work on Collarbone
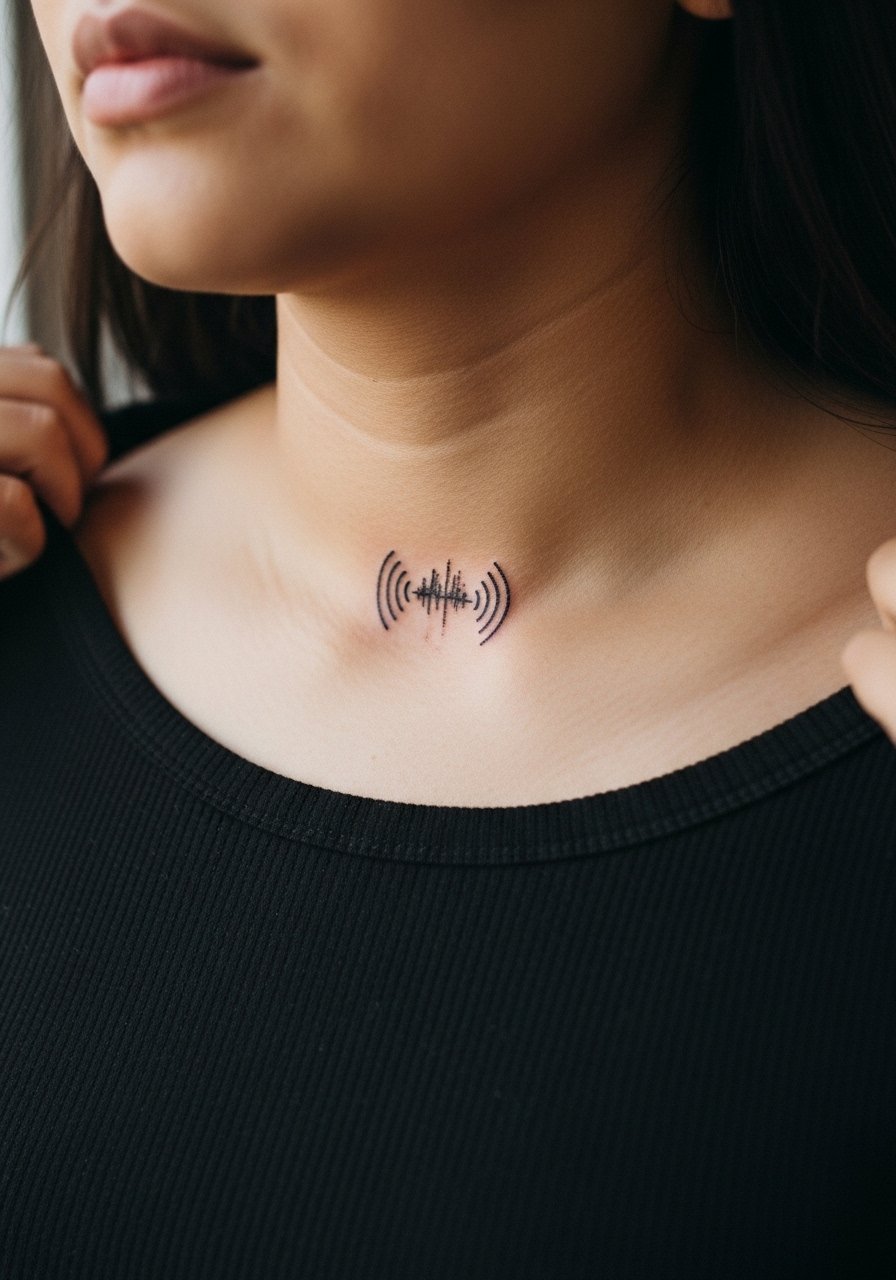
A collarbone radio static motif reads subtle and eerie when built as fine dot work. Tell your artist you want spacing between dots so the pieces do not bleed together on thinner skin. The area is moderately sensitive and touch-ups are common at year two to maintain crispness. A frequent mistake is packing dots too close for a small placement. For showing it off, a wide-neck blouse frames the collarbone and keeps attention on the delicate stippling.
6. Red Triangle Accent with Soft Watercolor Wash on Shoulder Blade
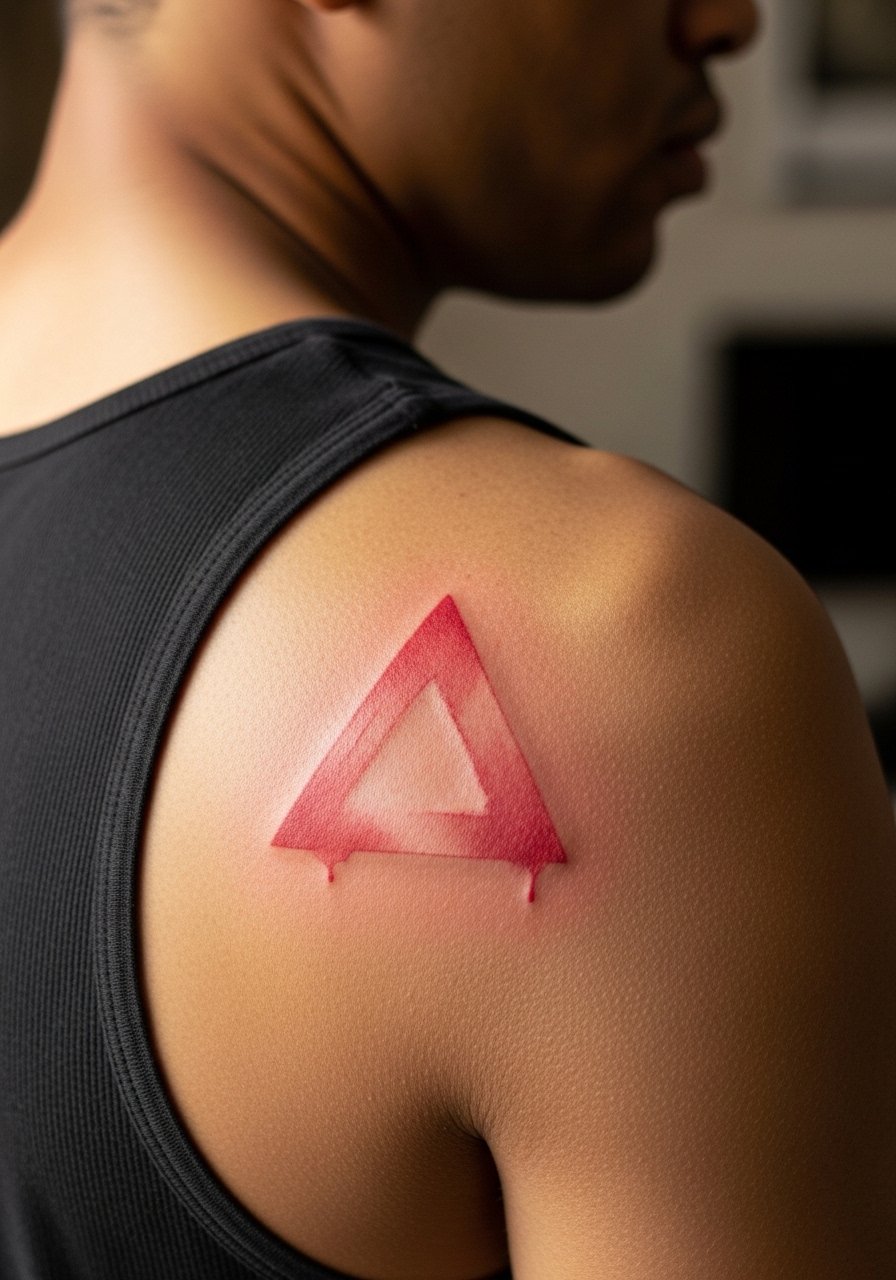
A hint of red for Pyramid Head iconography translated into a soft watercolor wash can read feminine without losing the icon’s identity. Keep the red diluted and avoid dense saturation near thin linework, because pigments can spread in motion areas. The shoulder blade has lower daily friction than the ribcage so this placement helps longevity. Sessions tend to be moderate in length and usually comfortable. For the studio wear, bring a tank top you can slip down or pull aside easily.
Pre-Session Essentials
The inner forearm, collarbone, and shoulder blade pieces above each ask for different prep. A few targeted items smooth the day and the first week.
-
Stencil transfer paper kit. Lets you preview placement and lineweight on skin before the needle meets the surface, useful for forearm and collarbone designs.
-
Topical numbing cream. Applied 45 minutes before can ease ribcage sessions without changing how fine lines settle.
-
Thin protective film roll. Keeps small placements like fingers and wrists clean during early wash cycles and daily friction.
-
Fragrance-free gentle body wash. Cleans healing areas without stripping pigment, which matters for stipple and micro-realism pieces.
-
Aquaphor healing ointment. Thin layers in the first days help prevent scabs from pulling at fine linework.
7. Tiny Nurse Symbol on the Side of a Finger
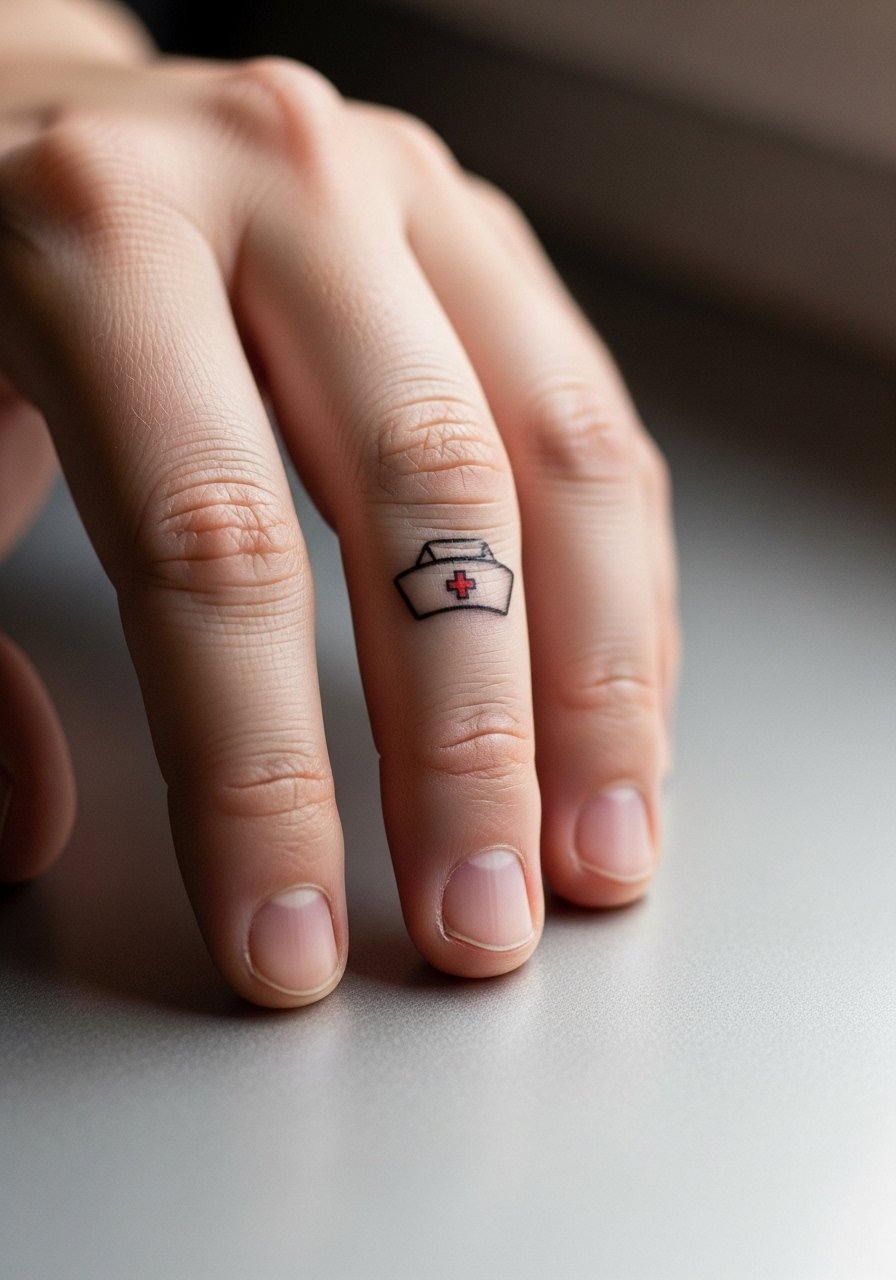
Finger tattoos read immediate and intimate but they also face heavy friction, washing, and sunlight. A tiny nurse cap symbol or simple glyph from Silent Hill can work if you accept frequent touch-ups. The pain is sharp and quick. Ask your artist for deeper initial placement and slightly bolder linework than you might want for an arm piece. The most common mistake is asking for ultra-hairline detail that disappears with normal hand use. For showing it off, a thin chain bracelet keeps attention on the finger without covering the ink.
8. Blackwork Radio Tower on Calf
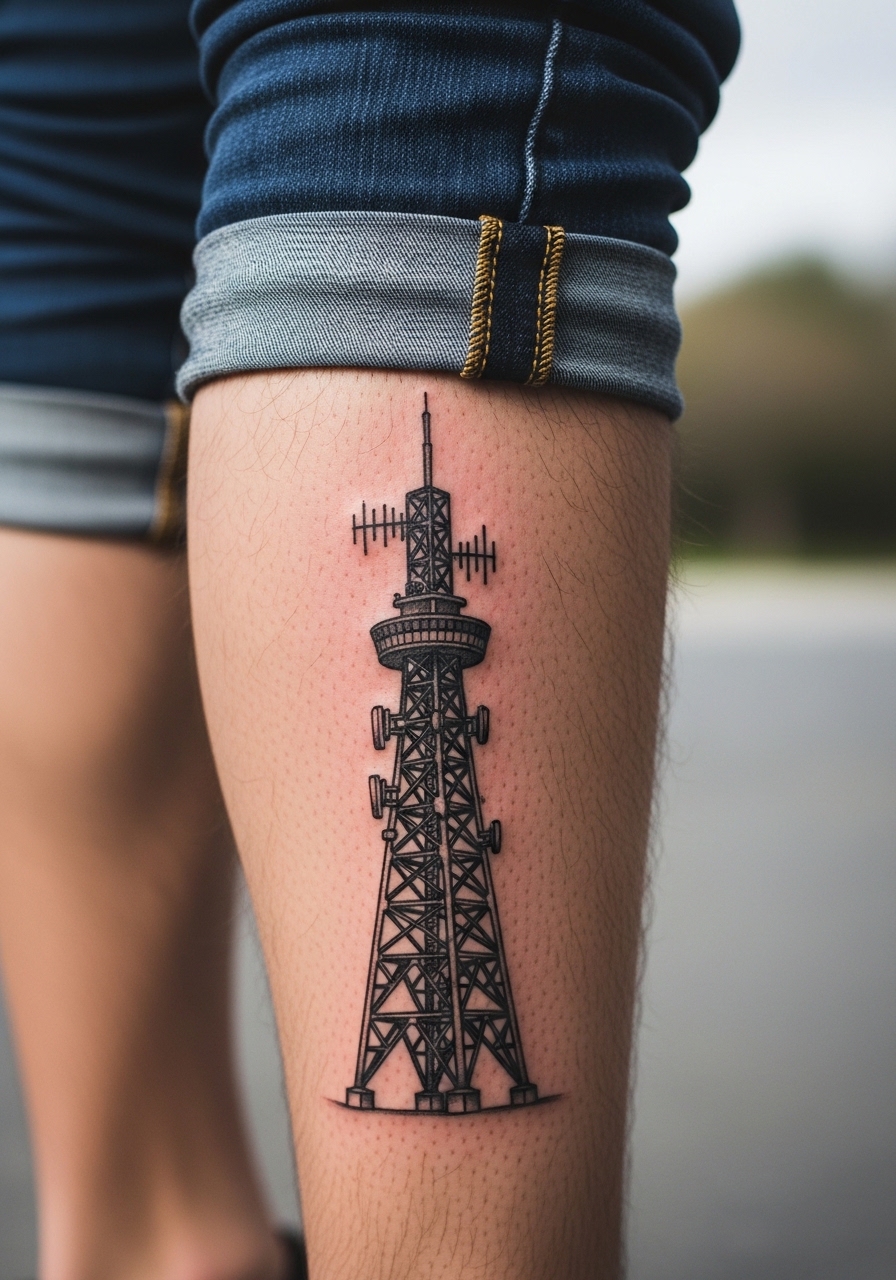
A blackwork radio tower makes a bold, longevity-minded statement on the calf. Saturation holds up better than hollow fine line in high-motion areas and resists early blurring. Sessions are moderate and usually split if you want a saturated fill. A common error is doing too-small iconography in a dense black style, which can create heavy contrast patches later. The calf is easy to hide for work and comfortable during sessions. If you plan to show it, pair it with rolled jeans or a midi skirt with a side slit.
9. Botanical Dahlia with Occult Sigil on Upper Thigh
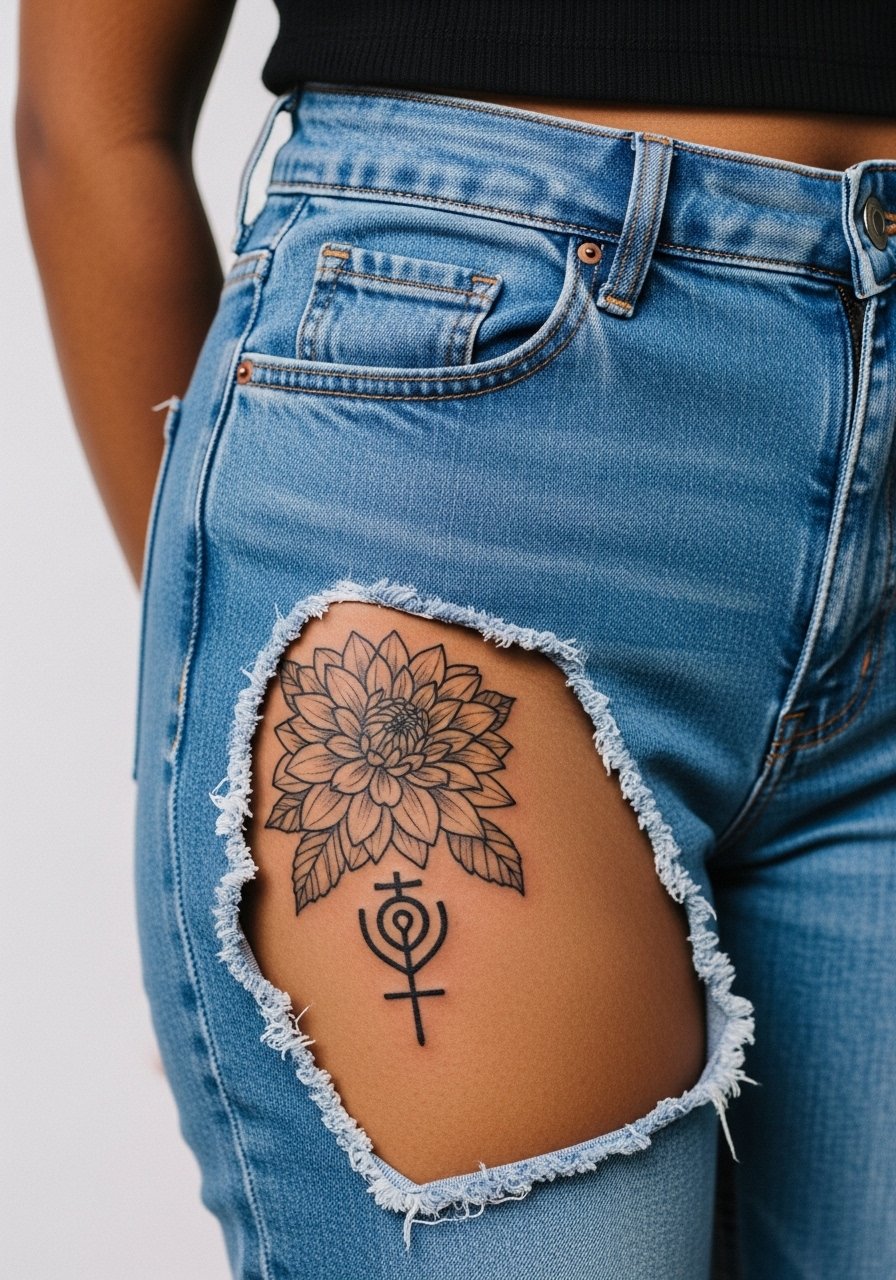
Combining a Dahlia motif with a subtle sigil softens occult imagery into something wearable. Upper thigh placement is intimate and heals well because of lower sun exposure. Ask for spaced lines and moderate negative space so the sigil stays readable without heavy black. Sessions can be comfortable if you wear loose bottoms. Common mistake is packing too much tiny detail into the sigil, which blurs when skin moves. For the session, wear high-waisted jeans or a loose drawstring linen pant so the artist can access the upper thigh without you being uncomfortable.
10. Micro Script "Memento Mori" in Typewriter Font on Sternum
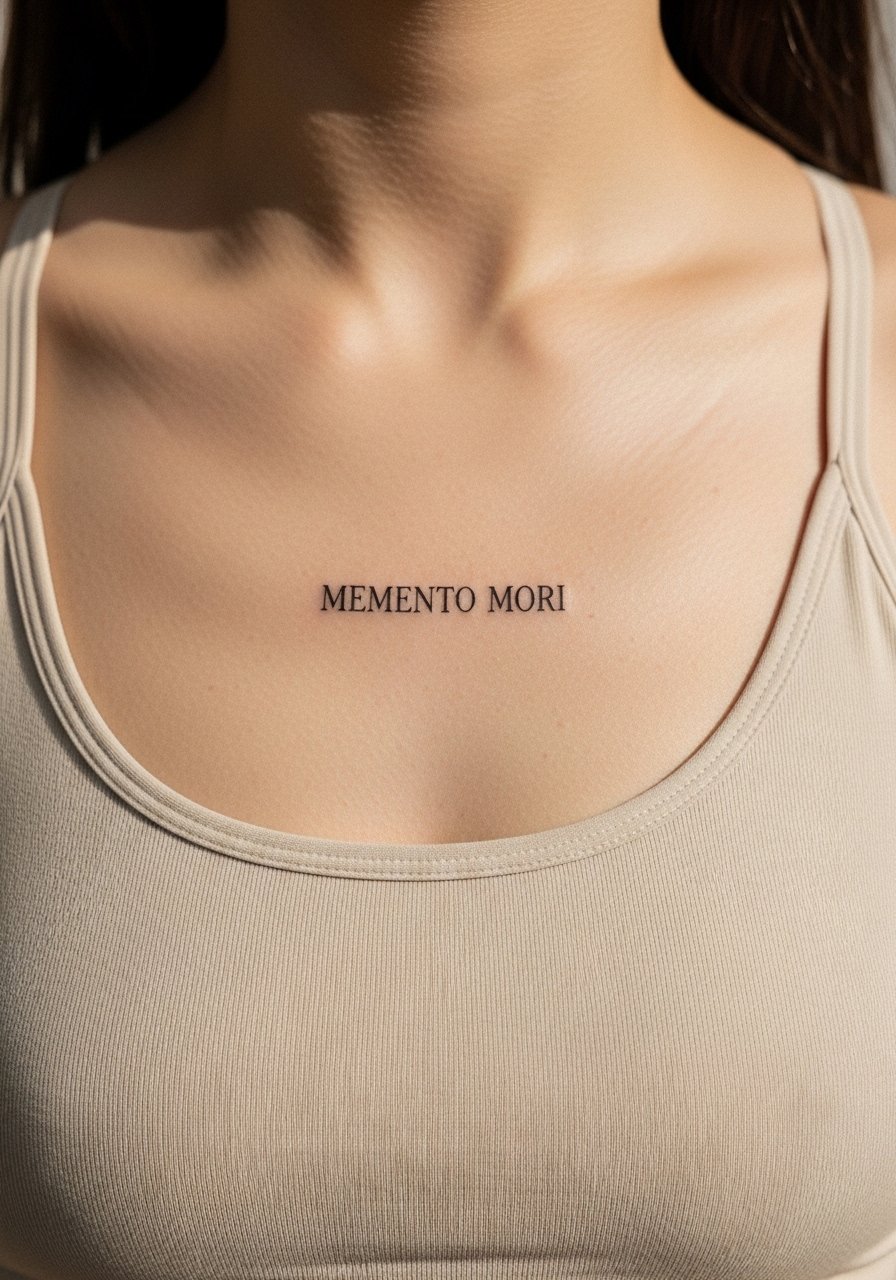
A short phrase in a small serif type across the sternum can look refined if kept brief and centered. Sternum skin moves with breathing and requires slightly heavier outline than a wrist script to maintain clarity over years. The area is sensitive and a single short line takes under an hour. The mistake I see is choosing long sentences for this placement. If you want to expose it, a thin chain pendant sits above the script nicely without crowding. For the appointment wear a fitted sports bra or bandeau to allow easy access.
11. Minimal Mannequin Linework Along the Spine
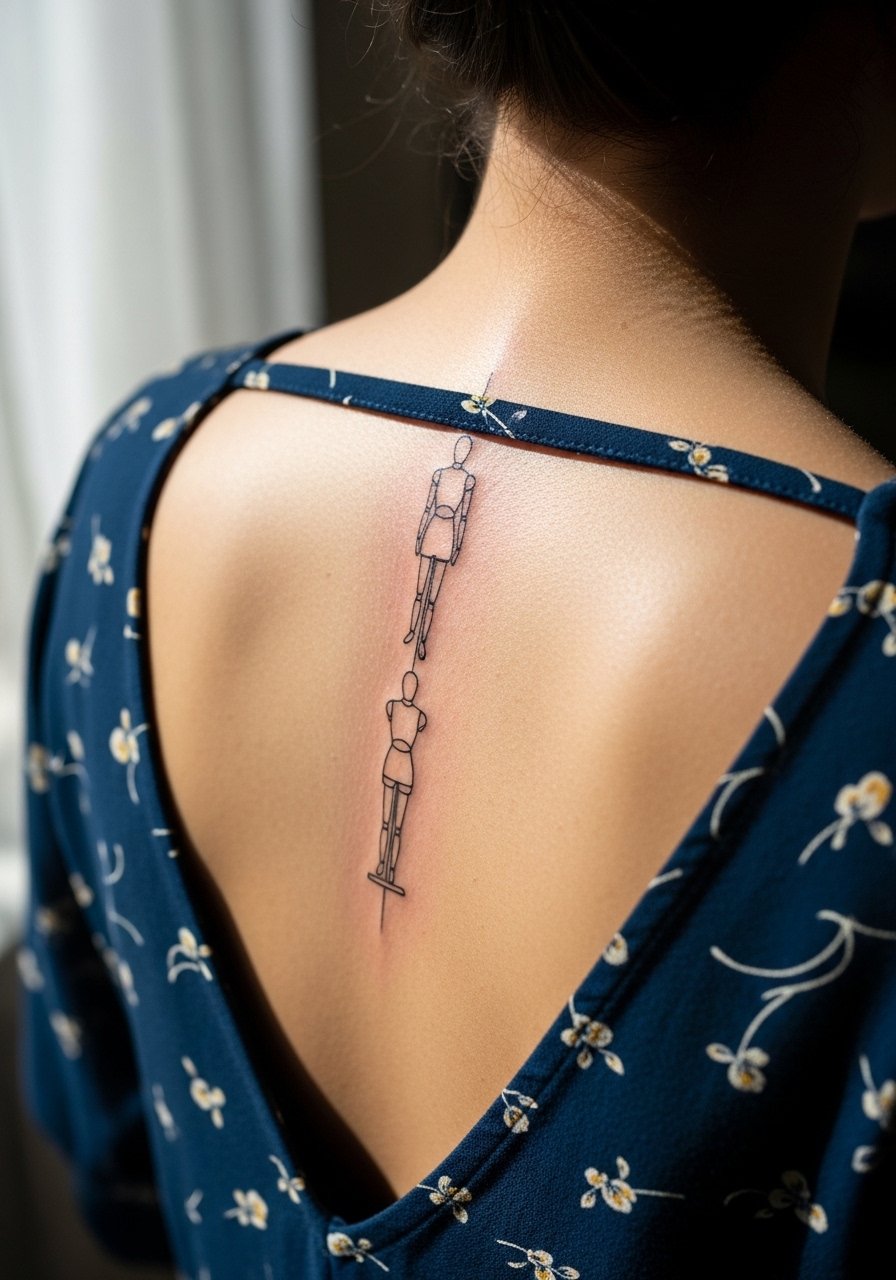
A vertical mannequin or hanging figure along the spine reads cinematic and flattering with negative space. Spine pieces need special spacing because compression while sleeping can affect healing. Expect moderate pain and a session that may be split across two visits if you want more detail. A common error is crowding the vertical axis with too many tiny marks. For showing the piece, pair it with an open-back dress or halter top to reveal the length without exposing too much.
12. Tiny Keyhole with Lace Frame Behind the Ear
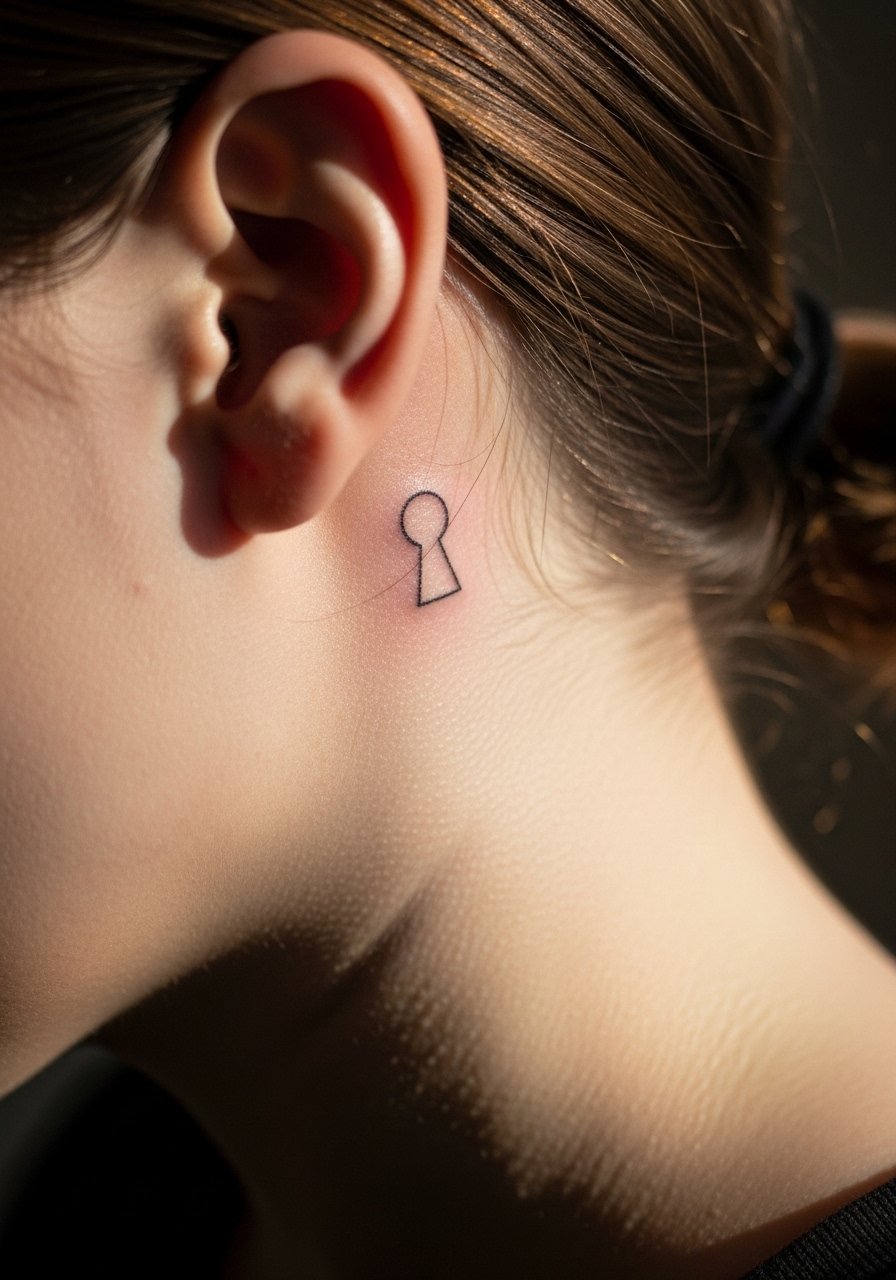
A small keyhole behind the ear feels discreet and secretive while referencing Silent Hill’s locked motifs. Because of the location, keep designs tiny and avoid heavy fill. The area is surprisingly sensitive and requires careful aftercare to avoid rubbing from collars or scarves. Artists debate how well this spot holds hairline detail long term, so ask for slightly bolder anchors in the design. If you need to hide it for work, hair covers it easily but be mindful of shampoo friction during healing.
13. Stippled Hospital Room Window on Back of Shoulder
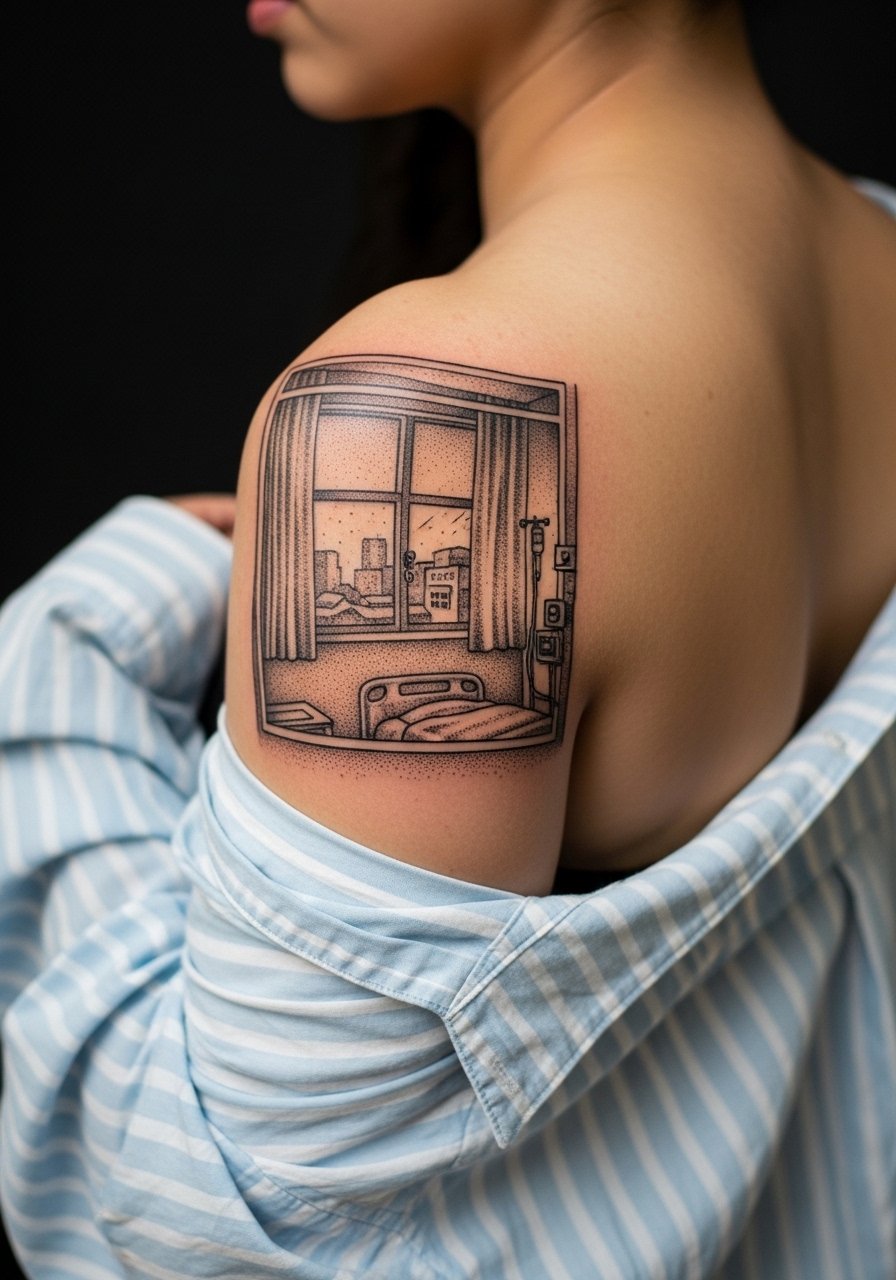
A small framed hospital window uses stipple shading to build atmosphere without heavy black. The back of shoulder is a forgiving spot for dot work because it gets lower friction and easier touch-ups. Tell your artist you want spacing between stipple clusters to avoid muddy fills. Sessions are comfortable and often short. A mistake is compressing shading into dense clouds that darken with healing. For wear, a loose button-down shirt keeps the reveal easy and casual.
14. Tiny Compass Coordinates of Silent Hill Location on Wrist
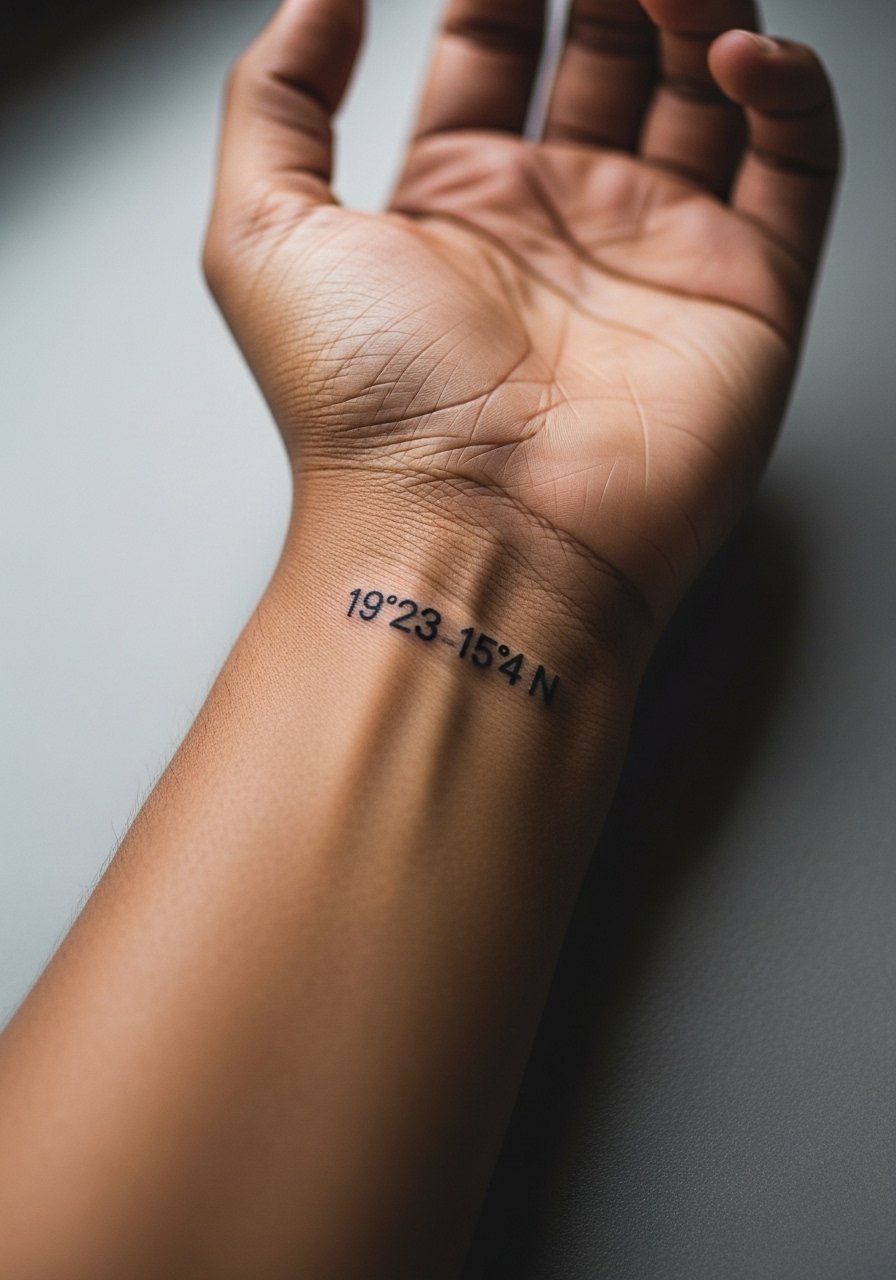
Coordinates in thin mono script are a low-profile way to reference a location tied to the games. The wrist is an exposed area and UV is the main enemy, so plan for sunscreen later. Keep the text short and use a slightly heavier font than micro-hairlines to ensure legibility after two years. Pain is low and sessions are quick. A common mistake is picking a long coordinate string that looks cramped when the wrist moves.
15. Stylized Hospital Nurse Mask on Ankle
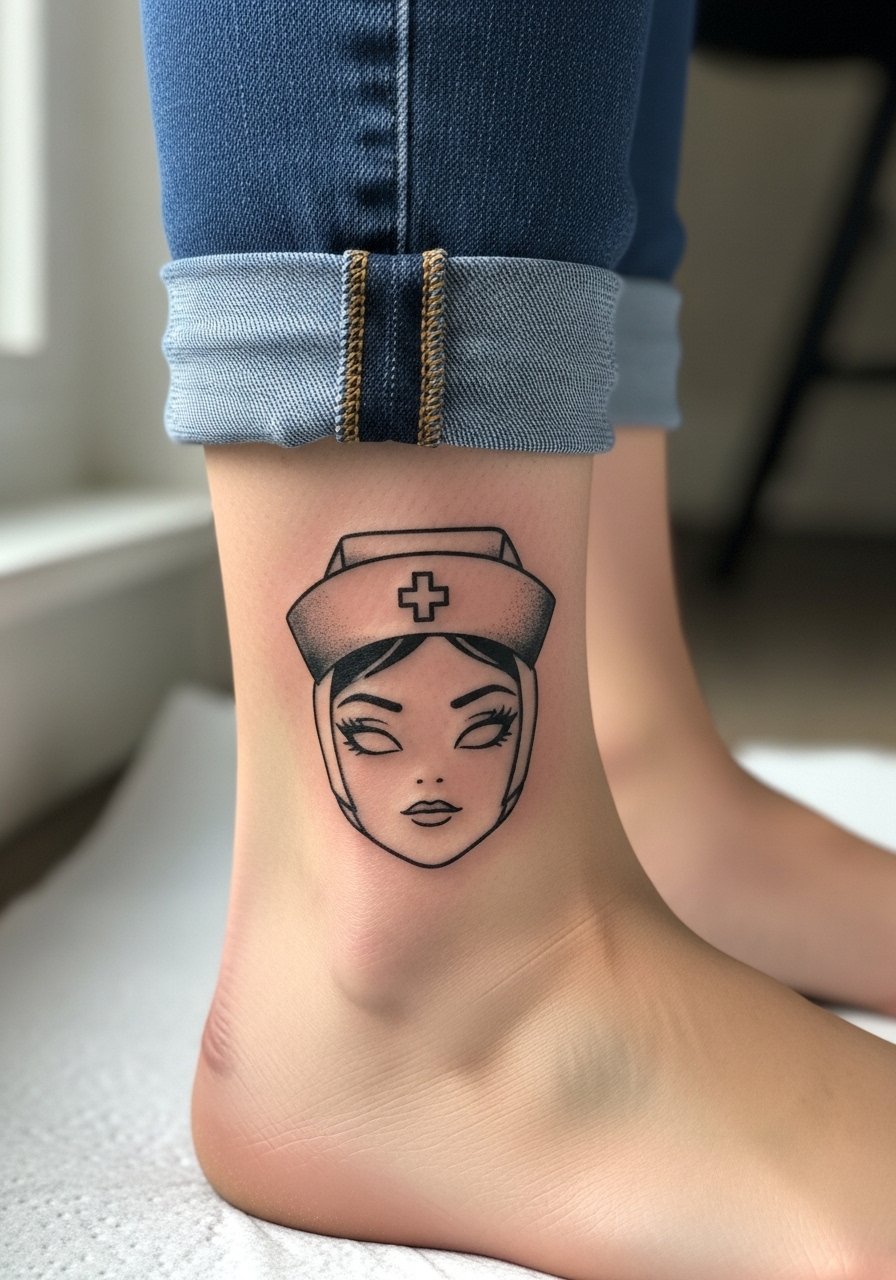
An ankle placement can turn a nurse mask into a decorative charm that reads pretty rather than threatening. Ask for simplified shapes and avoid heavy black near the bone to reduce scab tension. The ankle sees footwear friction so thin lines may fade faster. Sessions are short and tolerable. For showing it off, wear sandals or roll jeans and consider a minimalist anklet to draw attention to the area.
16. Watercolor Fog Overlaid on a Small Map Patch on Upper Arm
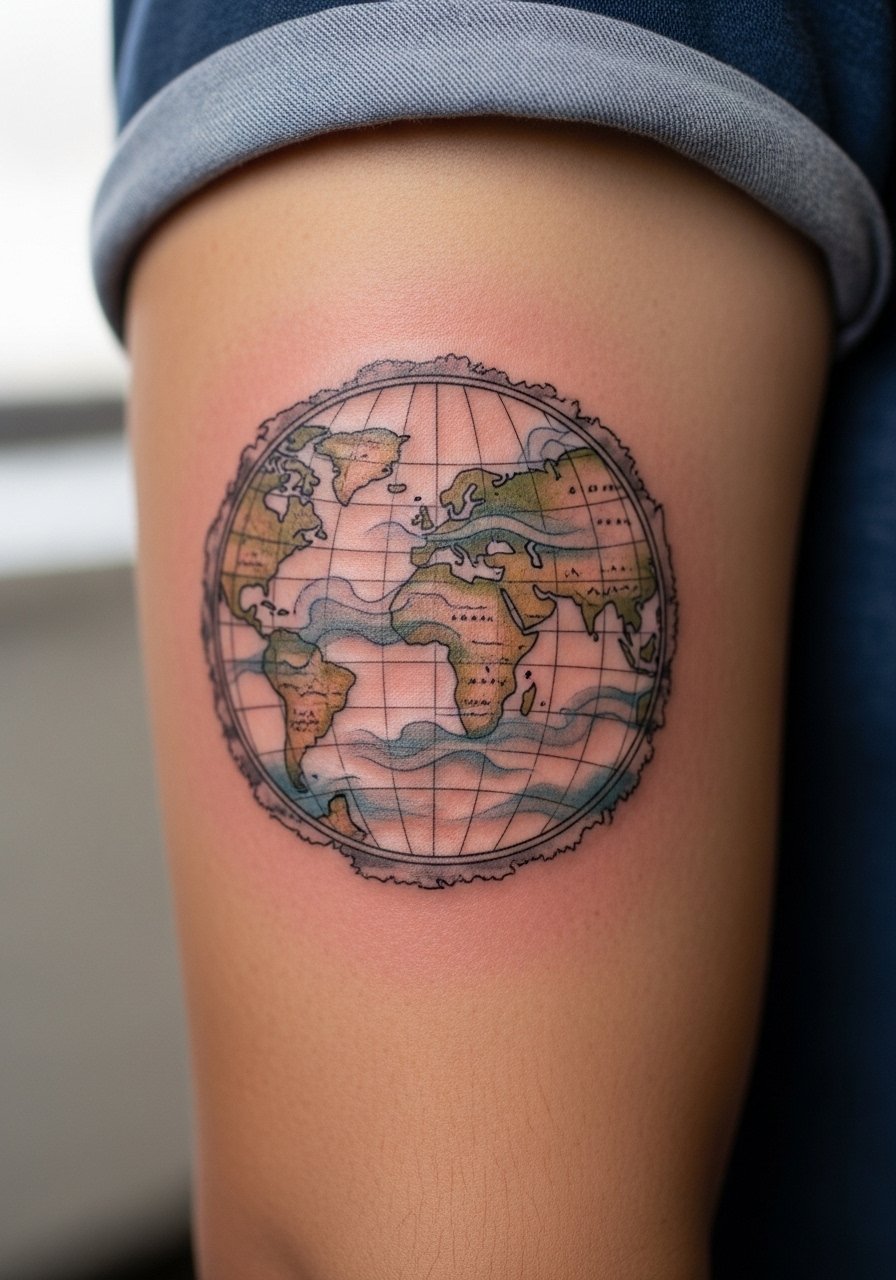
Overlaying a watercolor fog wash on a tiny map patch creates narrative without heavy detail. Watercolor pigments can fade unevenly, so request diluted tones and clear borders near linework. The upper arm tolerates color well and is an easy spot for touch-ups if needed. A frequent error is cramming map text into a tiny area. For the session, wear a short-sleeve top you can slide up easily, like a racerback tank.
17. Tiny Radio Dial with Whip Shading on Inner Bicep
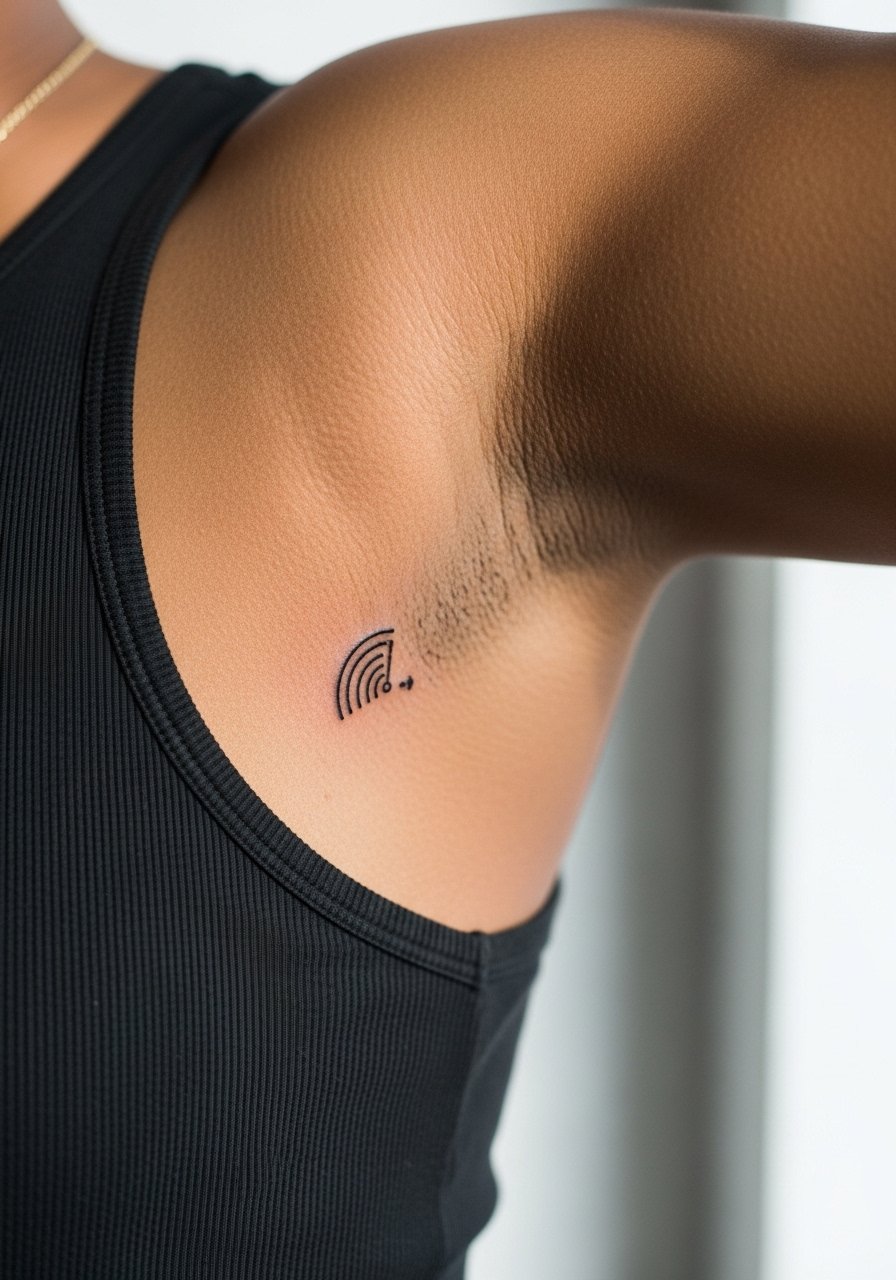
Inner bicep pieces can be intimate and age well if spacing is generous. Whip shading can add texture without heavy fill, but the skin there is softer and may migrate more than outer arm placements. Artists debate whether fine line suits inner biceps. One group says the soft tissue causes blur within a couple of years. The other group says correct depth prevents it. Expect moderate pain and plan for at least one touch-up at year two. For the appointment, bring a tank top you can lift without discomfort.
18. Tiny Hospital Key on Lower Back
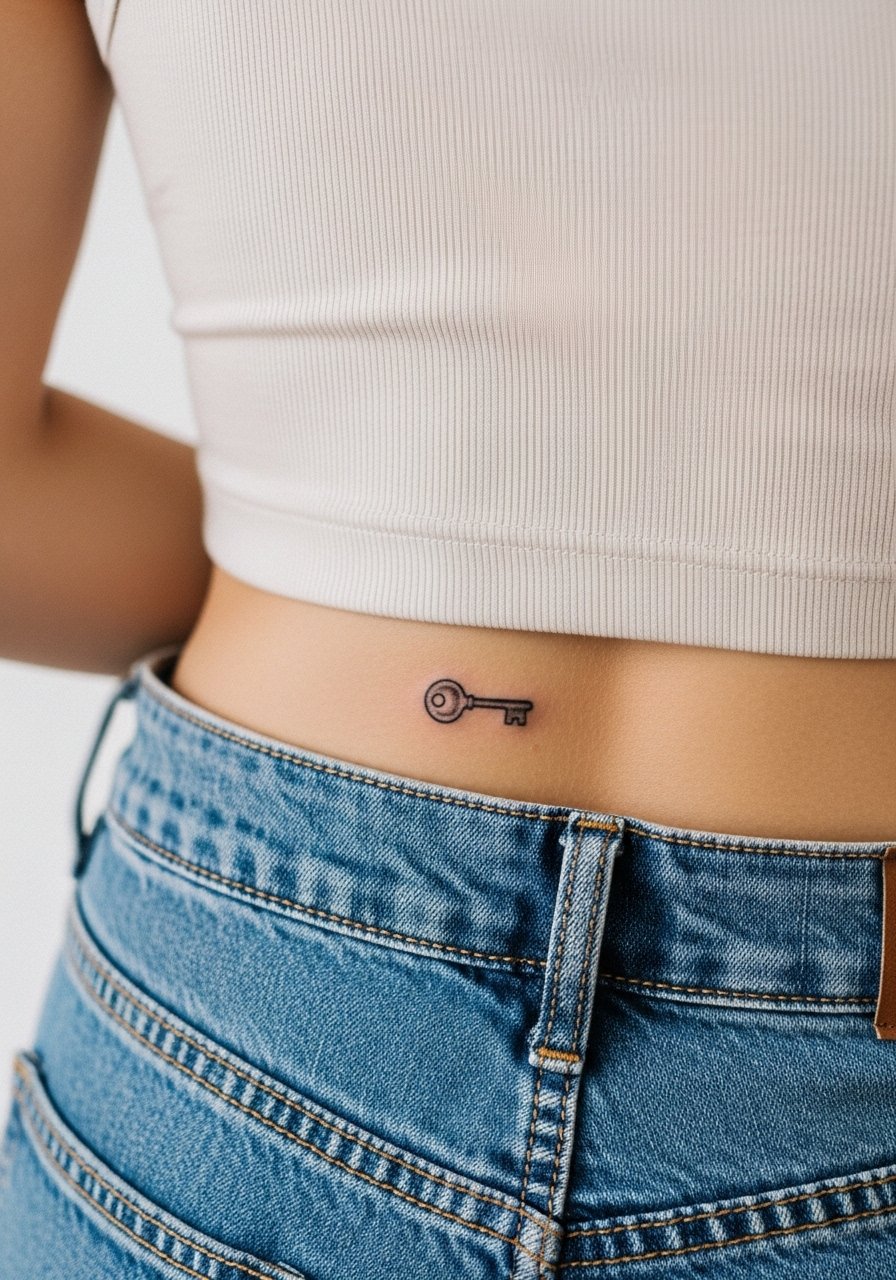
Lower back tattoos are private and can be designed as a tiny key icon inspired by the games. The placement avoids daily sun and typically holds detail well. Sessions are comfortable lying face down for a short period. Avoid overly intricate cross-hatching which can merge with movement. If you plan to show it occasionally, low-rise jeans or cutout dresses work well but consider long-term clothing friction when choosing ink depth.
19. Tiny Lattice of Stitches on the Side of the Hand
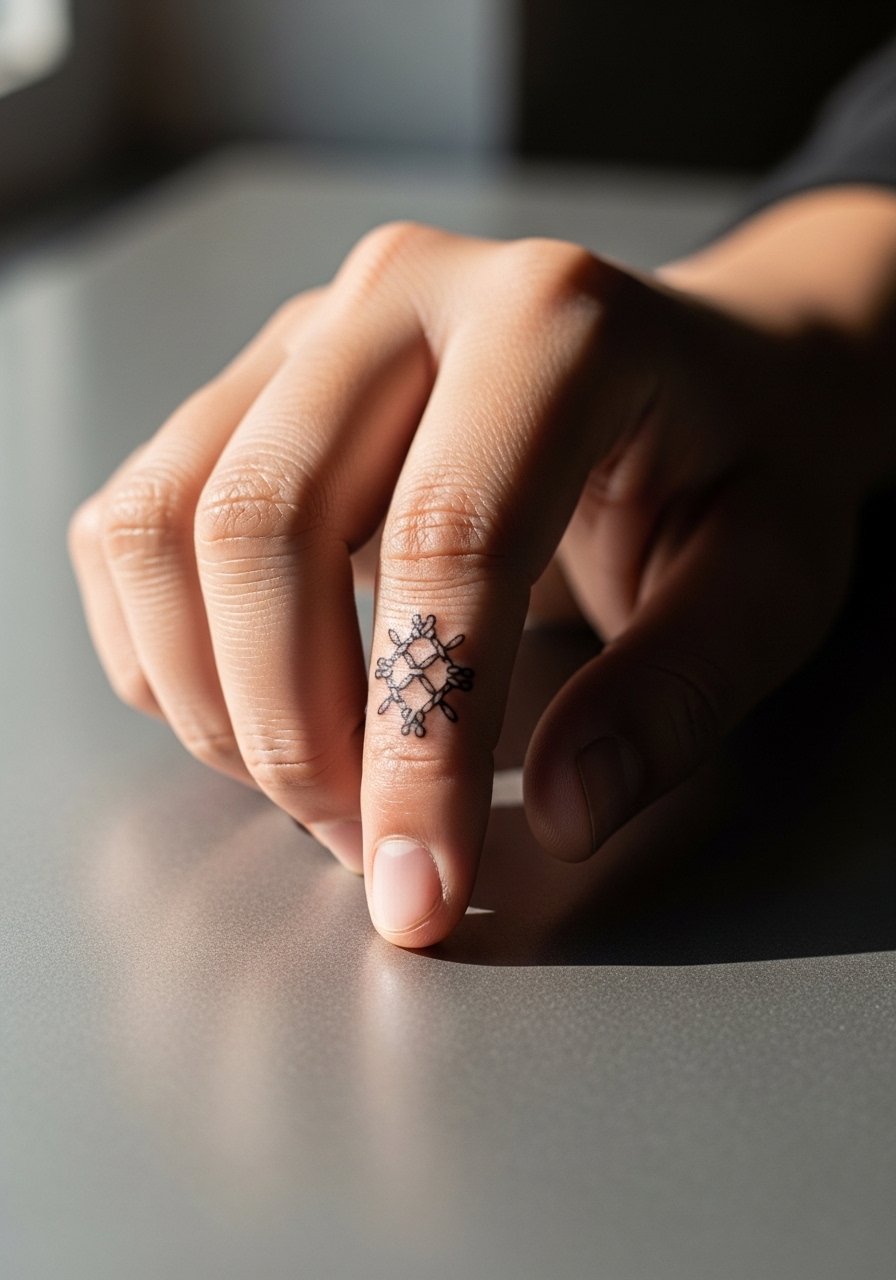
Hand tattoos remain controversial in workplaces and social settings, so think about career impact before committing. Stitch patterns and small lattice motifs can look delicate but they face heavy wear from washing and work. Ask for bolder anchors rather than hairline crosses so the pattern survives. Pain is sharp and healing requires disciplined avoidance of irritation. For showing, pair with minimal rings rather than bulky cuffs.
20. Subtle Order Cult Sigil Inside Elbow Pit
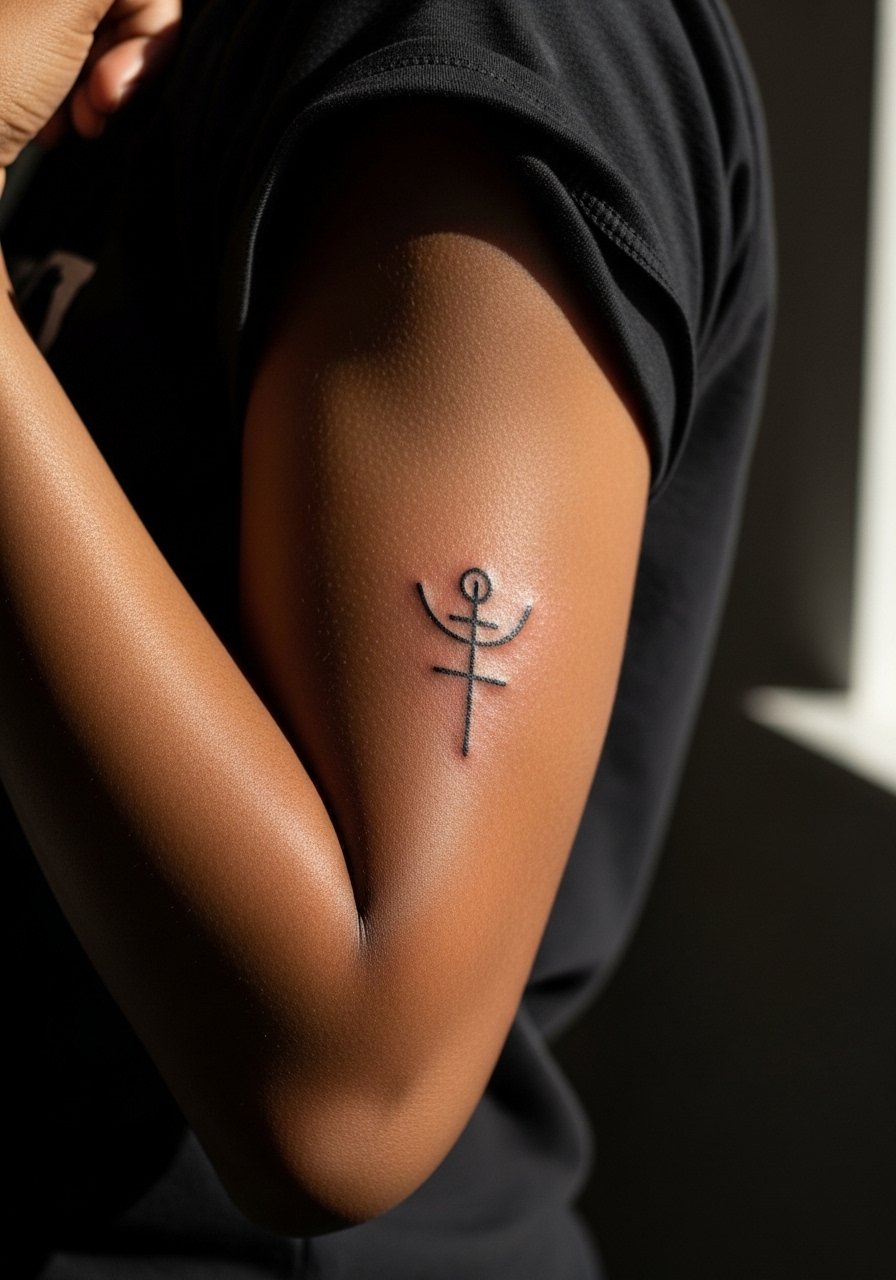
The inner elbow sees a lot of movement and skin folding. Keep sigils small and avoid dense fills near crease lines. Expect a higher chance of touch-up since constant bending changes how ink rests. Sessions are moderately uncomfortable. Artists are split on whether to place heavier anchor lines or to keep them airy here. Ask during consultation and plan follow-up. For the session, wear a short sleeve that can be shifted without pulling at the area.
21. Micro-Realism Lake Reflection on Thigh
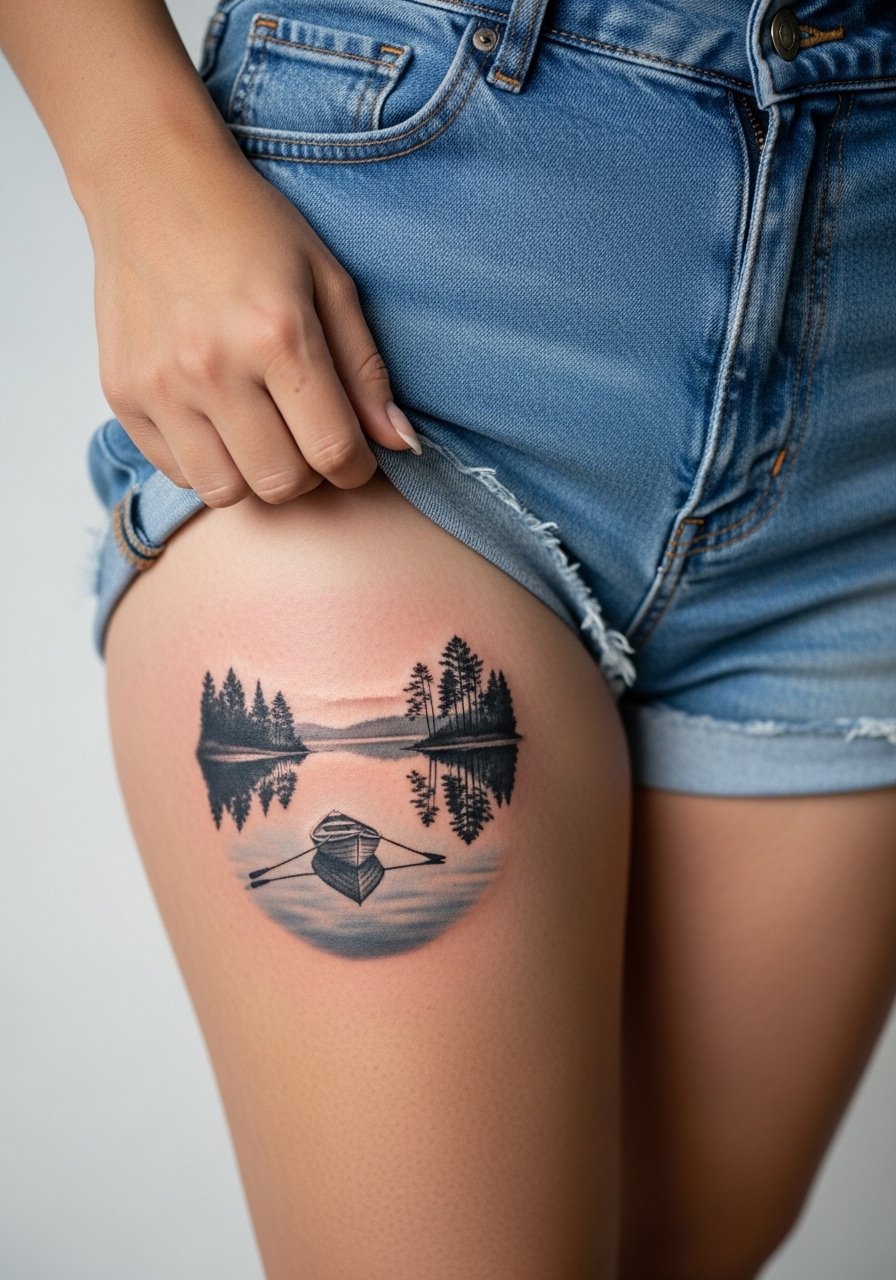
A small lake reflection scene brings Silent Hill’s mirror-like calm to a private canvas. Upper thigh is forgiving on sun exposure and usually preserves fine shading longer than exposed limbs. Sessions are comfortable and you can sit or lie depending on the composition. A common mistake is compressing too many tiny elements into a small patch. For the appointment, wear high-waisted shorts that allow easy access without discomfort.
Frequently Asked Questions
Q: Will fine line Silent Hill imagery like Pyramid Head or nurse figures blur faster than blackwork?
A: From what I have seen, fine line does tend to soften quicker than saturated blackwork, especially in high-friction zones like fingers and wrists. A good compromise is slightly stronger anchor lines and spacing that anticipates spread. Ask about touch-up timelines in your consultation and budget for a refresh at year two to three depending on placement.
Q: Are chest and sternum designs safe for delicate detailing or should I pick bolder work?
A: Sternum and upper chest can hold detail if you and your artist plan for movement and breathing. Many artists prefer slightly bolder outlines near the sternum to keep micro script readable after healing. If you want tiny lettering, accept that touch-ups might be needed sooner than for upper-arm pieces.
Q: How do I find a tattooer who understands both horror motifs and longevity planning without naming specific accounts?
A: Look through local shop portfolios on directories and convention listings for tattooers who show healed photos and follow-ups. Search community hashtags and read forum threads where people post healed images. Ask your potential artist for healed shots of similar placements to verify how their work ages.
Q: Which placements are best if I want a subtle Silent Hill reference I can hide for work?
A: Inner thigh, upper thigh, lower back, and upper shoulder blade are all easy to conceal. Small collarbone pieces can be hidden under a shirt too. Think about clothing you wear regularly when choosing placement, and bring images of those garments to the consult.
Q: Should I expect more sessions for watercolor fog or for blackwork radio towers?
A: Watercolor fog often needs layering across sessions to achieve a soft, even wash without dense patches. Blackwork towers generally require fewer visits if you want bold saturation, but they can be longer single sessions. The choice depends on how much time you want in the chair versus how much follow-up you accept.
