
Fine line trends flood feeds, but the micro medieval woodcut tattoo that still reads crisp at year three is usually a contrast-first piece with thoughtful spacing and chunkier blackwork. I say that from chatting with shop owners and watching healed pieces in real life. Below are 17 micro medieval woodcut ideas that account for skin tone, placement movement, and what to ask your artist so the image you pick actually holds up.
1. Micro Knight Helmet on the Wrist
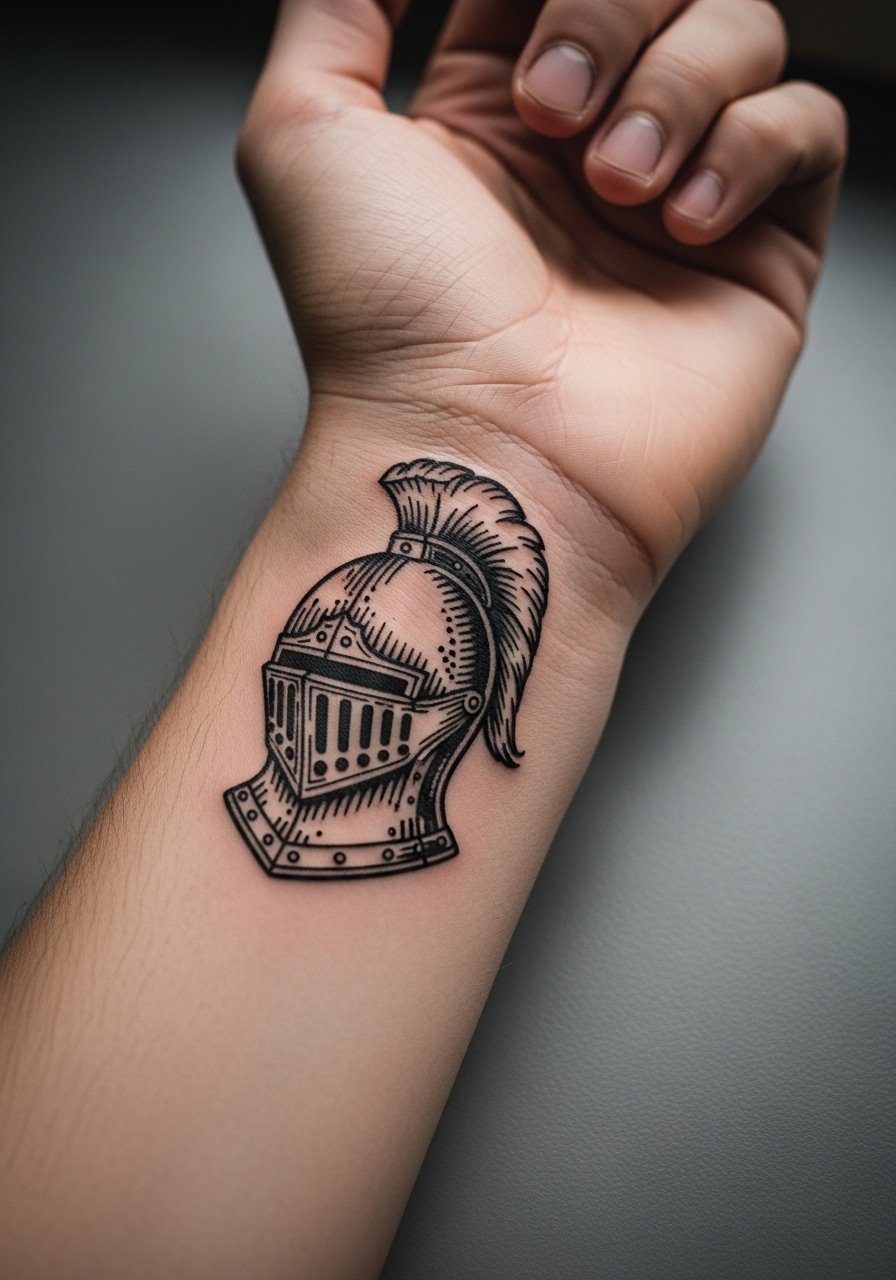
I see this one on festival-goers and history fans because it reads iconic but stays tiny. Tell your artist you want crosshatch texture and a single-line negative space across the visor so it keeps definition. Fair warning, the wrist gets a lot of sun and washing, so expect lightening at 6 to 24 months and plan a touch-up then. Pain sits low to moderate for most people and sessions usually take under an hour. For showing it off, roll a cuffed chambray shirt in charcoal and layer a thin leather cord bracelet to frame the piece during summer shows. Wear a sleeveless tank on session day so the artist has full access. chambray rolled cuff shirt
2. Tiny Fleur-de-Lis Shield on Inner Forearm

This delicate heraldry works well on people who want meaning without bulk. Ask for slightly thicker outline than a typical fine line so the symbol keeps contrast on darker or olive skin. The inner forearm is forgiving for healing but flex and sun still matter. Most sessions finish in under an hour and pain is low. A common mistake is asking for ultra-thin outlines; those fade into grey smudges. Roll your sleeves up to show the piece with a short-sleeve button-down in cream or navy on nights out and wear that same button-down to the appointment for easy access.
3. Manuscript Initial with Ivy on Collarbone
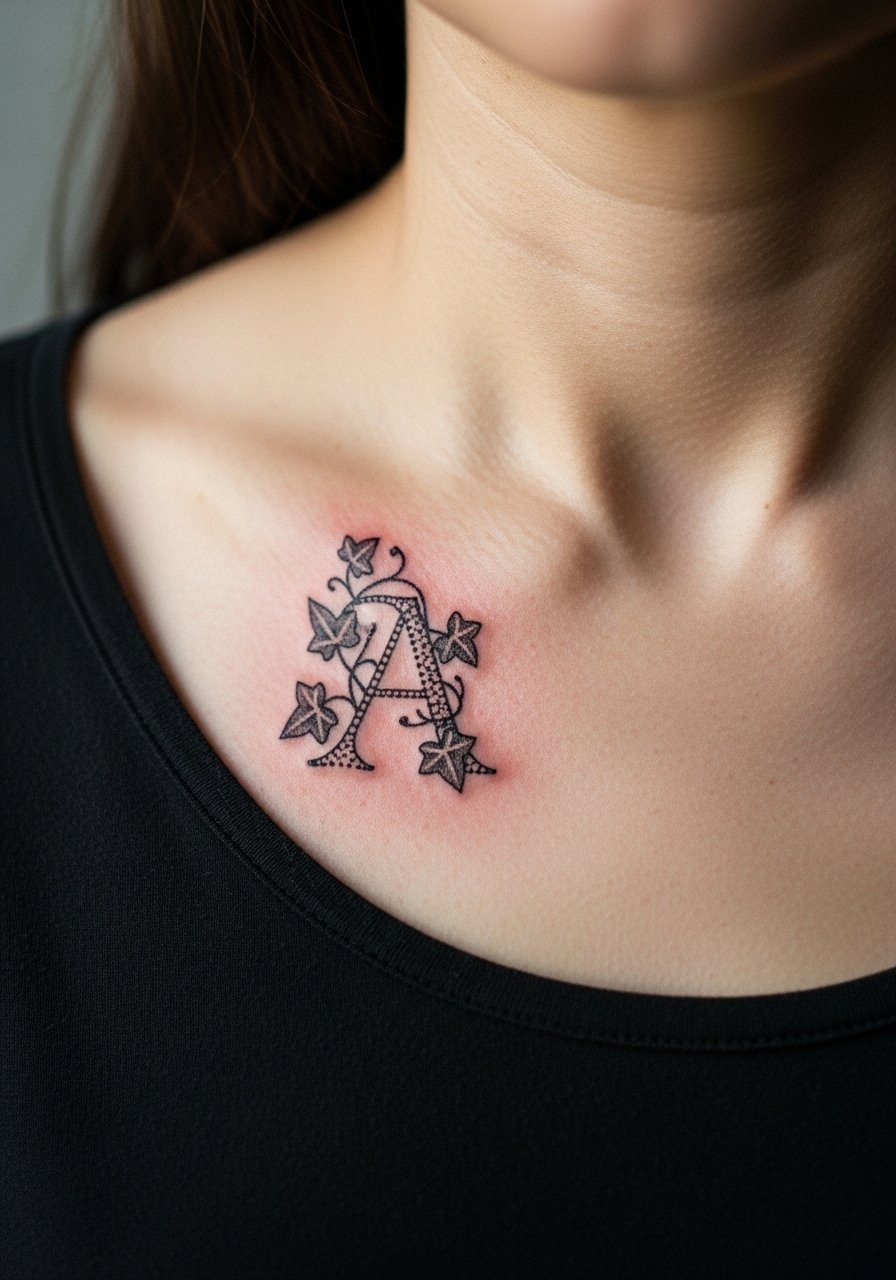
Collarbone placement reads elegantly when paired with micro-realism details like stipple shading around the ivy. The area is low to moderate on pain. Ask for dotwork texture instead of continuous shading so the ink ages more predictably. A common misstep is cramming too many flourishes into one inch. For showing it off, choose an off-shoulder sweater in olive or black and a dainty choker so the letter sits center stage. For the session, wear a strapless top or button-down you can unfasten.
4. Small Castle Turret Silhouette on Ankle
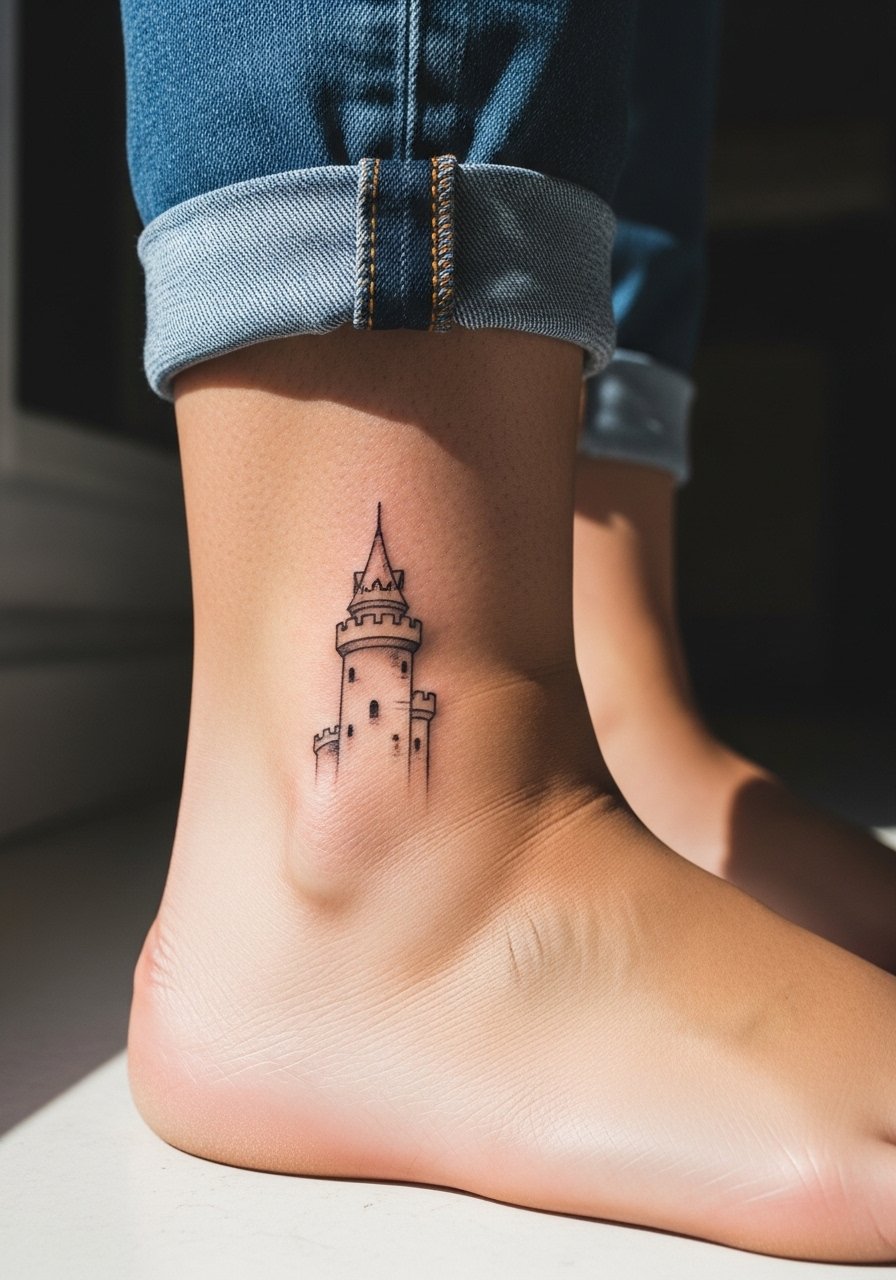
Ankle placements get a lot of friction from socks and shoes and they can take longer to settle. This silhouette works as solid black shapes rather than fragile lines. Tell your artist you want bold negative space in the towers so the silhouette keeps a clean edge at six months. Sessions are quick and pain varies from low to moderate. For show-off styling, cuff straight-leg chinos or wear canvas boat shoes with low ankle socks. On the day, bring loose joggers or shorts so the leg can be elevated comfortably. cuffed chino pants
5. Woodcut Grim Reaper Scythe on Outer Forearm
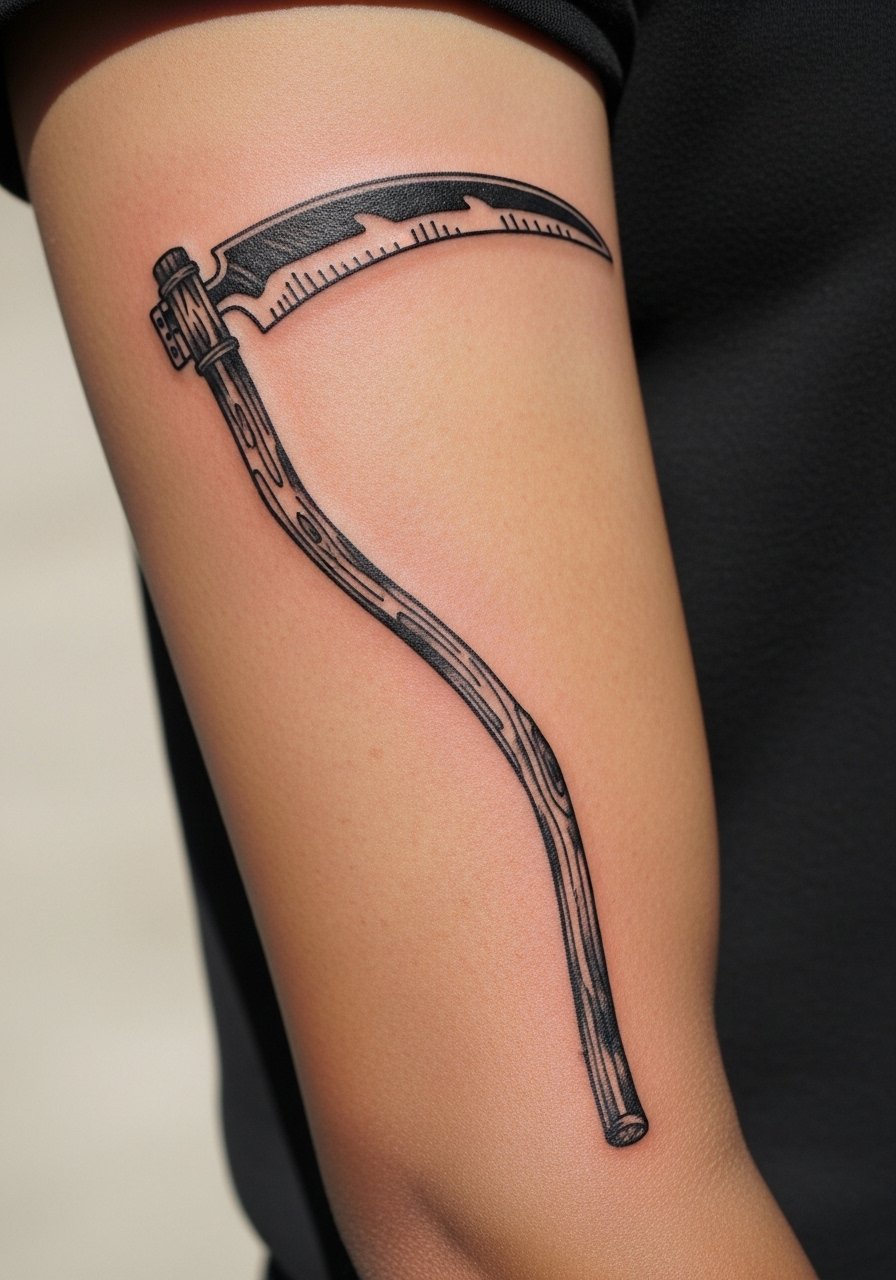
Outer forearm is a high-visibility spot that handles saturated blackwork well. The ignorant-style heavy fill reads strong through sweat and frequent washing better than tiny fine-line alternatives. Expect moderate pain and a session that can stretch to two hours for layered black. The mistake I see most is asking for too many tiny textures that merge during healing. If you want the edge without fuss, request broad crosshatch and heavy fills rather than hairline details. For the appointment, a short sleeve tee is perfect and keeps the arm relaxed.
6. Micro Alchemical Symbol Circle on Ribcage
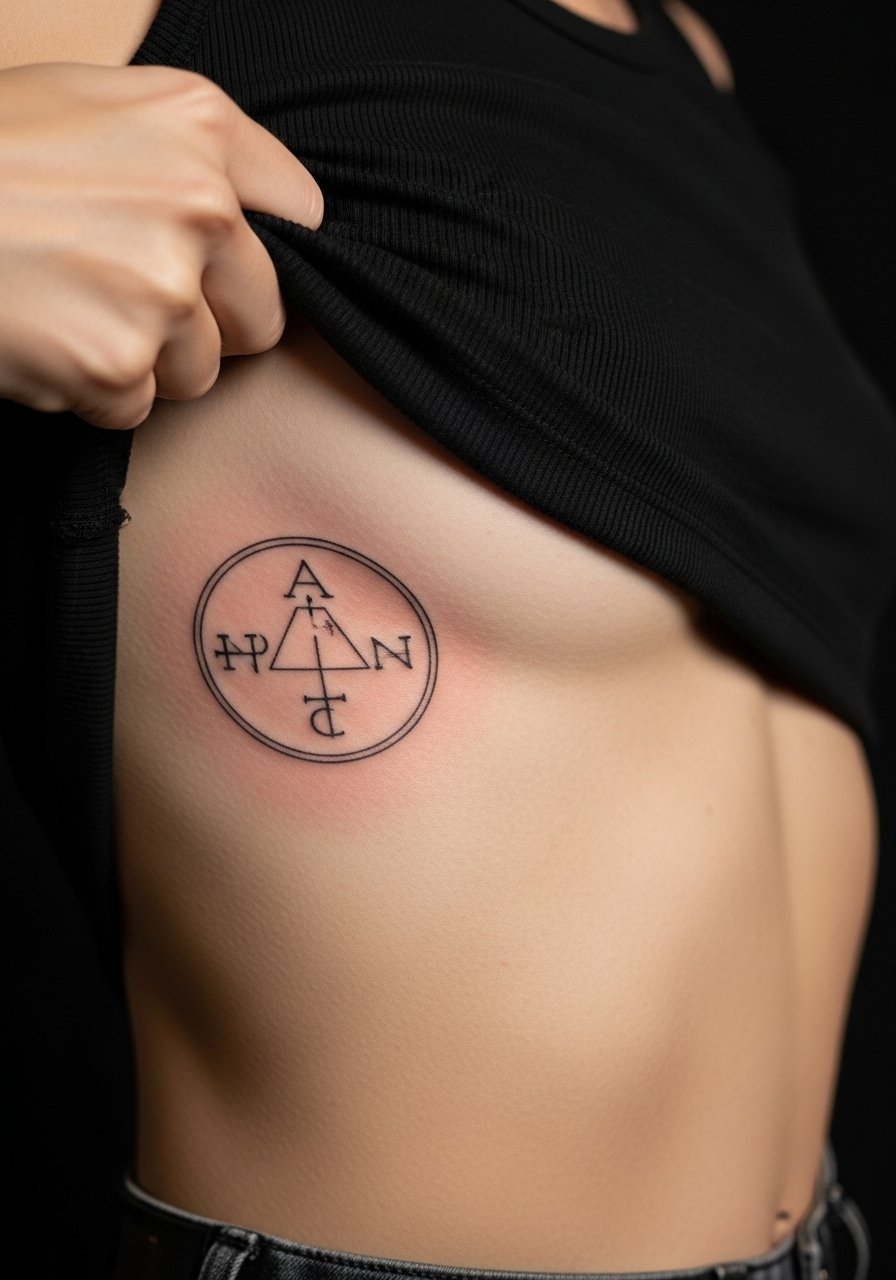
Ribcage sessions hurt more than the arm. Pain is higher and breathing steadying helps. Artists split on fine line here. One camp says the skin stretch and motion blur lines within two years. The other camp says with correct needle depth and spacing, fine line settles just fine. Ask directly which camp your appointment artist sits with. For showing the piece, cropped tanks or side-slit tees let the symbol peek without revealing much. For the session, wear a loose tank that you can lift comfortably.
Pre-Session Essentials
The wrist, collarbone, and ribcage pieces above all ask for different prep, so these items smooth the session and the first week.
- Glaze Tattoo Balm. A non-greasy balm that forum users prefer for hand and finger micro work since it avoids heavy residue that can blur fine line pores.
- InkSafe Spray. Dries matte and reduces stickiness during summer heal for ankle and calf pieces that rub against clothing.
- Tea Tree Ink Fix. Antibacterial spray artists mention for small contaminated nicks without the burning sting of alcohol based products.
- Hada Labo lotion. Lightweight hydration for Asian skin tones that avoids oil build up on micro linework.
- CeraVe healing ointment. Fragrance-free topical that some people with sensitive skin find gentler during the first few days on collarbone and ribcage sessions.
7. Heraldic Lion Rampant on the Shoulder
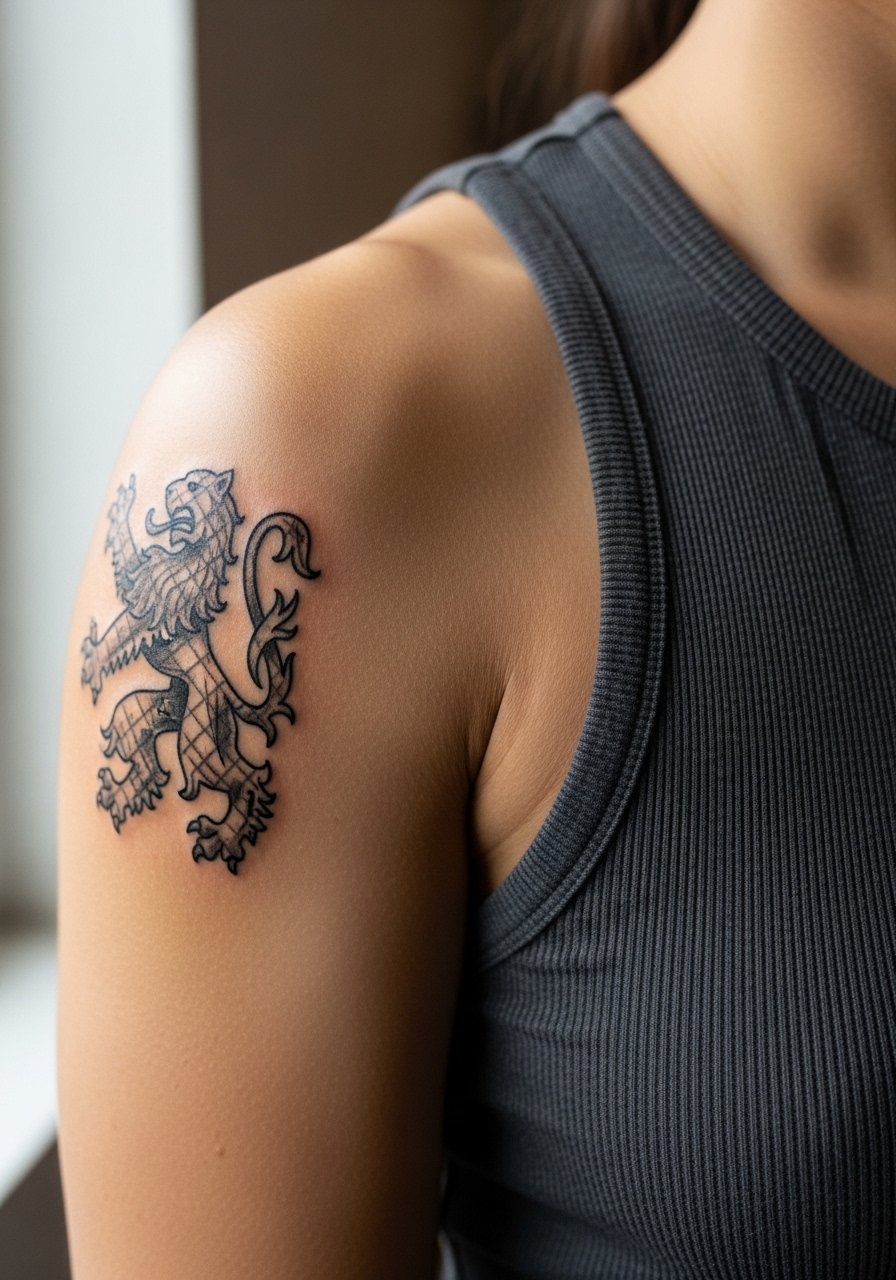
Shoulder pieces age well because the skin does not stretch as much. This neo-traditional blackwork lion with stipple and crosshatch keeps regal detail without requiring a large canvas. Sessions may take up to two sittings if you want layered texture. A common mistake is shrinking the crest so small it loses its mane. For showing off, fitted muscle tees in solid gray or a vintage leather jacket frame the shoulder nicely. For the appointment, wear a sleeveless tank so the artist has freedom to rotate your arm.
8. Tiny Woodcut Dragon Knot on Thigh
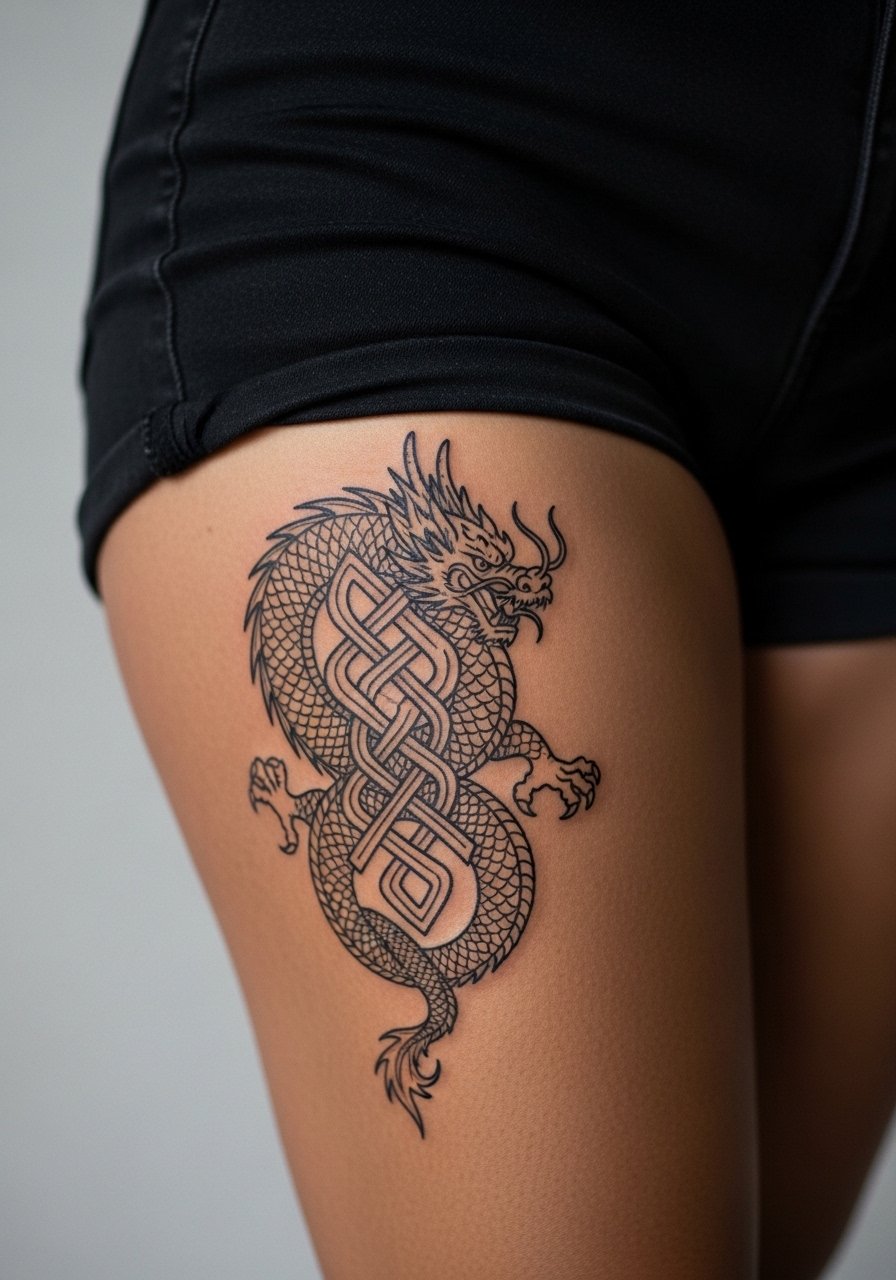
Thigh placements handle motion and muscle changes better than forearms. The interwoven lines of a dragon knot need enough negative space to keep the weave legible at two and five years. I advise slightly thicker line weight than you'd pick for a wrist version. Pain is low and sessions finish fast. For summer showing, high-waisted shorts or swim trunks in khaki highlight the knot. On session day, bring loose athletic shorts so the artist can lay the thigh flat.
9. Astrolabe Dial Outline at the Nape of the Neck

Neck pieces require careful portfolio review and honesty about career considerations. The astrolabe's tiny gears need crisp spacing so the dials do not bleed into a ring of grey. Expect moderate pain and a short session if the piece is truly micro. Keep the linework simple and avoid dense internal dotwork on the neck. For display, an open-collar henley or V-neck polo in earth tones frames the piece. For the appointment, wear a wide-neck shirt you can shift easily.
10. Small Chalice with Thorns on Upper Back
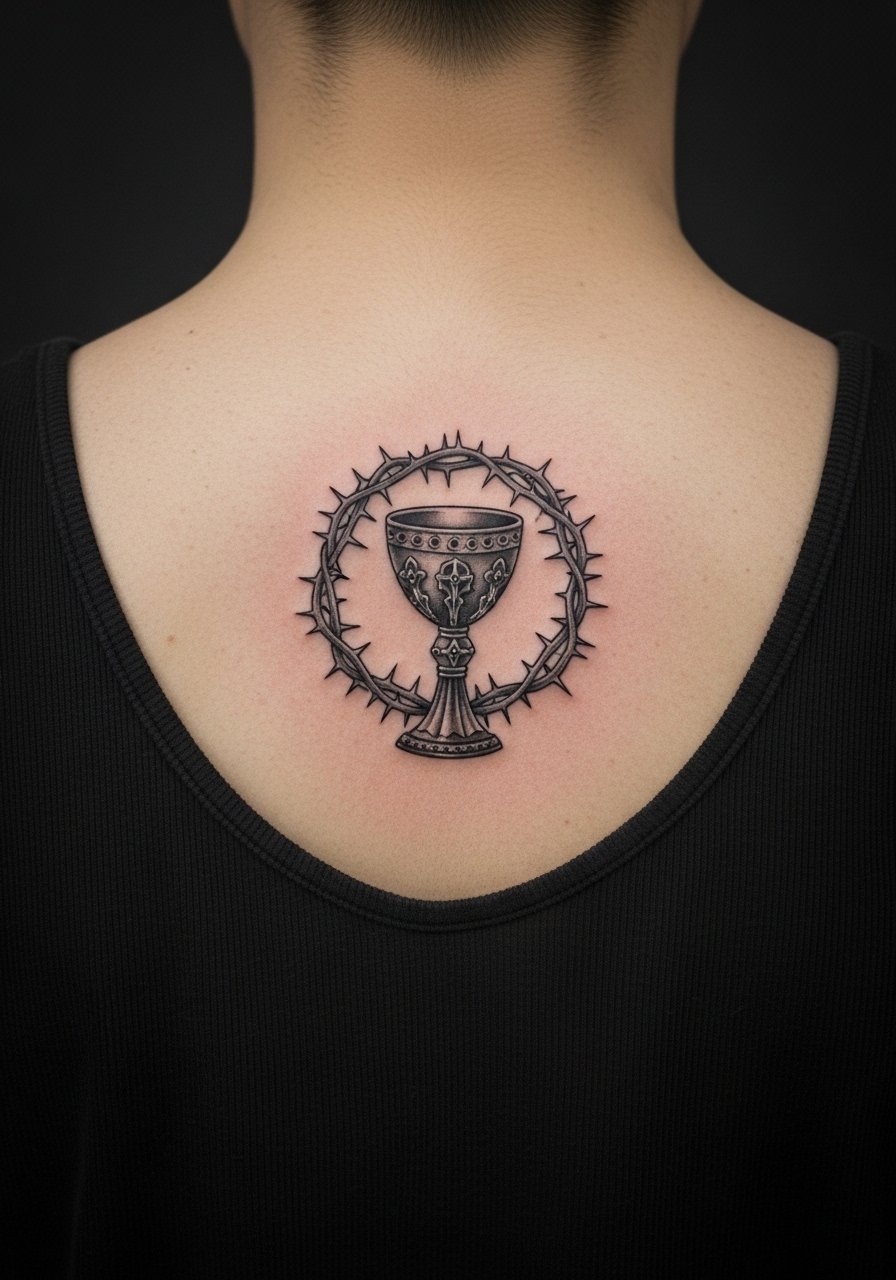
Upper back pieces sit where clothing choices control visibility. This chalice uses soft grey washes around the thorns so the form reads without heavy black saturation that can feel heavy on the back. Pain is moderate and sessions are usually under an hour. The error I often see is pushing too much fine stipple into a tiny chalice which blurs after healing. Wear an off-shoulder or strap tank to show the piece with a dainty necklace. For the session, a button-down or tank you can remove without contorting is best.
11. Woodcut Plague Doctor Mask on the Calf
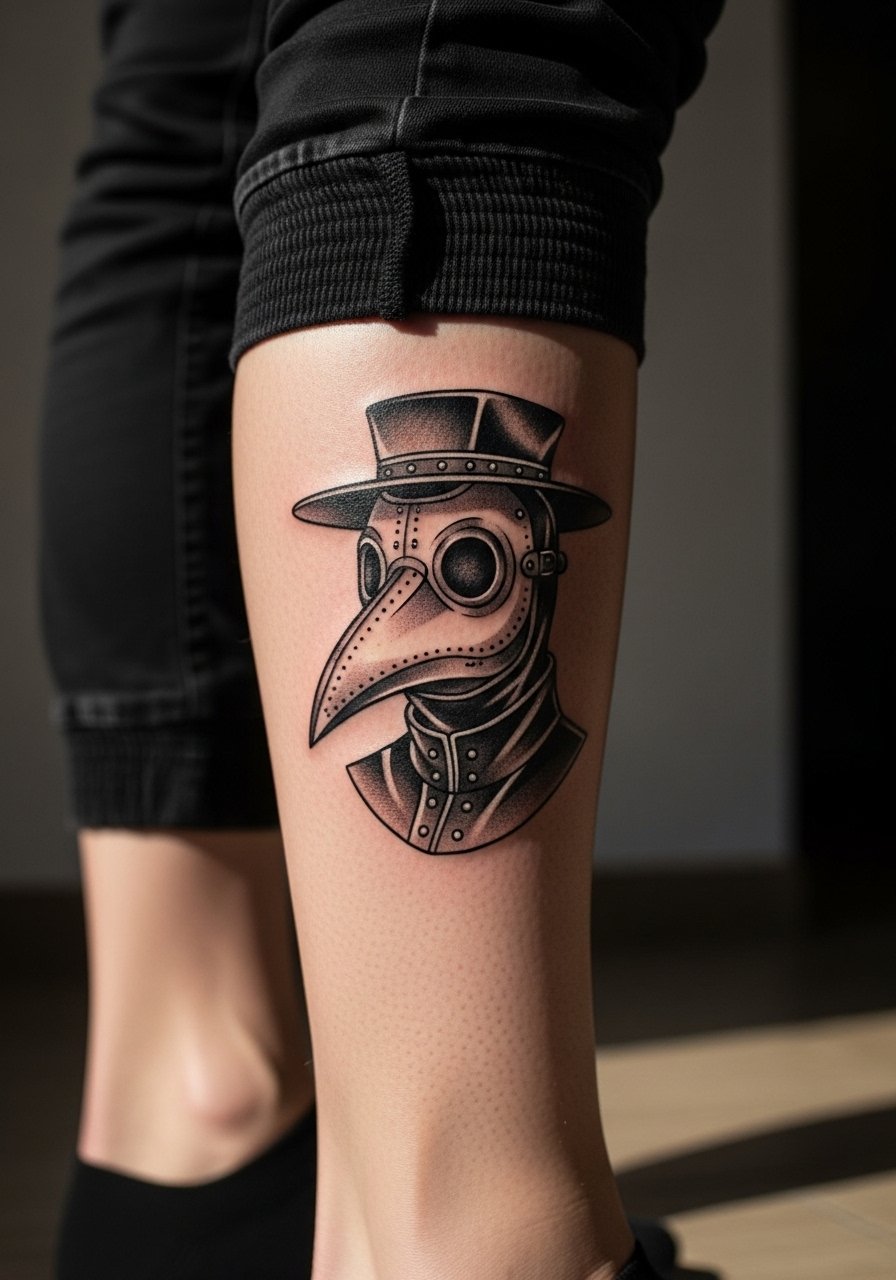
Calf work handles two-inch woodcut portraits better than ankle or wrist. This placement deals well with sweat but watch for rubbing from tight leggings during healing. Sessions can run to two sittings if you want depth and texture. A mistake is choosing ultra-fine details that merge after activity. For showing off, cuff slim joggers or roll jeans and wear high-top sneakers to draw eyes to the lower leg. For the appointment, pull sweatpants up so the calf lies flat.
12. Sword and Scroll Banner on Inner Bicep

Inner bicep pieces can be tender but they conceal well. The combination of sword and banner benefits from clean script in the scroll and a slightly heavier sword outline so letters remain legible at one year. Touch-up at six months is common for script in micro sizes. A typical mistake is asking for ornate calligraphy that becomes mush after healing. For the session, wear a loose tank top so your arm can be positioned comfortably. Pair the tattoo with a thin chain pendant on the opposite arm to balance the silhouette.
13. Gothic Arch Window Along the Spine

Spine pieces are more private and they move with posture, so spacing is crucial. This architectural motif needs symmetry and slightly increased line weight to resist early softening. Pain here tends to be higher than the arm and sessions should be scheduled with breaks. Many people go too small on the tracery and lose legibility by year two. For nights out, open-back dresses or halter tops let the arch show without exposing more than intended. On session day, bring a button-down or loose tee you can adjust with minimal fuss.
14. Crosshatched Medieval Lock on the Hand
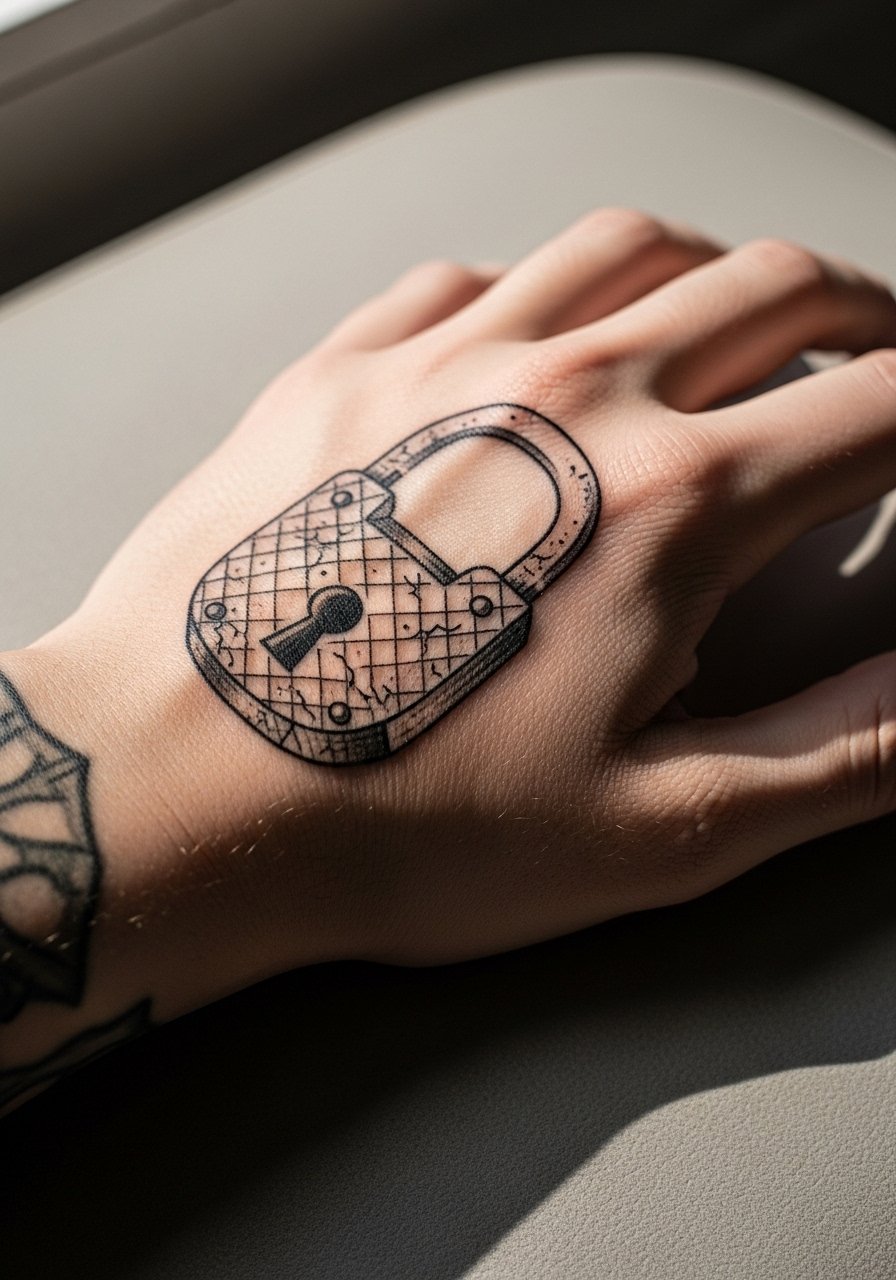
Hand tattoos still carry social considerations and they fade faster because of washing and sun. The lock looks best with heavy crosshatch texture and a bold outline rather than hairline detailing. The hand often needs touch-ups at one year. Ask your artist about how their hand work has held on different skin tones before booking. Expect moderate pain and short sessions. For visibility, keep jewelry minimal around the fingers so the piece can read clearly.
15. Inverted Woodcut for Scarred Skin
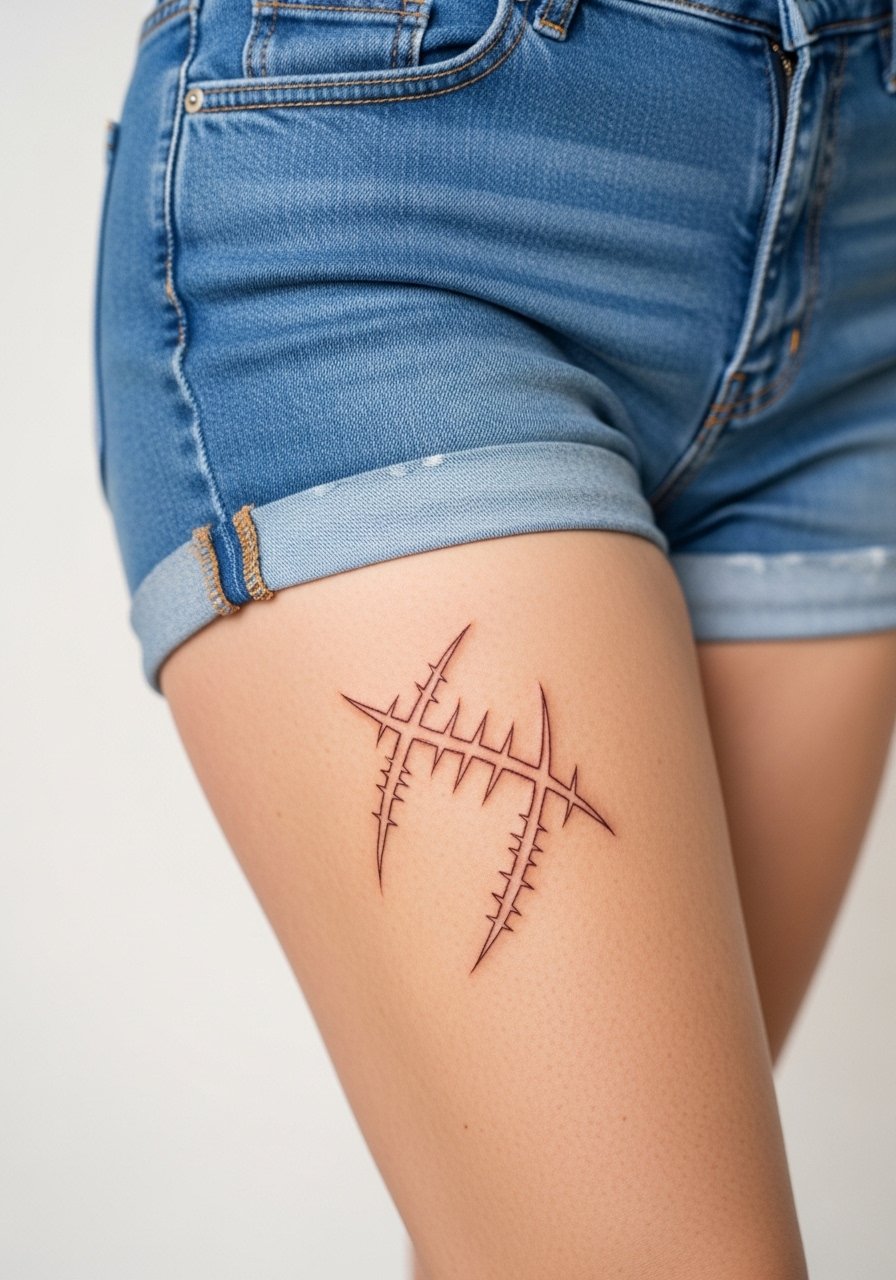
This is one of the under-covered approaches I see asked for in forums. Instead of working around scars, invert the design so the scar becomes texture. The technique asks for an artist experienced with healed tissue and thoughtful spacing. Sessions vary widely based on scar depth and can take extra time. A common error is treating scarred areas like normal skin. For showing off, high-waisted shorts help the piece read as part of the leg's shape. On the day, wear loose shorts you can shift easily.
16. Finger-Scaled Medieval Symbol with UV Ink

Finger micro work is high wear and often needs yearly touch-ups. One fresh angle is scaling medieval symbols for fingers with optional UV accents. UV ink is experimental and not all artists use it. If you consider UV, discuss long-term visibility and touch-up frequency with your artist. For session prep, make sure your hand is clean and free of lotions. On display days, keep rings slim and minimal so the tiny glyph reads without crowding.
17. AR-Ready Micro Woodcut Designed for Virtual Try-On

Digital try-ons are an emerging path I keep recommending. Design this micro tattoo with clean silhouette and a little negative space so augmented reality filters render it accurately. Mock up the stencil life-size and test it with a phone filter before booking. The practical benefit is seeing scale and placement without a second chair consult. For the session, wear shorts or rolled jeans so the ankle is easy to access. If you want the piece visible, cuff chinos or wear boat shoes that reveal the work.
Frequently Asked Questions
Q: Will fine line medieval initials blur faster on olive or dark skin than on light skin?
A: In my experience fine line can soften faster on olive and darker skin if the line weight is too thin. Ask for slightly heavier outlines or micro dotwork to retain contrast. If your artist recommends thicker line weight for your tone, that is usually the right call.
Q: Which holds up better at two years, micro blackwork crosshatch or fine line dotwork?
A: Micro blackwork crosshatch tends to keep its form longer because saturation resists UV and washing. Fine line dotwork can look elegant at first but plan for a touch-up at six to twelve months if you want it to remain crisp.
Q: How should I book a guest spot without losing a deposit when traveling for a micro piece?
A: Book locally when possible and use verified platforms like Booksy or Inkbook for confirmed slots. If you must book a guest spot, ask about the studio's cancellation policy in writing and consider smaller deposits with flexible reschedule options.
Q: Is dry healing or film wrap better for micro woodcuts on ankles and calves in summer?
A: Both camps argue strongly. Film wrap dries faster and cuts mess for sweaty lower-body work. Dry healing supporters say natural scab formation reduces infection risk. For ankle and calf work in hot months, a short film window followed by dry healing is a compromise many people use.
Q: Can scarred skin be used in micro medieval woodcuts or should I avoid it?
A: You can use scarred skin creatively by inverting designs so scars become texture. That requires an artist comfortable with healed tissue and sometimes longer sessions. Bring clear healed photos of your scar to consultation.
Q: What should I wear to a collarbone or ribcage session to make setup easy?
A: For collarbone pick a wide-neck shirt or off-shoulder sweater you can shift aside. For ribcage choose a loose tank or cropped top you can lift. If you want a quick option for both, a button-down you can partially unbutton works well.
