
Fine line lilies are everywhere on mood boards, but the reality is more complicated. Fine lines can fade fast on high-movement spots like hands, finding an artist who knows how to keep a delicate lily from looking generic takes extra searching, and small pieces often hit shop minimums so the sticker shock stings. Read on for 17 soft lily designs that balance look and longevity, plus what to ask for at the consultation.
1. Fine Line Lily on the Wrist
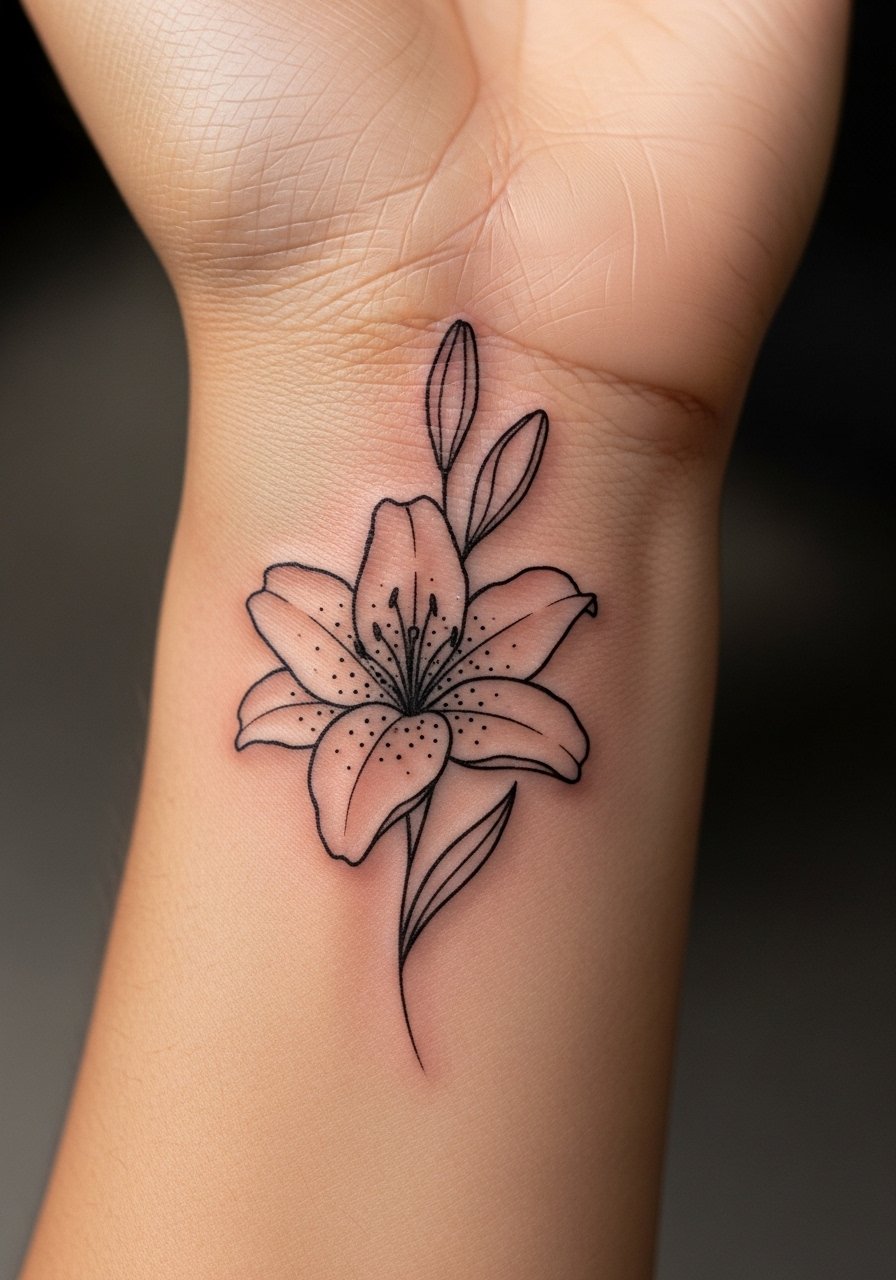
A fine line lily on the wrist reads delicate and discreet, perfect if you want a floral accent that hides under sleeves. I recommend asking your artist for slightly increased line weight compared with gallery references so the lines hold where the wrist flexes. Pain is low to medium and a single short session usually does it. The common mistake is asking for ultra-micro lines on the outer wrist; those often blur or need touch-ups by year two. Plan for a touch-up at year two to maintain crisp petals. For showing it off, a thin gold chain bracelet on the opposite wrist keeps attention balanced.
2. Realistic Lily with Petal Shading on the Inner Forearm
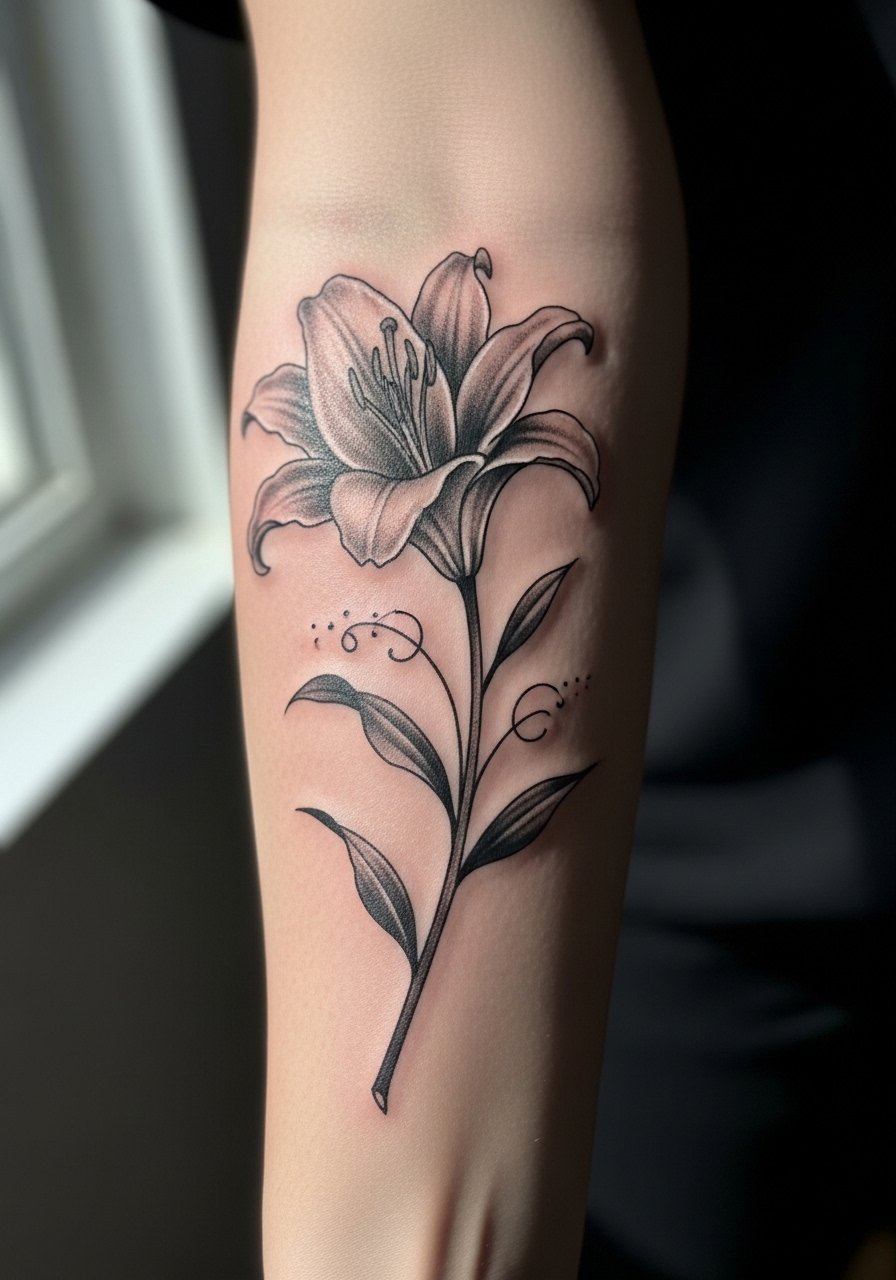
A realistic lily on the inner forearm gives movement and readable detail from across a room, and it ages better than tiny fine line work because saturation is higher. Tell your artist you want petal edges softened with stipple shading rather than heavy contrast so the piece keeps a soft profile without losing form. Expect medium pain and two sessions if the work is four to six inches. At six months the shading will look settled, and at two years it will soften further but remain legible. A common error is asking for too many tiny veins in a small piece, which muddies over time.
3. Watercolor Lily Splash on the Outer Thigh
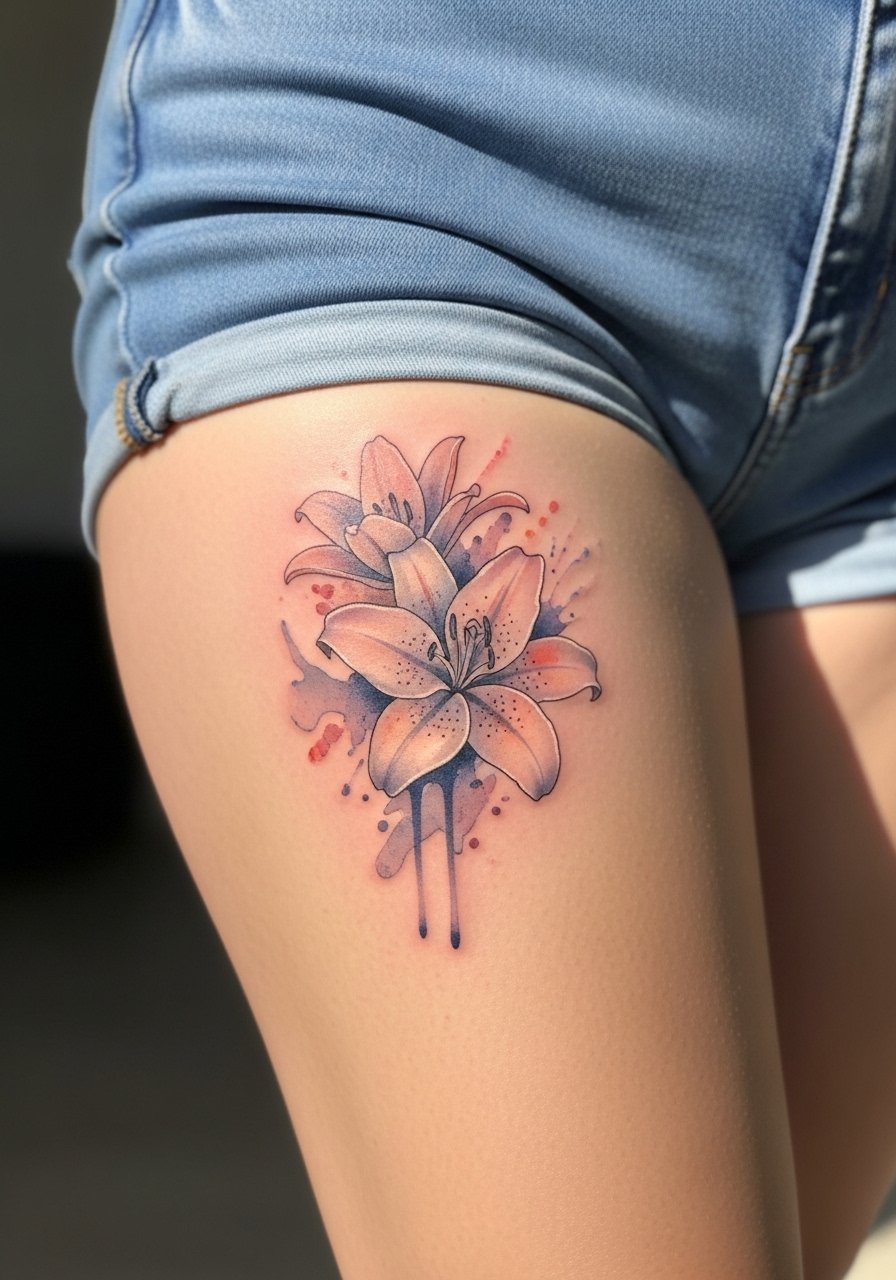
Watercolor lilies let color feel like brush strokes across skin, which suits the thigh because there is room to let the palette breathe. For a soft result ask for muted pigments and layering in thin passes so saturation reads airy but not patchy. Pain is low to medium and two to three sessions are common for a five-inch piece. The pitfall is asking for neon saturation in one pass, which can heal unevenly. Show-off pairing: high-waisted shorts or a flowy midi skirt frame the color while keeping the tattoo private when you want it to be.
4. Minimalist Single-Line Lily at the Ankle
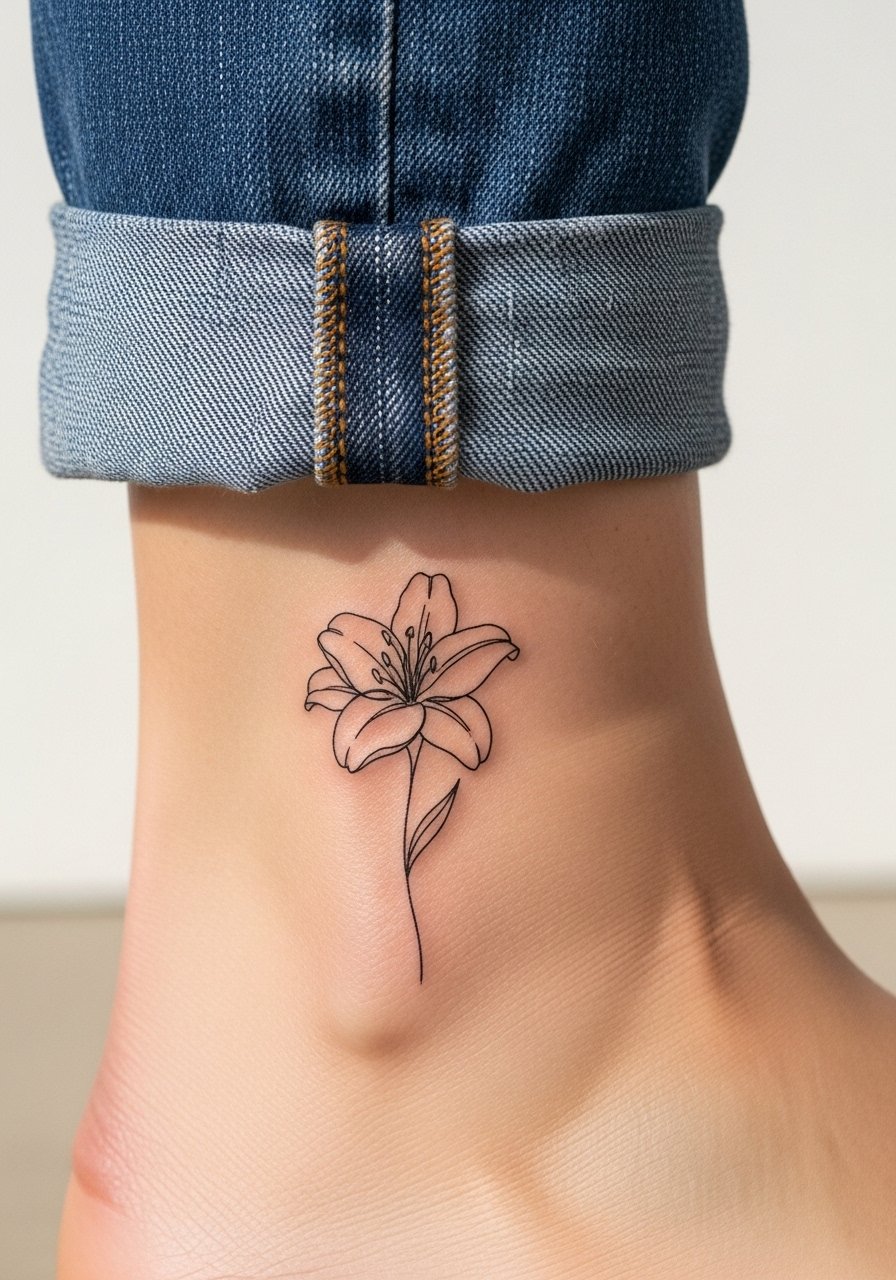
A single continuous line lily on the ankle reads simple and modern, and it is a low-commitment option for first-timers. Pain is low, session time is short, and the main risk is friction from shoes which speeds fading. Ask for the line to be slightly thicker than in flat illustrations to avoid early blur. People often request the tiniest possible scale and then find the shape loses definition after a year. Wear cropped jeans or strappy flat sandals when you want to highlight it, and bring loose pants to the appointment so the artist can access the ankle easily.
5. Dotwork Lily with Negative Space on the Collarbone
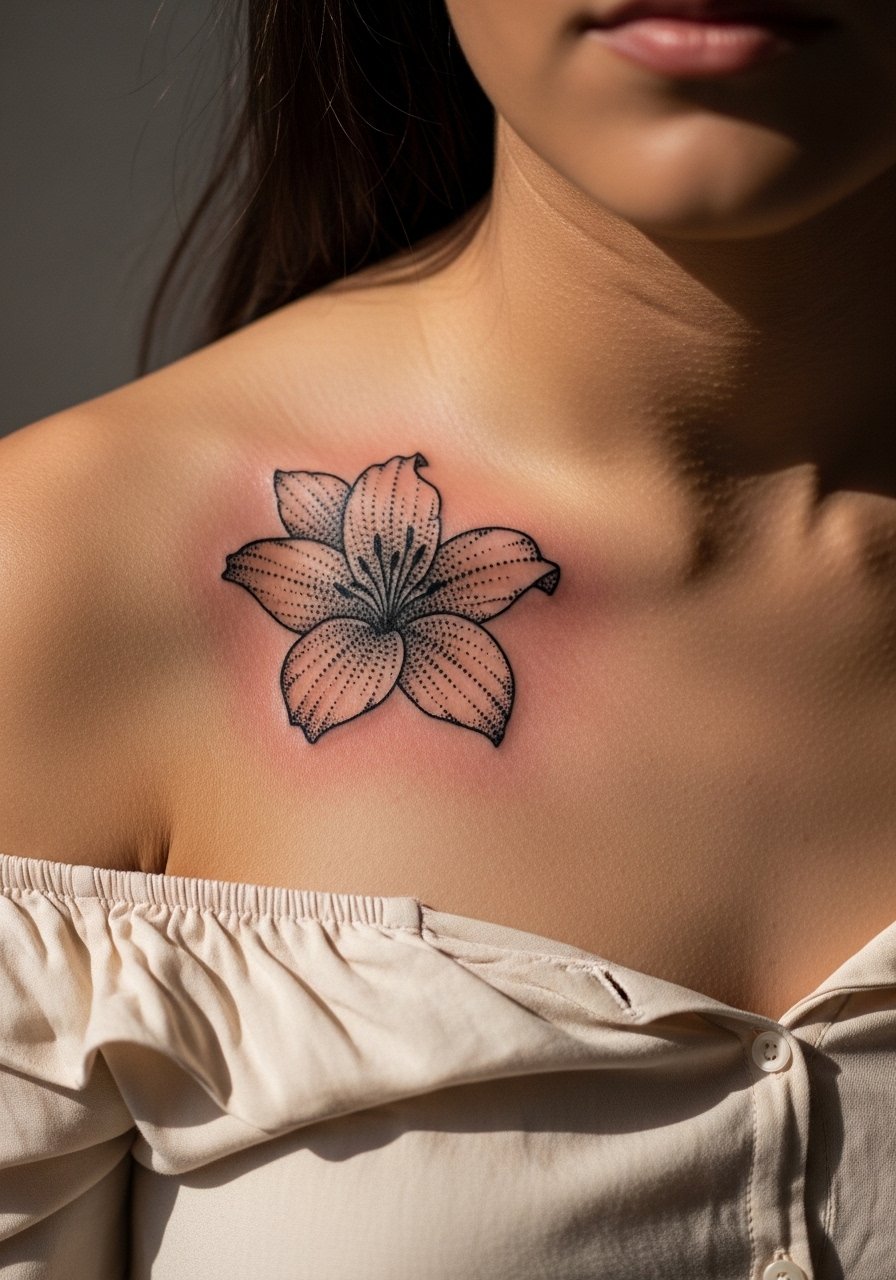
Dotwork lilies that use negative space can feel aerial on the collarbone, where the skin offers narrow real estate and motion. Tell the artist you want deliberate skin gaps to form the petal highlights rather than bright white ink, and ask for a slightly larger scale than your initial thought so dots hold. Expect mild discomfort and one to two sessions. A common mistake is crowding petals into a small collarbone band, which loses clarity as the area stretches. For showing it off, an off shoulder blouse frames the piece without covering its negative-space play.
6. Black-and-Gray Lily Bouquet on the Upper Back
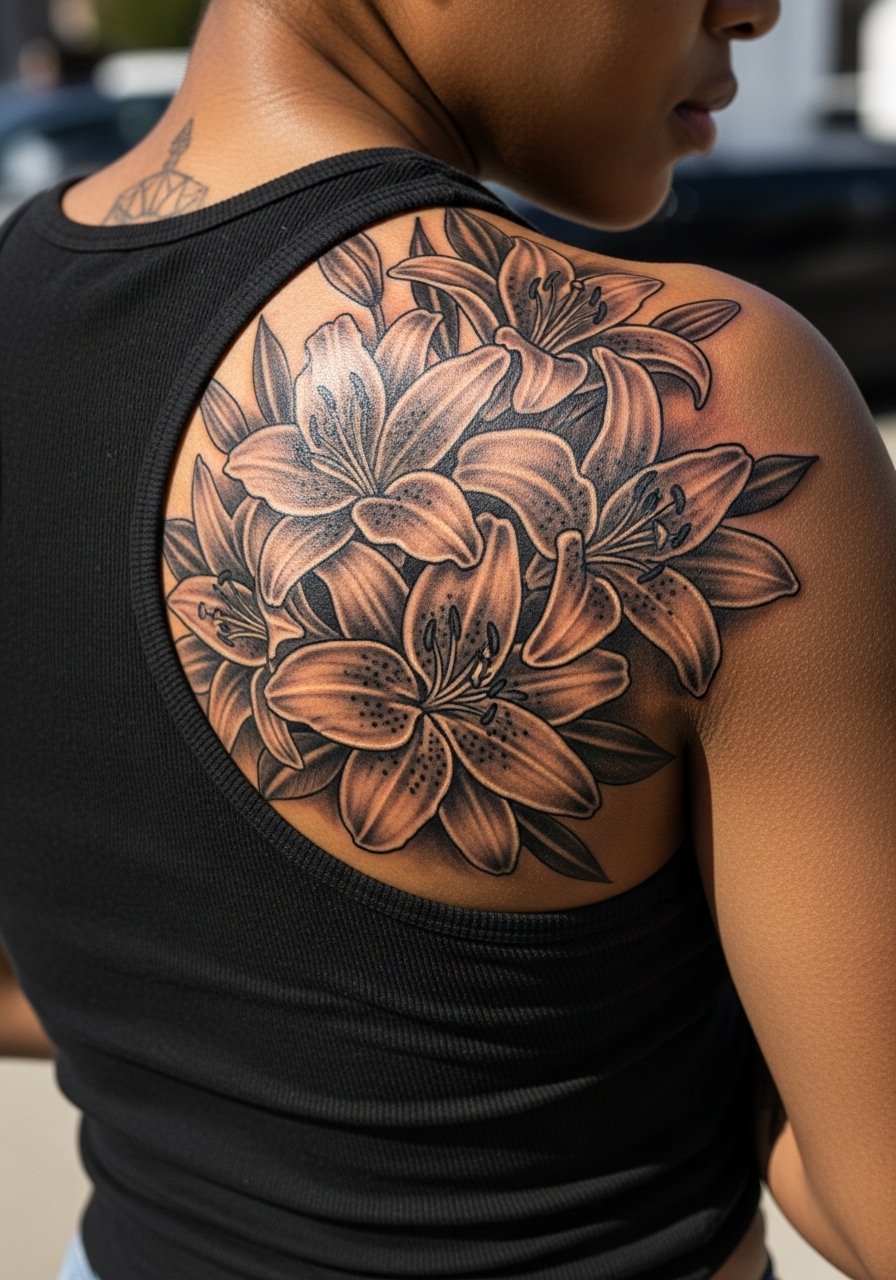
A black-and-gray bouquet on the upper back handles scale and narrative well, so it suits milestone pieces that you want to read from a distance. Mention to your artist that you want softer saturation in the petals with heavier contrast in the stems to anchor the composition. Pain is moderate for larger sessions and three sessions are typical for a 6-inch-plus bouquet. The mistake is trying to cram too many flowers into one section, which flattens the composition. Pair the piece with backless tops or a backless tank top when you want to reveal the work.
Studio Day Picks
The wrist, collarbone, ankle and back pieces above require different prep and some small items make the session and first week easier.
- Stencil transfer paper kit. Lets you preview line placement on skin before the needle hits, which is helpful for the fine line wrist and collarbone layouts above.
- Topical numbing cream. Applied according to the product instructions it eases the sharpness of wrist and ankle sessions without obscuring detail.
- Thin protective film roll. Keeps ankle and wrist work cleaner during the first week of constant washing and friction.
- Fragrance-free gentle body wash. A mild wash reduces irritation around dotwork and fine shading while healing.
- Aquaphor healing ointment. A thin layer in the first days locks in moisture for delicate lines without clogging.
7. Fine Line Lily with Stem on the Inner Bicep
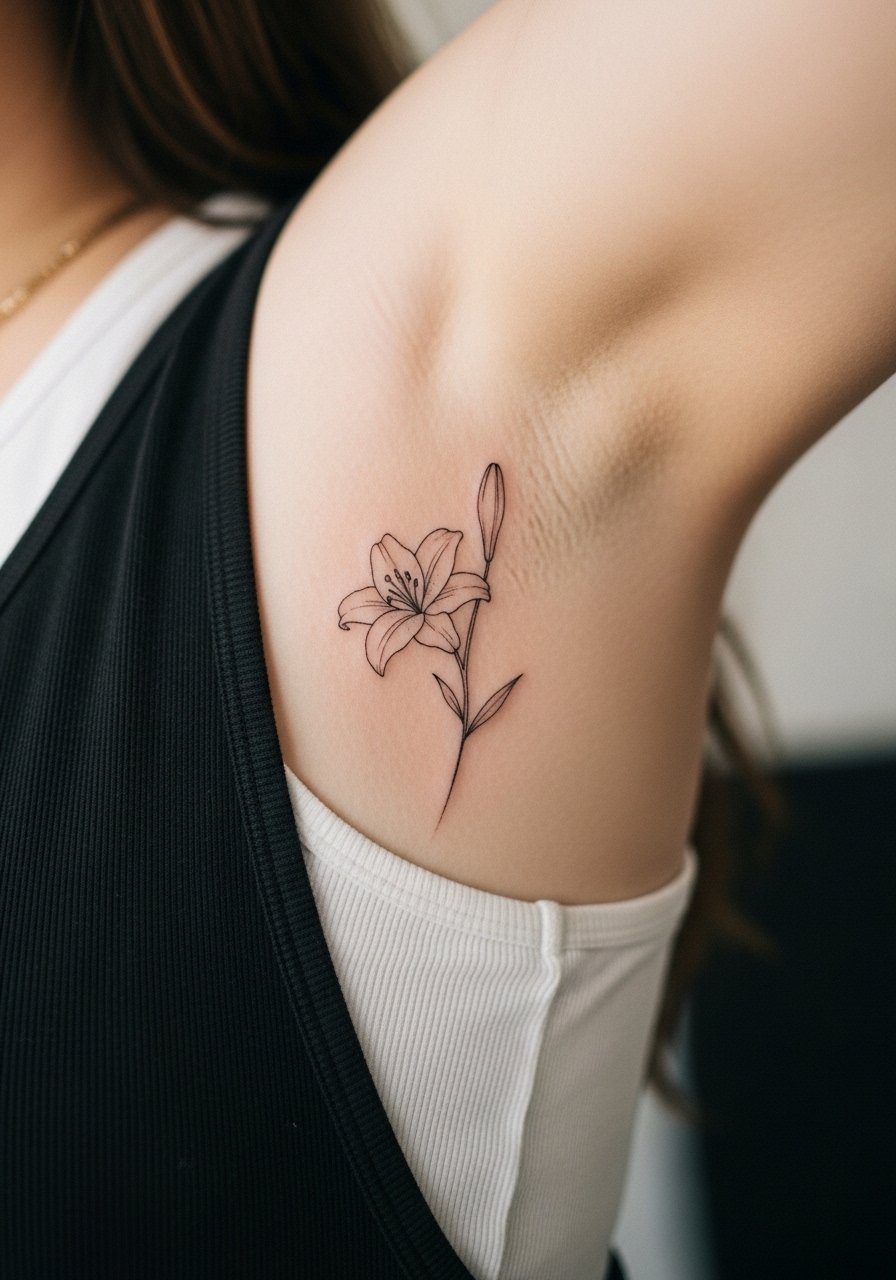
The inner bicep is a quiet spot that protects fine line work from sun and abrasion, and a stemmed lily fits the natural vertical of the arm. Tell your artist you want single-needle work but with deliberate spacing between the veins so the lily does not merge over time. Expect medium pain in this area and a single session for a small three-inch piece. A common error is picking an overly dense petal structure, which blurs faster than spaced lines. For the appointment wear a linen button down shirt you can roll easily so the artist has clean access.
8. Abstract Negative Space Lily on the Shoulder
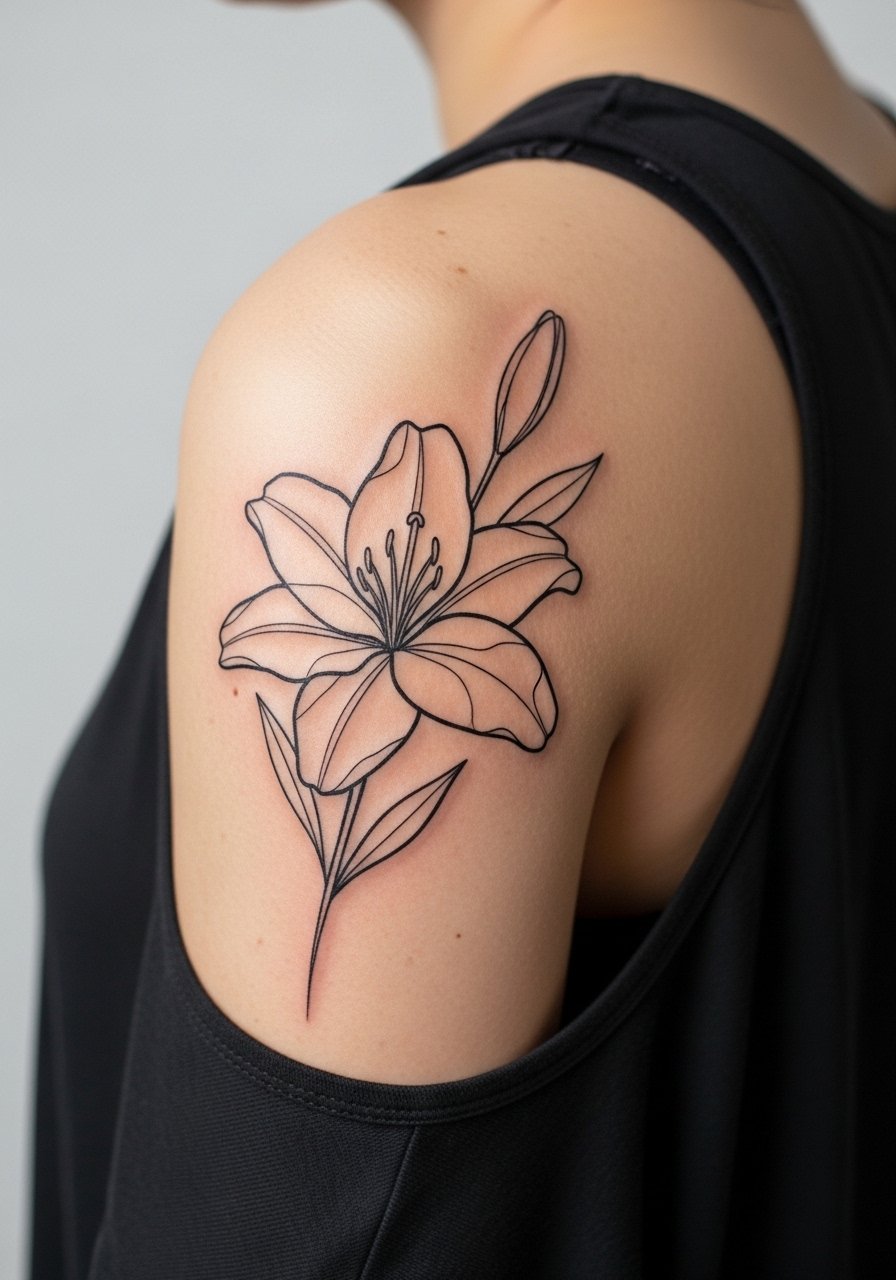
Abstract lilies that prioritize contour over detail work well on the shoulder because the shape reads even when clothing covers part of it. When you consult, ask for larger open shapes and fewer tiny interior lines so the negative space remains clear as the piece heals. Shoulder sessions are medium pain and often two short sittings. Artists sometimes disagree about how much outline weight to use on shoulders, so ask where they land on that spectrum. For session ease bring a loose tank top you can shift aside without rubbing the area.
9. Micro Lily Behind the Ear for a Quiet Accent
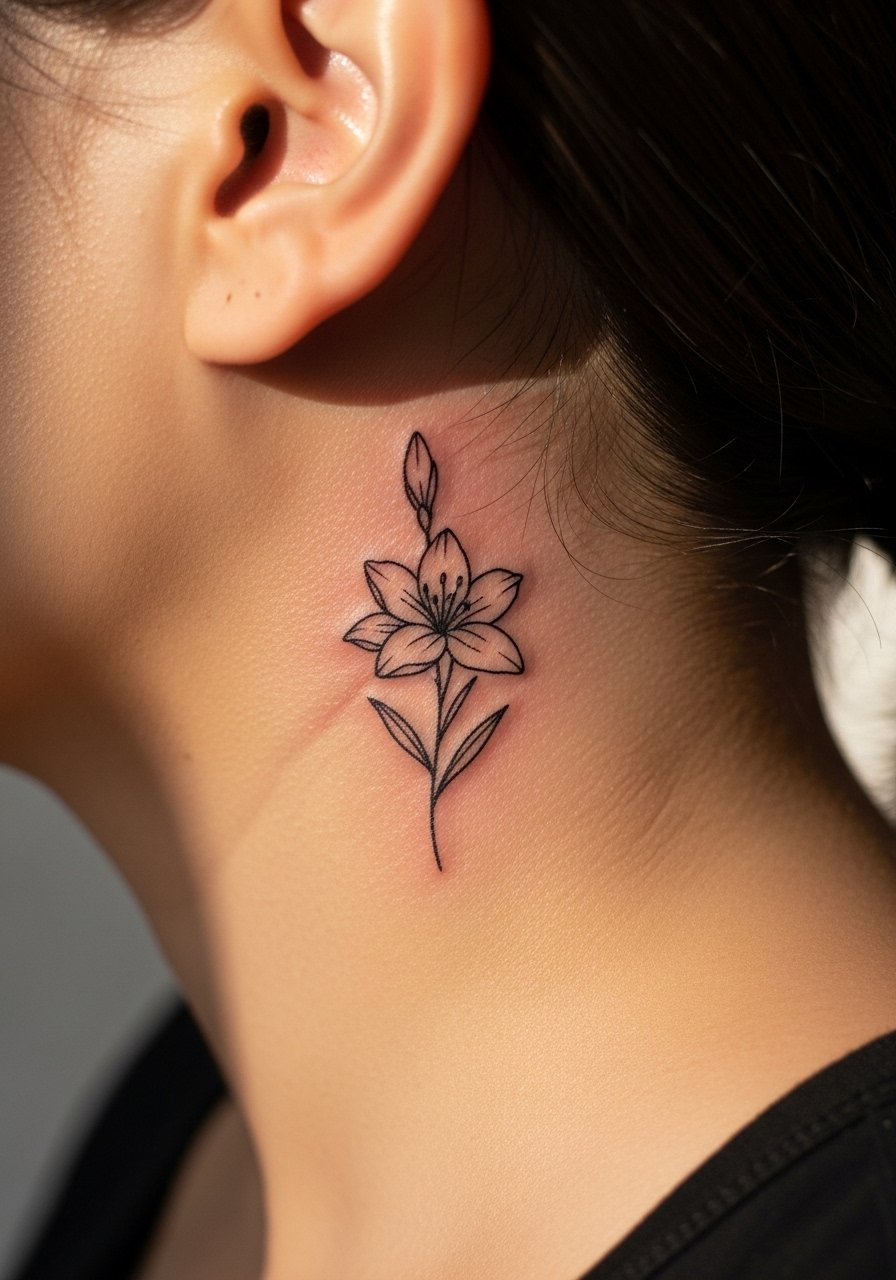
A behind-the-ear lily is intimate and subtle, ideal if you want a private accent. This placement demands an artist experienced with tiny, curved areas because the skin and hairline complicate stenciling. Pain is low but the spot can be fussy for aftercare. The mistake is using ultra-micro detail that blurs against the hairline; scale up slightly for clarity. Note the placement needs a steady hand and a shop that accepts small, precise work. If you have workplace constraints, remember this spot is easy to hide under hair.
10. Ribcage Negative Space Lily That Breathes
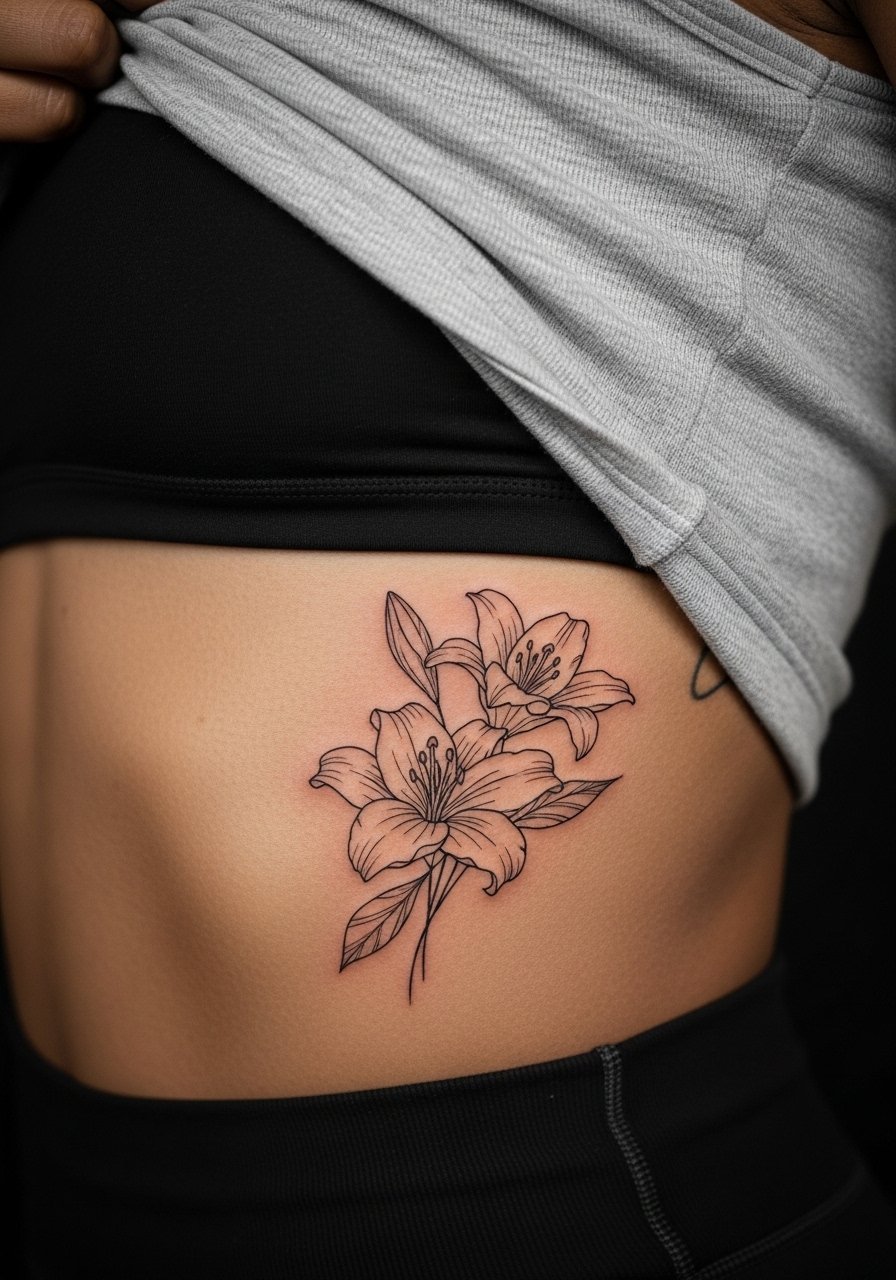
The ribcage offers a long canvas for negative space lilies that bend with the body. Artists split on fine line there. One camp says ribs stretch and blur fine detail in two years. The other camp says with proper depth and spacing fine line settles fine. Ask your artist how their work looked after two years on ribs and request proof of healed photos. Pain is higher on the ribs and sessions may be split. The common error is packing too many tiny petals into a curved area, which can flatten into an indistinct smudge.
11. Minimal Floating Lily on the Ankle Bone
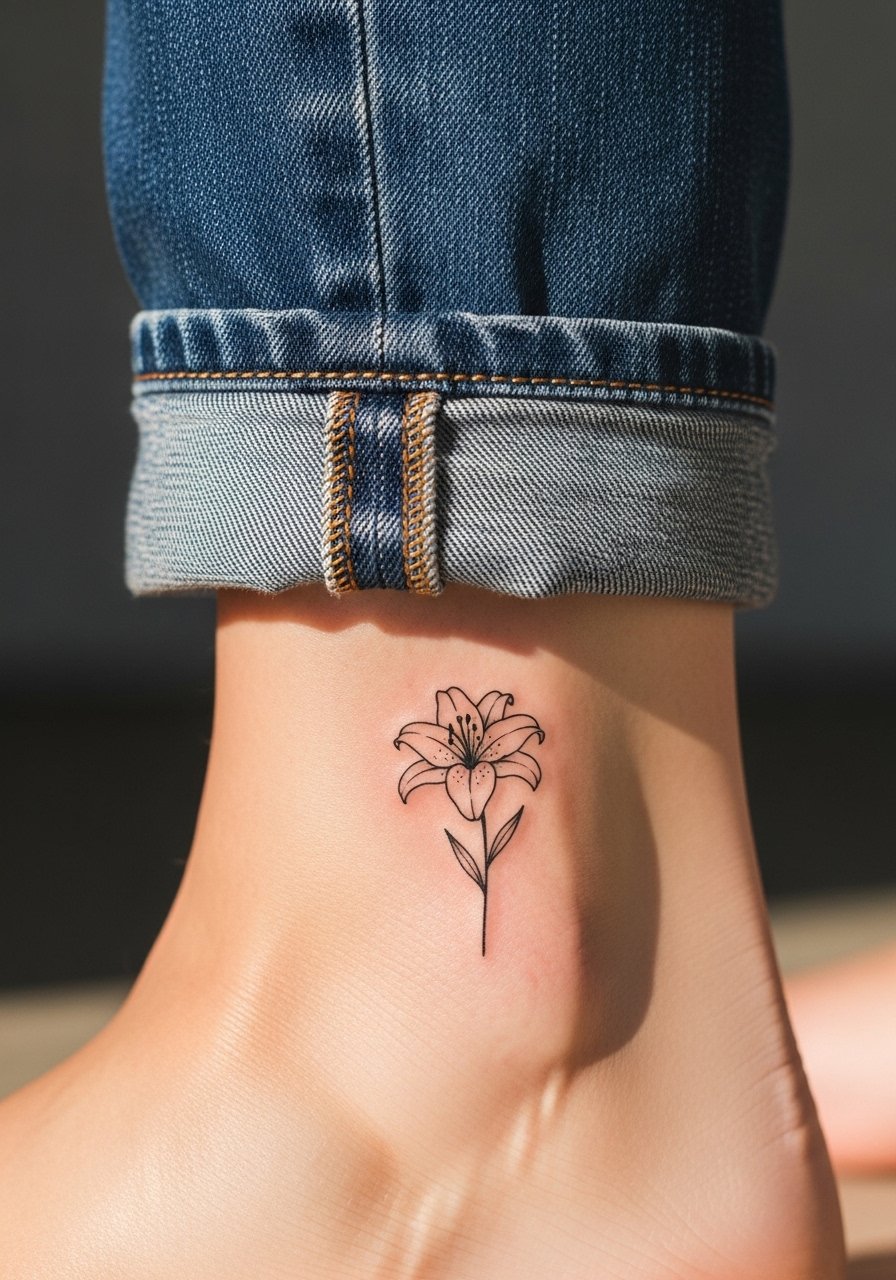
A floating lily resting on the ankle bone can be almost jewelry-like when placed carefully. Because the ankle sees friction from shoes and socks, ask for slightly stronger line weight and a compact silhouette to survive daily wear. Pain is low and the session is brief. People often want the slimmest possible line, then regret frequent touch-ups. For styling, pair with cropped straight jeans or sandals to show off the placement without stressing it.
12. Sternum Lily Cluster for Centered Symmetry
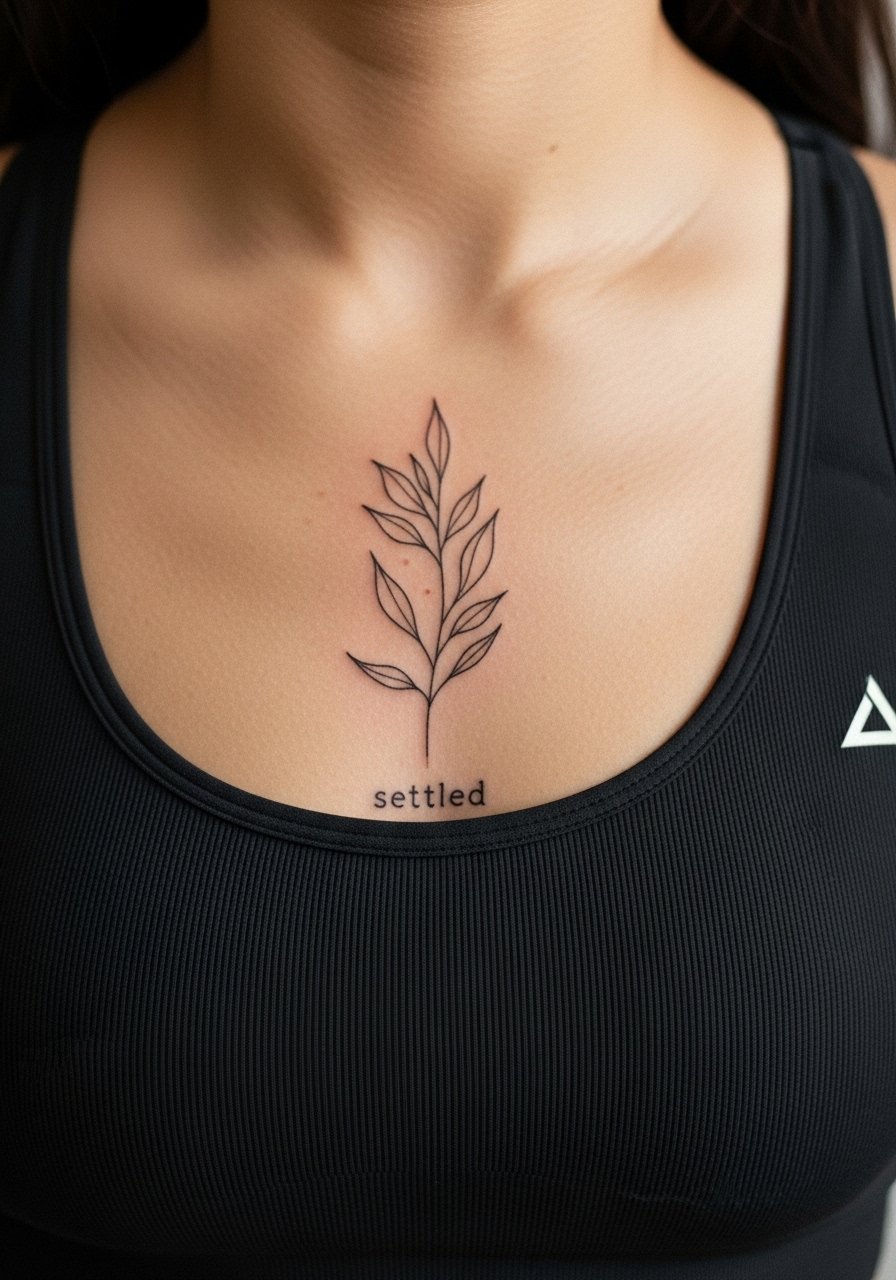
A sternum lily cluster is intimate and bold by location, and it reads as a centerpiece when placed with symmetry. This area needs an artist familiar with chest anatomy and with experience holding lines over curved planes. Pain ranges from medium to high and sessions often split. A common mistake is insisting on tight, dense detail in a small sternum band, which can become muddled. Also consider career and comfort because the sternum is not easily concealed with standard tops.
13. Small Clustered Lilies Along the Inner Forearm
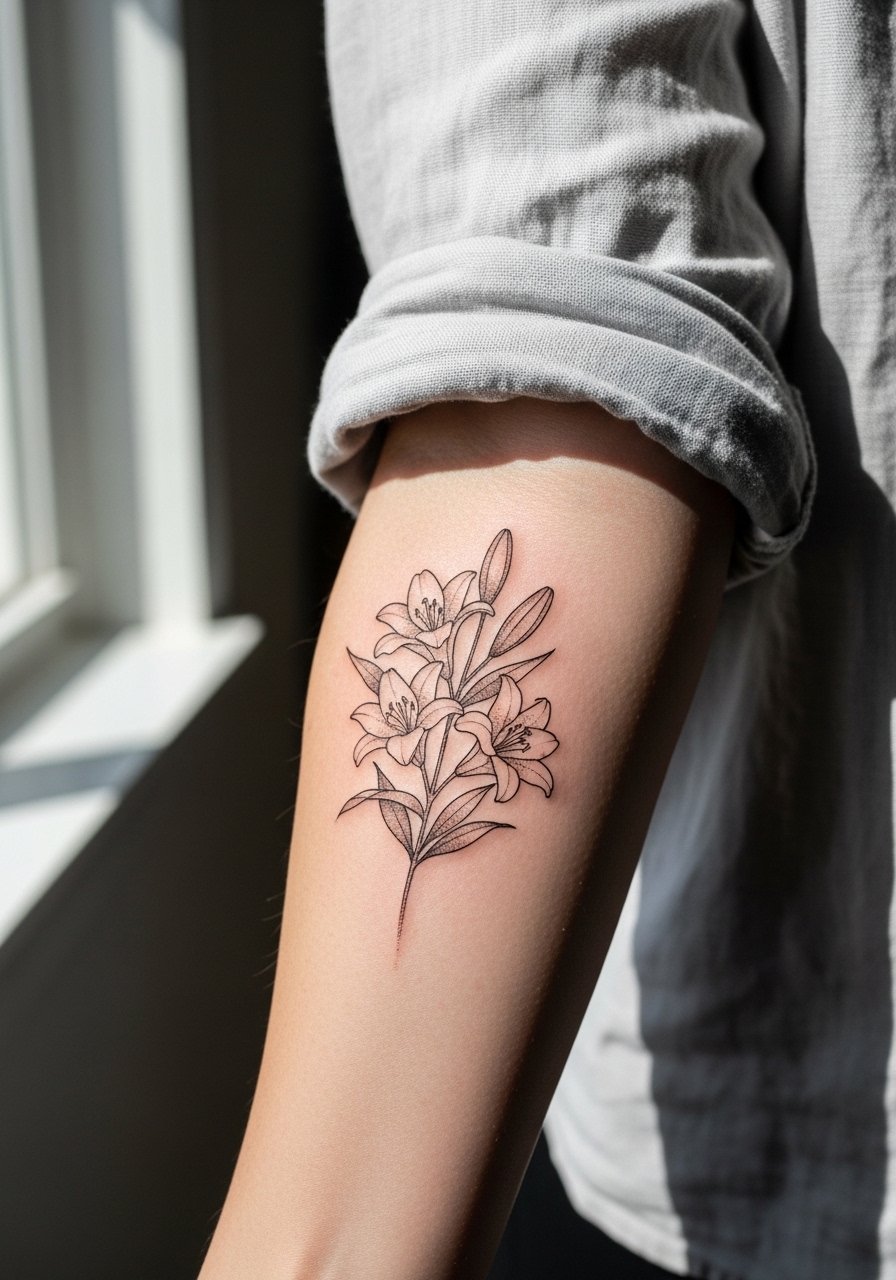
A small clustered lily composition down the inner forearm lets each bloom breathe while forming a readable band. Tell the artist you want spacing between blossoms and light stipple shading for depth rather than heavy black fill. Expect medium pain and usually a single session for smaller clusters. The aging story is favorable here since the inner forearm is lower friction and lower sun exposure. For showing it off try rolling a linen button down shirt sleeve so the entire cluster sits visible and flat on the skin.
14. Shoulder-Blade Crescent Lily for Movement
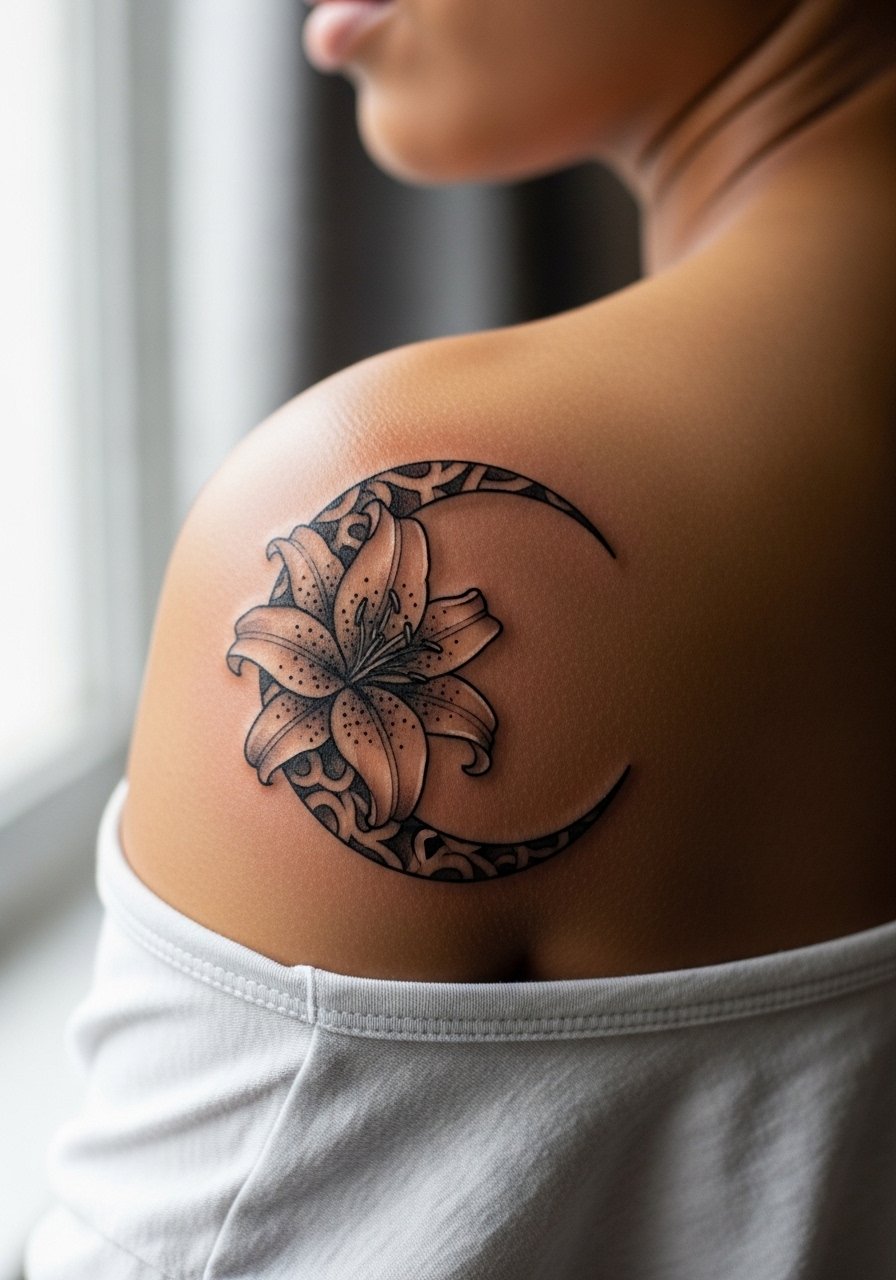
A crescent lily on the shoulder blade moves with the shoulder and looks dynamic in motion. This placement tolerates a medium scale so the petal shading can use stipple or whip shading for soft texture. Pain is low to medium and one to two sessions are common. Mistakes include too-small curves that vanish under shirts or too much tight shading that becomes a flat mass. Consider clothing choices that reveal the shoulder blade when you want the piece visible.
15. Shoulder and Upper-Arm Lily Panel That Flows
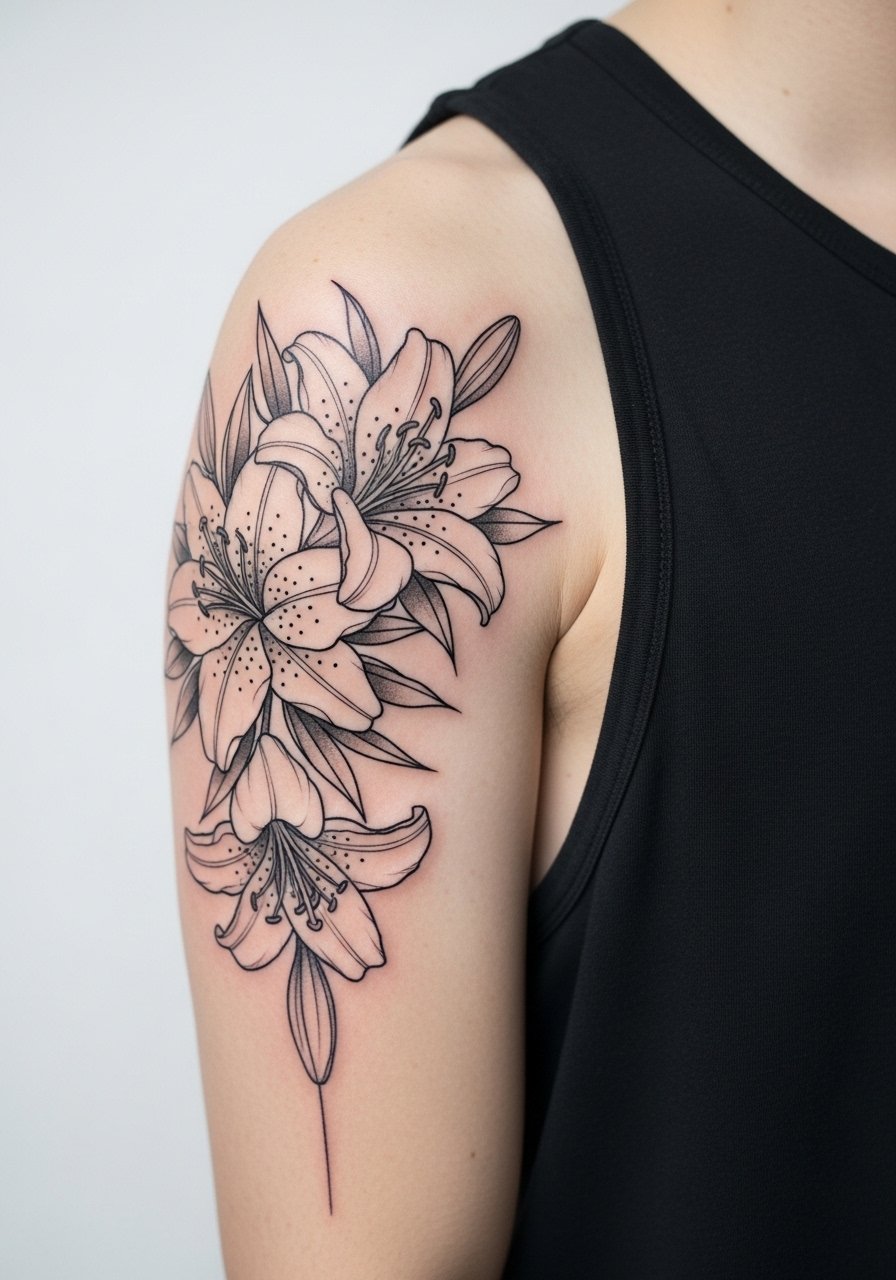
A shoulder-to-upper-arm lily panel gives a longer narrative without committing to a full sleeve. Ask for panels that have breathing room between elements so the linework ages without dense merging. Pain is moderate and most artists will break this into two short sessions. The frequent error is compressing too much detail into a small arm wrap. For evenings or festivals pair the piece with a halter neck blouse or open-back styles to let the panel read fully.
16. Tiny Micro Lily on the Finger for Subtle Wear
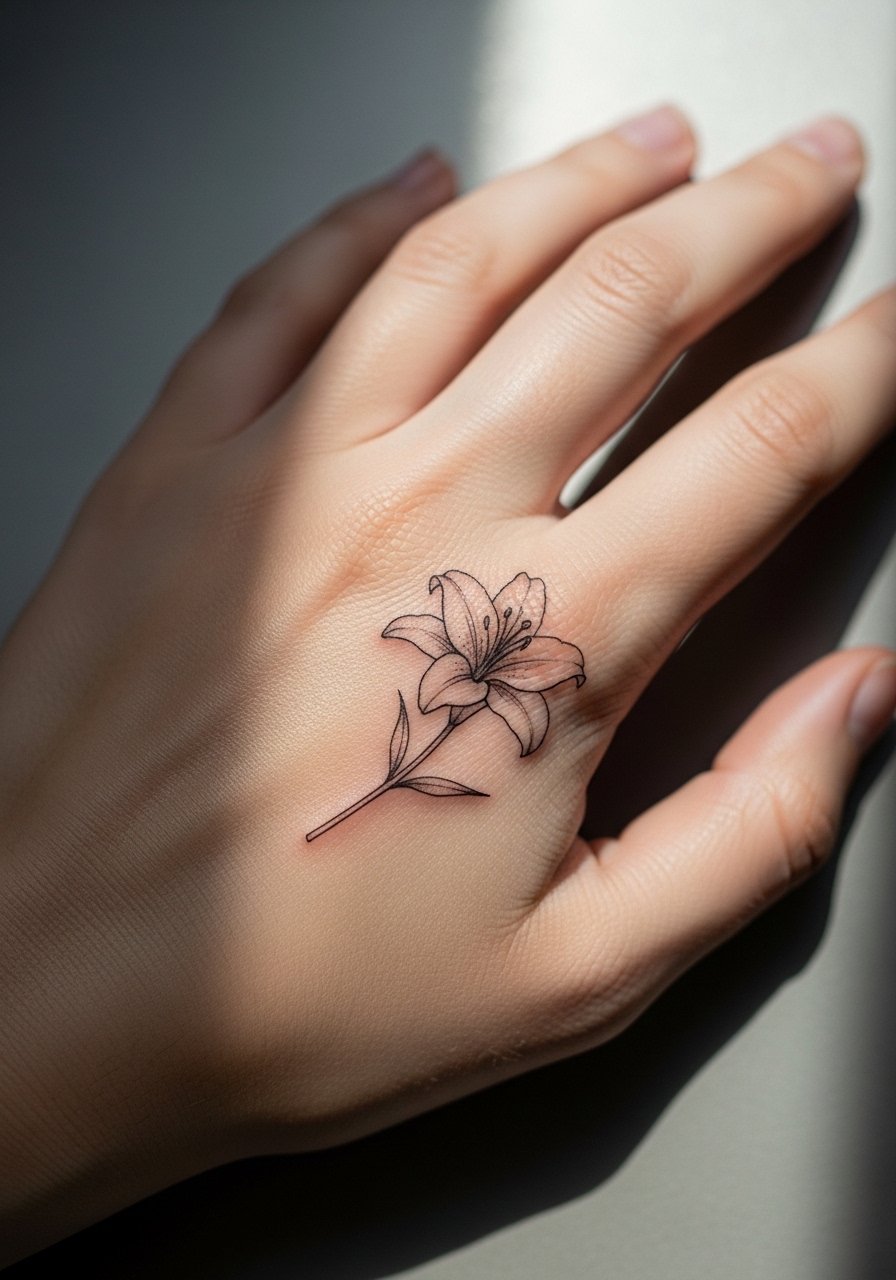
Finger lilies read intimate and discreet, but fingers are high-risk for early fade because of constant washing and flex. Tell the artist you understand touch-ups may be needed and consider placing the design on the finger side rather than across the joint to slow wear. Pain is sharp and brief. A common client mistake is expecting finger work to last years without refresh. If you need a durable option, consider ankle or inner forearm instead.
17. Low Back Lily Spray That Peeks Above Waistbands
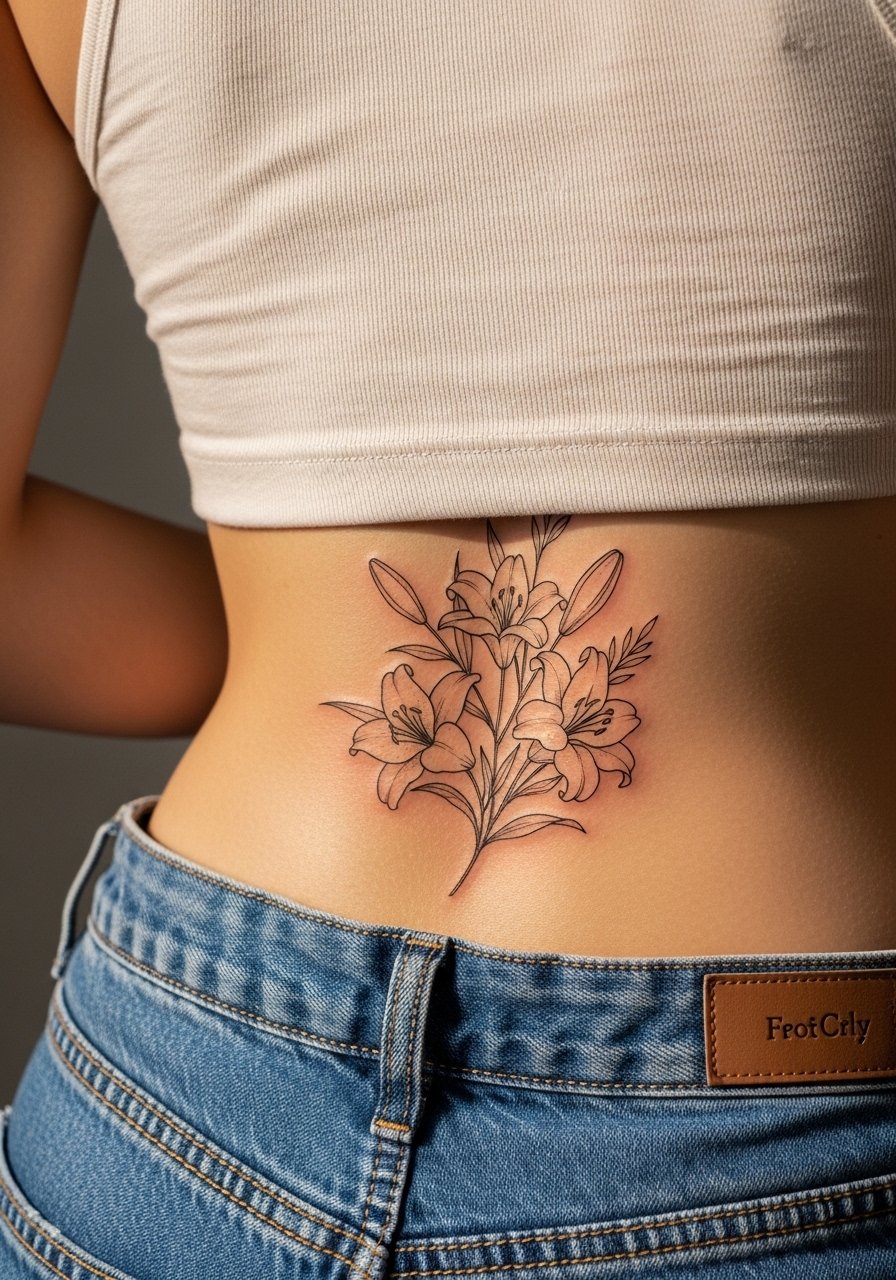
A low back lily spray can be a modern take on a family heirloom motif, and it pairs well with waistlines so it can be shown or concealed easily. For longevity ask for slightly bolder stems and softer petal fill to avoid blowout near the spine. Pain is low to medium and one to two sessions are common depending on scale. The error to avoid is tiny filler dots near the spine that can blur. For showing it off, high-rise bottoms and a low-back top create a deliberate reveal.
Frequently Asked Questions
Q: Will a fine line lily on my wrist fade faster than a bold lily on the same spot?
A: Yes, fine line work generally loses definition sooner on high-movement spots like the wrist. The trade-off is delicacy versus longevity. If longevity matters more, ask the artist for slightly heavier line weight or a hybrid with light shading to keep edges readable.
Q: How do I find an artist who can do soft lilies without them looking generic?
A: Search with style-specific tags like #finelinelily or browse portfolios on dedicated apps and local shop pages for healed photos. Look for healed shots, not just fresh work, and ask to see pieces of similar scale and placement. Bring references that show the exact line weight you want and ask about their touch-up policy.
Q: Do watercolor lilies need different aftercare than black-and-gray lilies?
A: The early-care window is the same, but watercolor pigments can look uneven if they scab heavily. Avoid heavy friction and sun exposure while healing and follow your artist's routine. If you want a care product suggestion for sessions, a thin pendant or open-back top such as a racerback tank makes dressing easier on thigh and back placements.
Q: How often should I expect touch-ups for tiny lilies on fingers or ankles?
A: Fingers and ankles often need refreshes sooner than inner arms. Expect a potential touch-up at year one to two for fingers and around year two to three for ankles, depending on your sun exposure and friction patterns.
Q: Are there placements I should avoid if I want a soft lily to last a long time?
A: High-friction and high-movement sites such as fingers, outer wrists, and areas near shoe straps age faster. Lower-friction zones like the inner forearm, upper back, and inner bicep tend to hold fine detail longer. Ask your artist about long-term photos of their healed work on similar placements.
