
Fine line tattoos are all over feeds, but the pieces that still look deliberate after three years are usually the ones planned around real skin, daily friction, and wardrobe. Expect small designs to fade or blur faster than bold flash unless you pick the right placement and spacing, watch for workplace stigma in some settings, and plan for touch-ups. The first idea below shows a forearm placement that balances detail with longevity.
1. Tiny Gojo Blindfold Symbol on Inner Forearm
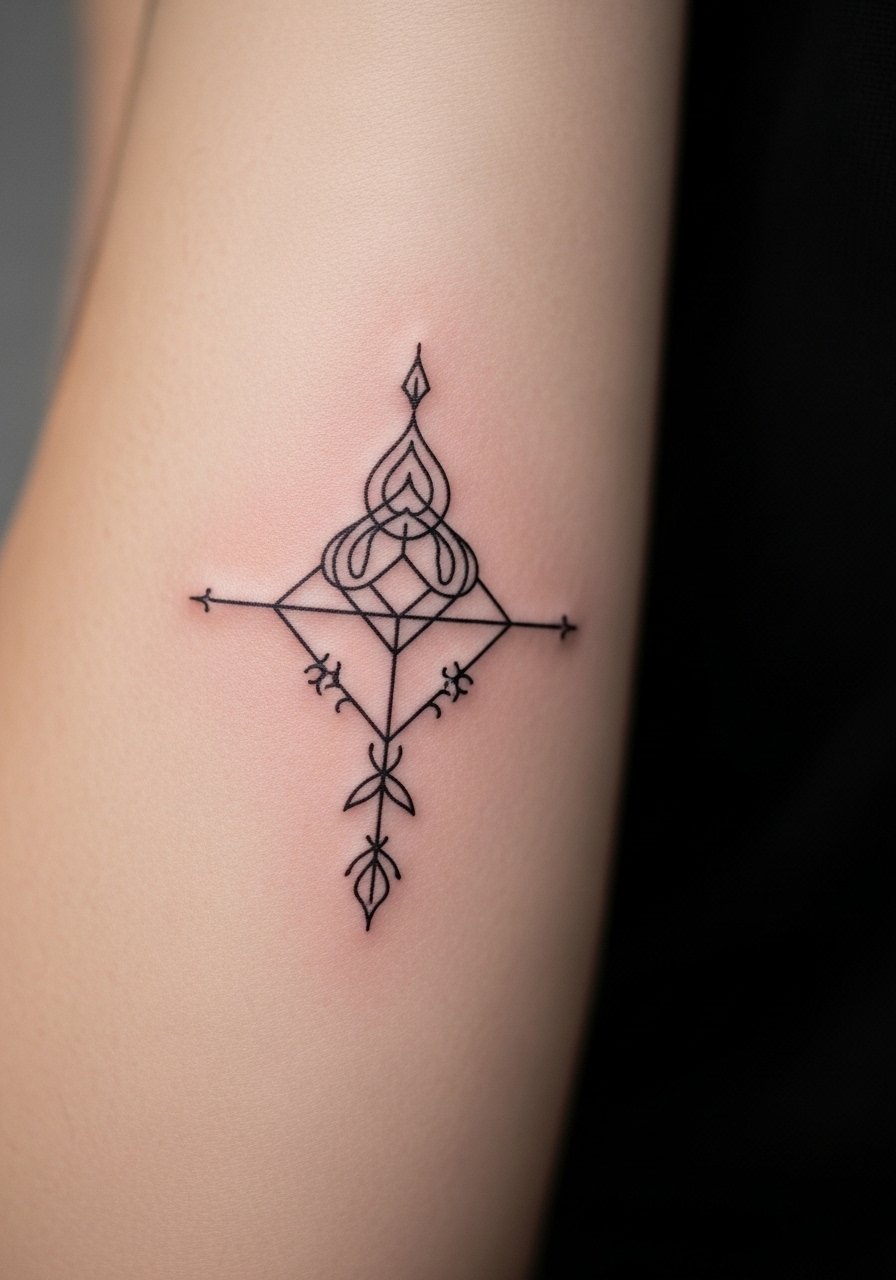
I recommend this small symbol for anyone who wants an obvious nod to the series without a portrait. Ask your artist for slightly bolder line weight than an ultra-fine needle so the tiny strokes do not merge over time. Fair warning on blowout: the inner forearm holds ink well but dense clusters of micro-detail will soften by year three. For the session wear a loose button-down shirt you can roll up, and tell the artist you want the stencil centered on the crease just below the elbow so the piece reads straight when the arm is relaxed. Expect one short session and a possible touch-up around year two.
2. Mini Sukuna Mark Behind the Ear, Subtle Placement
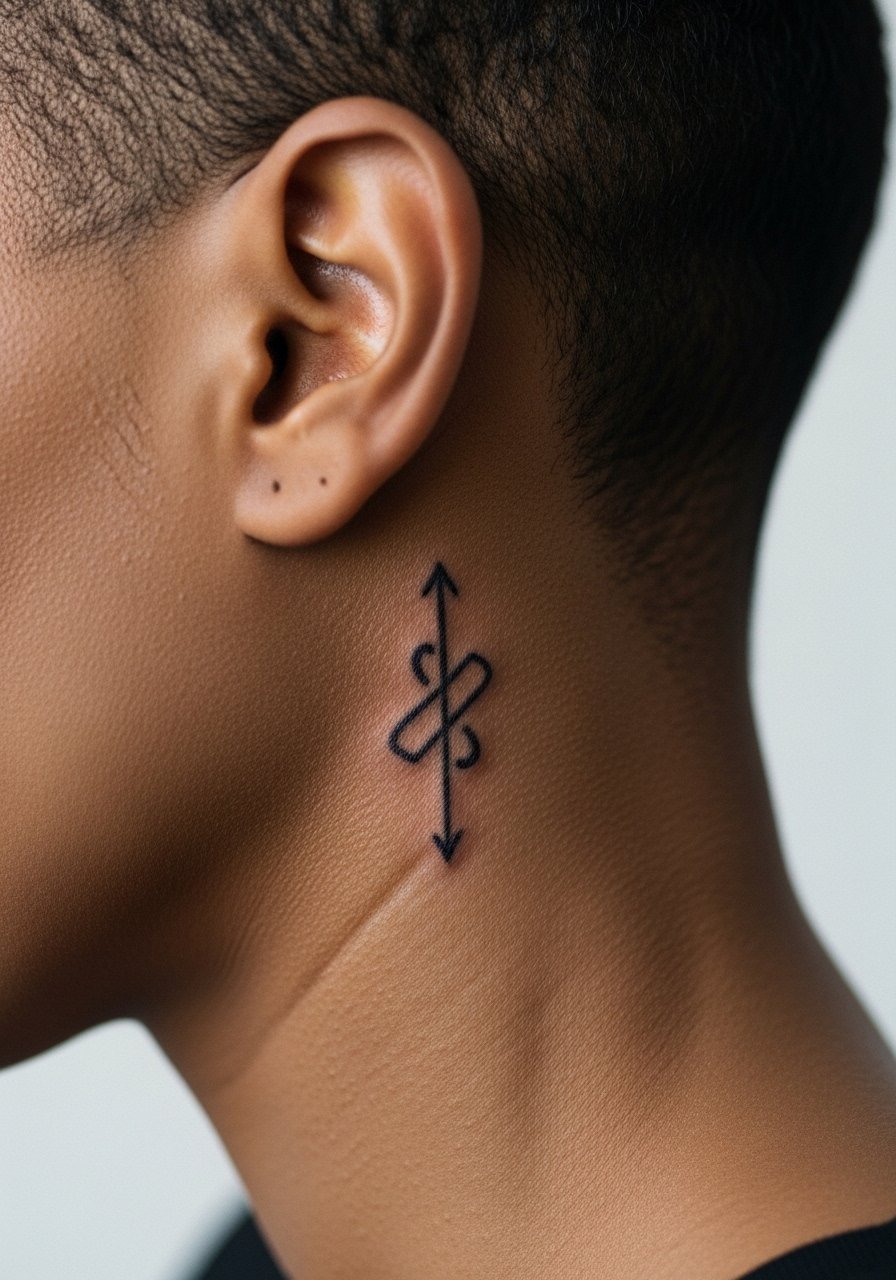
This hidden placement suits people who want a private reference rather than a display piece. Because the area is small and moves with hair and collars, tell your artist to avoid dense black fills and favor spaced linework. Pain is moderate because the skin is thin but the session is quick. If you plan public visibility later, remember that this spot can peek under short haircuts. For the appointment, wear a wide-neck shirt so the artist can access the area without removing outer layers. Expect healed linework to retain character, but plan a touch-up if you repeatedly sleep on that side.
3. Tiny Itadori-inspired Fist Flash on the Wrist
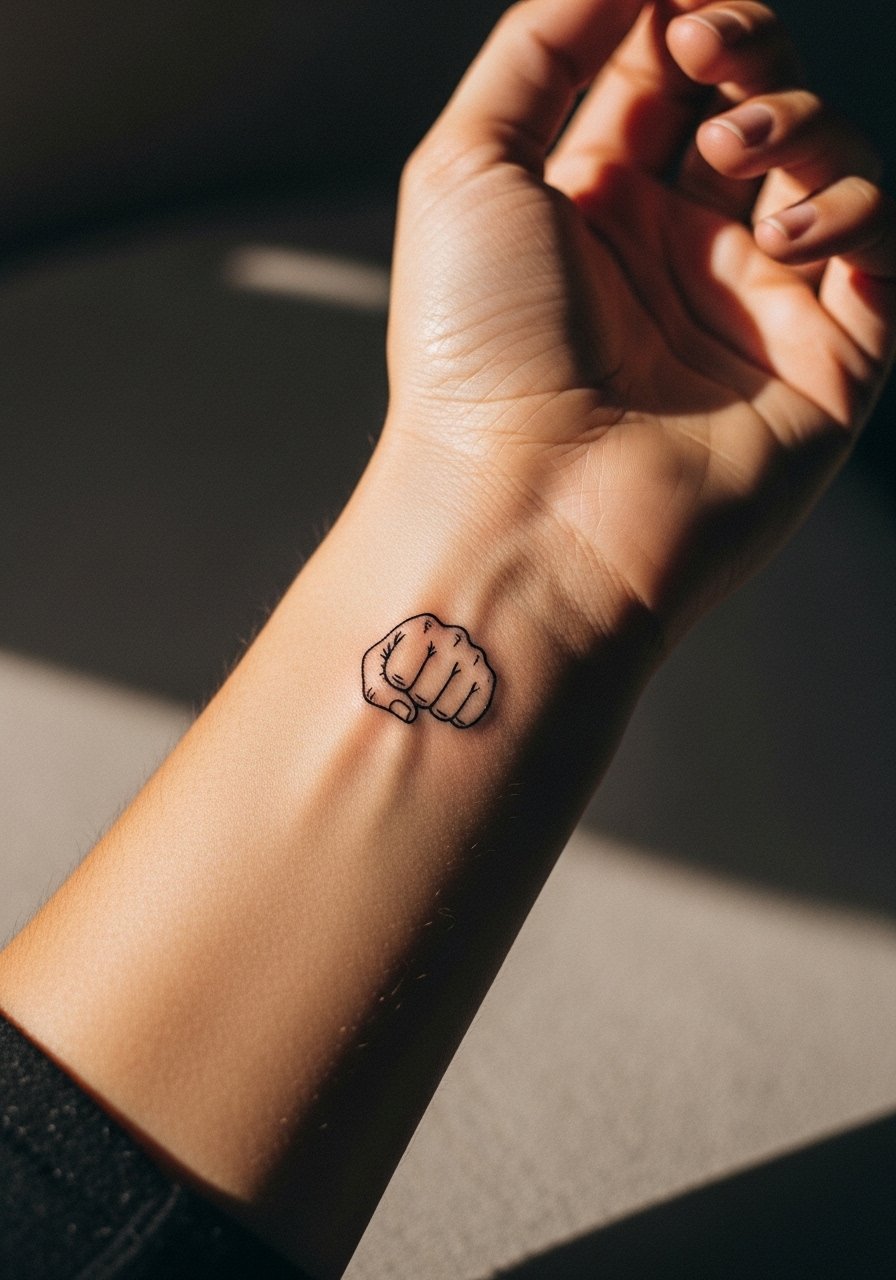
Wrist tattoos get a lot of wear from watches, bracelets, and washing, so this micro flash needs spacing to last. I tell clients to pick simplified shapes and avoid tiny cross-hatching. The biggest mistake is asking for too much shading in a 2-centimeter area. If you like to show the piece, pair it with a thin chain pendant necklace and stacked dainty bracelets that frame rather than crowd the wrist. Pain is on the lower side but expect visible scabbing the first week. Plan light touch-ups around year two, especially if you wear bracelets that rub the area.
4. Micro-Realism Filtered Portrait on Upper Arm
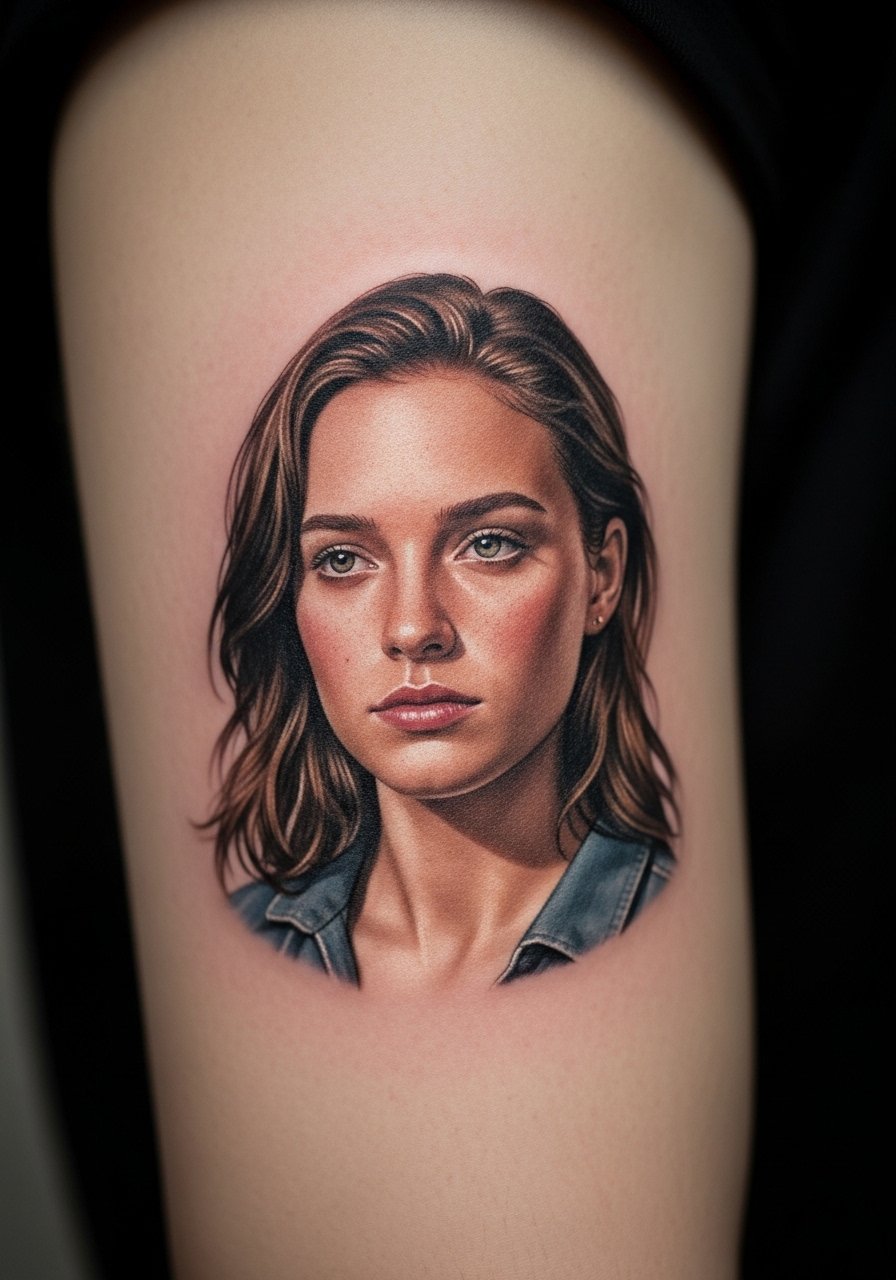
Micro-realism reads crisp on the upper arm where skin is stable. Request a reference turned into a simplified composition so facial features are suggested rather than overly packed. A common aging problem is requesting full tonal gradients in a tiny space; those blend into a muddy patch over time. In consultation ask for higher contrast and fewer tiny dots so the piece keeps character at six months, two years, and five years. Session time is moderate and pain is low. For showing it off, wear a loose tank top that exposes the outer arm and avoids sleeve friction during healing.
5. Minimalist Cursed Tool Line on the Side of the Ribcage
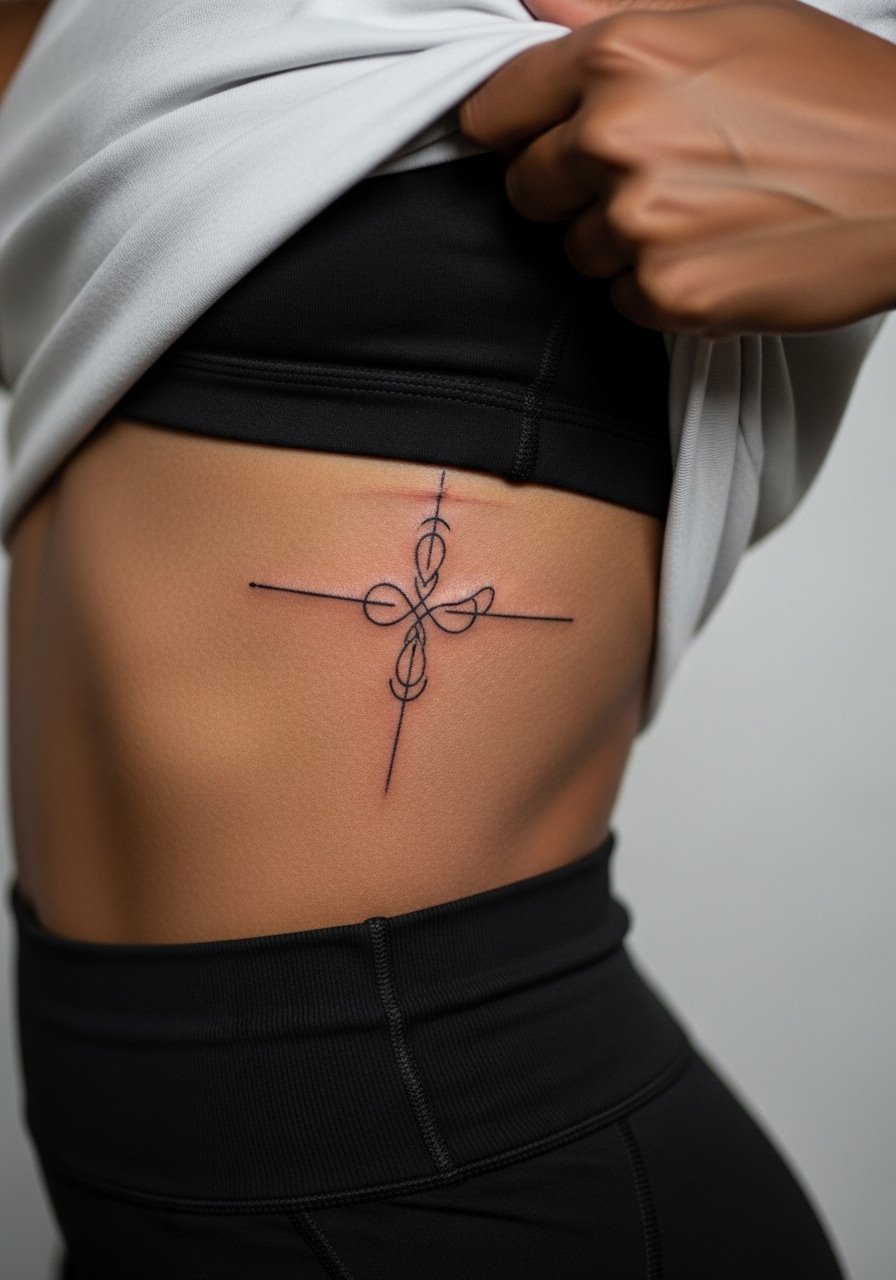
Ribcage pieces look elegant but the area moves with breathing and shifts during sleep. Artists are split on fine line here. One camp says the stretch makes lines blur in two years. The other camp argues that with correct needle depth and more spacing the lines settle fine. Ask your artist which camp they follow and plan for possible touch-ups sooner than on the arm. The session is painful compared with the forearm but usually short for a small design. For the appointment wear a fitted sports bra you can lift slightly so the artist has access without full exposure. Expect clean lines at six months if you avoid rubbing clothing.
6. Tiny Blackwork Sukuna Eye on the Collarbone
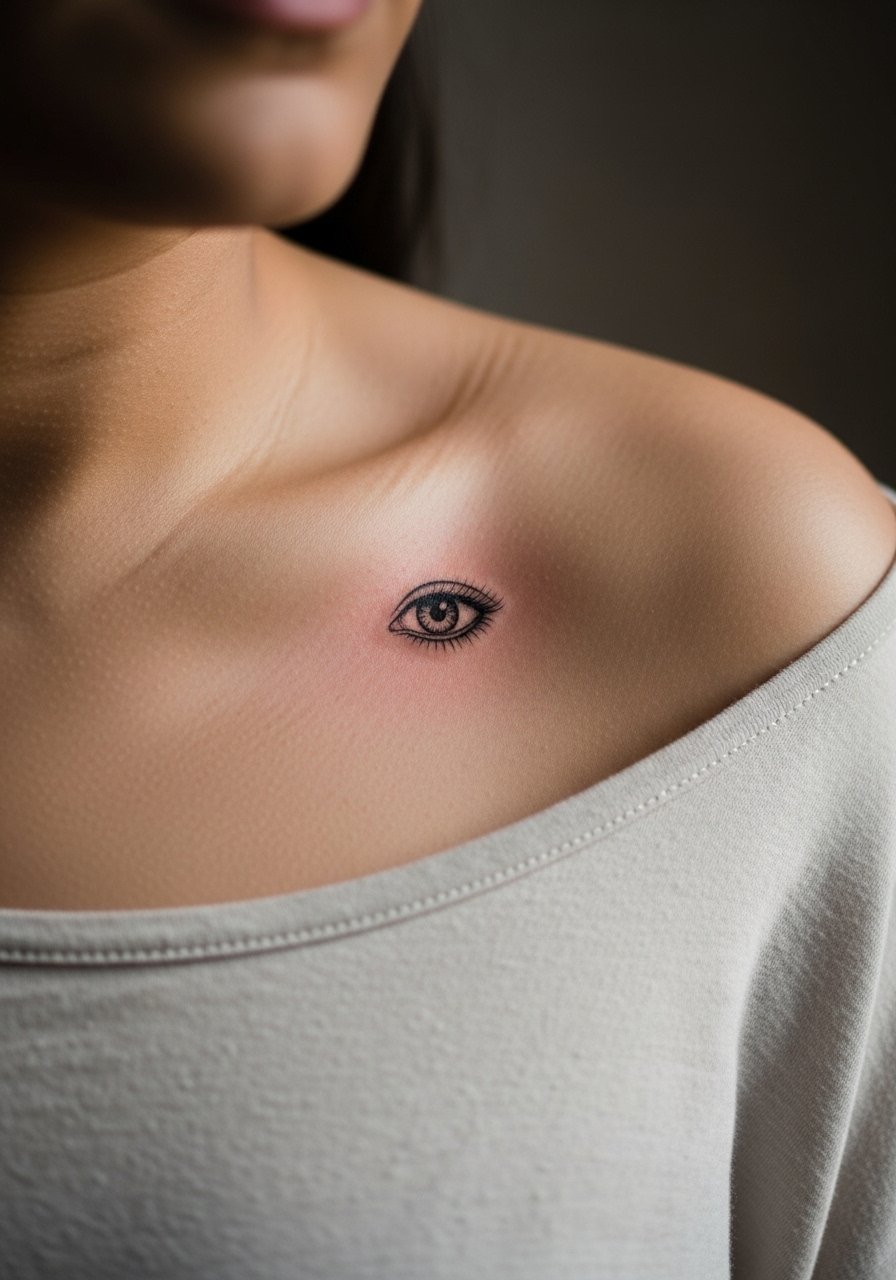
Collarbone tattoos can read sharp from across a room and they photograph well. Tell your artist you want the design offset from the bone by a few millimeters so the linework sits on softer skin and heals without extra scab tension. A frequent mistake is placing too close to the bone where scabbing is thicker and touch-ups are more likely. Pain is medium due to proximity to bone. Pair the piece with open-neck shirts or open-back midi dresses for evenings out. Expect the piece to keep contrast for three to five years with sun protection.
Studio Day Picks
The wrist, ribcage, and collarbone ideas above have different access needs, so a few specific items make the session easier and the first week more predictable.
-
Stencil transfer paper kit. Lets you preview placement on skin, which is especially helpful for the inner forearm and collarbone stencils.
-
Topical numbing cream. Applied per instructions about 45 minutes before the chair reduces discomfort for rib and collarbone sessions.
-
Thin protective film roll. Useful for small wrist and finger pieces that rub against clothing during the first few days.
-
Fragrance-free body wash. Gentle cleansing helps fine line pieces avoid irritation while the scabs heal.
-
Aquaphor healing ointment. A thin layer comforts tight skin areas like the wrist and collarbone in the initial days without suffocating the linework.
7. Tiny Finger Rune with Negative Space
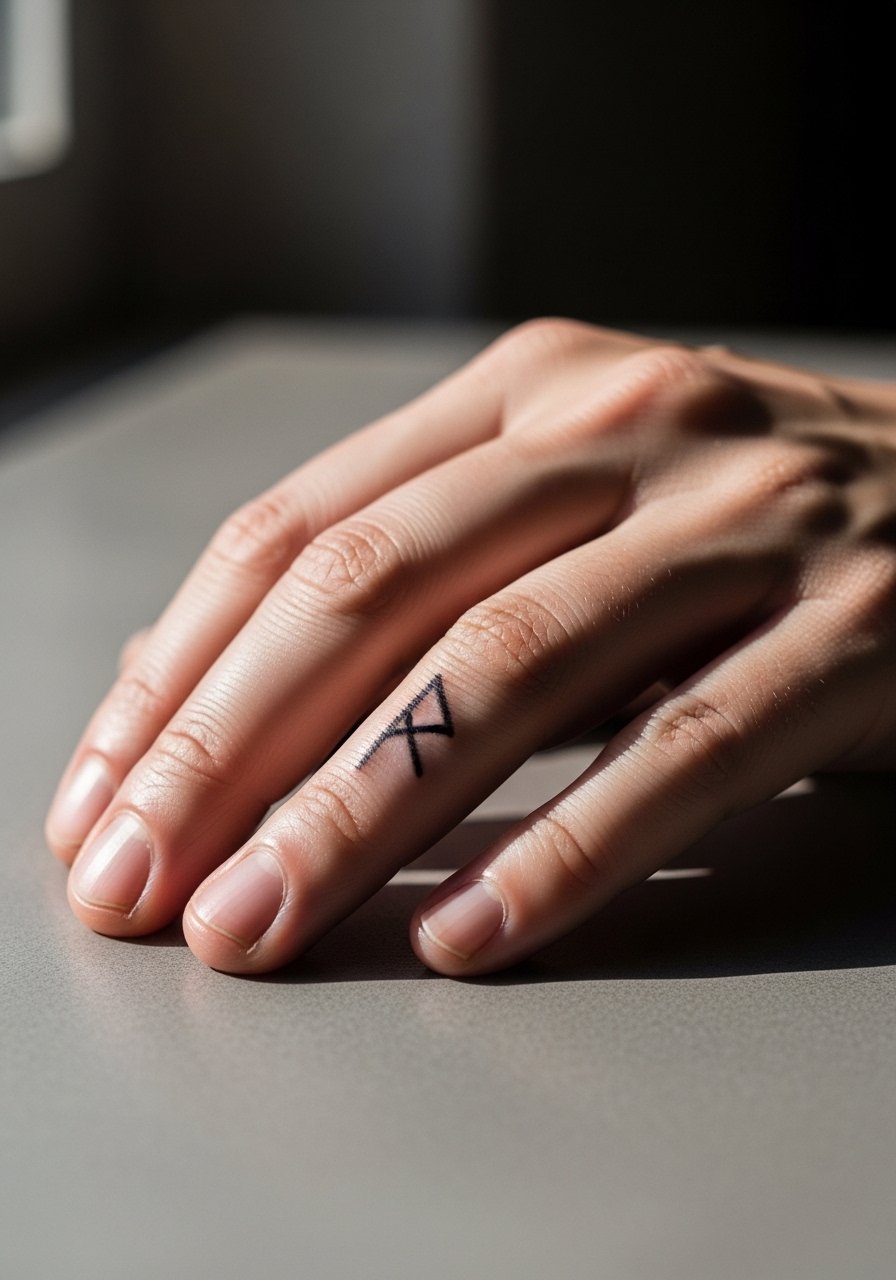
Finger tattoos look great but face constant washing and friction, so pick bold simplified marks rather than tiny script. A mistake I see is asking for micro-lettering inside a one-centimeter band. Instead choose negative space and thicker linework to preserve shape as the skin moves. Session time is short and pain is moderate. Expect faster fading and a likely touch-up within a year. For showing off wear minimal stacks or a thin band ring set so the tattoo remains the focal point. Hand placement also has career considerations in some fields.
8. Tiny Black-and-Grey Inverted Sukuna Mark on the Nape
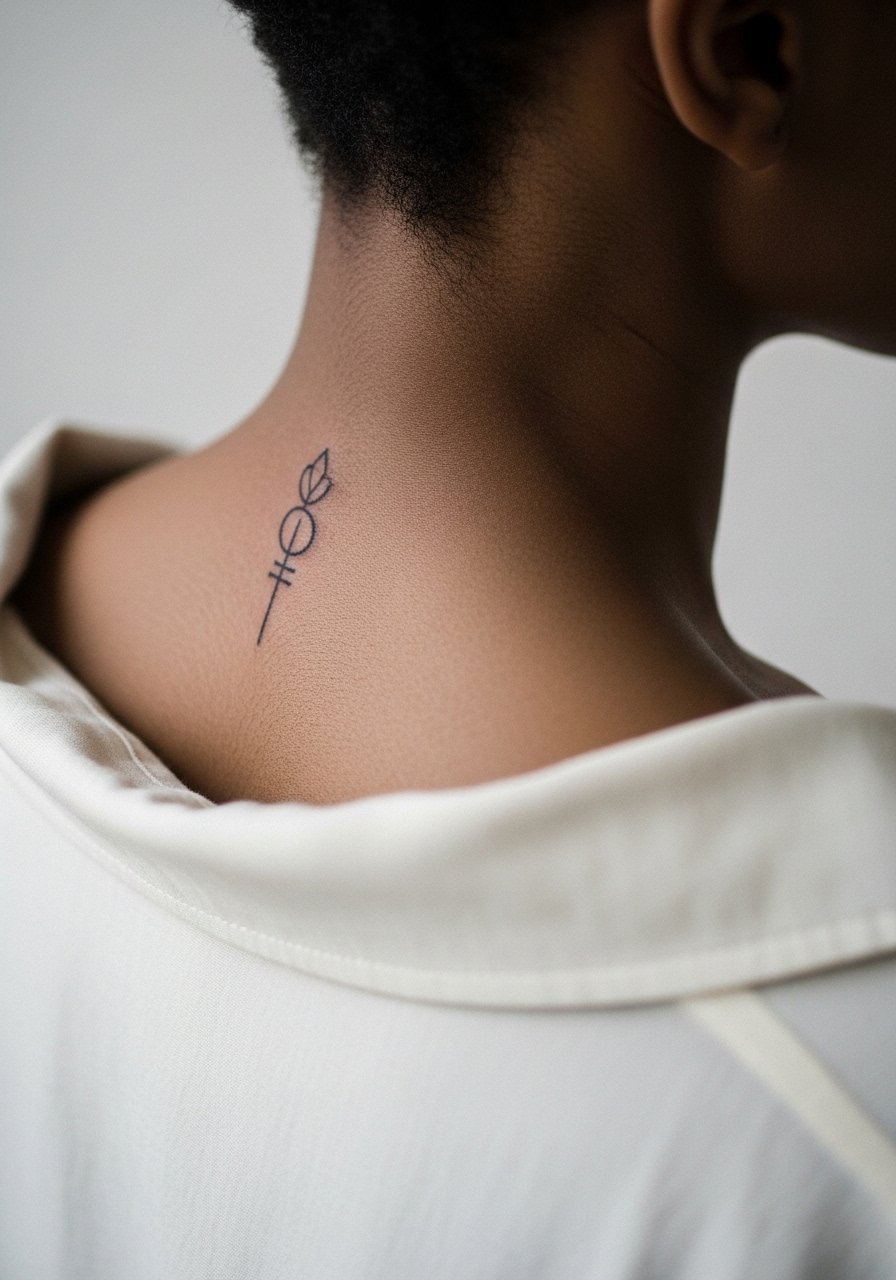
The nape is a discreet but photogenic spot. Ask for a slightly thicker outline than you might on a forearm to prevent early blurring. One common error is requesting dense stippling too close to the hairline. The session is low to moderate pain. For the appointment wear a wide-neck shirt so the artist can access the area without removing outer layers. Healed pieces tend to keep shape well because the skin is less subjected to friction than the hands or feet.
9. Micro-Flash Blackwork on the Ankle
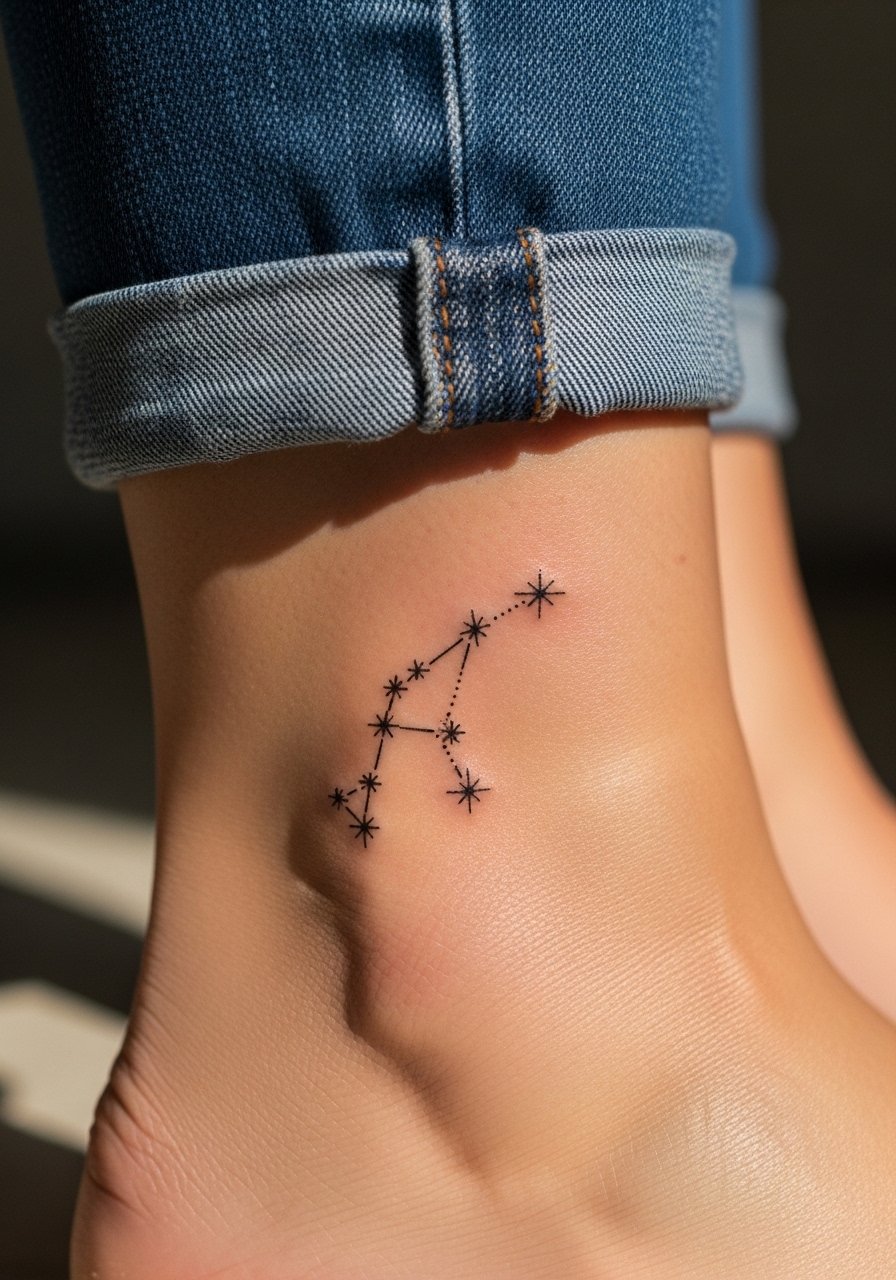
Ankle tattoos need room from the bone and should avoid tiny cross-hatching that can blur from shoe friction. I advise slightly taller designs rather than very wide motifs, because vertical lines breathe with the ankle’s movement. The session is short but the first week requires care due to socks and shoes. For showing off, consider low-cut ankle sandals or cropped pants that frame the piece. Expect touch-ups earlier than on upper-arm placements.
10. Single-Eyelid Curse Mark on the Foot Arch
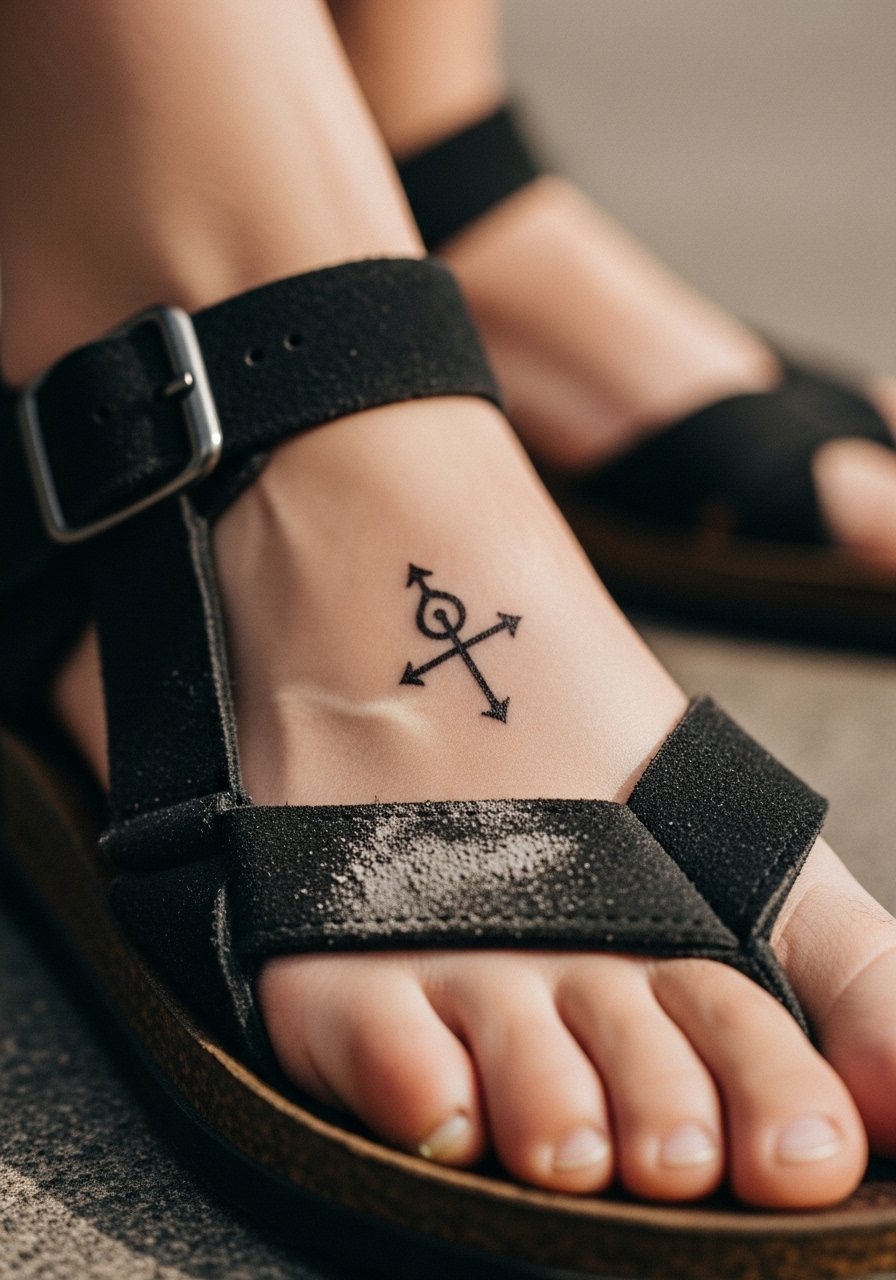
Foot arch pieces heal unpredictably because of pressure from walking. I recommend simple, linear motifs and tell the artist to avoid dense fills. The main mistake is planning for heavy shading where the skin does not hold saturation well. The session is uncomfortable but quick. For the appointment wear slip-on shoes and bring flip-flops so the area is free after the session. Showing the piece often involves footwear choices, so a pair of minimalist sandals keeps the tattoo visible without rubbing it.
11. Minimalist Cursed Seal on the Upper Rib Side
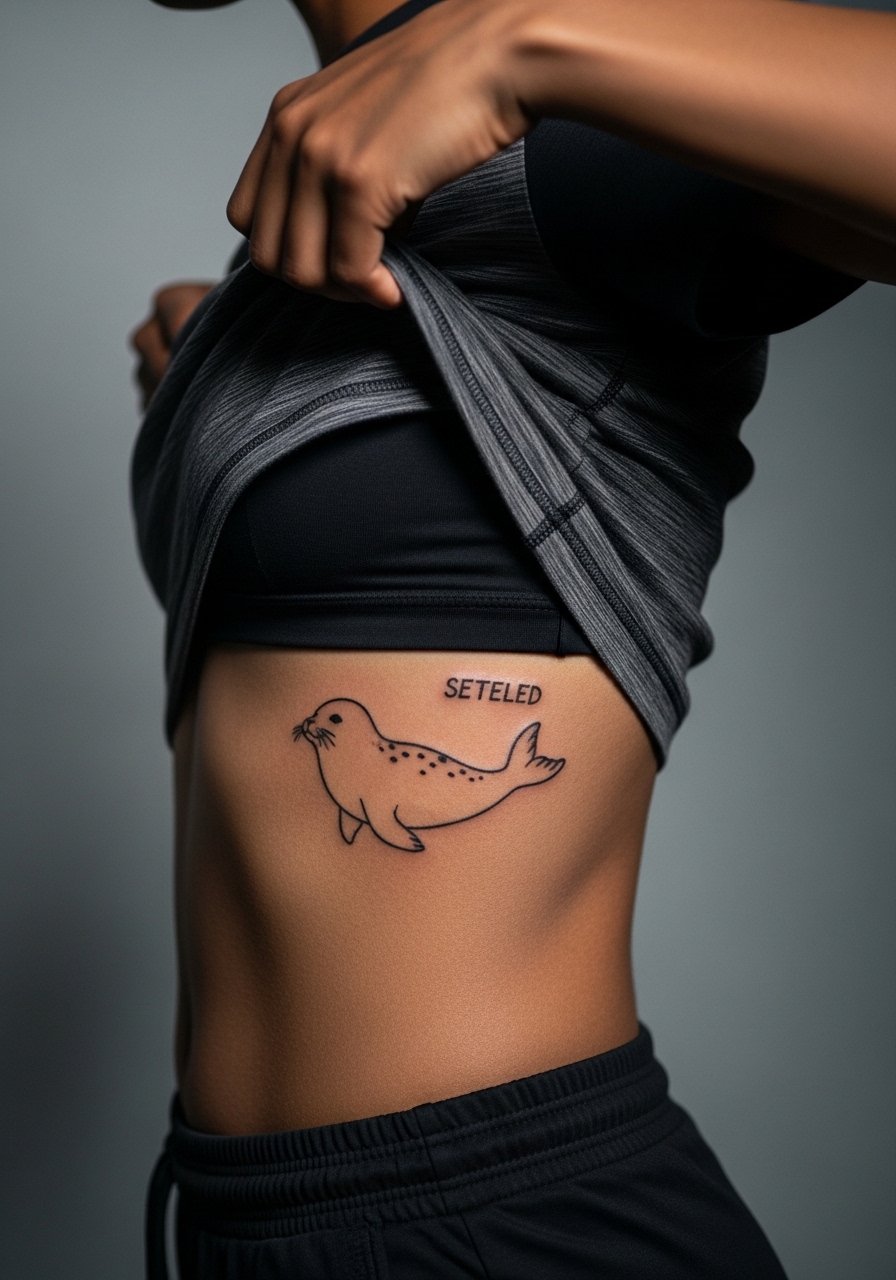
Side-rib placements are intimate and move a lot with breath. The design should emphasize clear spacing and avoid tiny lettering. Artists split on whether fine line works here. One camp says the constant stretch causes lines to merge. The other says with strategic spacing it lasts. Ask your artist how they handle ribs and reserve touch-up time if they favor denser detail. Pain is high for most, but the session tends to be short for small seals. Keep the area out of tight bands during healing.
12. Tiny Blackout Cursed Mark Behind the Wrist
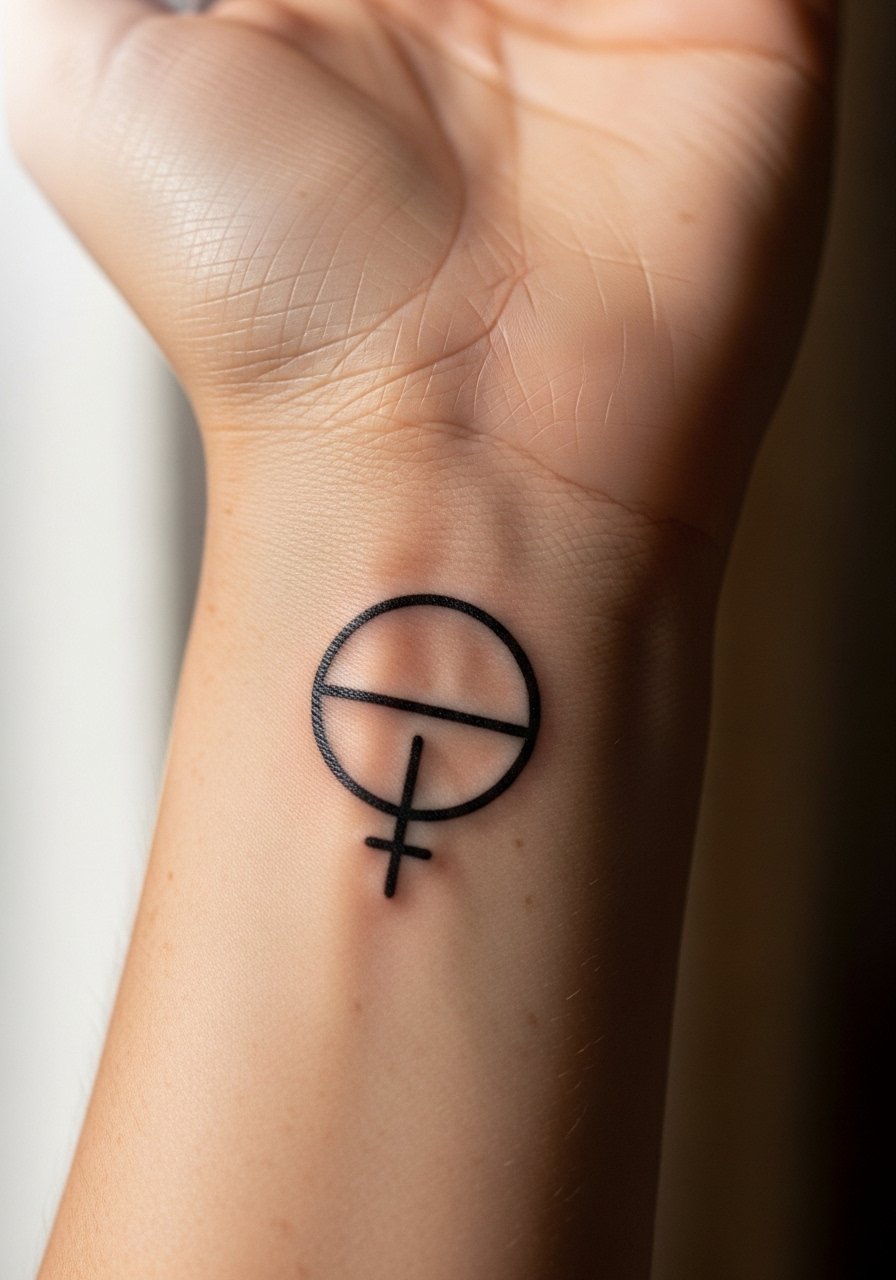
Inside-wrist blackwork reads bold and photographs well. Avoid asking for micro-stippling that crowds the negative space. For longevity, request opaque fills with clear border lines so the silhouette holds as saturation fades. Pain is moderate and scabbing is common. During the session wear a racerback tank if you want bare access without removing layers. Expect to revisit the piece after two years for a color or edge refresh if you wear watches that rub the area.
13. Tiny Chibi Character Silhouette on the Back of the Arm
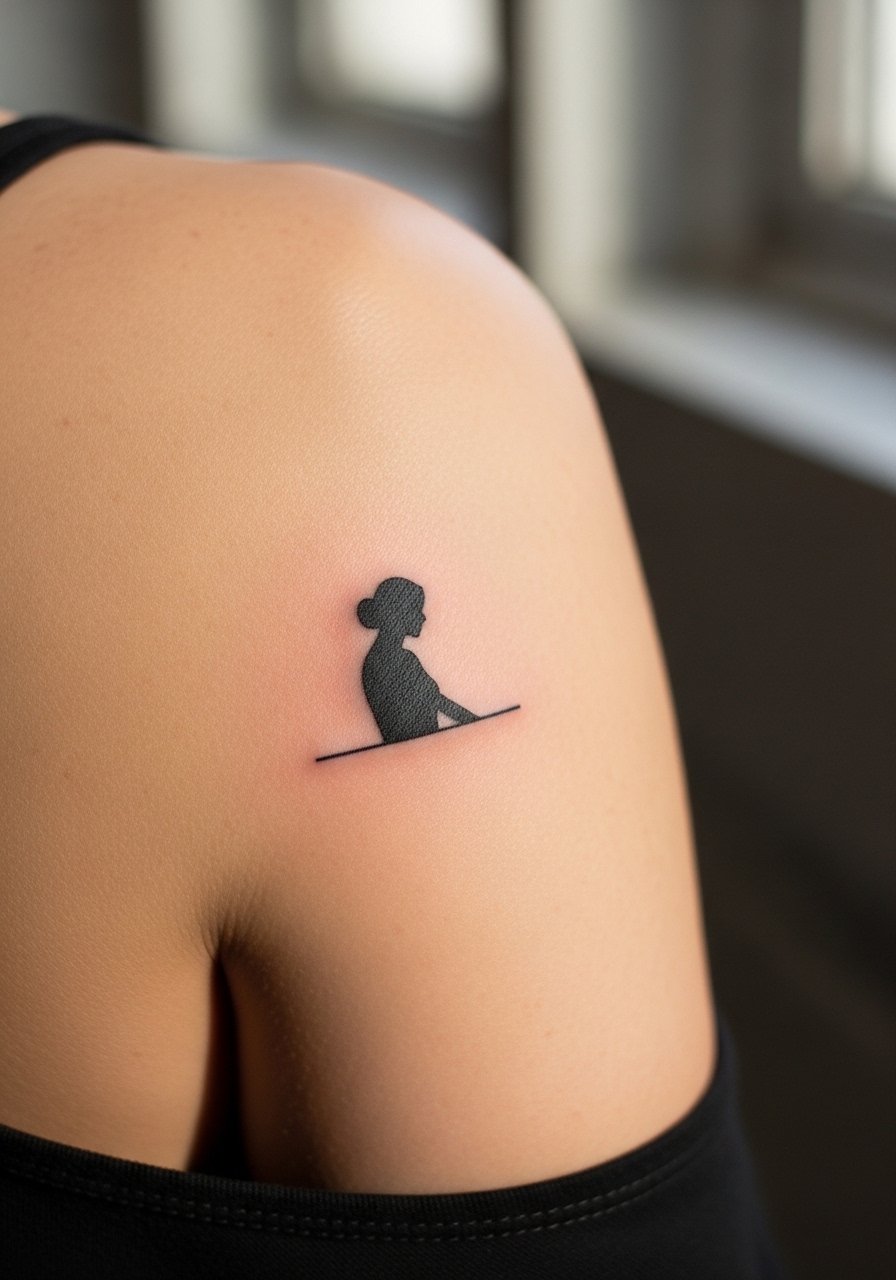
The back of the arm is a forgiving spot for compact silhouettes. It sees less sun than the forearm so small details last longer. Ask for a simplified outline with minimal interior dots to reduce early softening. A common mistake is requesting tiny facial detail that collapses into a smudge at year two. Session time is short and pain is low. For showing off, roll sleeves up and choose a loose drawstring linen pant or short-sleeve tops that reveal the area in warm weather.
14. Micro Mandala Cursed Pattern on the Sternum
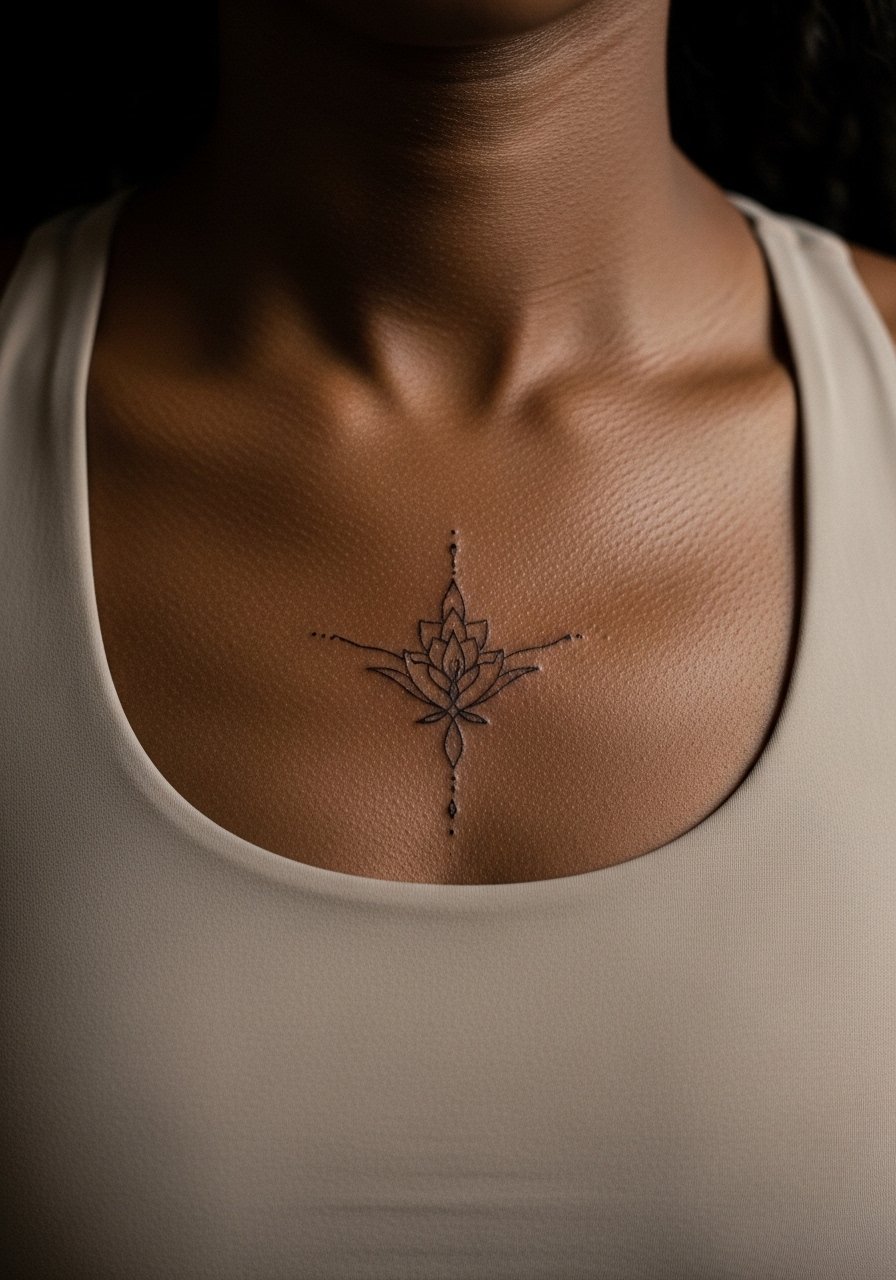
Sternum tattoos require careful planning because of curvature and movement. I advise wider spacing in the mandala spokes so the pattern keeps integrity as the body shifts. The error to avoid is asking for extremely dense dot work in a small central area. Pain is high, and healing needs breathable clothing. For the session pick a fitted sports bra you can lift slightly so the artist accesses the area without exposure. Culturally sensitive patterns benefit from a slight redesign rather than direct replication.
15. Tiny Watercolor Brushstroke Accent on the Shoulder Blade
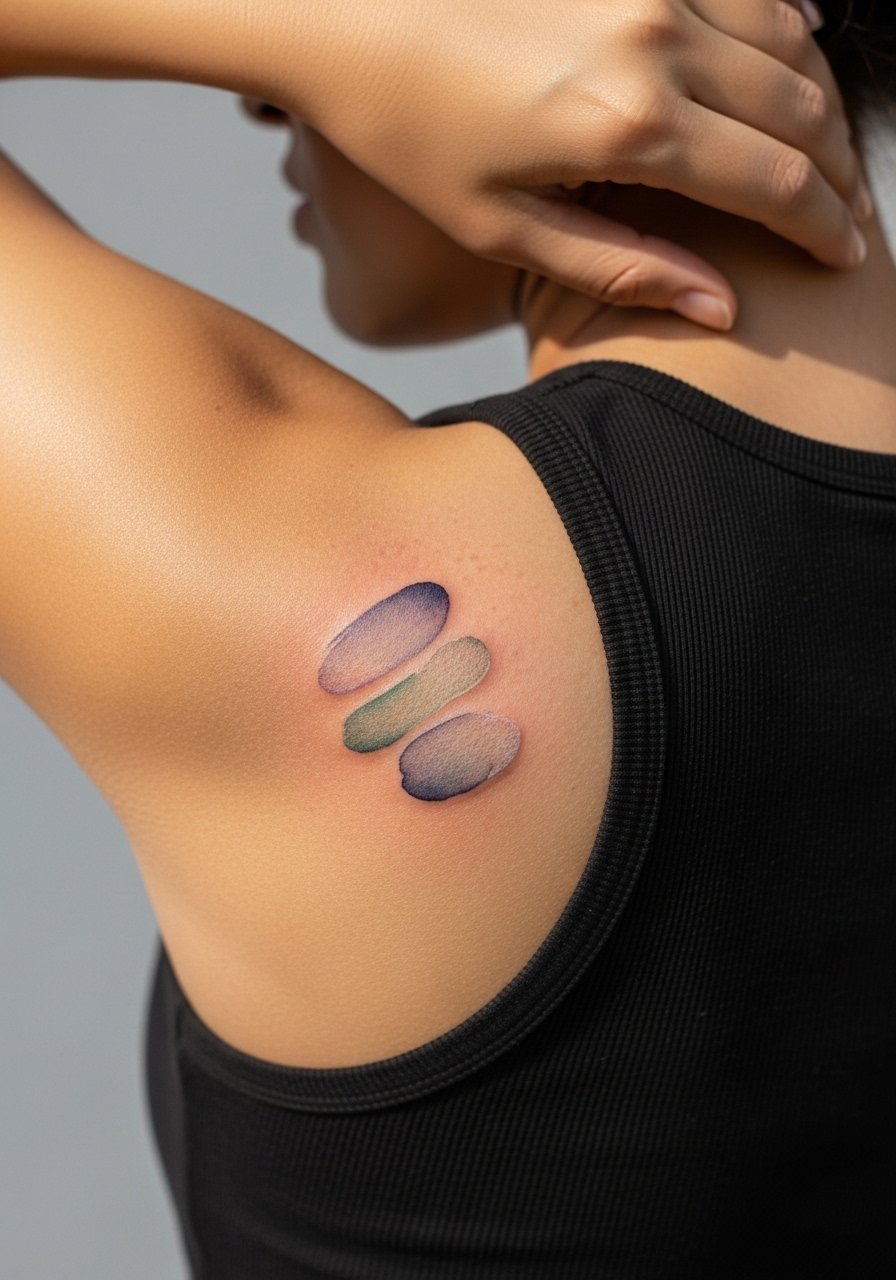
Watercolor effects need breathing room and less dense saturation when small. The shoulder blade is forgiving because it sees limited friction and sunlight if you wear covered shirts often. The mistake is asking for layered washes in a two-centimeter patch. Tell your artist to suggest a single accent color and whip shading so the wash looks intentional as it heals. Session pain is low and touch-ups are usually about color refresh after two to three years. For evenings out pair the piece with an open-back top to frame it.
16. Tiny Linework Black Cat on the Calf
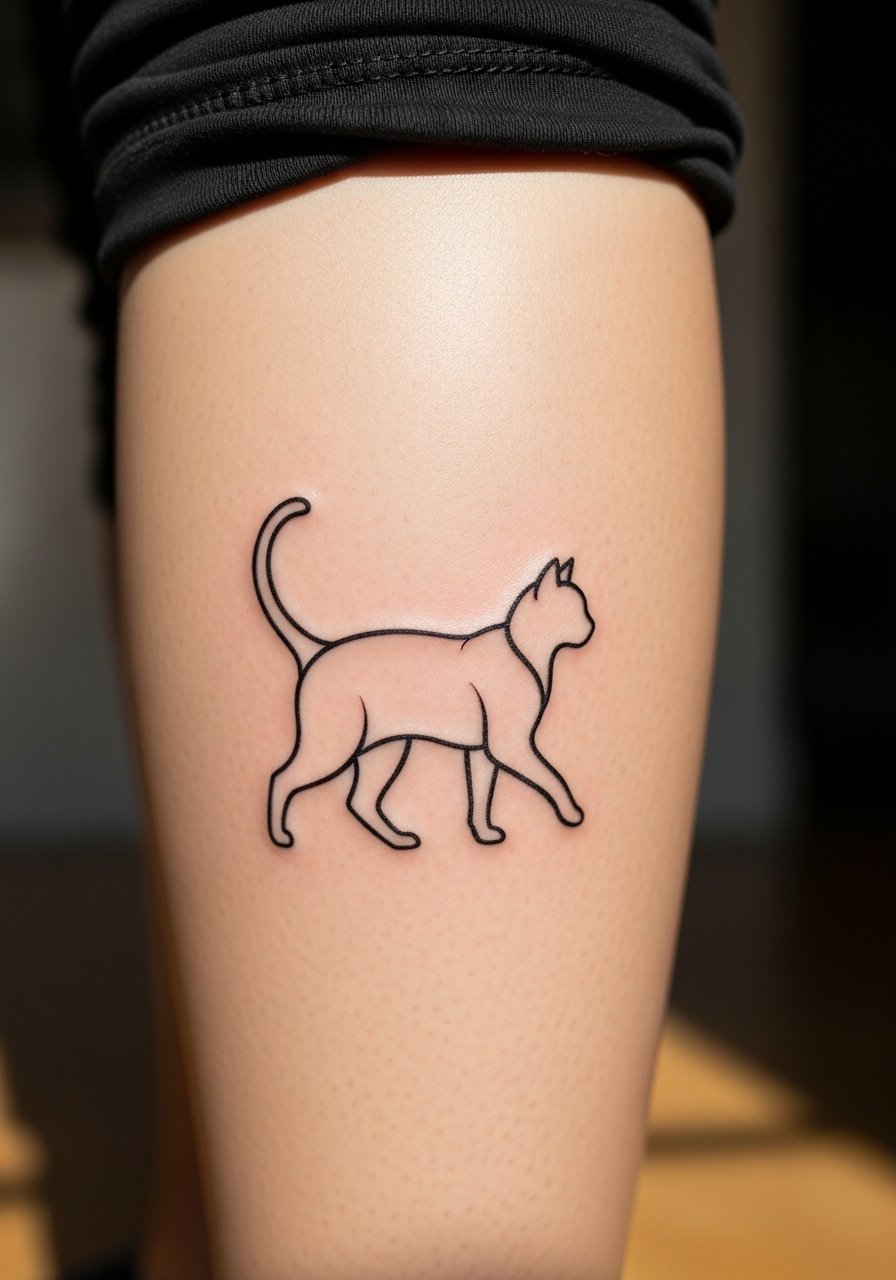
Calf pieces are great for small illustrative motifs because the skin is stable and less exposed to friction. I recommend a simple contour with slight negative space accents so the cat keeps silhouette clarity. A common mistake is packing too many whisker details. The session is comfortable and healing is straightforward. For showing off choose cropped trousers or a loose drawstring linen pant that can be rolled up without tight bands. Expect strong reading for three to five years if you protect it from heavy sun.
17. Tiny Scripted Quote Along the Side Finger
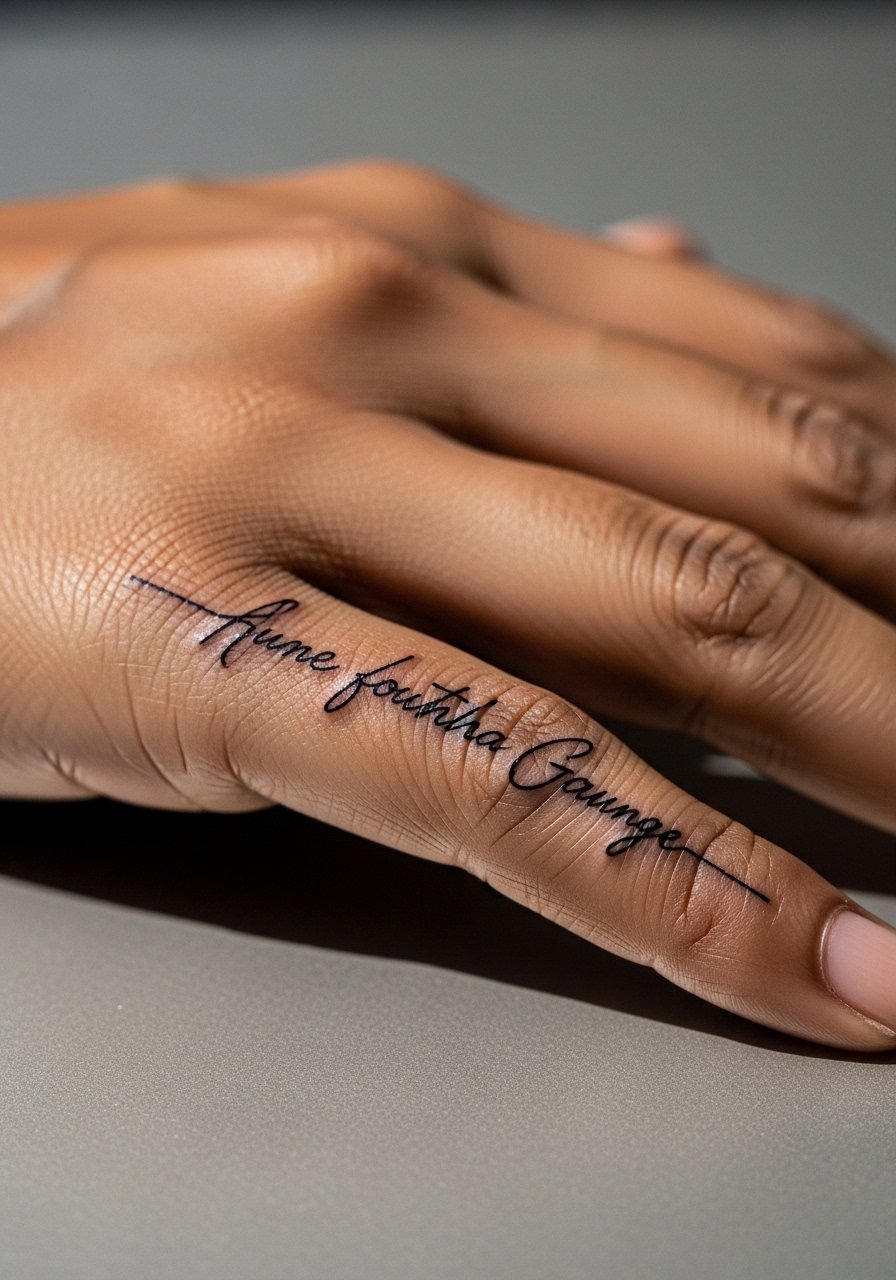
Side-of-finger script is intimate but prone to early fading. Ask for slightly bolder letterforms with spacing between characters to prevent merging. The biggest issue is picking tiny cursive that loses legibility. Session time is very short but healing is fussy because of constant hand use. Keep the area dry and avoid rings that press the letters. For minimal framing, a thin band ring set pairs with the script without covering it. Expect a high chance of needing touch-up within 12 to 18 months.
18. Micro Geometric Cursed Seal on the Back of the Neck
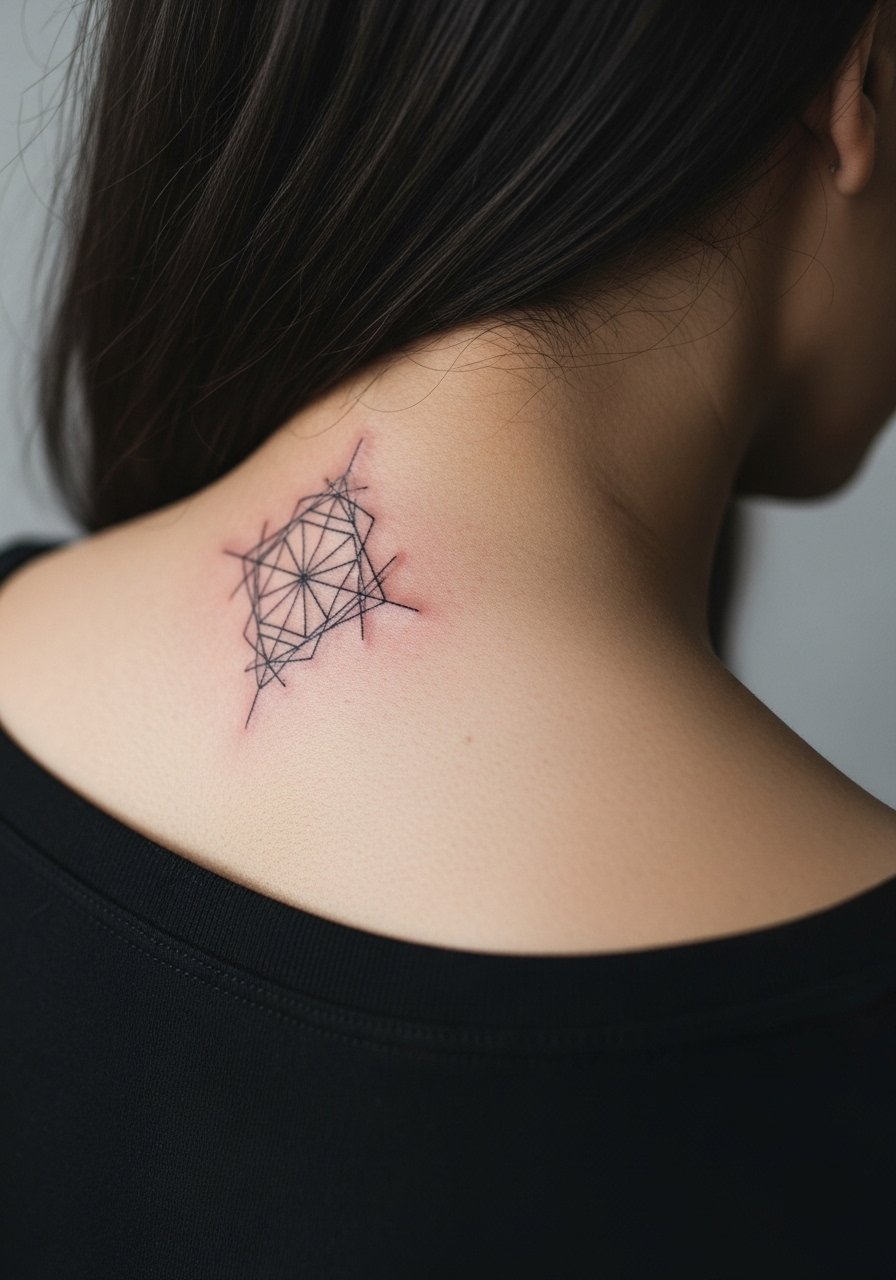
Geometric motifs look precise up close, but small repeated angles can merge if spacing is too tight. Tell your artist you prefer a simplified grid with negative space pockets to hold the geometry over time. Pain is low and the session is quick. For the appointment a wide-neck shirt gives easy access. The back-of-neck placement photographs well when hair is up and ages predictably compared with finger or hand work.
19. Small Blackwork Flame on the Inner Bicep
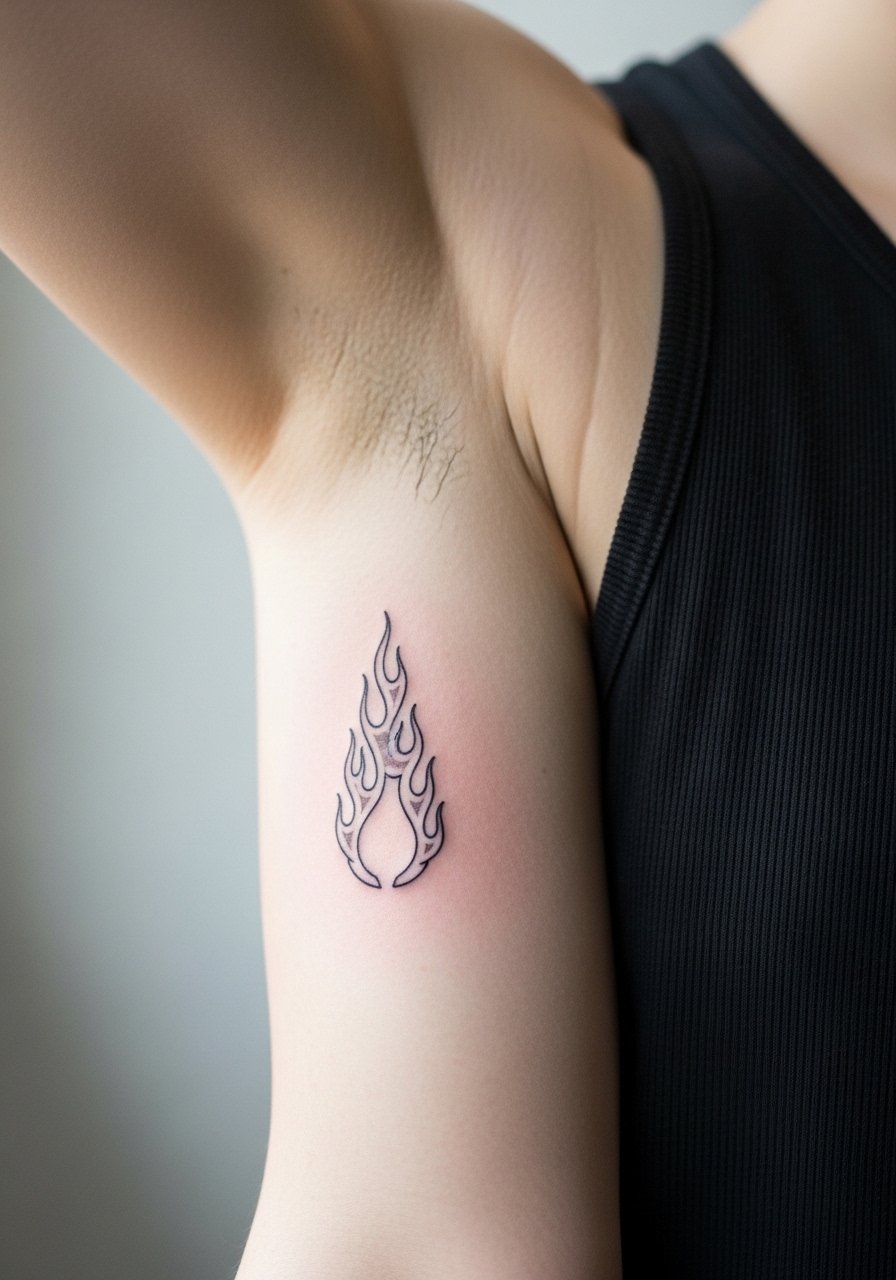
Inner bicep skin is softer and can hold detail, but the area sees stretching with arm movement. Request a compact, bold outline with minimal interior shading to keep the flame readable. The common mistake is asking for fine stipple in that spot which can soften. Pain is medium and the session is pleasant for most clients. For the session pick a loose tank top so the artist can work without the shirt compressing the skin. Expect a touch-up possibility after two years if you use heavy deodorants or antiperspirants on the area.
20. Micro-Conjured Eye on the Side of the Thumb
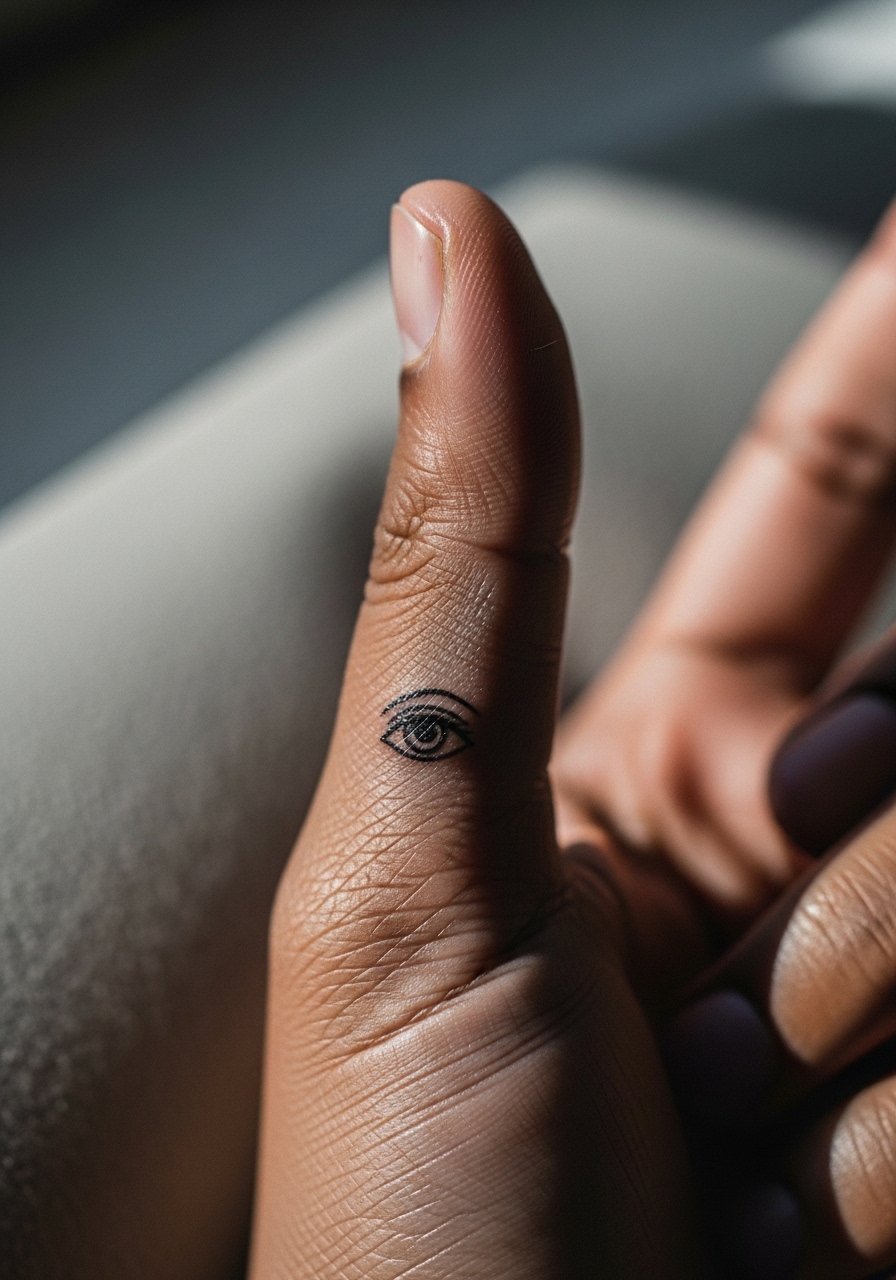
Thumb-side tattoos are high-wear because of daily gripping and washing. Choose a simplified eye silhouette instead of detailed lashes to preserve the motif. The session is quick but the healing period is prone to light scabbing that can be rubbed off. For the appointment avoid tight gloves and consider a pair of slip-ons afterward so you can avoid pressure on the area. Minimal rings or no rings help the piece avoid constant abrasion. Plan a likely touch-up in the first year.
21. Tiny Scripted Coordinates on the Inner Wrist
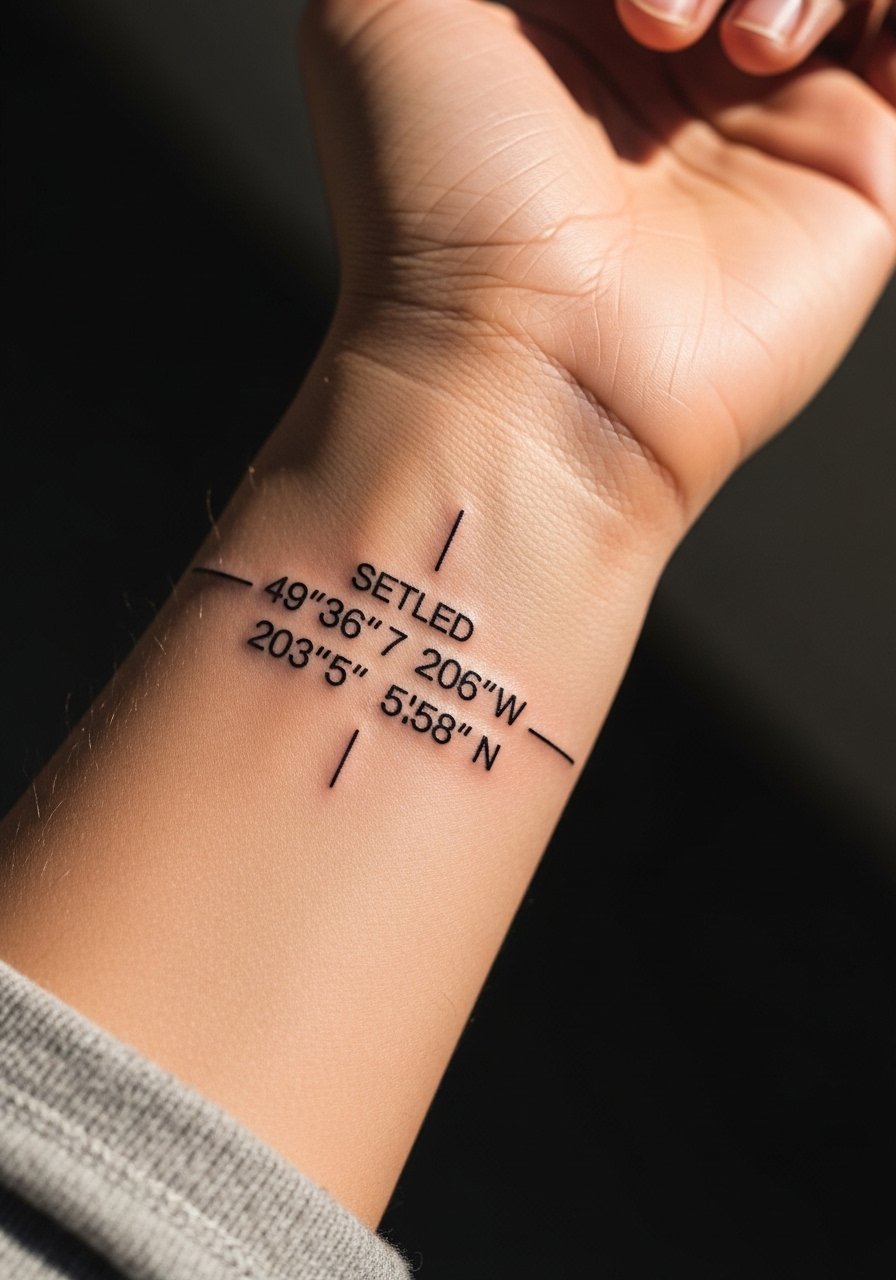
Coordinates are compact and personal, but tiny numerals need spacing to keep legible. Ask your artist to use a clean monospace or thin serif so numbers remain readable as they soften. The wrist is high-friction from bracelets and watches, so remove jewelry the first two weeks. For the session wear a loose button-down shirt that you can roll up easily. Expect a touch-up timeline of one to three years depending on sun exposure and daily wear.
Frequently Asked Questions
Q: How should I choose between fine line and tiny blackwork for a small Jujutsu Kaisen motif on my wrist?
A: Fine line gives a delicate look but risks faster blur on high-friction spots. Tiny blackwork holds shape longer because the silhouette remains clear as the edges soften. I suggest discussing needle depth and spacing with the artist, and picking the blackwork route if you want lower touch-up frequency.
Q: Will a small ribcage design like the minimalist cursed tool require a different healing routine than a wrist piece?
A: Yes. Ribcage areas need looser clothing and less compression while scabs form, whereas wrist pieces demand protection from bracelets and frequent washing. Keep the rib area out of tight bands and sleep on a surface that reduces rubbing for the first week.
Q: Are there visible career consequences for small hand or neck tattoos inspired by anime?
A: Some industries still view hand and neck tattoos unfavorably while others do not. If you work in a conservative workplace, consider placements that remain easily covered or choose a discreet signifier behind the ear or on the ribcage instead.
Q: How long should I expect touch-ups for tiny finger, thumb, and wrist tattoos?
A: Plan on at least one touch-up within 12 to 24 months for finger and thumb pieces, and a possible touch-up around two years for wrist work. Longevity depends on daily friction, sun exposure, and how closely the design sits to bone.
Q: What should I wear to a sternum or ribcage session to make access easy and protect modesty?
A: Wear a fitted sports bra or a cropped athletic top so the artist can lift fabric slightly without full exposure. A fitted sports bra is easy to adjust and keeps you comfortable during the session.
